outdoor tee pee for green beans

pin it pinterest graphic

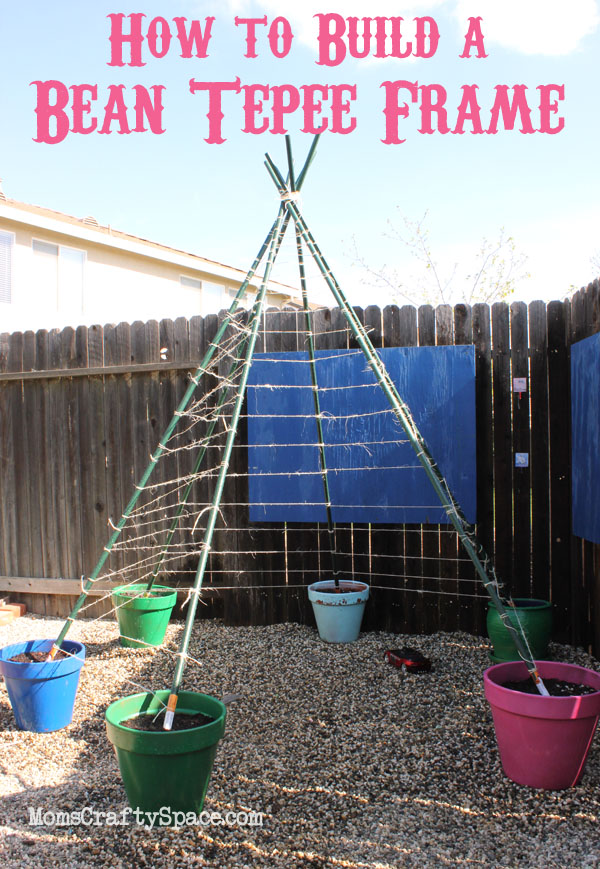
Building a green bean tepee has been on my gardening to-do list for the past few years, but for some reason or another it’s always the project that gets pushed aside for something more urgent, and I inevitably find myself too late in the season to start it. I was determined not to let that happen again this year, so today the boys and I set up the frame for our tepee.

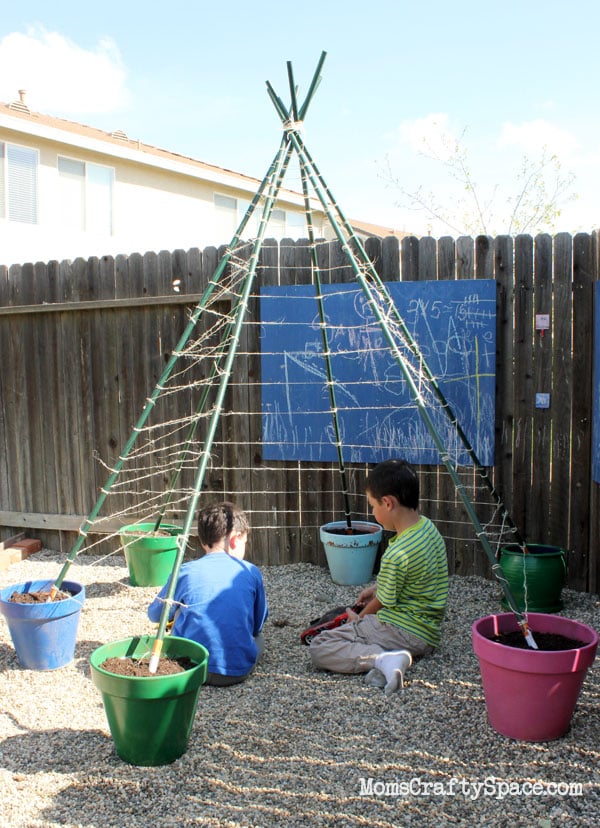
Our bean tepee is going to reside in the corner of our yard that houses the boys’ rock pit, so instead of digging holes and planting in the poor quality soil we decided to elevate our tepee by placing the poles into large terra cotta pots. This way the boys won’t lose much space in the way of playing in the rocks, and they won’t have to be quite as careful when they’re playing with dump trucks near the delicate new seedlings.

assembling green bean teepee

I purchased (6) eight foot plant stakes from Home Depot for the frame. I had originally intended to buy bamboo stakes, but once I saw how durable and strong these plastic covered steel stakes are I was sold. I know that these super stakes will hold up through a neighborhood’s worth of crazy boys playing in the tepee!

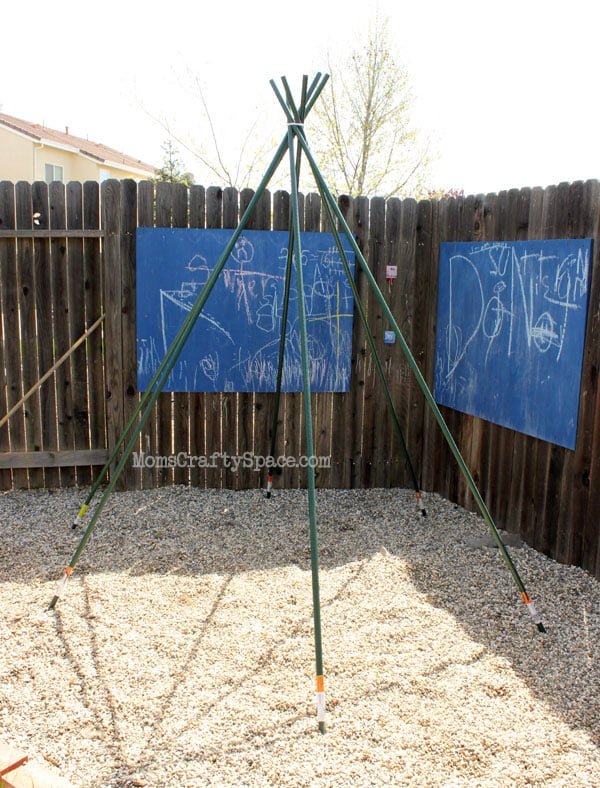
To bind the stakes together I laid them on the ground in a bundle and tightly lashed them all together with twine about 8″ away from one end. This will allow you to stand your tepee up and manipulate their positioning until you are ready to give them a stronger final joining later.

pots spray painted green

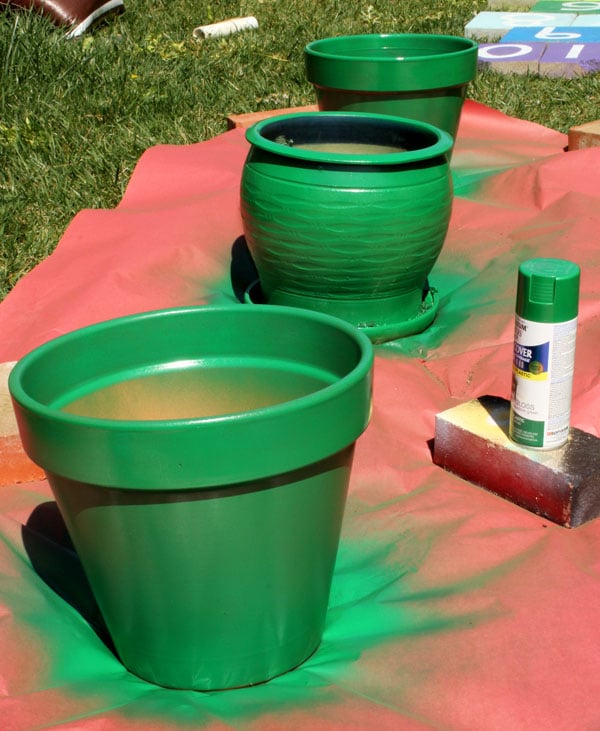
We gathered up a few 12-14 inch pots that we had around the yard, and we spray painted them green. At first the boys wanted to paint all six of the pots green so that they would eventually become camouflaged against the greenery of the tepee, but in the end they decided that they liked the colors of three of the pots that we had painted last year so we kept them as-is.

kids playing under green bean trellis

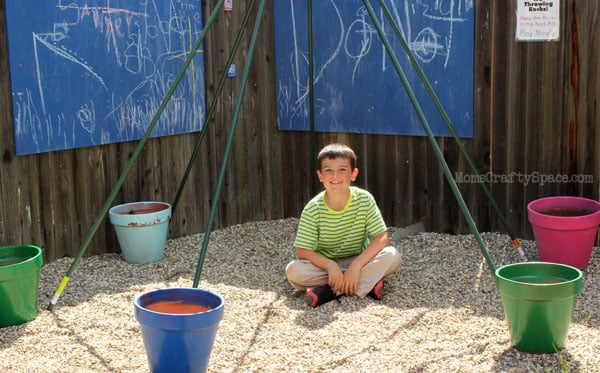
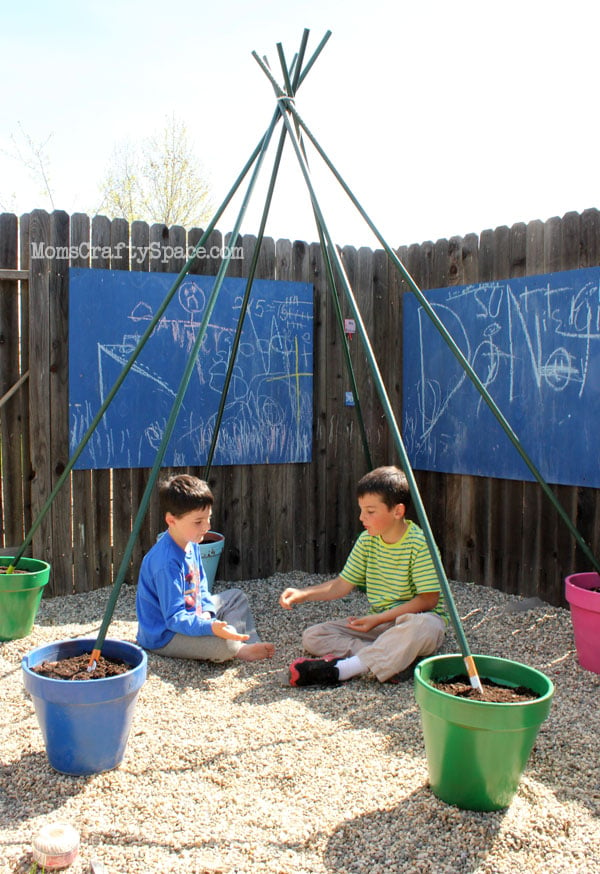
I grabbed my helpers and they laid out the position of our pots. The boys decided that it would be way cooler if the door to their tepee was on the side so that it’s hidden from the front view.

mixing potting soil in pot

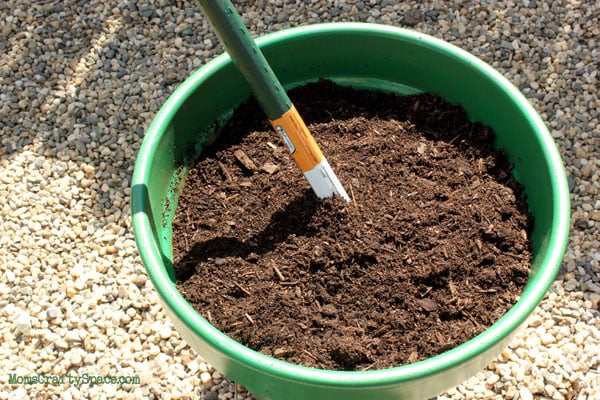
To add some stability and weight to our pots, we filled the bottom 3″ with gravel before filling up the rest with potting soil. Arrange the poles so that they’re aligned with the center of each pot and push them down towards the base of the pot.

kids playing together outdoors

We made sure that at least two kiddos will comfortably fit inside of the tepee hideout.

tee pee secured and tied at the top

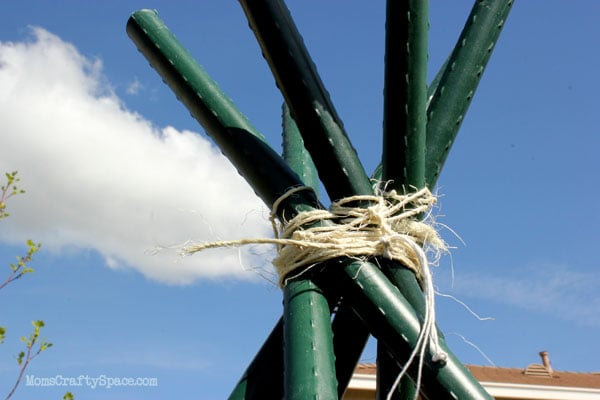
Once I was happy with the positioning, I used a heavier weight sisal twine to tie the tops together. I wrapped the entire bundle of stakes several times before weaving and wrapping around each individual post to tie them all together.

lines for green bean climbing and growth extended over all sides of teepee

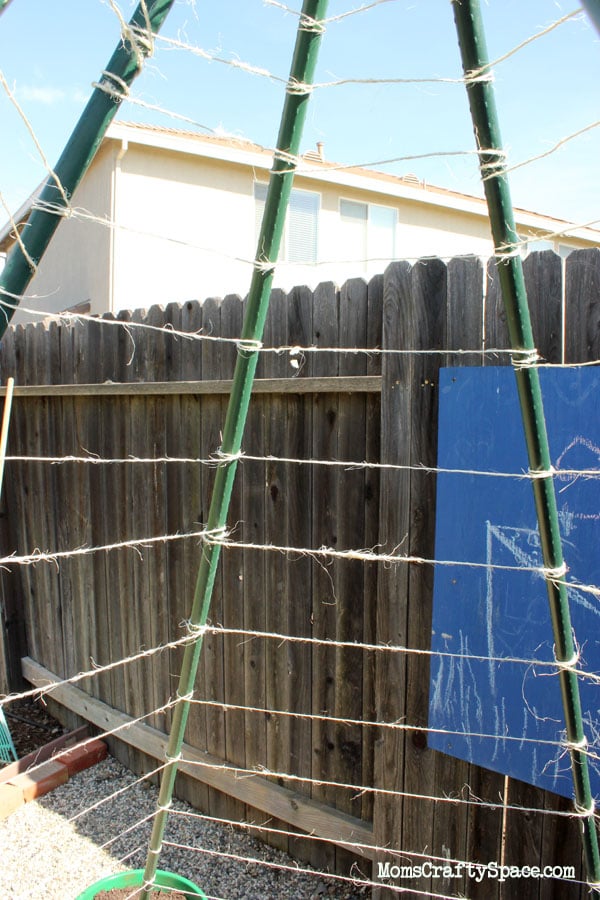
With the top secure, I started wrapping the twine down the structure to create a framework that the green beans will be able to climb on. I moved from pole to pole, wrapping twice around every pole each time. Because we wanted to leave an open door area, I worked my way from left to right and then back from right to left leaving one section un-twined.

green bean seeds planted into pots
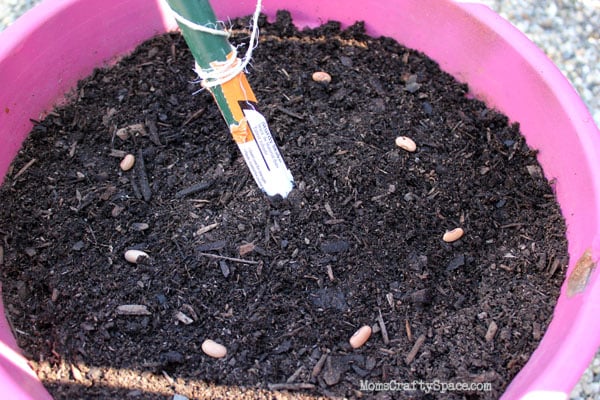
We planted two different versions of pole beans (eight seeds around the base of each pole), and added a few morning glory seeds as well since they’re my favorite climbing flower.
kids playing in the sunshine

These guys can’t wait until their tepee starts to grow and fill in, but even these bare poles and twine are providing a space full of magic and imagination!

signature of Heidi from Happiness is Homemade craft blog

Leave a Reply

Your email address will not be published. Required fields are marked *

18 Comments

  1. This is great! I just started planting string beans this month at the back of our house but I only have a 1 standing wood near it… I like your idea but so sad that our space is so small to accommodate a teepee…

  2. This is great, I am planting a lettuce garden and I need shade and was trying to think how to use the pole beans to shade it. the pots will work great, I have a drip system in so I will just run the lines to the pots.

    1. It takes about 10 days for the seeds to sprout, Vicki, and it takes most of the summer for full coverage though you’ll see significant growth after about a month or so.

  3. This is a great idea! We have a tiny yard… and I am thinking that this would be a great way to combine some “garden” space with “play” space!
    I think planting in the flower pots is brilliant! 🙂
    ~ Christine

  4. Morning glories are my favorite climbing flower, too! I love this idea — do you happen to have a follow-up photo with it in bloom?
    Did the beans hang down into the teepee? What a super neat project!!

    1. I will try to find some and get them posted soon, Joann! Our tepee grew until the vines reached the top and spread out quite nicely, but then we hit an unfortunate 10 day stretch of 110+ degree heat, and no matter how often I watered the pots they quickly dried out and the plants suffered. Next year we will move our tepee to a different spot so that we can plant them directly in-ground 🙂

      1. Hello Heidi,
        Maybe a good suggestion to fill the pot with potting soil only. And to put a flower pot dish under each pot. The water in the dish will keep the potting soil moist so plants will survive even at dry, warm weather.
        In my blog “Sjefgardentips”, I wrote an article about such a construction (tip 39) and I put a link to your site.

      2. I get horrible weather like this too. I’ve had luck with a variation on an african violet pot/ You use an unglazed/unpainted/plain terracotta pot as the liner pot (the one you put the dirt in) and fit it into a larger container that can hold water (sealed and glazed pot, metal bucket, whatever) and put water in the outer container. It seeps through the terracotta to the dirt but isn’t quite as boggy as just dumping that much water in the pot would be.

      3. That’s a great idea, Amber! We’ll definitely give that a shot next time! 🙂

      4. I do a lot of container guarding. They do dry out quickly. I can’t remember where I found this trick to keep them cool between watering. Buy some cheep disposable
        diapers. Lay them out flat and water them until nice and swollen. Cut them open and put the pulp in your soil. Mix well.

        This helps your soil not dry out as quickly. I haven’t seen that it harms the plants in any way.

  5. You could definitely grow sugar snap peas as well! Any climbing vine that doesn’t get too heavy should work wonderfully. In my past gardens our sugar snap pea vines only grew to about 4′ high, but that was the height of my trellis. I’m not sure if they’d reach the full 7′ height if they were given the extra room or not. Let me know how it goes if you try it out!

  6. I am looking forward to the pictures of growing tepee. I am dreaming to do one for my boys to. Thanks for sharing.

  7. This is one the coolest and most original ideas I have seen in awhile! Pinned it and would love to share on my blog, if that is okay with you? (still learning all of the do and don’ts and the ins and outs of blogworld manners.) My little dude is going to totally dig replicating this!