Here’s what you’ll need:
- White Shirts or other objects to dye – 100% cotton white shirts work best
- Tie Dye Kit – there are lots of kits to choose from, but I recommend starting with a Tulip One-Step kit, especially if it’s your first time tie dyeing. The Tulip kits contain bottles that already have the powdered dye in them (for the least amount of mess!). You simply add water to the bottle and shake to mix up your colors – easy peasy!
- Rubber bands – lots and lots! You’ll need between 2-8 per shirt.
- Gloves – latex gloves work the best and are much better than the thin and oversized plastic gloves that come in the kits.
- Old clothes to wear while tie dyeing – I have my boys wear their old tie dye shirts so that it doesn’t matter if they accidentally splash dye onto their clothing!
- Plastic bags – at least one per shirt plus one large trash bag to hold all of the shirts. Recycled plastic grocery bags work well, but since they often contain small holes in the bottom, I highly recommend using two bags per shirt and double bagging them.
- Wire Cooling Racks
Tie Dye Instructions:
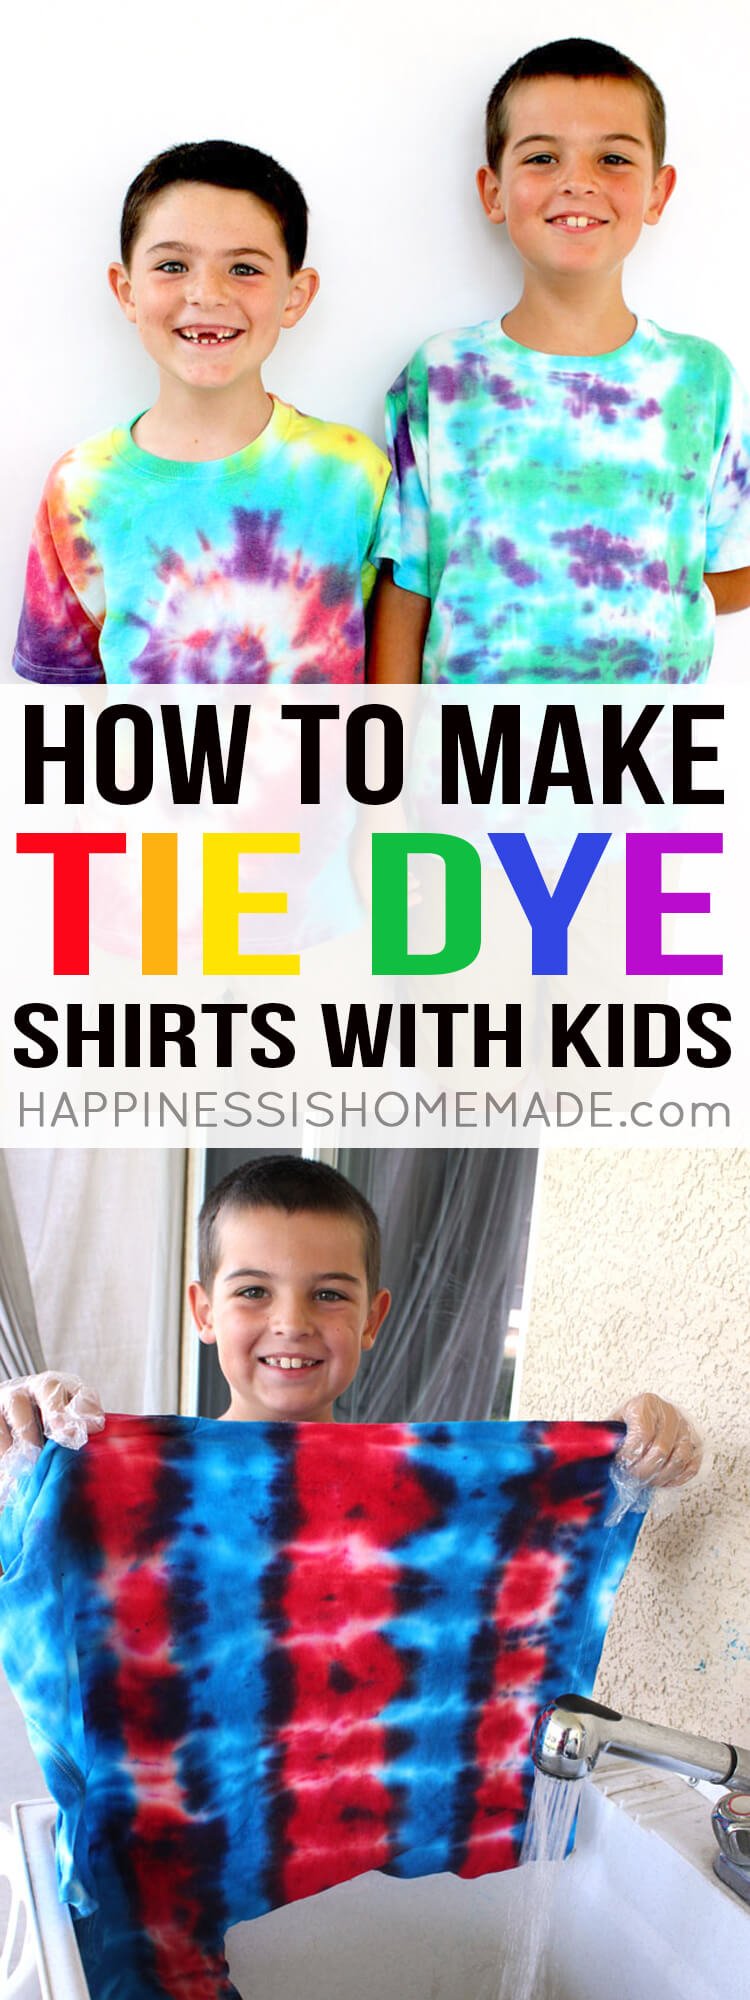
Pre-wash your shirts and leave them damp from the washing machine. Fold and rubber band your shirts as desired (some examples of folding techniques and instructions are below). When finished folding, mix up the bottles of dye.
Note: the dye will only remain at 100% strength for one hour after mixing, so do not mix up your dye until you’re ready to use them!
The best place to dye shirts is in a large utility sink or bathtub. Place wire racks on the bottom so that the shirts don’t sit in the puddle of excess dye and muddy the colors. Squirt the dye onto the shirts (make sure that the dye gets down inside the folds for best coverage!), let the excess dye drip off for a minute, and then wrap the shirt tightly in a plastic bag. Quickly rinse the sink/tub between each shirt to wash the dye down the drain and avoid staining. When all the shirts have been dyed and wrapped in plastic bags, place the bags into a larger plastic bag and set them somewhere warm for 24 hours. It’s important to let the dye have that time and heat to penetrate the fibers and stay vibrant!
Scrunched/Crumpled Tie Dye and Striped Tie Dye
If you liked this tie dye instructions post, don’t forget to pin it!
Heidi Kundin has captivated the hearts of millions with her colorful and inspiring approach to crafting, celebrations, and family fun. With over 15 years of experience, Happiness is Homemade has become a must-visit destination for those seeking quick and easy creative ideas and last-minute solutions. Heidi’s warm personality shines through her posts, inviting readers to join her on a creative journey that’s fun, rewarding, and achievable. Heidi is also the author of Homemade Bath Bombs & More and DIY Tie-Dye.


