This post is part of a social shopper marketing insight campaign with Pollinate Media Group™ and Sharpie, but all my opinions are my own. #pmedia #StaplesSharpie https://cmp.ly/3/8vNxcO.
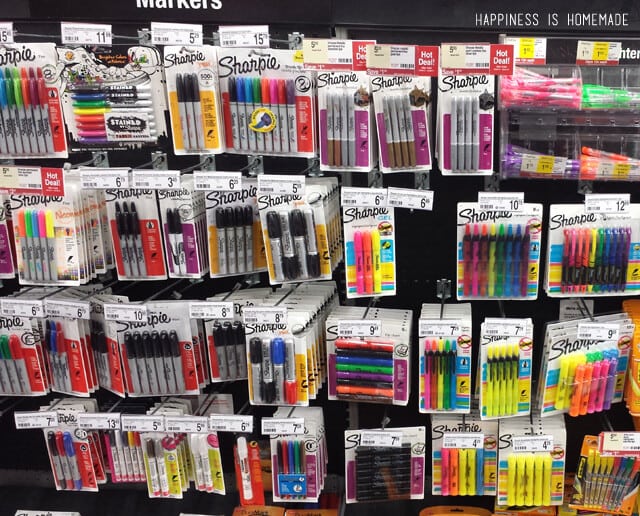 I know that I have said it before (and I’m sure I’ll say it again!), but I love Sharpies! Last year I posted 20 Sharpie Projects Perfect for the Holidays, and this year I wanted to add another holiday Sharpie project to my list. I went to Staples to check out the selection, and was excited to see that they have select multi packs as a “Hot Deal” right now.
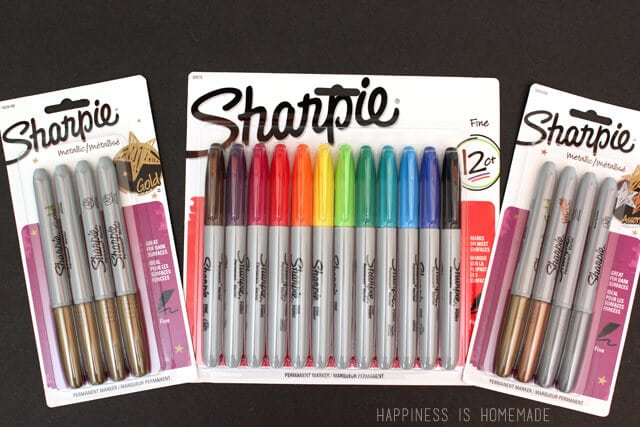 I picked up two metallic 4-packs (assorted and all gold) for $5 each and a 12-pack of assorted colors for only $6! These ought to keep my Sharpie addiction fed for awhile!
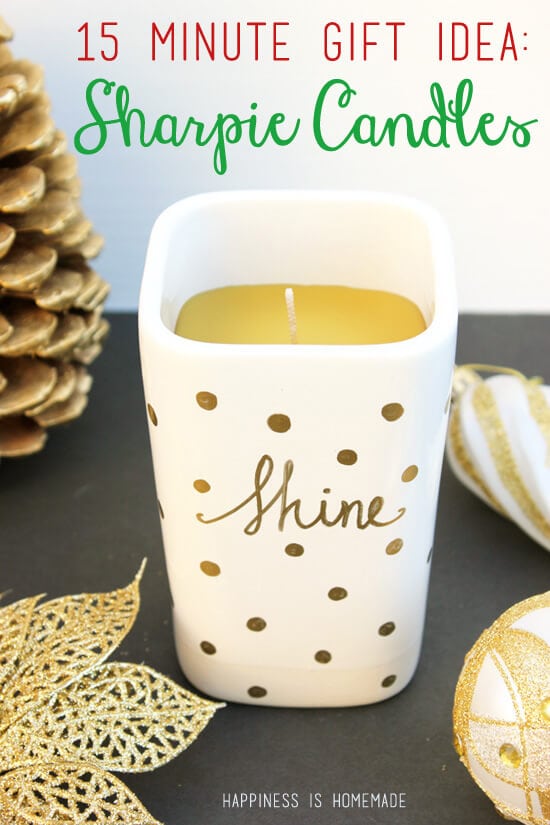 I couldn’t wait to put my new supplies to use, and I needed to make a quick homemade gift for a friend, so I whipped up this super cute Sharpie decorated candle. The best part is that it only took about 15 minutes!
What You’ll Need:
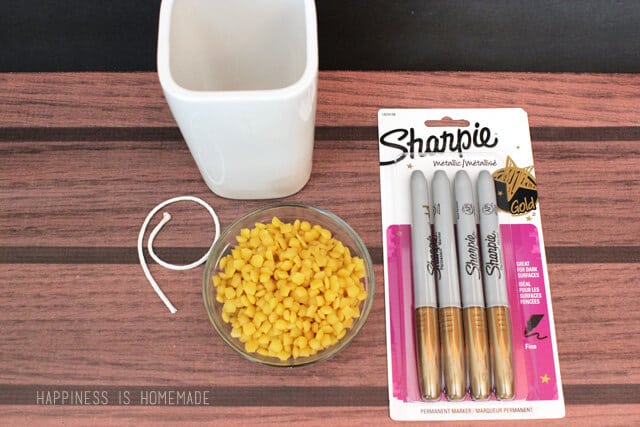
- Heat-safe ceramic or glass container (I used an Ikea ceramic tumbler)
- Metallic Gold Sharpie marker
- Beeswax (use pellets for quicker melting!)
- Candle wick that is about 2″ taller than your container
- Bamboo skewer (not pictured)
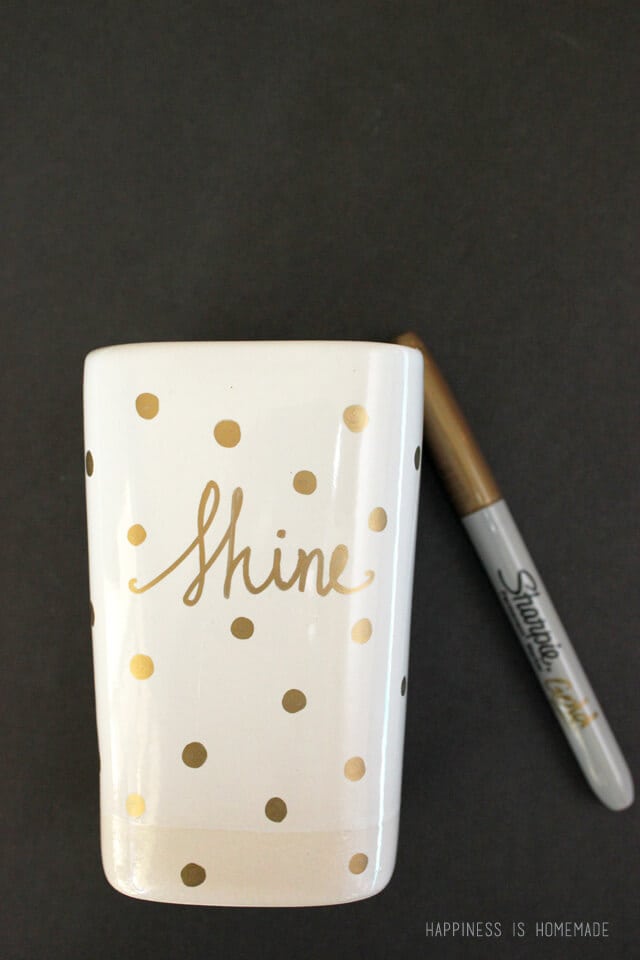 Give the container a quick cleaning, and start doodling with the metallic Sharpie marker. Naturally I chose to draw polka dots since that’s “my thing” (and they’re quick!), but I also contemplated drawing some gold snowflakes or a geometric pattern on it too. The possibilities really are endless!
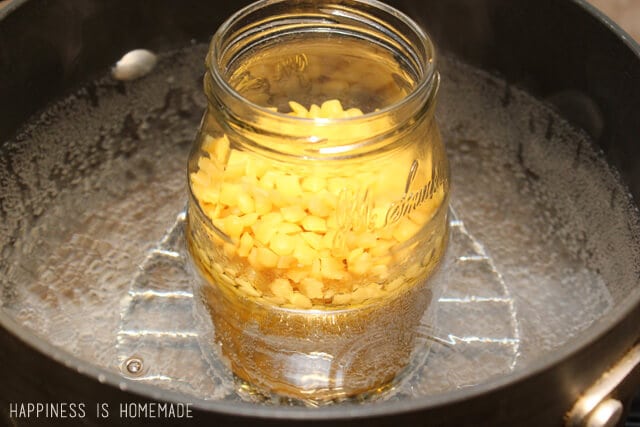 Melt the beeswax in a double boiler. I couldn’t find the metal pitcher that I usually use for melting wax, so I improvised with this recycled glass jar. It worked well, but since I wasn’t sure how heat safe the glass was, I made sure to keep the heat on low. It took about ten minutes for the wax to melt completely.
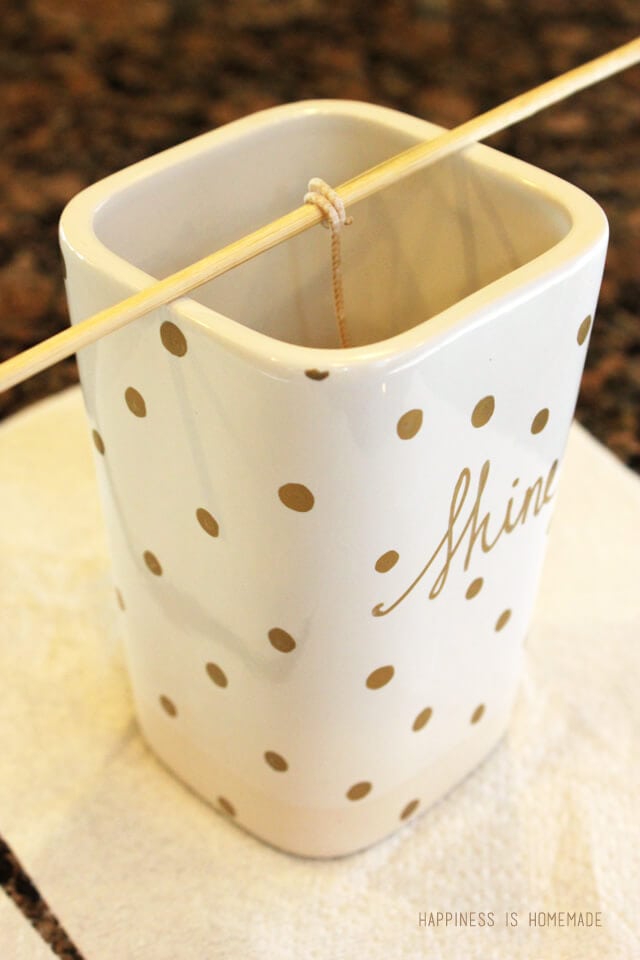 I dipped my length of wick into the melted wax to coat it, and then wrapped the end a couple of times around a bamboo skewer to help keep it in place. Carefully pour about 90% of the melted beeswax into the candle holder and allow to cool completely. Beeswax has a tendency to shrink while cooling, which may result in an indentation in the top layer of wax. You may need a little bit extra to top if off and level it out if any depressions or cracking occurs during the initial cooling.
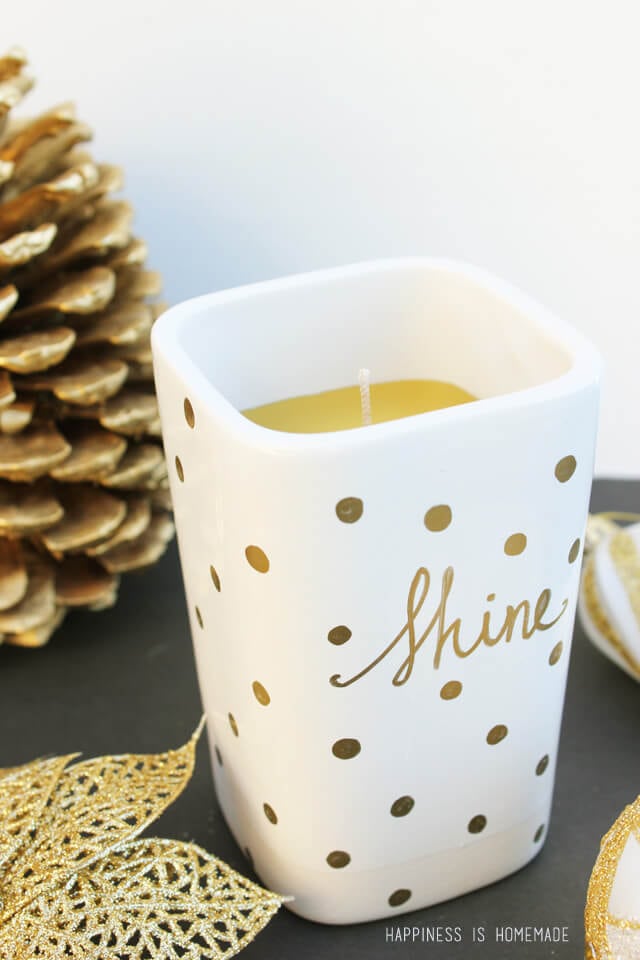 This is pretty darn cute for very little time or effort! I’m sure that my homemade gift recipient is going to love her candle, and this is definitely going to be added to my list of favorite Sharpie projects!
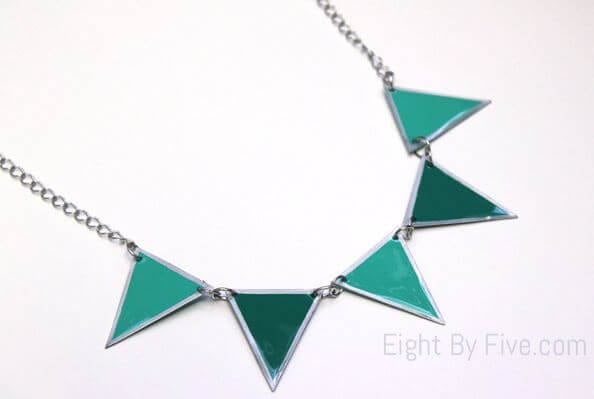 Speaking of favorite Sharpie projects, if you liked my quick and easy candle, then you’ll probably love this super simple DIY pennant banner necklace idea that I shared awhile ago. It’s made out of paint chips and edged with metallic Sharpie for a deceptively expensive and luxe look. These are so easy to whip up that you’ll probably want to make them in lots of different colors and shapes to match all of your holiday attire!
For even more creative holiday inspiration from Sharpie, be sure to follow them on Facebook, Twitter, Instagram and Pinterest (their boards are full of great ideas!).


Heidi Kundin has captivated the hearts of millions with her colorful and inspiring approach to crafting, celebrations, and family fun. With over 15 years of experience, Happiness is Homemade has become a must-visit destination for those seeking quick and easy creative ideas and last-minute solutions. Heidi’s warm personality shines through her posts, inviting readers to join her on a creative journey that’s fun, rewarding, and achievable. Heidi is also the author of Homemade Bath Bombs & More and DIY Tie-Dye.

