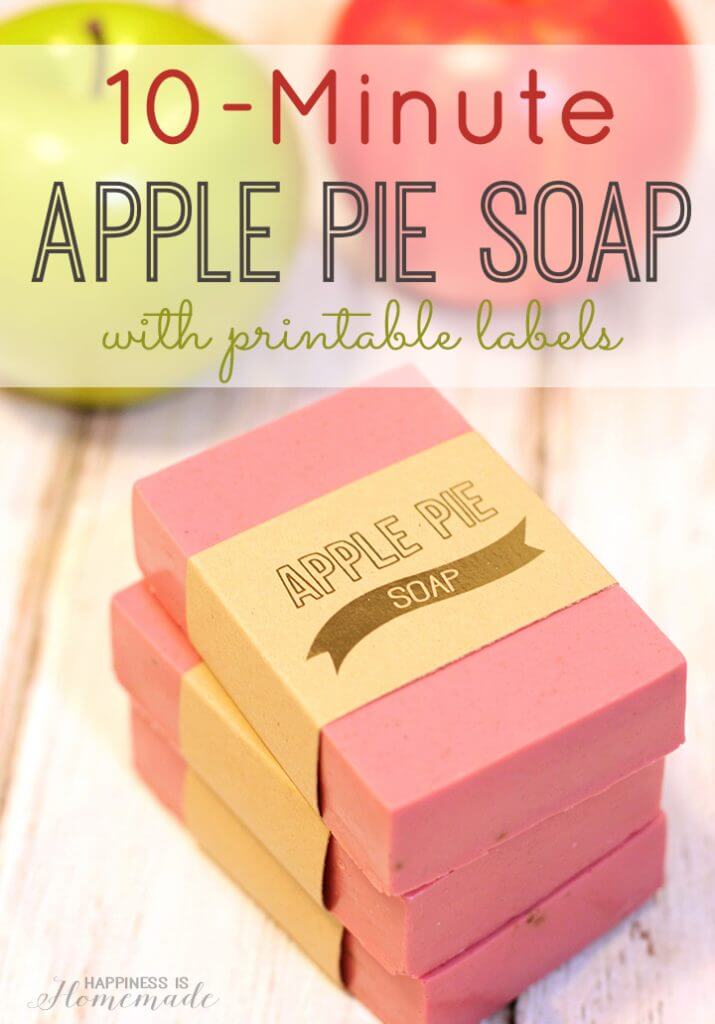
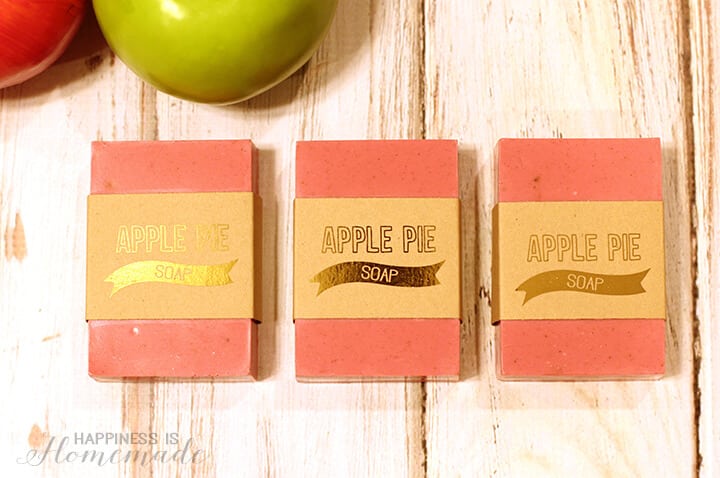
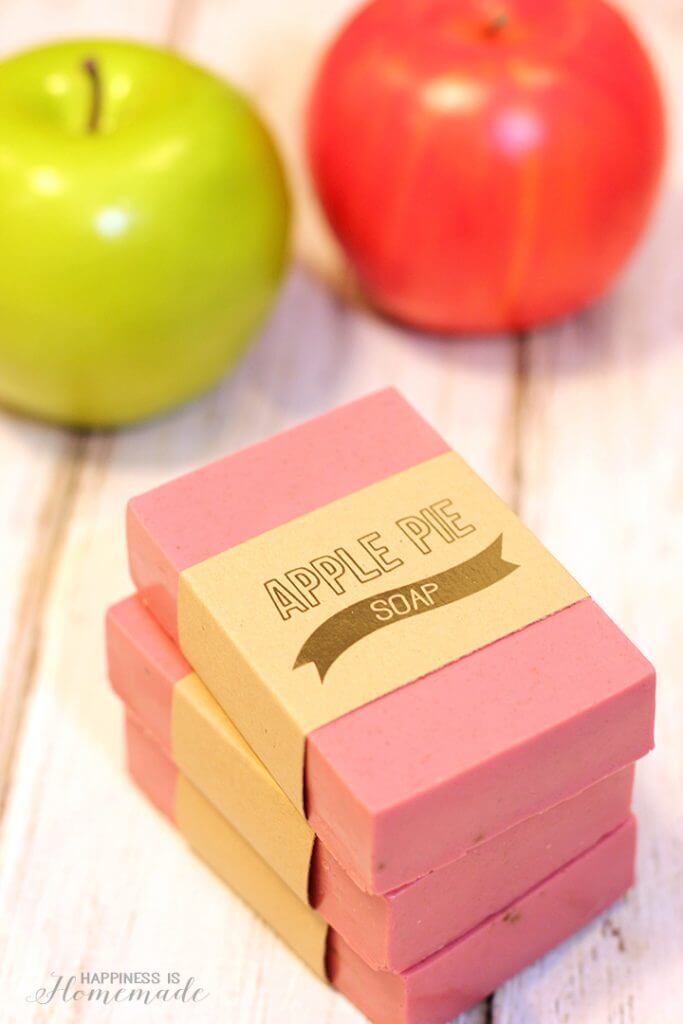
Make your own DIY apple pie soap in 10 minutes! It smells delicious (just like fall!), and makes a great hostess or teacher appreciation gift idea!
It’s that time of year again – time for pumpkins and fall leaves and apple everything! I love apples, especially in dessert form, so when I decided to make a new batch of my homemade soap, I naturally gravitated to the alluring aroma of apple pie. It smells AMAZING!
I have to admit that the color turned out more pink and less like the red-orange than I was going for though…do any of you have a great natural red soap colorant recommendation? Color mishap aside, this soap is seriously divine – the fragrance is out of this world, and the moisturizing properties of the shea butter soap base are top notch!
What You’ll Need:
- Shea Butter Soap Base (2 lbs of soap base will yield eight large 4 oz. bars of soap)
- Soap Mold
- Soap Colorant (if desired)
- Apple Fragrance Oil
- 1 Tbsp. Vanilla Extract
- 1 tsp. Cinnamon
- Microwave Safe Measuring Cup w/ Spout
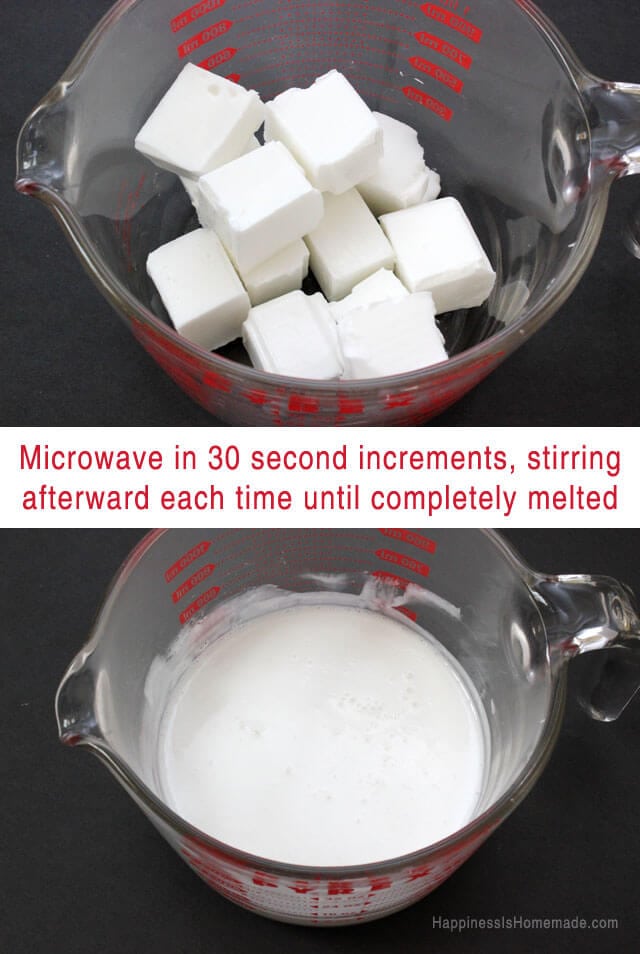
I use about 1 lb (or half of the block) of soap base at a time which makes four large 4-ounce soaps. The block of shea butter soap base is smooth and silky, and it cuts easily with a kitchen knife. I slice the soap base into cubes, place them inside a 4-cup Pyrex measuring cup, and melt in the microwave in 20-30 second increments, stirring well after each microwave session to ensure that the soap is completely melted. For 1 lb of soap, I generally microwave for 30 seconds, stir, microwave for another 30 seconds, stir again, and microwave a final time for 20 seconds.
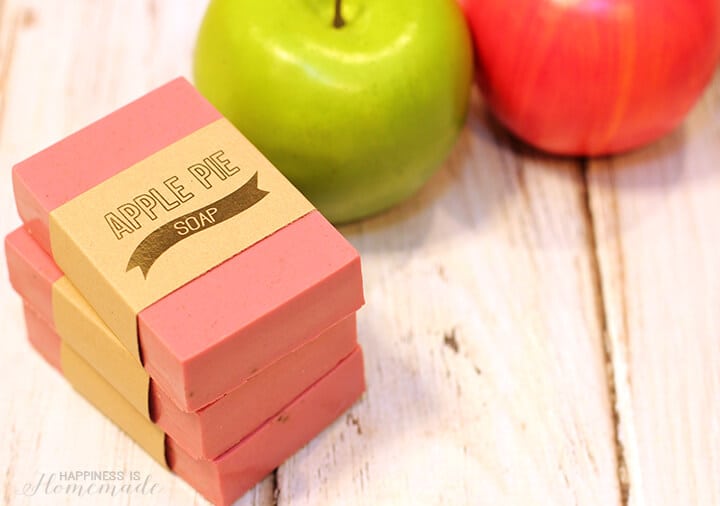
When the soap is completely melted, stir in apple fragrance oil (amount depending on personal scent preferences), vanilla extract and cinammon. I also used a mix of soap colorant in wine and orange colors to achieve the color shown here. Pour the melted soap into the soap mold, and allow to sit undisturbed until cool (about 30 minutes or so).
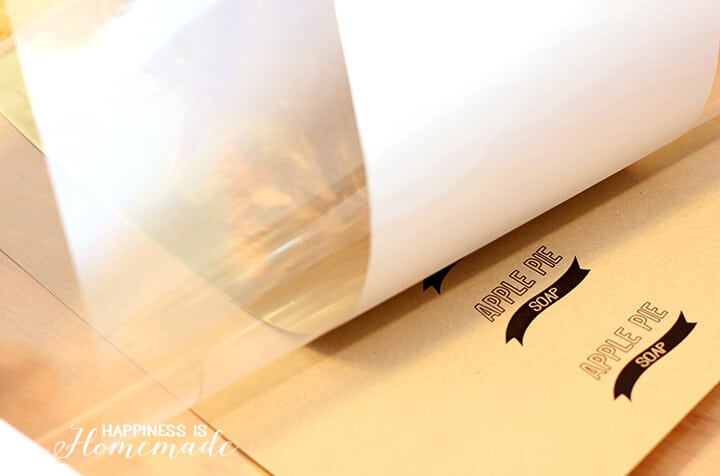
While my soaps were firming up, I created some pretty labels for them. I printed out a sheet of “Apple Pie Soap” labels on to kraft paper, and then decided to add some shimmer and shine with my Minc Foil Applicator machine. I simply placed the label sheet into the transfer folder and topped it with a sheet of gold heat reactive foil.
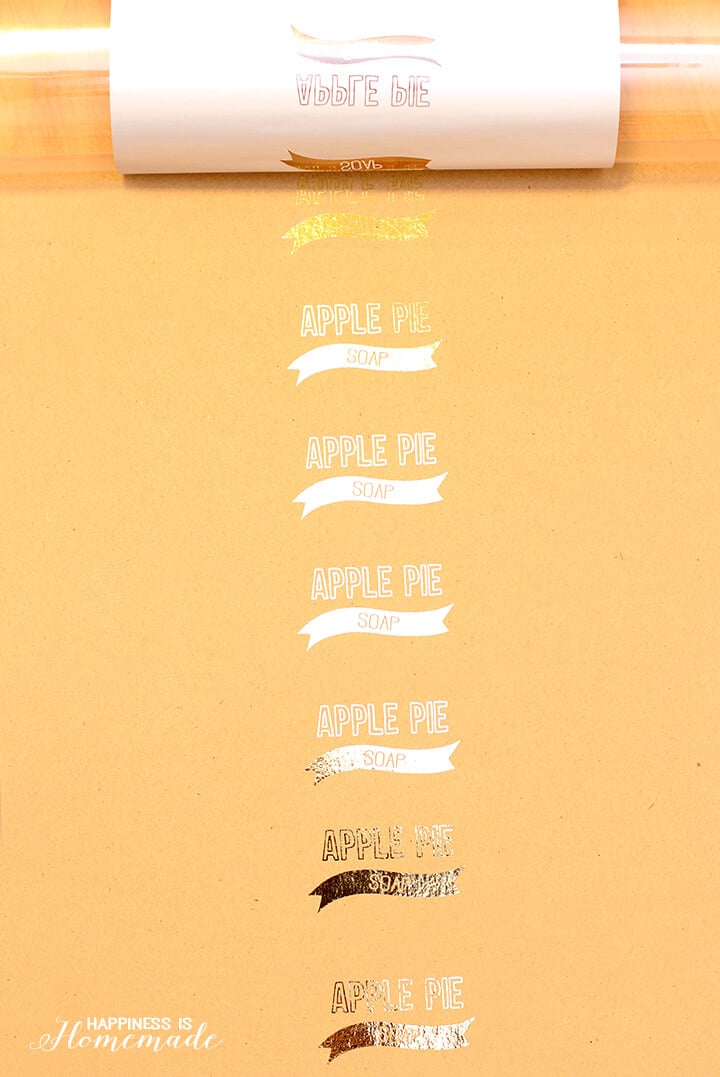 Run the folder through the Minc machine, and voila! Easy peasy, and SO pretty!
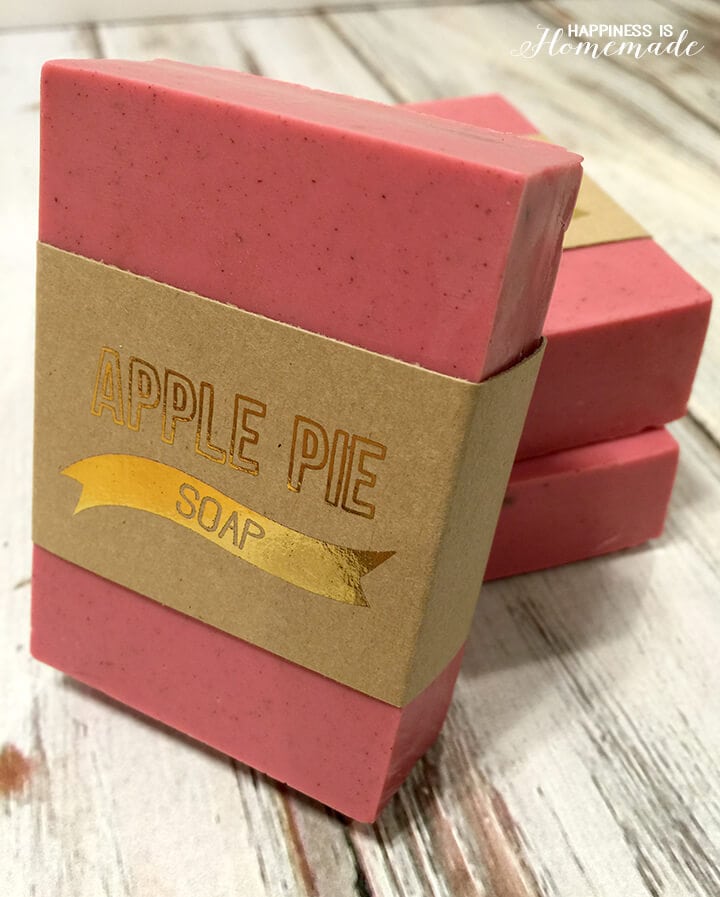 Cut the paper to size, wrap it around the soap, and secure it with a small piece of tape. I love the extra shine on the labels!
These soaps are not only perfect for fall, but they would make a great teacher appreciation gift, too (an apple for the teacher!).
You may also enjoy our other DIY bath & body product tutorials:
[riview id=297 num=2000 orderby=title order=asc size=200×200 showtitle=always lightbox=0]

Heidi Kundin has captivated the hearts of millions with her colorful and inspiring approach to crafting, celebrations, and family fun. With over 15 years of experience, Happiness is Homemade has become a must-visit destination for those seeking quick and easy creative ideas and last-minute solutions. Heidi’s warm personality shines through her posts, inviting readers to join her on a creative journey that’s fun, rewarding, and achievable. Heidi is also the author of Homemade Bath Bombs & More and DIY Tie-Dye.

