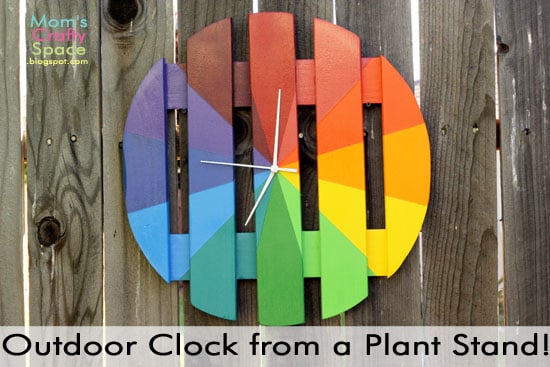
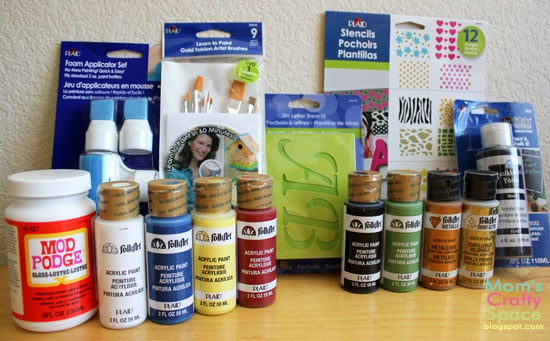
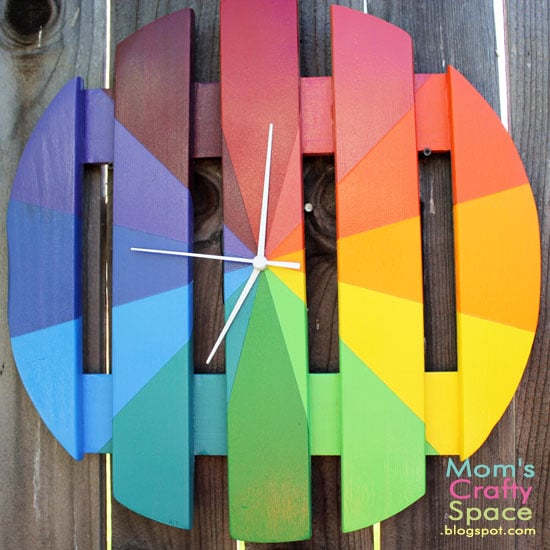
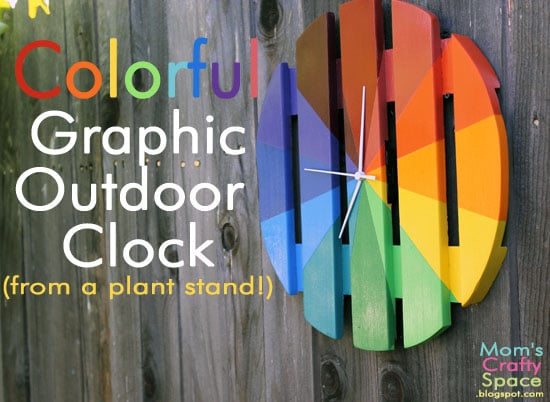
A couple of weeks ago I received a fun box of goodies from Plaid Crafts. In it was Mod Podge, acrylic craft paint, chalkboard paint, metallic and glitter paints, stencils, paintbrushes, and the coolest little foam brush caps that fit right on top of the bottles of craft paint (just squeeze and paint – SO handy!). The box also contained a $25 gift card to spend at Walmart to purchase a surface on which I could show off some of these great craft products.
 |
| Photo by Literally Inspired (thank you!) |
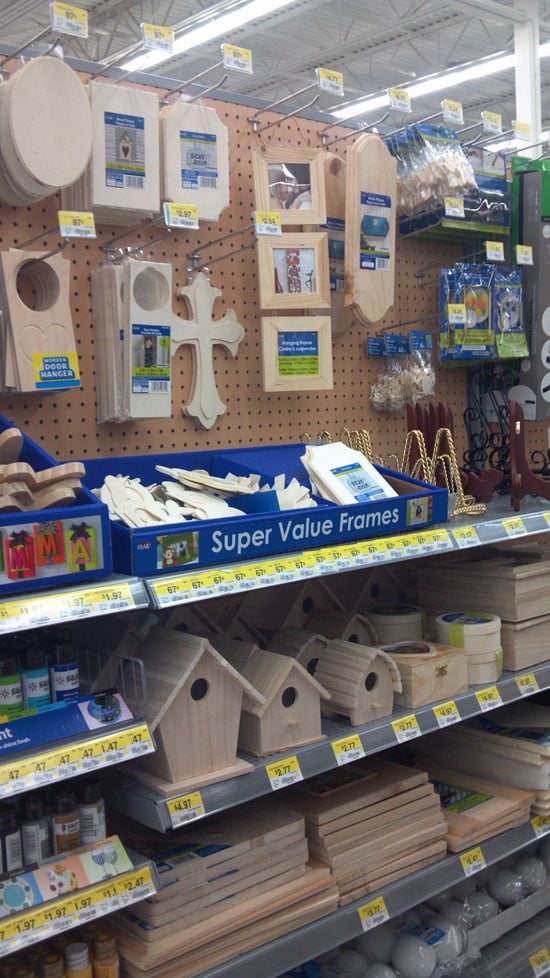
Have you seen the new craft department at Walmart yet? The Plaid section is HUGE! There’s everything from an entire rainbow of paints and supplies to every sort of wooden surface you can imagine!
 |
| Photo by Literally Inspired |
See what I mean? TONS of stuff! If you’re feeling uninspired, I suggest a trip to the Plaid aisle of your local Walmart – there’s loads of great ideas to be found there!
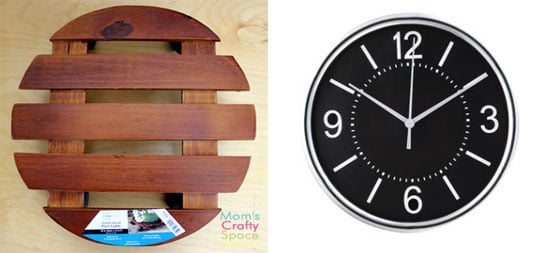
I used my gift card to purchase two 14″ wooden plant stands (from the garden department, $7.97 each) and this clock ($5.88). I also grabbed an orange and purple Plaid Folk Art paint to complete the rainbow of colors that they sent to me. For this clock project I only used one of the plant stands, but I already have a matching outdoor thermometer idea in the works!
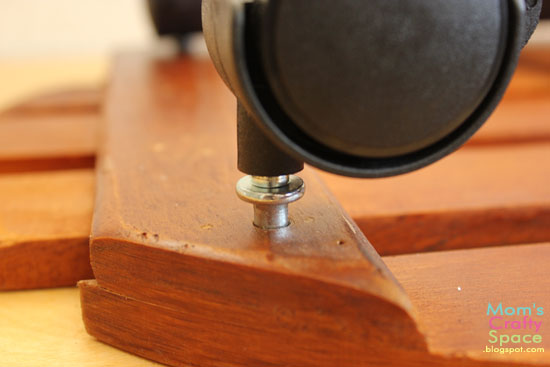
The first step was removing the caster wheels from the bottom of the plant stand. They were just pushed into the pre-drilled holes, so I only had to wiggle them a bit to get them off.
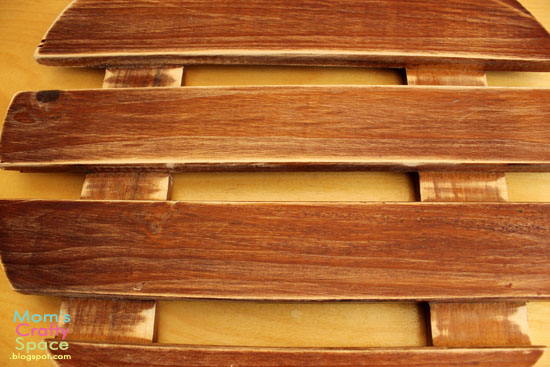
Next, I gave the entire piece a good sanding to remove the finish, and then spent forevvvvver (seriously, days) trying to decide how I wanted to paint my clock.
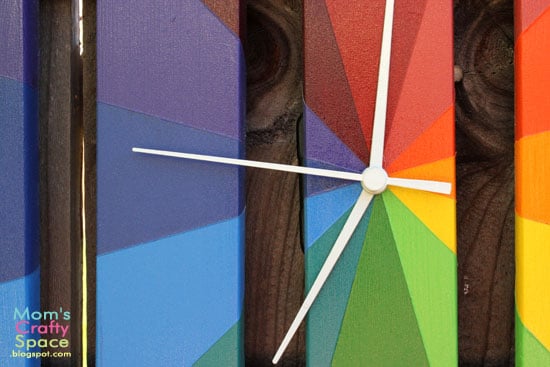
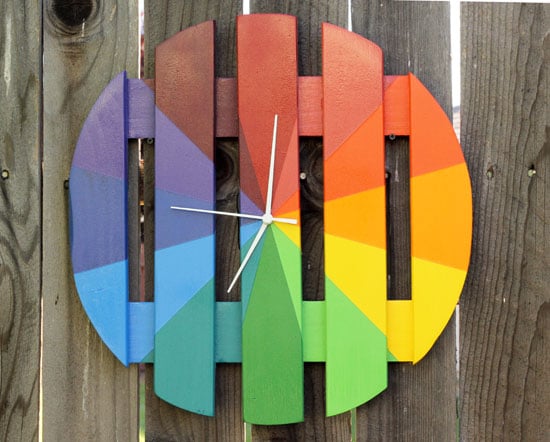
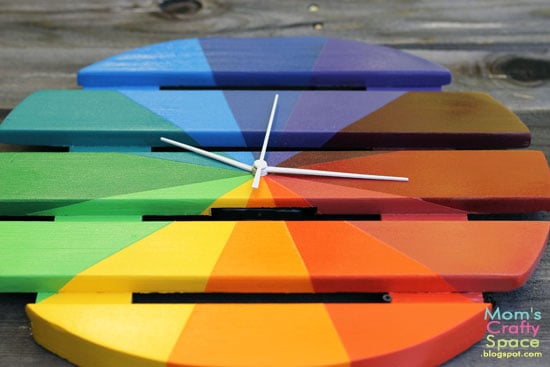
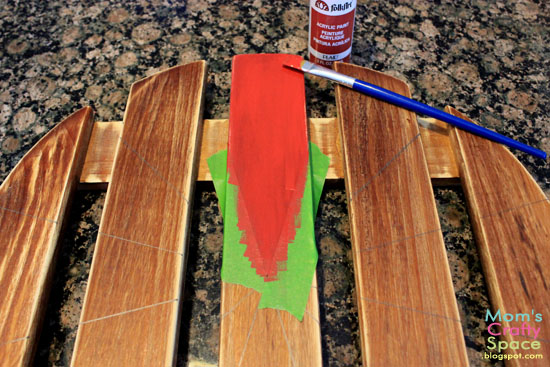
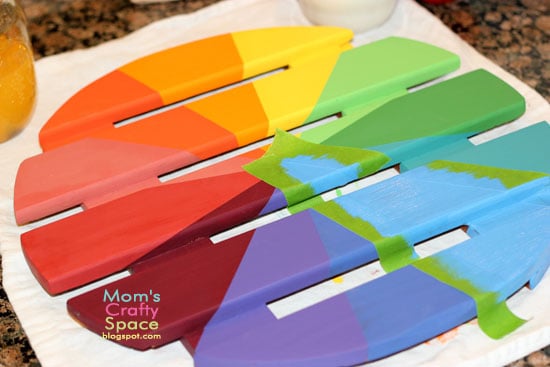
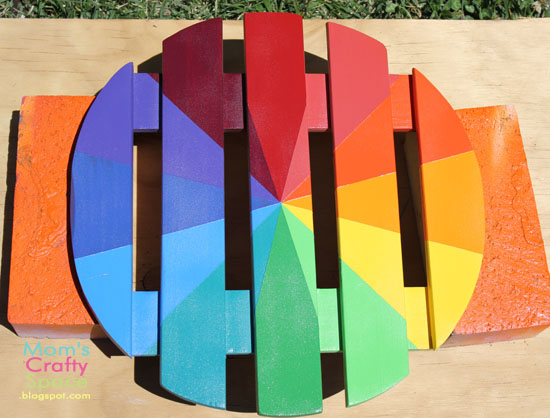
No matter how many possibilities ran though my head, I kept coming back to the idea of a color wheel (even though my house is already overrun with rainbow colored projects!)…it’s just so ME! What can I say? I love the way that color and order appeal to my eye! I divided my plant stand into 12 equal sections, one for each hour on the clock.
I kept painting the colored sections one at a time until the entire color wheel was complete. 12 sections worked out perfectly to complete an entire spectrum of color.
Since my clock is going to reside outdoors, I gave it a coat of glossy outdoor spray varnish to finish it up.
To turn this from an art piece into a time piece, I removed the hands and gear box from the clock that I purchased (this is easily done by unscrewing and removing the back of the clock) and then drilled a hole into the center of my plant stand to accommodate the new clock pieces. They just snap back together, easy peasy.
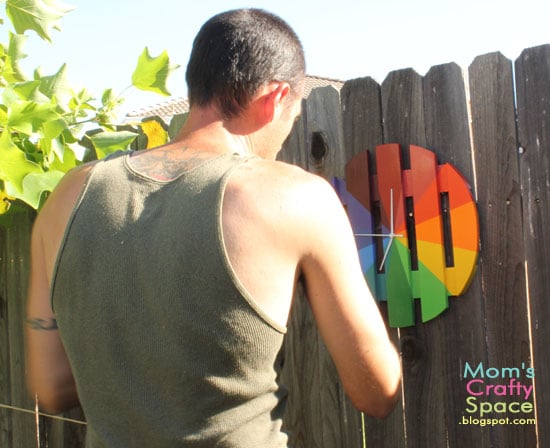
I enlisted the service of Handy Hubby to help with his drill skills. He attached two screws to the fence and hung up the clock where we can see it from nearly any place in the yard – yay!
I LOVE it! So glad that I trusted my first instinct on the paint job!
If you’re looking for inspiration, be sure to keep up with Plaid on Facebook, Twitter, and Pinterest for more great creative ideas!
Need even MORE inspiration? Check out all of these great projects that were also created with Plaid products:

DISCLAIMER: This is a paid post for Plaid Crafts via The Blueprint Social. I received compensation for this post as well as products and a Walmart gift card to purchase supplies from Plaid; however, all opinions and project ideas are 100% mine.
Heidi Kundin has captivated the hearts of millions with her colorful and inspiring approach to crafting, celebrations, and family fun. With over 15 years of experience, Happiness is Homemade has become a must-visit destination for those seeking quick and easy creative ideas and last-minute solutions. Heidi’s warm personality shines through her posts, inviting readers to join her on a creative journey that’s fun, rewarding, and achievable. Heidi is also the author of Homemade Bath Bombs & More and DIY Tie-Dye.


