This post brought to you by FrogTape brand painter’s tape. All opinions are 100% mine.

Holy wow! I absolutely adore scallop edges – they’re so sweet and feminine without being too fussy – so it’s only natural that I have completely fallen in love with my new scalloped striped accent wall. It’s one of my favorite DIY home decor projects that I’ve completed! The process was quick and easy, and it created a ton of visual impact. All it took was a couple of hours, a little bit of paint and some FrogTape® Shape Tape™!
I started with a blank slate – a very aqua blank slate. I painted this bathroom a few months ago with a mixture of “Oops Paints” that I picked up at the hardware store. I actually love the color, but it’s SO bright in the morning sunlight that it actually emits a (sort of creepy) blue glow out into the hallway. See what I mean…
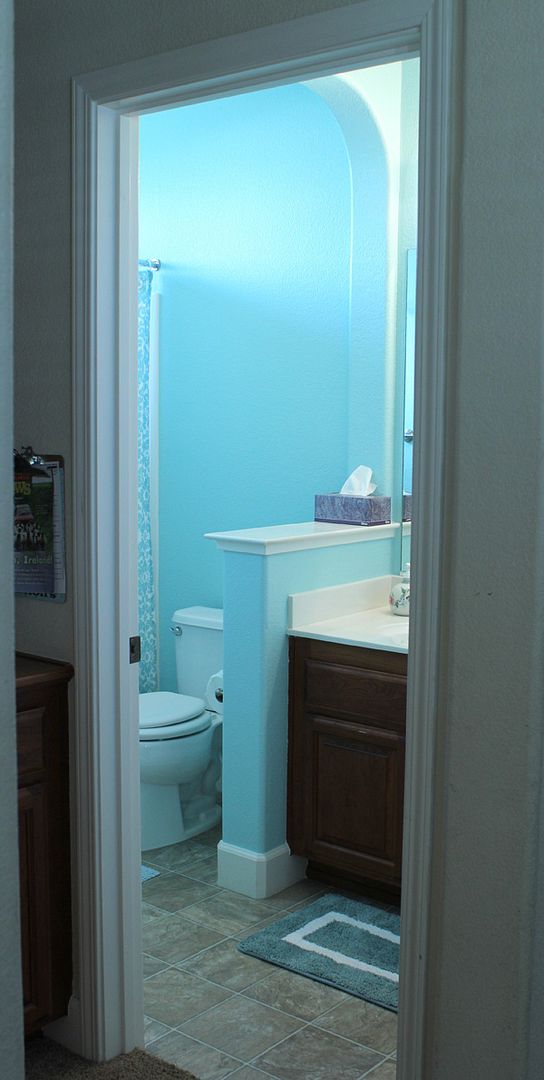
I decided to add a bit of white to the side wall that gets the most direct sunlight because I figured that white stripes next to the mirror would be helpful in cutting down the amount of blue that got reflected back into the hallway.
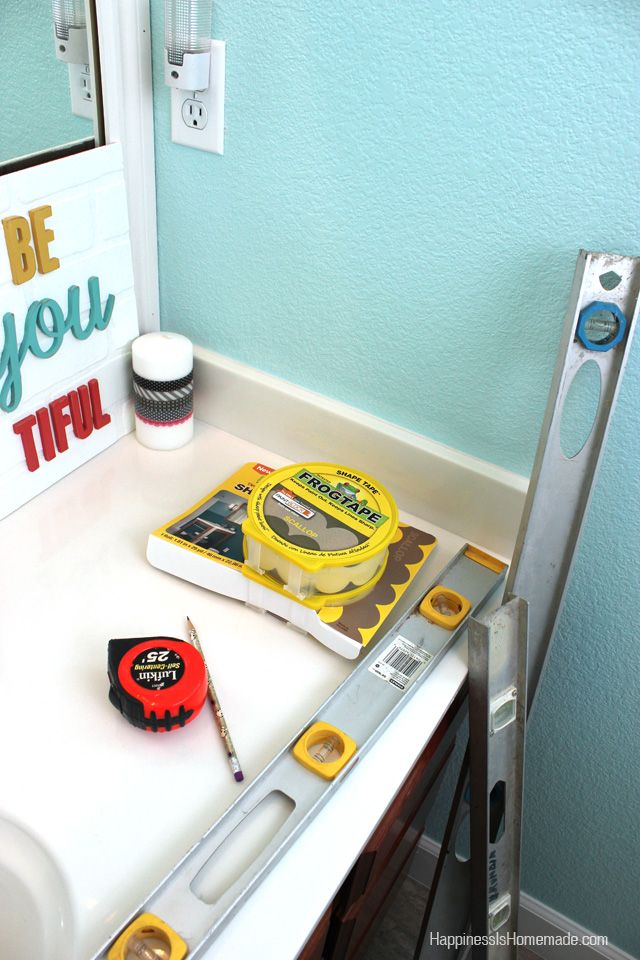
I gathered up my materials – a pencil, tape measure, various sized levels (seriously though, you really only need one!), and my new scallop FrogTape® Shape Tape™.
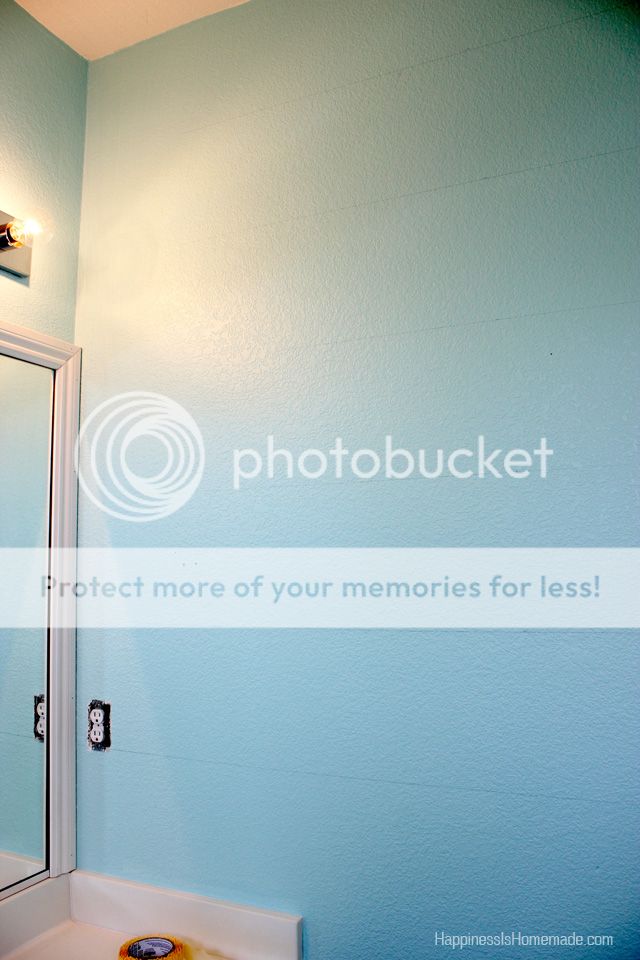
I measured the height of my wall and planned a layout for the stripes – I made 10 stripes that are approximately 10.25″ tall. I used the level and a pencil to lightly mark off the stripes (don’t worry, the pencil marks are easily removed after painting with a white cleaning sponge eraser!).
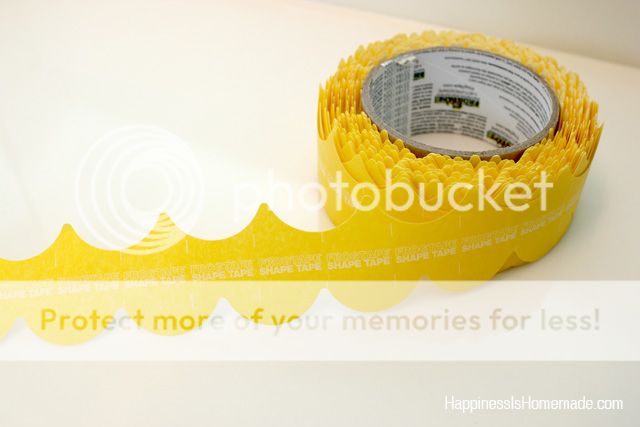
I fell in love with the Shape Tape™ before I even put it up on the walls. Seriously, how adorable is this!?! AND it’s my favorite color! I can already think of about a zillion more uses for this!
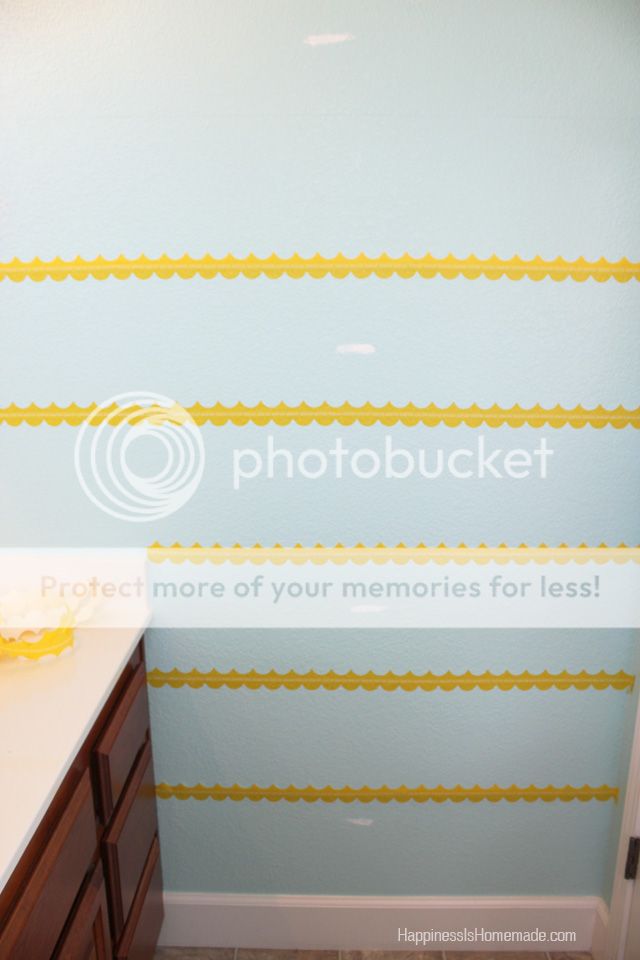
Peel the paper backing away and firmly adhere the tape to the wall along the pencil lines. I used the edge of an old gift card to press down the tape and ensure a strong seal. I added a little dab of white paint to visually mark which stripes were going to be painted white.
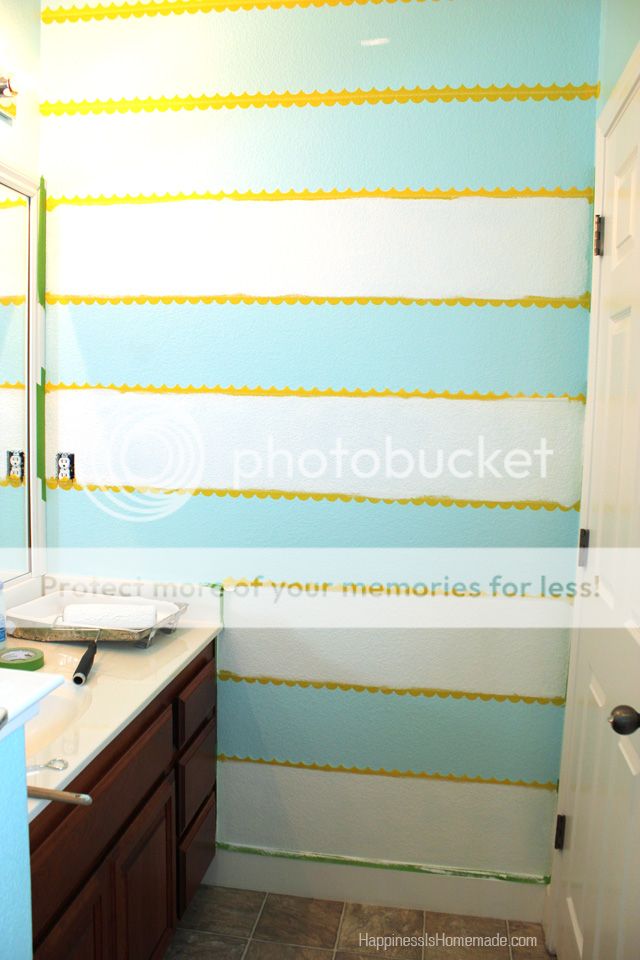
Time to get painting! Since I was painting white over blue it took me a few coats to get even coverage. I made sure to use only a minimal amount of paint on my roller and brush to further prevent any edge bleeding.
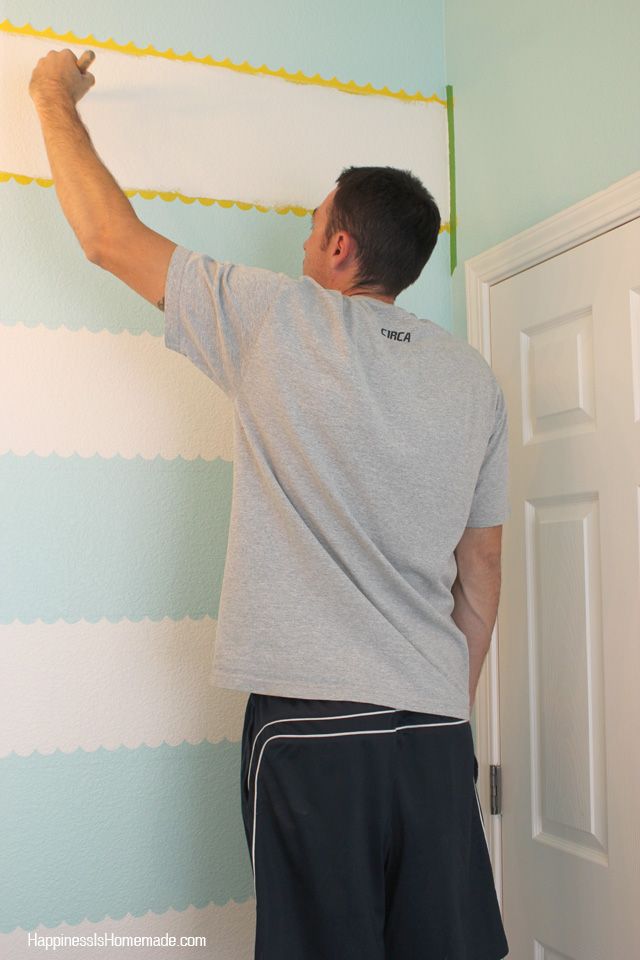
I enlisted the help of my husband for the top stripe since he could reach it without needing to lug an entire ladder into the small space. Once the stripe has a nice even coat of paint it’s time to peel the tape off!
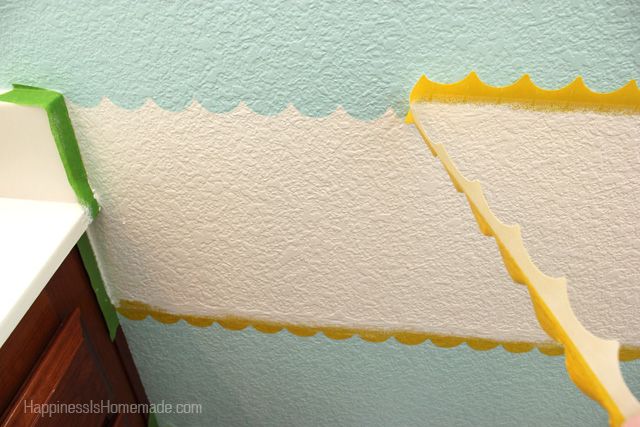
Amazing! ZERO edge bleed! You can see that we have heavily textured walls, and they were still no match for the the PaintBlock® Technology of the Shape Tape™! It worked even better than I expected!
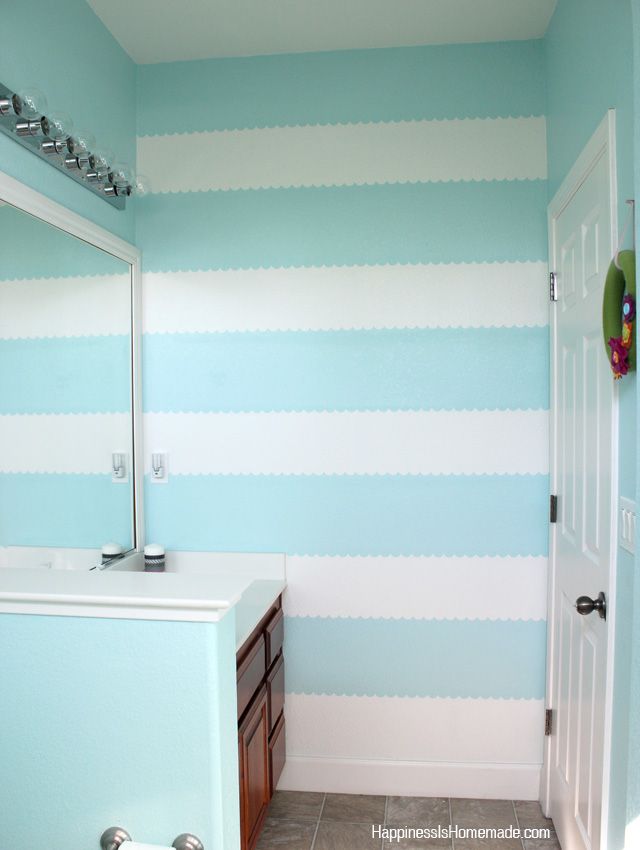
Ta da! I am in love with how cute my bathroom wall looks now!
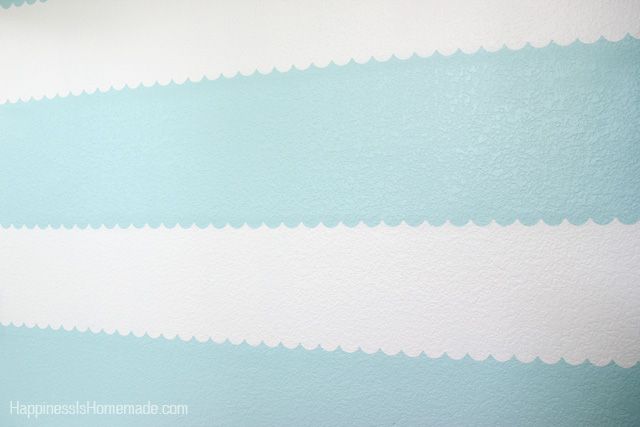
These sweet perfect scallops make me smile every time I walk by! Oh, and they totally help to cut down on the freaky blue glow in the morning too (yay!).
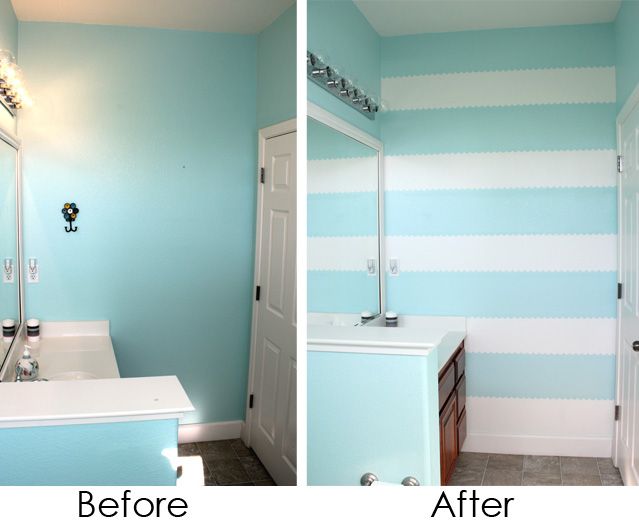
I sort of want to paint EVERYTHING with scallops now! It makes such a huge difference in the space! We’re working on a few more upgrades to the bathroom, and I haven’t added any accessories or artwork back in there yet, so stay tuned for more to come!
For even more creative ideas from FrogTape® (the makers of Shape Tape™), be sure to follow @FrogTape on Twitter, and check out this inspirational video!


Heidi Kundin has captivated the hearts of millions with her colorful and inspiring approach to crafting, celebrations, and family fun. With over 15 years of experience, Happiness is Homemade has become a must-visit destination for those seeking quick and easy creative ideas and last-minute solutions. Heidi’s warm personality shines through her posts, inviting readers to join her on a creative journey that’s fun, rewarding, and achievable. Heidi is also the author of Homemade Bath Bombs & More and DIY Tie-Dye.

