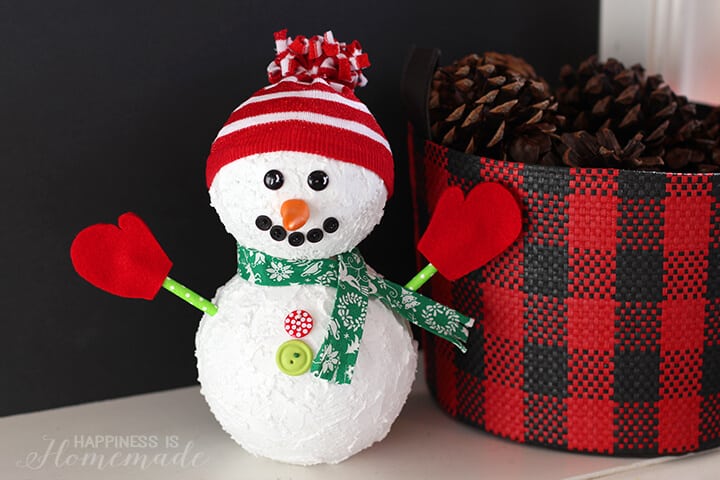
This adorable snowman is the perfect addition to your holiday decor, and it can be decorated in SO many different ways! Fun and easy Christmas craft for all ages!
A couple of weeks ago, I was challenged by Make It Fun Crafts to draw inspiration from the projects in their Holiday e-Book and create my own version of one of the crafts. The Holiday e-Book is packed full of awesome holiday ideas and home decor, so I was having a hard time deciding which craft I wanted to recreate…until I saw this one.
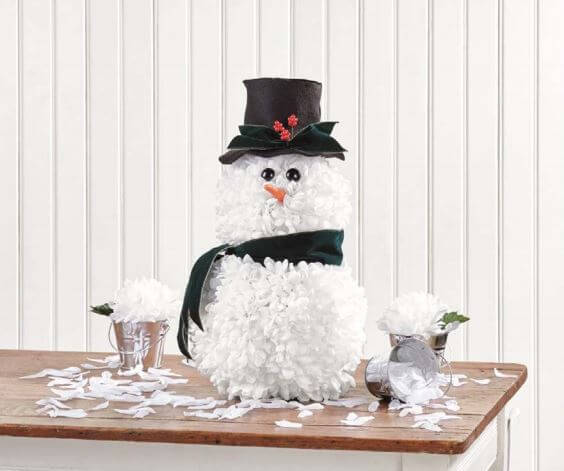 As soon as I saw this adorable snowman (made with silk flowers!) in the Make It Fun Crafts Holiday e-Book, I suddenly needed to add a cute snowman to my holiday decor this year!
What You’ll Need:
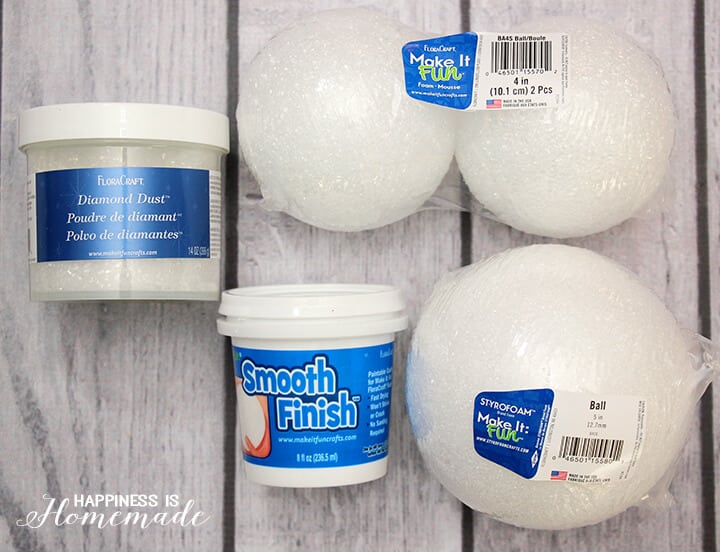
- (2) FloraCraft® Make It: Fun® Foam Balls (4″ and 5″ size)
- FloraCraft® Smooth Finish
- FloraCraft® Diamond Dust (optional)
- 5.5″ Wooden Dowel (mine was actually a candy apple stick)
- Embellishments and Decorations – holiday sock (for hat), ribbon, polymer clay, buttons, etc.
- Hot Glue Gun and/or Straight Pins for attaching decorations
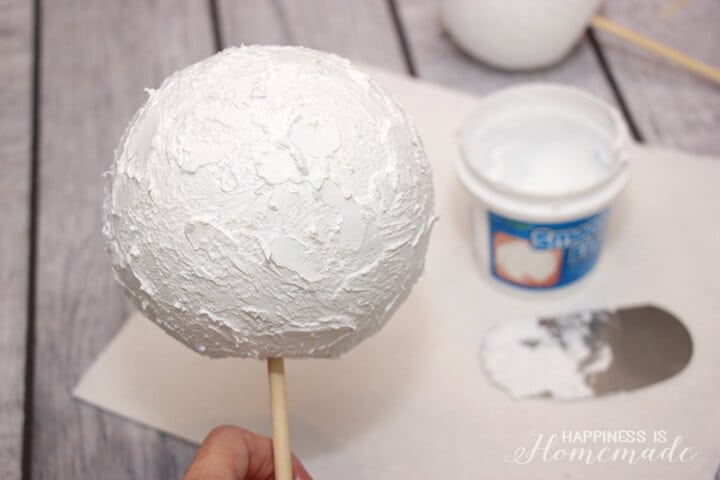 Flatten the bottom section of both of the foam balls, and insert 2″ of the wooden dowel into the center of the flattened section of the smaller ball. Cover both of the balls in an imperfectly textured layer of FloraCraft Smooth Finish (I used a pottery scraper to apply my Smooth Finish, but a plastic knife also works well). Allow to dry completely. Add a layer of Diamond Dust glitter if desired.
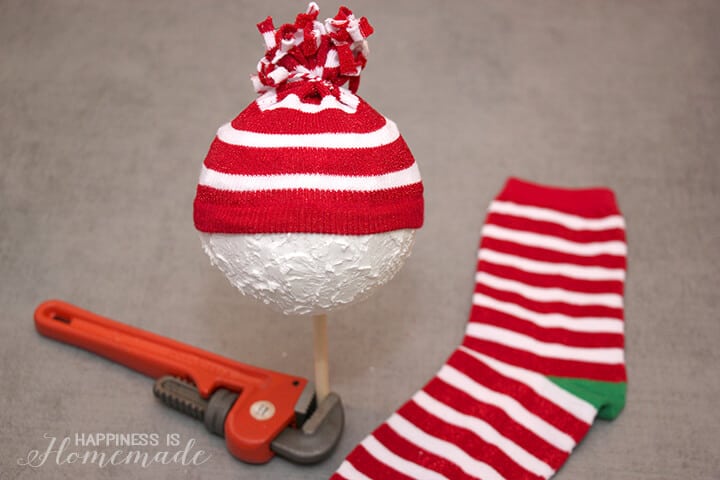 I used a sparkly holiday sock from the dollar store to make the snowman’s cute beanie hat. Stretch the ankle of the sock over the snowman’s head, tie a piece of twine tightly around the sock to create the top of the hat, and cut off the excess sock, leaving approximately 1.5″ remaining. To create the pom pom on top of the hat, cut thin strips of fringe into the remaining 1.5″ of sock.
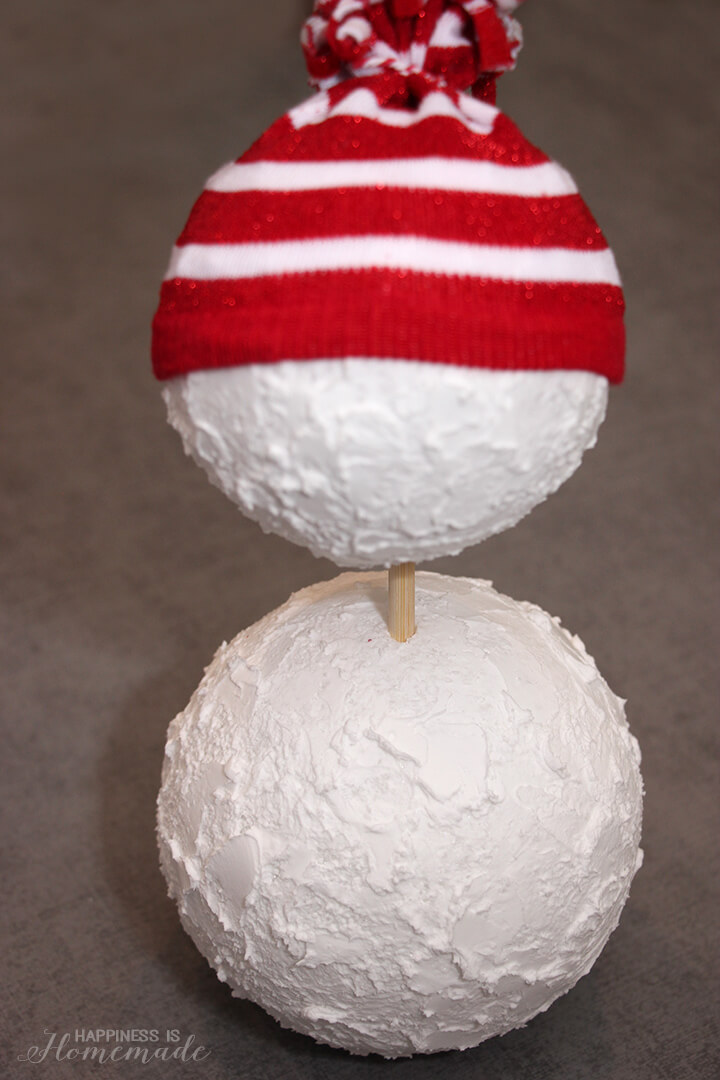 Join the two snowballs with the wooden dowel.
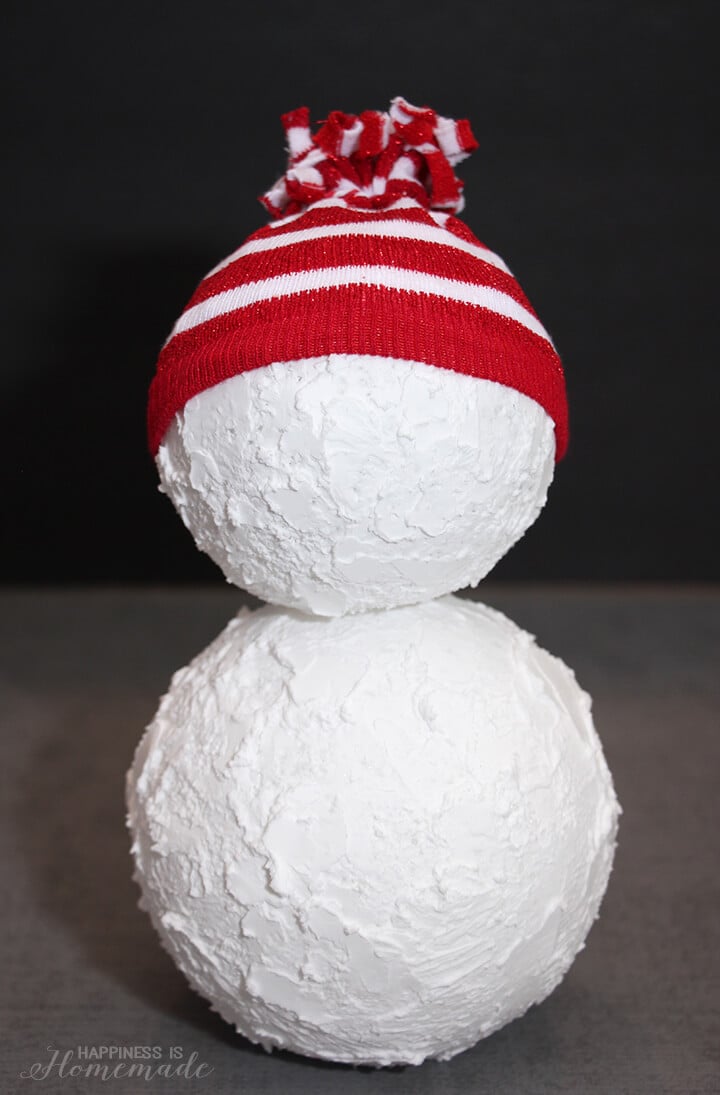 Easy peasy! Now it’s time for the super fun party – decorating the snowman!
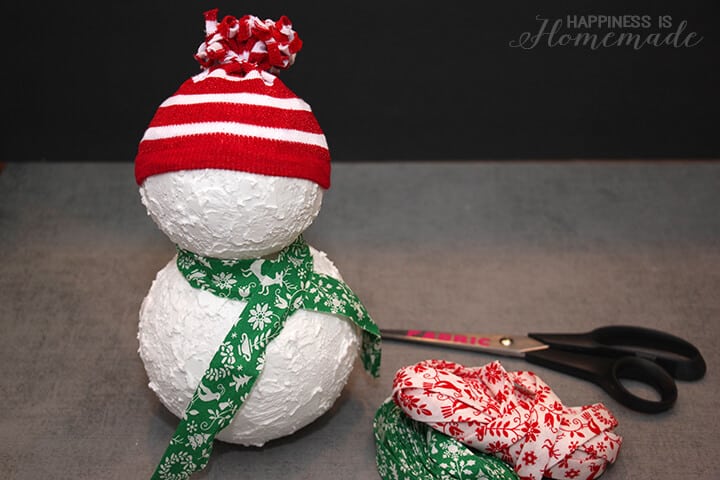 I’ve been hoarding this vintage holiday bias tape for a couple of years, so I decided this was a great time to use a small piece for the snowman’s scarf. Ribbon, yarn, and fabric would all make great scarves as well, or you could even knit your snowman a mini scarf!
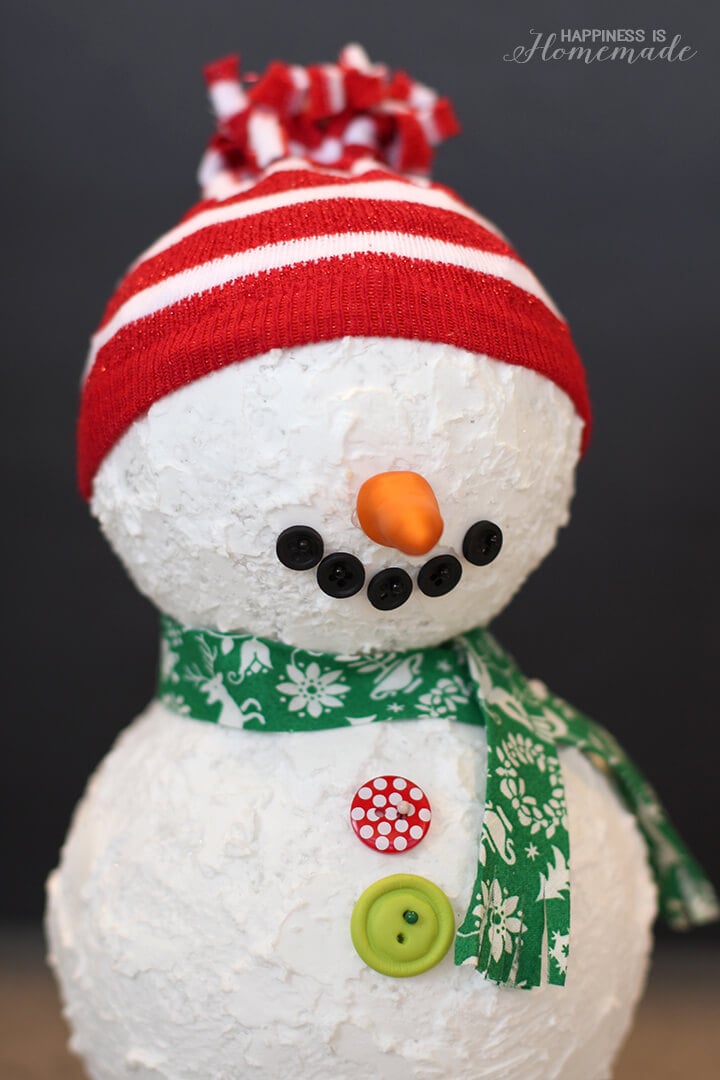 My five-year-old son used polymer clay to create a carrot nose for our snowman that is perfectly imperfect. We attached the nose with a low temperature glue gun, and we used sewing pins to attach the buttons for the smile and on the front of the snowman.
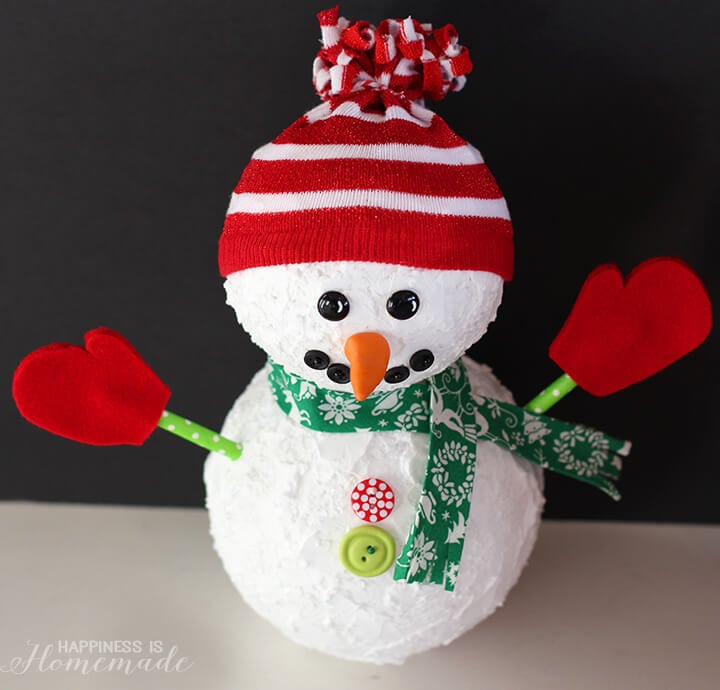 I used a paper straw and scraps of red felt to create the arms and mittens, and I melted two black pony beads (using this method) for the eyes.
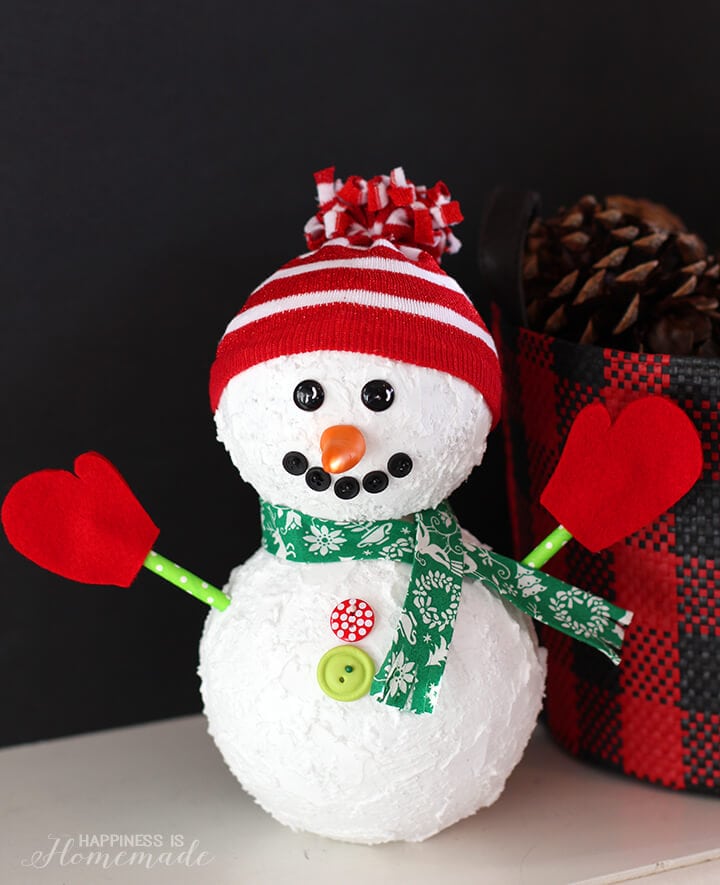 Isn’t he cute?! Our family is currently debating whether or not they want me to add Diamond Dust glitter to our snowman (my husband says, “Yes, definitely!” and the kids say, “Nooooo!”). I’m pretty sure that he’s going to get Diamond Dusted though, because, glitter.
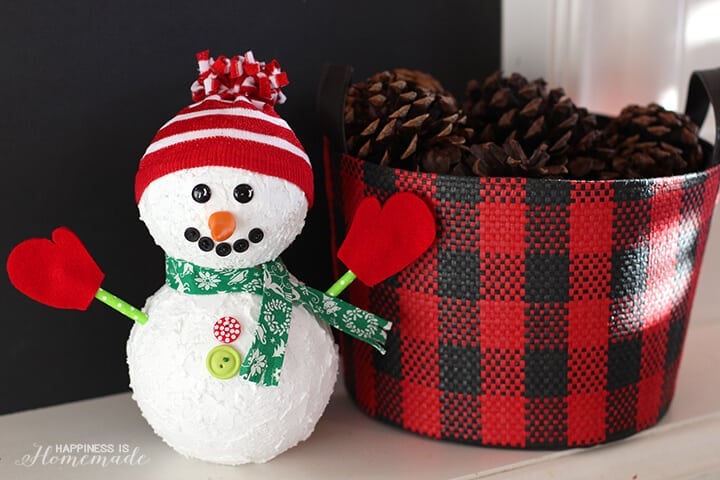 For more fun and easy holiday projects, be sure to check out the Make It Fun Crafts Holiday e-Book!

Heidi Kundin has captivated the hearts of millions with her colorful and inspiring approach to crafting, celebrations, and family fun. With over 15 years of experience, Happiness is Homemade has become a must-visit destination for those seeking quick and easy creative ideas and last-minute solutions. Heidi’s warm personality shines through her posts, inviting readers to join her on a creative journey that’s fun, rewarding, and achievable. Heidi is also the author of Homemade Bath Bombs & More and DIY Tie-Dye.

