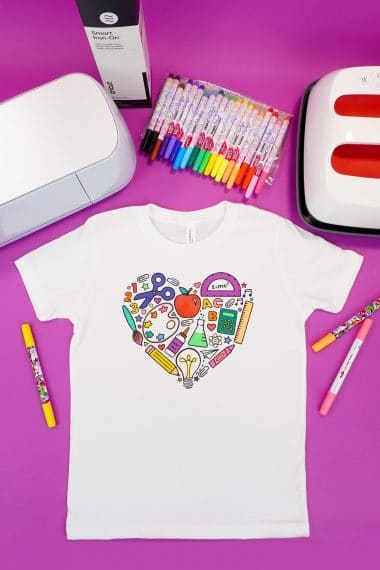
Make a fun Coloring Shirt with this free Back to School SVG file! Make the cutest DIY back to school shirt ever!
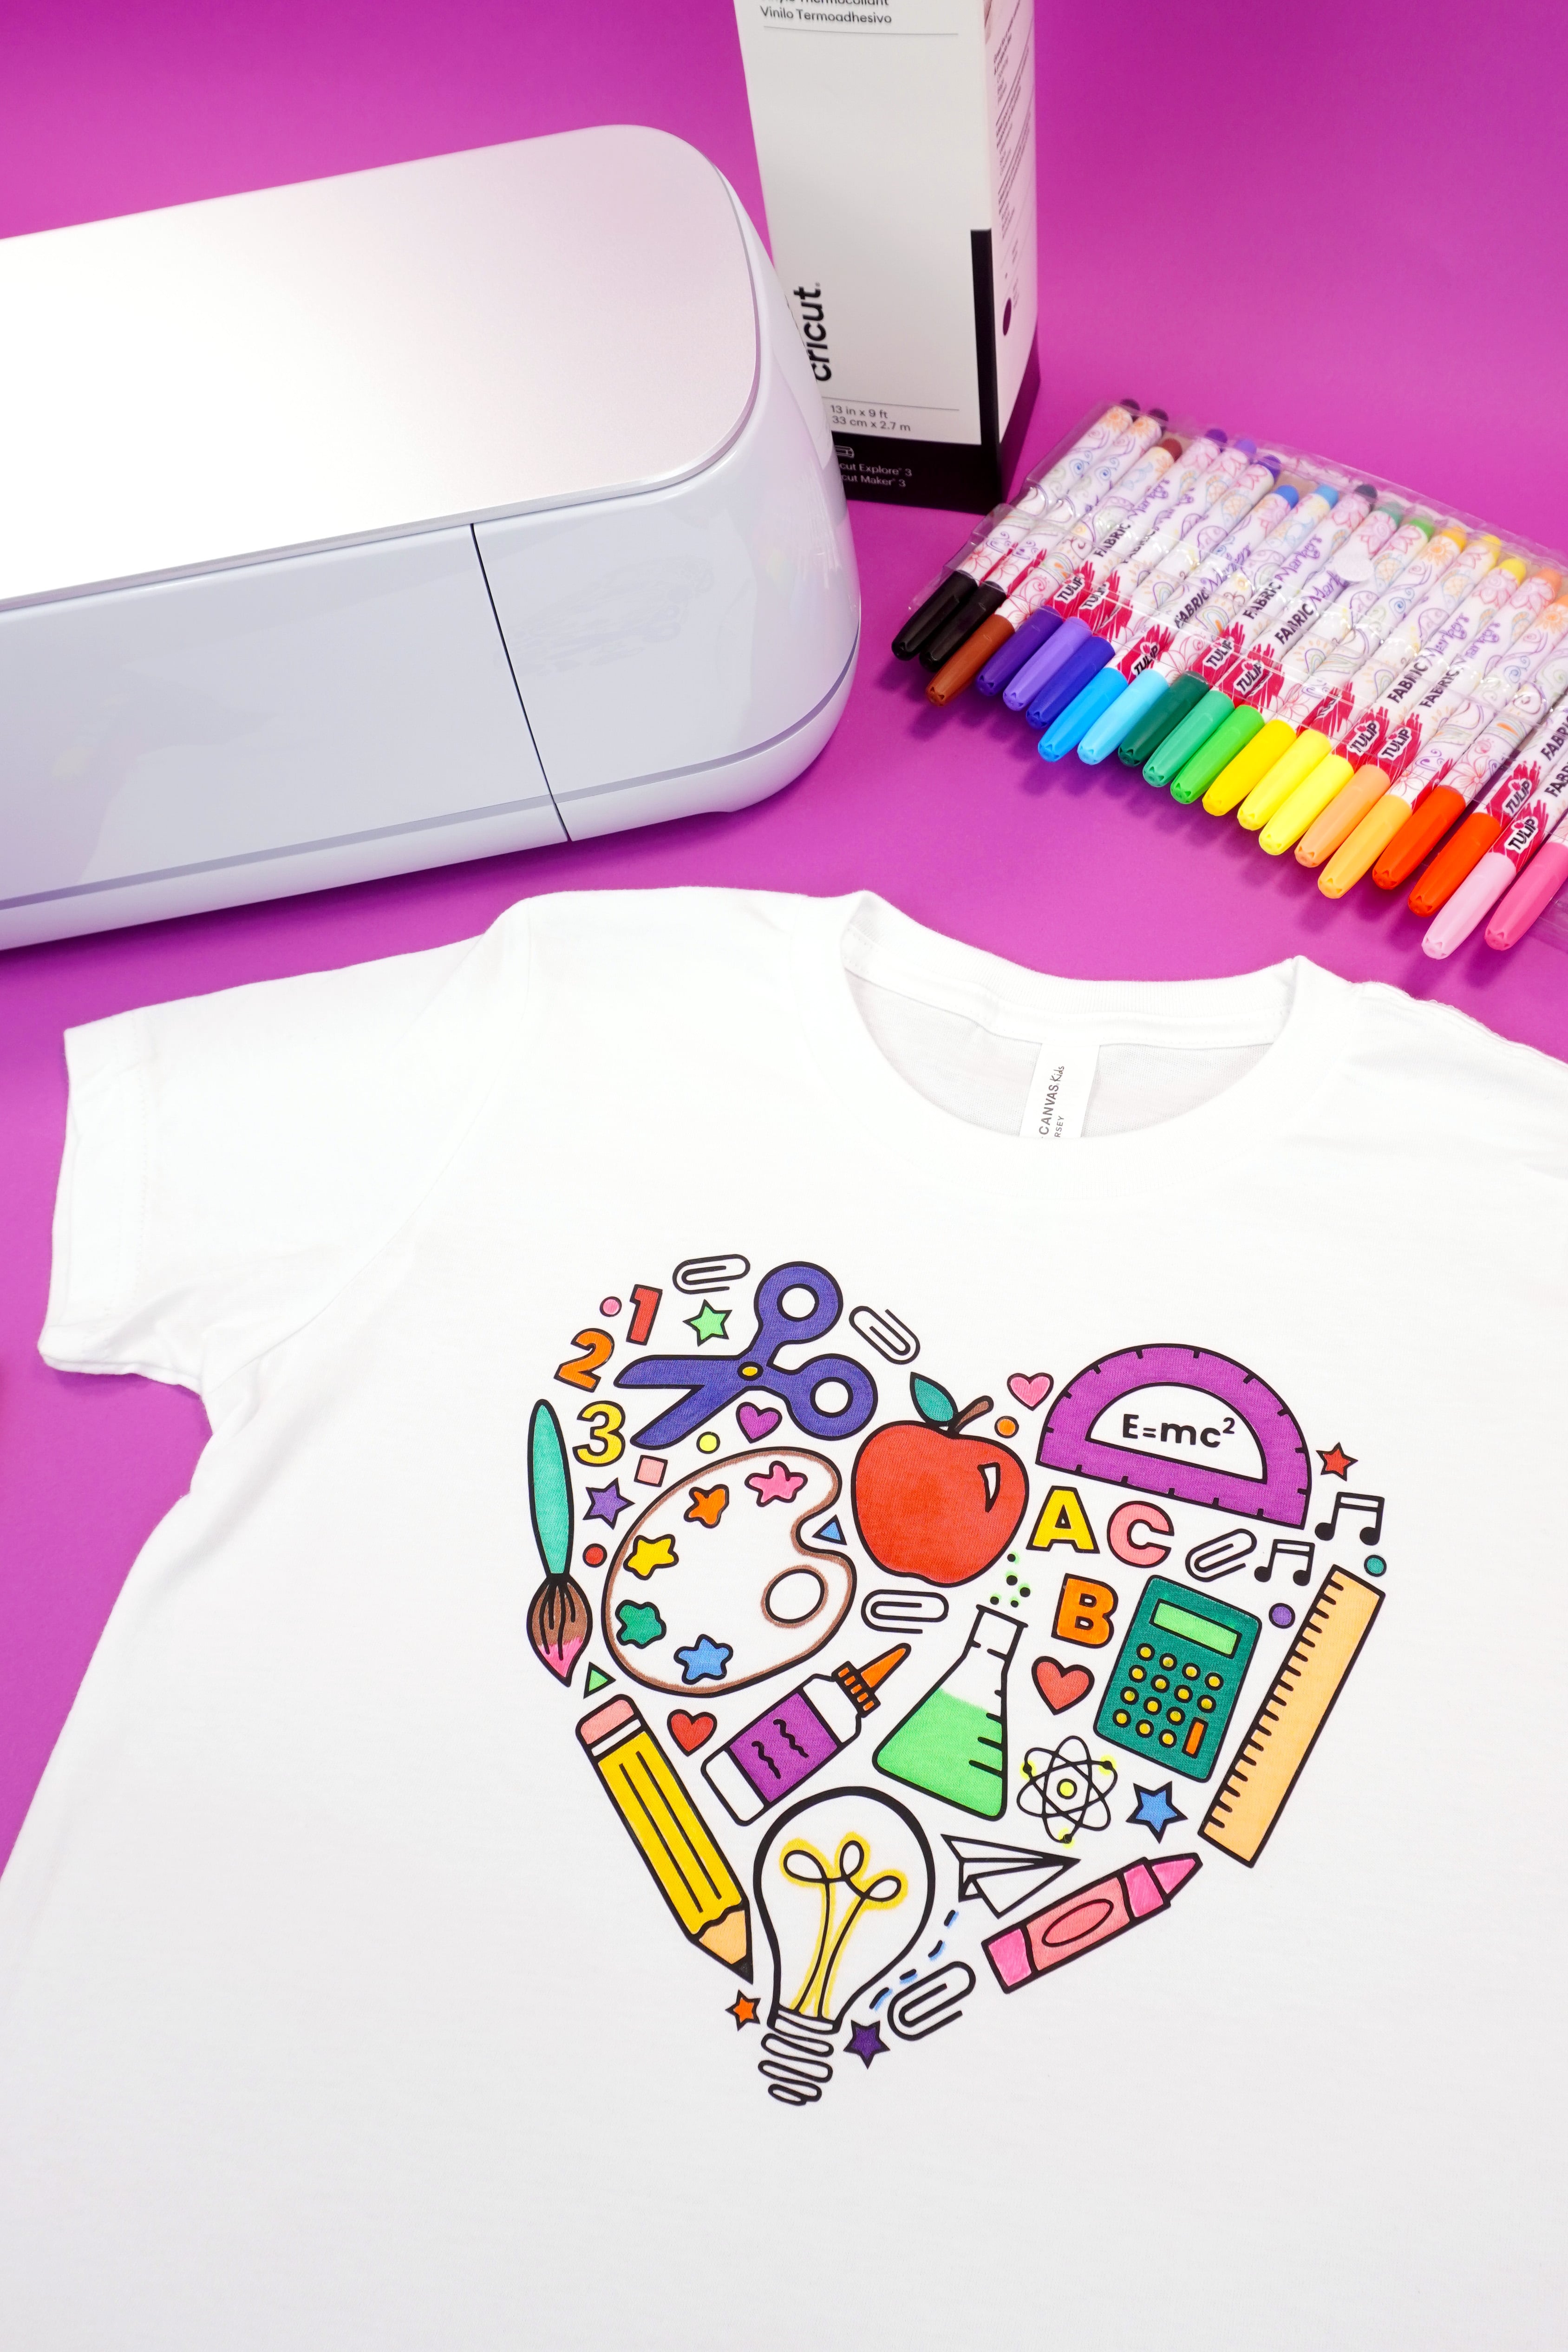
Looking for a cute First Day of School shirt? Use our free Back to School SVG file to make your own DIY coloring shirt! It’s tons of fun for ALL ages!
You May Also Like/Learn More Here:
First Day of Preschool/Kindergarten SVG Files
350+ Lunchbox Notes & Jokes (enough for the entire school year!)
How to Make a Back to School Coloring Shirt
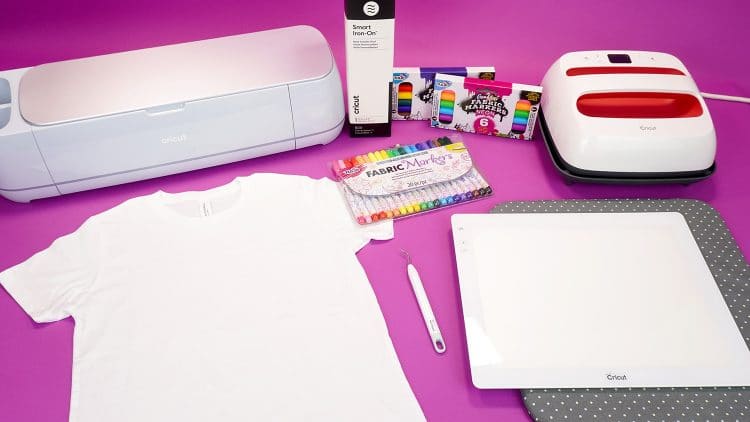
We picked up all of the supplies for this project at our local Michaels store, and there’s an even bigger selection of materials available if you shop online (you can even use their FREE Buy Online Pick Up In Store option!).
Supplies Needed:
- Cricut Maker or Cricut Explore Cutting Machine
- Cricut Iron-On
- EasyPress 2
- Bella + Canvas T-Shirt (they’re the softest and comfiest!)
- Weeding Tools
- BrightPad (optional, but really helpful for weeding detailed designs like this one)
- Fabric Markers
NOTE: You can use any machine in the Cricut Maker or Explore family of machines to make this project. We used our new Cricut Maker 3 with Smart Iron-On because it makes crafting faster and easier than ever! When paired with Smart Materials, the Maker 3 cuts up to twice as fast as the “fast mode” on previous machine models!
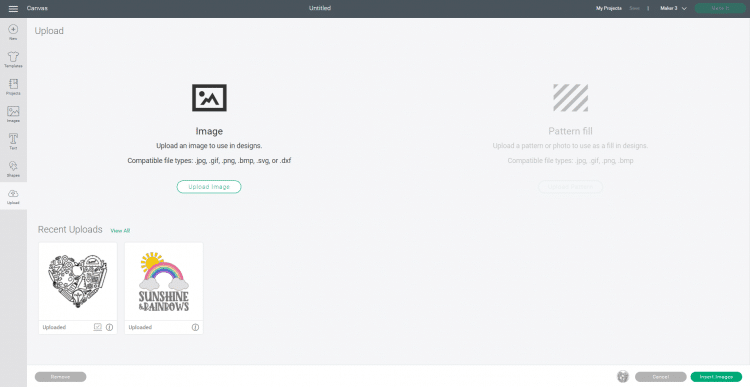
To begin making your back to school shirt, open up a new canvas in Cricut Design Space. Use the “Upload” option to upload the Back to School Coloring SVG (available below). If you need help uploading an SVG, click here for a step-by-step tutorial on How to Upload an SVG File in Cricut Design Space!
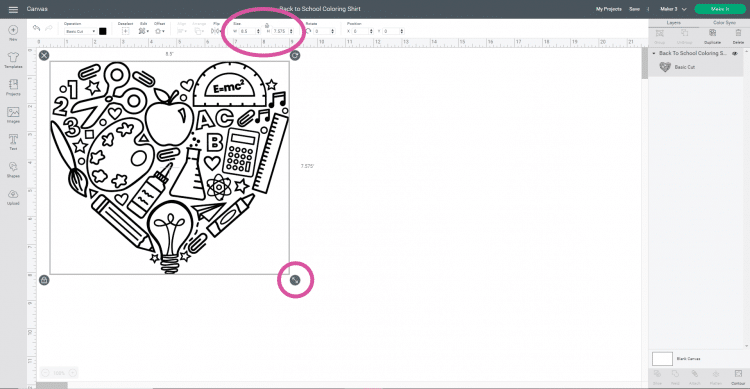
Insert the image into the new canvas and size the design to fit your garment. Sizing will depend largely upon your own personal preferences, however, we have included a standard guideline below to help you get started!
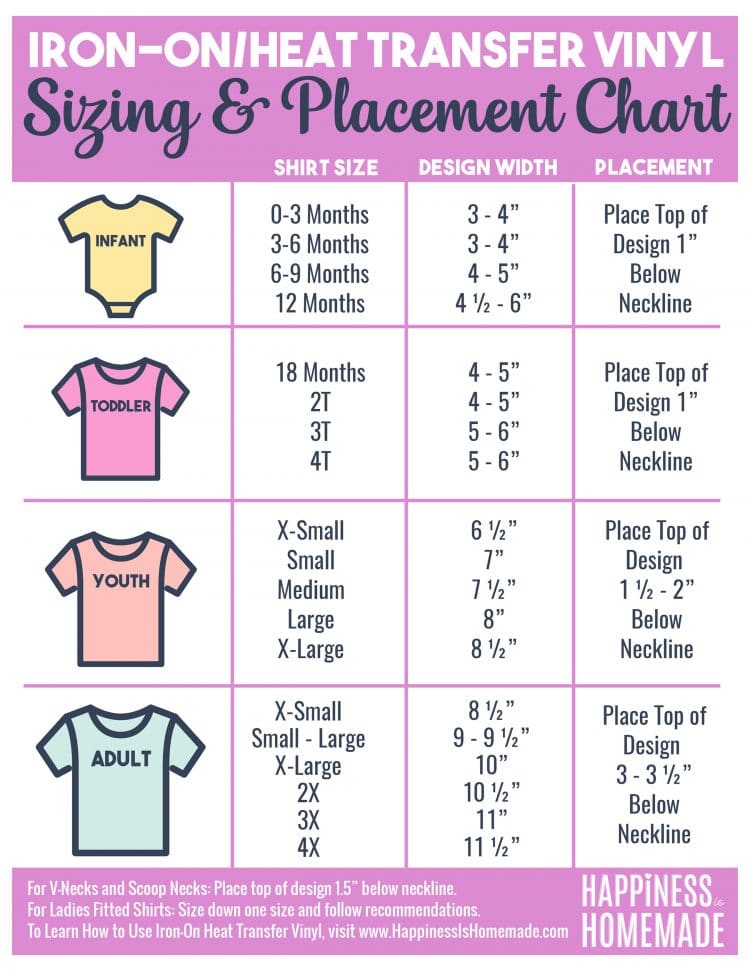
CLICK HERE to DOWNLOAD & PRINT the SIZING GUIDE!
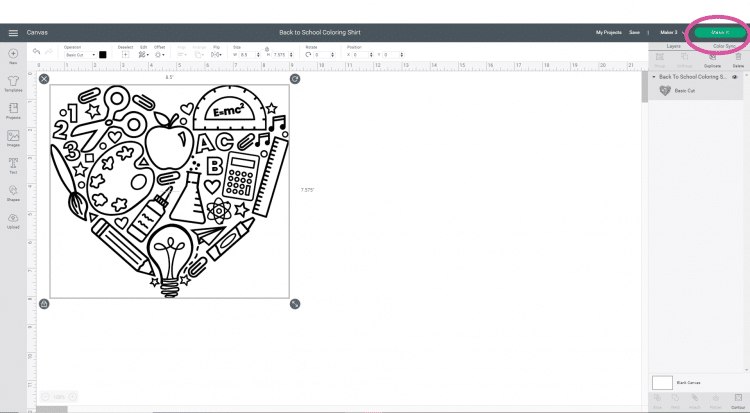
Once your design is appropriately sized, click the green “Make It” button in the upper corner of the screen.
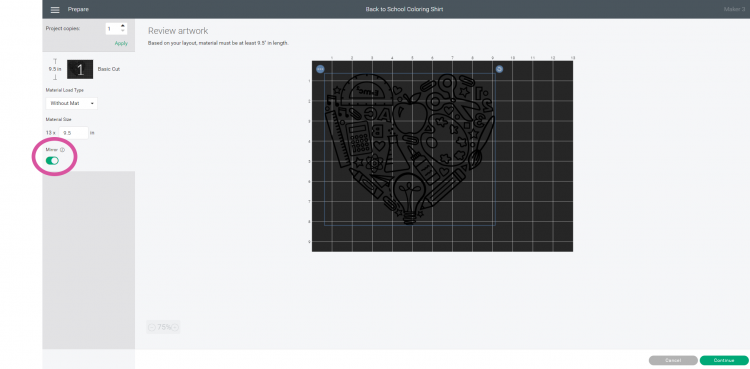
Iron-on is cut with the adhesive side up, so you will need to reverse your image in order for it to appear correctly when you flip it over on to the shirt. Mirror your design by sliding on the green toggle switch, and then click “Continue” in the bottom of the screen.
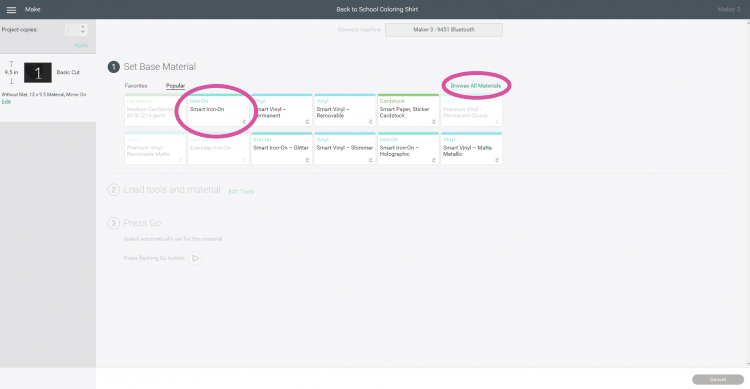
Select your material from the list – we used Smart Iron-On. Note: if your material doesn’t appear on the list, click “Browse All Materials” for more options!
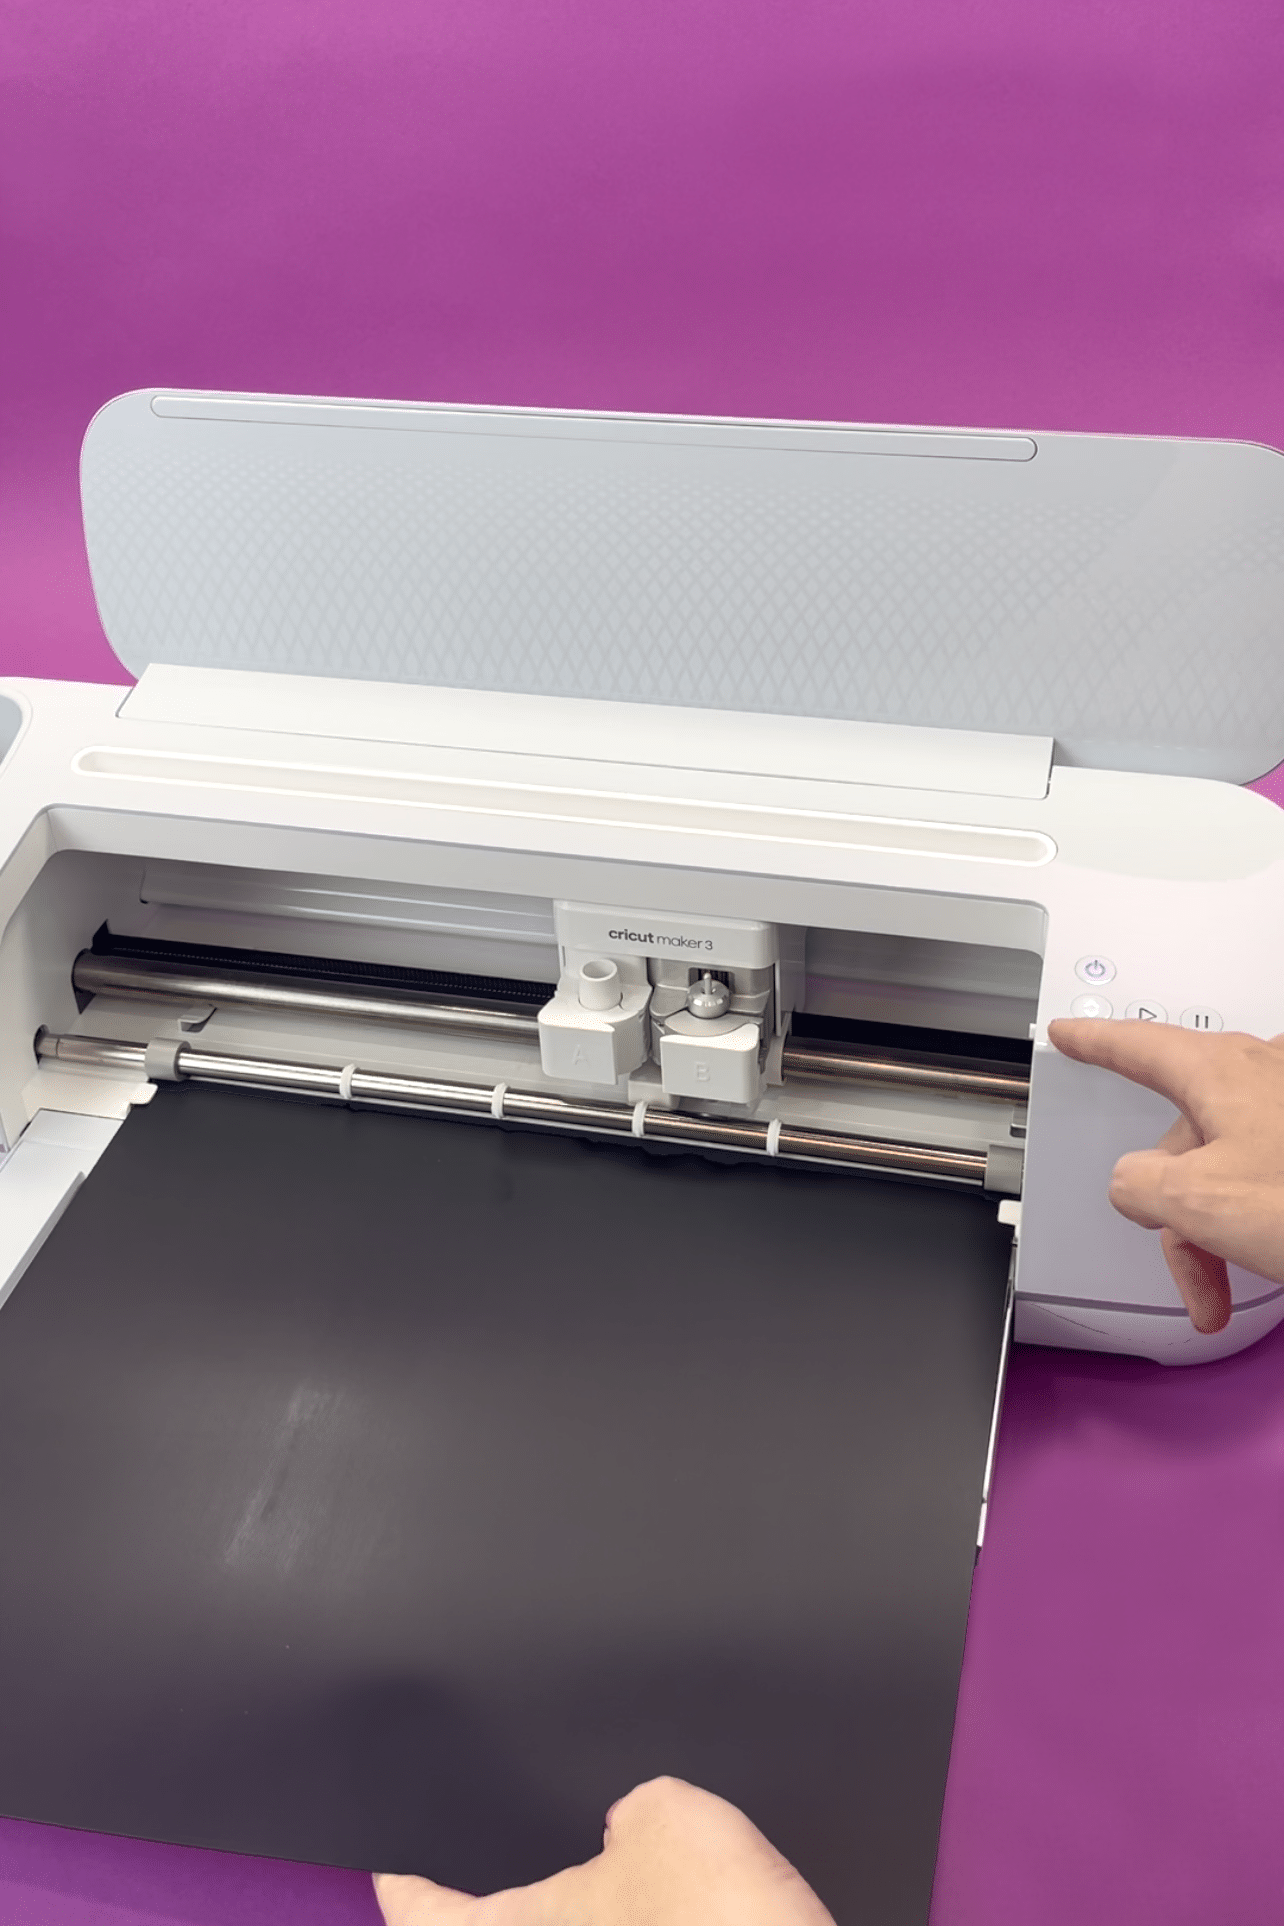
Trim a piece of Smart Iron-On to size and insert it directly into the machine. My two favorite things about using Smart Iron-On are 1) It can be cut without a cutting mat! (simply load and go!) and 2) It cuts up to twice as fast when paired with the Maker 3! The faster cutting speed is REALLY noticeable when cutting a detailed file like this back to school SVG! Press the “Go” arrow button to cut the Smart Iron-On.
Note: If you’re using another type of iron-on, you will need to place your material on a cutting mat before cutting.
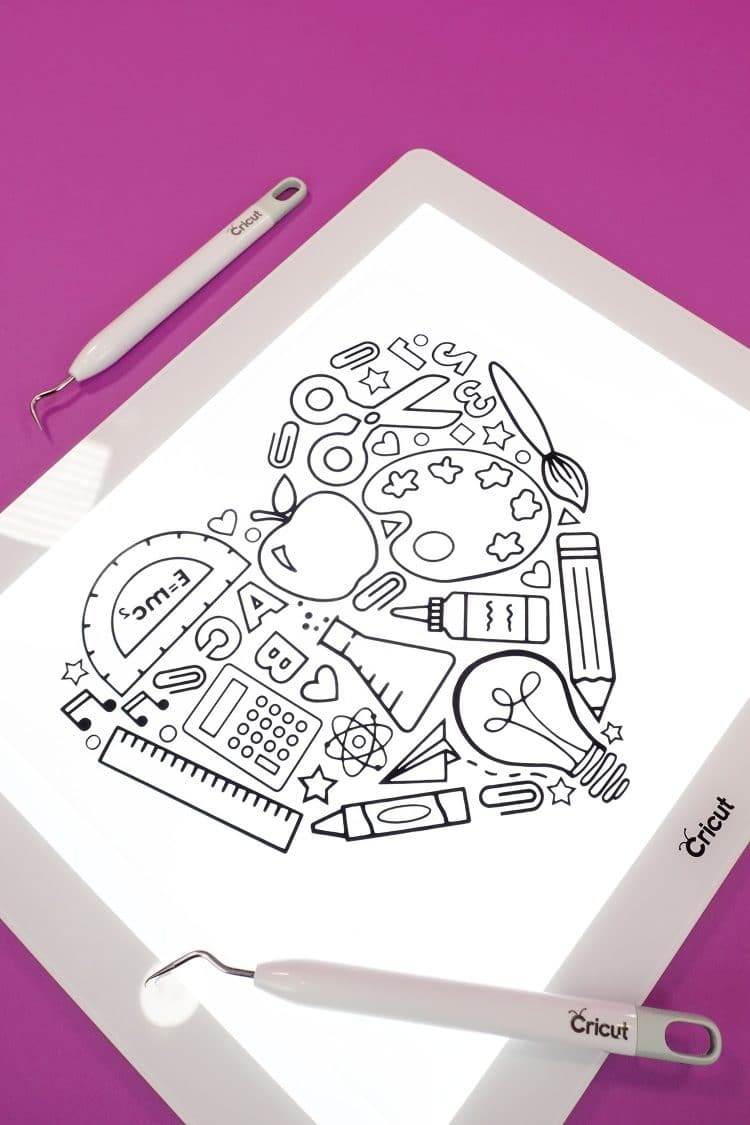
Use your weeding tools to weed the excess Iron-On from the carrier sheet. I love and prefer my Hooked Weeding Tool for weeding intricate designs. If you have a Cricut BrightPad, you will find that the illuminated surface is extra helpful when weeding detailed images like this one.
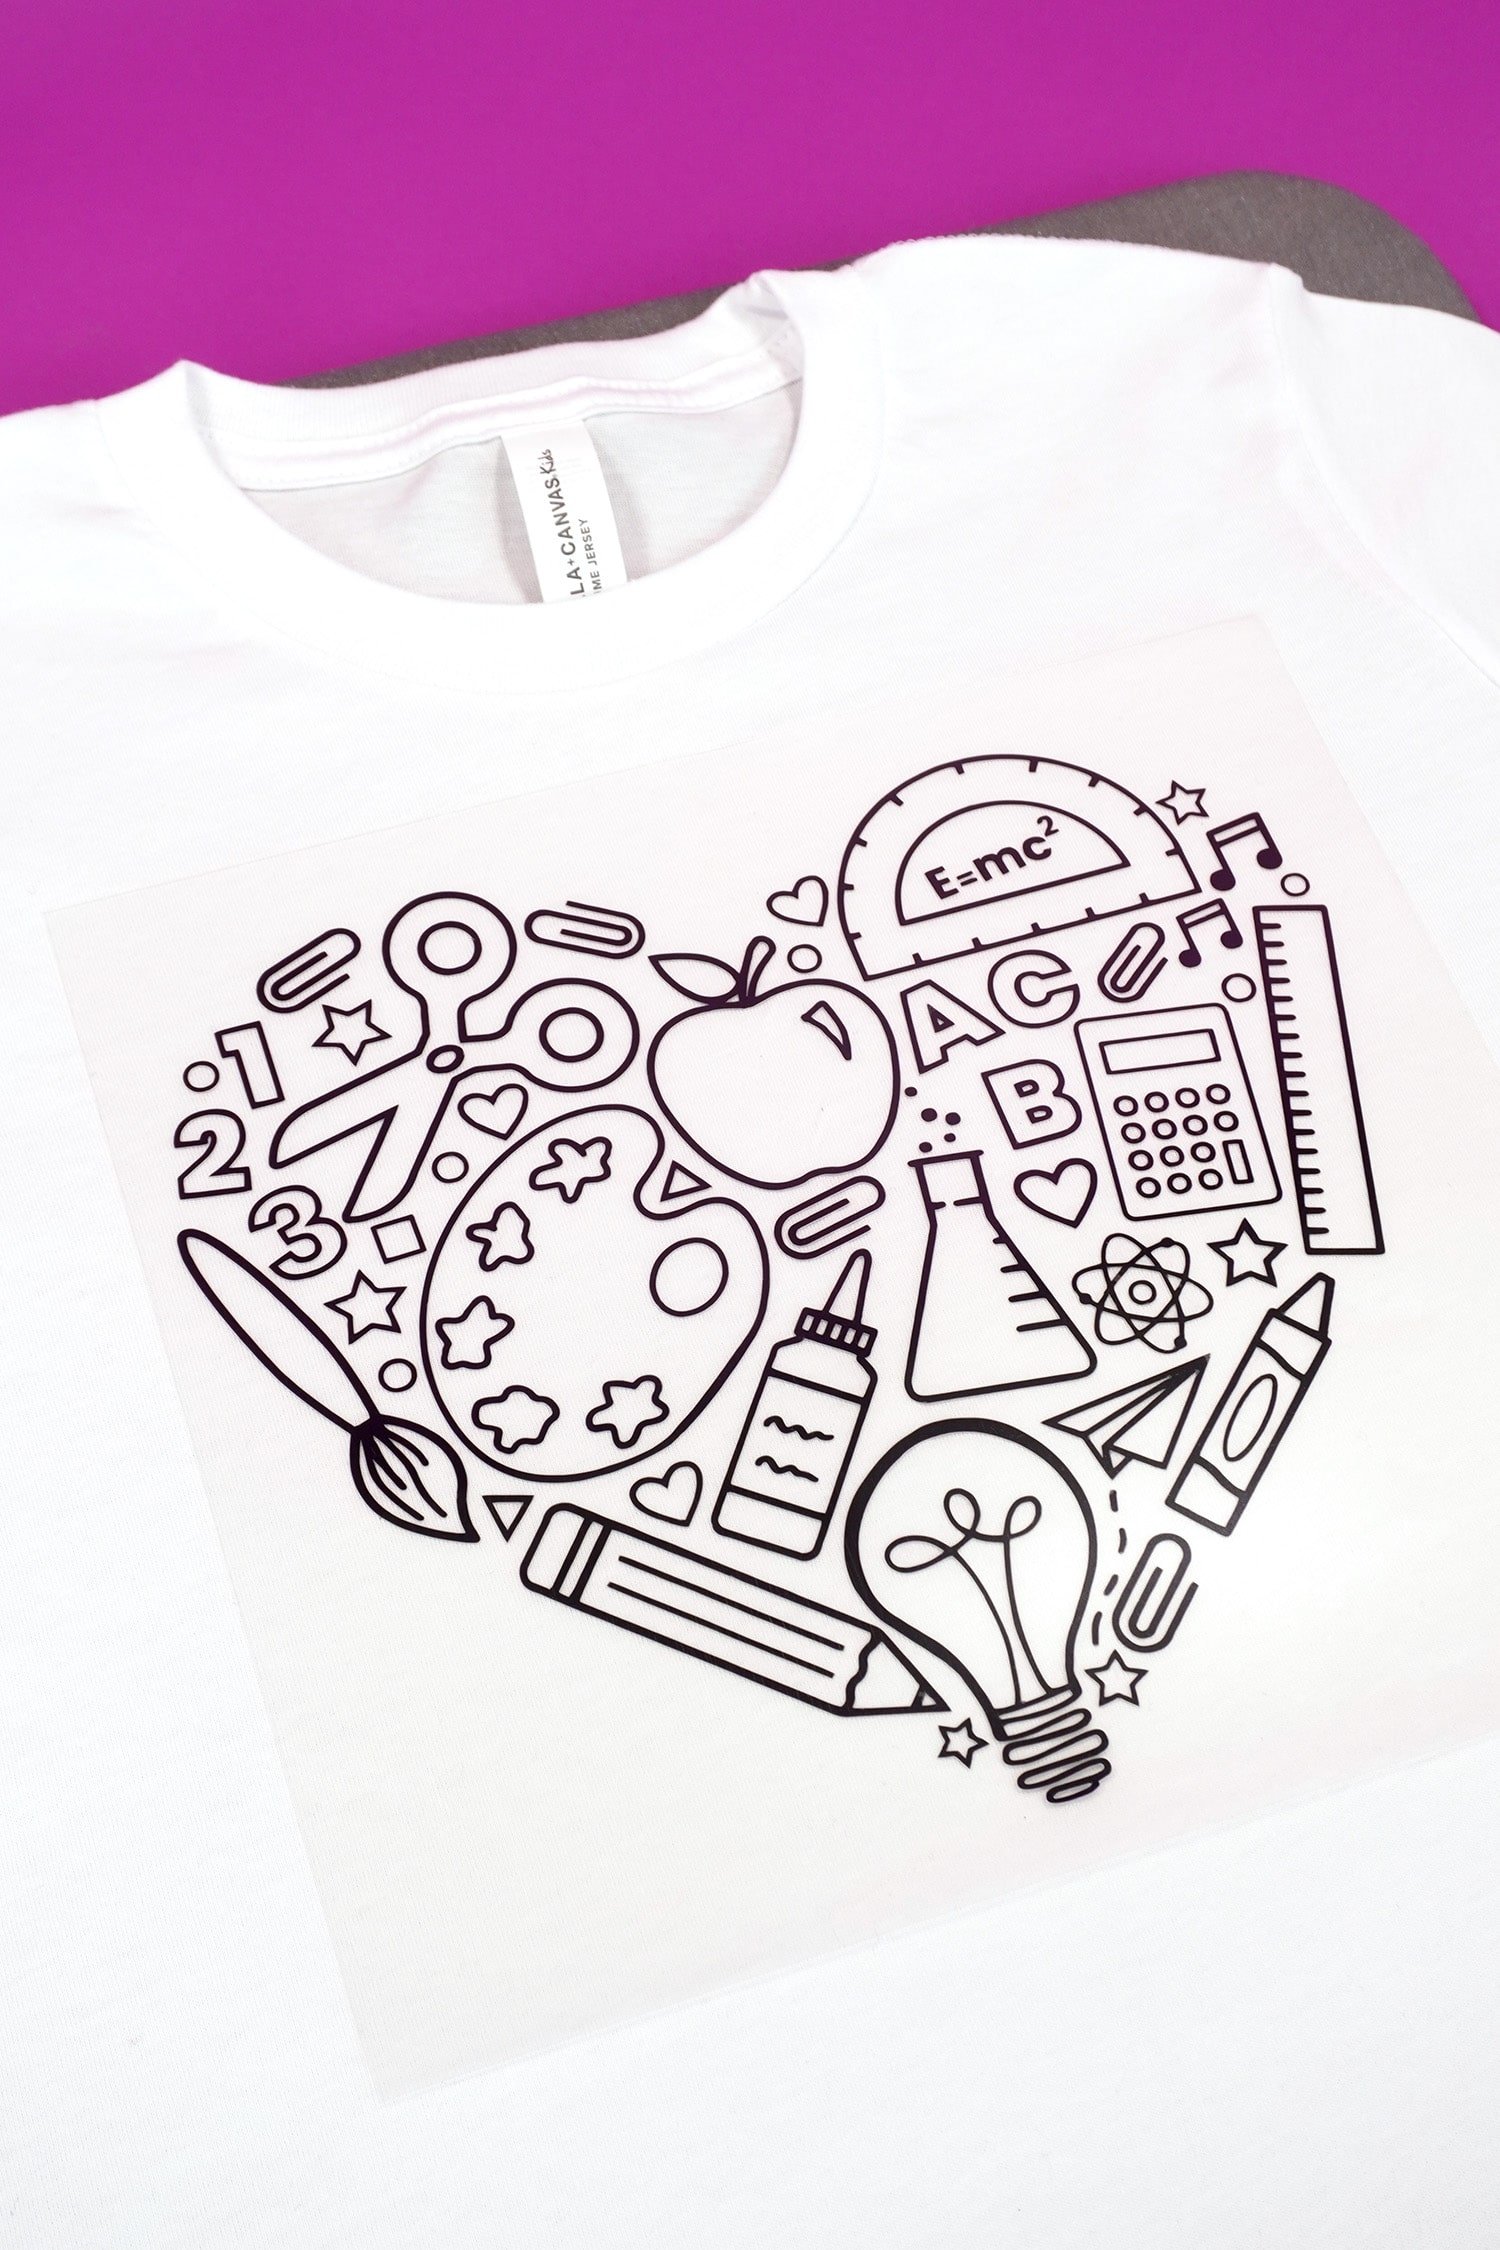
Position the Iron-On design on the shirt.
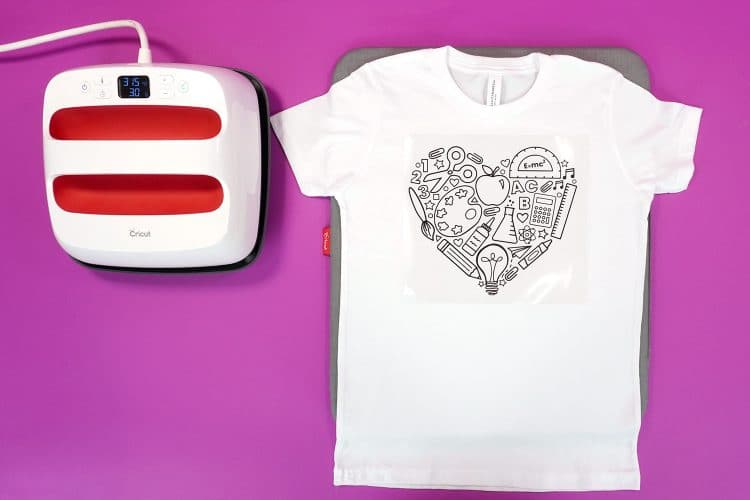
Heat up the EasyPress 2 following the recommended time and temperature settings in the Cricut EasyPress Heat Guide. Place your shirt on top of an EasyPress Mat to protect your work surface from the heat.
Note: you can also use an iron, however, we HIGHLY recommend using an EasyPress 2. Read all about Why We Love the EasyPress 2 here!
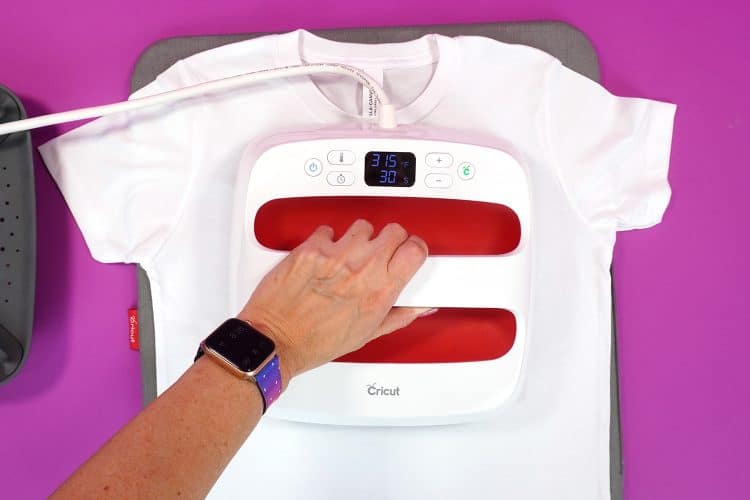
For Smart Iron-On on a cotton shirt, we used a temperature of 315 degrees F for 30 seconds with light pressure. Cool for a few minutes, then flip the shirt over, and press again for 15 seconds from the back side.
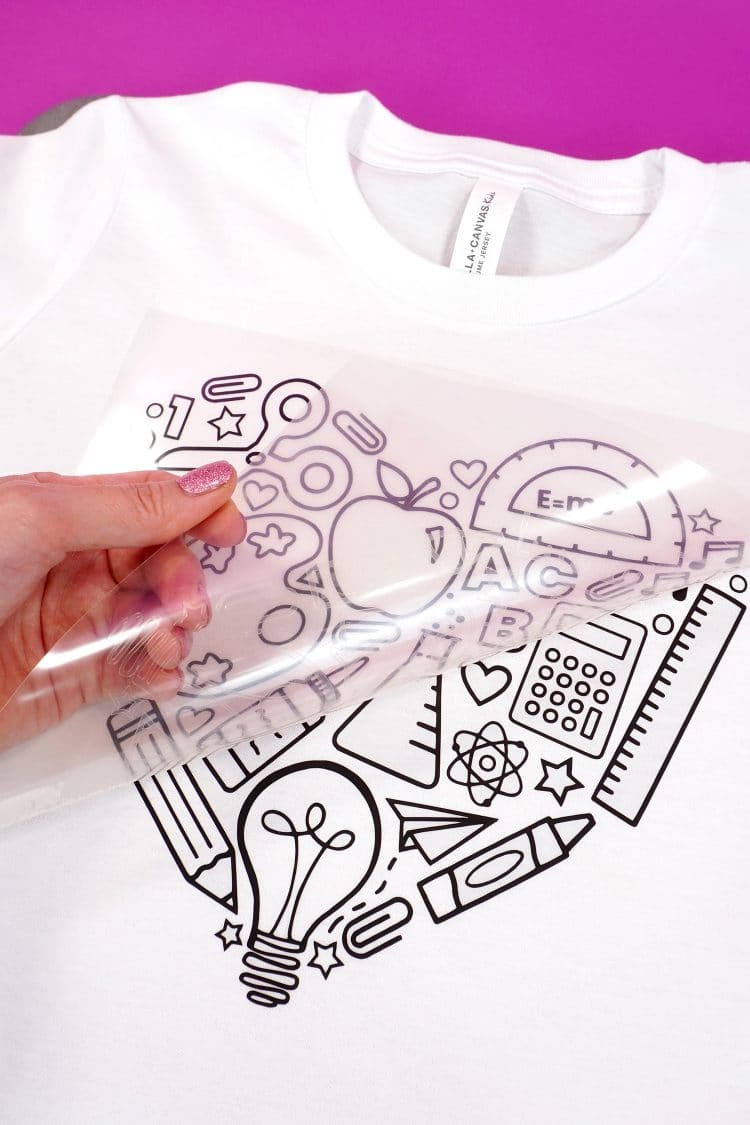
Allow the shirt to cool before peeling off the plastic transfer sheet. Set the transfer sheet aside – we’ll use it again in just a minute!
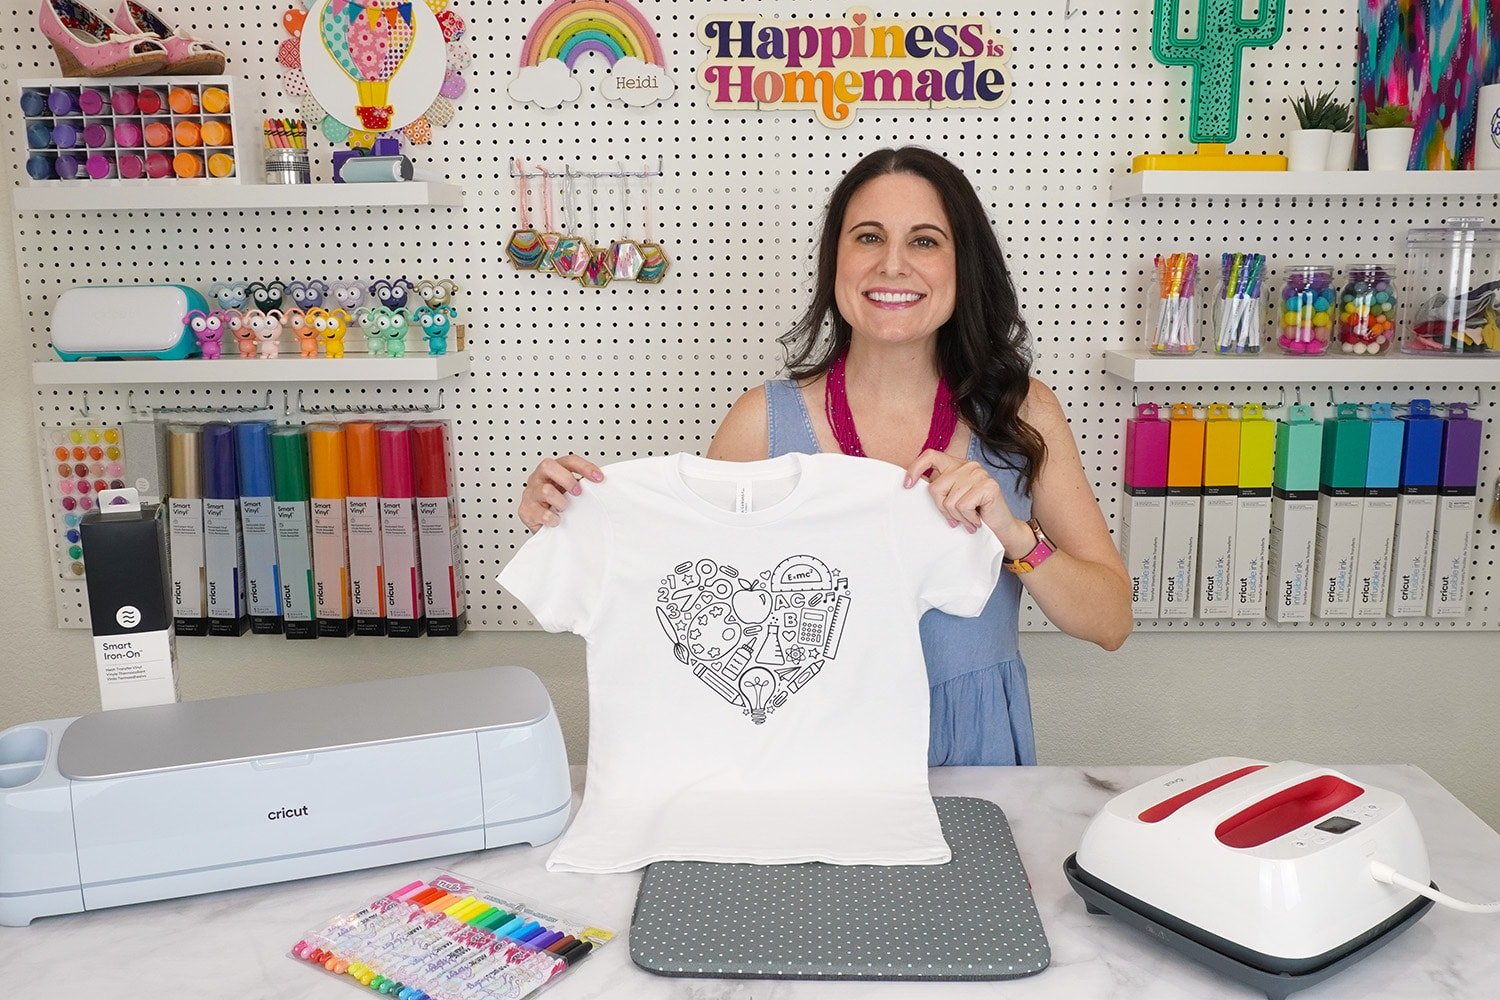
Tada! Isn’t this the cutest back to school shirt you’ve ever seen? 😍
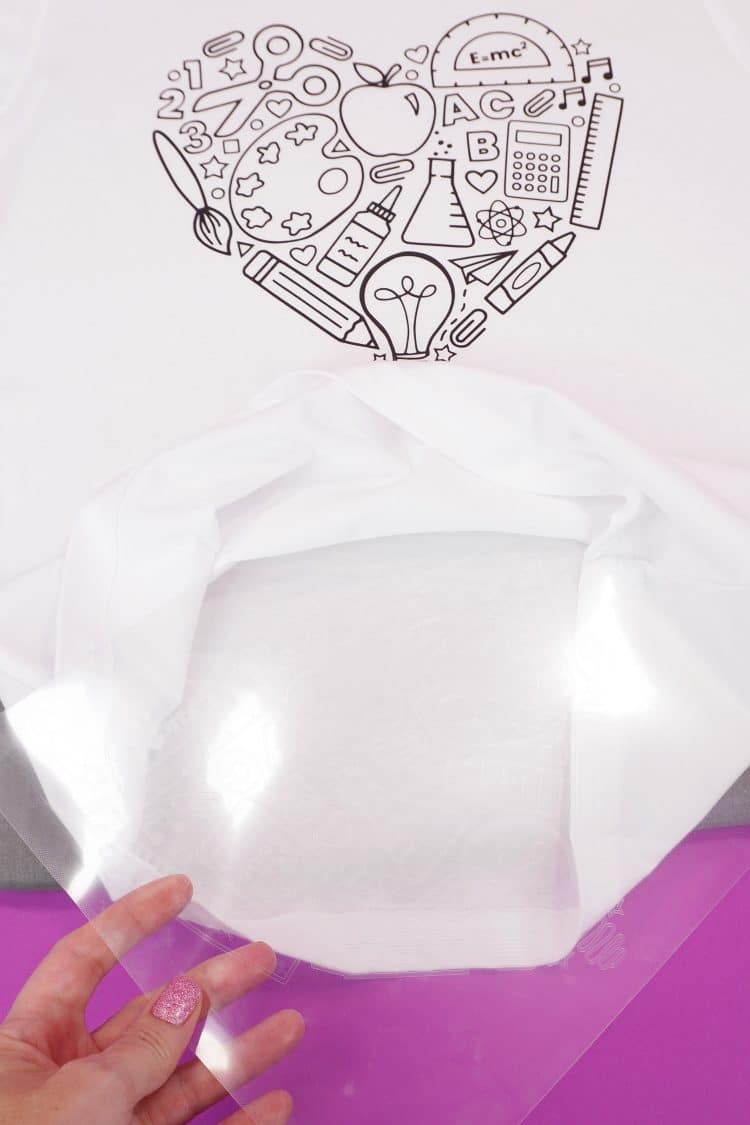
Take the plastic transfer sheet that you set aside, and place it inside of the shirt with the sticky side facing the front of the shirt. This will give the fabric a little bit of extra stability while coloring and prevent any bleed through from the fabric markers.
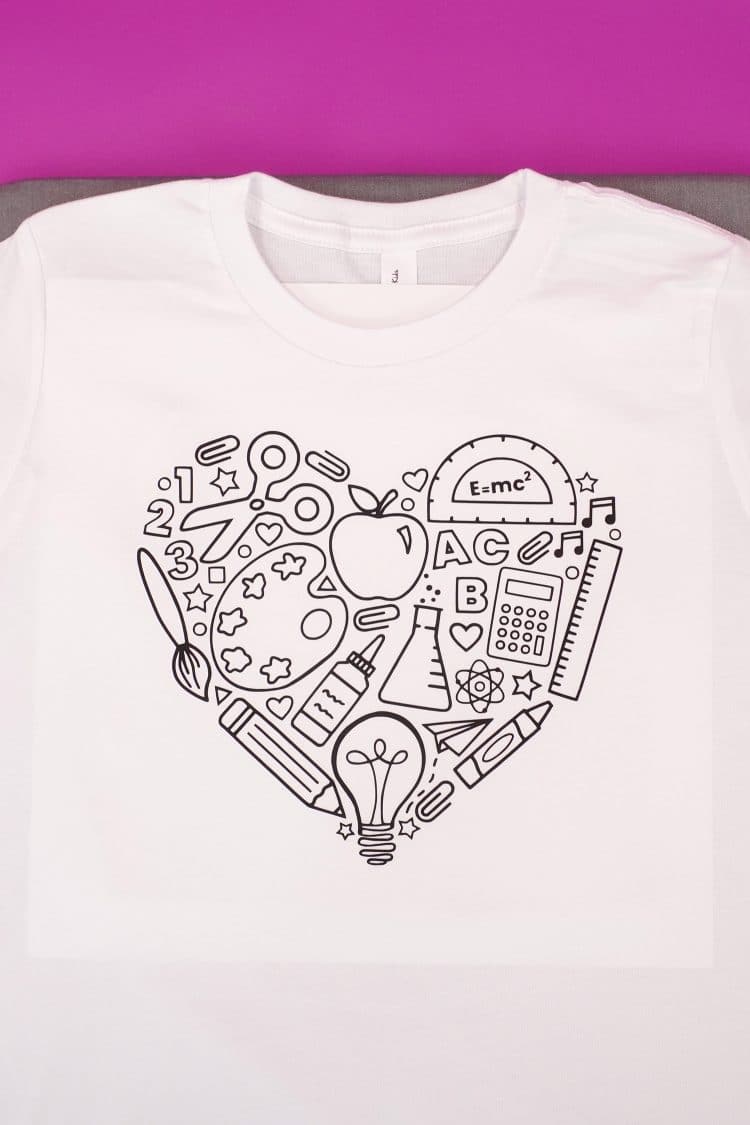
You can also place a sheet of cardstock or thick paper inside the shirt as well for extra protection.
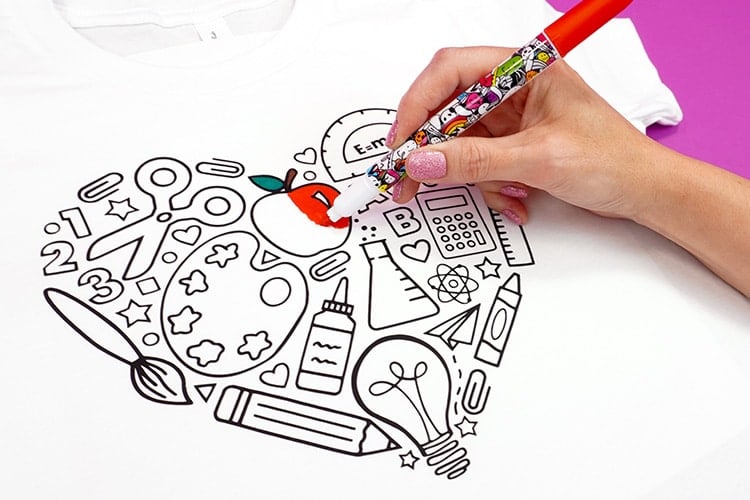
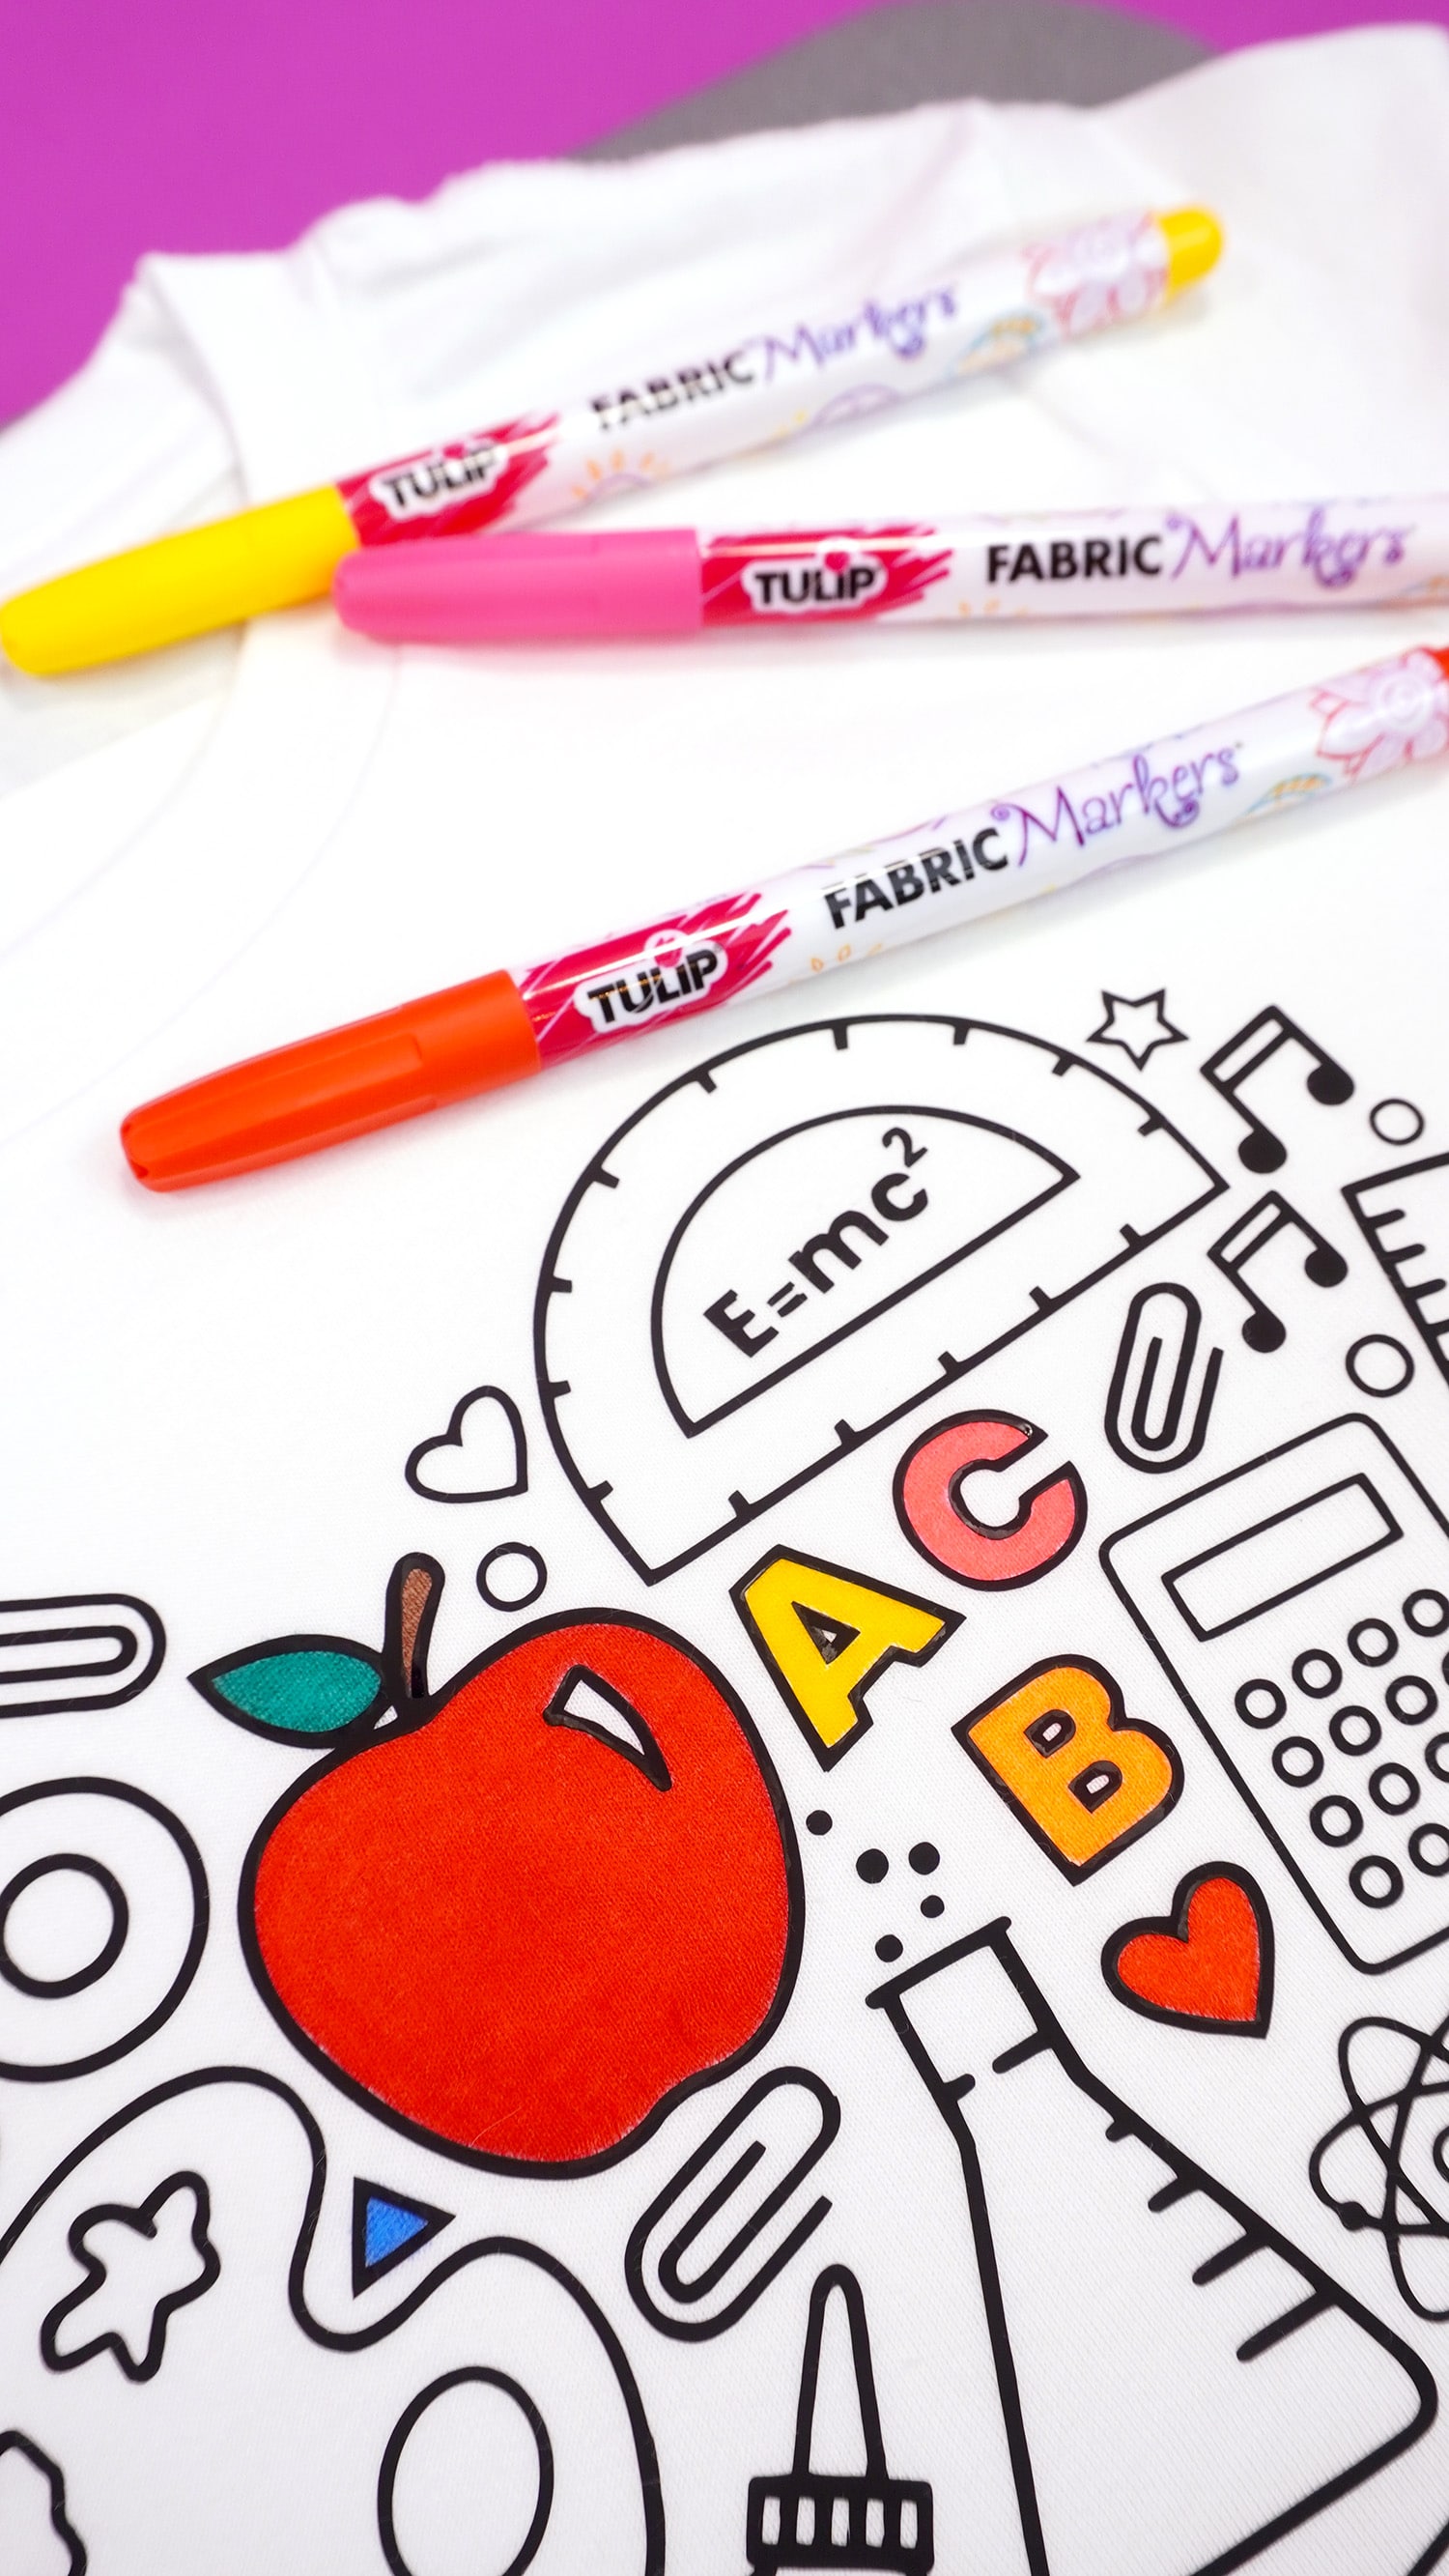
Now, it’s time to start coloring! We used Tulip Fabric Markers from Michaels to color our shirt, and they worked really well. The Tulip markers colored solidly, plus, they’re available in a variety of different tips that are perfect for smaller/larger details.
Color and customize your back to school coloring shirt to make it your own!
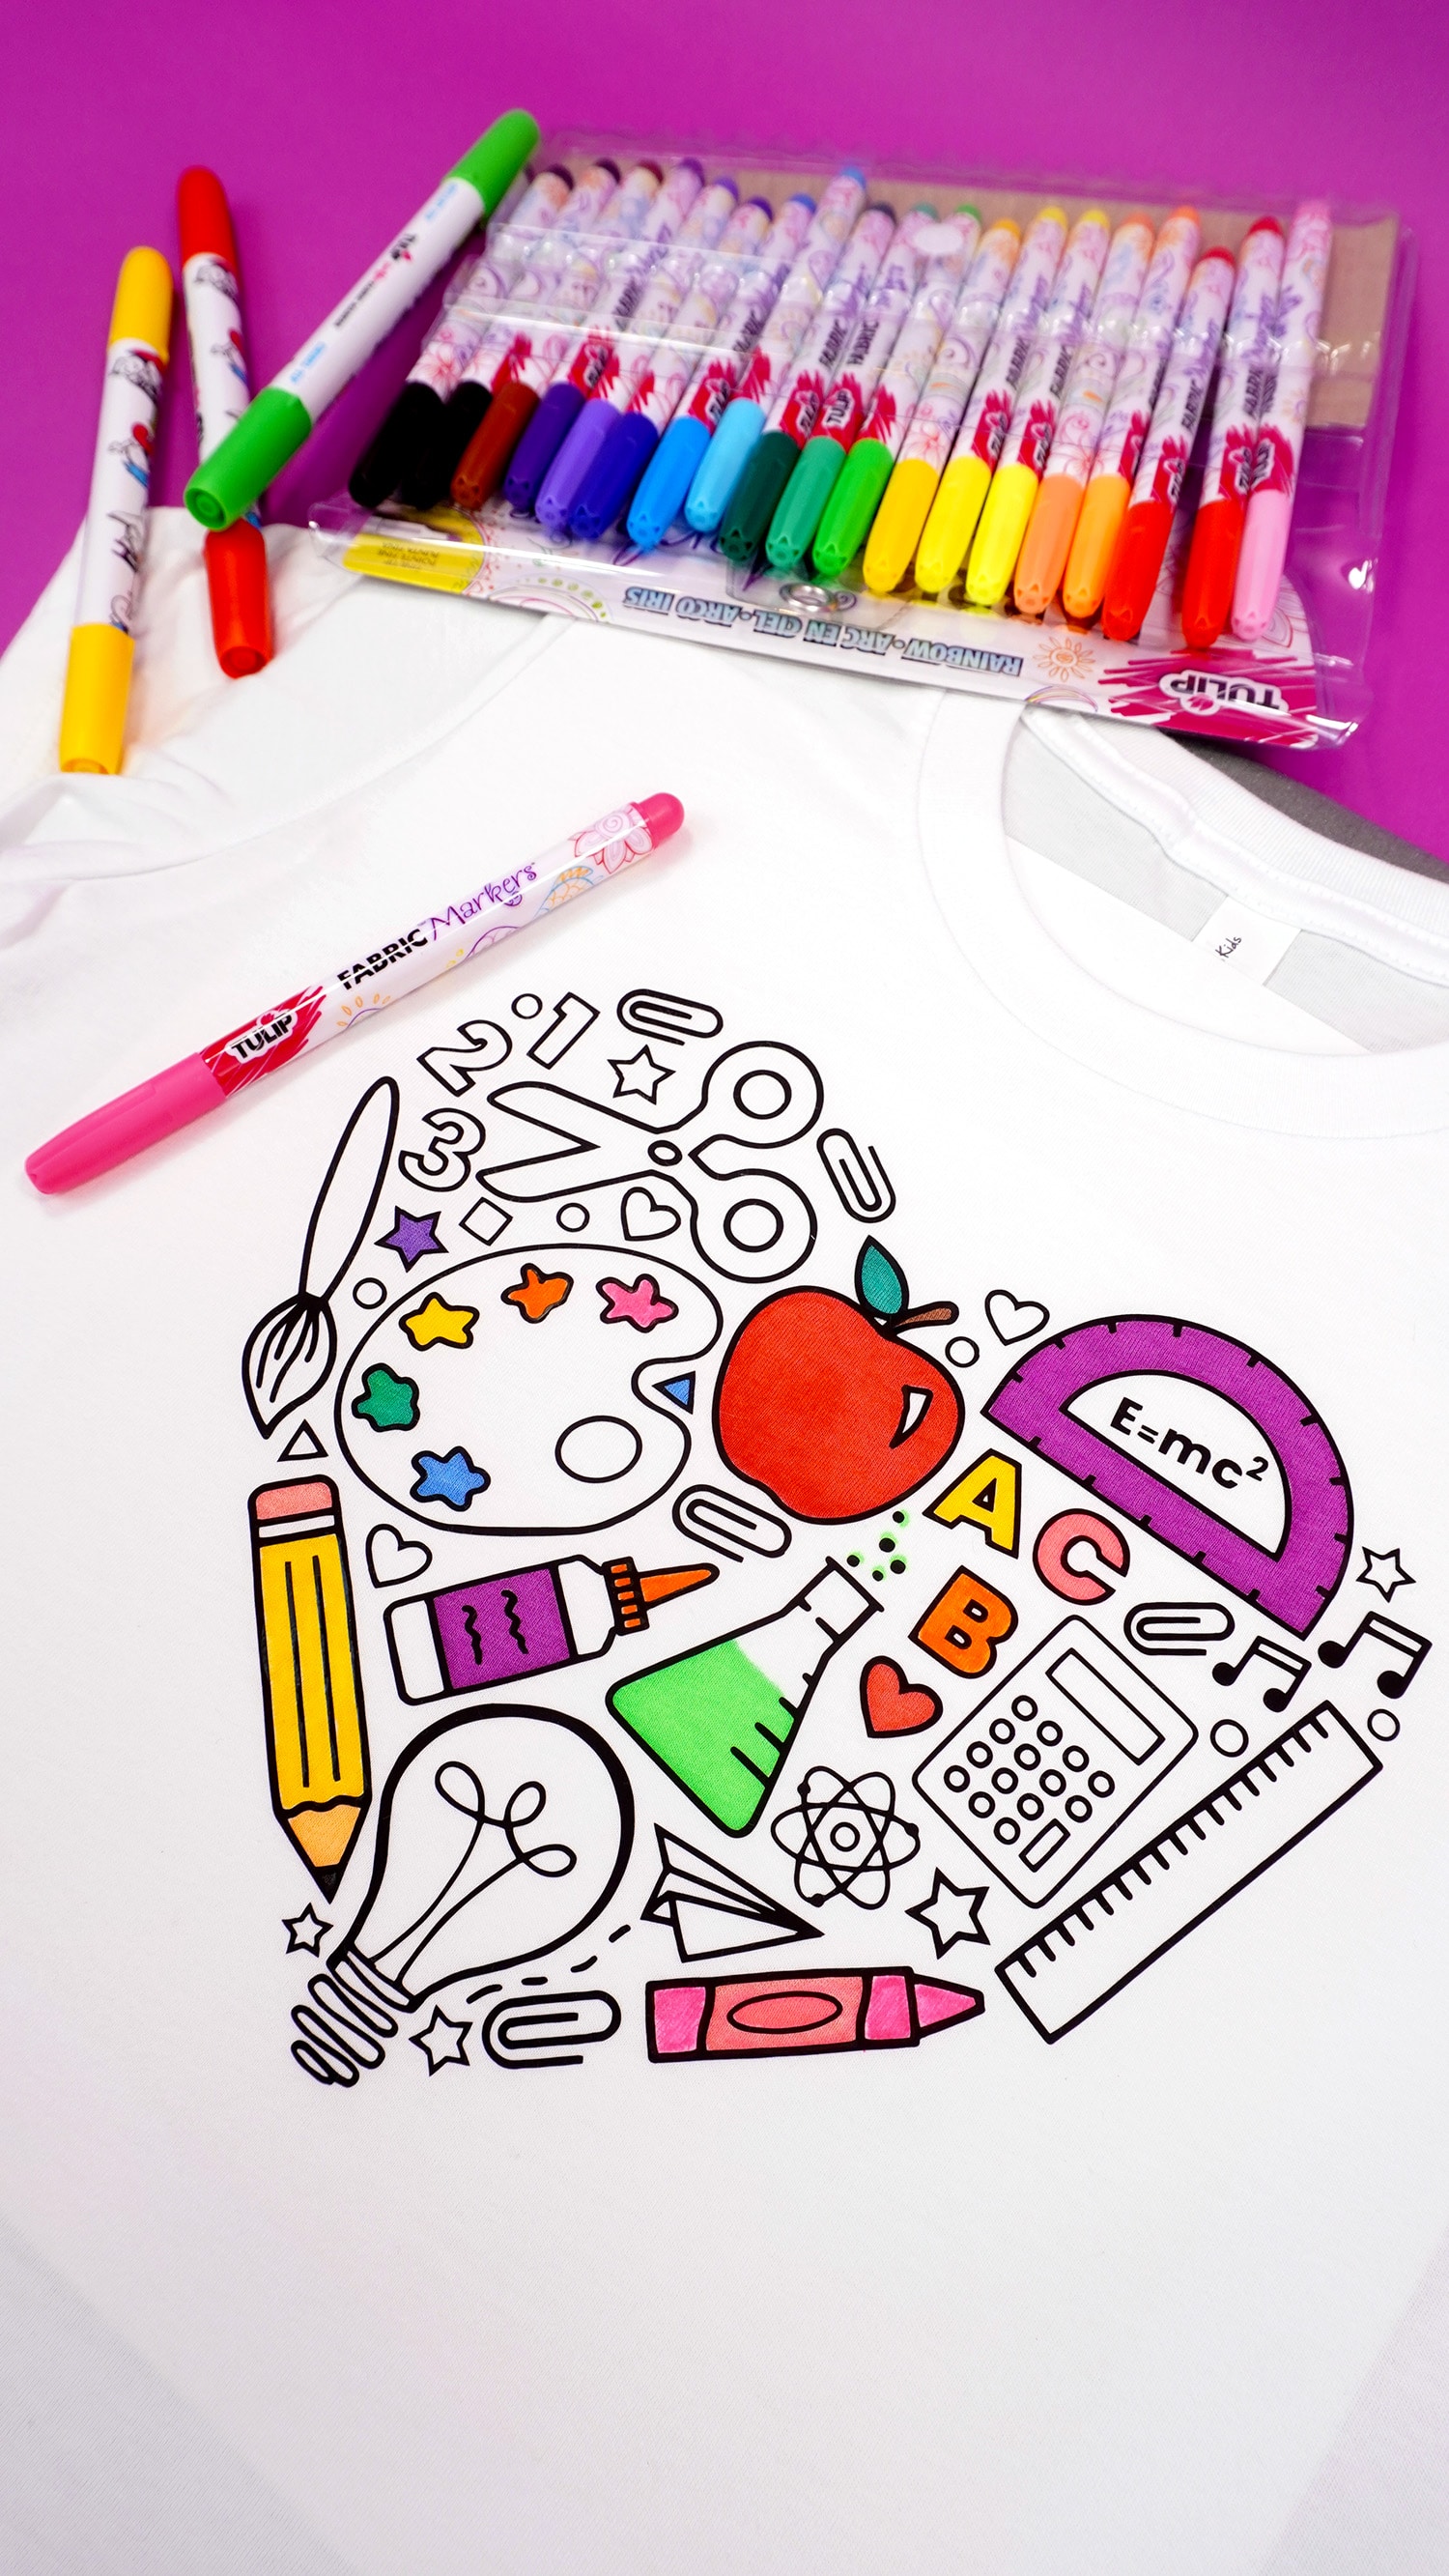
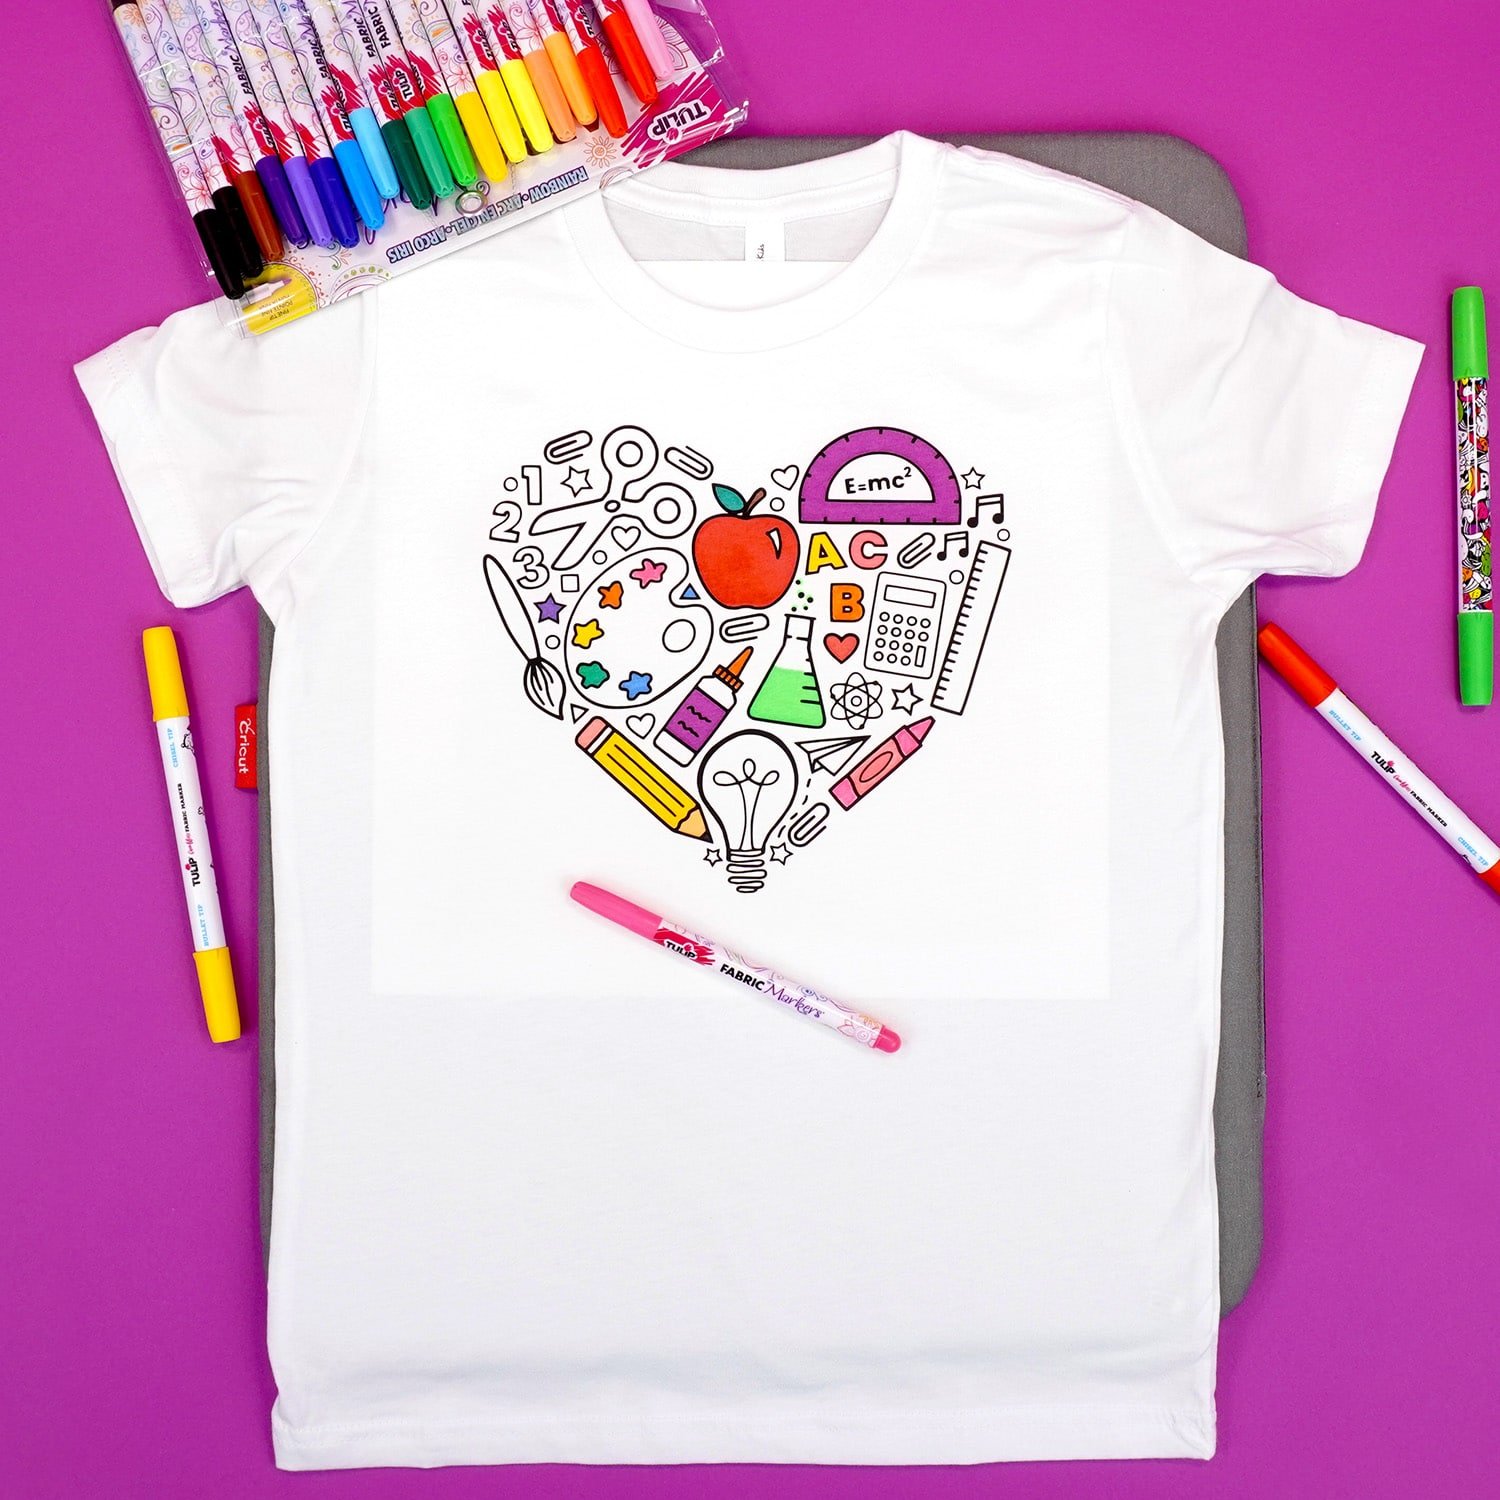
The Smart Iron-On outlines make it easy for little hands to stay within the lines when coloring.
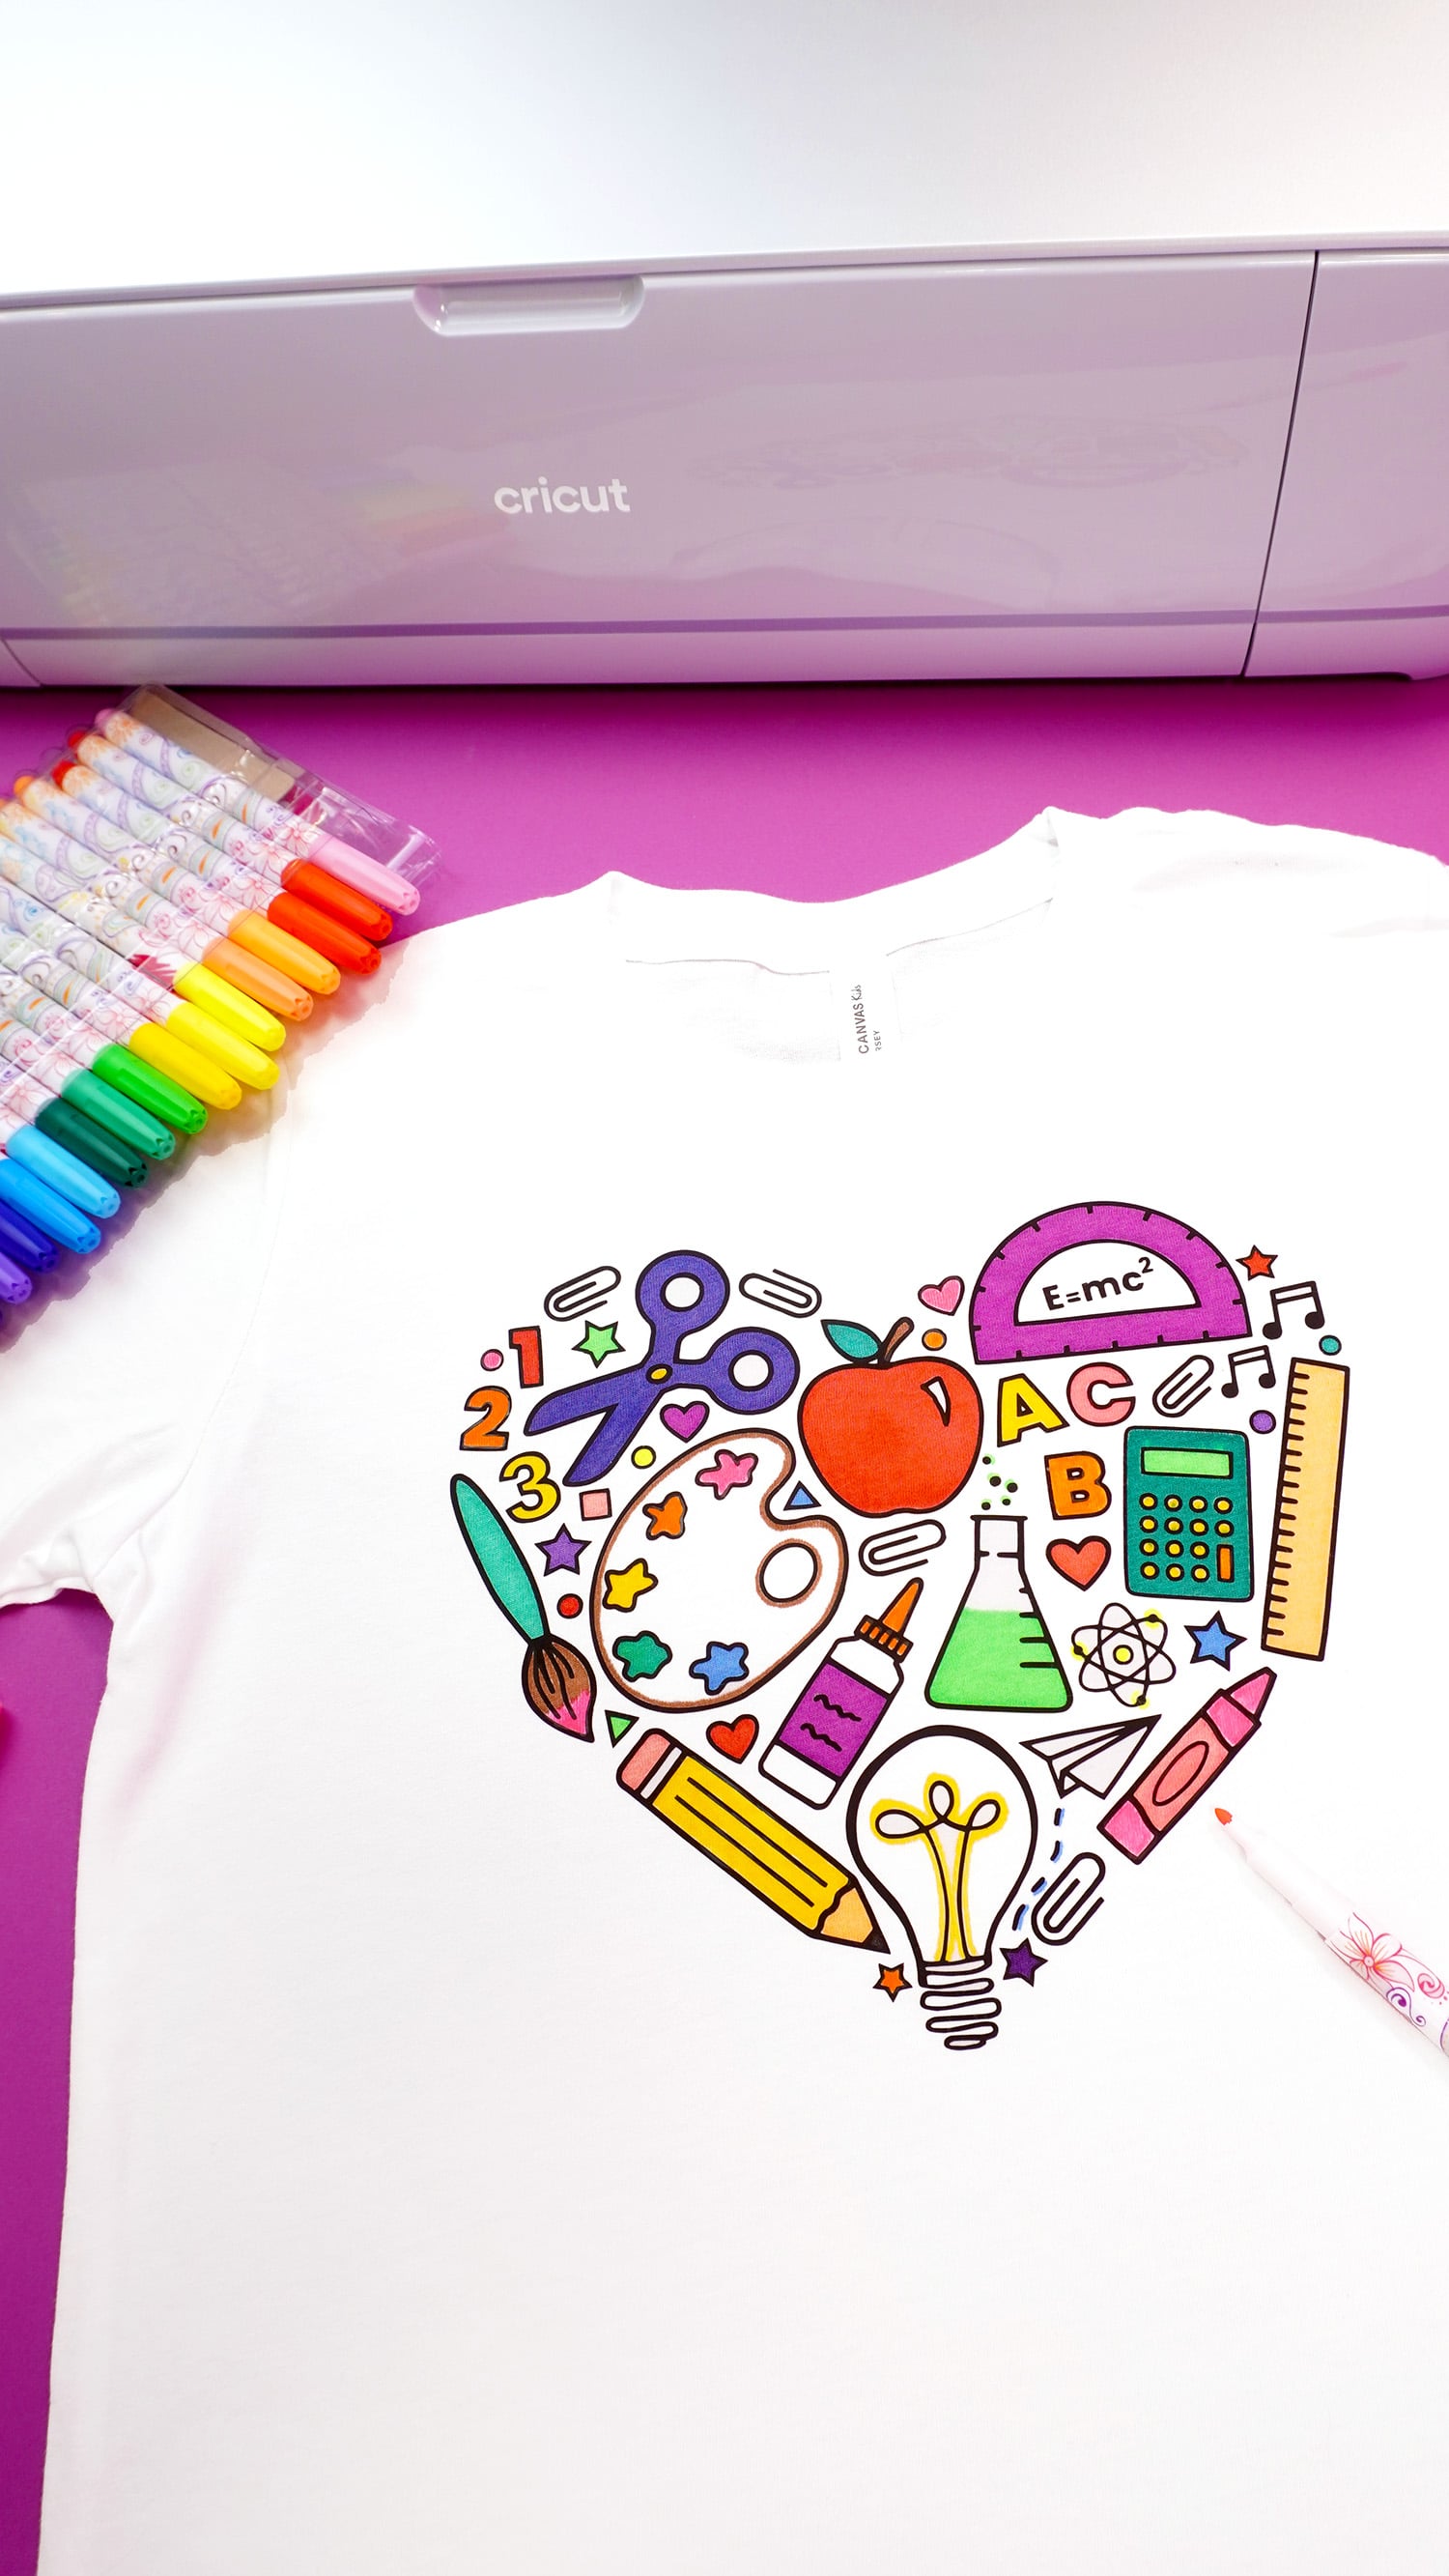
Kids of all ages will love personalizing their own First Day of School shirt – it’s SO much fun!
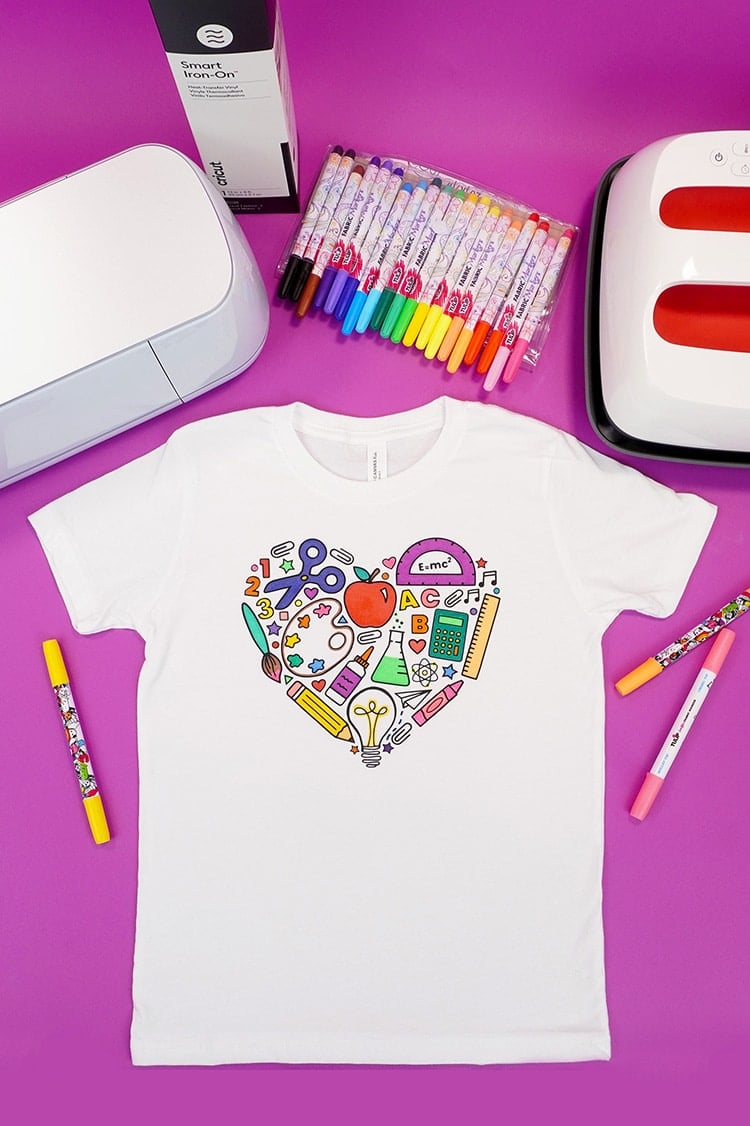
This Back to School coloring shirt is such a fun idea that I might need to make more coloring shirt SVG designs for other holidays, too! What do you think?
Get the Back to School Coloring Shirt SVG FILE Here
This file is Crafting File #58 in our Freebie Library! Get the password to our Freebie Library by signing up for our Email Club in the form below! If you are already a club member with the password, hop on over to the Freebie Library to download the file now!
All free downloads from Happiness is Homemade are for PERSONAL and CLASSROOM USE ONLY. You MAY NOT share, distribute, sell, or use these files for commercial purposes, including print-on-demand. Commercial licenses for SVG and PNG Crafting Files may be purchased in the Happiness is Homemade Shop. Please read our full license terms here.
Download Trouble?
Can’t find the download form? Having trouble with the file? Check out our Digital Downloads FAQ page for answers to the most common troubleshooting questions!

Equipment:
- Cricut Maker or Cricut Explore Cutting Machine
- EasyPress 2 or Iron
What You’ll Need:
- Bella + Canvas T-Shirt
- Iron-On (Heat Transfer) Vinyl
- Weeding Tools
- Back to School SVG available above
Instructions:
- Open up Cricut Design Space (or other software program), and upload the SVG file.
- Cut the iron-on vinyl using your cutting machine, and use the weeding tools to remove the excess vinyl. Note: When working with iron-on vinyl, always mirror each mat before cutting!
- Next, use the EasyPress 2 (or iron) to adhere your design to your shirt following the recommended time and temperature settings in the Interactive Quick Reference Guide.
- Allow the vinyl to cool before peeling.
So, what are you waiting for? Hop on over to your local Michaels and pick up the supplies to make your own DIY Back to School shirt! Happy crafting!

Check Out These Other Back to School Ideas!
Don’t Forget to Pin This Back to School SVG + Coloring Shirt for Later!

Heidi Kundin has captivated the hearts of millions with her colorful and inspiring approach to crafting, celebrations, and family fun. With over 15 years of experience, Happiness is Homemade has become a must-visit destination for those seeking quick and easy creative ideas and last-minute solutions. Heidi’s warm personality shines through her posts, inviting readers to join her on a creative journey that’s fun, rewarding, and achievable. Heidi is also the author of Homemade Bath Bombs & More and DIY Tie-Dye.

