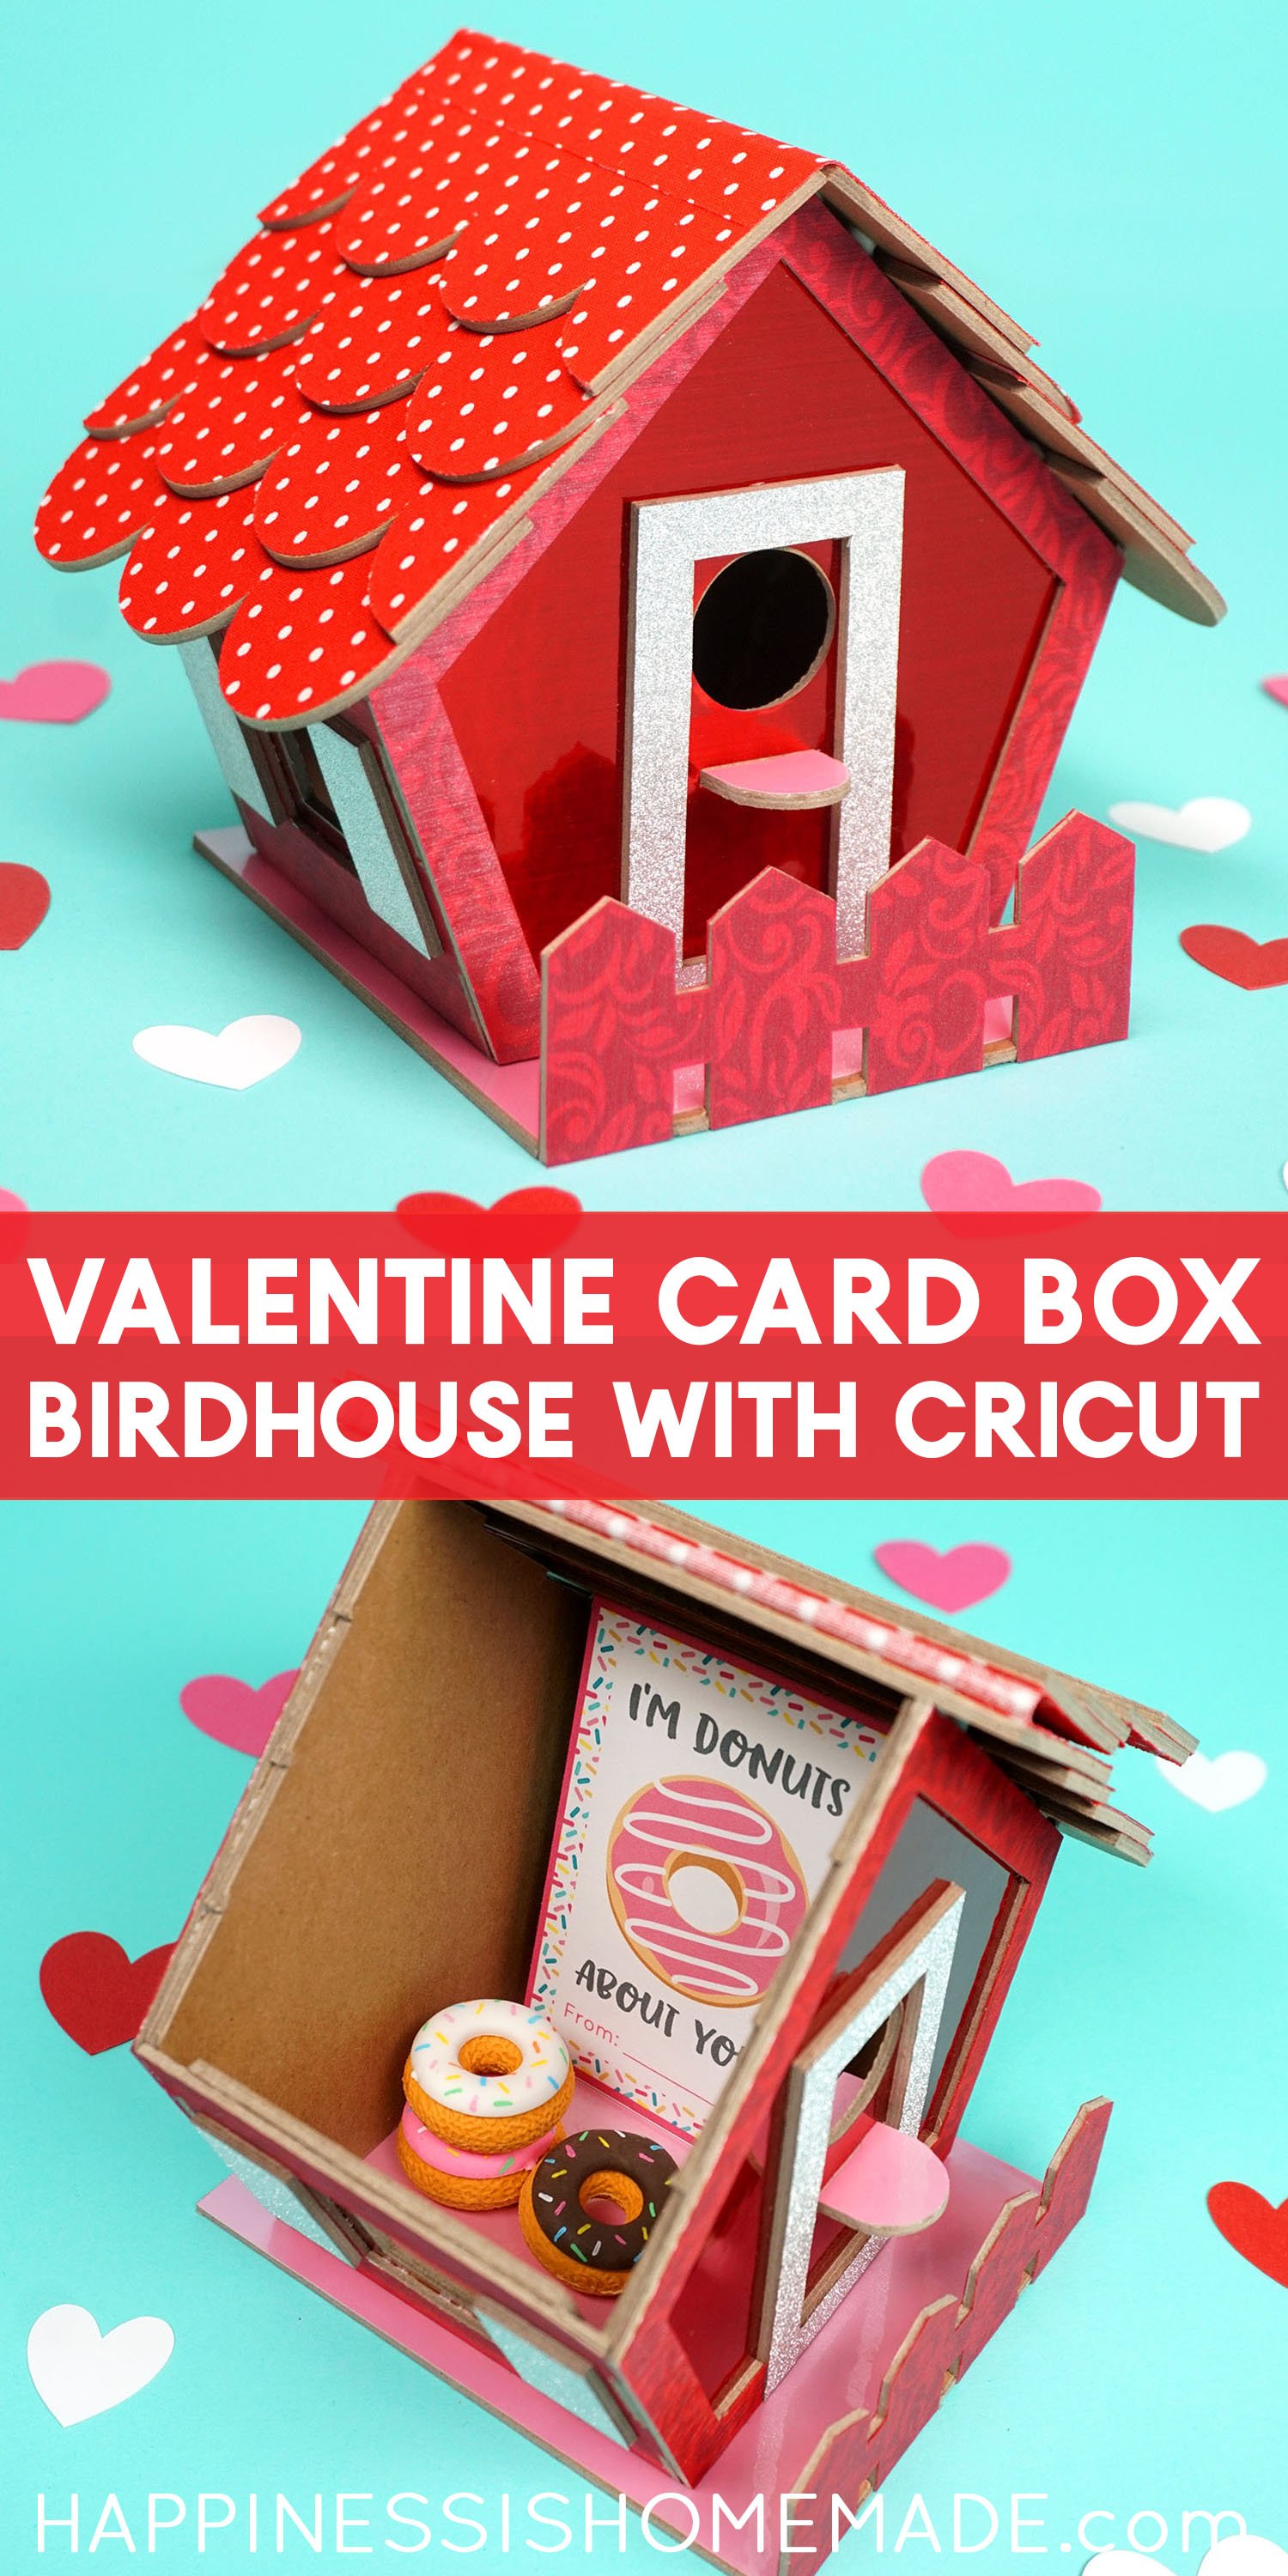
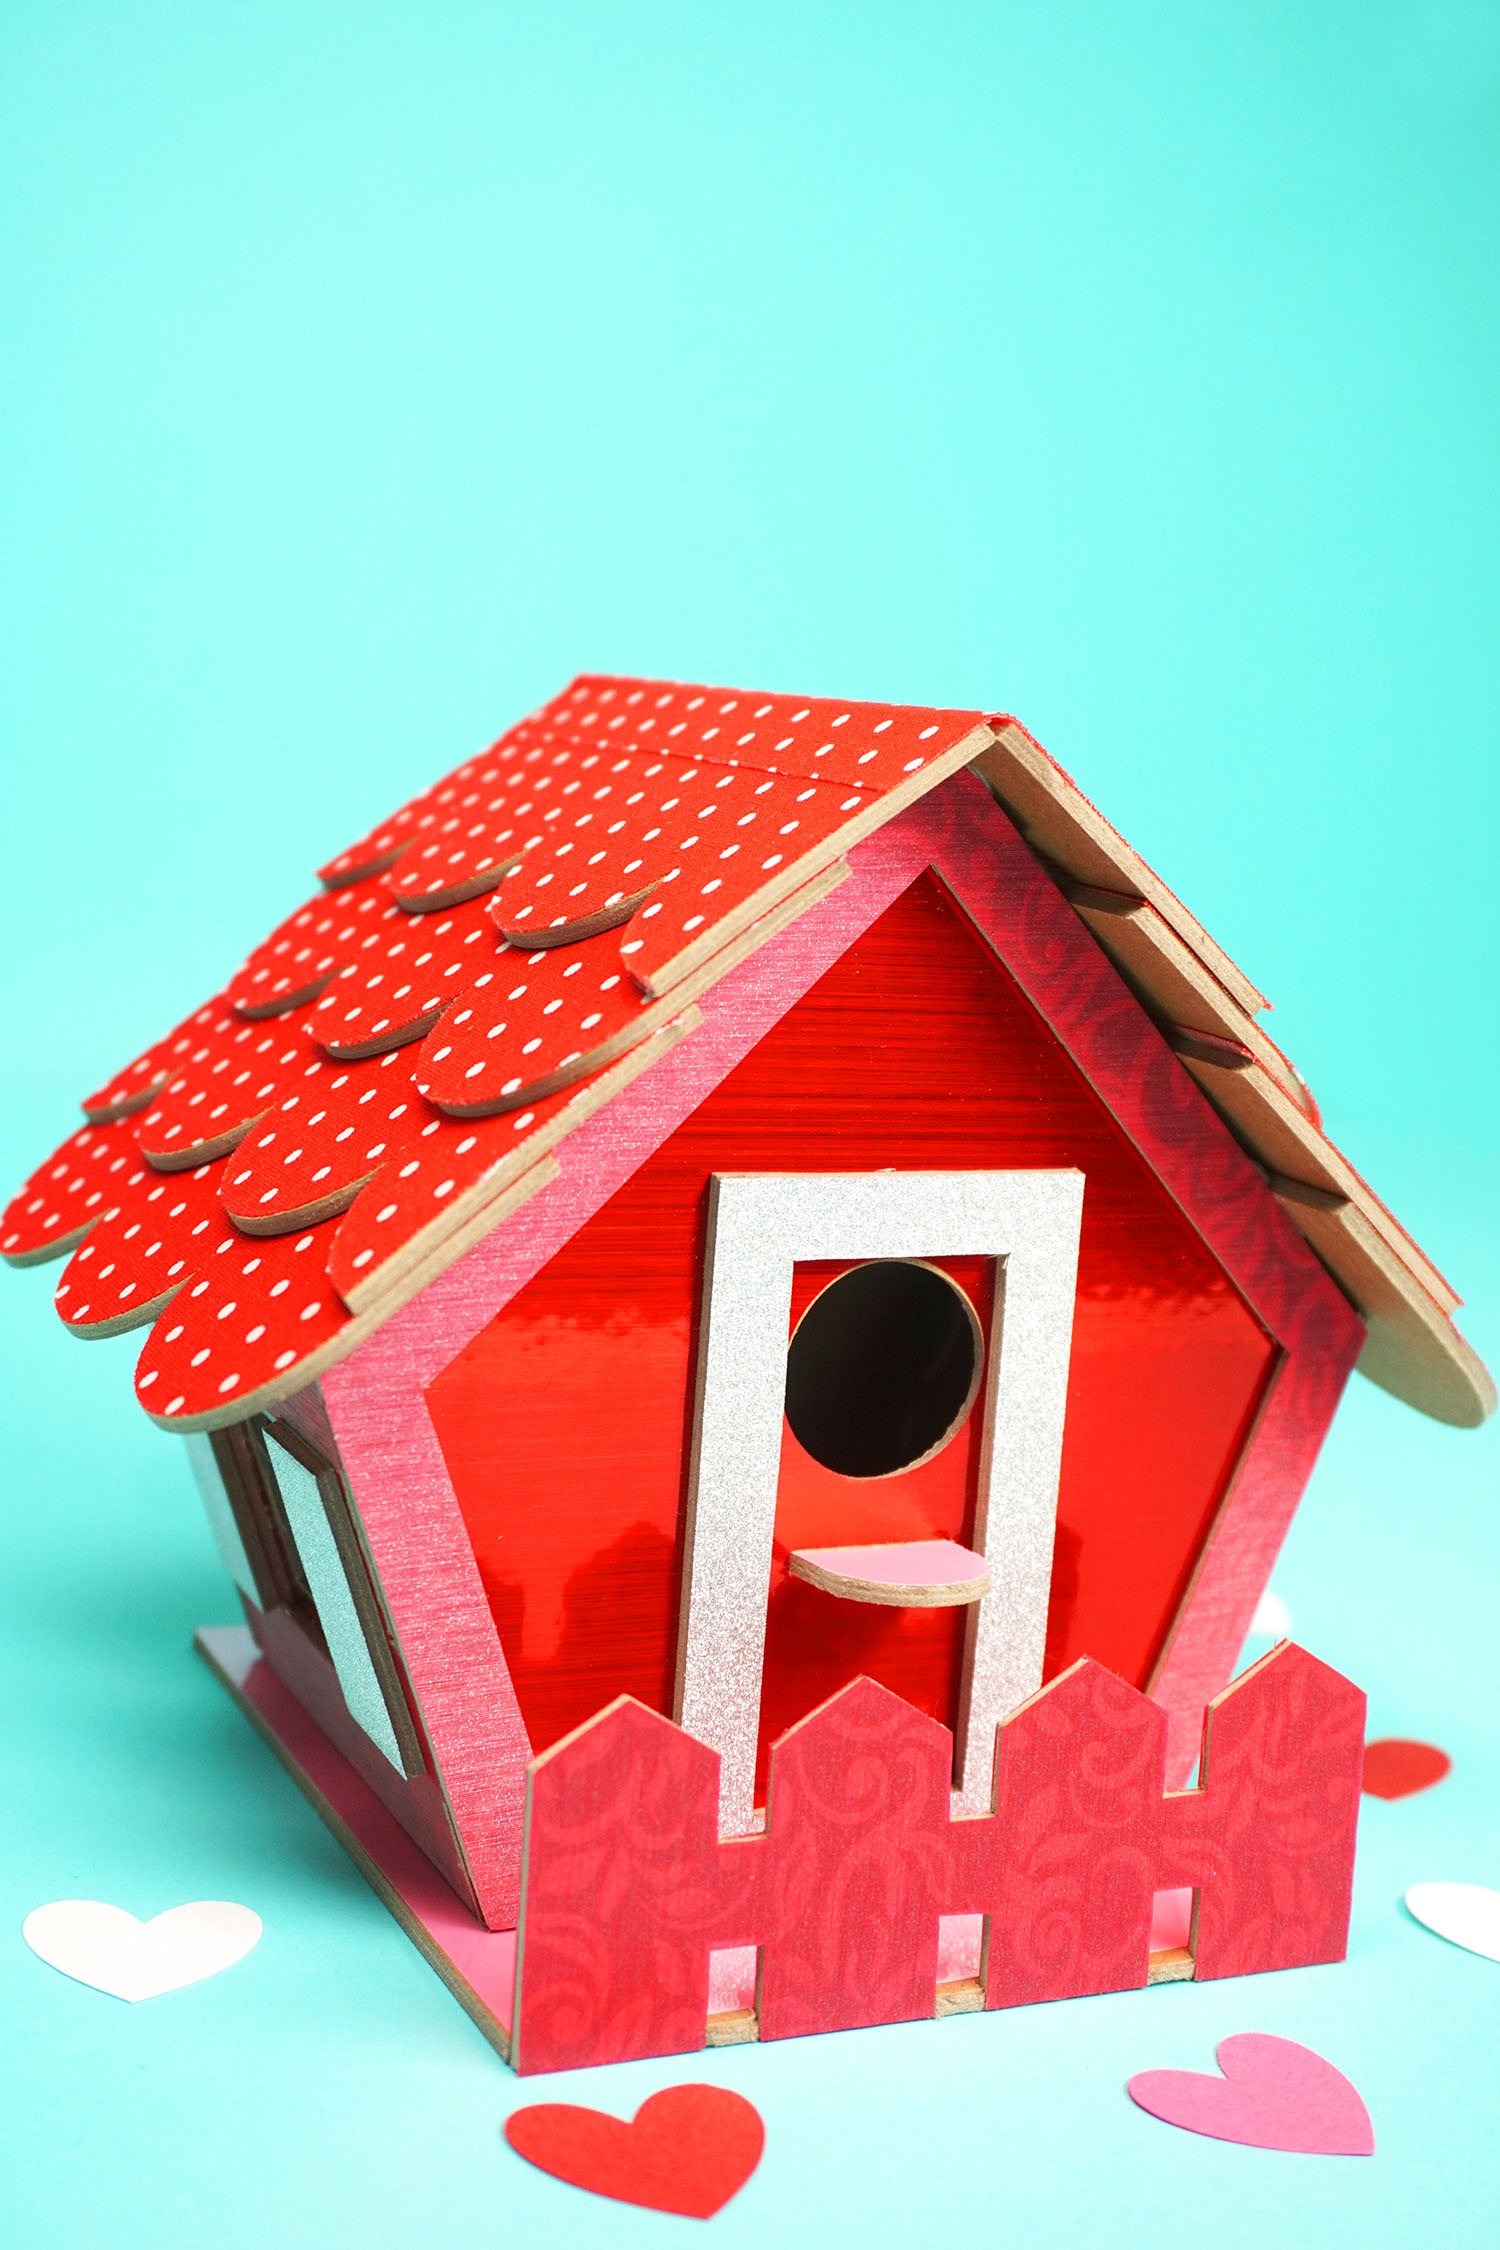
Create this adorable birdhouse Valentine box with your Cricut Maker machine!

Birdhouse Valentine Box
Valentine’s Day is just around the corner, and we’re in full Valentine craft mode over here right now! I created this adorable birdhouse Valentine card box using my Cricut Maker, and I am head over heels in love with the way that it turned out!
Supplies Used:
- Cricut Maker Machine with Fine Point Blade, Rotary Blade, and Knife Blade
- Cricut Chipboard and Damask Patterned Chipboard
- Fusible Fabric (red polka dots)
- Silver Glitter Vinyl, Red Stainless Adhesive Foil, Neon Watermelon True Brushed Permanent Premium Vinyl, Pastel Pink Pearl Premium Permanent Vinyl
- Cricut EasyPress 2 (6×7 size)
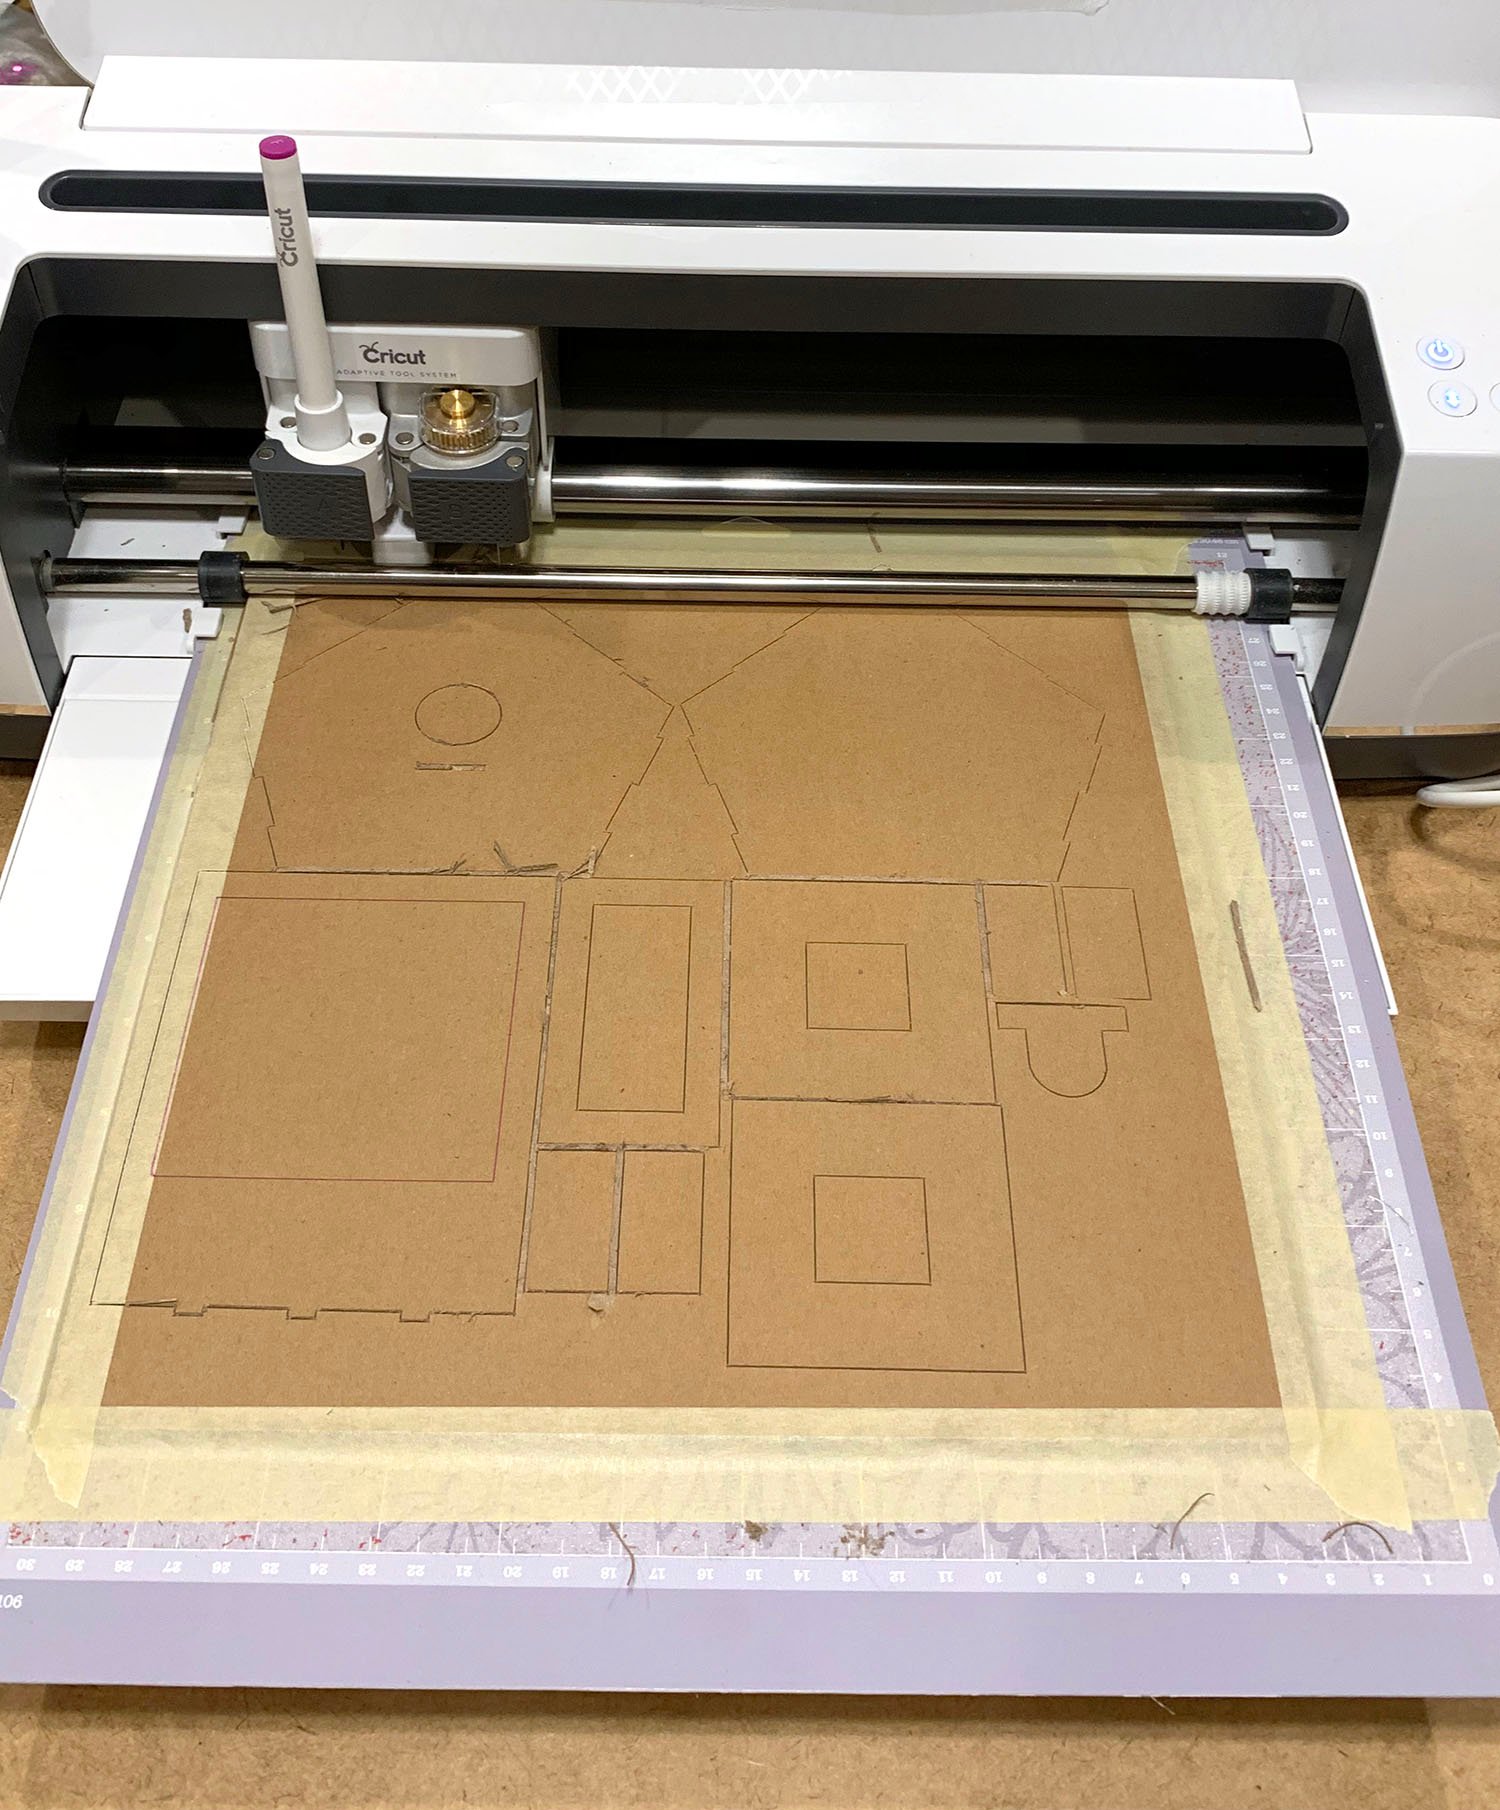
This cute little chipboard birdhouse is one of the “Make It Now” projects in Cricut Design Space, so the design process is as simple as opening up the BIRDHOUSE PROJECT FILE and starting to cut!
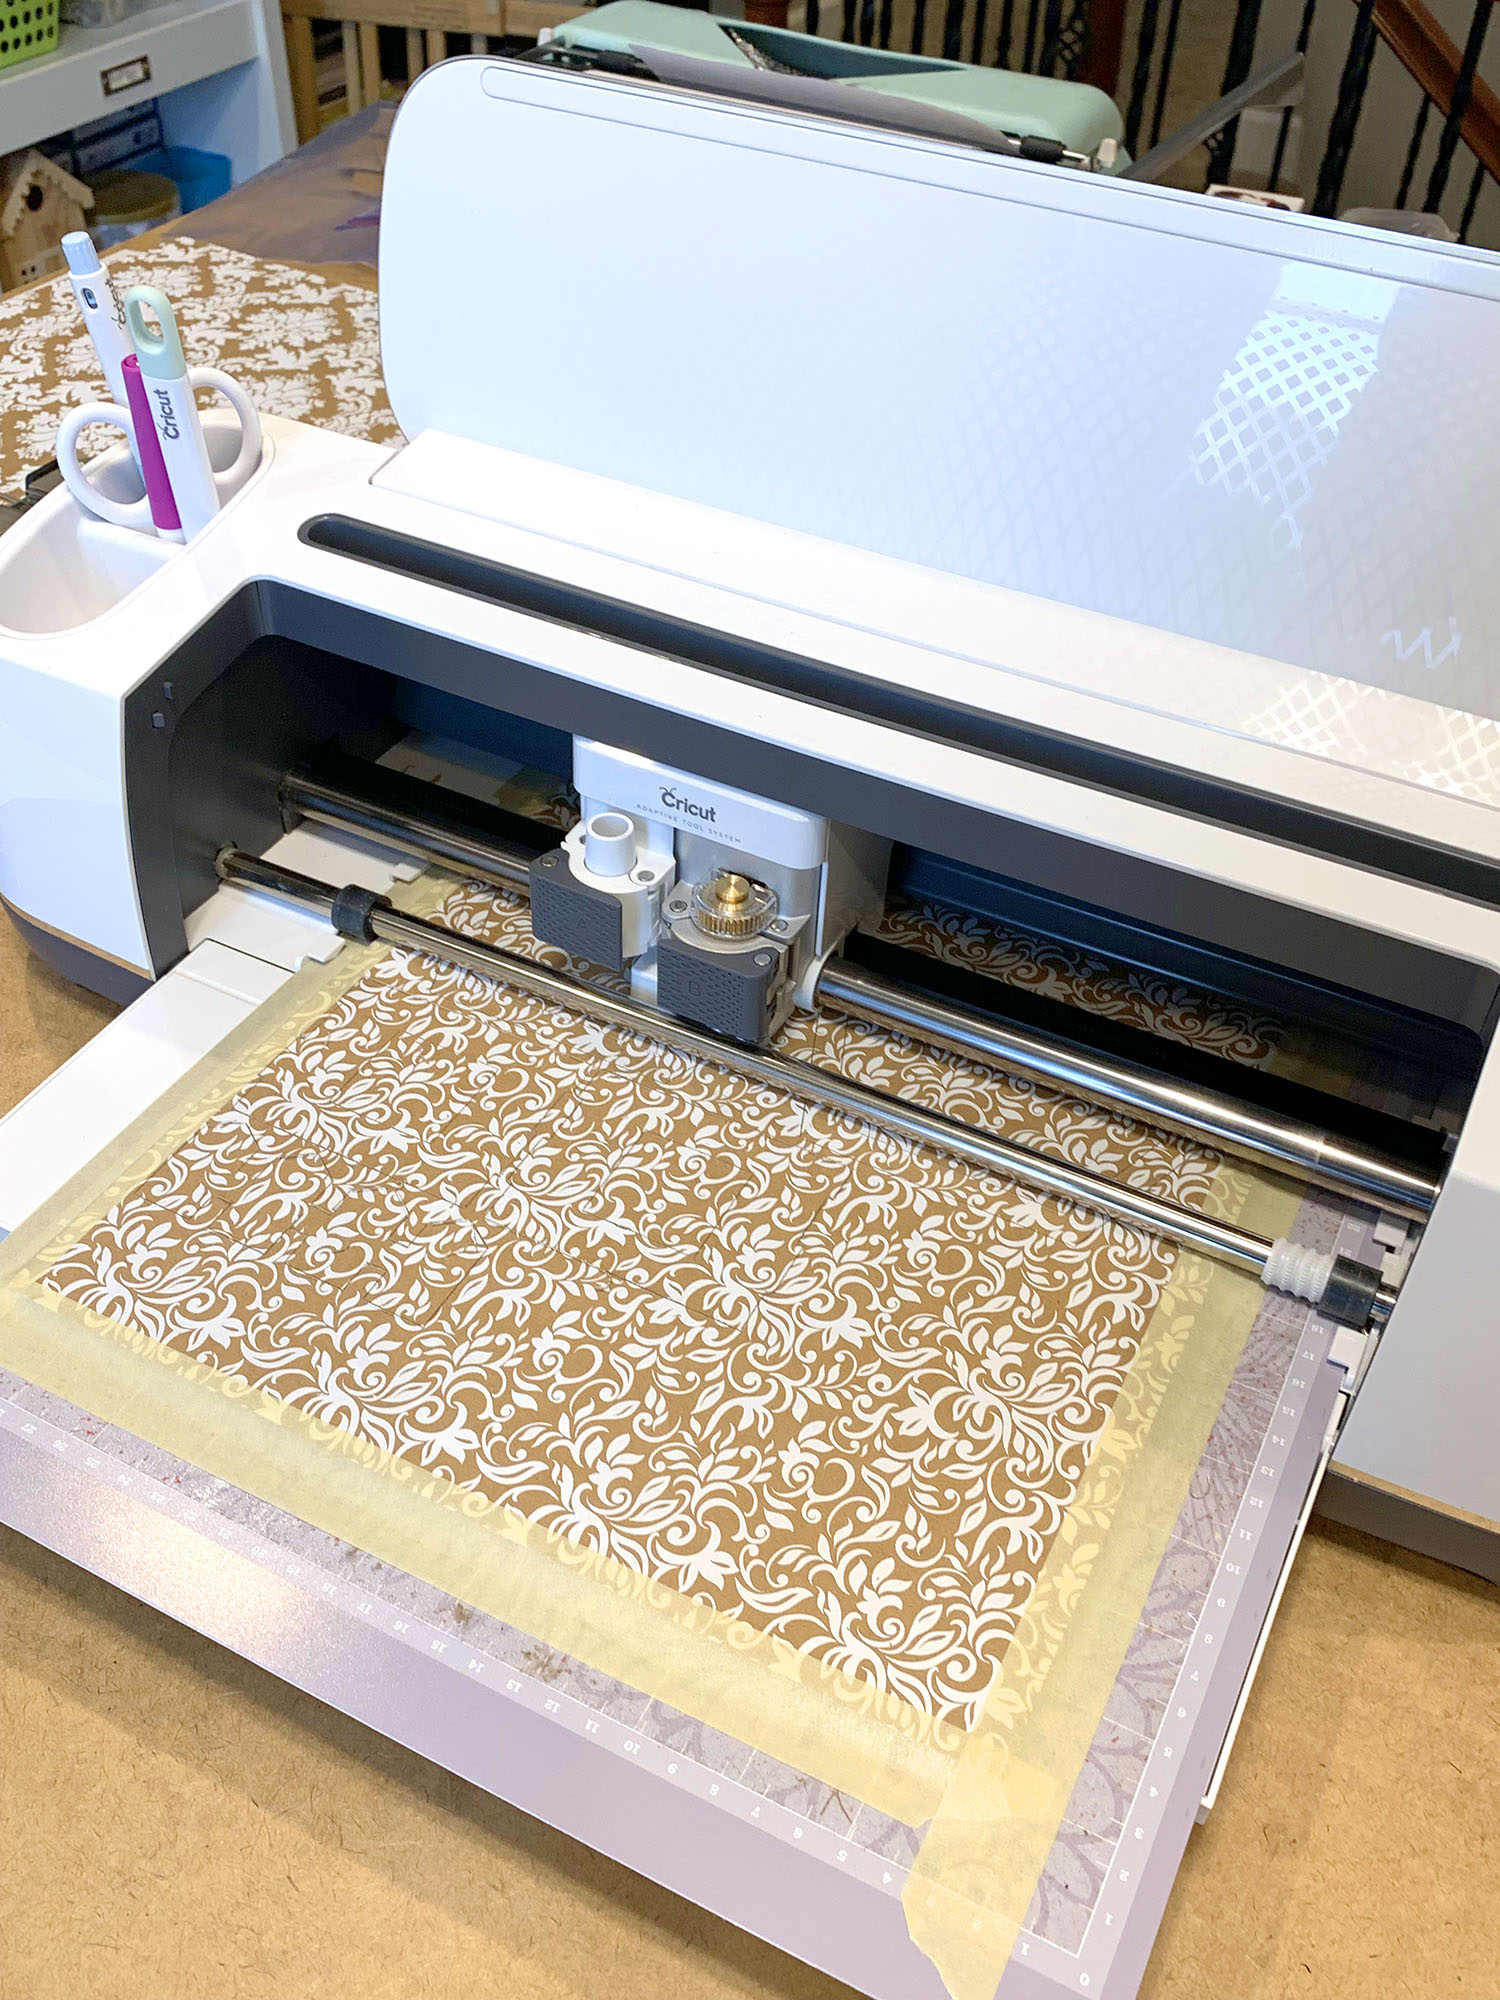
Using the Knife Blade and a Strong Grip Mat, I cut mat #1 from Damask Patterned Chipboard and mats #2 and #3 from Heavy Chipboard.
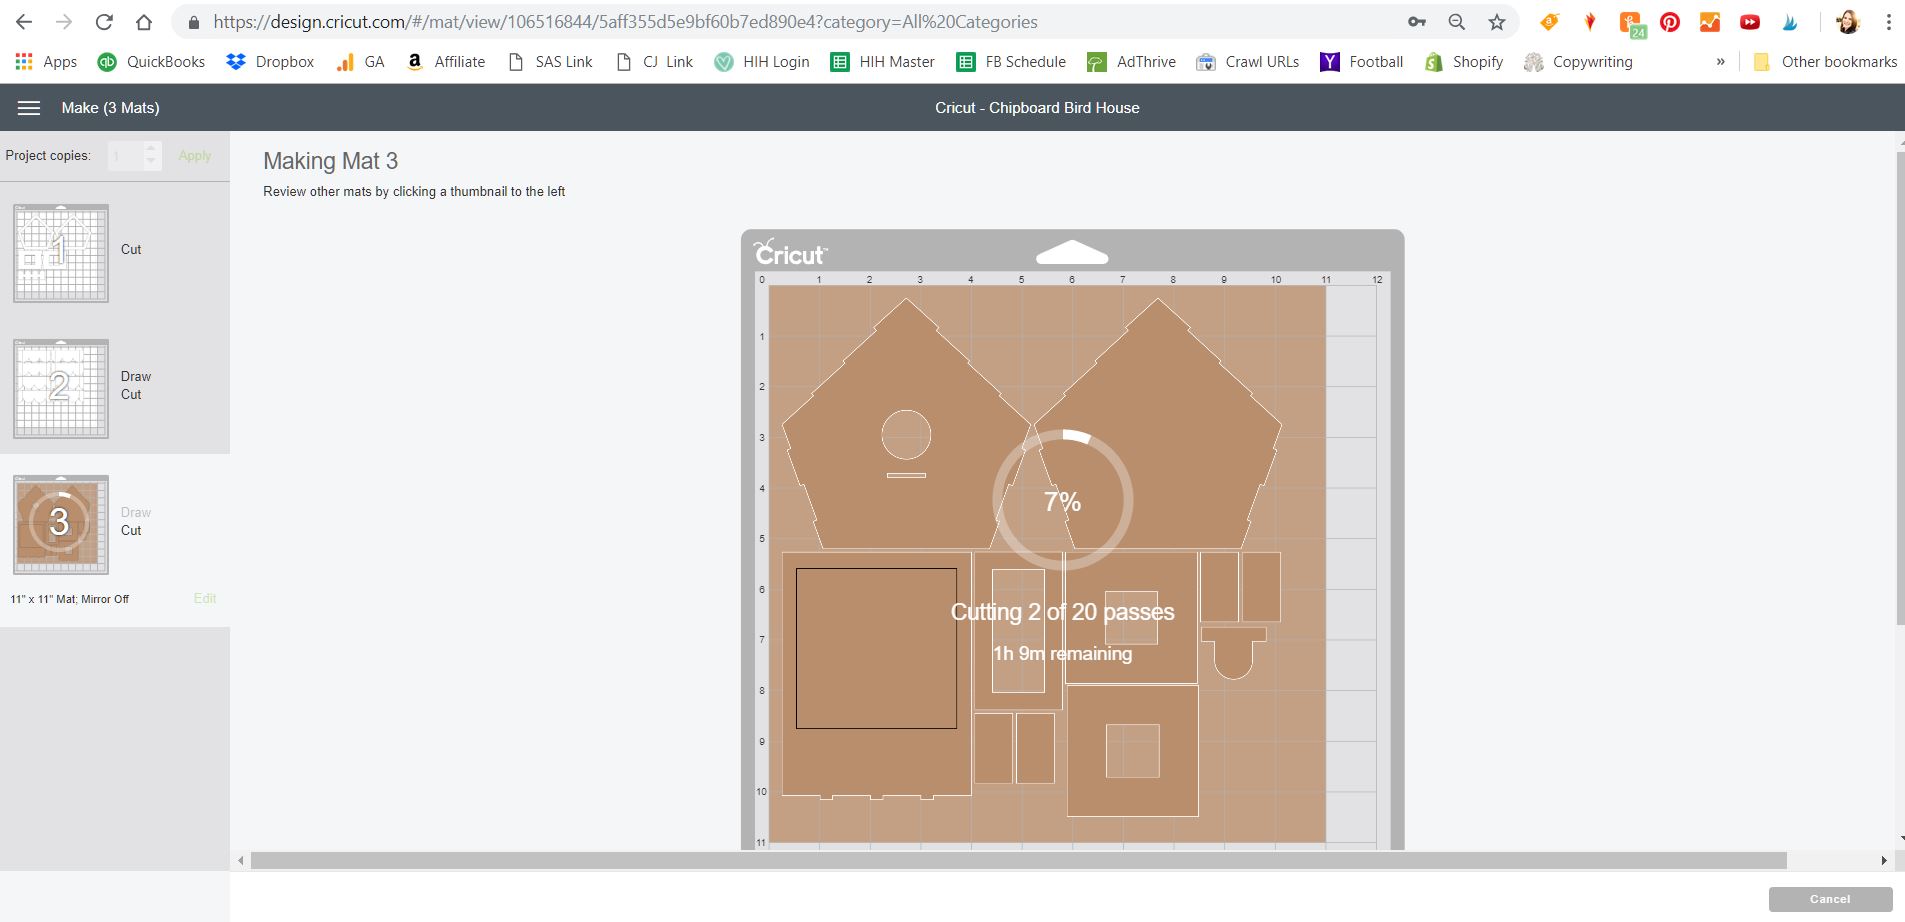
The screen in Design Space will let you know how many passes it will take for the cut and how much time is remaining. I recommend pausing the machine after you reach the 75% mark (and at each additional pass) to check and see if the cut has completed. I find that my knife blade cuts don’t always require the full amount of passes indicated, so I check it early to avoid doing any damage to my mat.
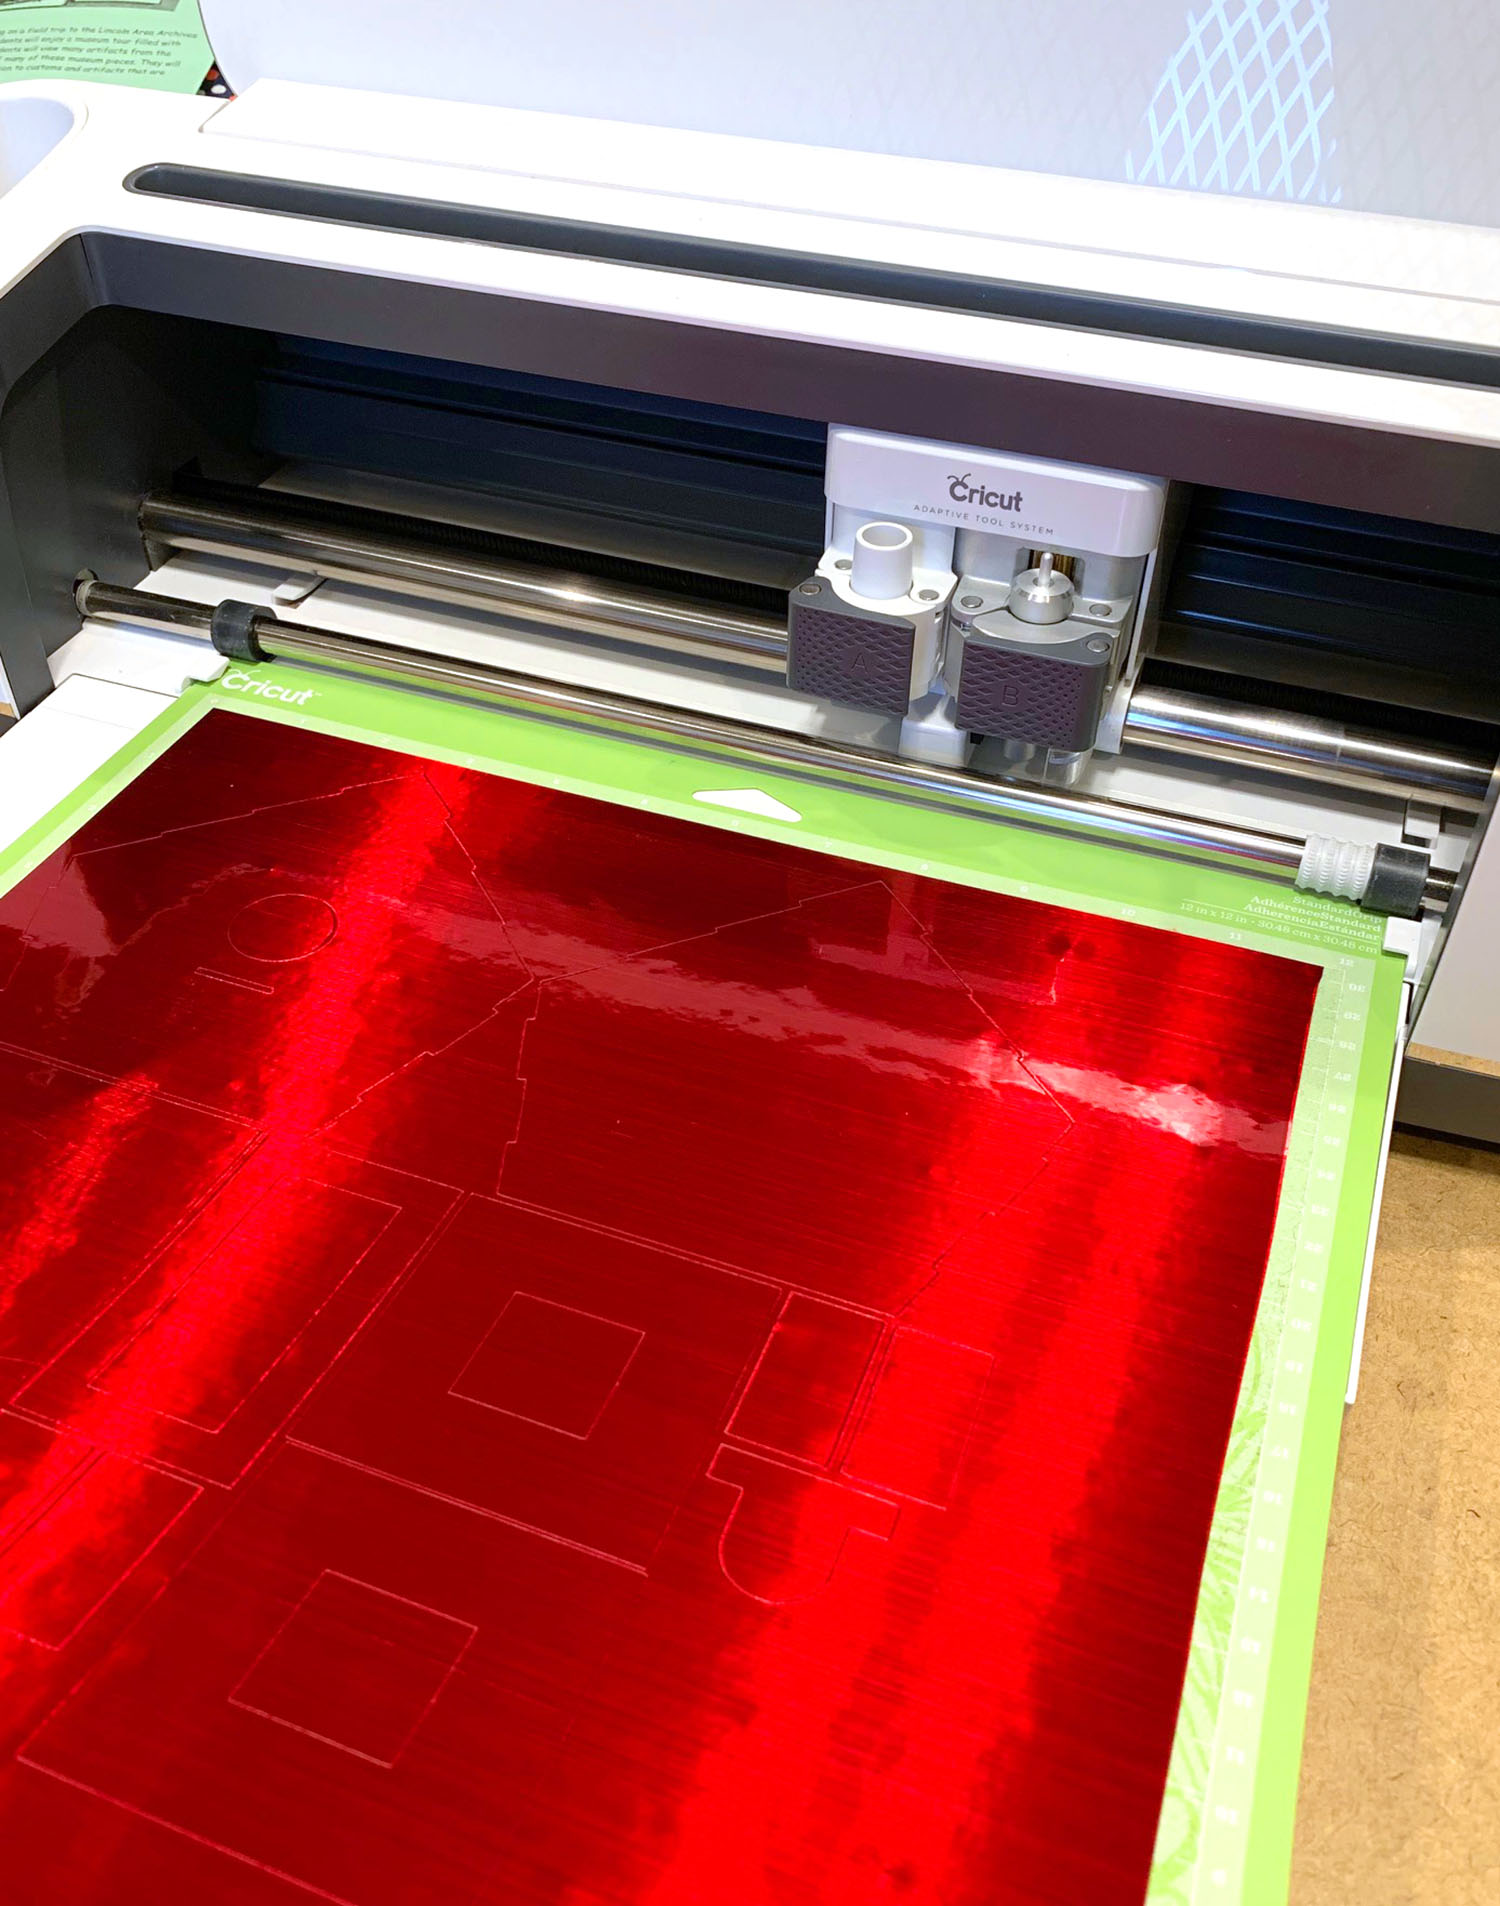
After cutting the chipboard pieces, I used the fine point blade to cut my adhesive foil, glitter vinyl, and premium permanent vinyls.
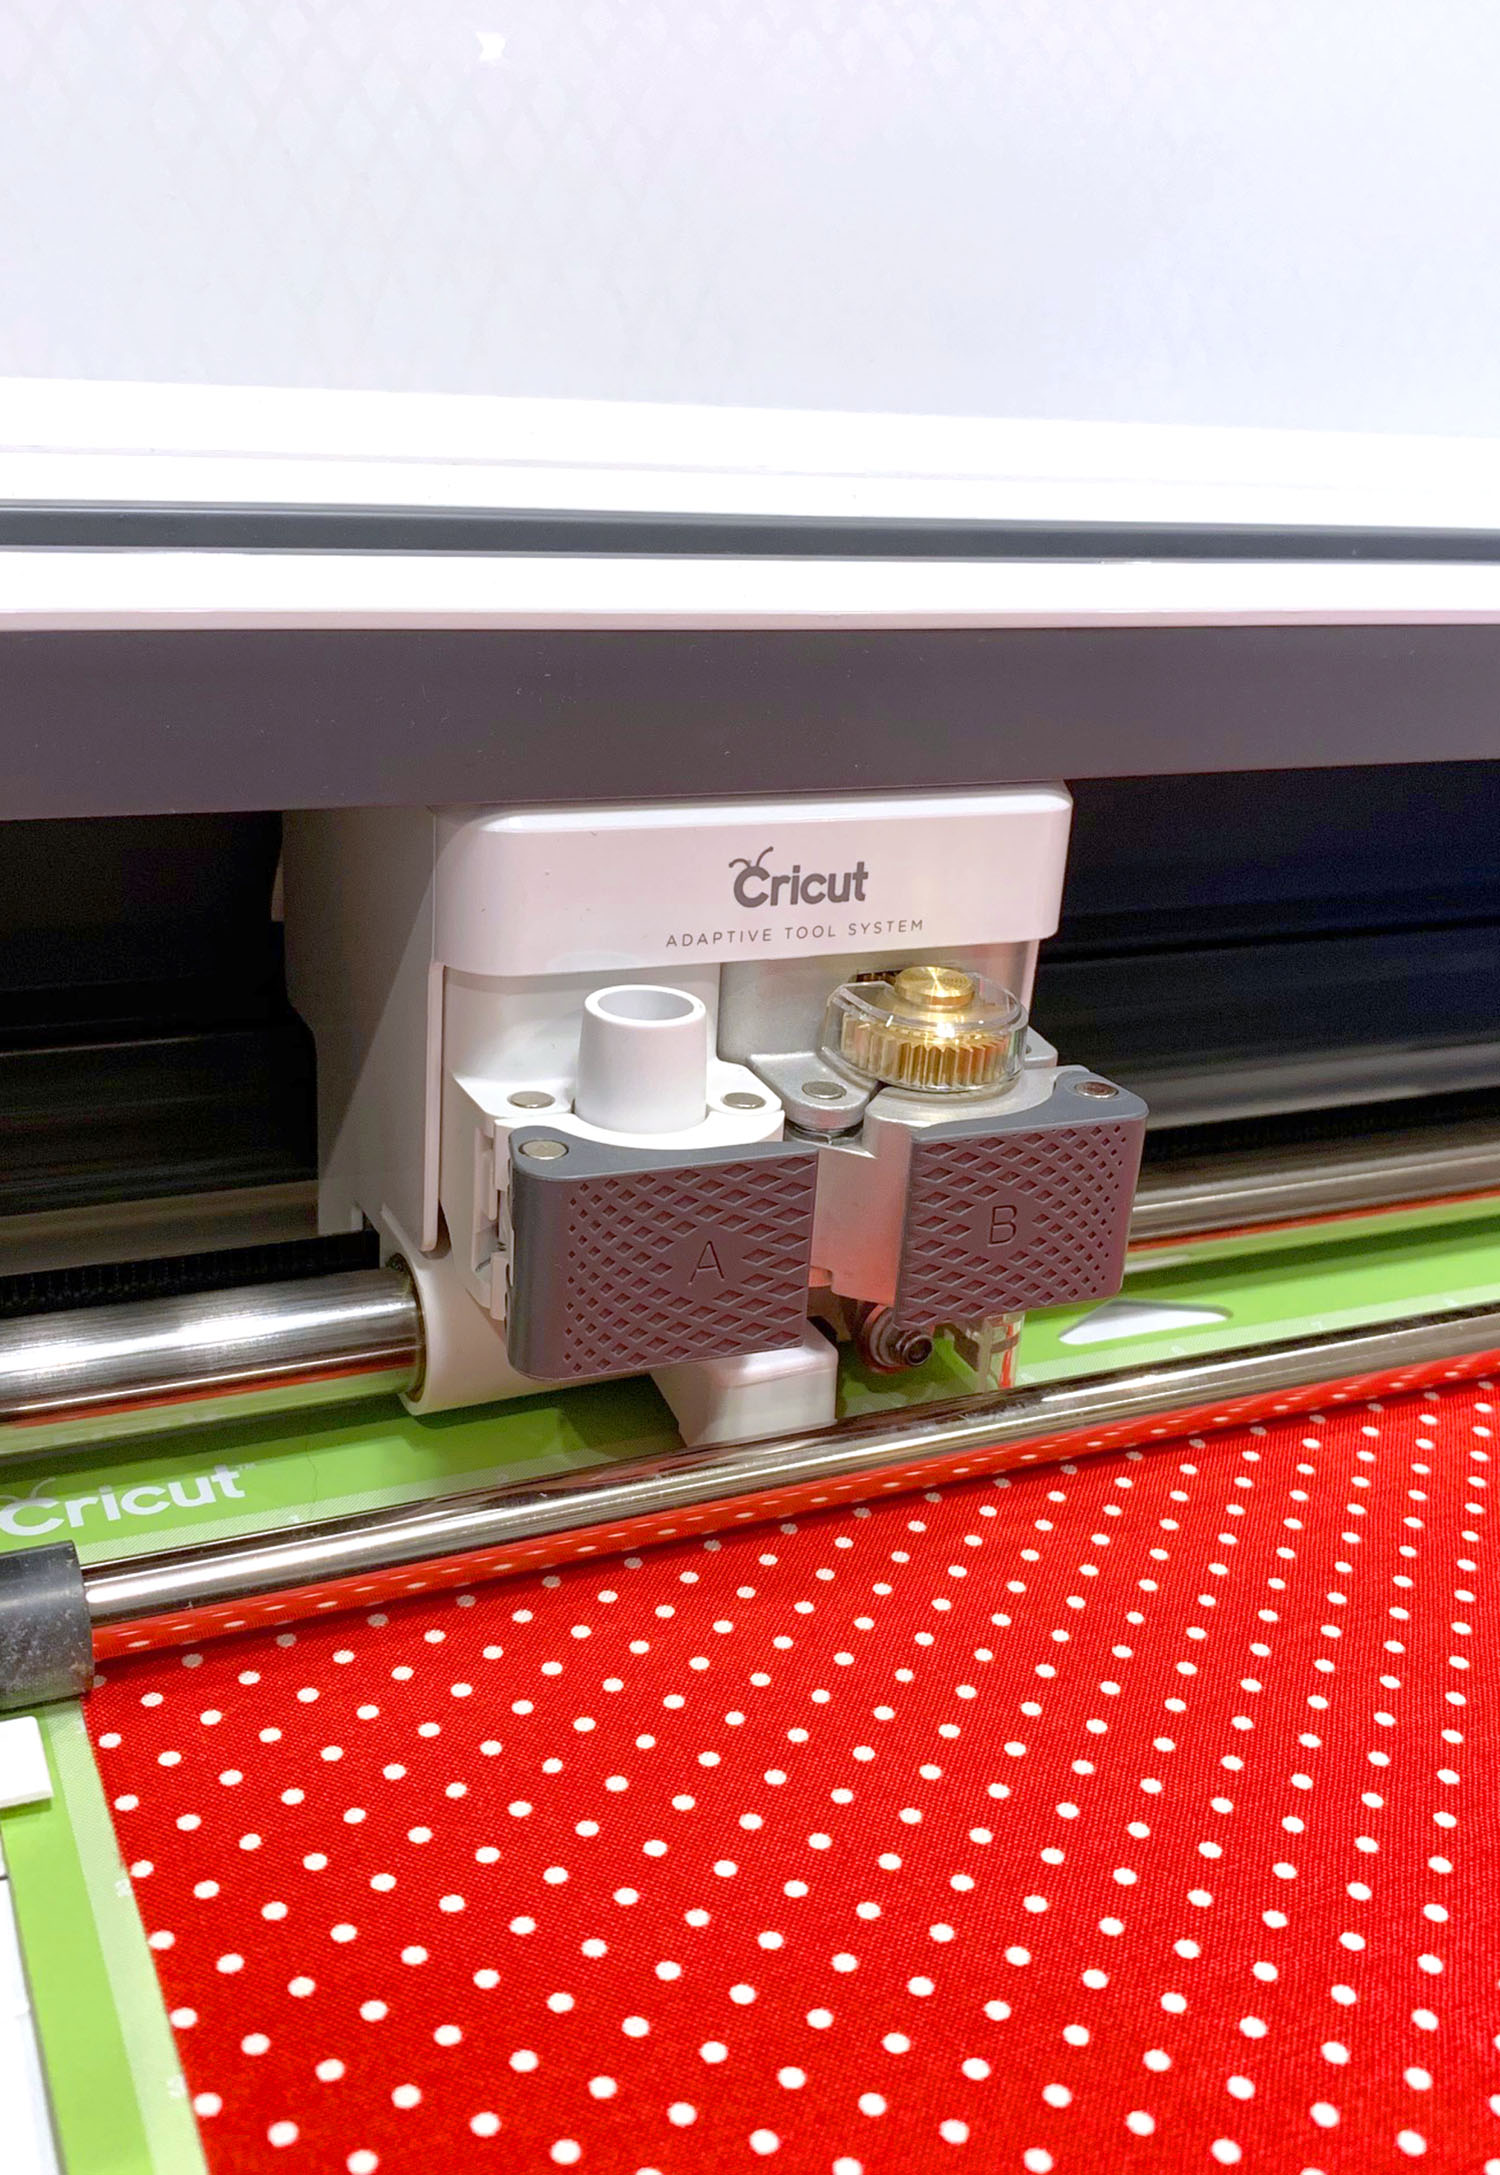
I switched over to the rotary blade to cut my fusible fabric for the scalloped roof tiles – polka dots and scalloped edges are two of my most favorite things EVER, so I seriously can’t get enough of this cute combination! The Maker’s Adaptive Tool System makes it SUPER easy to switch between the different tools, so I can cut everything from thick chipboard to fine fabrics without skipping a beat!
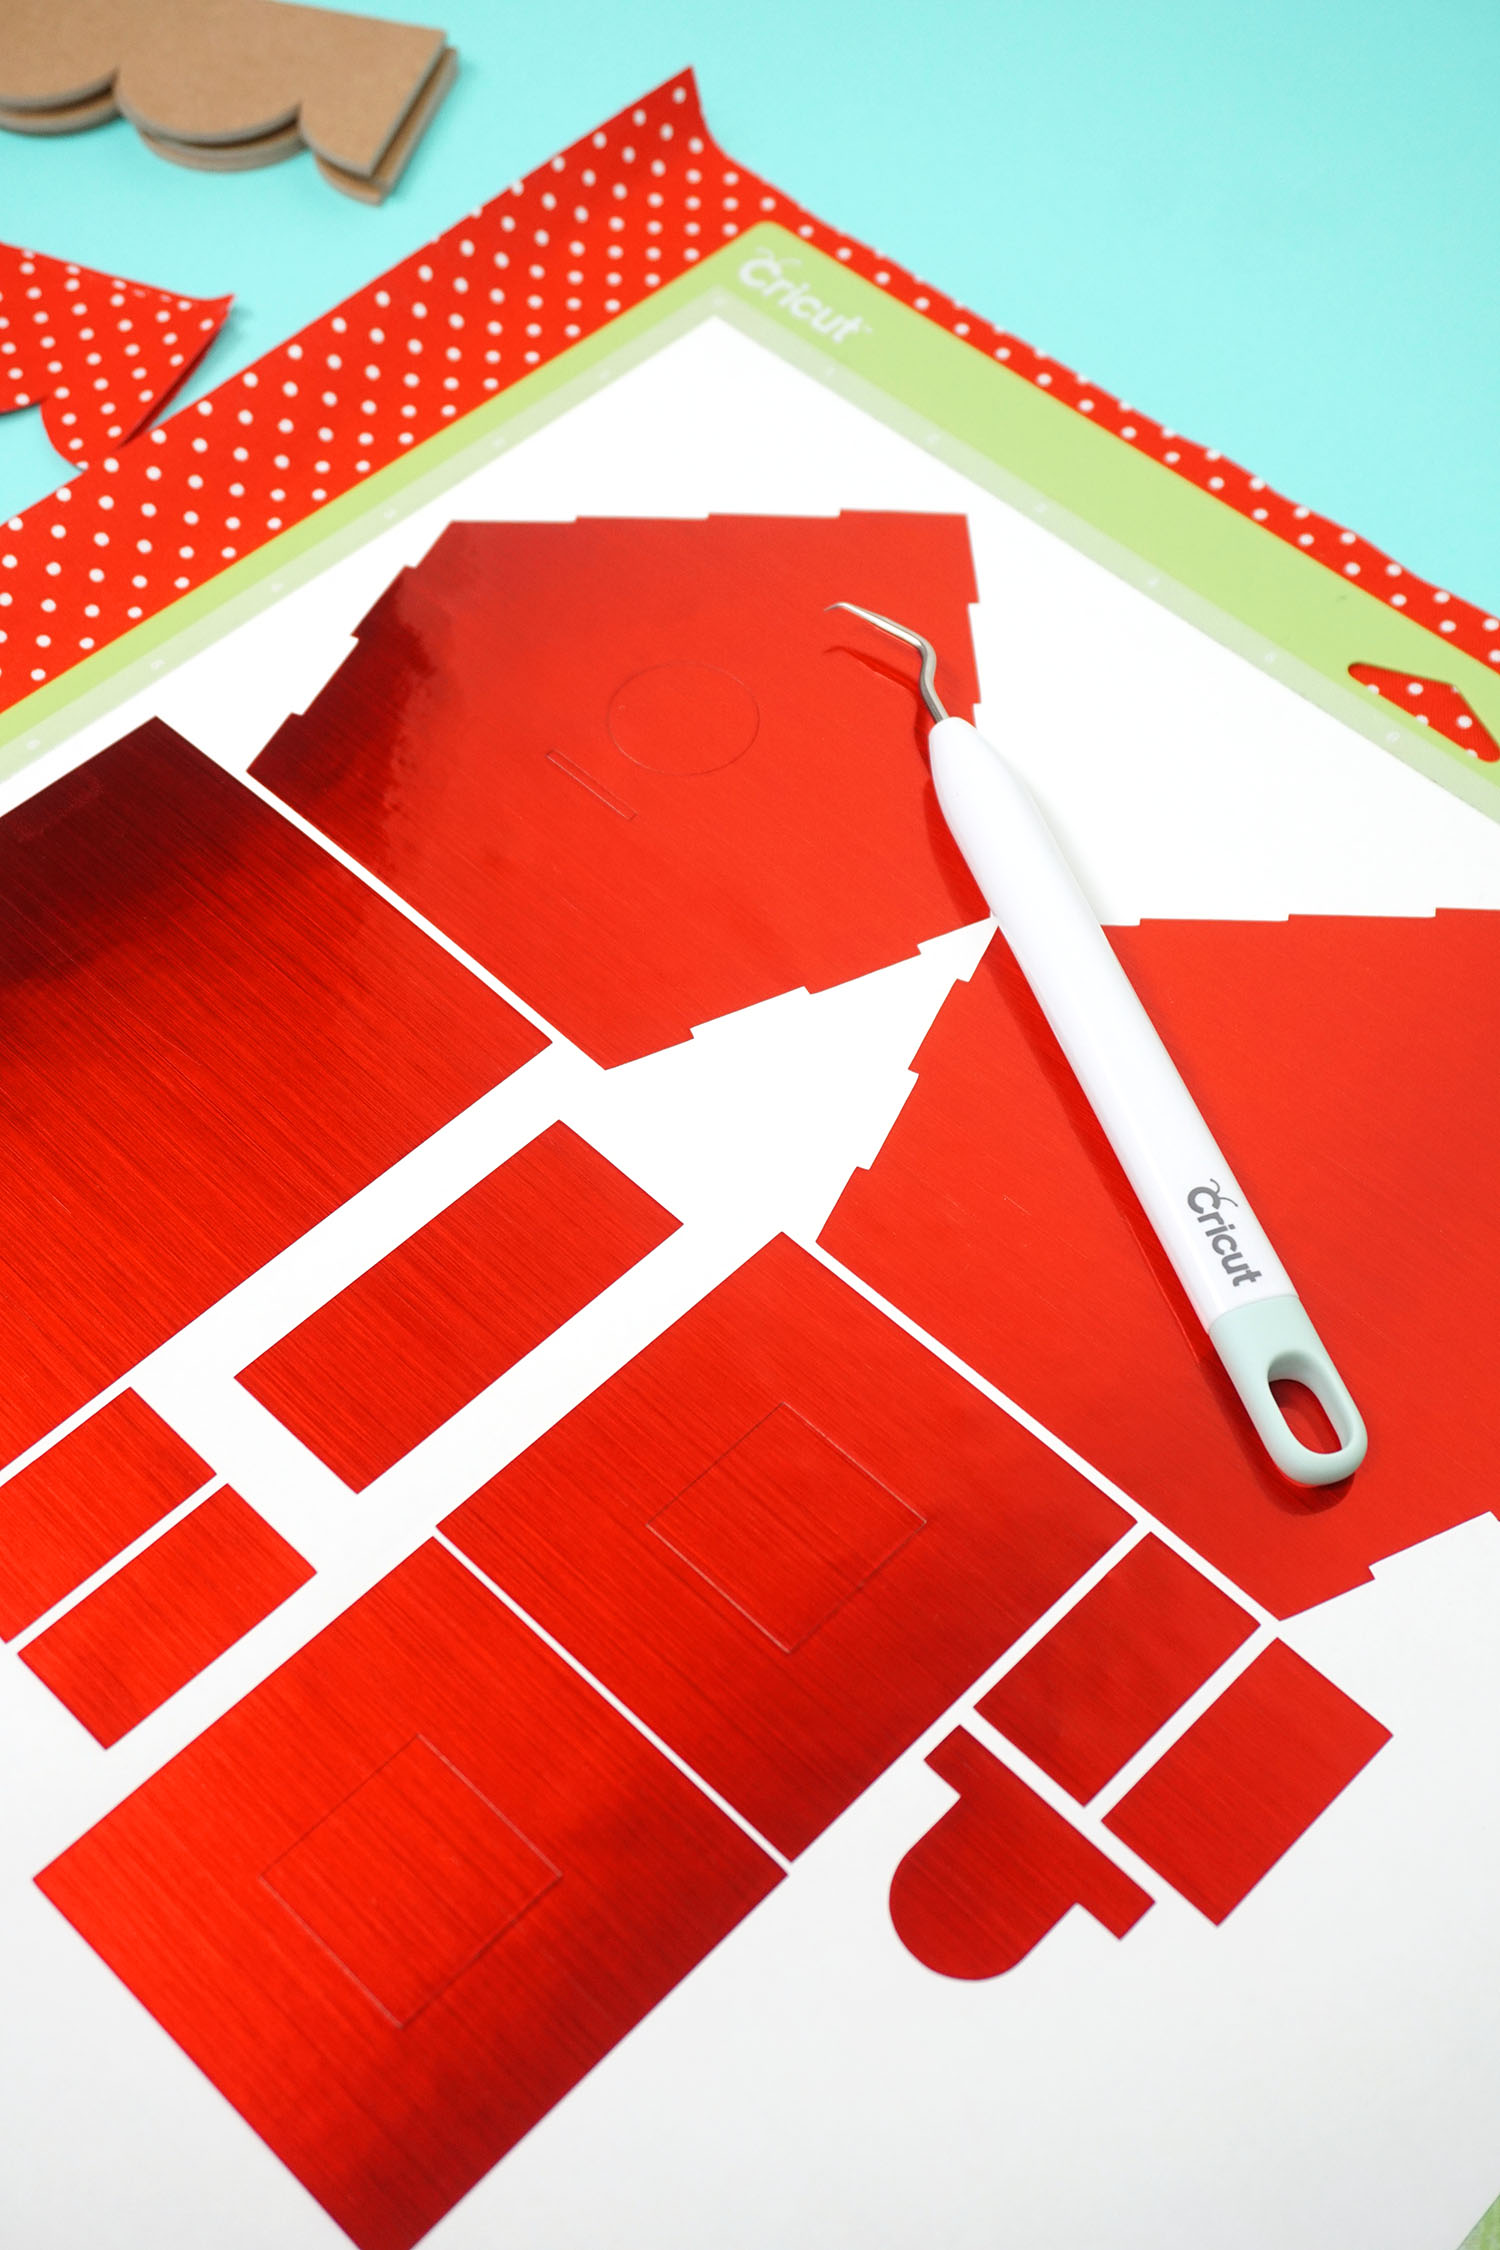
After all of my pieces were cut, I got to work weeding the adhesive vinyls with my favorite hooked weeding tool (if you don’t have one of these yet, you need one! It’s hands-down my favorite hand tool around!). This red stainless brushed foil is so pretty and shiny!
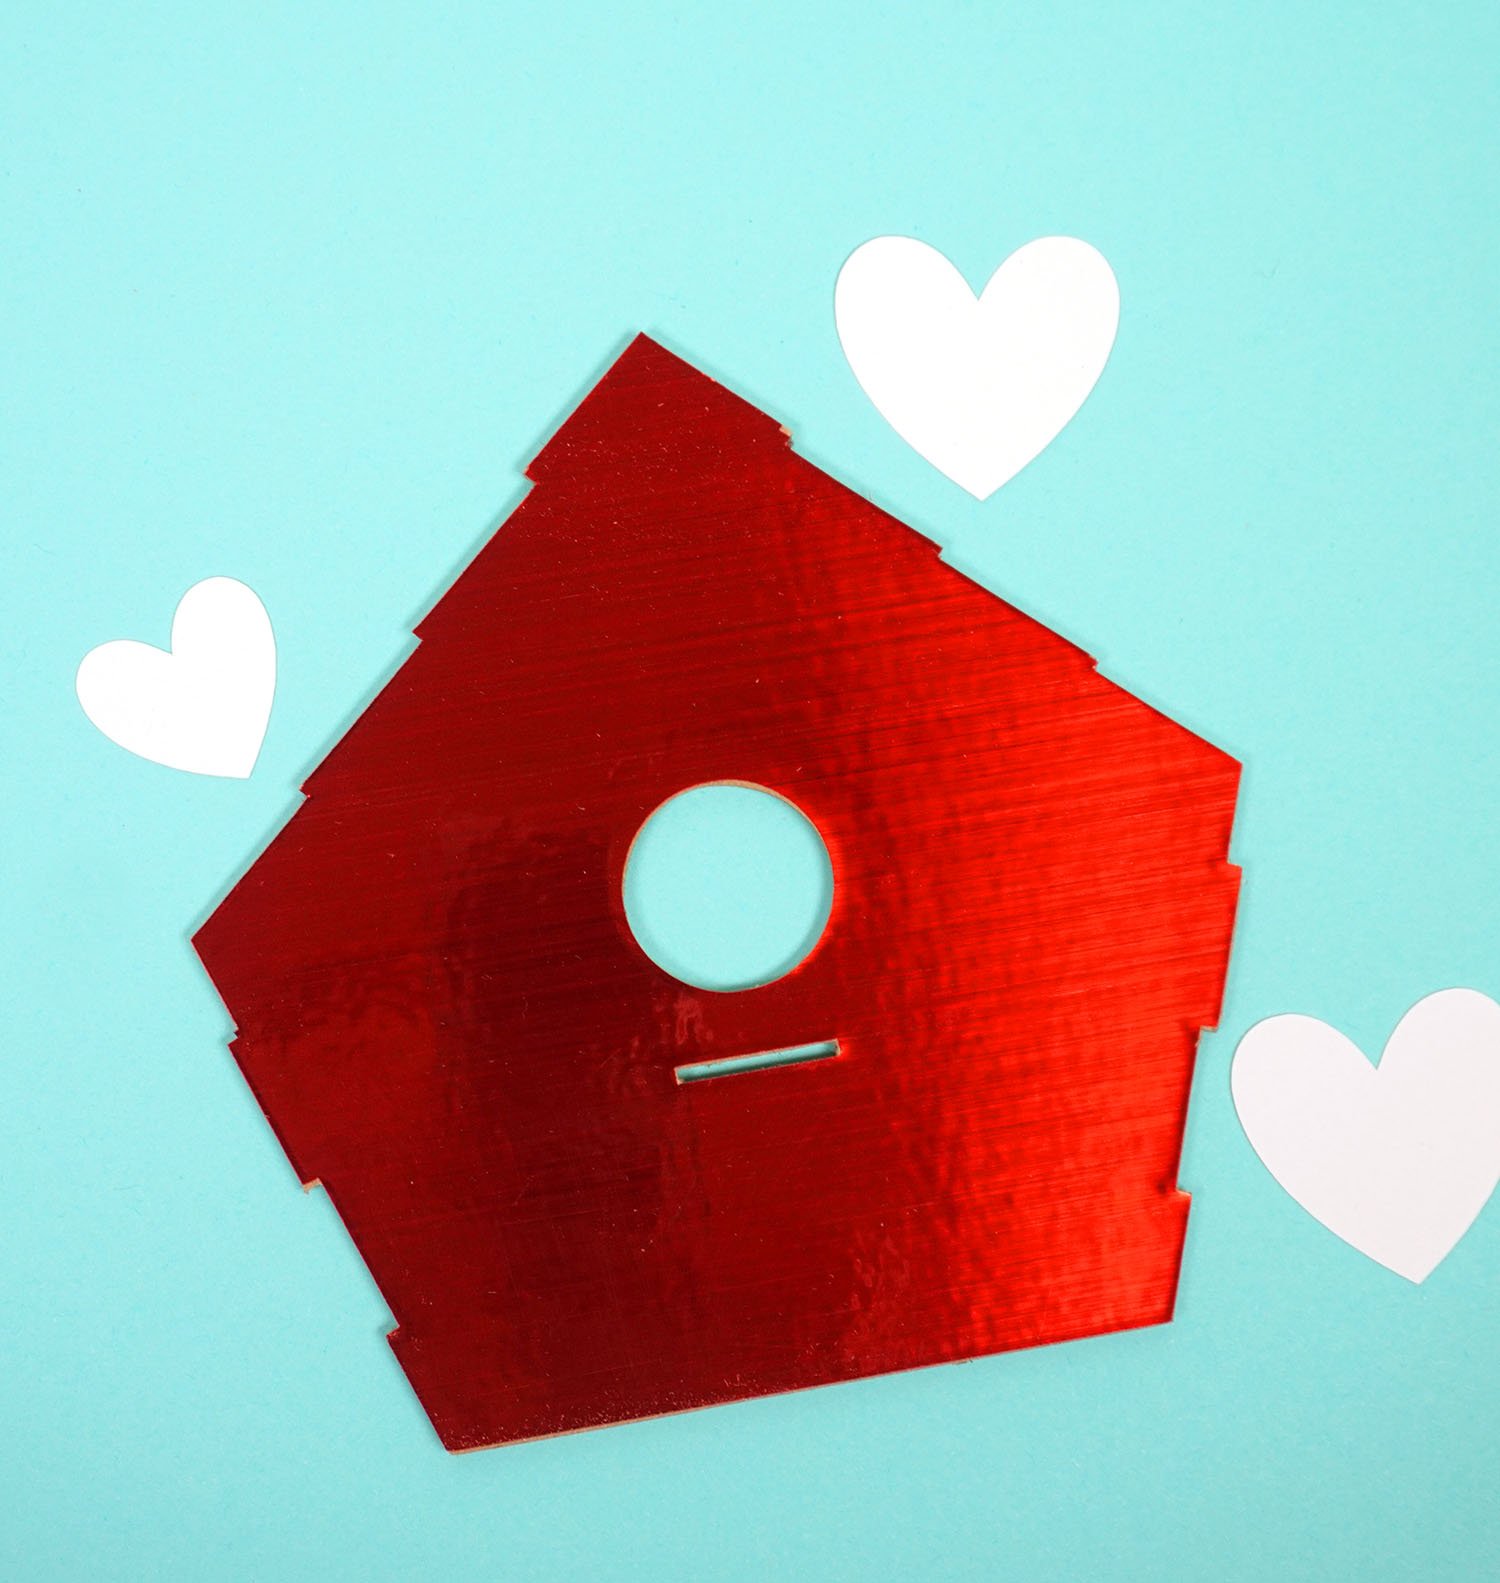
I carefully applied the vinyl to the tops of the chipboard pieces, making sure to line up the edges neatly.
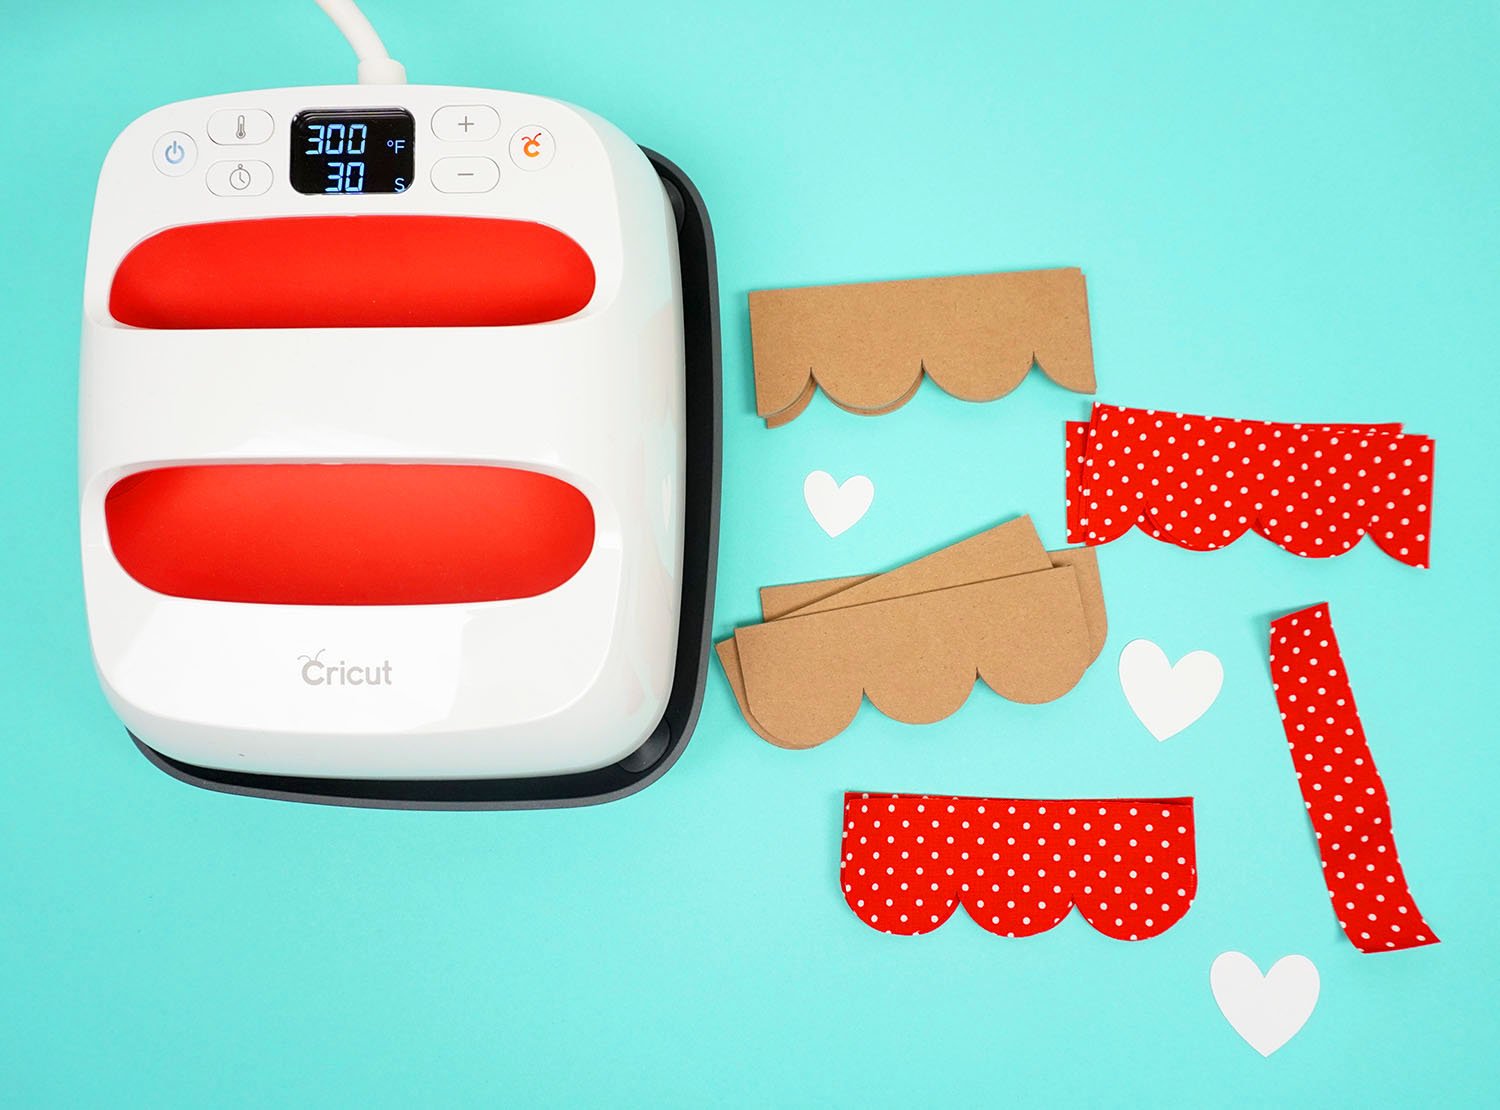
To decorate the scalloped roof tiles, I used my Cricut EasyPress to apply fusible fabric to the chipboard pieces. Please note that in the Interactive Quick Reference Guide, Cricut does not recommend using the EasyPress in combination with chipboard and fusible fabric, but I’ve found that it works really well!
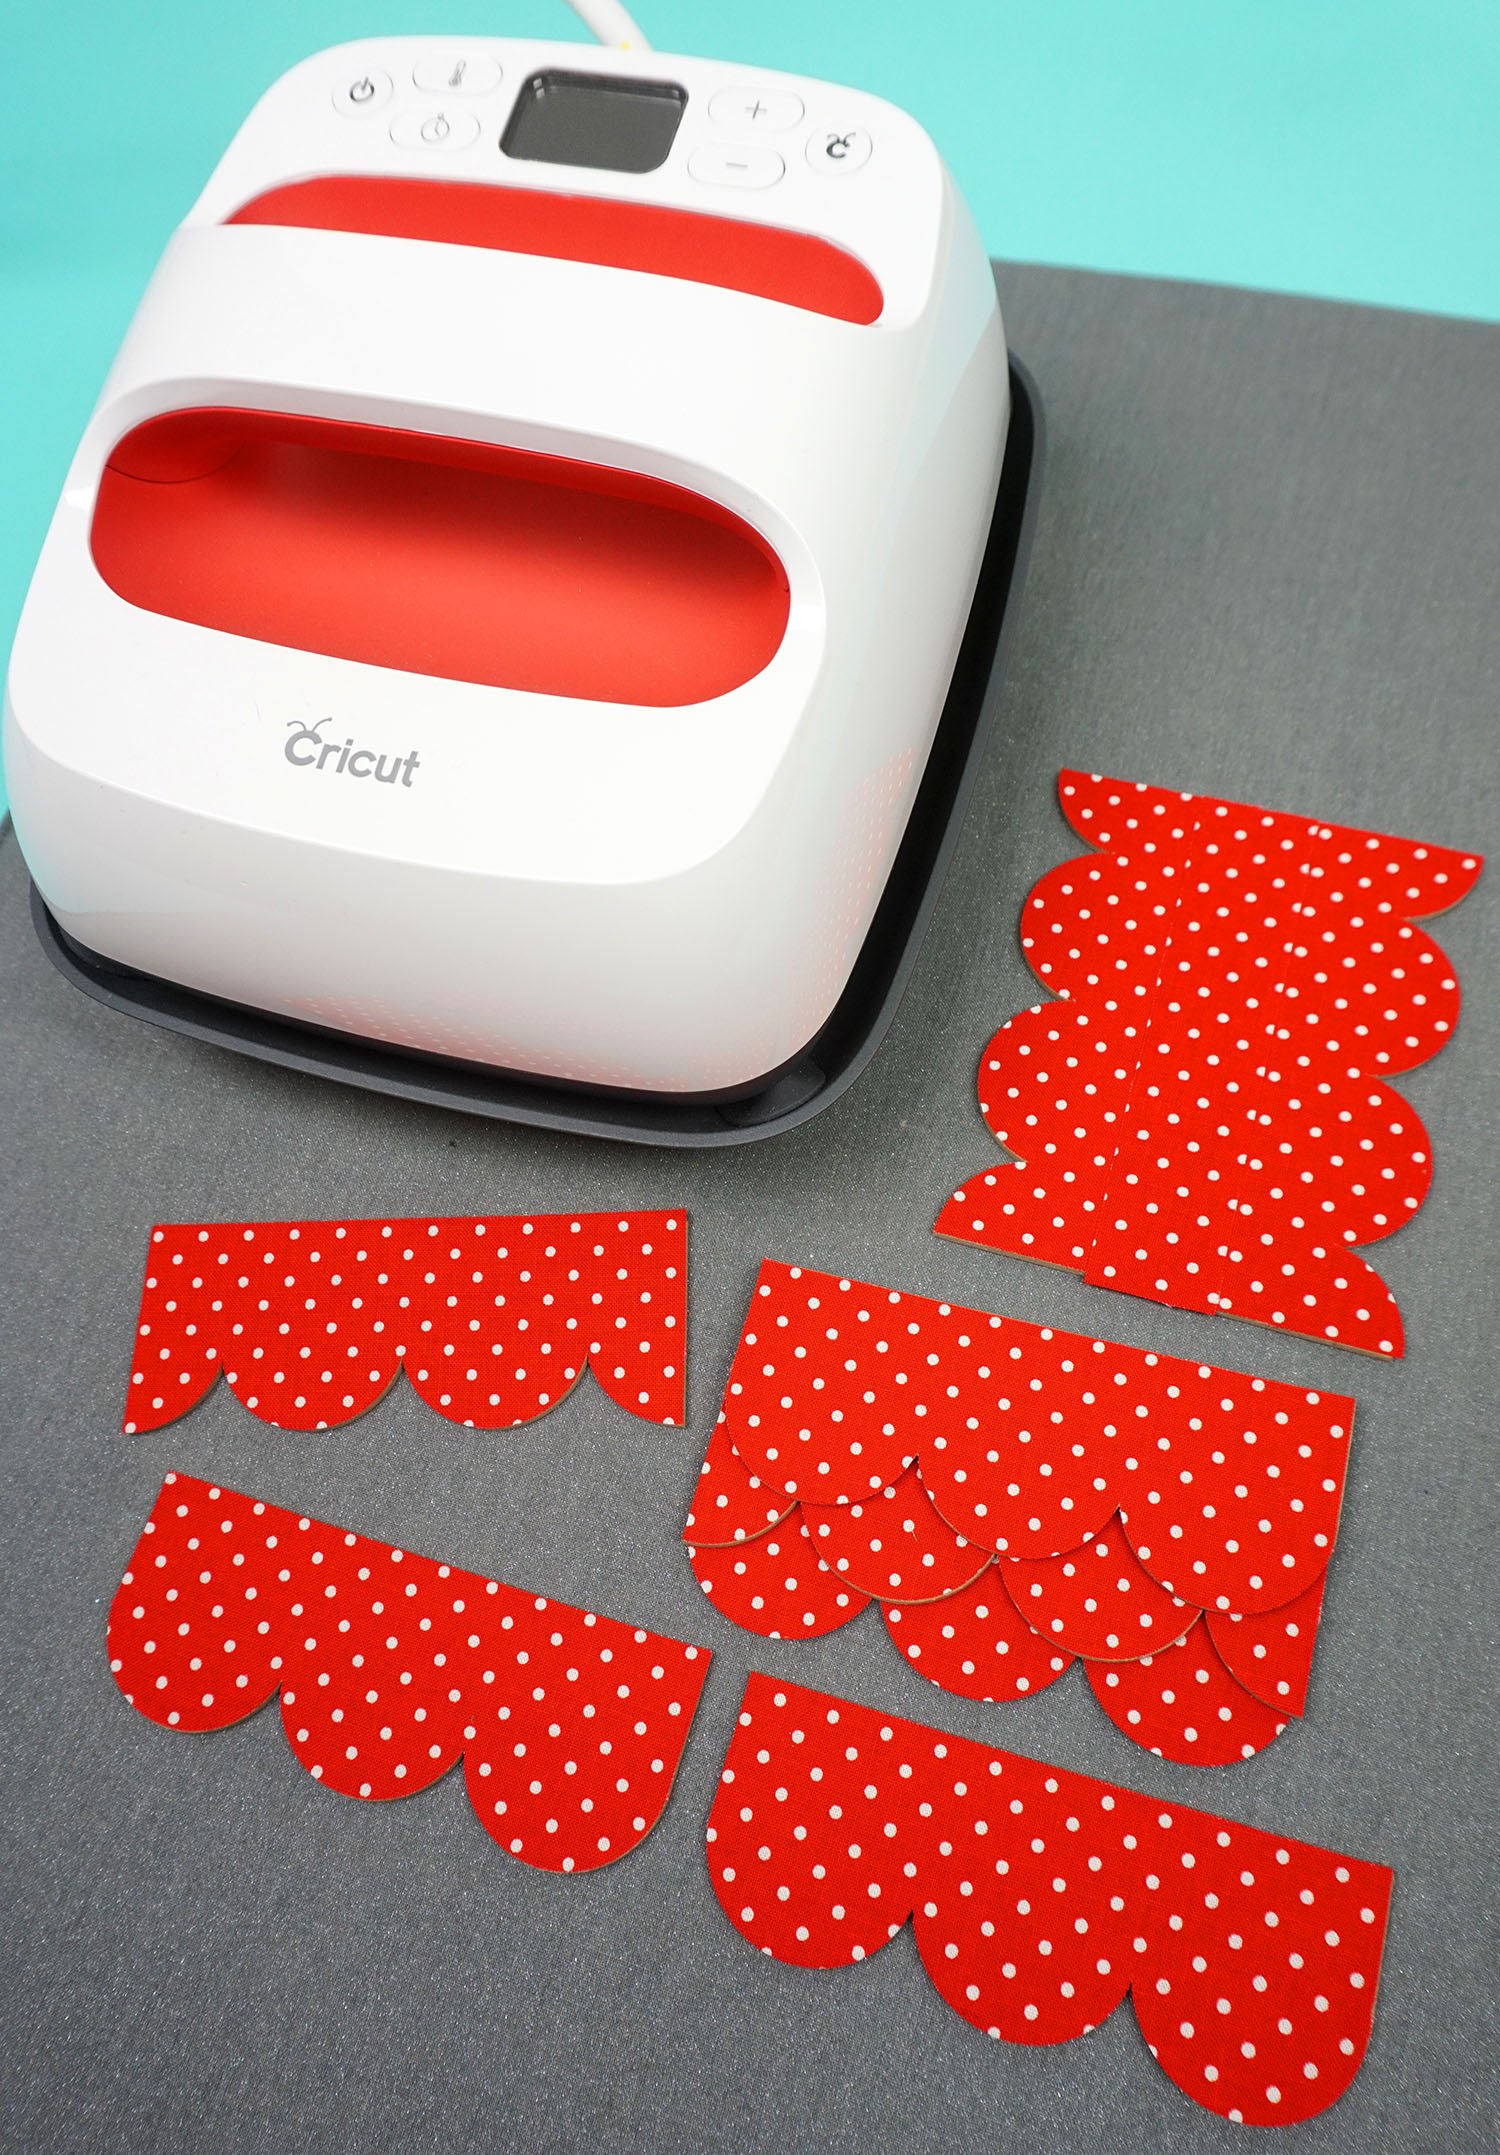
I set the temperature at 300 degrees for 30 seconds with a double layer of parchment paper between the EasyPress 2 and the fabric. The chipboard started to warp ever so slightly under the heat, so I immediately placed my pieces under a heavy book while they were cooling, and they turned out perfectly!
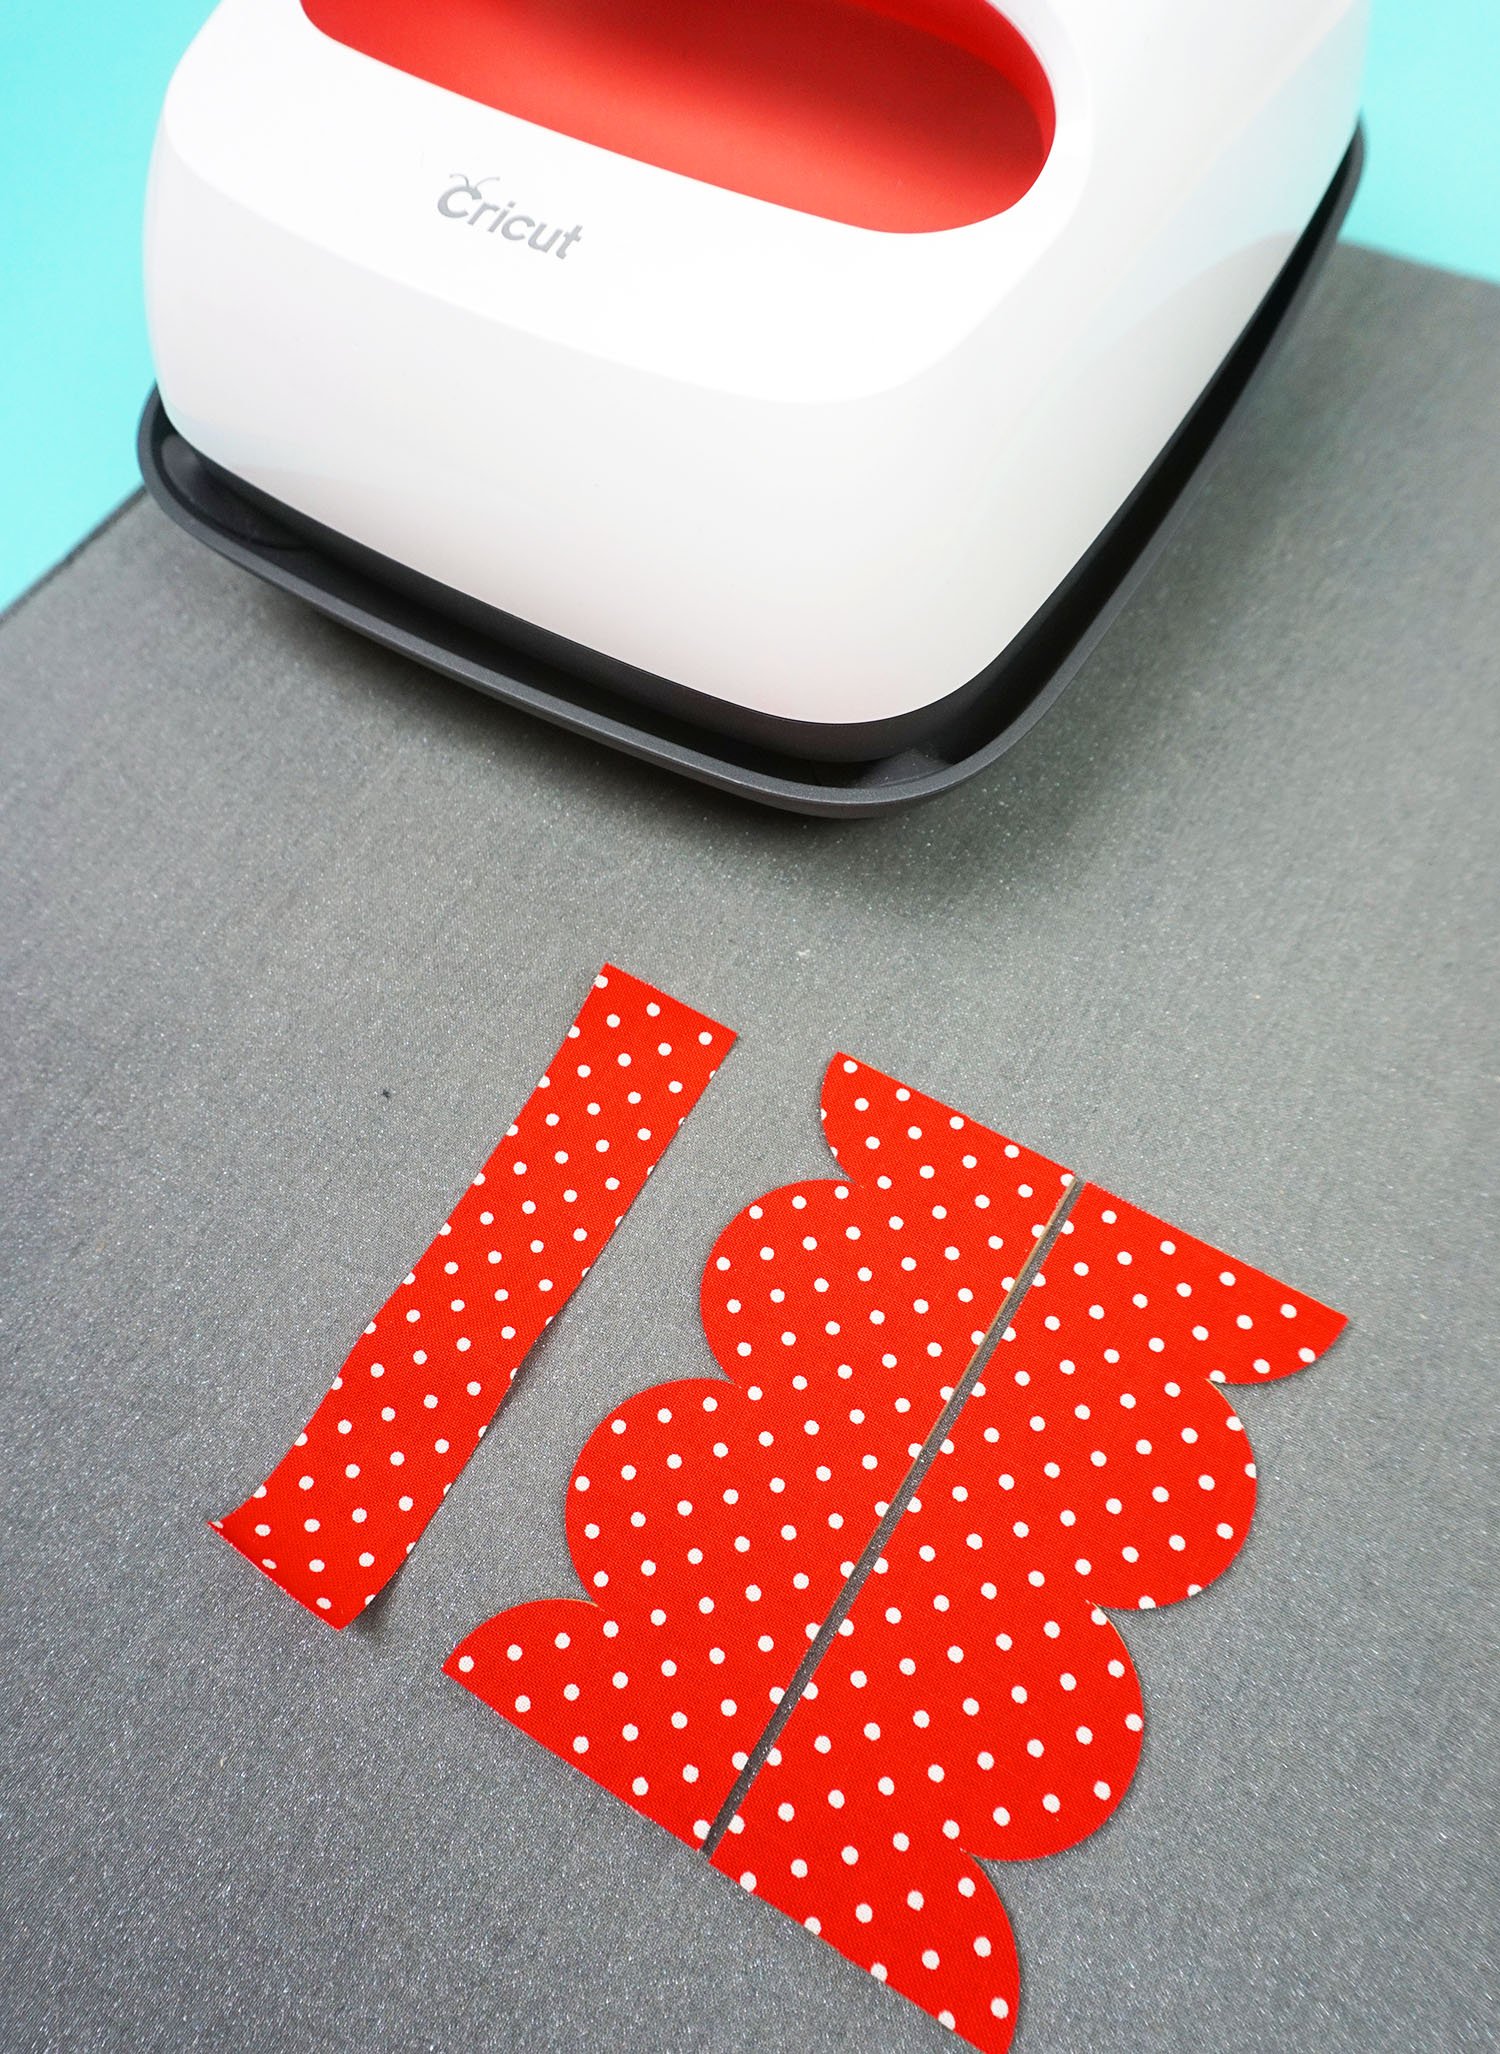
The main reason that I chose to use fusible fabric on the roof tiles vs any other material is that the fusible fabric is a durable and flexible material that will functions well as a “hinge” for the roof of the card box to open and close. To create the hinge, I placed the top two roof tiles side-by-side with a bit of space in between to allow for the pieces to fold, and I used the EasyPress 2 to iron on an additional strip of fusible fabric down the center to join the pieces together.
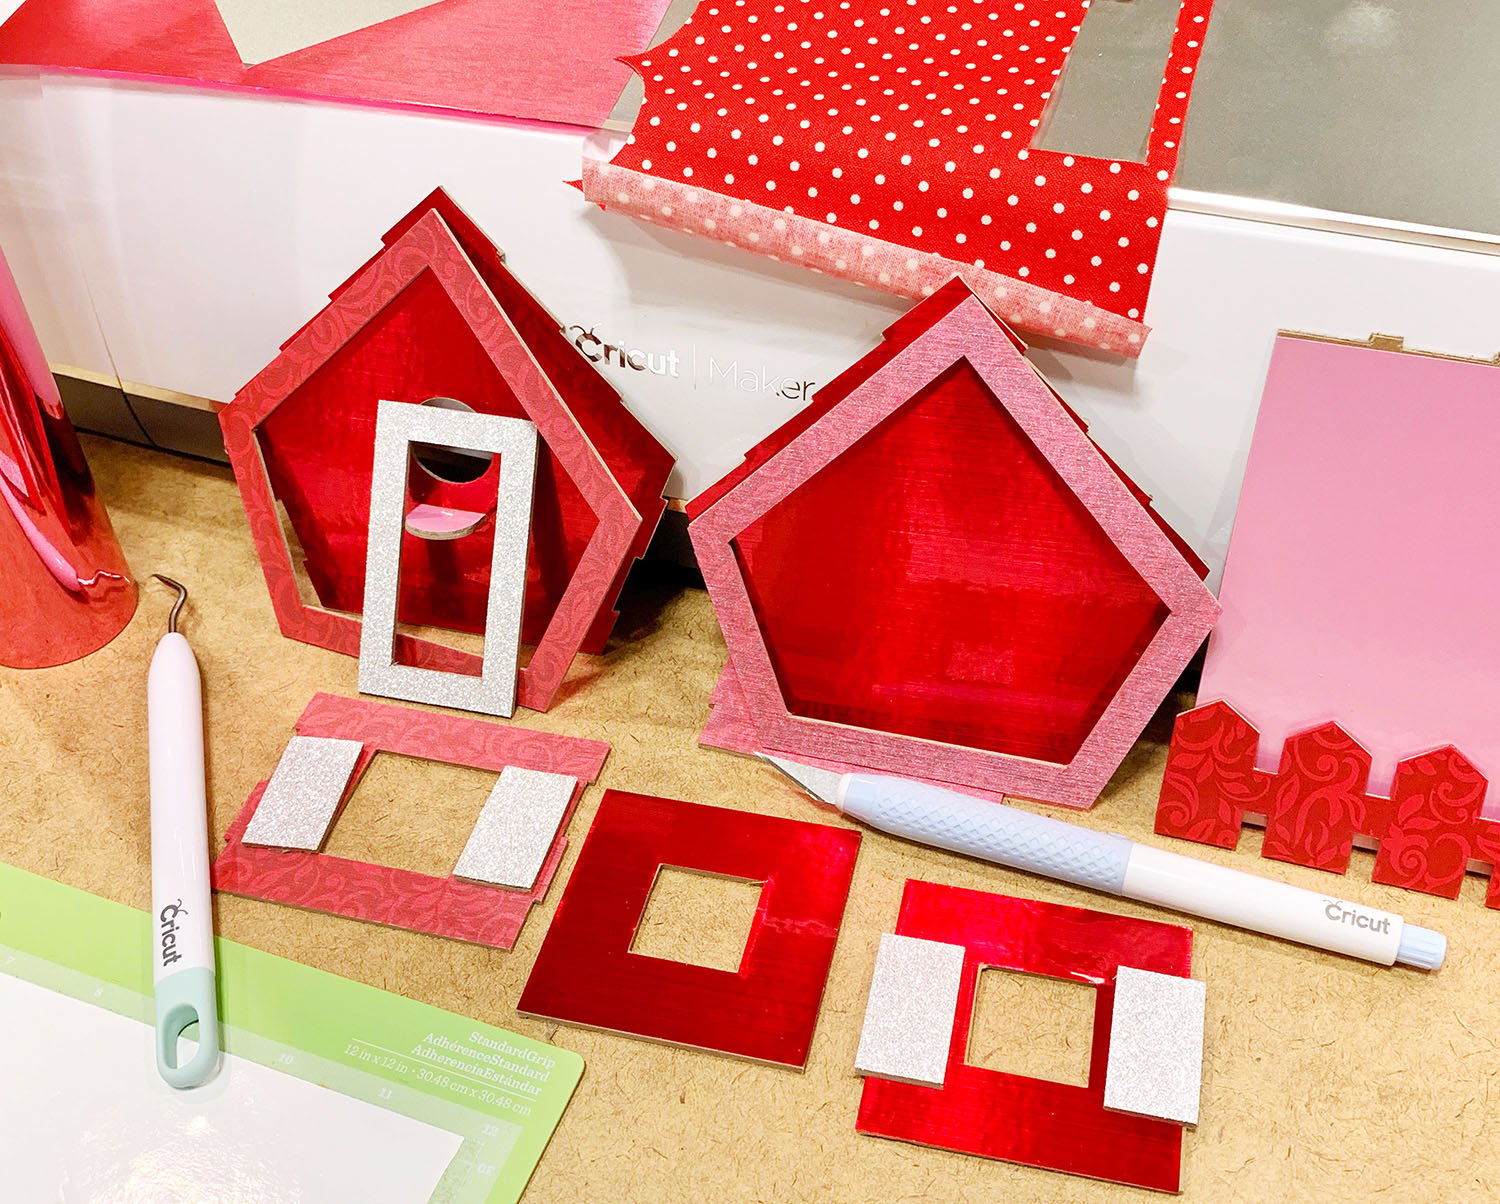
Once all of the pieces were decorated with vinyl and fabric, I began to lay out and assemble the birdhouse panels according to the instructions in the project file.
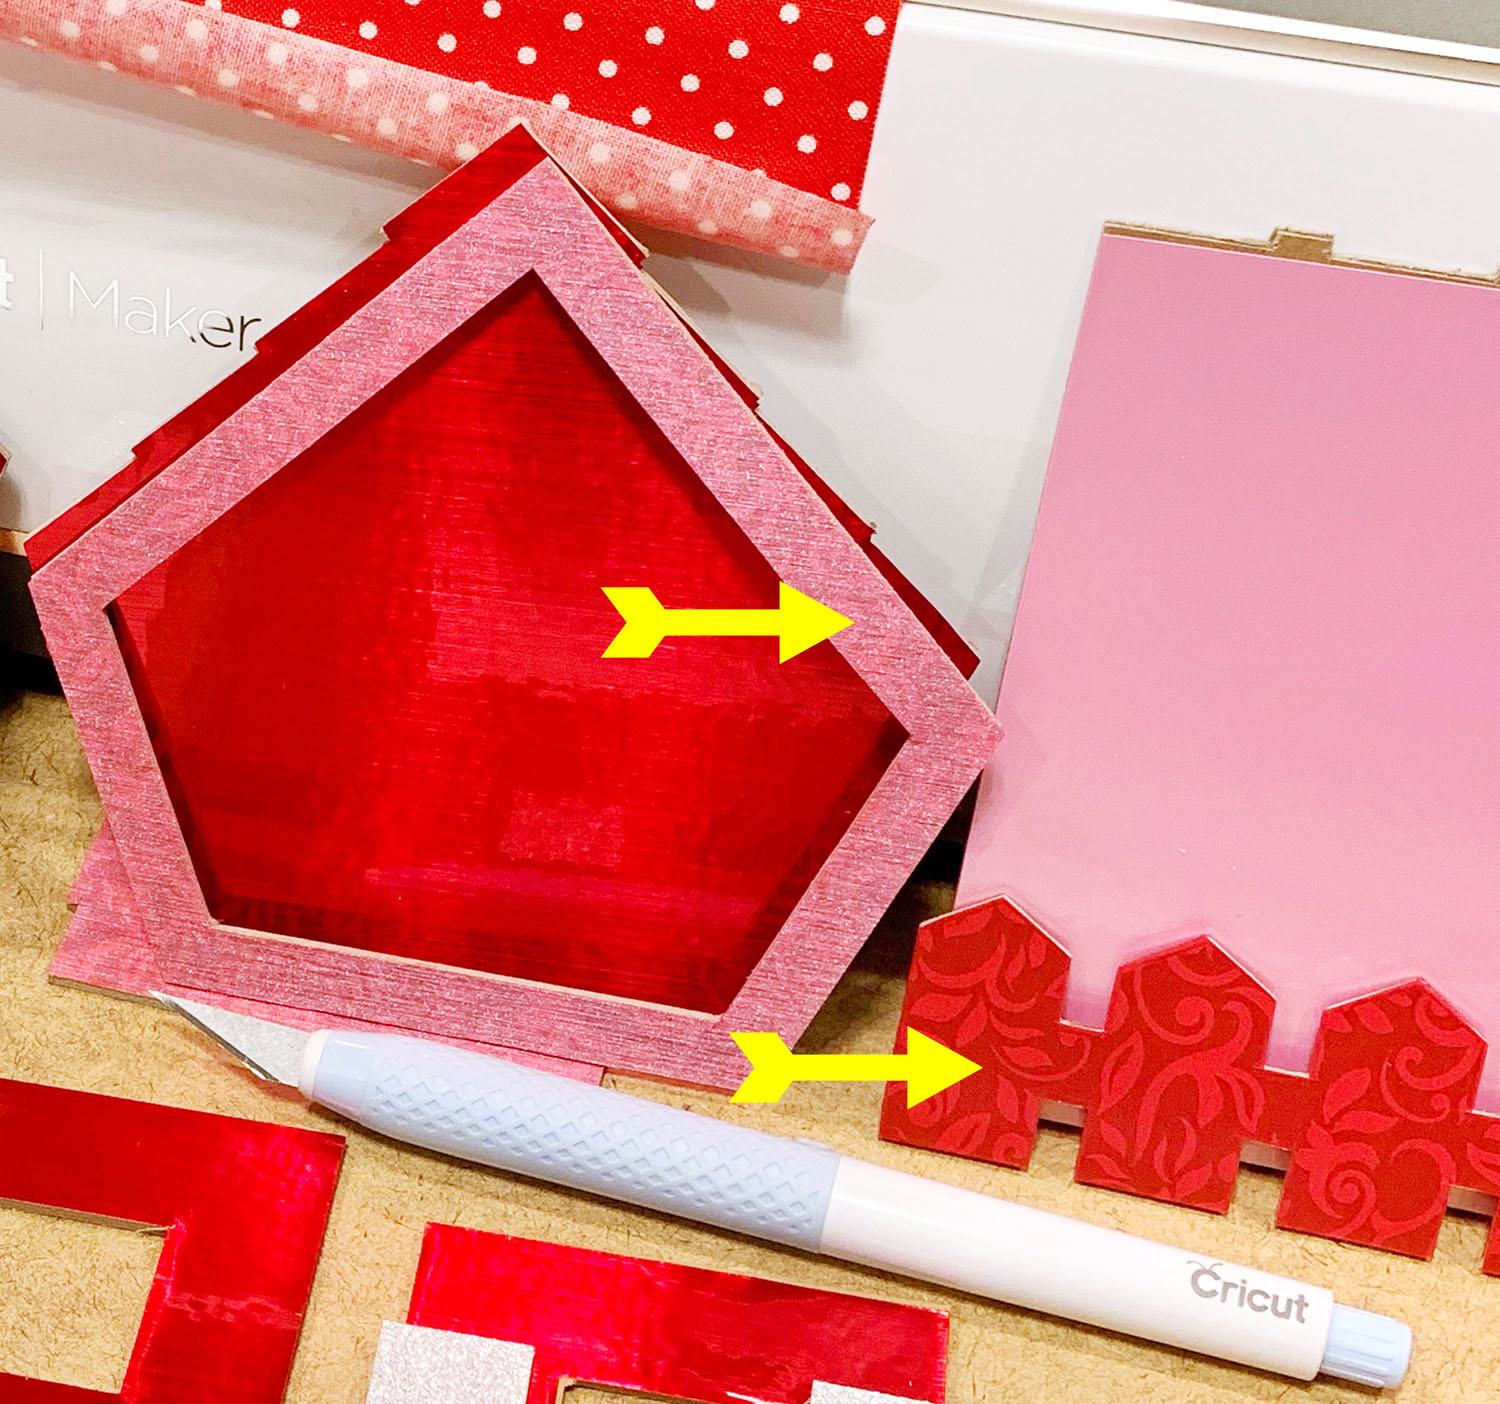
Side note: As I was taking this photo, I noticed how well it shows off the awesomeness of the Neon Watermelon True Brushed Premium Permanent Vinyl! The Neon Watermelon vinyl is a thicker material with a ribbed “brushed” surface, but it also has a translucent quality that allows for the pattern of the damask chipboard to still show through it. In this photo above, BOTH pieces marked with a yellow arrow are made from patterned chipboard and covered in Neon Watermelon Brushed vinyl – the only difference is that on the fence piece, the brushing runs vertically, and it runs horizontally on the pentagon piece, so each piece catches the light in a unique way. Sometimes the pieces appear light pink and metallic, and other times it appears much more red-toned and shows the pattern more prominently. Pretty cool, right?
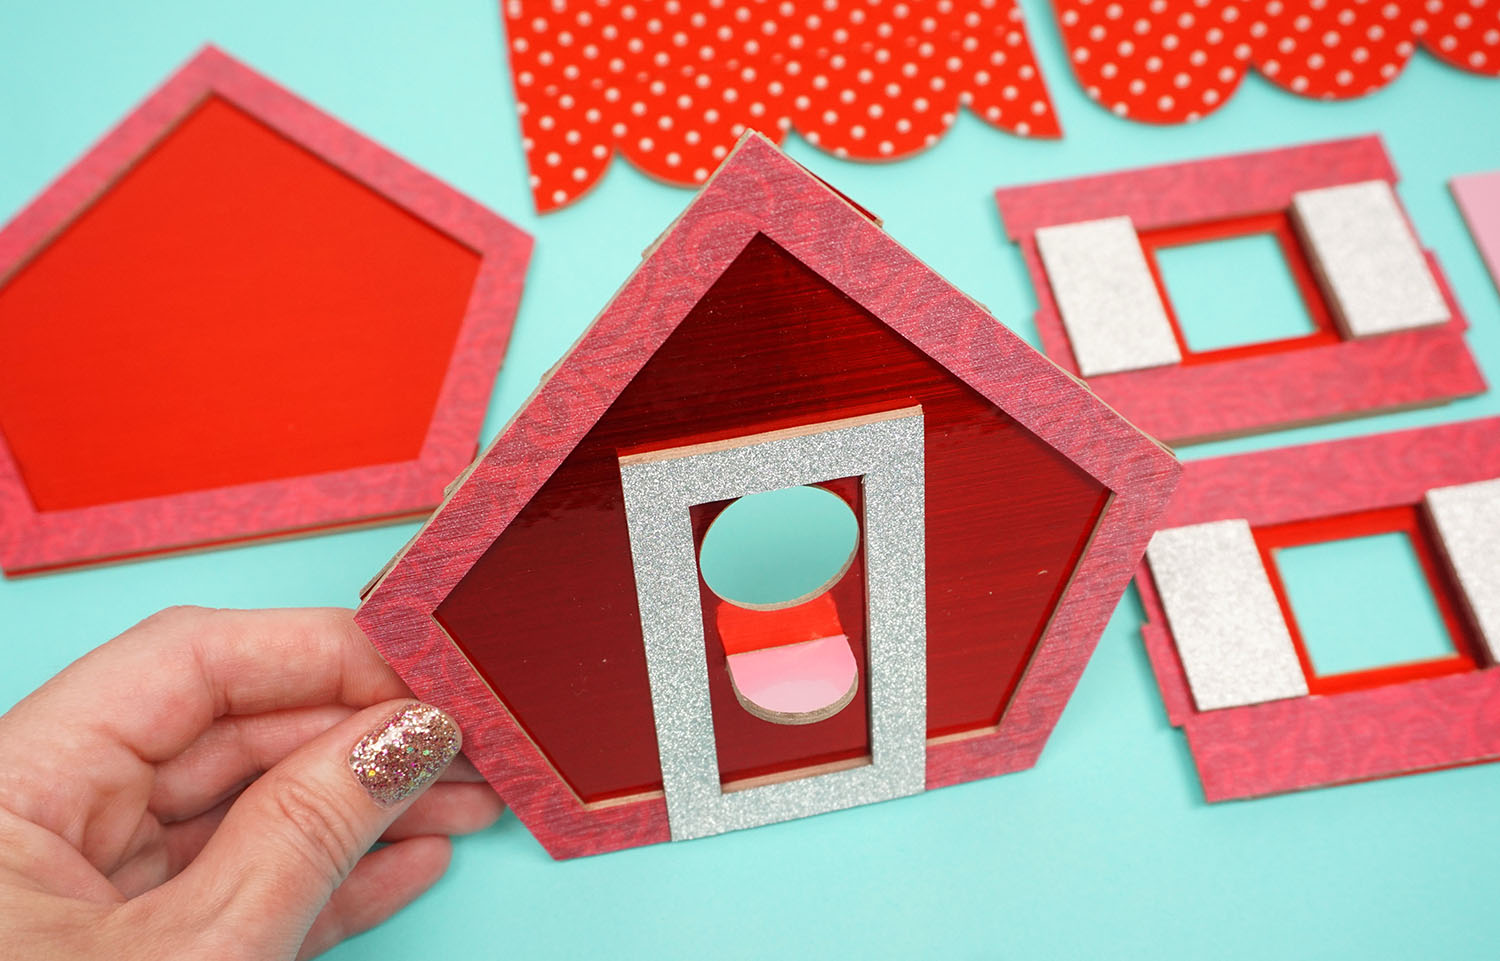
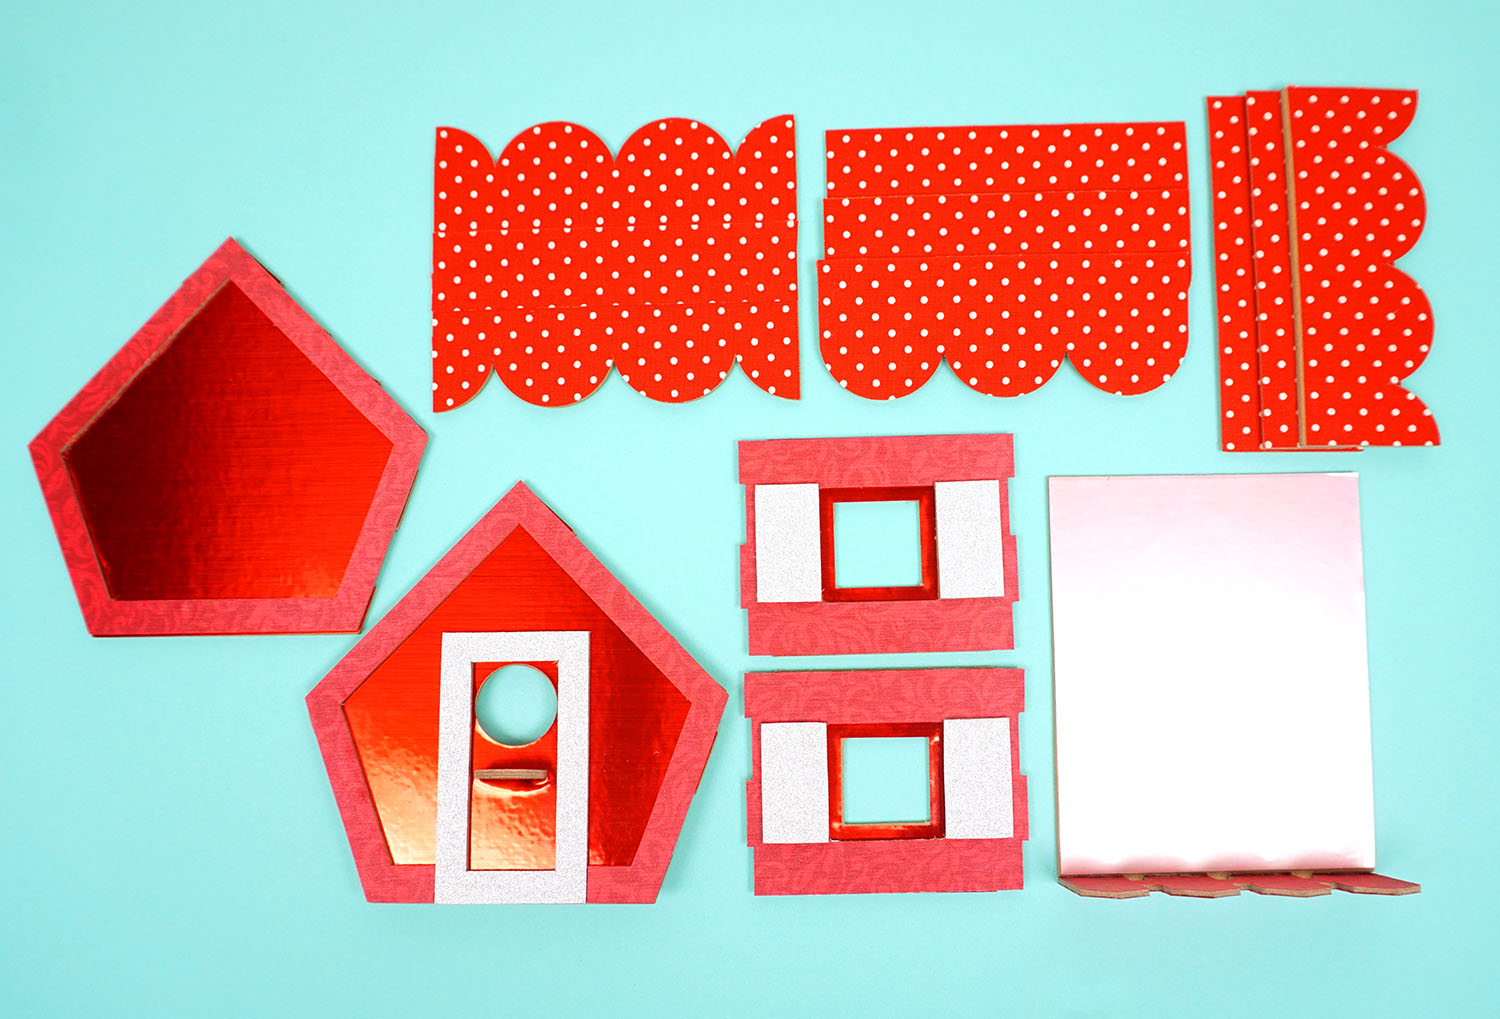
After all of the panels were assembled and the glue had dried, it was time to build the birdhouse!
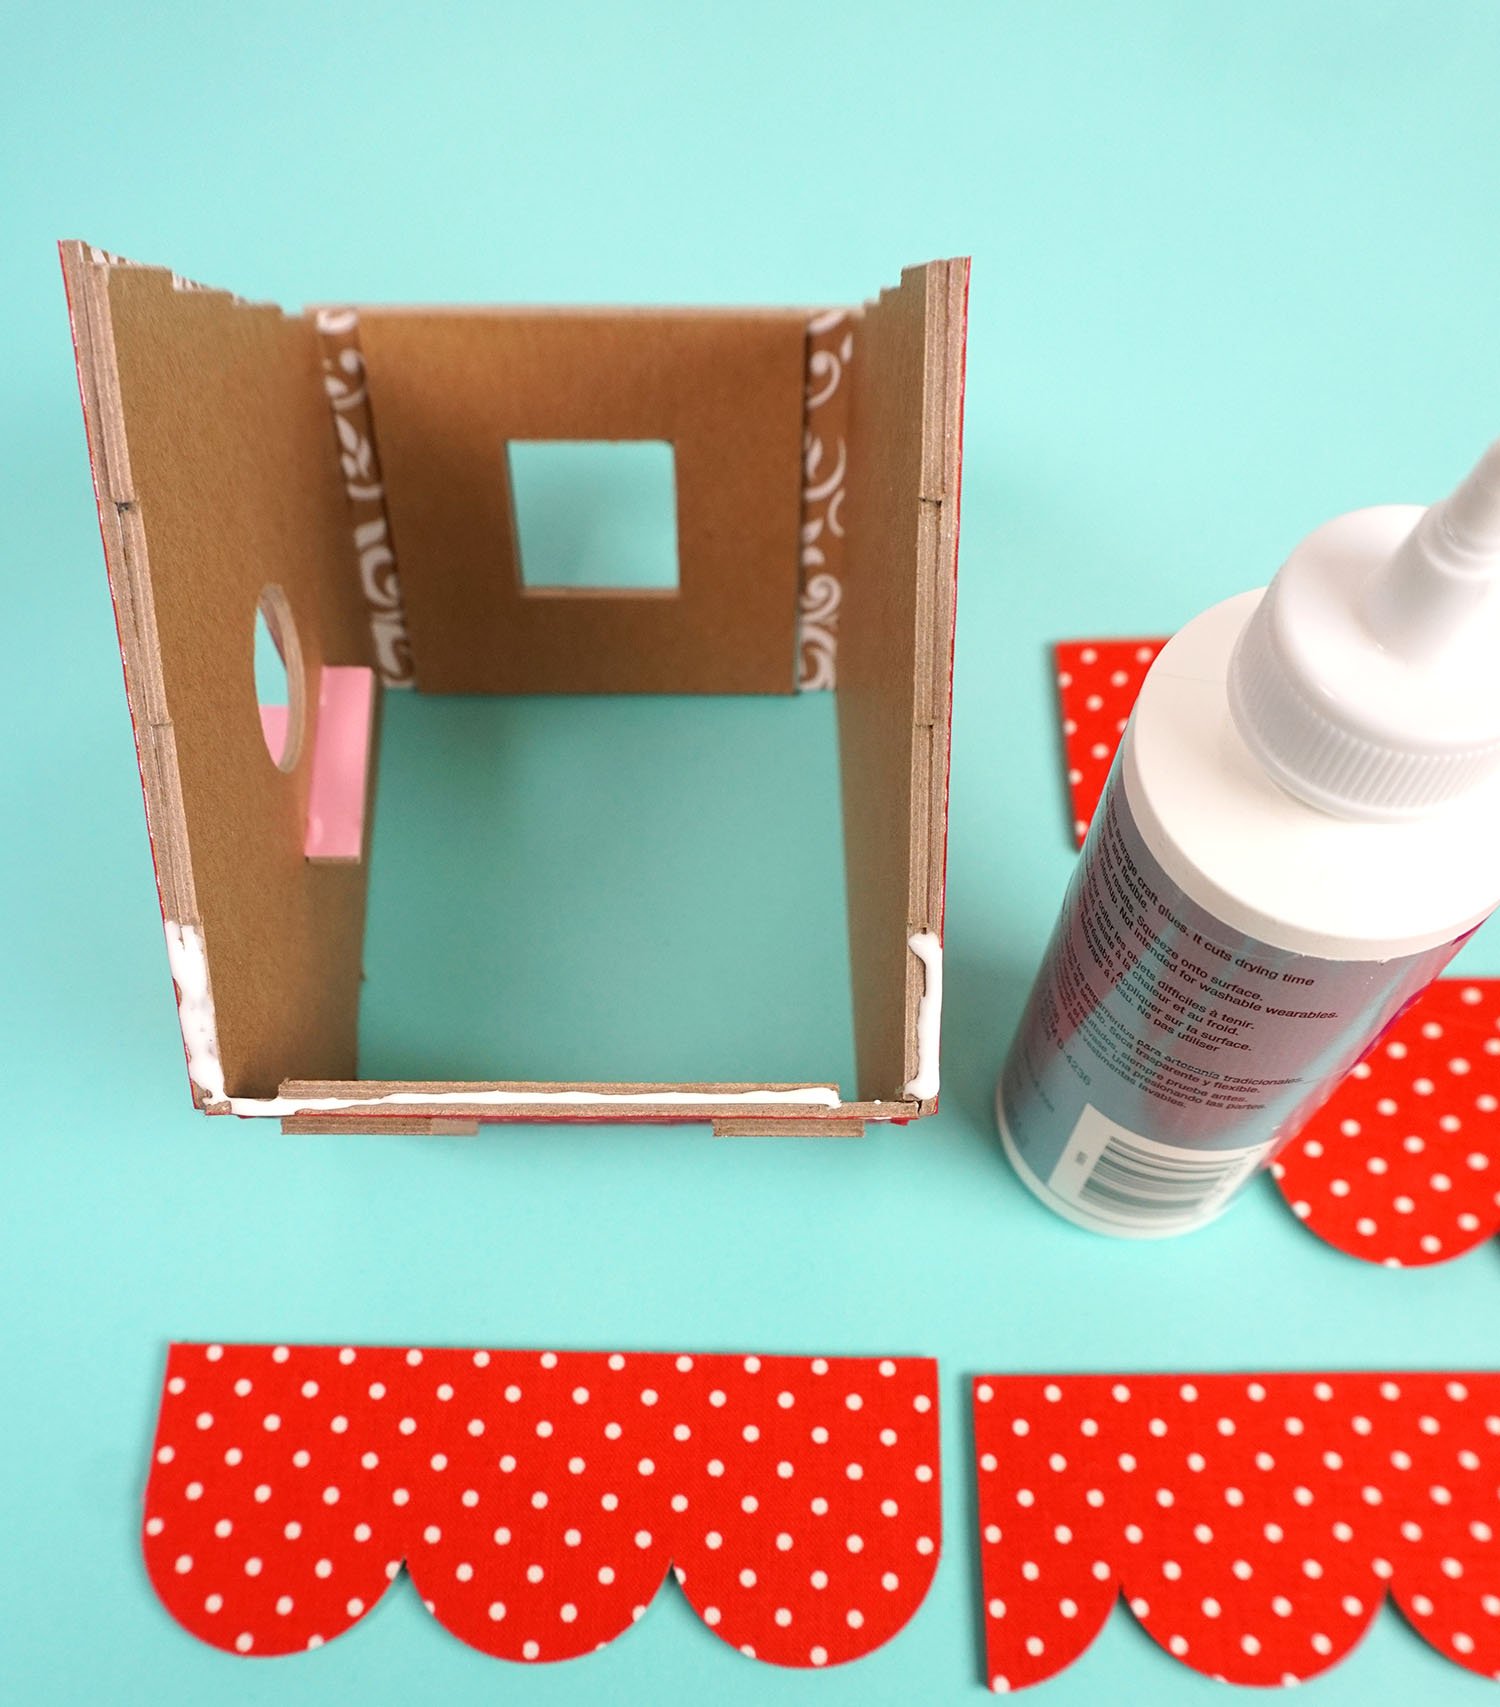
The edges of the side panels are all notched with box dovetail joints, so the pieces fit together nicely and precisely. I added a thin line of glue to the corners during assembly, and then got to work on the roof.
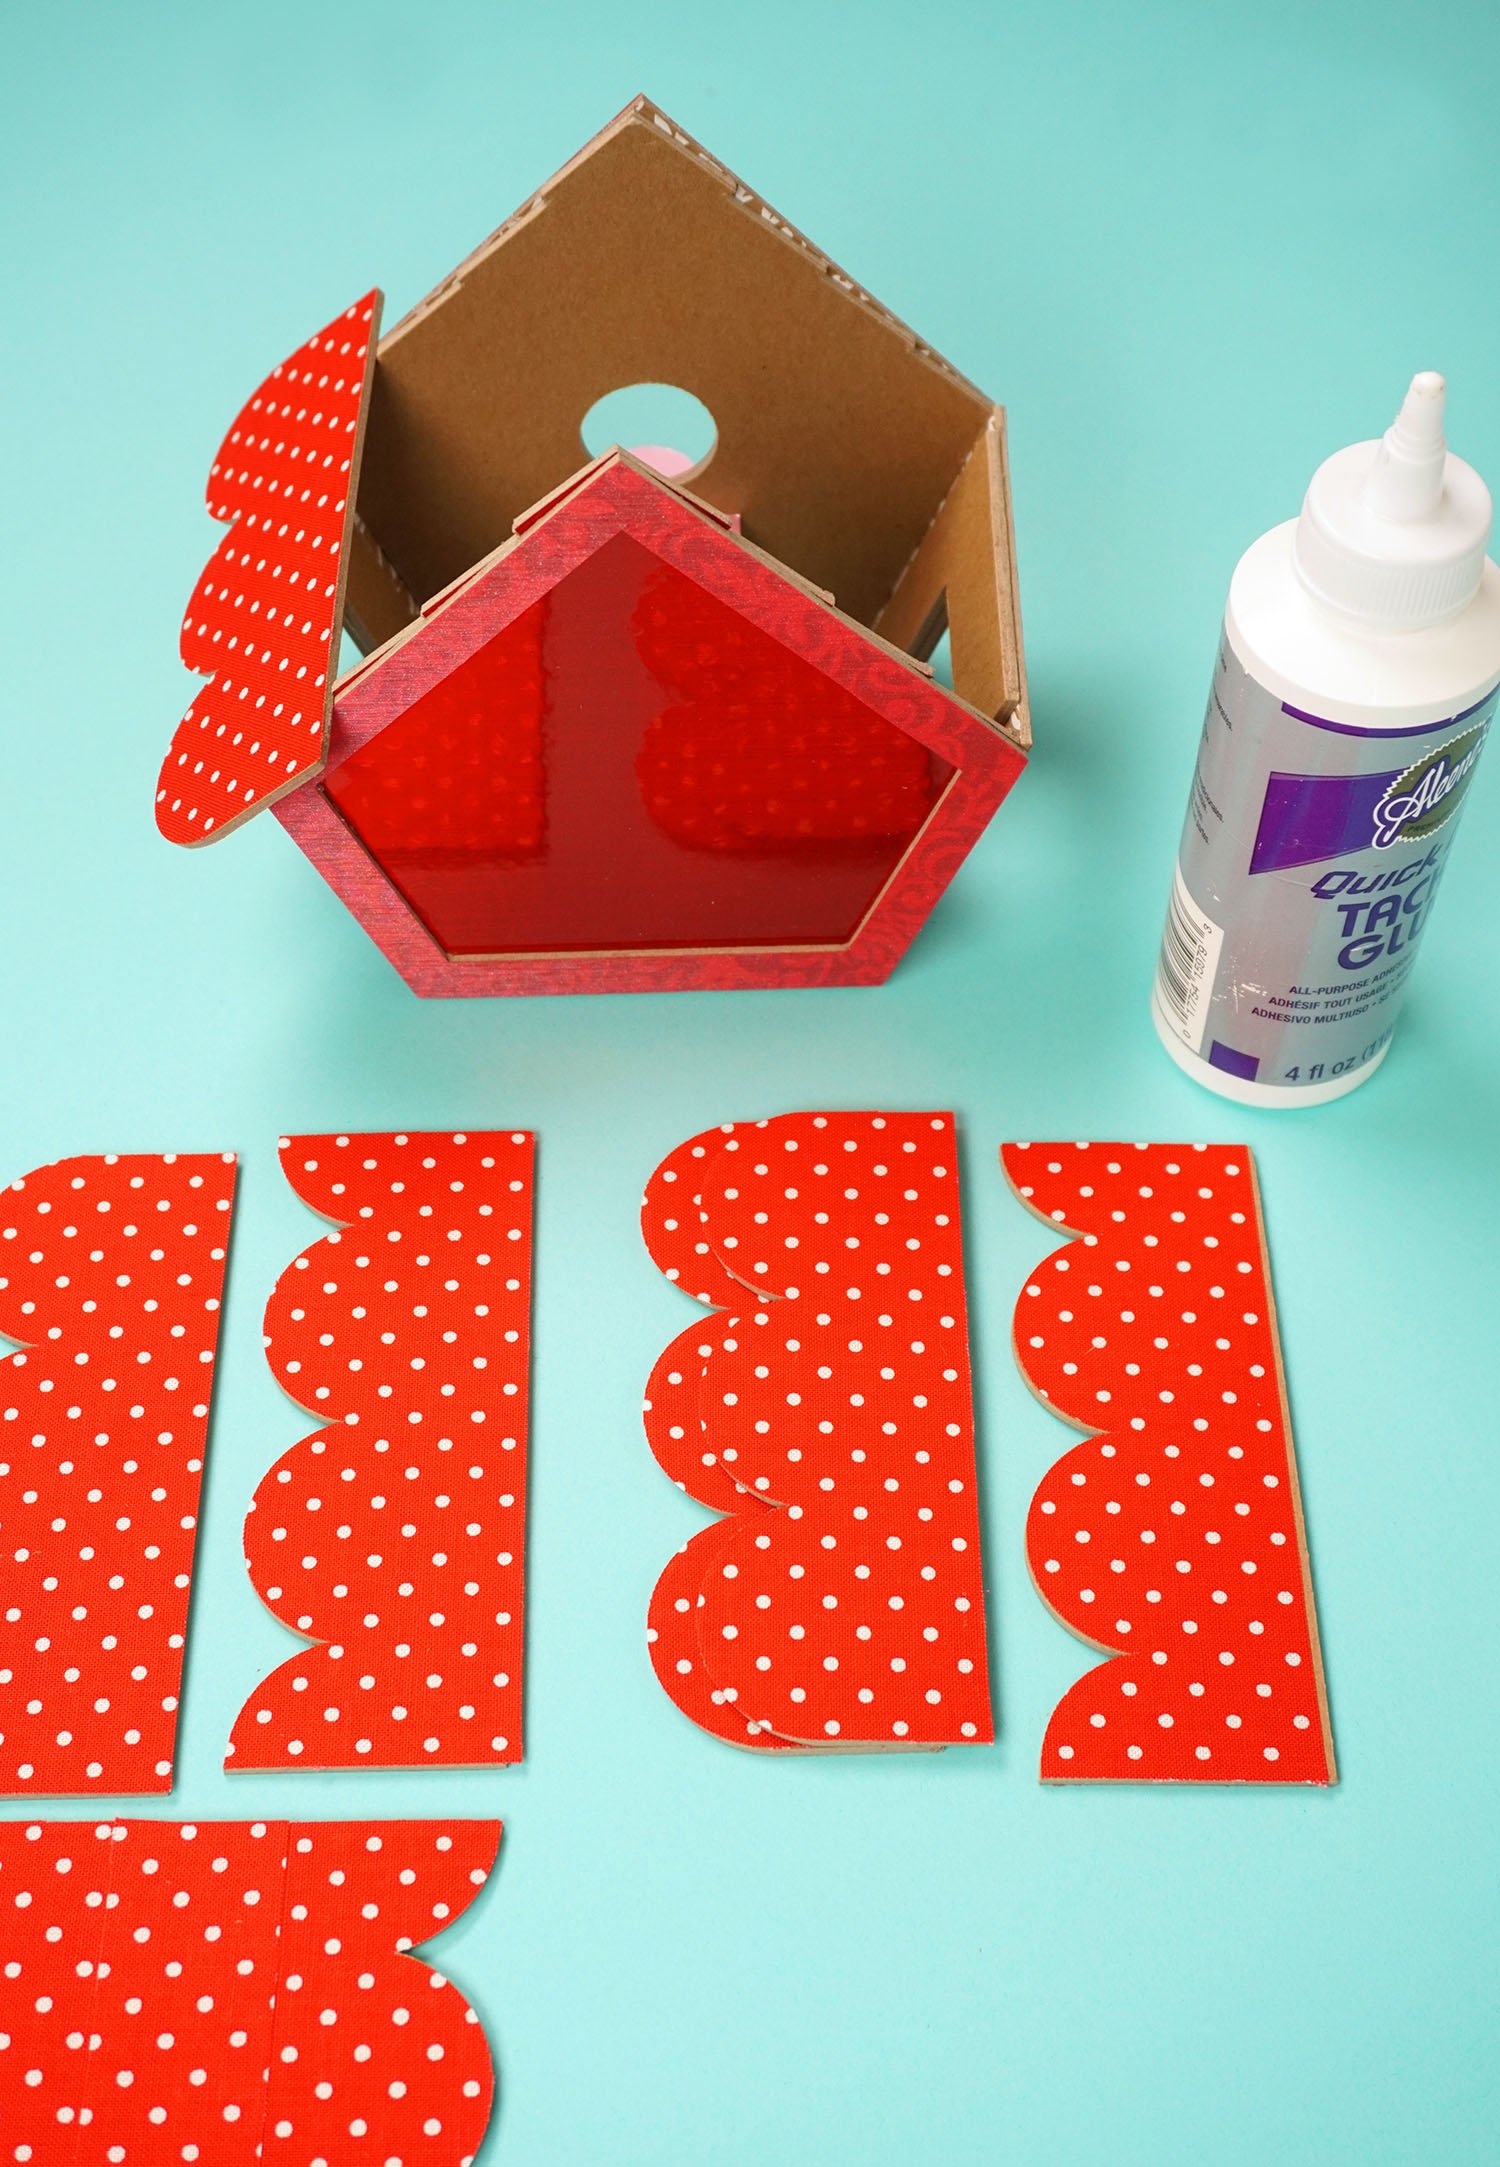
In order to form the hinged roof top, I decided that I wanted to glue the right side of the roof directly to the birdhouse and create a “roof panel” for the left side that would be able to open on the hinge.
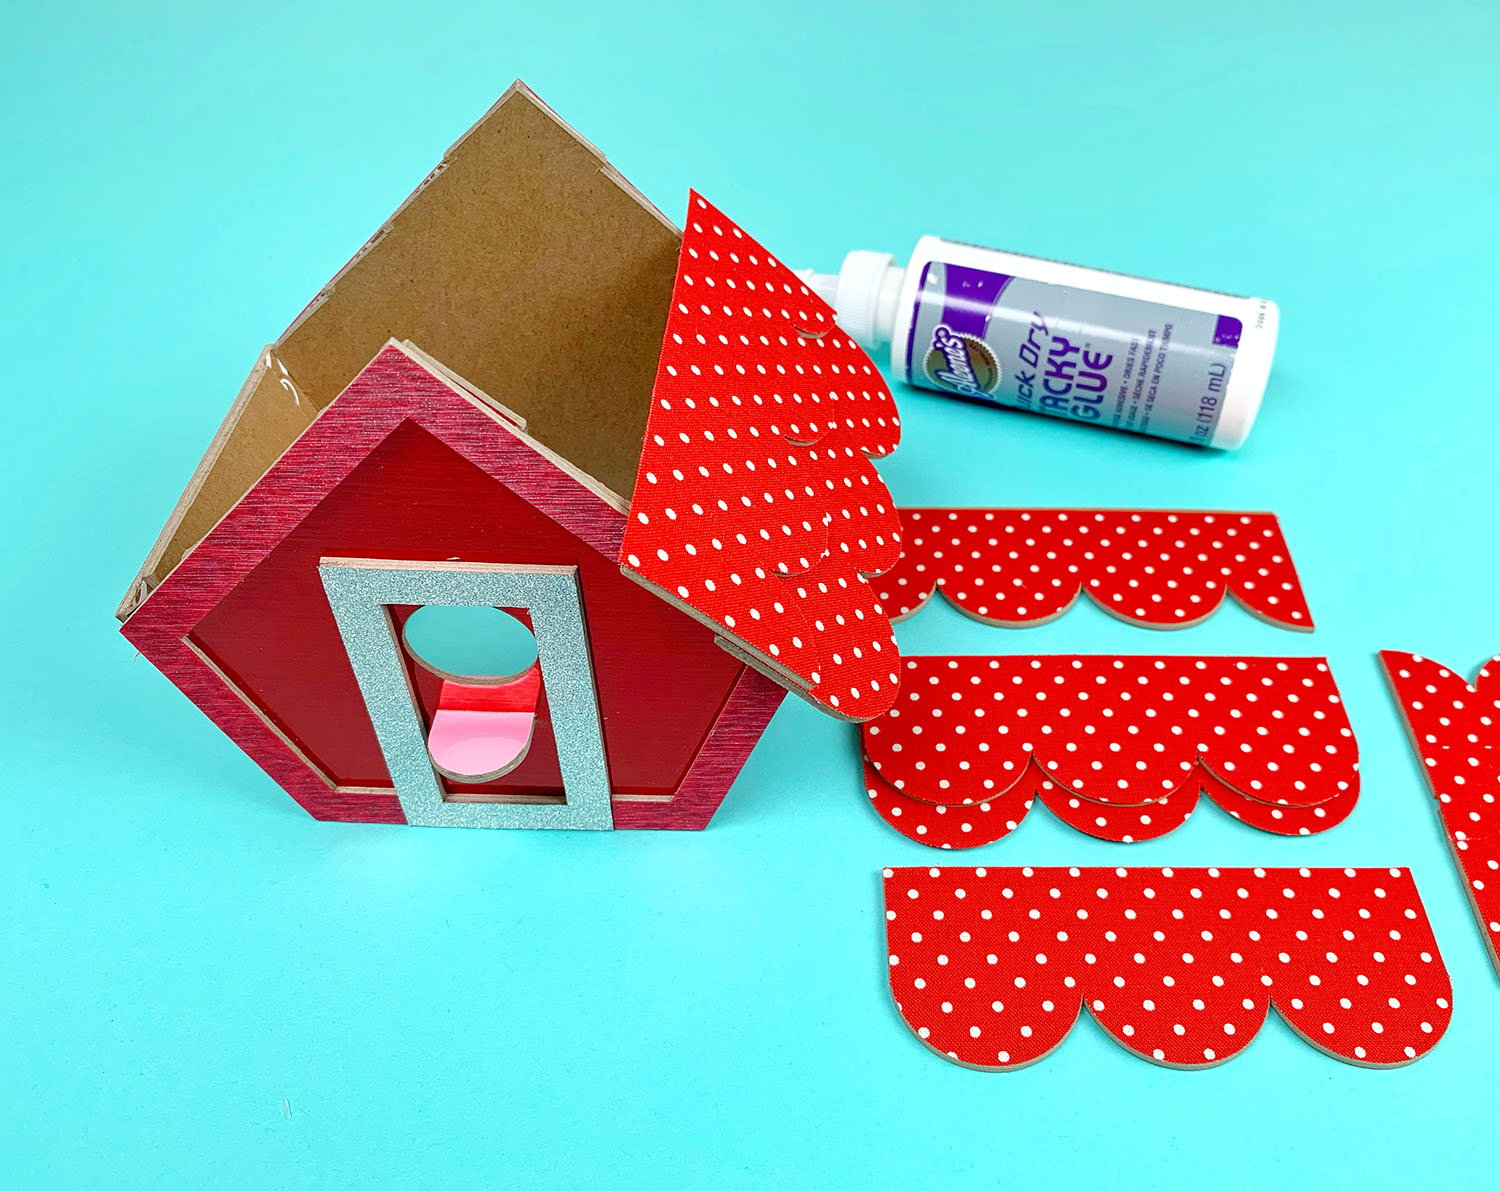
The roof slope is also notched, so it’s easy to see exactly where each layer of roofing should be glued down. I glued each layer directly to the birdhouse as well as adding a line of glue between each of the layers so that they’re firmly and strongly secured.
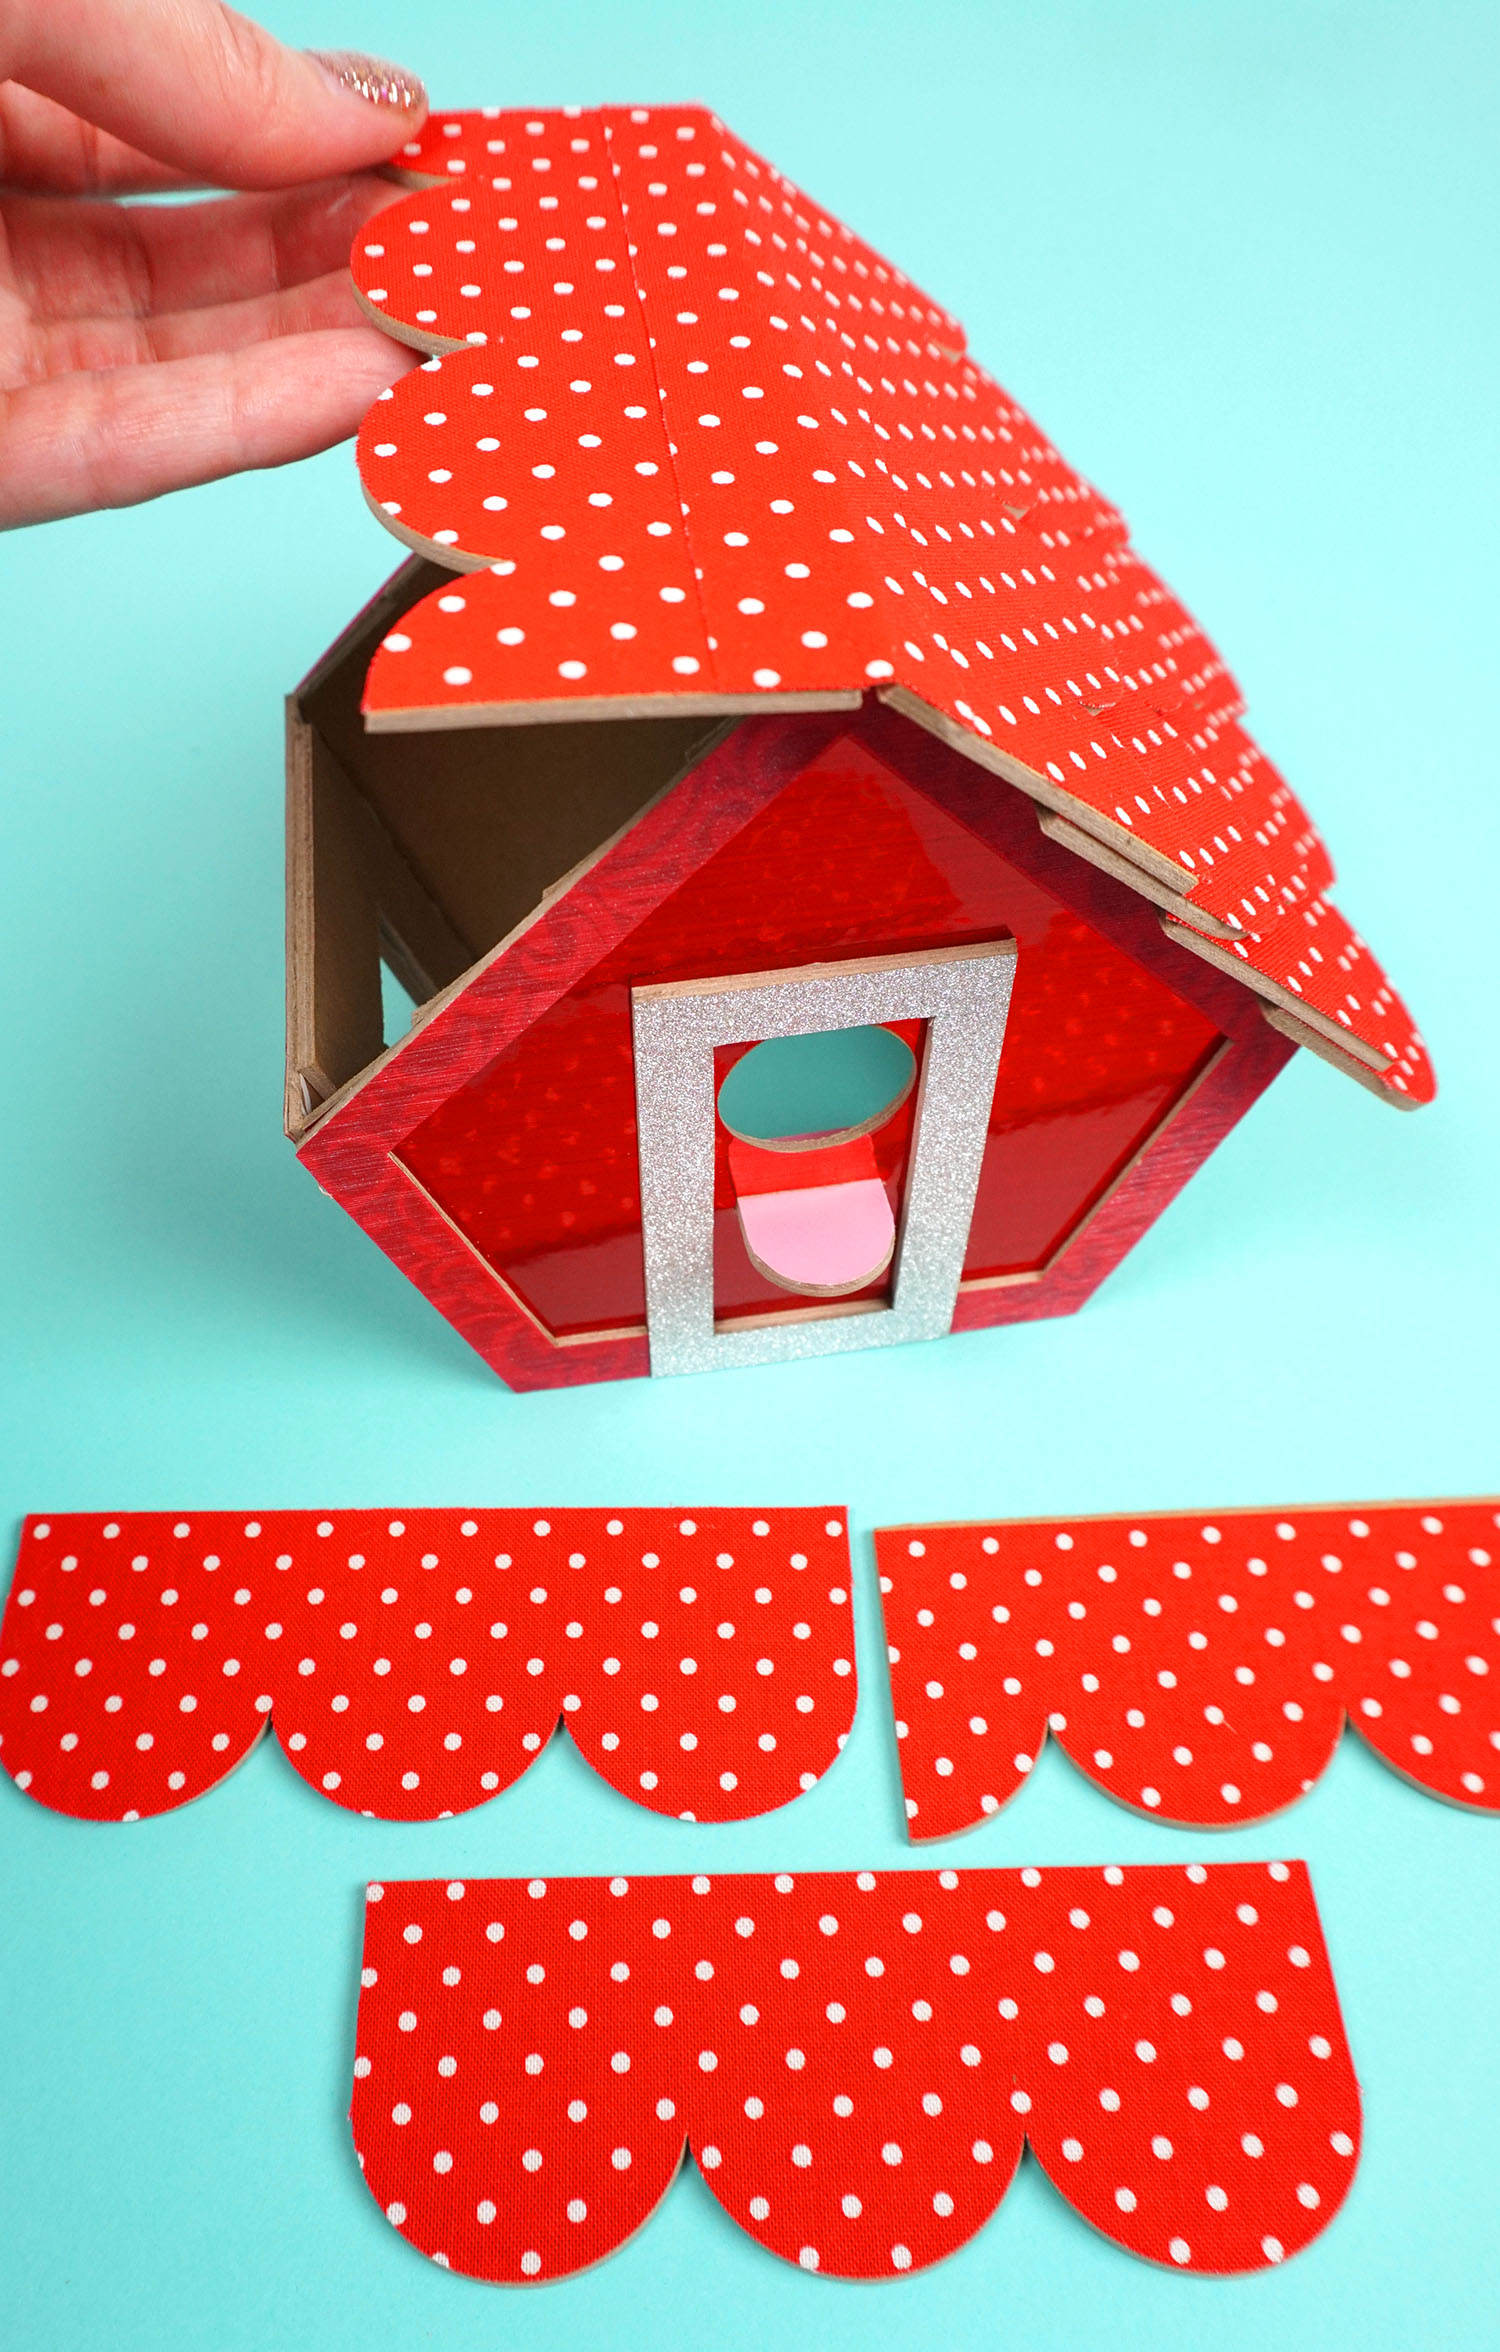
When I reached the top hinged panel, I glued ONLY the right side down so that the left side was still free to move up and down.
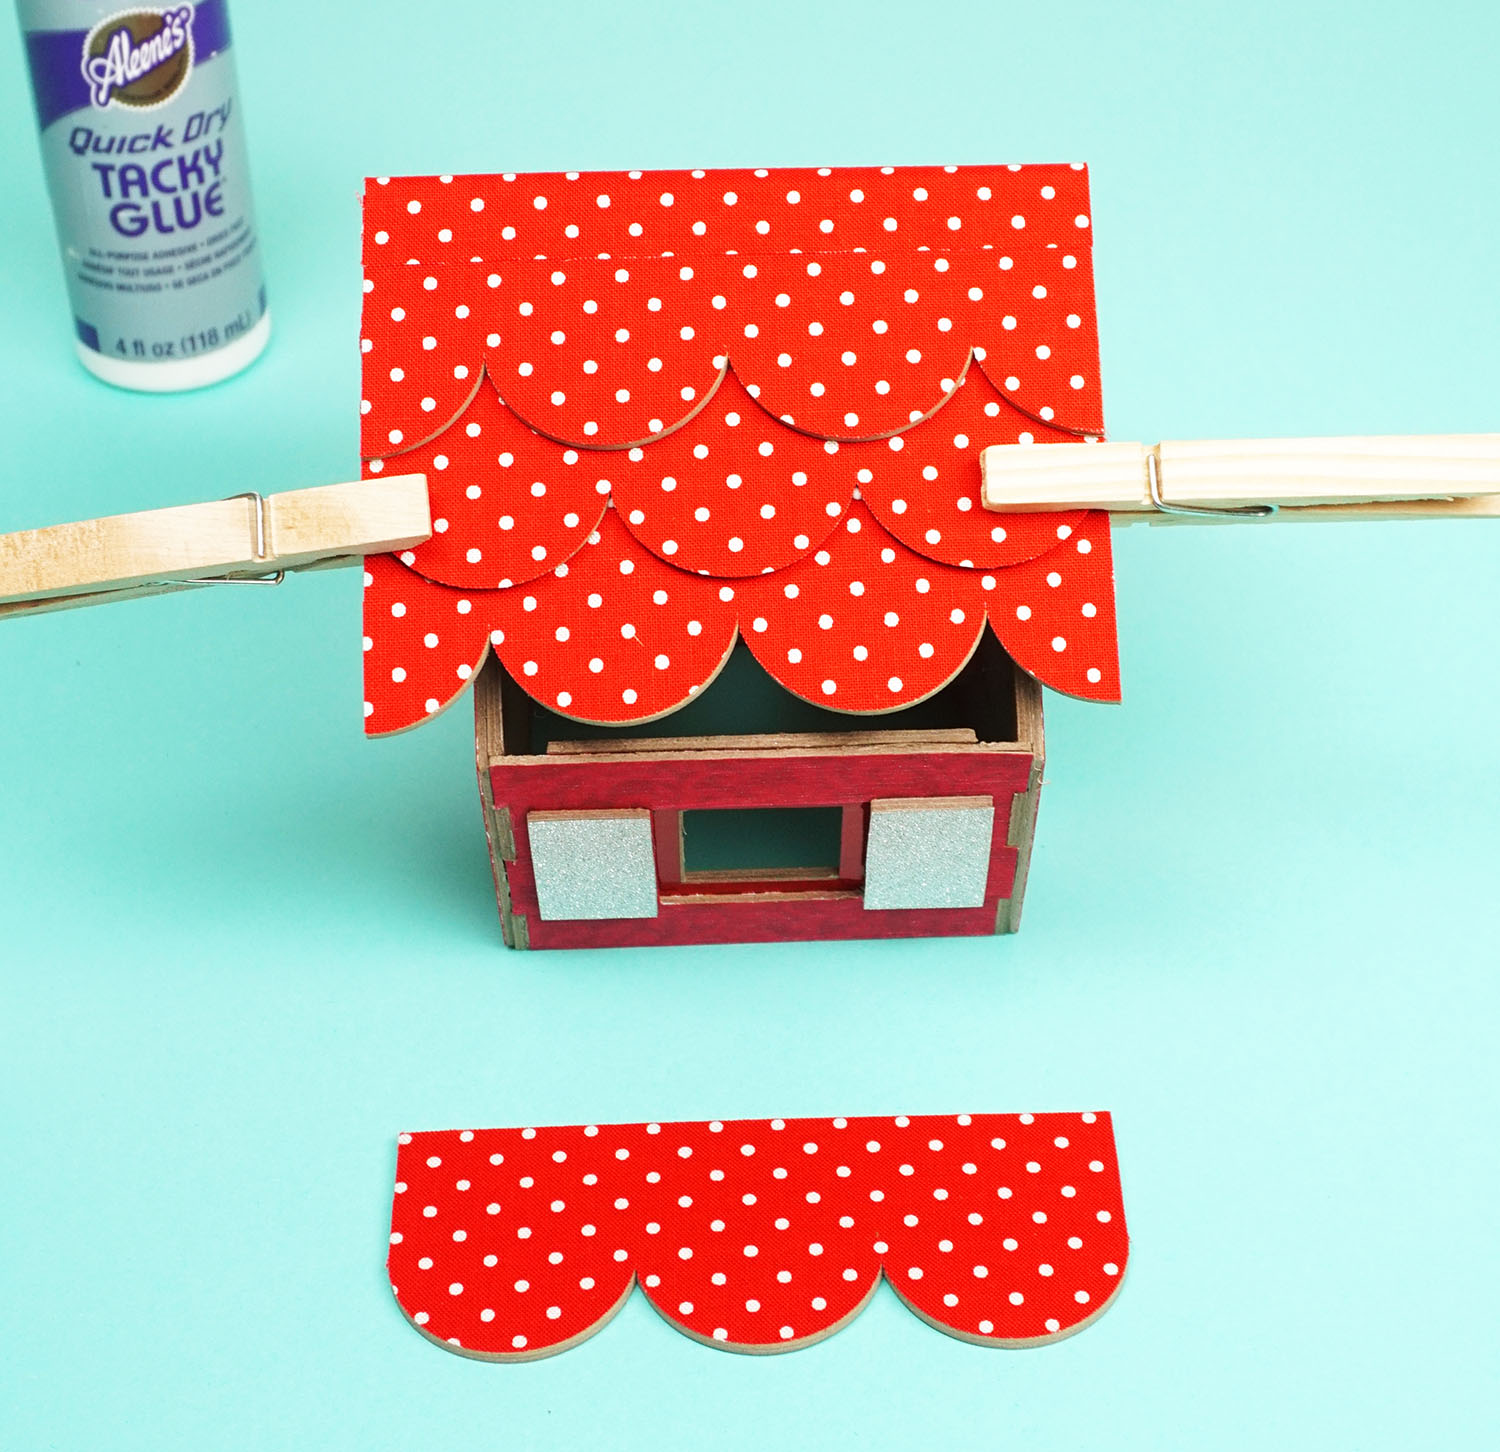
Using the notches in the roof as a placement guide, I glued each of the left-side roof pieces to each other to form a single solid roof panel that can be opened and closed. Pro Tip: use clothespins to hold the pieces together while the glue is drying!
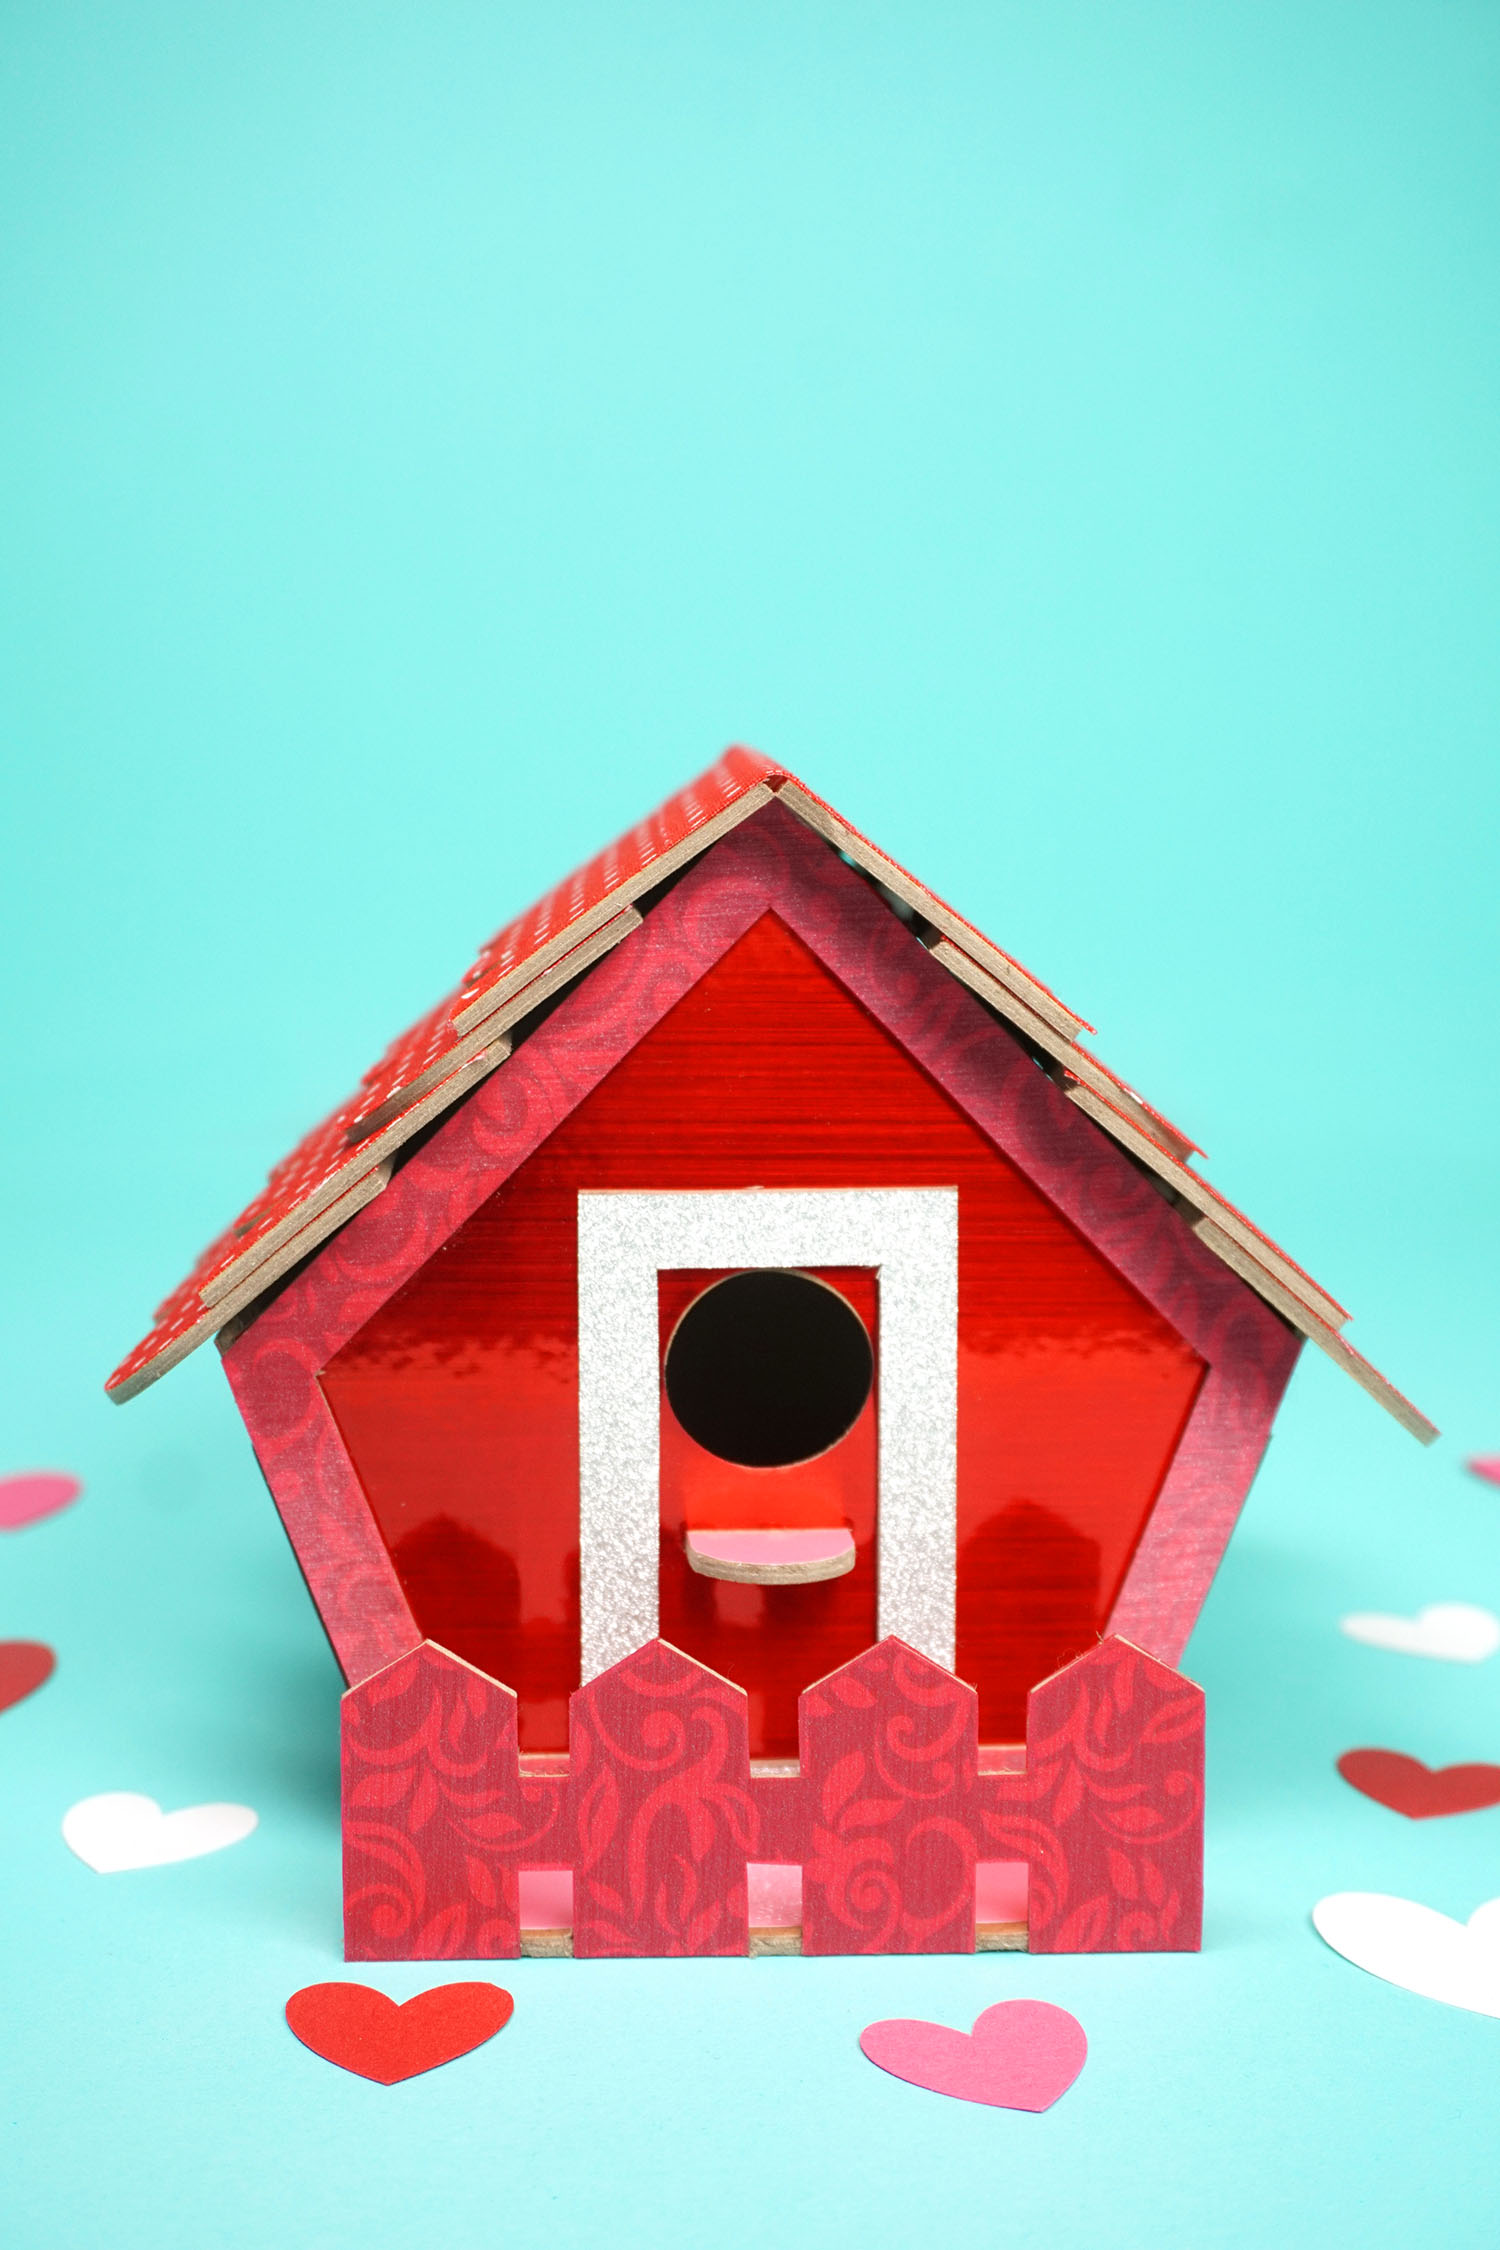
Tada! The finished Valentine birdhouse is SUPER cute and a fun addition to my Valentine’s Day decor!
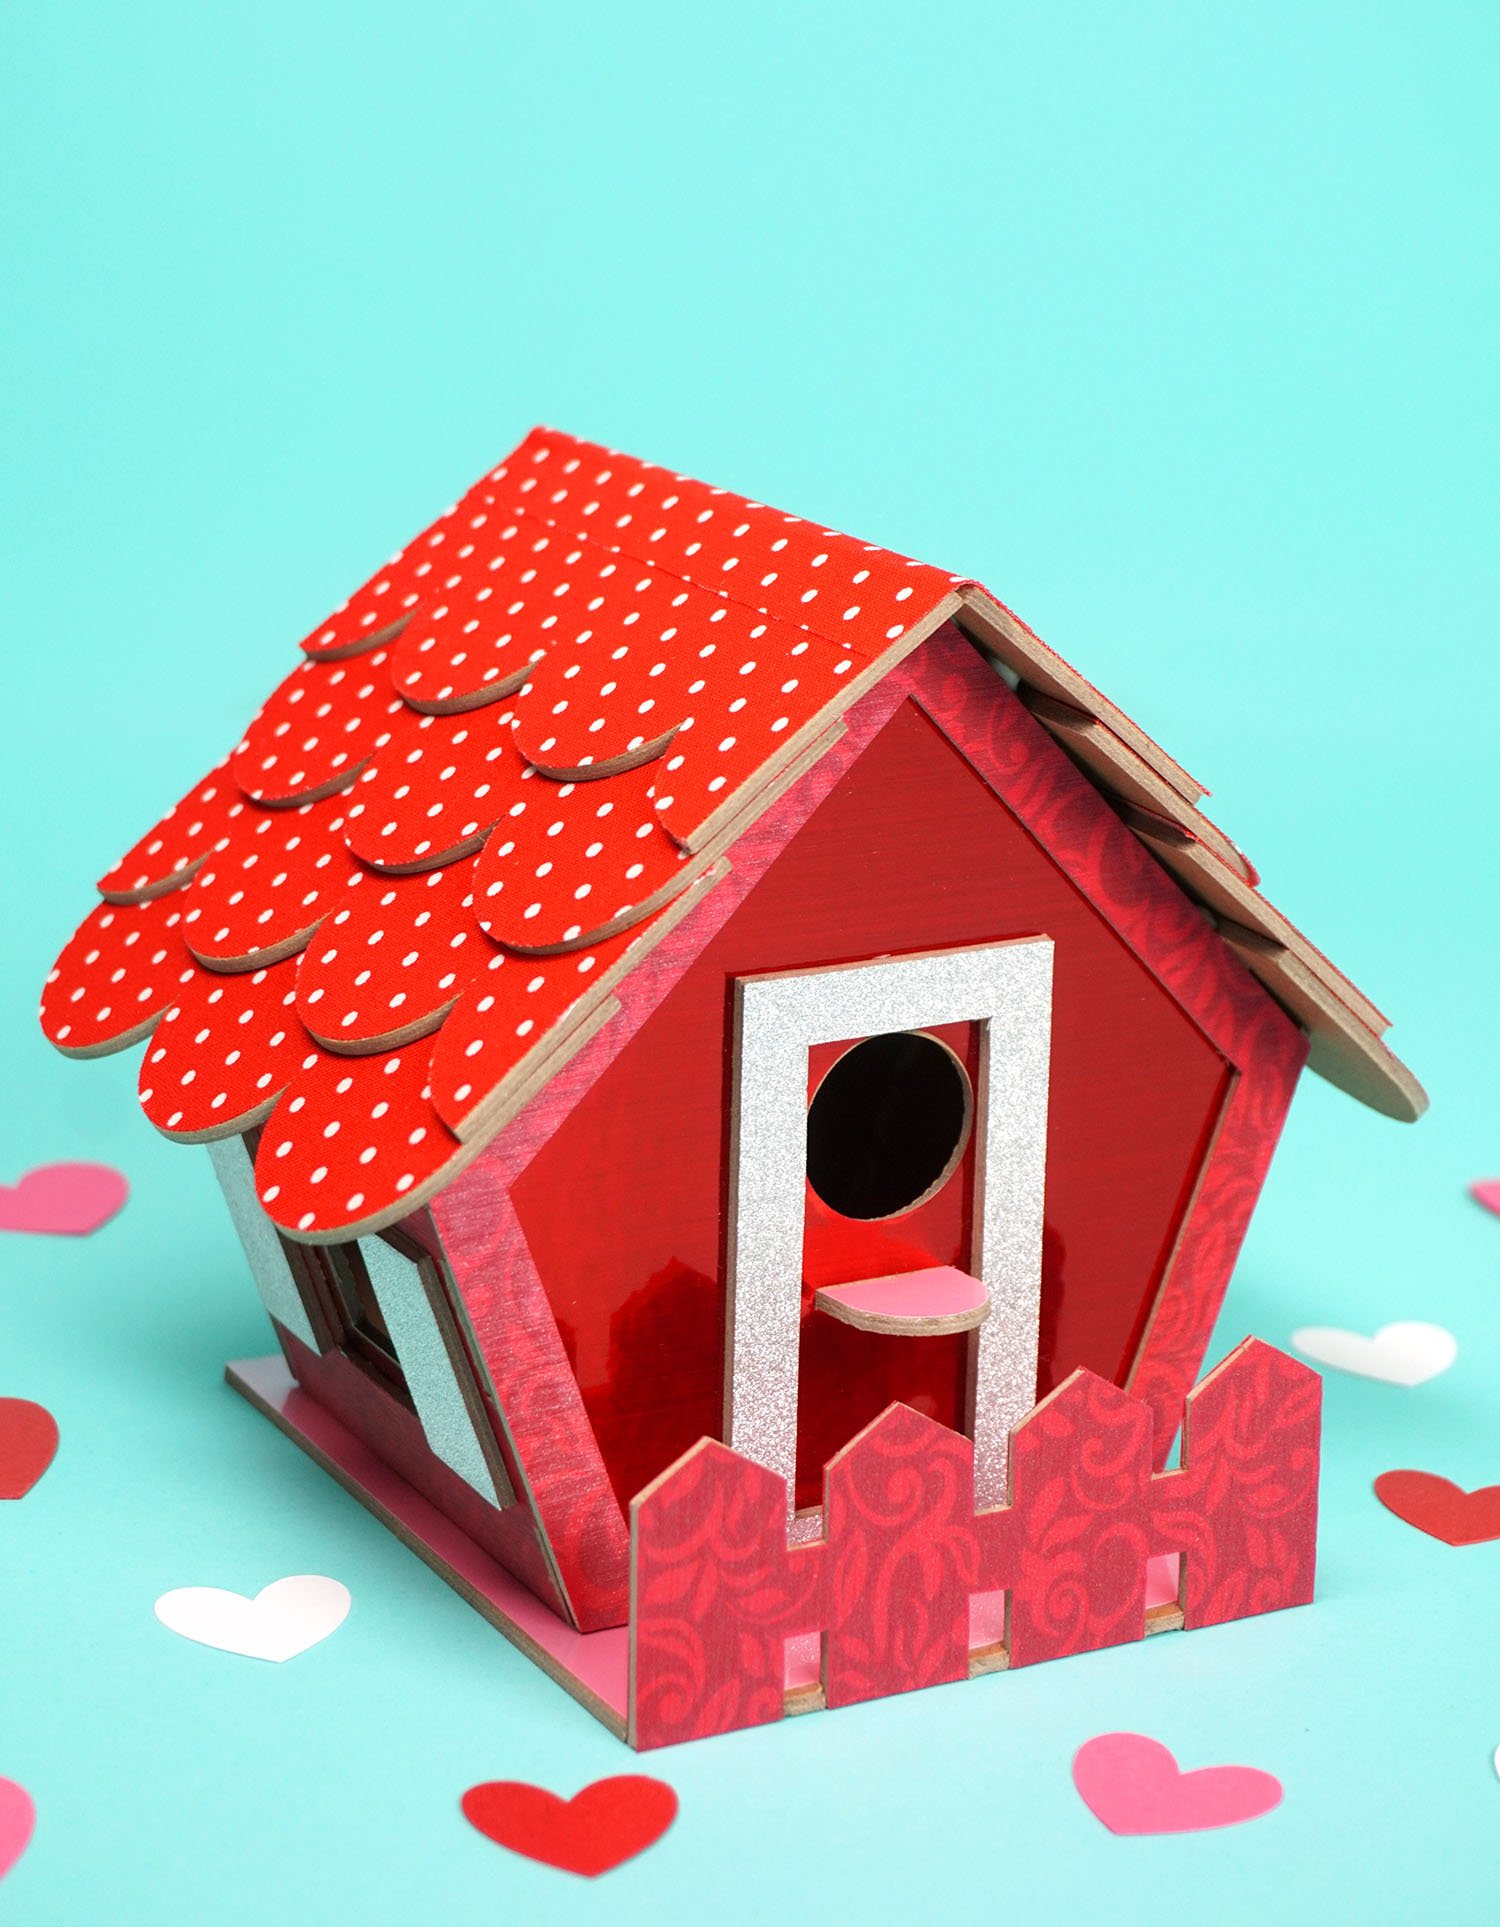
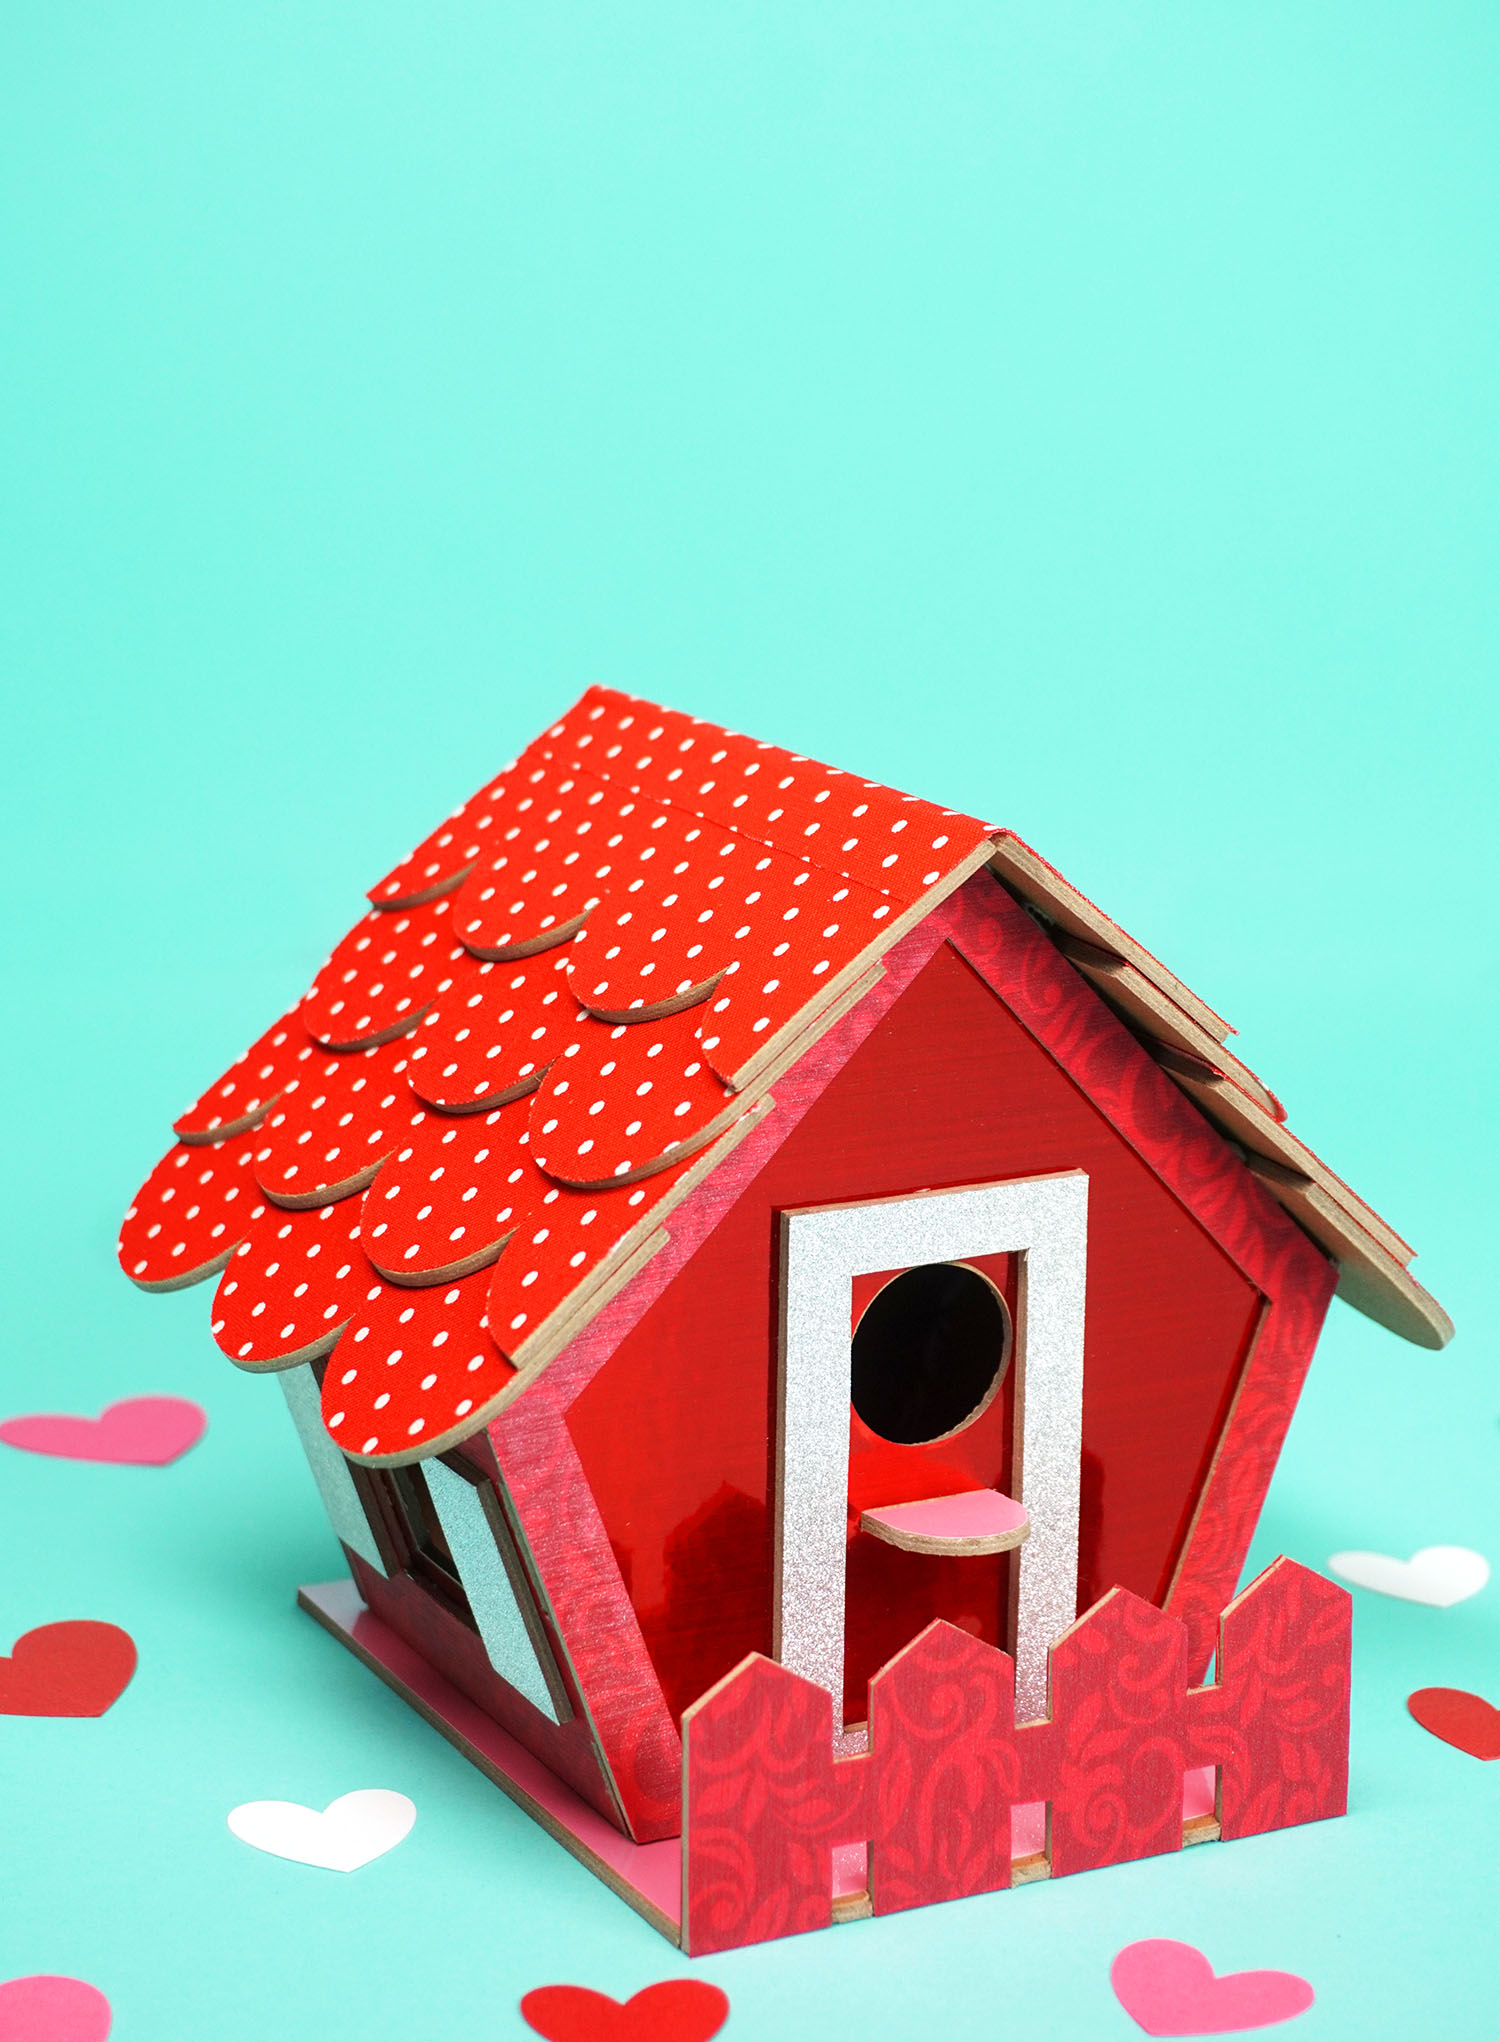
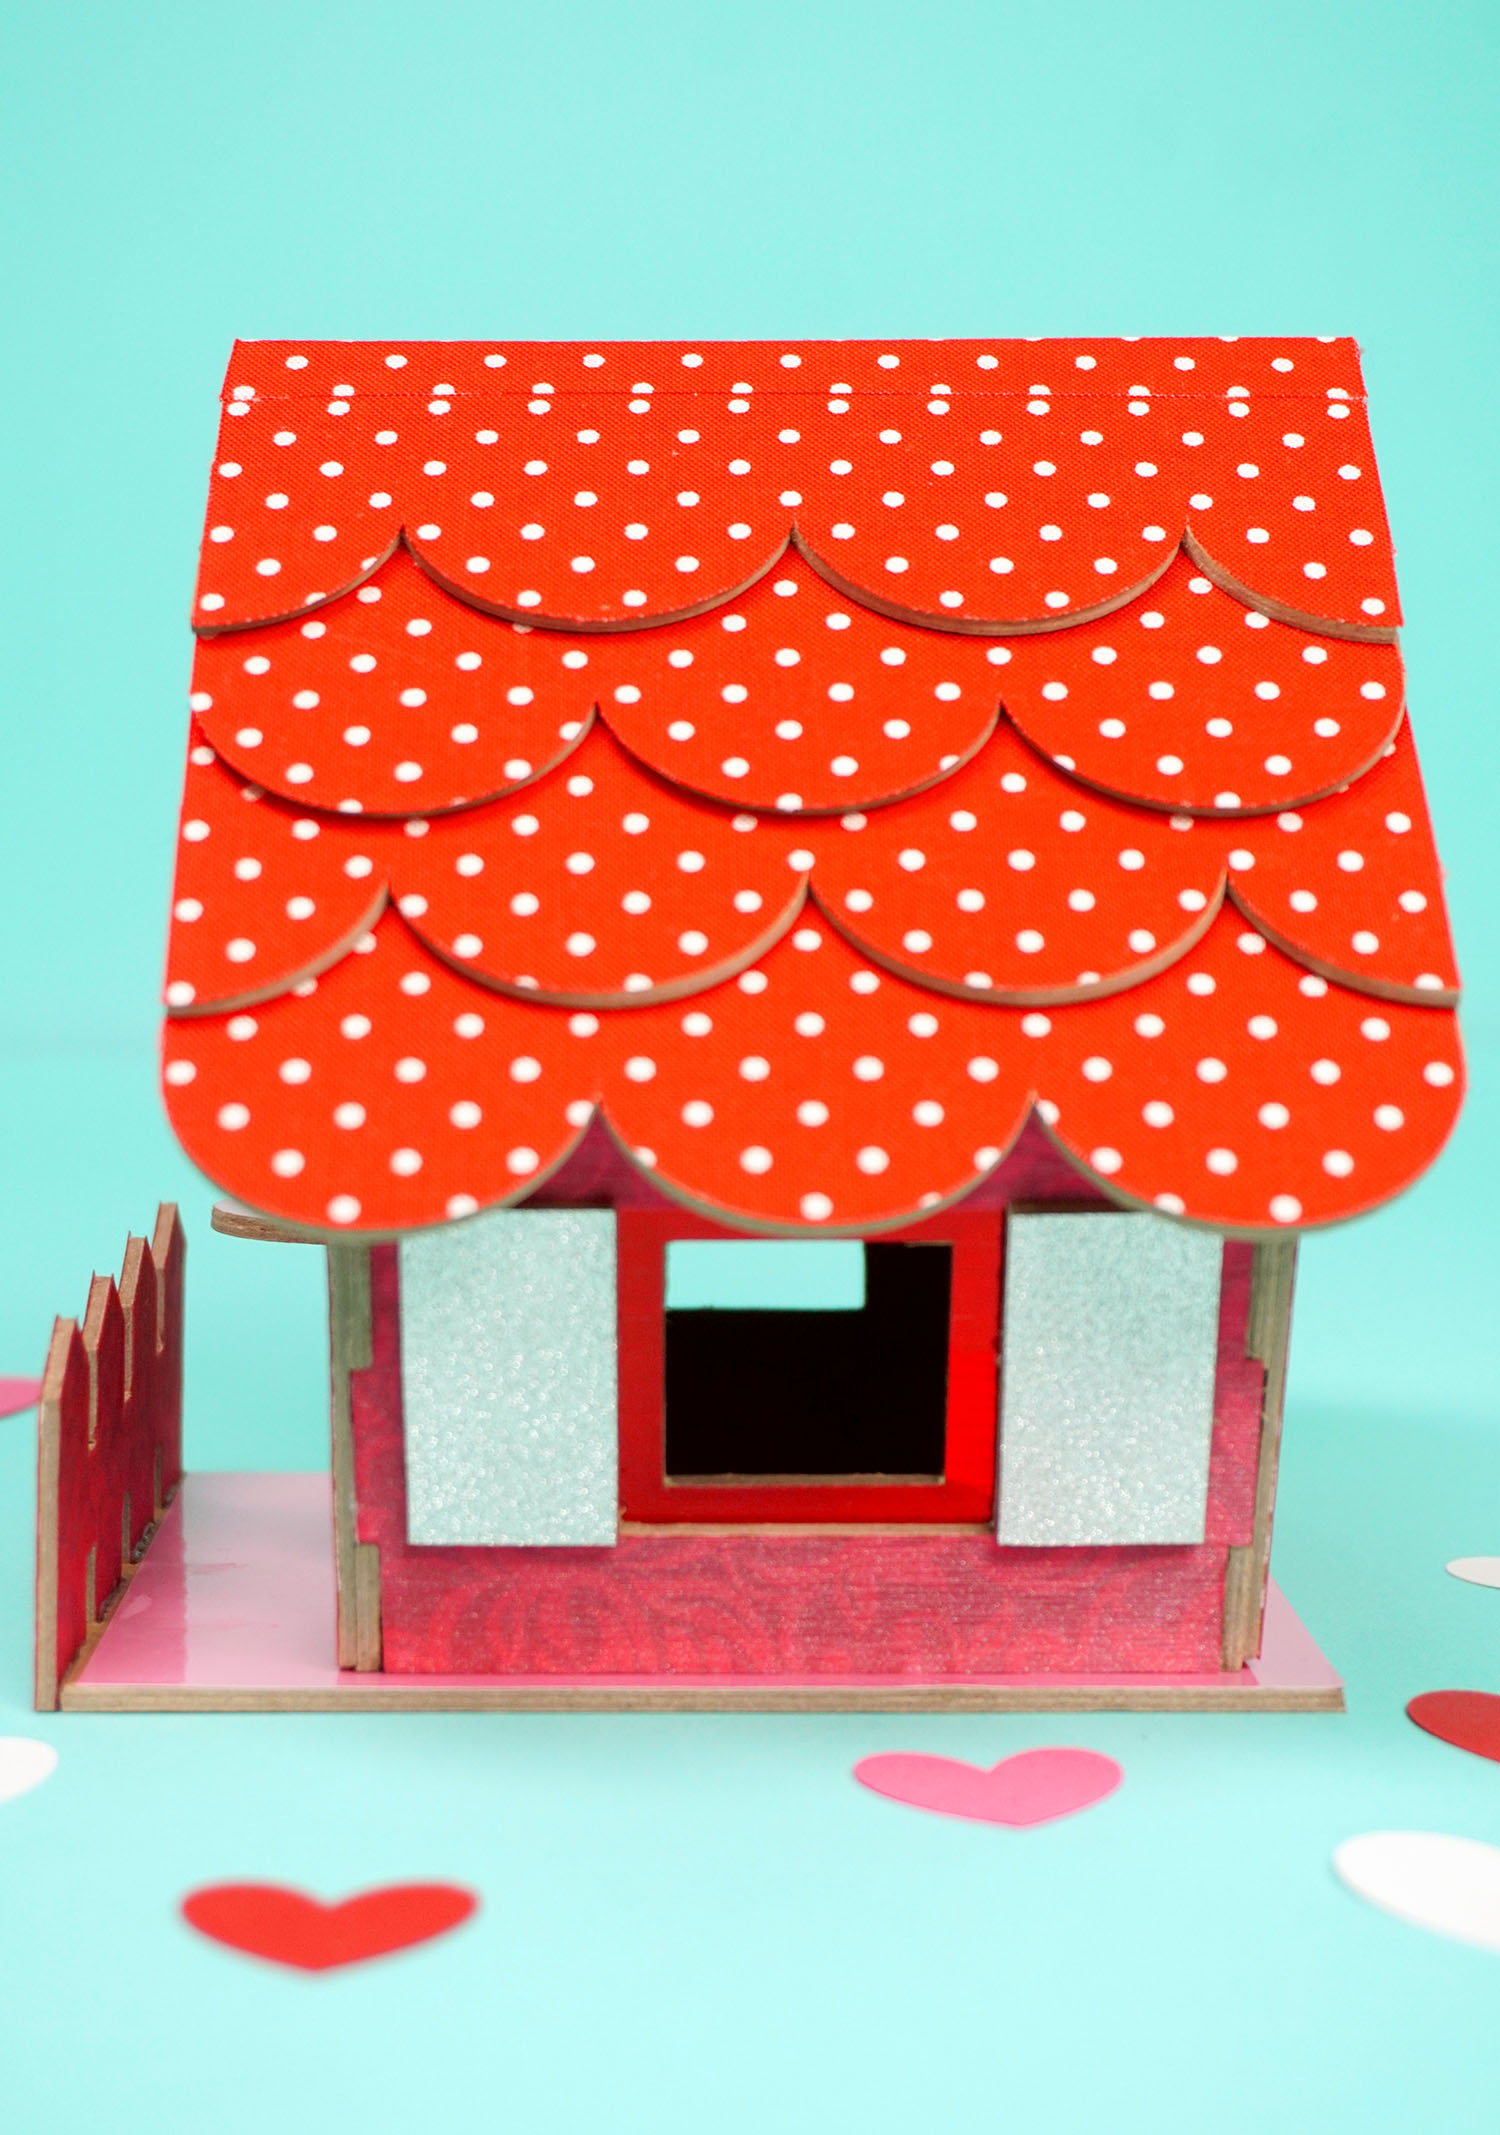
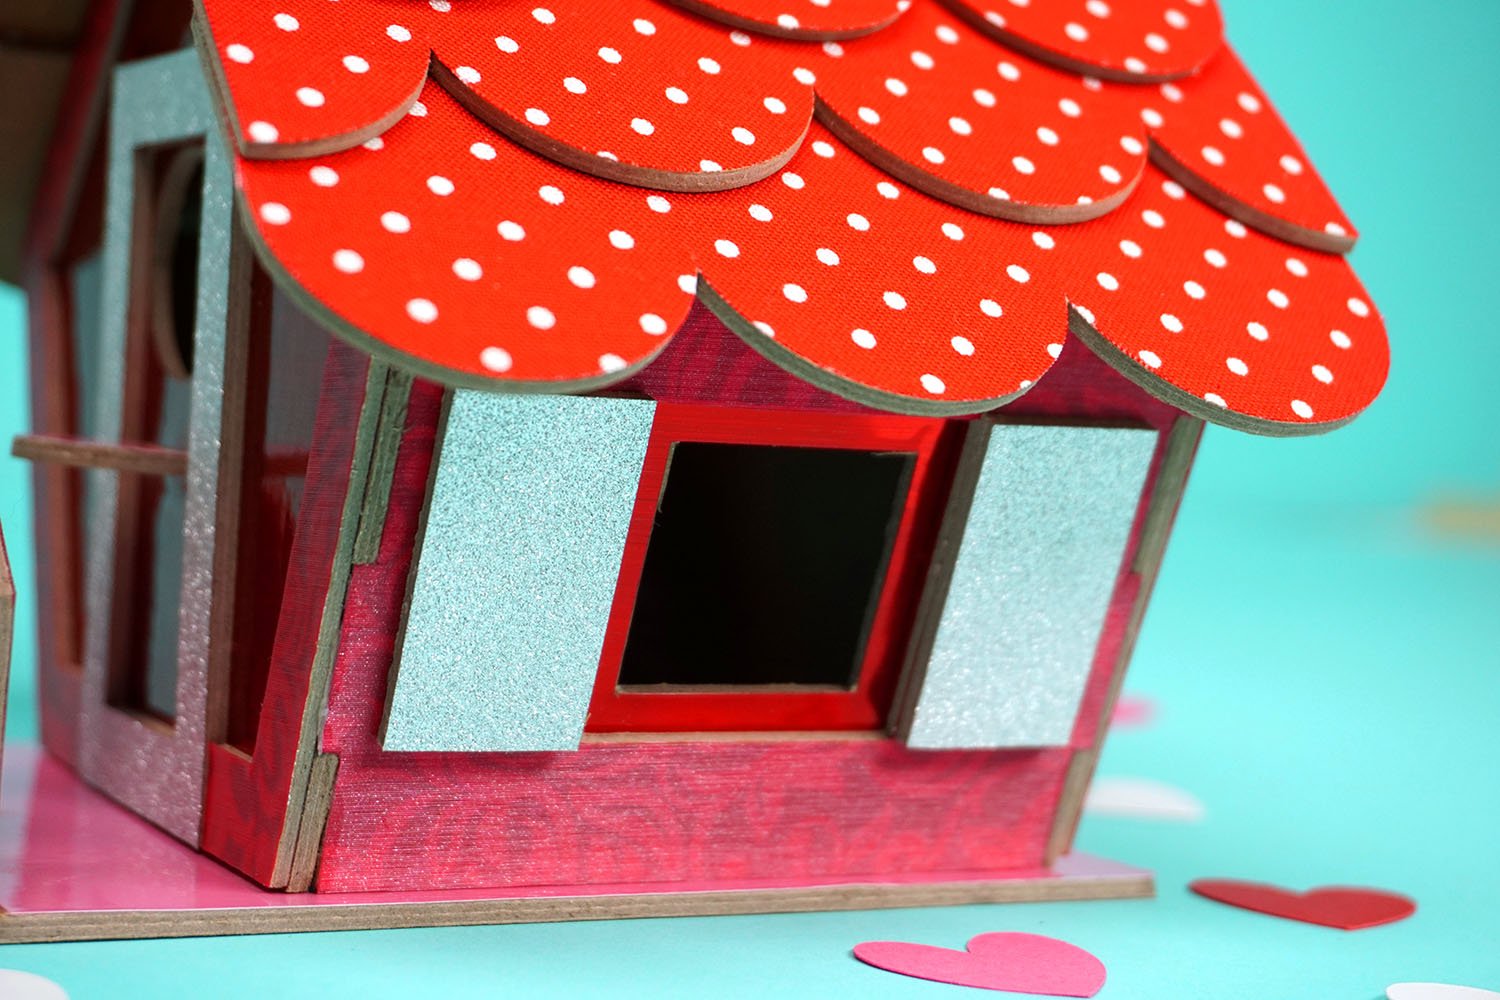
There are lots of different layered components to this birdhouse, and I love that I used different vinyl materials for each layer so that you can really see the depth and detail of each area!
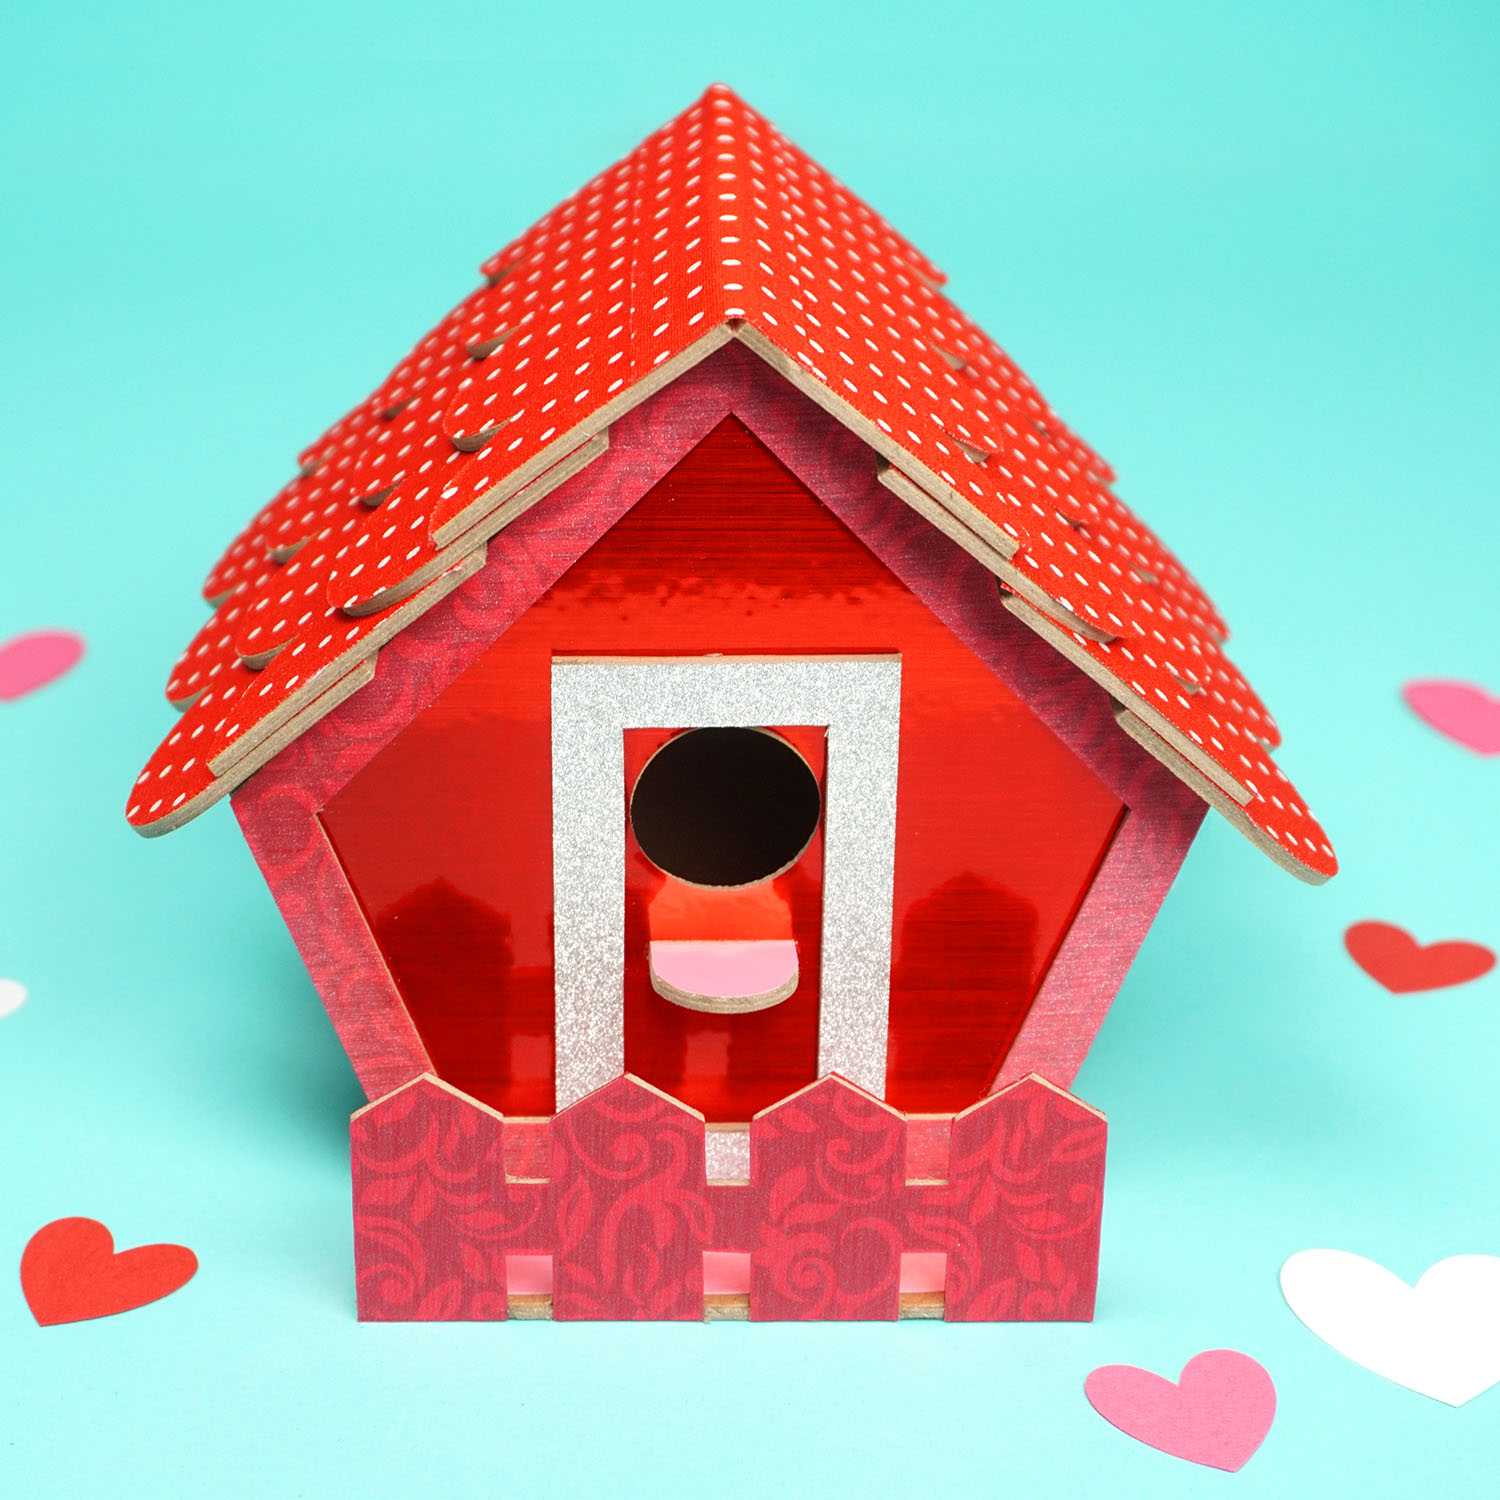
The combination of brushed metallic, stainless foil, and glitter vinyl add varying levels of sparkle and shimmer to the project, and the birdhouse looks different from every angle when the light hits the materials in different ways.
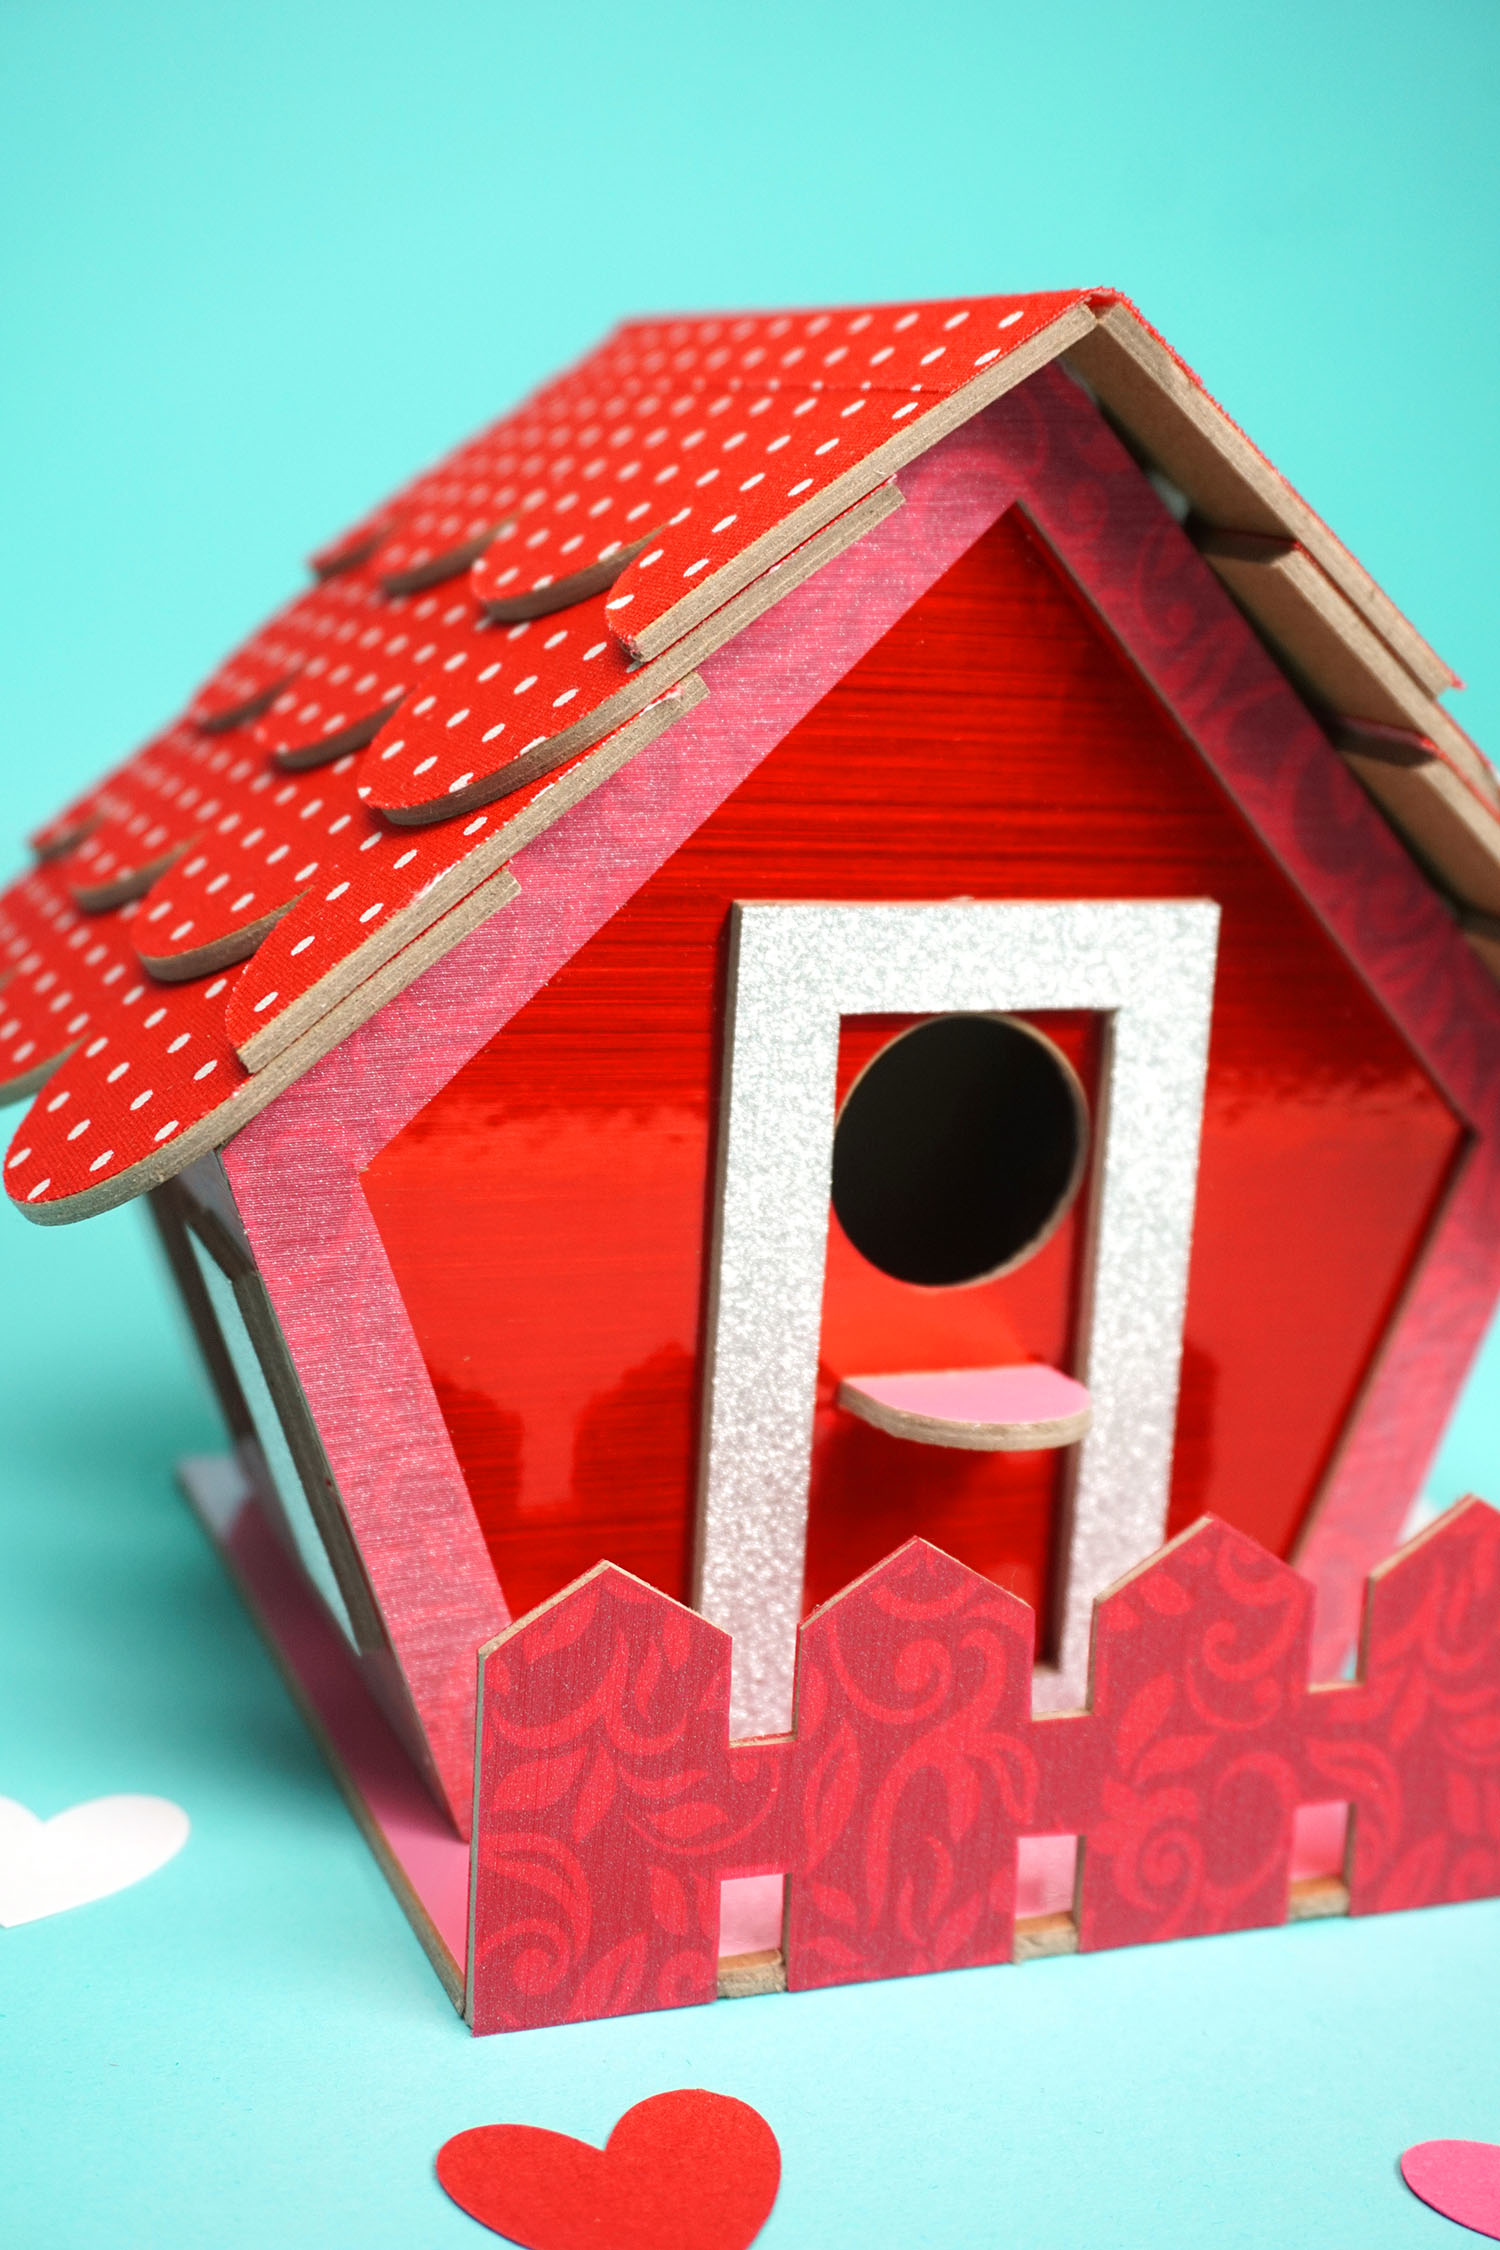
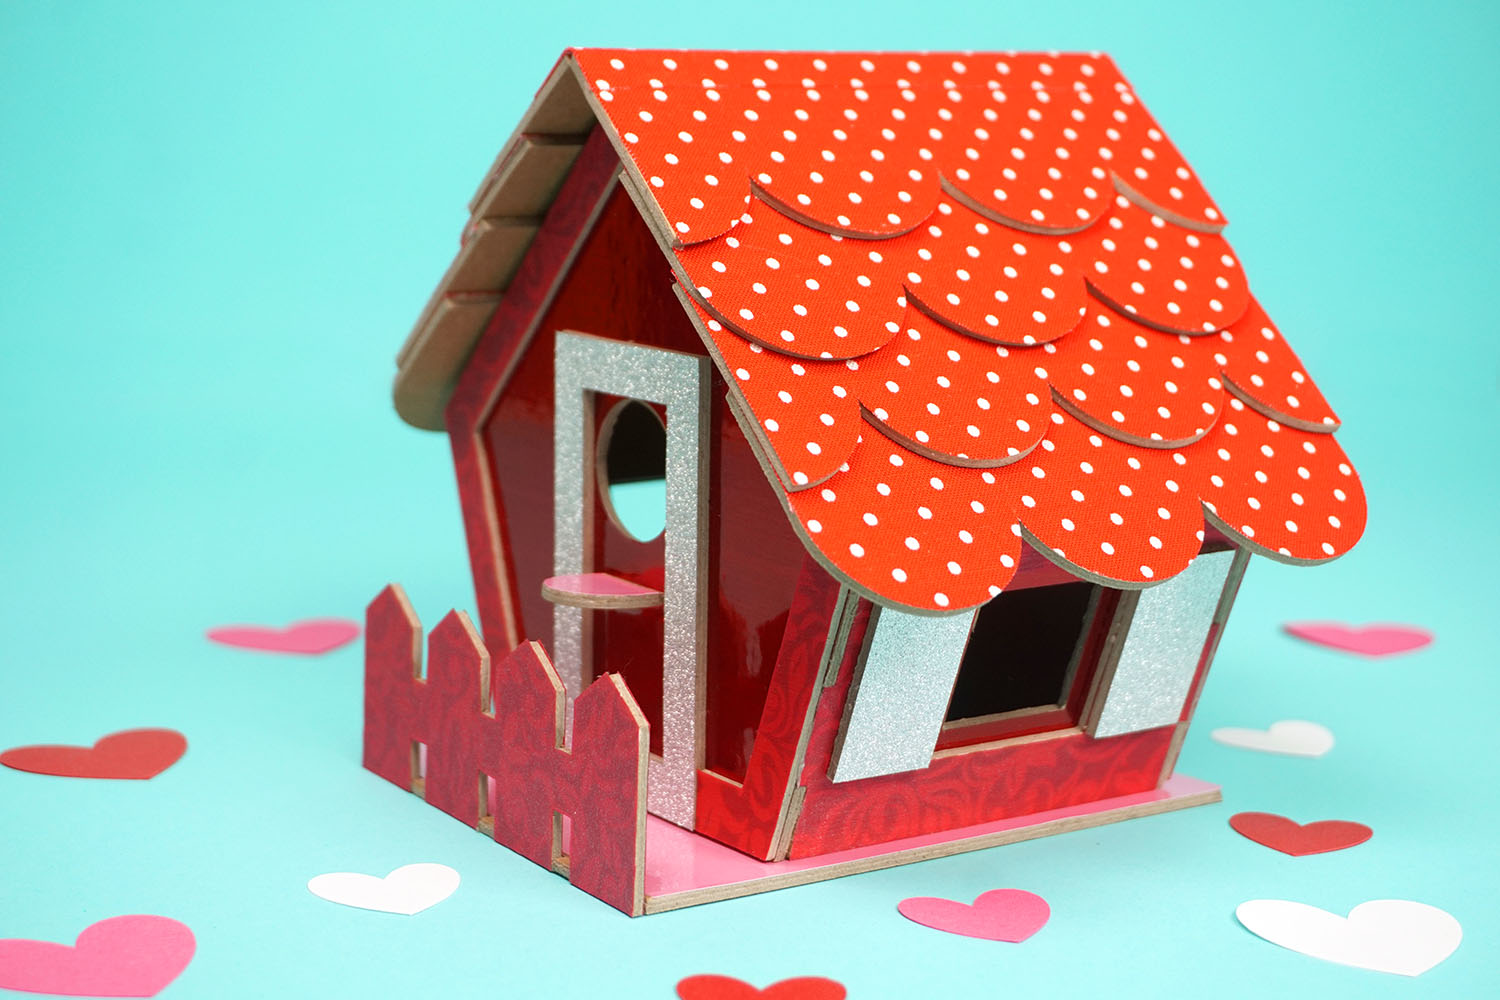
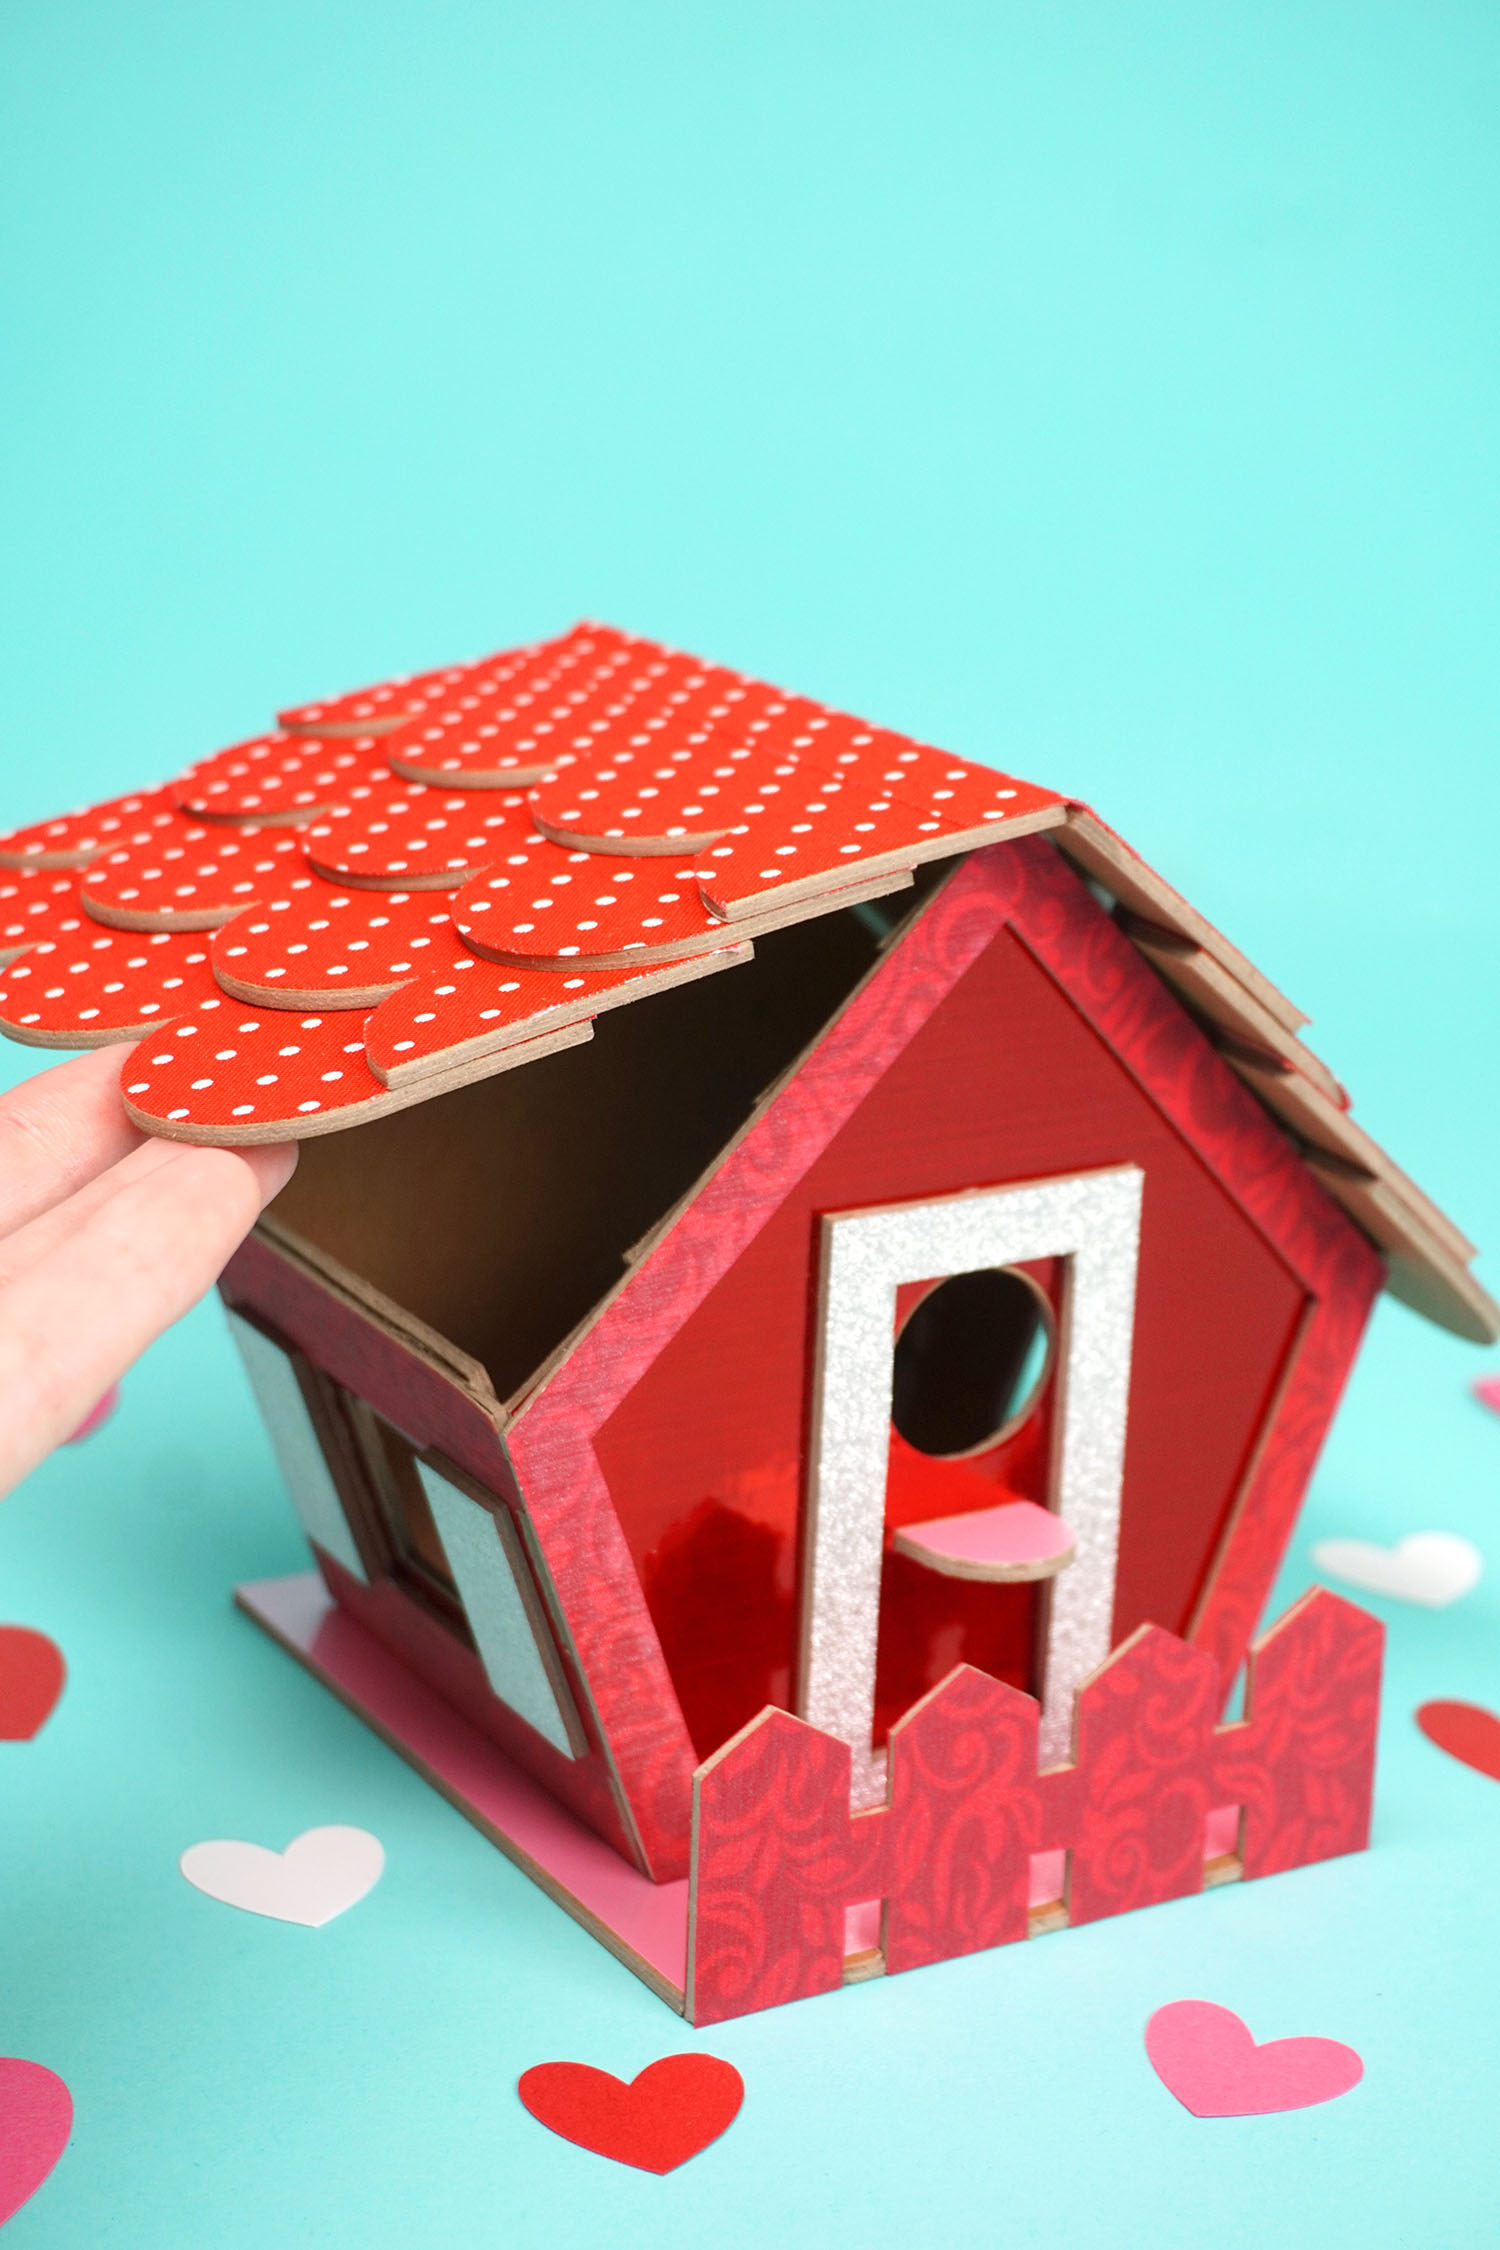
But, of course, my most favorite feature is that hinged roof! The addition of a movable roof allow for this cute birdhouse to used as a Valentine card or treat box, filled with love notes and sweet goodies!
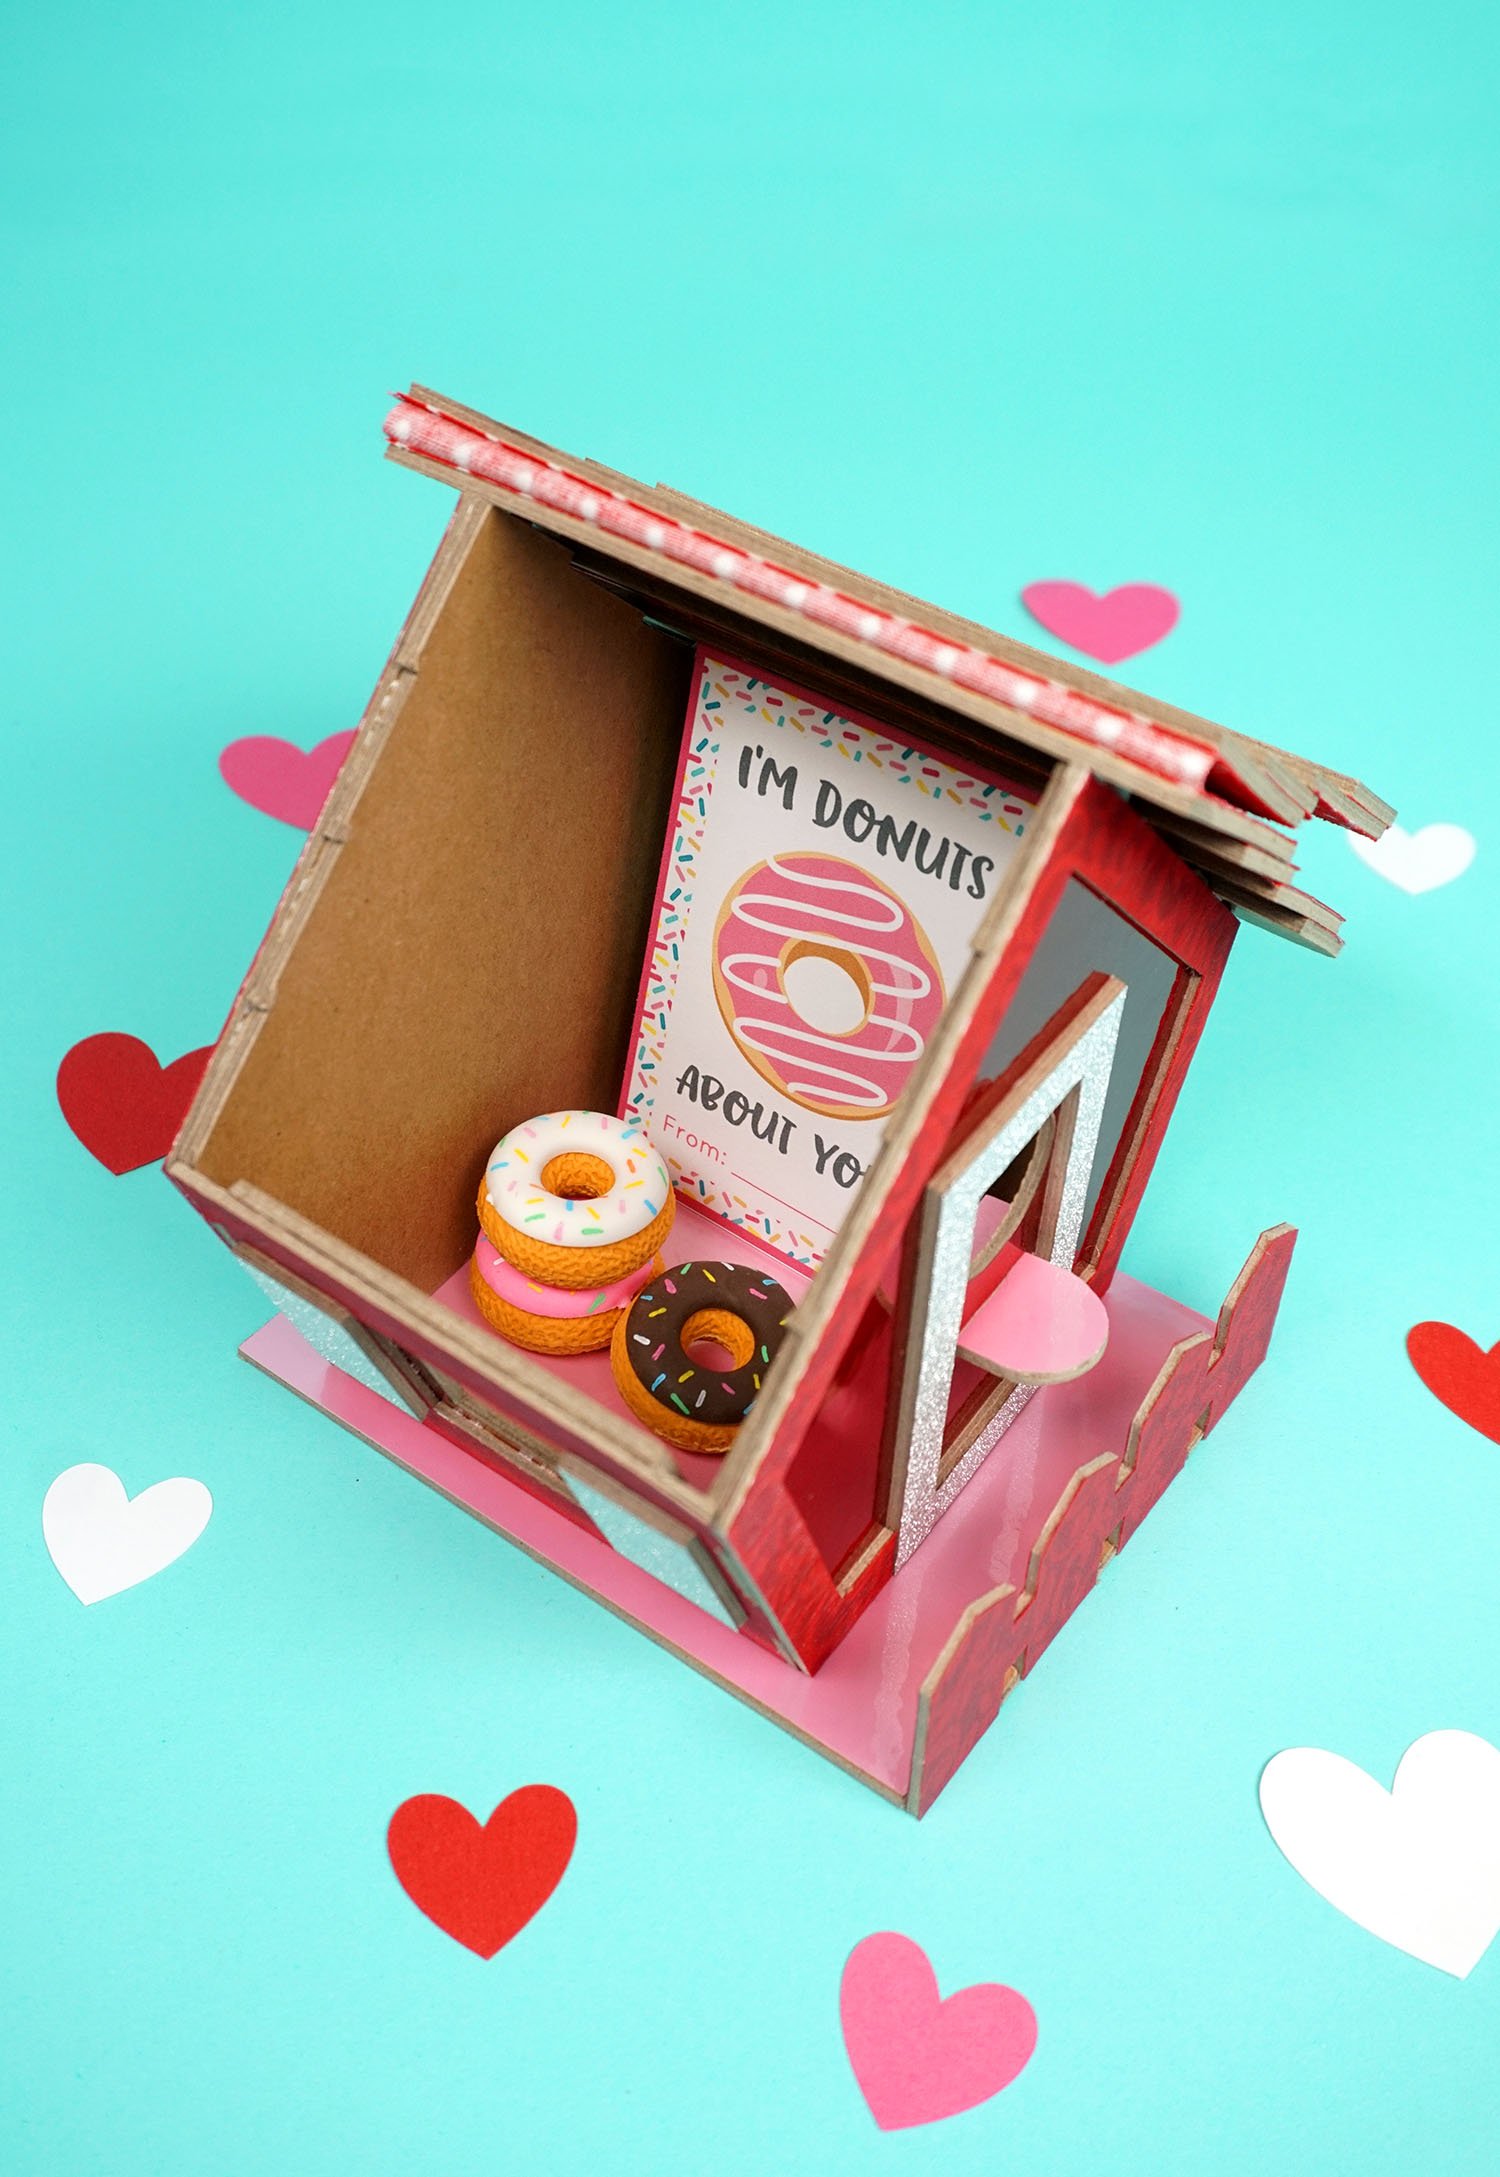
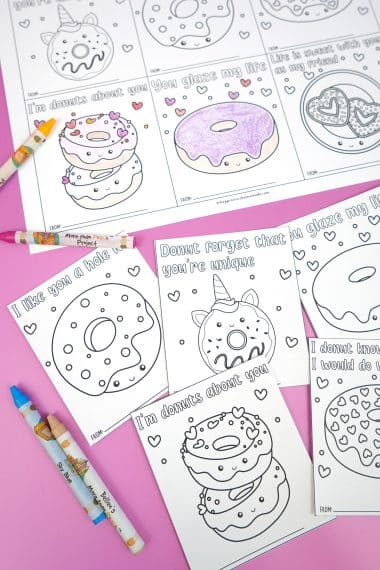
I highly recommend filling the card box up with our adorable Donut Valentine Cards and erasers (because who doesn’t love donuts?!) – they fit perfectly inside!
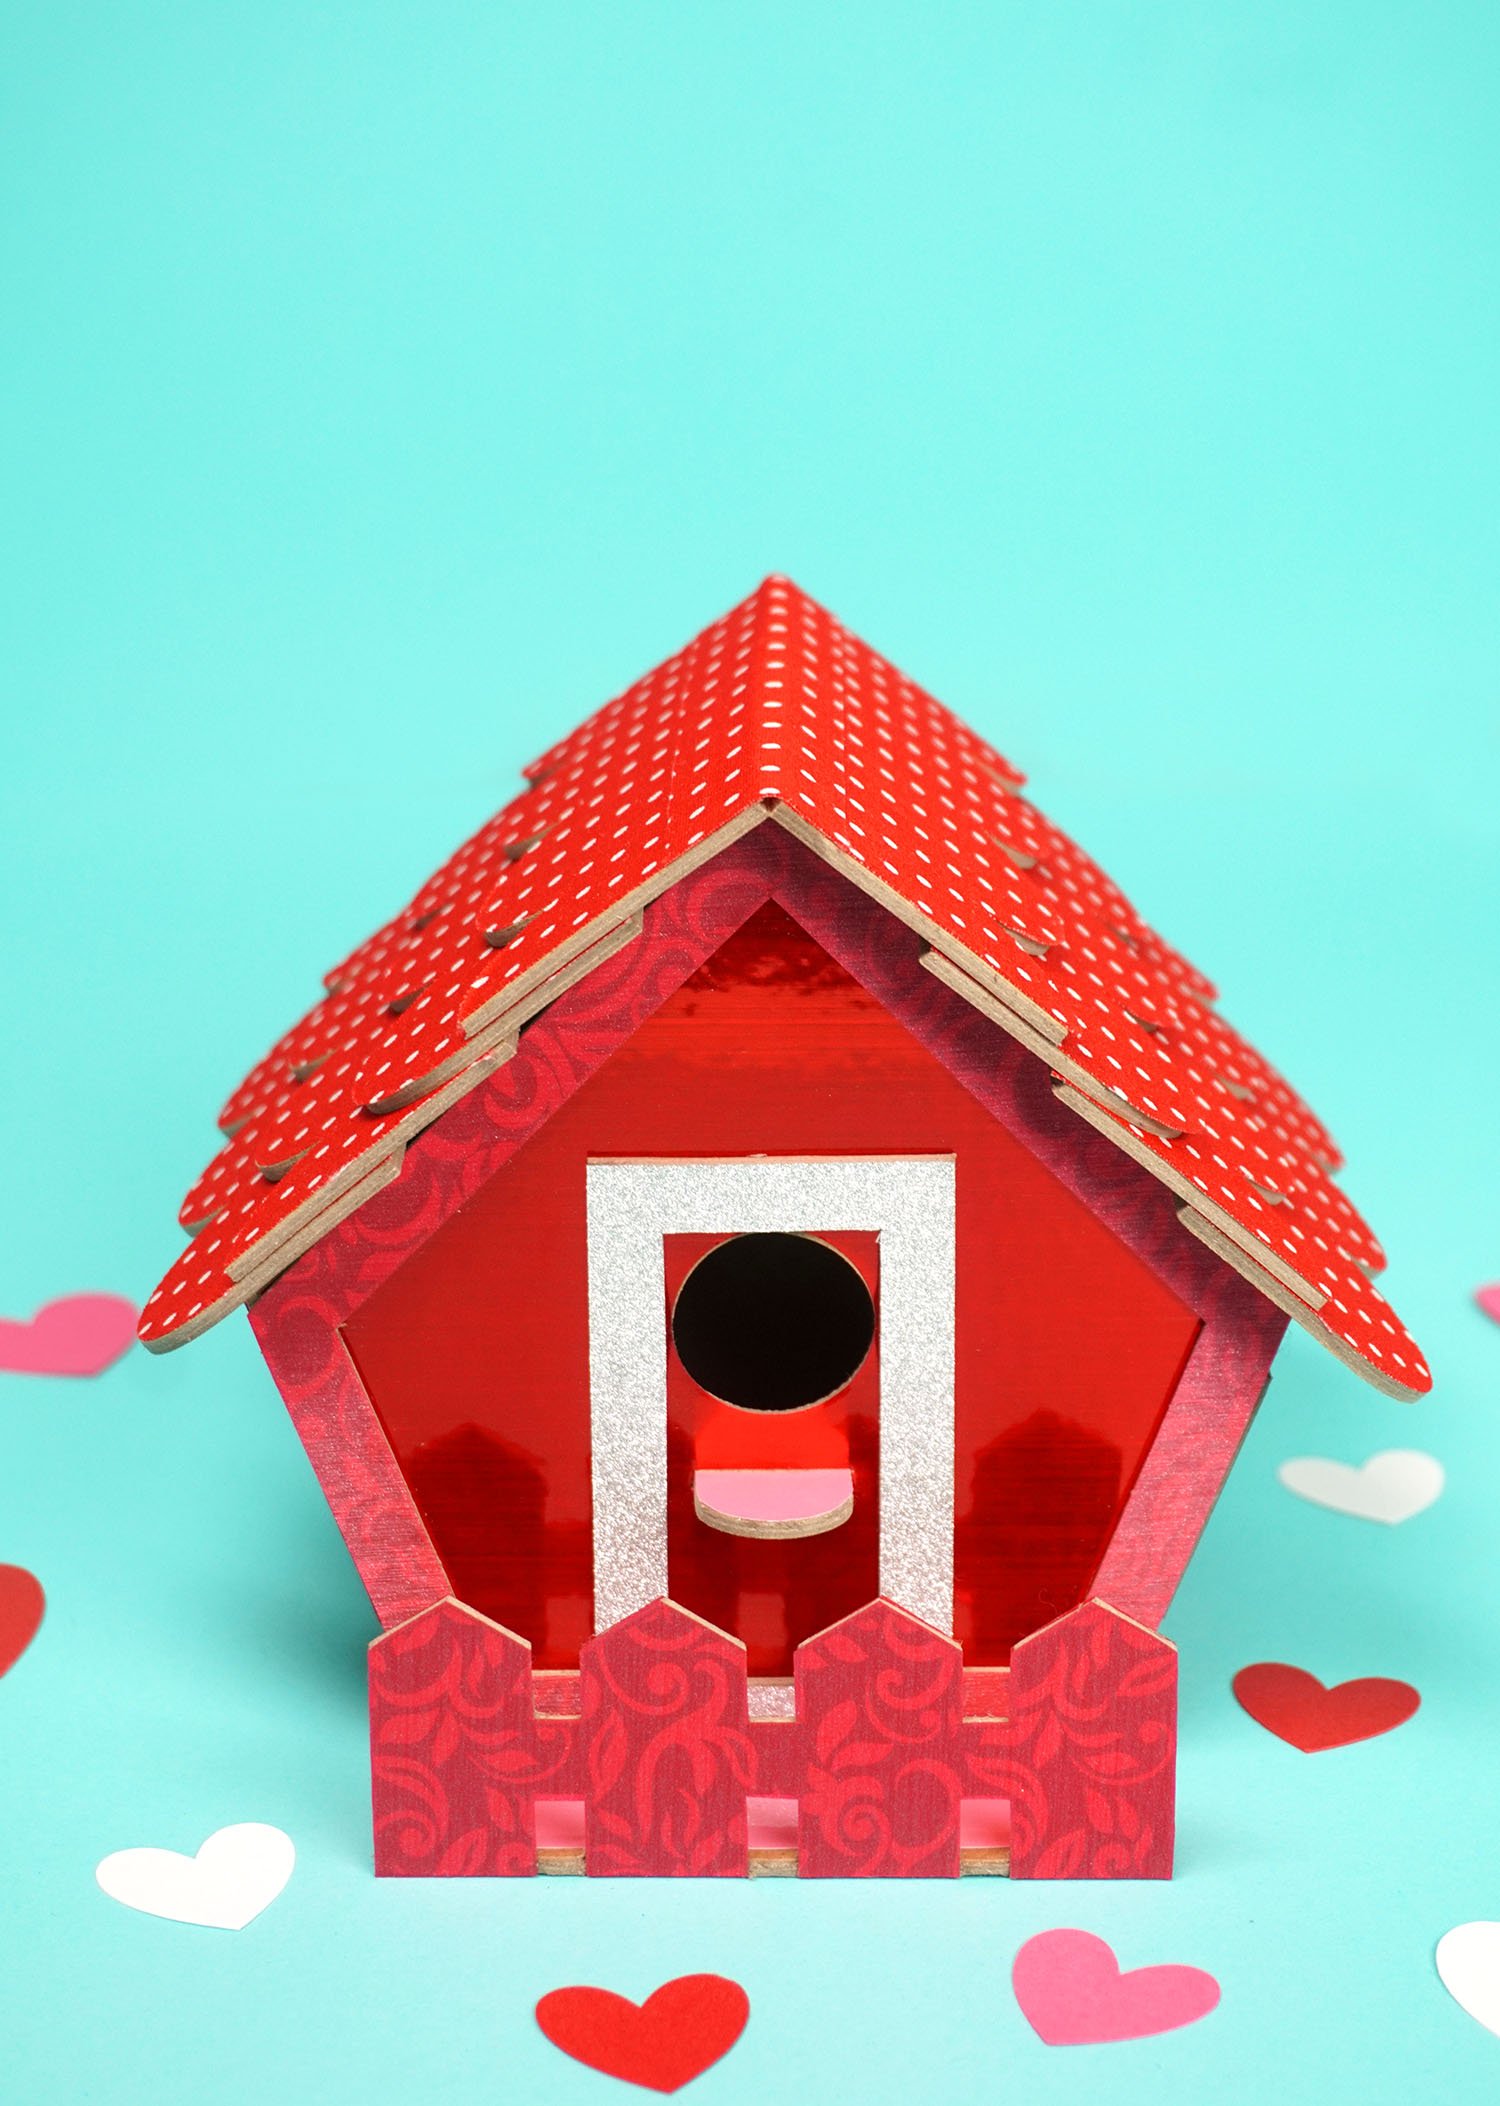
This adorable Valentine’s Day birdhouse card box is one of my favorite Valentine’s projects ever! If you decide to make your own, I would love to see how it turns out- feel free to share a photo in the comments! Happy crafting!

Check Out These Other Valentine’s Day Ideas!
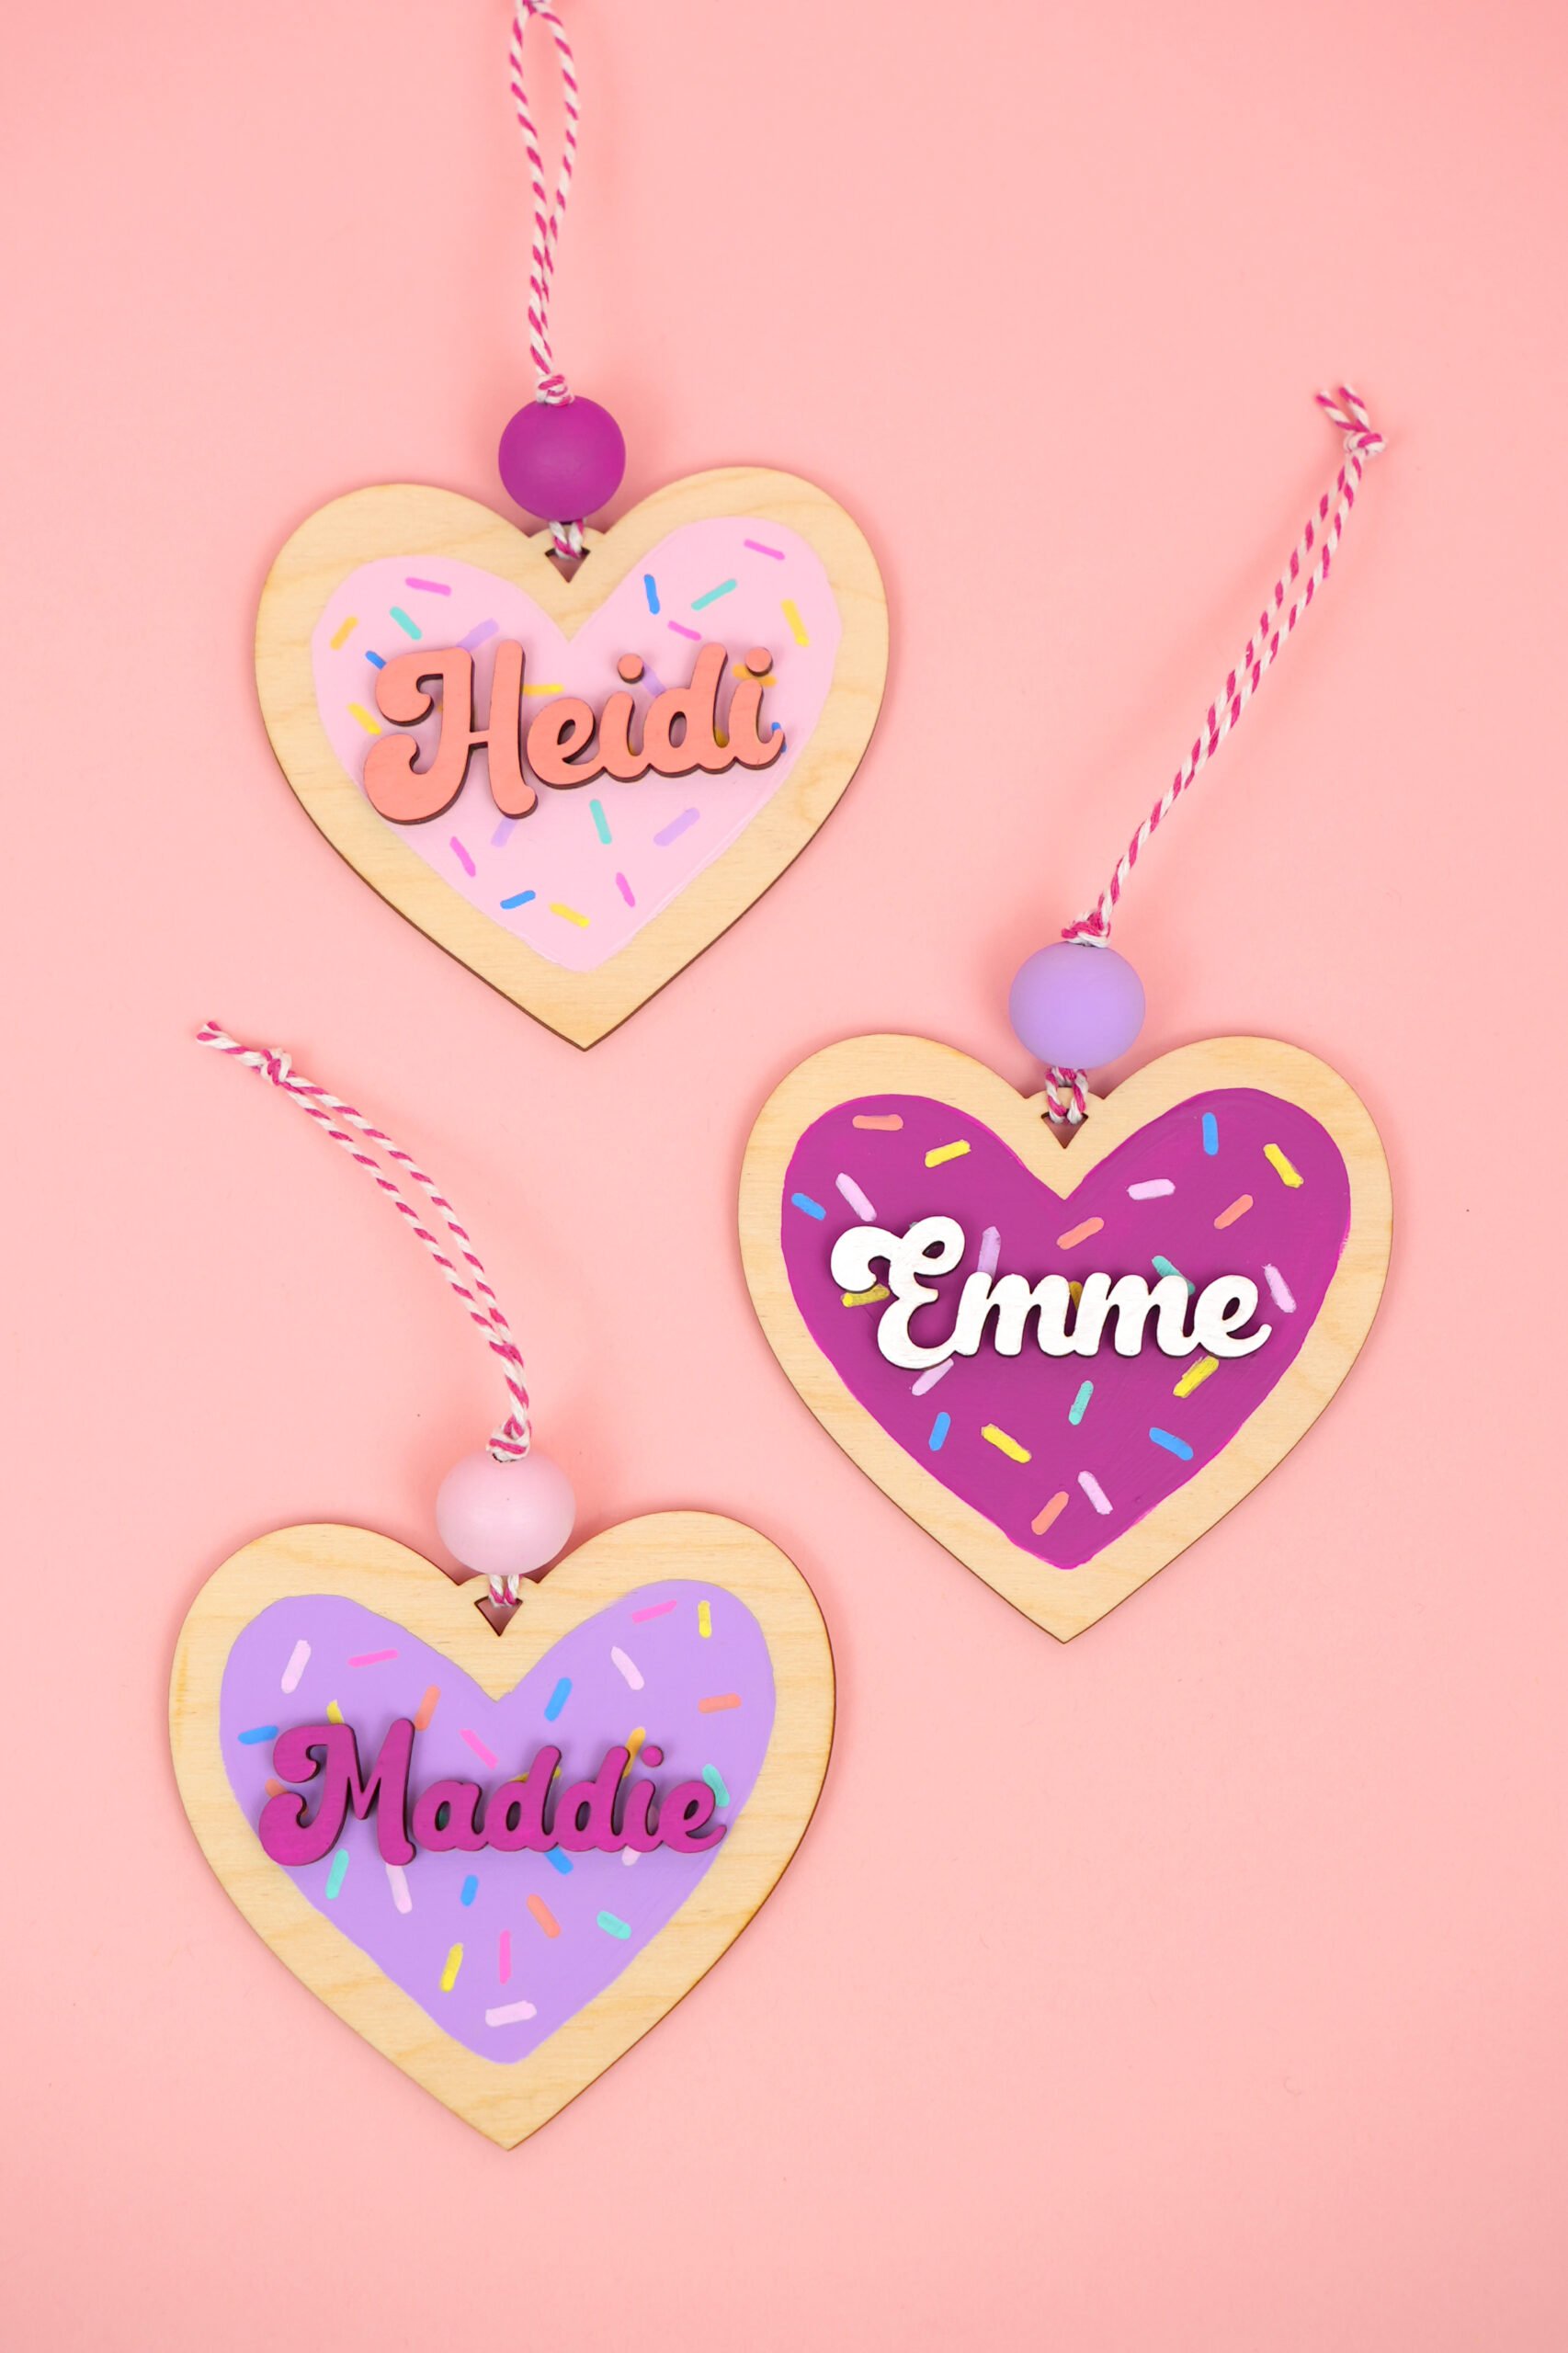
 Valentine Heart Ornaments + Laser SVG
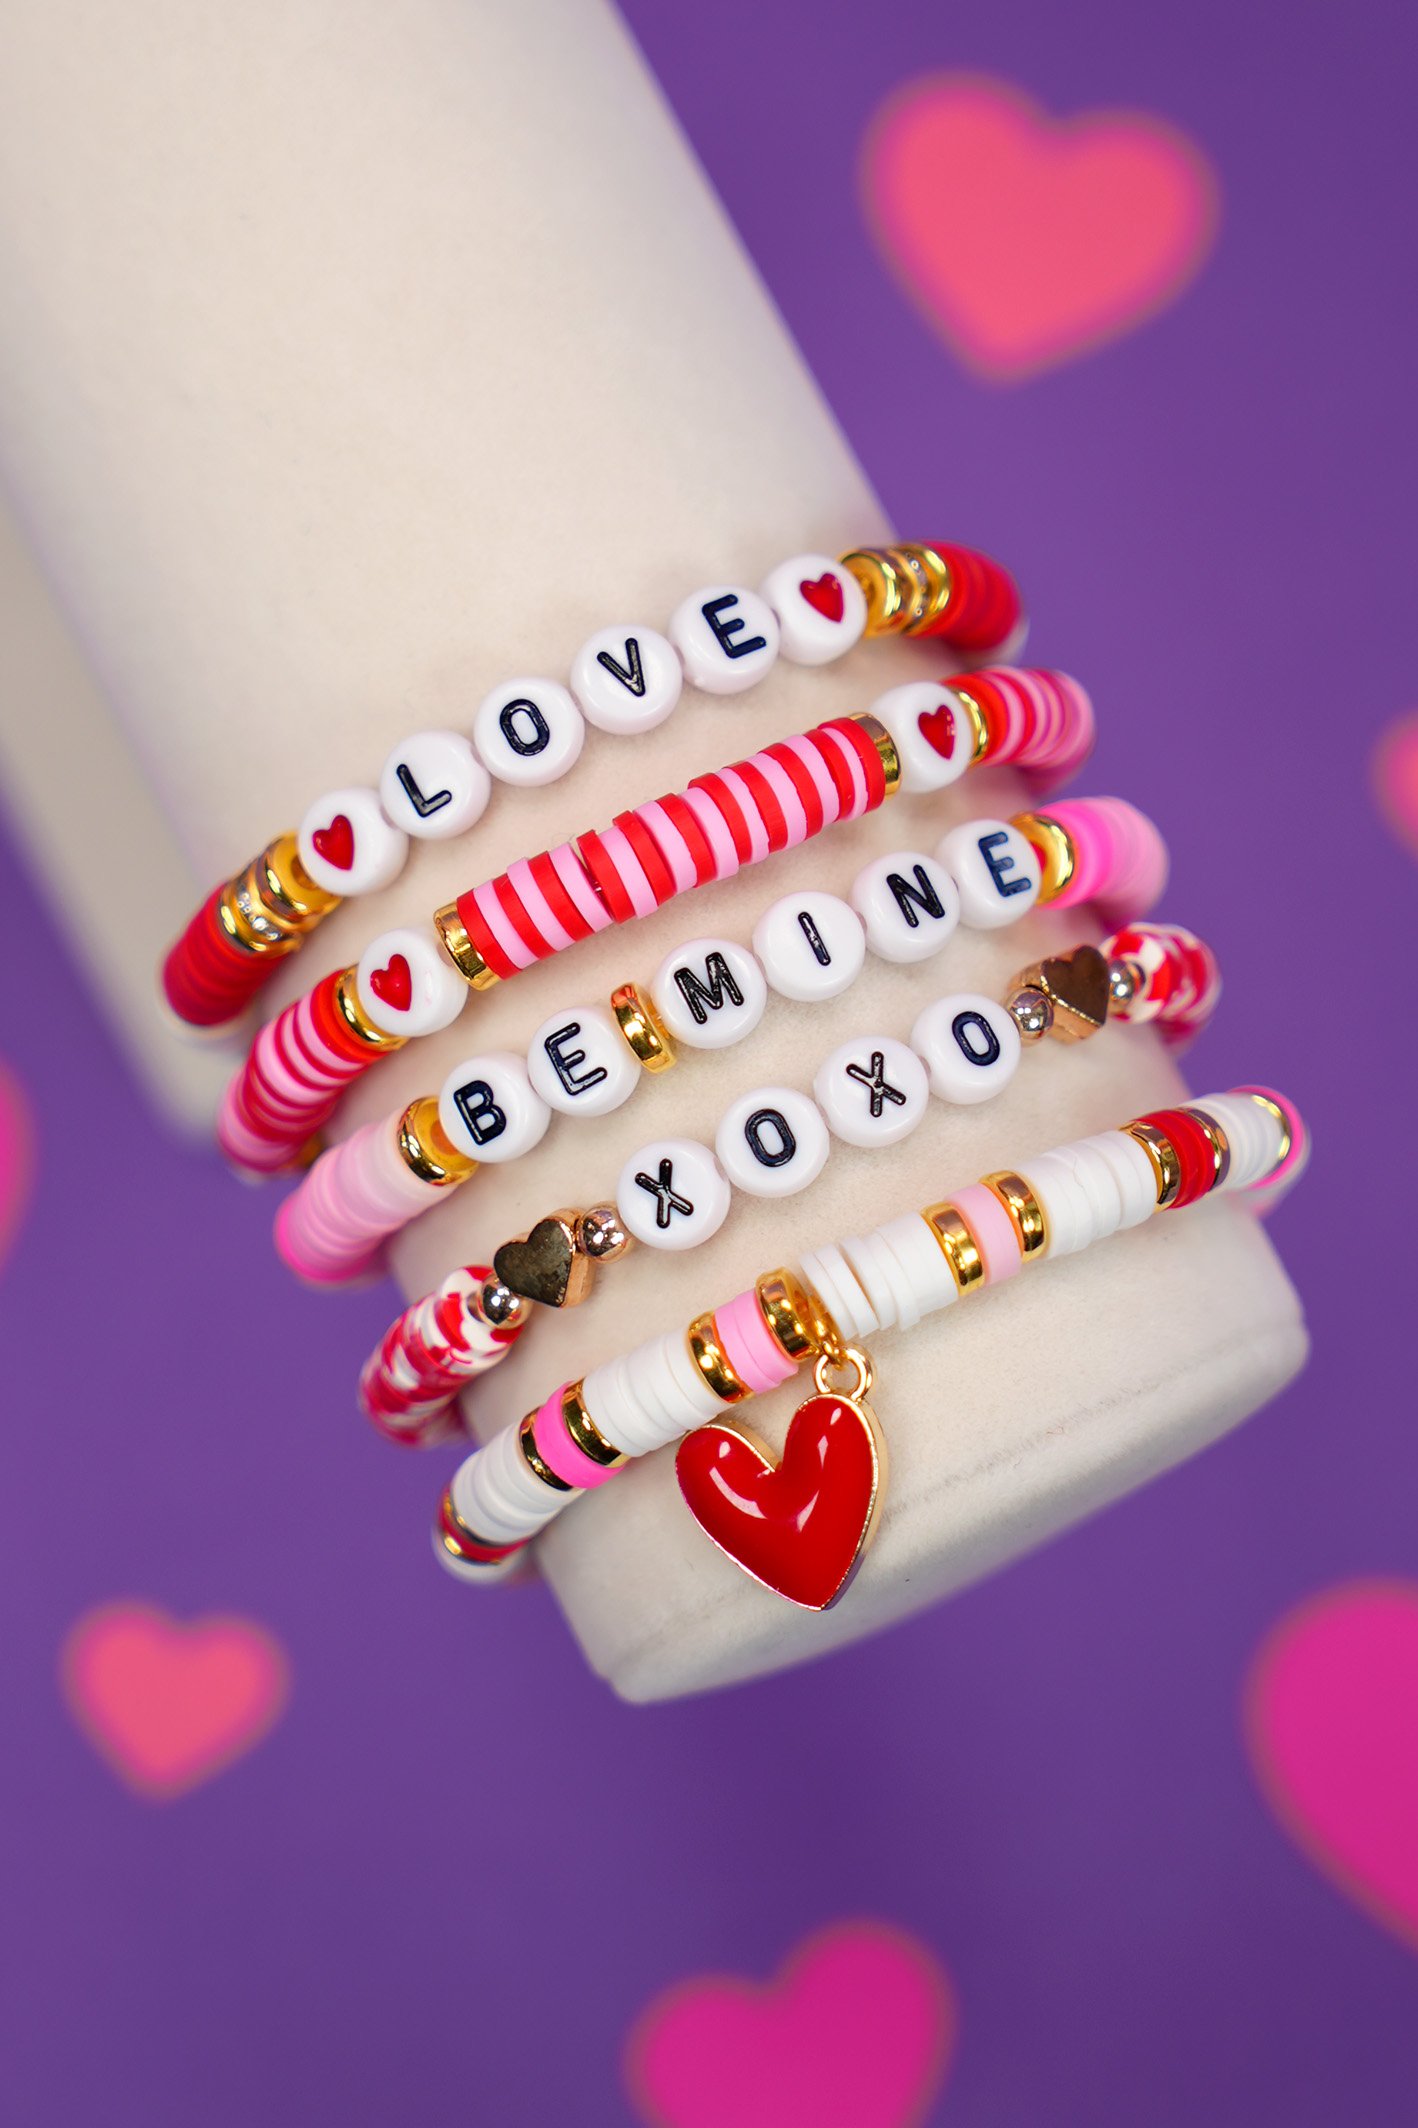
 Easy DIY Valentine’s Day Bracelets
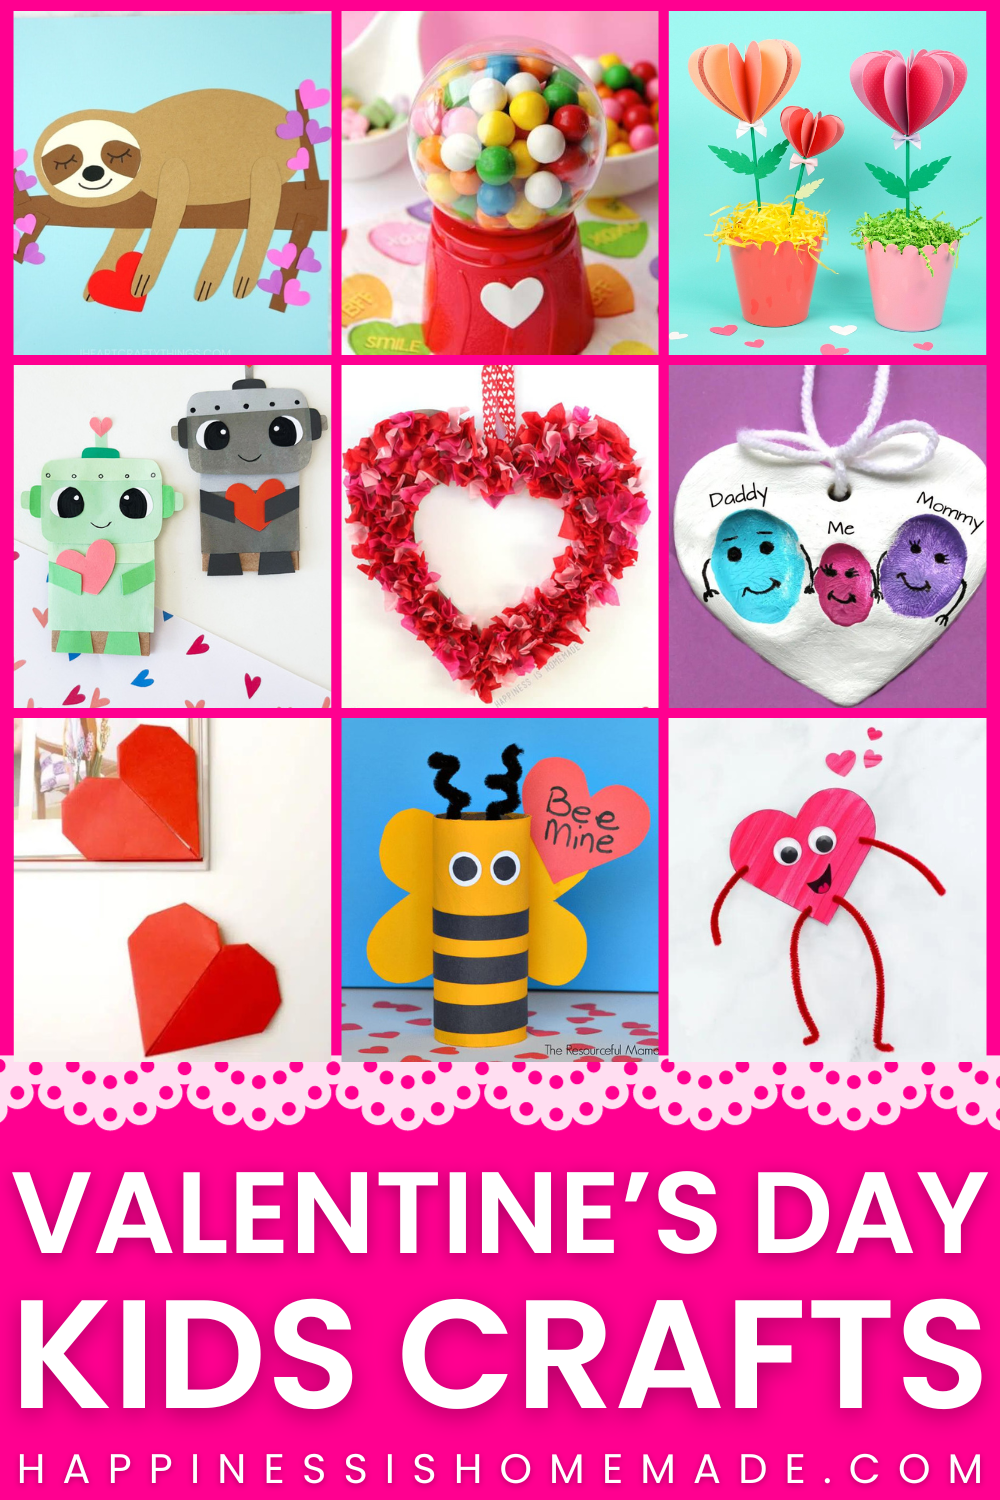
 75+ Easy Valentine Crafts for Kids
 Free Printable Taylor Swift Valentine’s Day Cards
 100+ FREE Printable Valentine’s Cards
 Free Printable Paint Valentines for Kids
 30+ Valentine’s Day Nail Ideas
 Donut Valentine Coloring Cards
Pin this Valentine Card Box for Later!

Heidi Kundin has captivated the hearts of millions with her colorful and inspiring approach to crafting, celebrations, and family fun. With over 15 years of experience, Happiness is Homemade has become a must-visit destination for those seeking quick and easy creative ideas and last-minute solutions. Heidi’s warm personality shines through her posts, inviting readers to join her on a creative journey that’s fun, rewarding, and achievable. Heidi is also the author of Homemade Bath Bombs & More and DIY Tie-Dye.

