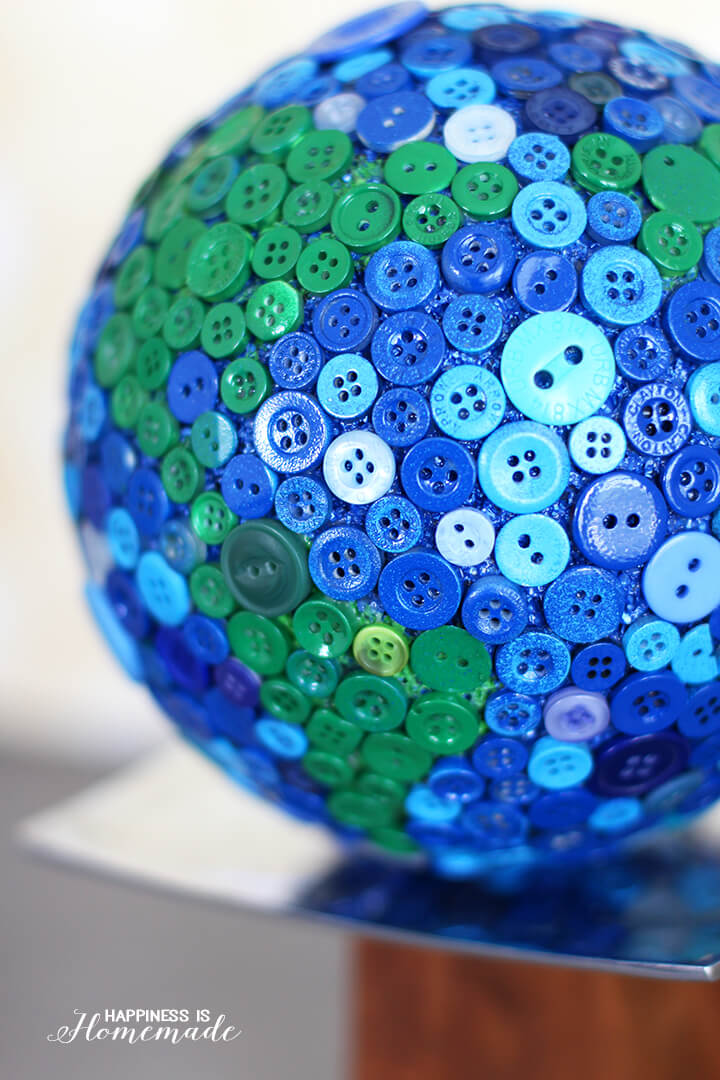
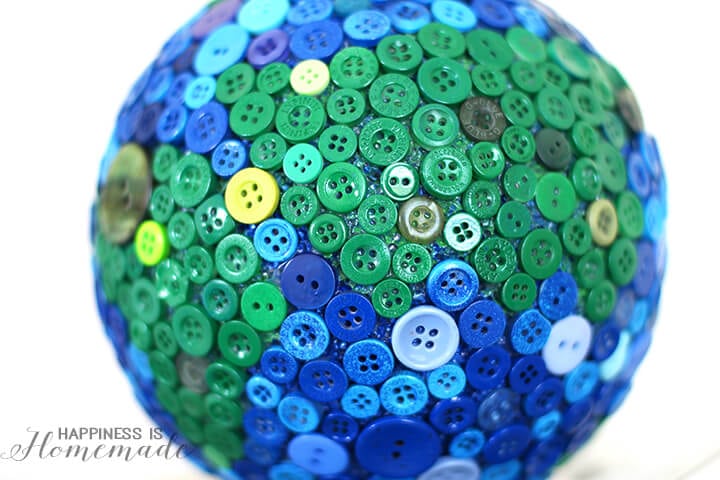
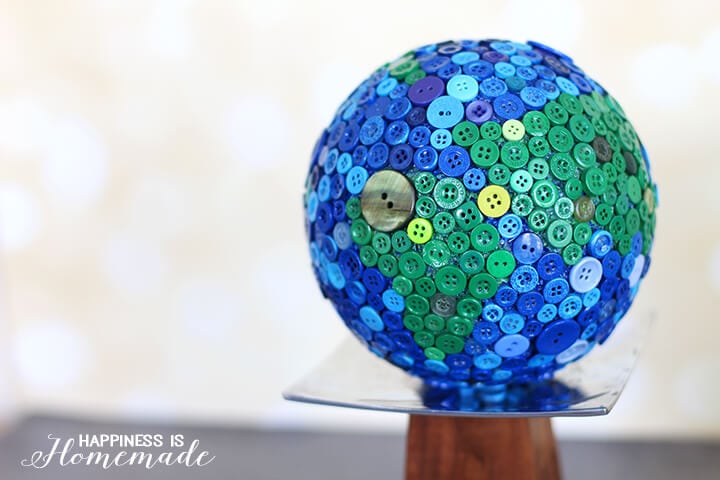
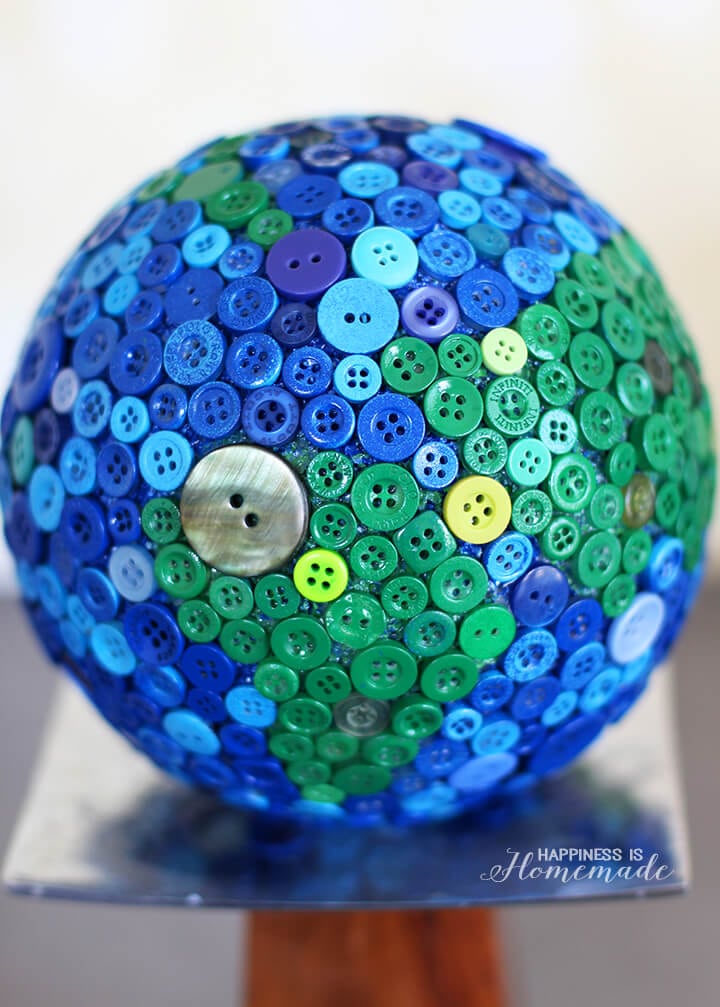
This button globe is really simple to create using only a few supplies. It’s a bit time consuming to make, but the end results are totally worth it!
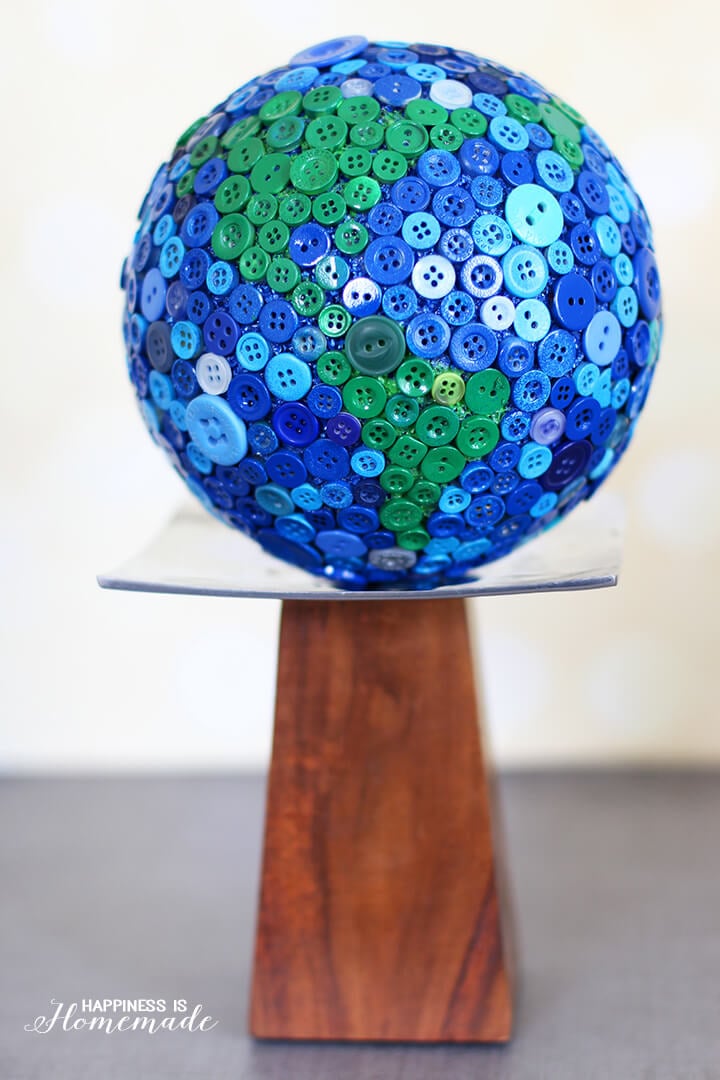
![]() Do you ever start a project with grand expectations, only to wonder mid-way through if you’ve completely lost your mind? That was the case with this button globe. I had glorious visions of the completed project in my head, but after several hours of gluing buttons, I was feeling doubtful about the end result and starting to wonder if it was going to turn out fabulous or be a complete craft fail. I pushed aside the doubts and keep on going, and I’m SO glad that I did. My finished button globe turned out almost exactly like I had envisioned it, and I LOVE it!
Do you ever start a project with grand expectations, only to wonder mid-way through if you’ve completely lost your mind? That was the case with this button globe. I had glorious visions of the completed project in my head, but after several hours of gluing buttons, I was feeling doubtful about the end result and starting to wonder if it was going to turn out fabulous or be a complete craft fail. I pushed aside the doubts and keep on going, and I’m SO glad that I did. My finished button globe turned out almost exactly like I had envisioned it, and I LOVE it!
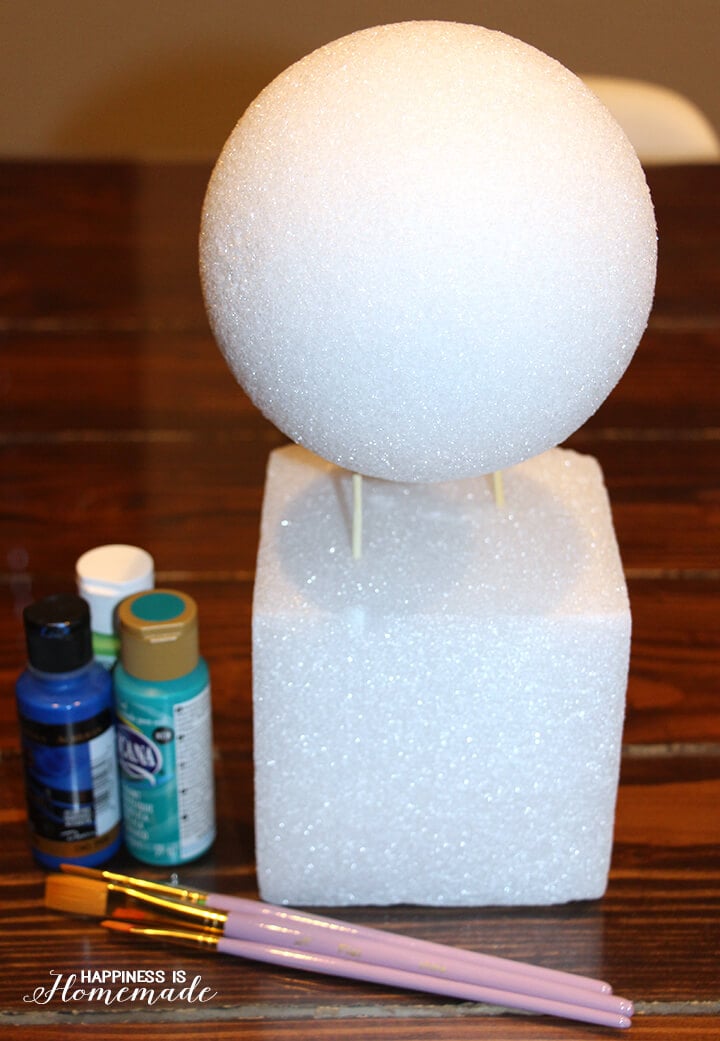 I started with an 8″ FloraCraft® Make It: Fun® Foam Ball and used blue and green acrylic paint to paint the oceans and continents. I held the ball stationary while painting by inserting two bamboo skewers into the bottom of the ball and then into a large foam cube (also by FloraCraft®). It takes awhile for paint to dry on the foam, so I painted the ball and then allowed it to dry overnight.
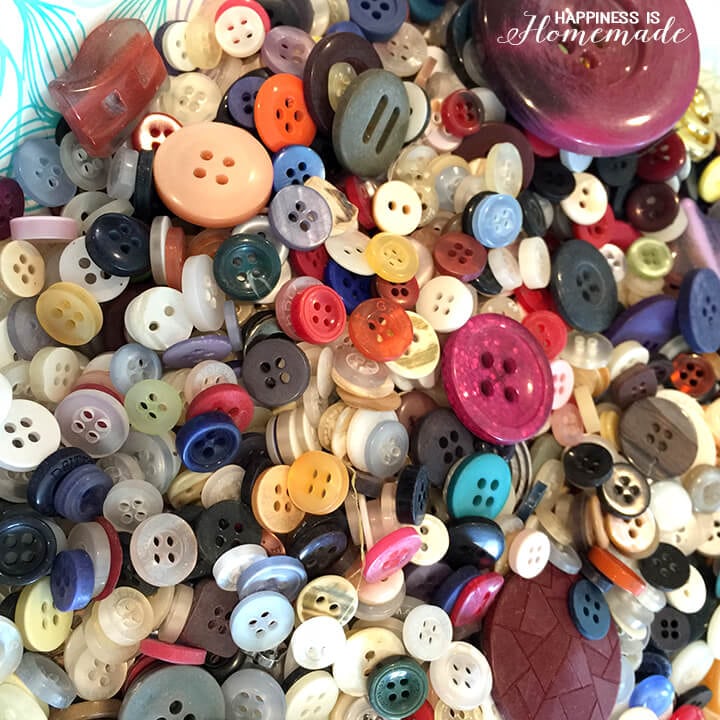 I used about a half pound of buttons for this project. The buttons were an assortment of colors, so I started by separating out the blues and greens to be used, and then I spray painted the remaining buttons with two different shades of blue and green. I discovered that the best method for spray painting buttons is to place them on a large flat sheet of cardboard topped by a sheet of parchment paper. Once the paint is dry, the buttons come right off of the parchment paper without any mess or sticking.
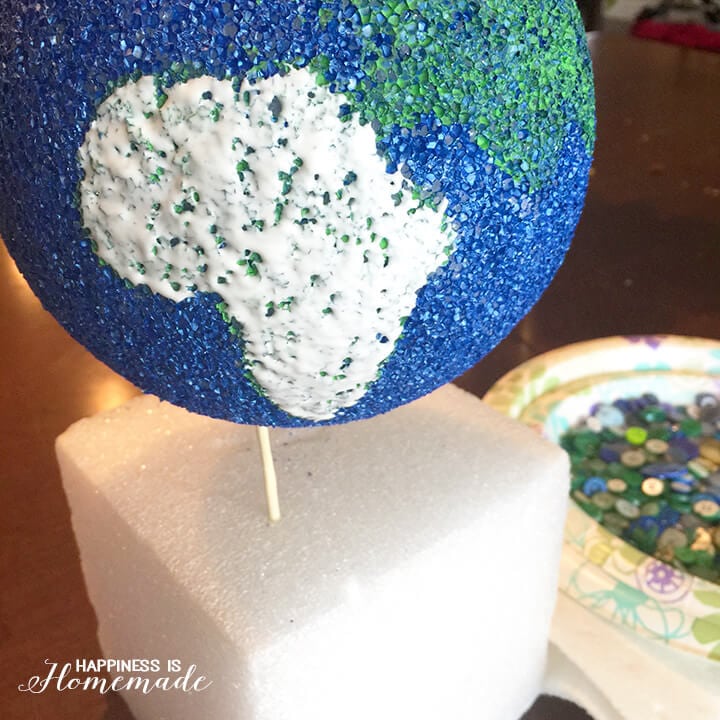 Once the paint on the ball and the buttons are fully dried, it’s time to start gluing! There are many types of glue that will disintegrate or melt the styrofoam, so it’s best to use StyroGlue (made specifically for the job) or basic white glue. Again, it takes awhile for the glue to dry on the styrofoam, so it’s best to work in small sections at a time to avoid accidentally messing up your work.
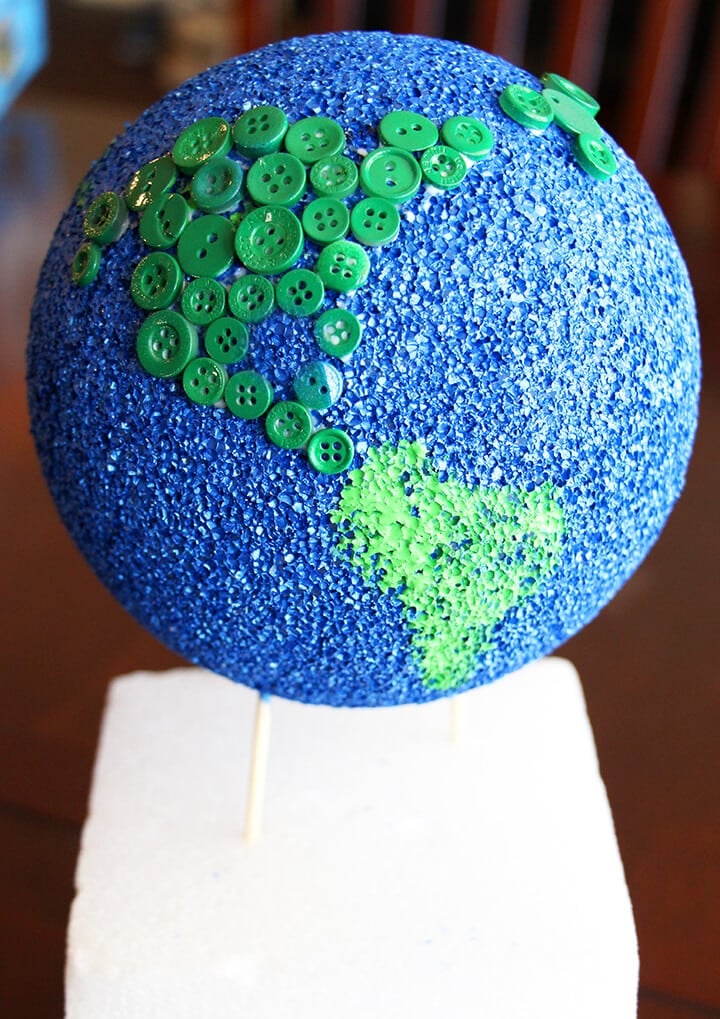 I stared by gluing all of my green buttons for the continents and then allowing the glue to dry overnight. (This is the part where I started to wonder if I was crazy for coming up with this idea or not!) I’m a perfectionist, and the fact that it is simply impossible to be 100% precise when making continent shapes out of buttons had me freaking out a bit. I wasn’t sure at this point if my vision was going to come through in the end or not, but I kept going…
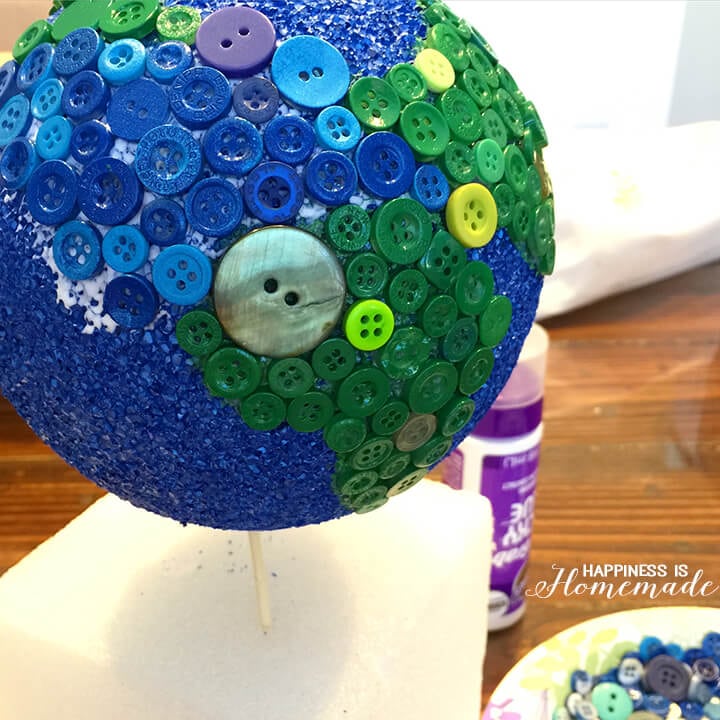 When the green buttons were dry, I started to fill in all of the blue area, working in small sections, and allowing time to dry before moving on to the next section. It may be hard to tell from these photos, but most of the buttons used are only around a quarter of an inch wide, so they’re rather tiny. Once I started adding them though, I got REALLY excited about the way this project was turning out!
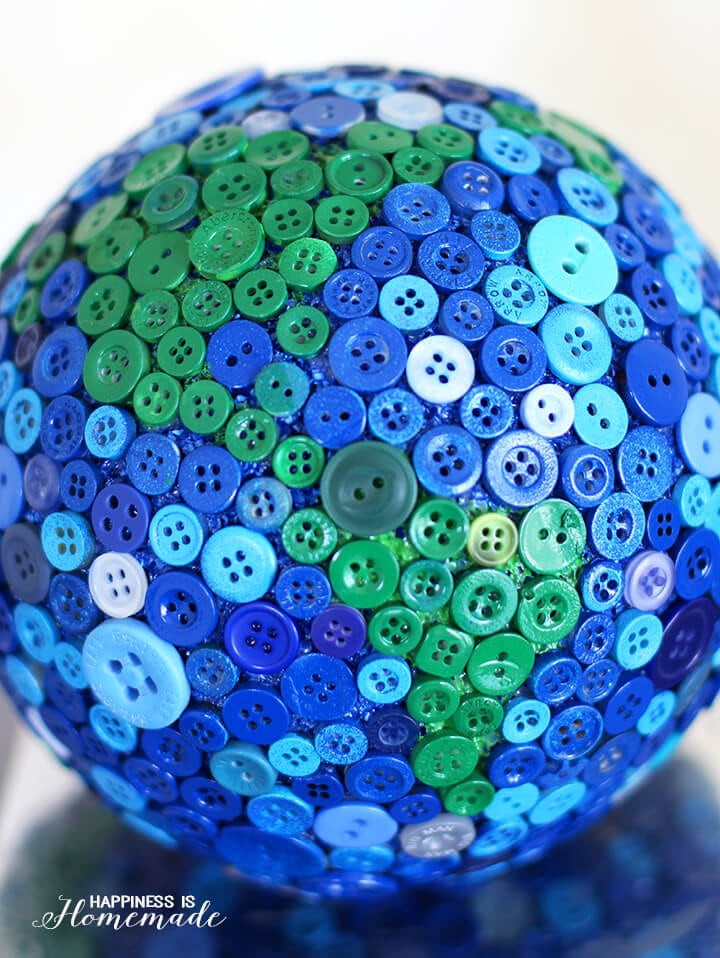 Gluing the blue buttons took me about a total of three hours (working in 30-45 minute spurts) over the course of a week.
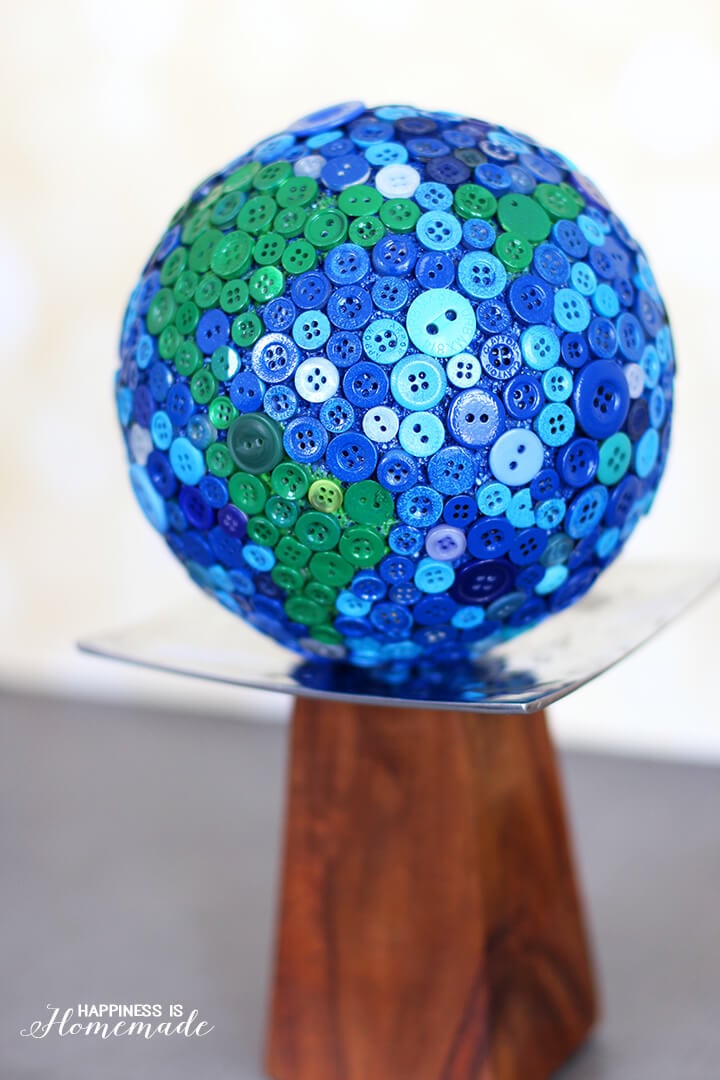 I really, REALLY love the way that it all came together in the end! I couldn’t be happier with the results!
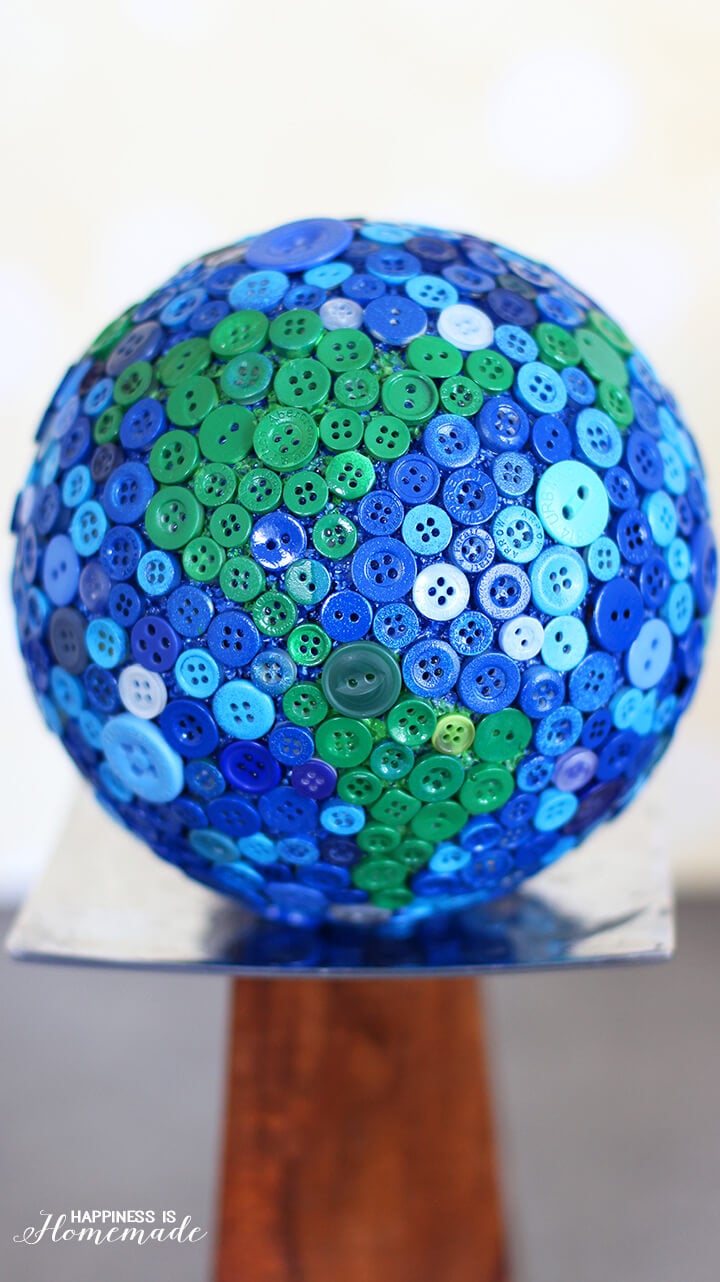 I have to admit that even though this was time consuming, I’m already finding myself daydreaming about making a second pastel version to live in my new craft room.
 Thanks so much to FloraCraft® for providing me with the foam balls that sparked my creativity on this project! Be sure to give them a follow on Facebook, Twitter, Pinterest and Instagram for more creative foam project ideas!

Heidi Kundin has captivated the hearts of millions with her colorful and inspiring approach to crafting, celebrations, and family fun. With over 15 years of experience, Happiness is Homemade has become a must-visit destination for those seeking quick and easy creative ideas and last-minute solutions. Heidi’s warm personality shines through her posts, inviting readers to join her on a creative journey that’s fun, rewarding, and achievable. Heidi is also the author of Homemade Bath Bombs & More and DIY Tie-Dye.

