DIY your holiday decor with these fun winter Chrismukkah mantel decorations and holiday crafts made with your Cricut Maker machine!
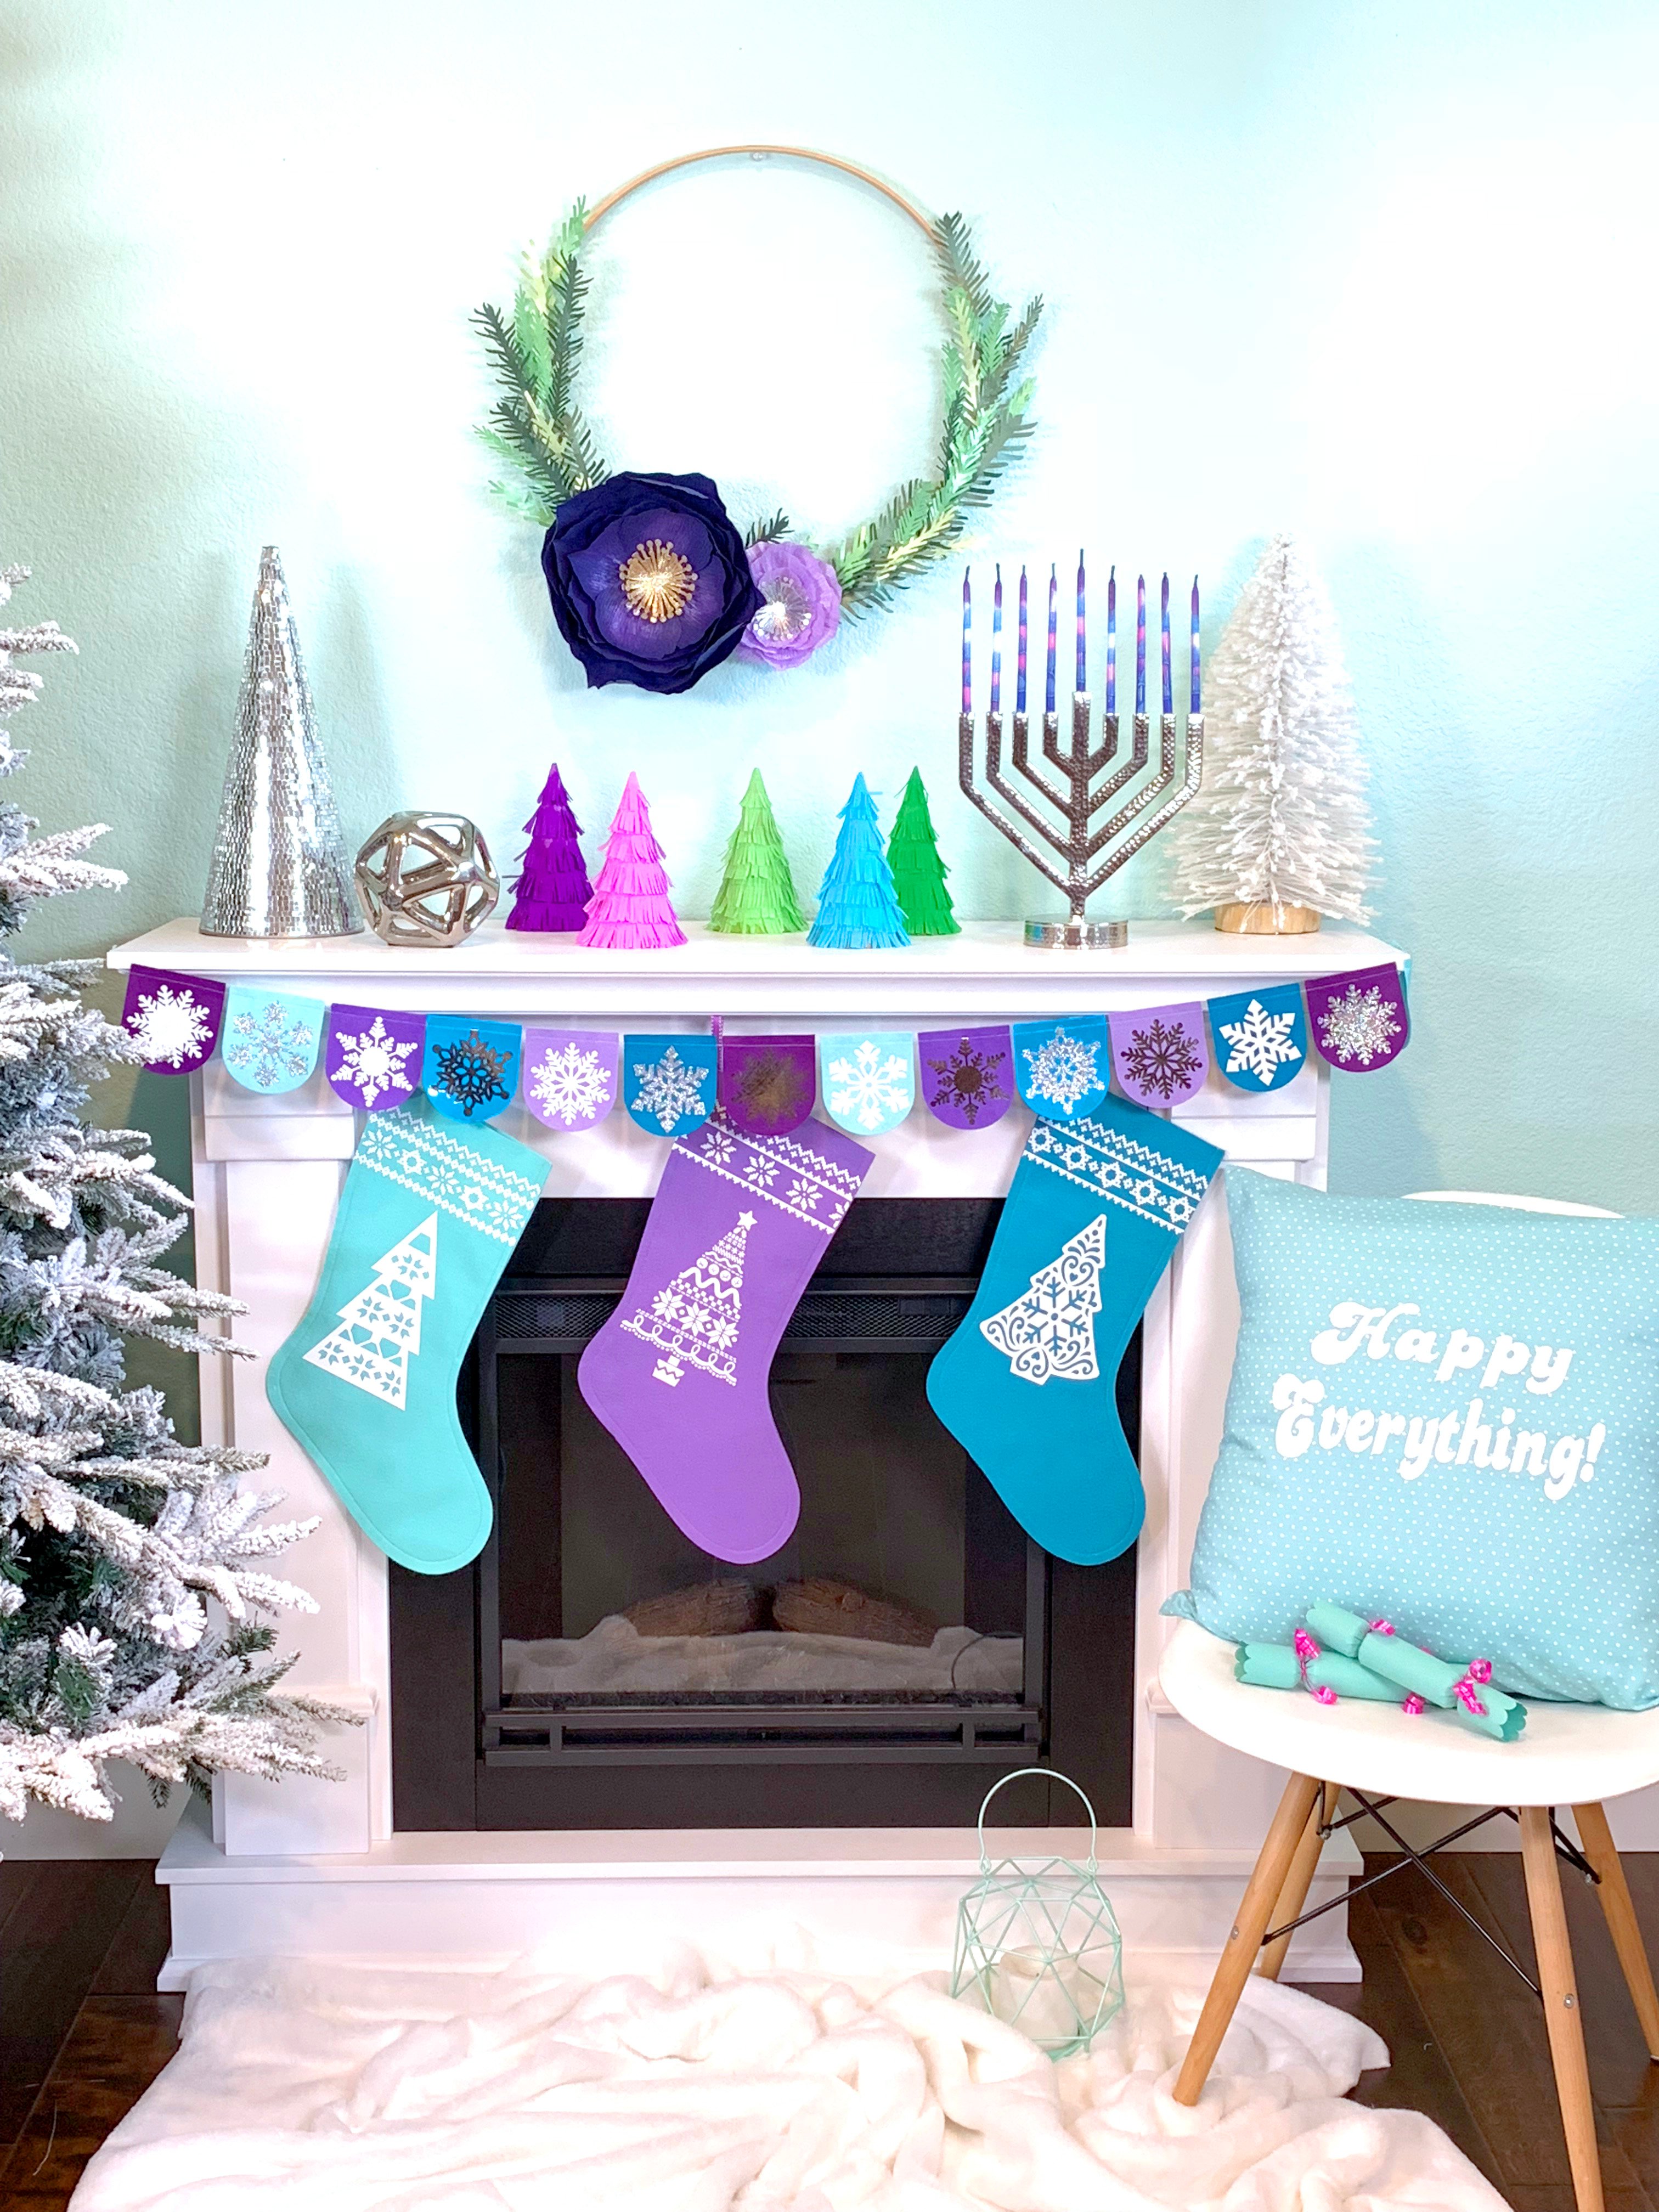


Christmas and Hanukkah will be here before you know it, and since my family celebrates both holidays, I wanted to proudly show off both sides of our family heritages in our holiday decorations. I created these DIY “Chrismukkah” holiday crafts that incorporate elements of both holidays into one colorful mantel theme, and I couldn’t be happier with how it turned out! Plus, I used my Cricut Maker machine to create everything, so not only are the decorations gorgeous, they were also quick and easy to make (my favorite!)!
DIY Chrismukkah Holiday Crafts
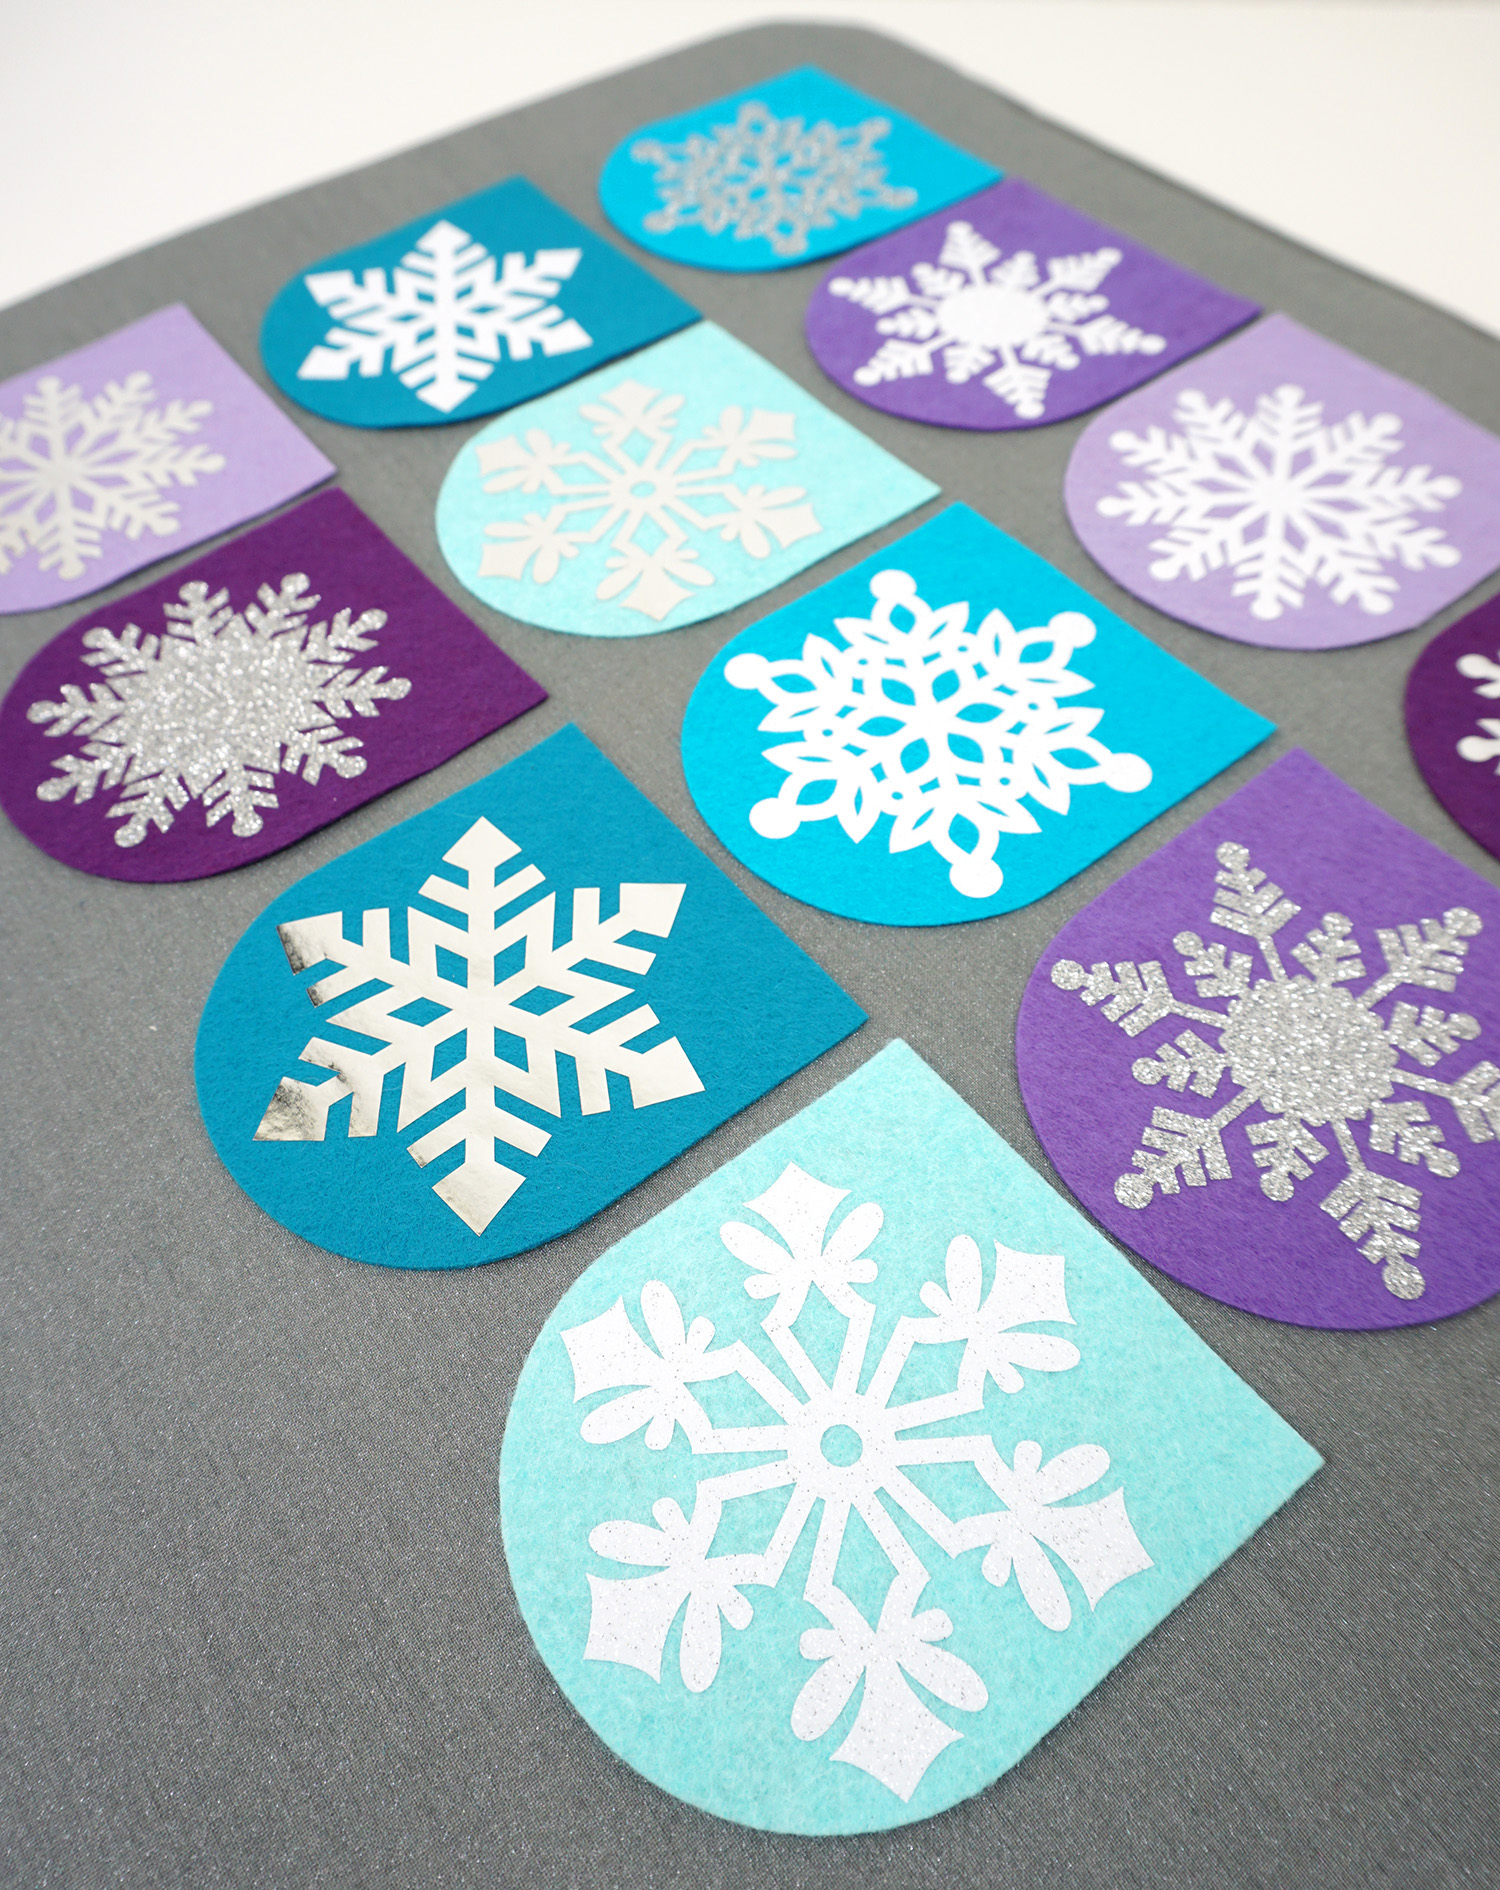
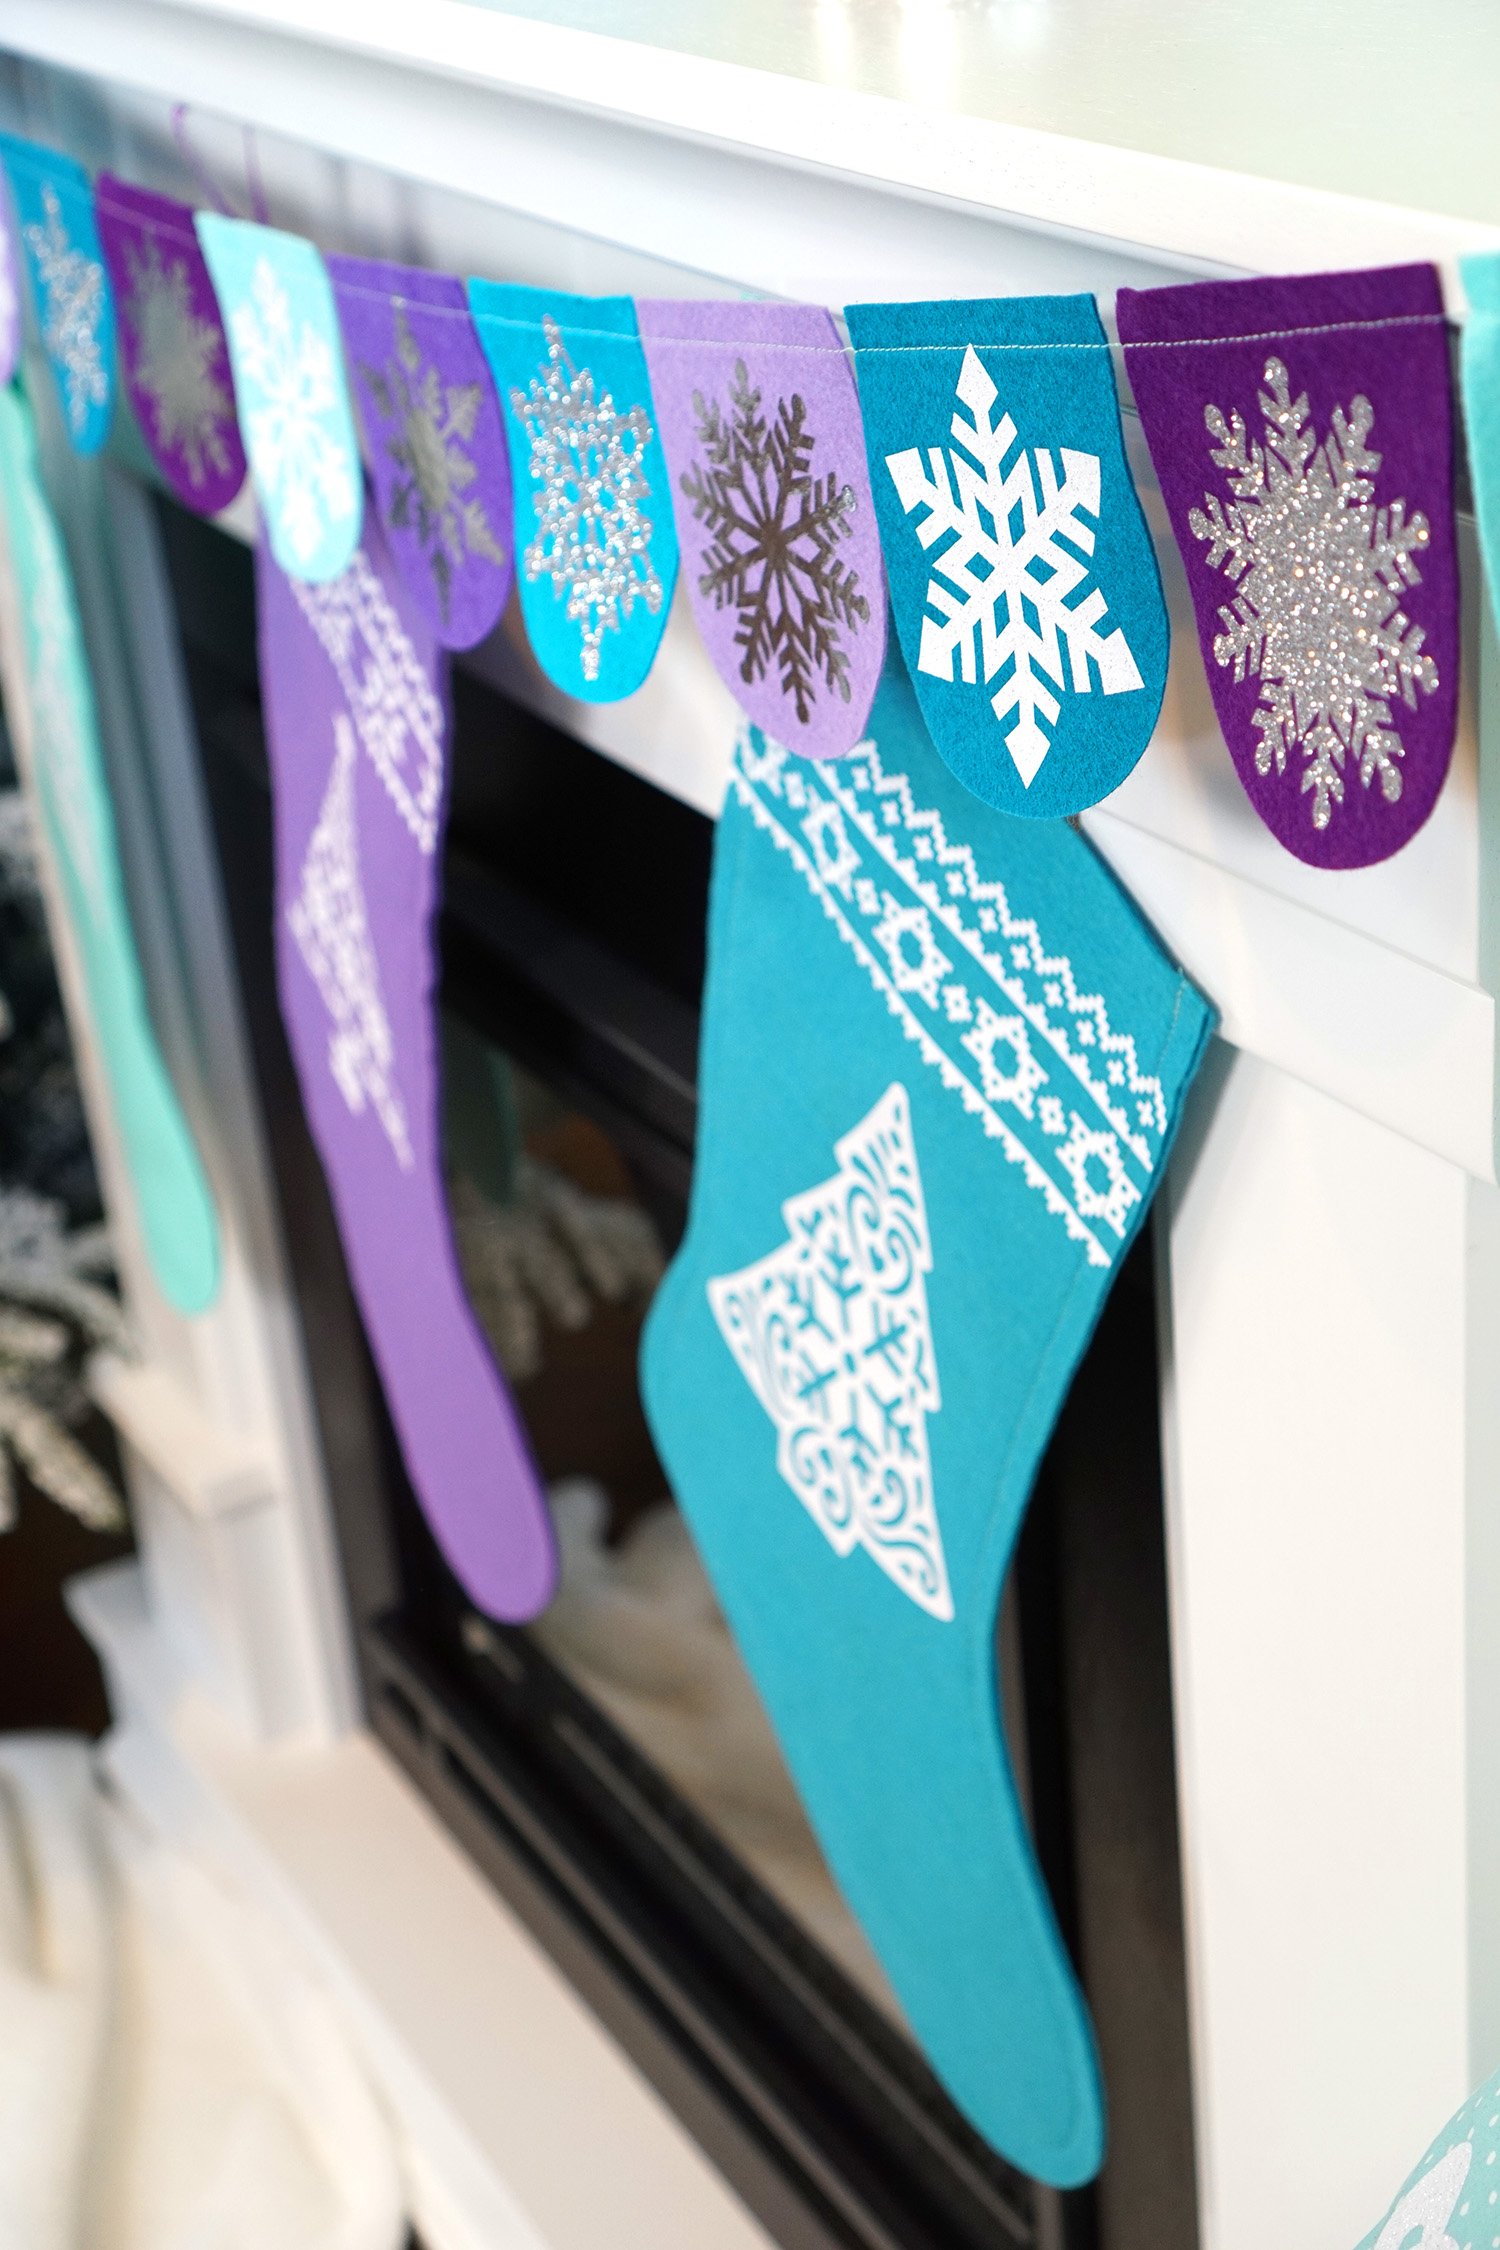
When I think about creating Chrismukkah decorations, my mind always immediately thinks of cool jewel tones and winter motifs sprinkled with references to both Christmas and Hanukkah. I designed this sparkly felt snowflake banner to match my Chrismukkah decor, but it would work well for either one of the individual holidays if you don’t happen to celebrate them both!
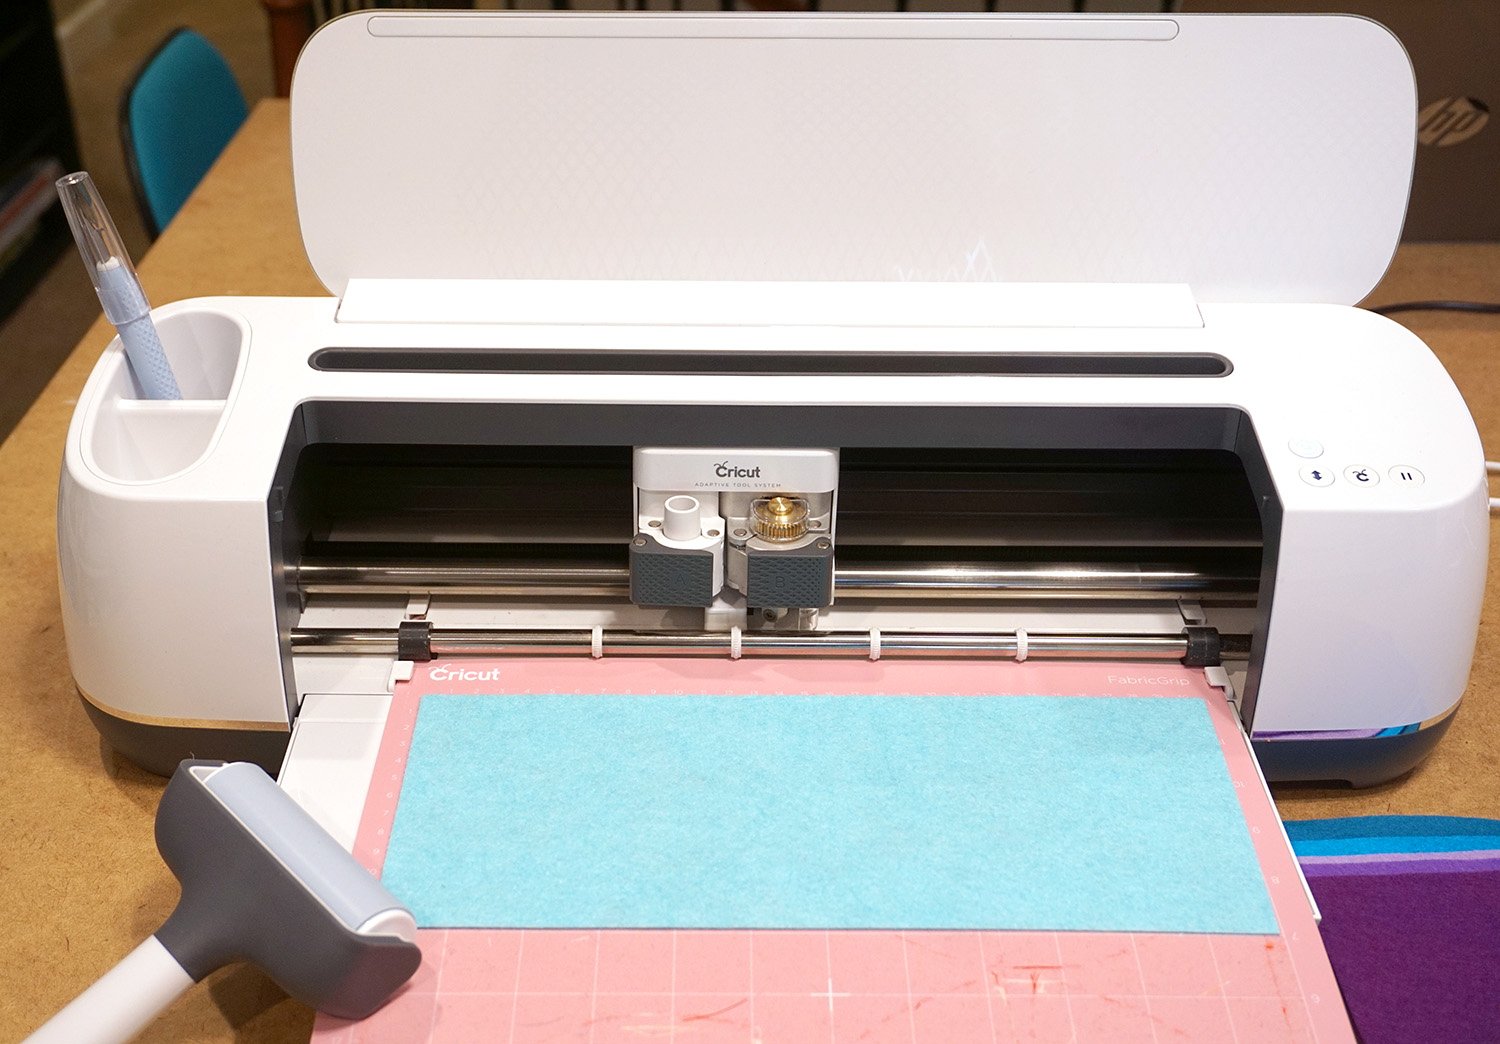
I’ve mentioned it many times before, but one of my favorite things to cut with my Cricut Maker machine is felt because it cuts like a hot knife through butter! The Maker’s Adaptive Tool System allows for the felt to be cut with the Maker-specific Rotary Blade, and the results are SO smooth and precise!
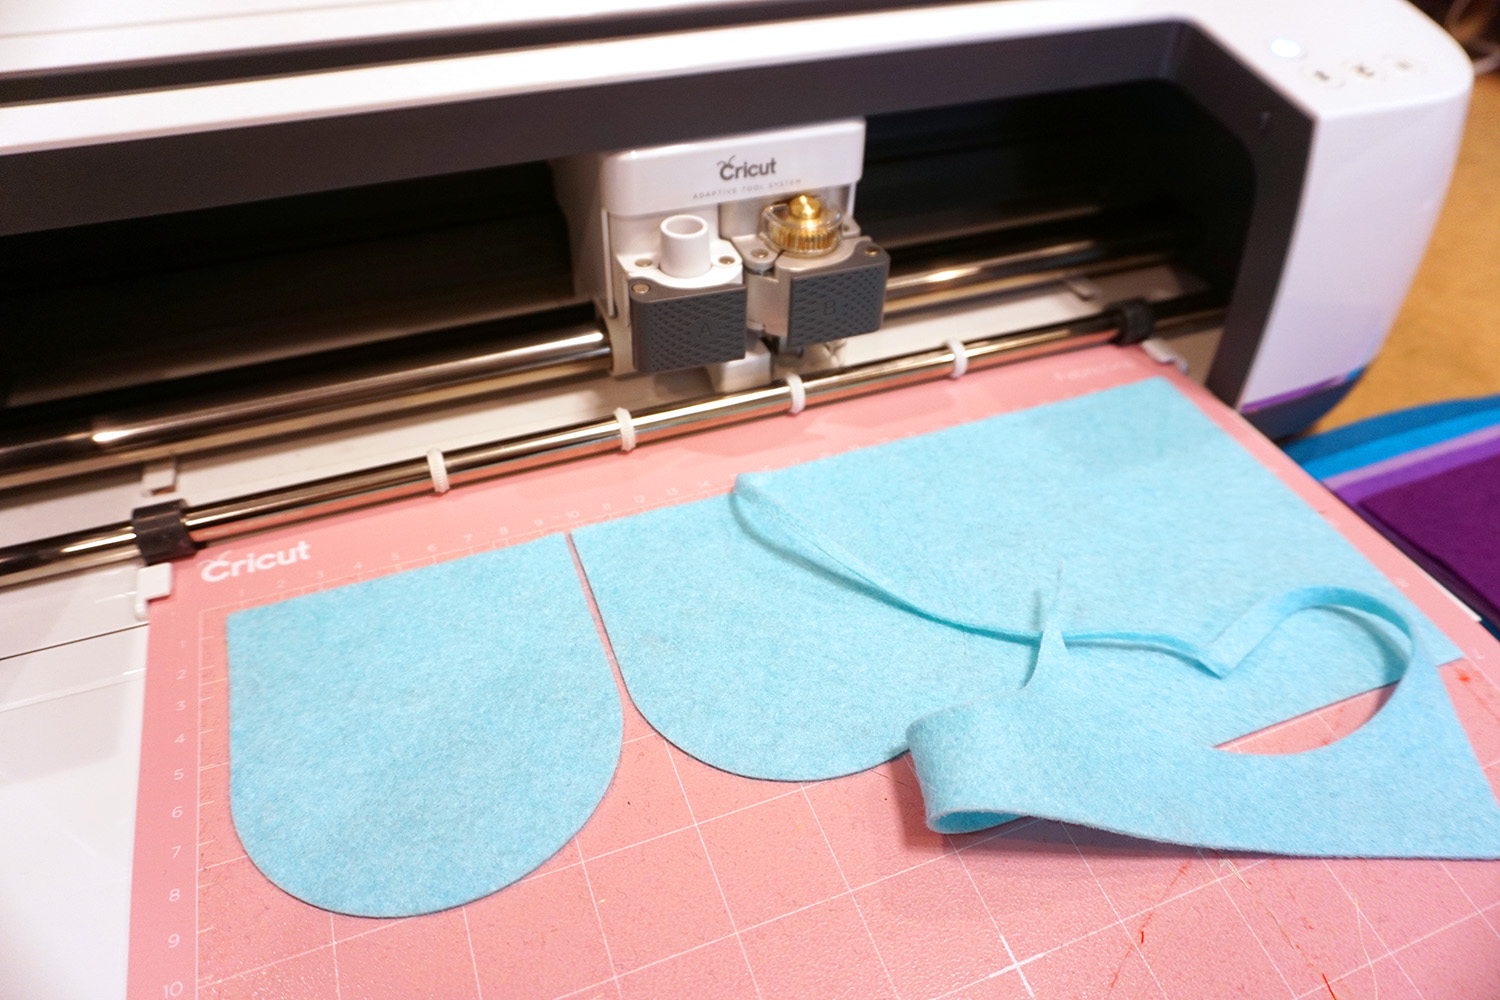
The Rotary Blade results in perfect precision cuts every single time! (To see an example of more detailed felt cuts made with the Cricut Maker, check out the Felt Mini Hoop Ornaments that I recently created!) To create the pieces for my banner, I cut three scalloped pieces of felt each from six different colors using my Felt Snowflake Banner project in Cricut Design Space.
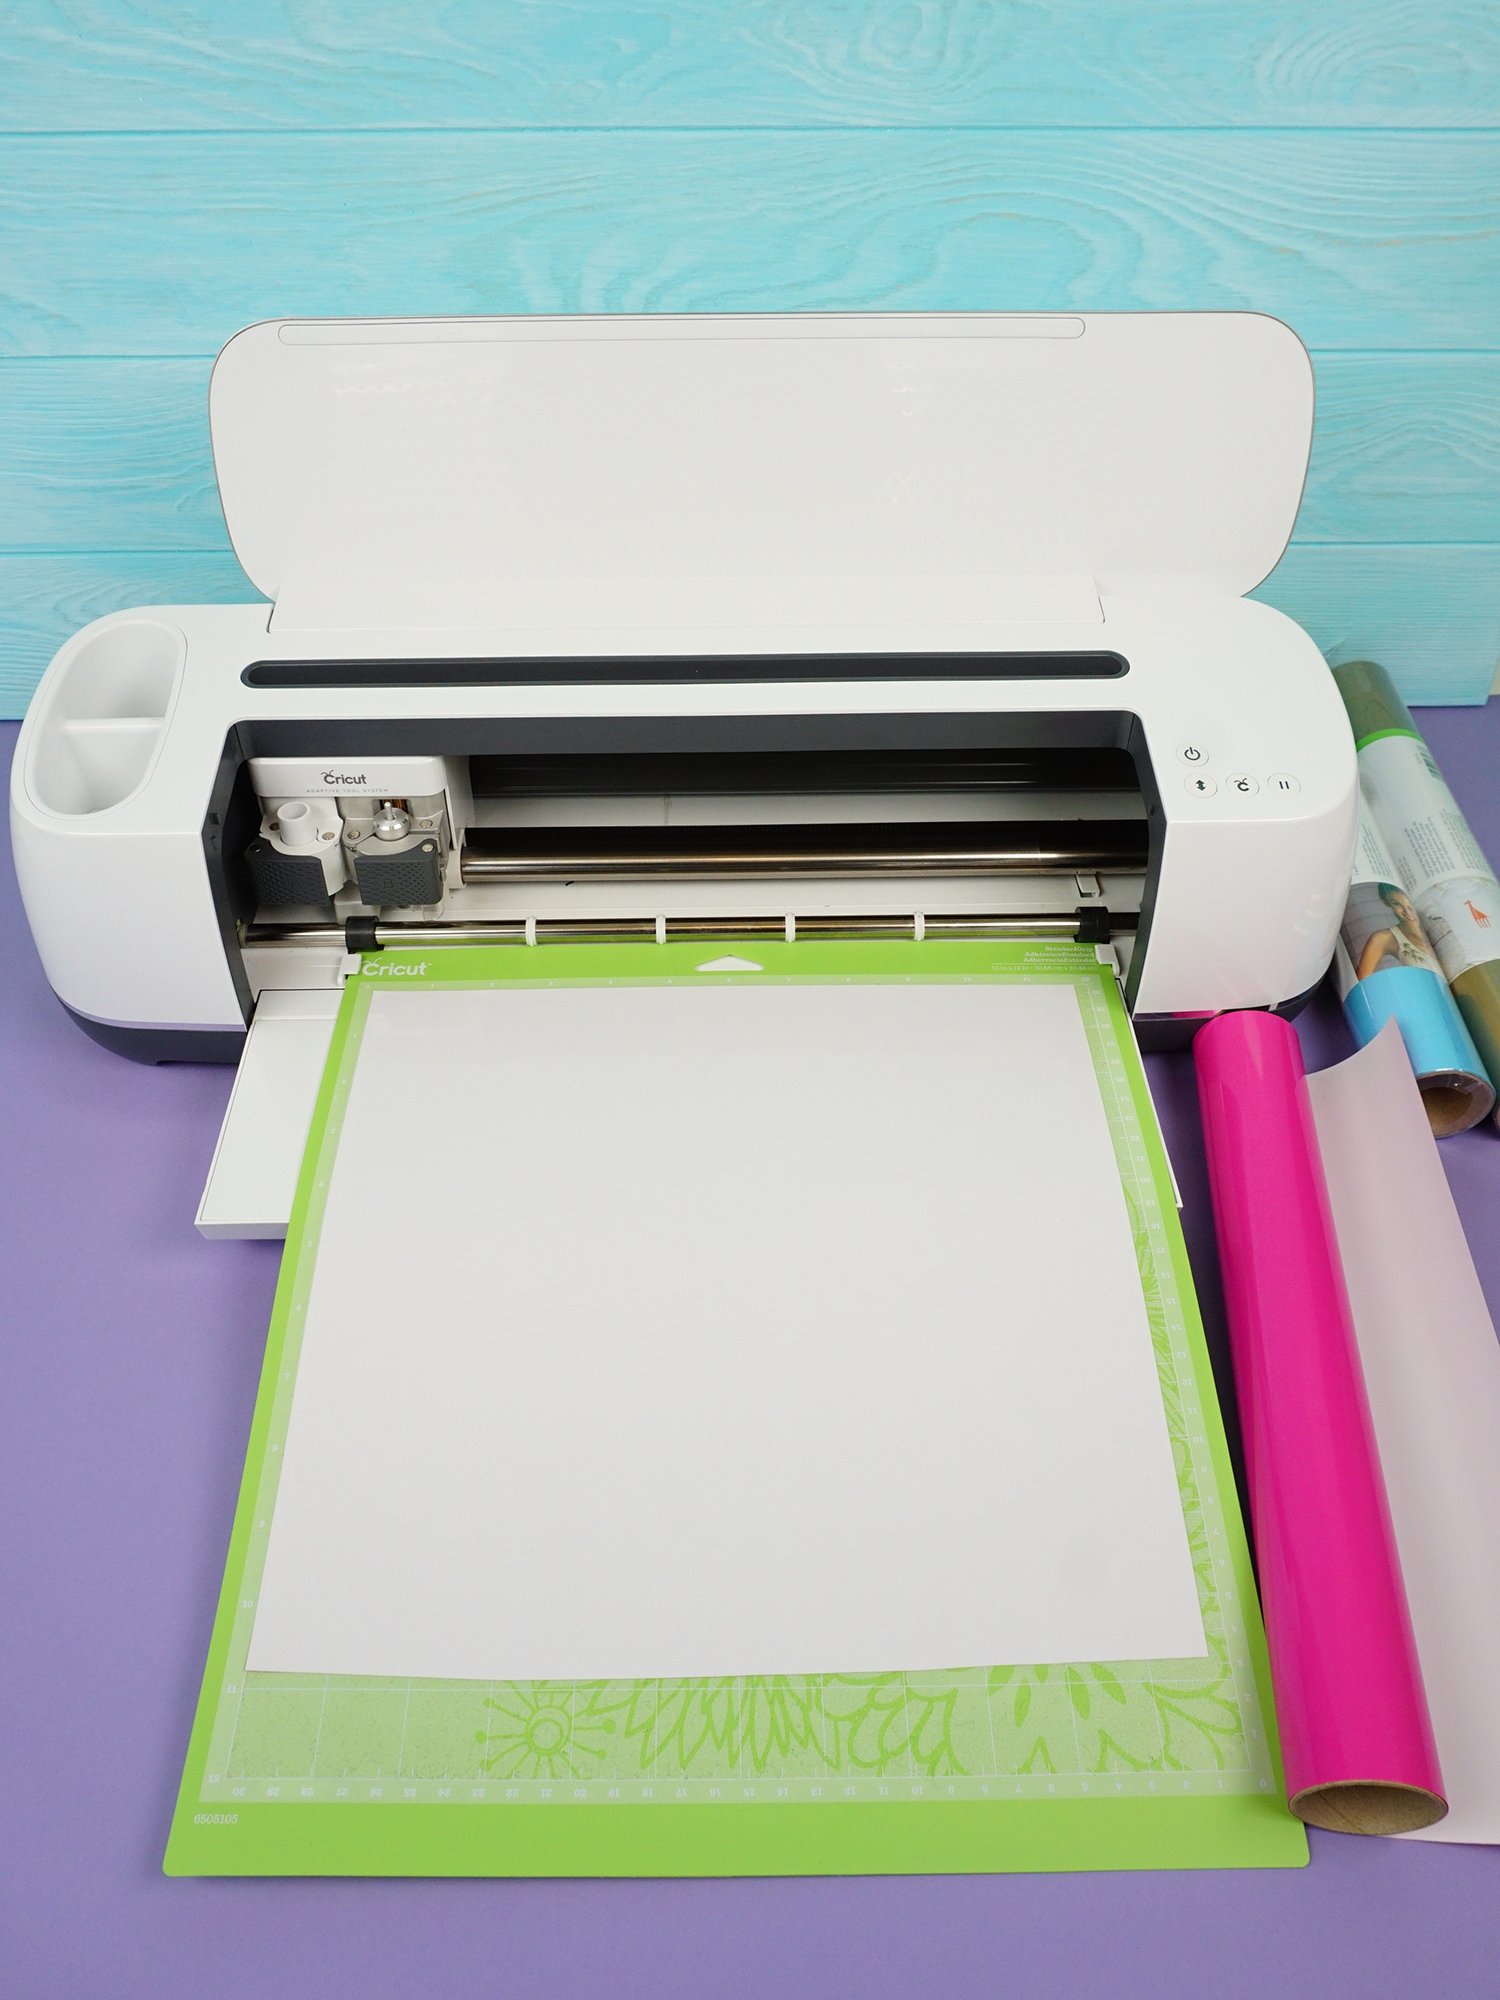
For the snowflakes, I wanted everything to sparkle and shimmer, so I cut the designs from a combination of Glitter Iron-On (in white and silver) and Foil Iron-On (in chrome) using the Maker’s Fine Point Blade.
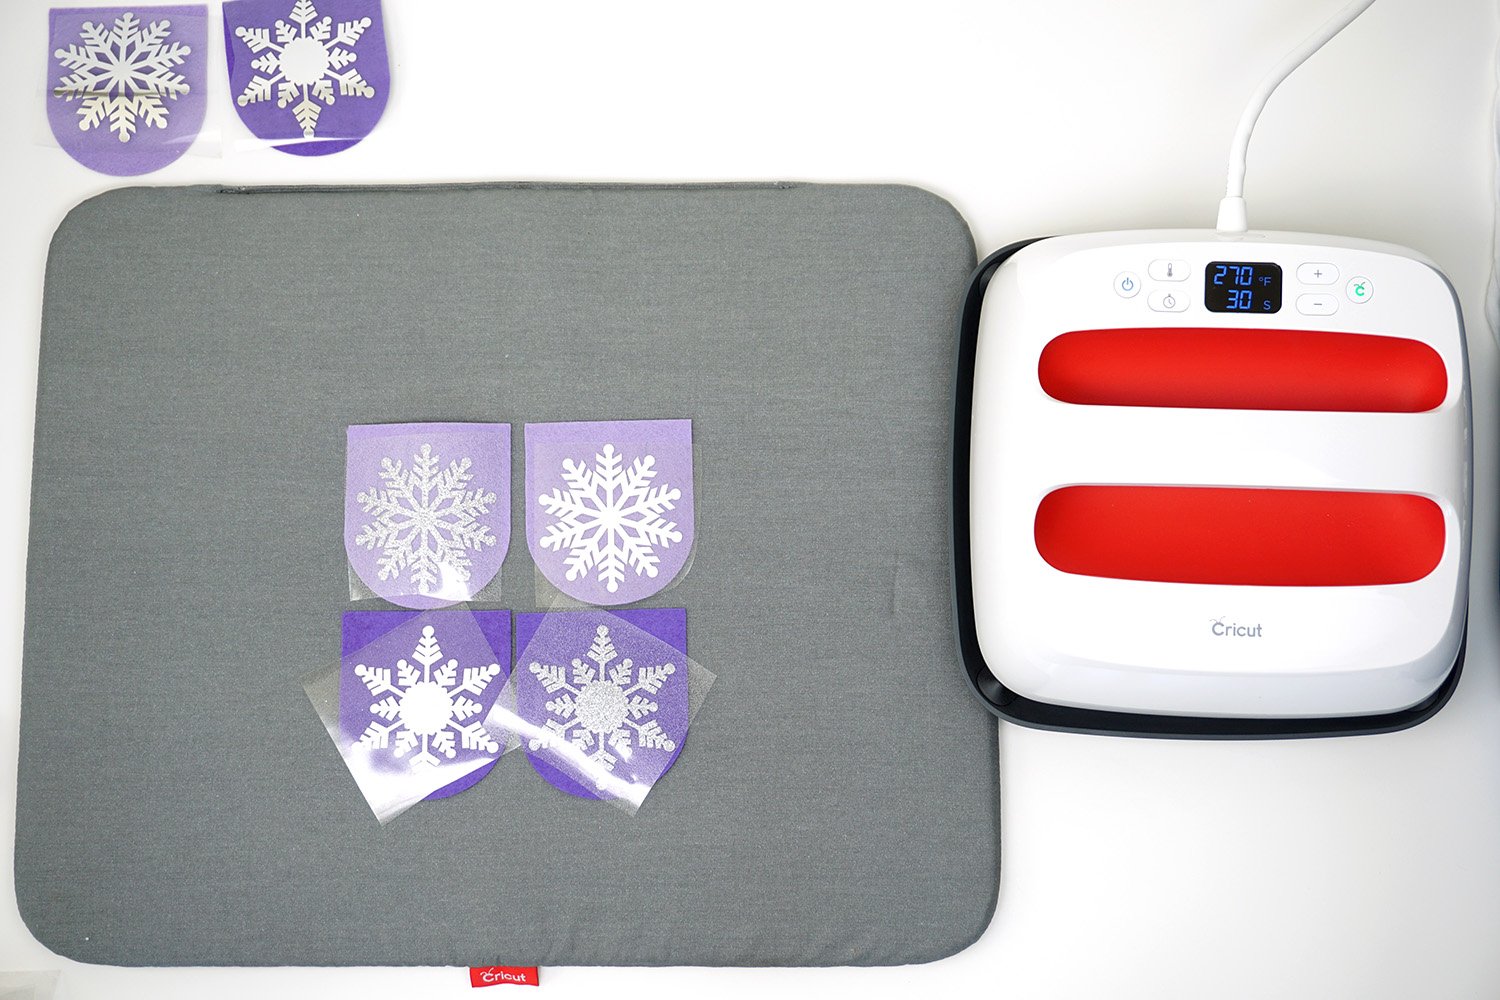
Once the snowflakes were cut, I weeded the excess vinyl using my favorite Hooked Weeding Tool, and I used my Cricut EasyPress 2 to apply the vinyl to the felt banner pieces. The 9″x9″ EasyPress 2 size was perfect for pressing four banner pieces at a time, so it made quick work of the task! I made sure to check the EasyPress Interactive Quick Reference Guide to ensure that I was using the correction combination of time and temperature for each of my materials – it’s SUPER helpful and handy!
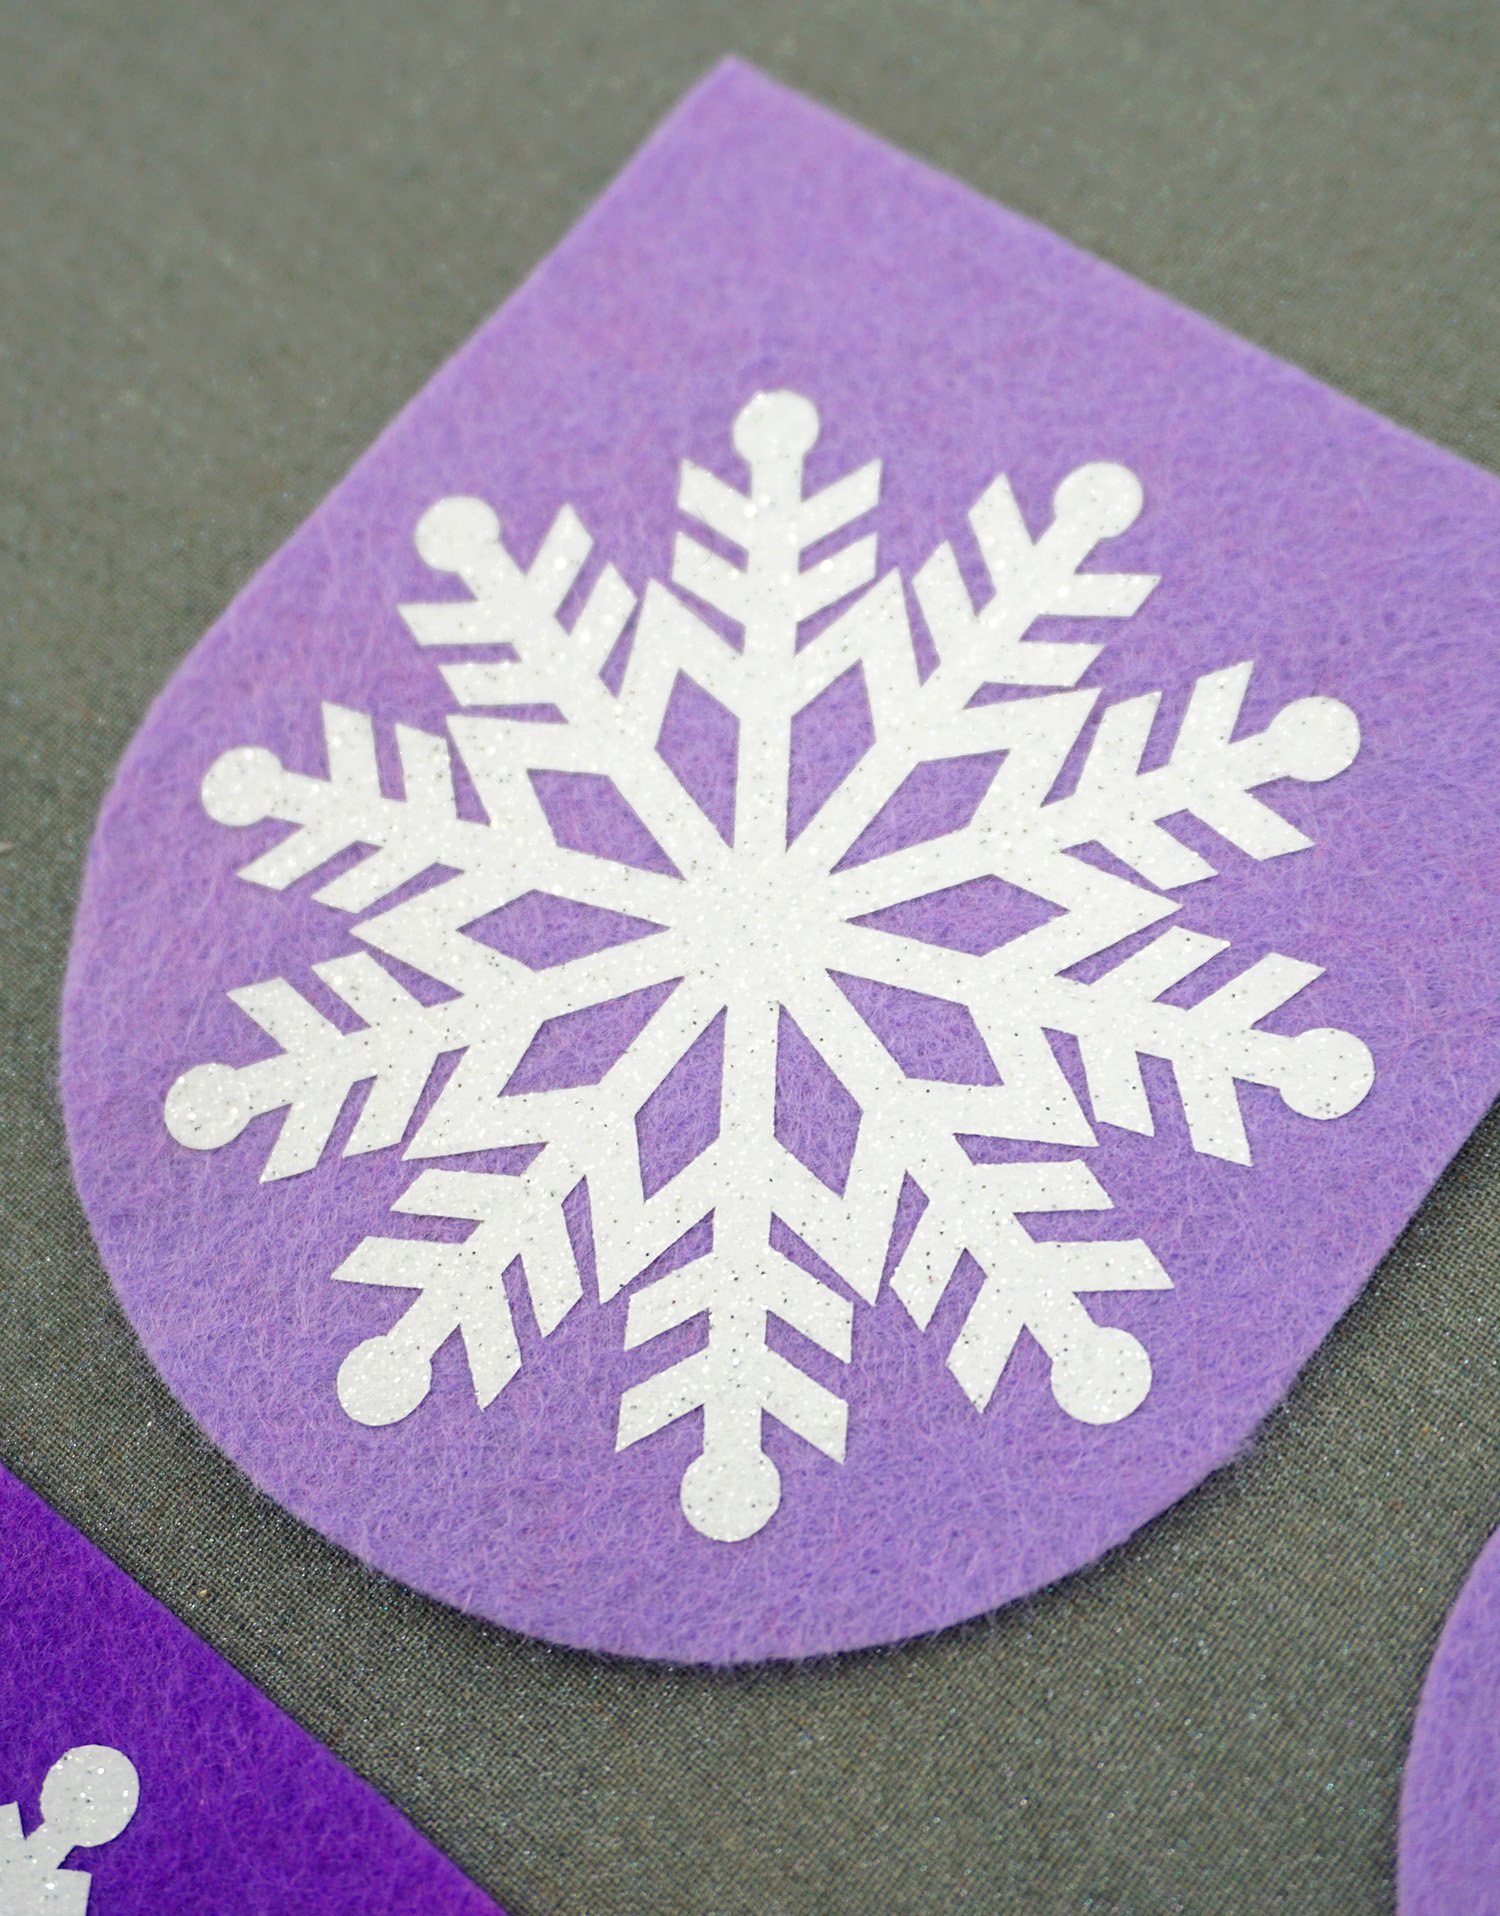
It doesn’t always show up very well in photos, but trust me when I say that the White Glitter Iron-On is SUPER pretty and sparkly!
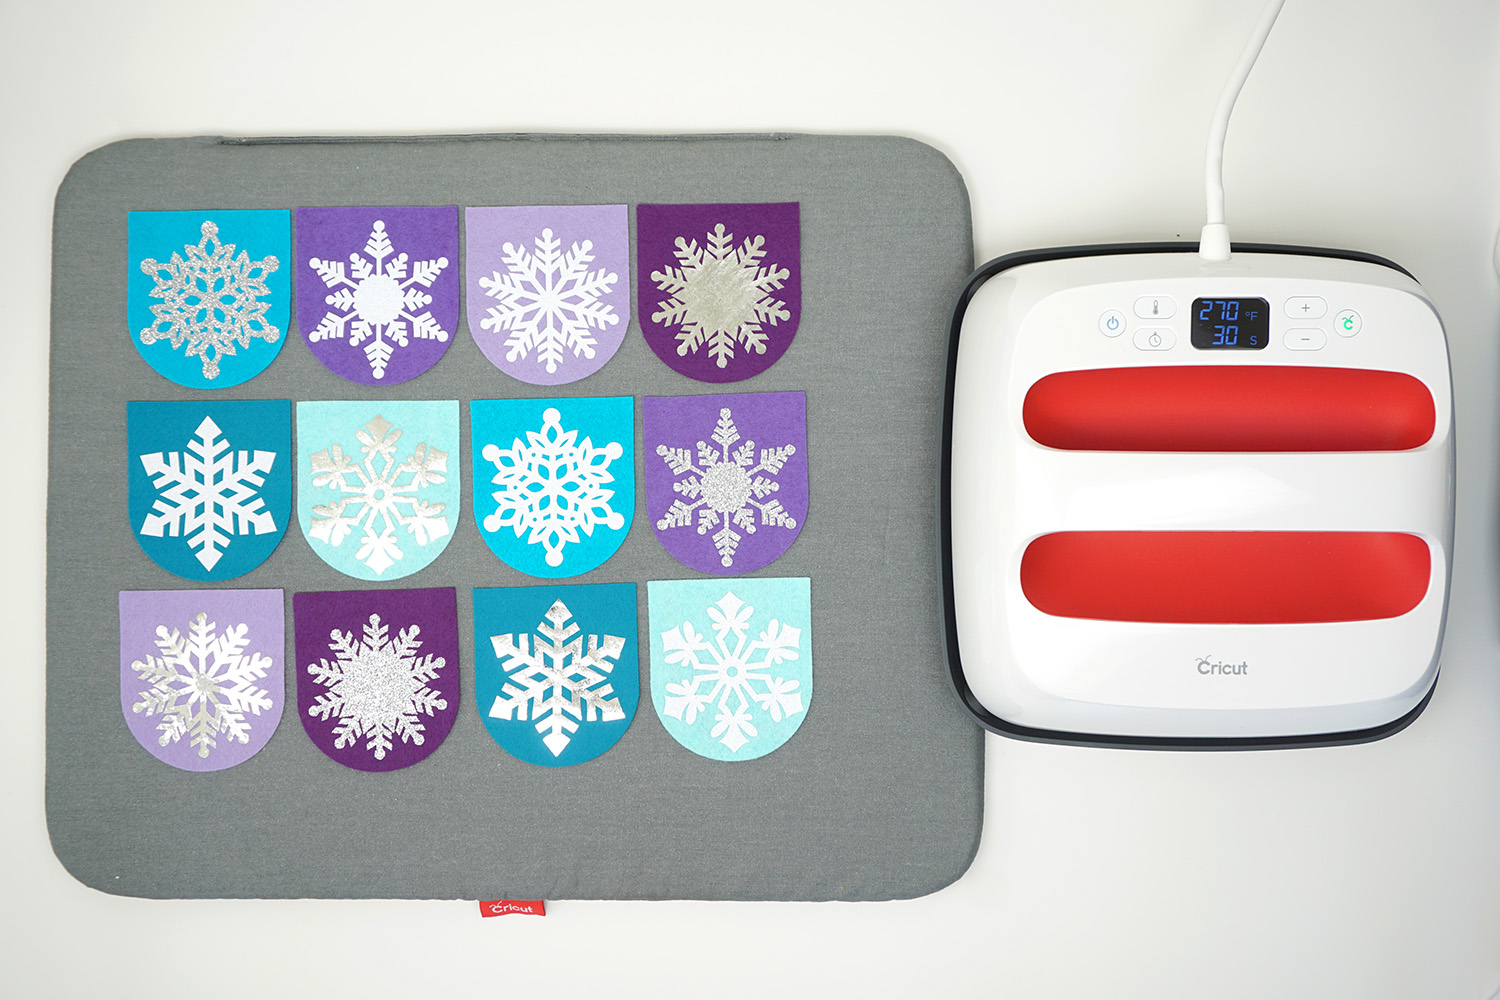

I used my sewing machine to sew all of the banner pieces together into one long chain. I think that my favorite thing about this snowflake banner is that I will be able to leave it up all winter long!
BUT, it’s not time for the final banner reveal just yet!
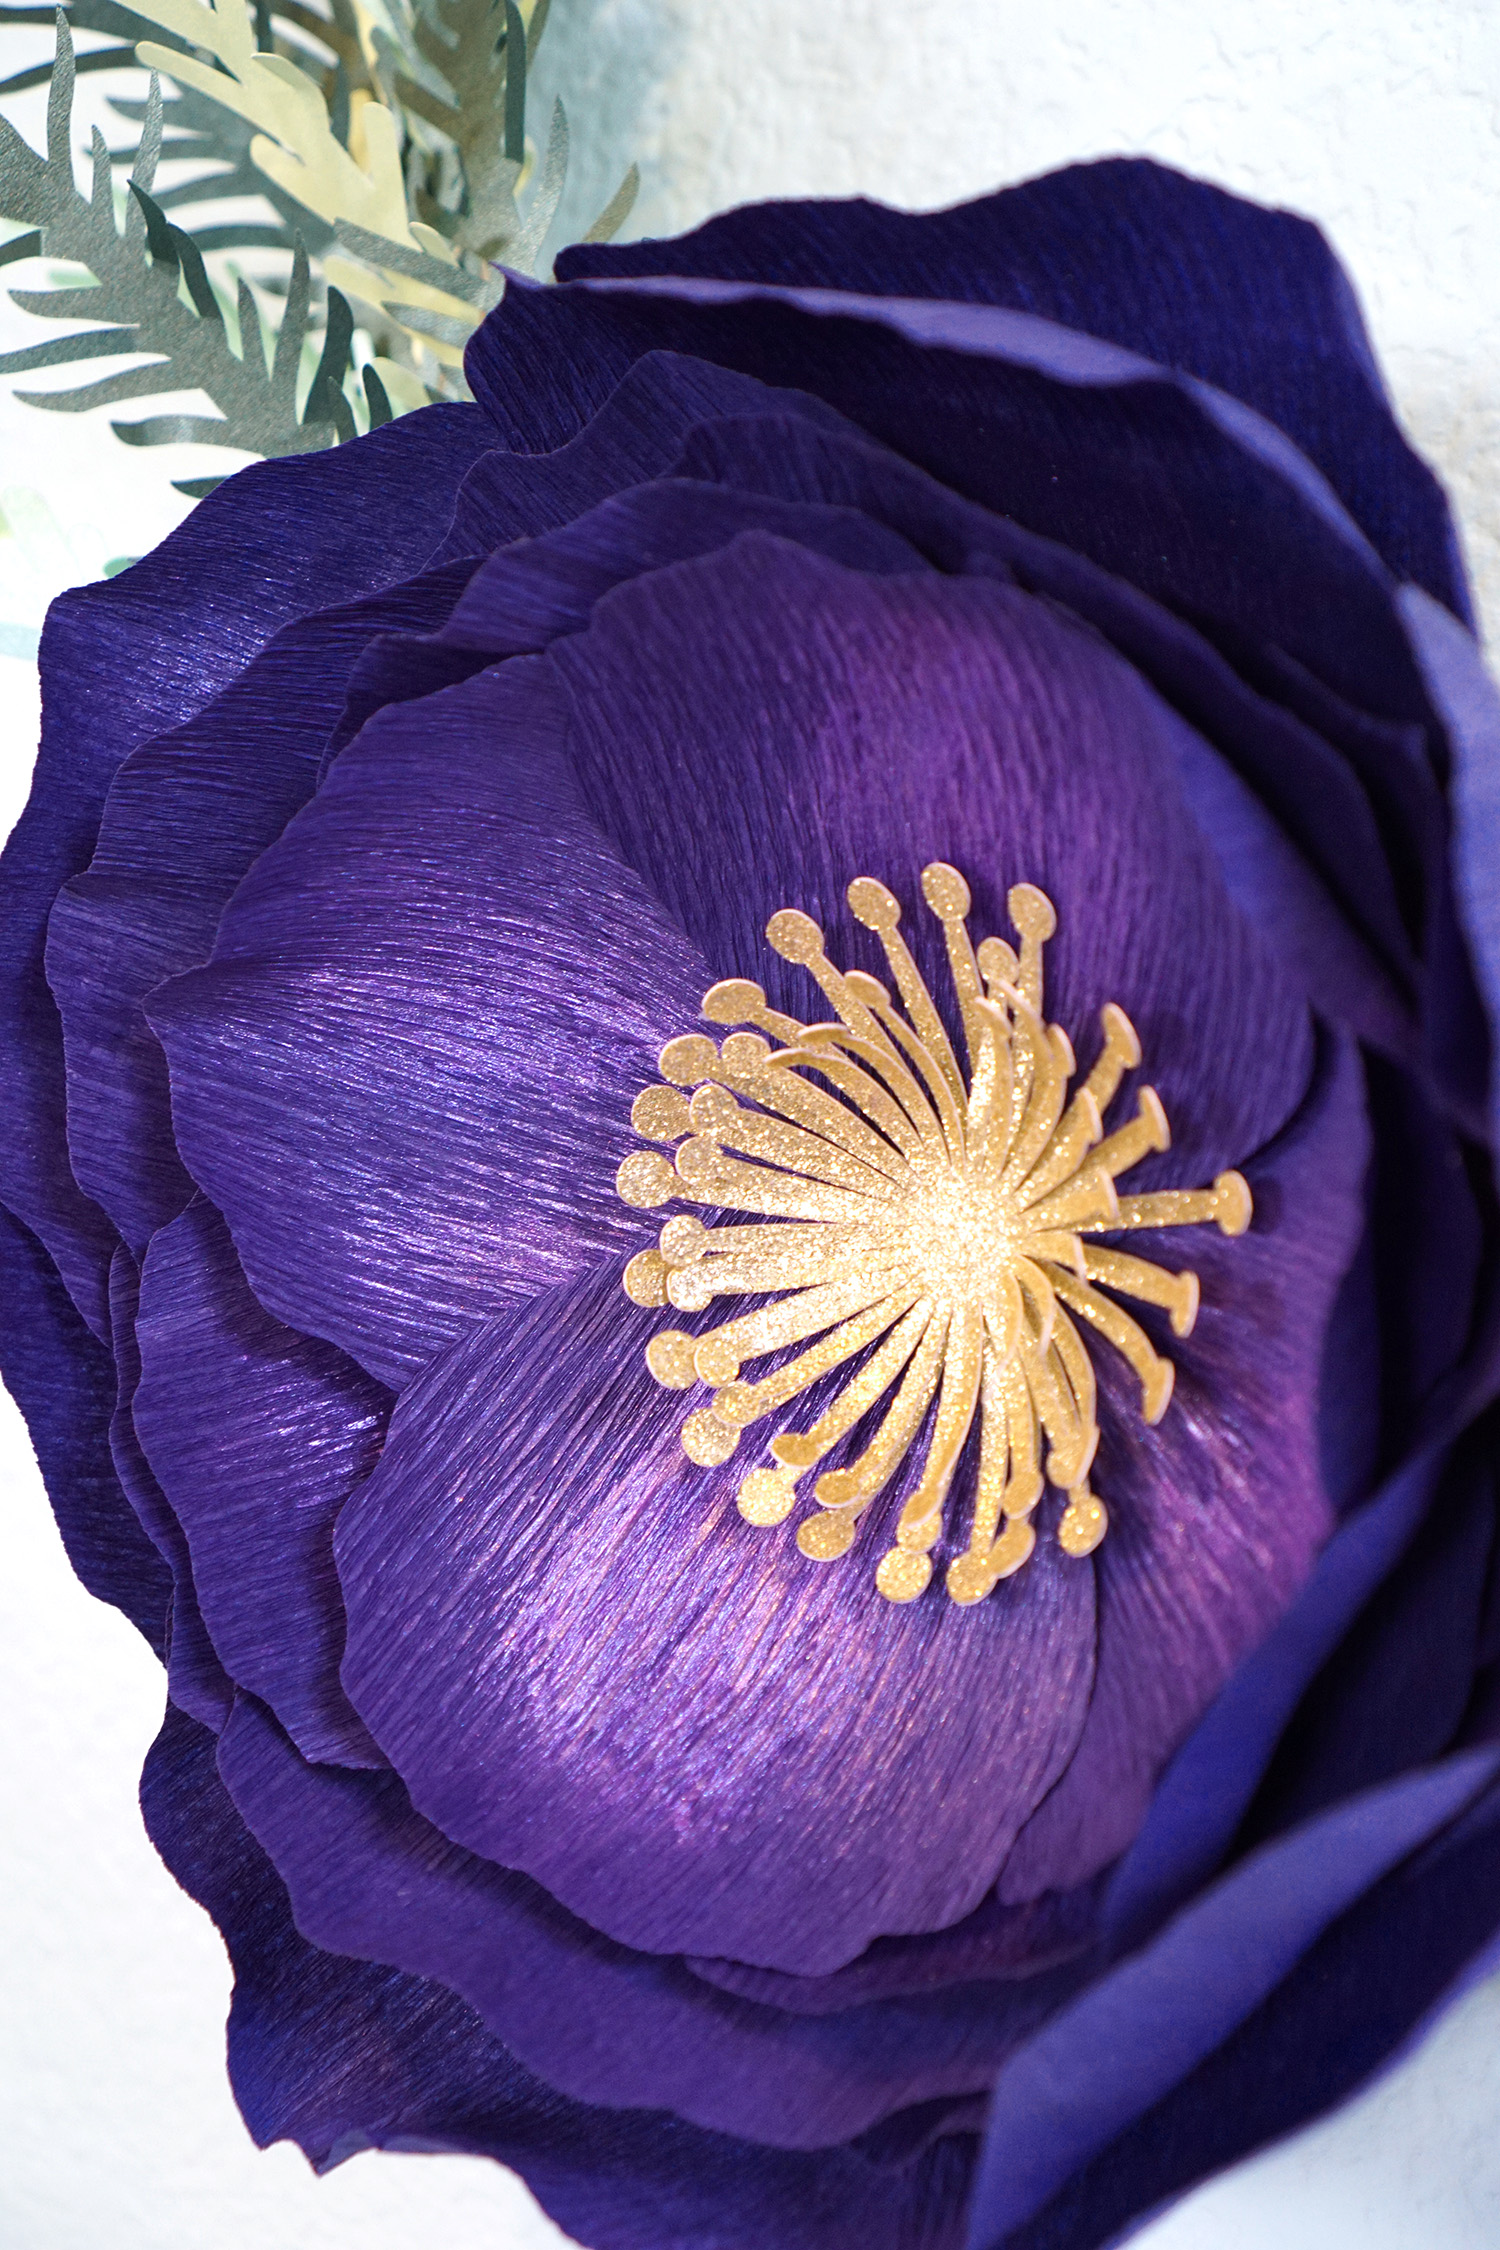
Next, I decided to venture a little outside of my normal comfort zone and create a wreath to hang over my mantel using delicate crepe paper in stunning shades of purple. I used the Peony Flower file in Design Space to create two flowers in various sizes for my wreath.

After I cut my flower petals using the Maker and the Rotary Blade (which cut like a dream!), I used the leftover scraps of crepe paper to test out a few different painting techniques and materials to give my petals some depth, dimension, and shimmer (of course!)! I opted to use a combination of Make It Shimmer Paint and Violet Jacquard Pigment (as shown in the bottom center of the test pieces) to bring my flowers to life, and I am thrilled with the way that they turned out!
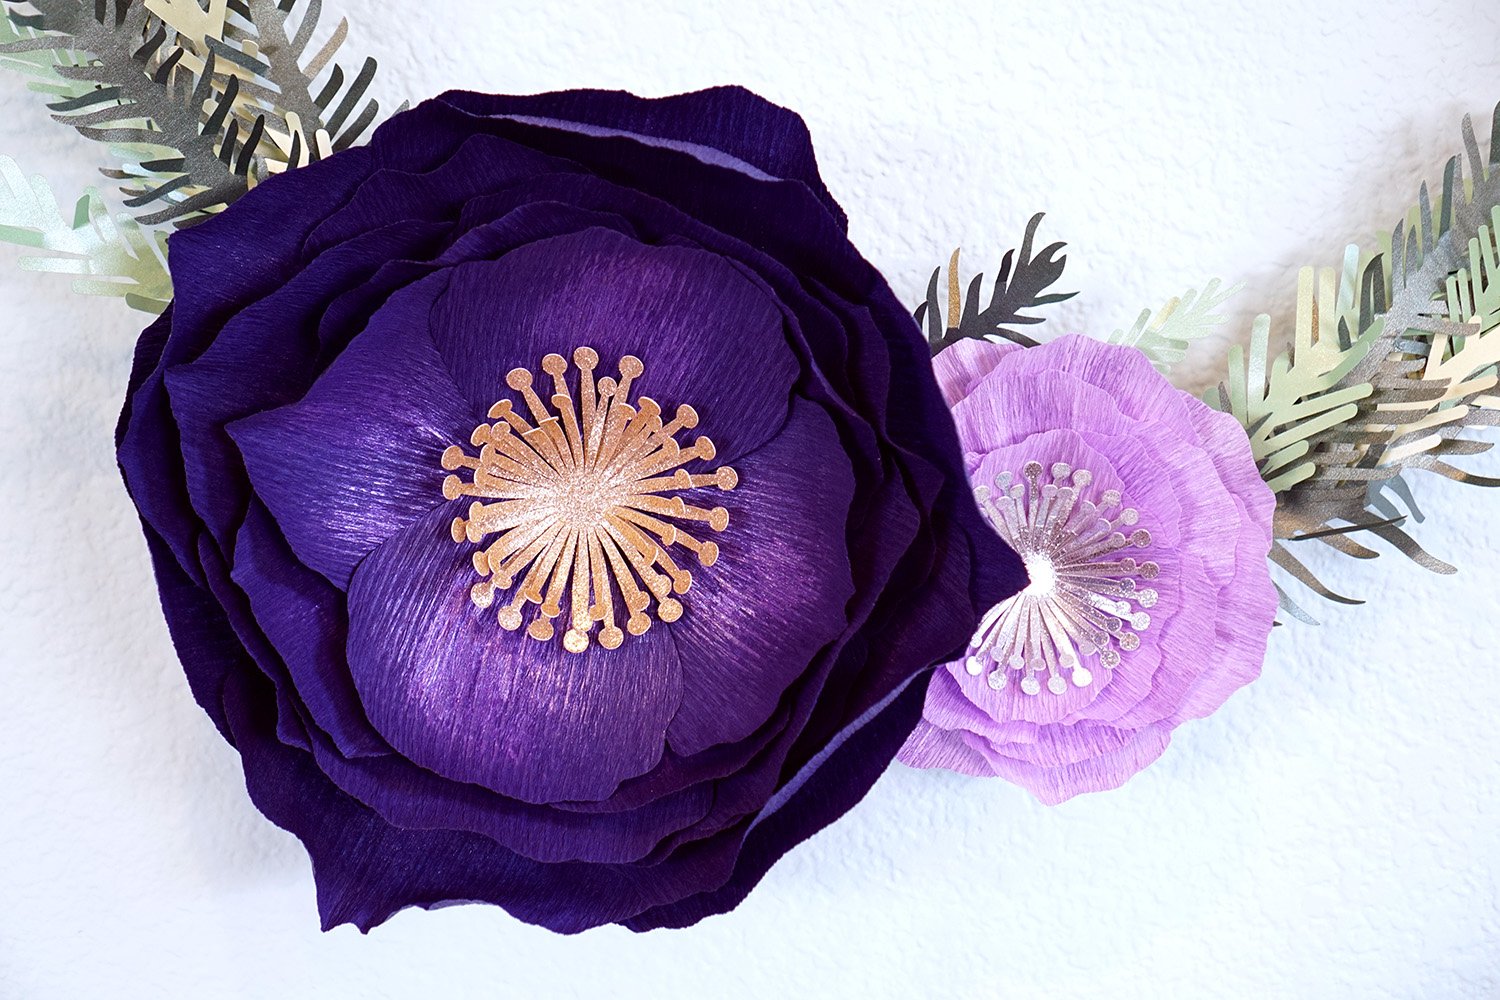

I used an 18″ embroidery hoop as the base of my wreath and used hot glue to attach my crepe paper peonies and lots and LOTS of pine branches cut from Cricut’s Pearl Paper (which is seriously stunning, by the way!).
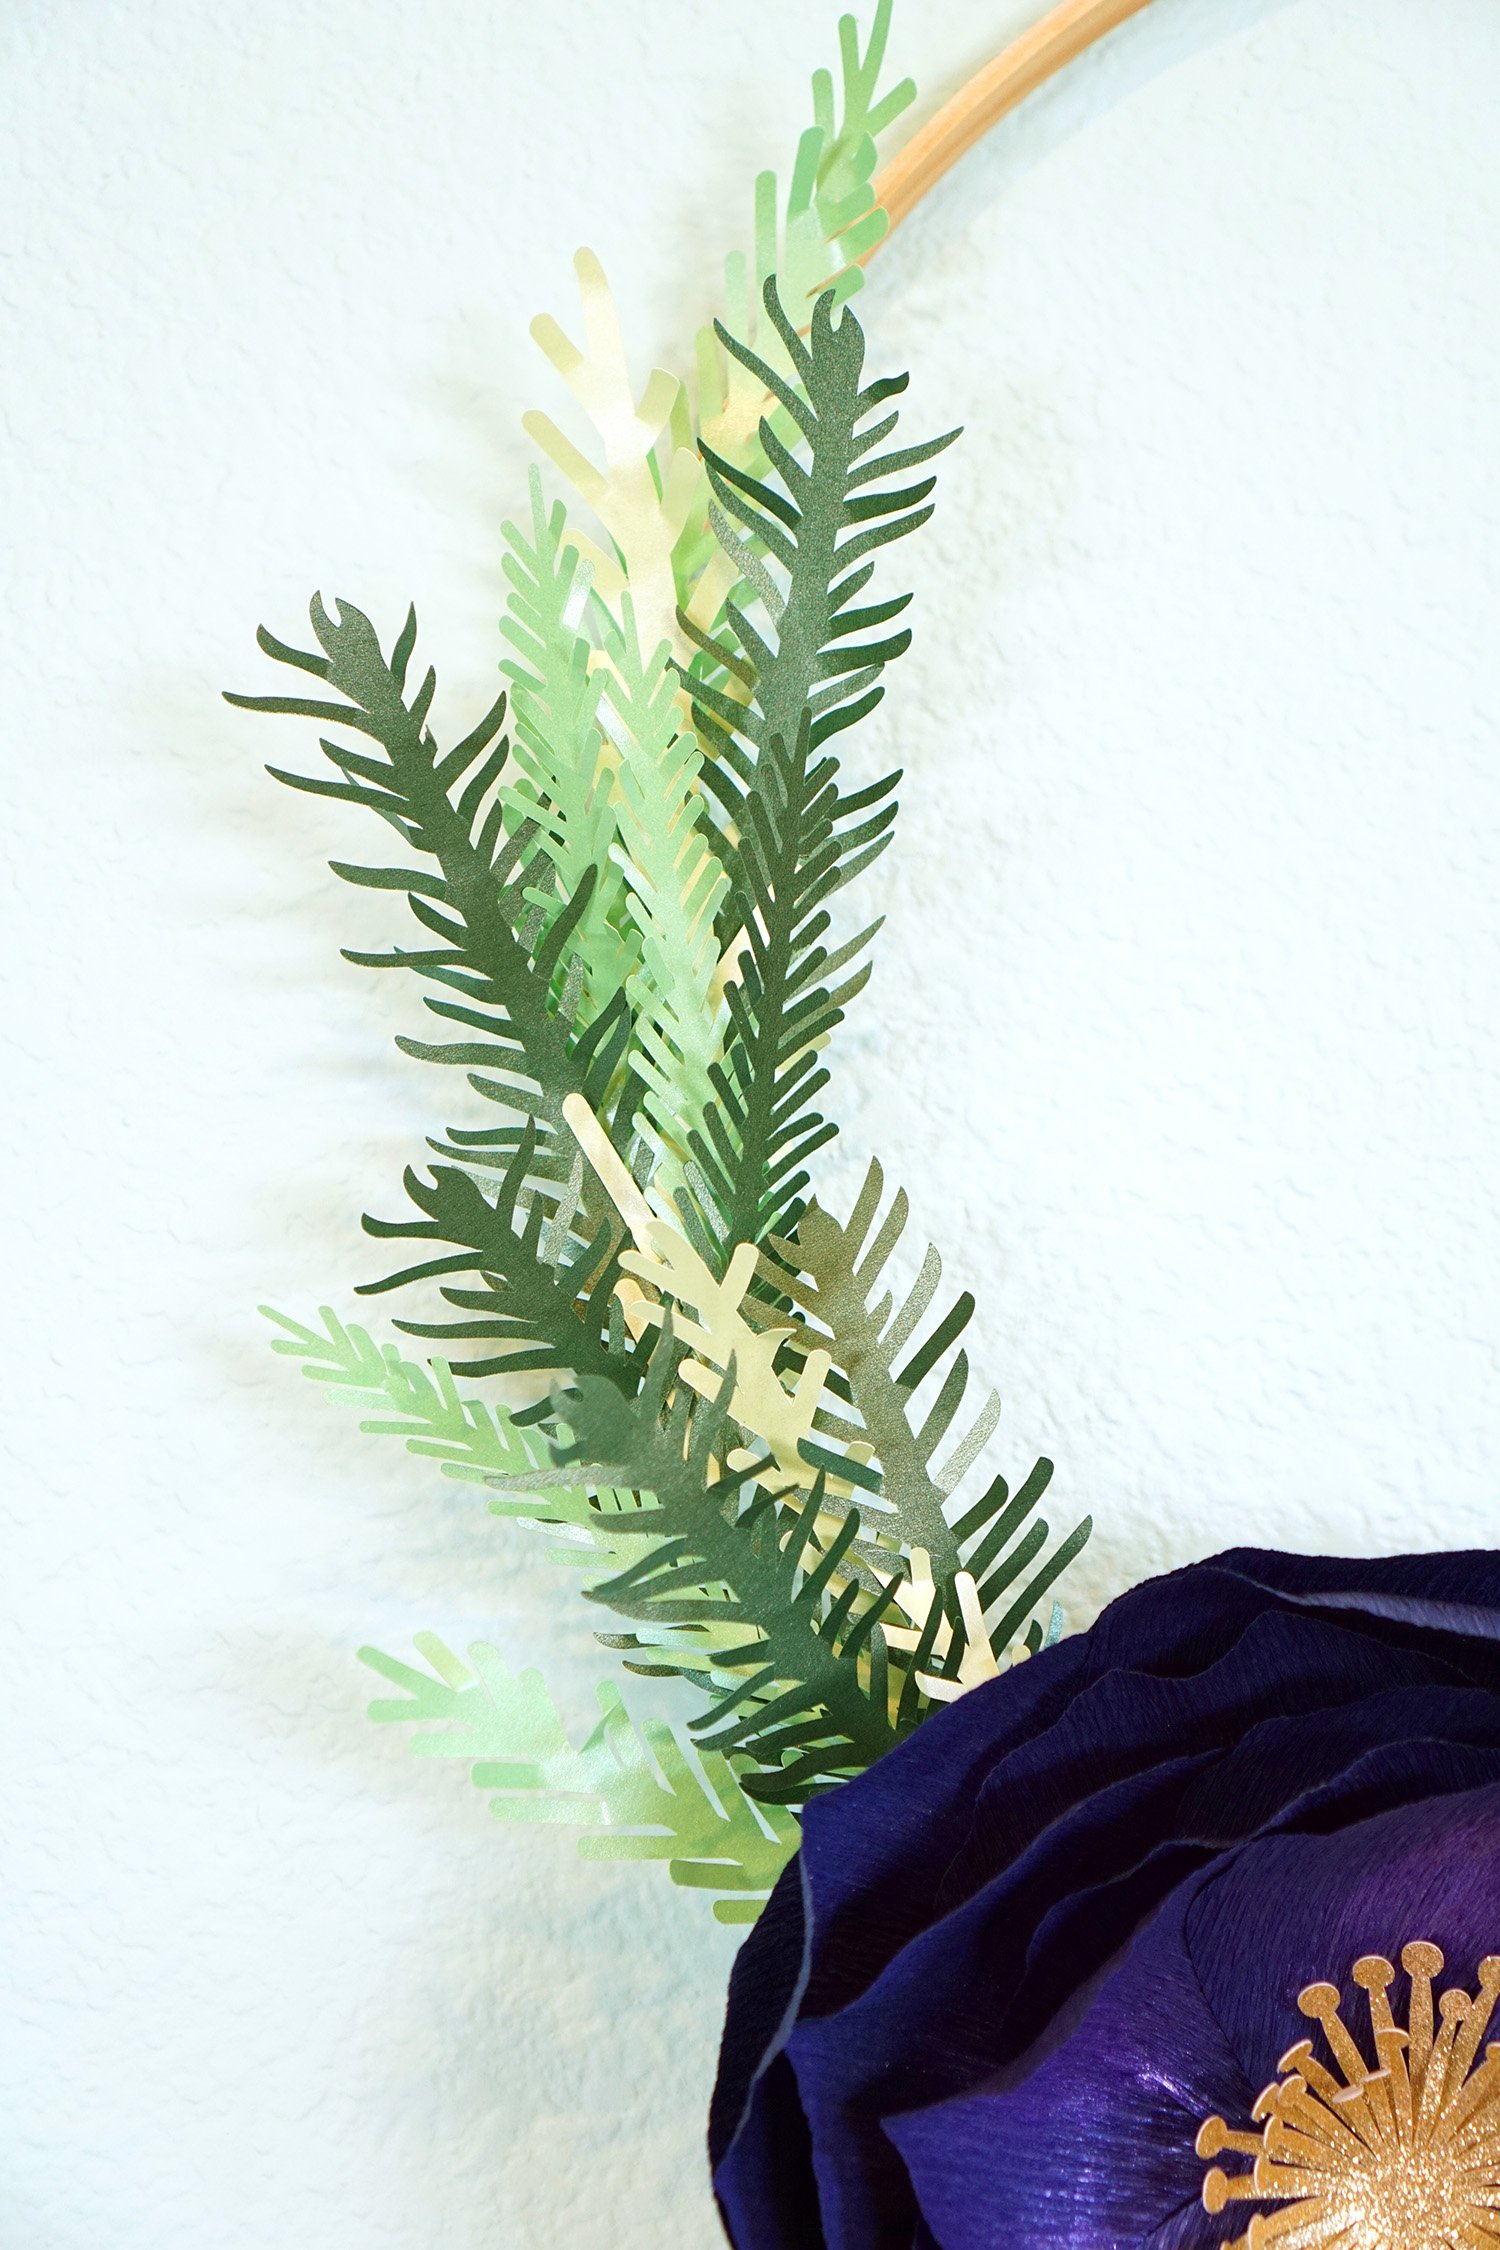
To add more depth and realism to the branches, I bent the individual pine needles in various directions.
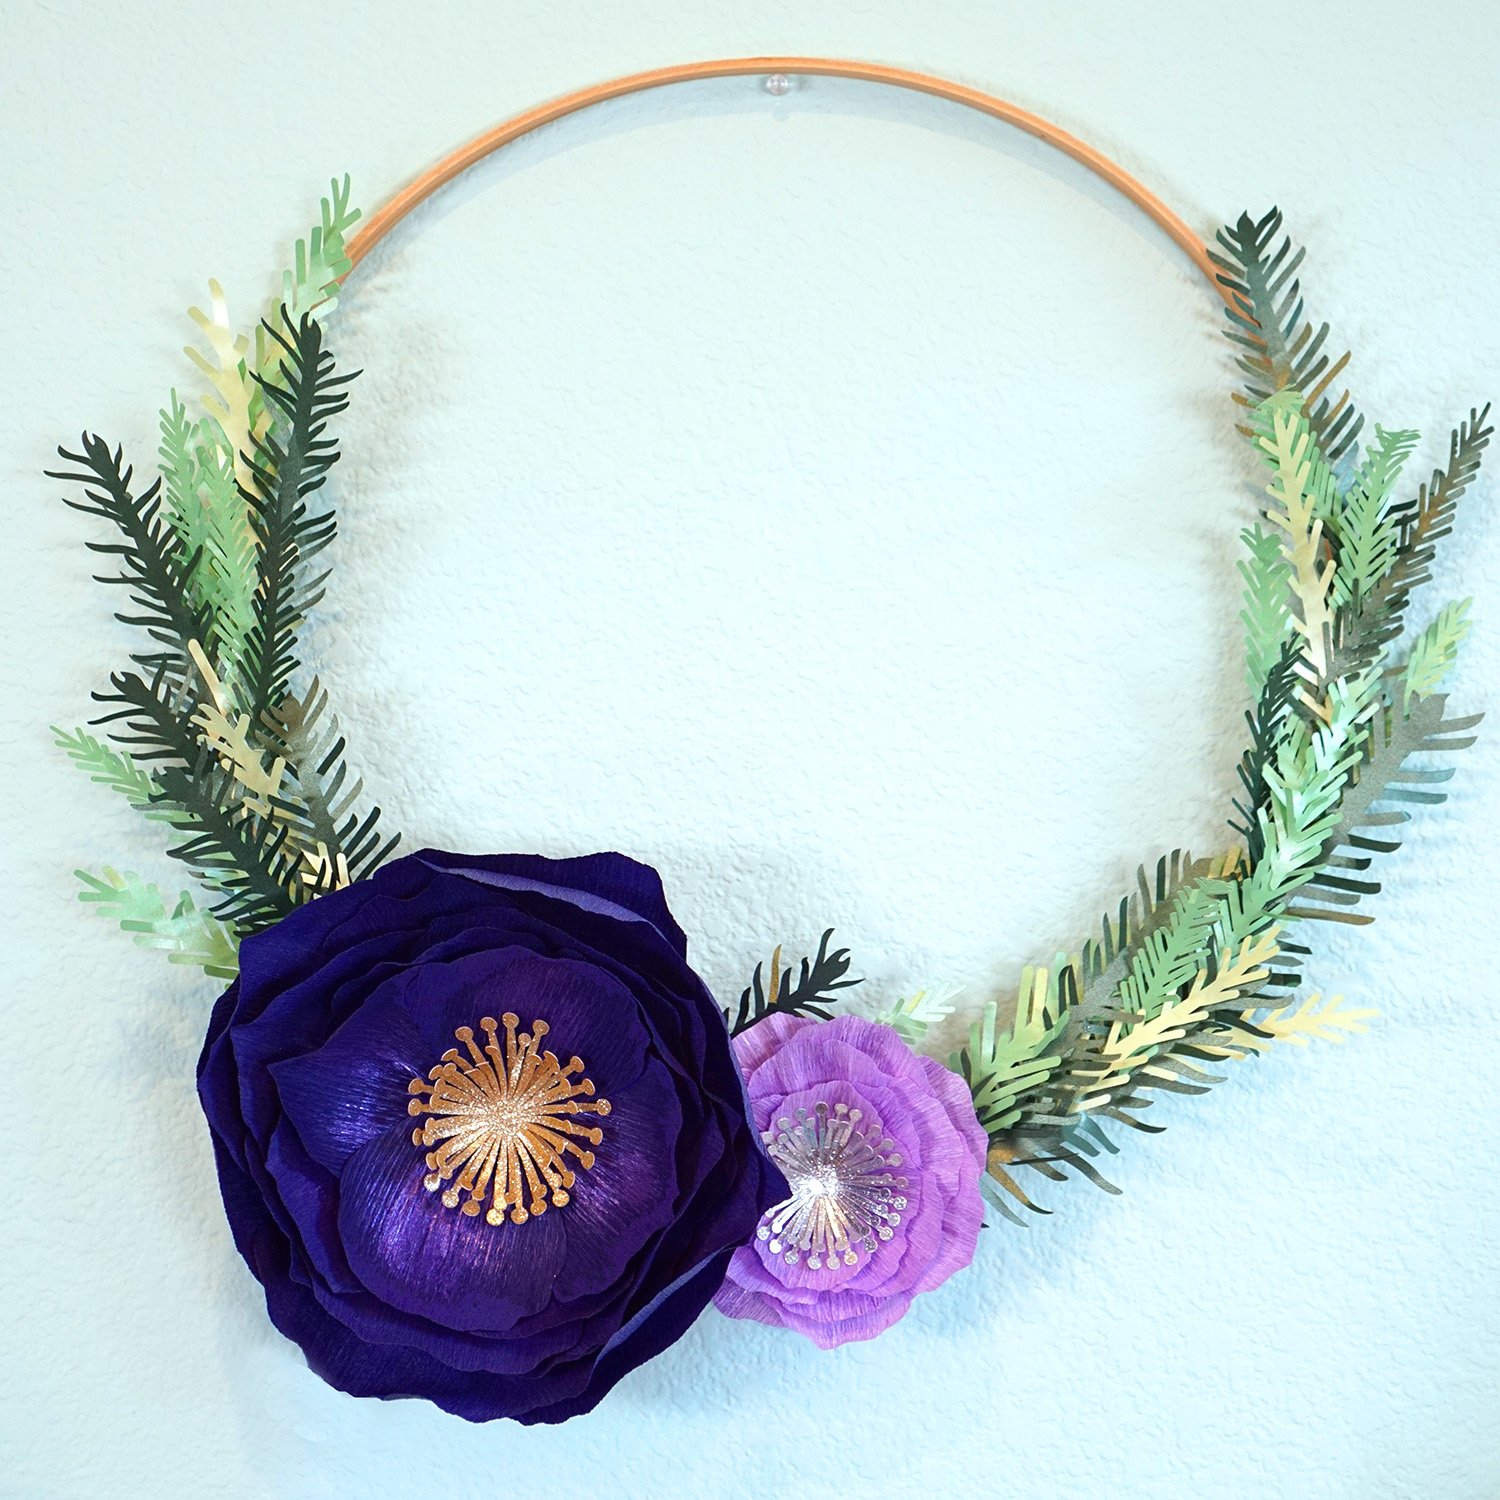
I always joke that wreaths are my crafting Kryptonite because they rarely turn out the way that I envision, but this one actually surpassed my expectations! It’s gorgeous, and it was SO easy to make thanks to my Cricut Maker!

While I was cutting the felt pieces for my banner, I decided that I also wanted to make some felt stockings to hang on my mantel. I used the Simplicity Stocking Pattern in Design Space and omitted the use of the fabric marking pen in lieu of creating my own iron-on embellishments. Easy peasy!
I wanted to incorporate both Christmas and Hanukkah motifs into my Chrismukkah stockings, so I used these Hanukkah Sweater trims for the top of my stockings along with various Christmas Trees to decorate the stocking bodies.
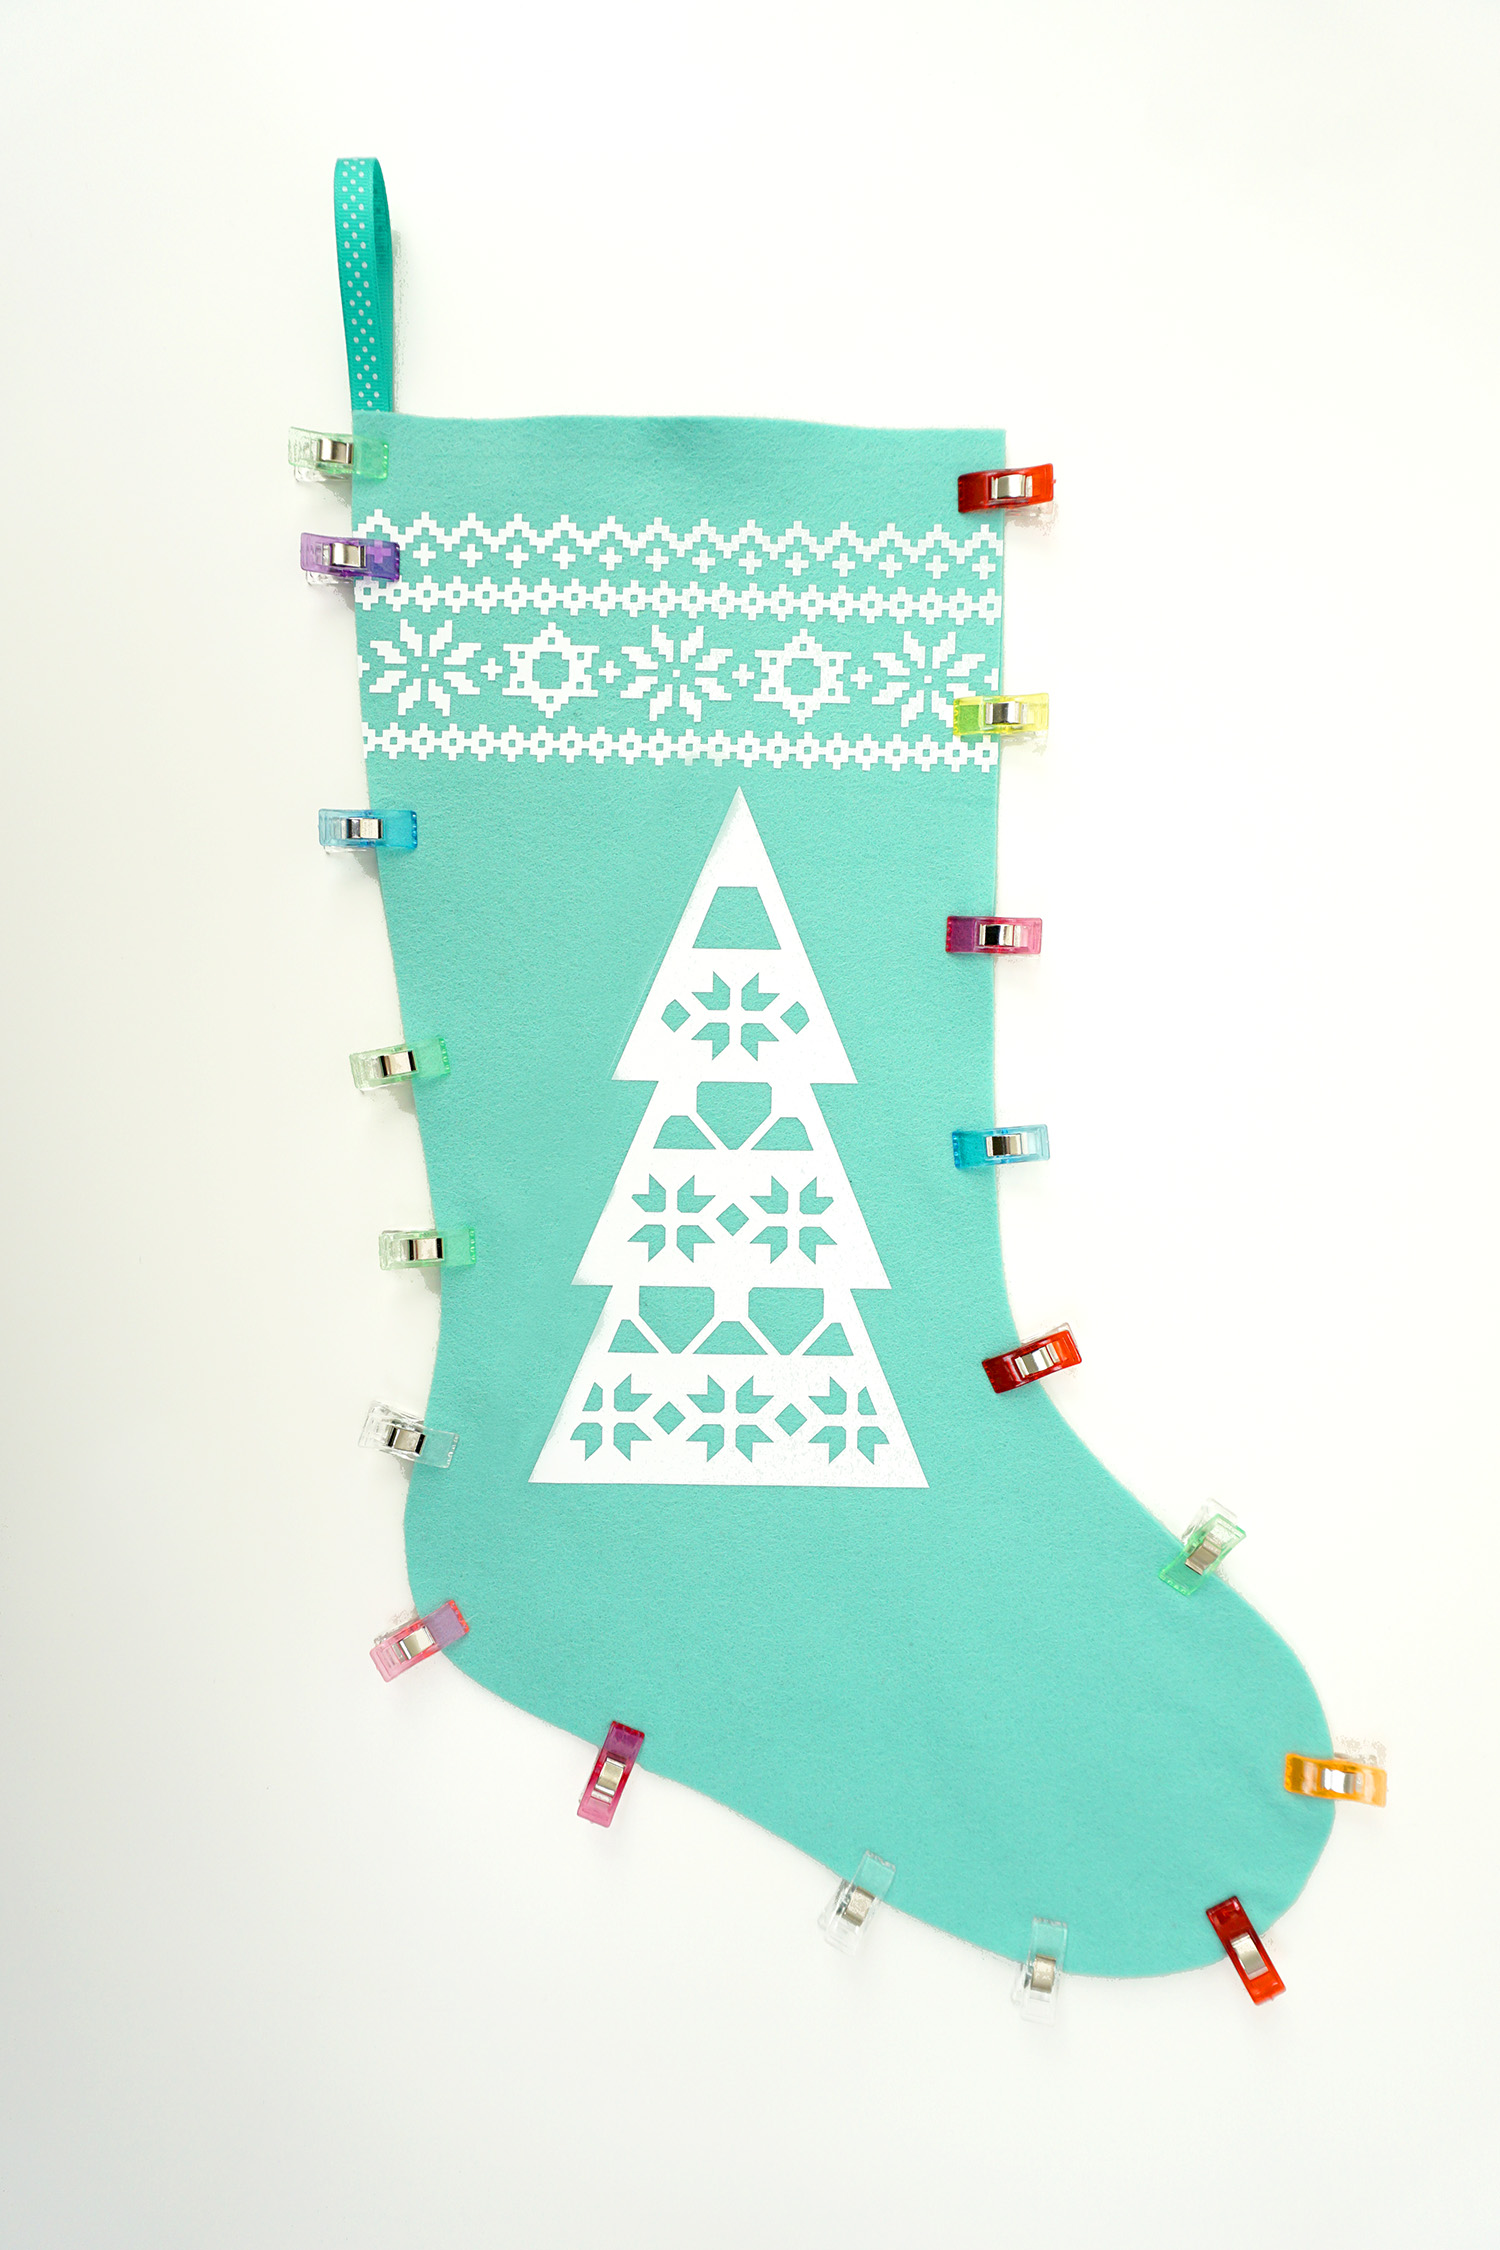
After the pieces were embellished with iron-on designs, I used my favorite sewing clips to hold the layers in place while I sewed everything together.
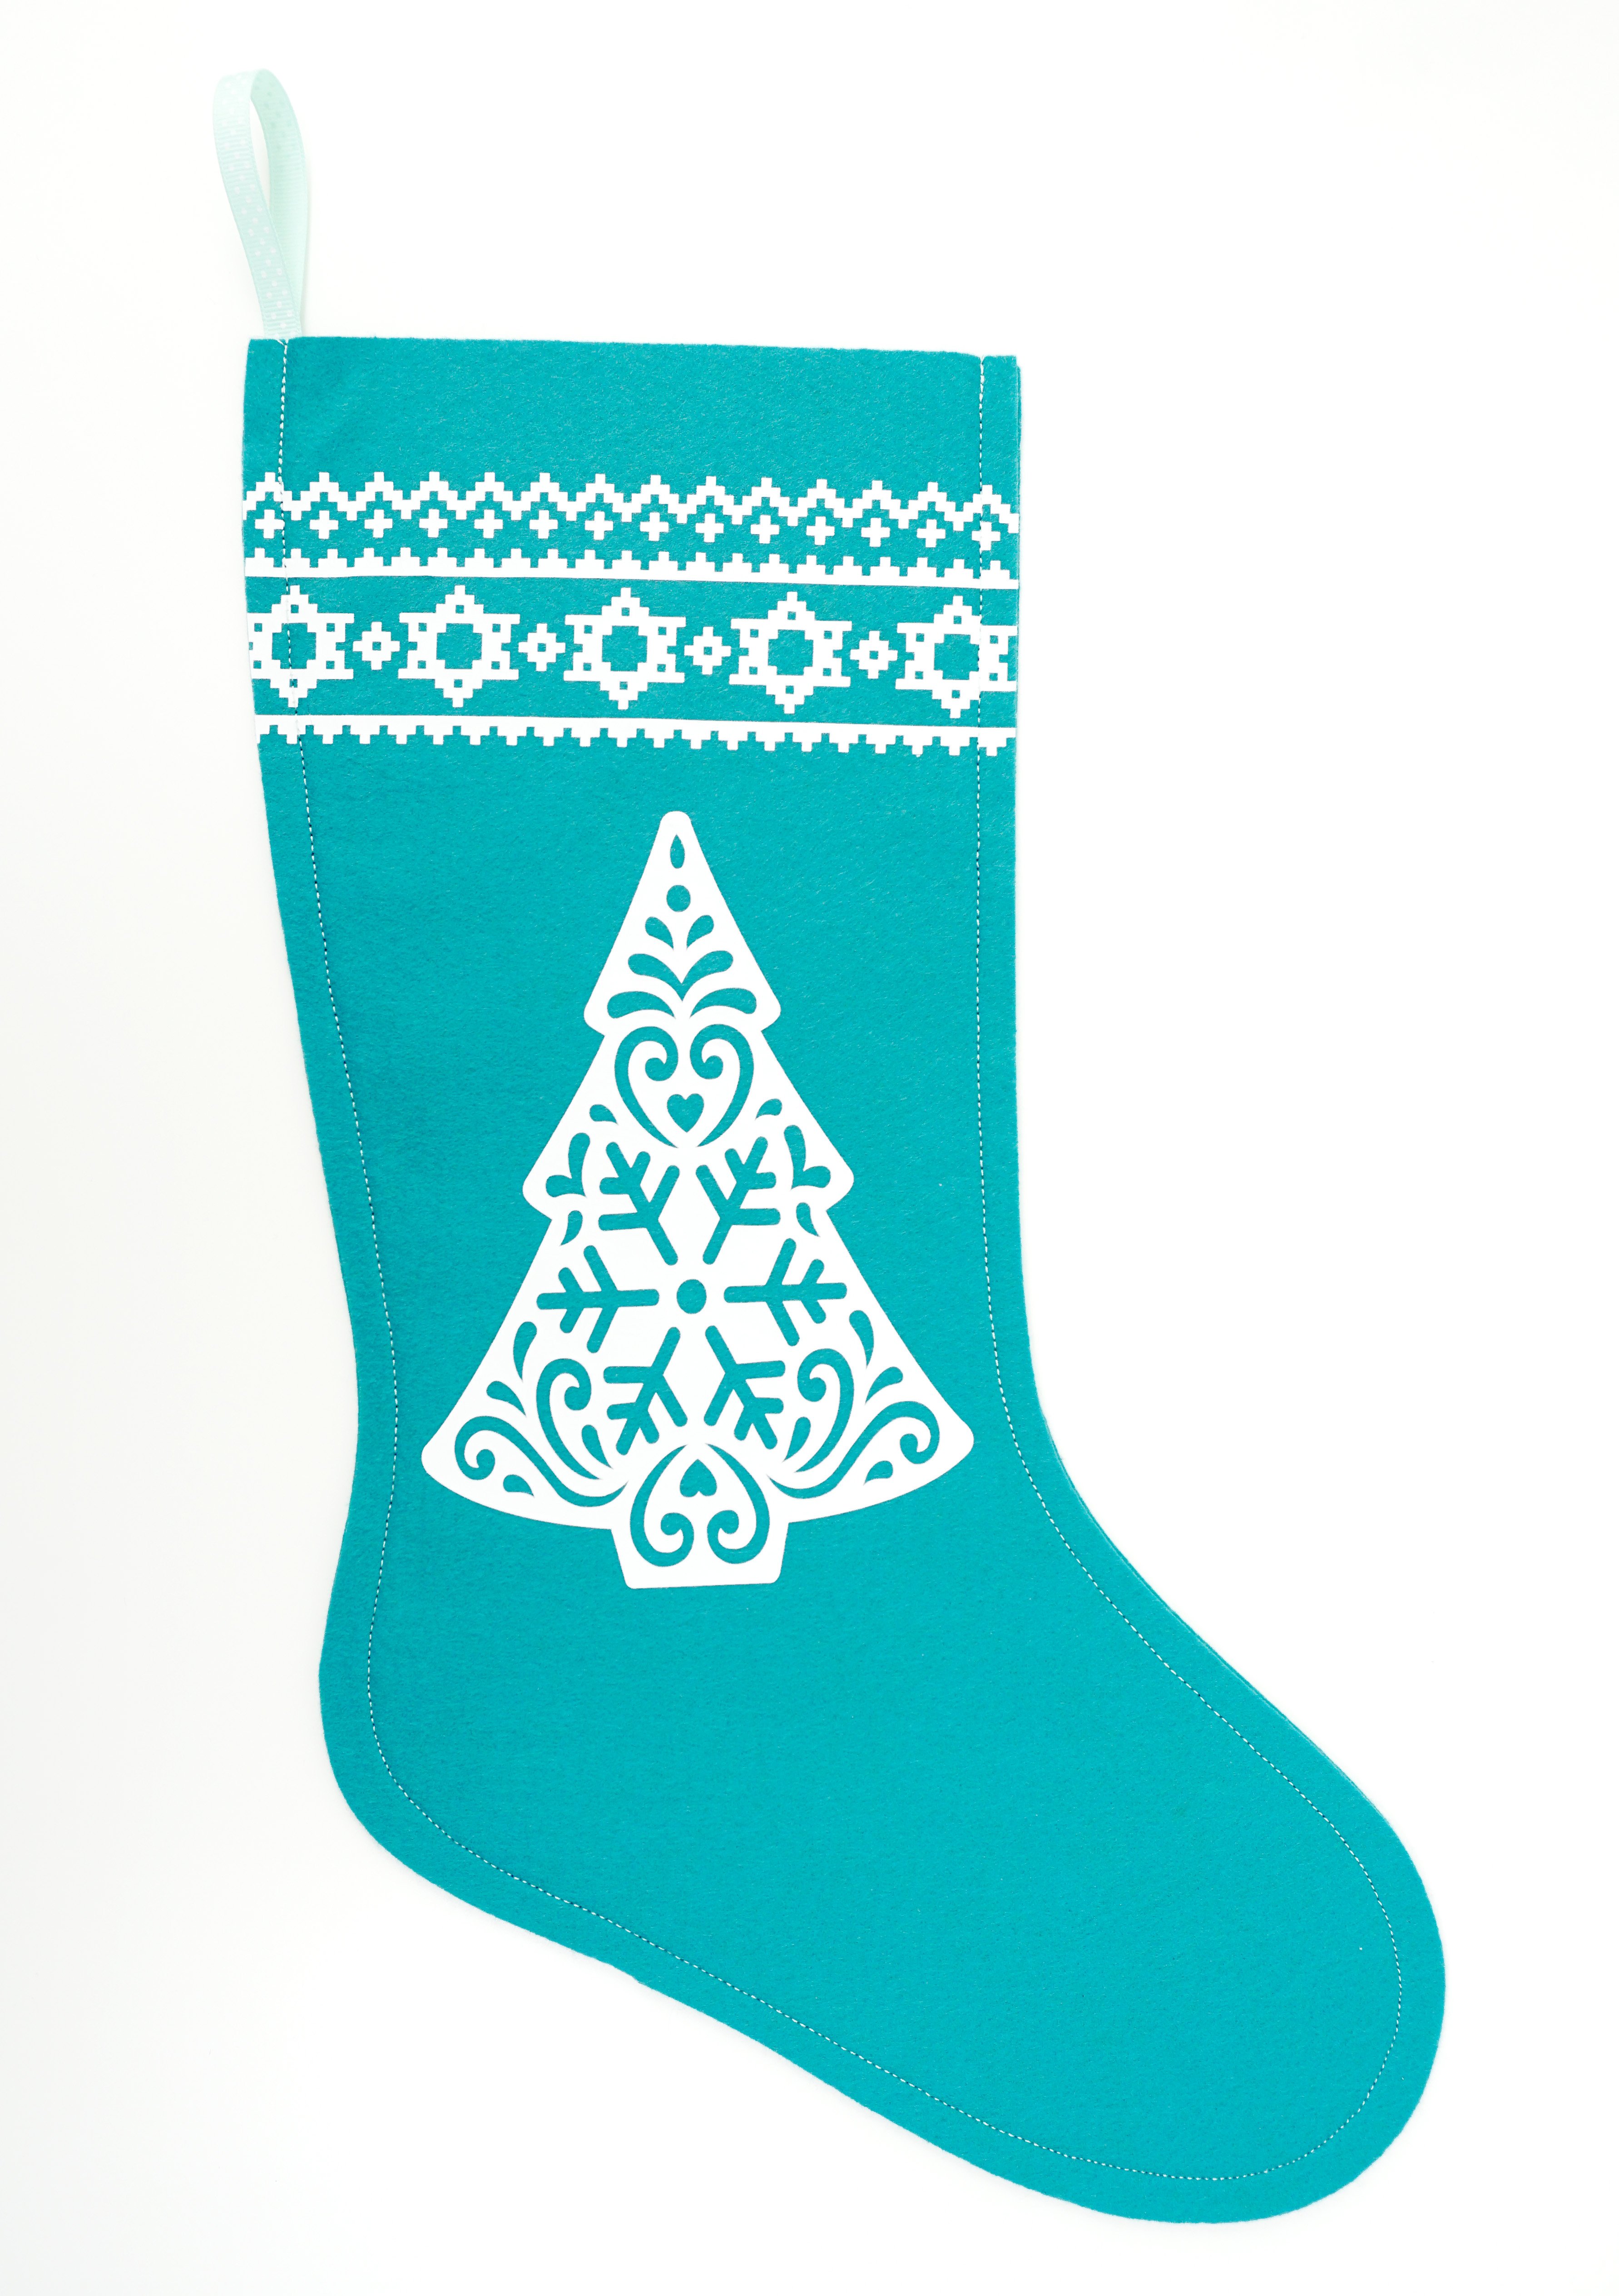
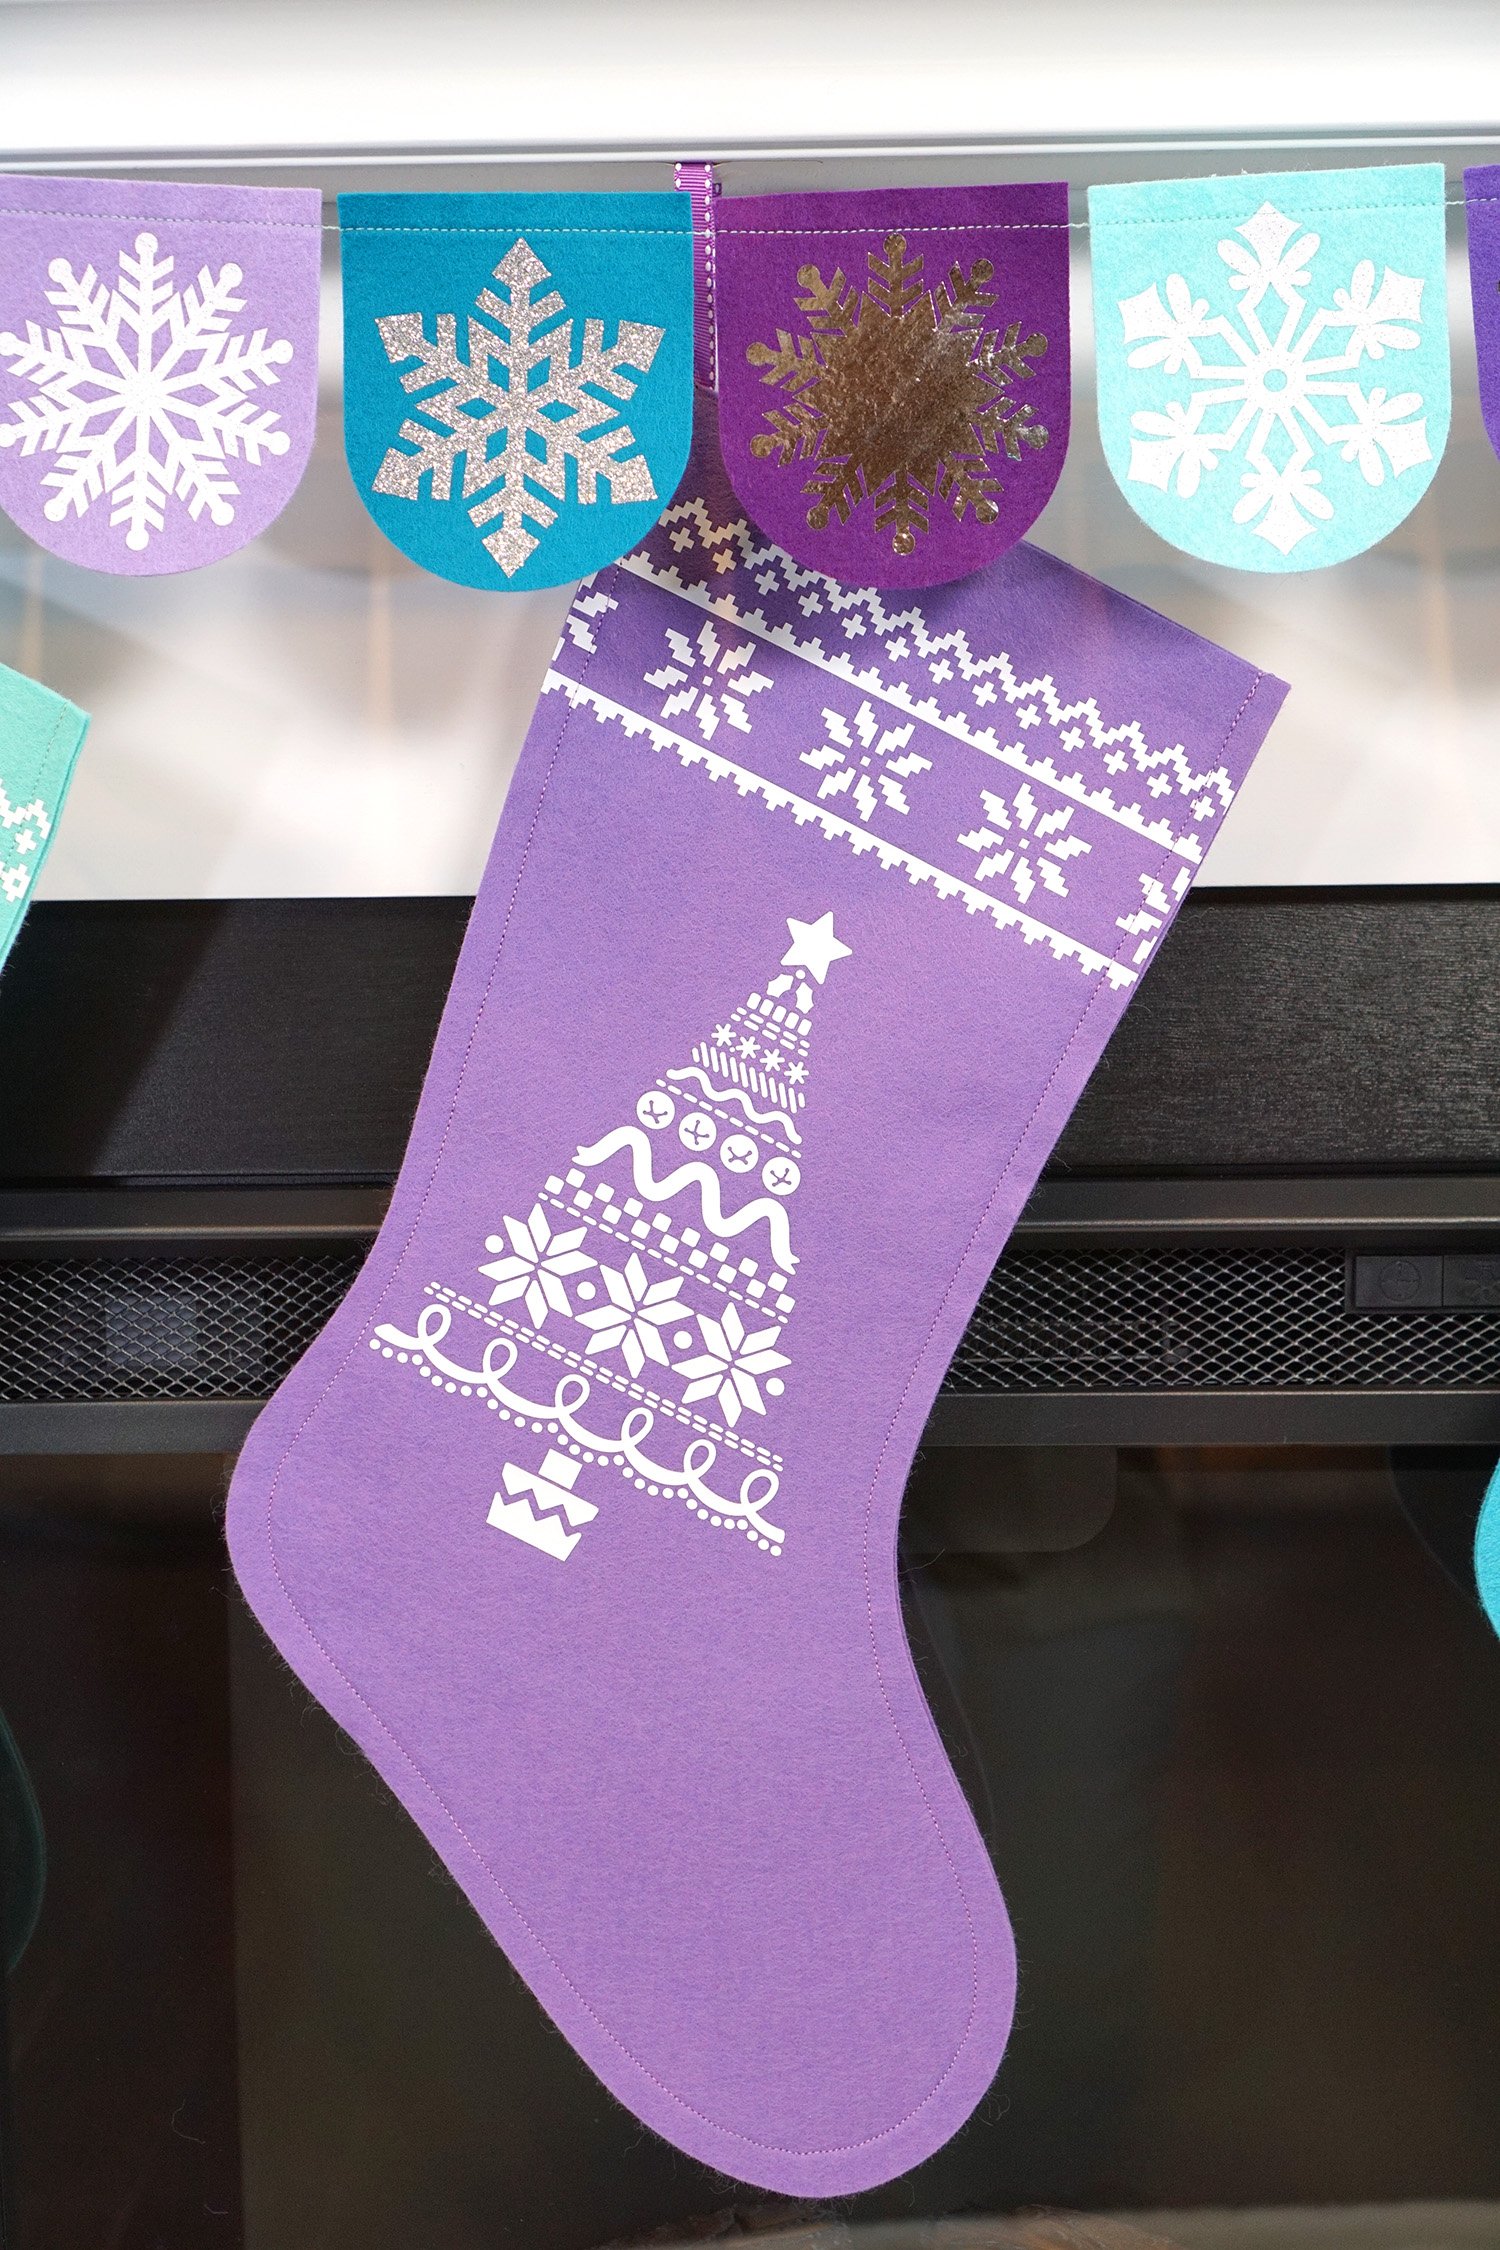
These stockings were super quick and easy to make, and they make a huge impact on my Chrismukkah fireplace mantel!
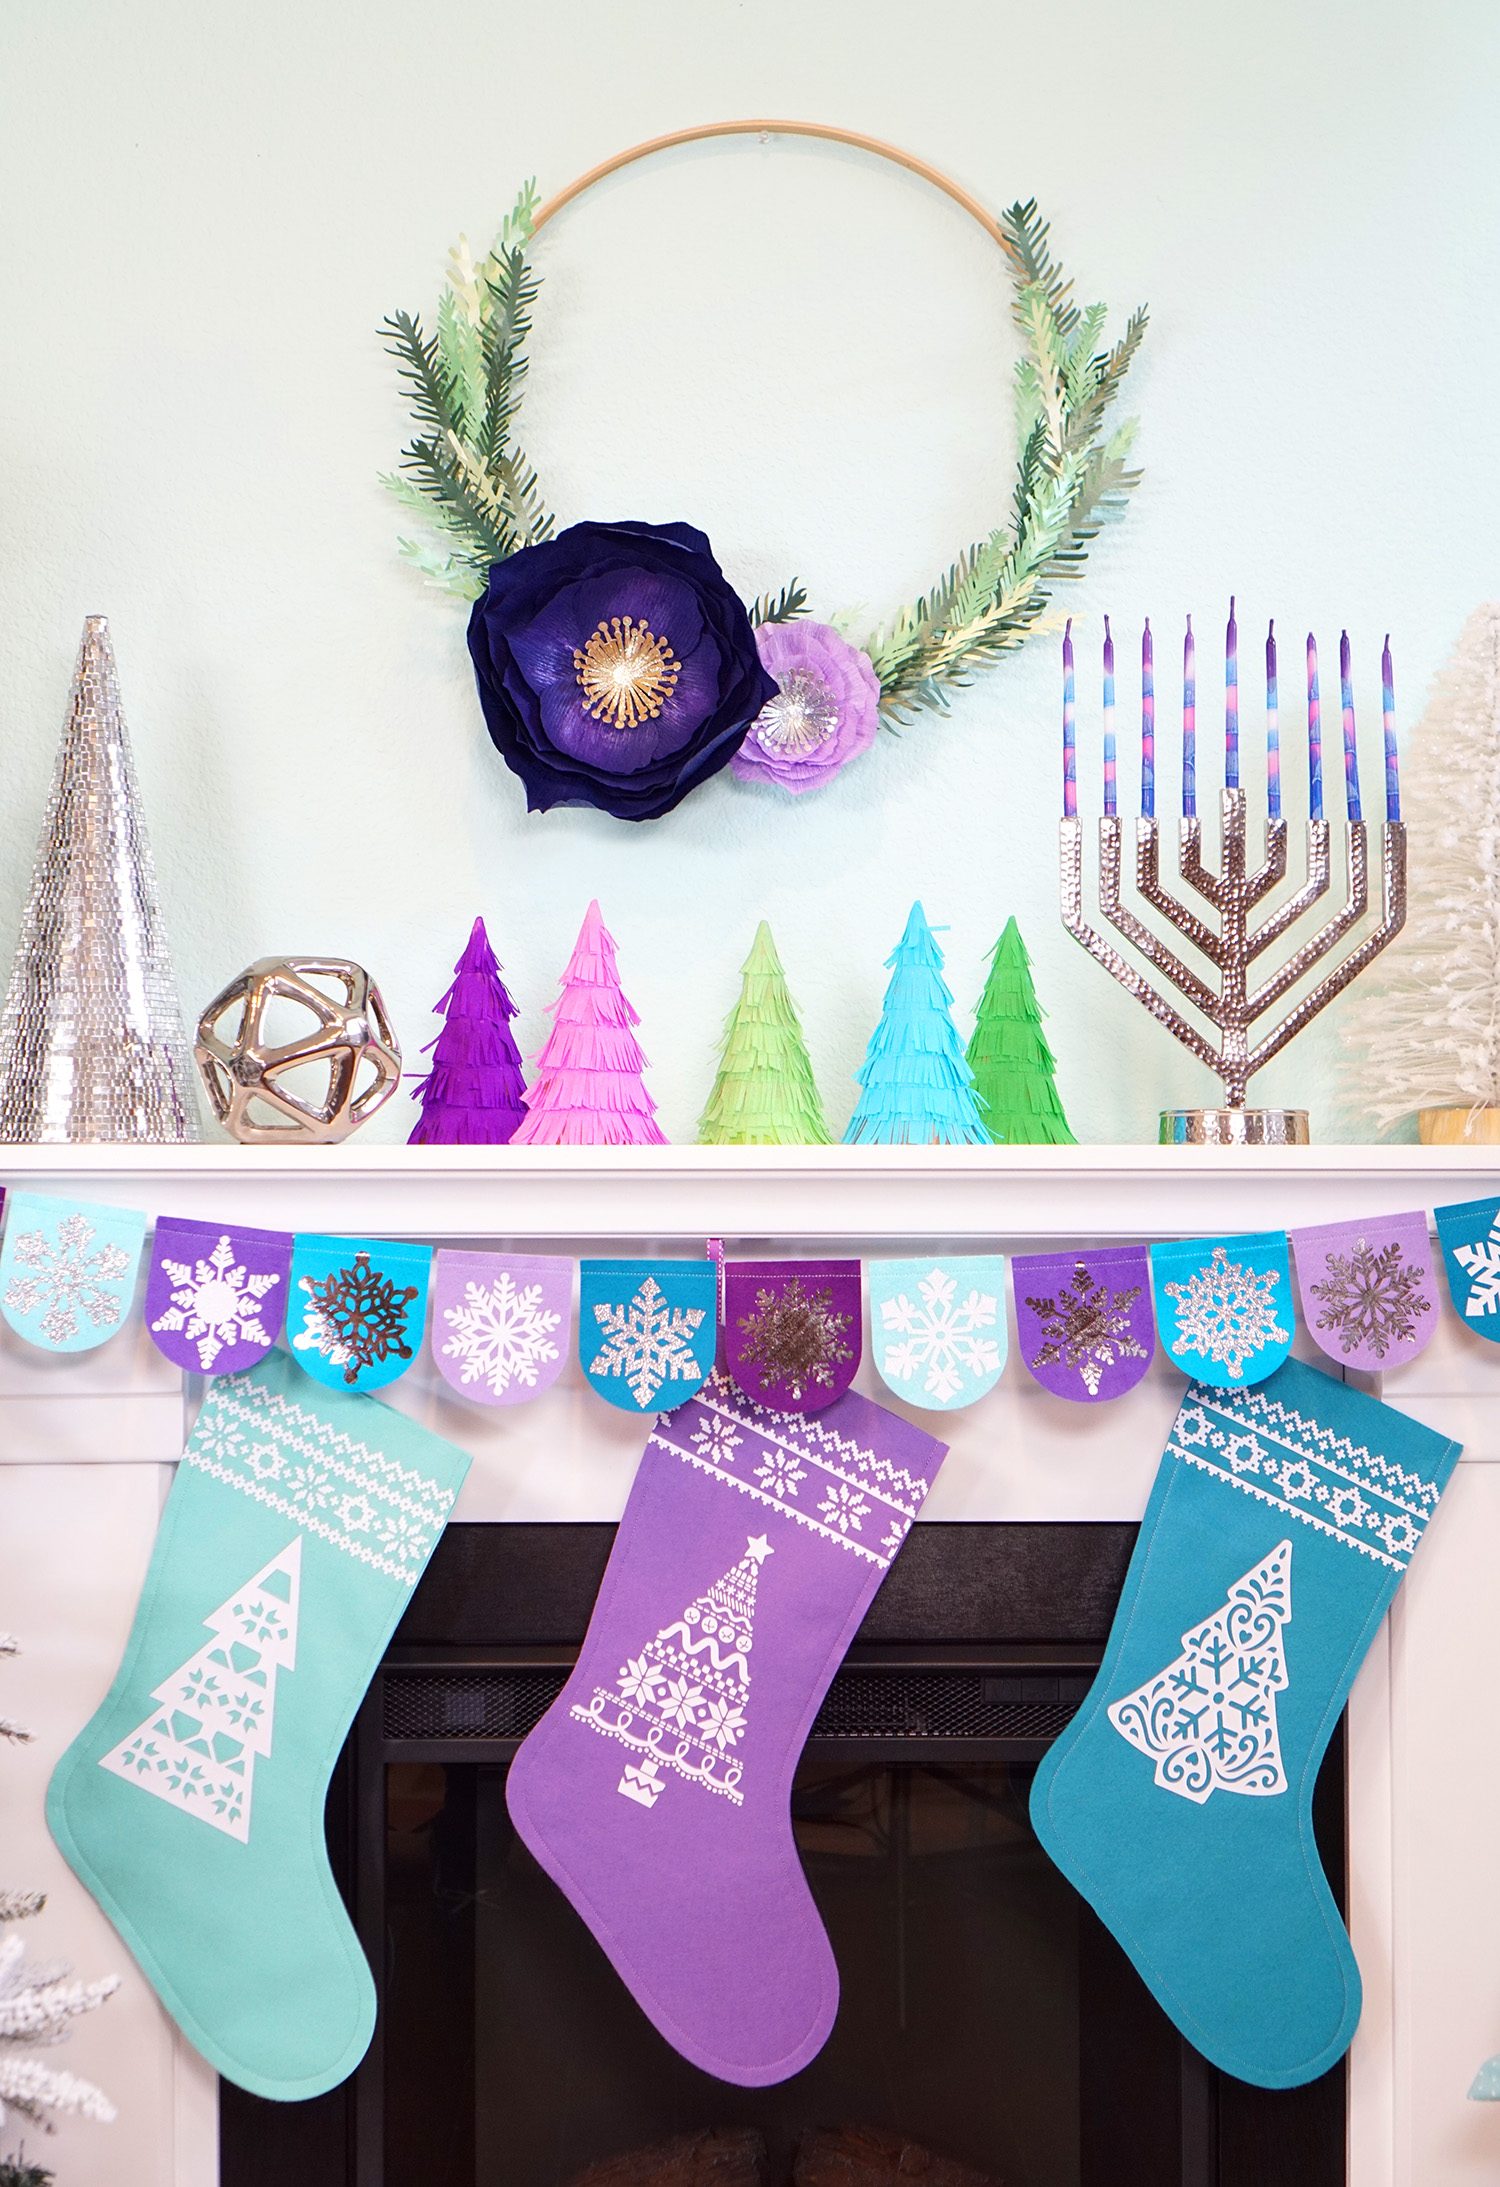
Wreath + Banner + Stockings = Wintery Bliss! 😍😍😍 Seriously, I’m giving this Chrismukkah mantel ALL of the heart-eye emojis!
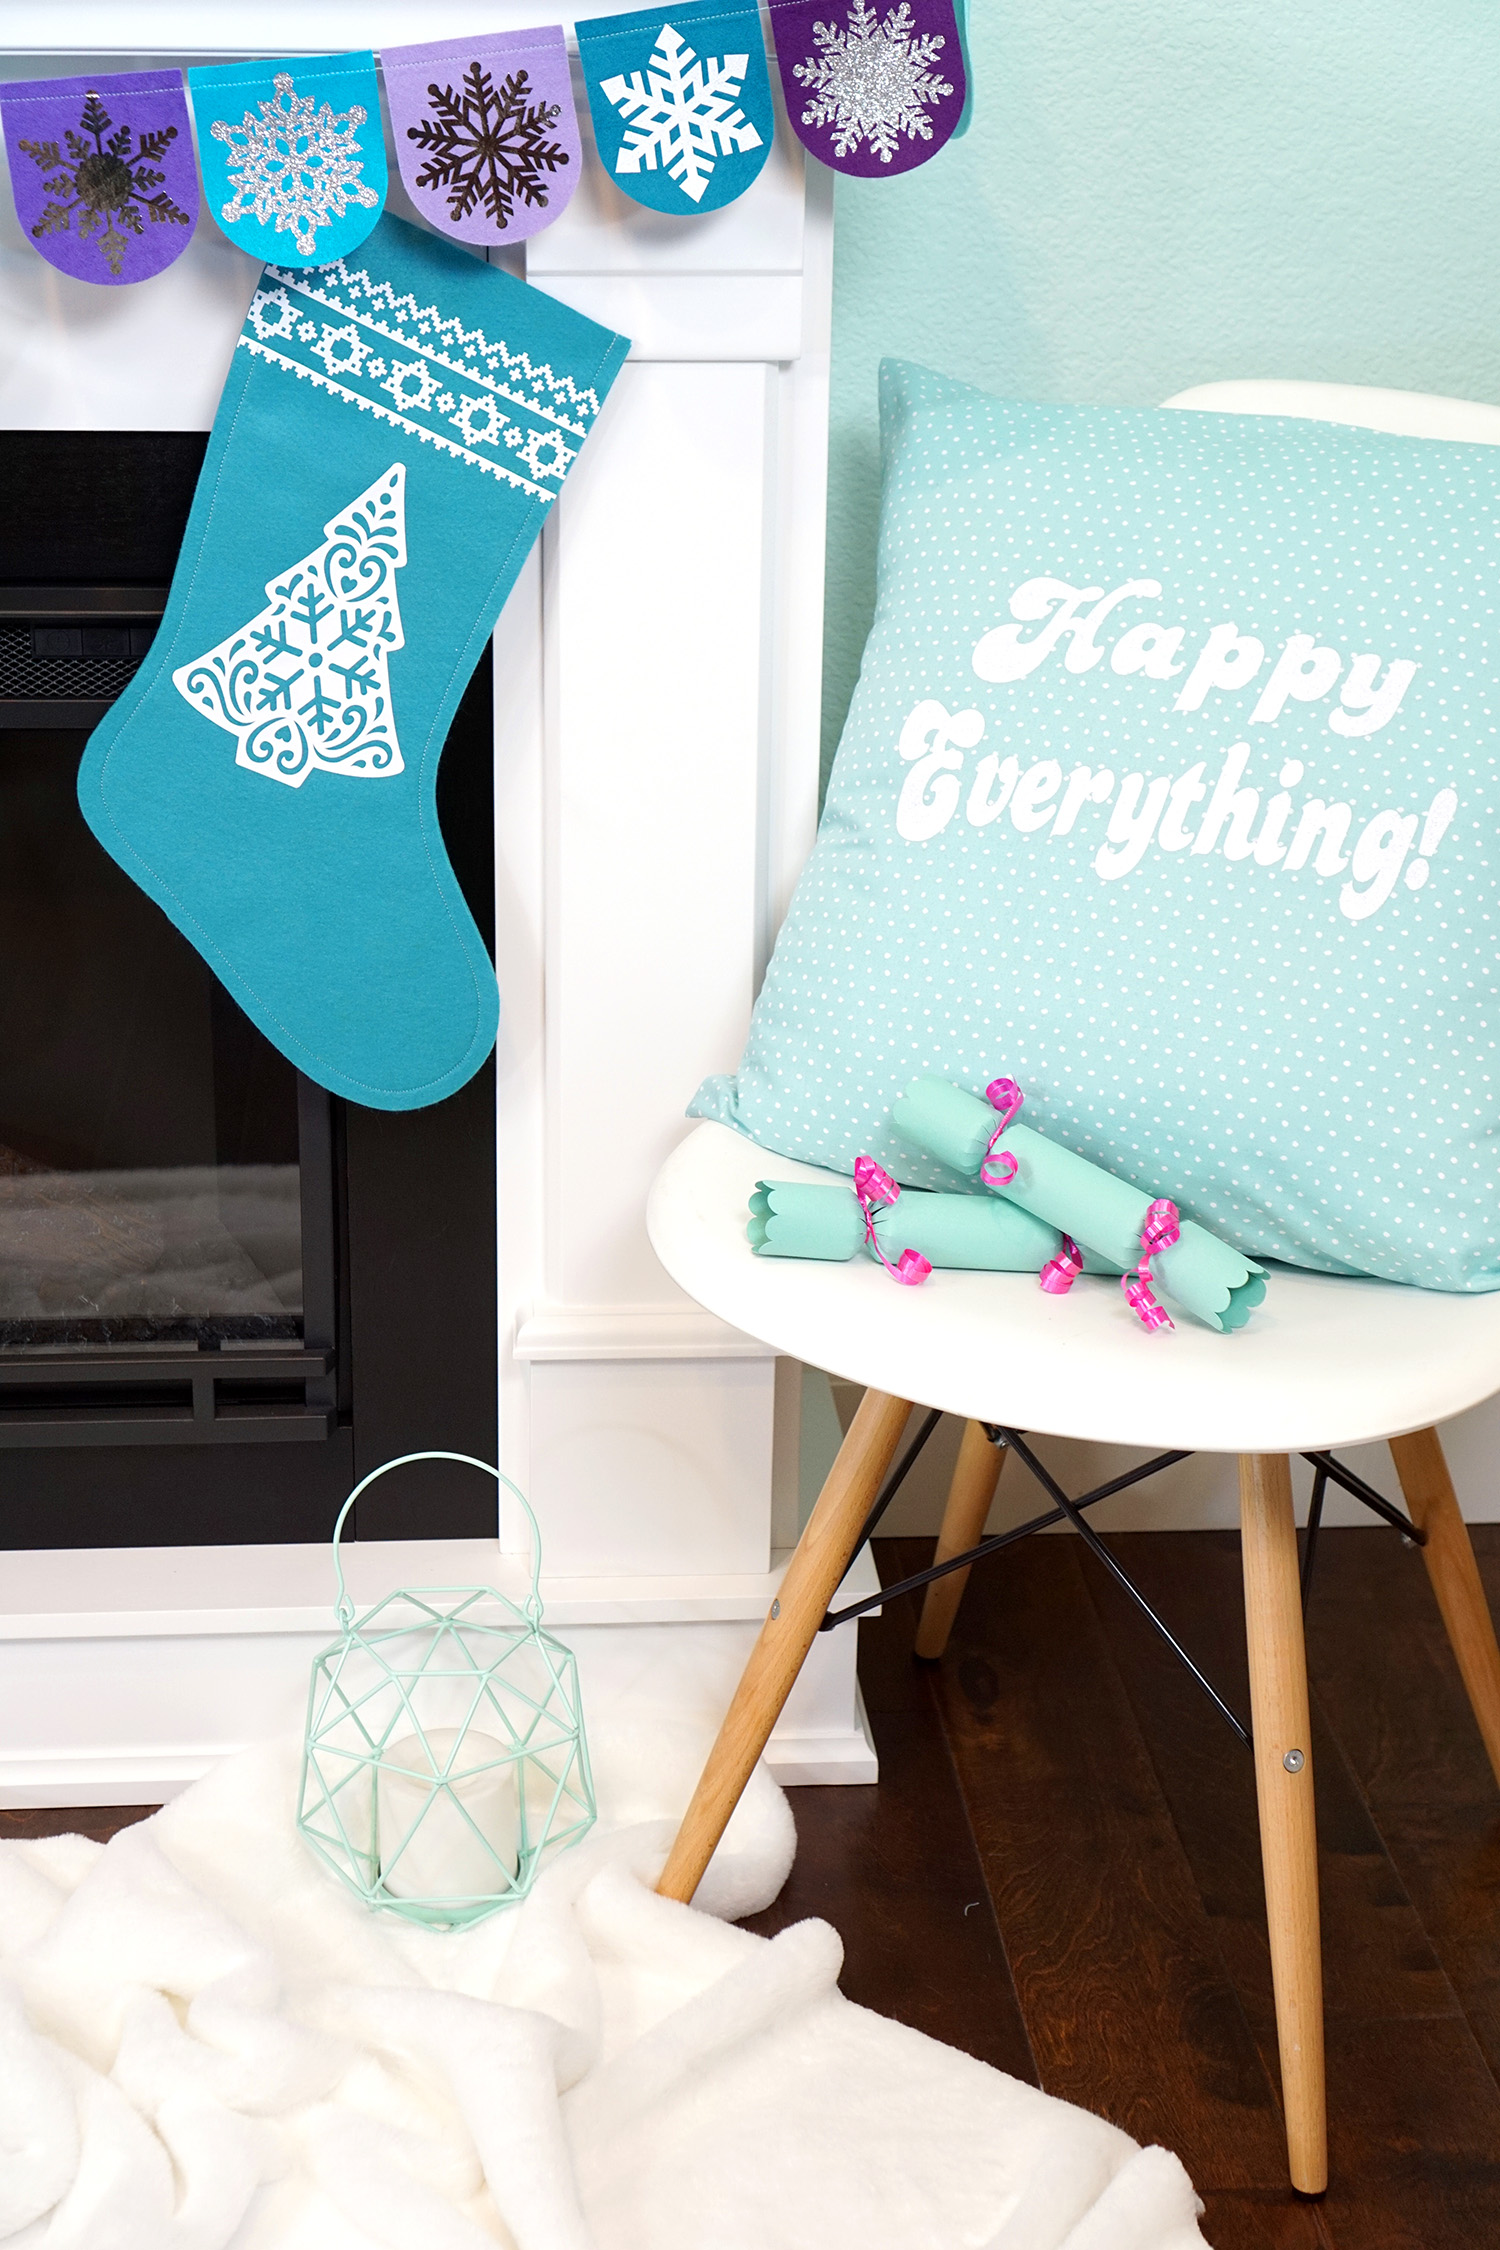
Of course, I had to come up with an excuse to use up the last bit of that pretty white Glitter Iron-On, so I took advantage of the fact that my sewing machine was at the ready, and I whipped up this cute polka dot pillow cover and embellished it with a sparkly “Happy Everything!” holiday sentiment!
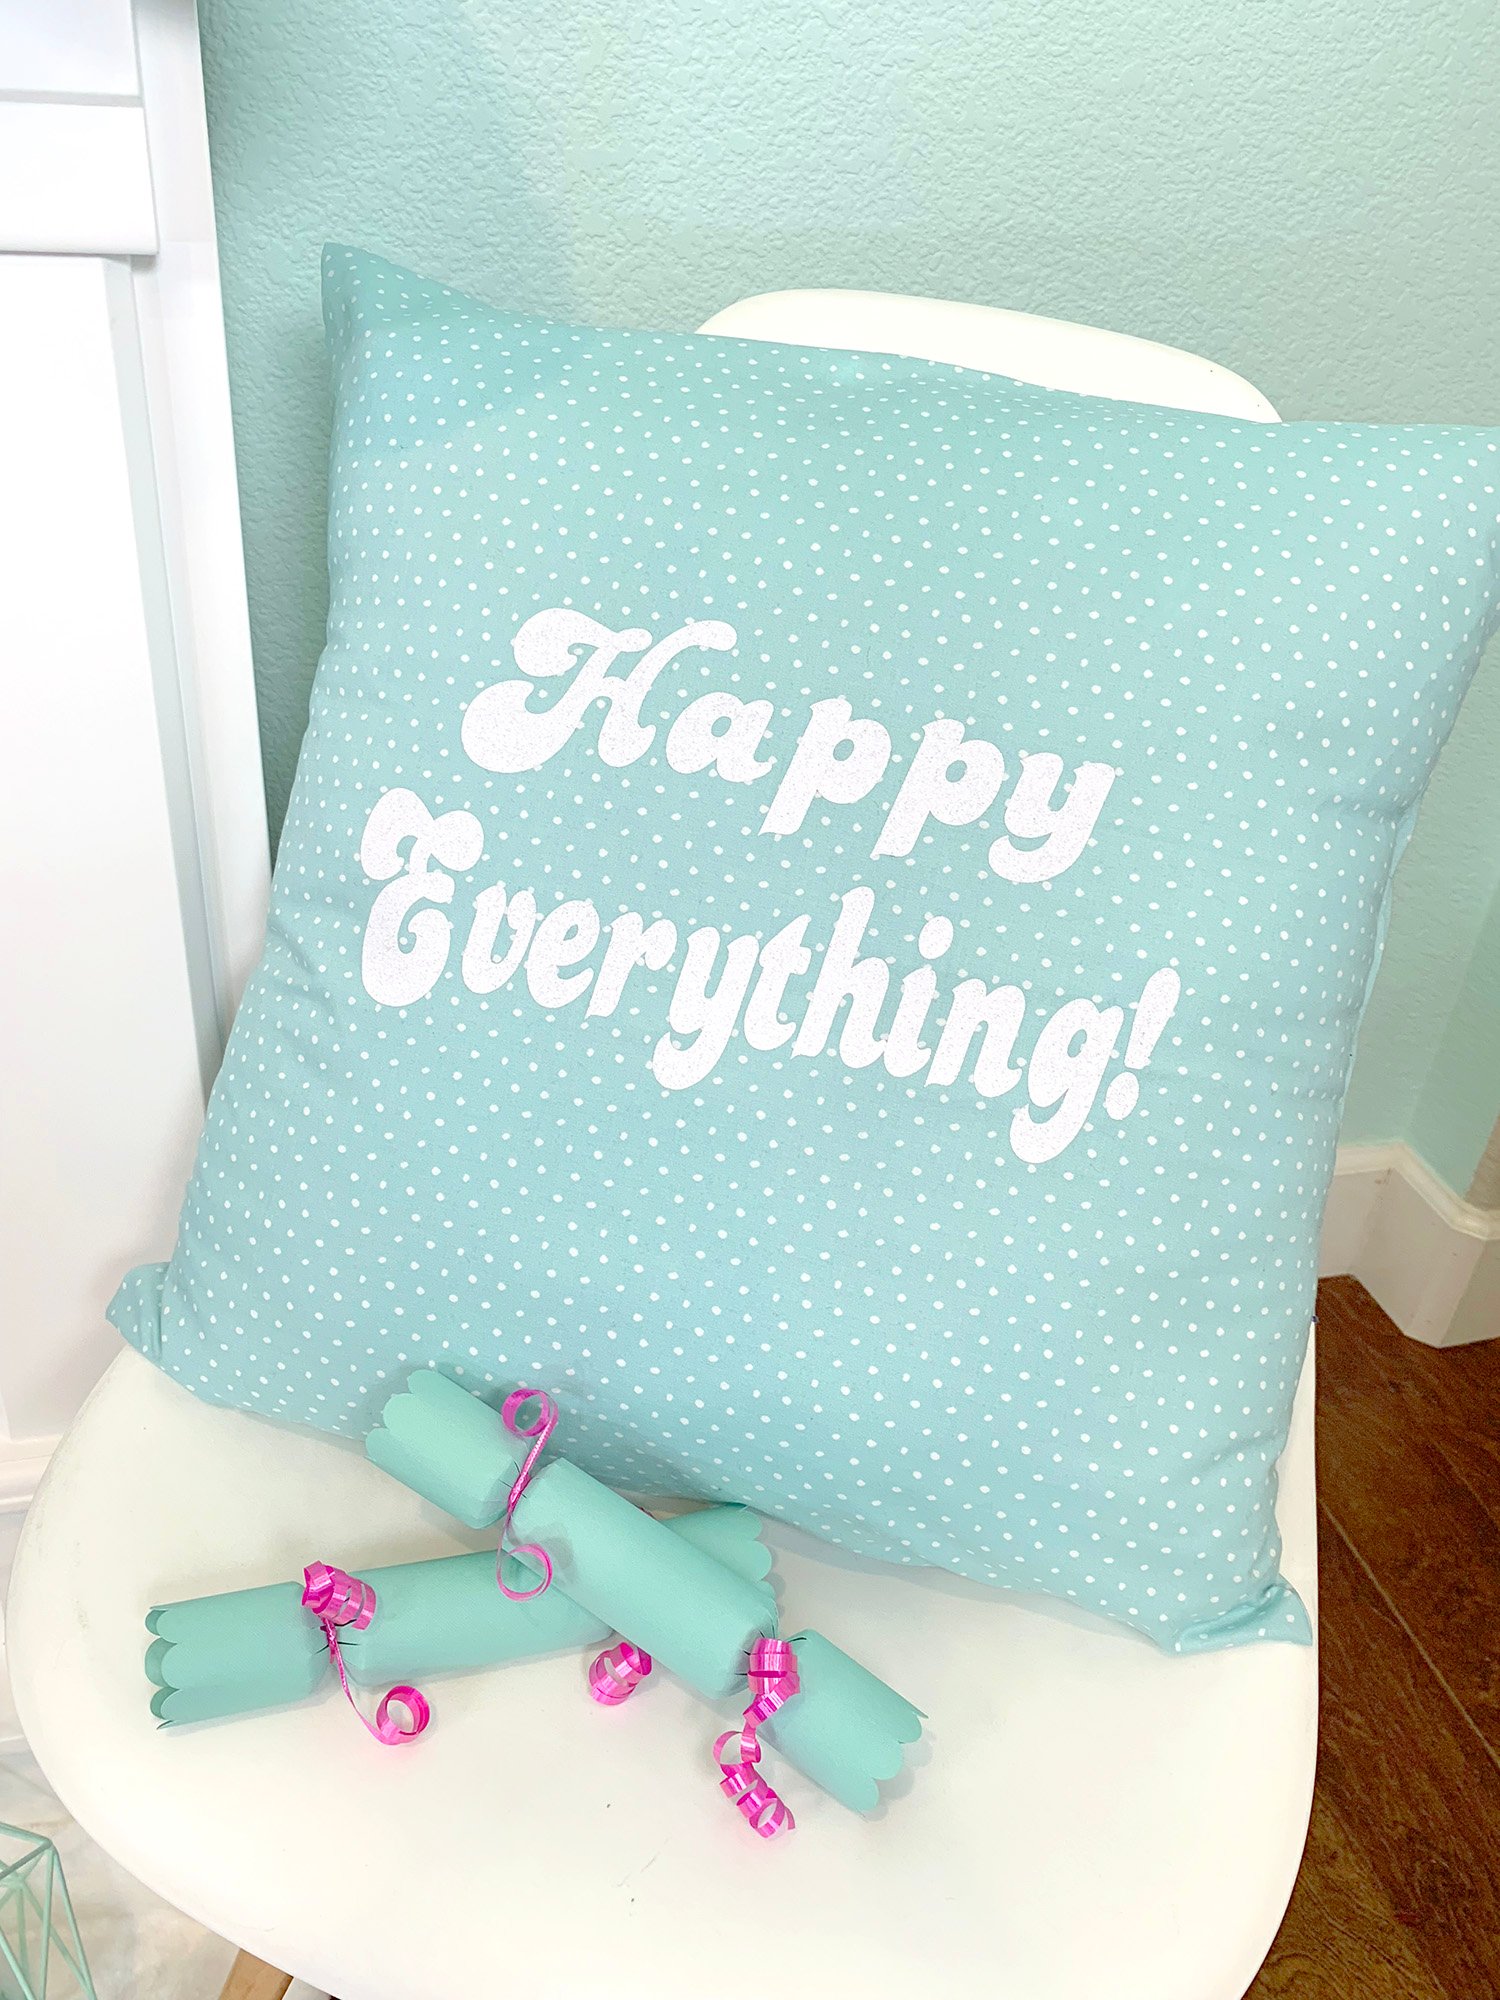
So much fun, right? We’ll also be sharing a tutorial for these DIY Christmas Party Crackers soon, too!
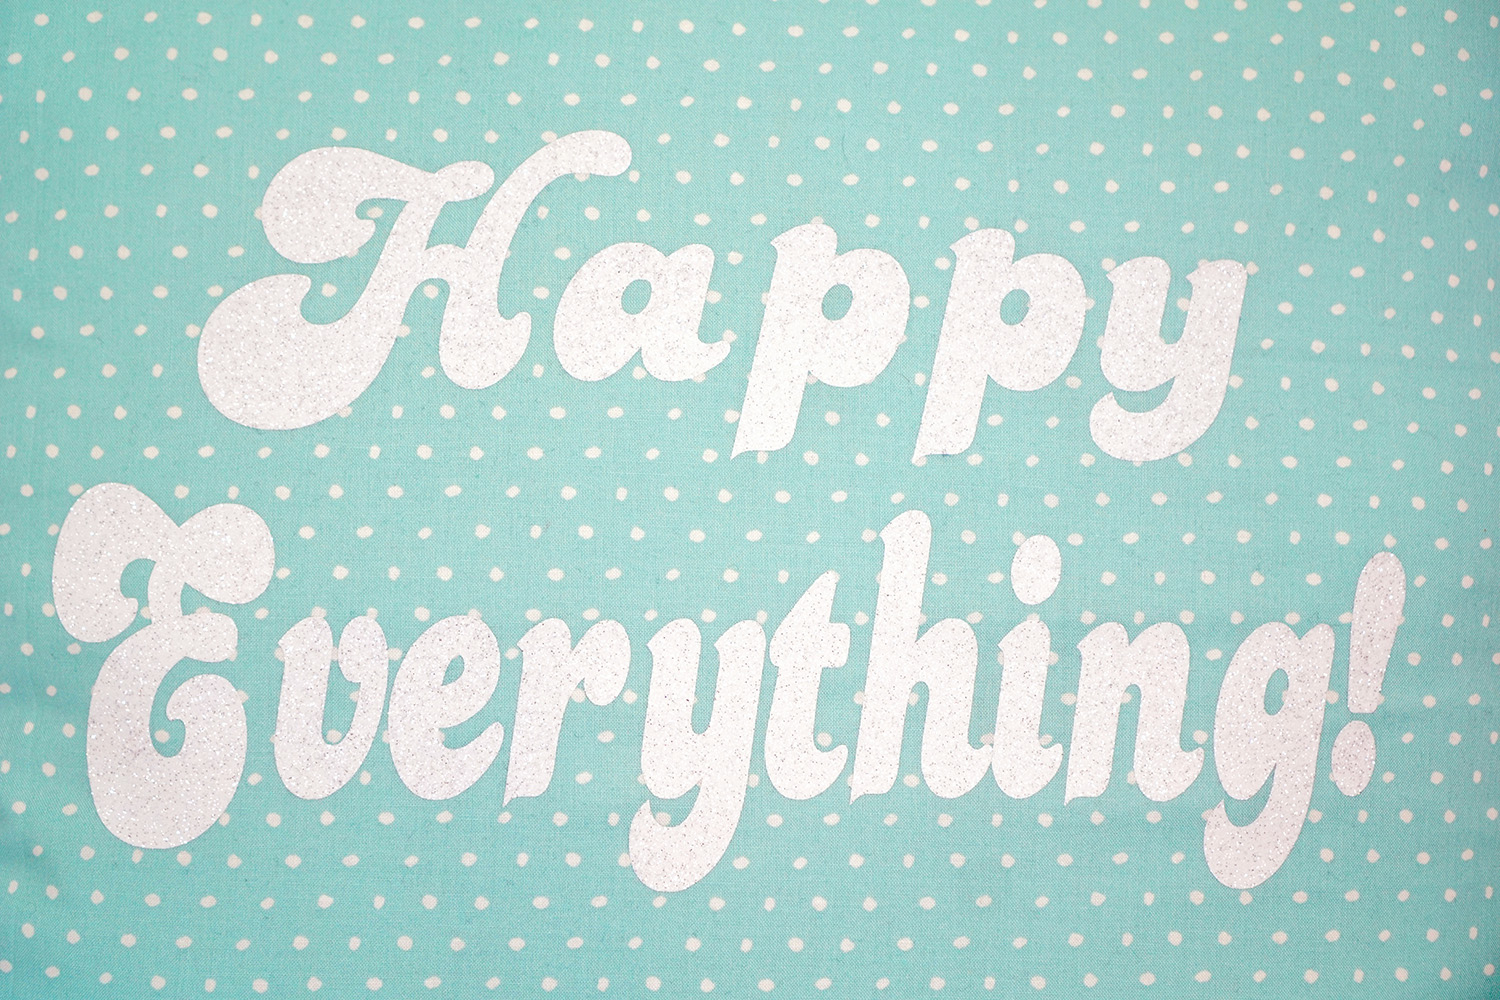
If you want to make a “Happy Everything!” pillow (or shirt!) of your own, you can get the Cricut Design Space file here!
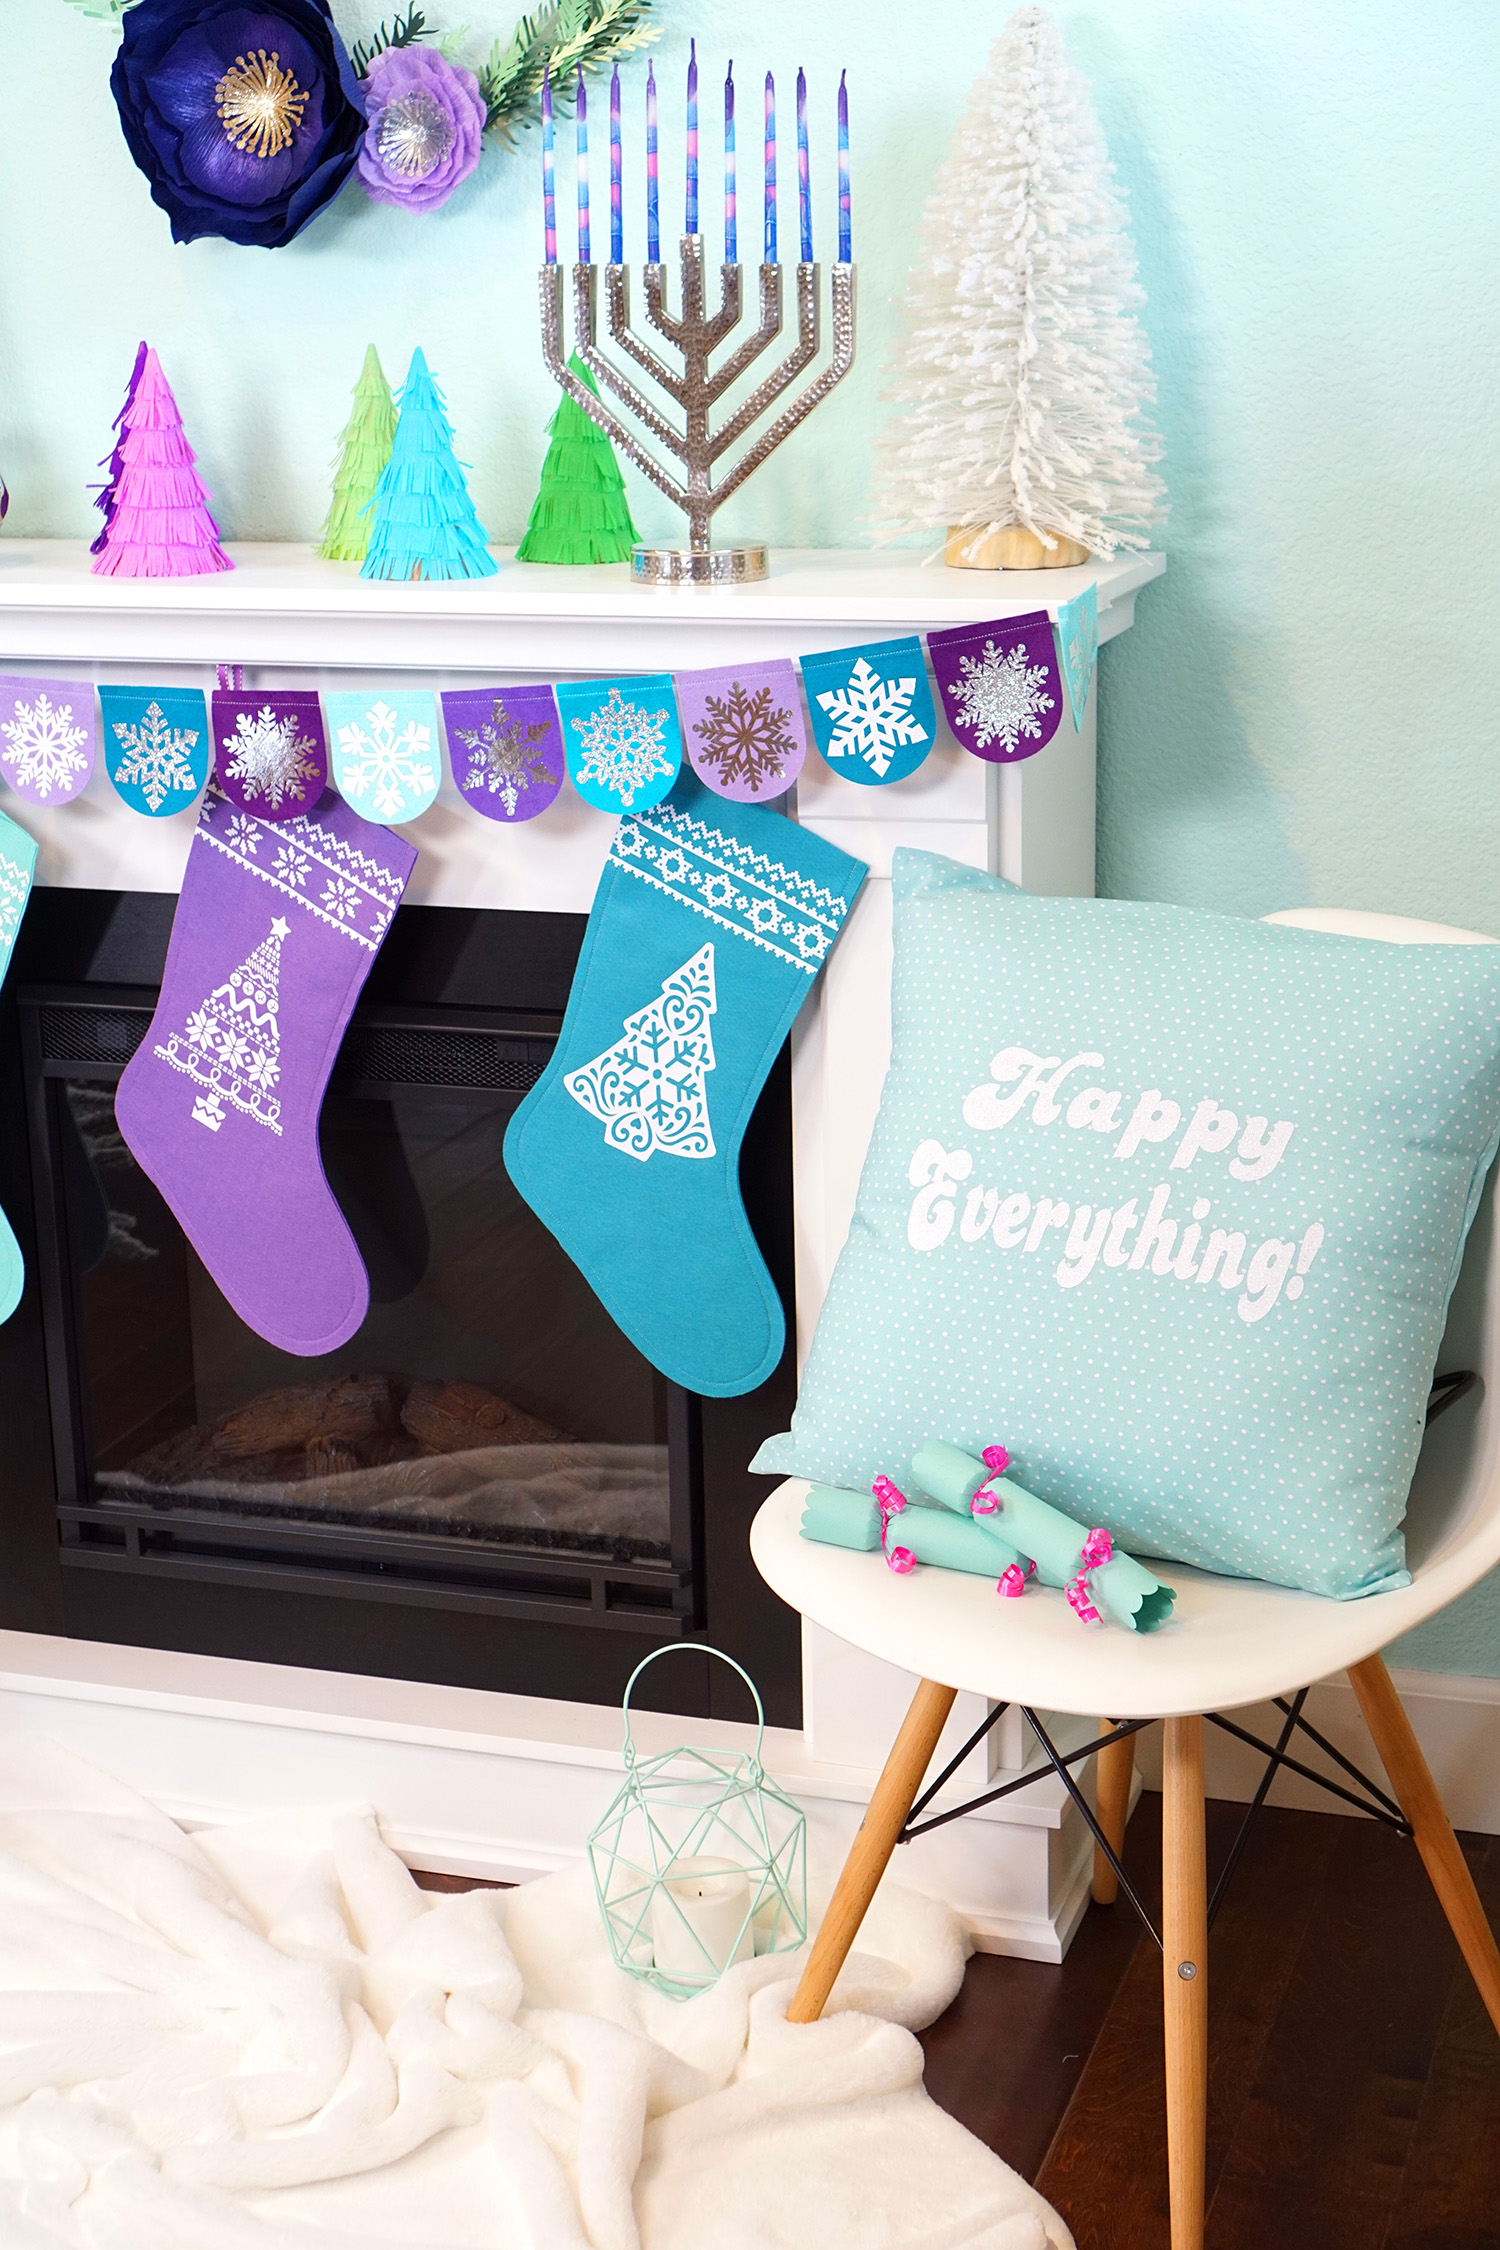
I am absolutely head over heels for this colorful and eclectic holiday mantel decor! It’s totally acceptable to leave your holiday decorations up until spring time, right? 😉
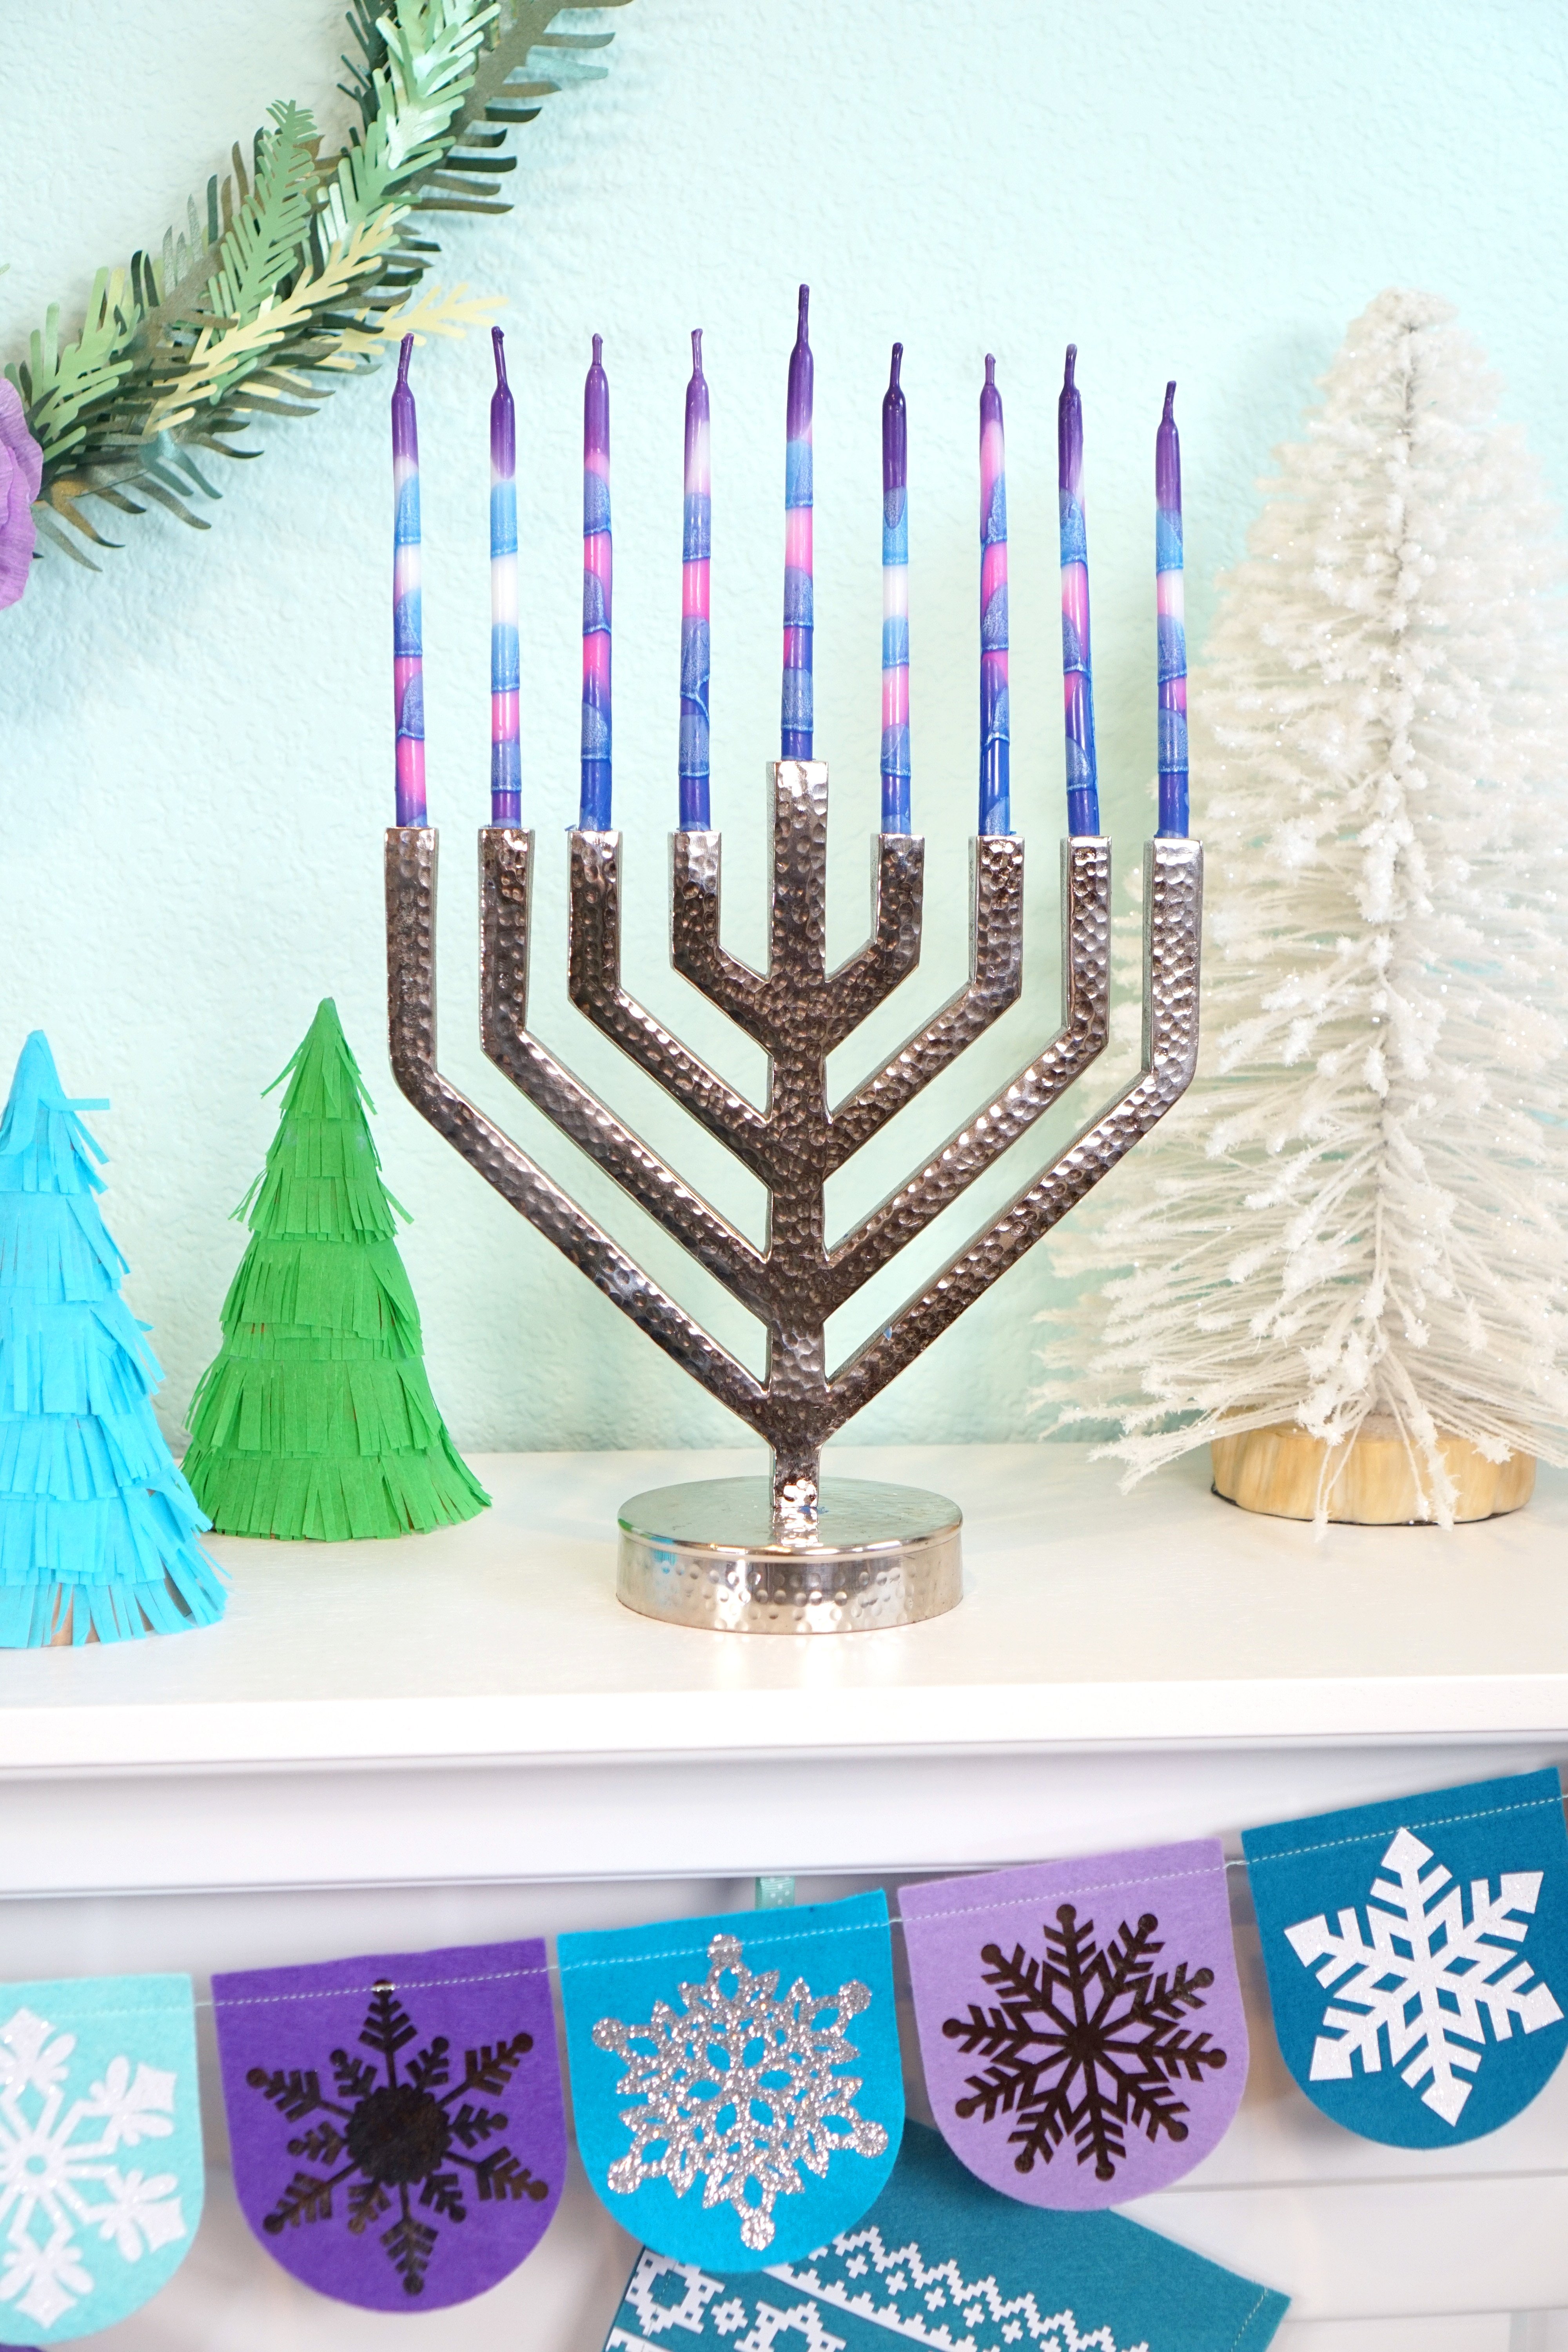
I also LOVE that these stunning Hanukkah Candles match my mantel decor perfectly! SO pretty!
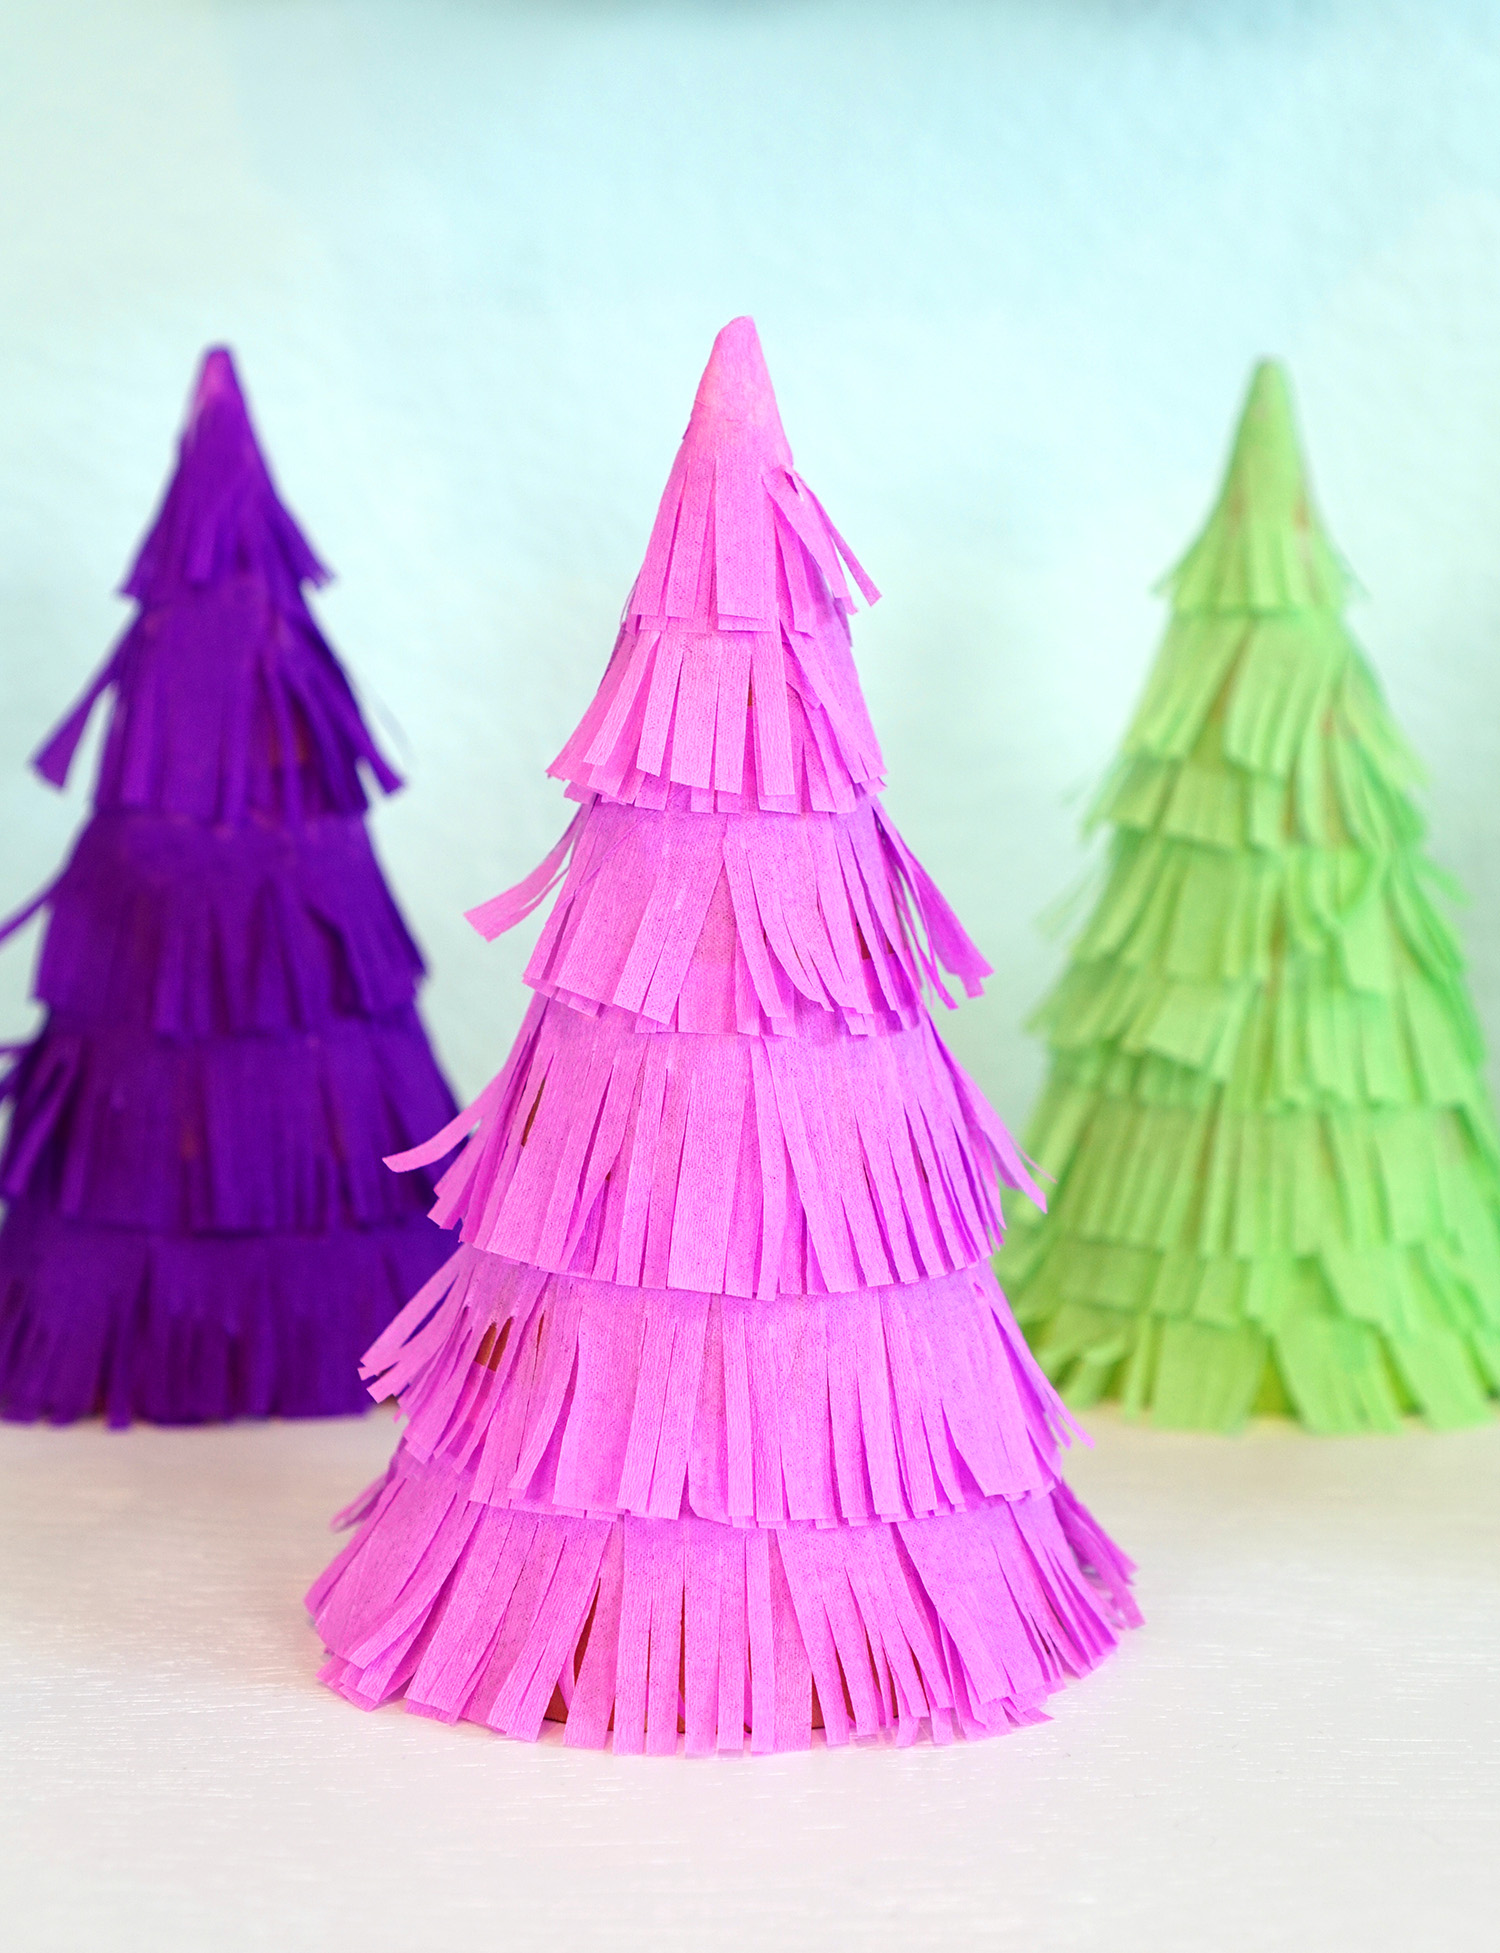
Psssst…want to know a secret? These tissue paper tassel Christmas trees are more than they may first appear! They’re actually filled with holiday treats, so they do double duty as both holiday decor AND party favors! (The tutorial for these will be up soon as well!)
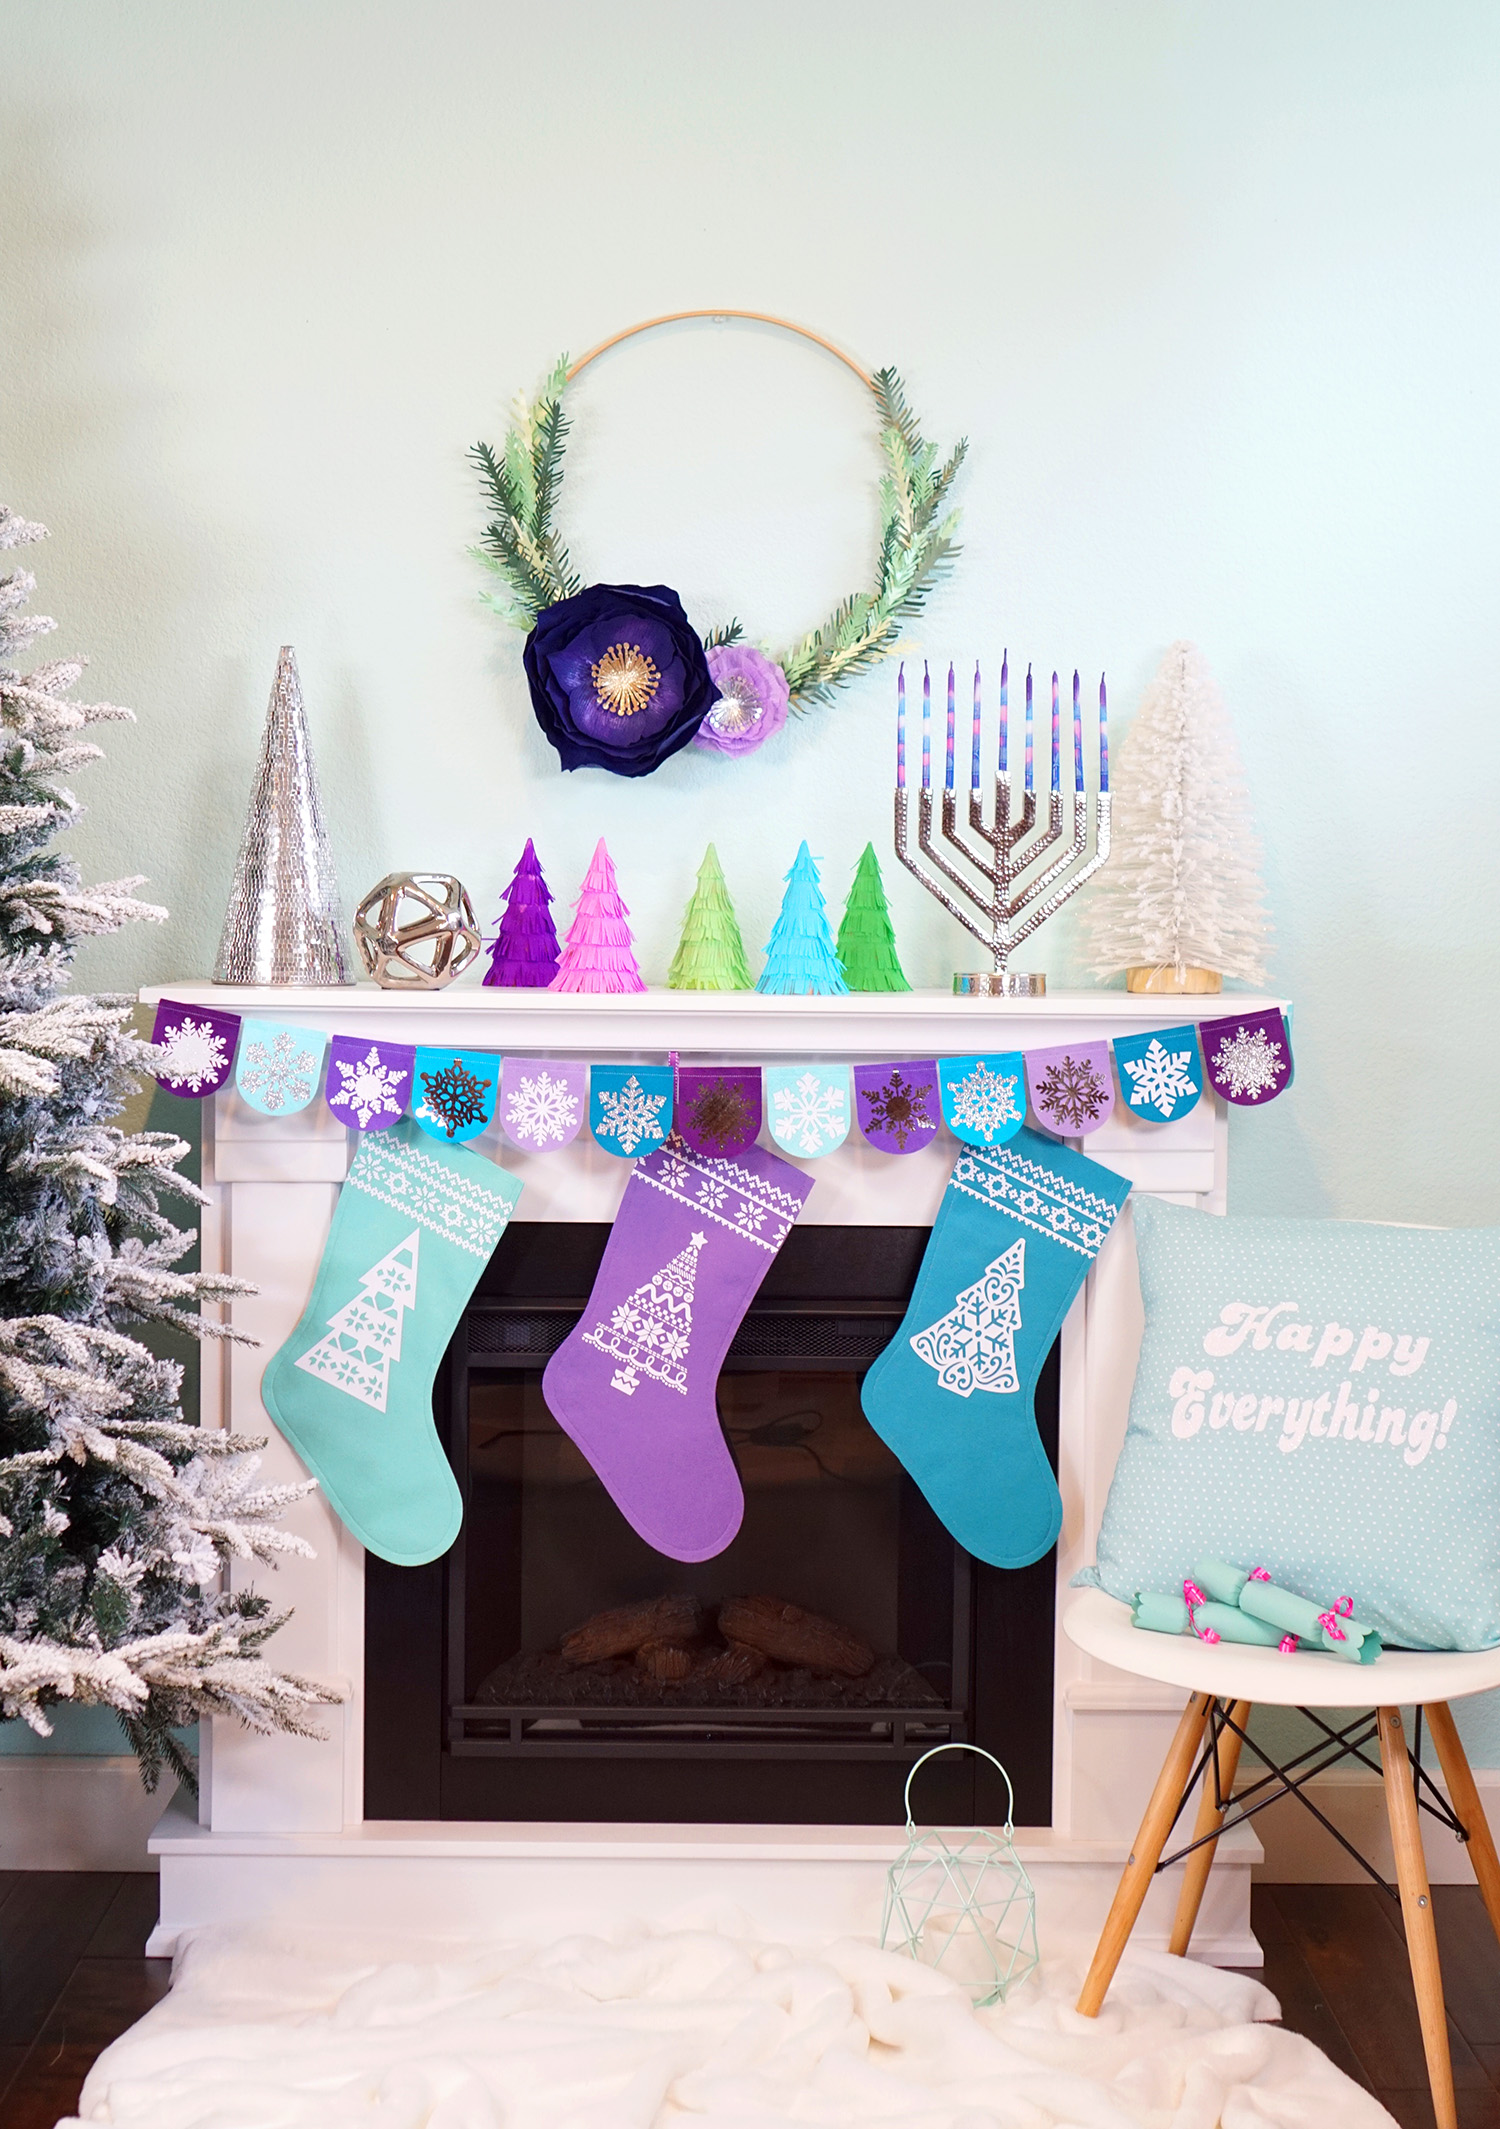
*SWOON*
This Chrismukkah mantel was seriously super easy to put together thanks to my Cricut Maker! If you don’t have a Maker machine yet, you’re definitely going to want to add one to your holiday wish list ASAP! For more information and even more reasons to love the Cricut Maker, check out my post on The Cricut Maker – What’s New and What Does It Do? and I’m sure you’ll love it, too!

Check Out These Other Christmas Ideas!
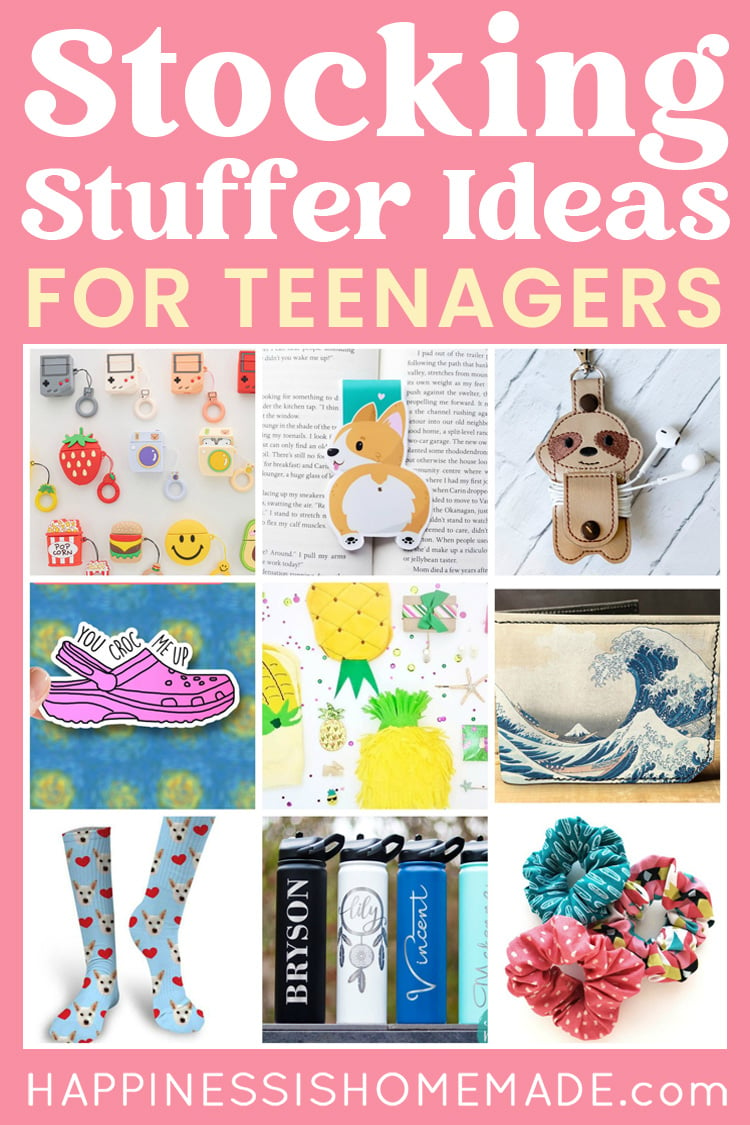
 70+ Fun Stocking Stuffers for Teens and Tweens
 70+ The Best Gift Ideas for Boys Ages 8-11
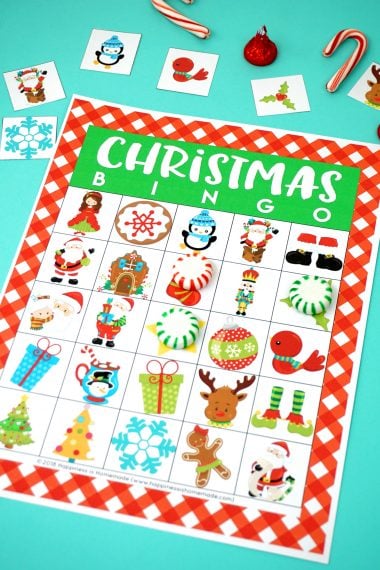
 Printable Christmas Bingo Game Cards
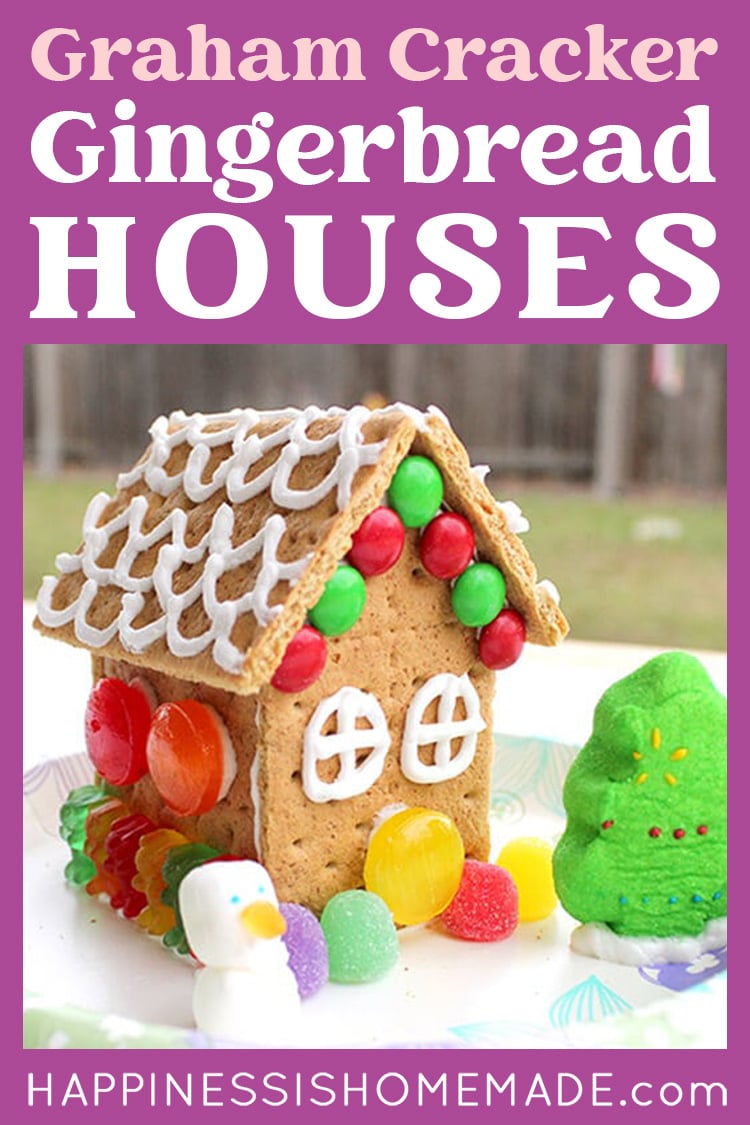
 How to Make Graham Cracker Gingerbread Houses
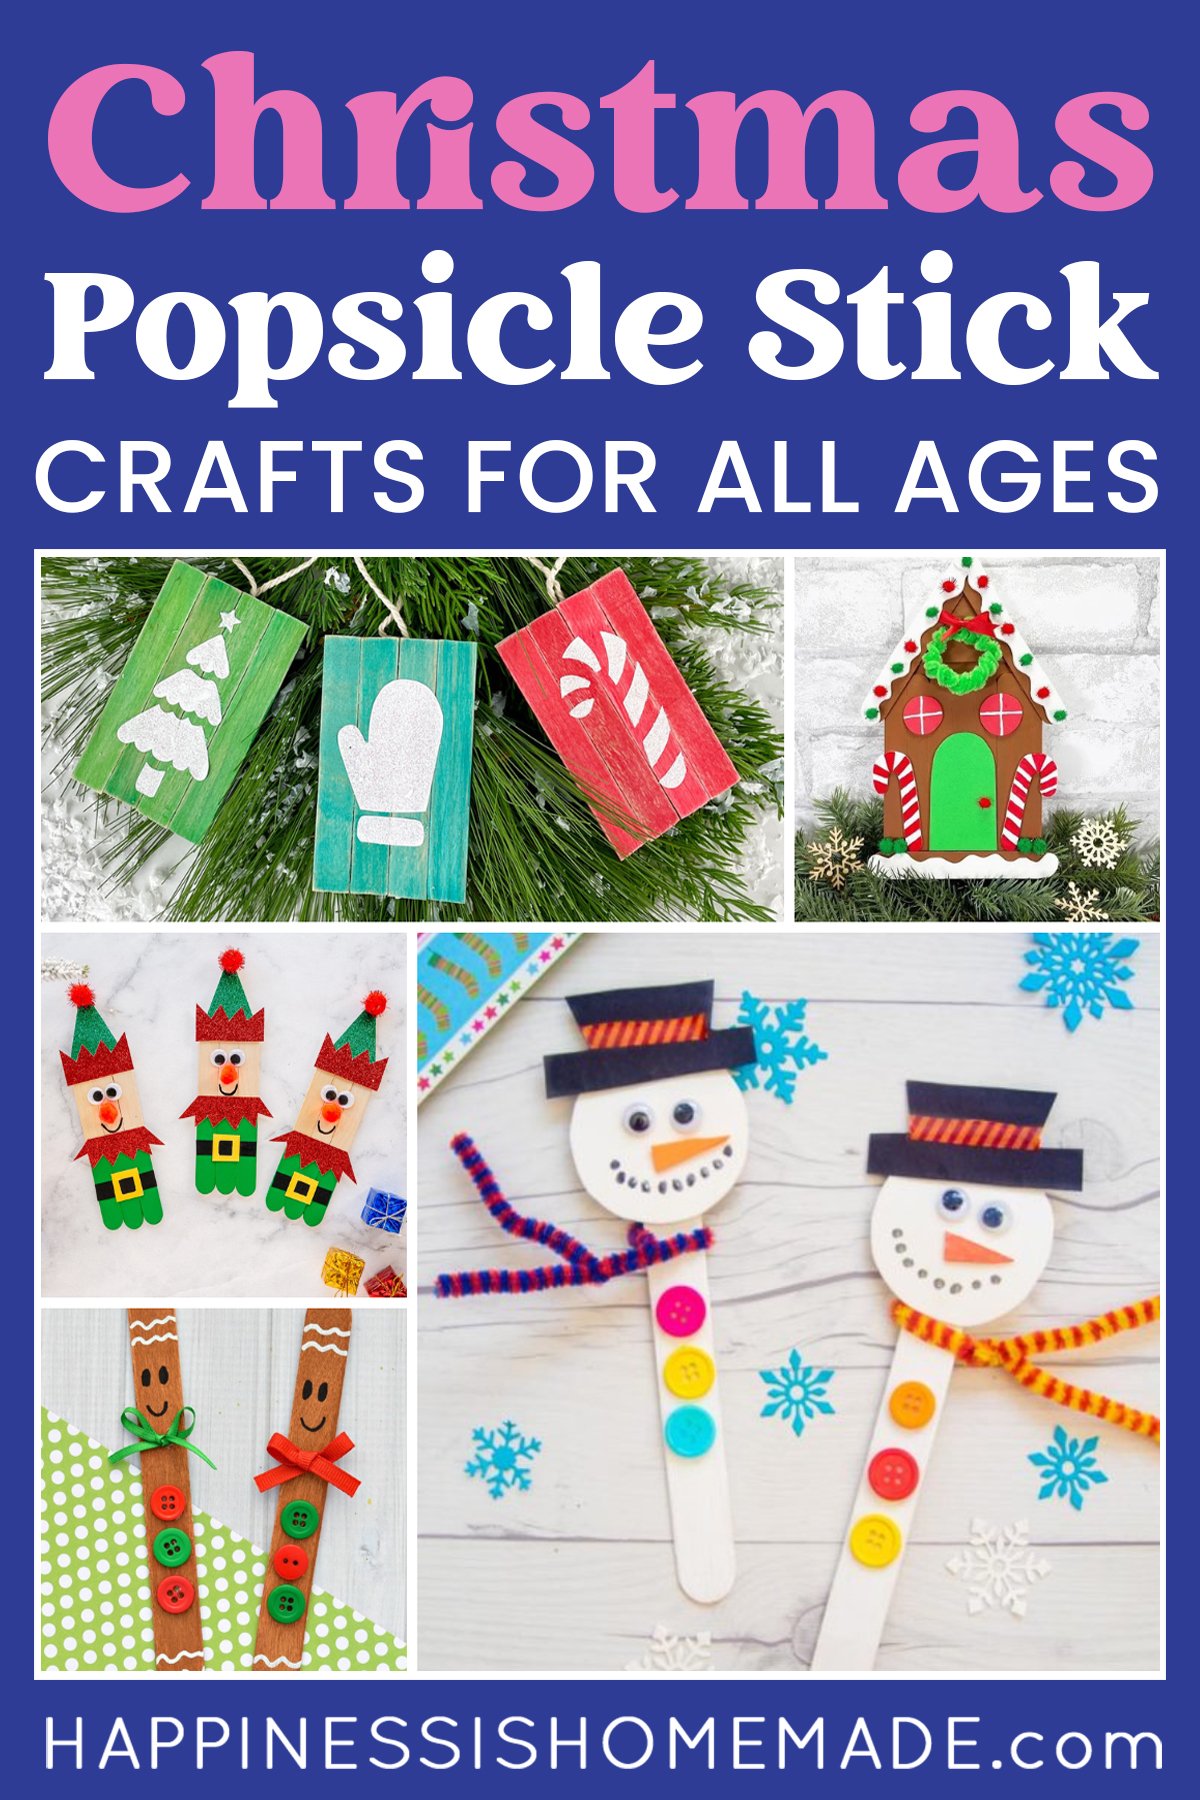
 50+ Popsicle Stick Christmas Crafts
 Wine Cork Candy Cane Ornaments
 Cardboard Gingerbread Houses + SVG Files
 Glitter Ornaments: Easy Christmas Craft
Pin these Chrismukkah Decorations for Later!

Heidi Kundin has captivated the hearts of millions with her colorful and inspiring approach to crafting, celebrations, and family fun. With over 15 years of experience, Happiness is Homemade has become a must-visit destination for those seeking quick and easy creative ideas and last-minute solutions. Heidi’s warm personality shines through her posts, inviting readers to join her on a creative journey that’s fun, rewarding, and achievable. Heidi is also the author of Homemade Bath Bombs & More and DIY Tie-Dye.

