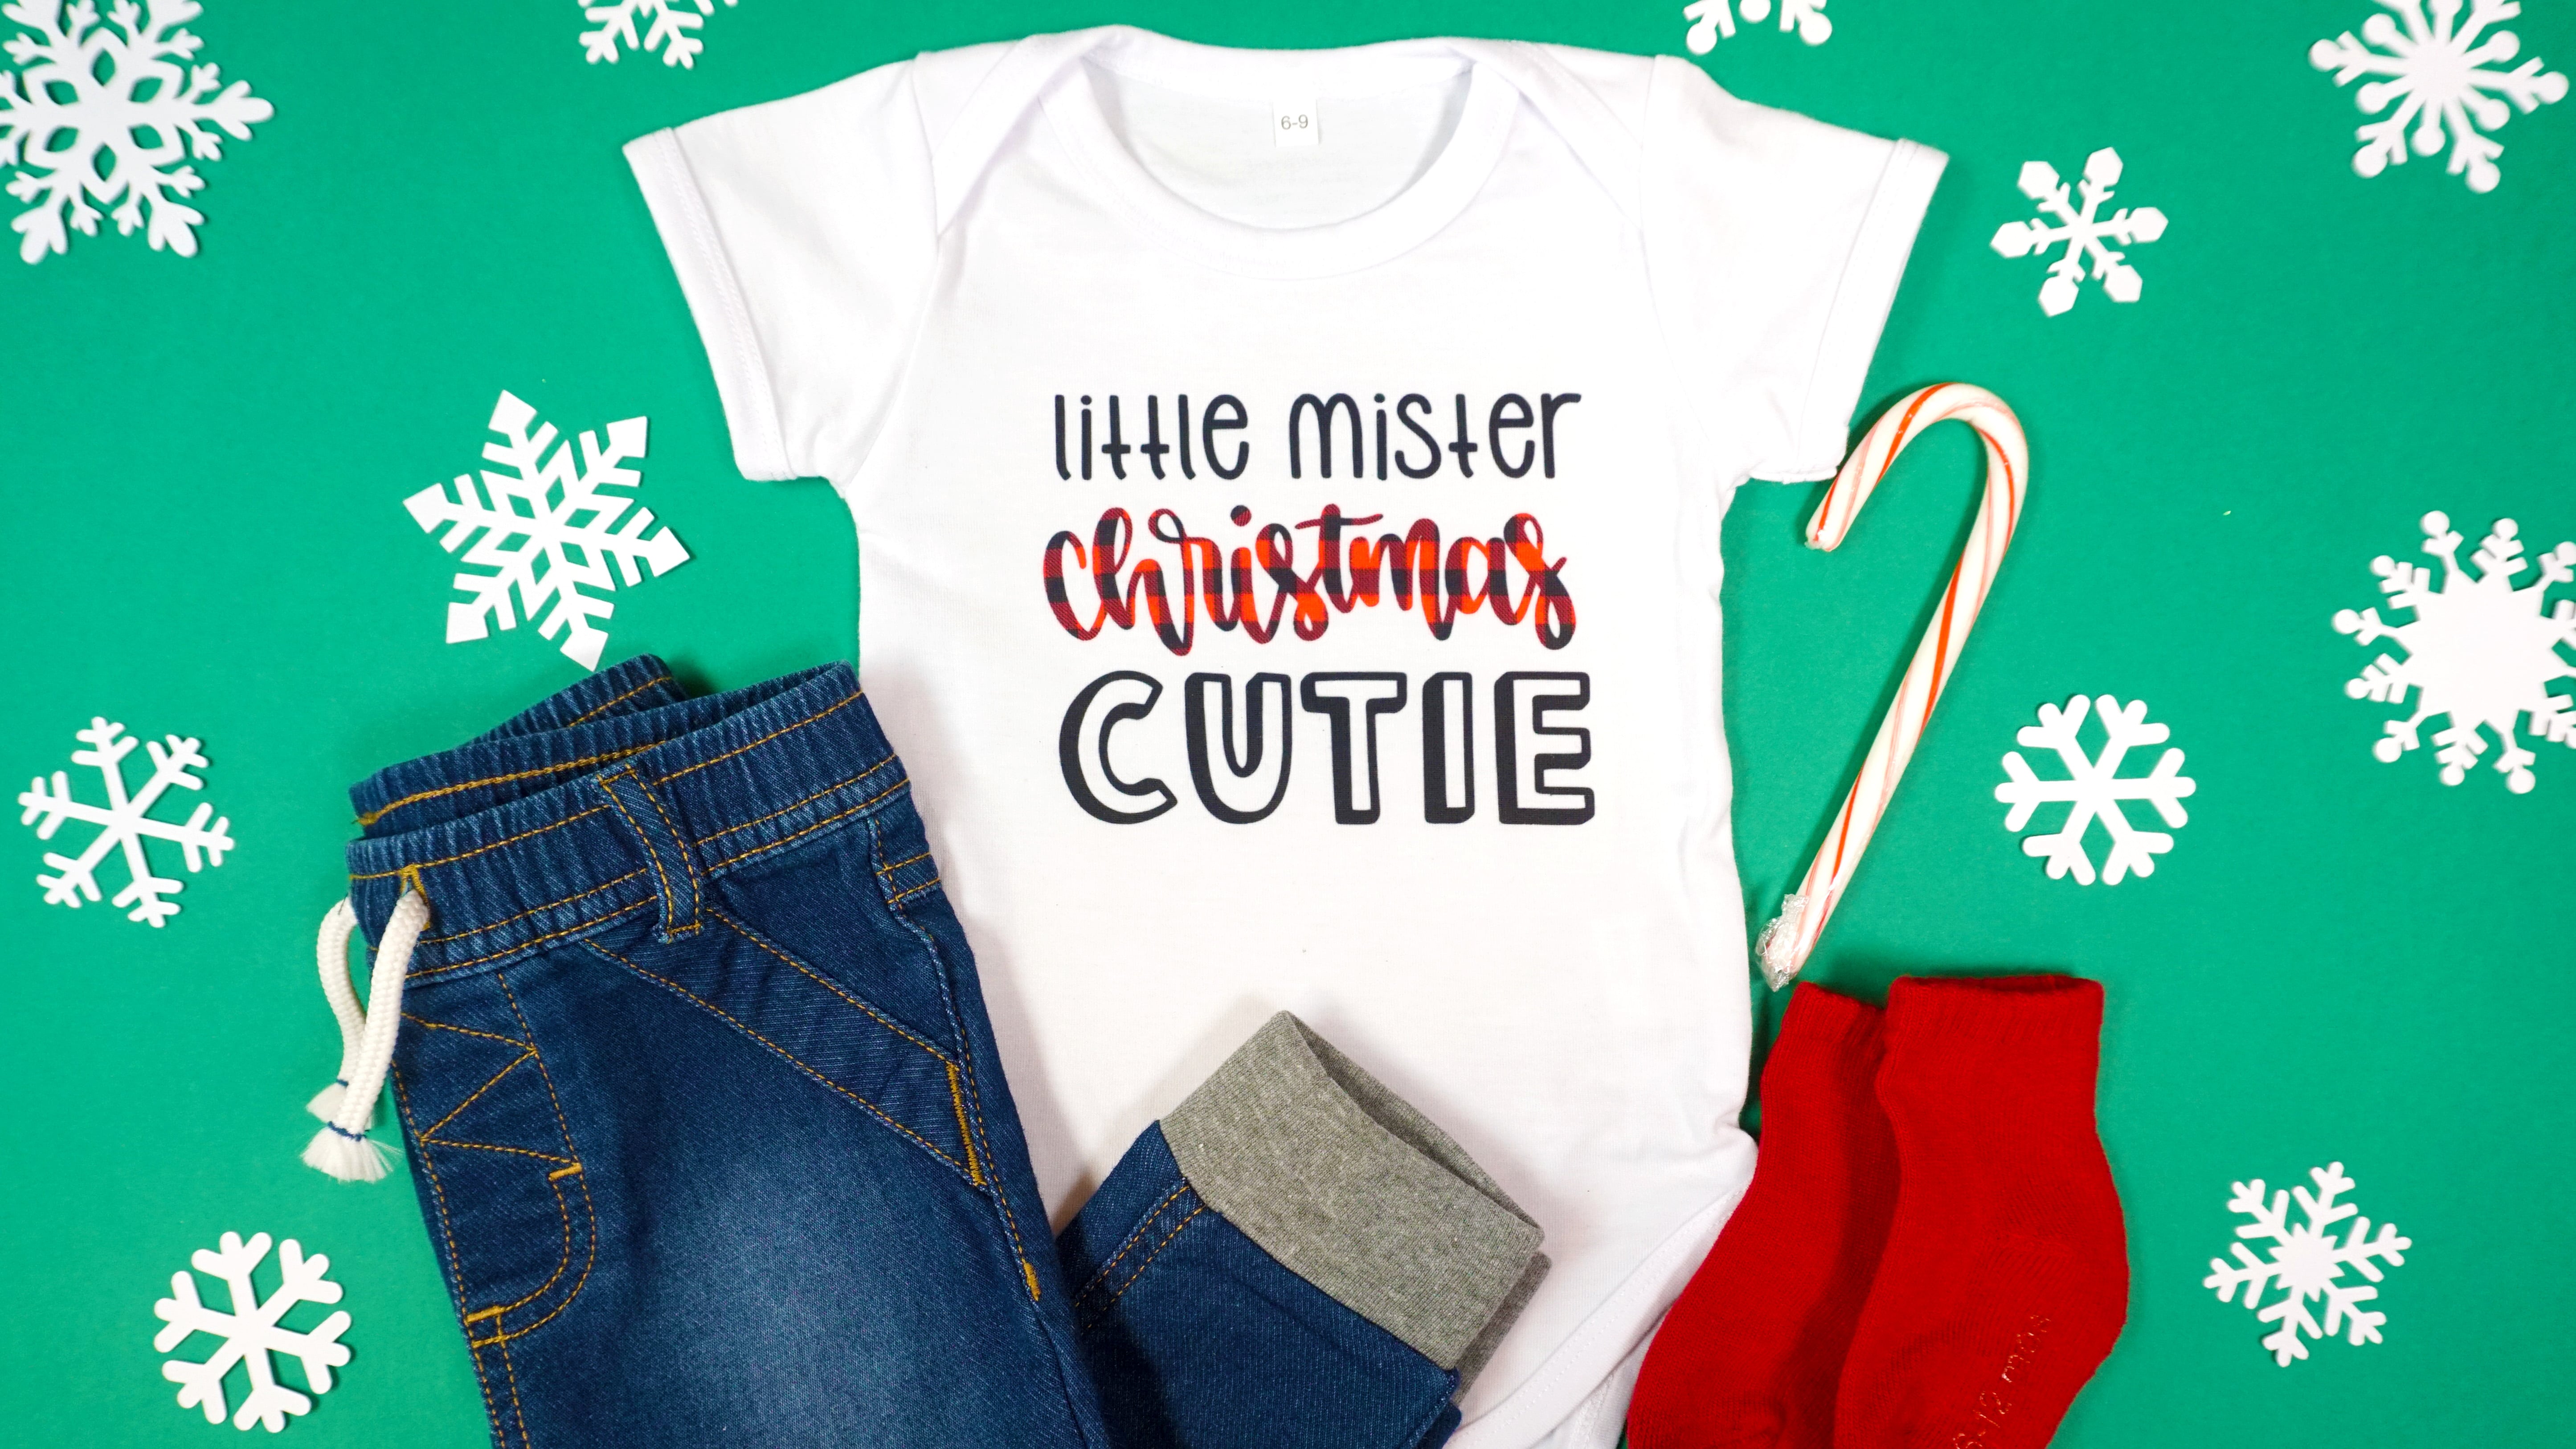
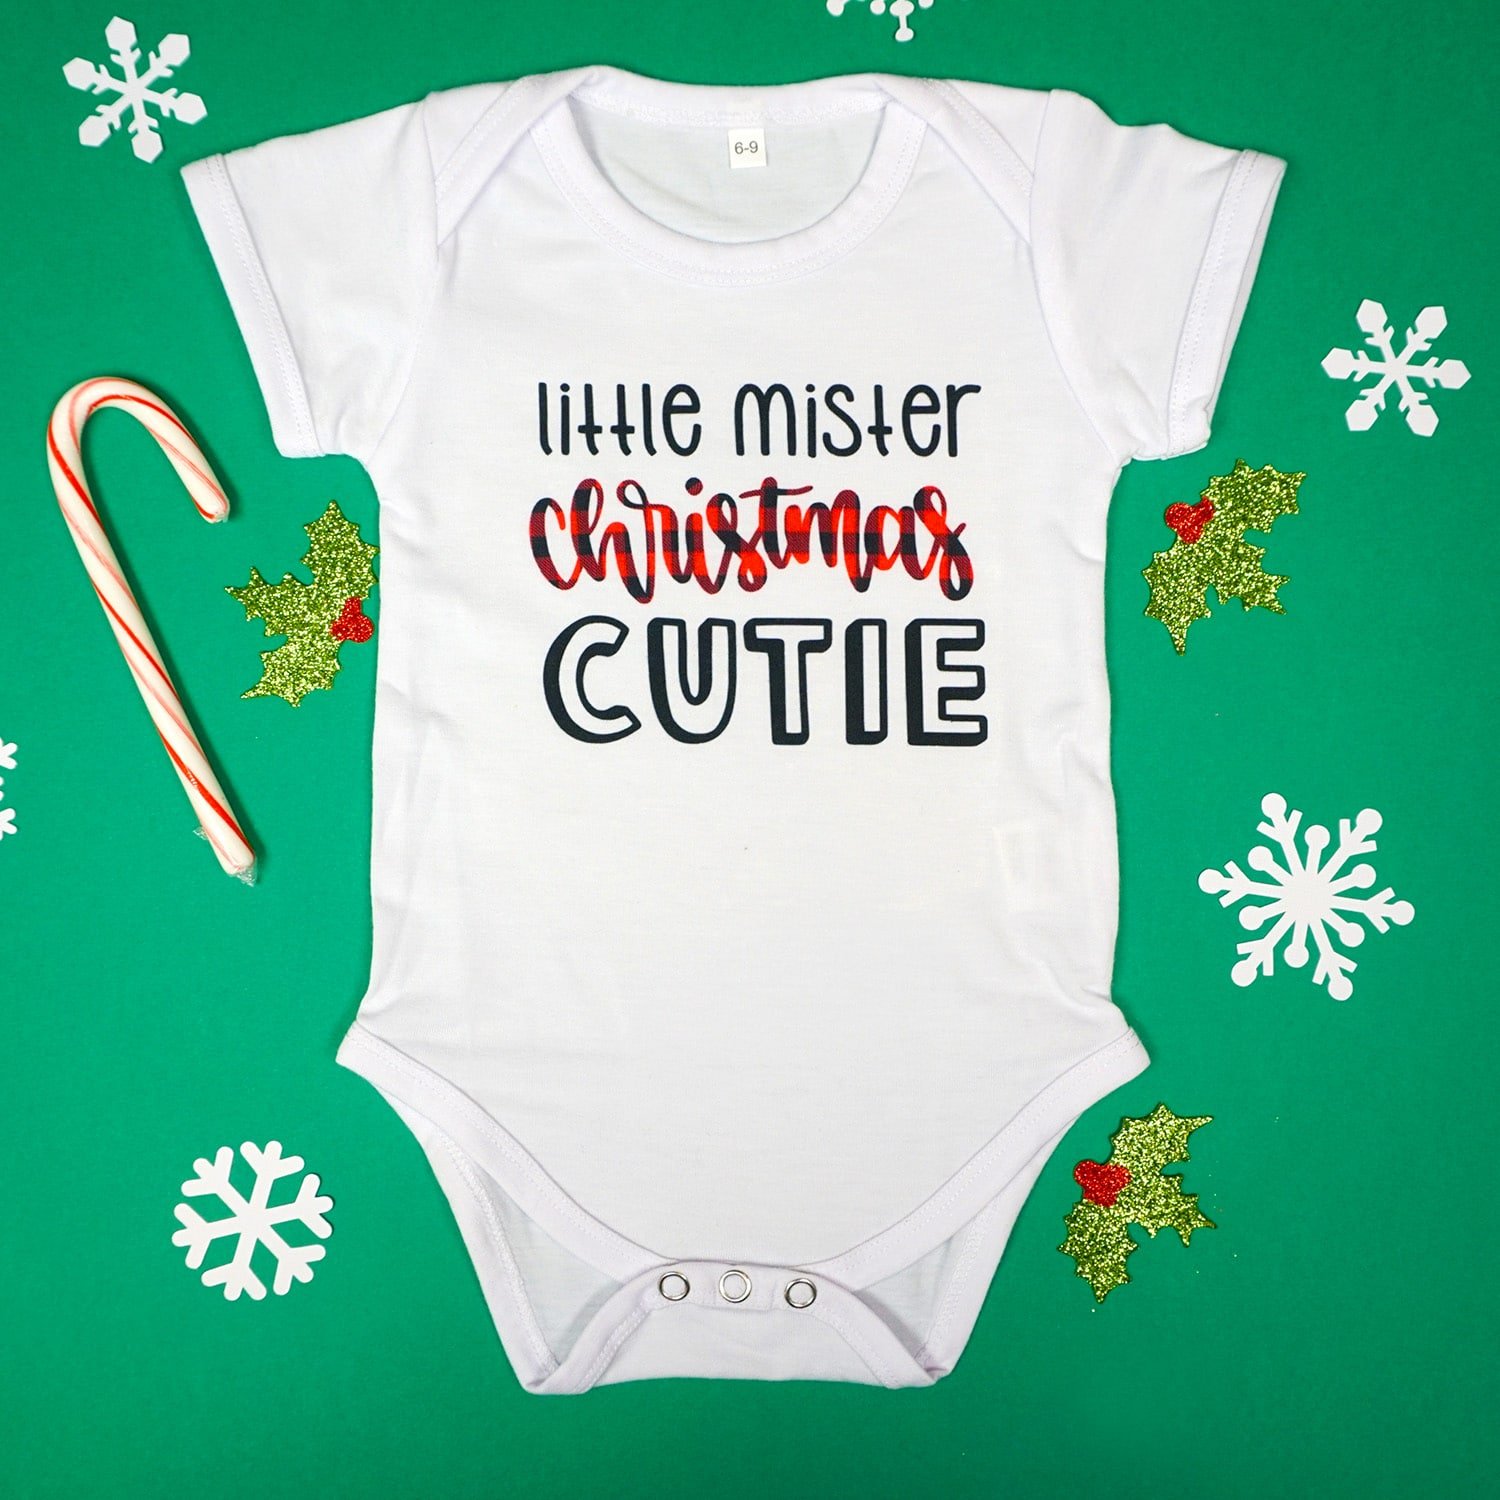
Make this adorable Christmas baby onesie with Cricut Infusible Ink for your “Little Mister (or Little Miss!) Christmas Cutie!” A quick and easy holiday gift idea!
This post may contain affiliate links. I will receive a small commission from these sales at no additional cost to you!
Cricut Infusible Ink Baby Onesie
Christmas will be here before you know it, so it’s time to start all of your holiday crafting! This adorable Christmas baby onesie makes a great DIY holiday gift idea, and it’s SUPER quick and easy to make using the new Cricut Infusible Ink!
If you missed our Beginner’s Guide to Cricut Infusible Ink, make sure to check that out first! It’s packed FULL of tips and tricks to ensure that all of your Infusible Ink projects are a success!
How to Make a Baby Onesie with Cricut Infusible Ink
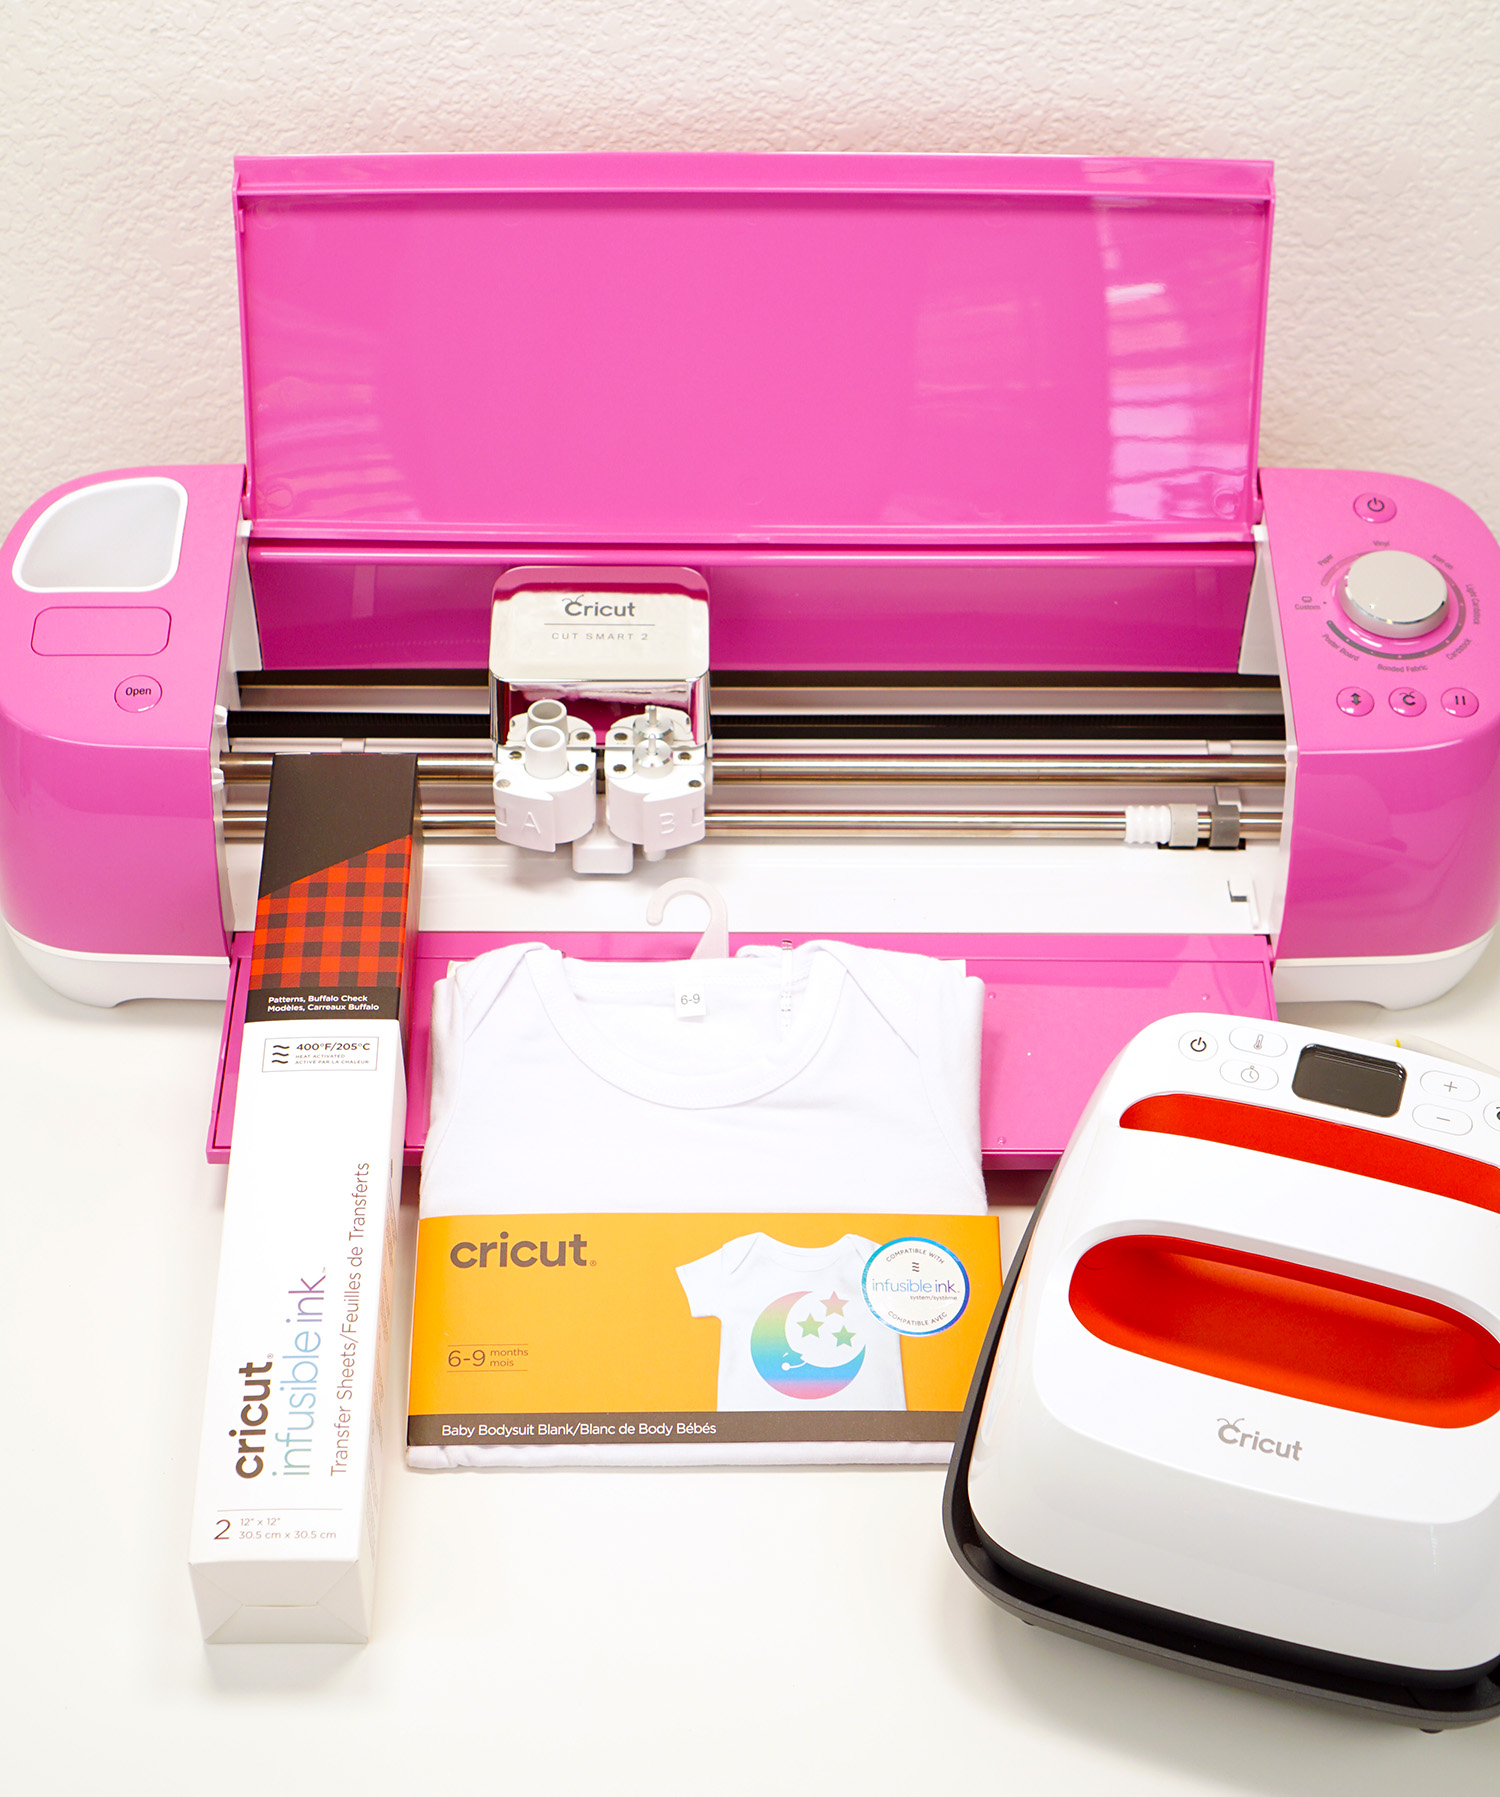
Supplies Needed:
- Cricut Infusible Ink Transfer Sheet in Buffalo Check
- Cricut Maker or Explore Air 2 Machine
- Baby Bodysuit Blank
- EasyPress 2 and Mat
- White Cardstock
- Butcher Paper (included with Infusible Ink Transfer Sheets)
- Lint Roller
- Heat Resistant Tape (optional)

Watch the full how to video above and keep reading for further instructions.
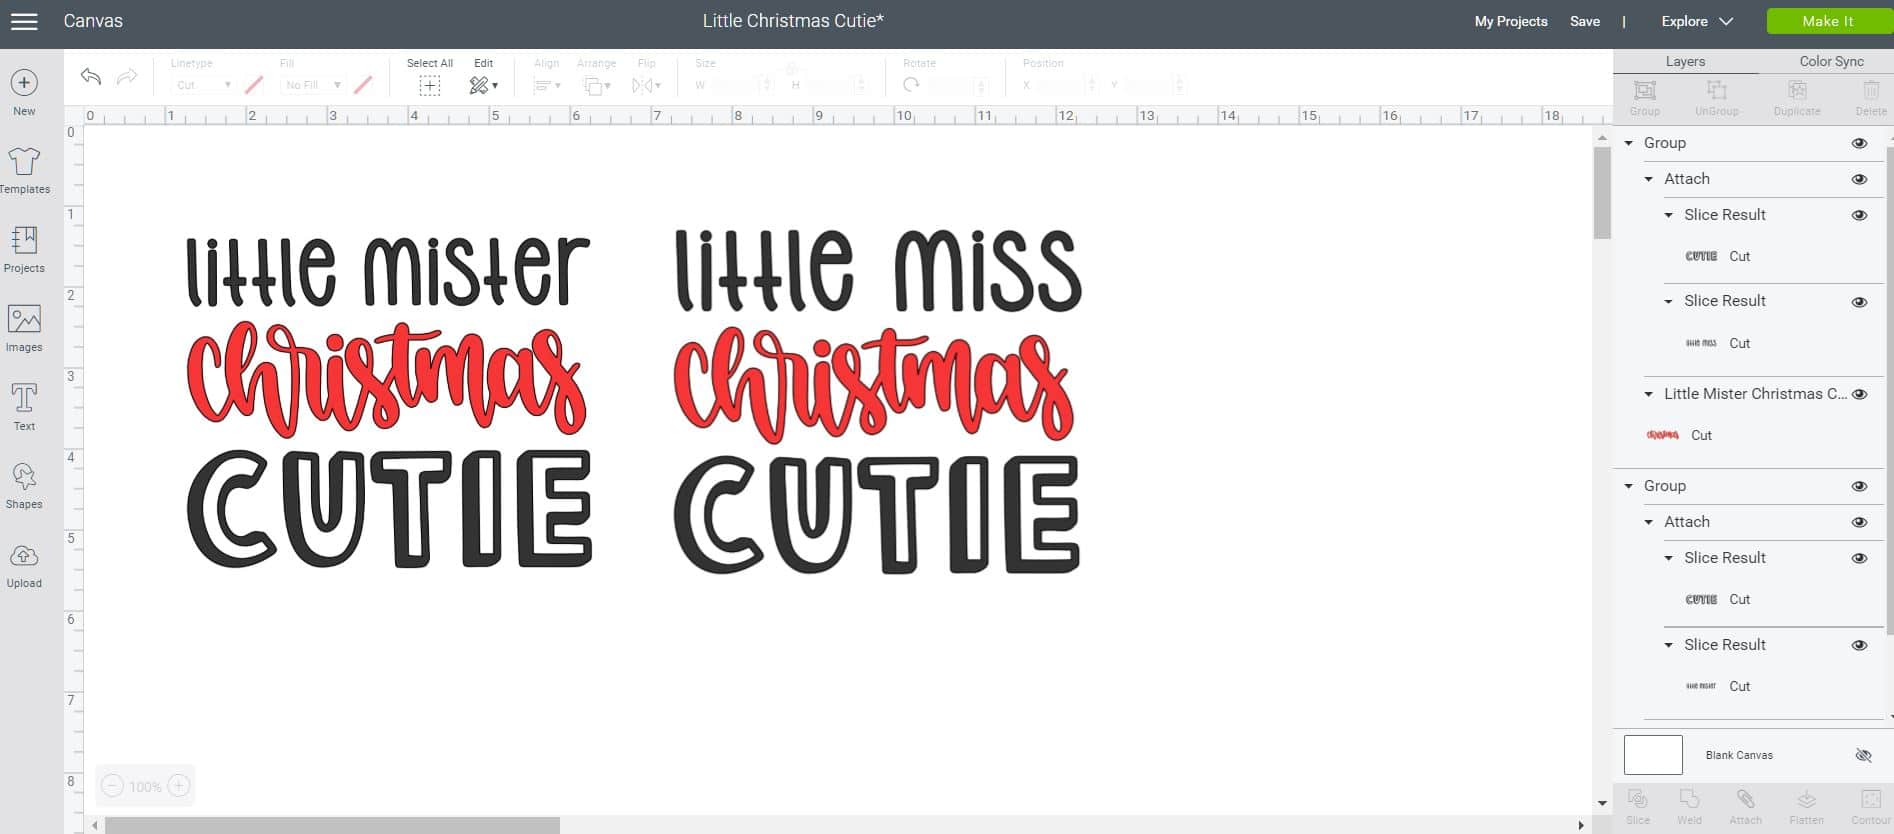
To begin, open up the Christmas Cutie design file in Cricut Design Space.
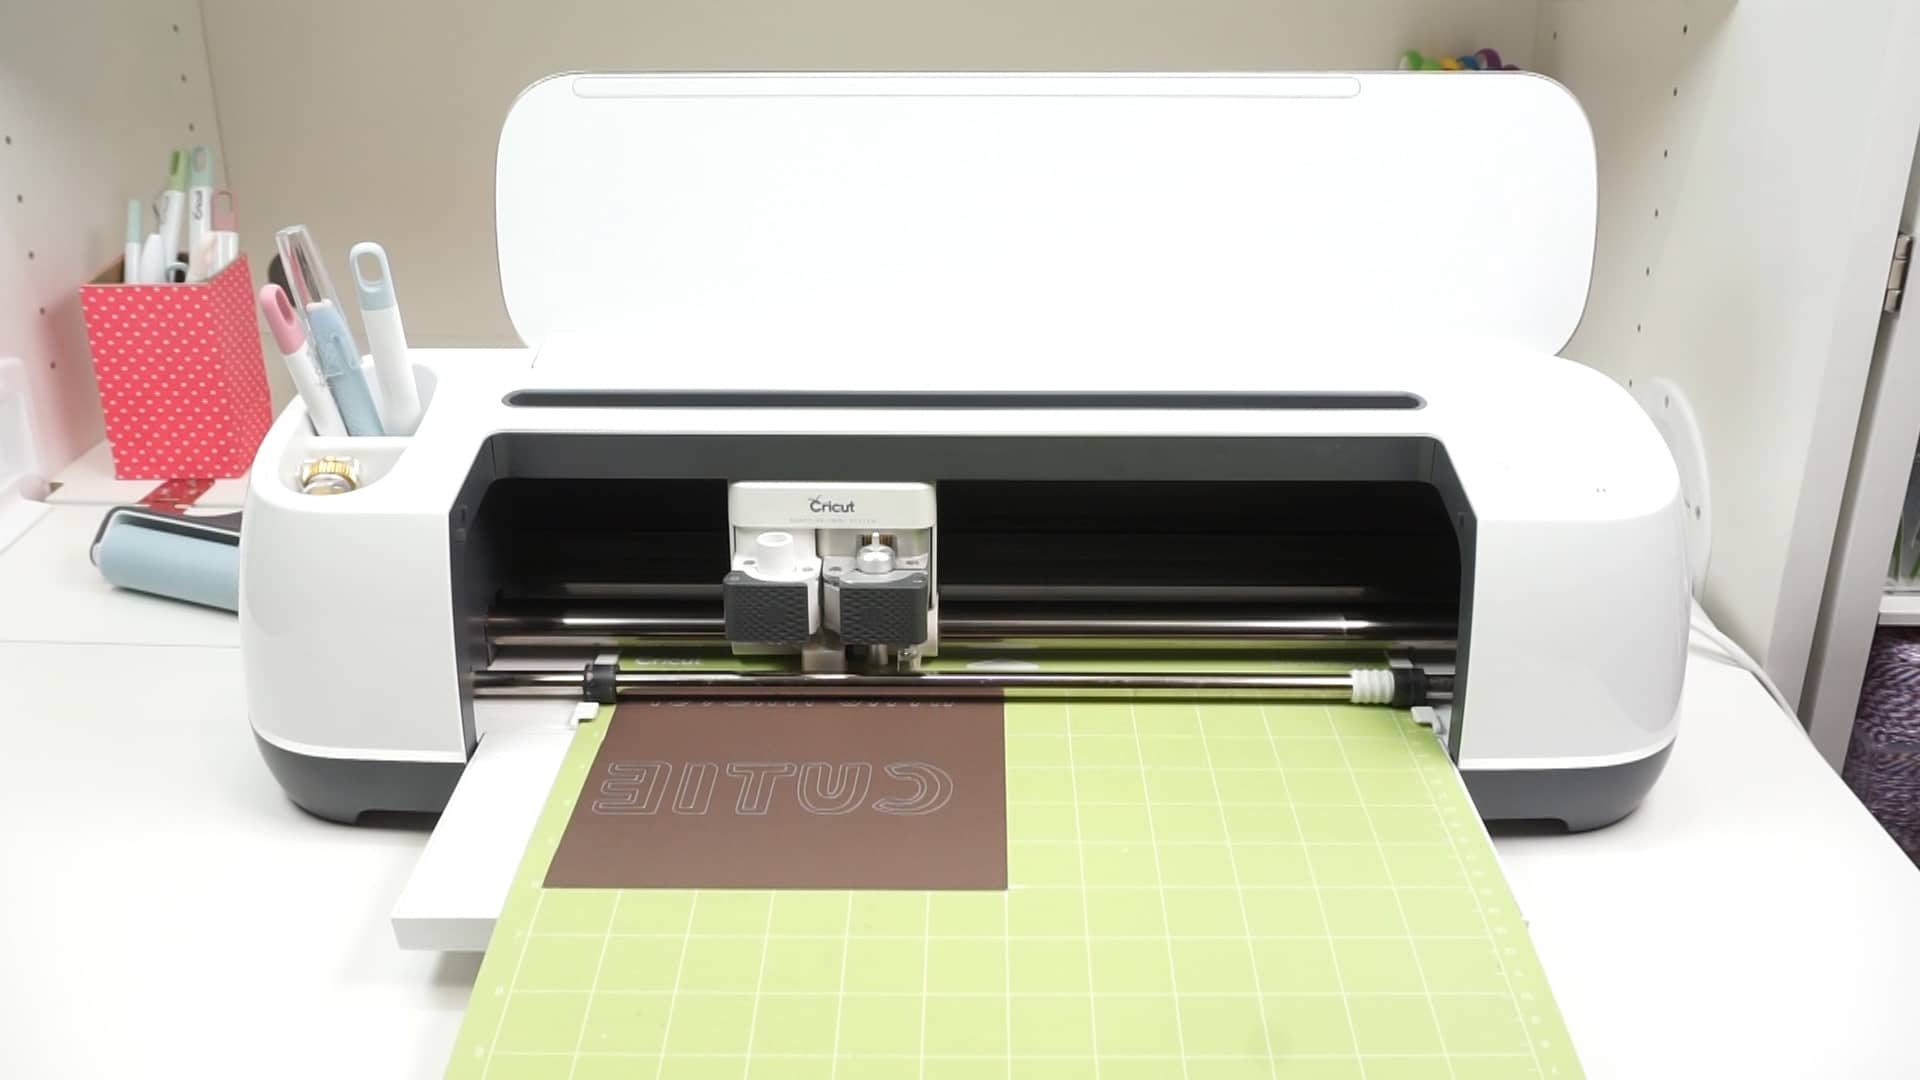
Use your Cricut machine to cut the “Little Mister __ Cutie” or “Little Miss ___ Cutie” from the black Infusible Ink Transfer Sheet. Note: always make sure to mirror your design when working with Infusible Ink!
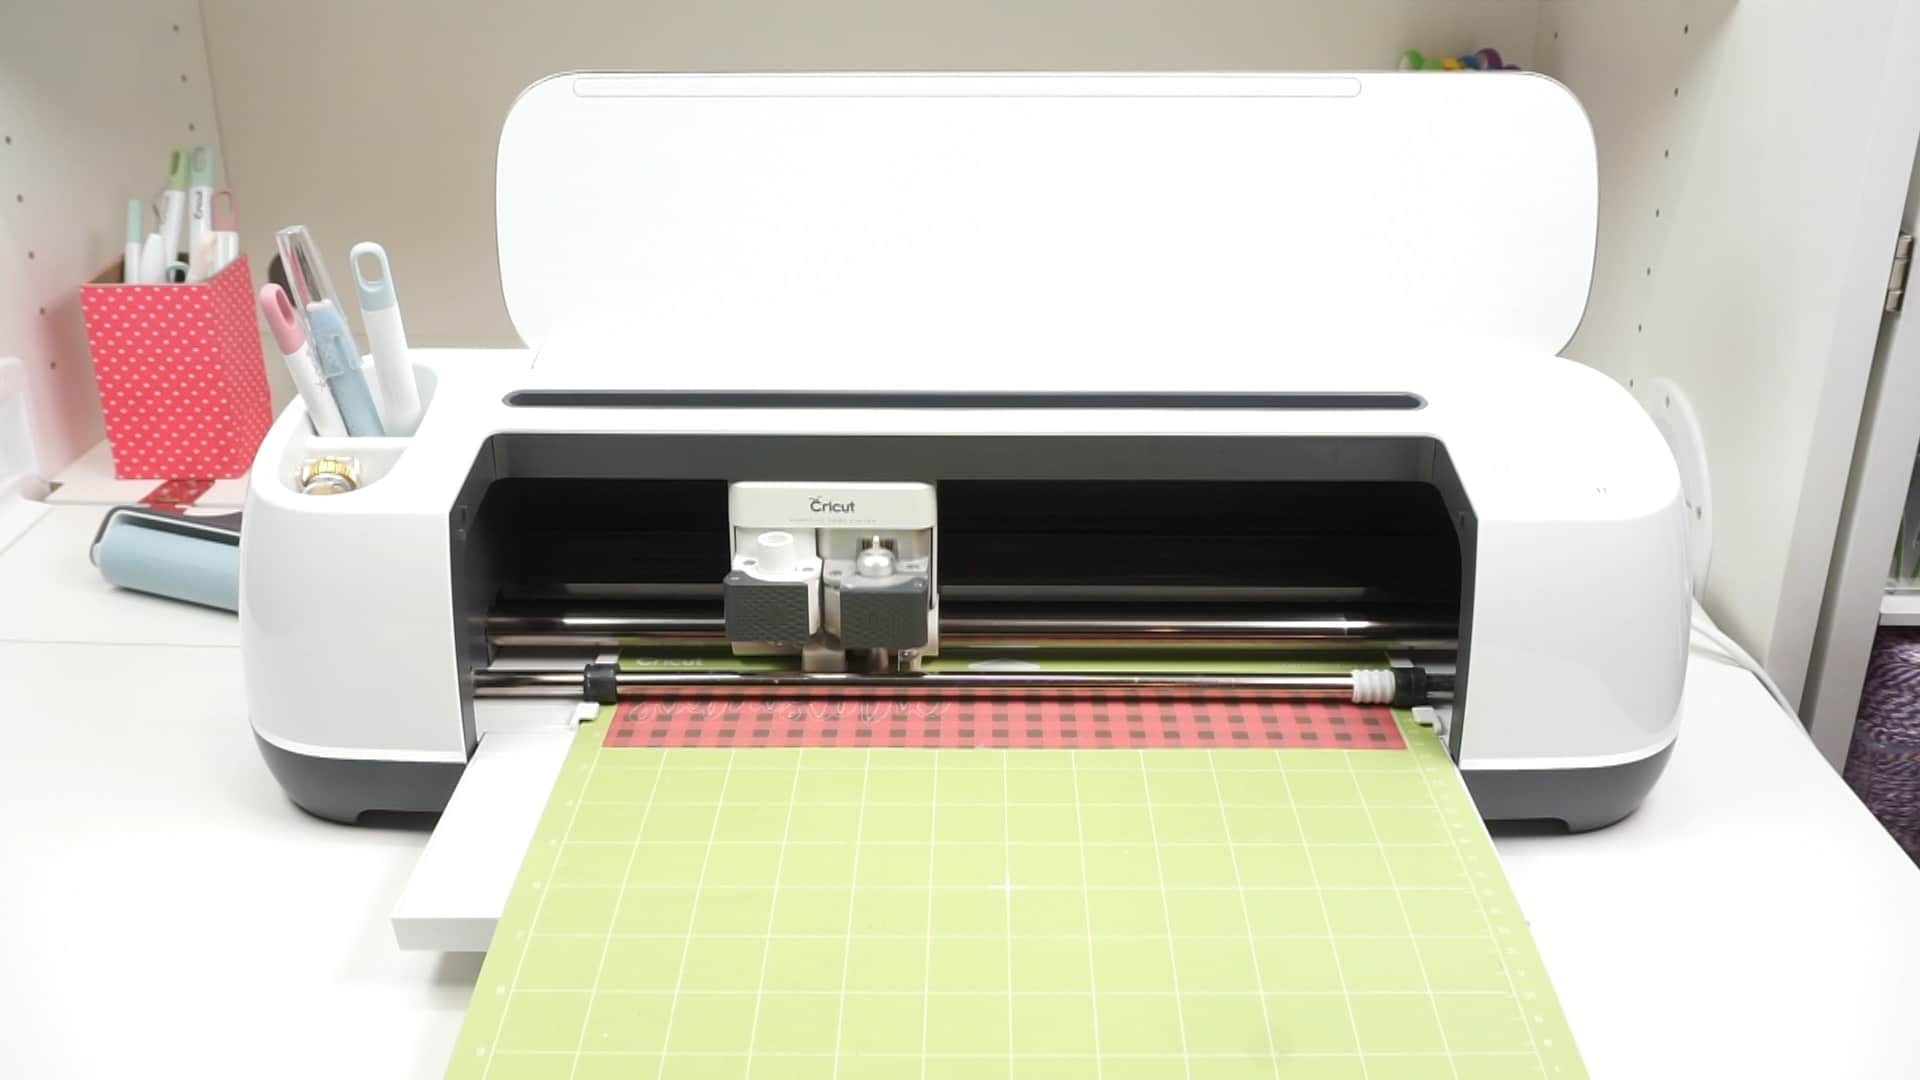
Cut the word “Christmas” from the red and black buffalo check Infusible Ink sheet. We’ll be using the Slice and Set method to transfer the two different colors of Infusible Ink to the bodysuit at the same time.
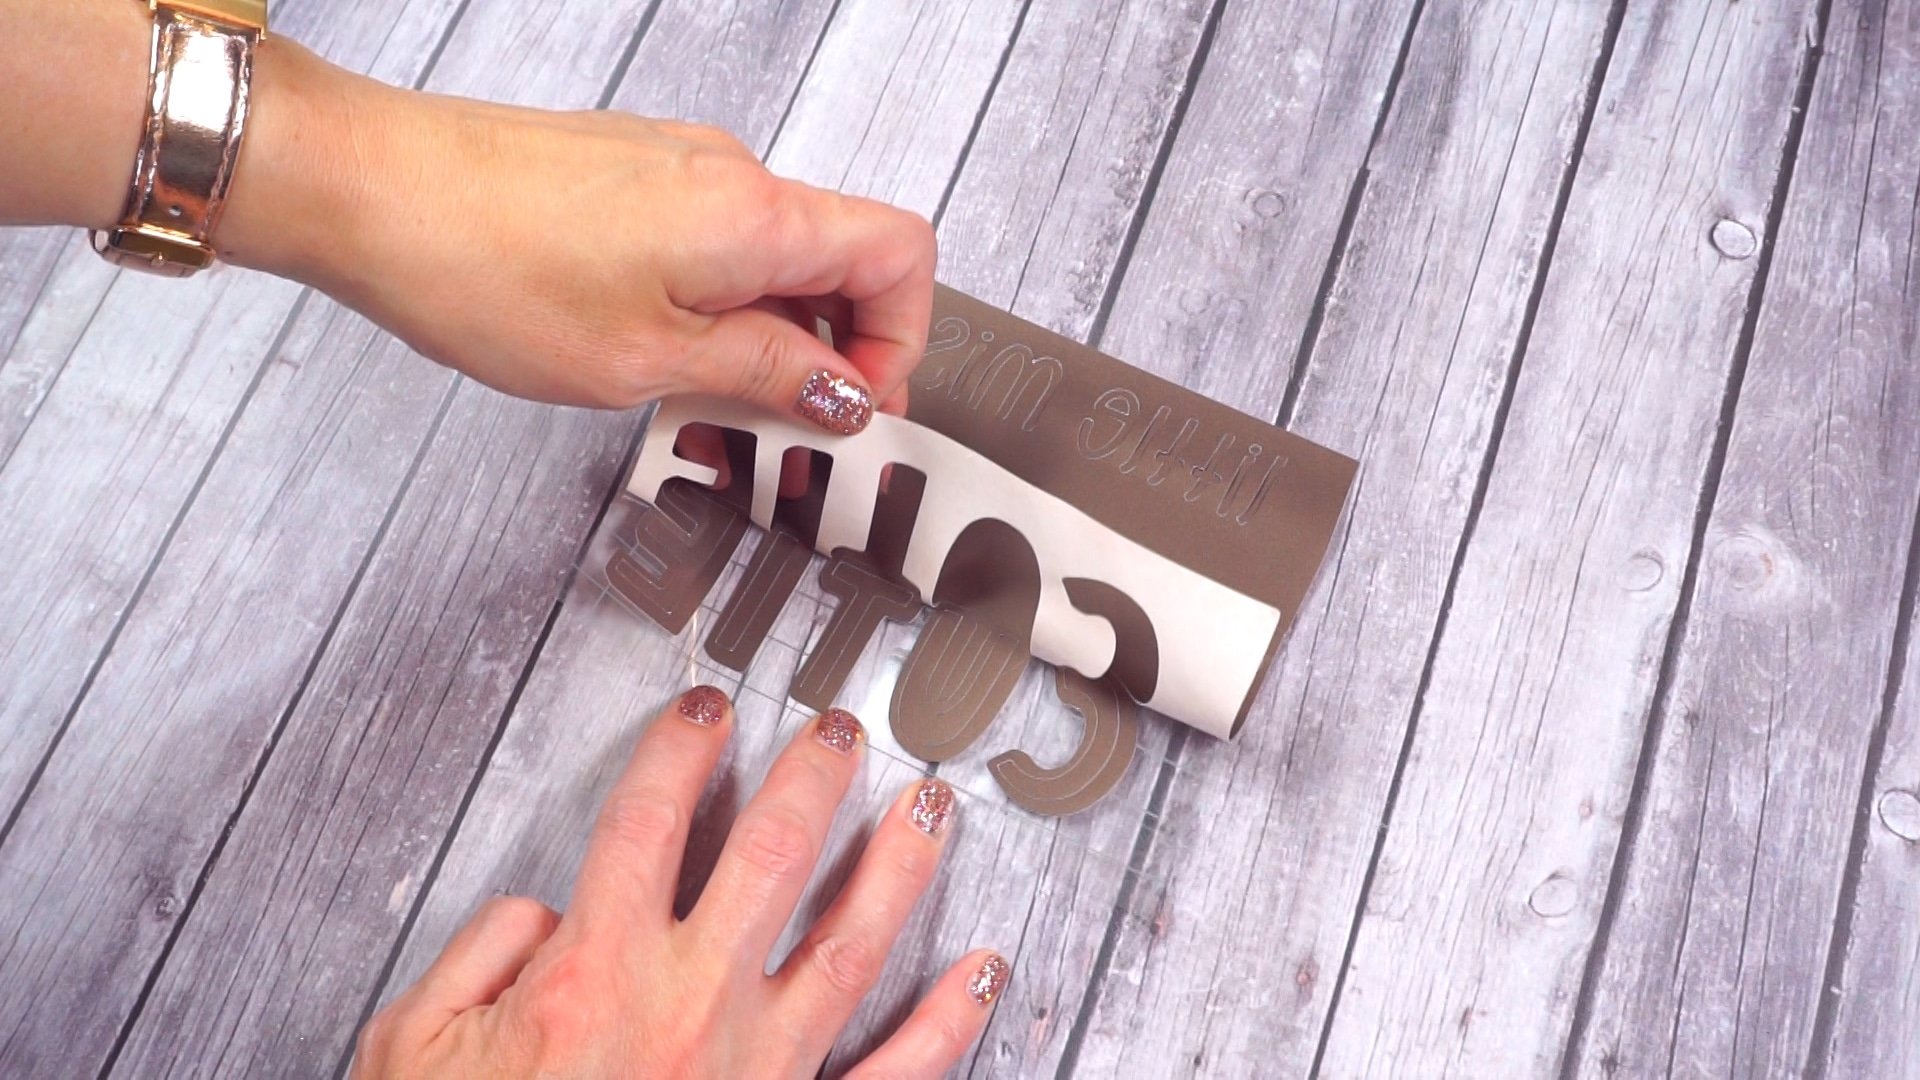
Carefully weed the Infusible Ink – you’ll notice that it is much thicker than other iron-on-type materials, so it weeds a bit differently. Gently bend the backing paper to “crack” the cuts apart, and use your hands to remove the excess pieces.
You might also notice that the Infusible Ink looks a little dull in color right now, but don’t worry, it’ll get MUCH more vivid once the ink has been transferred!
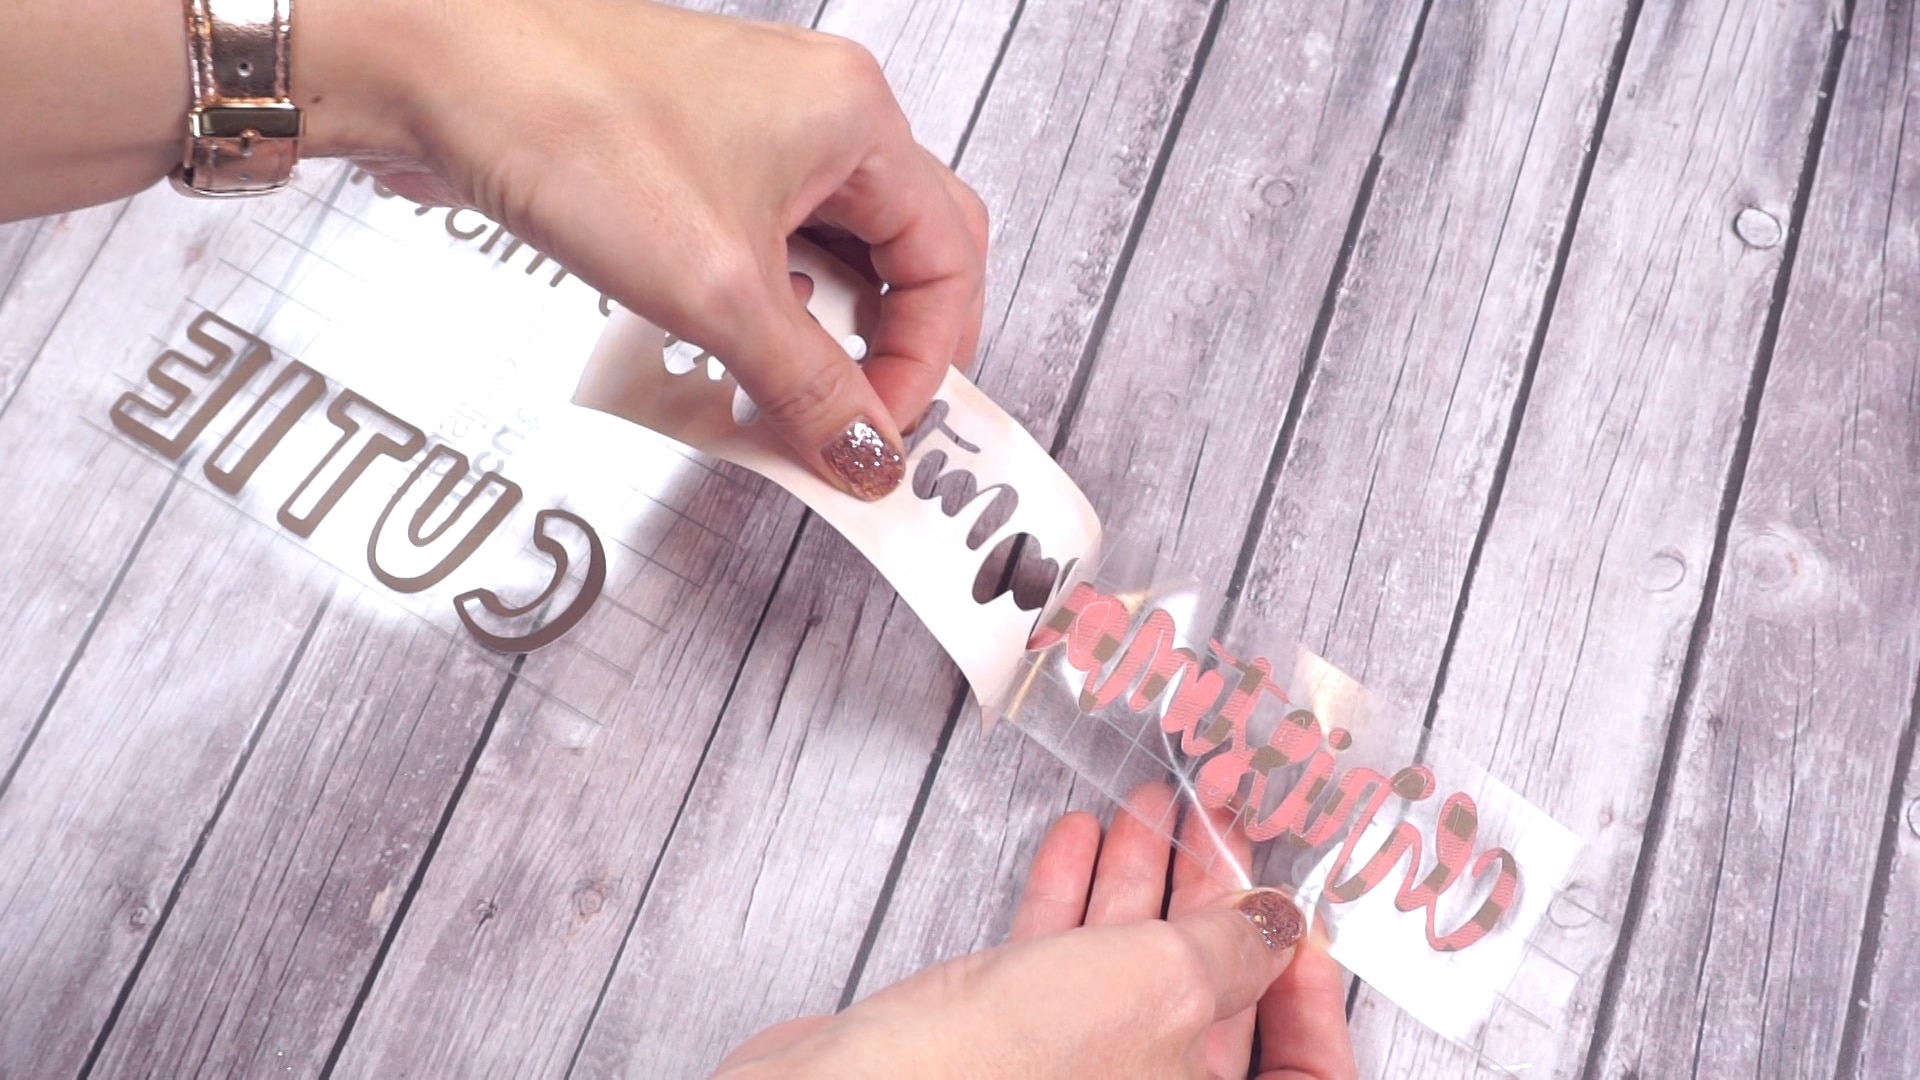
Carefully peel the Christmas pieces off of the backing and transfer them to the larger backing sheet along with the “Little __Cutie” words.
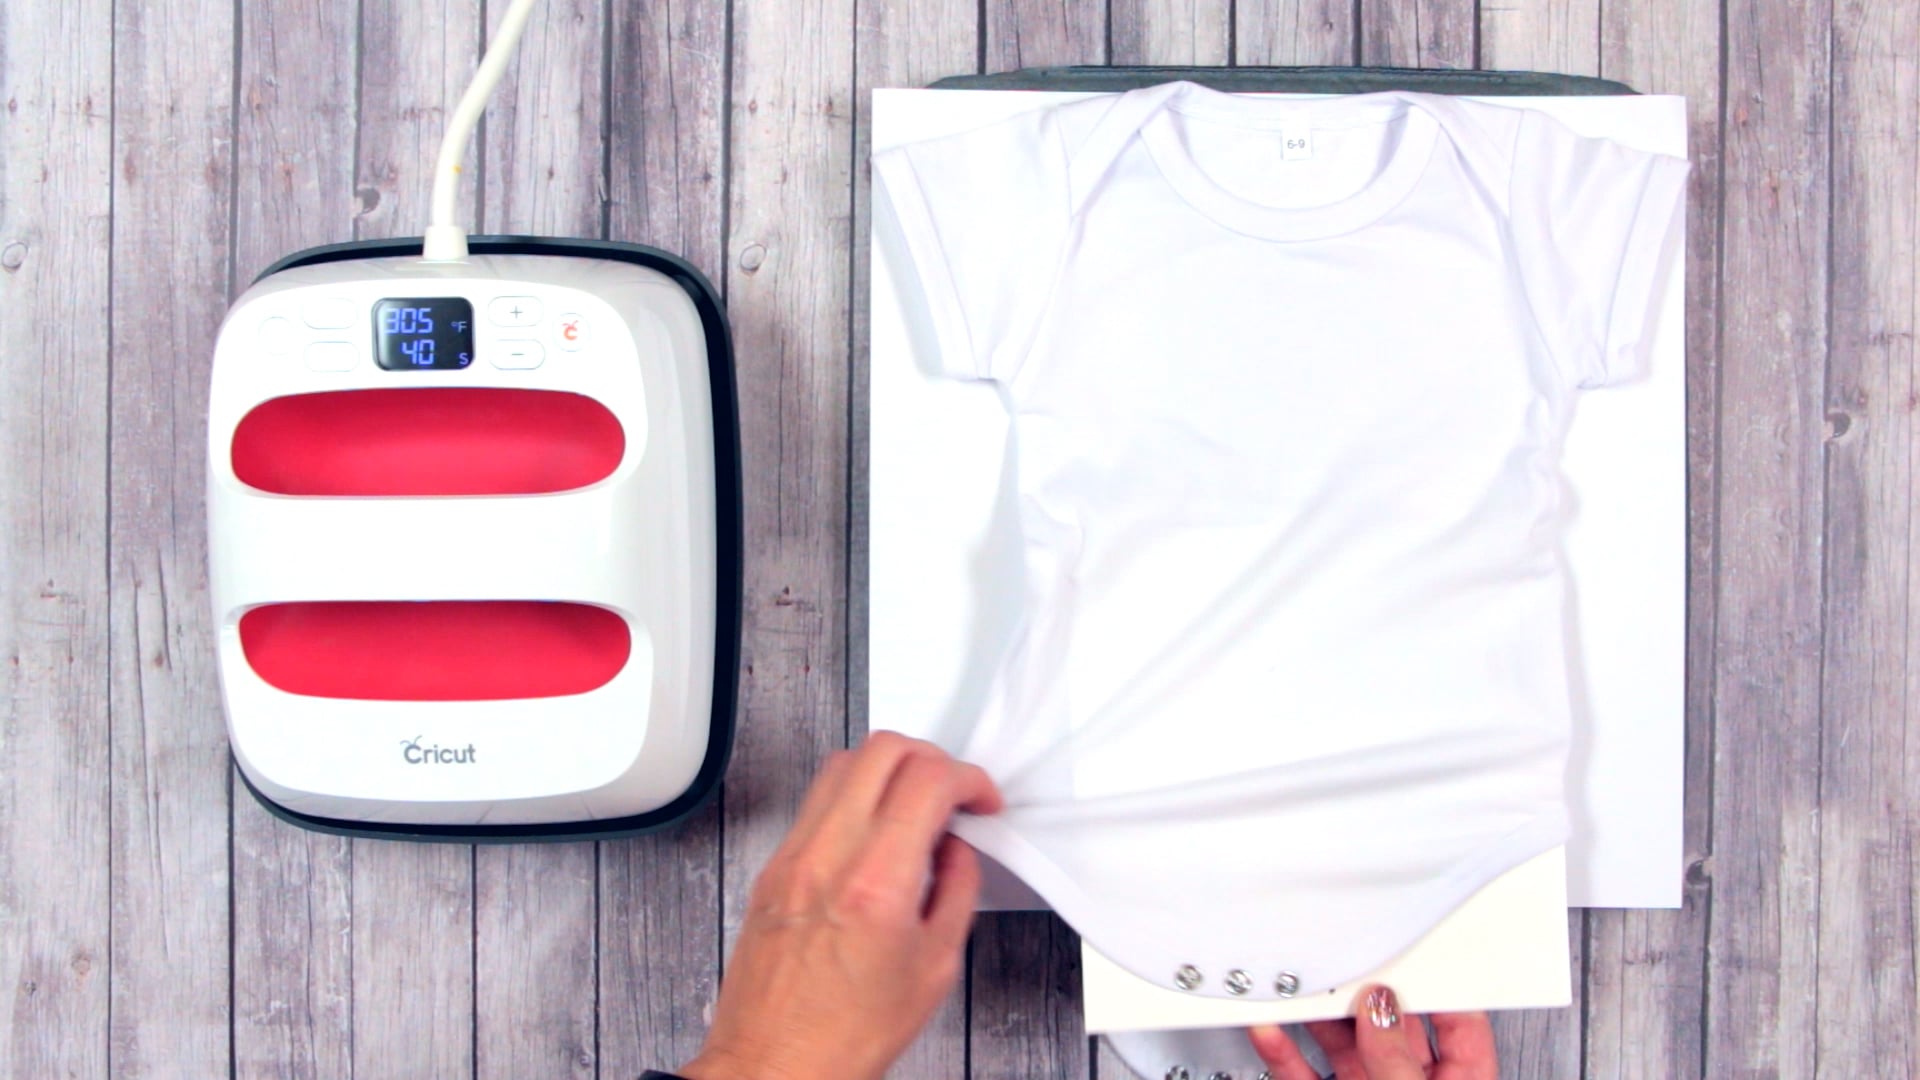
Before transferring the Infusible Ink, you’ll need to prep the bodysuit. First, insert a piece of cardstock inside the bodysuit to prevent the ink from bleeding through the fabric. I also like to put an additional piece of cardstock on top of my EasyPress mat for an extra layer of protection.
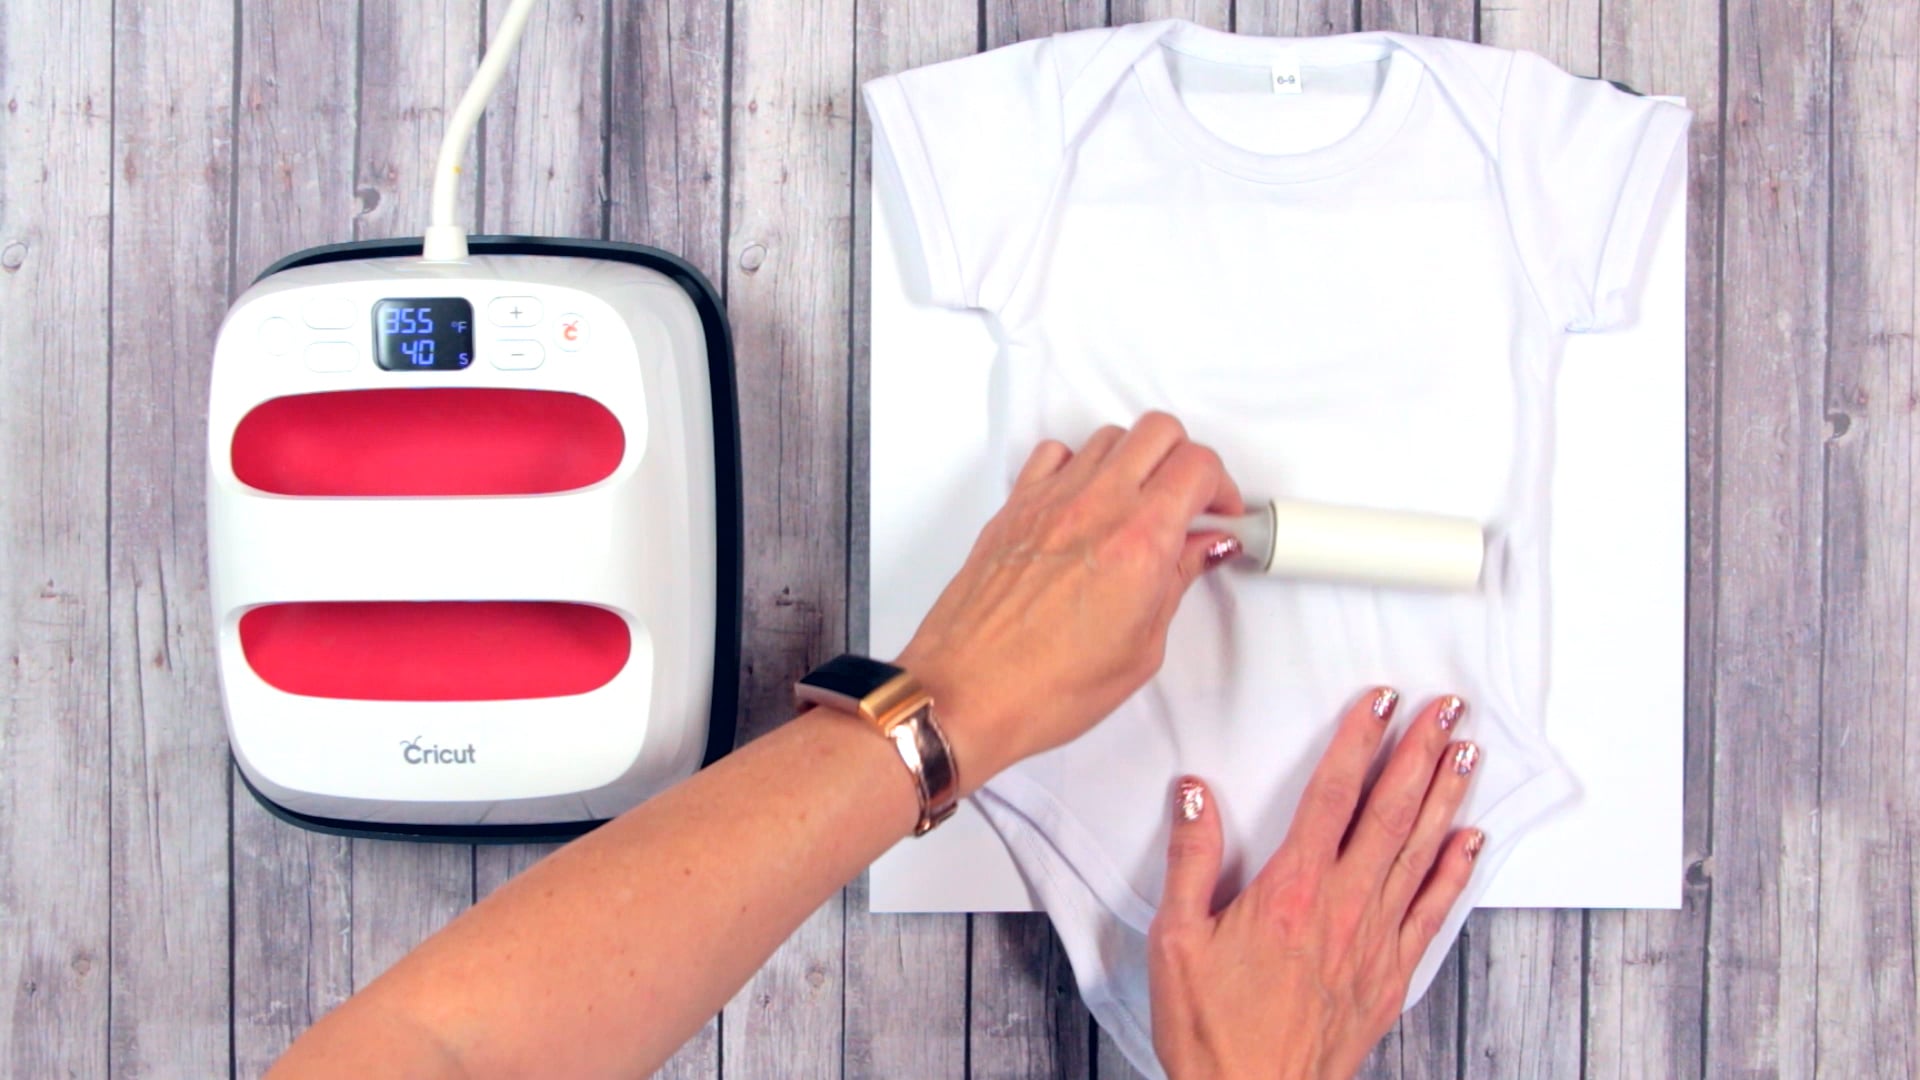
Use a lint roller to remove any tiny pieces of lint or debris that might cause your Infusible Ink to transfer improperly.
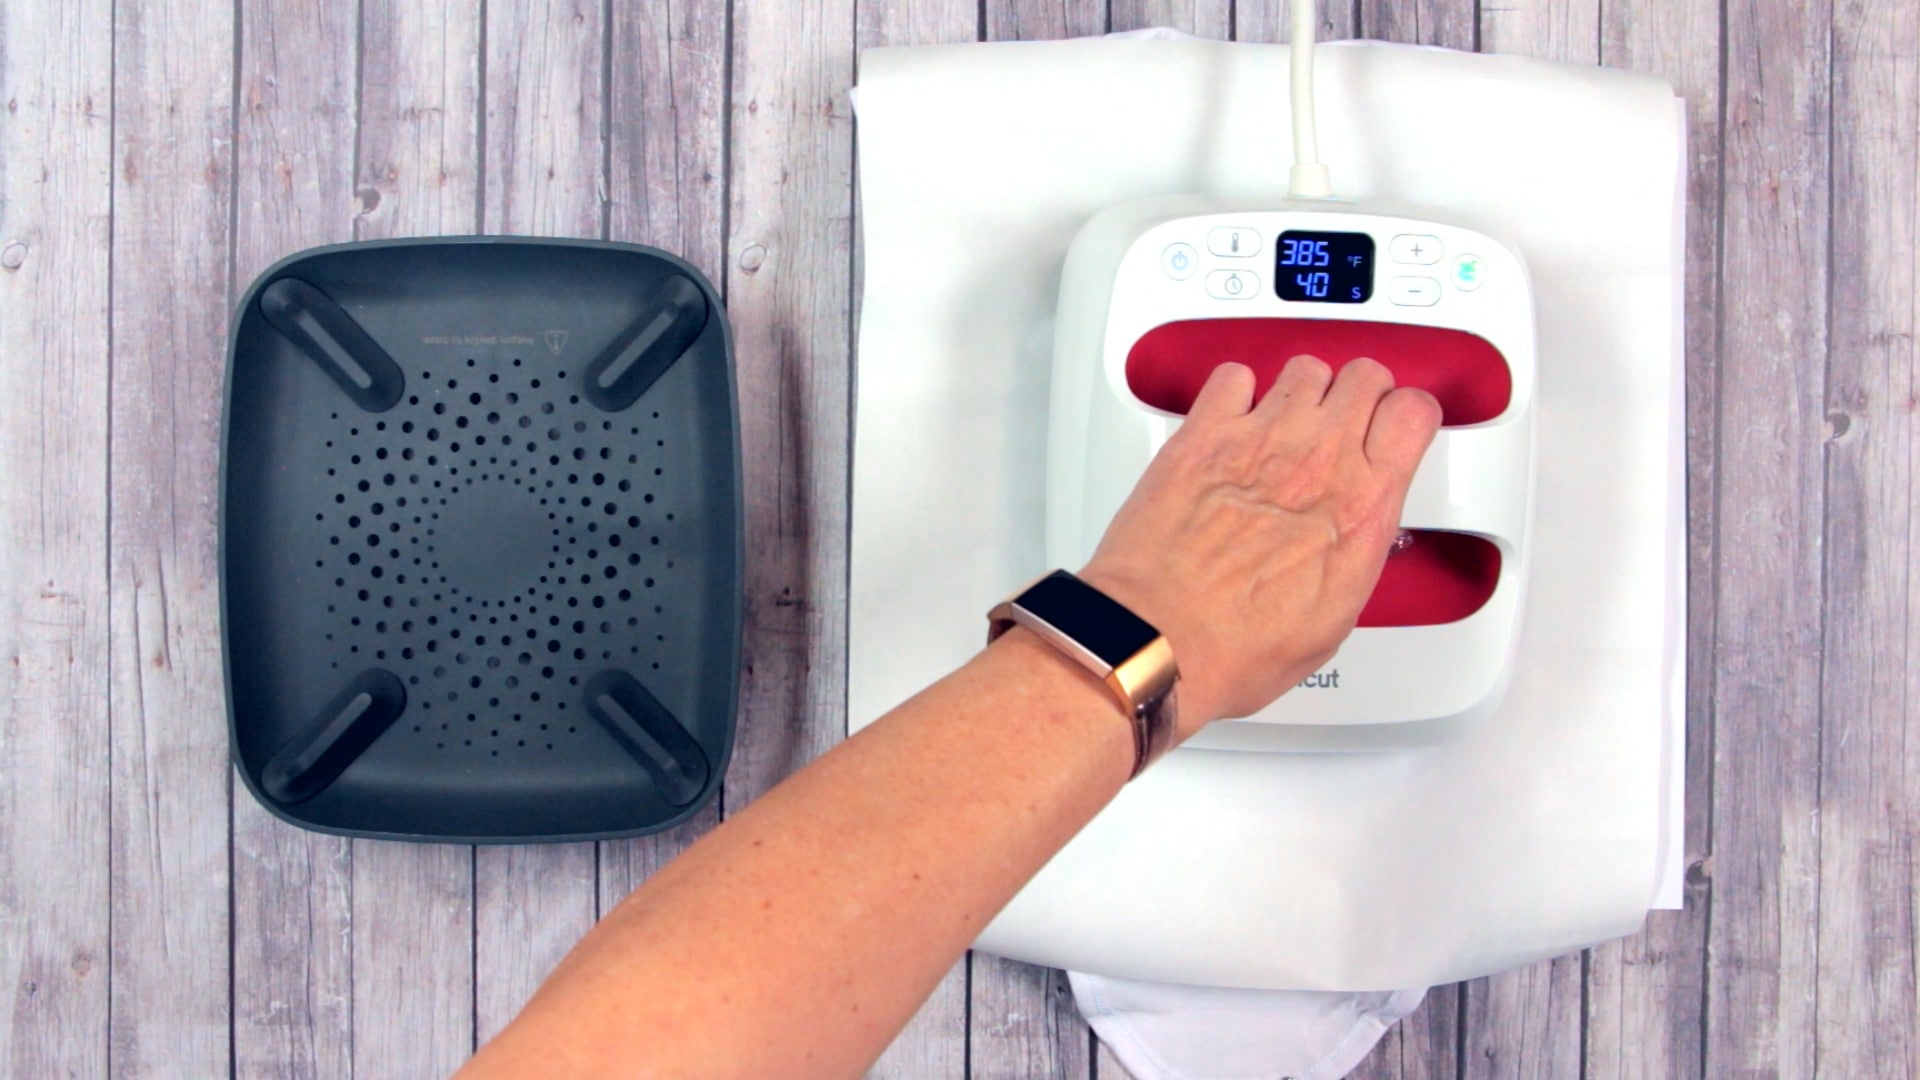
Cover the bodysuit with a piece of butcher paper and press with the EasyPress 2 for 15 seconds to remove any moisture. Allow the bodysuit to cool completely.
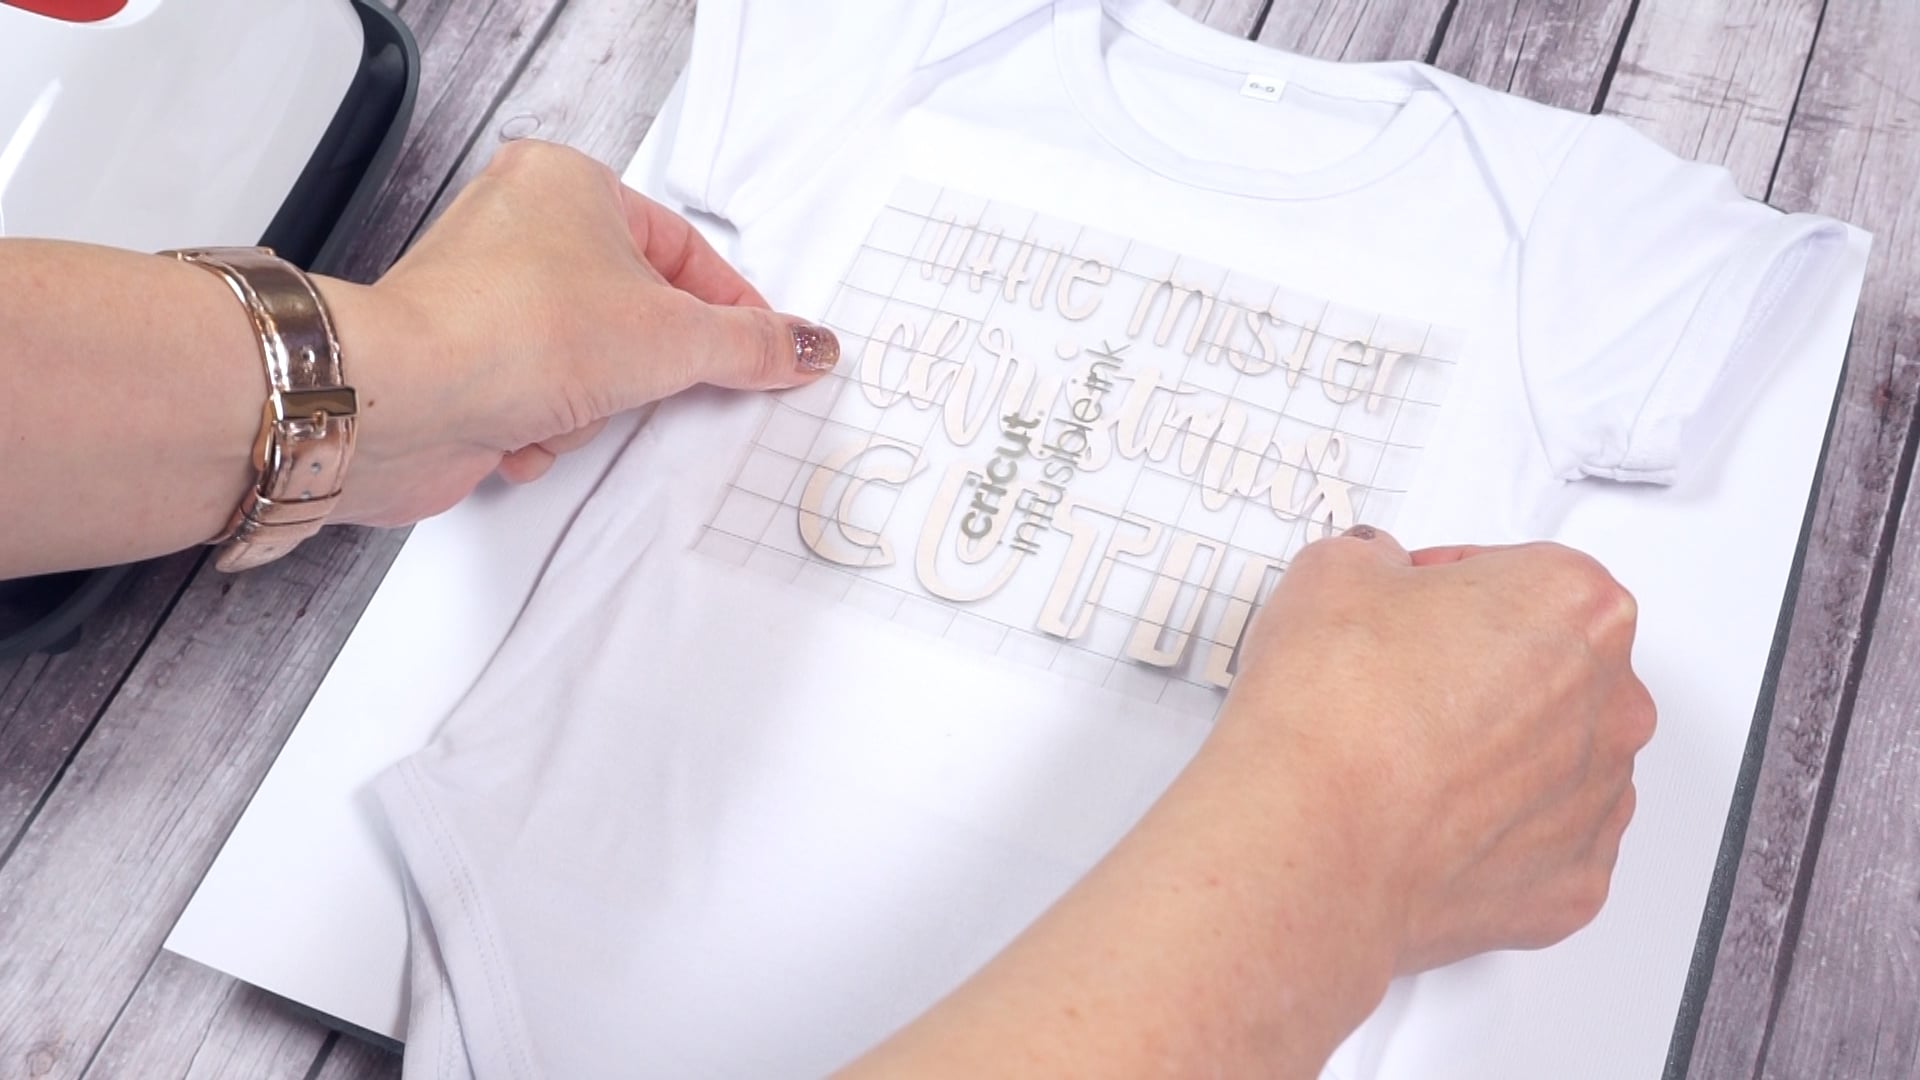
Place your Infusible Ink design on top of the bodysuit, and cover with butcher paper.
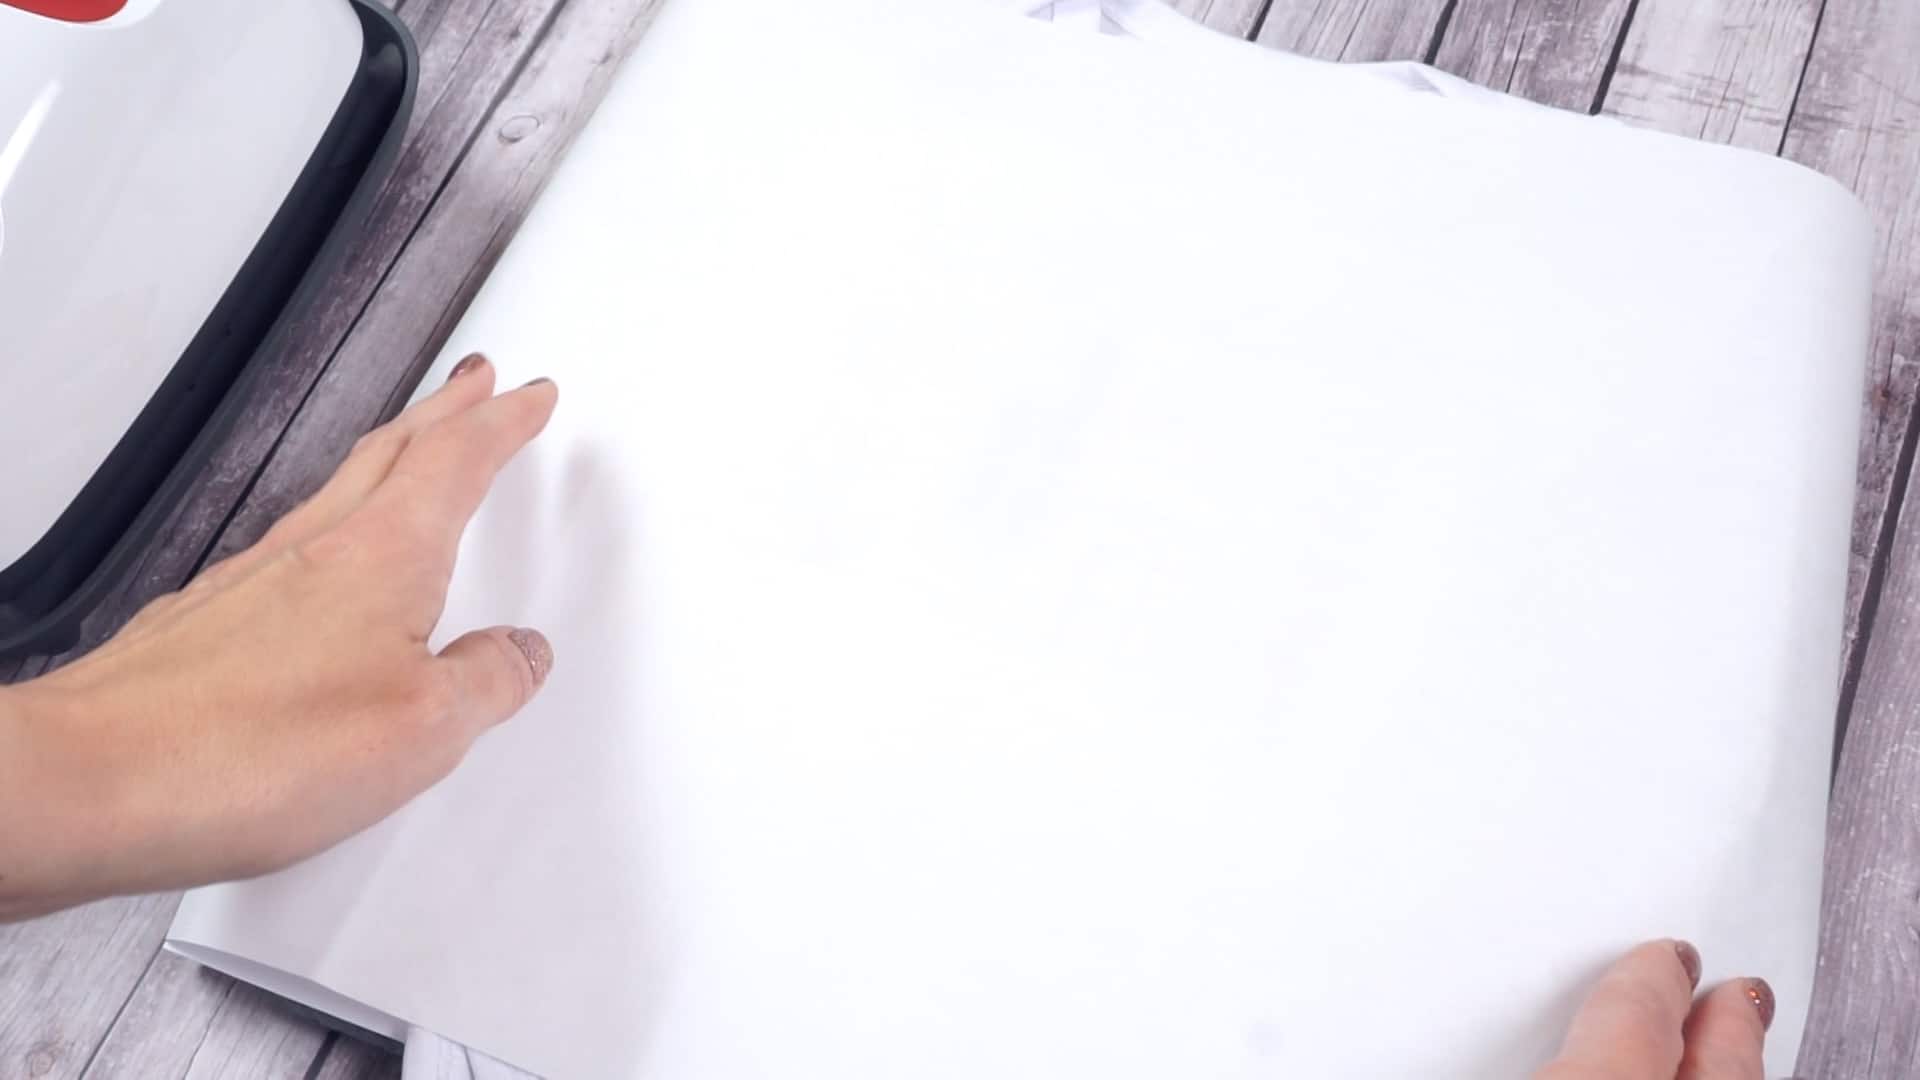
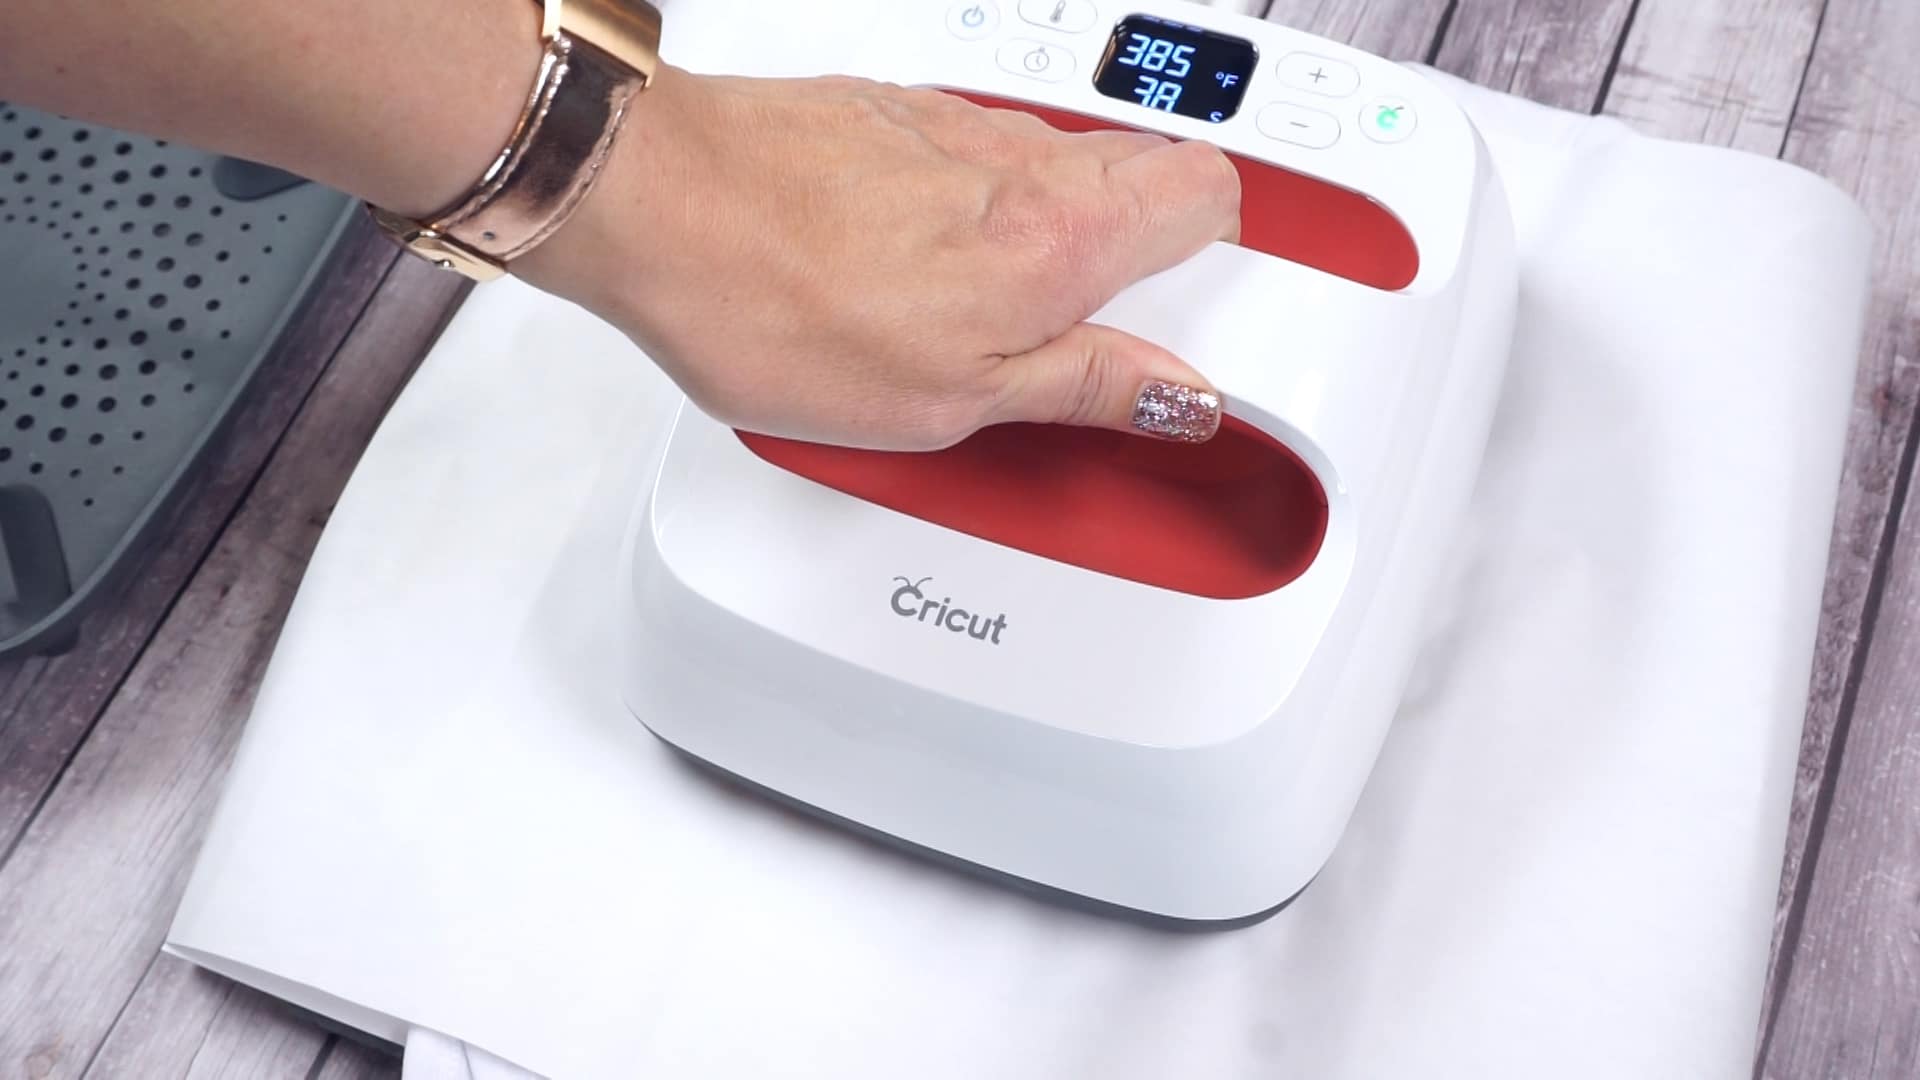
Press with the EasyPress 2 for 40 seconds using light pressure. Allow the Infusible Ink sheet to cool to the touch.
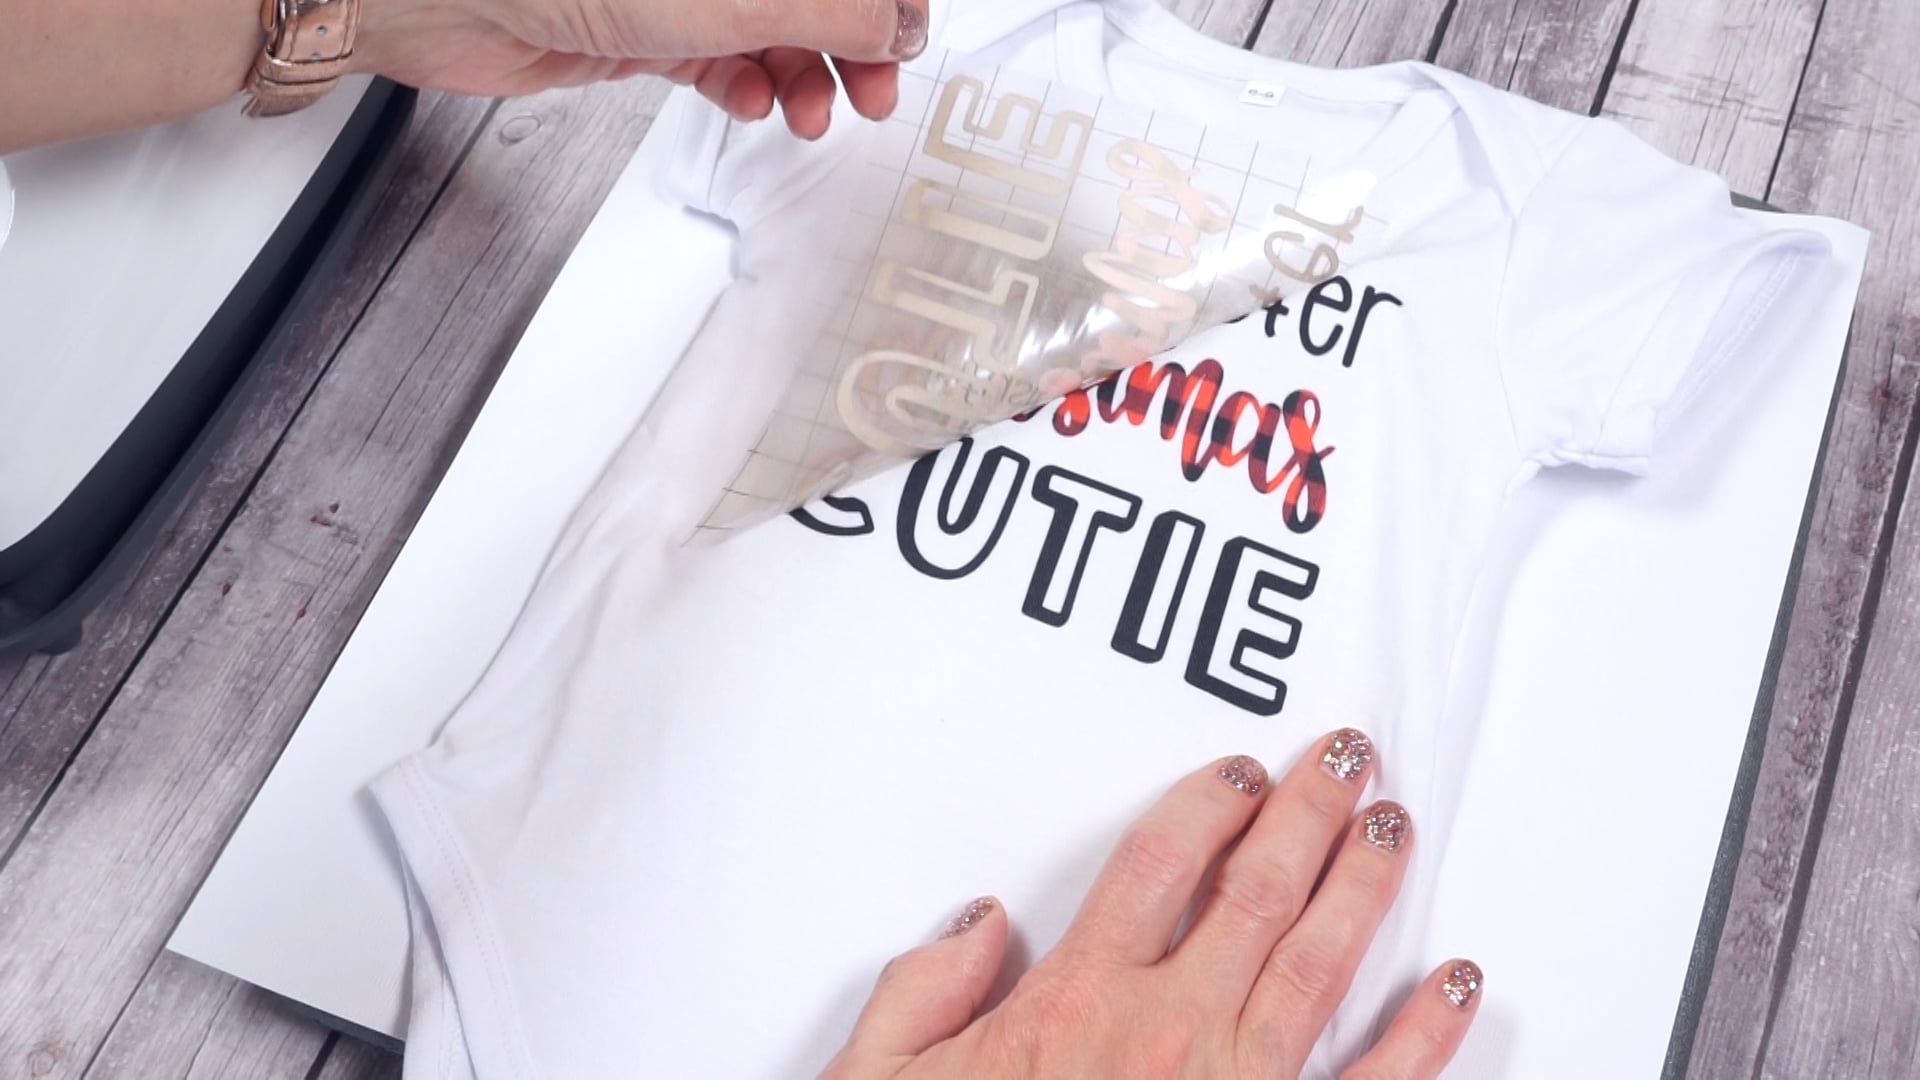
Carefully lift up the butcher paper and peel up the Infusible Ink to reveal the design – SUPER cool, isn’t it!?
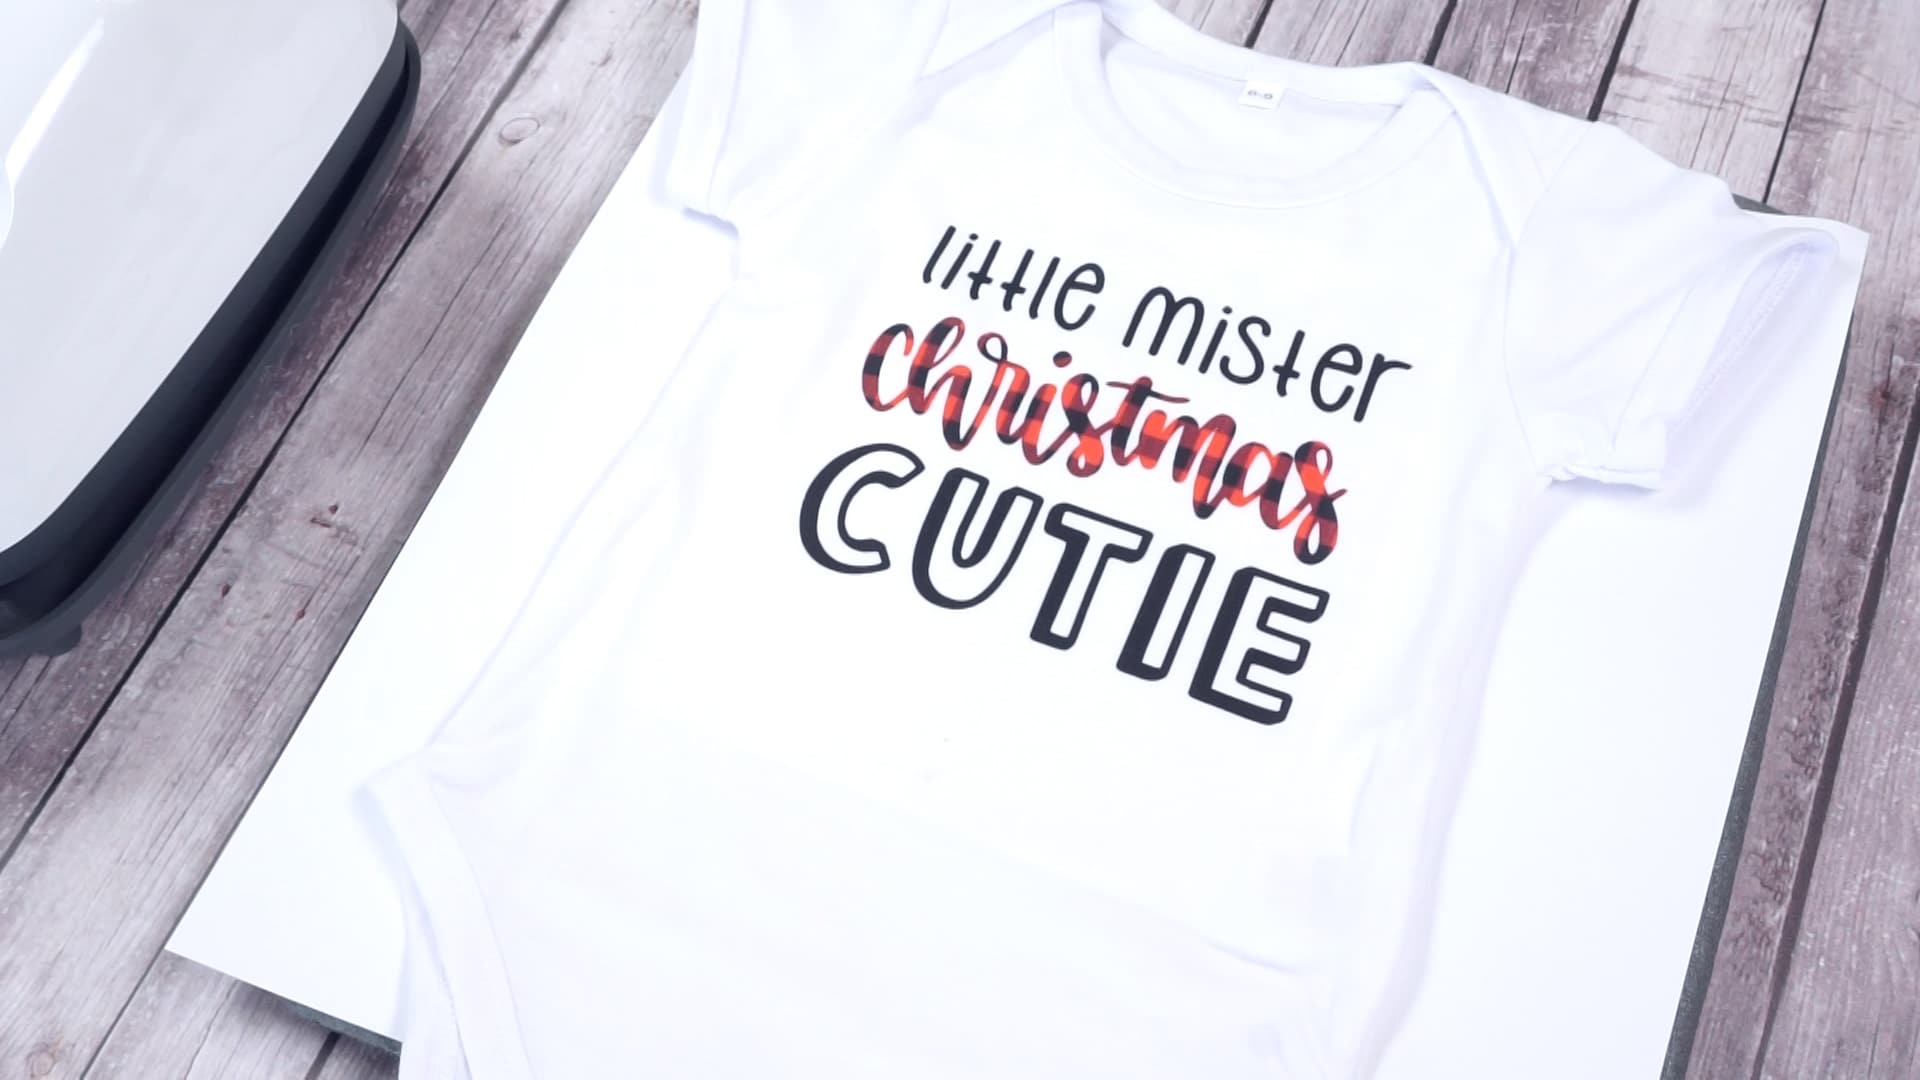
The most amazing thing about Infusible Ink is that it actually bonds with the fabric and becomes a part of your garment, so you’ll never have to worry about it wrinkling, cracking, peeling, or fading!
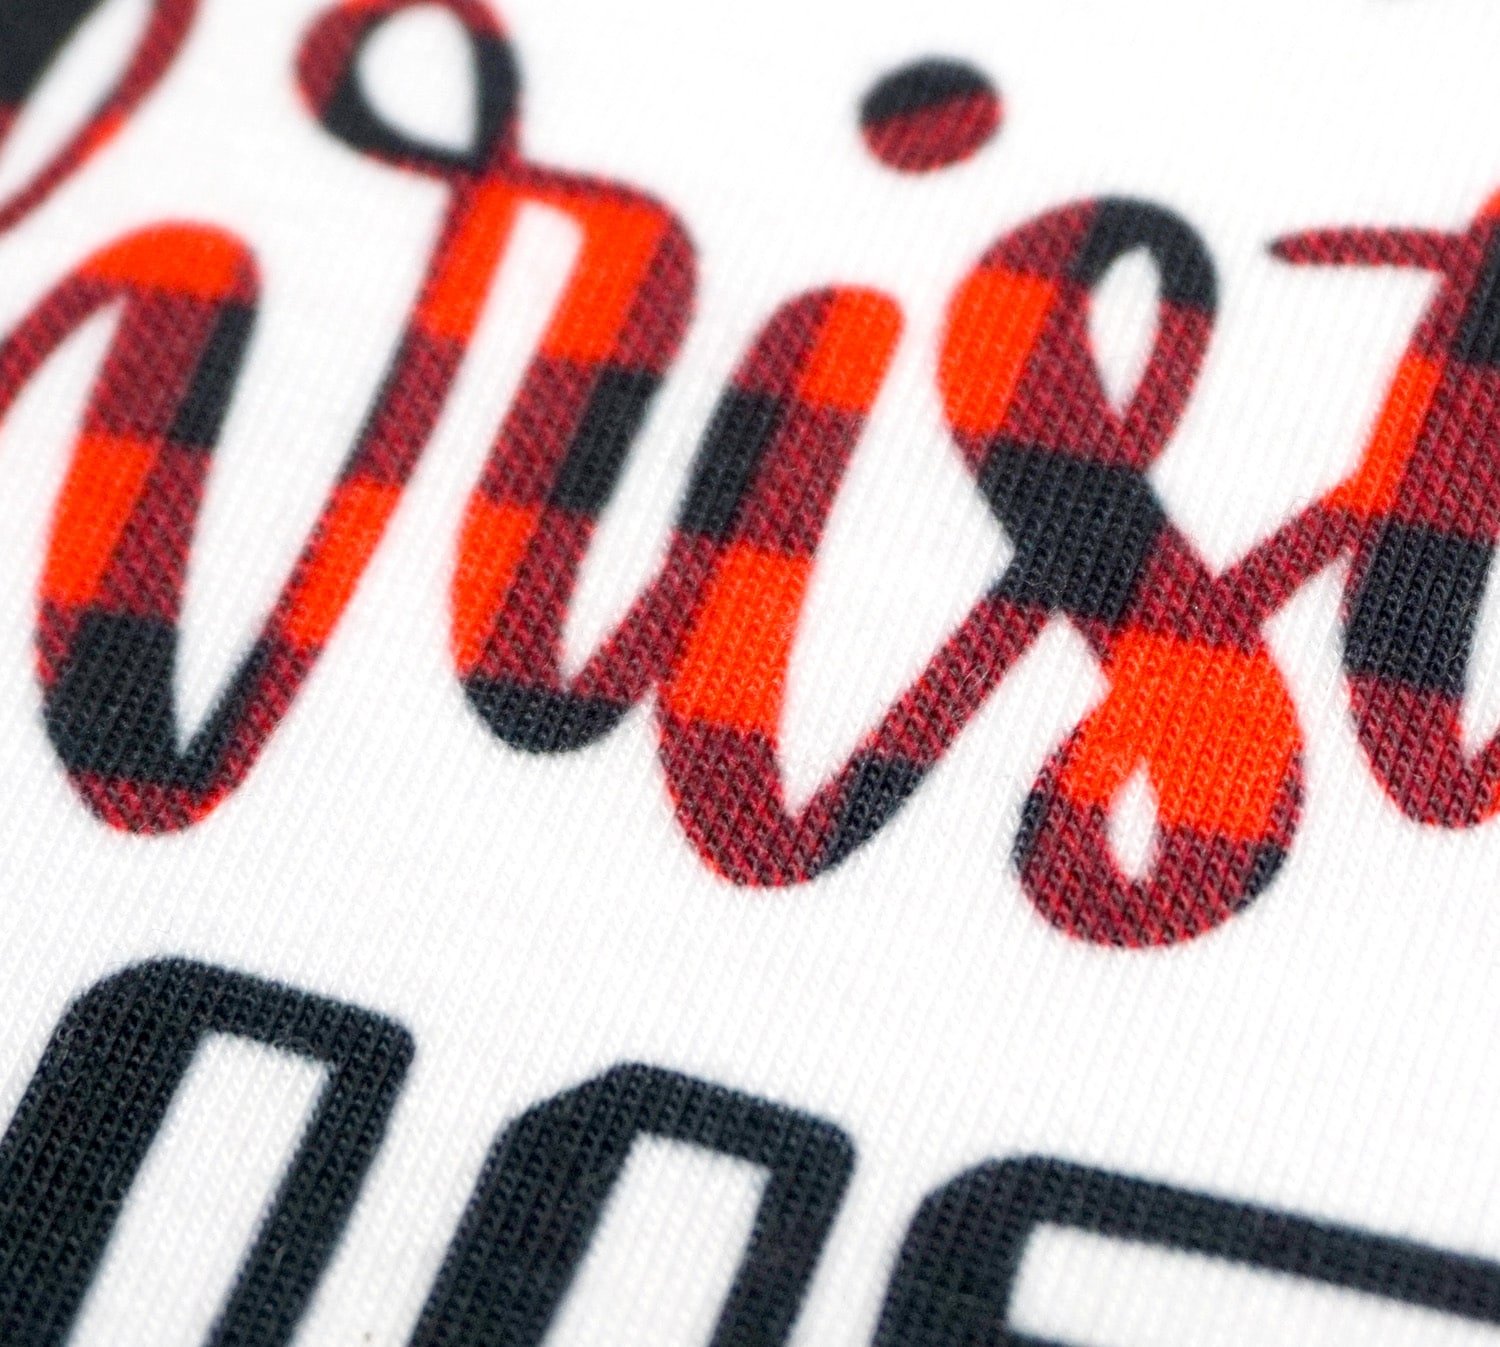
See what I mean? The ink has actually become a part of the fabric! It’ll last wash after wash and year after year, so all of your Little Christmas Cuties will get a chance to wear it!
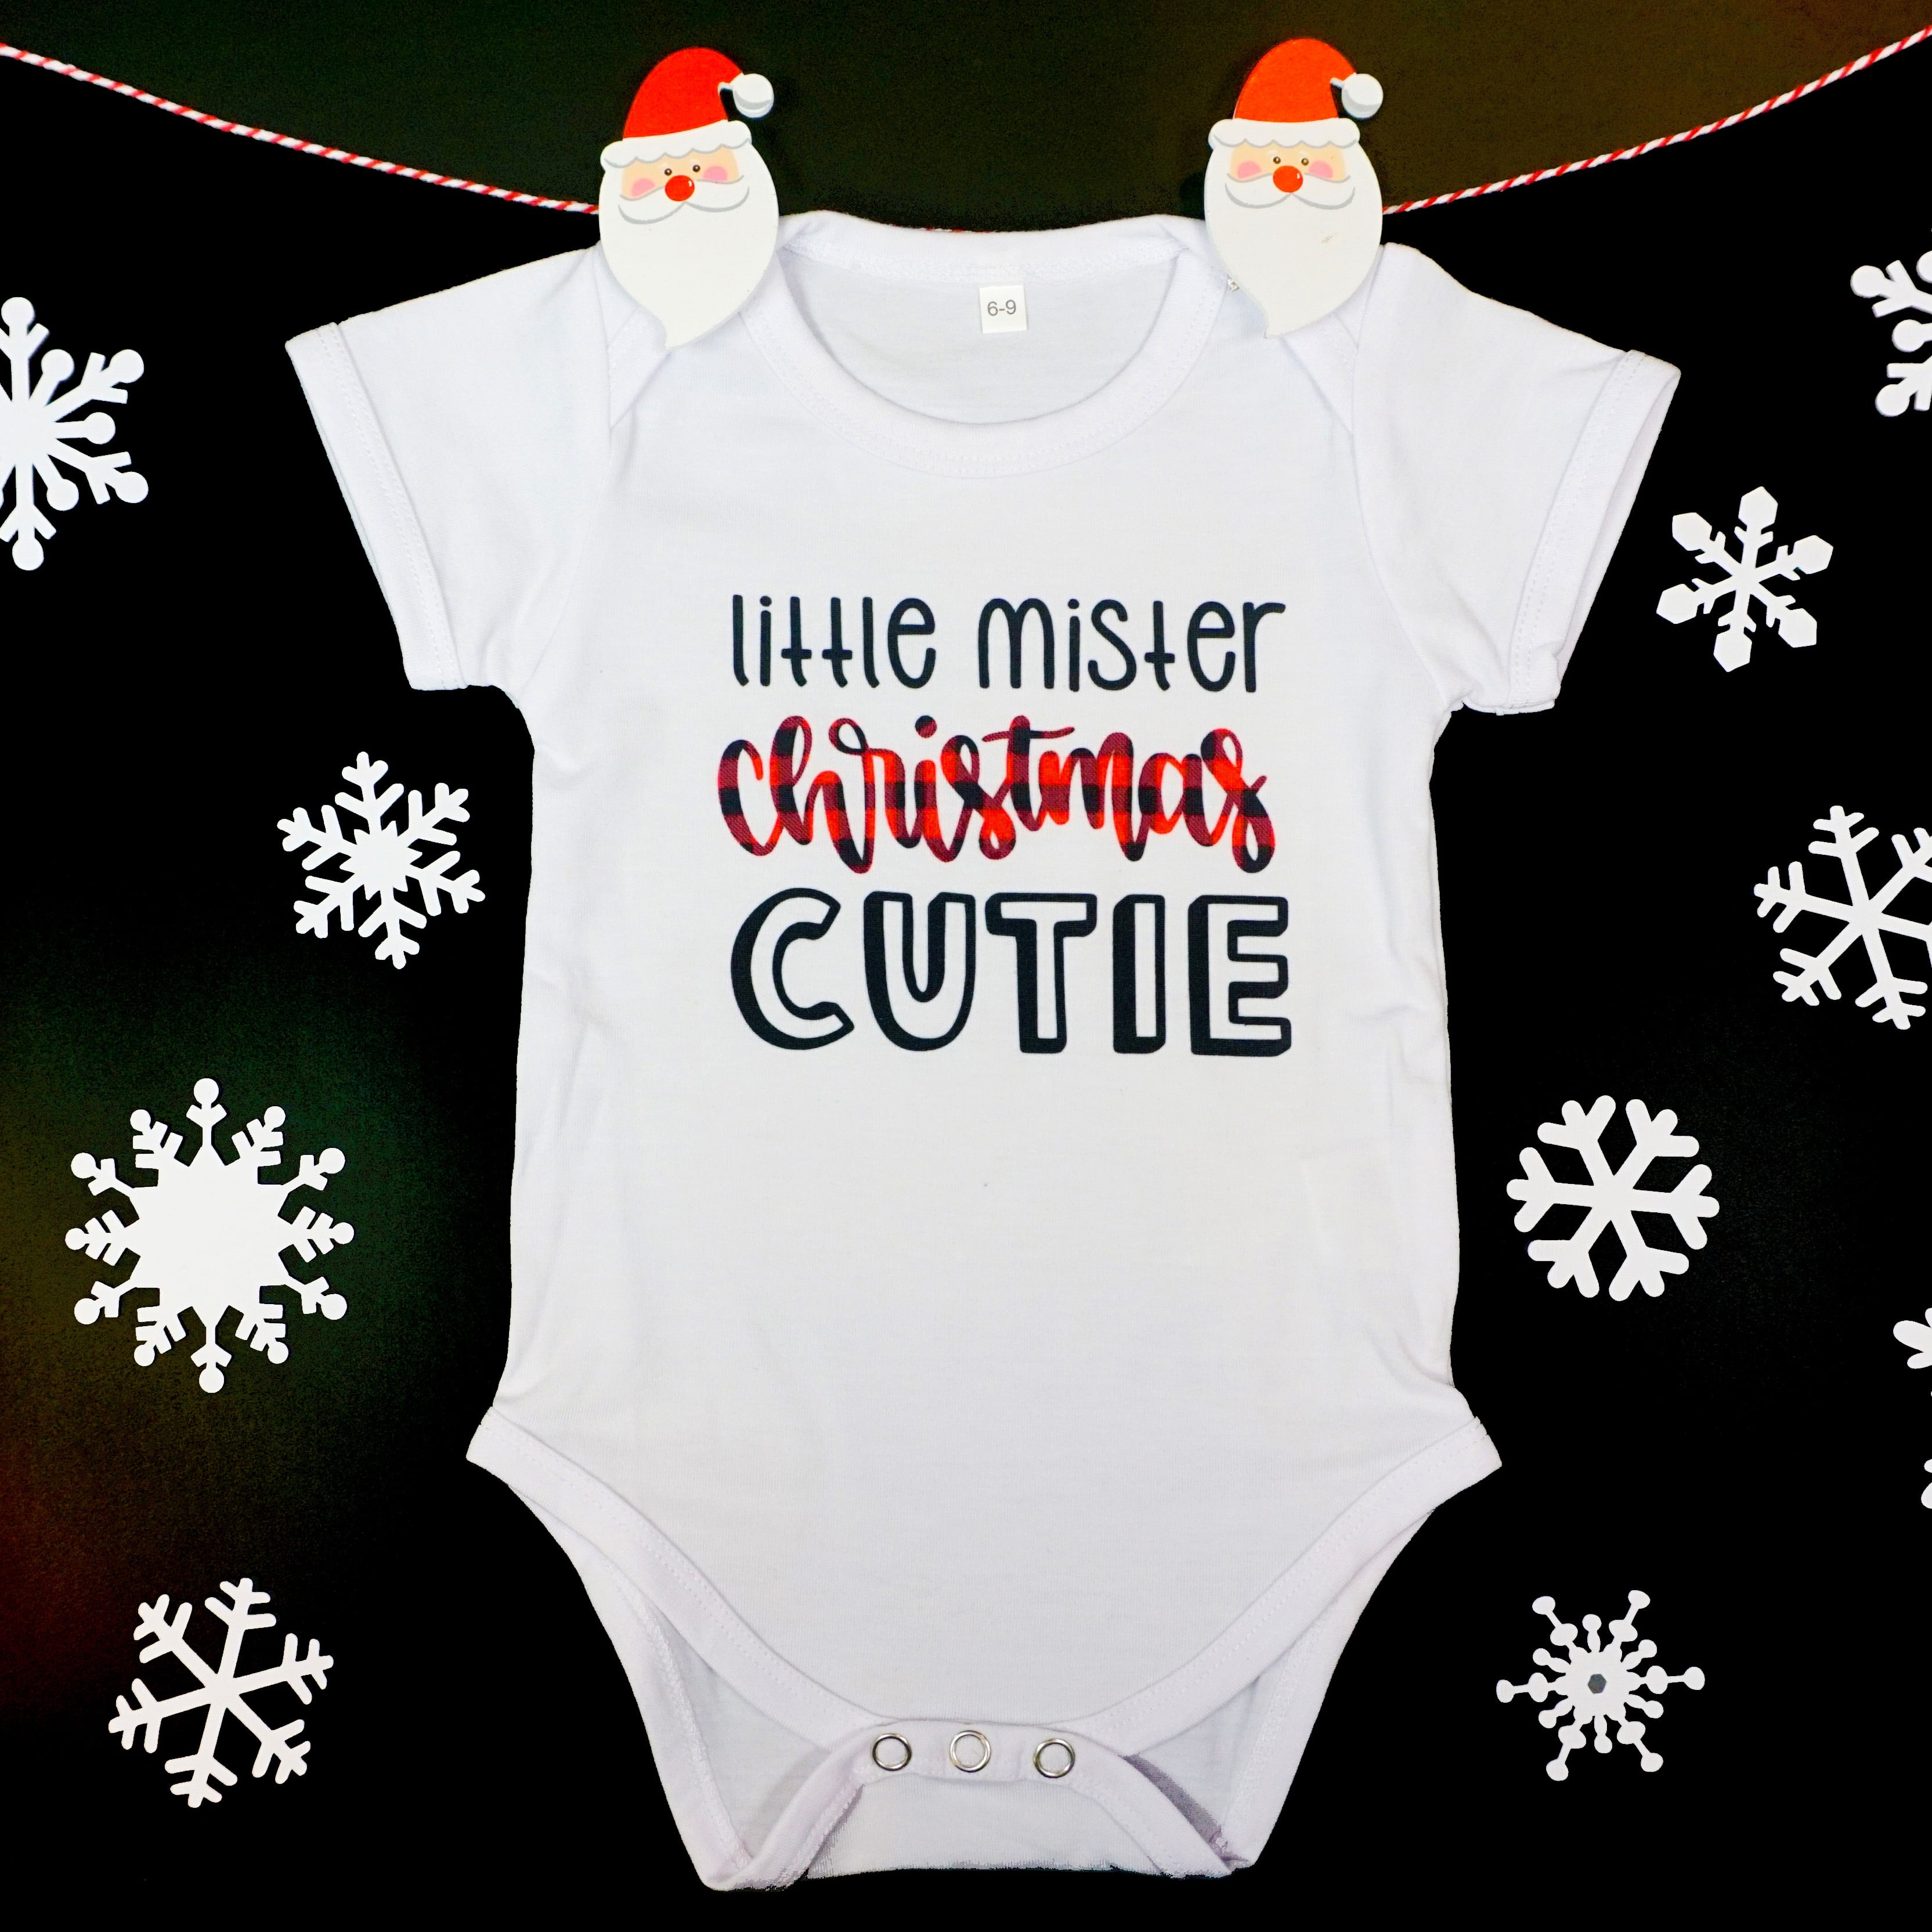
I truly can’t get over how amazing and incredible Infusible Ink is! The results look SUPER professional!
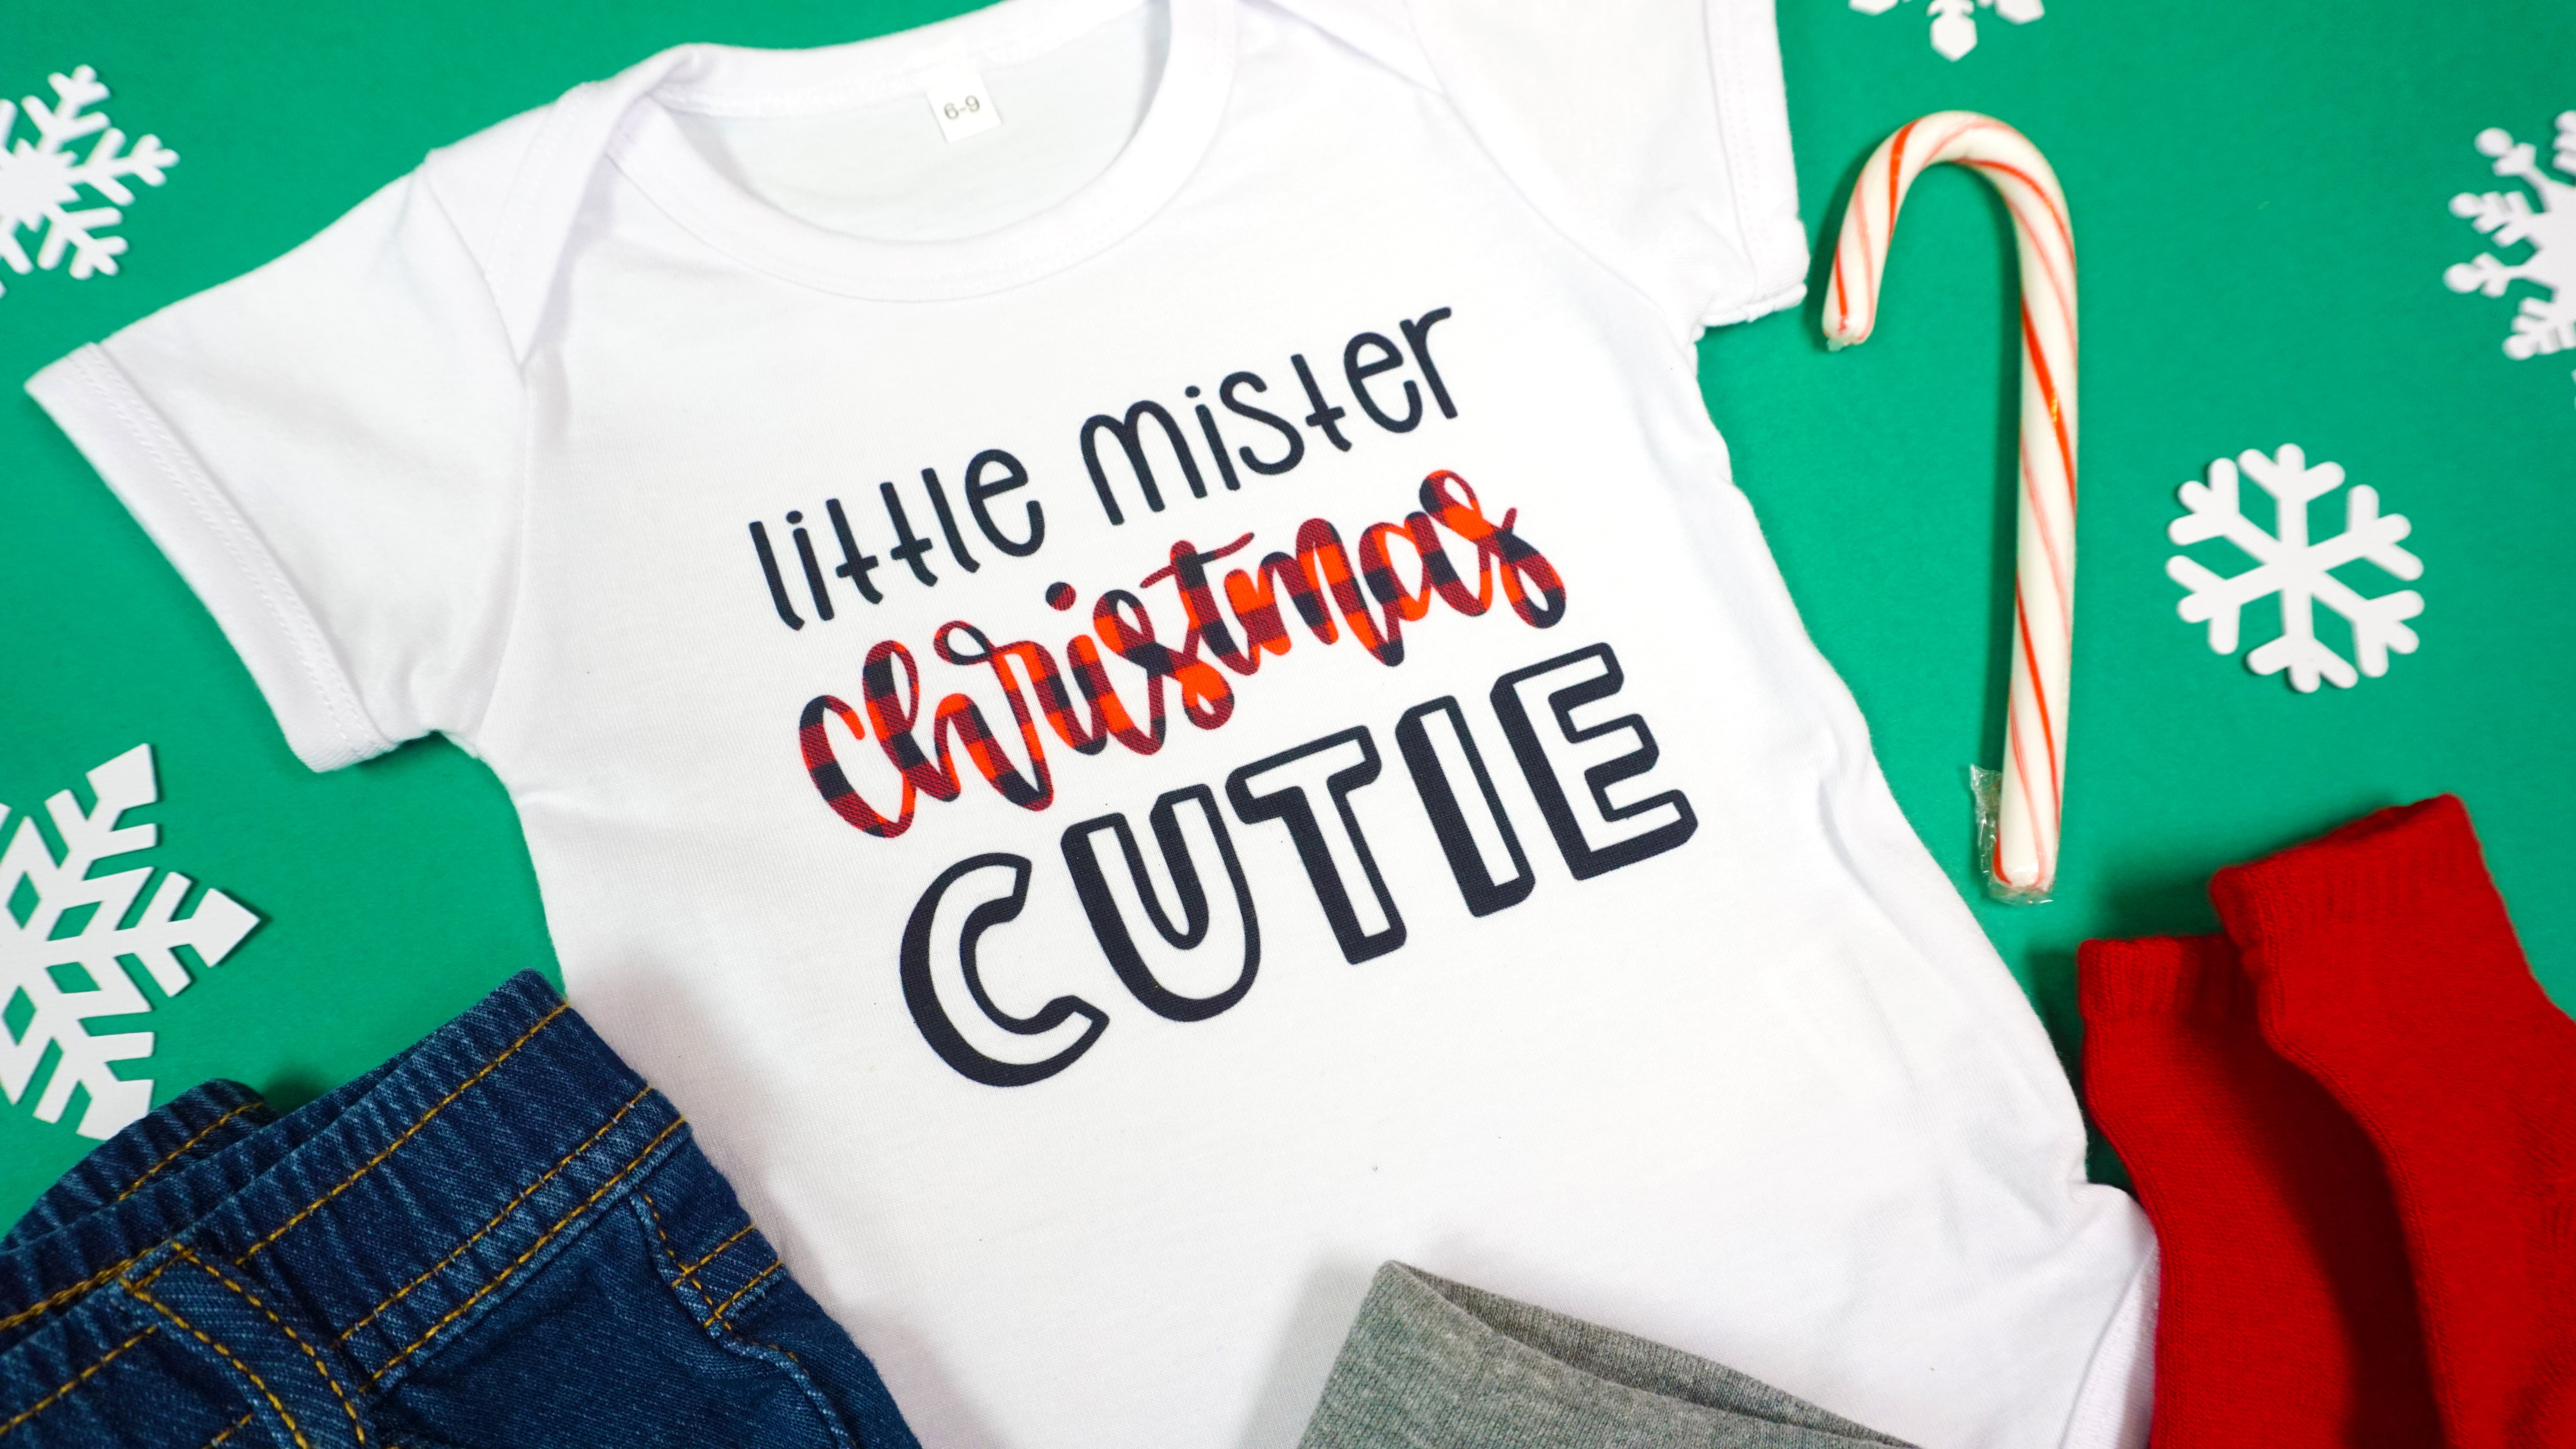
For all of you visual learners, we put together a quick video to show you the entire process from start to finish!

For more information about Infusible Ink, make sure to check out our comprehensive Beginner’s Guide to Infusible Ink! What do you think you’ll make first?

Check Out These Other Cricut Ideas!
You May Also Like:
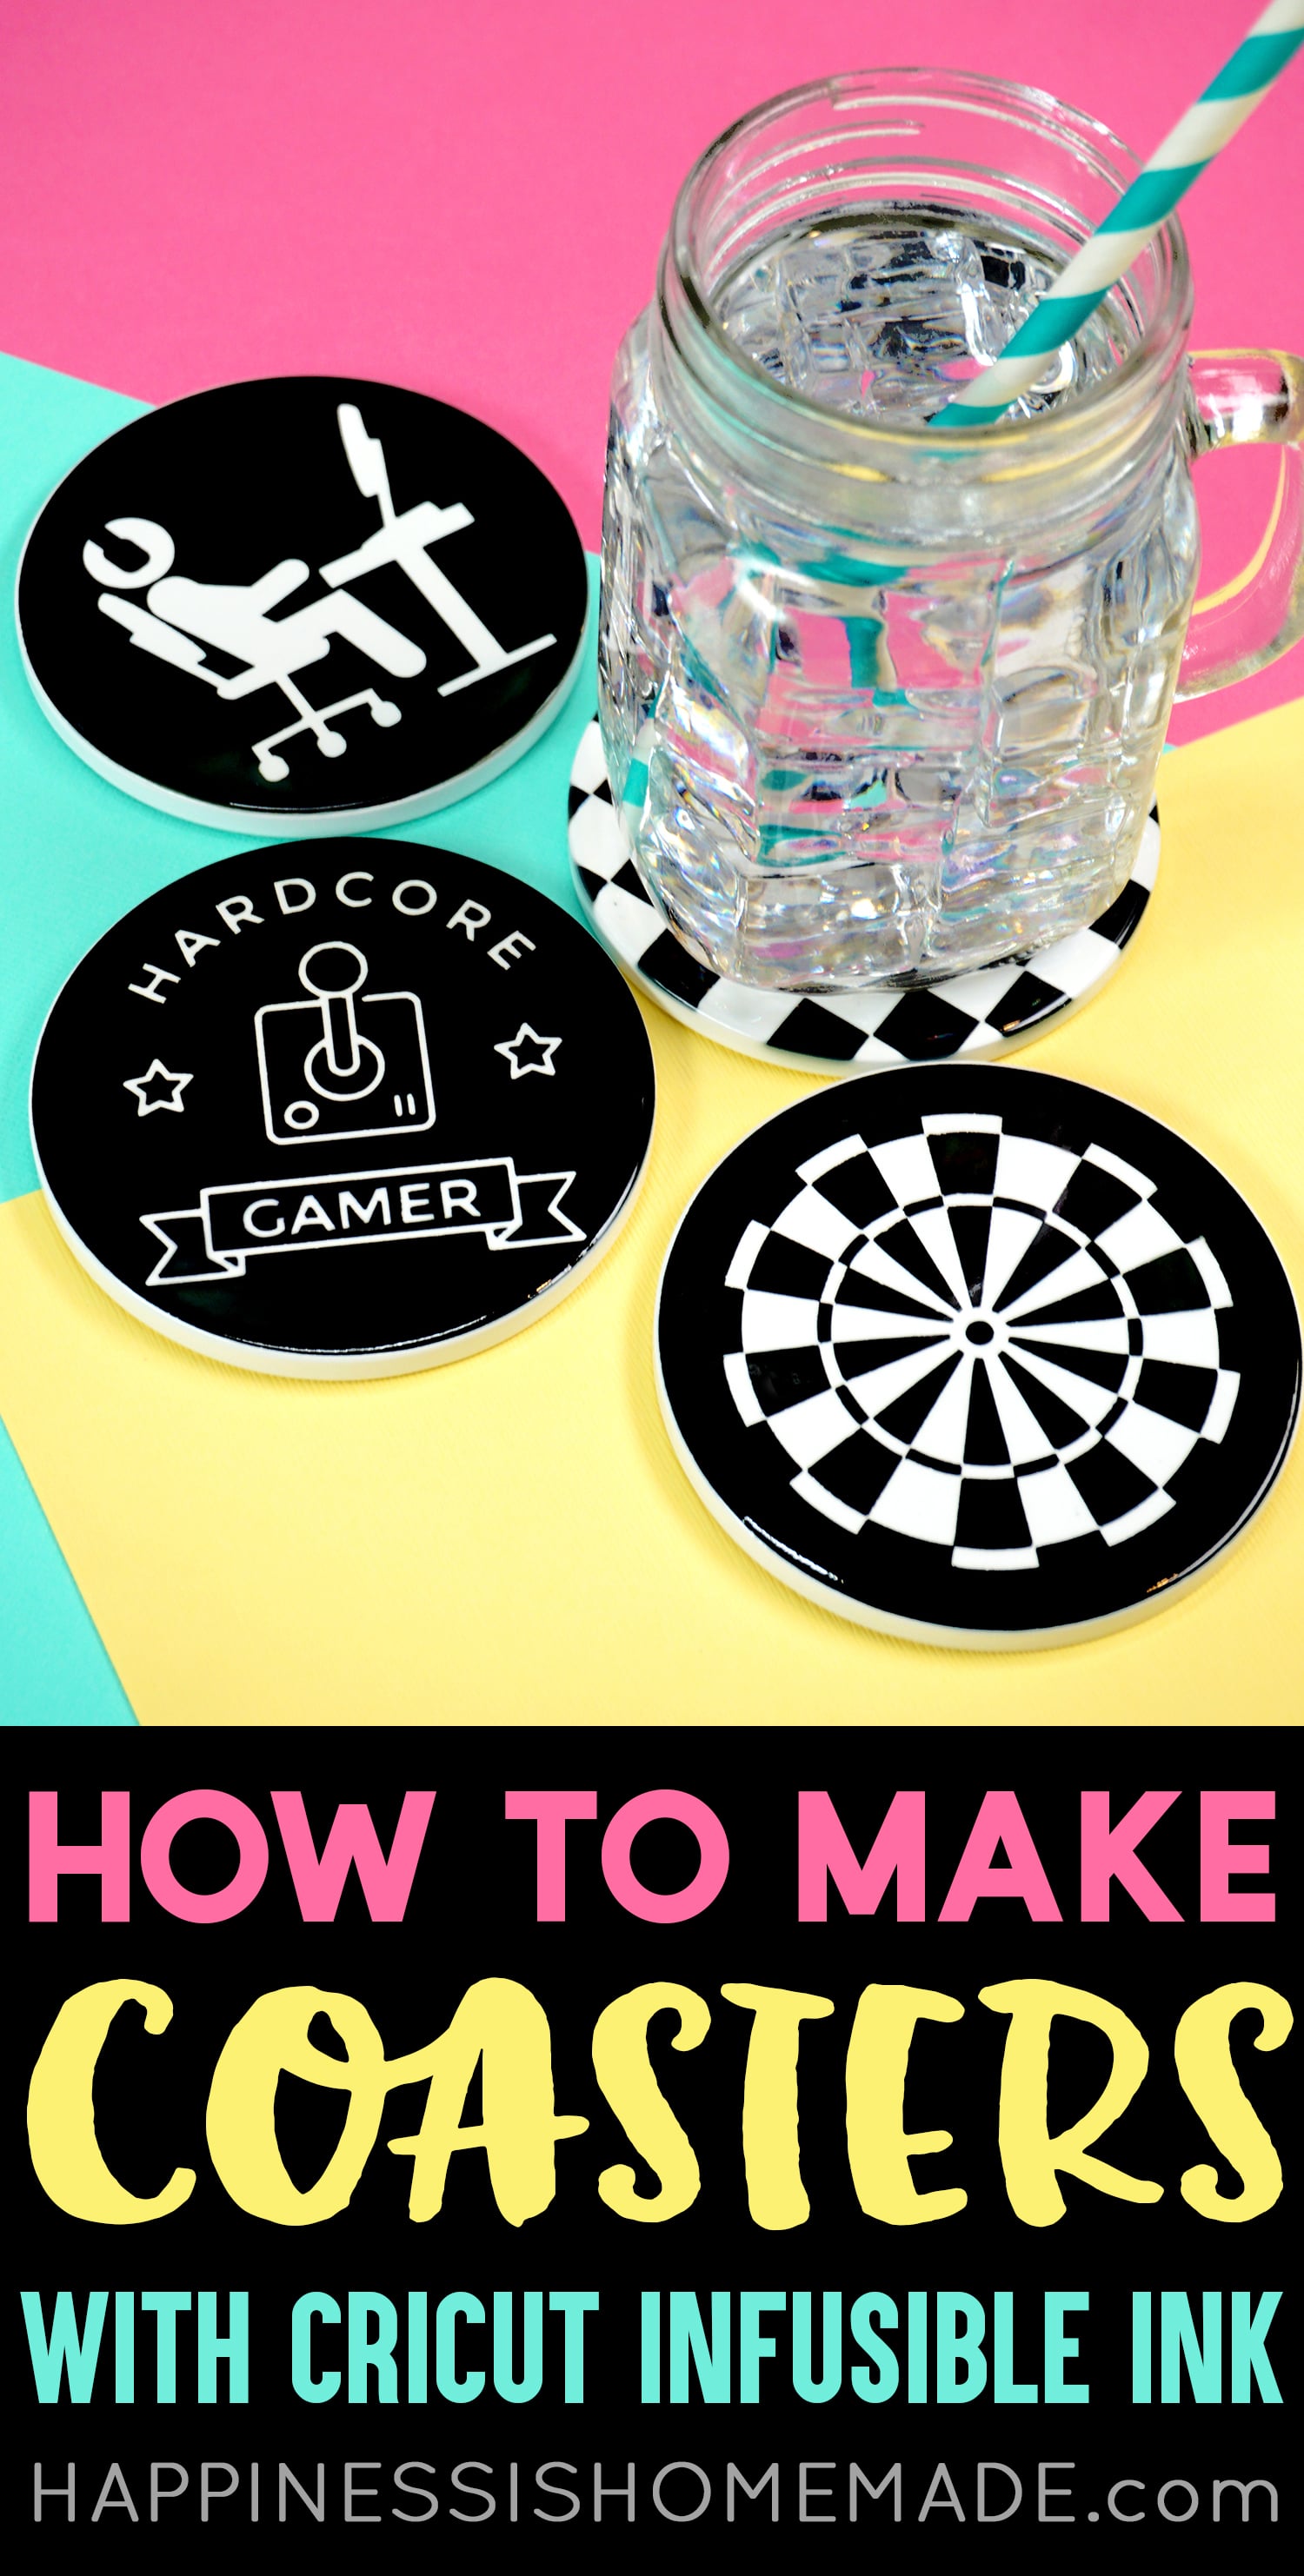
How to Make Coasters with Infusible Ink
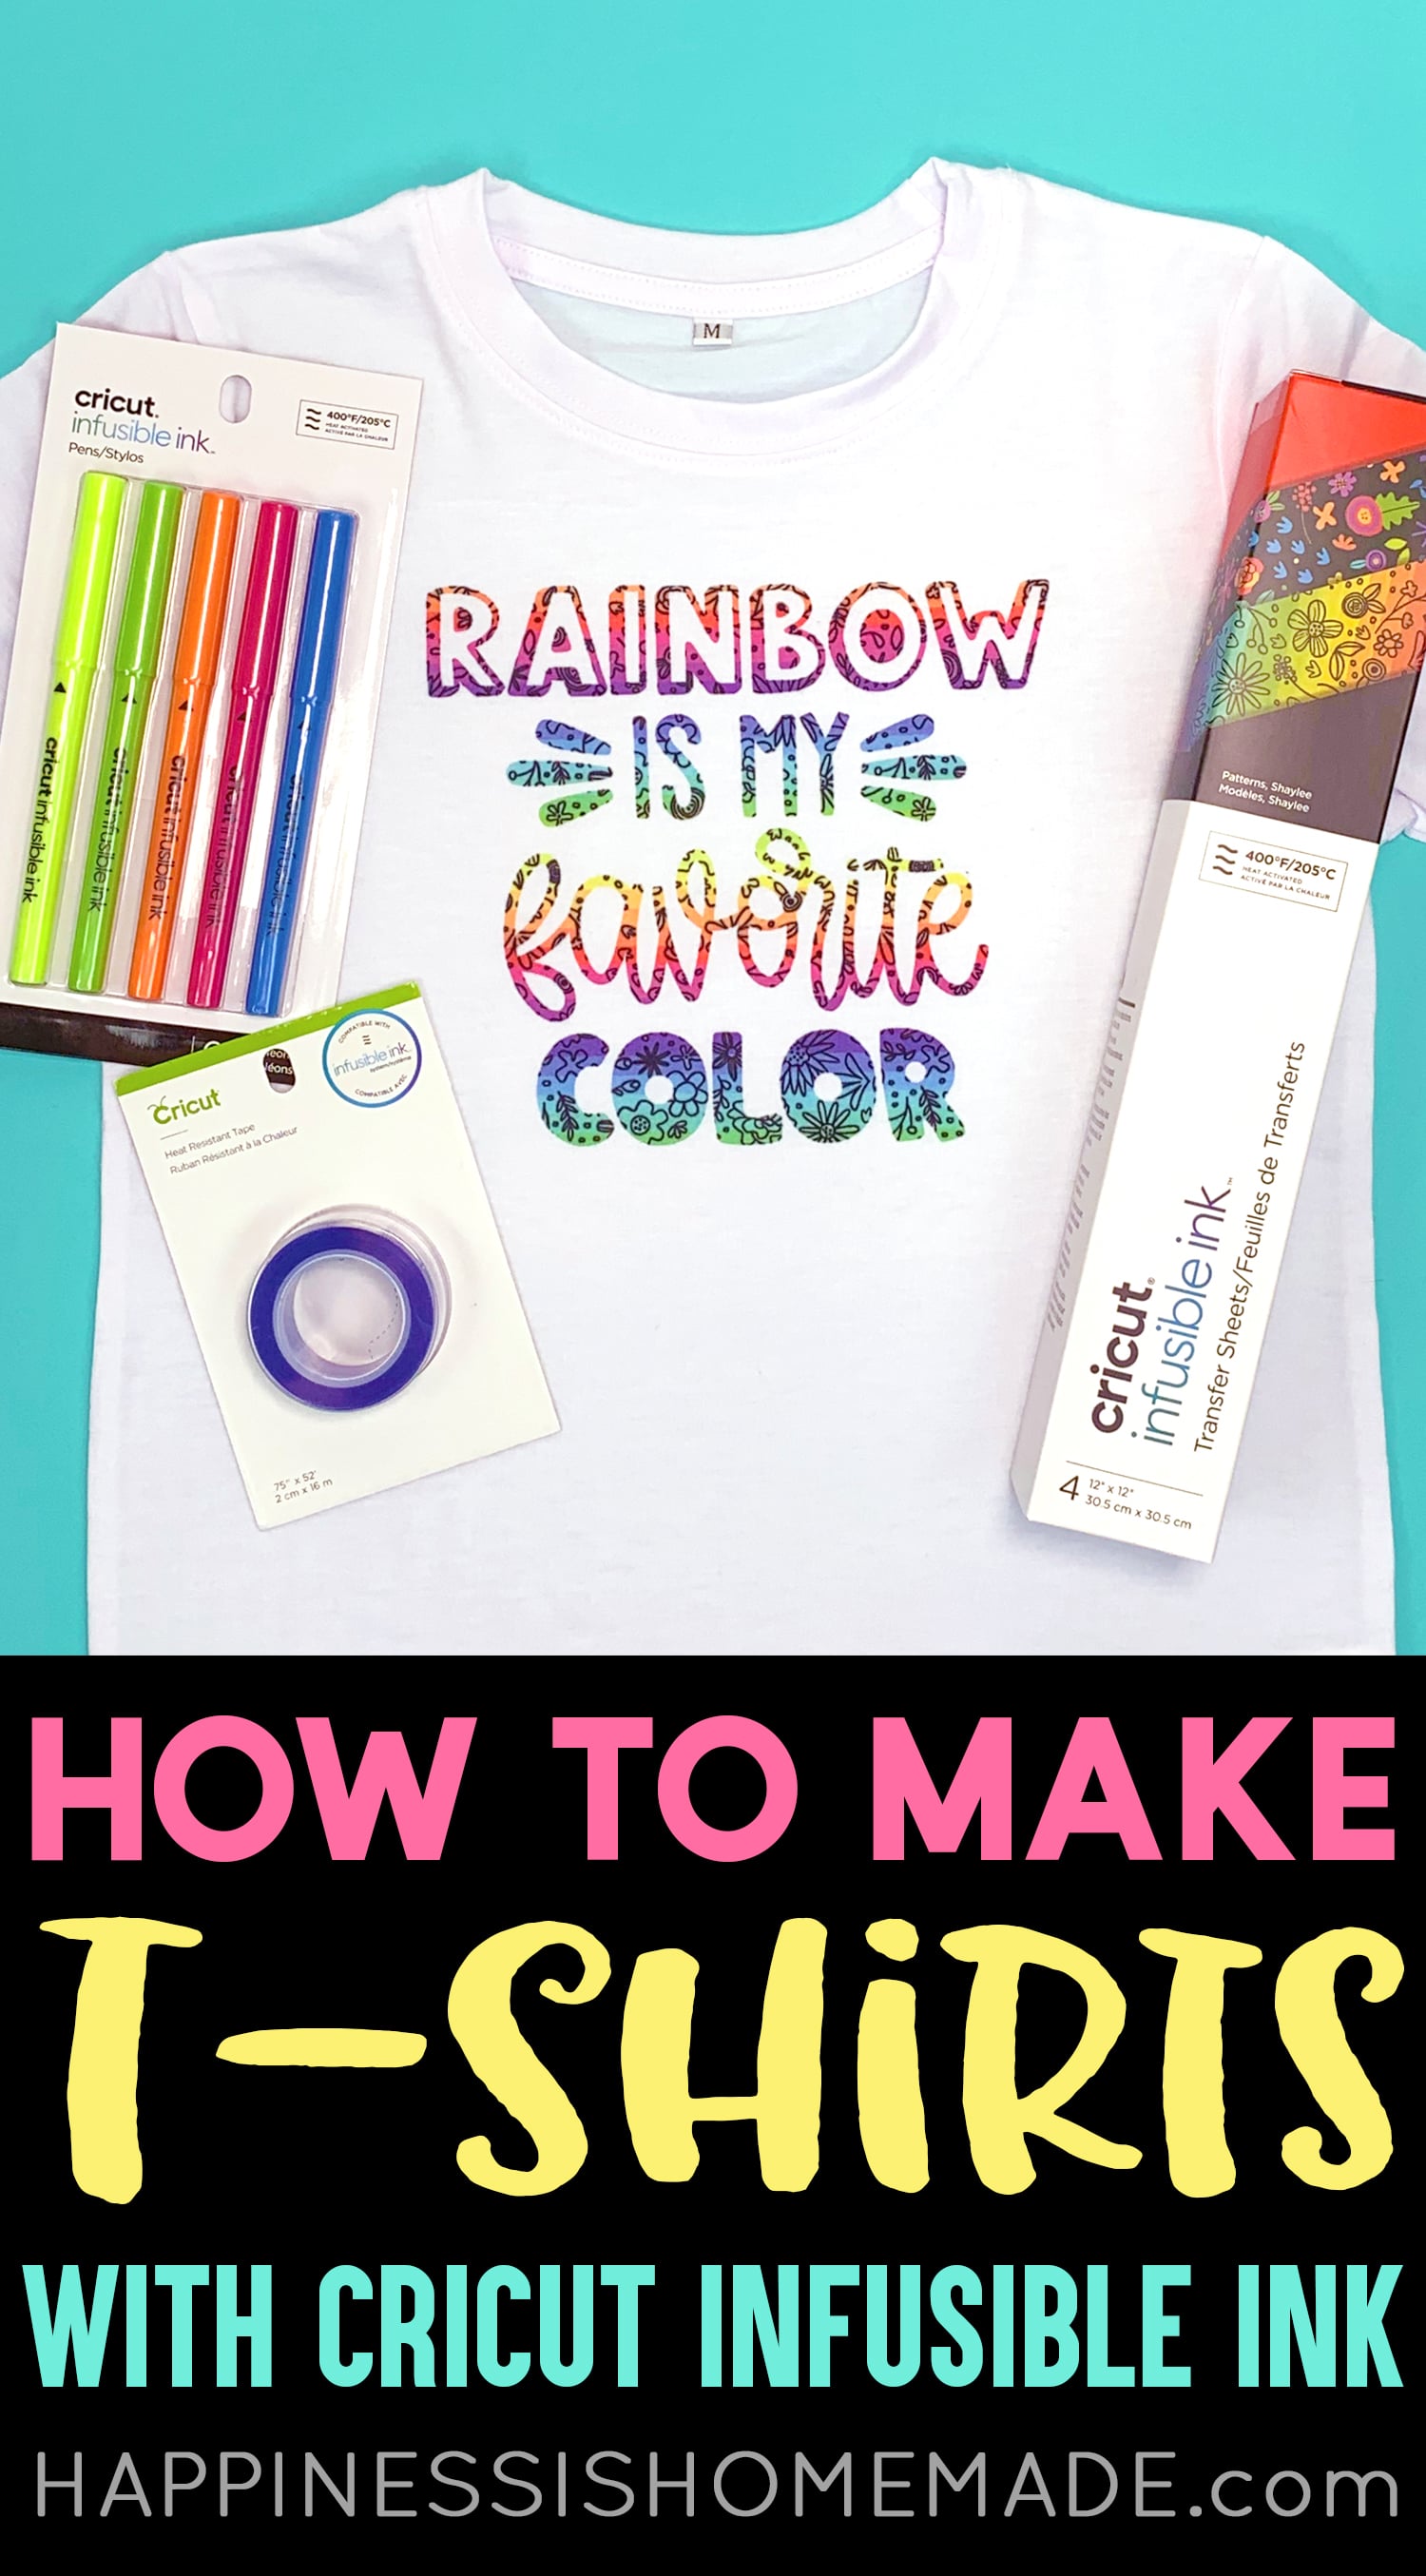
How to Make T-Shirts with Infusible Ink
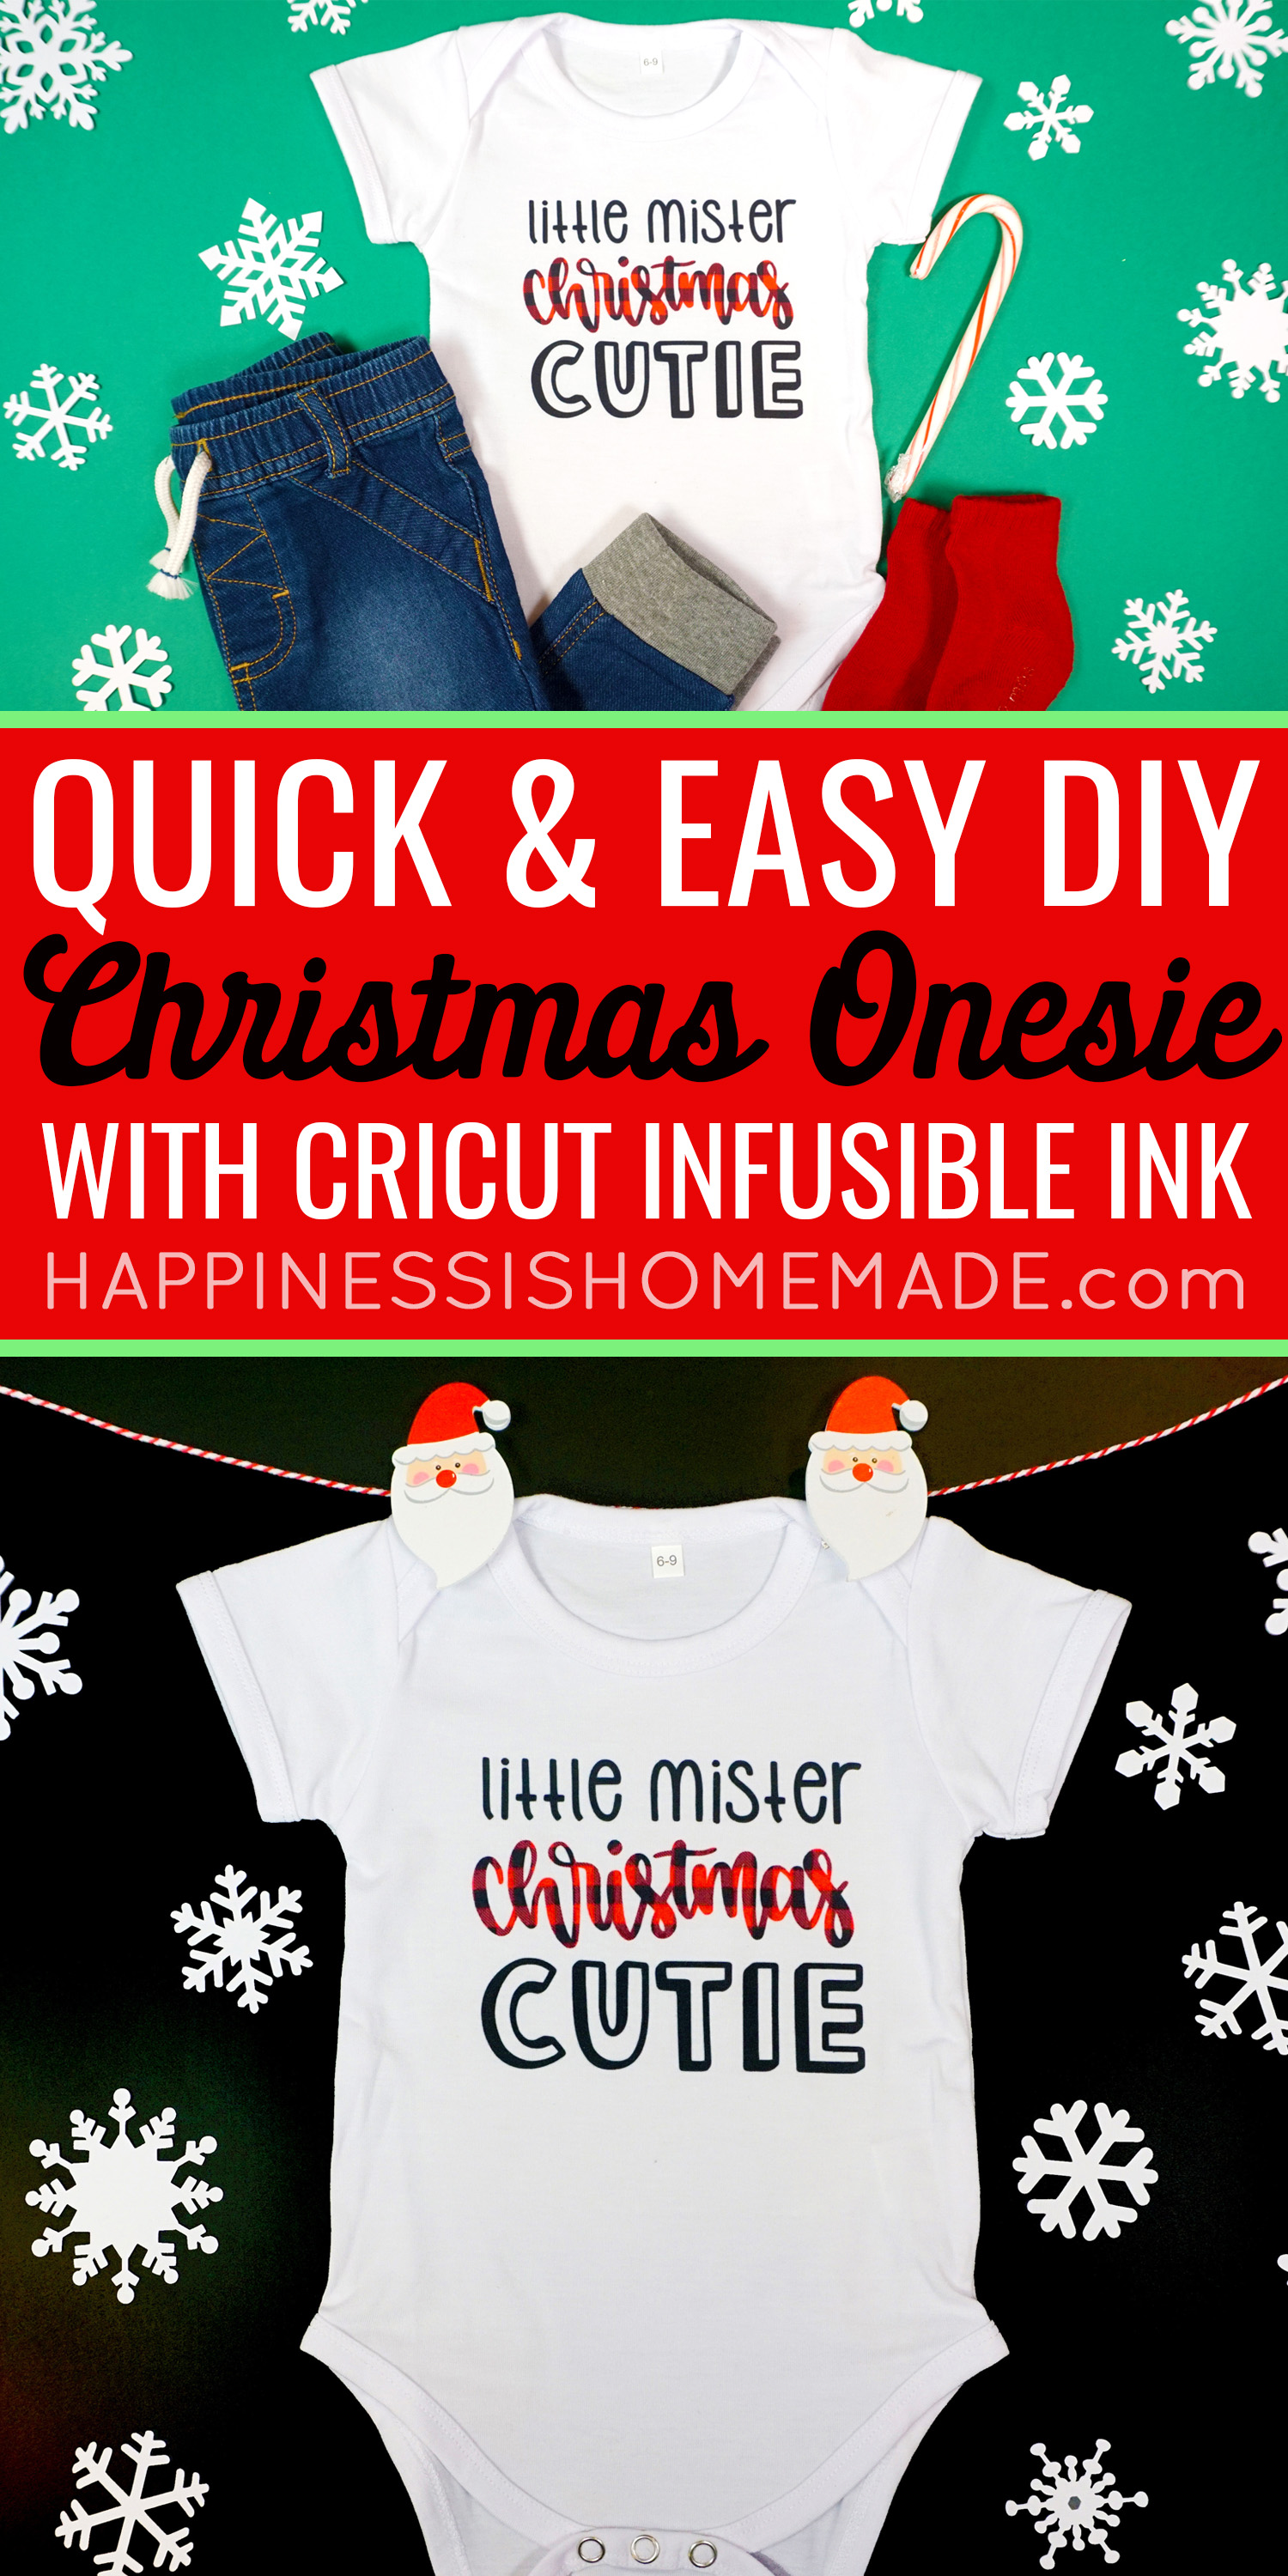
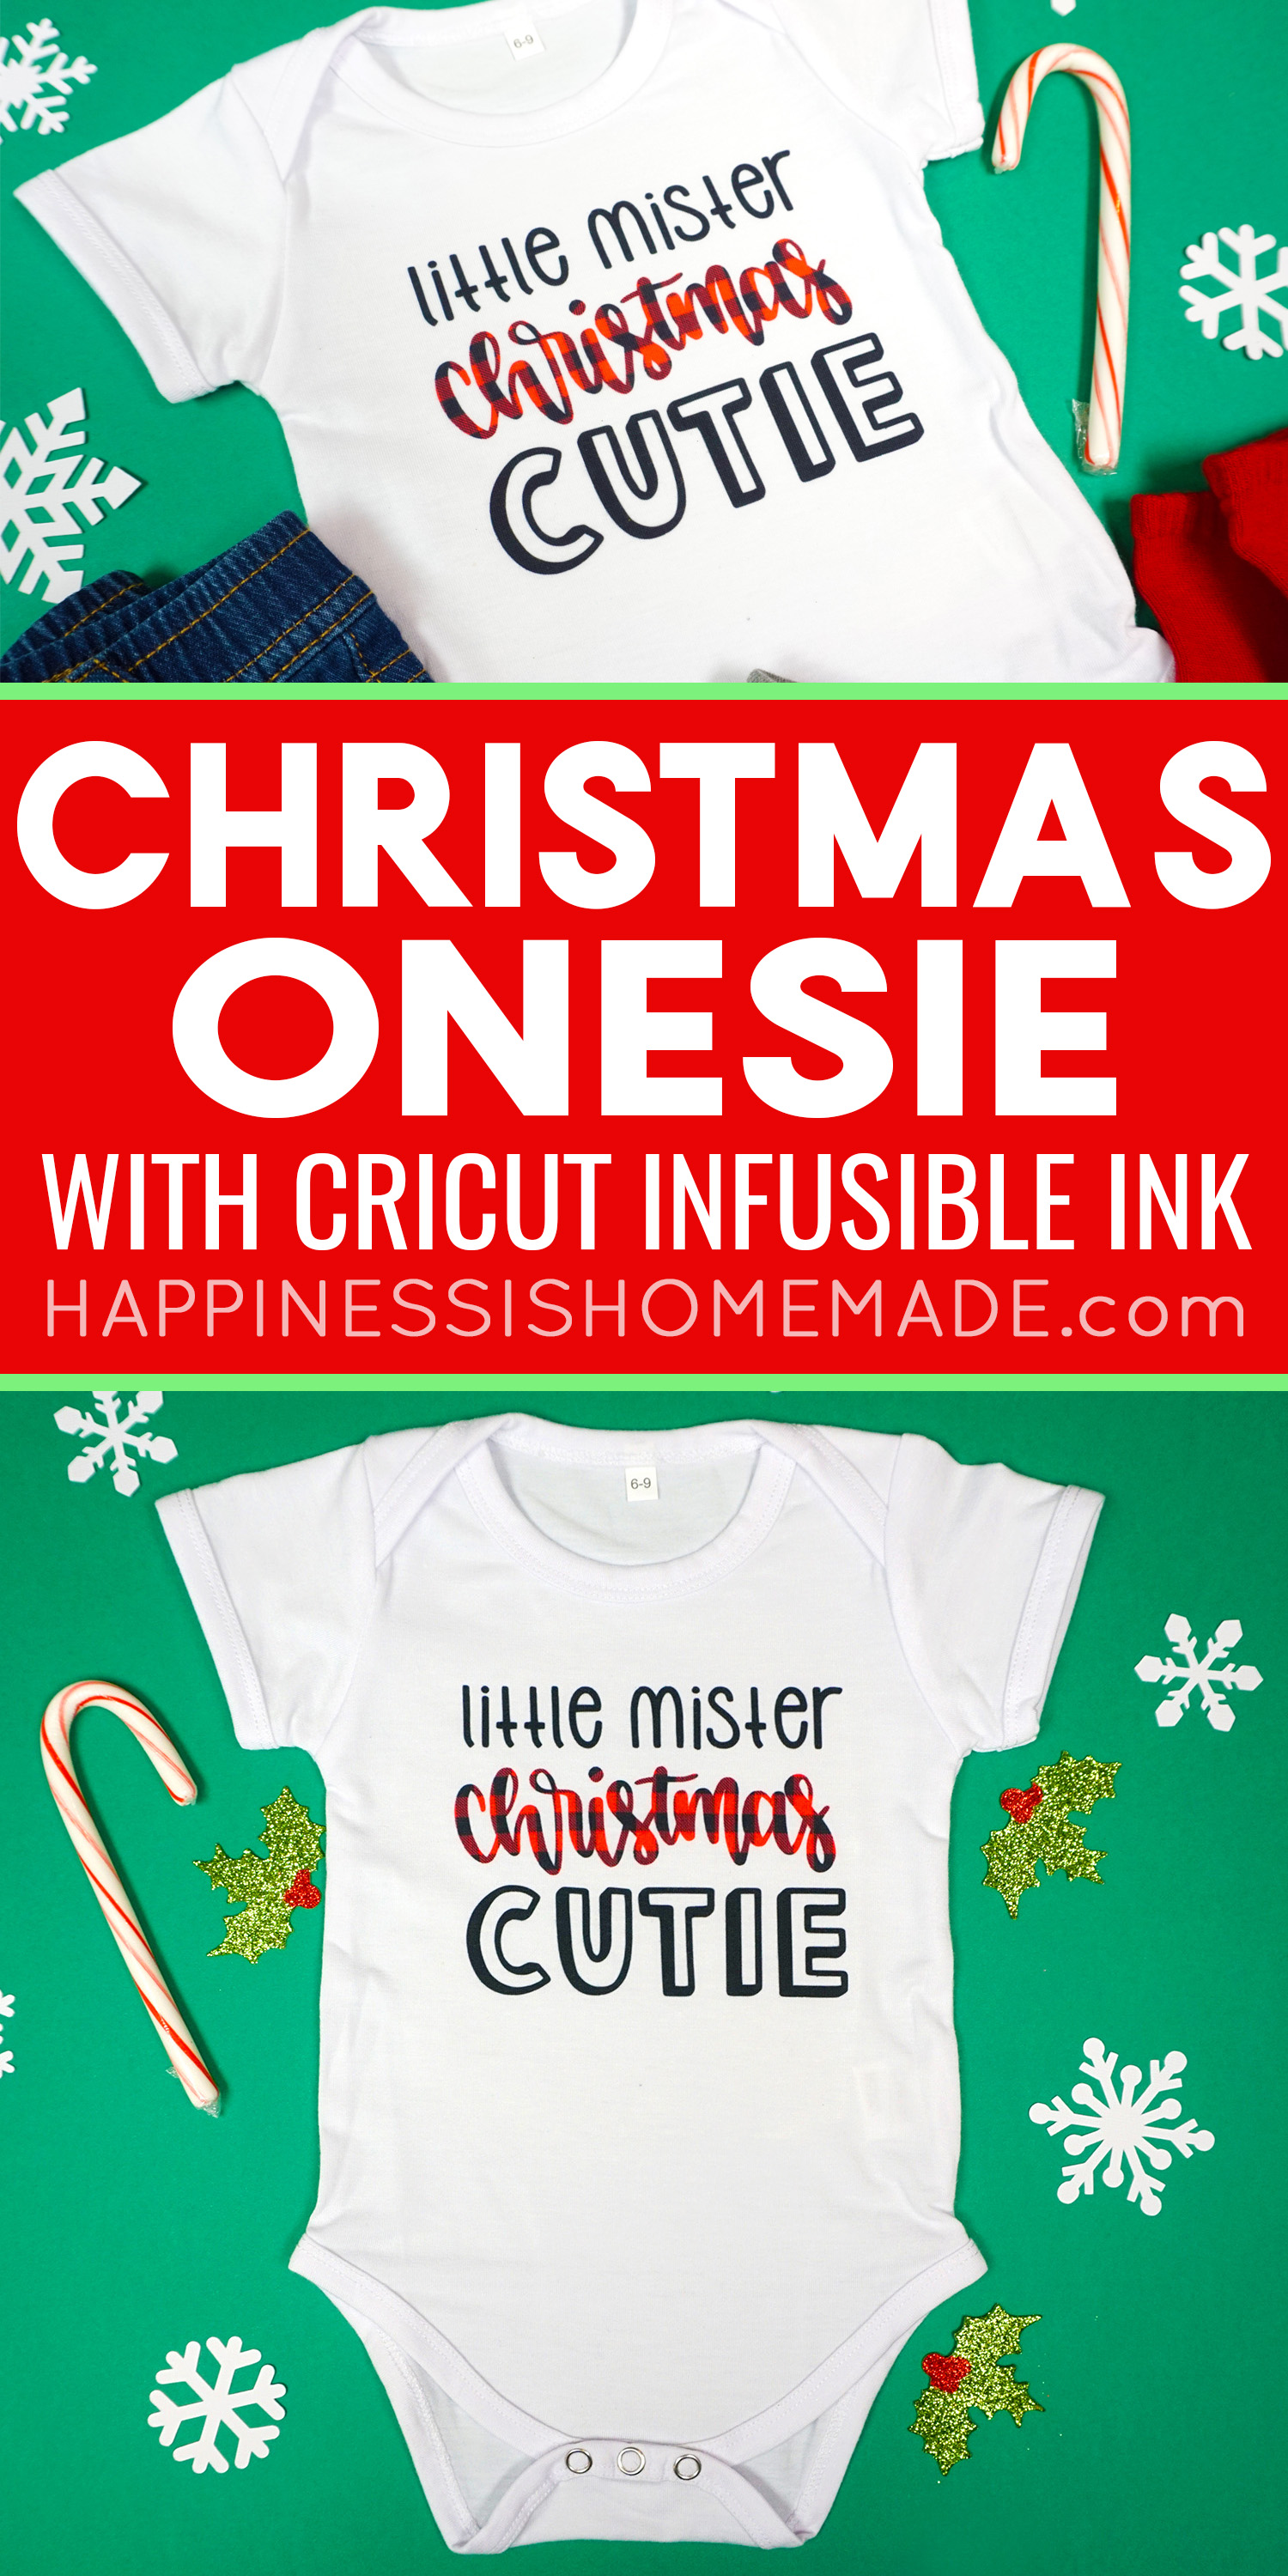
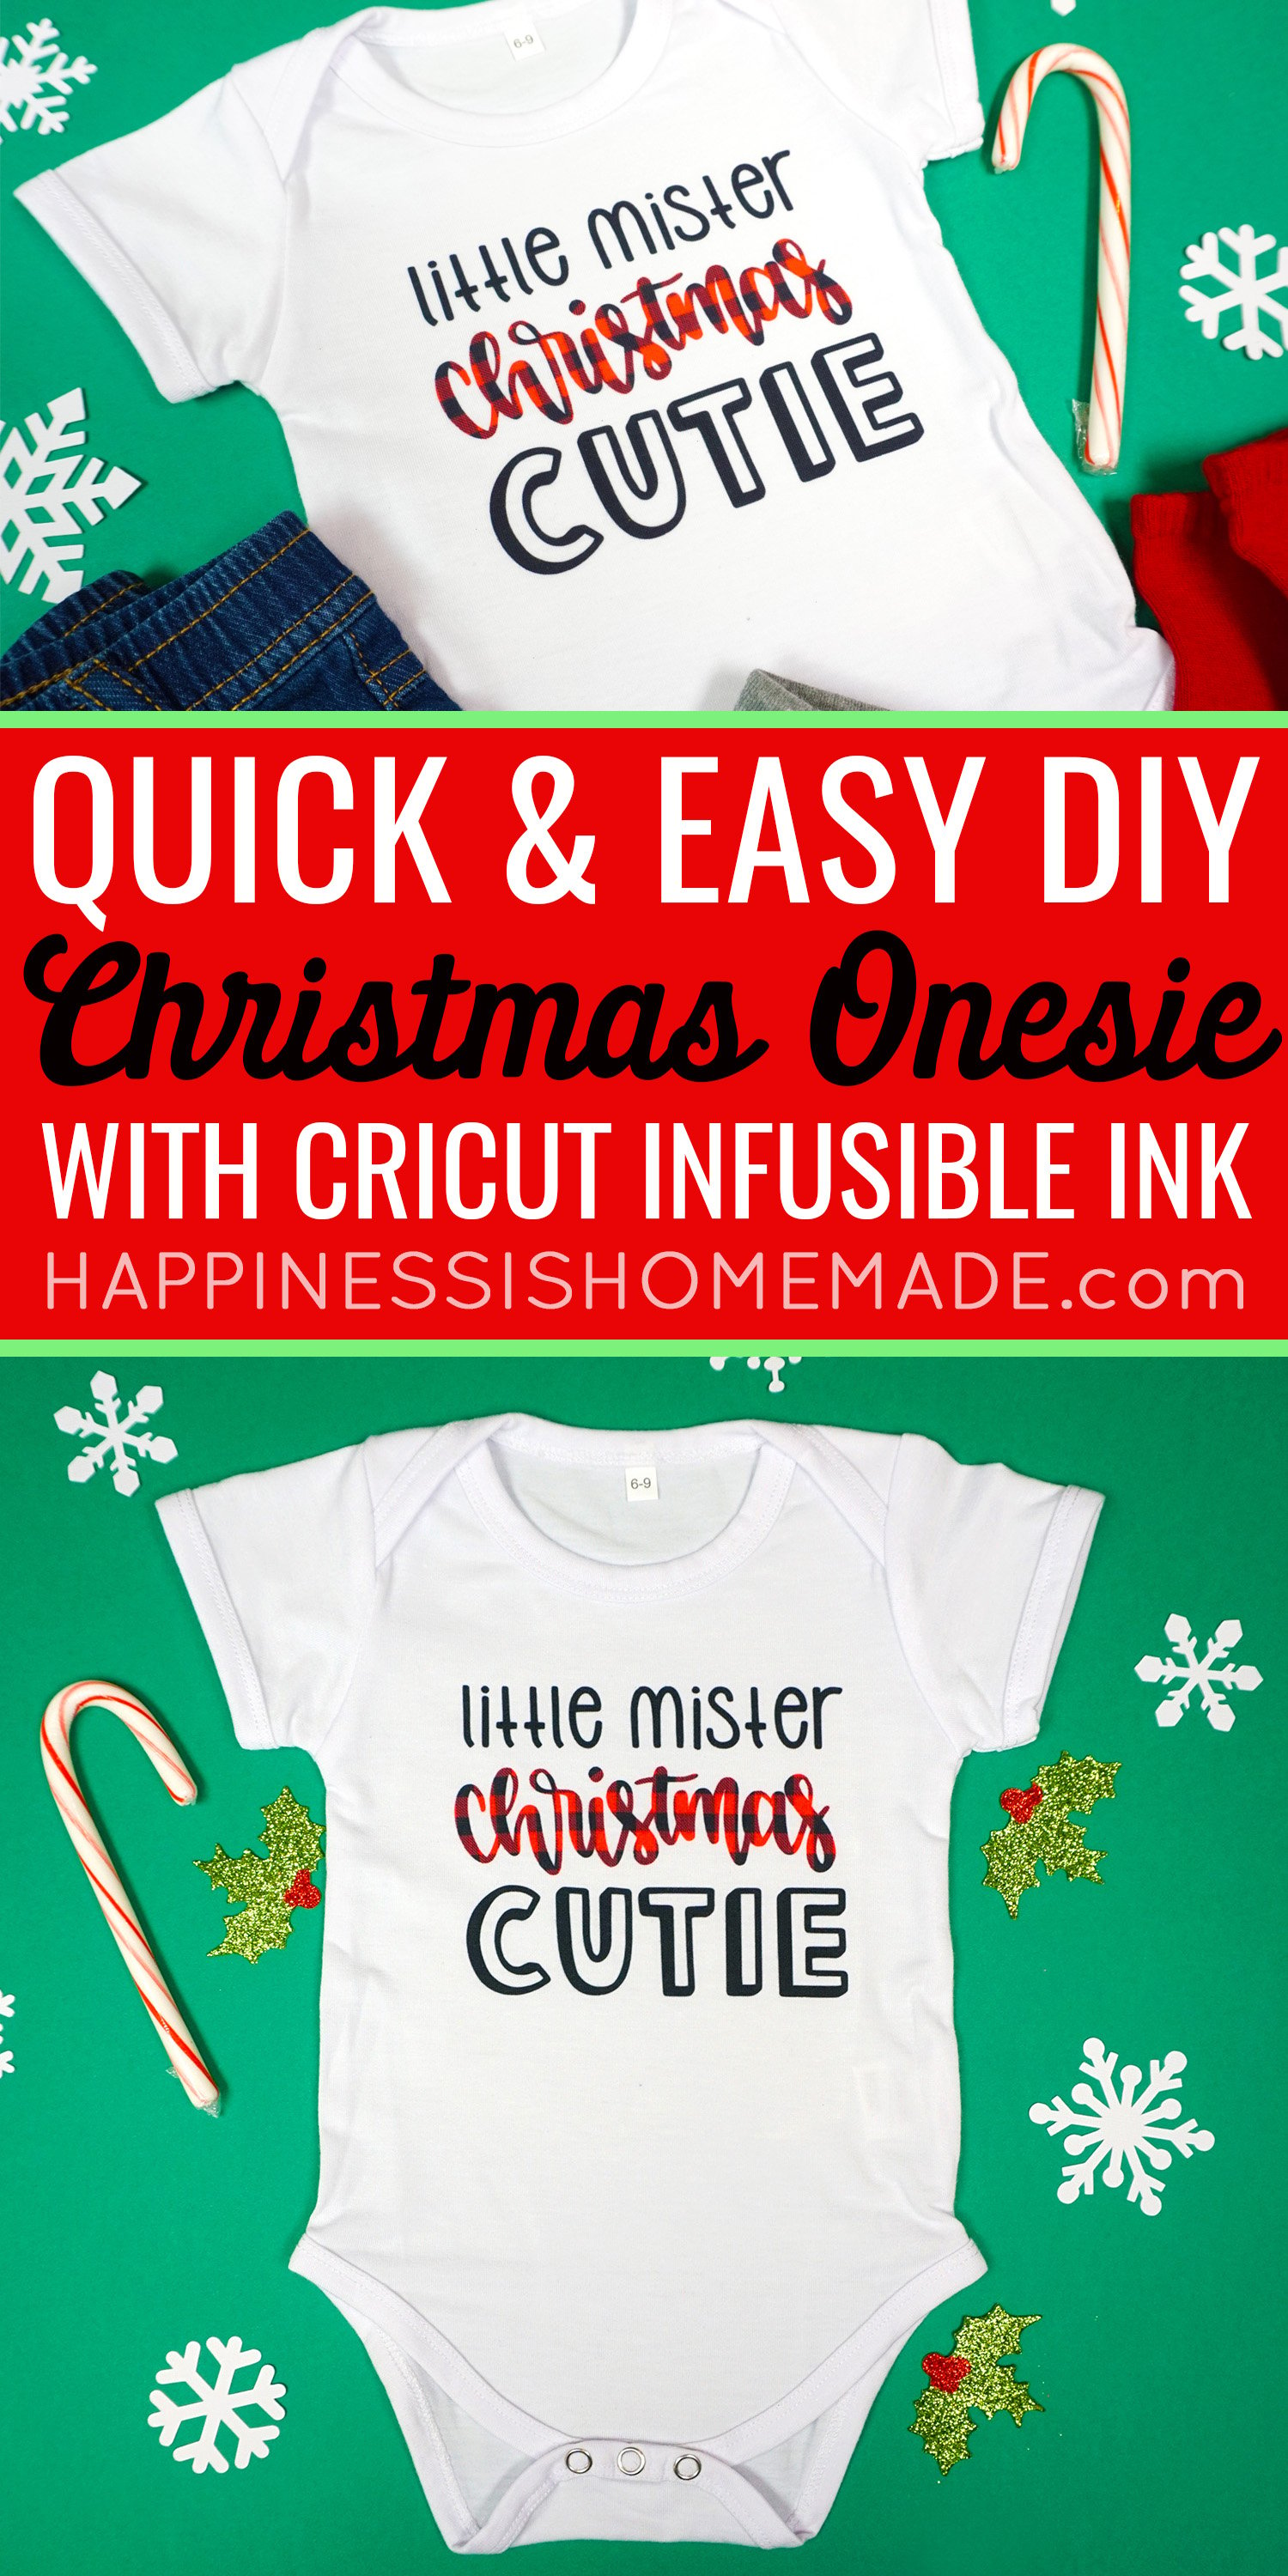
Don’t Forget to Pin This Infusible Ink Baby Onesie for Later!

Heidi Kundin has captivated the hearts of millions with her colorful and inspiring approach to crafting, celebrations, and family fun. With over 15 years of experience, Happiness is Homemade has become a must-visit destination for those seeking quick and easy creative ideas and last-minute solutions. Heidi’s warm personality shines through her posts, inviting readers to join her on a creative journey that’s fun, rewarding, and achievable. Heidi is also the author of Homemade Bath Bombs & More and DIY Tie-Dye.

