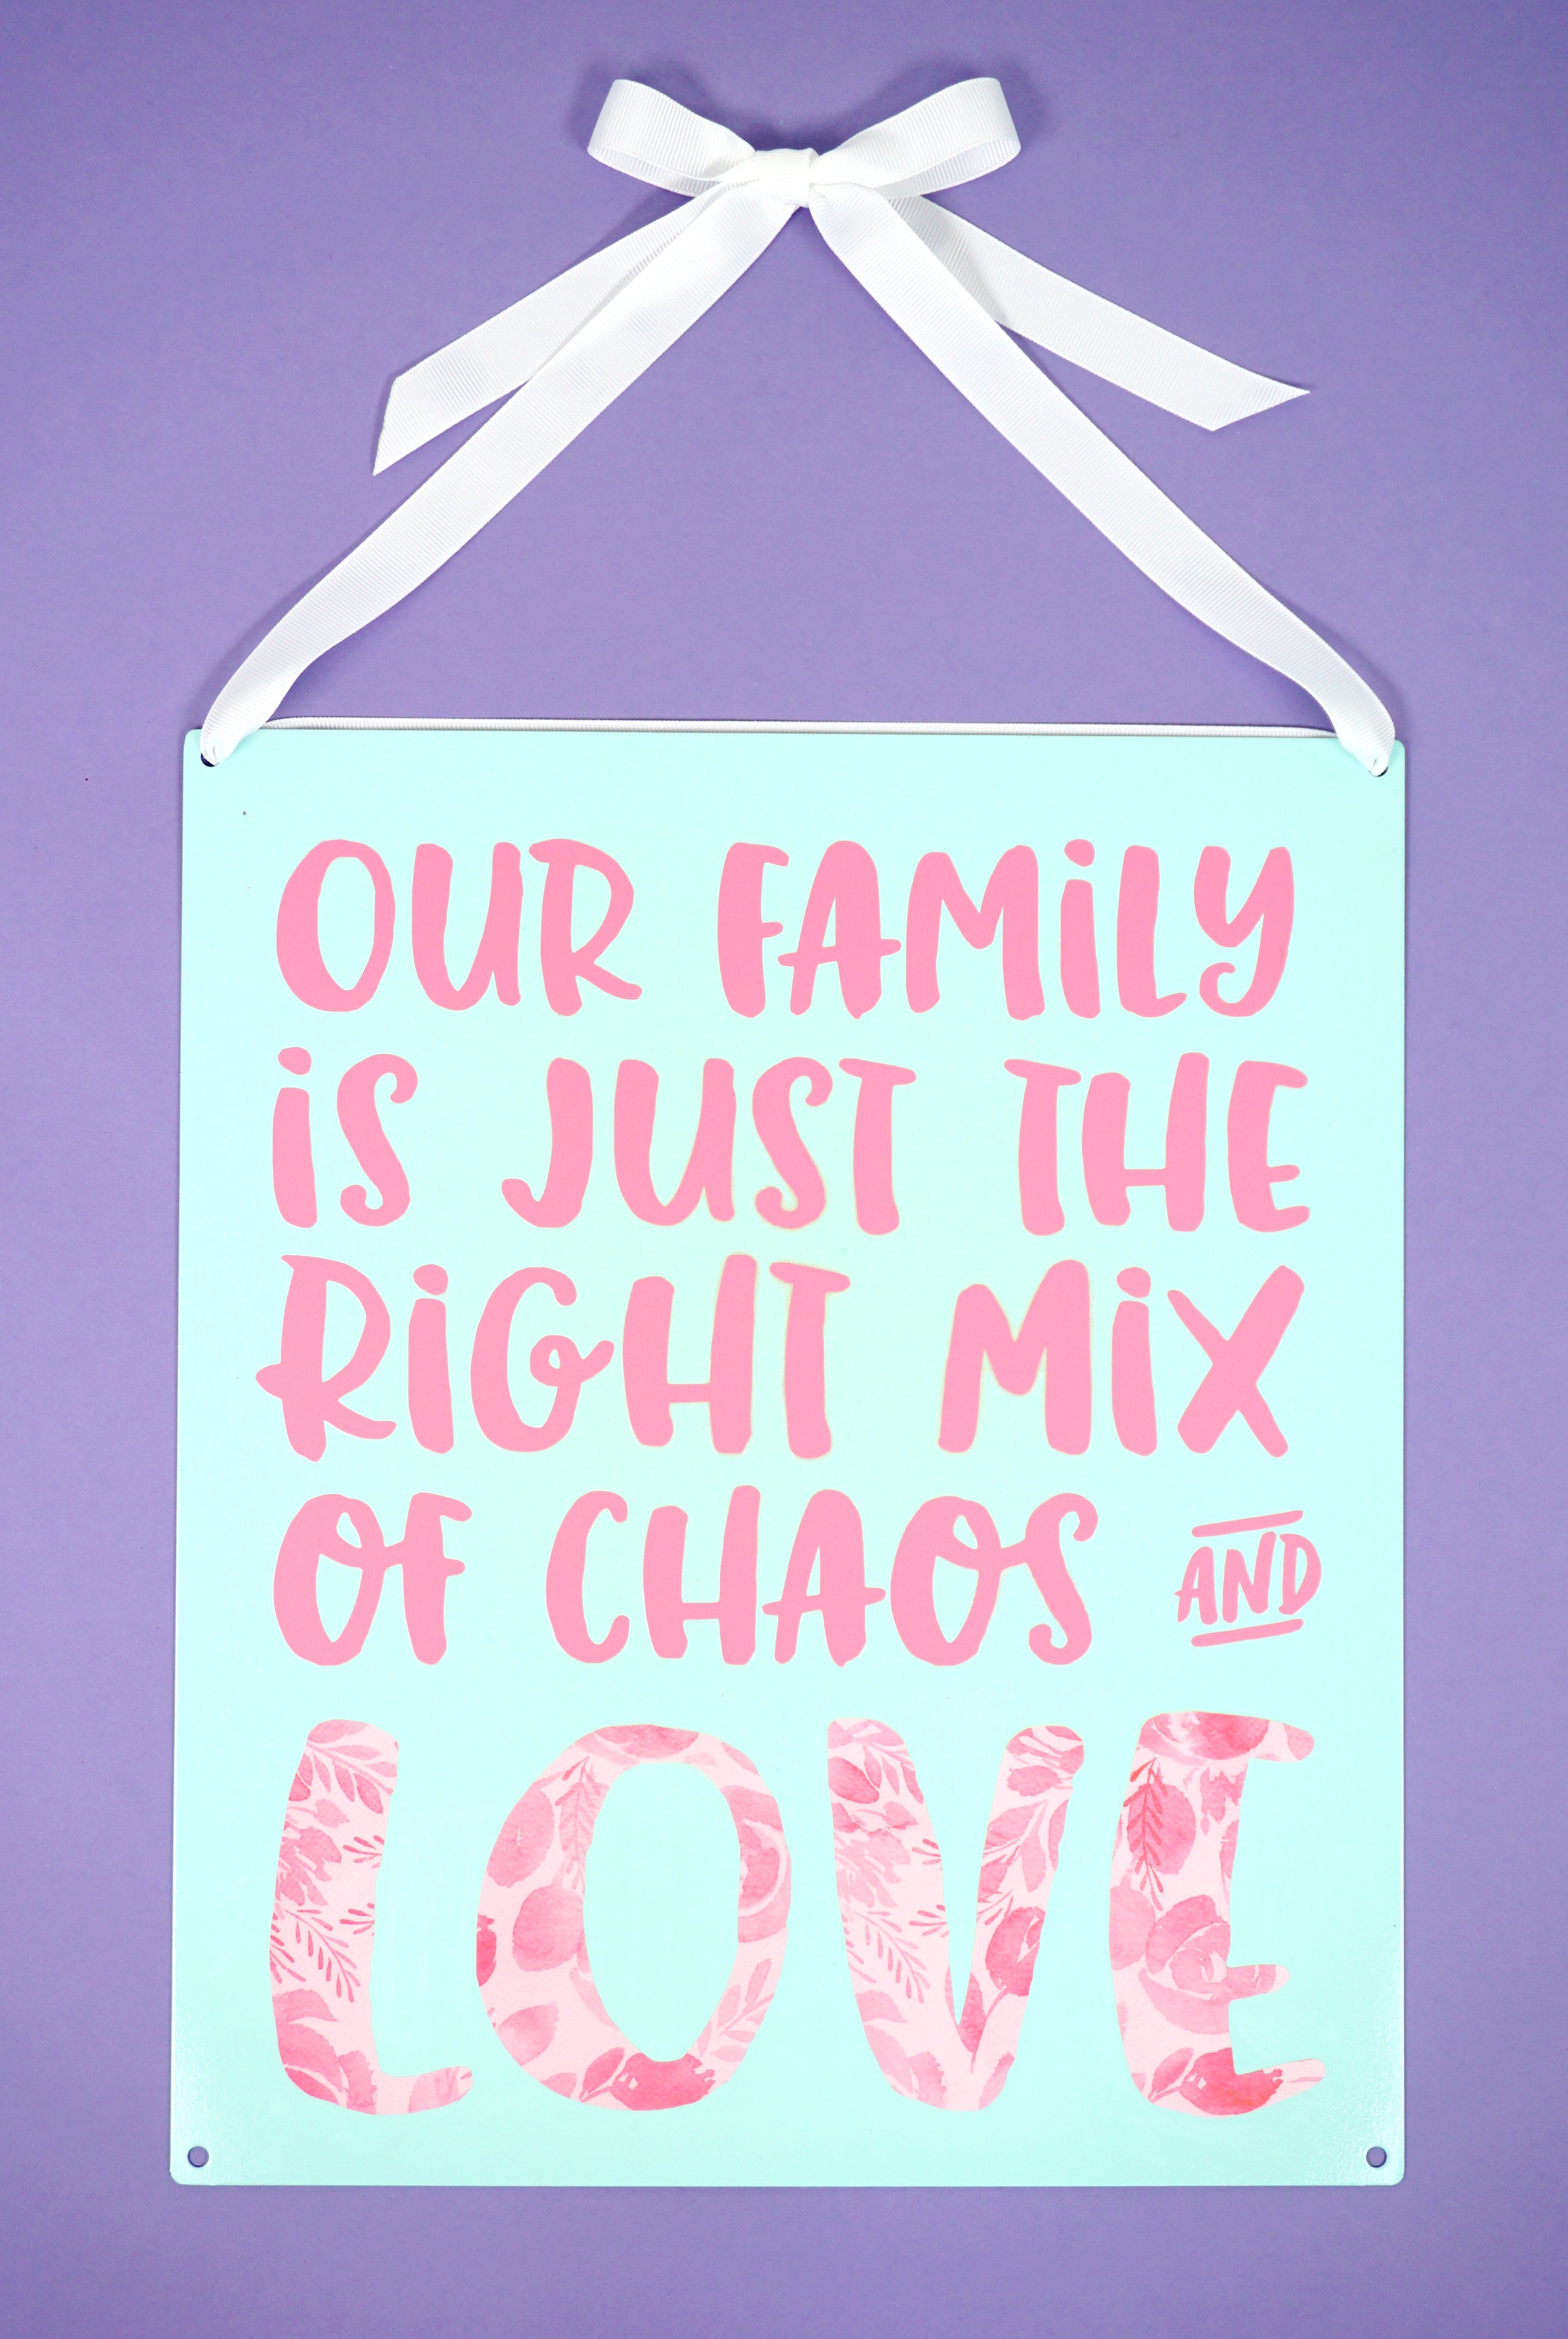
Learn how to use iron-on heat transfer vinyl to make a cute metal sign in this quick and easy Cricut project tutorial + SVG file! Iron-on isn’t just for clothing! Create all kinds of fun home decor pieces with this creative technique!

How to Use Iron-On Heat Transfer Vinyl on Metal
Did you know that you can use iron-on (also known as heat transfer vinyl) on a multitude of different surfaces including metal? That’s right! Iron-on isn’t just for fabric! In fact, using iron-on on wood, metal, and paper projects are some of my favorites because the strong bond and the thinness of the material works great for home decor projects.
Supplies Needed to Make a Metal Sign with Iron-On Vinyl
- Metal Board (11″ x 13″ with pre-drilled holes) or Sheet Metal (cut to size)
- Iron-On Heat Transfer Vinyl
- Cricut Patterned Iron-On – I used the Sunset Blossom Set
- Cricut EasyPress & Easy Press Mat (or an Iron)
- Cricut Maker or another electronic cutting machine
- Chaos & Love SVG File (available below)
- Ribbon for Hanging
- Paint, optional
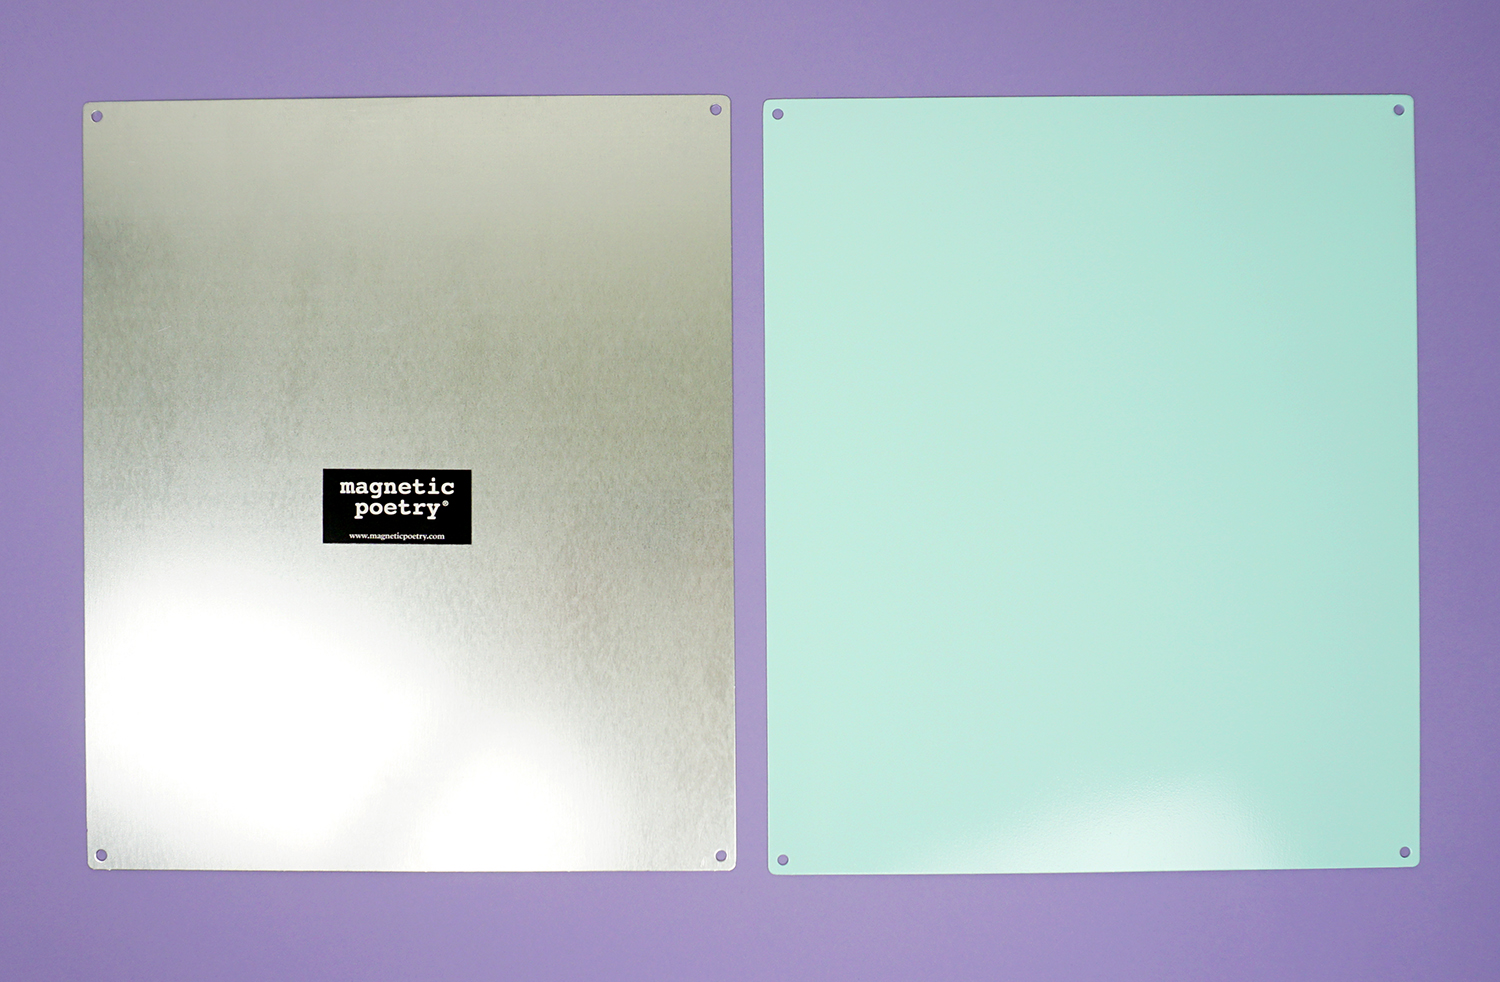
I started by spray painting my metal board with Rust-Oleum 2x paint in Ocean Mist, and I allowed it to dry completely and cure for 24 hours before proceeding to the next step.
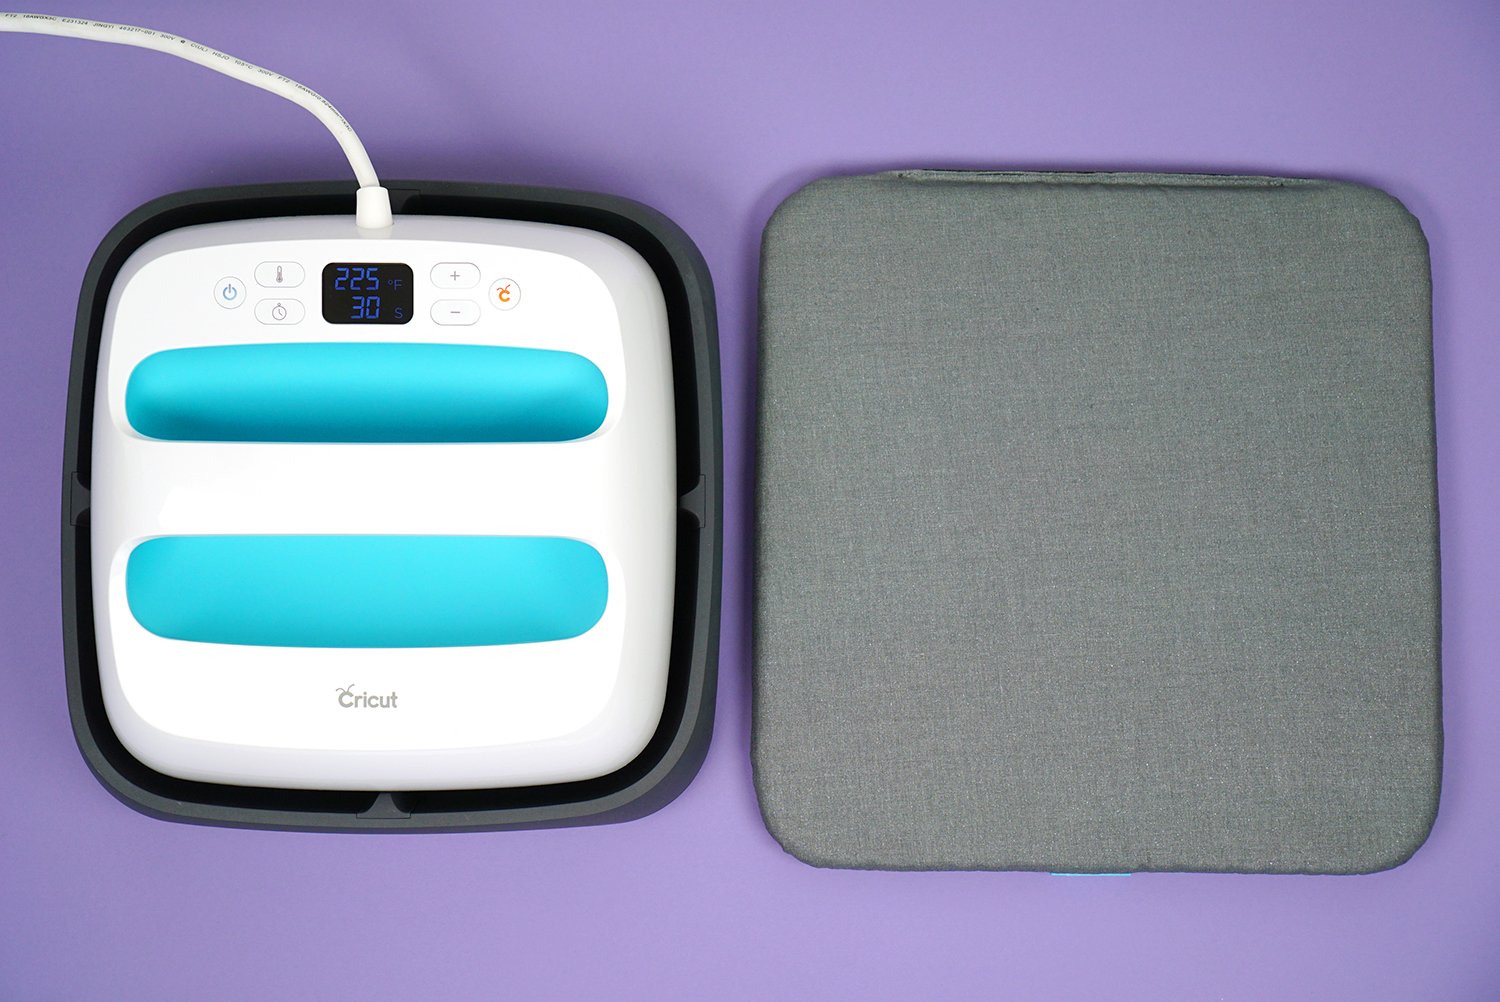
If you don’t have a Cricut EasyPress and EasyPress Mat in your crafting arsenal yet, you’re missing out! I find myself reaching for it ALL THE TIME (even for regular ironing ha!) – it’s an absolute MUST-have for iron-on projects! The EasyPress has a 9″ square heating surface that heats with completely even temperature across the entire surface, so you can be assured that your entire design is getting the same amount of heat and pressure with each pass. It’s a total game changer when it comes to iron-on!
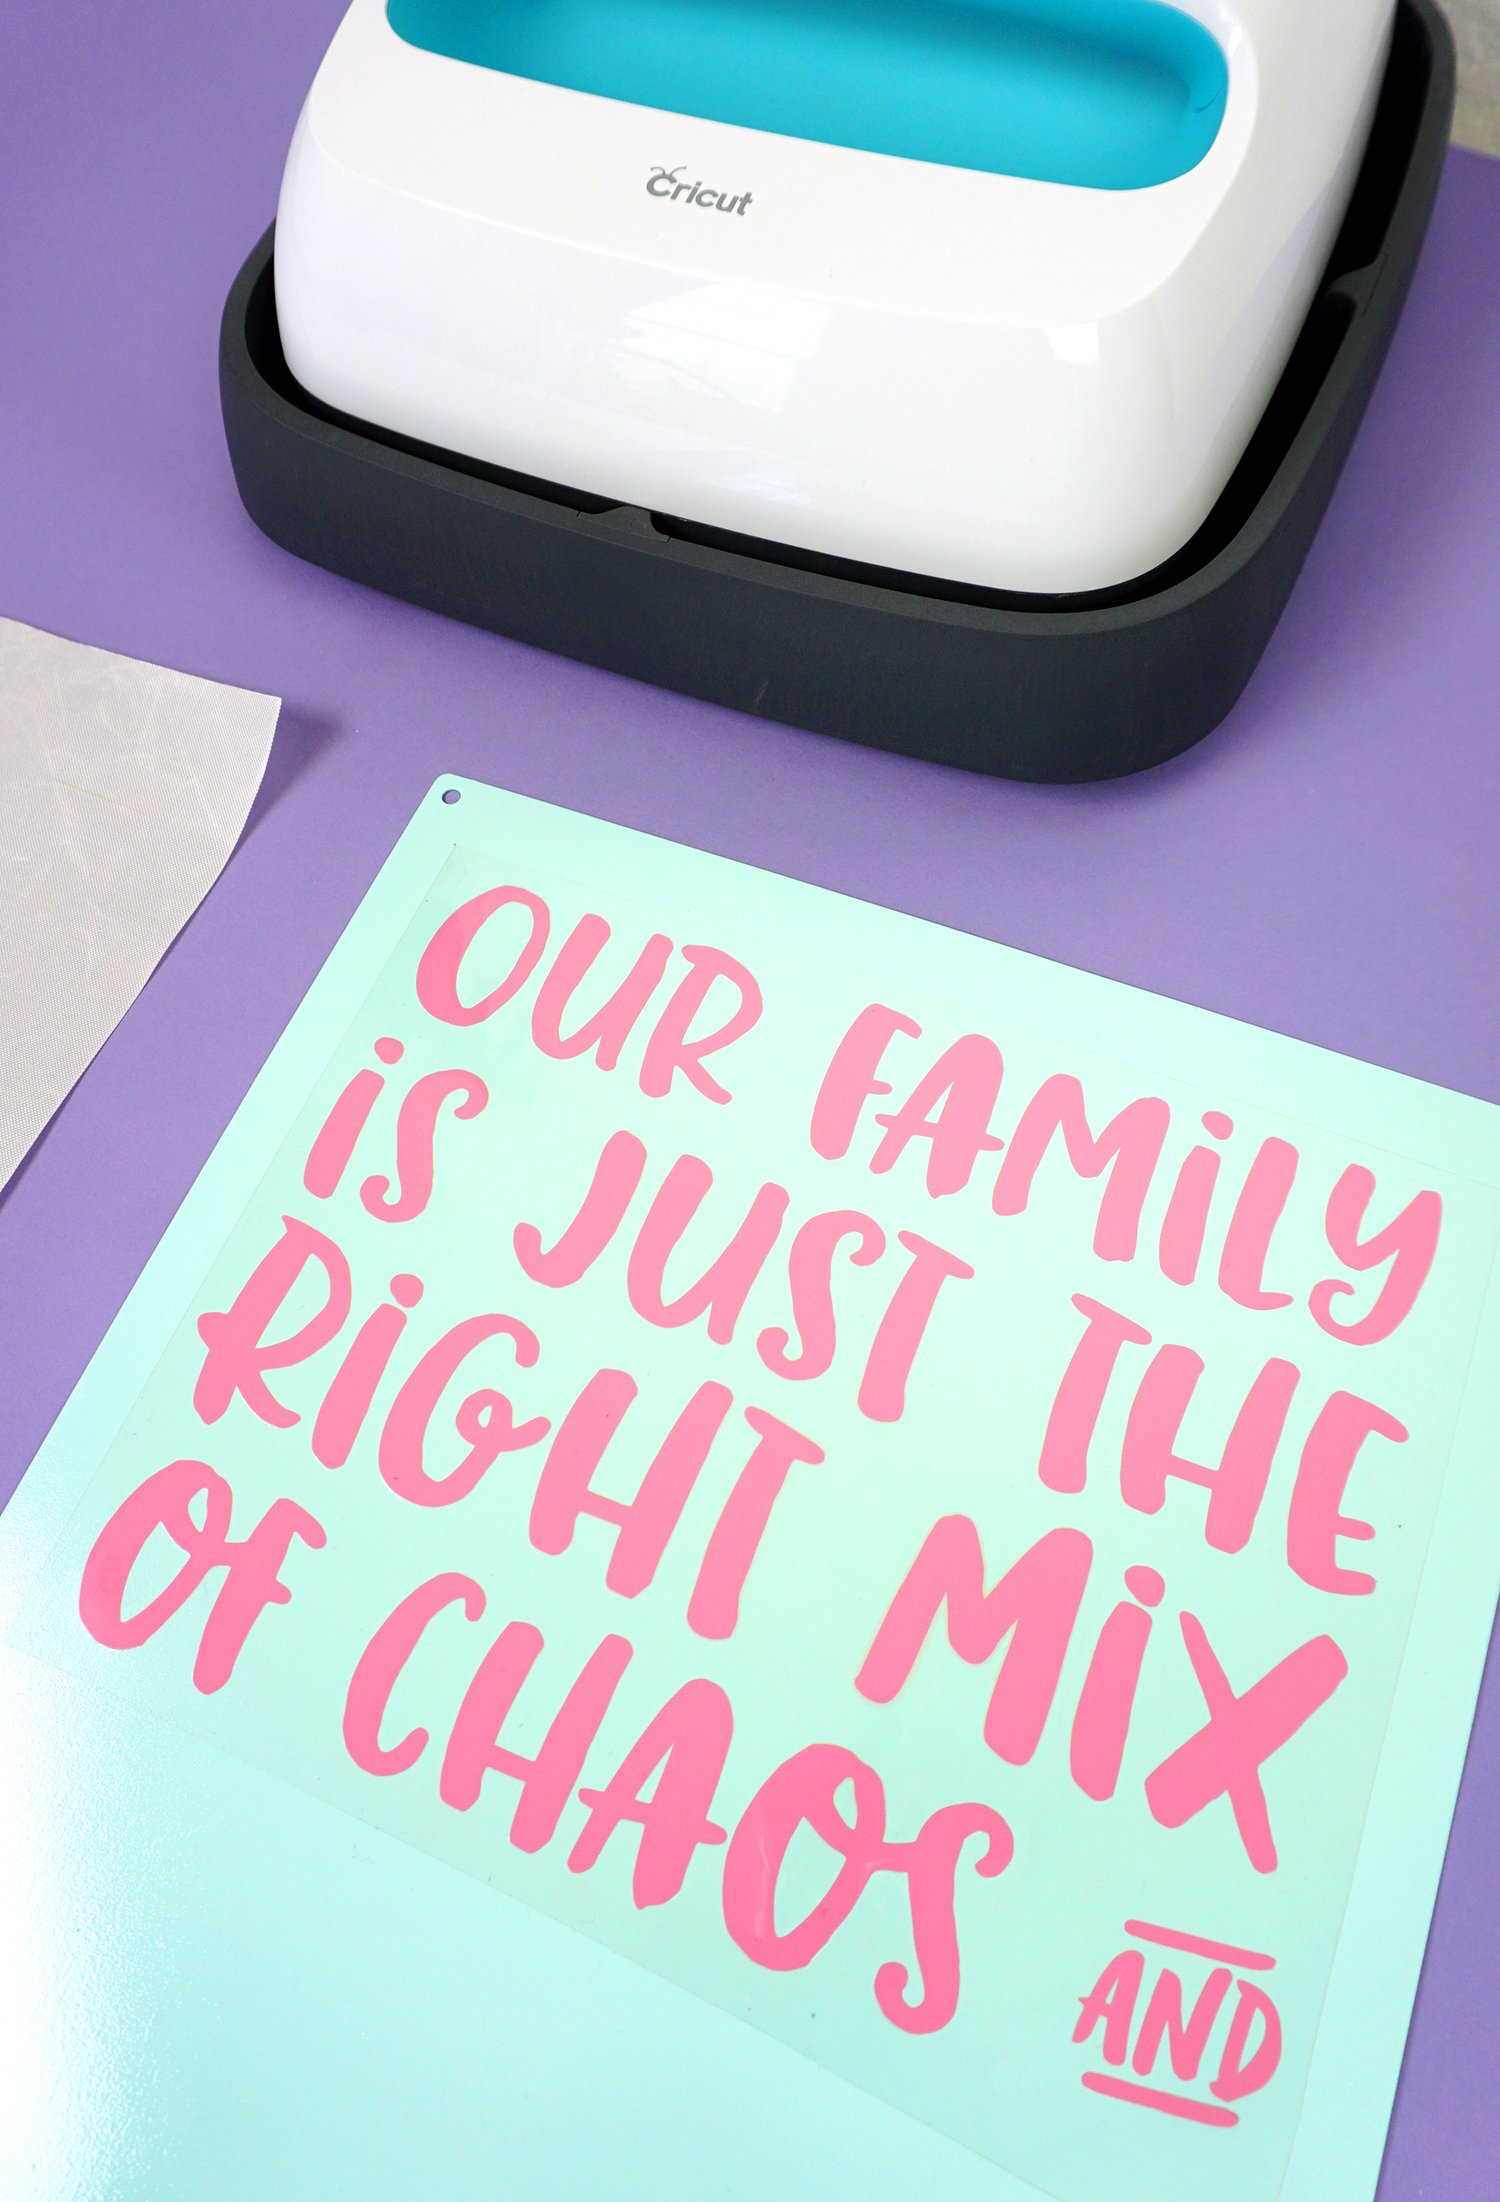
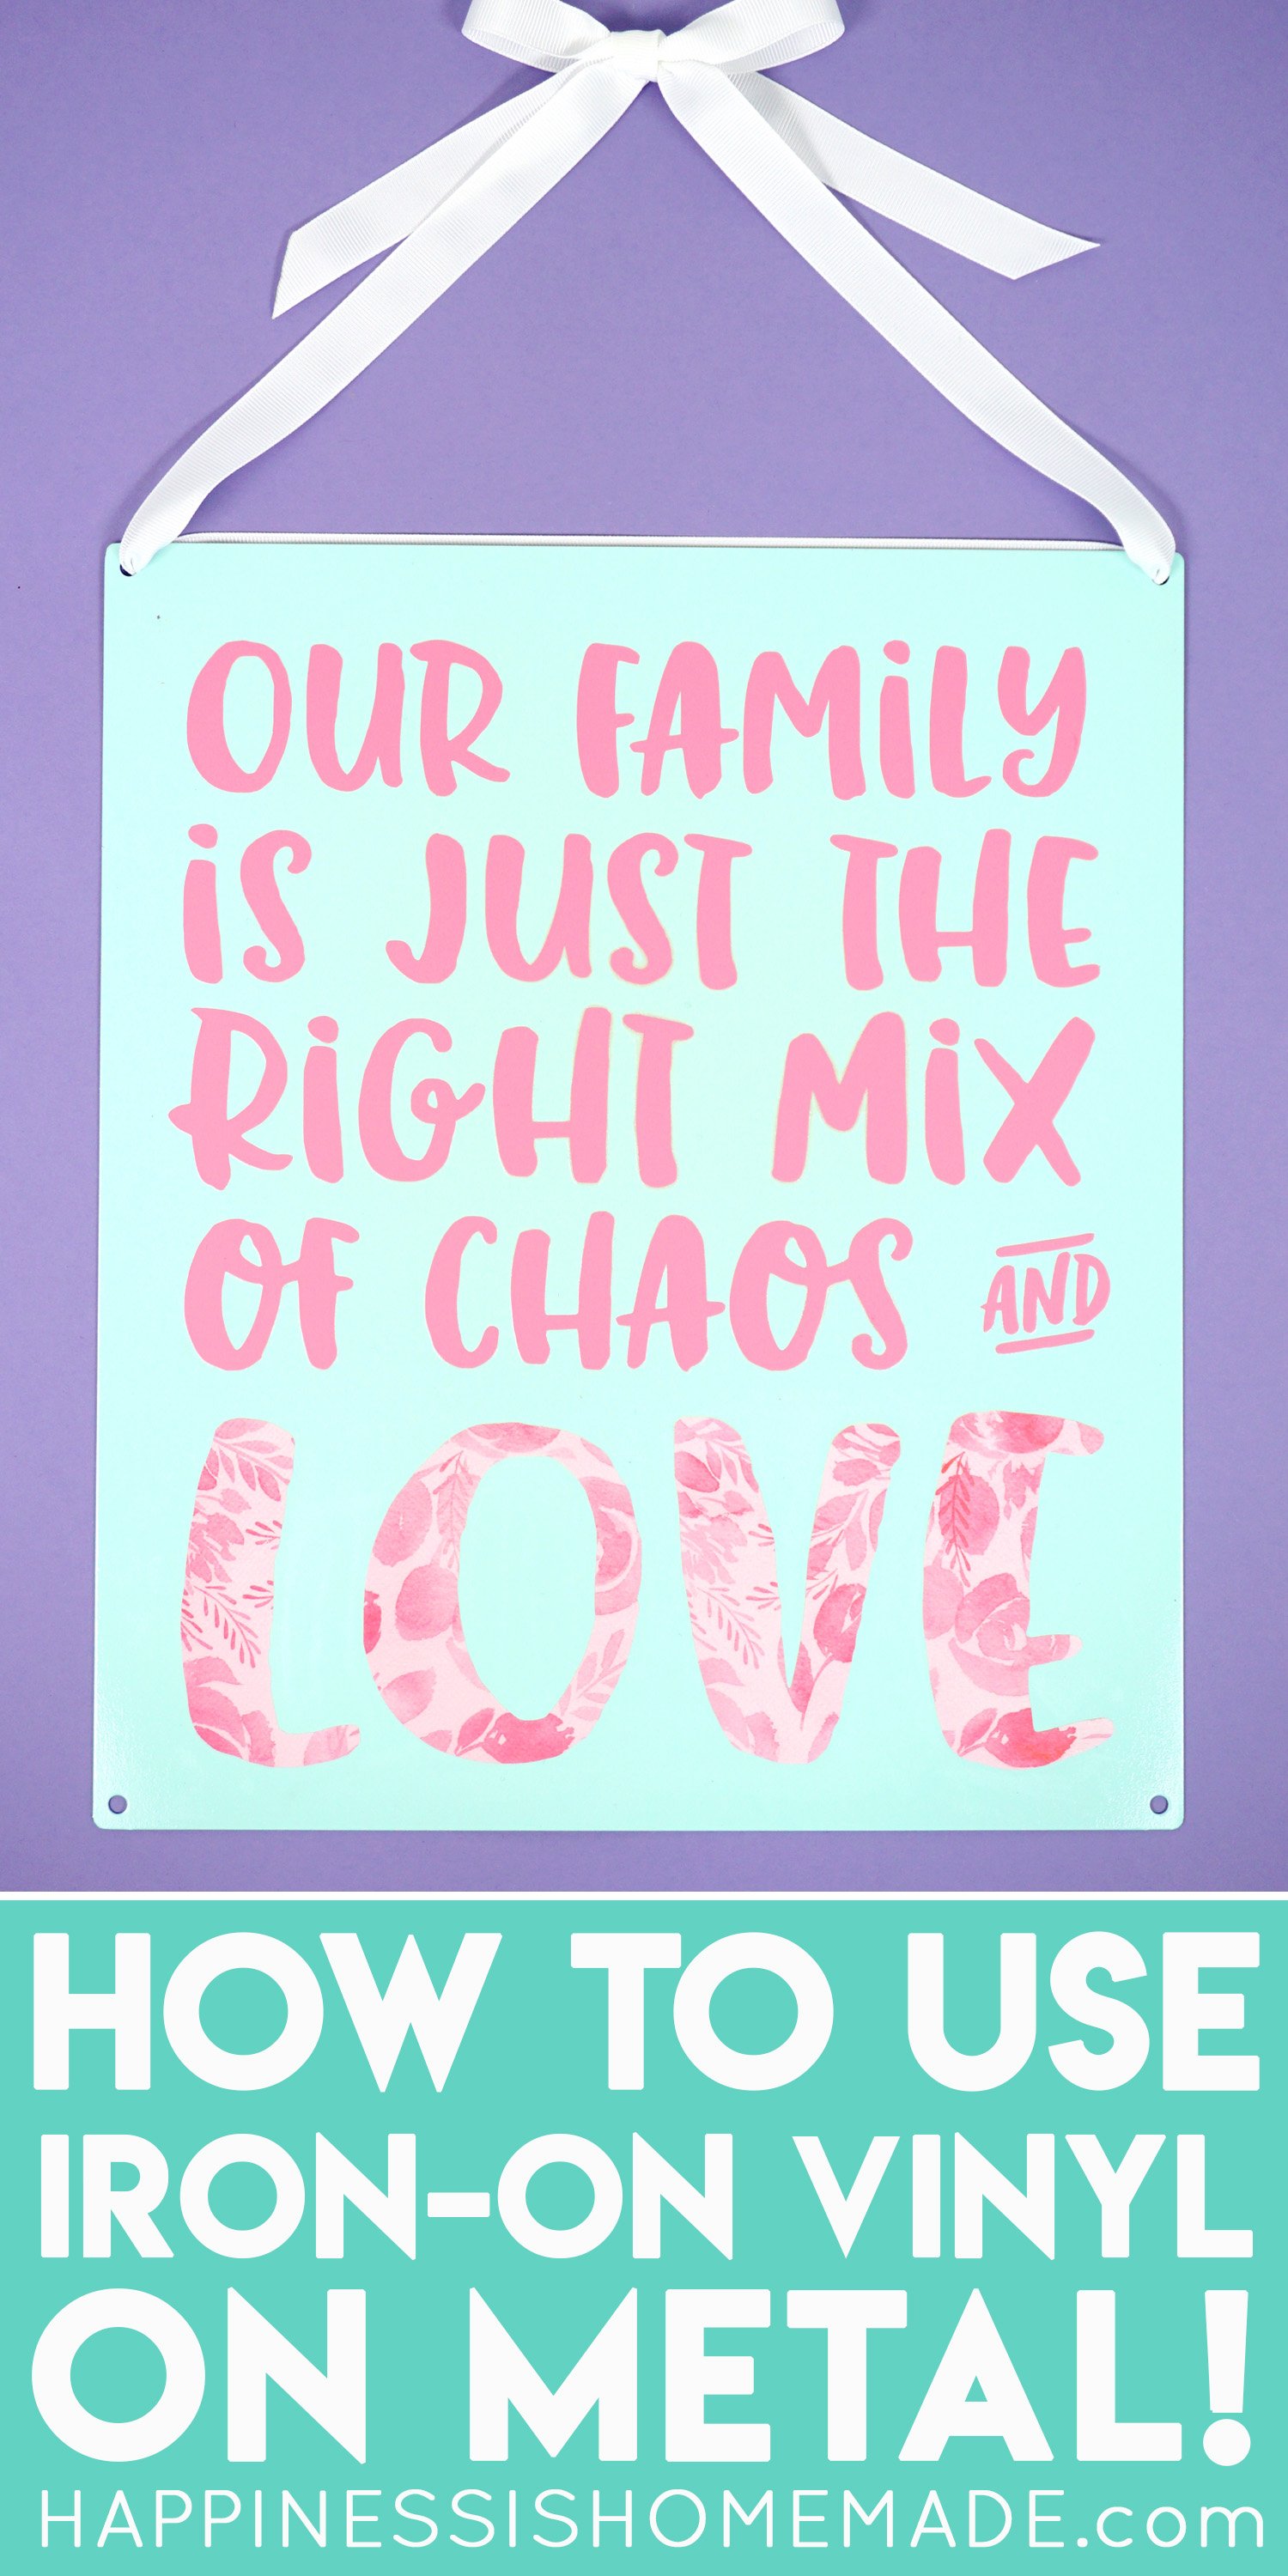
I used my Cricut Maker to cut out the top portion of the text from iron-on heat transfer vinyl, weeded the excess, and used the EasyPress to iron the design on to the metal. Note: the metal sign gets HOT, so use extra caution when using iron-on with metal! I set the temperature to 300 degrees and pressed for 40 seconds, allowed it to cool for a few minutes, and repeated the process once more before peeling off the plastic carrier sheet while the iron-on was still warm. When using metal bases, a hot/warm-peel works best, but again, please BE CAREFUL!
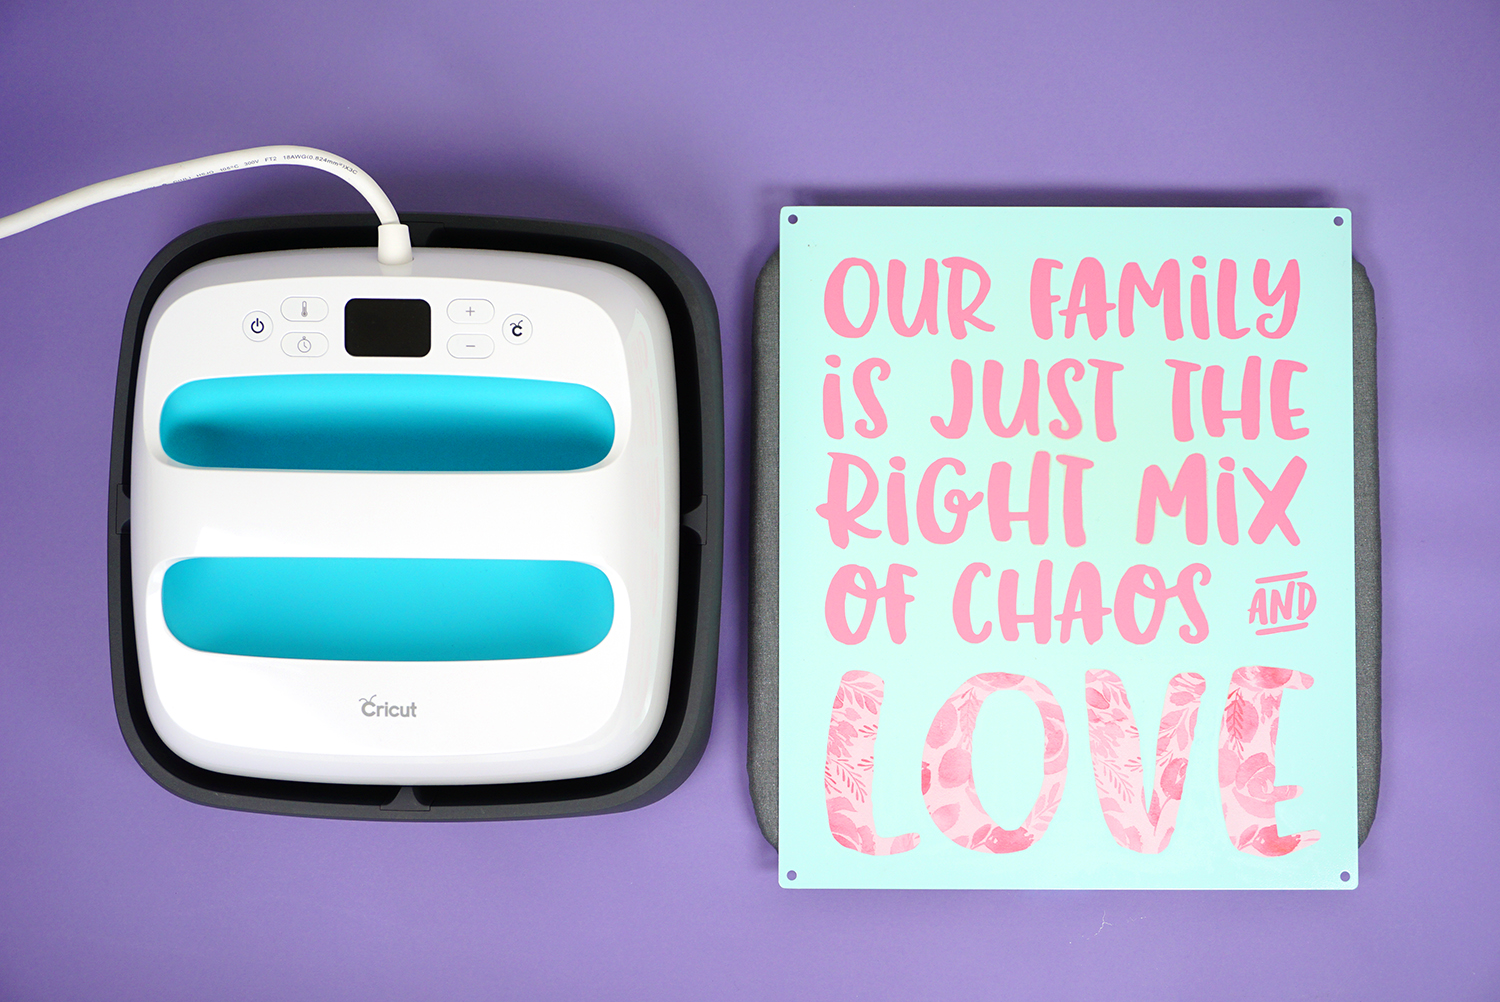
Next, I cut the word “LOVE” from Cricut Patterned Iron-On and used the EasyPress at 300 degrees/40 seconds to iron it on. Allow the patterned iron-on to cool completely (this takes a few minutes since the metal gets hot!) before peeling off the plastic carrier.
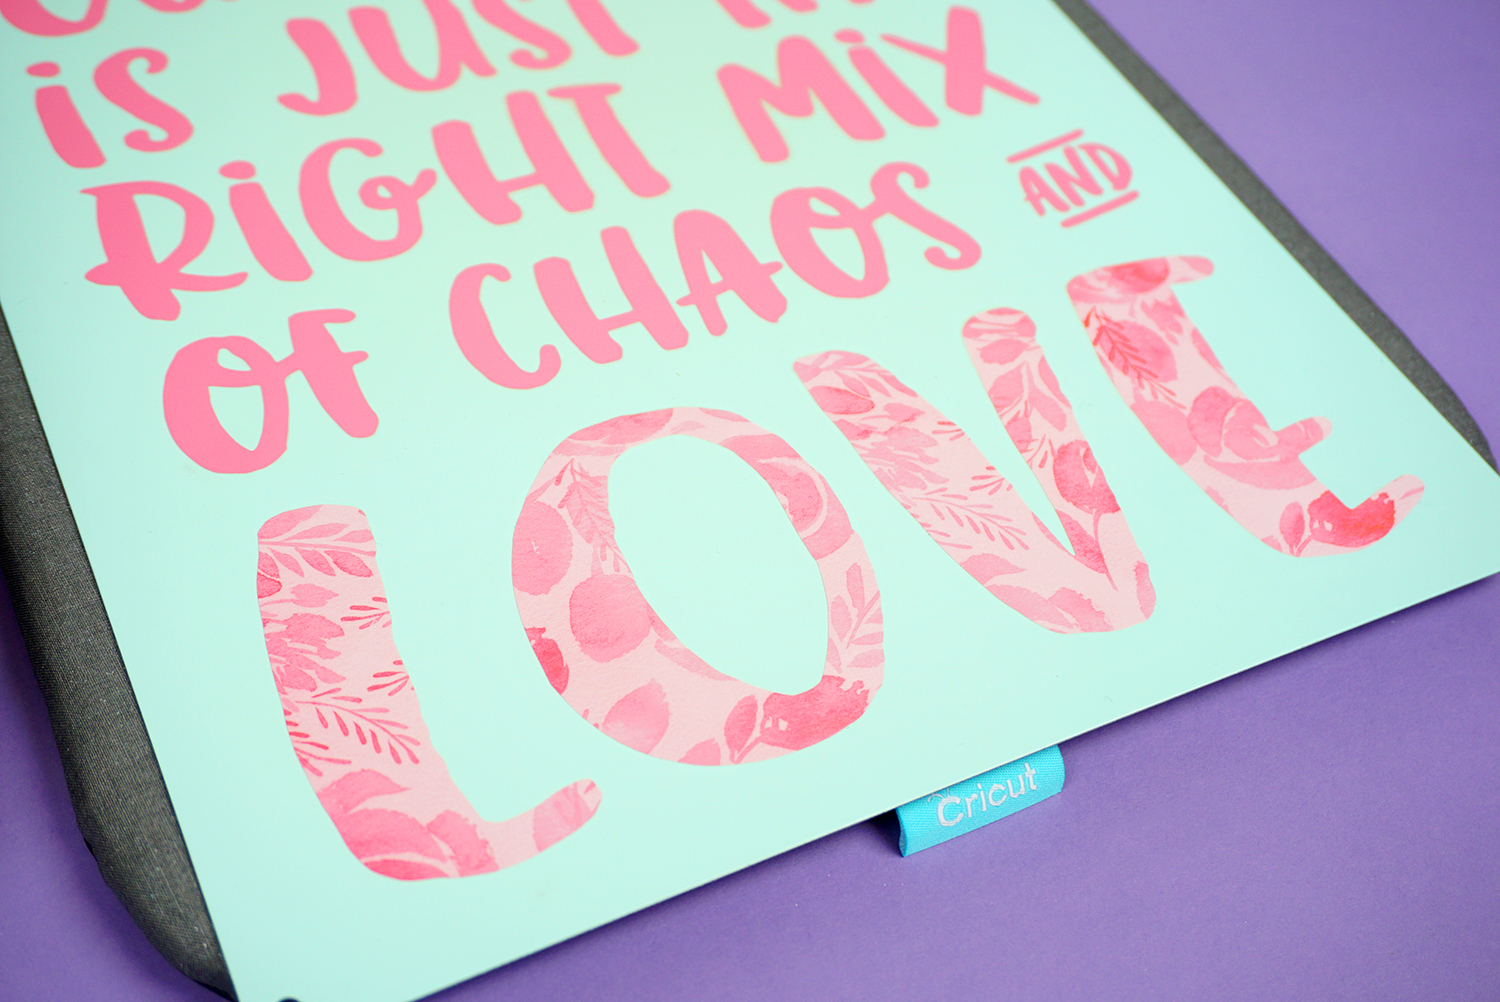
I just love the way that the iron-on looks on metal! It’s so sleek and low-profile compared to adhesive vinyl!
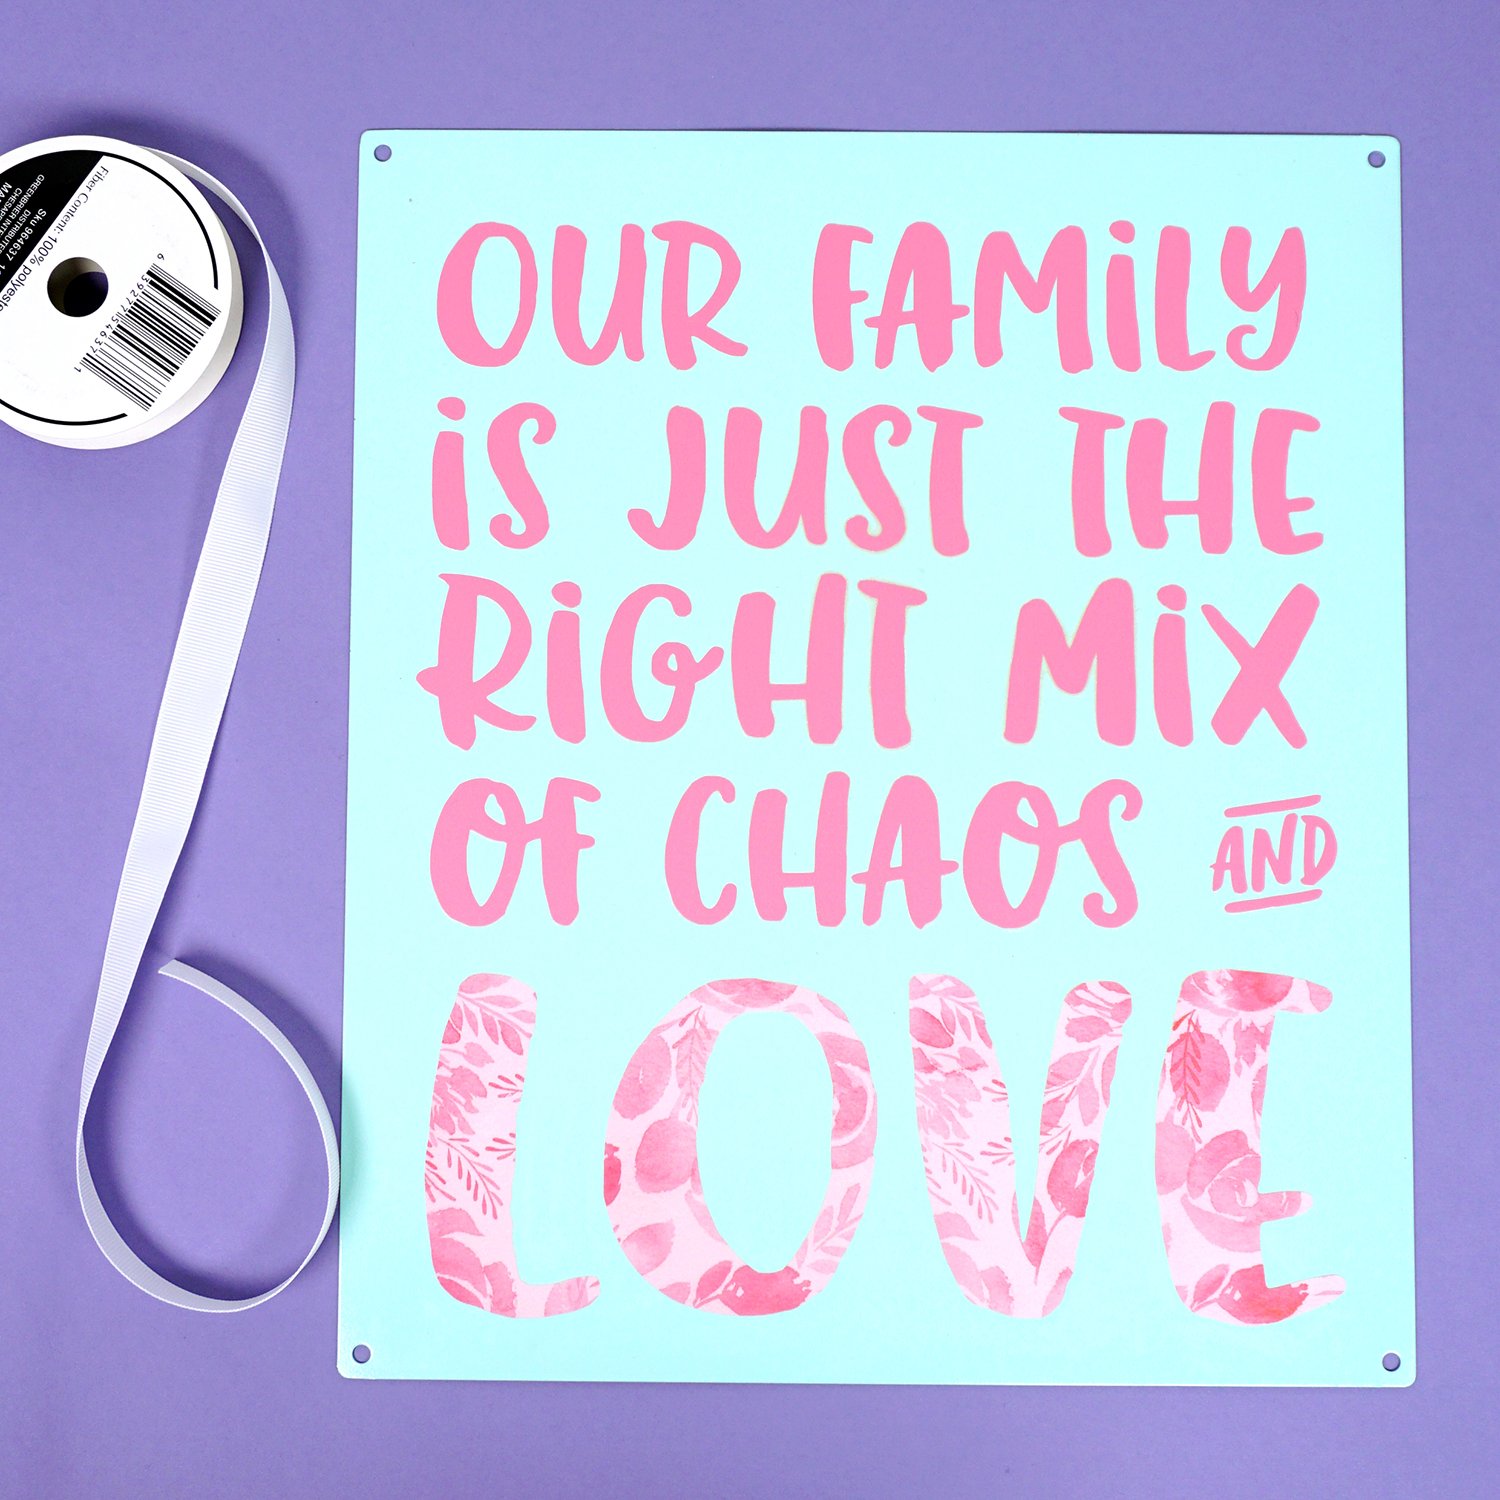
Now, you could totally just nail the metal sign directly to the wall using the holes, but I wanted to fancy things up a bit, so I threaded a length of grosgrain ribbon through the top two holes and made a decorative hanging bow.

Easy peasy and super cute! I love this combination of plain and patterned iron-on!
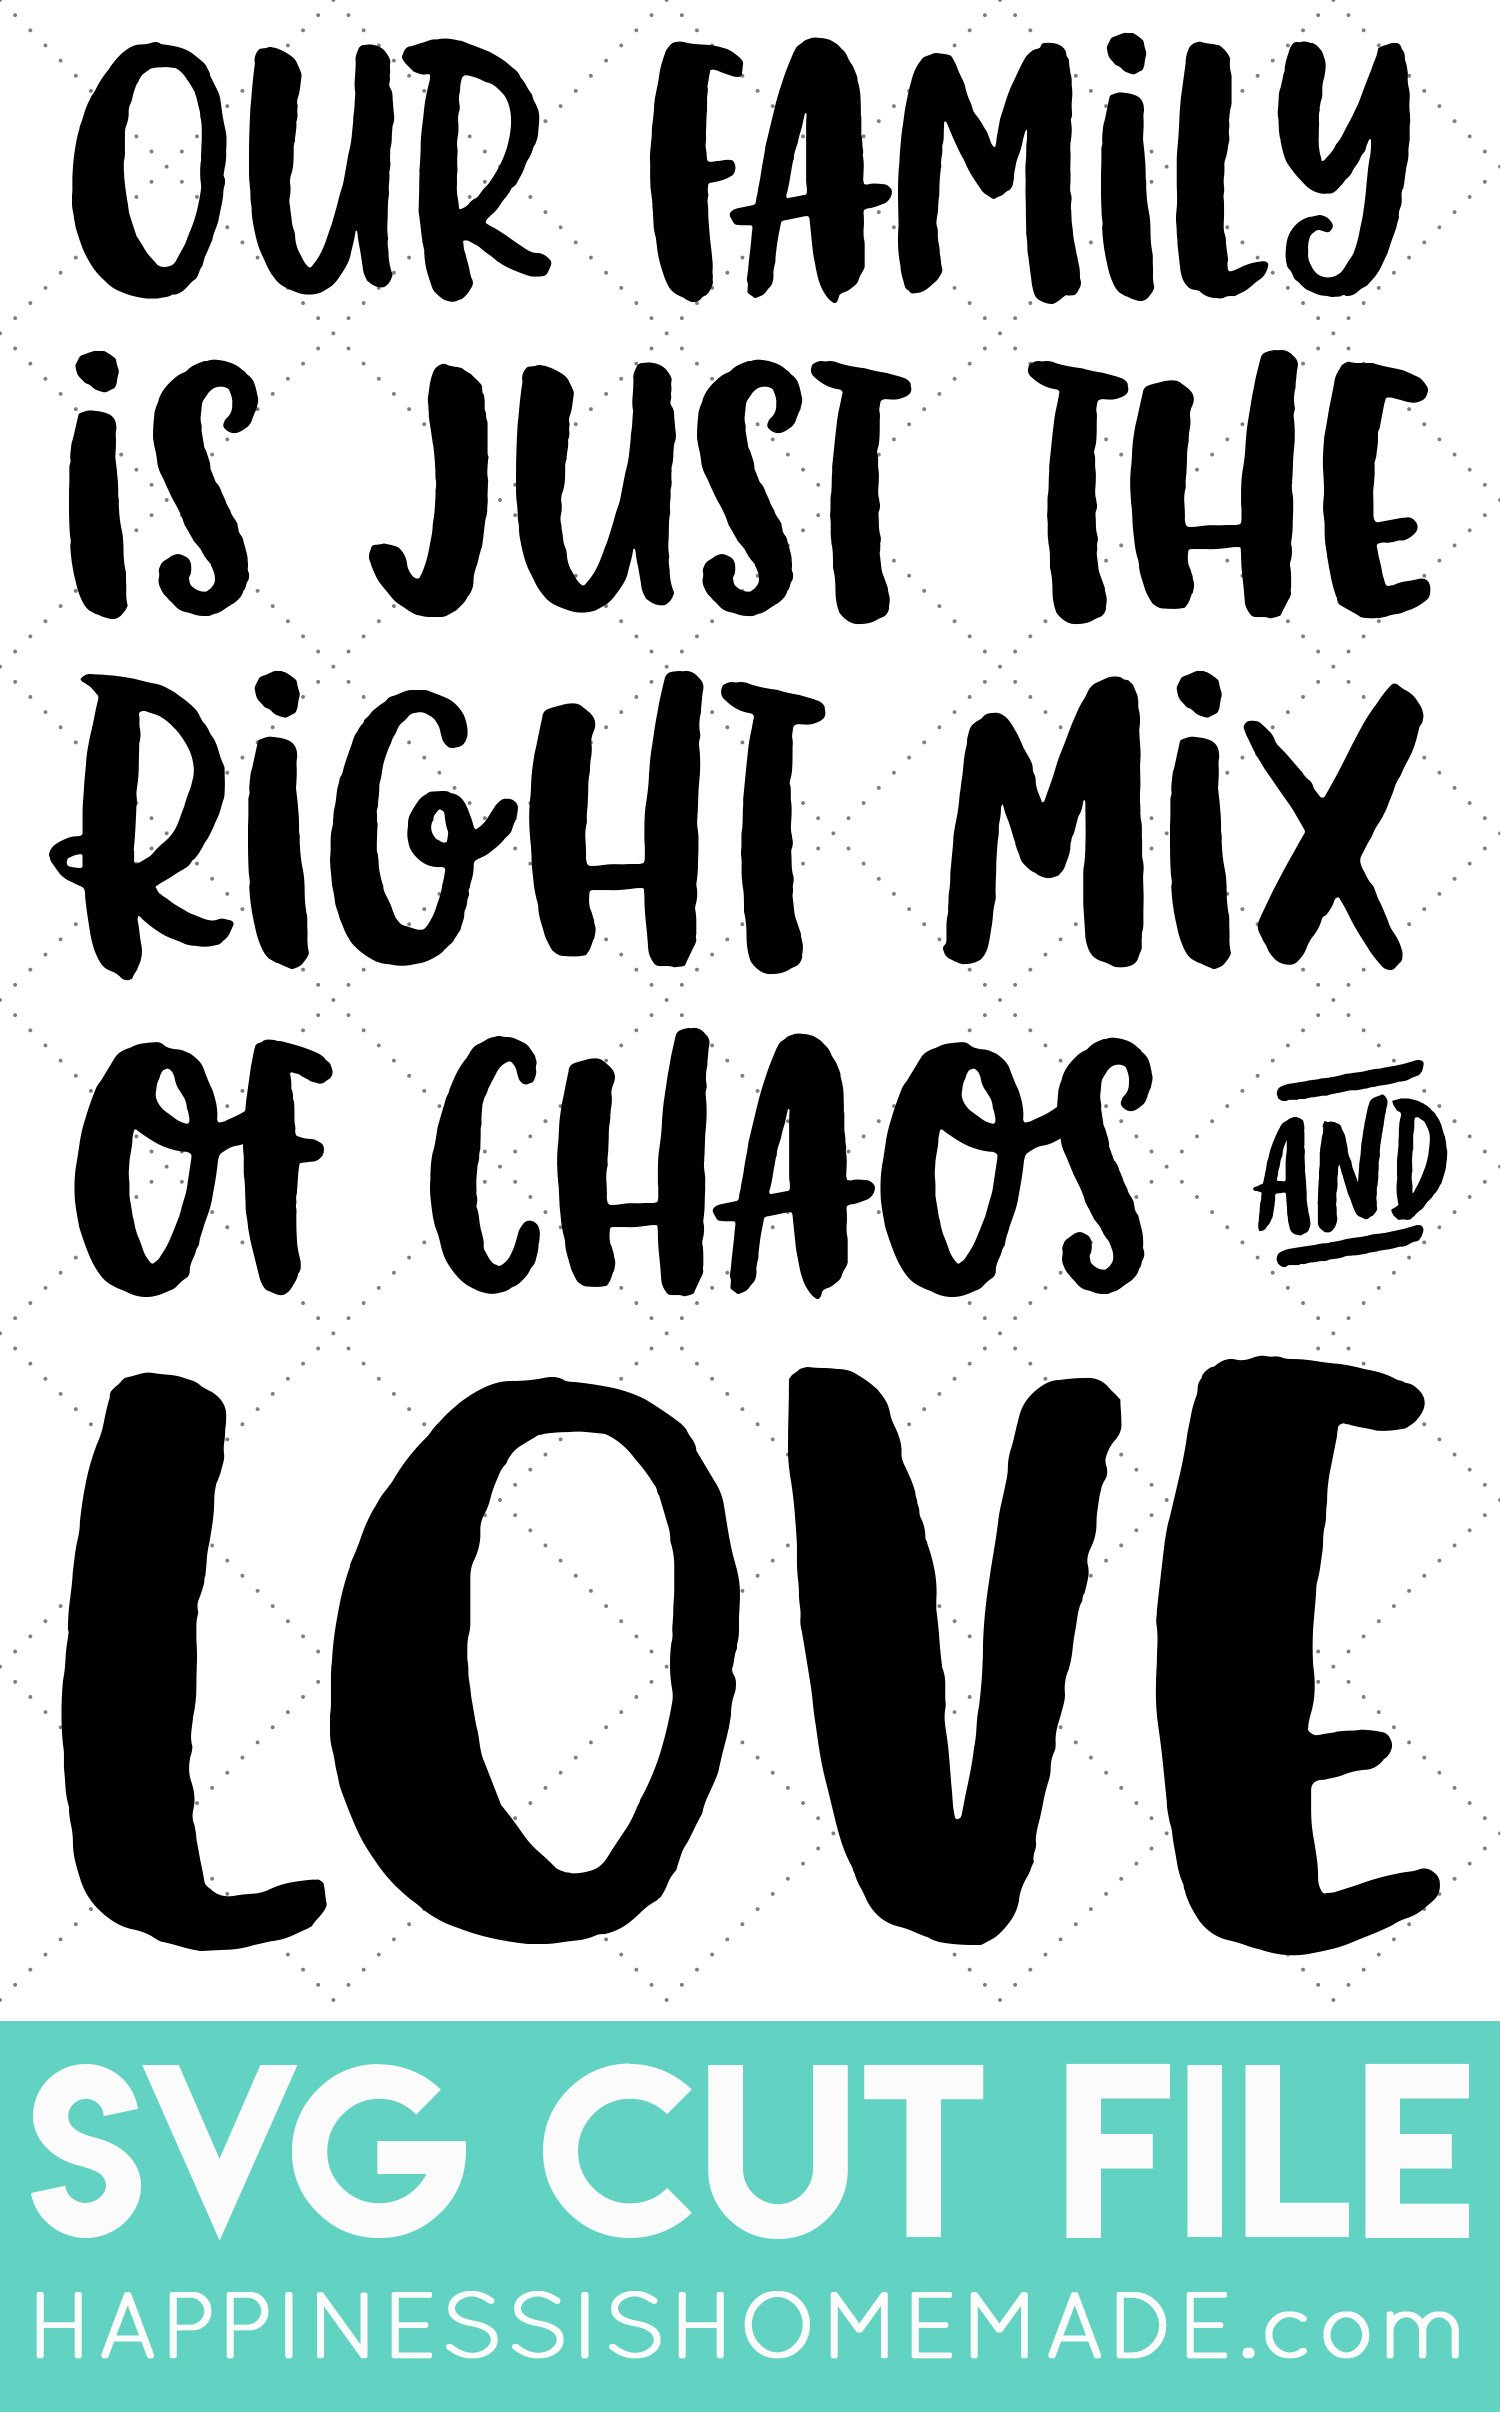
Get the Chaos & Love SVG to Make Your Own Home Decor!

Check Out These Other Cricut Ideas!
Pin this metal sign tutorial for later!

Heidi Kundin has captivated the hearts of millions with her colorful and inspiring approach to crafting, celebrations, and family fun. With over 15 years of experience, Happiness is Homemade has become a must-visit destination for those seeking quick and easy creative ideas and last-minute solutions. Heidi’s warm personality shines through her posts, inviting readers to join her on a creative journey that’s fun, rewarding, and achievable. Heidi is also the author of Homemade Bath Bombs & More and DIY Tie-Dye.

