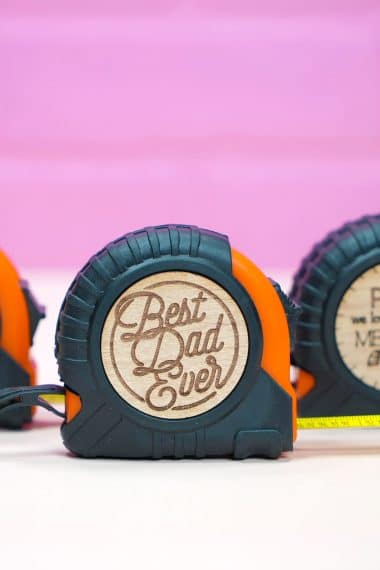
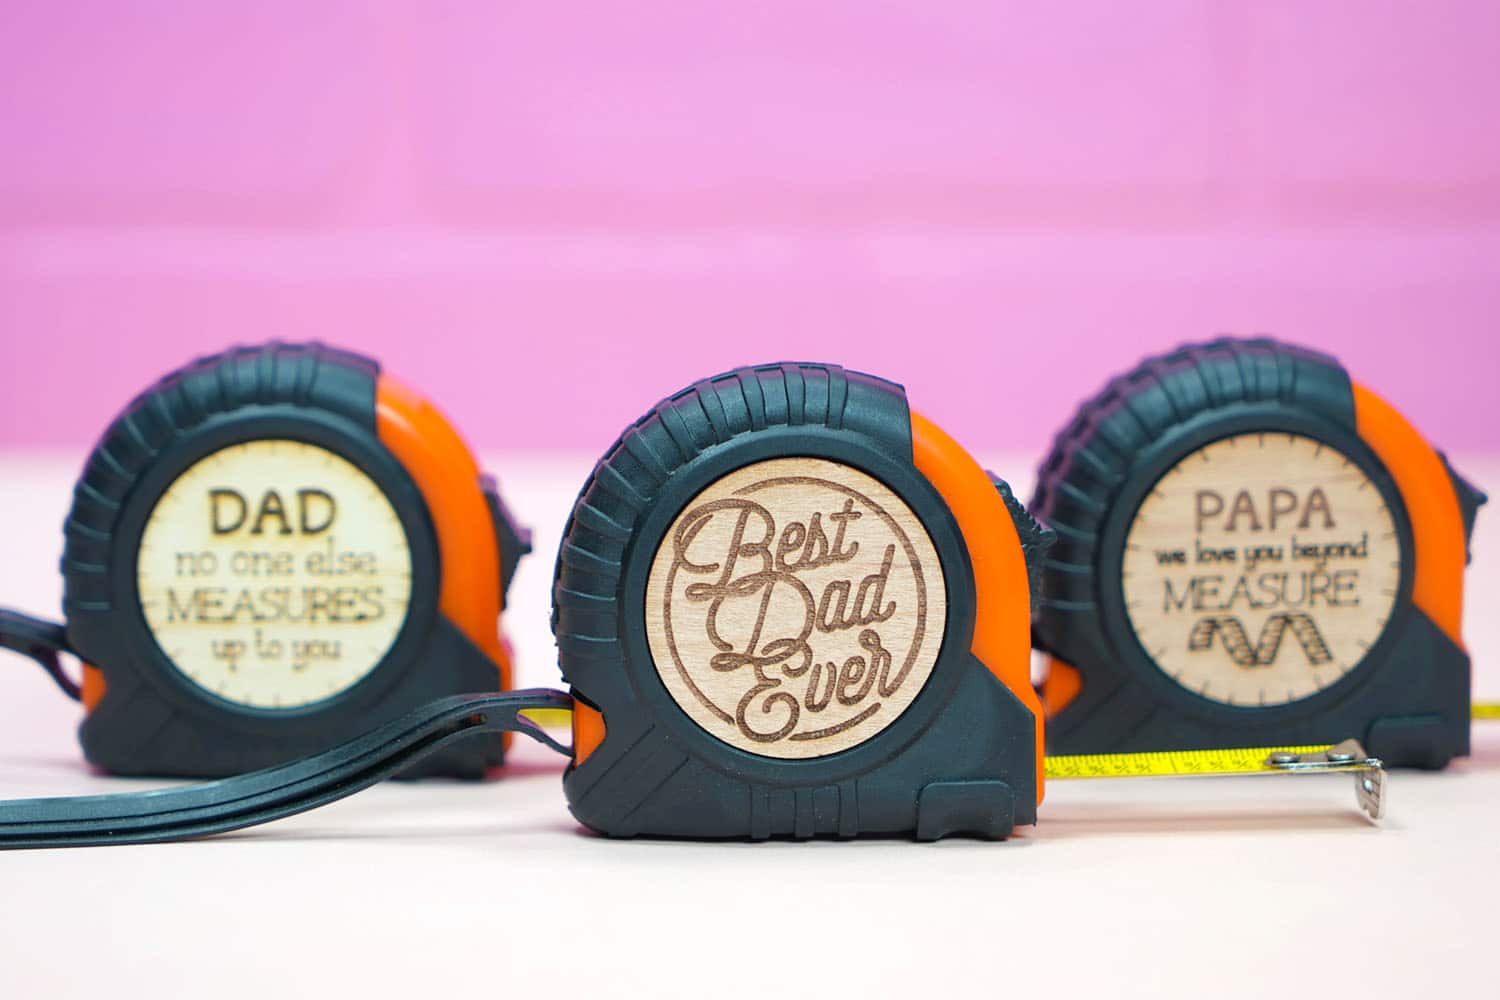
Custom tape measures make a great gift idea for Father’s Day, Christmas, birthdays, and more! Learn how to make your own personalized tape measures with Glowforge and start making awesome gifts for your friends and family!
This post may contain affiliate links. I will receive a small commission from these sales at no additional cost to you!
If you’re looking for the perfect gift idea for the handy man or woman in your life, we’ve got you covered! These easy DIY custom tape measures can be personalized for any gift recipient!
For this personalized tape measure project, we used our Glowforge Pro, but any type of laser engraving machine should work!
Quick Note!
If you don’t have a Glowforge yet and are considering a purchase, make sure to read our guide to Everything You Need to Know Before Buying a Glowforge for lots of helpful information and a Glowforge discount that can save you up to $500 on your Glowforge!
Check out all of our Glowforge Laser Projects and Files here!
DIY Custom Tape Measures
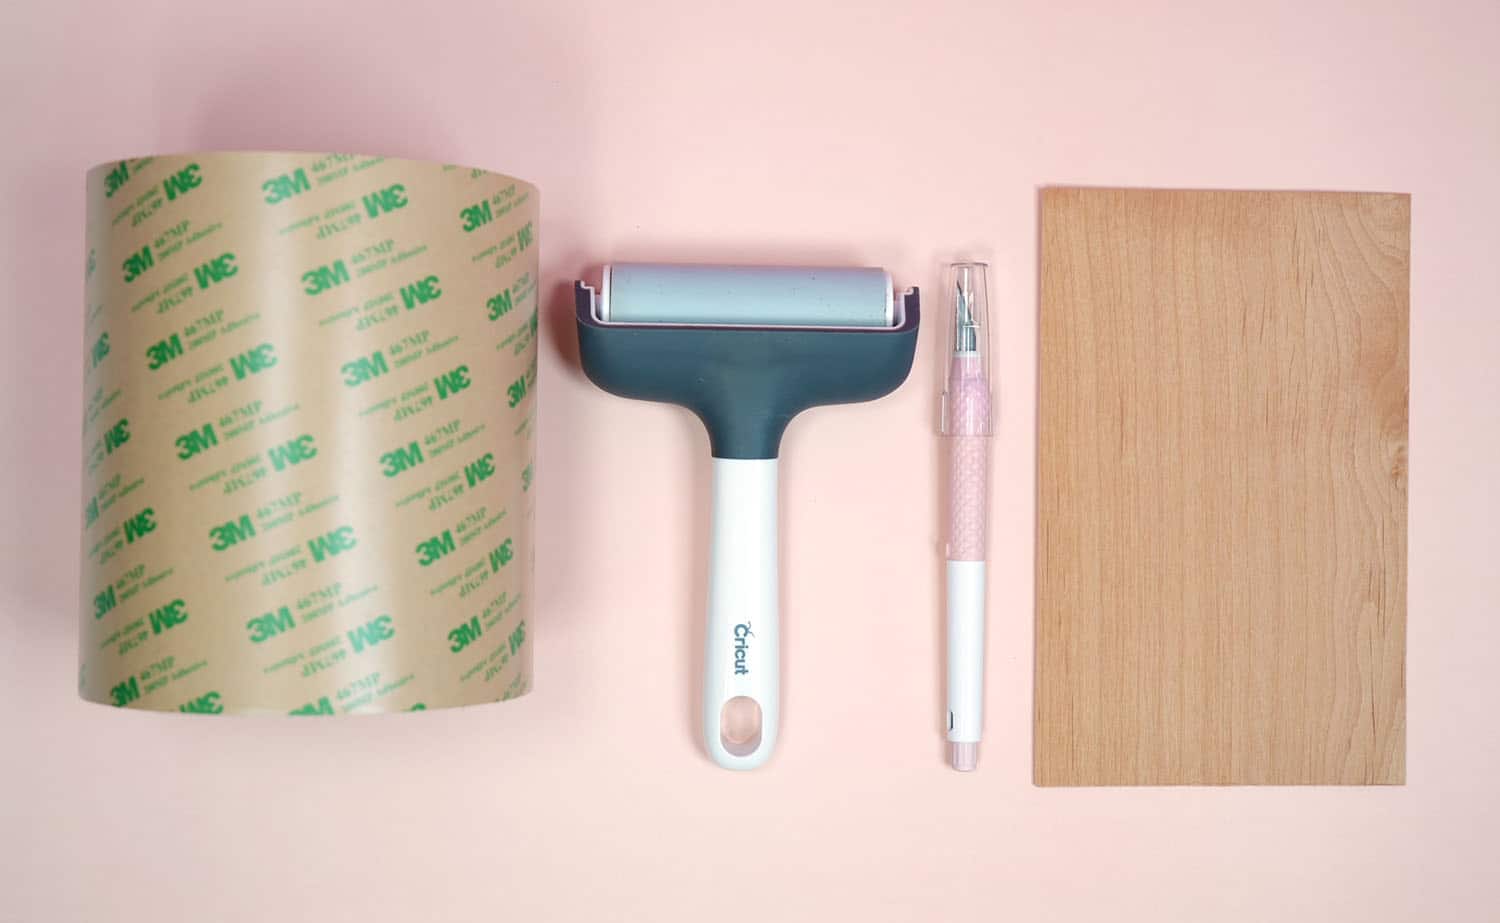
All you’ll need to make these custom tape measures are a few basic materials!
Supplies Needed:
- Glowforge or other laser cutter (this project can be made with Glowforge Basic, Plus, or Pro)
- Wood Veneer Sheets (we used this assorted veneer pack from Veneer Specialties)
- 3M Double-Sided Adhesive (roll or sheets)
- Tape Measure with round center logo (We used these 12′ Tape Measures and 25′ Tape Measures)
- Brayer
- Craft Knife
- Honeycomb Hold Down Pins
NOTE: The tape measure SVG file that we used for this project is from The Loud House Designs. You can find this design and LOTS of other tape measure SVGs on Etsy!
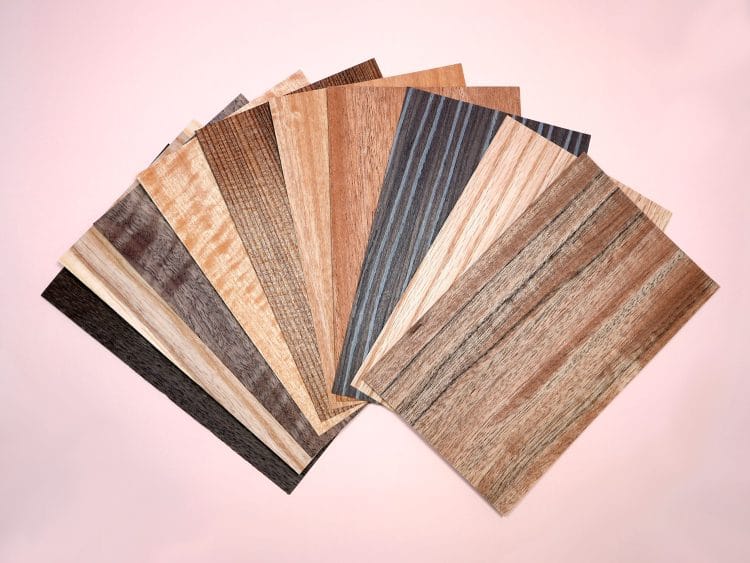
Wood veneer is available in all kinds of different colors, shapes, sizes, textures, and finishes, each with its own style and personality. Some veneers are more fragile than others, so I highly recommend purchasing an assortment of woods to determine which will work best for your needs.
How to Make a Custom Tape Measure
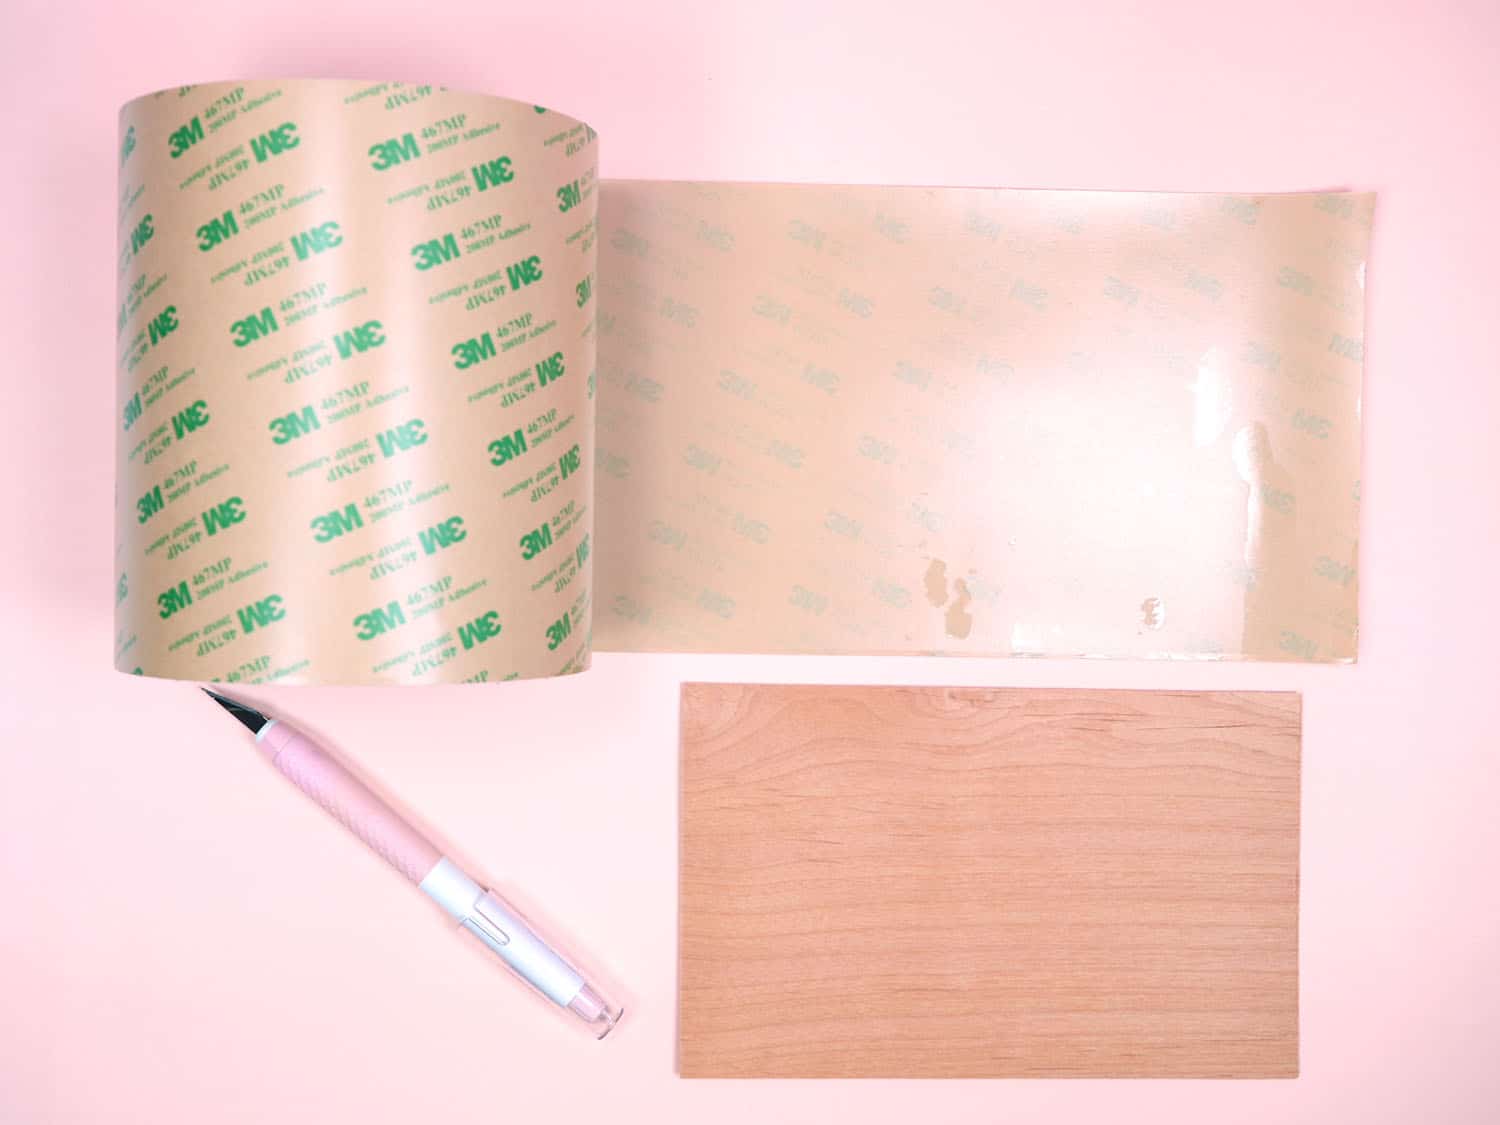
Unroll a small amount of the 3M tape, just slightly larger than your sheet of veneer. If you’re using a single sheet of adhesive, cut it to the approximate size, and then peel off one side of the paper backing.
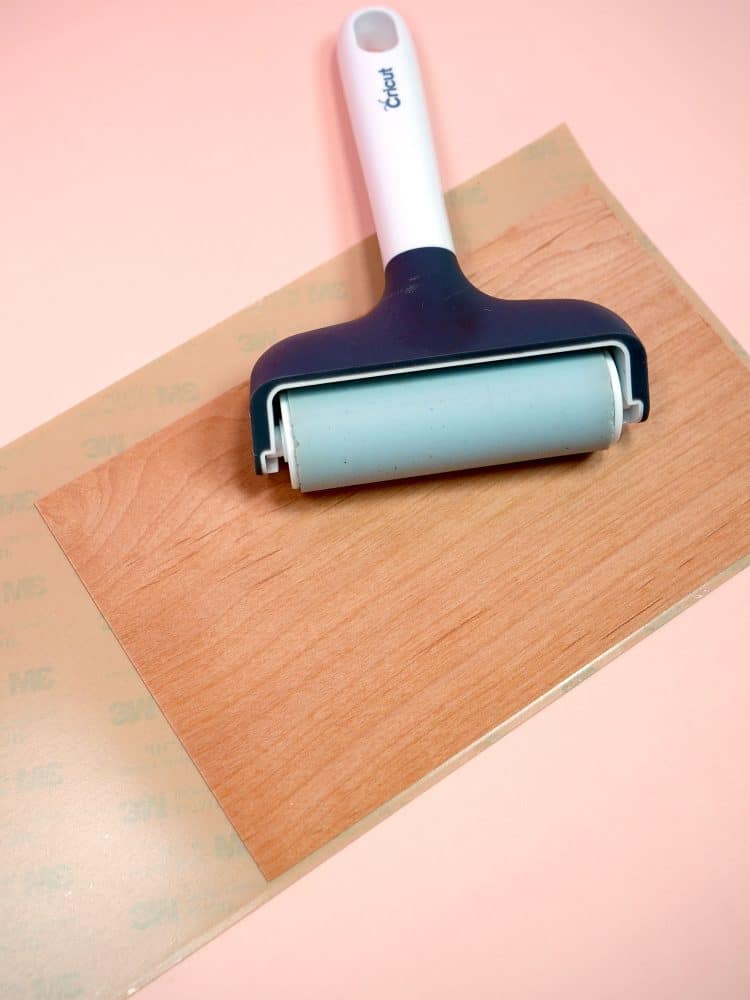
Place the wood veneer on top of the adhesive, and use the brayer to roll over the top of the wood to adhere it to the sheet.
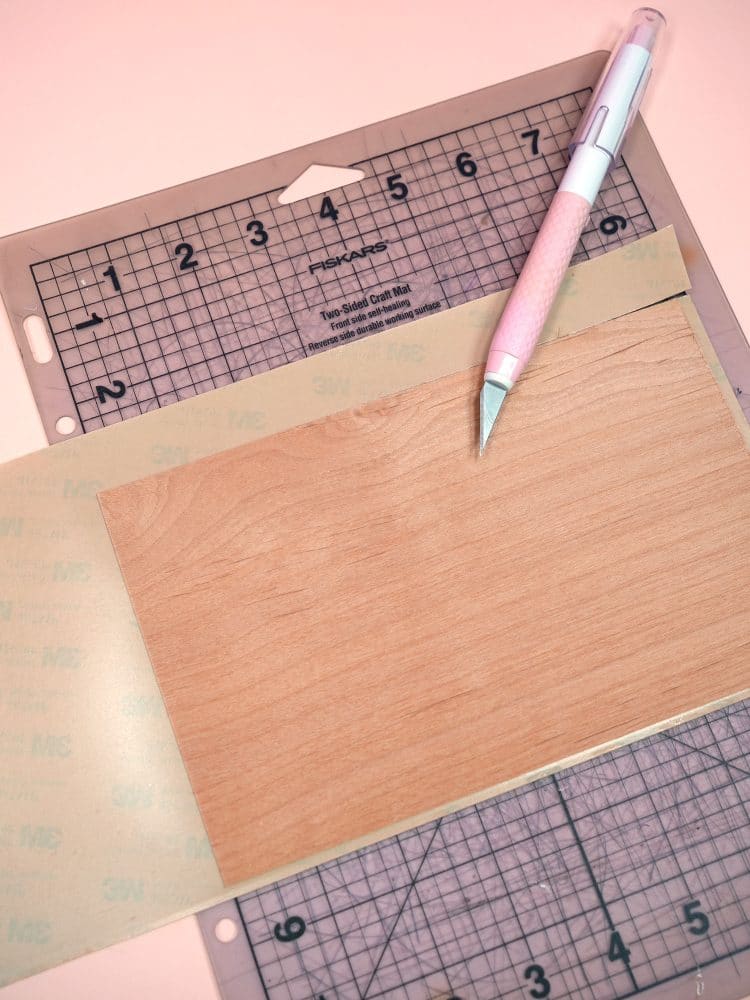
Use the craft knife to trim off the excess adhesive. Then, flip the veneer sheet over, and use the brayer on the back side as well.
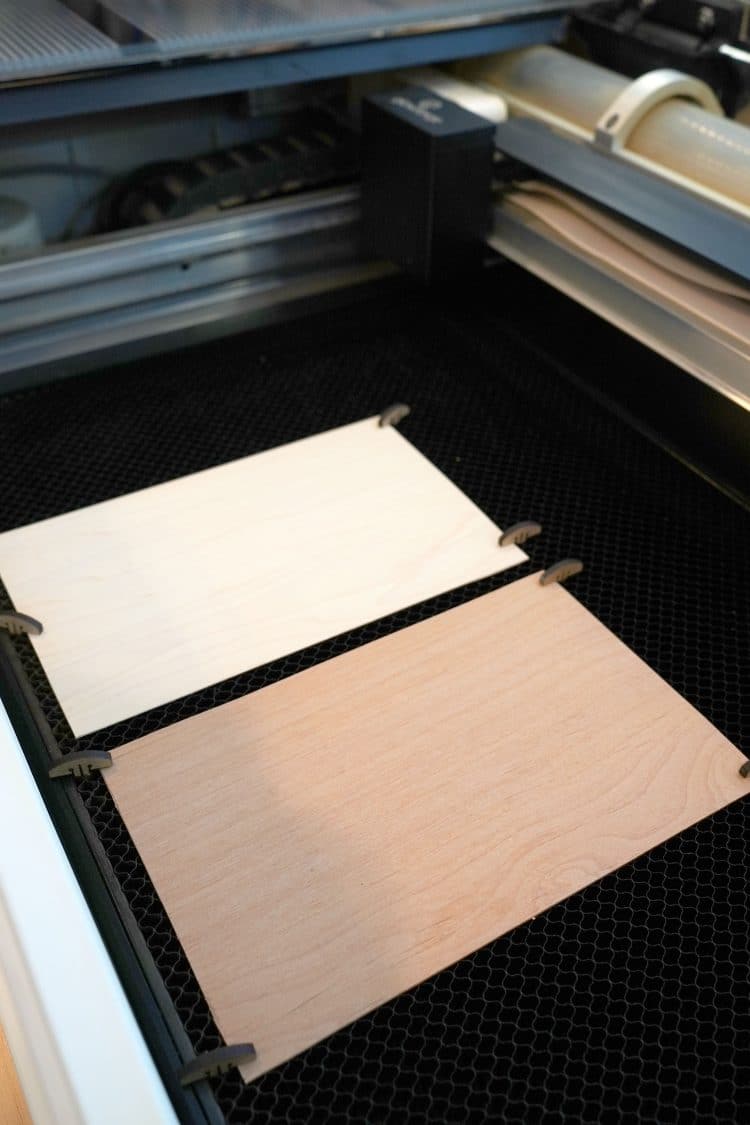
Place the sheets of wood veneer into your Glowforge machine, and use the hold down pins to keep everything in place.
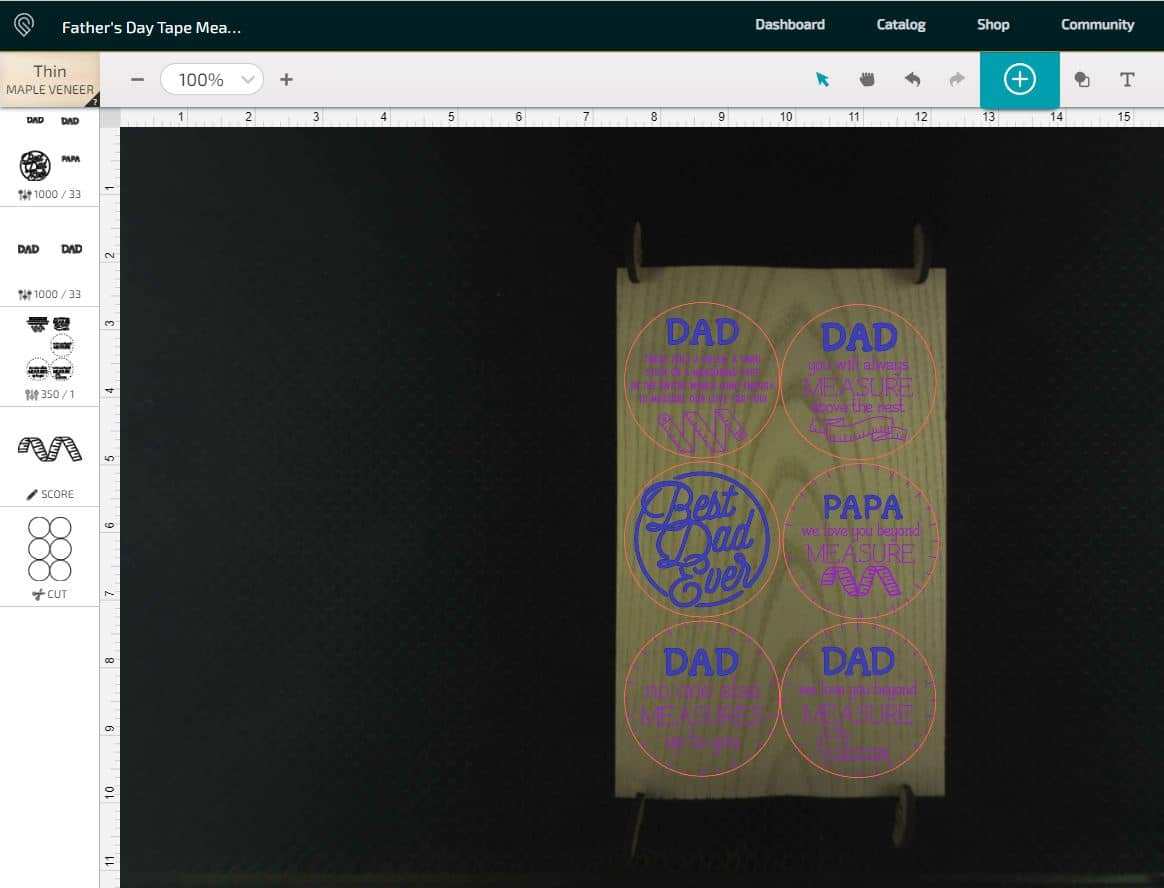
Upload the tape measure SVG file into the Glowforge App software, and then resize the circles as necessary. To determine the size needed, measure the distance across the center of the circle logo on the tape measure, and then subtract .05″. For example, our 12′ tape measures have a 1.5″ circle, so we sized the wood veneer circles at 1.45″.
Note: Different types of wood veneer will require different engraving and scoring settings. I recommend starting with the Thin Maple Veneer Proofgrade settings, and then adjusting your settings from there as necessary.
When everything is sized and lined up correctly, press the “Print” button and watch the magic happen!
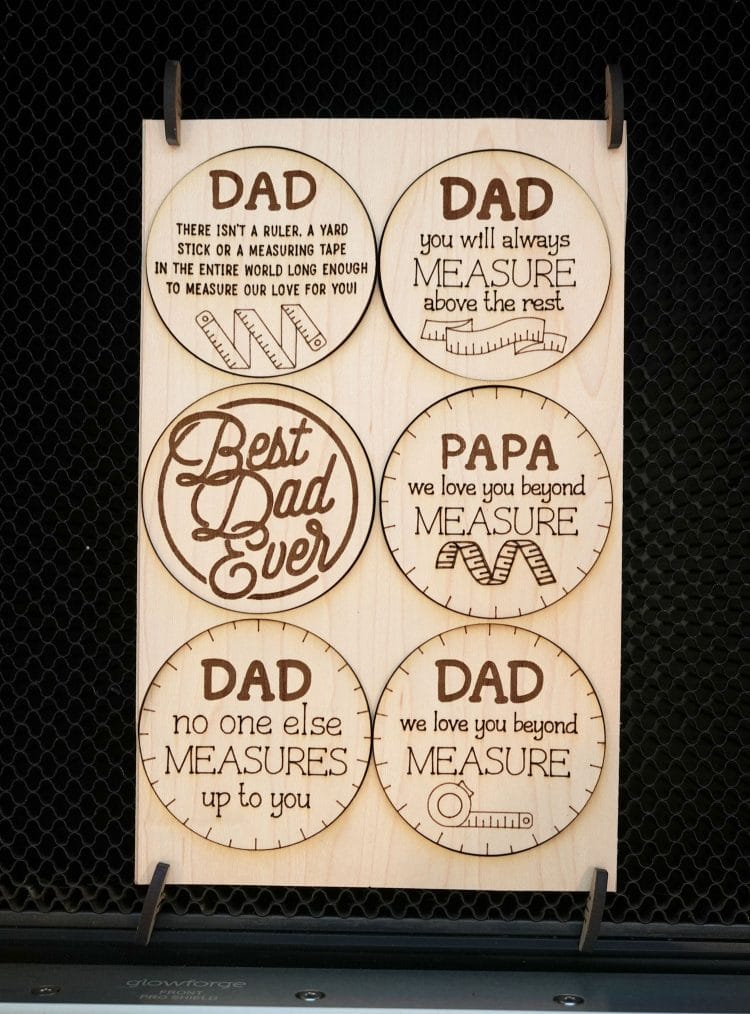
These turned out SO cute! Plus, you could also easily remove the “Dad” or “Papa” from most of these designs and replace them with “Mom” or “Aunt” or even someone’s name or initials!

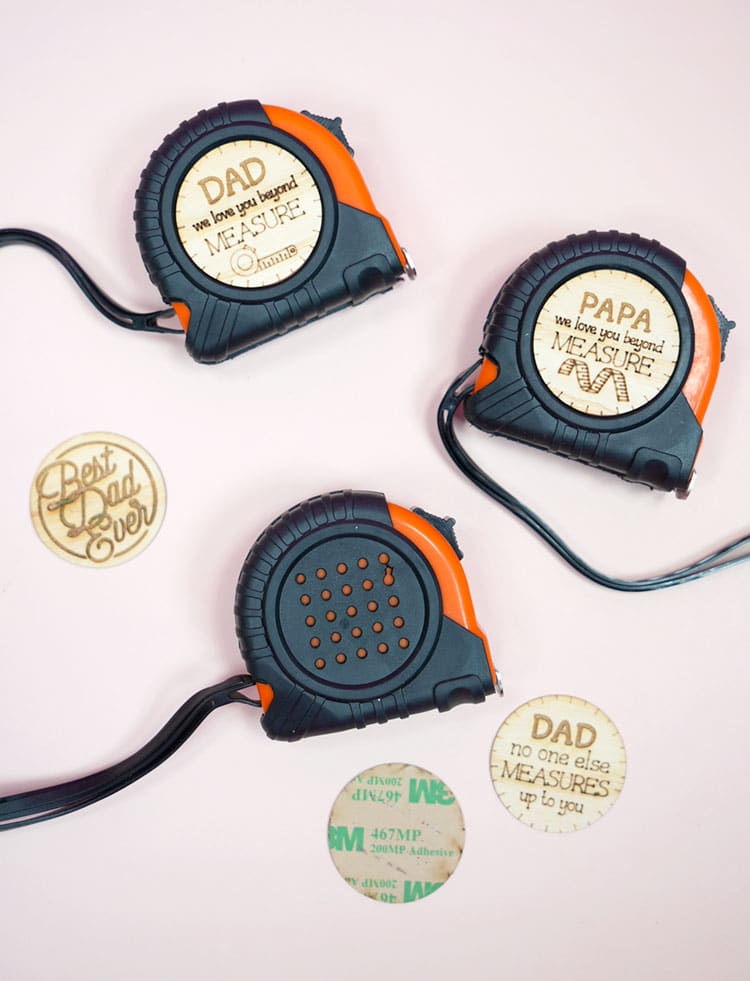
To apply the wood stickers, first remove the existing logo sticker from the tape measure. Then, peel the 3M backing paper from the wood sticker and place it into the center of the circle.
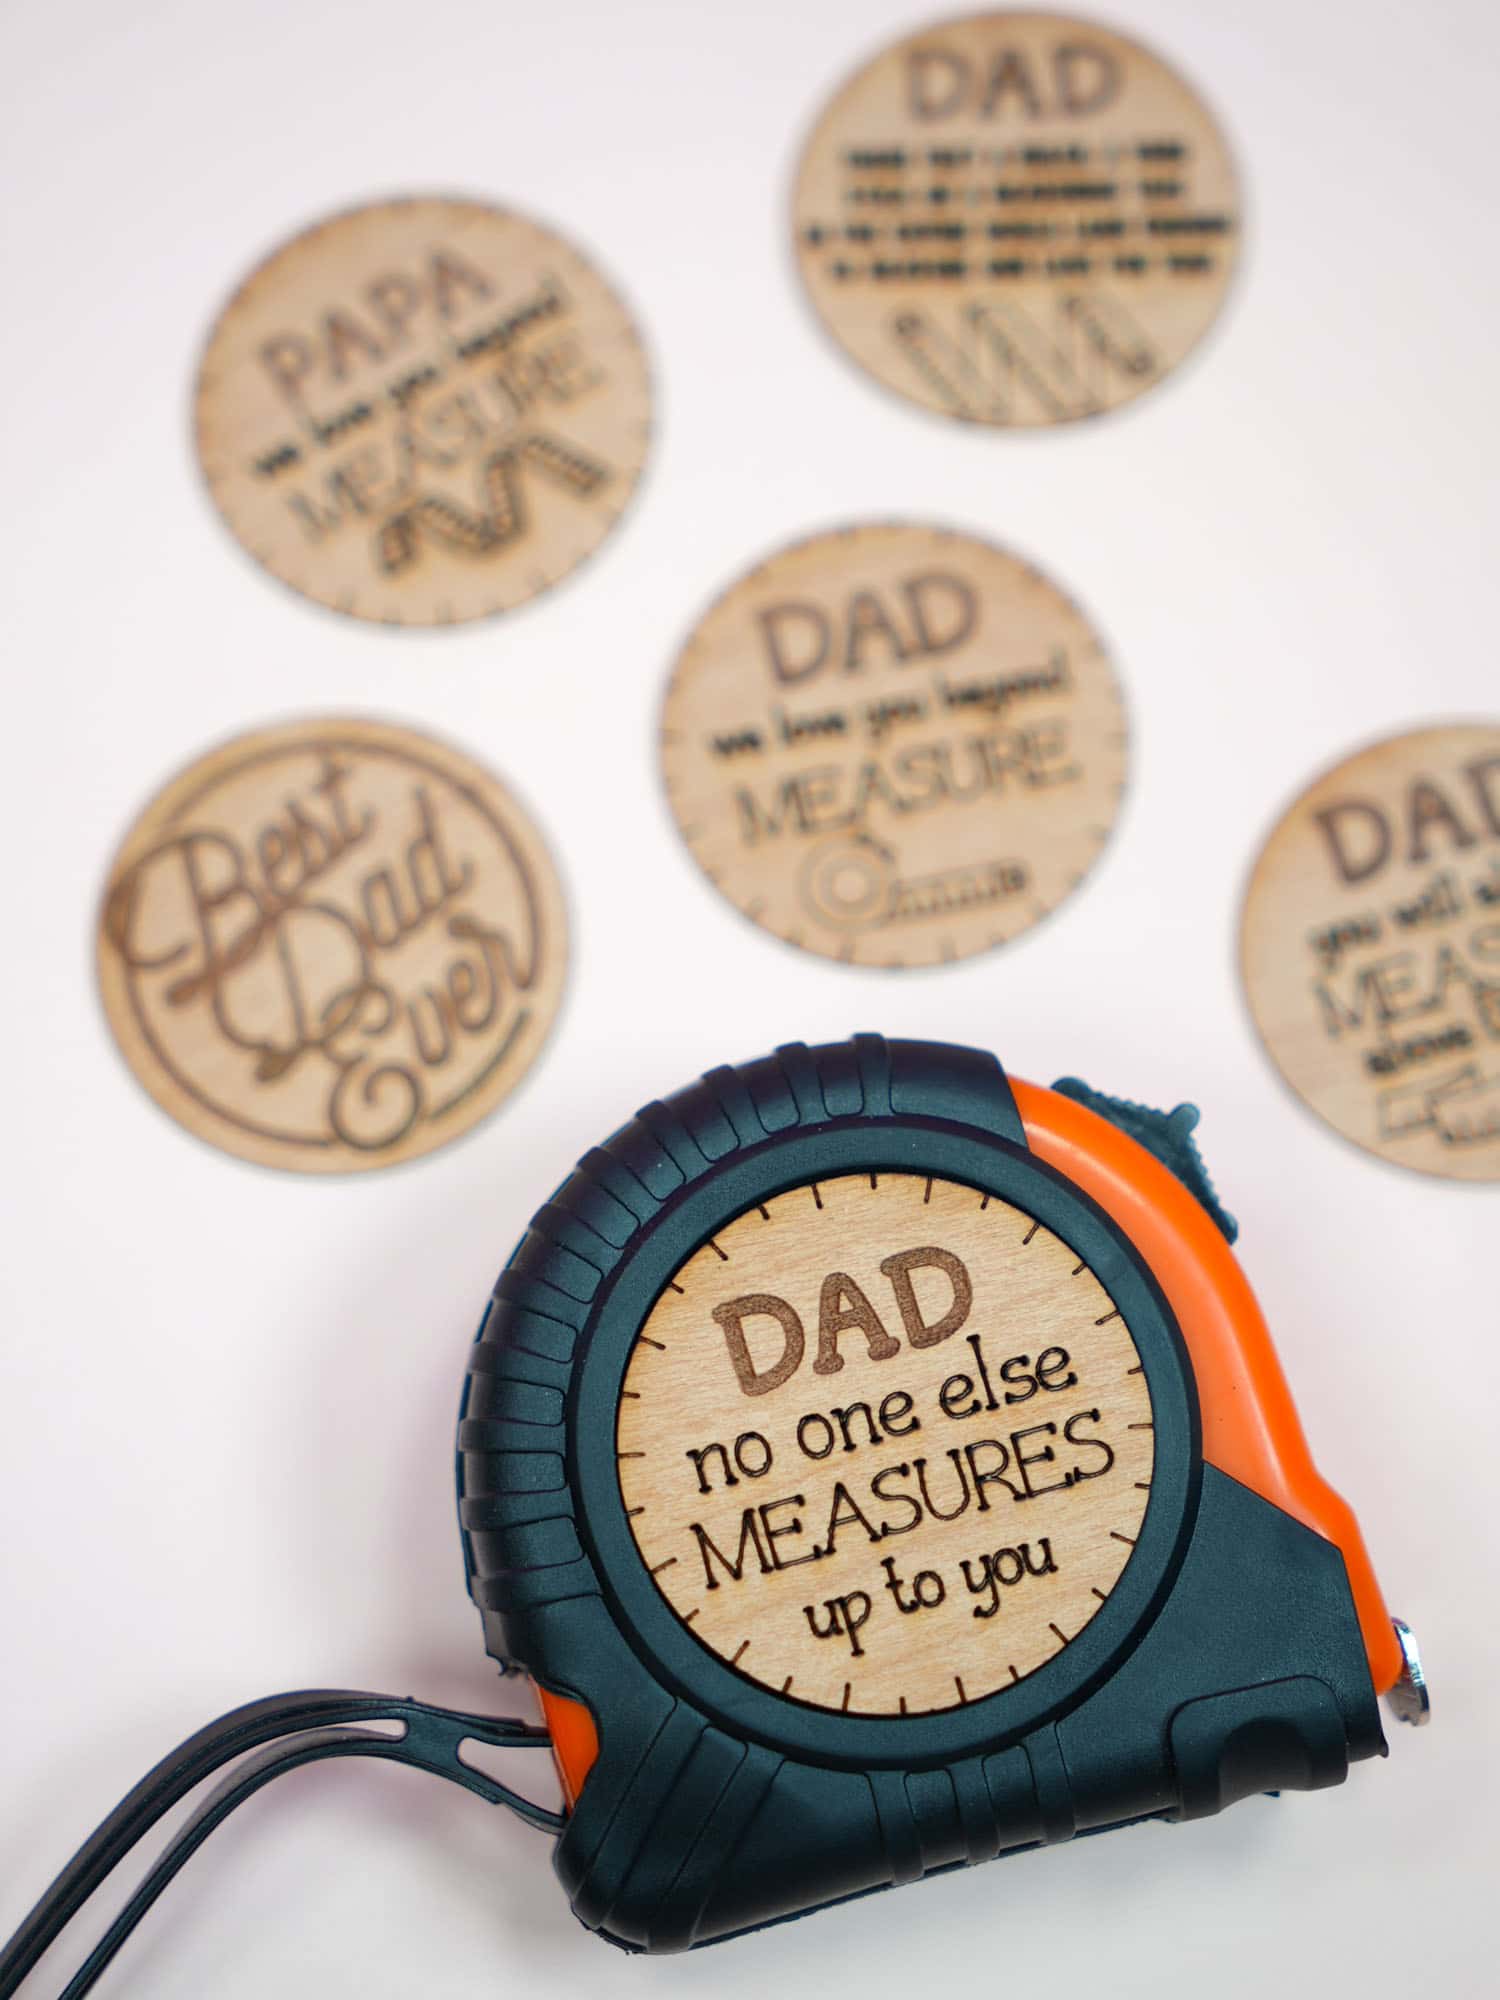
Be precise with your alignment! The 3M adhesive is permanent (and strong!), so you will not likely be able to reposition the sticker once it has been stuck down.
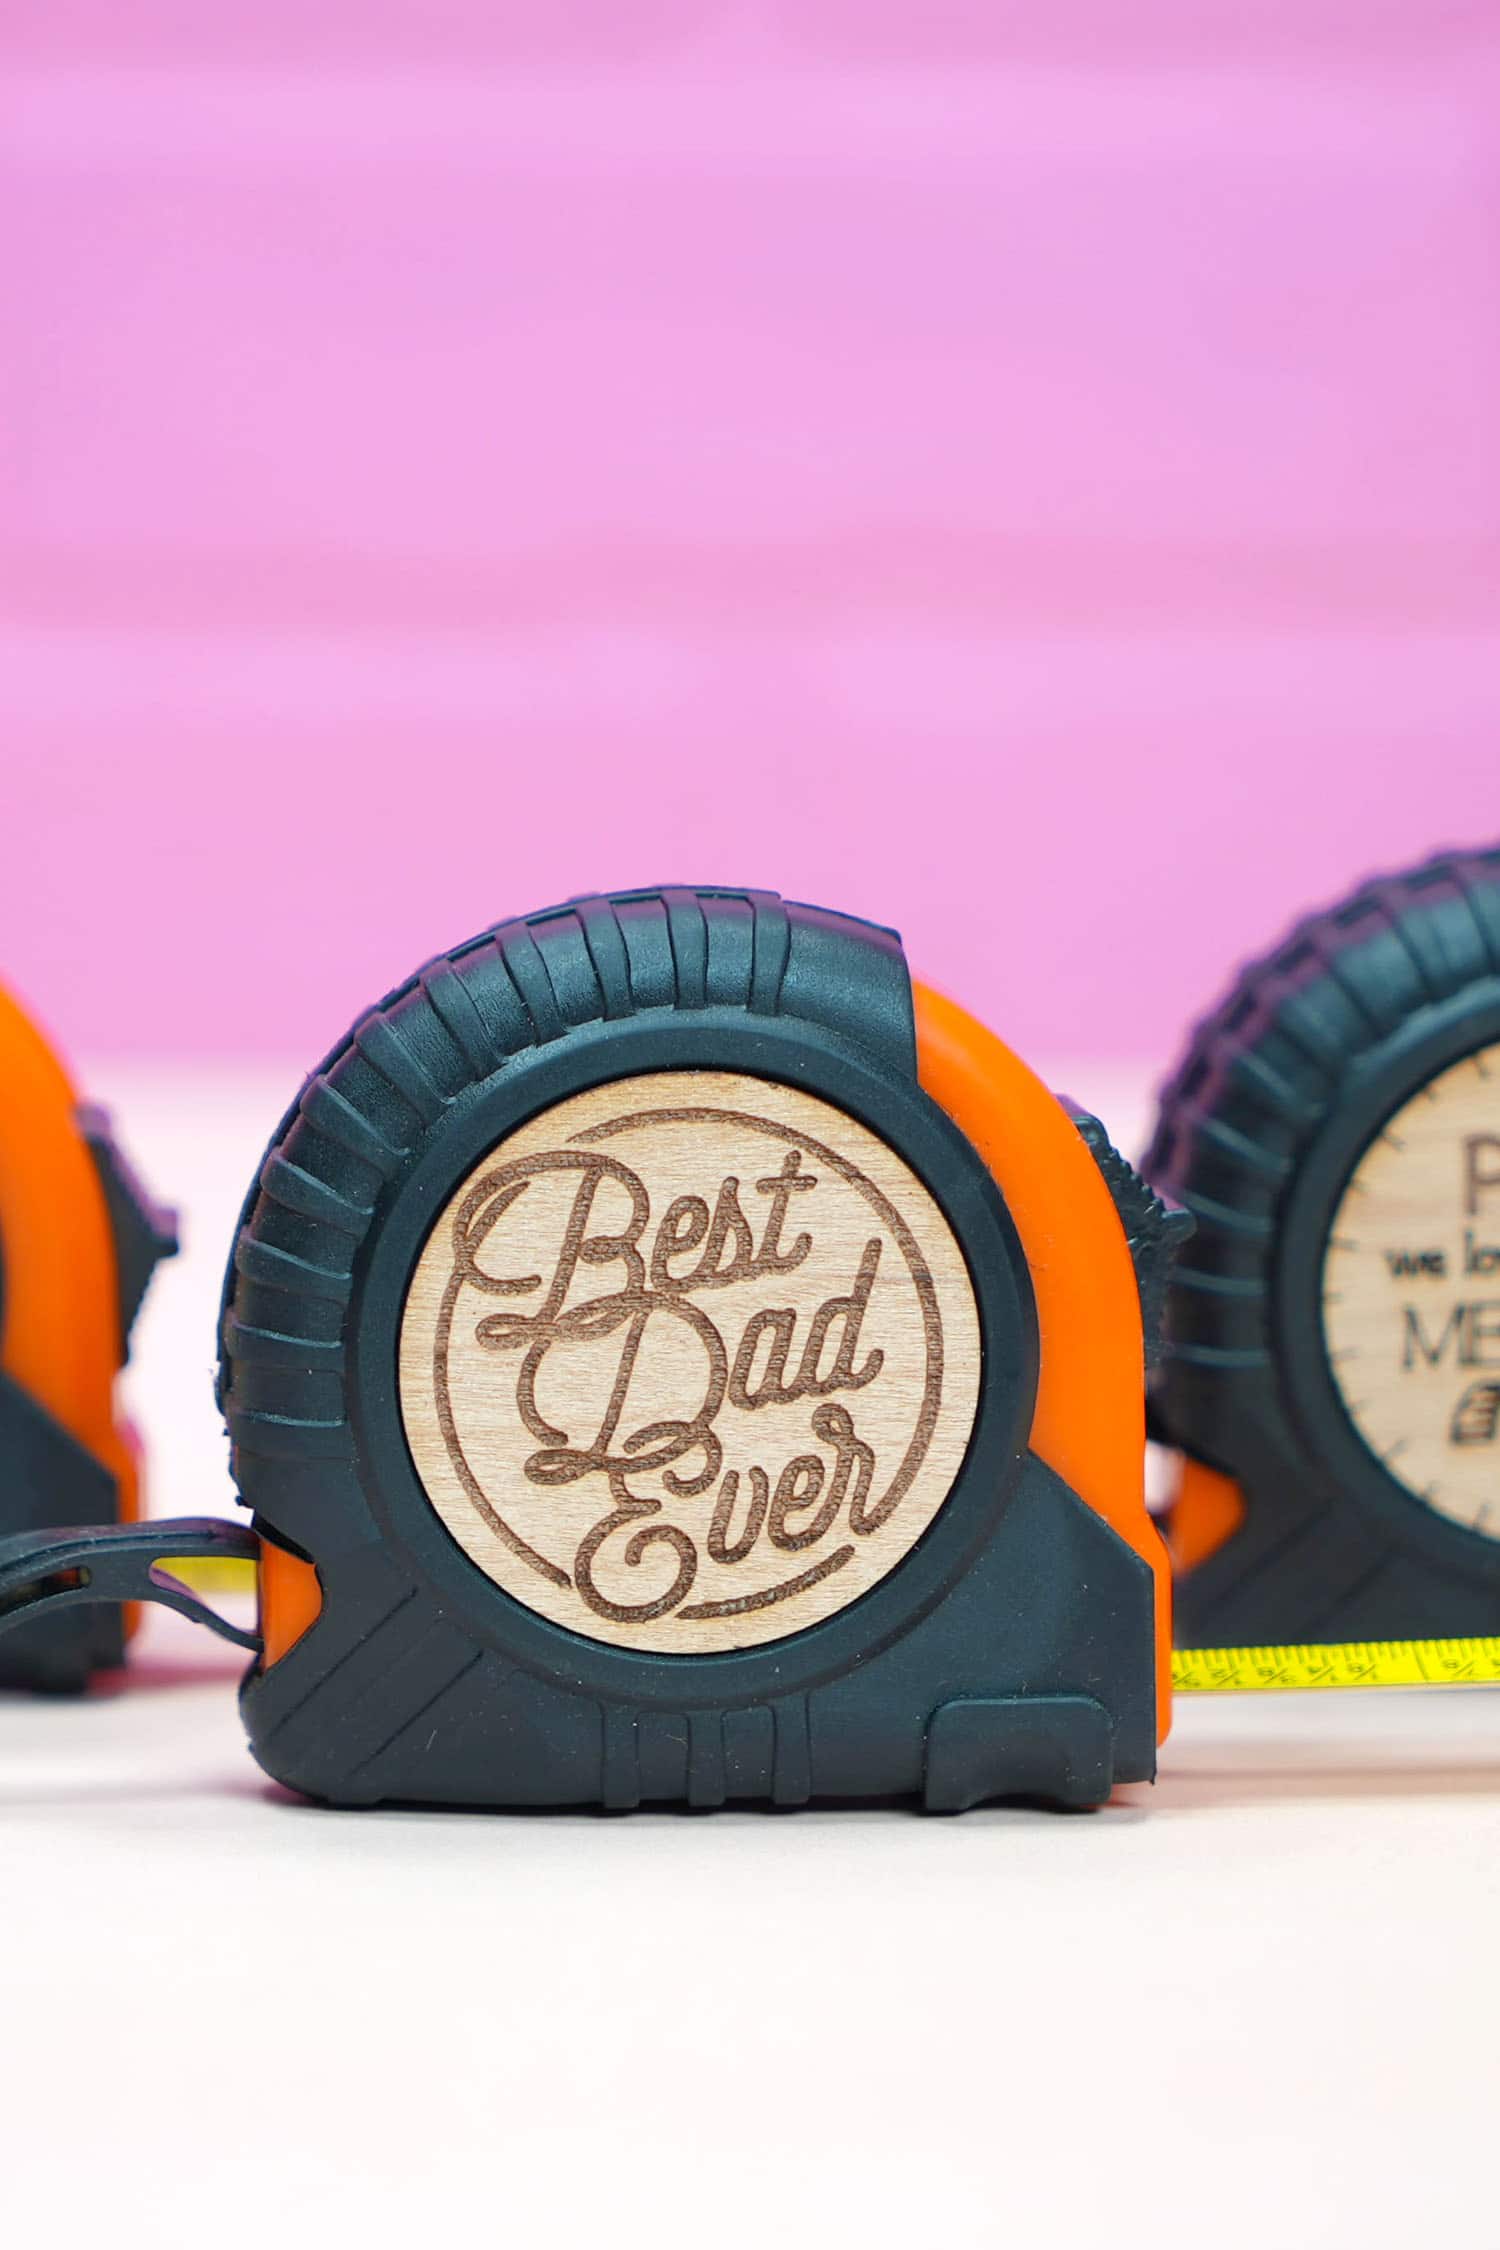
These custom tape measures look great, and they are SO easy peasy to make!
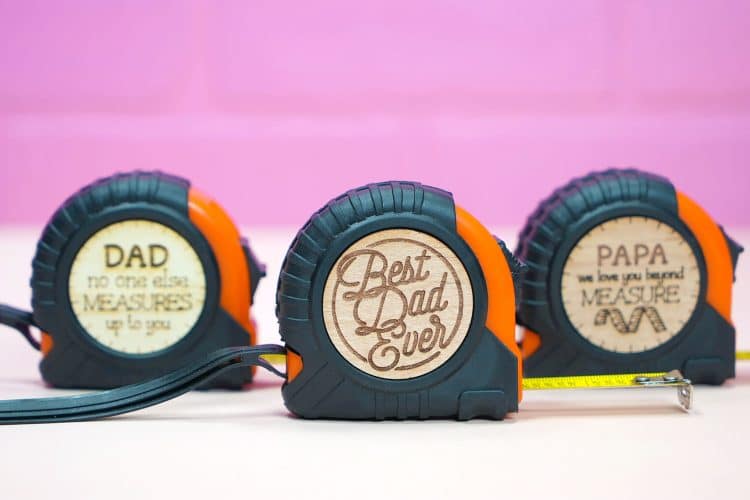
Your gift recipient is sure to love them! Not only are these personalized tape measures super cute, they’re also incredibly handy and useful, too!
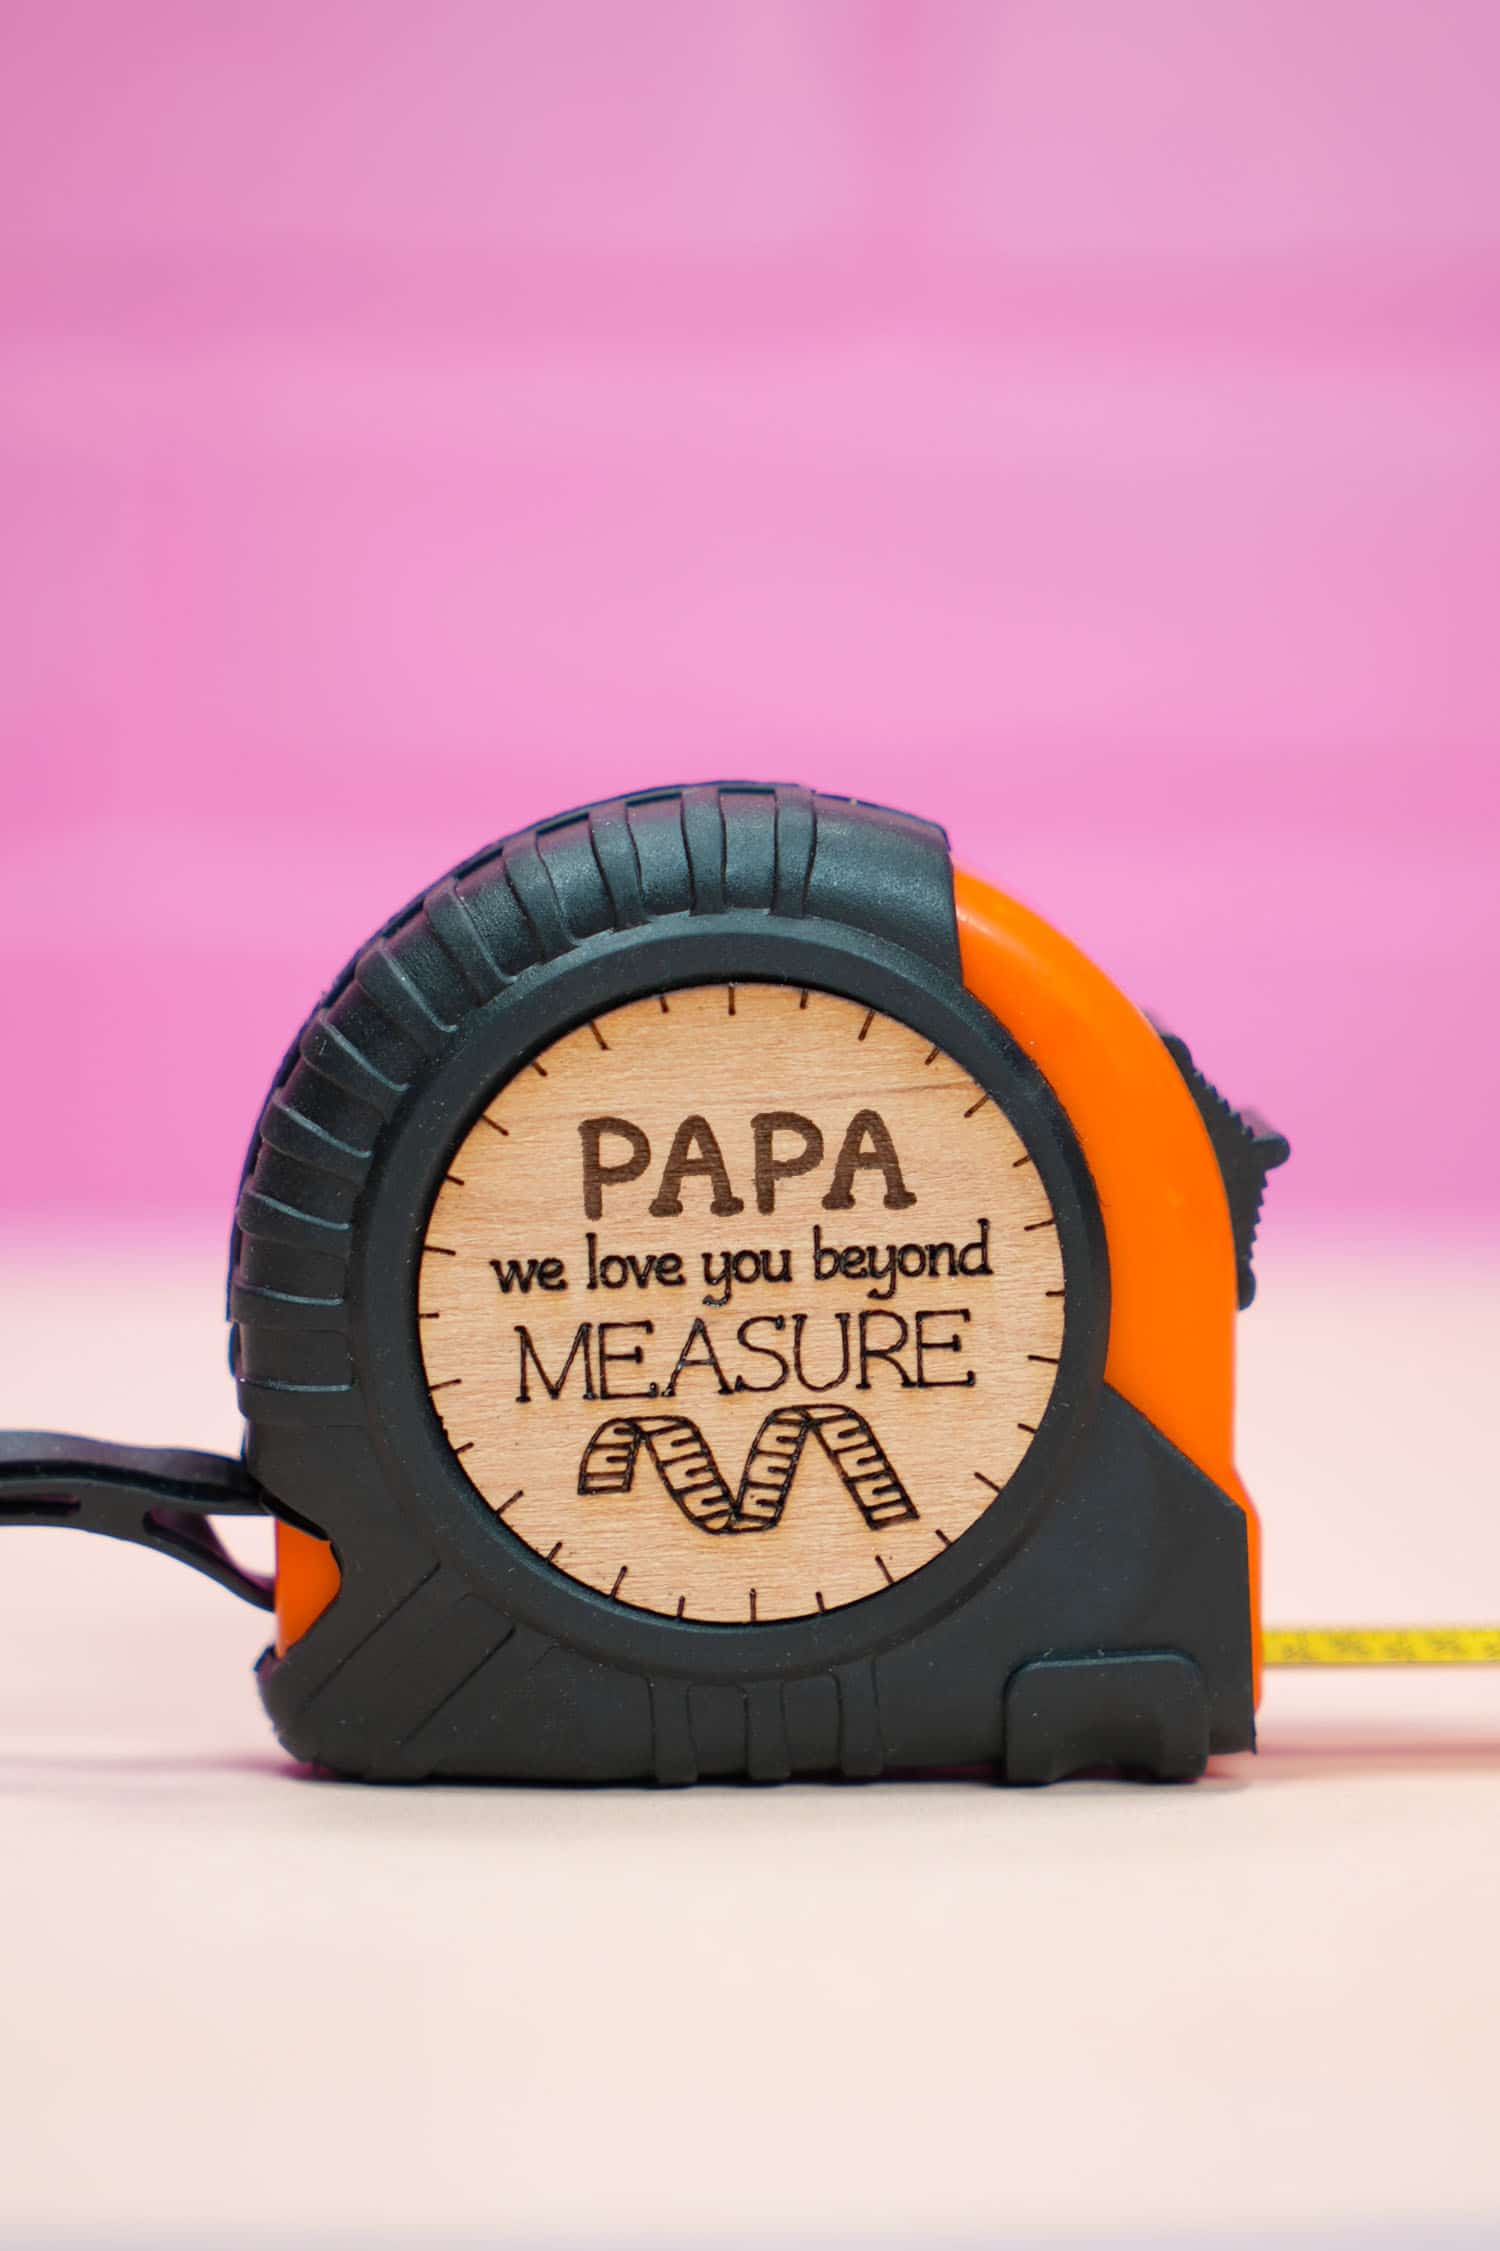
These fun tape measures are sure to be a huge hit with everyone!

Check Out These Other Glowforge Project Ideas!
Discover Even MORE About Glowforge!
Don’t Forget to Pin This for Later!

Heidi Kundin has captivated the hearts of millions with her colorful and inspiring approach to crafting, celebrations, and family fun. With over 15 years of experience, Happiness is Homemade has become a must-visit destination for those seeking quick and easy creative ideas and last-minute solutions. Heidi’s warm personality shines through her posts, inviting readers to join her on a creative journey that’s fun, rewarding, and achievable. Heidi is also the author of Homemade Bath Bombs & More and DIY Tie-Dye.


