Create these fun and cute Halloween shirts using your Cricut cutting machine! A quick and easy way to create festive Halloween gear for the whole family!
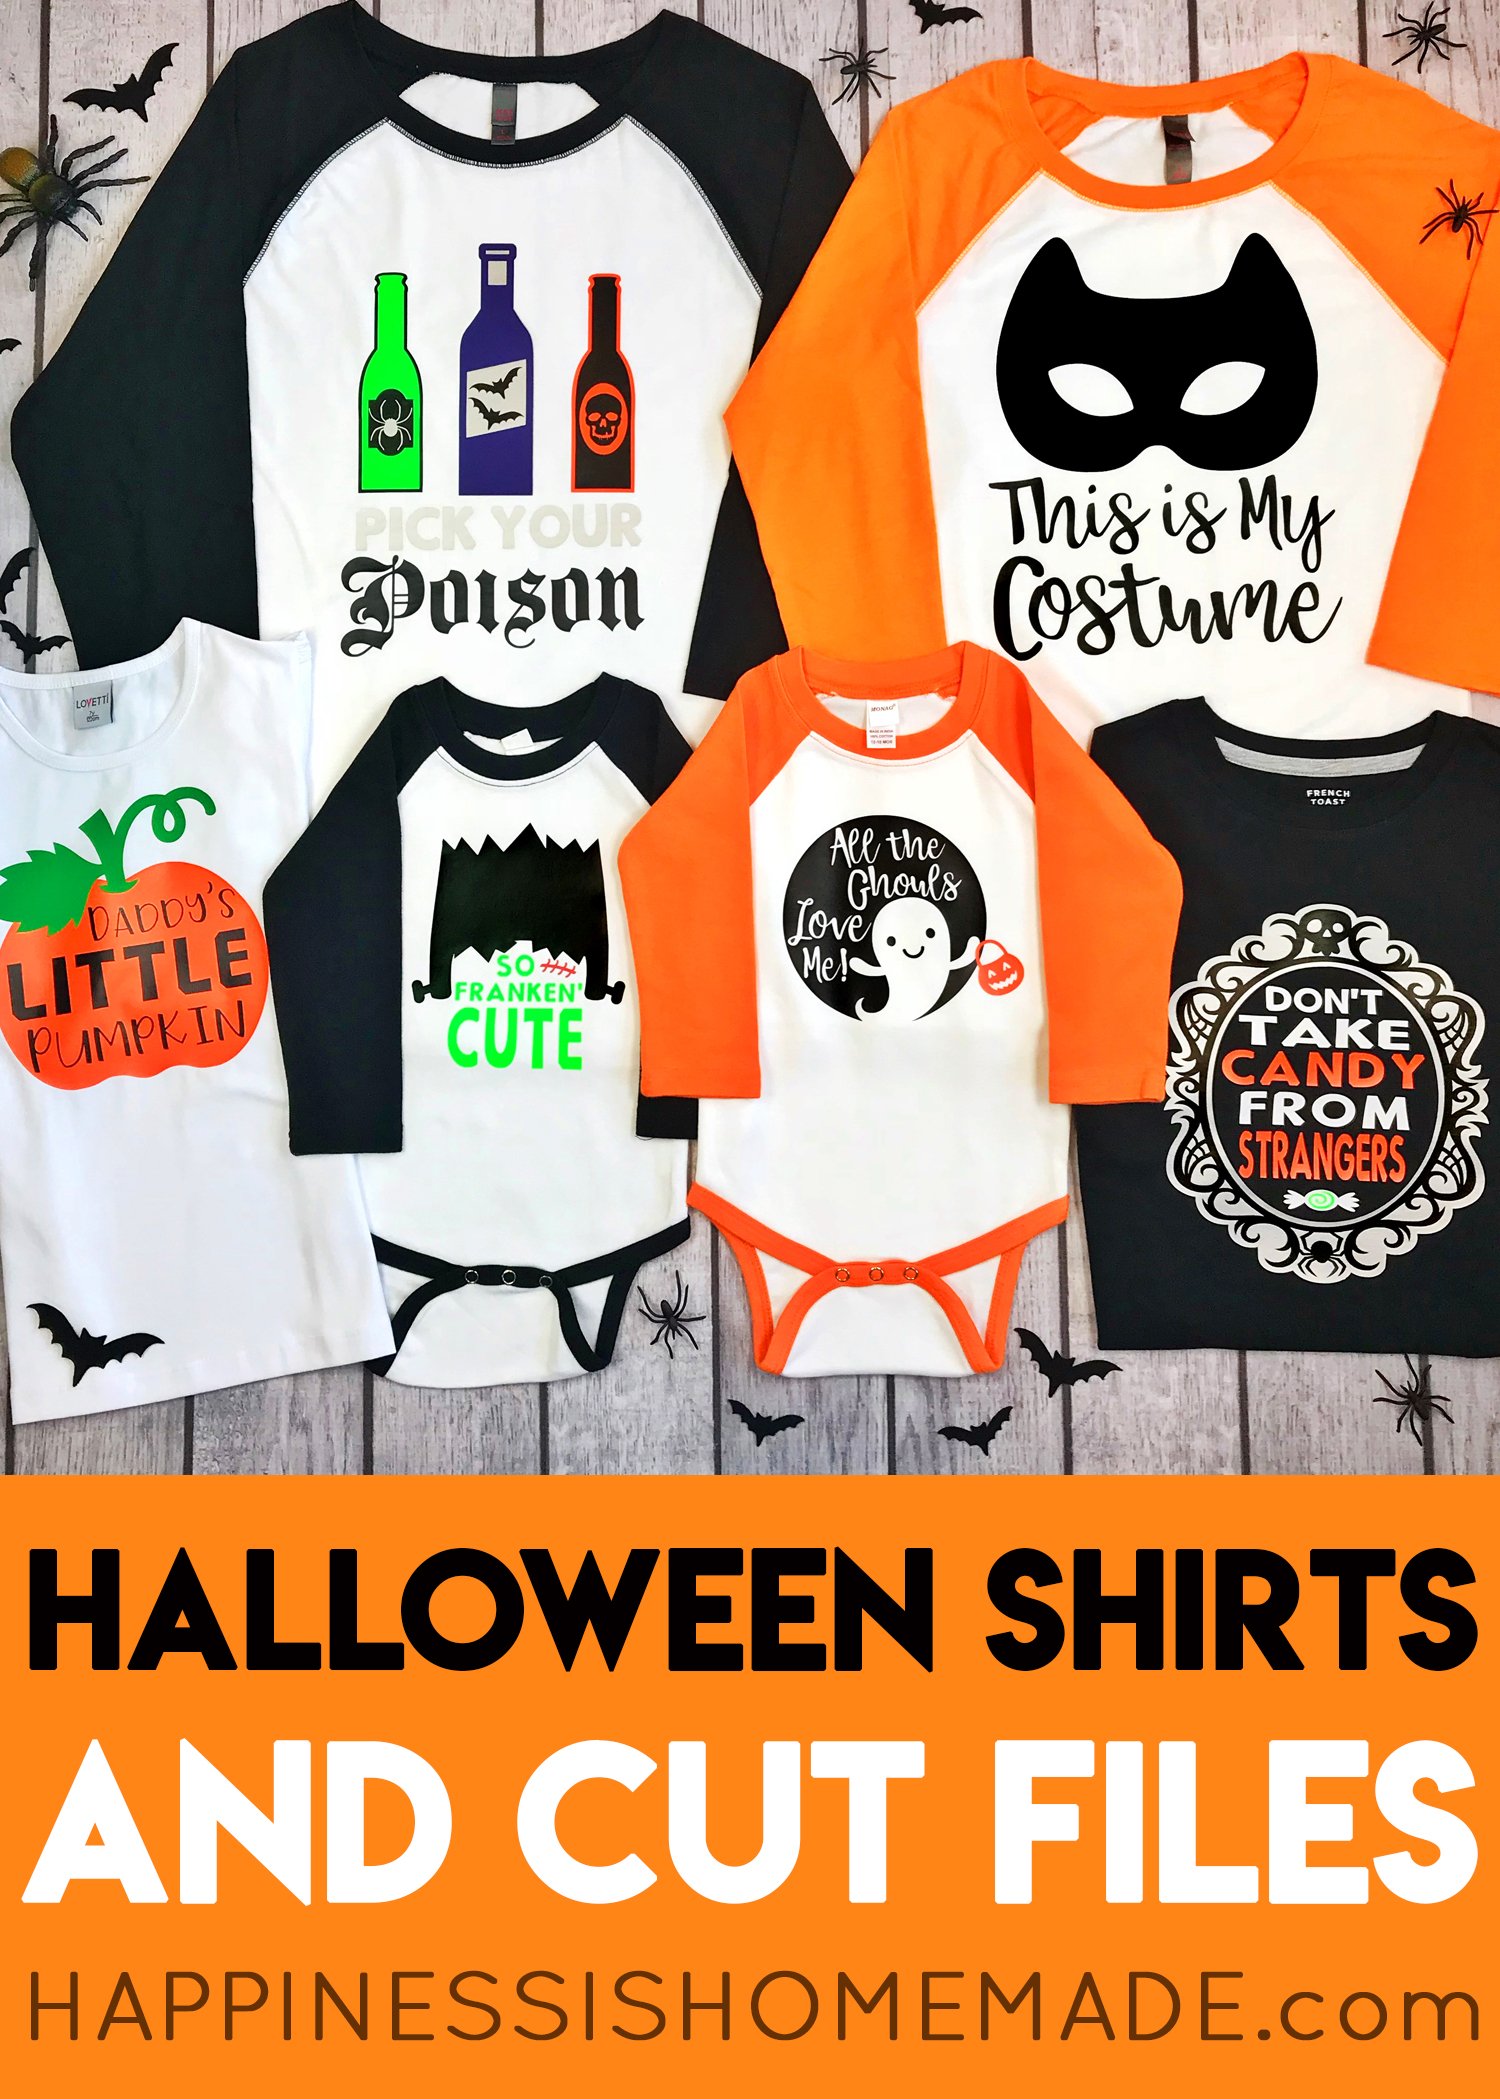


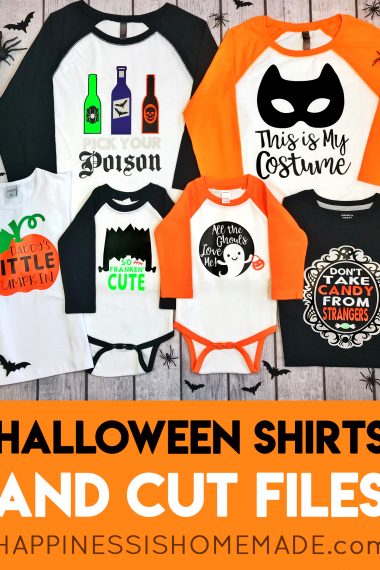
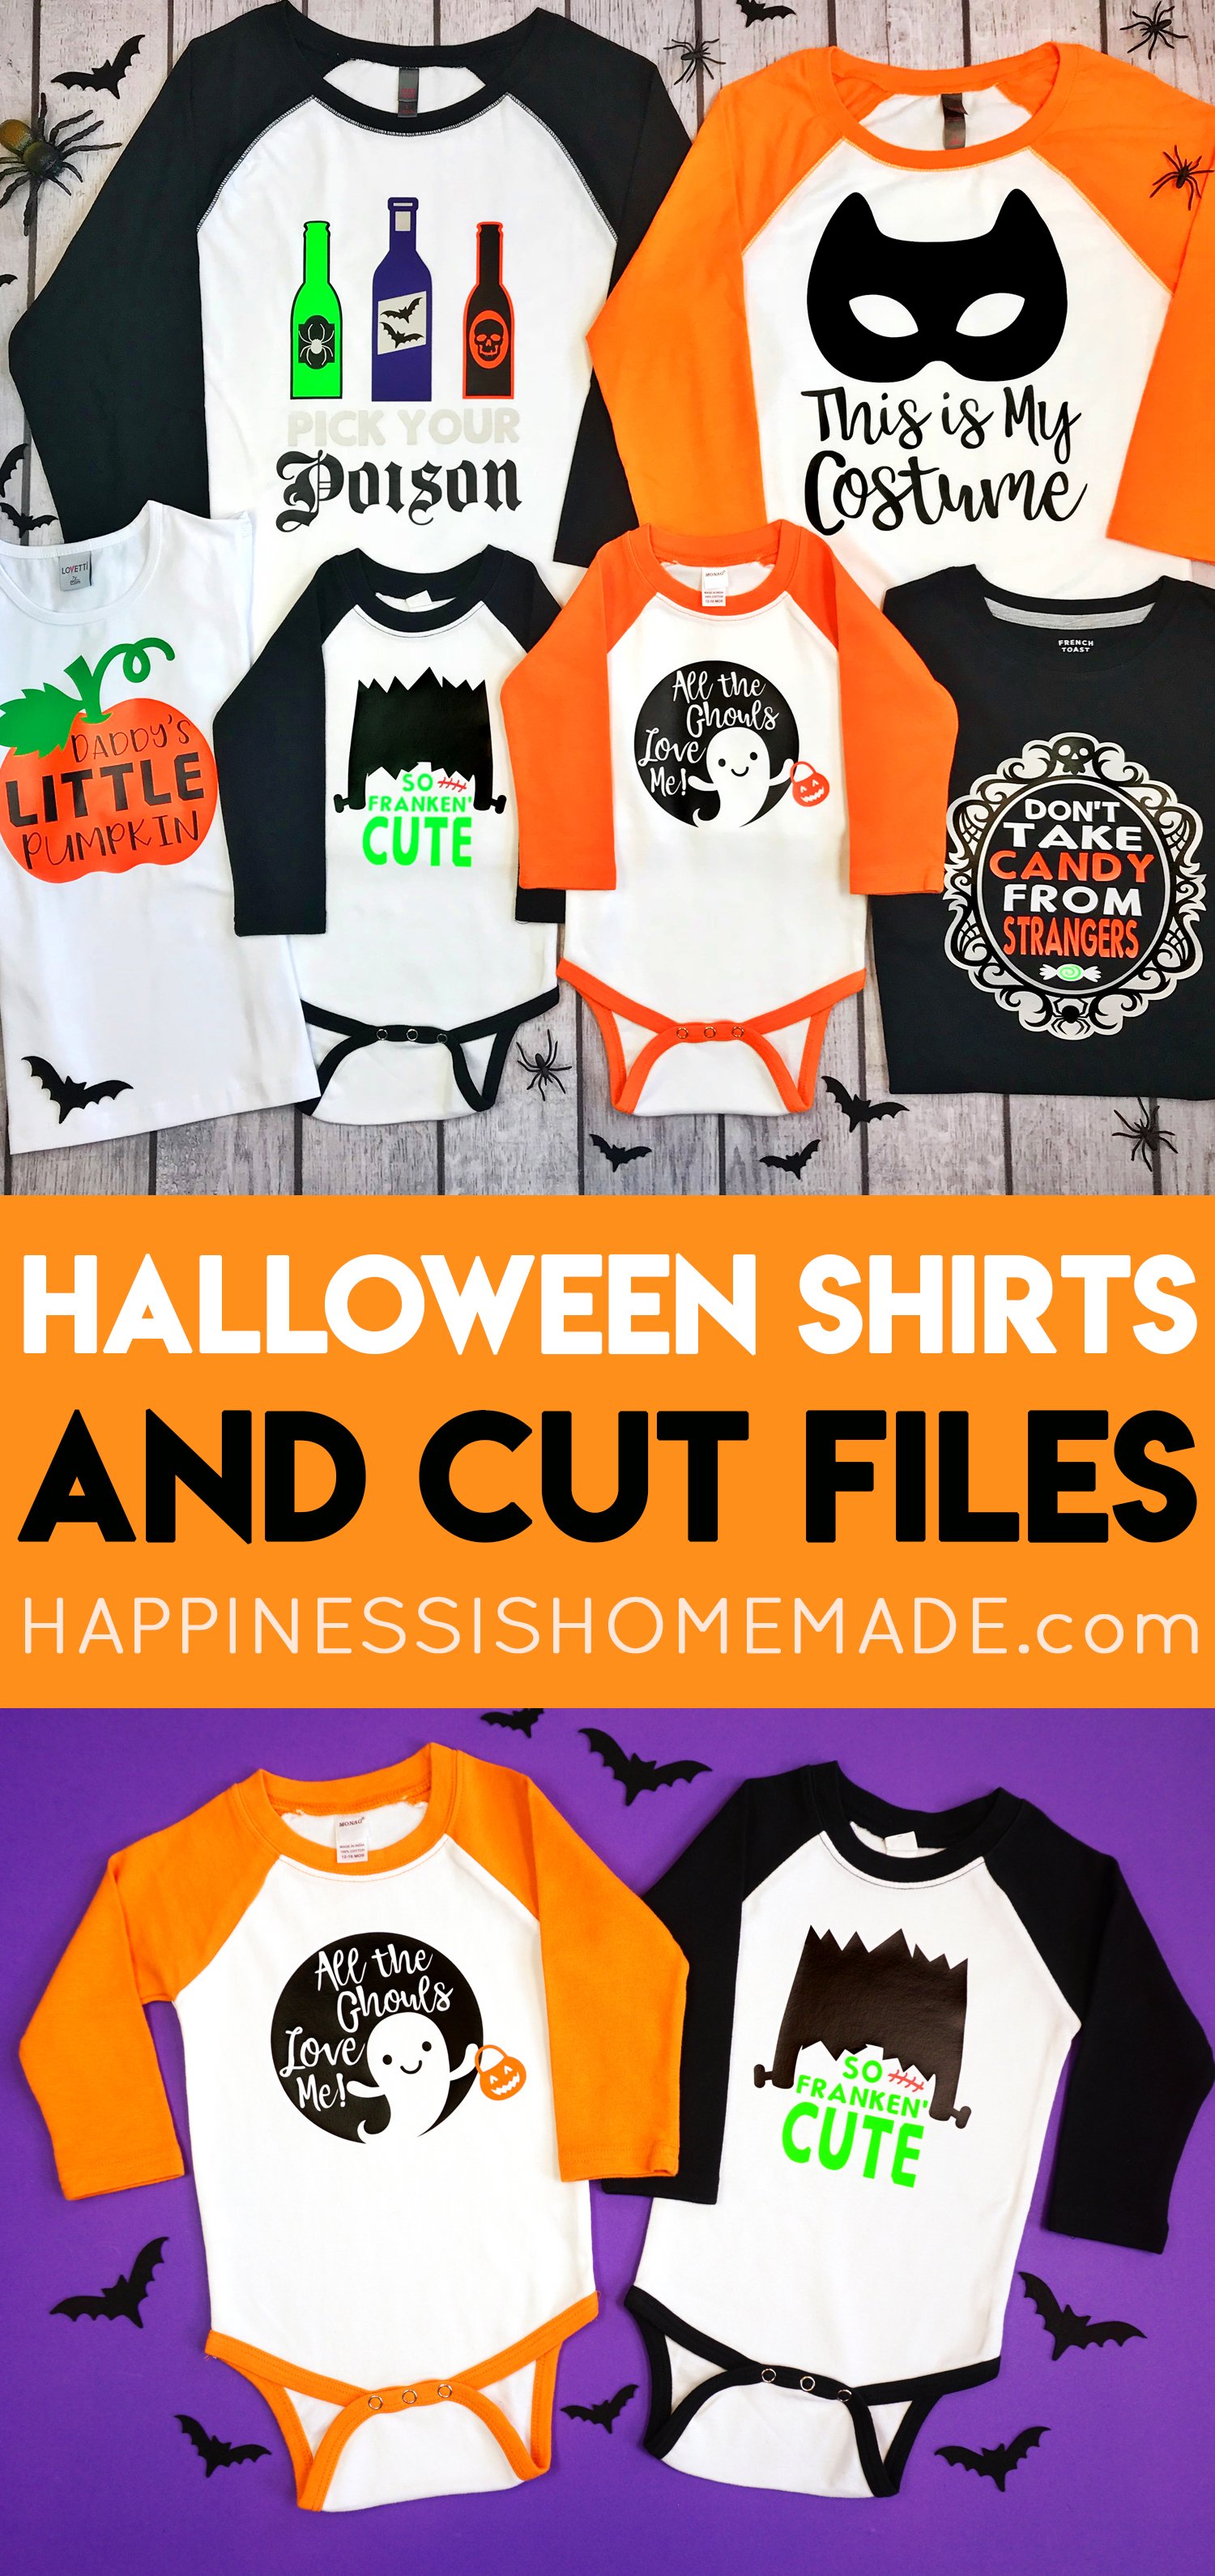
My family and I LOVE Halloween, so when I had the opportunity to create a Halloween shirt collection for my friends at Cricut, I jumped at the chance! I wanted to appeal to all ages and have something for everyone in my collection, so I created SIX different Halloween shirt designs that are perfect for the entire family!
Halloween Shirt Collection with Cricut
 Supplies Used to Create Halloween Shirts:
- Shirt or Onesie in Desired Size (We used these – Women’s Raglan, Men’s Raglan, Youth Unisex Tee, Girls Puff Sleeve Tee, and Baby Raglan Bodysuit)
- Cricut Maker (can also use Cricut Explore Air 2)
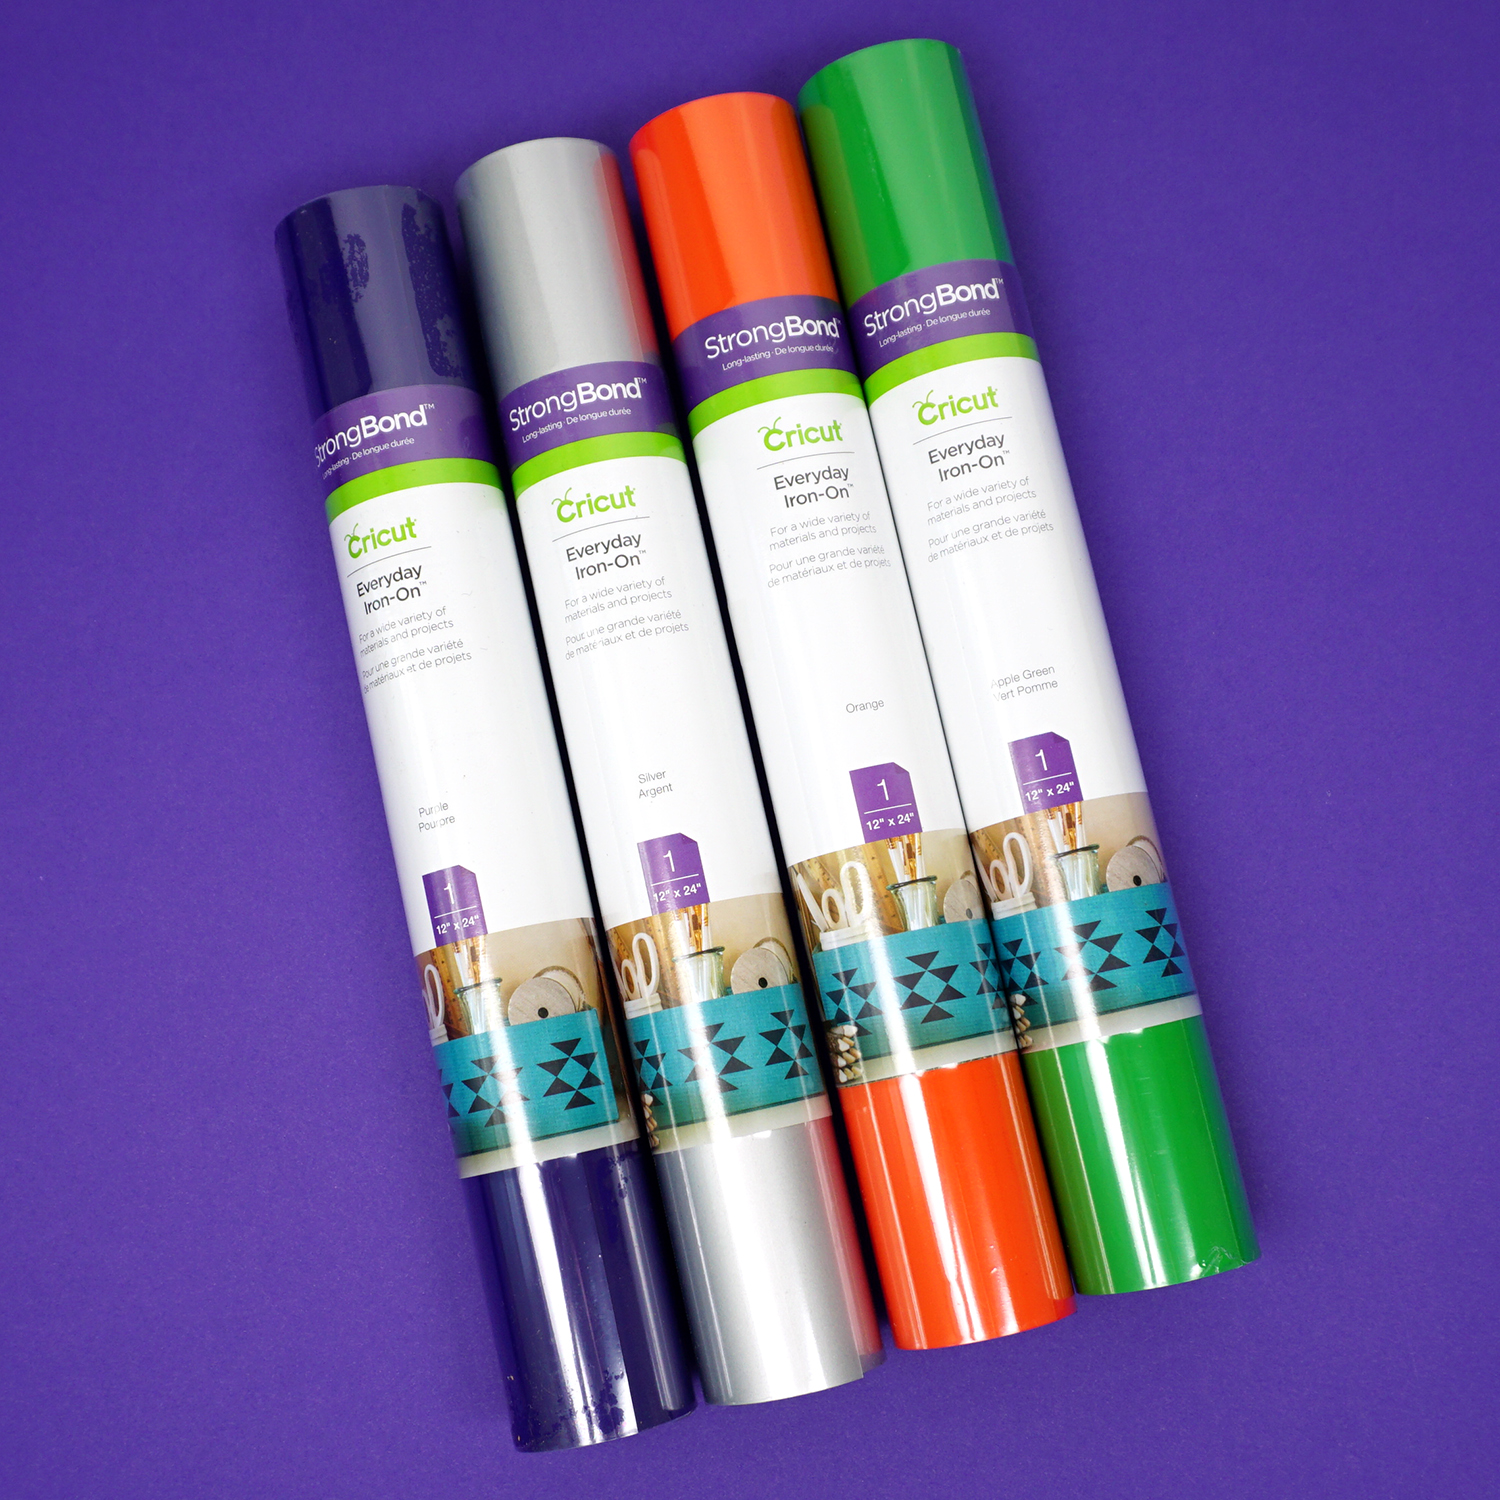
- Cricut Everyday Iron-On
- Cricut EasyPress 2, and EasyPress Mat
- Cricut Weeding Tool Set
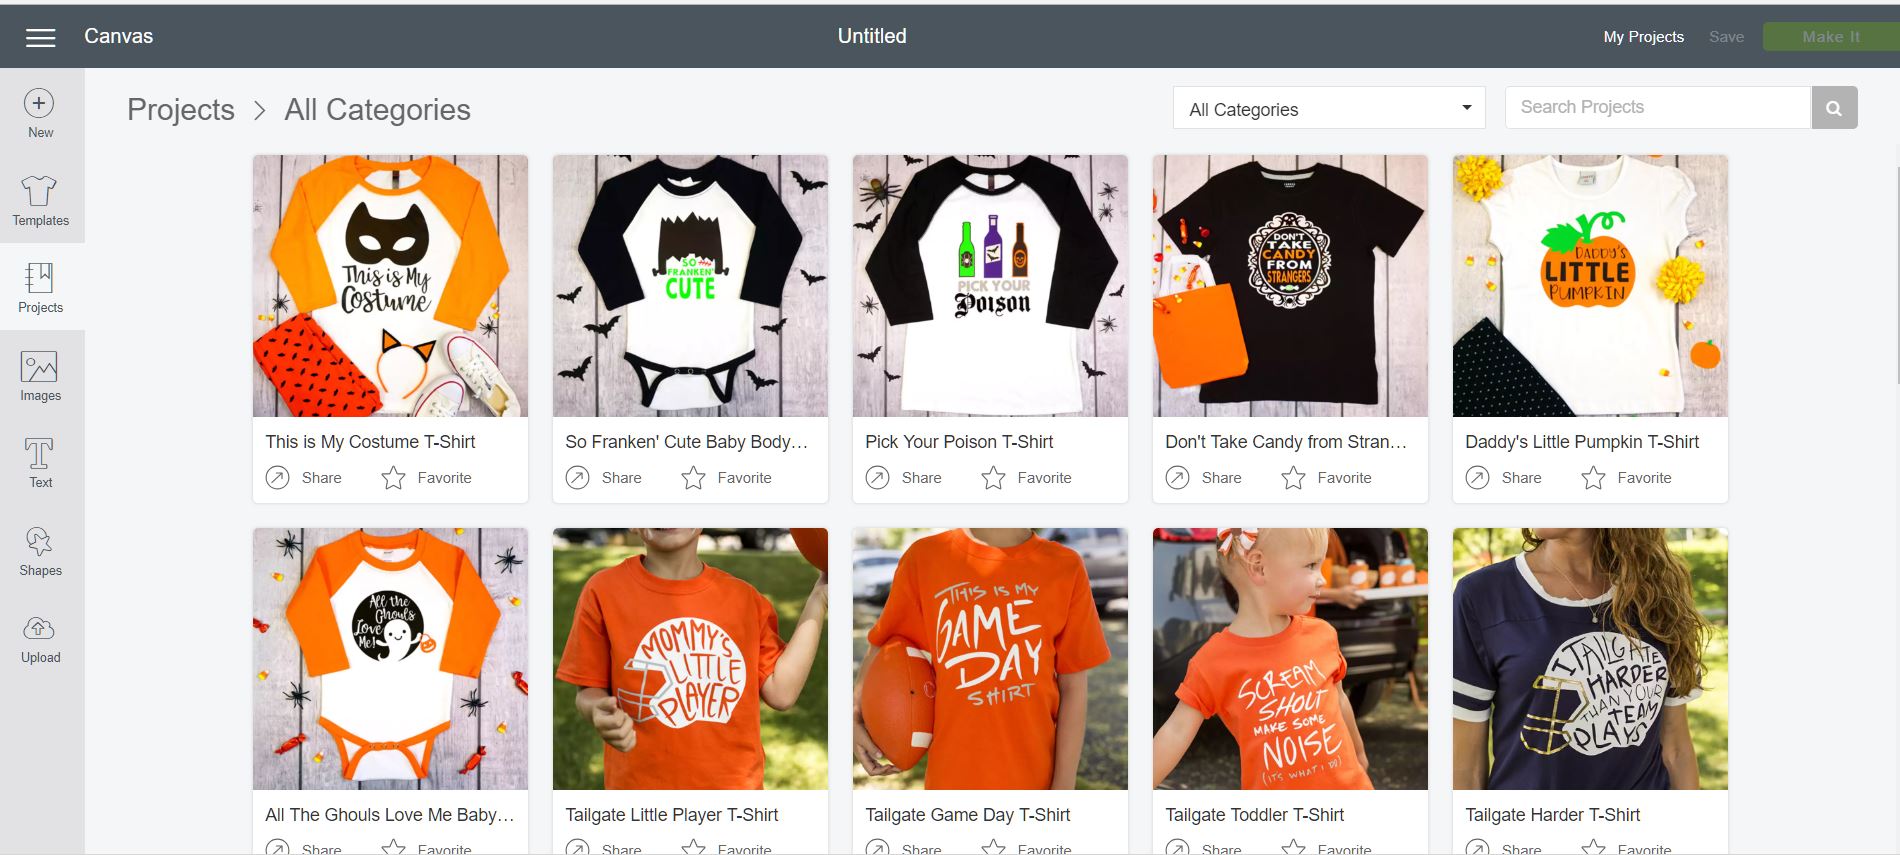
To begin, open Cricut Design Space and click on the “Projects” tab. You can search for any of the Halloween shirts by name in the “search projects” box or simply click on the desired link below:
- This is My Costume
- So Franken’ Cute
- Pick Your Poison
- Don’t Take Candy from Strangers
- Daddy’s Little Pumpkin (also includes a “Mommy’s” version!)
- All the Ghouls Love Me
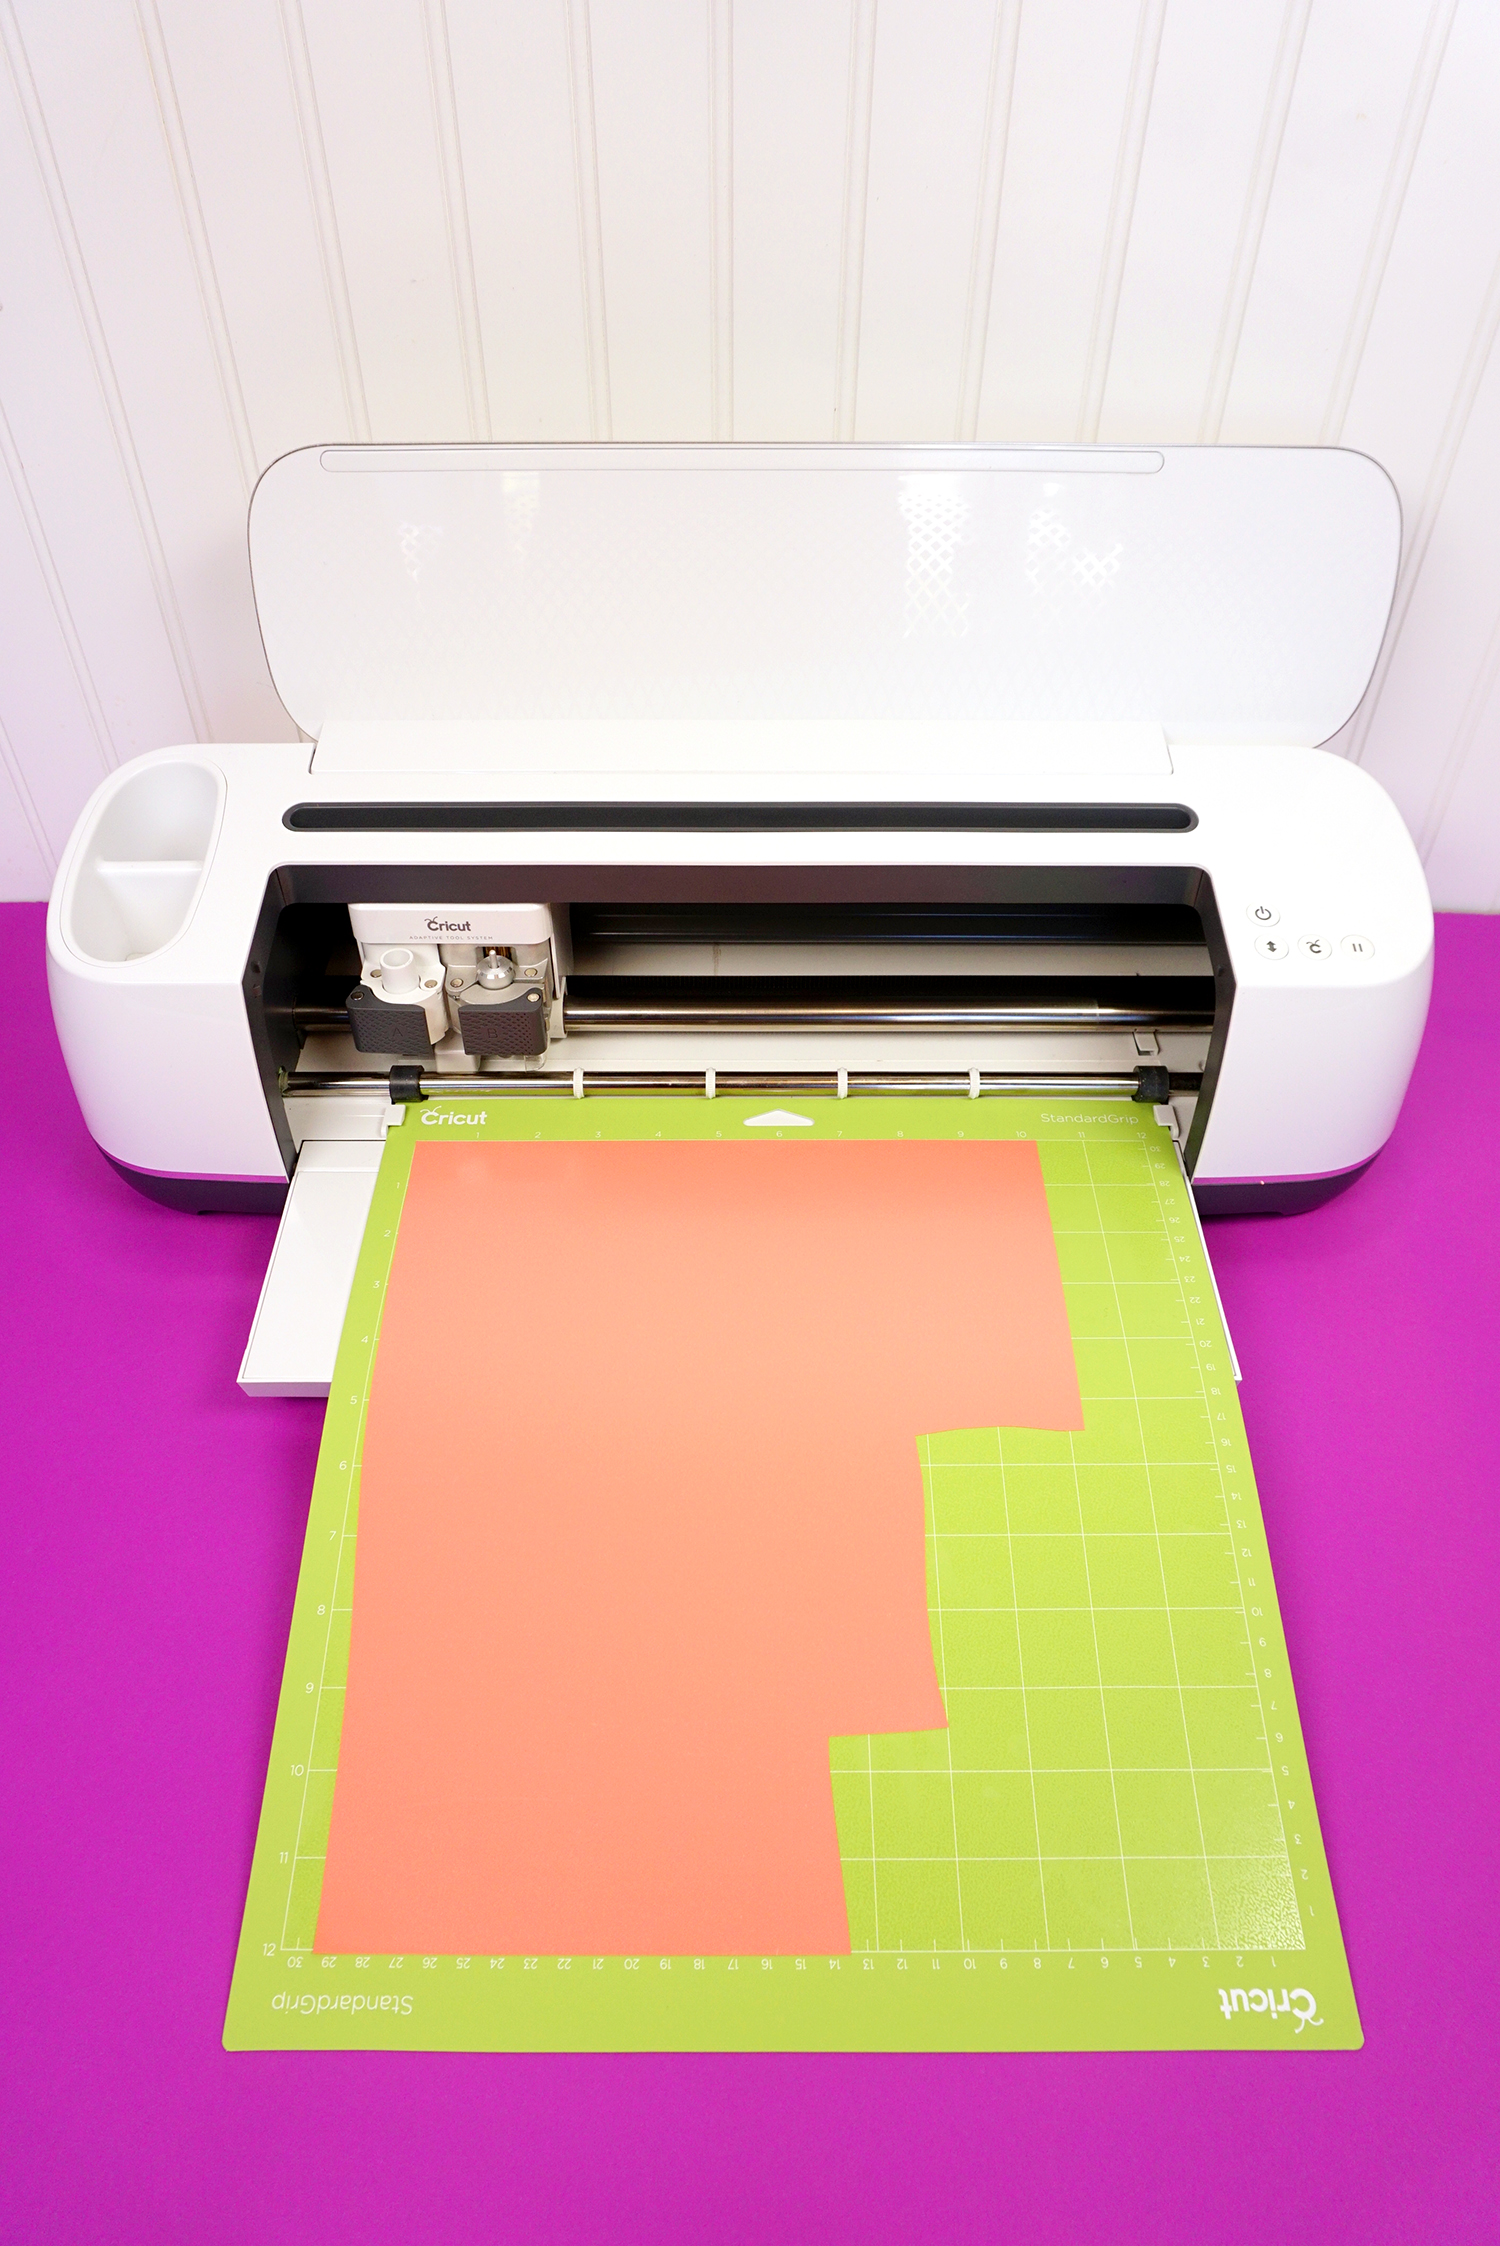
Follow the instructions as noted in Design Space to cut the different layers of vinyl for the design. I love using Everyday Iron-on for these shirts because it works great with a variety of base materials including both cotton and blended fabrics, and it has been proven to outlast 50+ washes! That’s some serious durability!
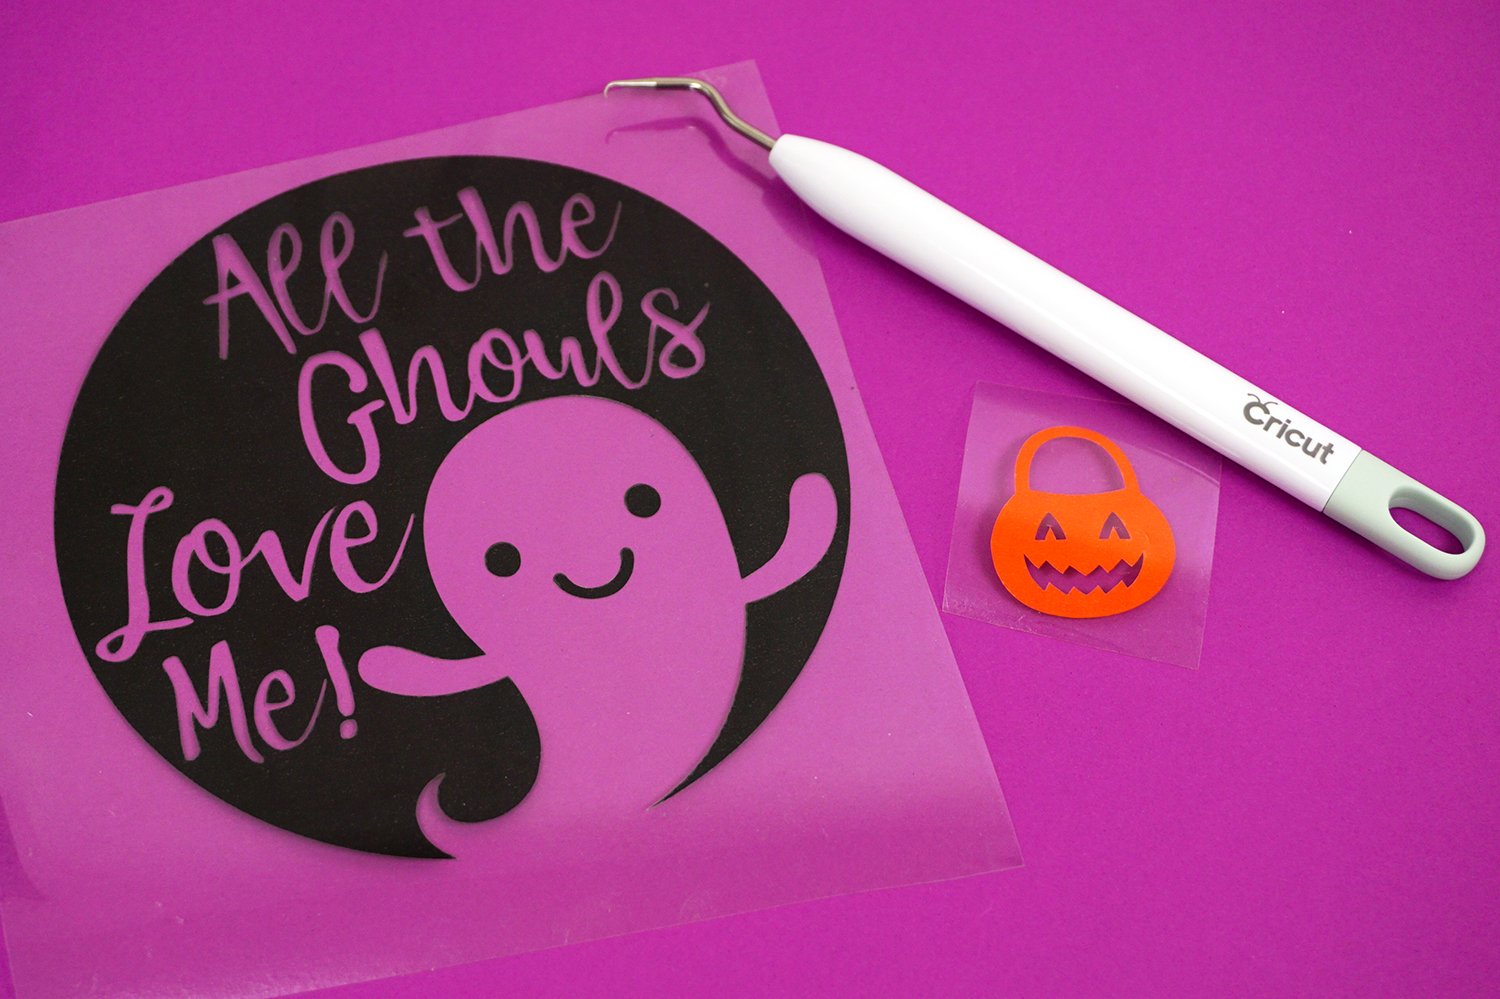
Use your weeding tools to remove the excess negative pieces from the design. If you don’t have a hooked weeding tool yet, I highly recommend getting your hands on one – it’s my most favorite Cricut hand tool of all!
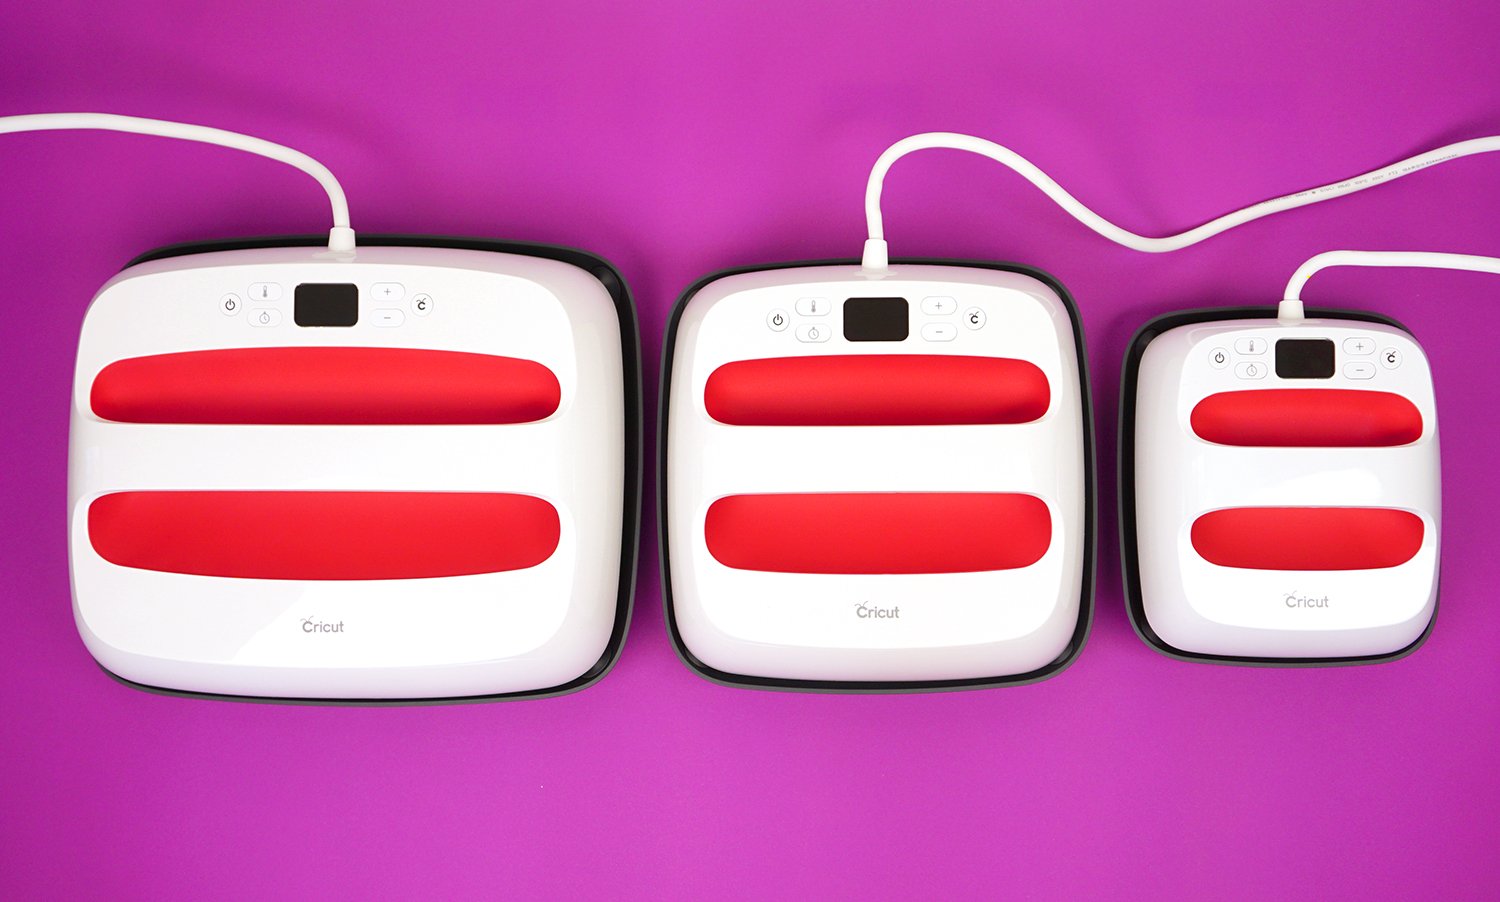
Once your design has been cut and weeded, it’s time to iron! But wait, have you heard the news? Cricut just released an all-new and improved version of my beloved EasyPress, the EasyPress 2, and it’s available in THREE different sizes! *cue all the shrieking and squealing!* The new EP2 boasts even faster heat-up, higher temperatures (up to 400 degrees), and a streamlined base for even easier storage. You’ll get the same cutting-edge even heating with professional iron-on results in 60 seconds or less!
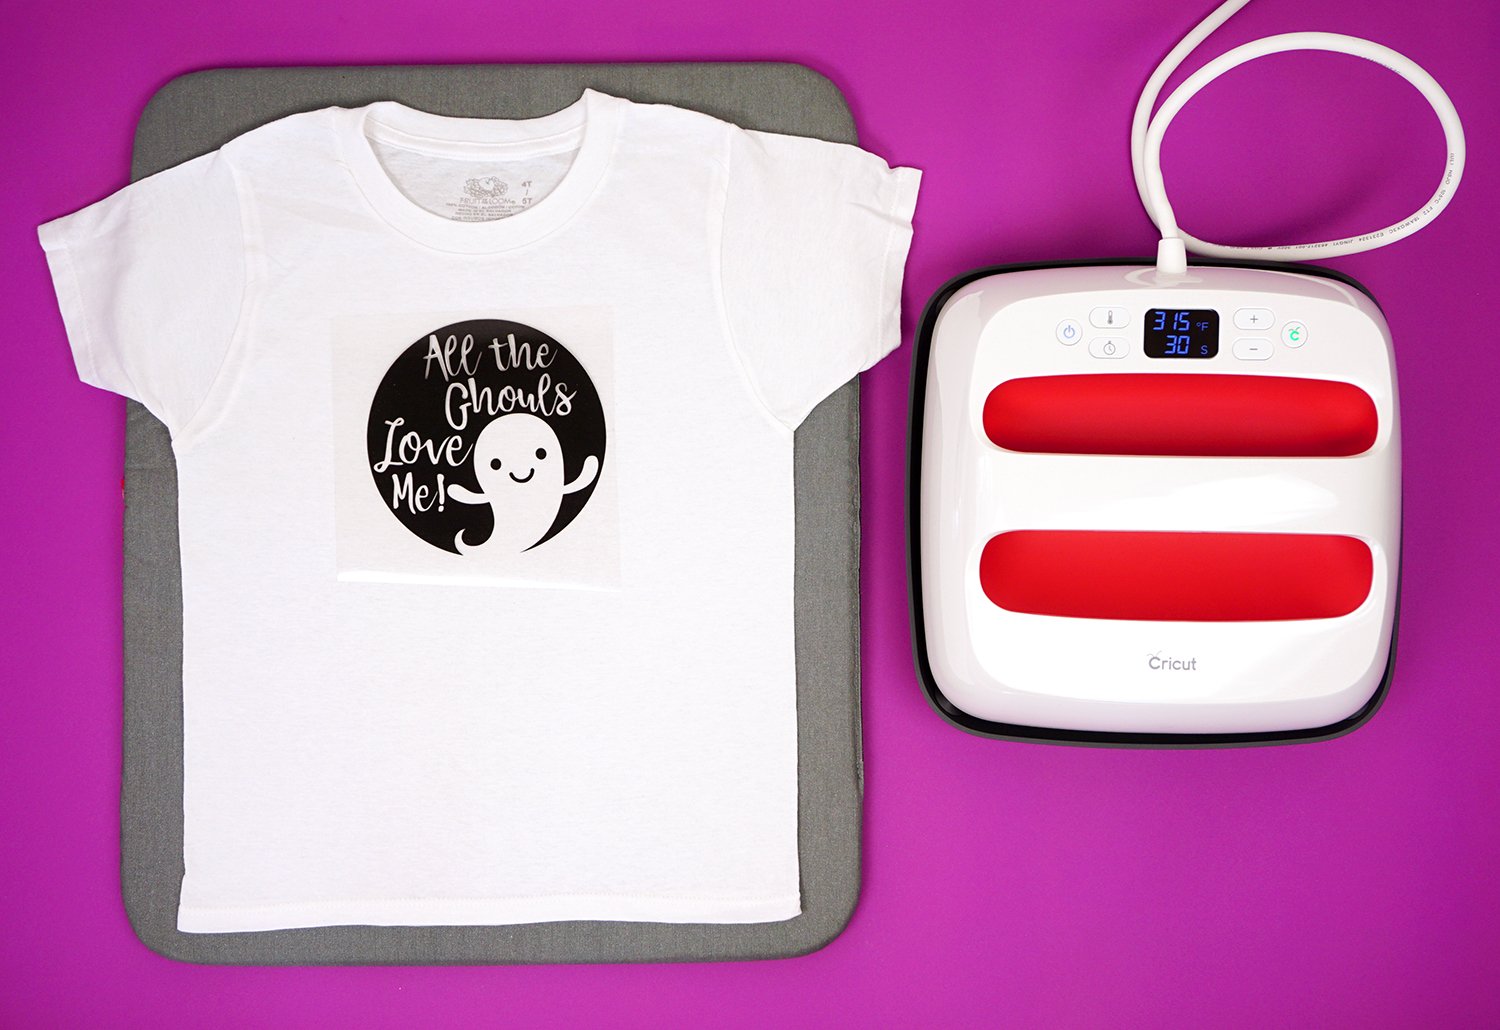
Place the iron-on design on to your shirt in the desired position.
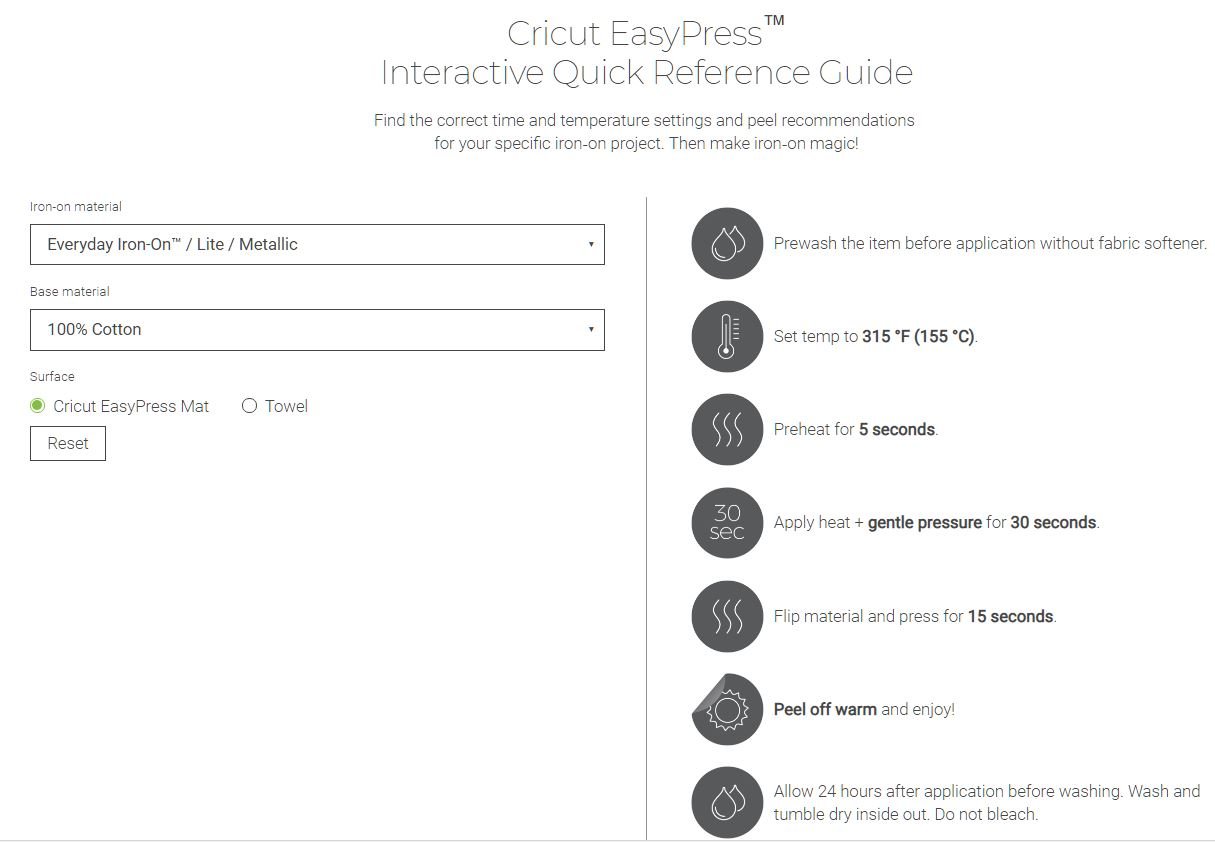
Use the new EasyPress Interactive Quick Reference Guide to determine the settings required.
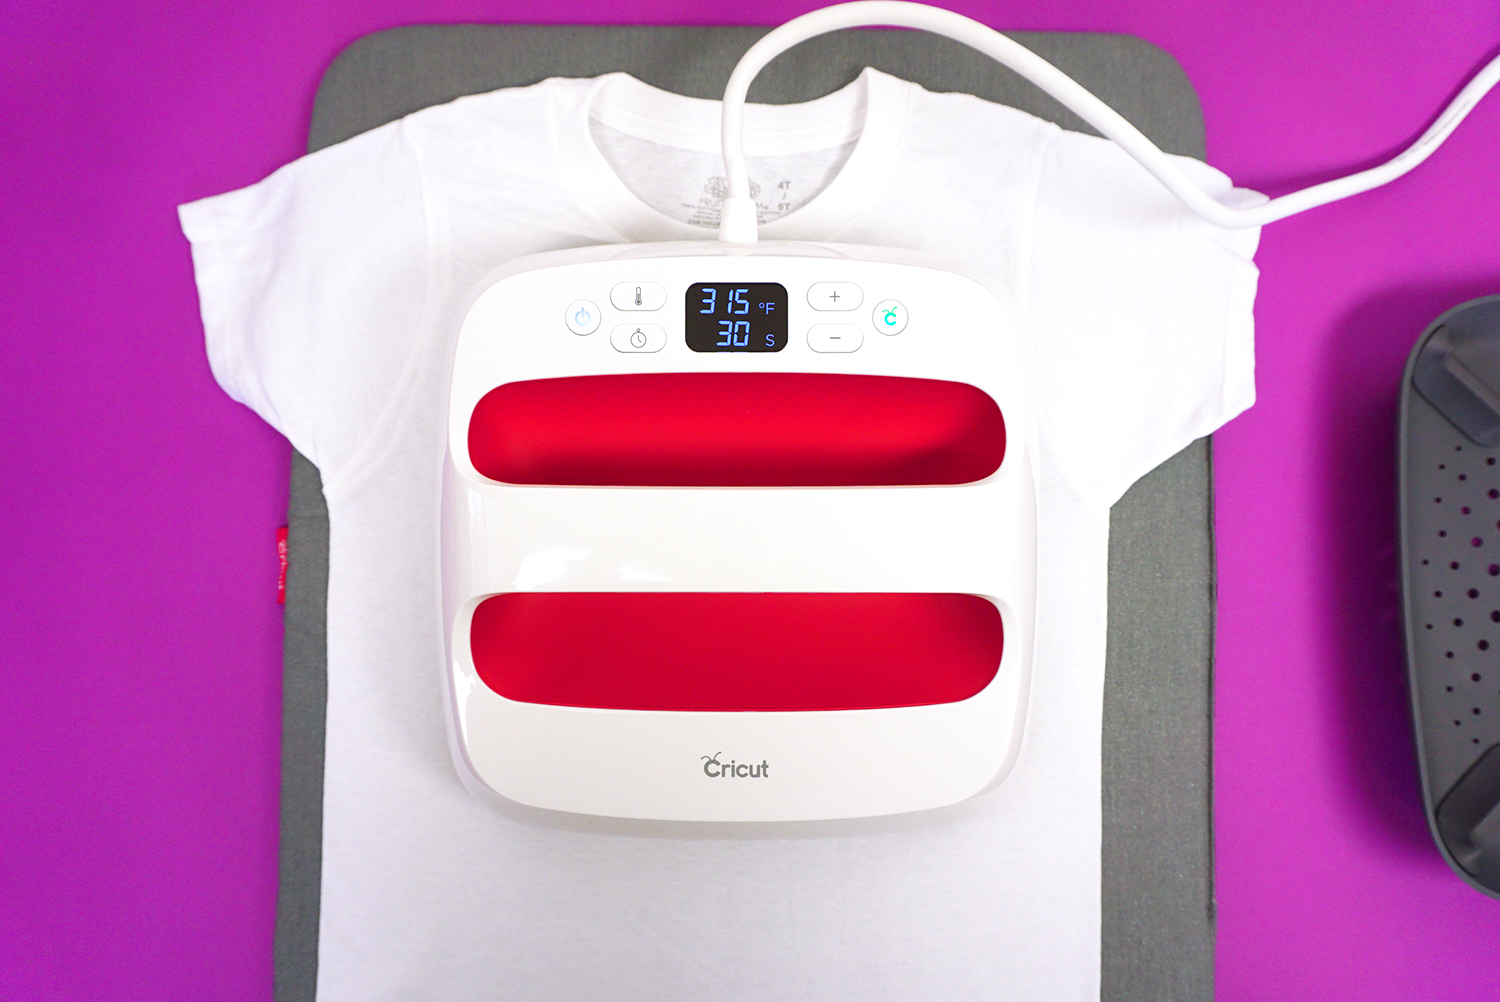
For this 100% cotton youth tee, I used the 9×9 EasyPress 2 and followed the recommendations shown above – 315 degrees and 30 seconds. The 9×9 is my favorite size (the same as the classic EasyPress) because it works well for a variety of surfaces and applications.
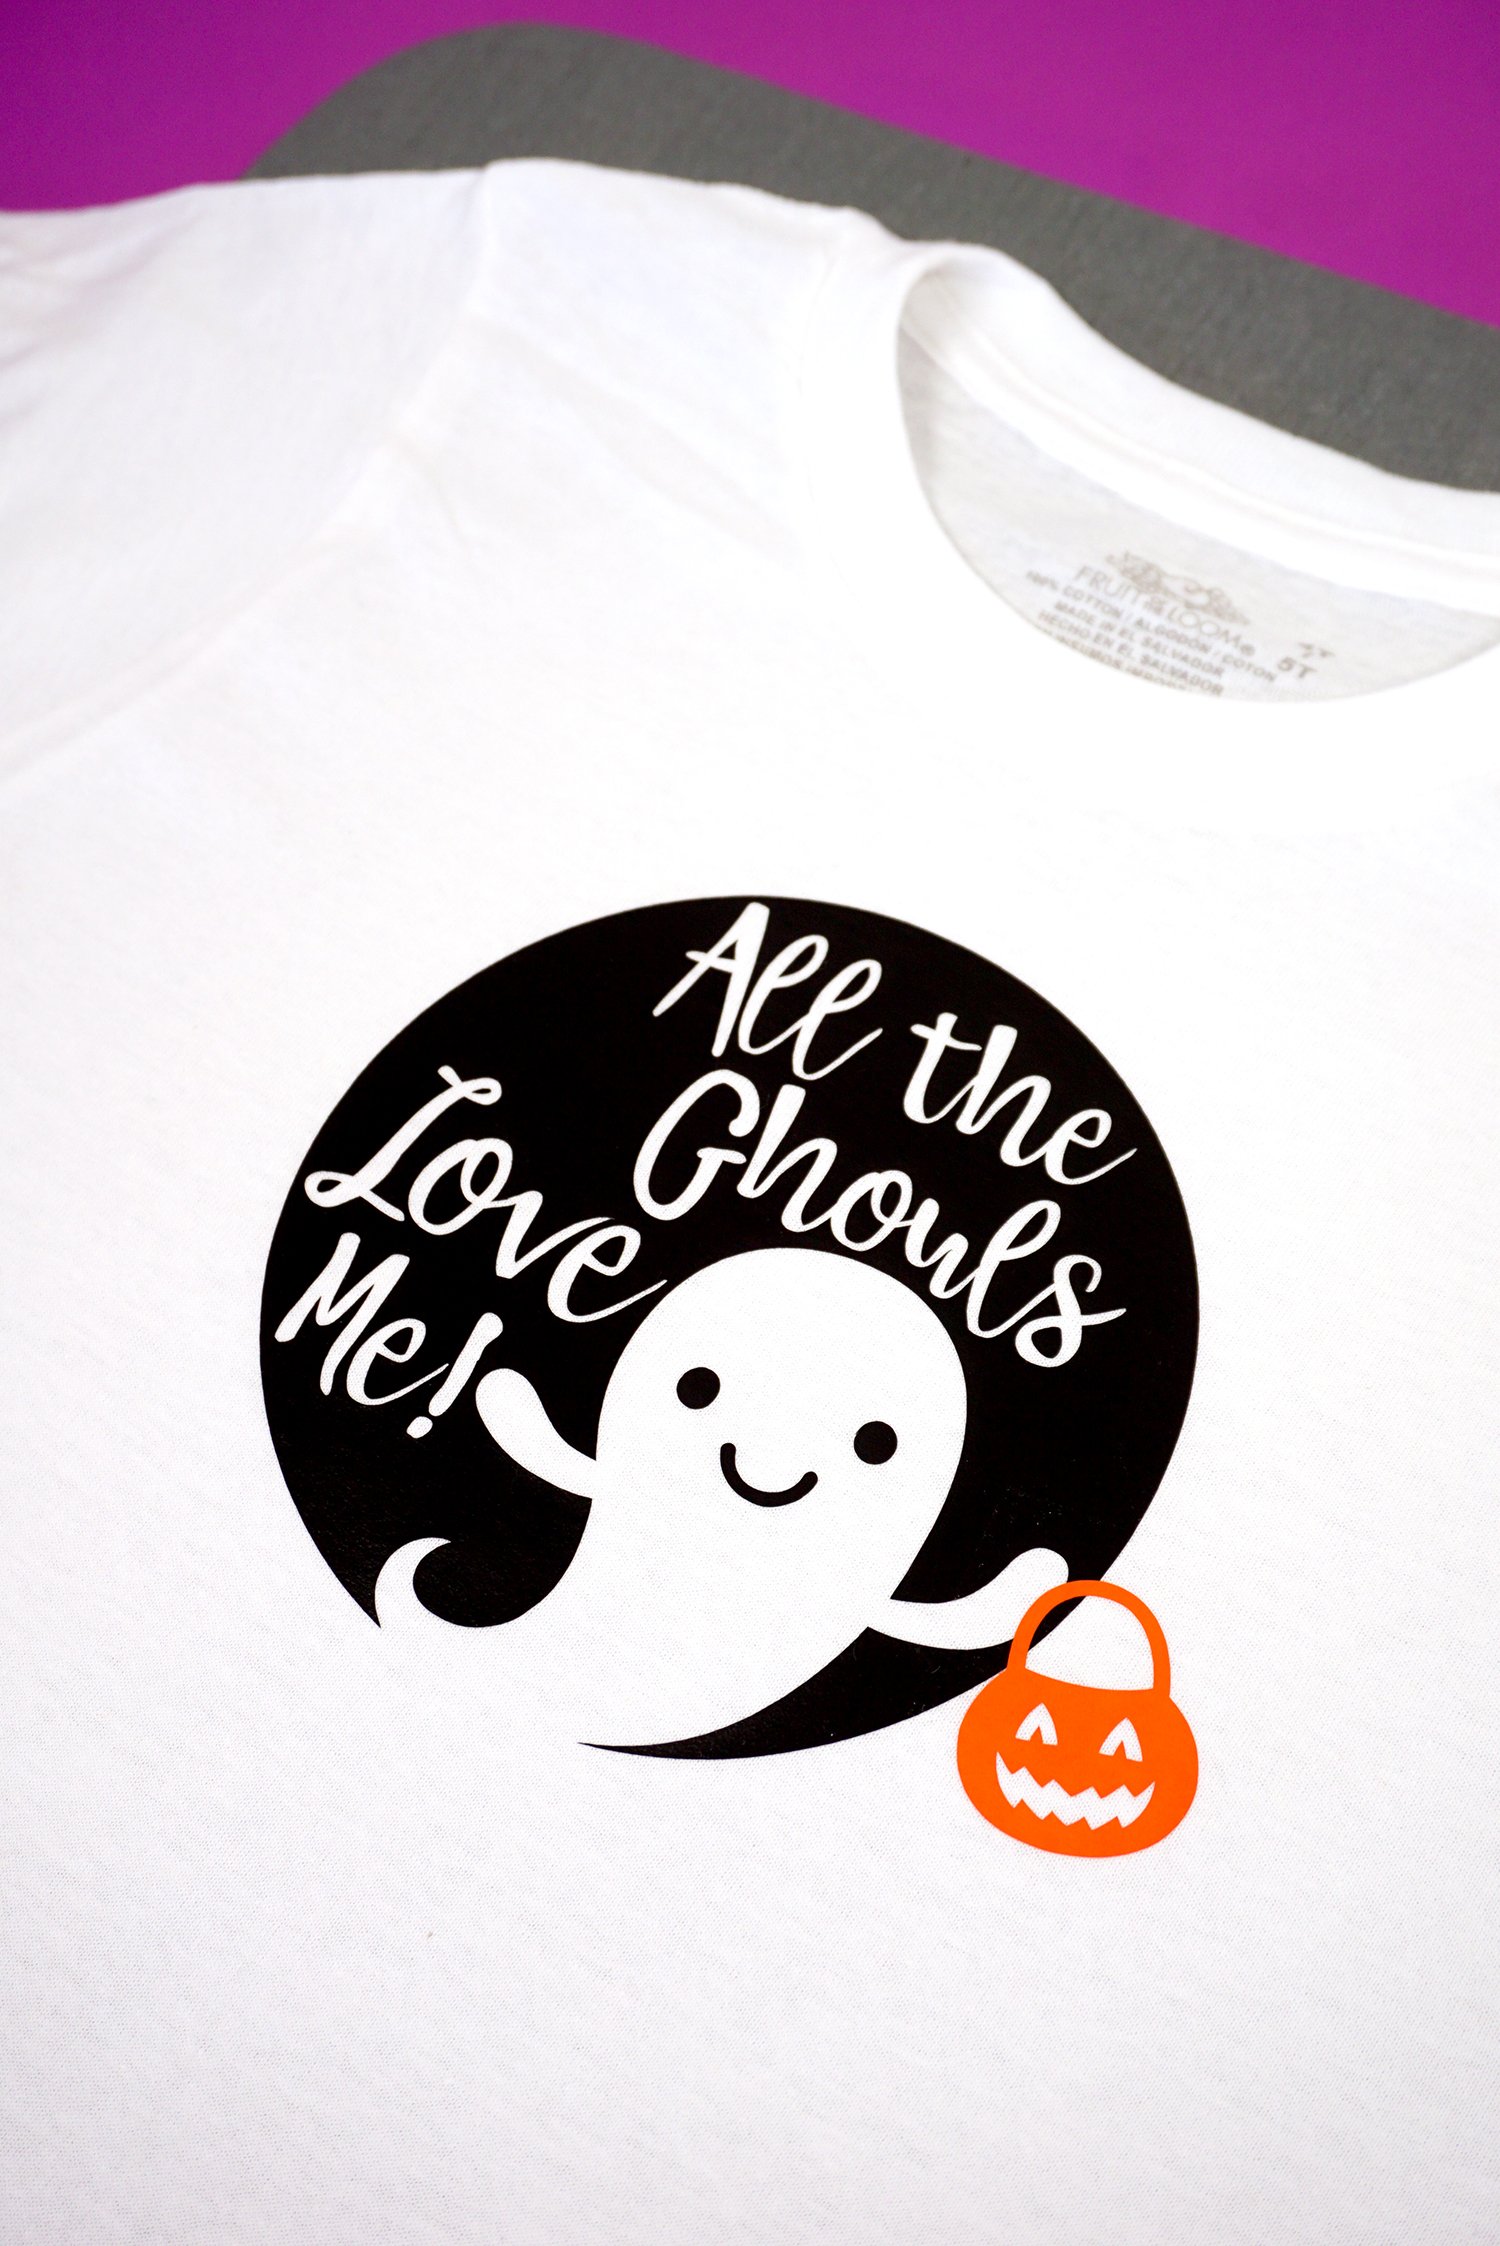
Tada! Easy peasy (and SUPER cute!)!
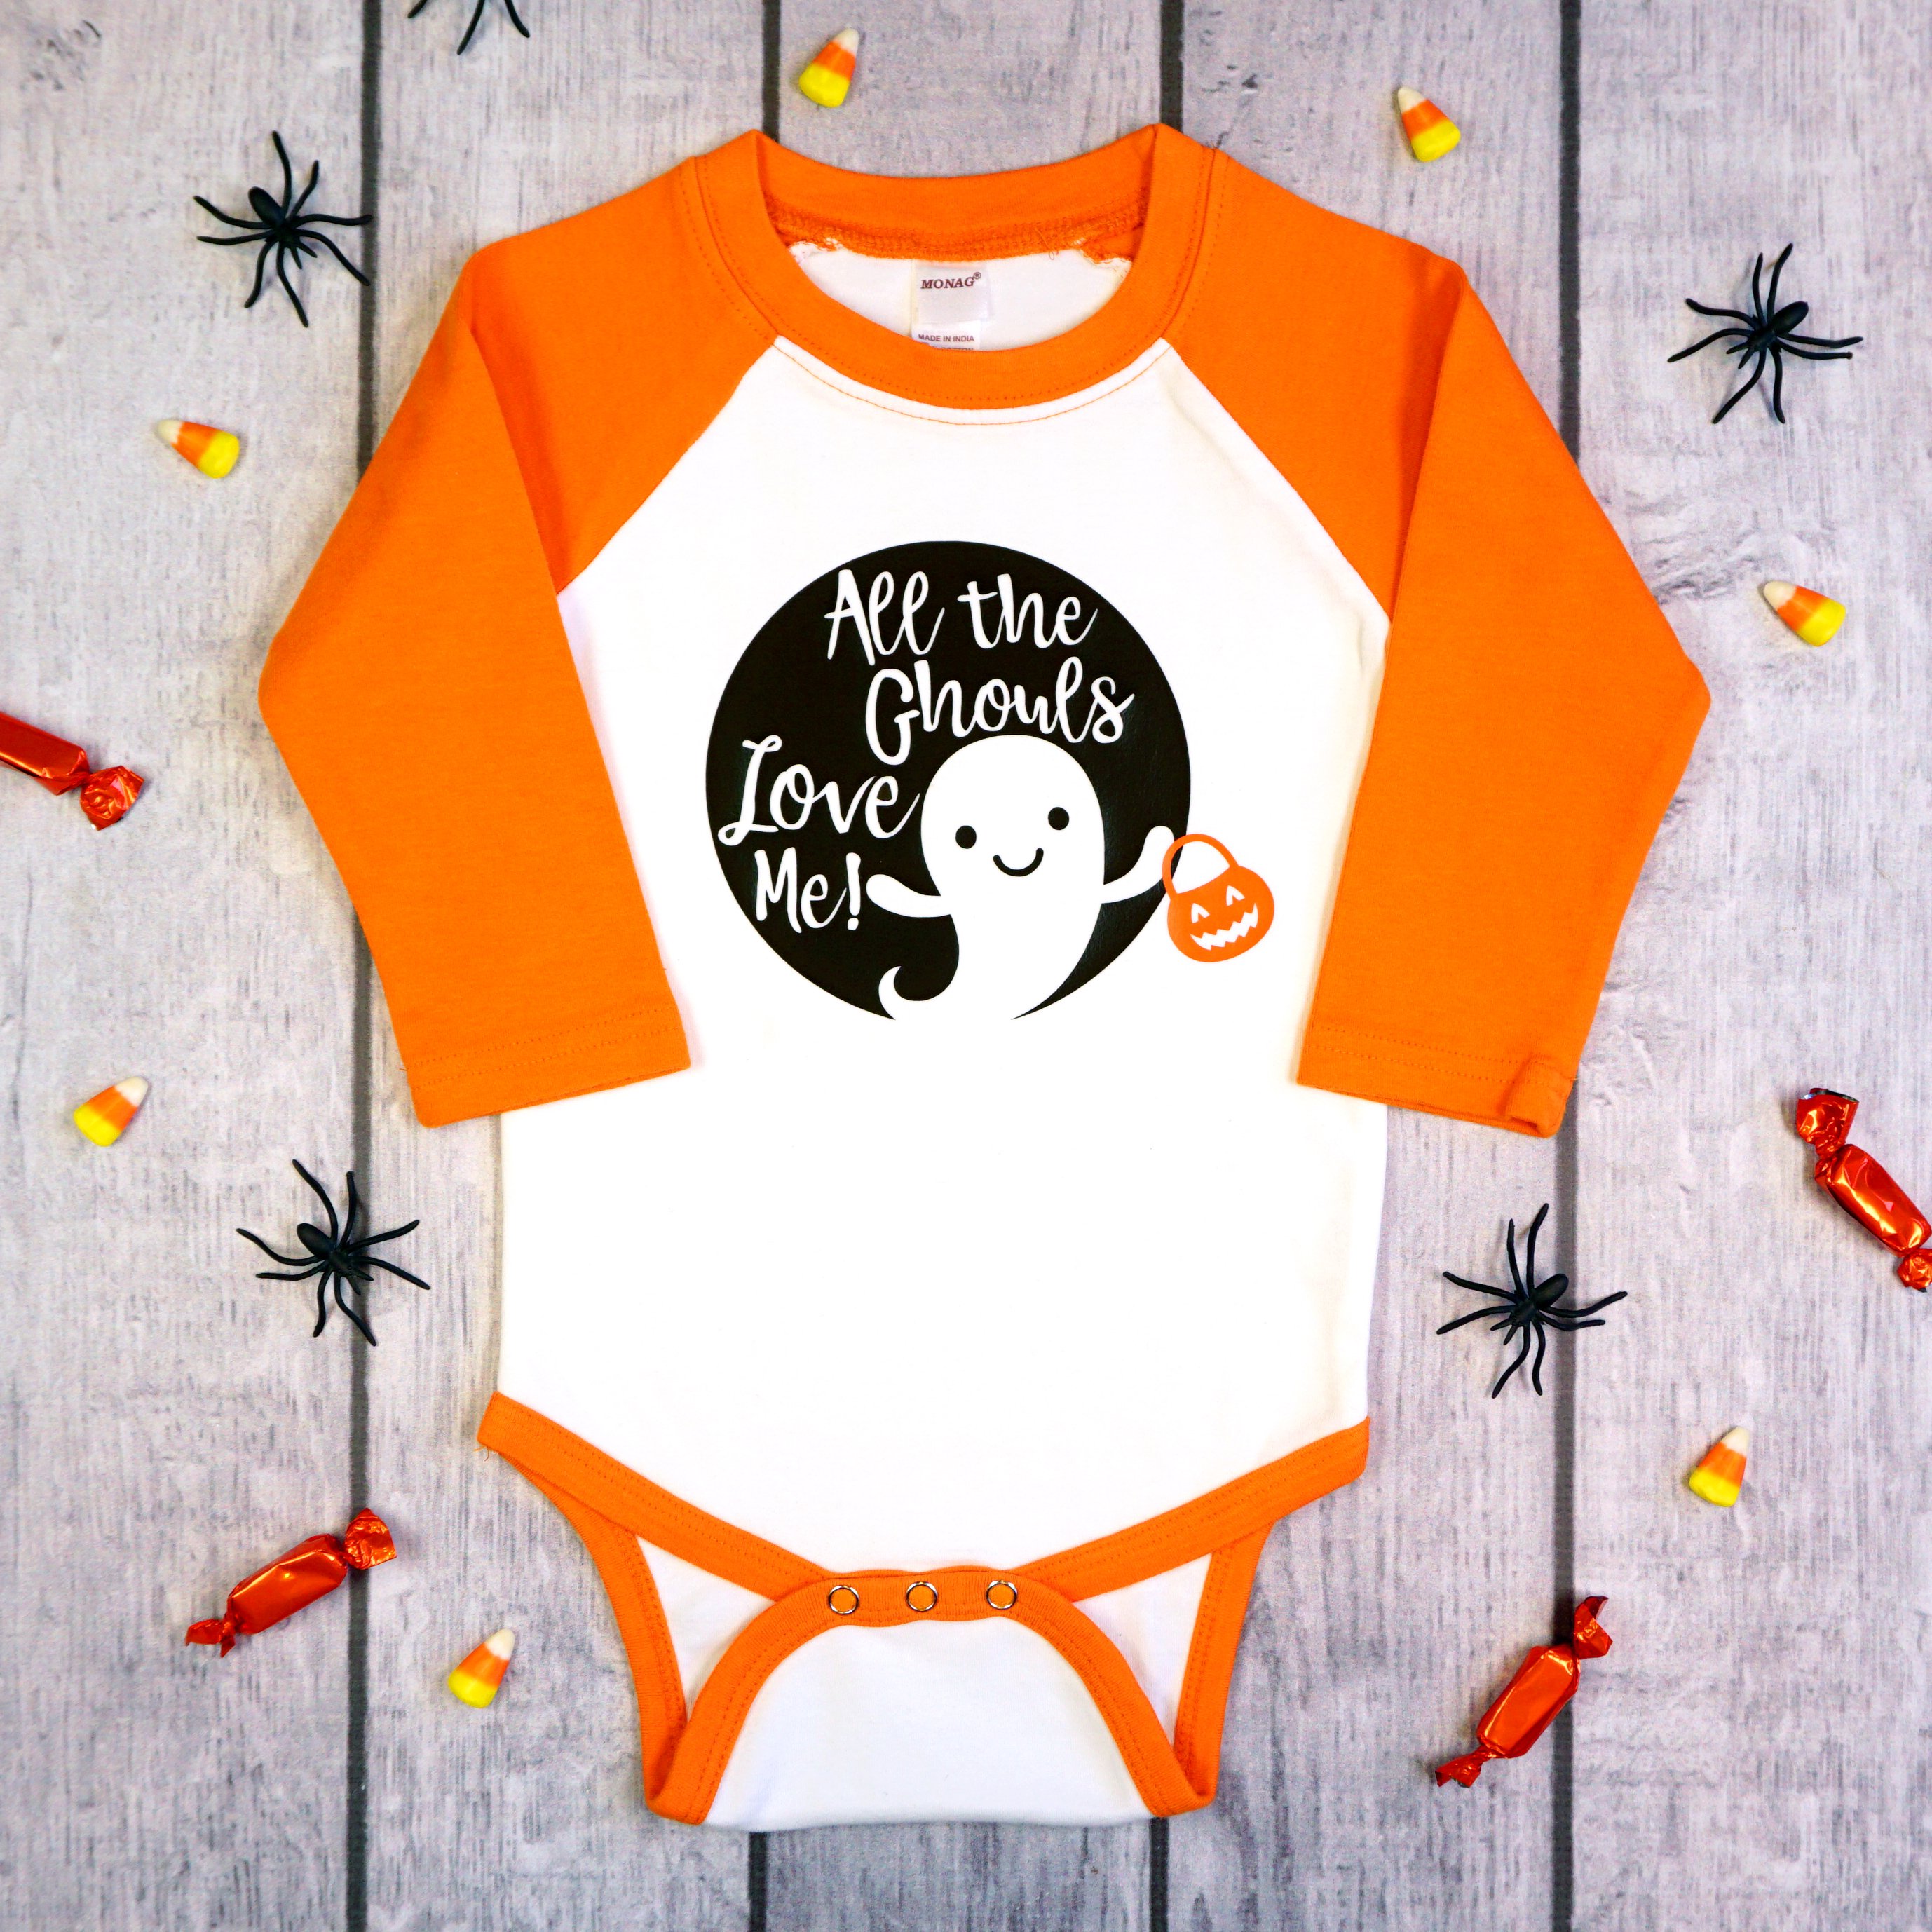
I actually love this design SO much that I made it into both a t-shirt AND a baby bodysuit for a couple of cute little guys that I know!
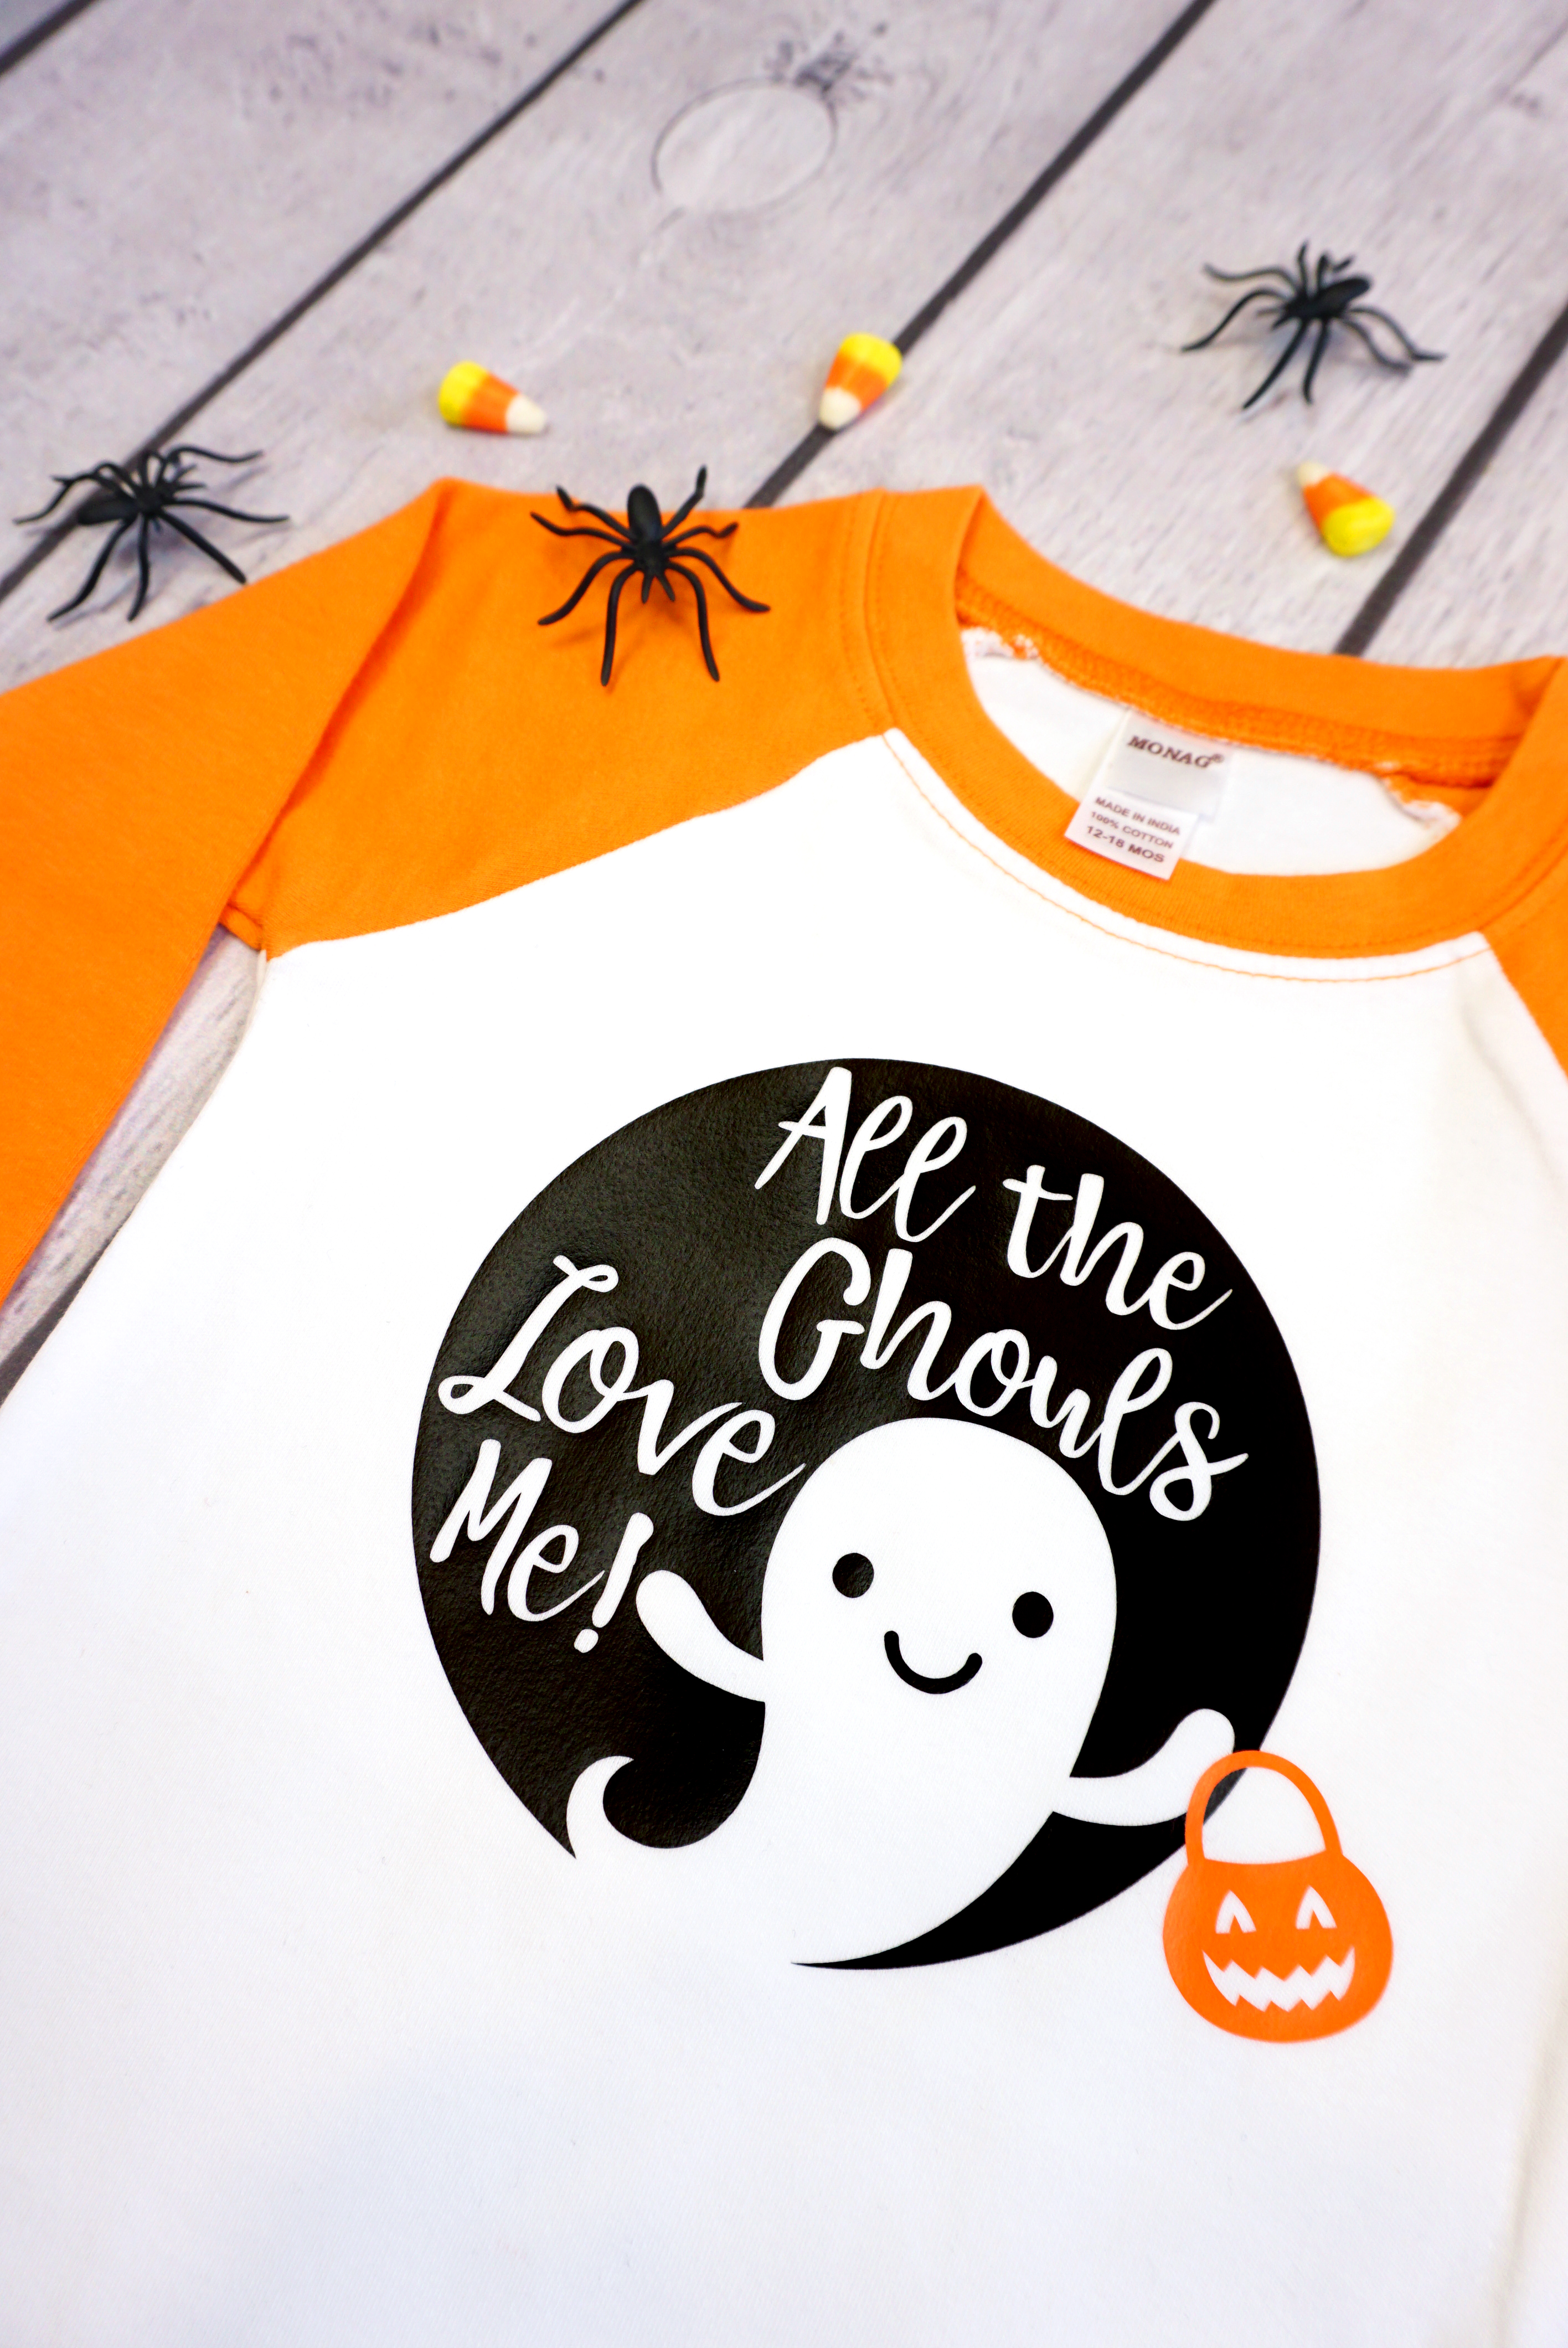
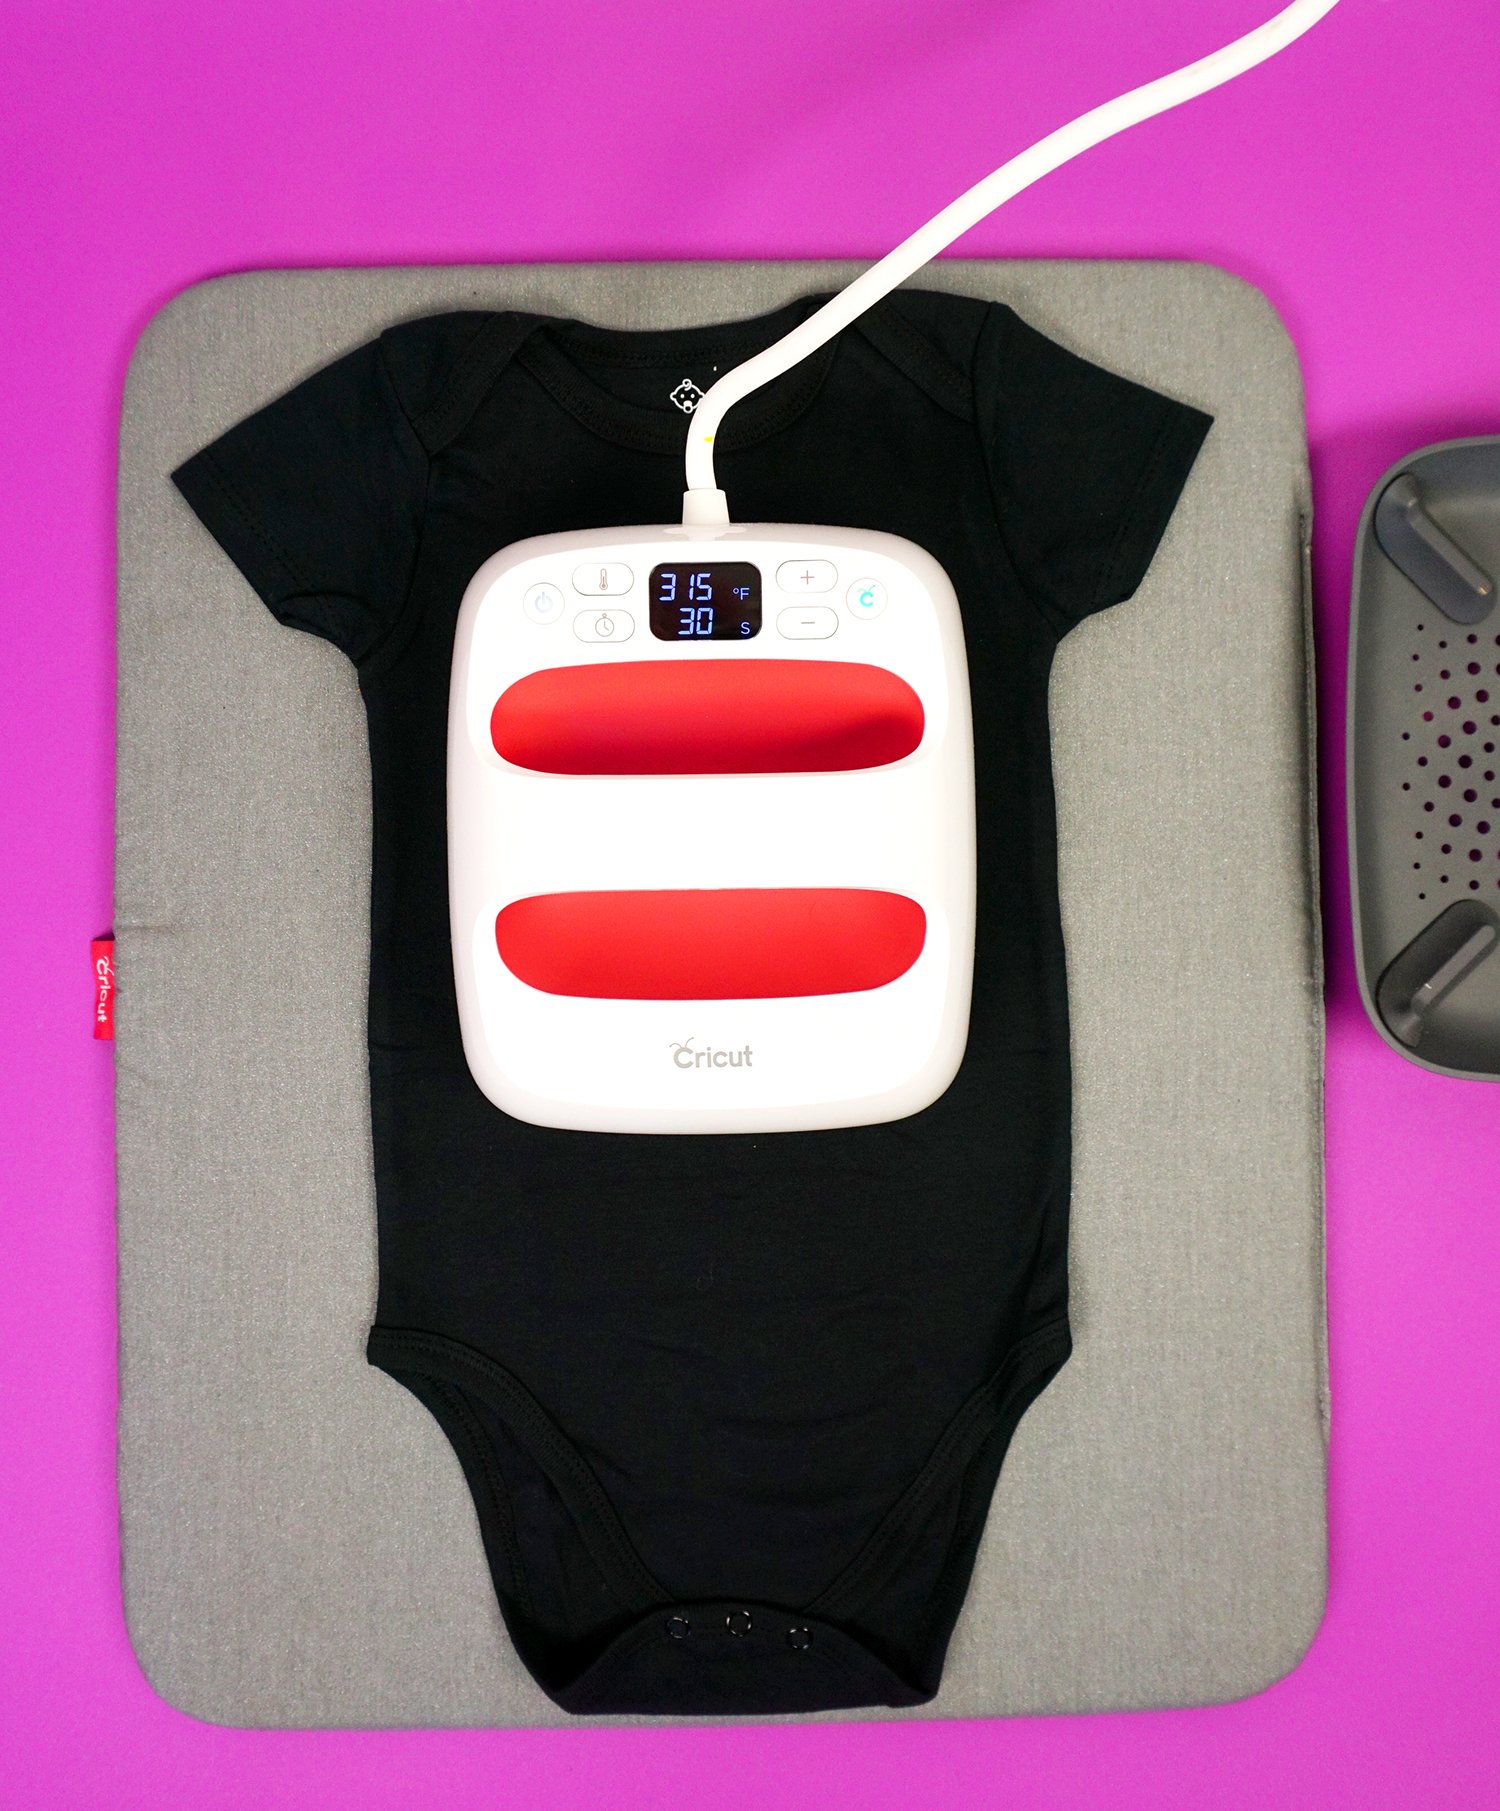
The new 6×7 EasyPress 2 is the perfect size for baby onesies and smaller applications. I wish I would have had this size when I made my Alpaca Lunch Box!
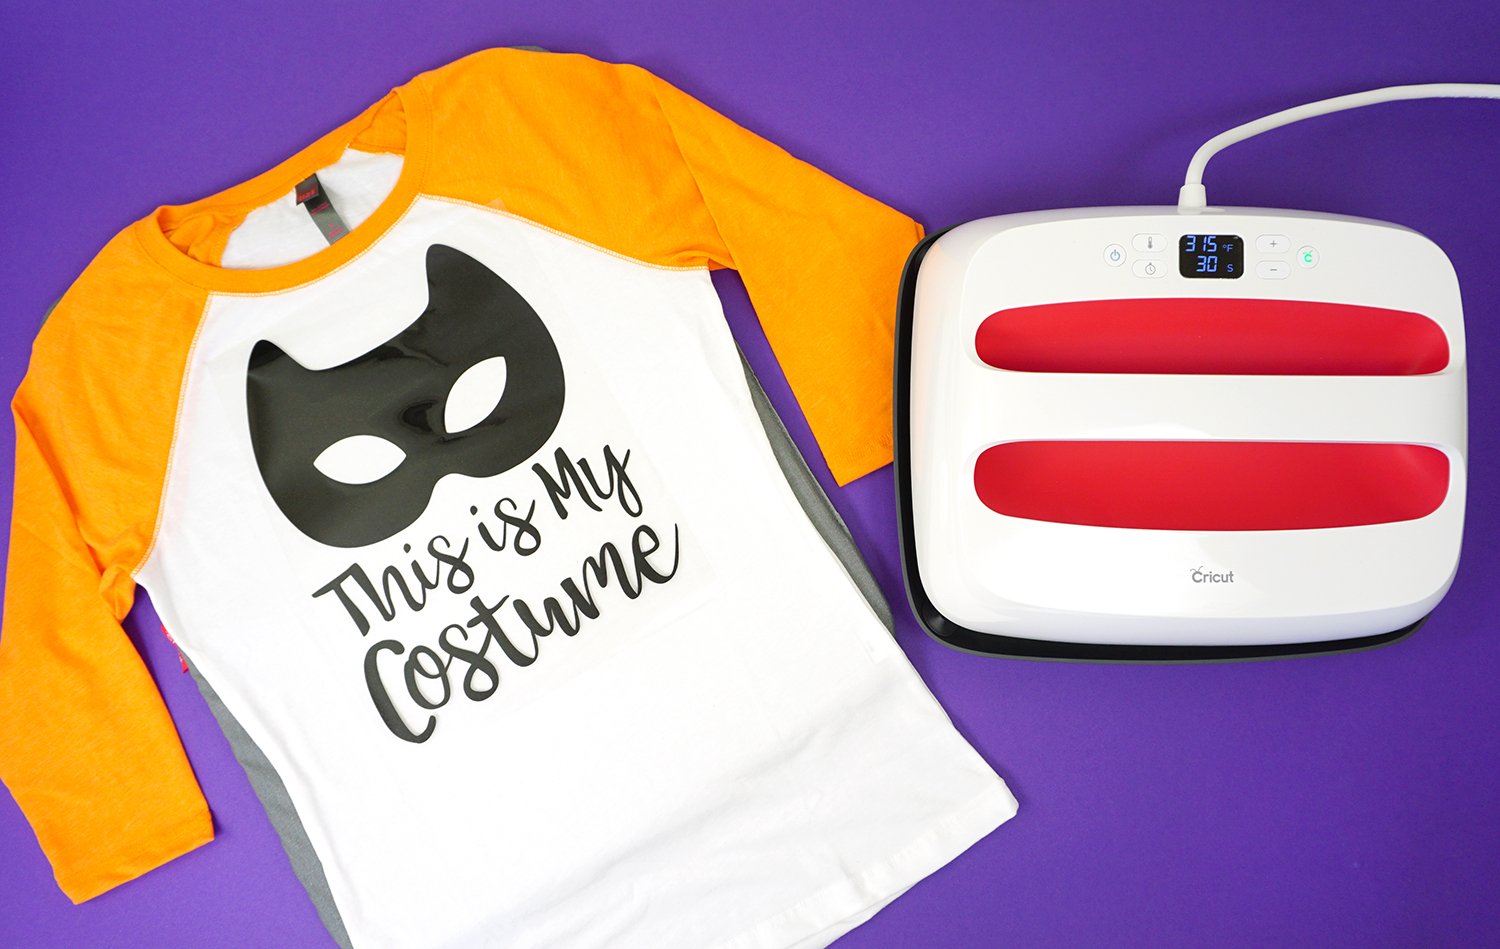
The 12×10 EasyPress 2 is ideal for creating adult-sized garments in a single pass, which REALLY comes in handy when you’re making an entire collection of shirts for a group (Or just a bunch for yourself! Hey, we won’t judge!).
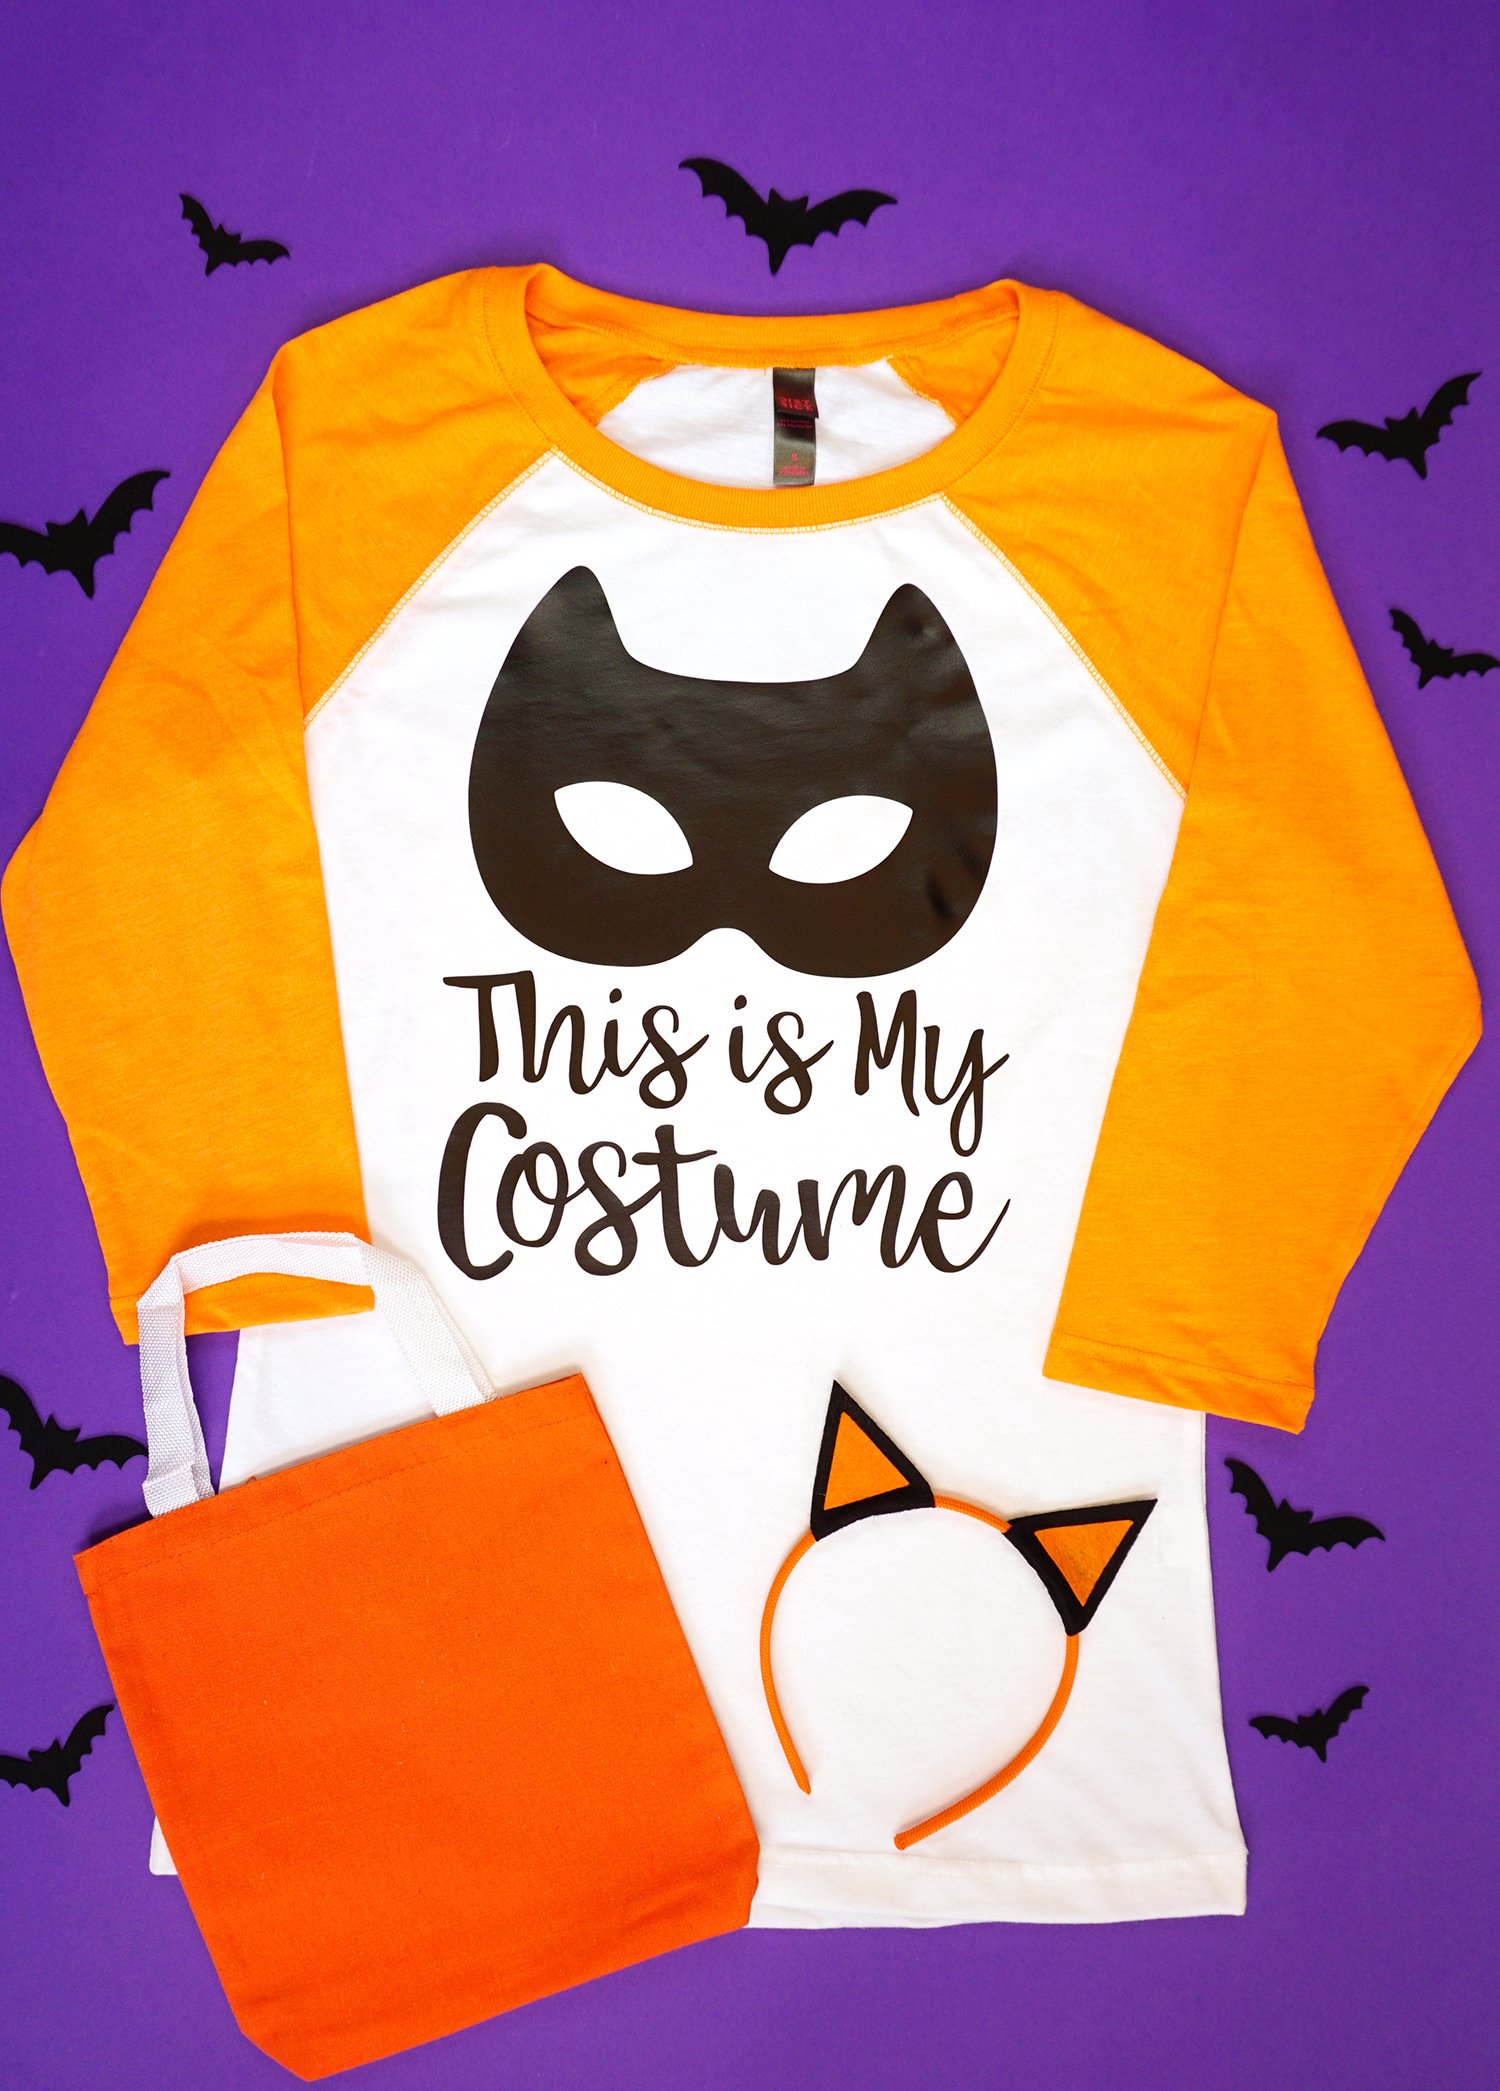
I usually dress up in costume when we go out trick or treating with the kids each year, but I have to say, I am totally feelin’ this “This is My Costume” shirt this year! Pair it with our awesome DIY Masquerade Mask that we’ll be posting on Wednesday, and you’re good to go!
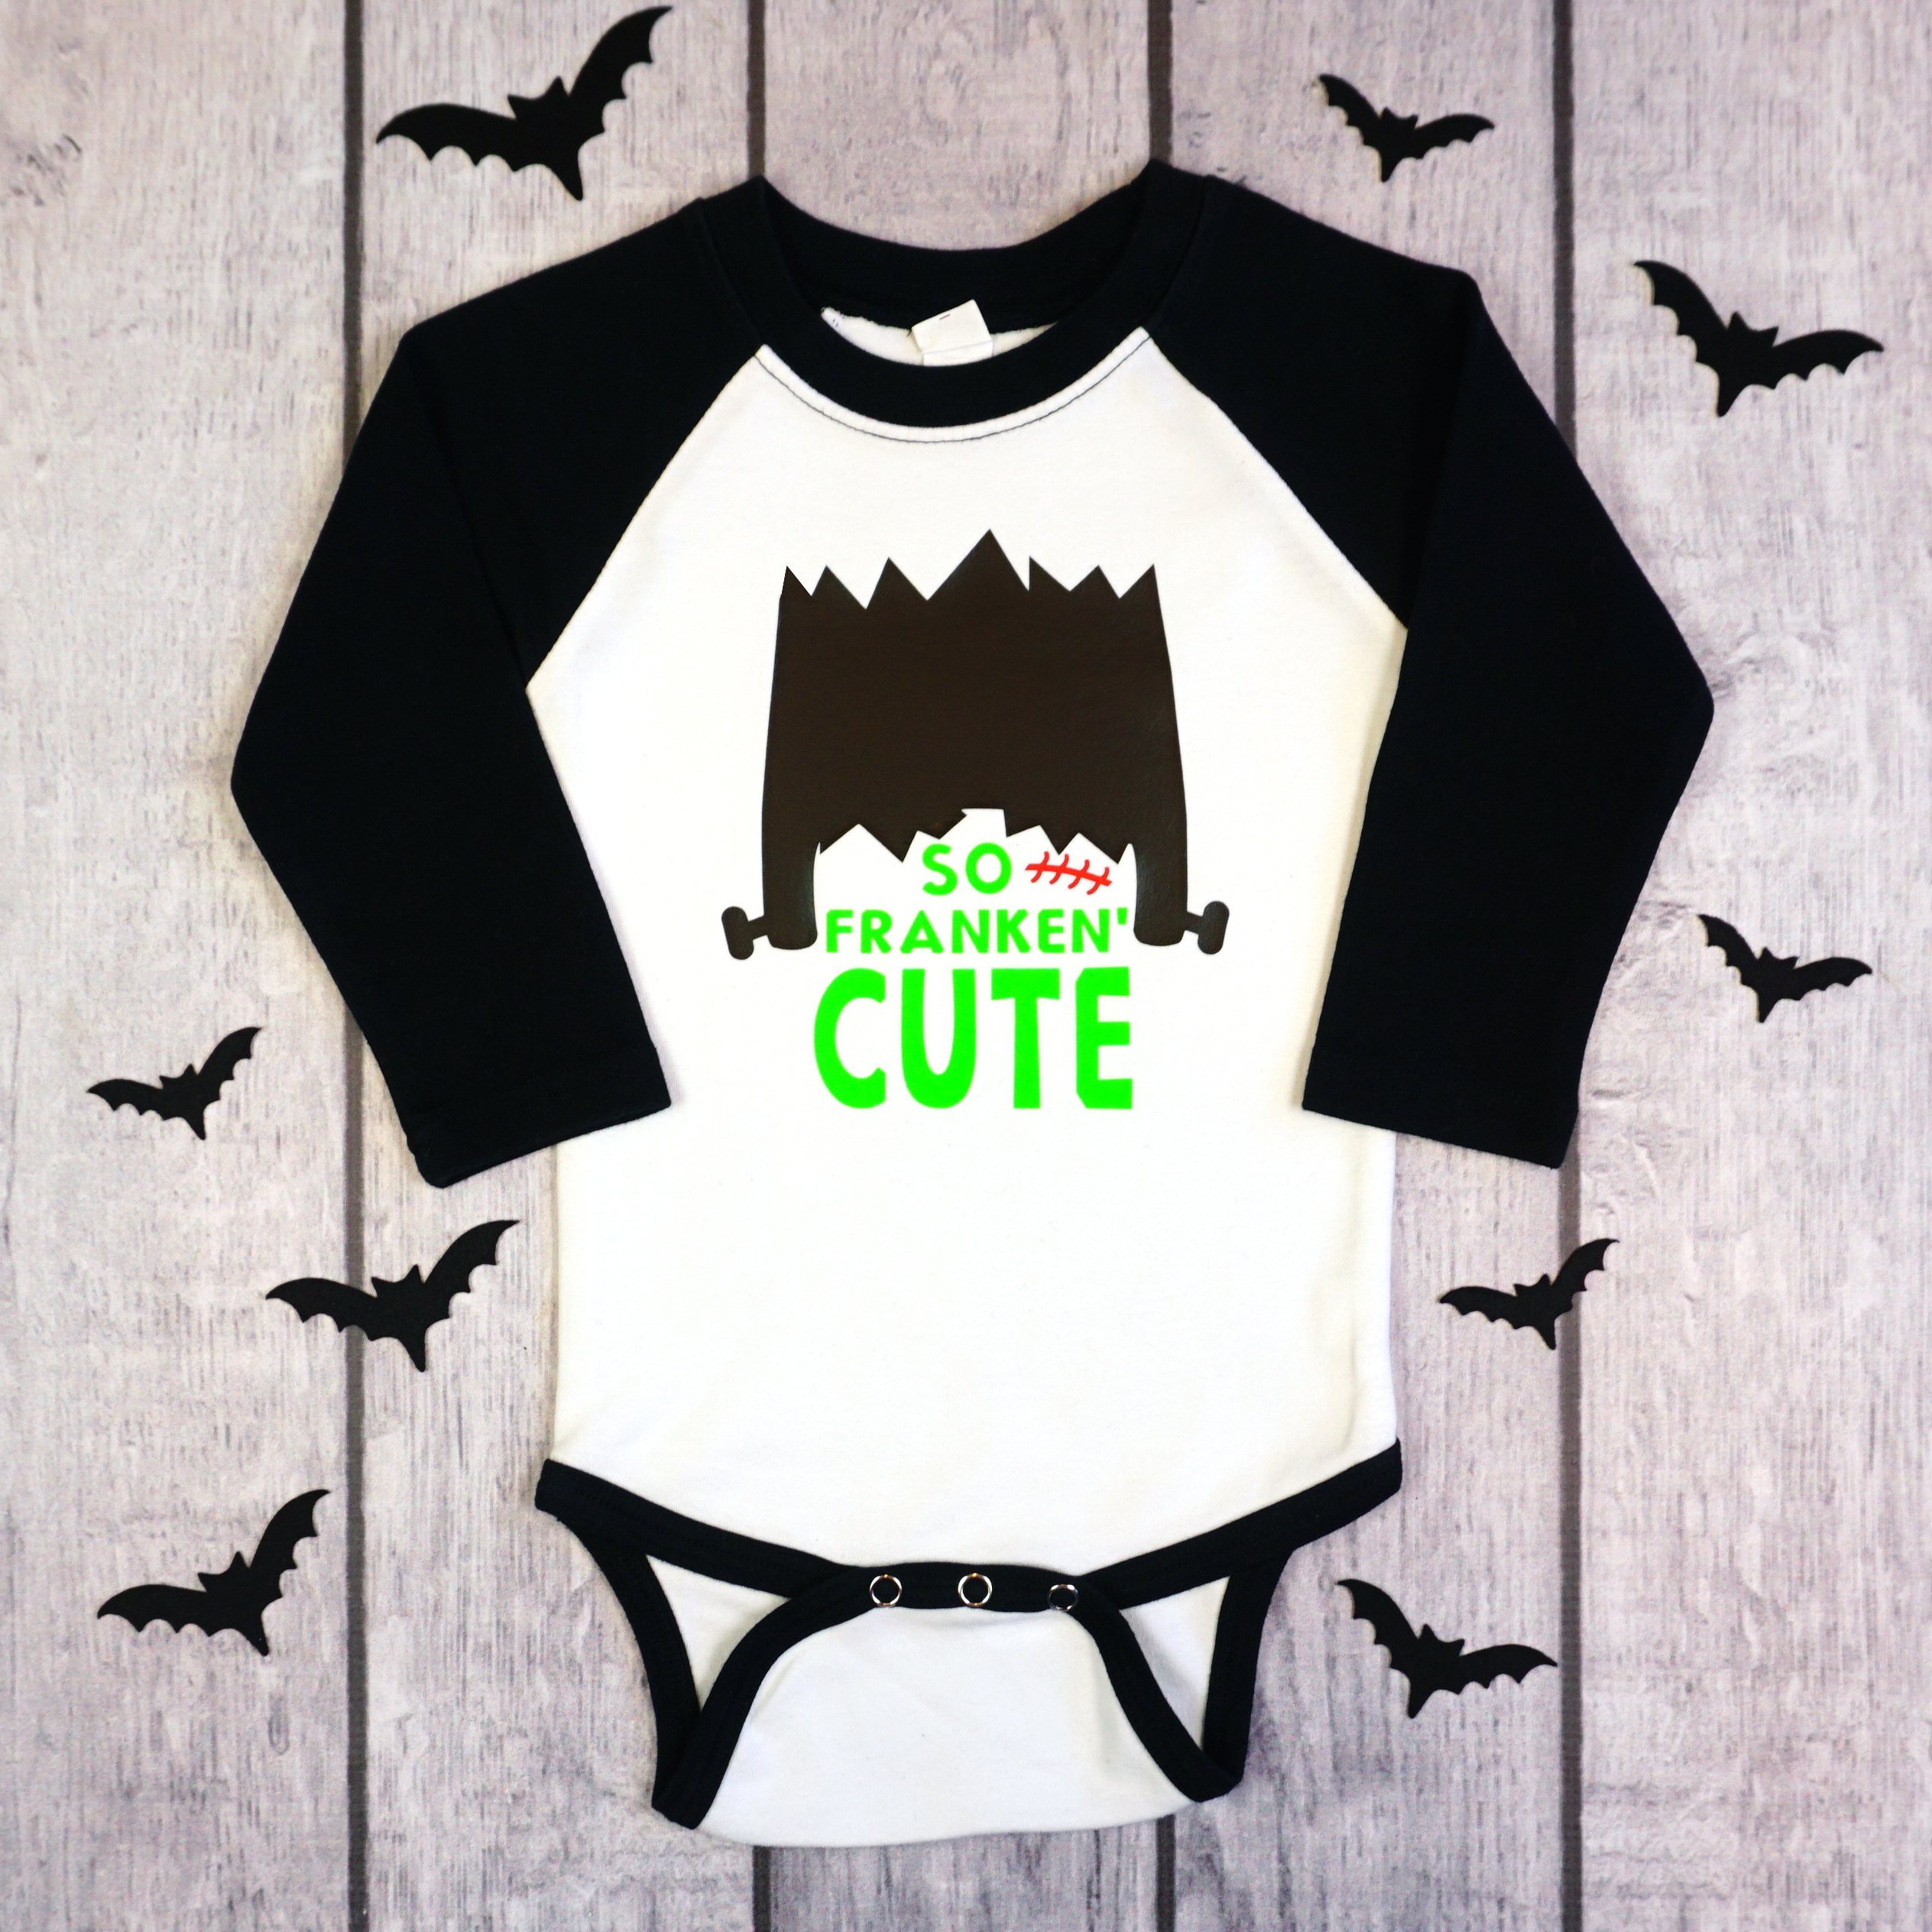
I mean, c’mon! Seriously. This design really IS so Franken’ cute!
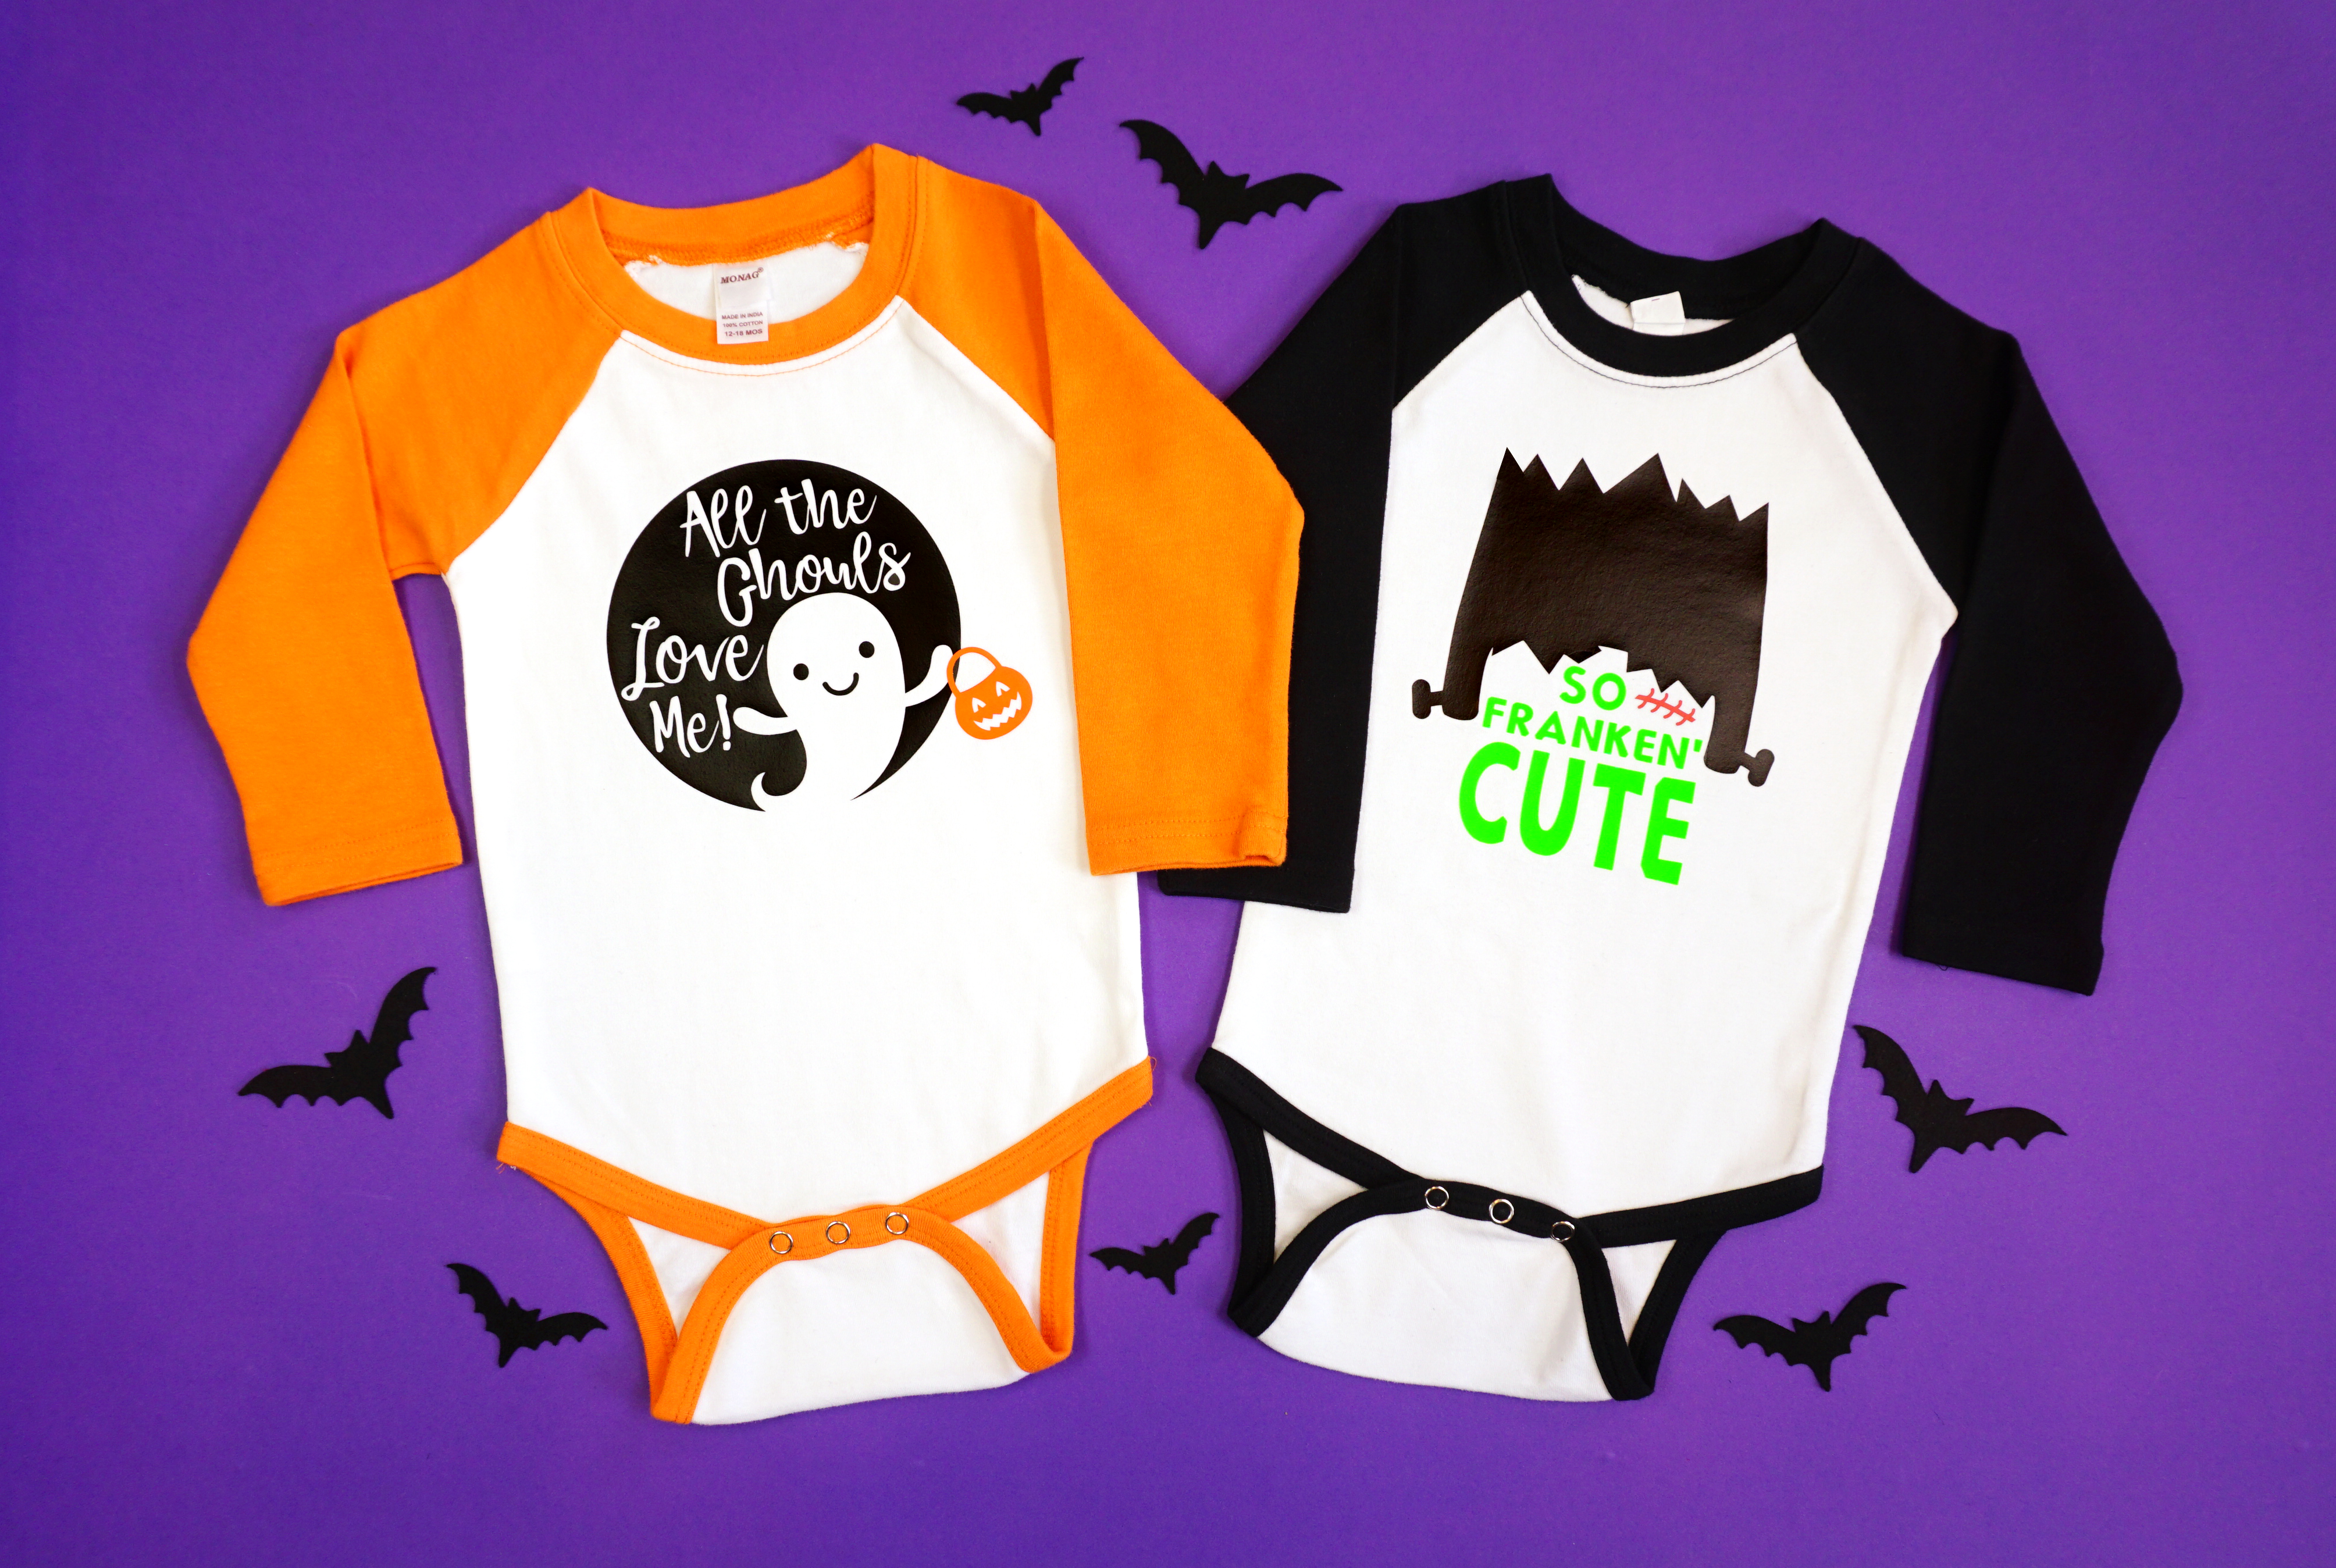
This set would make an adorable DIY gift idea for your favorite little one!
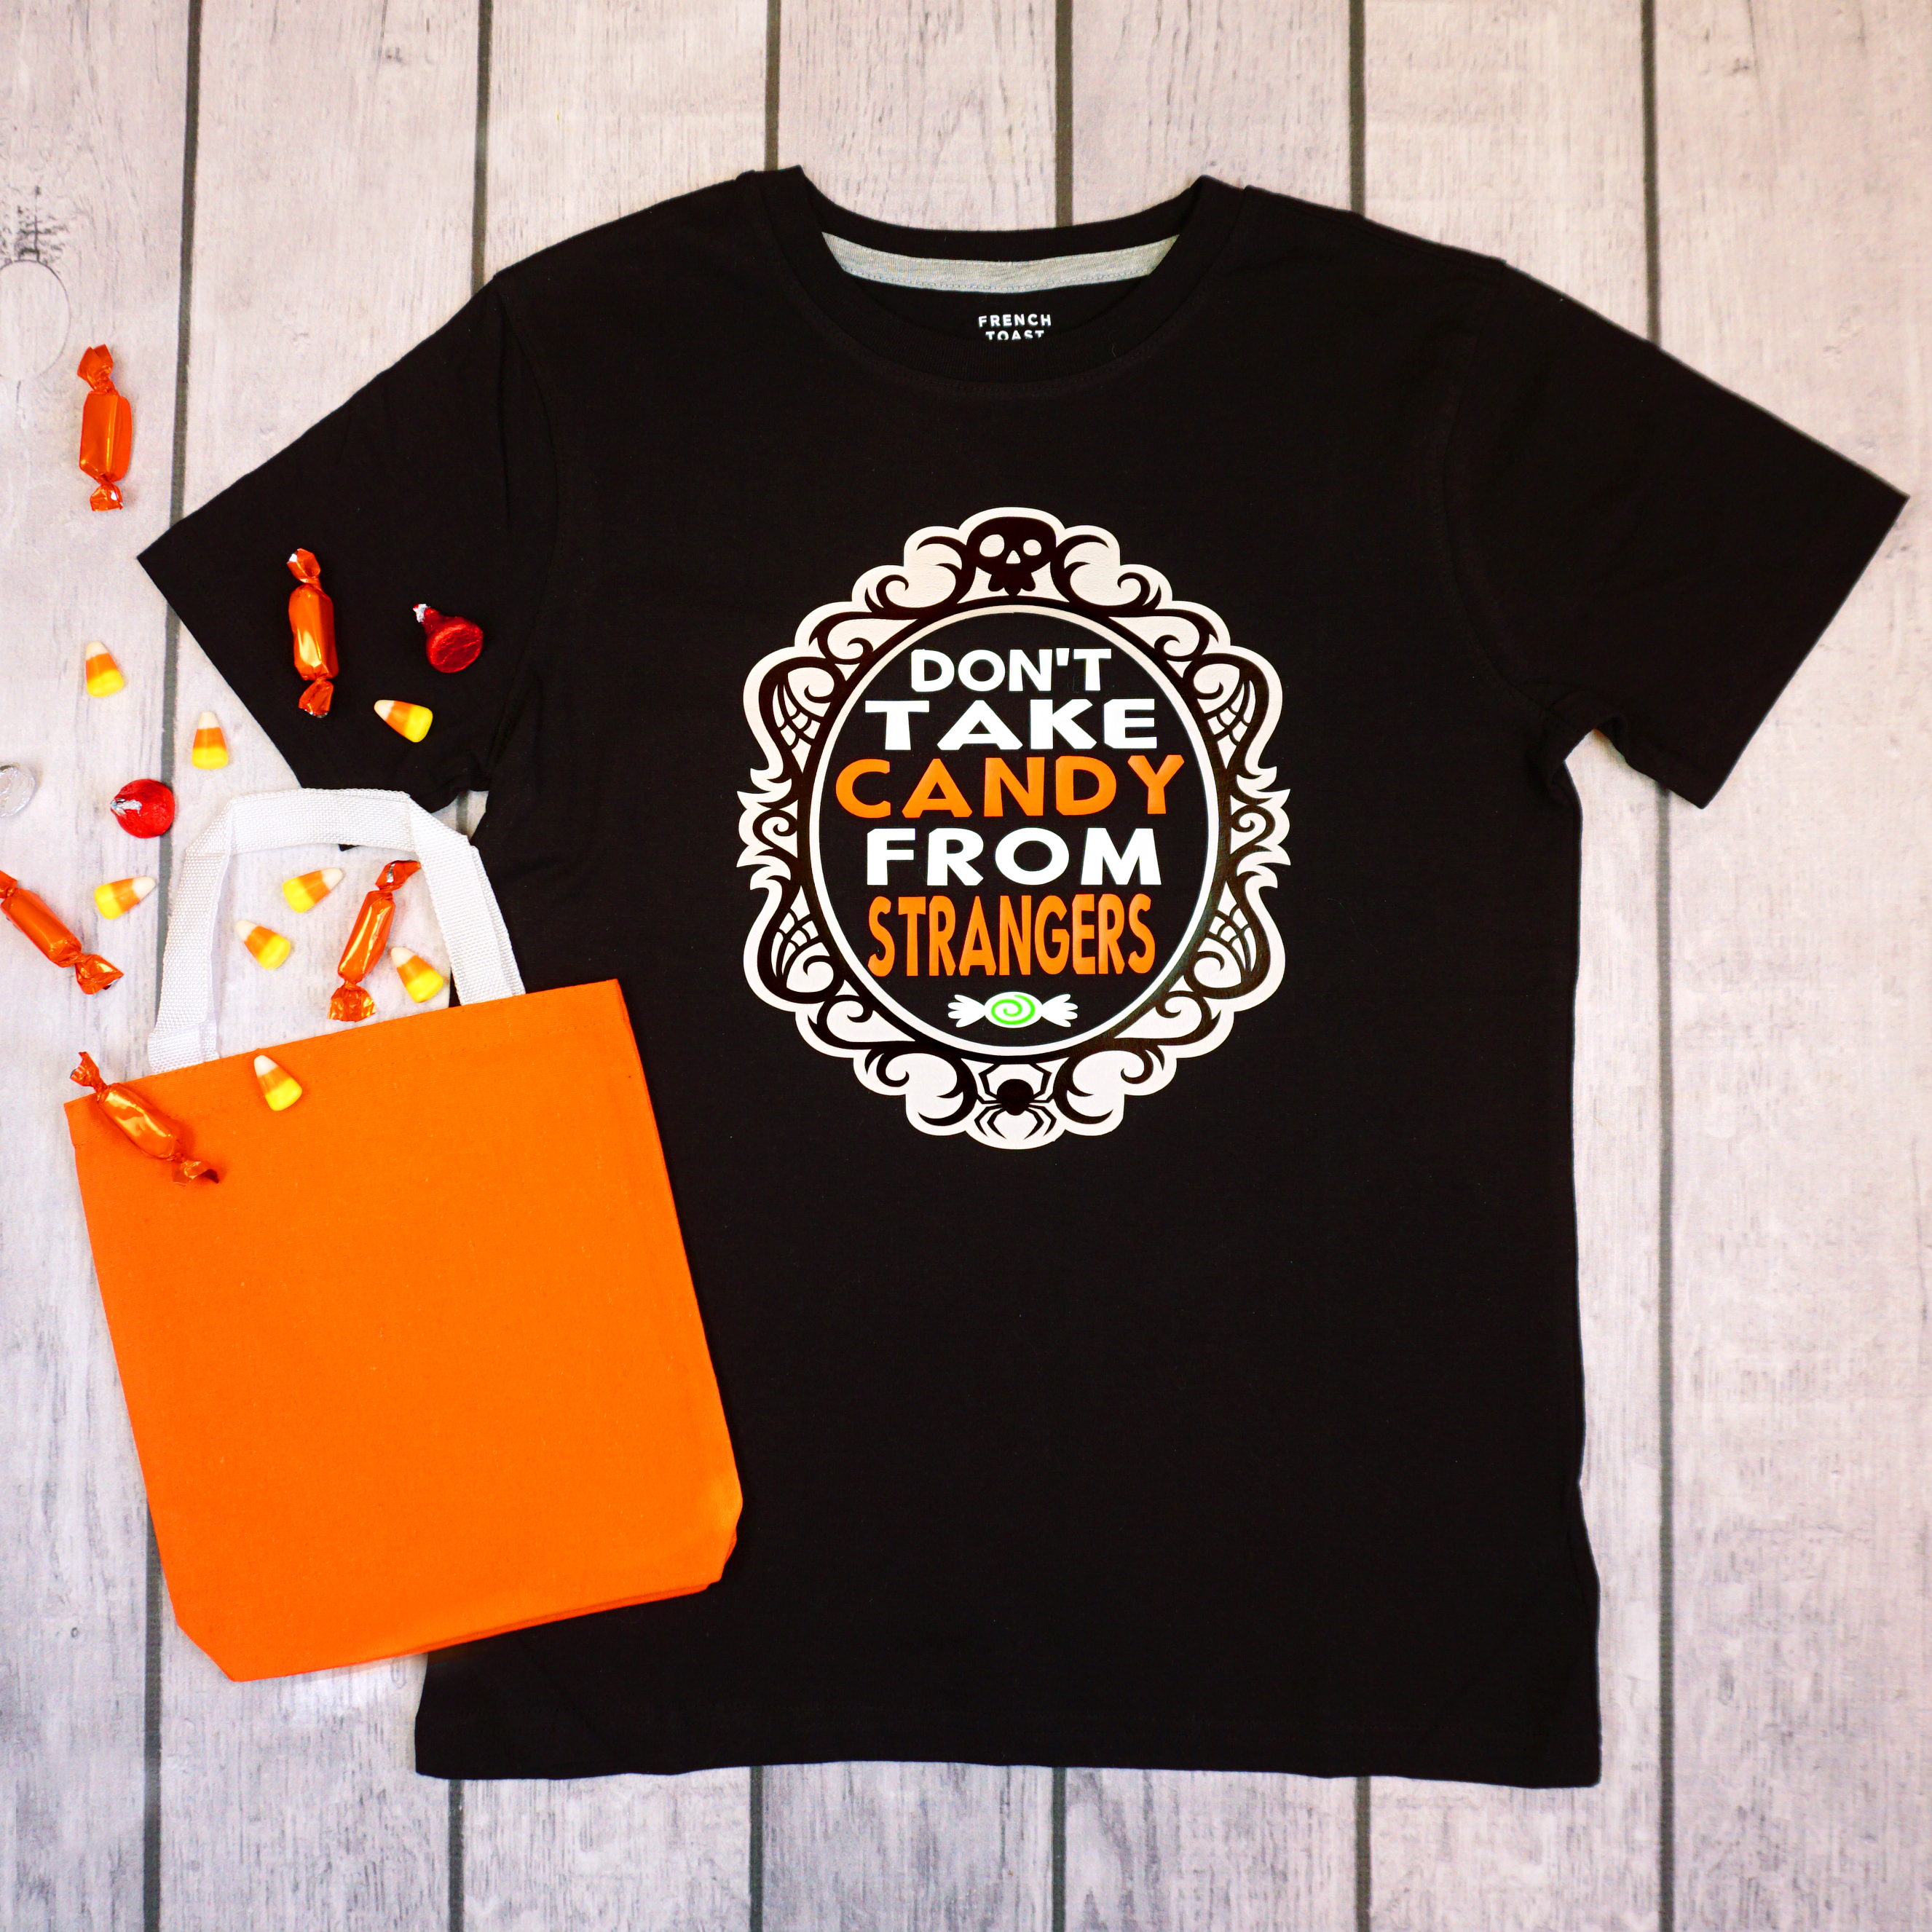
“Don’t Take Candy from Strangers” has just the right amount of sass and snark which made it a huge hit with the teens and tweens that we know!
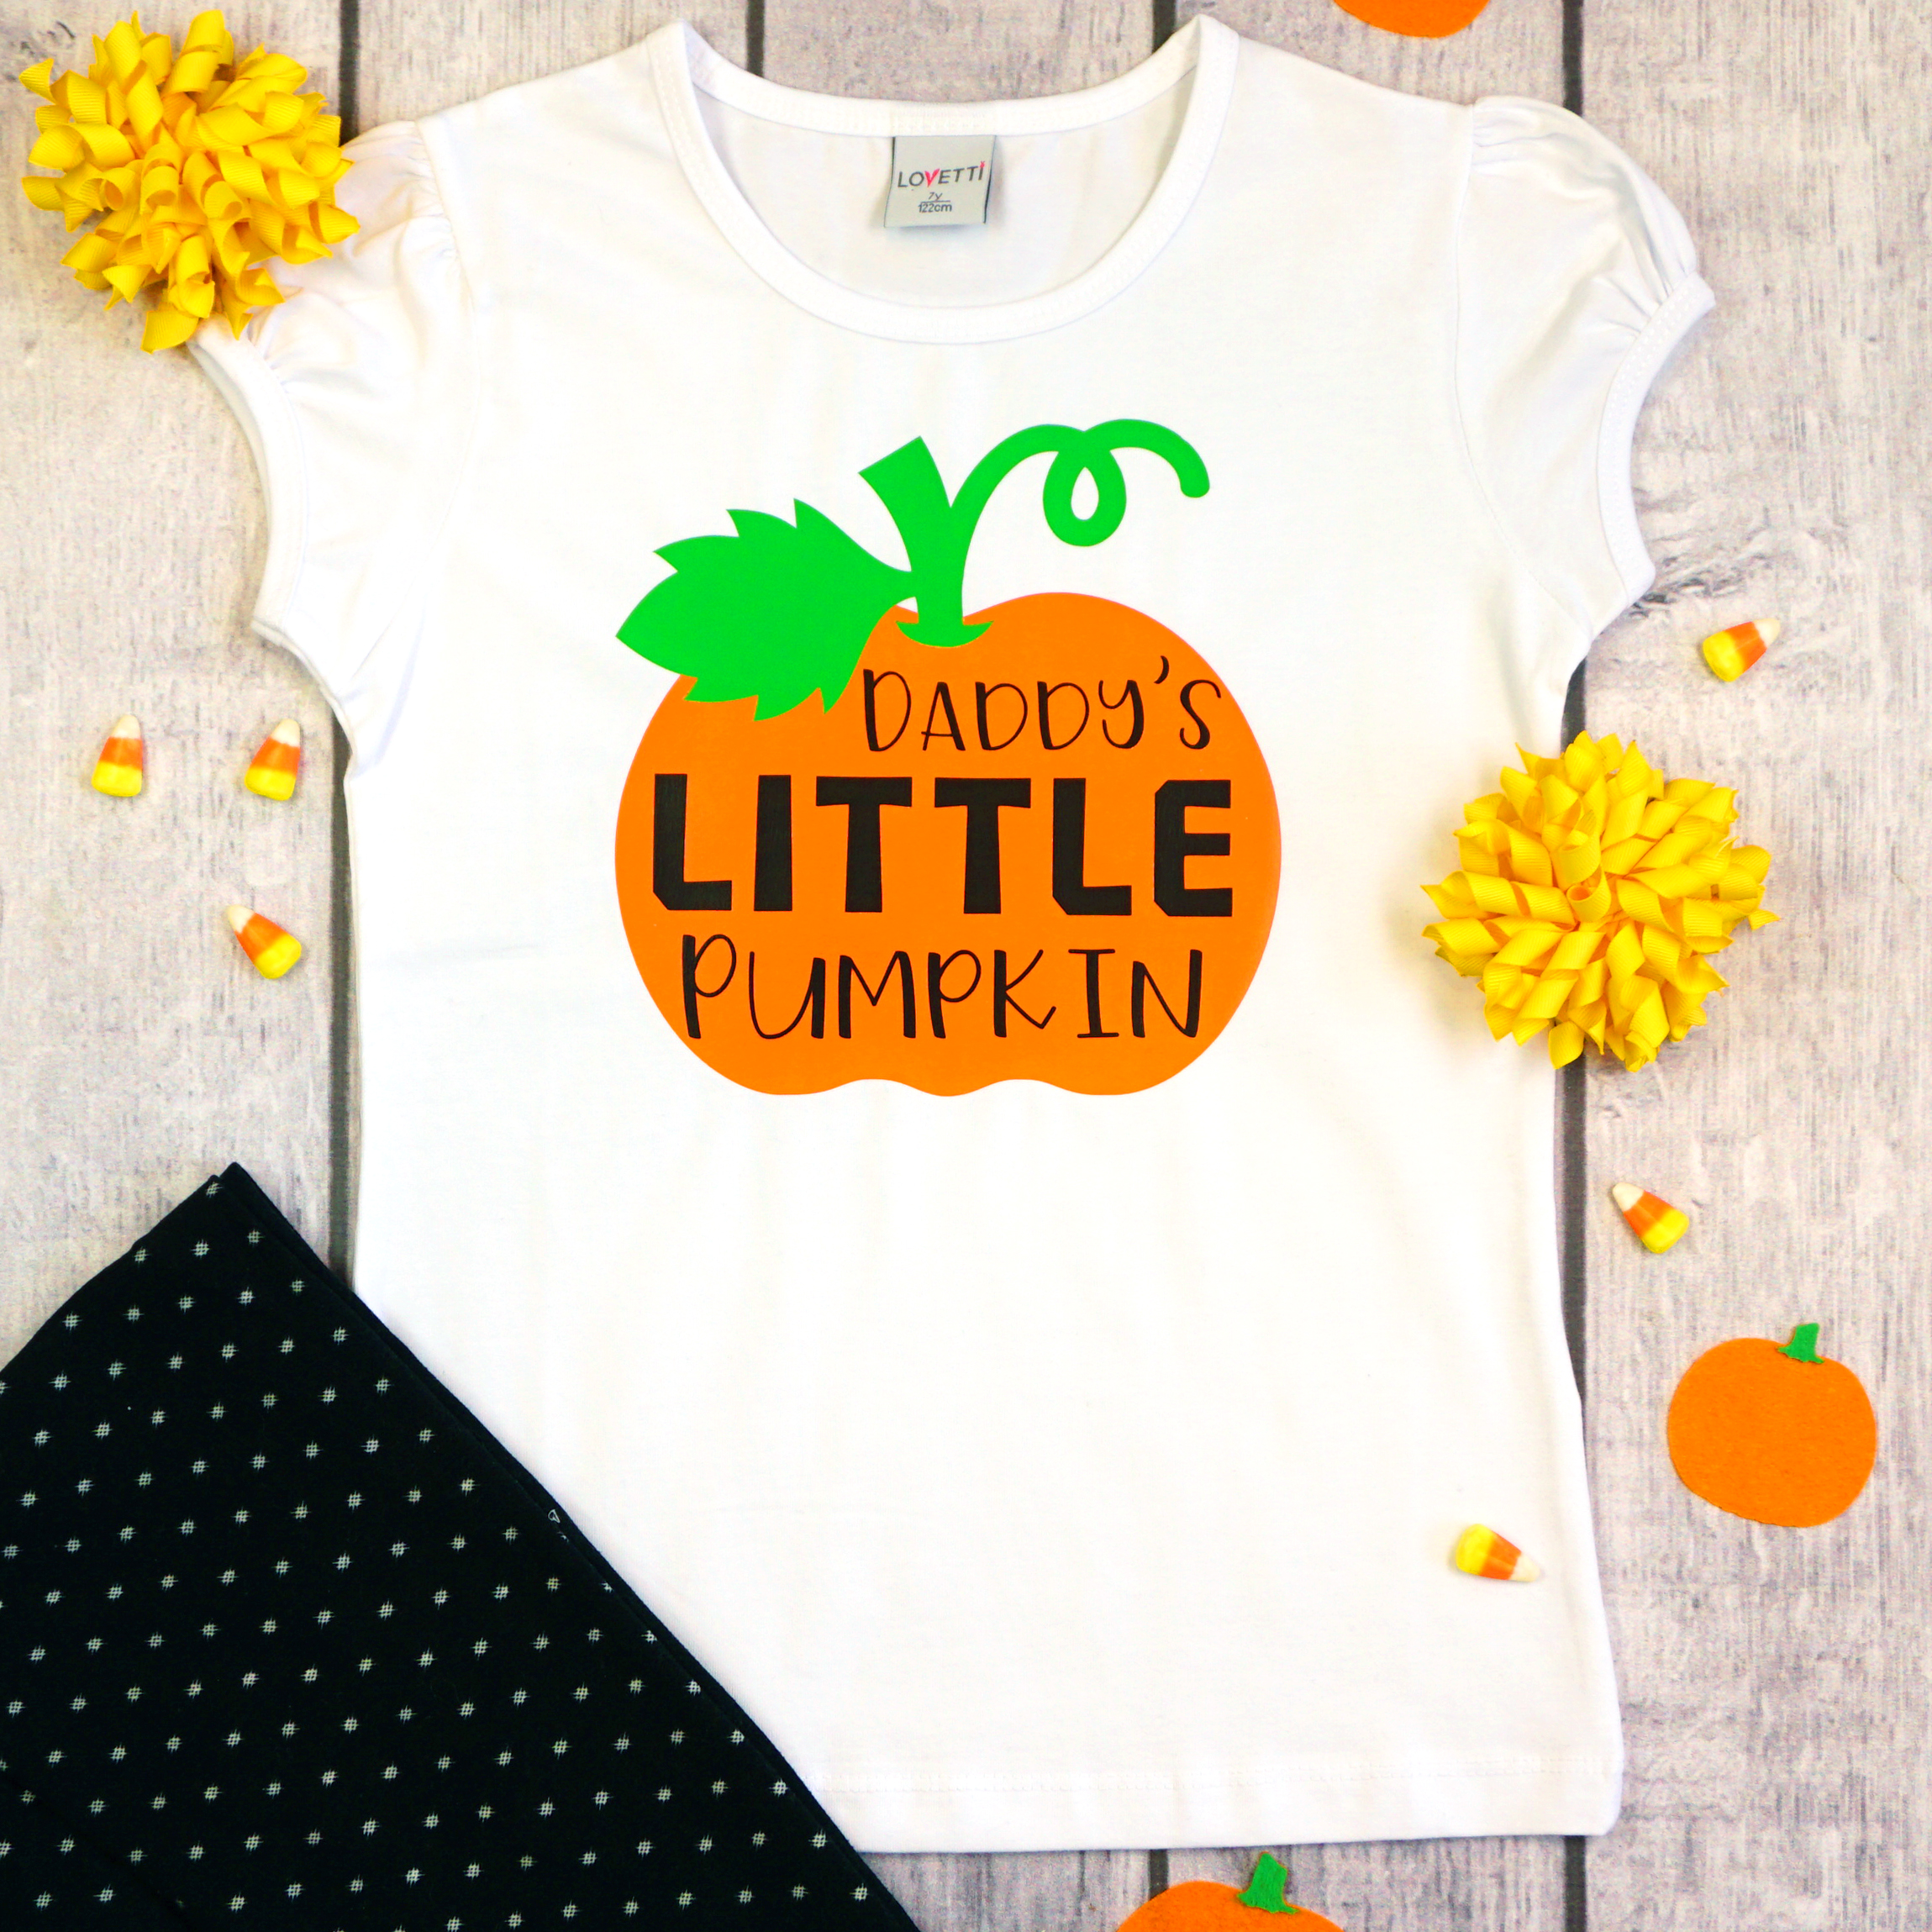
Everyone loves a classic “Daddy’s Little Pumpkin” design! Perfect for both girls and boys of all ages, this sweet design is also available in a “Mommy’s” version!
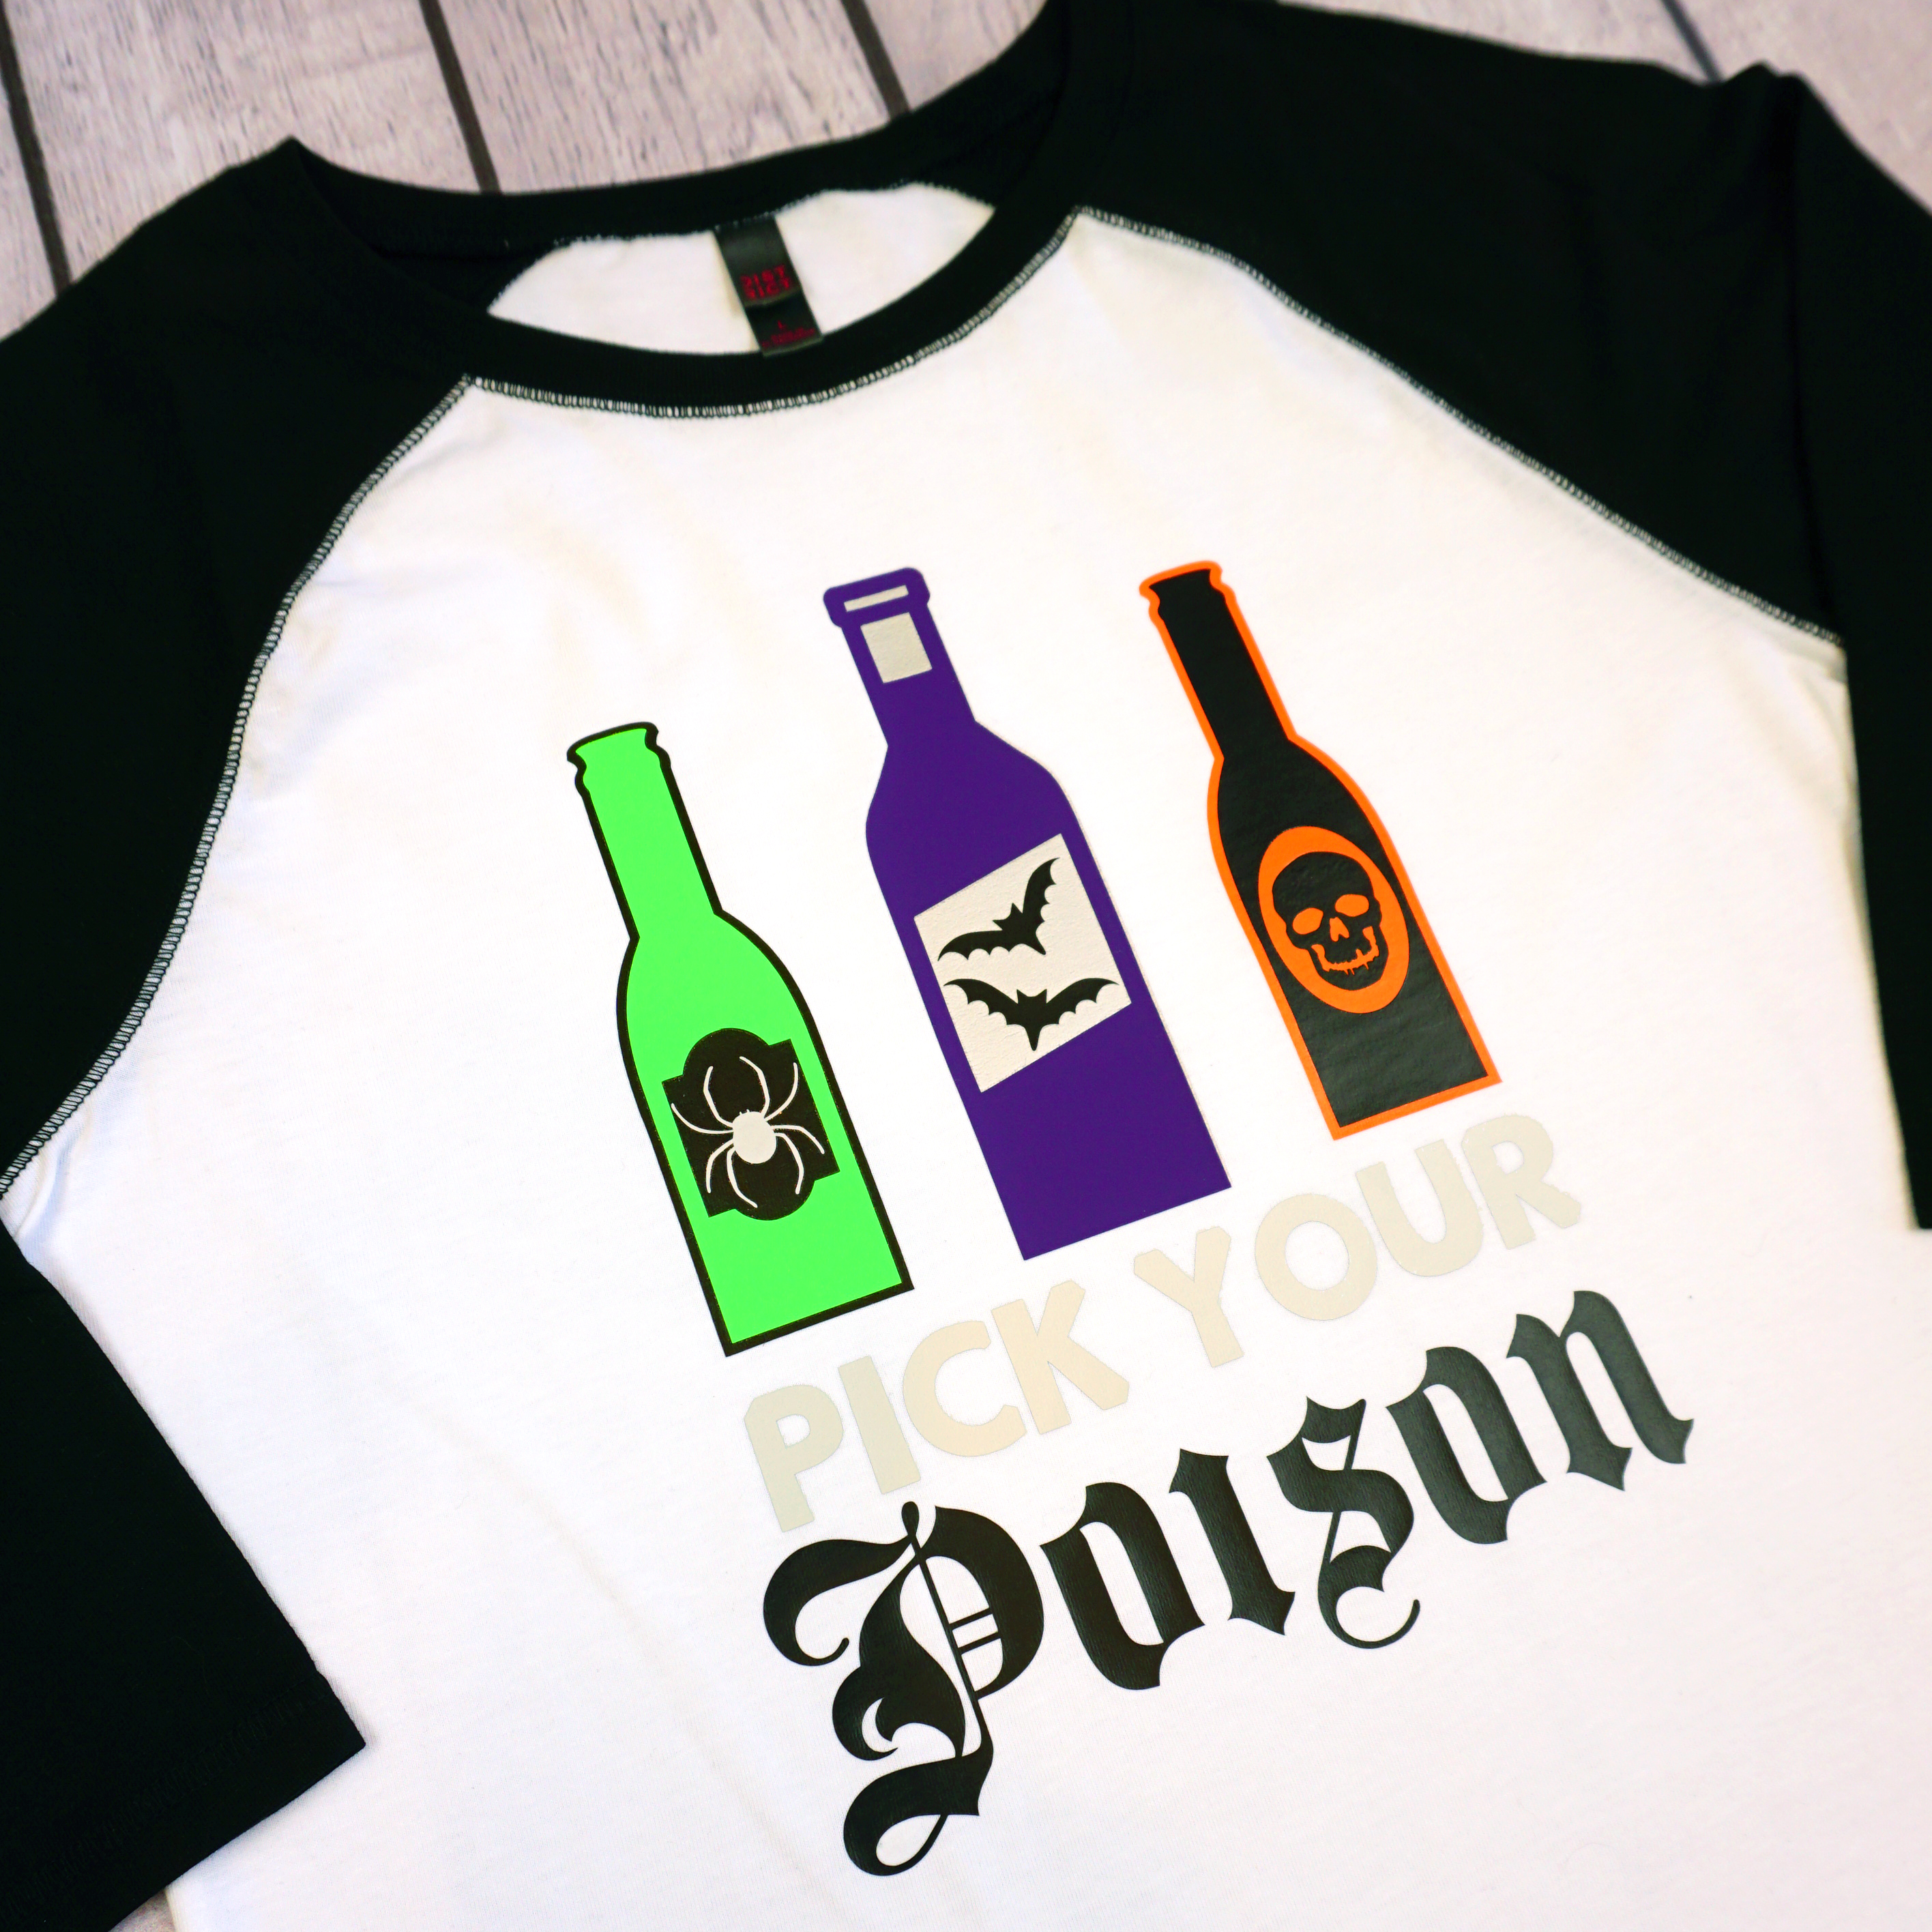
This “Pick Your Poison” design turned out to be a crowd favorite! It’s a fun unisex design that works for both men and women, so I guess it’s no surprise that so many people loved it just as much as I do!
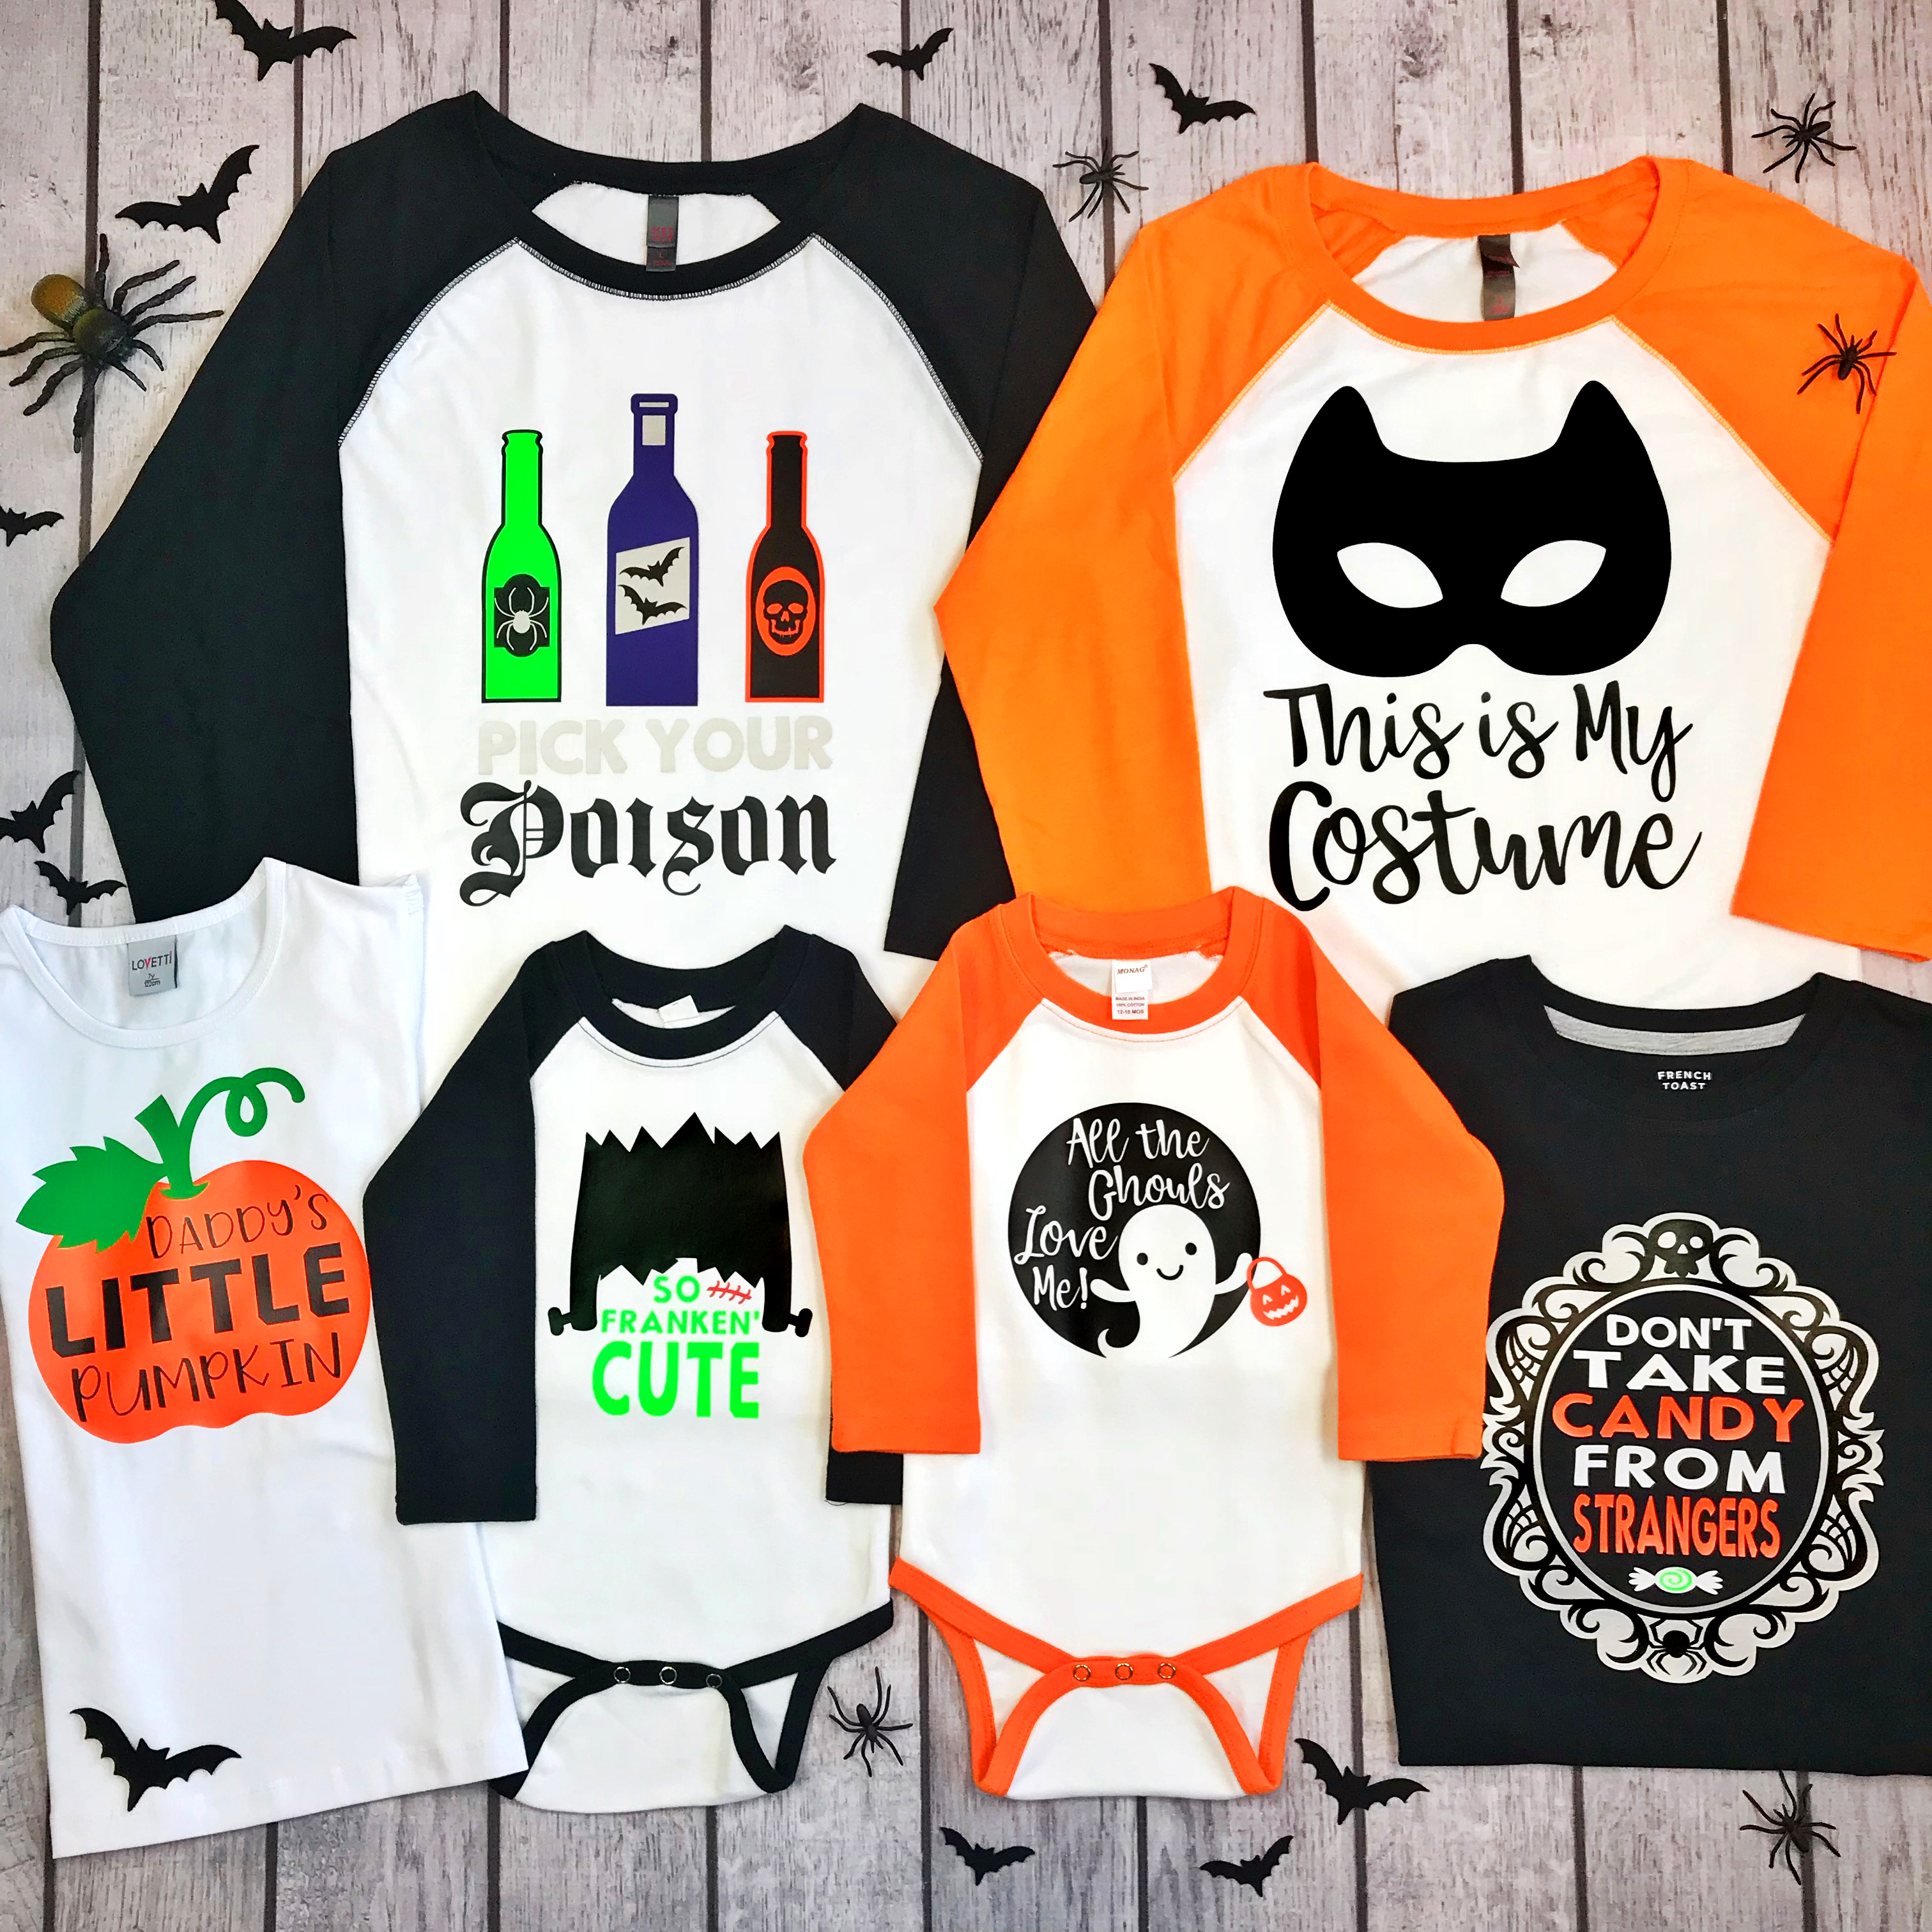
I had a ton of fun creating this Halloween shirt collection, so I really hope that y’all love them just as much as I do! Now, head on over to Design Space and go make your own!

This is a sponsored conversation written by me on behalf of Cricut. The opinions and text are all mine.
You May Also Like These Halloween Inspired Cricut Ideas:
Pin These Halloween Shirts for Later!

Heidi Kundin has captivated the hearts of millions with her colorful and inspiring approach to crafting, celebrations, and family fun. With over 15 years of experience, Happiness is Homemade has become a must-visit destination for those seeking quick and easy creative ideas and last-minute solutions. Heidi’s warm personality shines through her posts, inviting readers to join her on a creative journey that’s fun, rewarding, and achievable. Heidi is also the author of Homemade Bath Bombs & More and DIY Tie-Dye.

