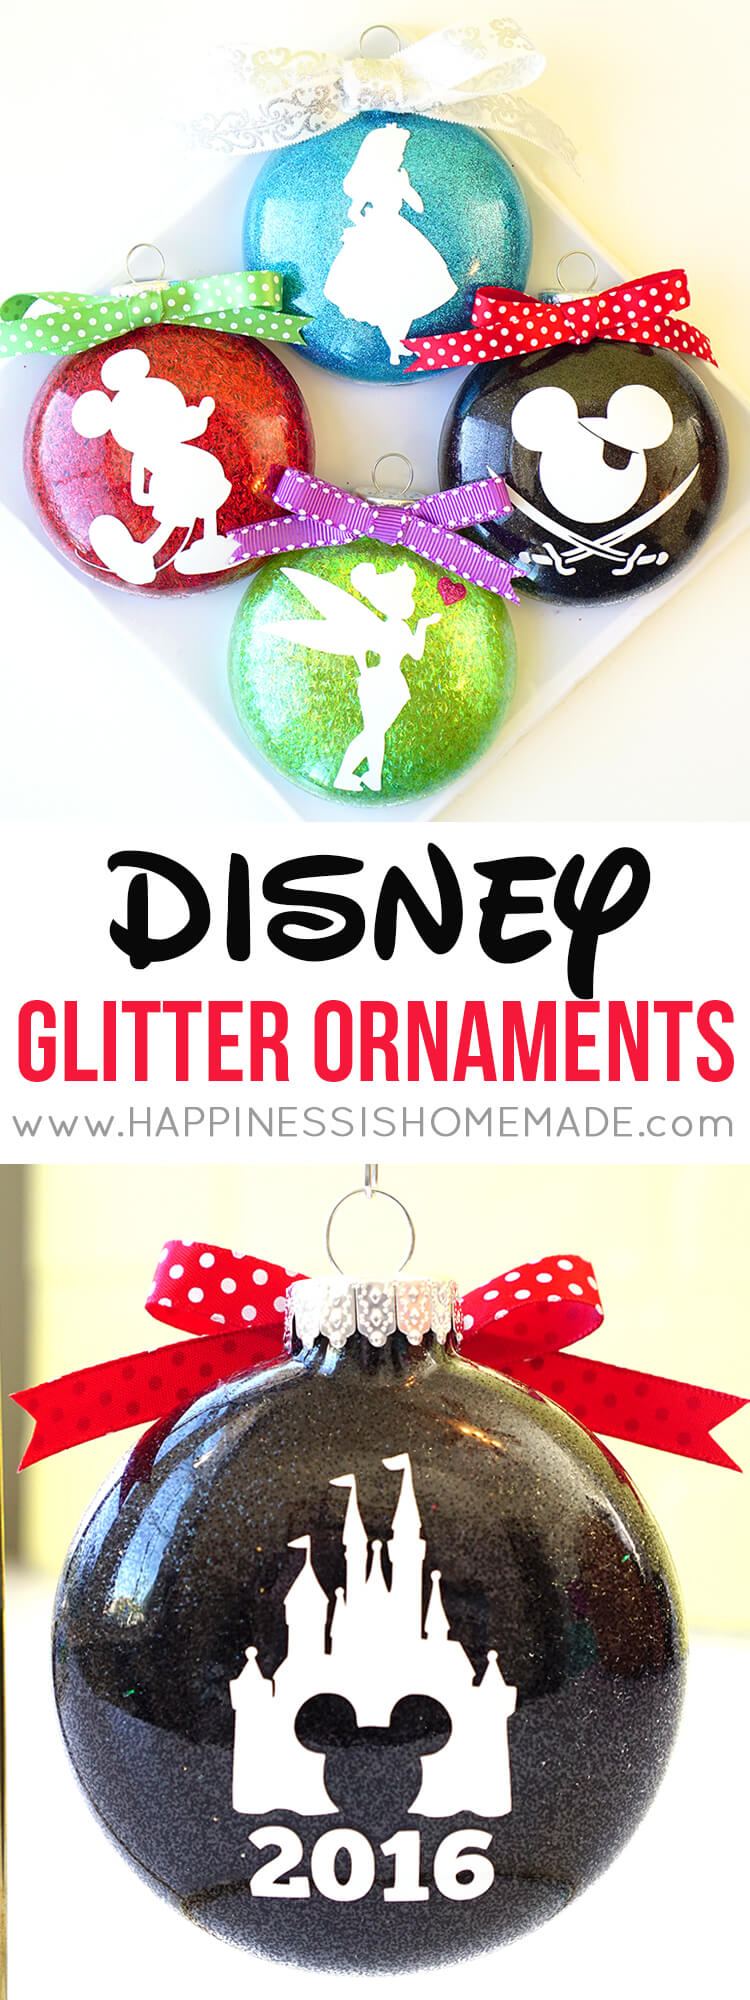
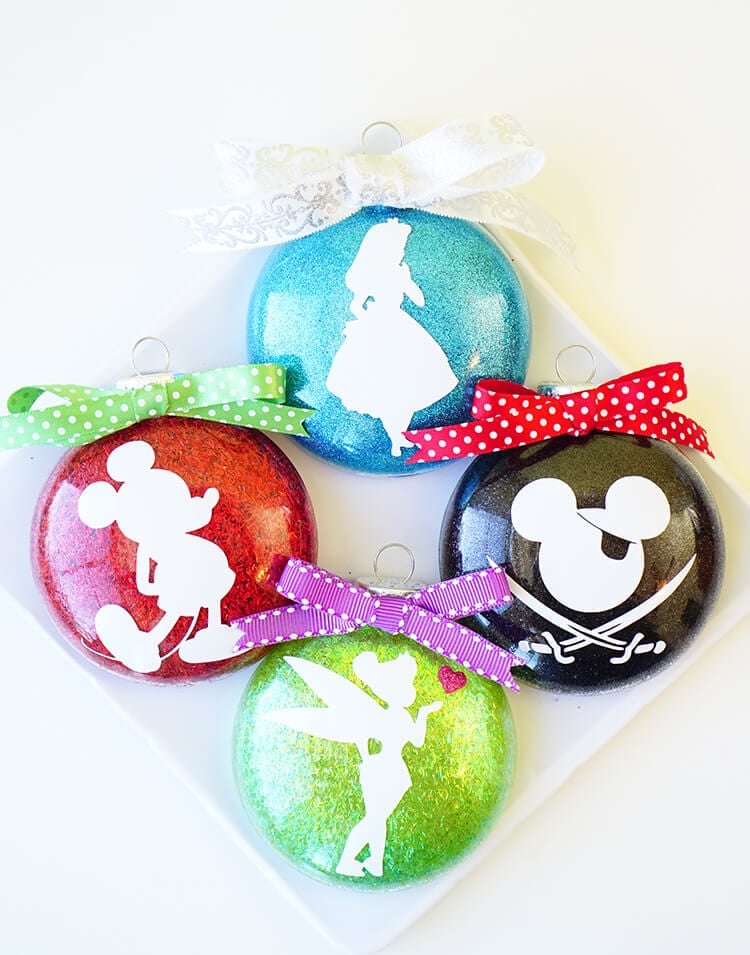
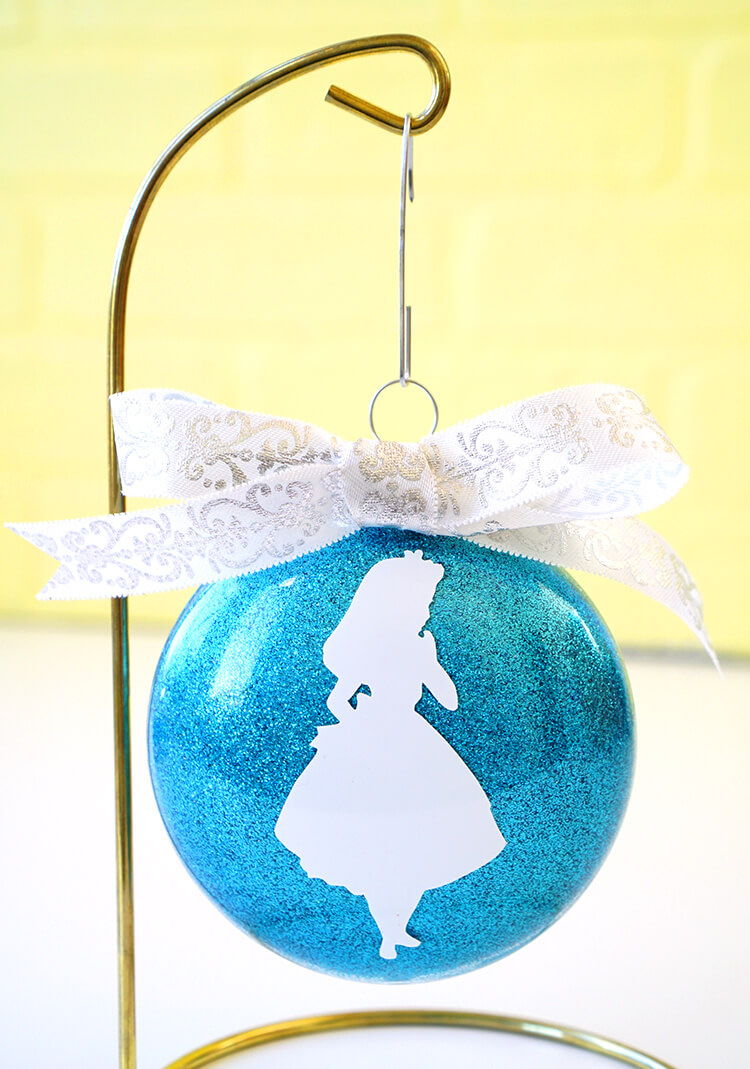
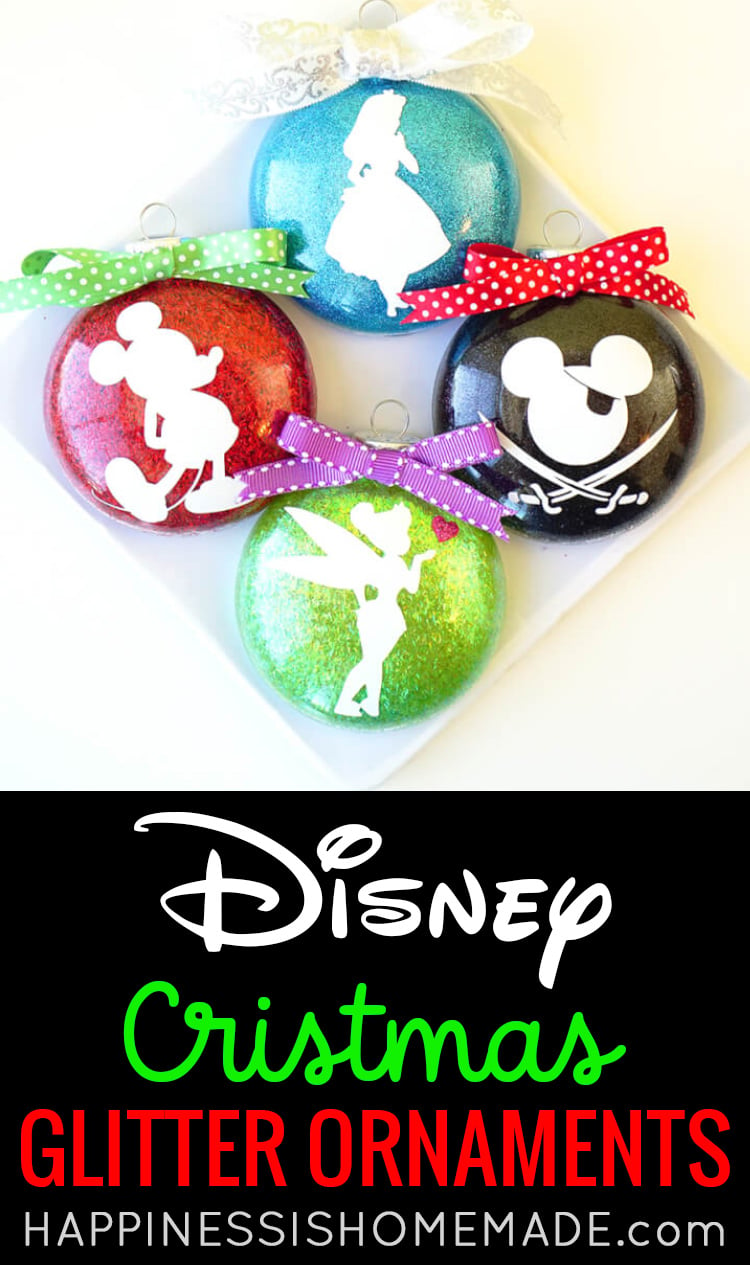
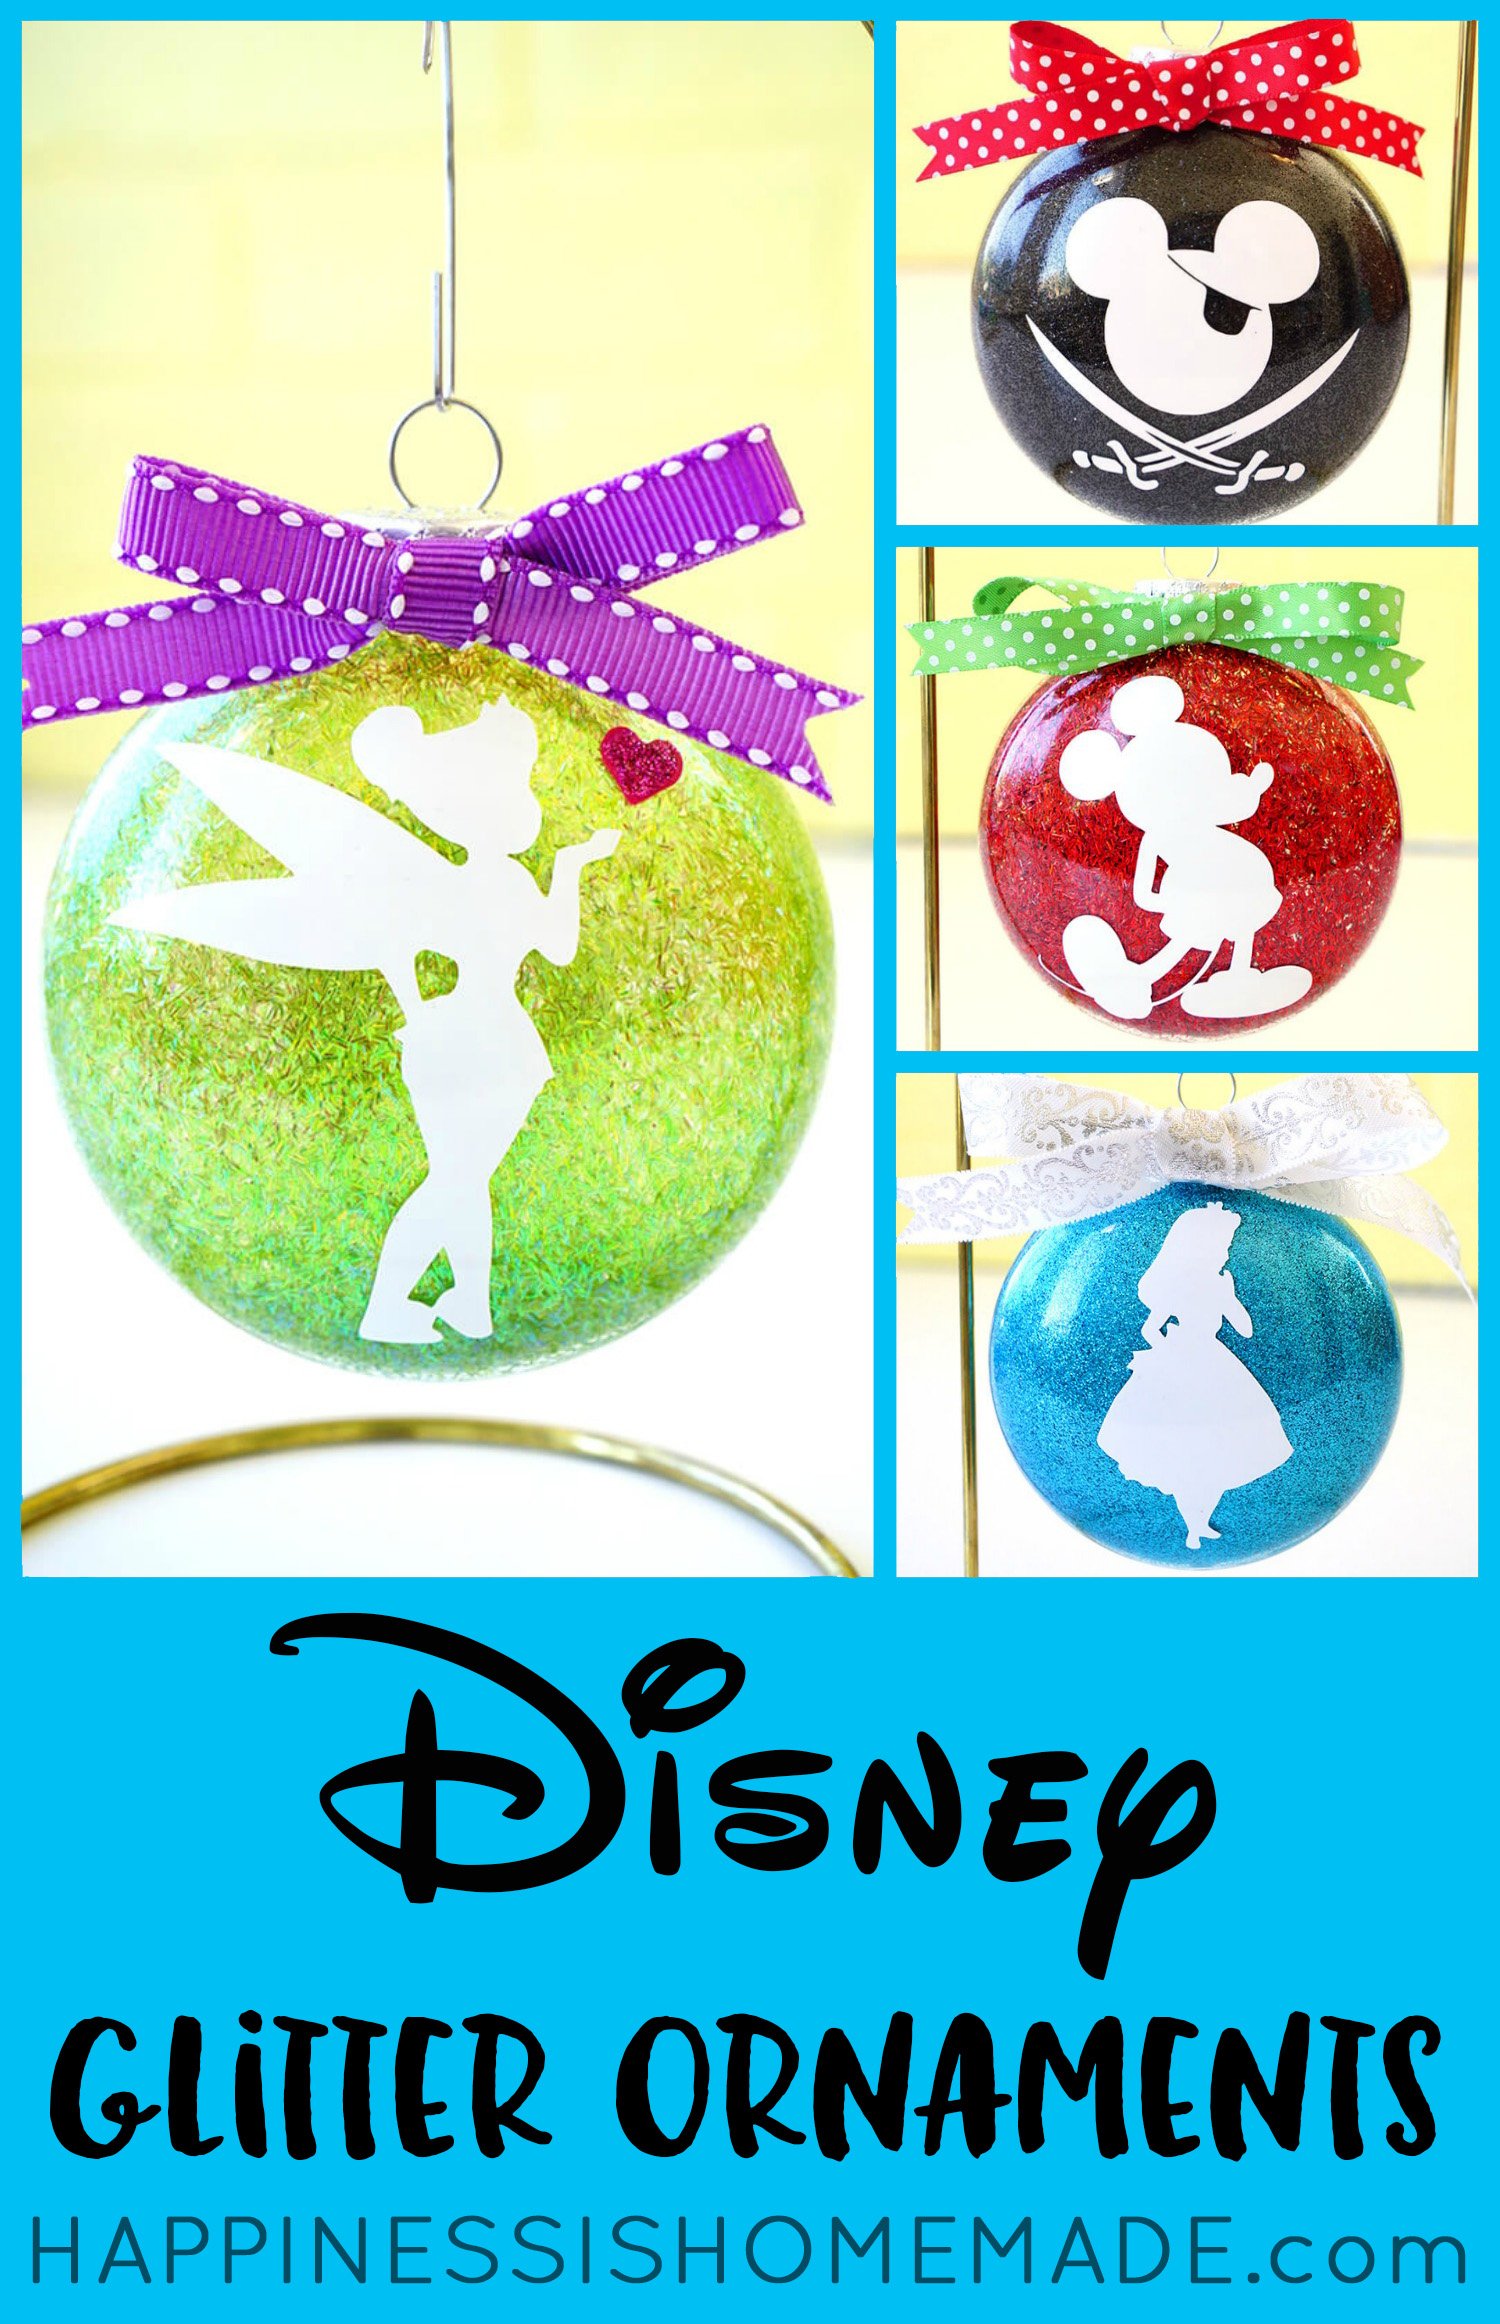
These Disney Glitter Christmas Ornaments are a super quick and easy holiday decoration and gift idea! Customize each ornament with silhouettes of your favorite Disney characters – Mickey Mouse, Tinkerbell, Alice in Wonderland, and more!
My family is headed to Disneyland later this year, and we are counting down the days until our vacation! Since we’re visiting the park around Christmas time, I decided to make a few holiday souvenirs ahead of time so that I don’t end up spending all of my souvenir money in the Disney ornament store! These easy Disney glitter Christmas ornaments are a twist on the personalized glitter ornaments that are a reader favorite here at Happiness is Homemade.
(Psst…my friends are just as Disney crazy as I am, so be sure to scroll all the way down to the bottom of this post for 25 more amazing Disney crafts + your chance to win an epic Southern California Disney vacation!)
What You’ll Need to Make Disney Glitter Christmas Ornaments:
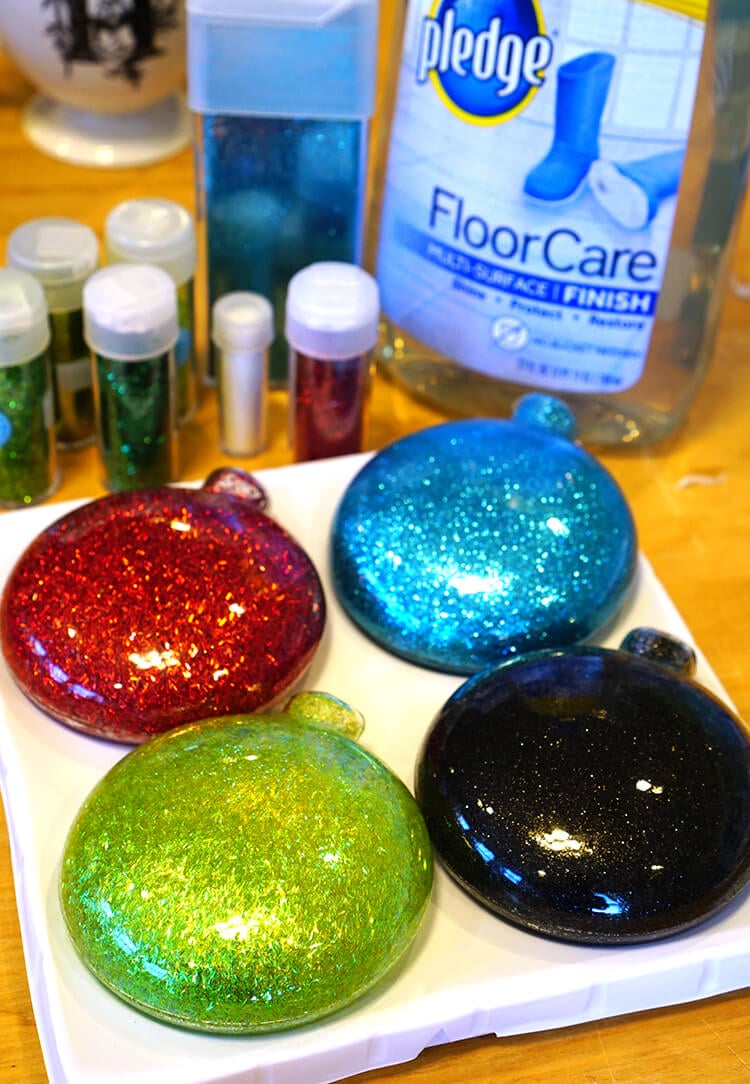
- 3″ Glass Disc Ornaments (also available in 2.6″ size)
- Pledge Floor Care
- Glitter in Assorted Colors and Varieties (tinsel glitter is especially pretty!)
- Assorted Ribbon
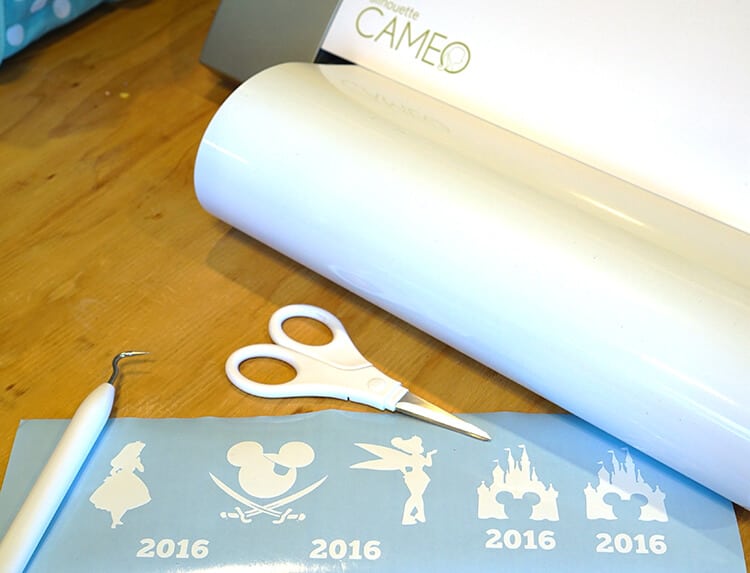
- Adhesive Vinyl and Electronic Cutting Machine*
* Note: if you don’t have a vinyl cutting machine, there are LOTS of sellers on Etsy who will cut custom vinyl for you – click here to check it out!! If you’re looking for vinyl Disney princess silhouettes, this seller currently has them at great prices!
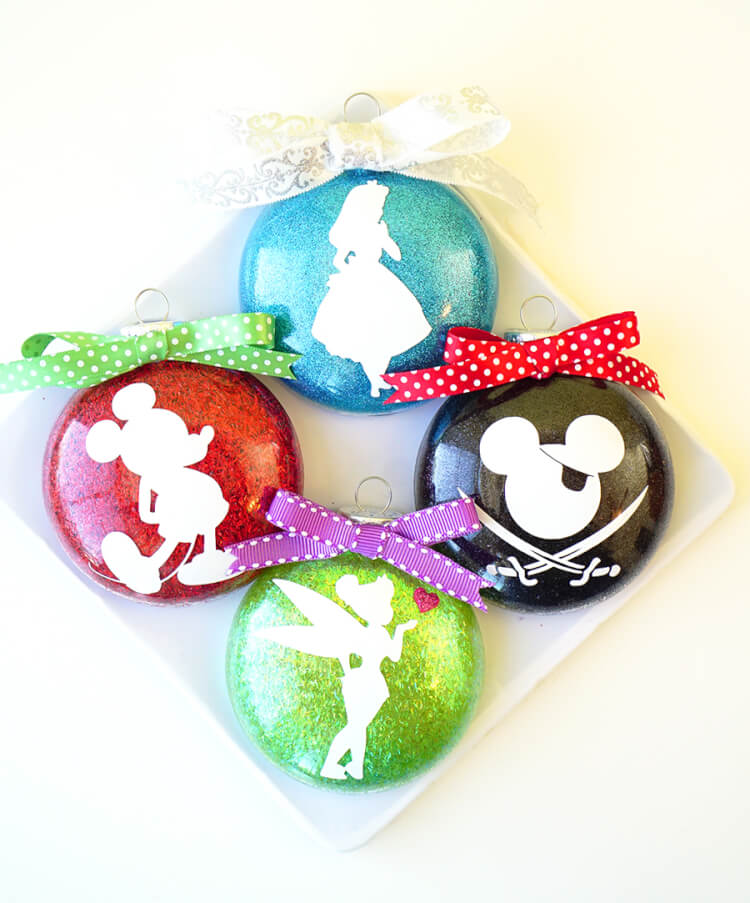
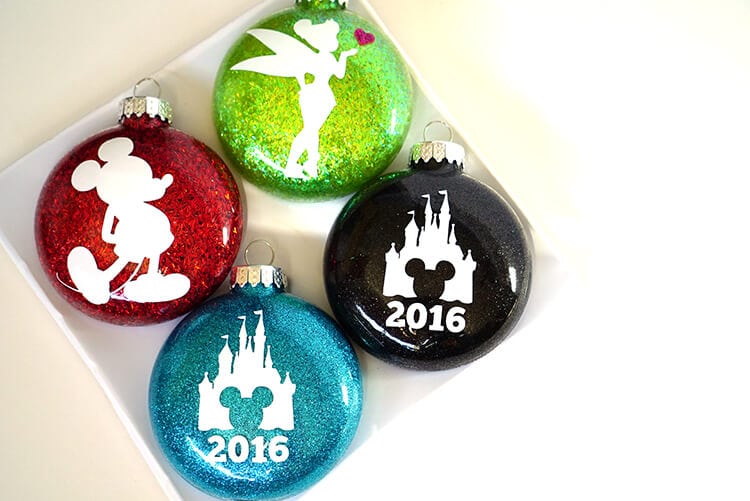
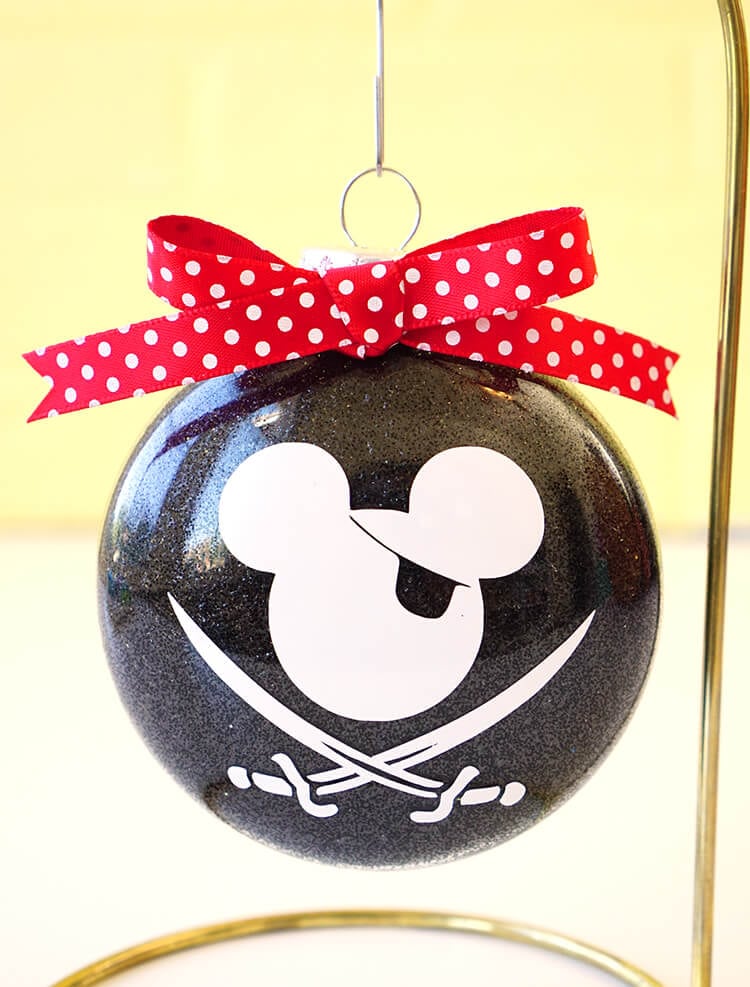
I started by making glitter ornaments in colors that complement each of my Disney characters – Tinkerbell, Alice in Wonderland, Mickey Mouse and Pirate Mickey to represent Pirates of the Caribbean (my favorite ride at Disneyland!). (Note: click here for my step-by-step Glitter Ornament Tutorial)
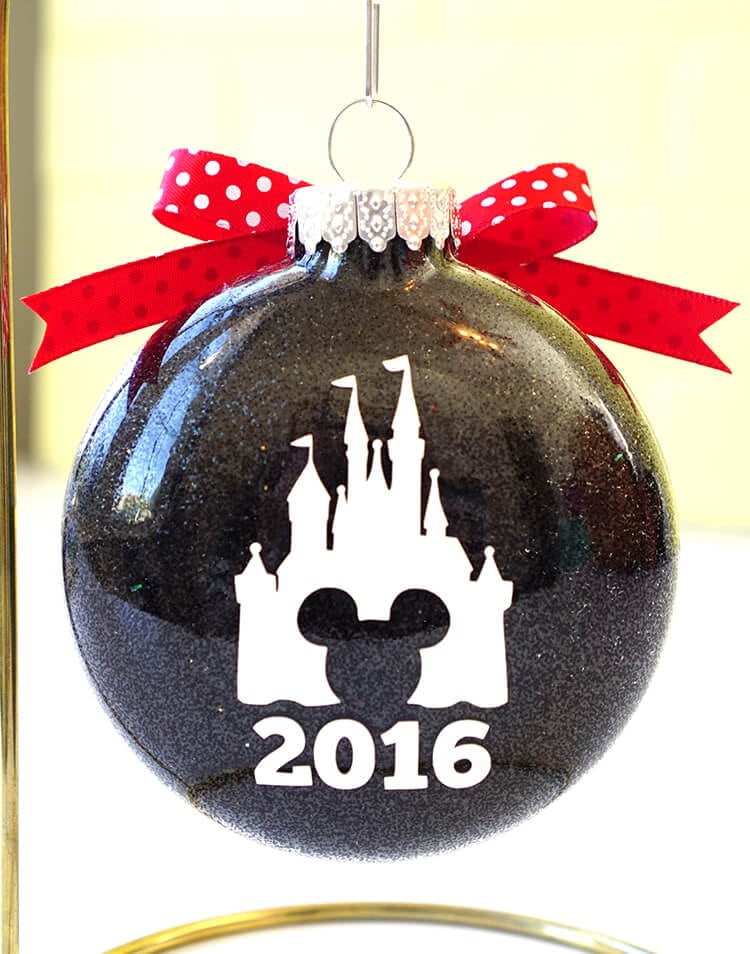
I used my Silhouette CAMEO and white adhesive vinyl from Expressions Vinyl (my most favorite place to buy all of my vinyl supplies!) to cut out silhouettes of my Disney characters. I decided to add Cinderella’s castle with Mickey on the back of each ornament along with the date to commemorate our vacation.
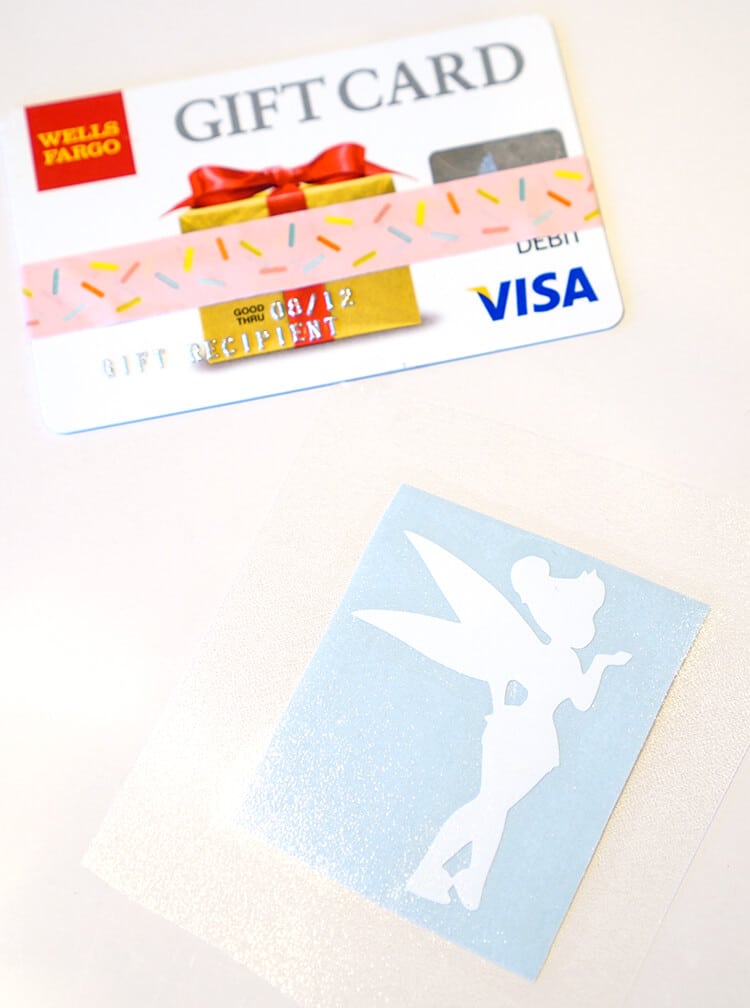
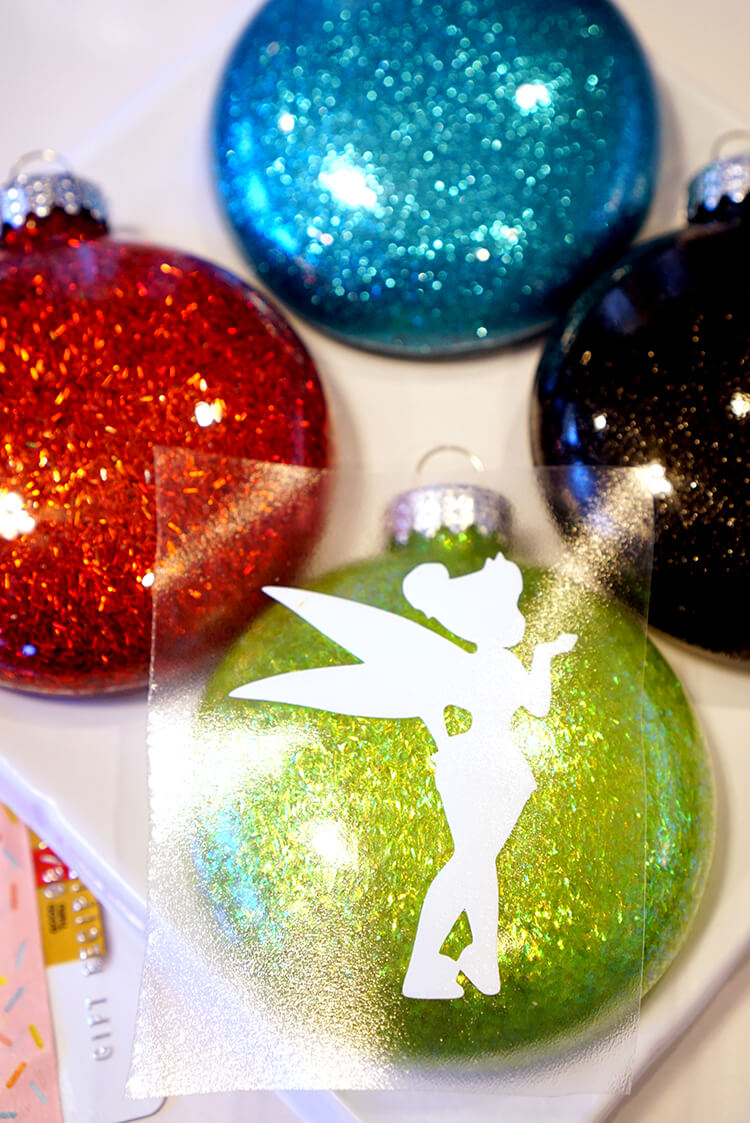
I cut out each of the individual silhouettes and covered them with a small piece of clear transfer paper. Next, I rubbed the edge of an old gift card over the top of the transfer paper, flipped it over, and peeled off the backing paper.
To transfer the adhesive vinyl decal to the glass ornament, gently place the vinyl and transfer paper onto the ornament. Starting at the middle of the vinyl design and working your way out, use your fingertips and light-but- firm pressure to burnish the shape and adhere the vinyl to the ornament. Carefully peel the transfer paper off of the top and set aside for reuse.
Adding the date along with the castle to the back of the ornament was a great idea, and I couldn’t be happier with the way they turned out!
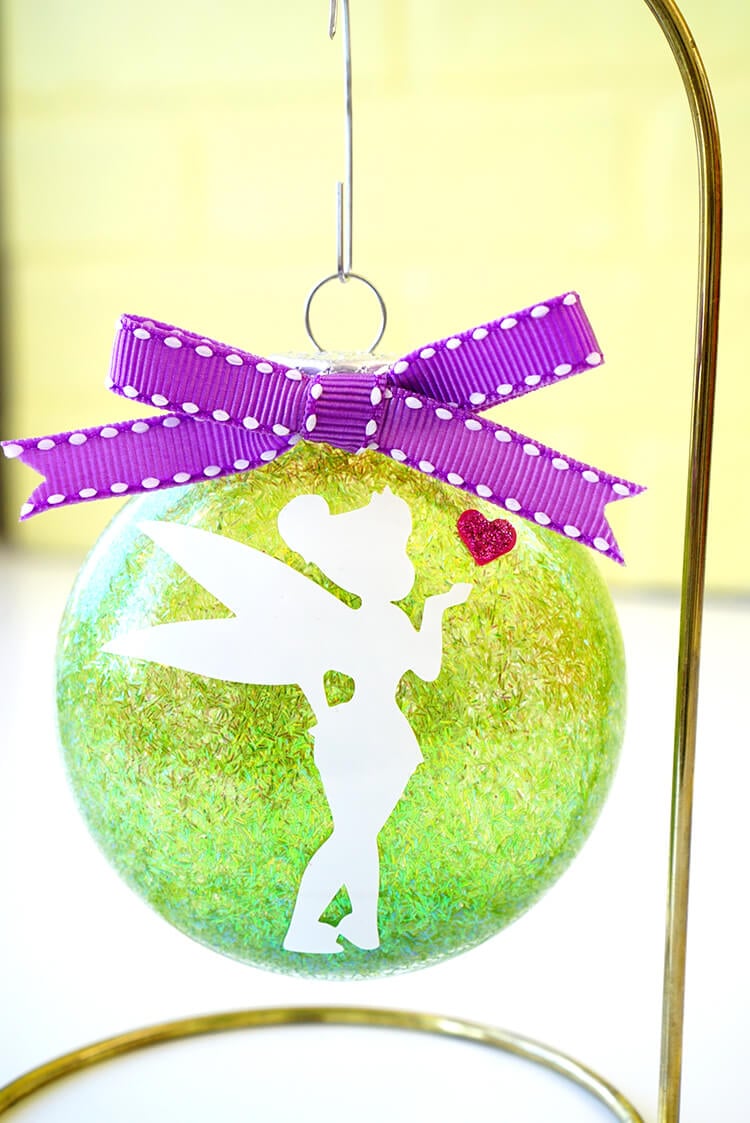
I added a pink vinyl heart with a touch of glitter and a purple bow to finish off this adorable Tinkerbell ornament. That pretty iridescent green tinsel glitter was the perfect choice for a Tinkerbell ornament, don’t you think?
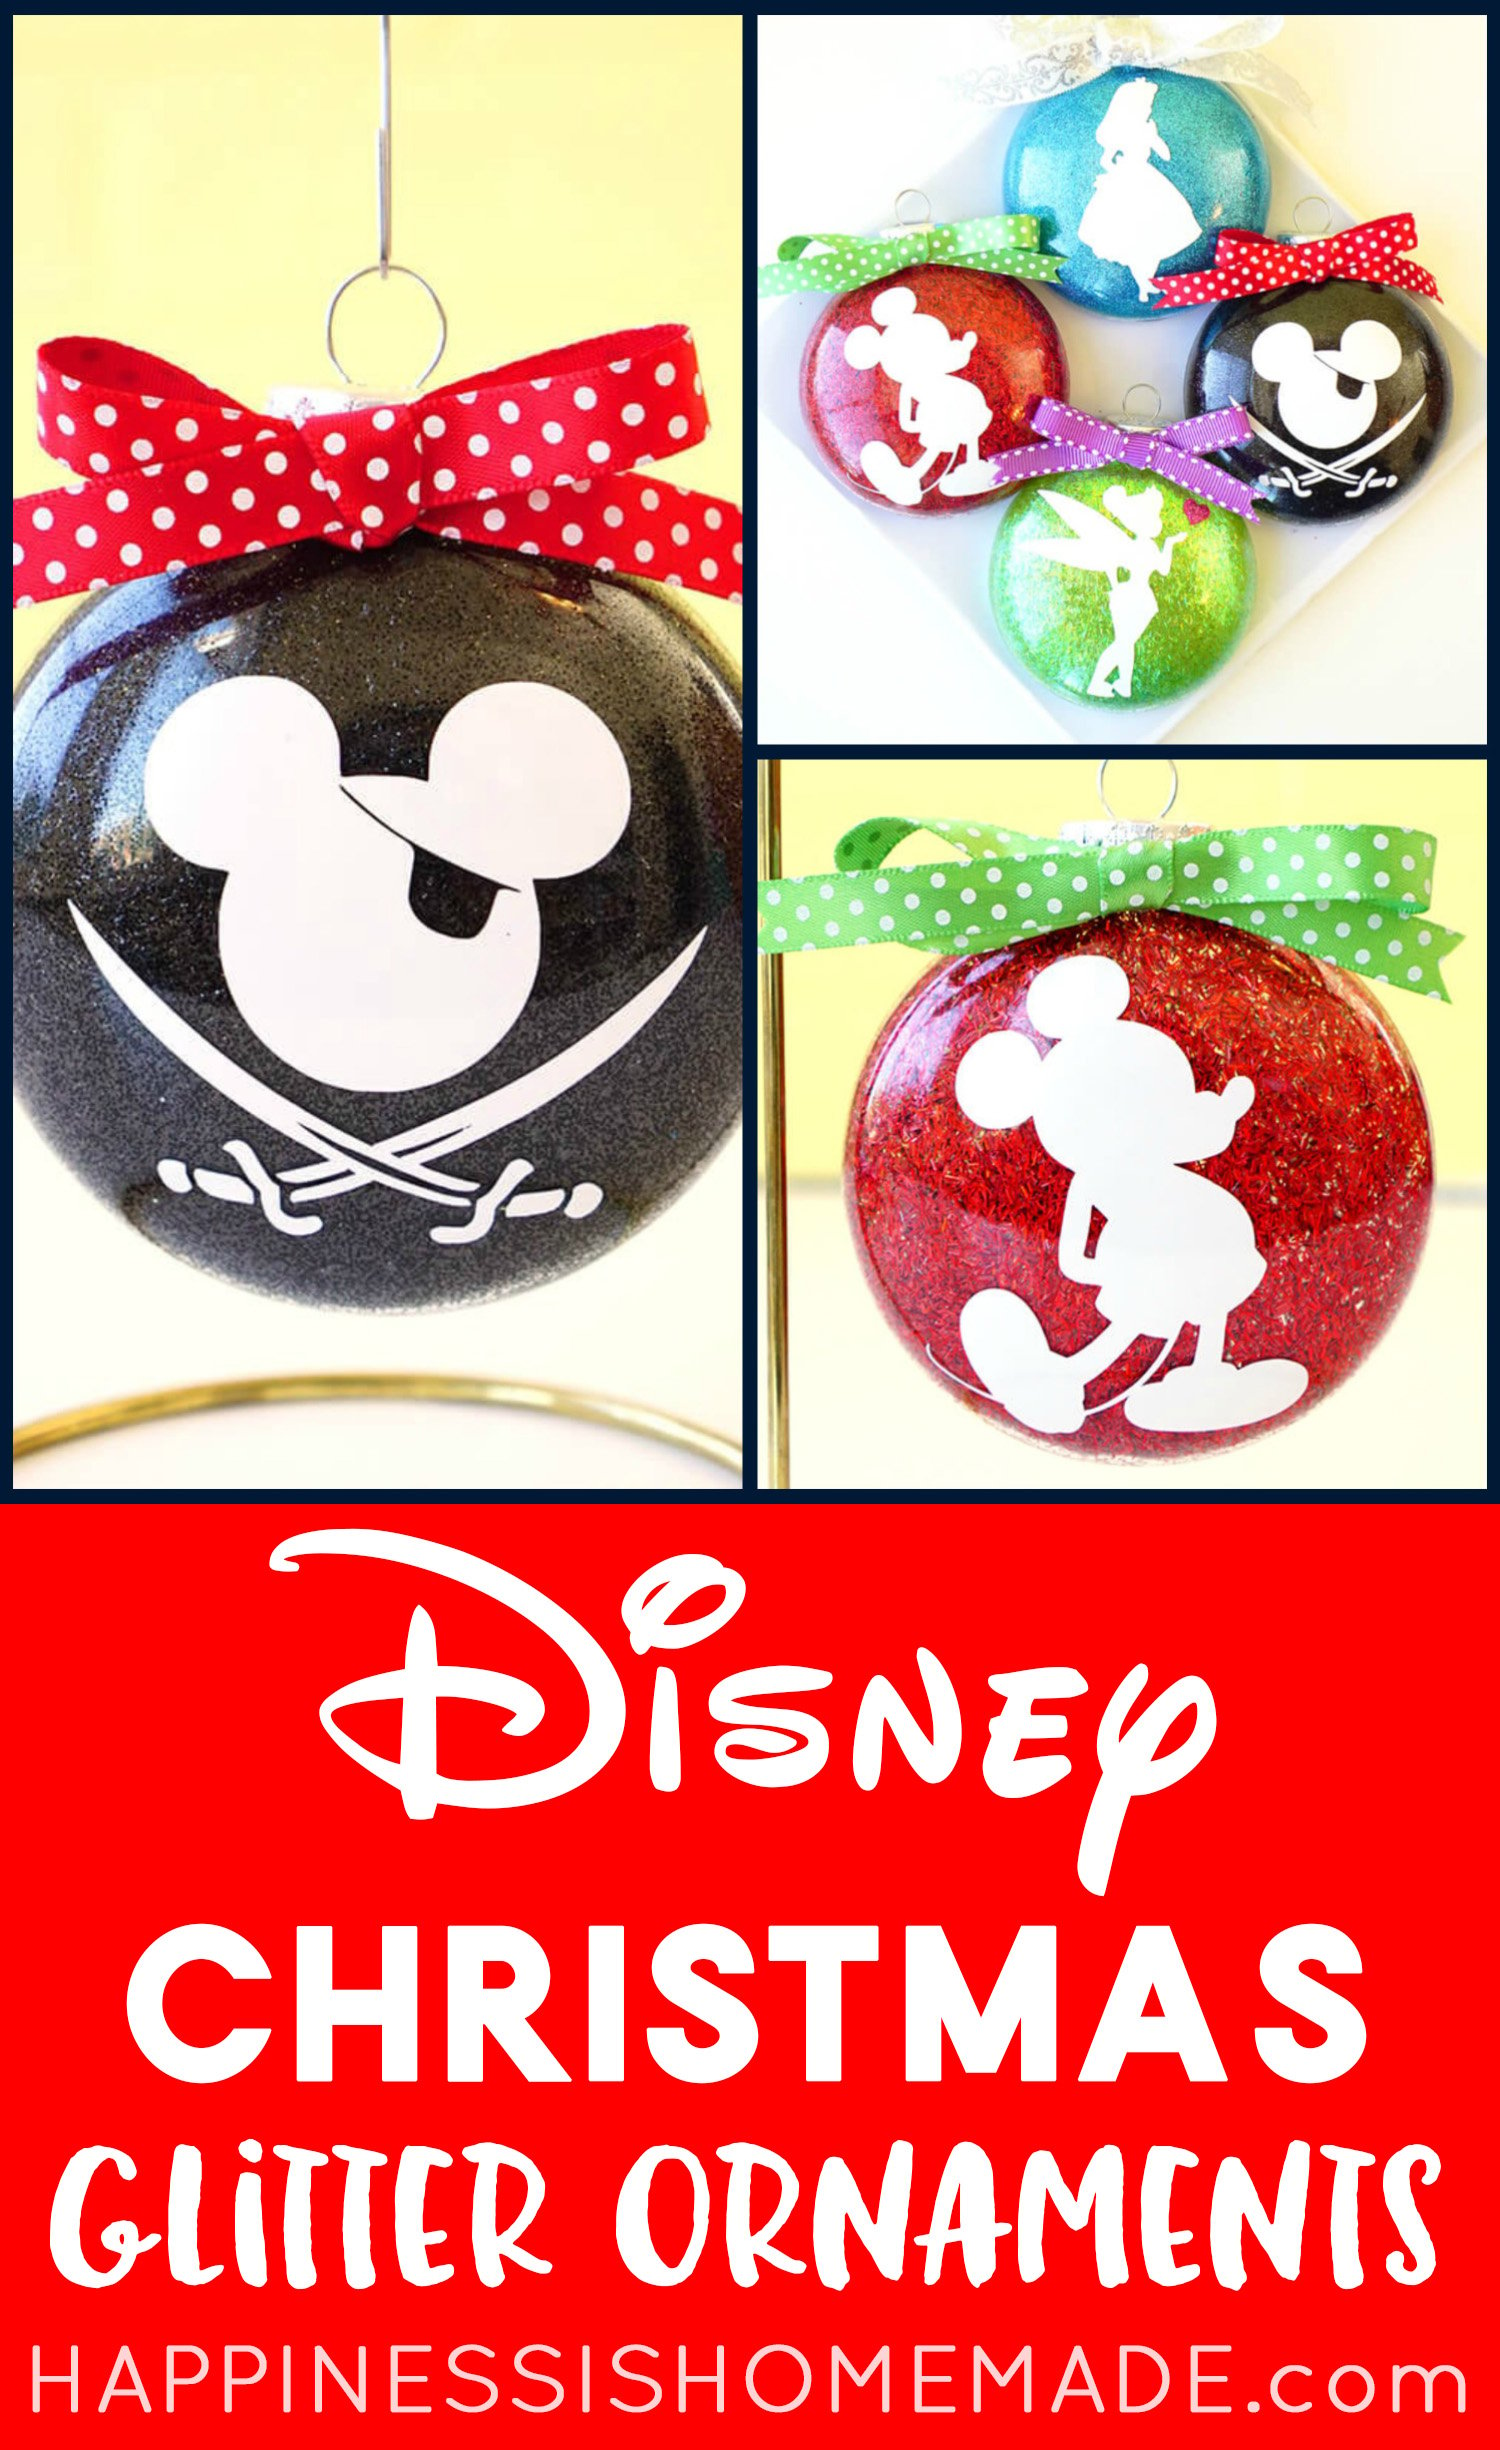
The camera had a hard time capturing the sparkle of the black glitter, but I promise you that it’s just as sparkly as the other colors! It looks awesome on this Pirate Mickey ornament!
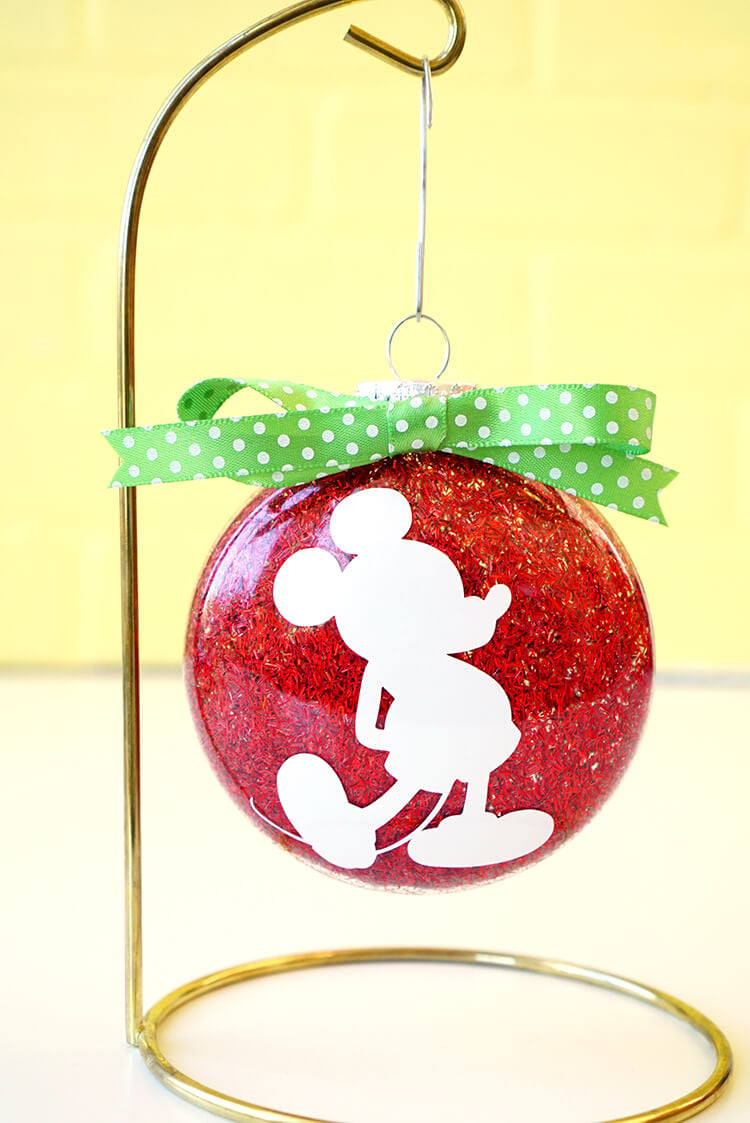
I couldn’t make Disney ornaments without including a classic Mickey silhouette!
Alice in Wonderland is one of my Disney favorites, so I made sure to include Alice in my Disney glitter Christmas ornament collection. Making these ornaments is so addictive because it’s quick, easy, and the end result is gorgeous! I seriously want to make ALL of the Disney silhouettes now! Who would you make next?
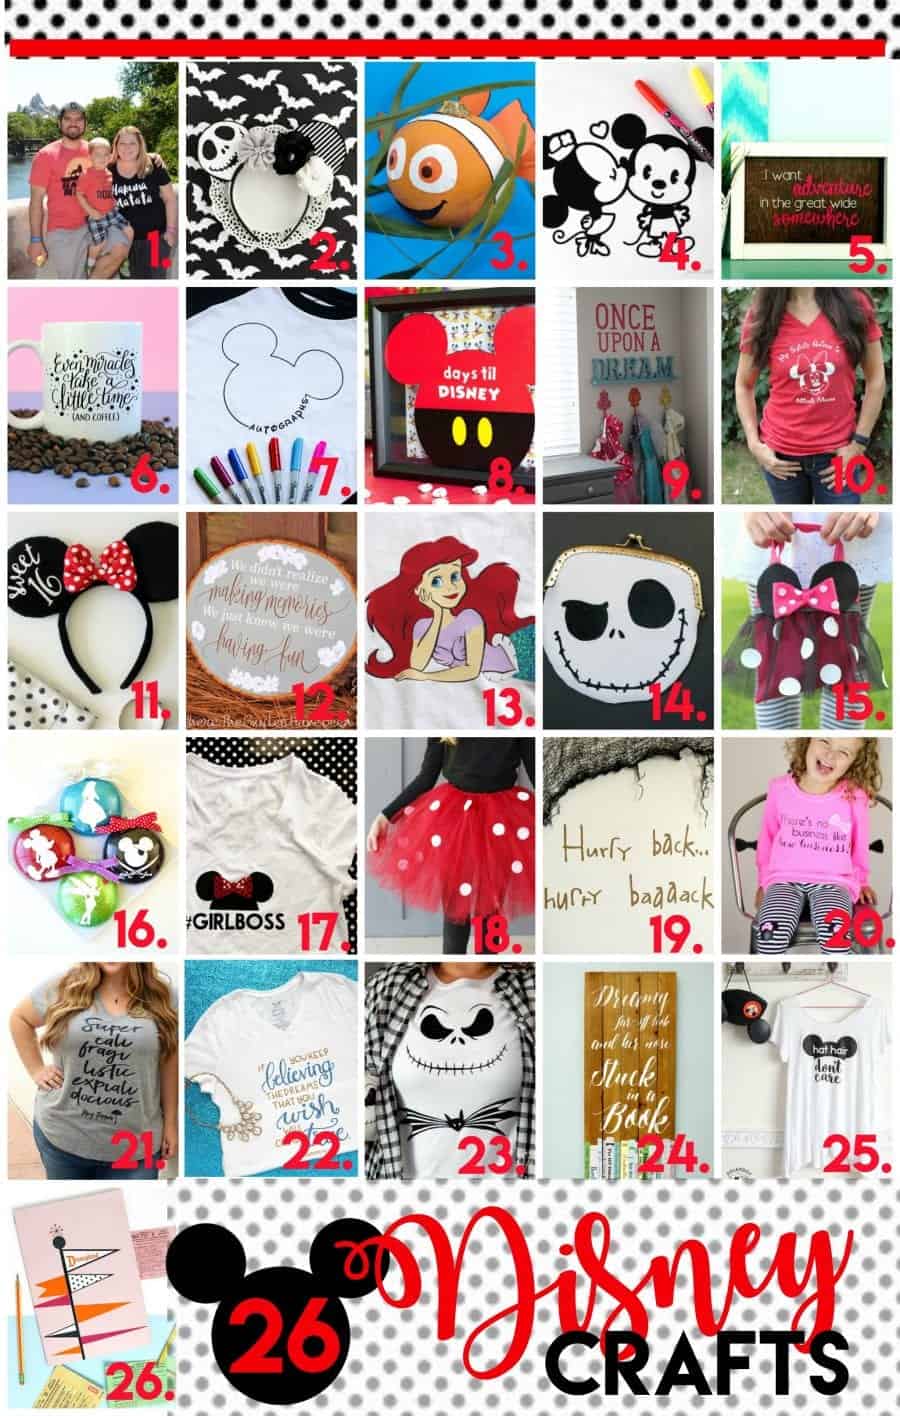
Check out all of these other amazing Disney crafts and projects using Expressions Vinyl!
1. Lion King shirts by Play Party Plan
2. Jack Skellington Ears by A Pumpkin and a Princess
3. Nemo pumpkin from C.R.A.F.T.
4. Disney coloring shirt by Artsy Fartsy Mama
5. Belle framed art by Crafting in the Rain
6. Autograph shirt by the Pinning Mama
7. Spirit animal shirt by Smashed peas and Carrots
8. Customized Minnie Ears by Inspiration Made Simple
9. Modest Ariel from Kiki & Company
10. Jack Skellington coin purse by Tried and True
11. Minnie Mouse purse by A girl and a glue gun
12. Disney ornaments by Happiness is Homemade
13. Girl Boss shirt by Sweet Rose Studio
14. No Sew Minnie tutu by Sugar Bee Crafts
15. Haunted Mansion door design by Simple simon and Co.
16. Minnie Mouse bow shirt by Girl loves Glam
17. Mary Poppins design by the Crafted Sparrow
18. Cinderella hand lettered shirt by Pitter and Glink
19. Jack Skellington shirt and pumpkin by the Scrap Shoppe
20. Beauty and Beast book sign by Flamingo Toes
21. Hat hair shirt by Polka Dot chair
22. Vintage Disneyland by Persia Lou
Thanks to Get Away Today we’re giving away an awesome Southern California Disney vacation package! Enter via the Rafflecopter below:
But wait, that’s not all! We’re also giving away two $100 gift cards to Expressions Vinyl! Hop on over to the Expressions Vinyl blog to enter. Good luck!

If you liked these Ornaments, don’t forget to pin them!

Heidi Kundin has captivated the hearts of millions with her colorful and inspiring approach to crafting, celebrations, and family fun. With over 15 years of experience, Happiness is Homemade has become a must-visit destination for those seeking quick and easy creative ideas and last-minute solutions. Heidi’s warm personality shines through her posts, inviting readers to join her on a creative journey that’s fun, rewarding, and achievable. Heidi is also the author of Homemade Bath Bombs & More and DIY Tie-Dye.

