
![]()
I recently ran across a recipe for homemade polymer clay, and since it only called for four common household ingredients, I decided to give it a try. My boys love clay, so I’ve tested dozens of different recipes, and I haven’t been very impressed with any of the air dry varieties that we had tried. They’ve always been too crumbly, too brittle, too soft, or too difficult to work with. We’ve used numerous combinations of ingredients, but we had yet to find a winning combination. This recipe promised to be hard drying, firm, and pure white in color, so it sounded promising. Plus, it used one intriguing key ingredient that I have never used in a clay recipe before – Elmer’s School Glue!
 What You’ll Need:
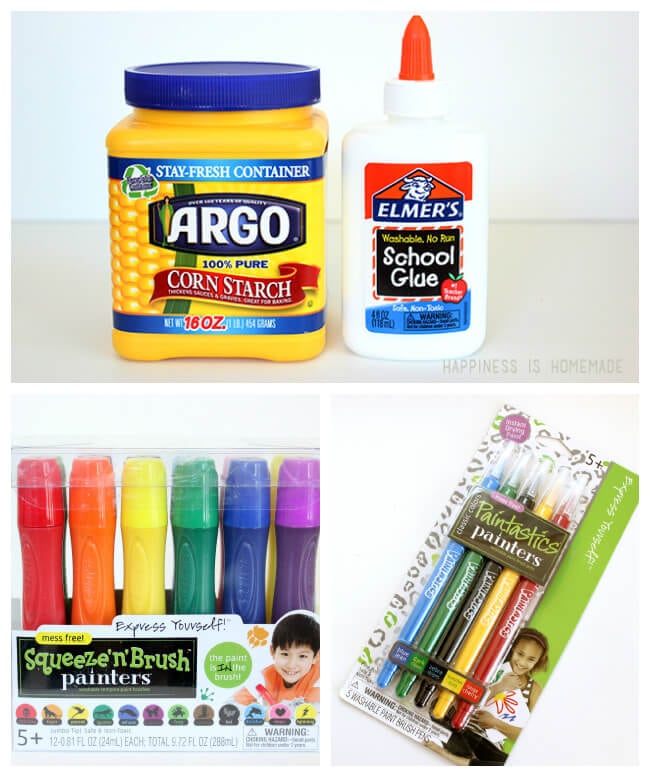
- 3/4 cup Elmer’s School Glue
- 1 cup cornstarch
- 2 tsp. baby oil
- 2 tsp. lemon juice
For decorating our finished pieces, we used Squeeze ‘n’ Brush Painters and Paintastics Painters from Elmer’s, and my boys loved them!
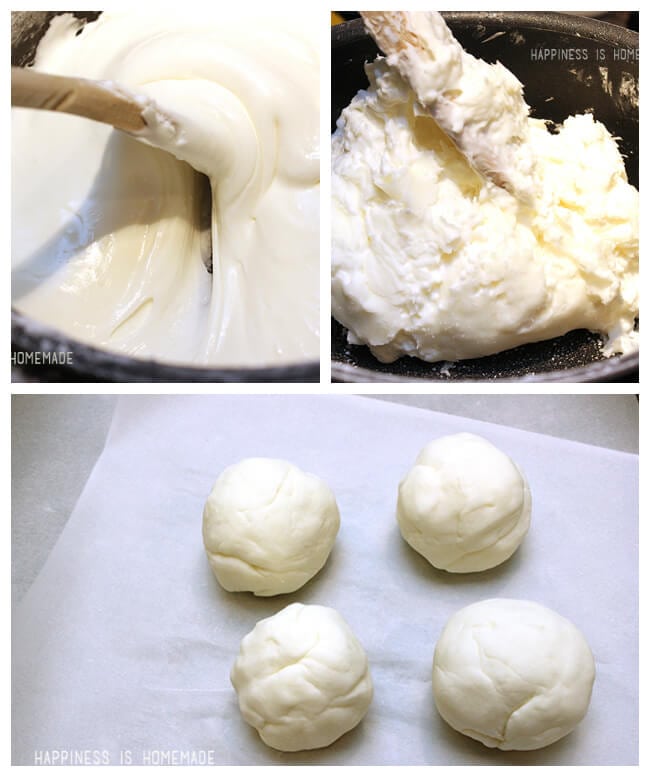 Combine all four ingredients into a saucepan, and heat over low-medium heat, stirring constantly. After about 5-10 minutes the consistency will change from a liquid to a semi-solid that resembles mashed potatoes. Remove from heat, and knead the clay for 2-3 minutes. It’s best to knead the clay when it’s still hot, but be careful not to burn yourself! Use immediately or store in a plastic bag in the refrigerator until needed.
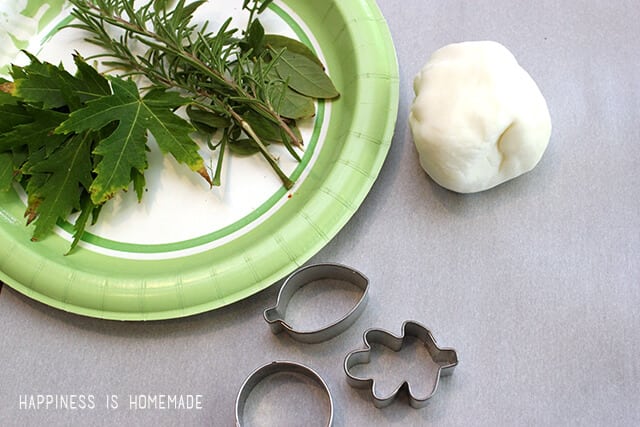 To make leaf impressions, gather some small leaves, a rolling pin and small cookie cutters.
 Roll out a slab of clay about 1/4 thick. Place the leaves on to the clay and roll again until the slab is about 1/8″ thick.
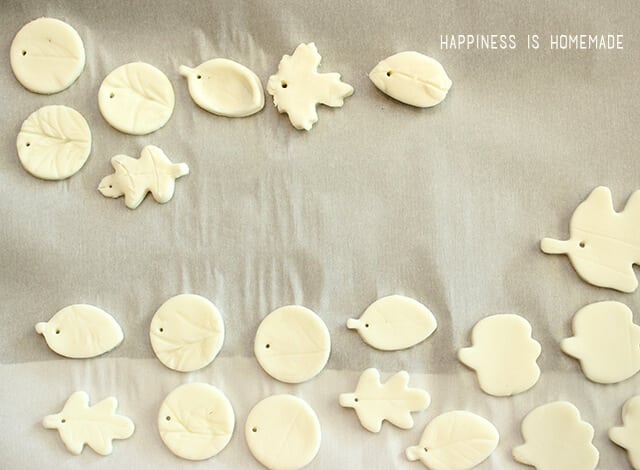 Use the cookie cutters to cut out small shapes, and use a toothpick to poke a small hole in the object if you’re planning on using it for jewelry or hanging. Allow to dry completely for 2-3 days. I test dried a small batch in our oven, and baked the pieces at 175 degrees for 2 hours before allowing them to continue drying at room temperature overnight. It worked like a charm! This clay recipe lived up to ALL of its promises – hard drying, solid, and sturdy. I’m seriously NEVER buying store bought air drying clay again. This stuff was incredible!
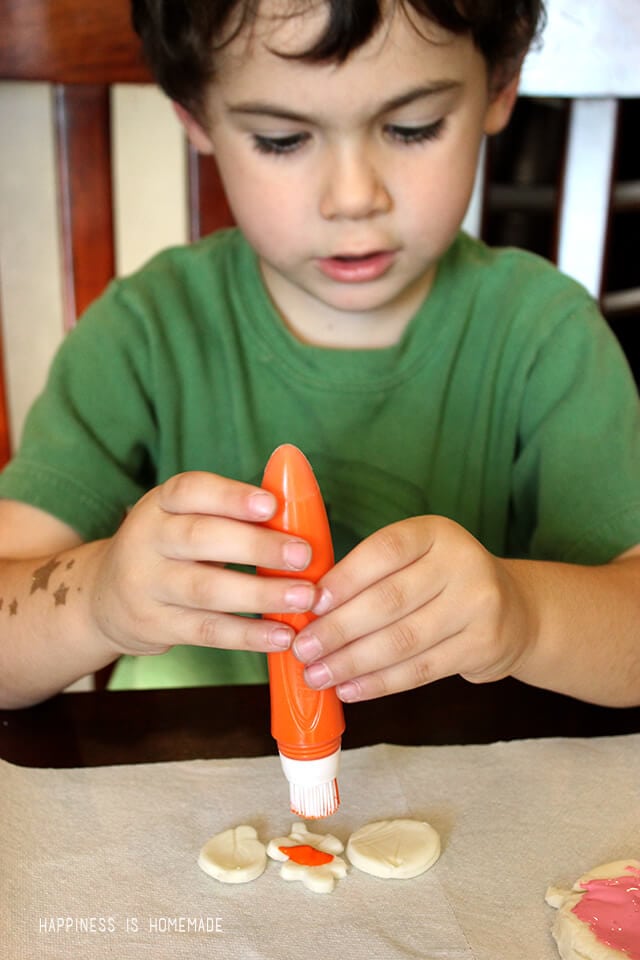 Once the pieces were dry, it was time to decorate them. Simon tested out these fun new Squeeze ‘n’ Brush painters, and he really liked them a lot. Simply squeeze a little bit of paint from the tube down into the plastic bristles, and start painting. Easy peasy!
 I was pleasantly surprised at how well these worked, and I love the fact that the tubes are refillable!
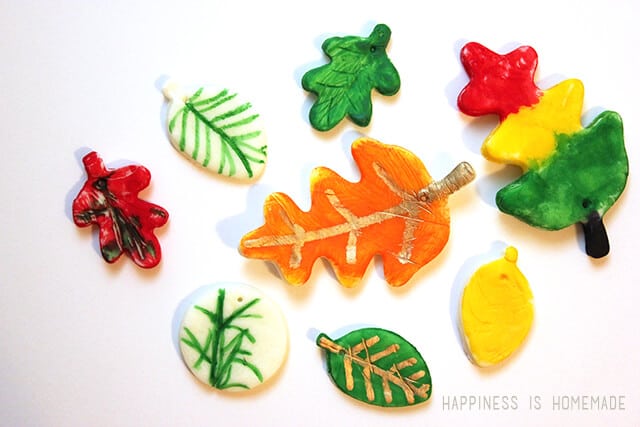
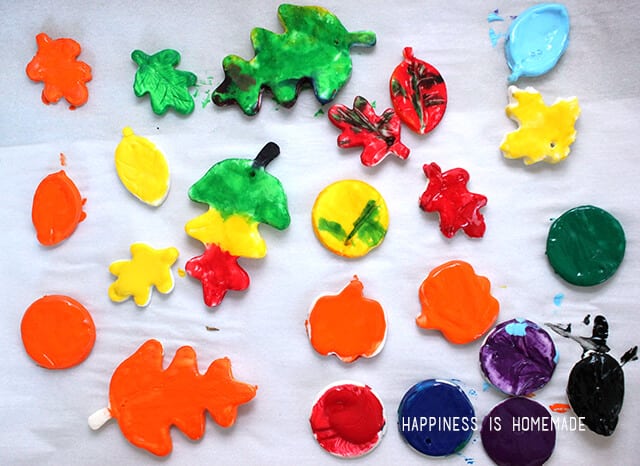 Simon was having such a great time with his Painters that we allowed him to paint the majority of the leaves. He was a little heavy handed with his paint, so quite a few of them ended up as bright and colorful fall shapes instead of delicate leaf impressions that we had started with.
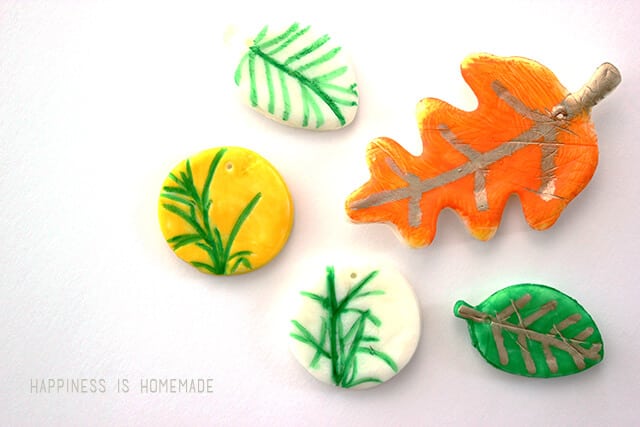 Sutton preferred to use the Paintastic Painters on his pieces, however, and the soft brush markers really brought out a lot of the leaf imprint details. As the finishing touch, a gold Painter added a little bit of extra detail and shimmer.
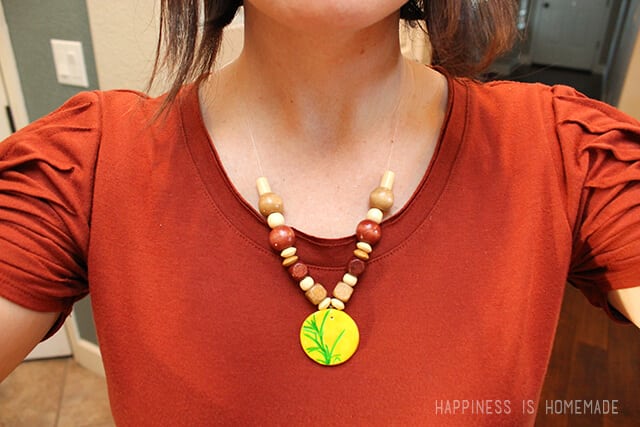 We turned some of our leaves into necklaces, and some will become magnets and seasonal decorations for our autumn nature table. The boys had a ton of fun with this homemade polymer clay recipe, and I can’t wait to make another batch to use for some of my own projects. I have about a dozen totally awesome holiday ideas floating around in my head that I’m dying to create now!
For more fun craft ideas, be sure to sign up for the Elmer’s Newsletter and check them out on Twitter, Facebook, Instagram & Pinterest! Happy crafting!

Heidi Kundin has captivated the hearts of millions with her colorful and inspiring approach to crafting, celebrations, and family fun. With over 15 years of experience, Happiness is Homemade has become a must-visit destination for those seeking quick and easy creative ideas and last-minute solutions. Heidi’s warm personality shines through her posts, inviting readers to join her on a creative journey that’s fun, rewarding, and achievable. Heidi is also the author of Homemade Bath Bombs & More and DIY Tie-Dye.