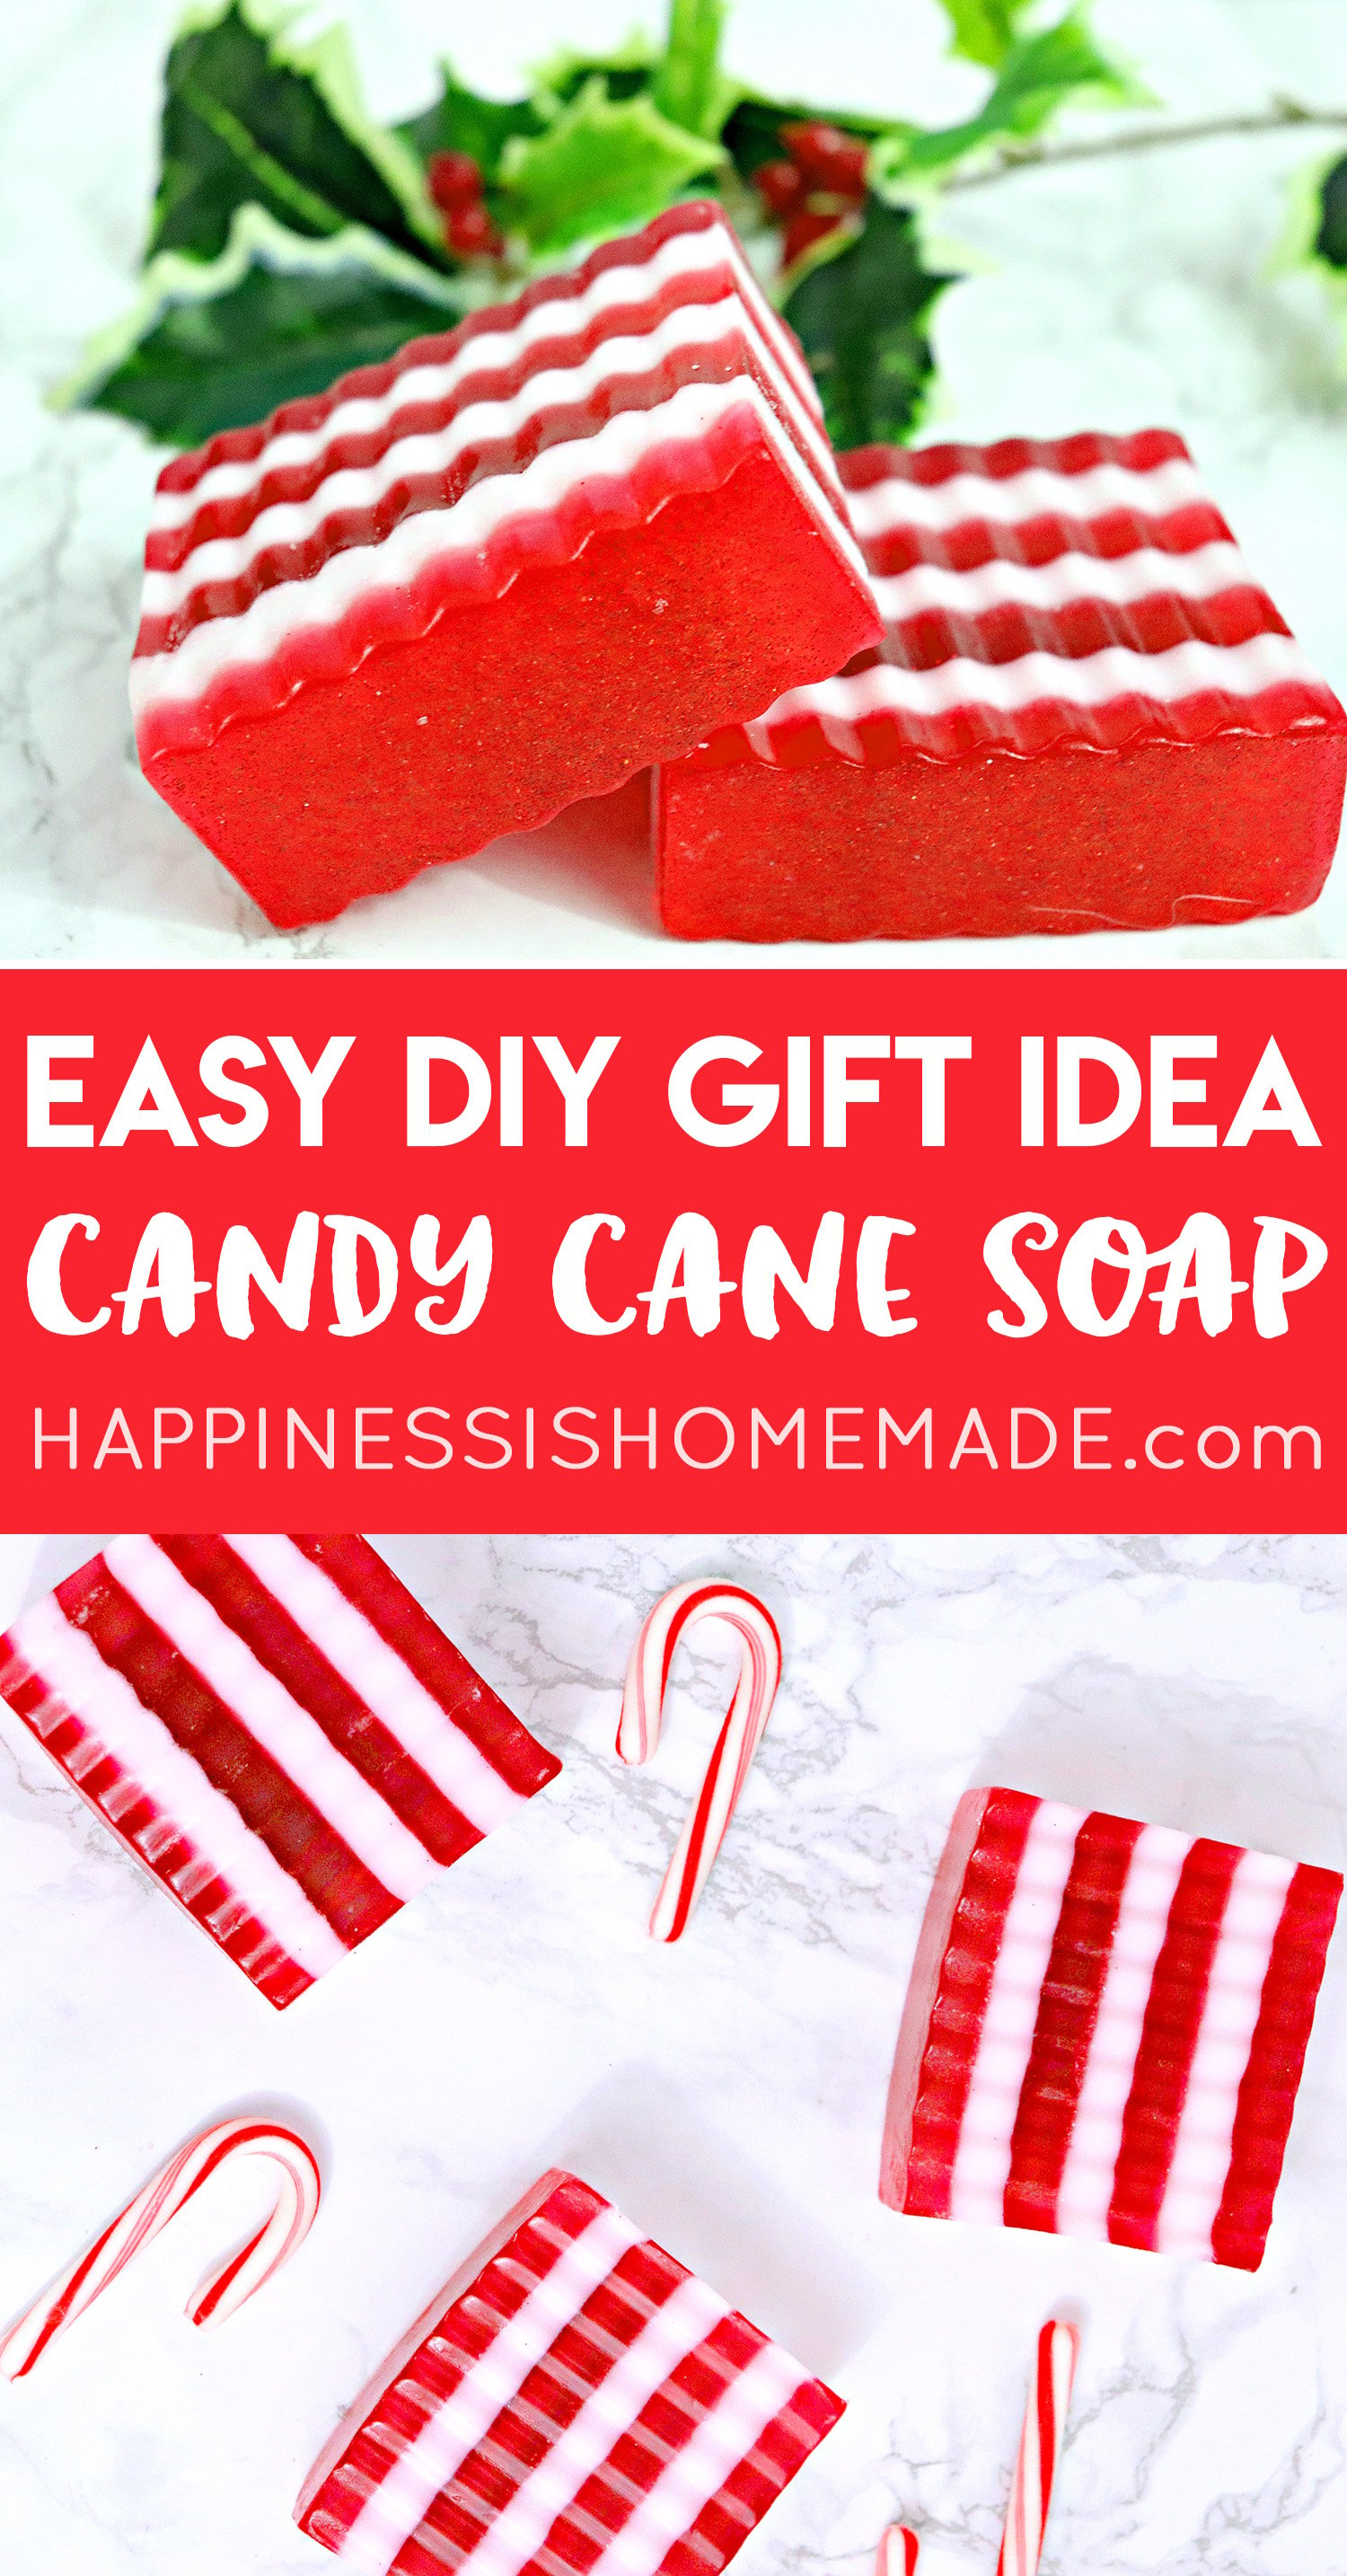
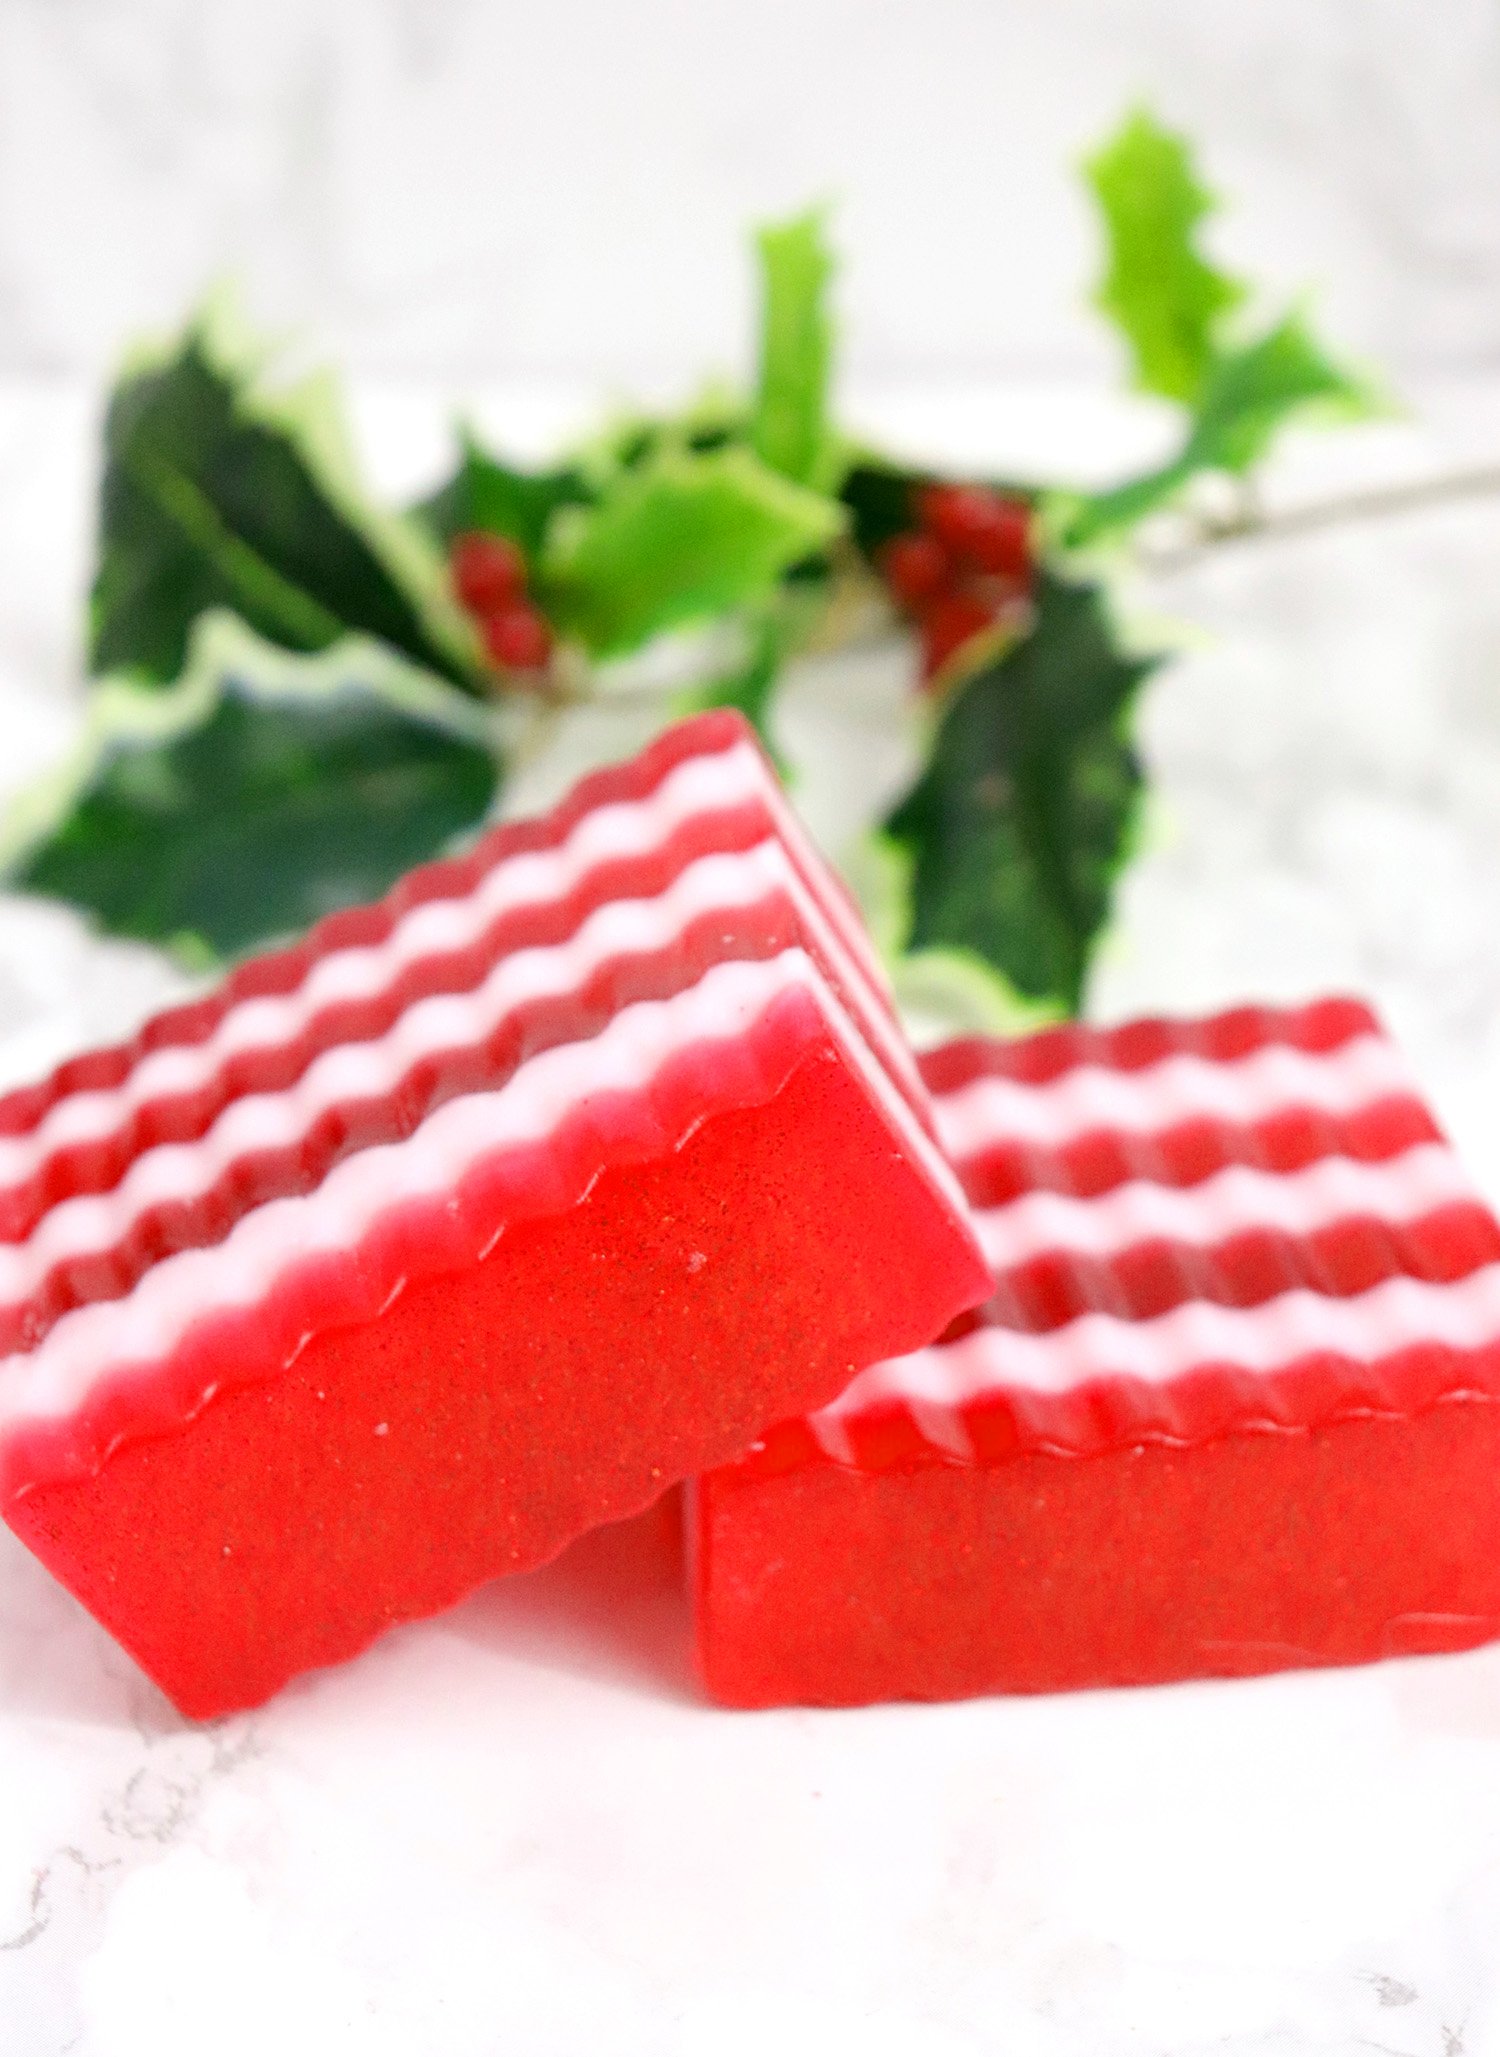
DIY Candy Cane Soap is an easy Christmas craft that makes a great holiday gift idea! Making homemade soap has never been more festive or fun!
This post may contain affiliate links. I will receive a small commission from these sales at no additional cost to you!
DIY Candy Cane Soap
Christmas is just around the corner, and holiday crafting is in full-swing around here! If you’re looking for a great last-minute homemade Christmas gift idea, you’re going to LOVE this easy DIY candy cane soap!
You May Also Like:
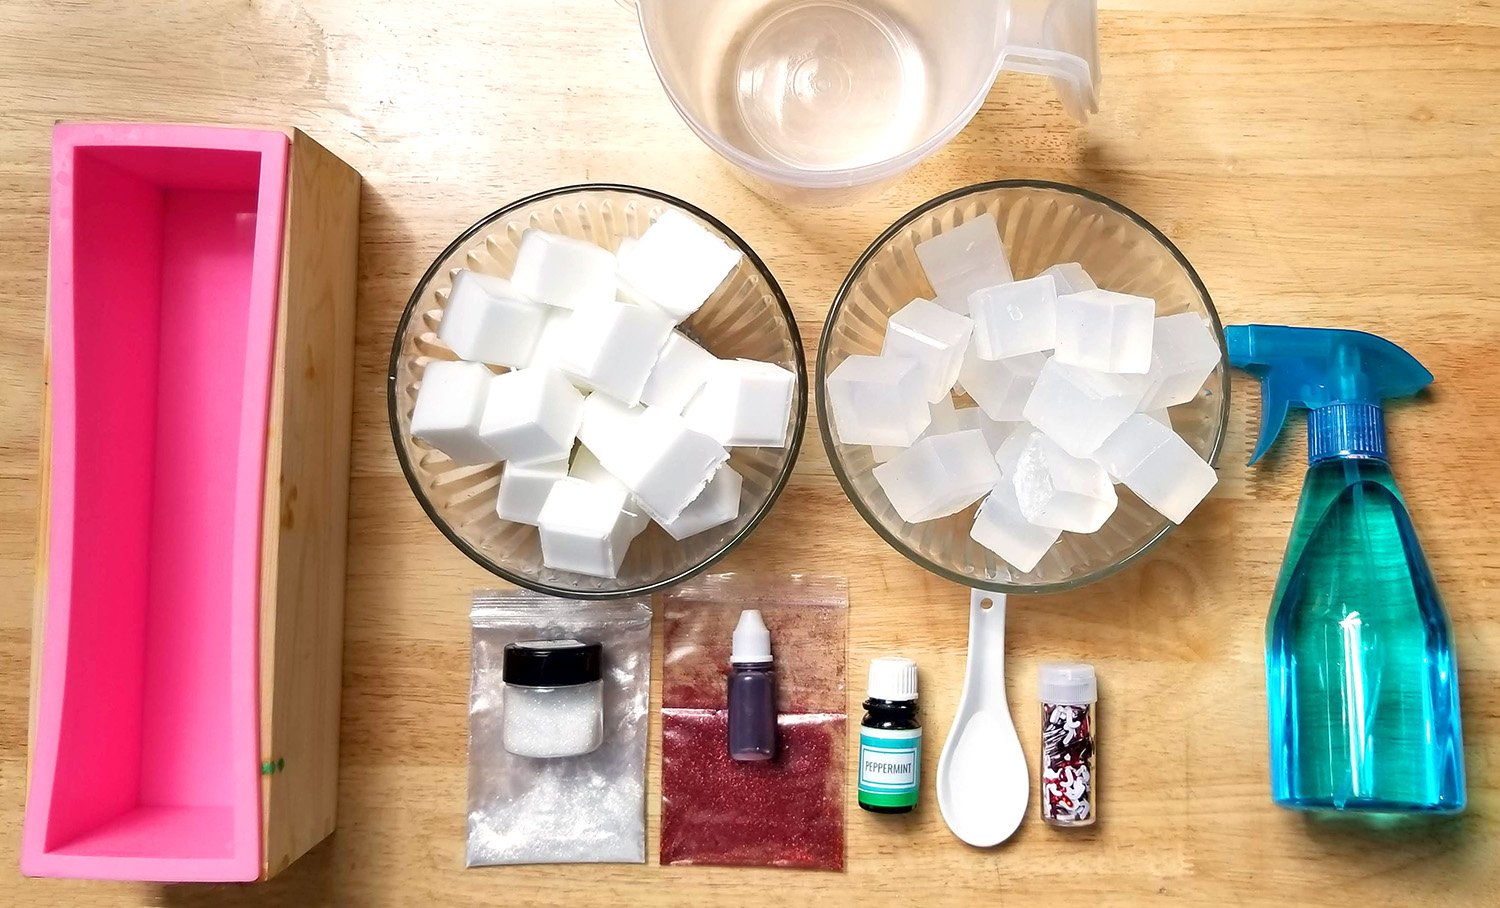
Supplies Used for Making Candy Cane Soap:
- 1/2 lb Goats Milk Soap Base (cut into cubes)
- 1/2 lb Clear Soap Base (cut into cubes)
- Red Soap Colorant
- Peppermint Essential Oil and/or Candy Cane Fragrance Oil
- Silicone Mini Loaf Soap Mold
- (2) Pyrex Measuring Cups
- 99% Isopropyl Alcohol in a Misting Spray Bottle
- Red Cosmetic Glitter, optional
- White Pearl Mica, optional
This recipe will yield one loaf of soap weighing approximately 1 pound which can be cut into 5-6 bars of soap. We use this wavy soap cutter to make the fun rippled edges.
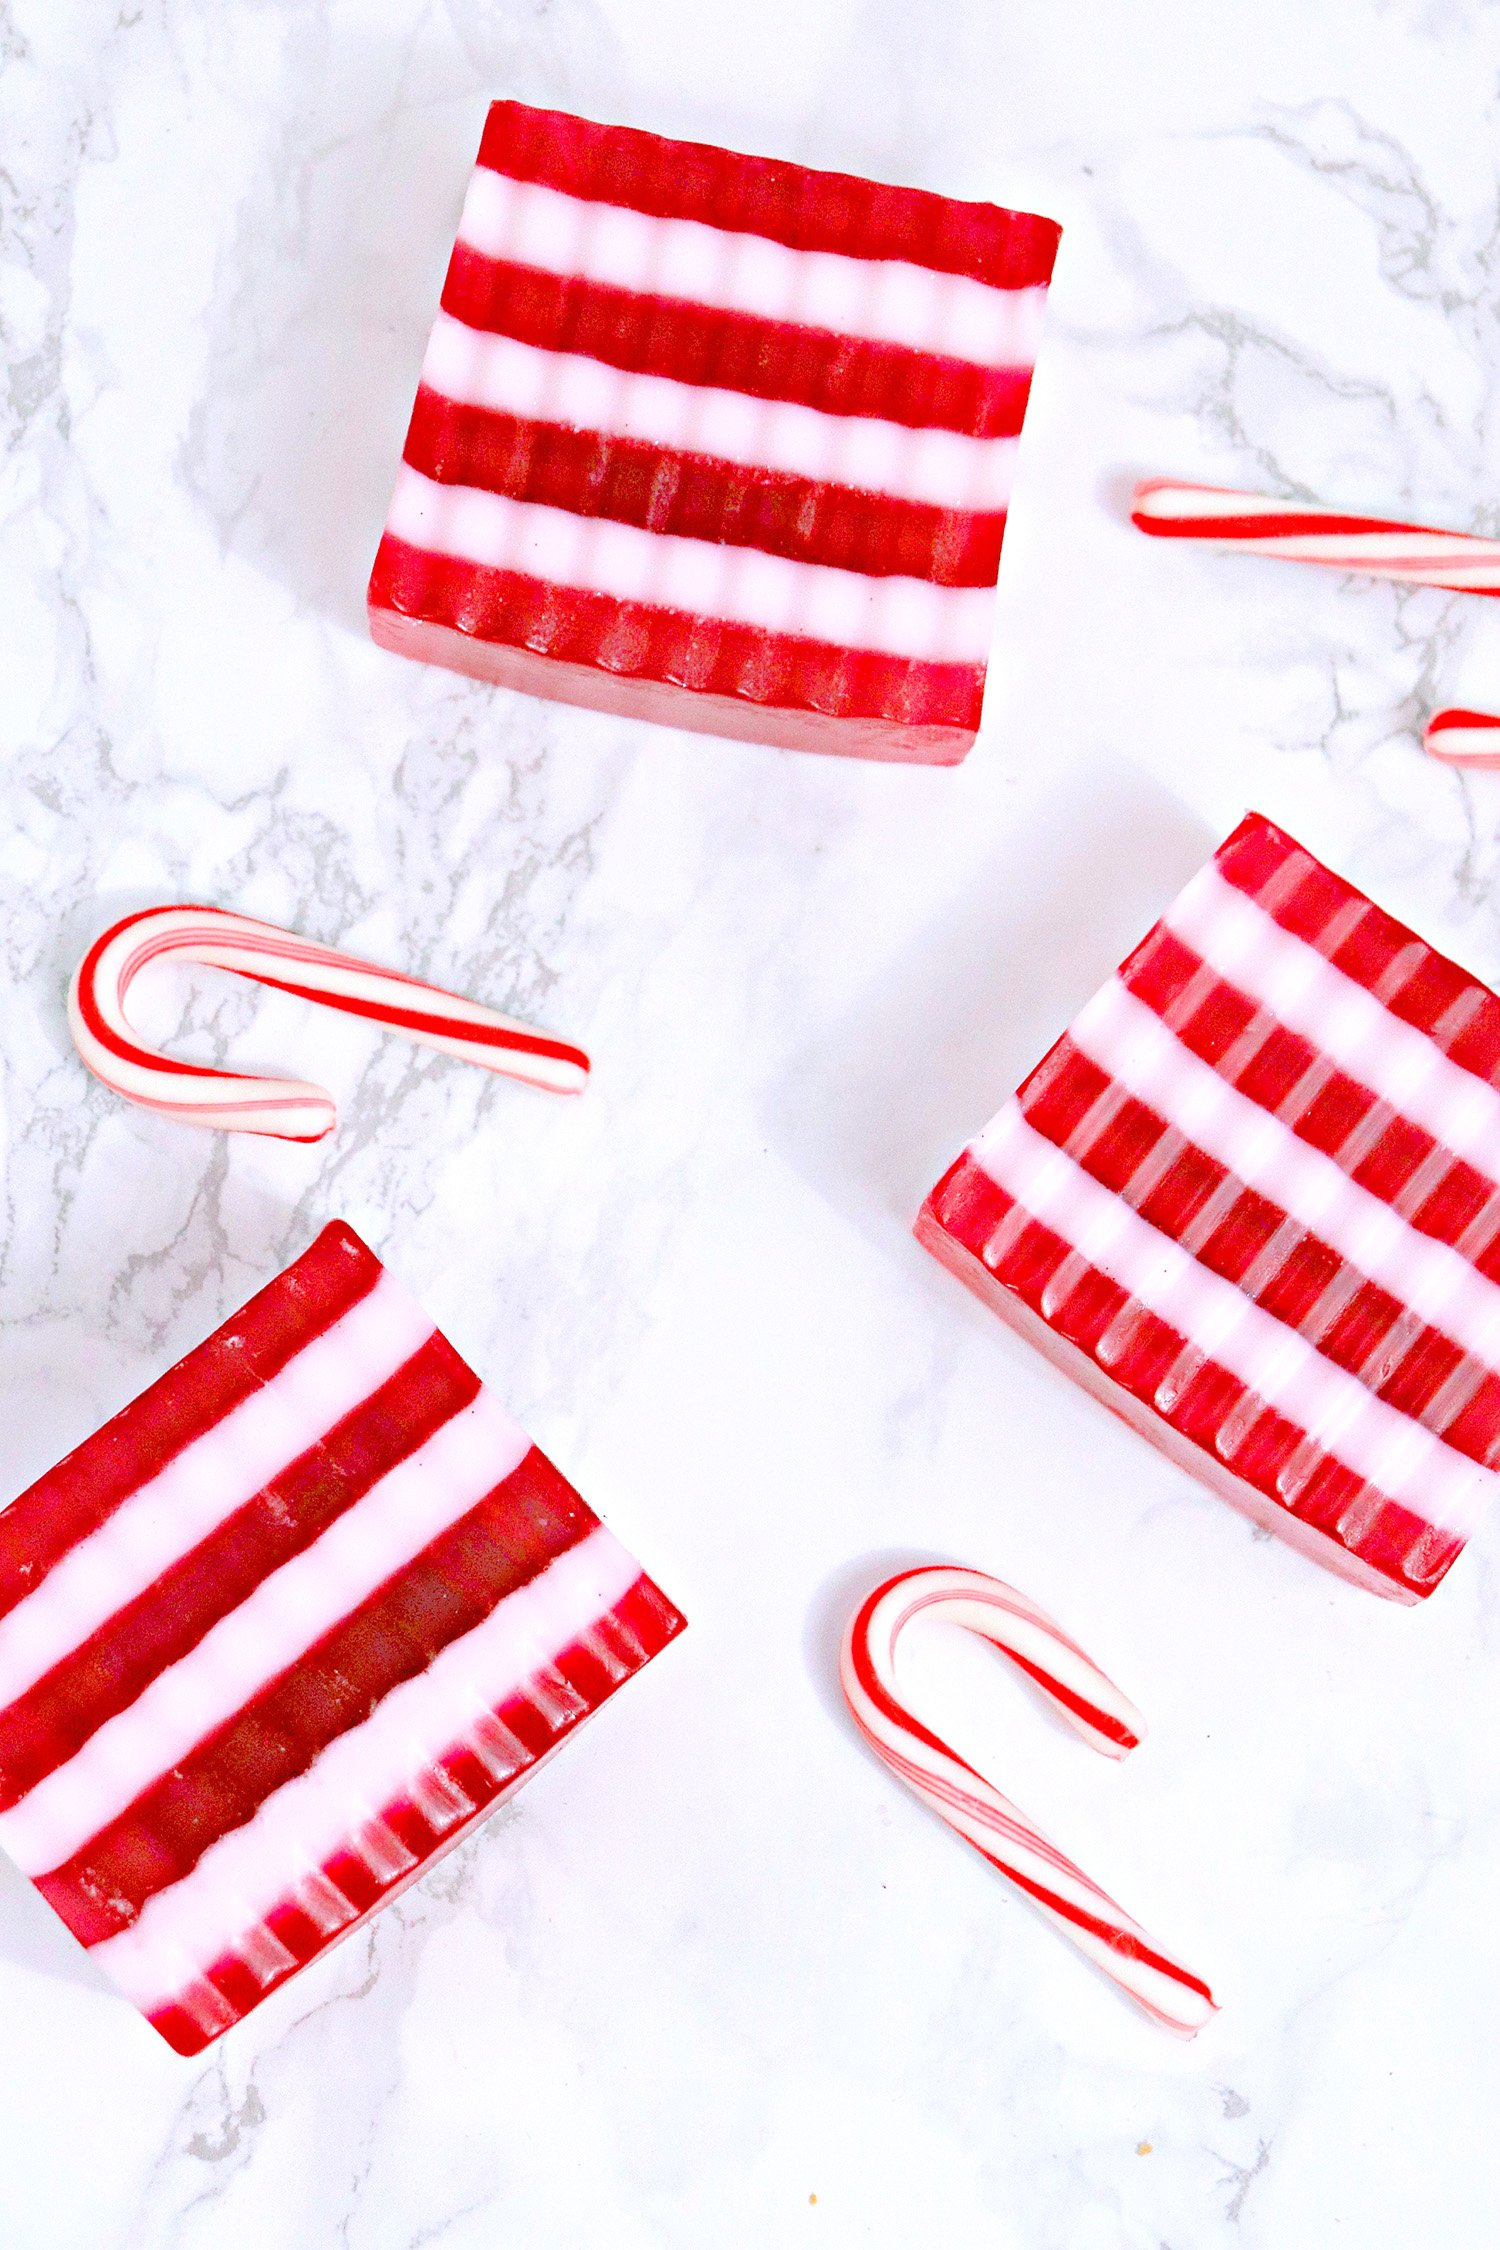
Candy cane soap is super simple to make! It uses the exact same process as our popular Candy Corn Soaps with the addition of a few more layers.
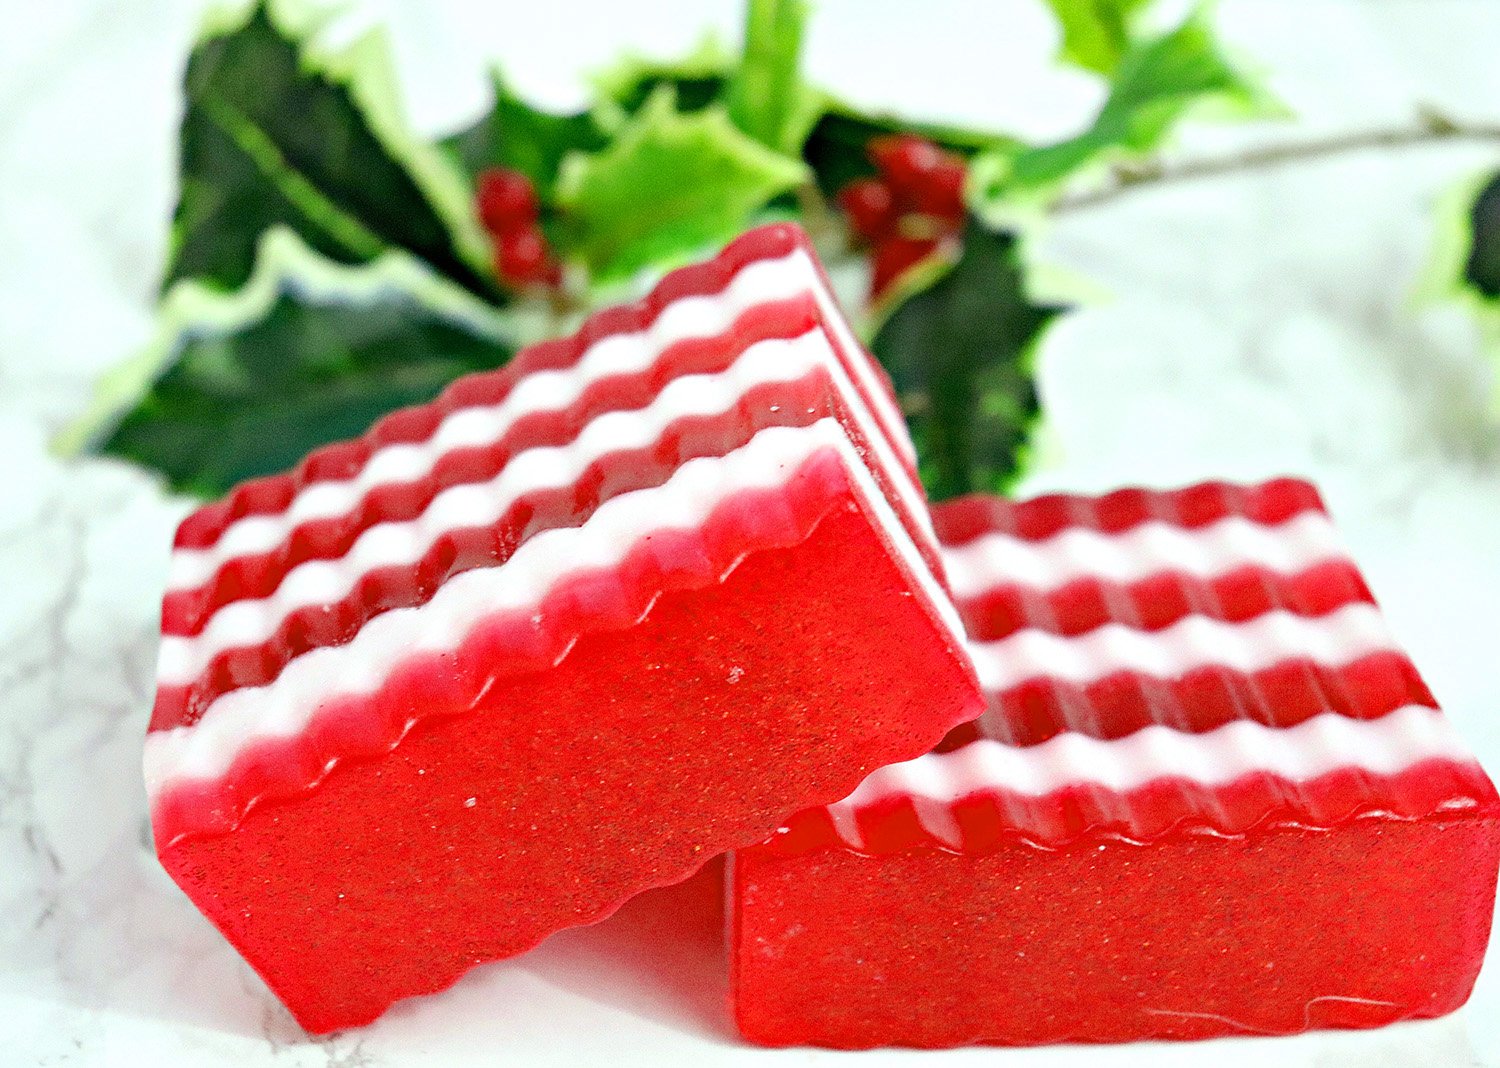
We added a bit of red cosmetic glitter and white pearl mica to give the soaps some sparkle and shimmer. If glitz and glimmer aren’t your thing, you can omit those ingredients.
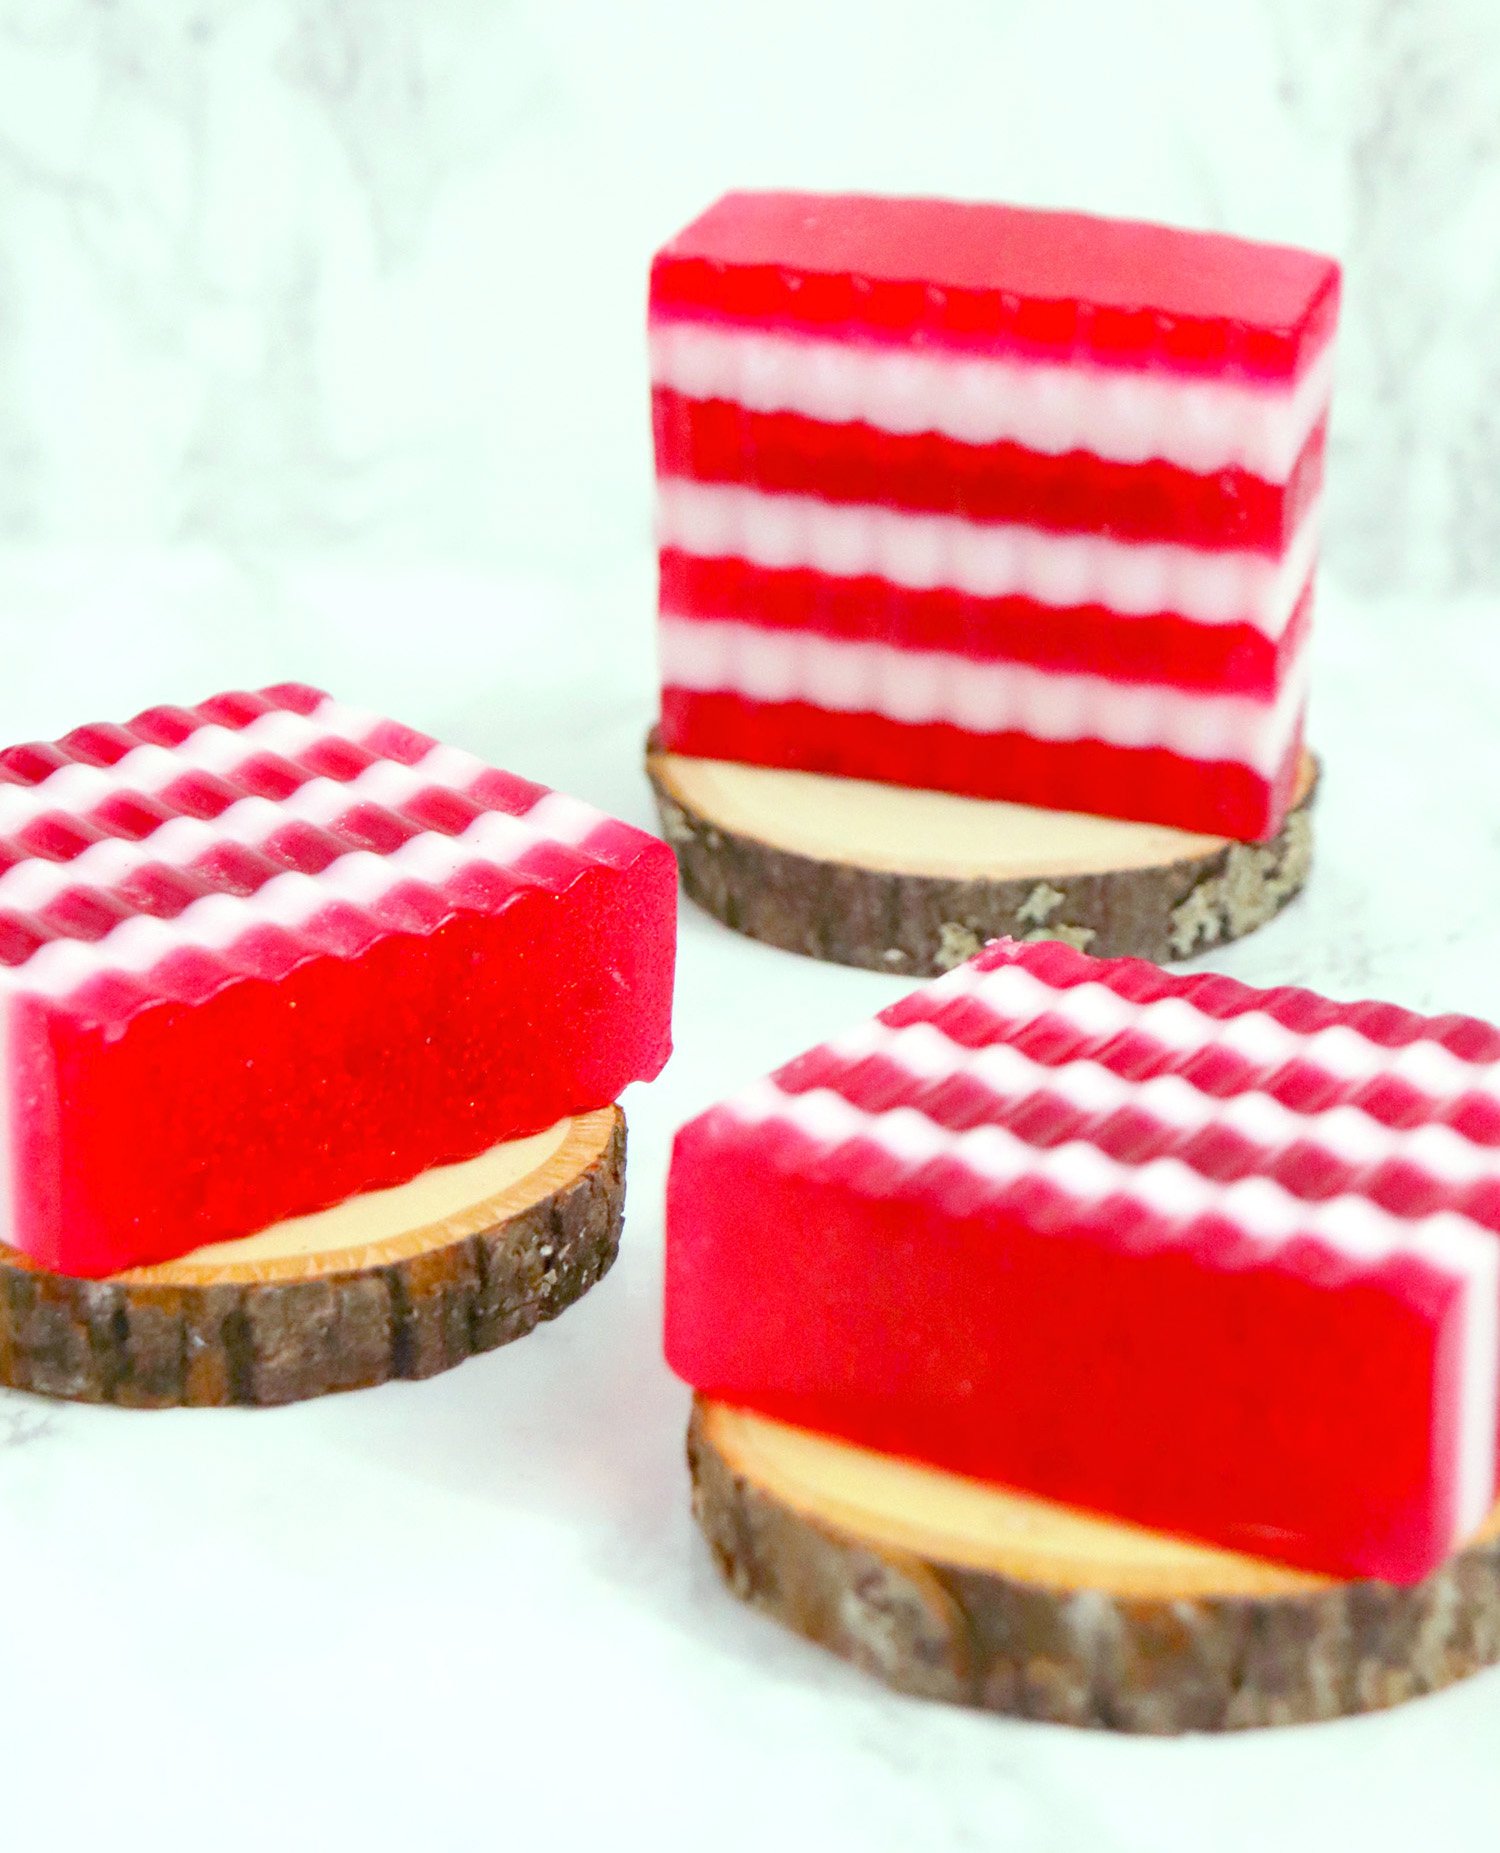
These candy cane soaps are perfect for gifting to friends, family, neighbors, teachers, and more! They’re sure to be a huge hit!
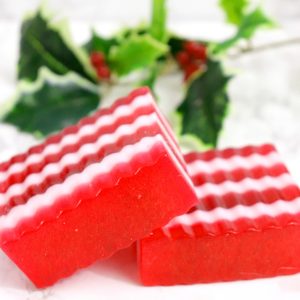
What You’ll Need:
- 1/2 lb Goats Milk Soap Base, cut into small cubes and divided into 3 piles
- 1/2 lb Clear Soap Base, cut into small cubes and divided into 4 piles
- Red Soap Colorant
- Peppermint Essential Oil or Candy Cane Fragrance Oil
- Red Cosmetic Glitter, optional
- White Pearl Mica, optional
Instructions:
- Add 1 pile of the cubes of clear soap base to a microwave-safe measuring cup, and melt the soap in the microwave in 30-second intervals, stirring after each, until completely melted.
- Add red soap colorant until desired color is reached. Add 3-5 drops of peppermint essential oil or candy cane fragrance oil and mix well. Add red cosmetic glitter if desired.
- Spray bottom of mold with rubbing alcohol to prevent bubbles from forming on the bottom. Pour red soap mixture into mold. Spray with rubbing alcohol to prevent bubbles from forming on the top.
- Allow the layer of soap to harden completely before pouring the next layer. This can take anywhere from 10-40 minutes depending on the temperature and humidity.
- When the red layer is firm, add 1 pile of the cubes of white soap base to a microwave-safe measuring cup, and melt the soap in the microwave in 30-second intervals, stirring after each, until completely melted.
- Add 3-5 drops of peppermint essential oil or candy cane fragrance oil and mix well. Add white pearl mica if desired.
- Spritz red layer of soap in the mold with rubbing alcohol. This helps each layer adhere to one another. Pour white soap mix into mold. Spray top with rubbing alcohol to prevent bubbles from forming. Allow to harden completely before pouring the next layer.
- Repeat the process for each alternating layer until mold is filled or you have the height you want for your soaps. Allow to harden completely (I usually like to let it sit overnight if possible).
- Gently remove loaf from mold and remove soap. Cut soap into bars. Wrap in plastic and/or store in an air-tight container until ready to use.

Check Out These Other Christmas Ideas!
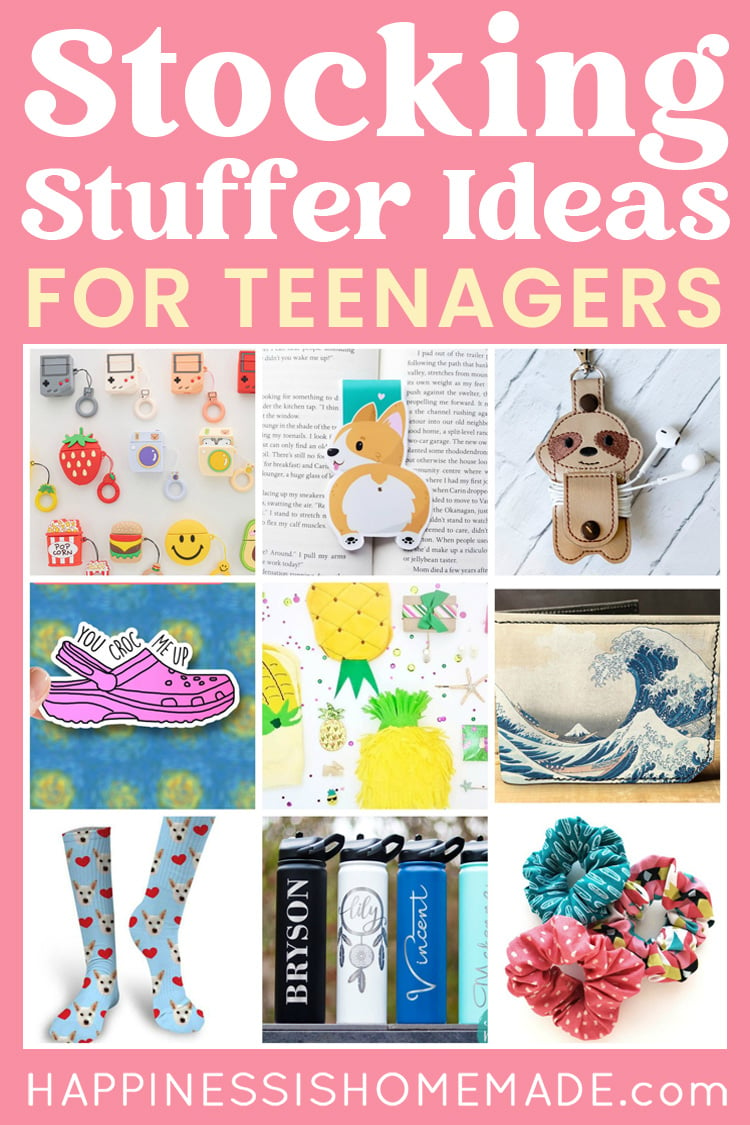
 70+ Fun Stocking Stuffers for Teens and Tweens
 70+ The Best Gift Ideas for Boys Ages 8-11
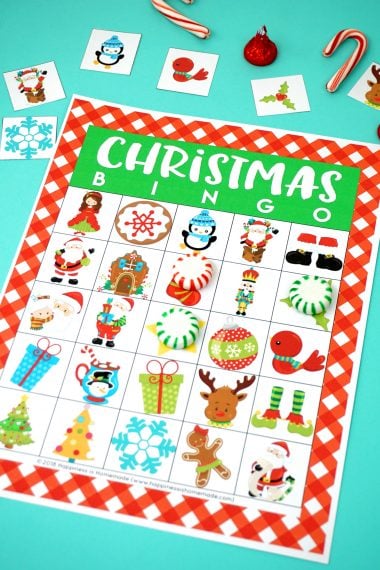
 Printable Christmas Bingo Game Cards
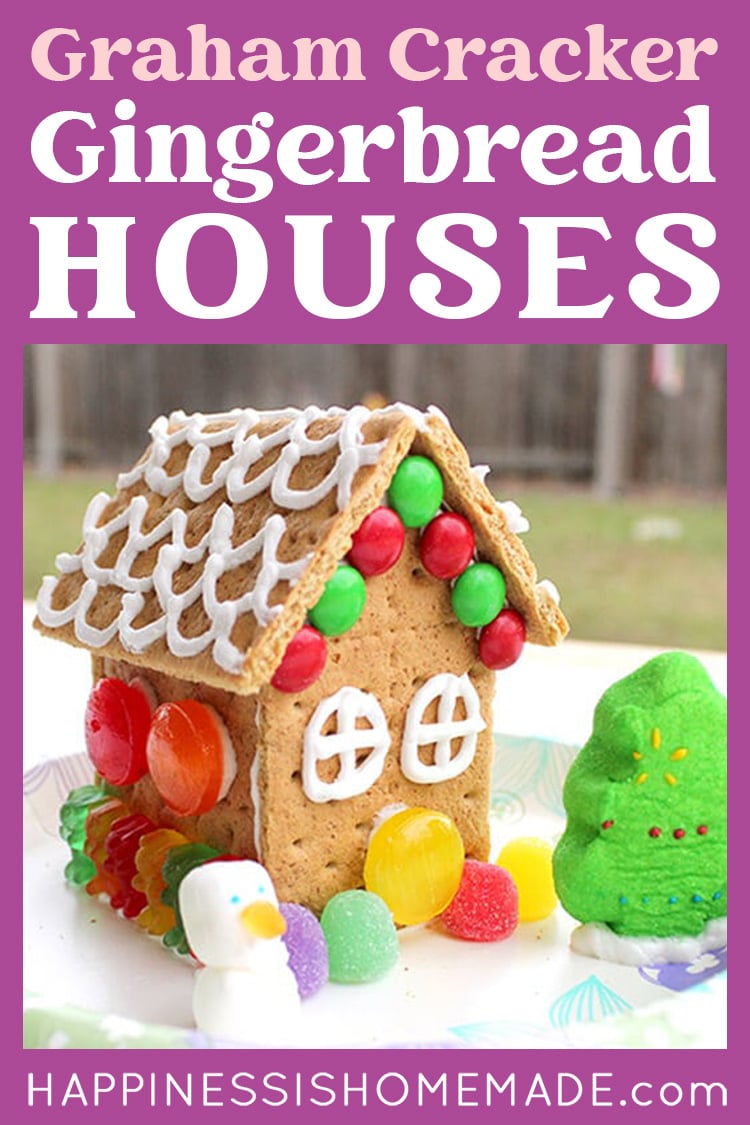
 How to Make Graham Cracker Gingerbread Houses
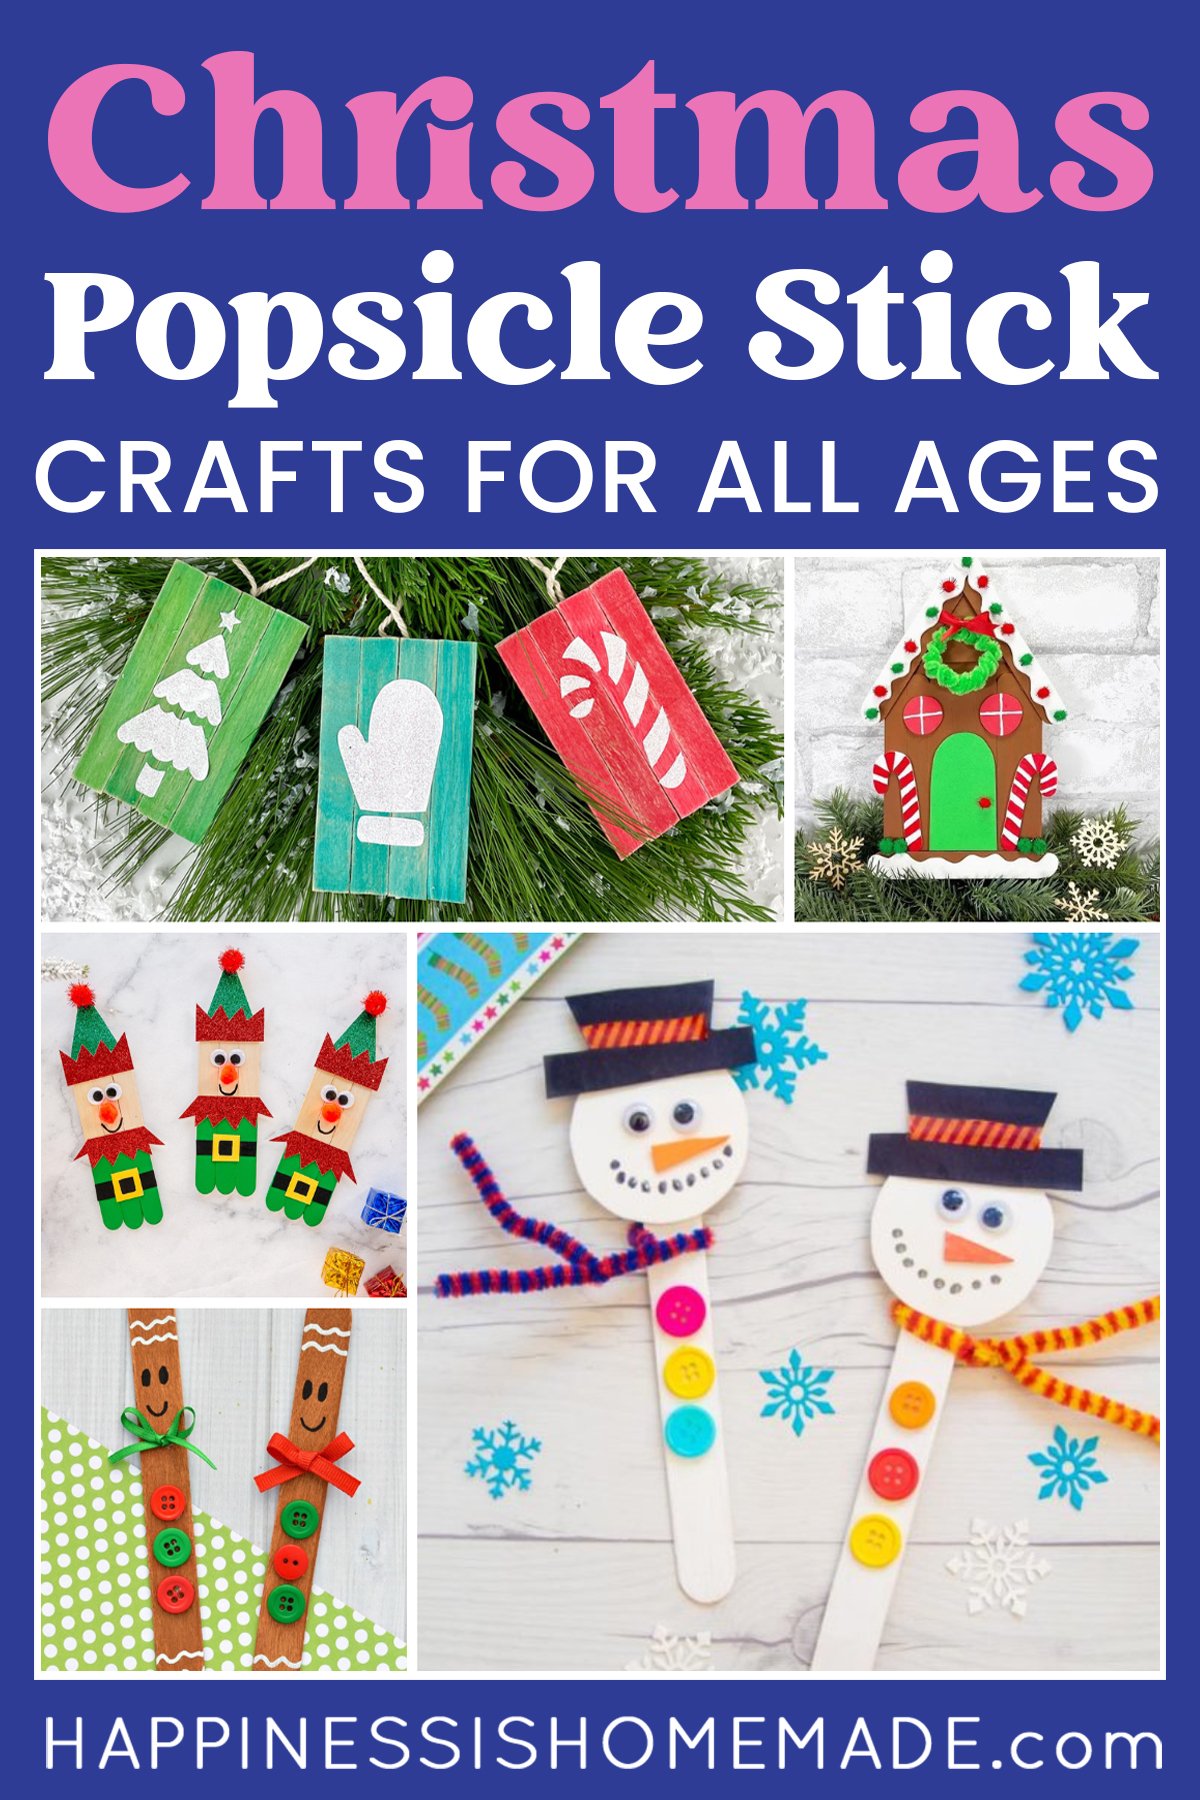
 50+ Popsicle Stick Christmas Crafts
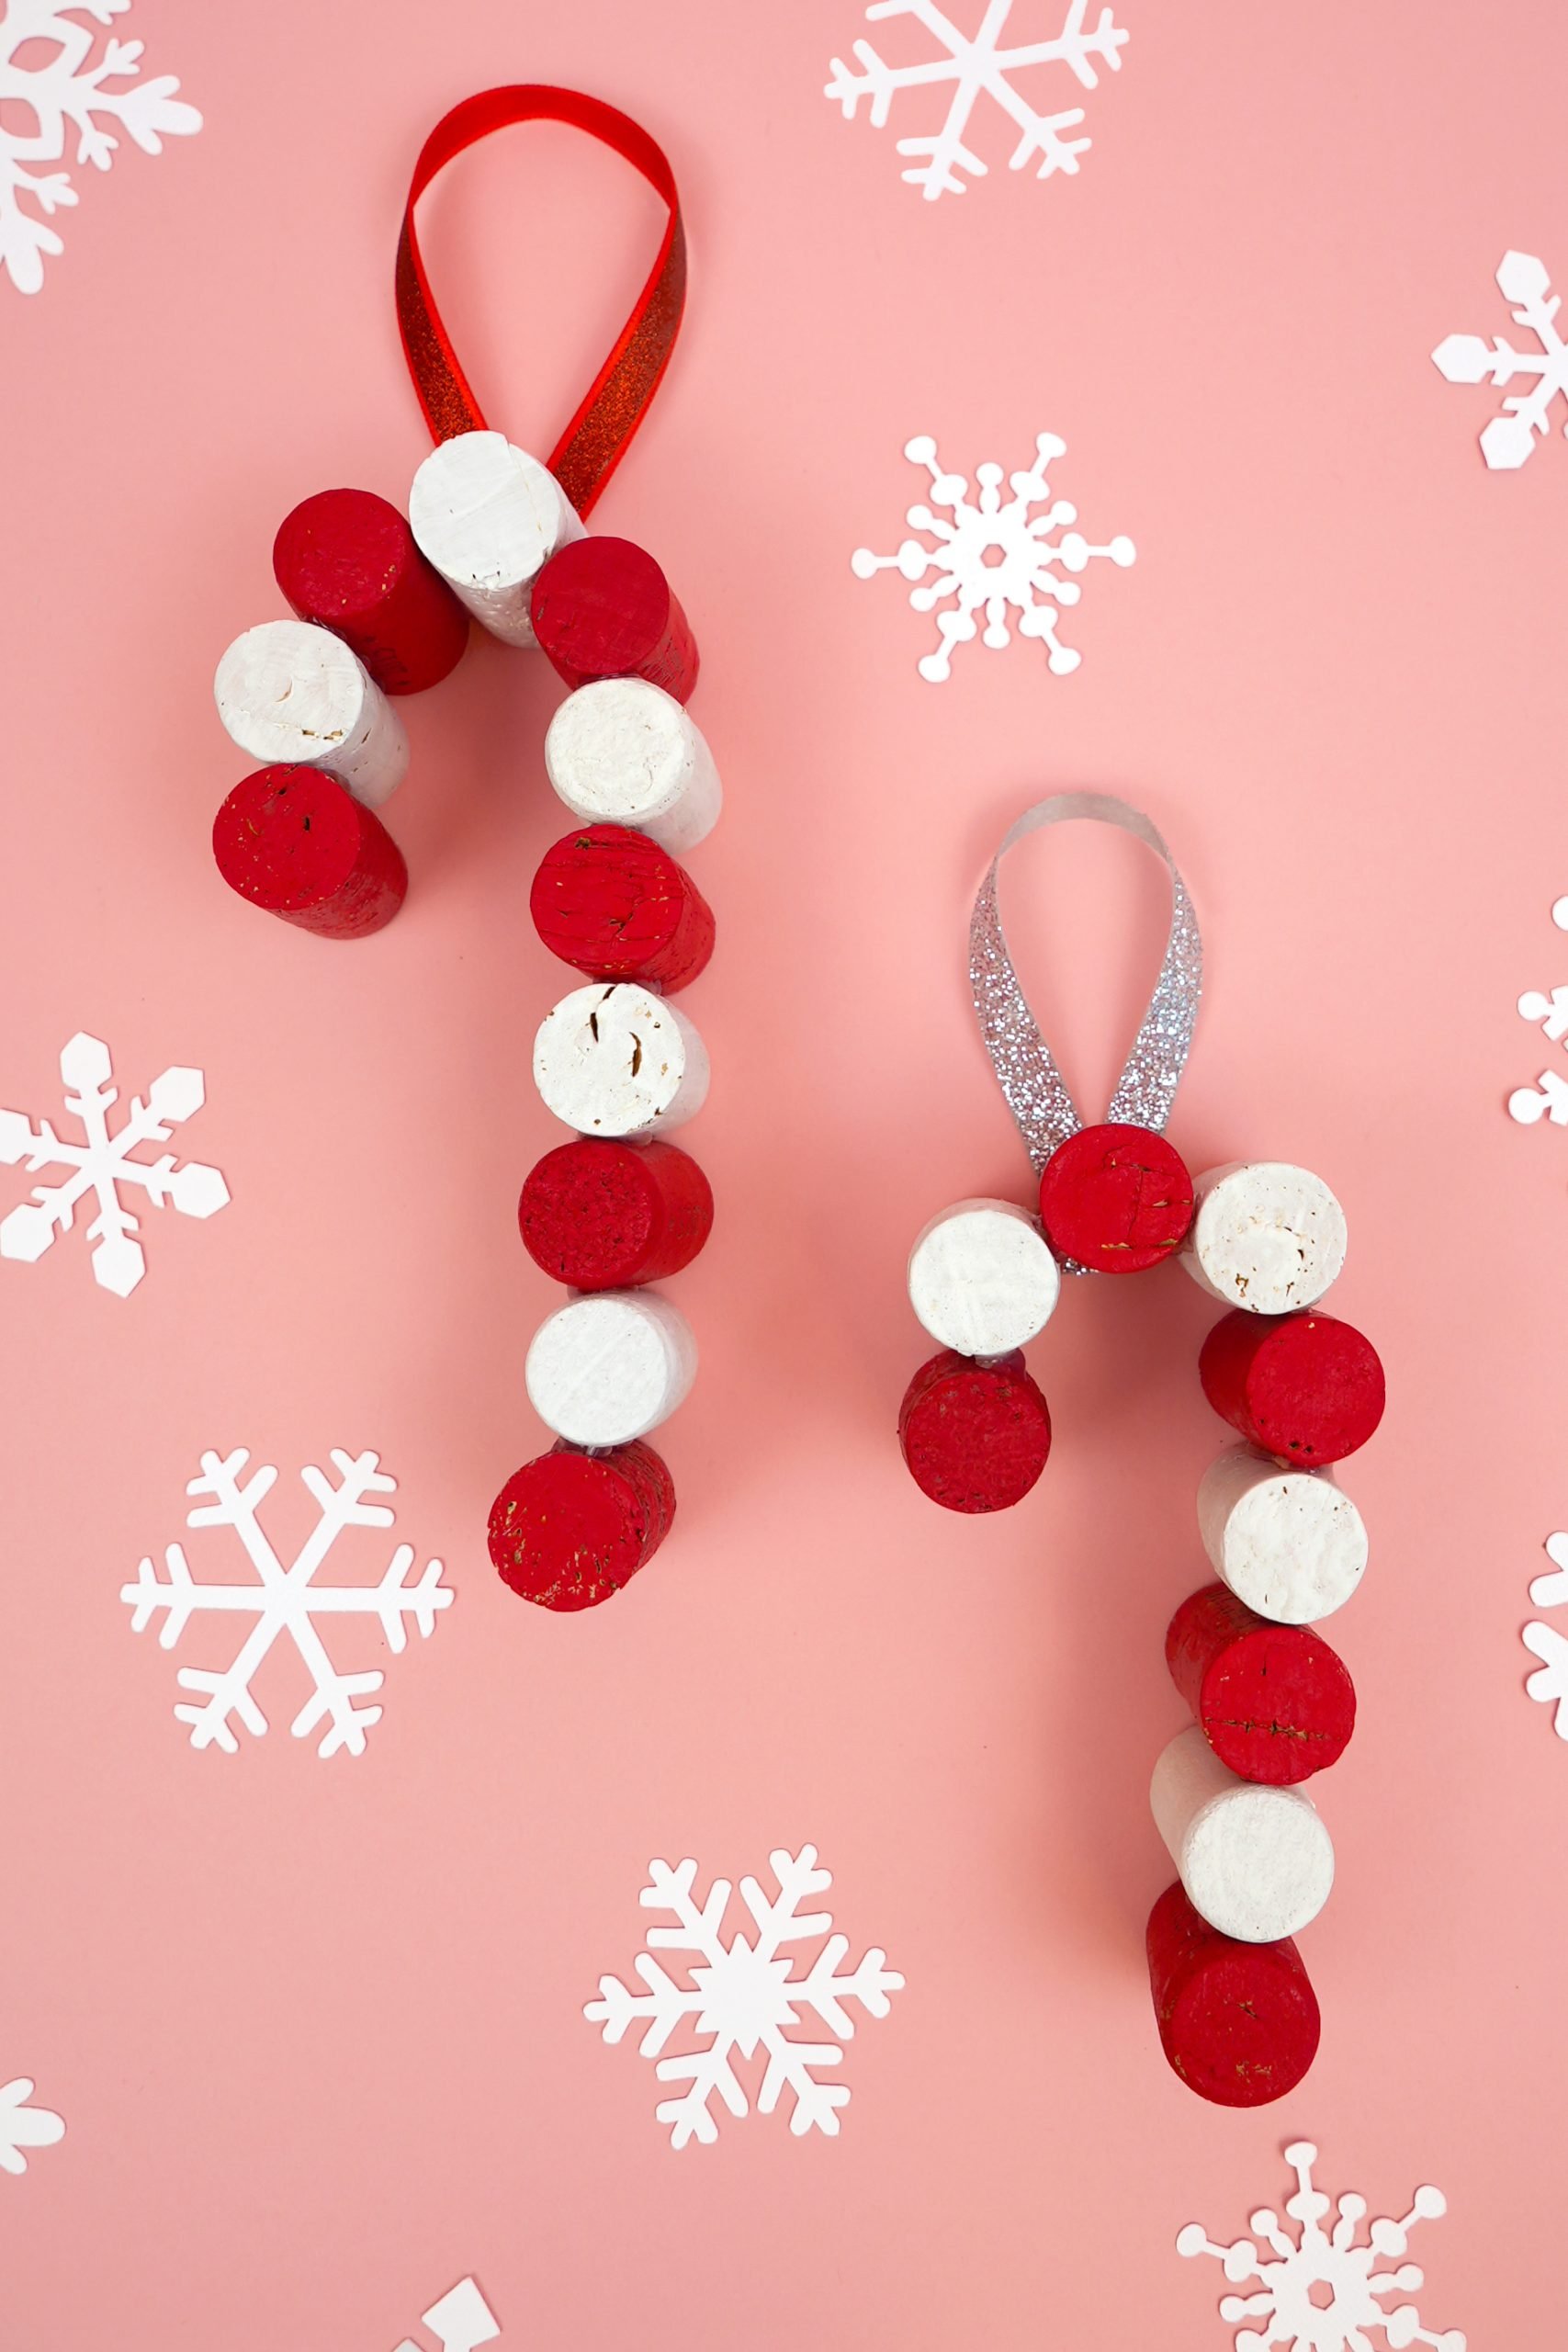
 Wine Cork Candy Cane Ornaments
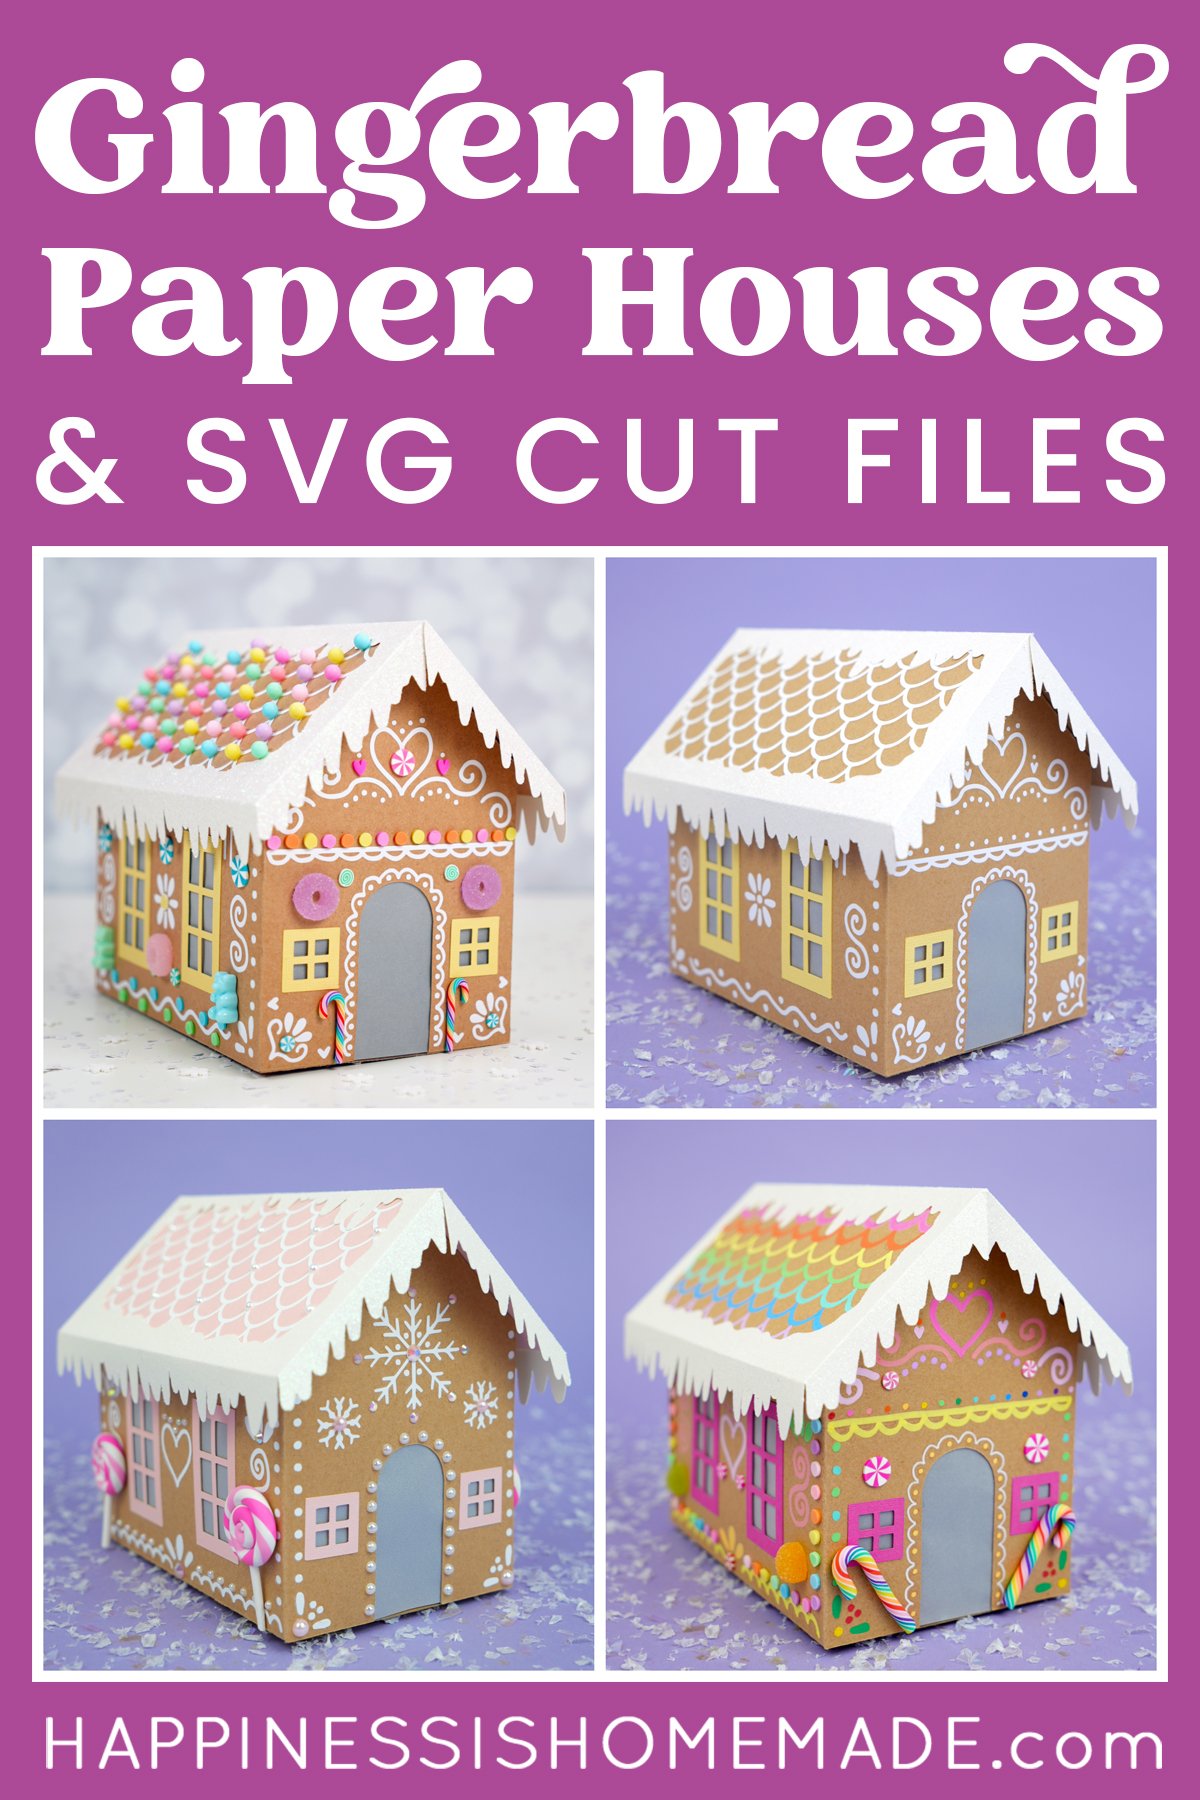
 Cardboard Gingerbread Houses + SVG Files
 Glitter Ornaments: Easy Christmas Craft
You May Also Like:
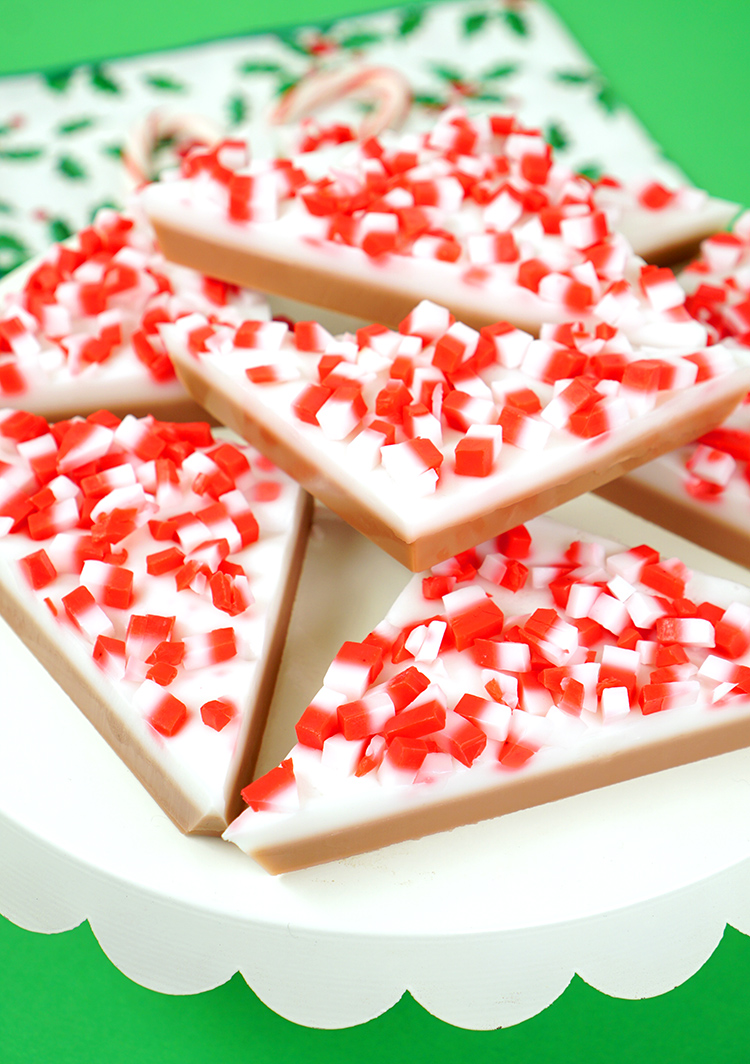

15-Minute Gingerbread Man Soaps
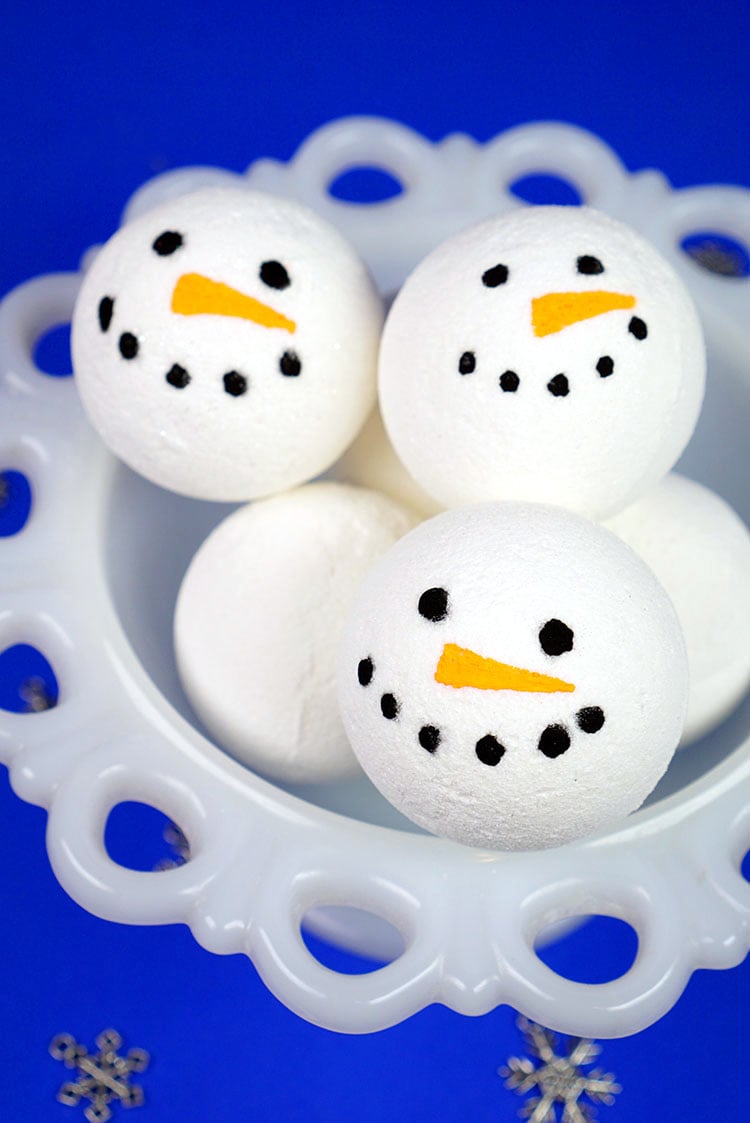
Quick & Easy Snowman Bath Bombs
Pin this Candy Cane Soap for Later!

Heidi Kundin has captivated the hearts of millions with her colorful and inspiring approach to crafting, celebrations, and family fun. With over 15 years of experience, Happiness is Homemade has become a must-visit destination for those seeking quick and easy creative ideas and last-minute solutions. Heidi’s warm personality shines through her posts, inviting readers to join her on a creative journey that’s fun, rewarding, and achievable. Heidi is also the author of Homemade Bath Bombs & More and DIY Tie-Dye.

