
Learn how to make DIY custom photo puzzles with sublimation! Make personalized jigsaw puzzles from your photos, artwork, and more!
This post may contain affiliate links. I will receive a small commission from these sales at no additional cost to you! This post is written in partnership with Hiipoo Ink who provided me with supplies for this post.
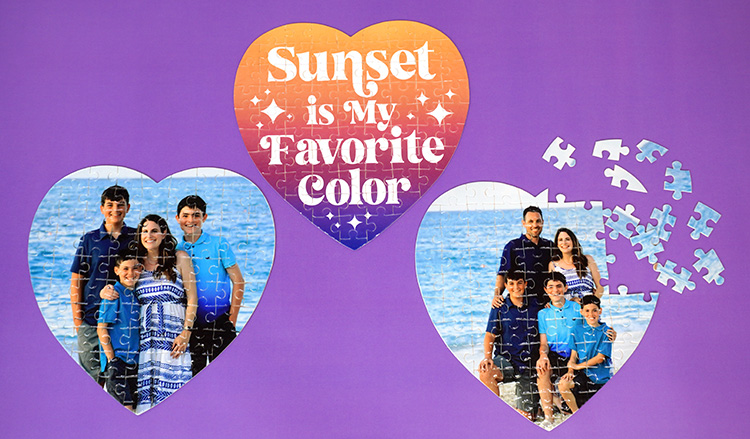
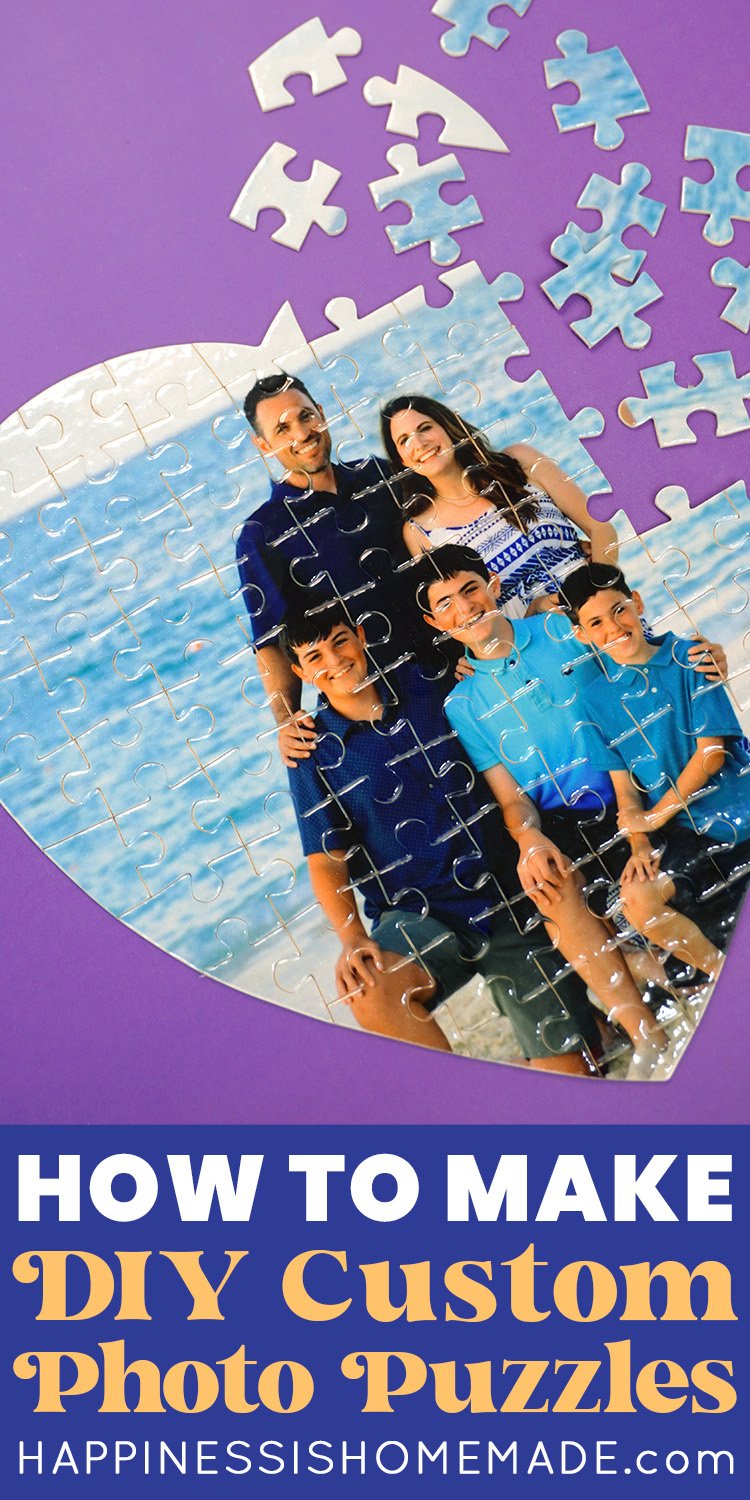
Turn your photos into puzzles with this simple tutorial on how to make your own custom jigsaw puzzles! It’s SO easy!
Sublimation is a hot, hot, HOT trend in crafting right now, and for good reason! Sublimation requires minimal materials to get started, the projects are simple and straightforward, and the results are on par with professional printing services. No more last-minute holiday gift orders from Shutterfly or Snapfish – now, you can easily create your own photo gifts (less expensively!) from the comfort of your own home!
We’ve showed you How to Convert an EcoTank Printer to a Sublimation Printer, and now it’s time to check out all of the awesome things that you can make with your sublimation printer! First up, custom photo puzzles! Use your favorite family photos or artwork to create personalized puzzles for everyone on your gift list!
How to Make Custom Photo Puzzles
Supplies Needed to Make a Photo Puzzle:
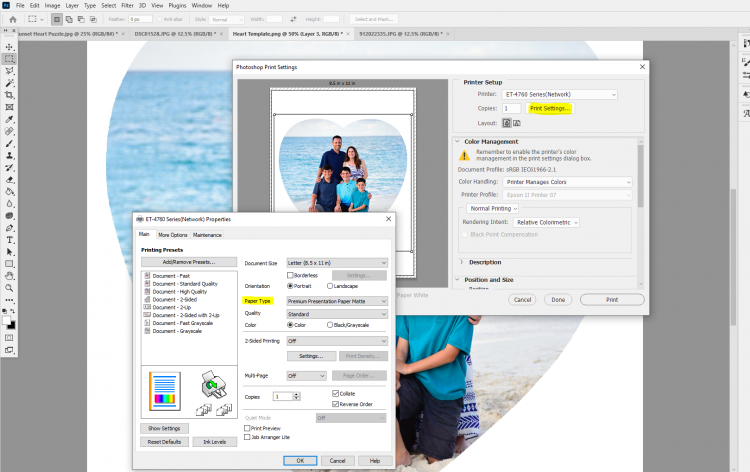
Open up your image in your favorite photo editing software (I’m using Photoshop), and click Print. Size the image to fit a heart that is 7.5″ x 7.5″. Open up the Print Settings box and set the paper type to Premium Presentation Paper Matte.
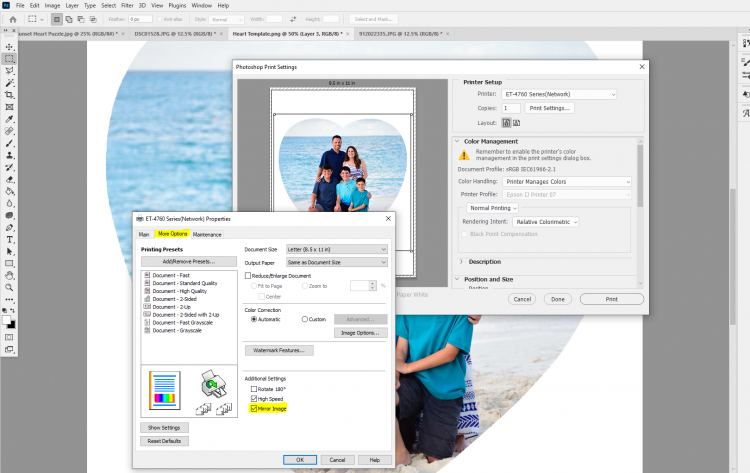
Then, under the More Options tab, make sure that the image is set to print in mirrored format. You always want to mirror your images when printing for sublimation projects.
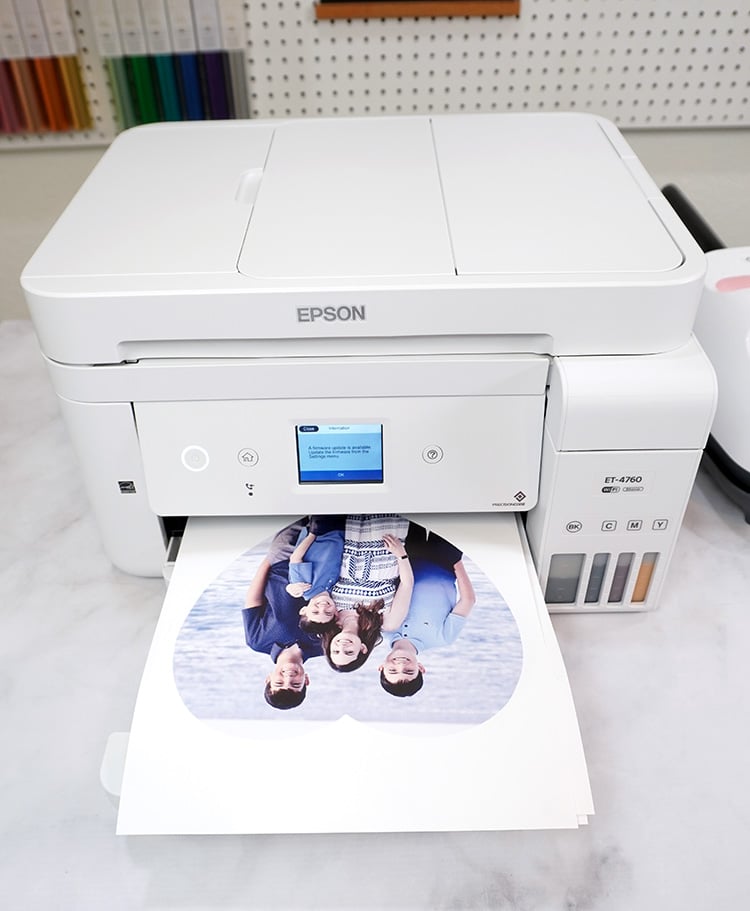
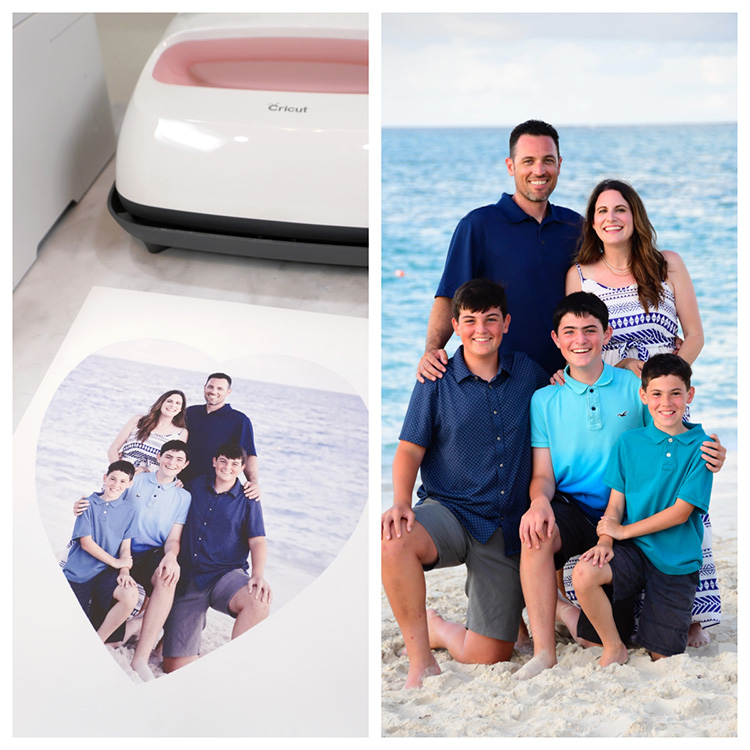
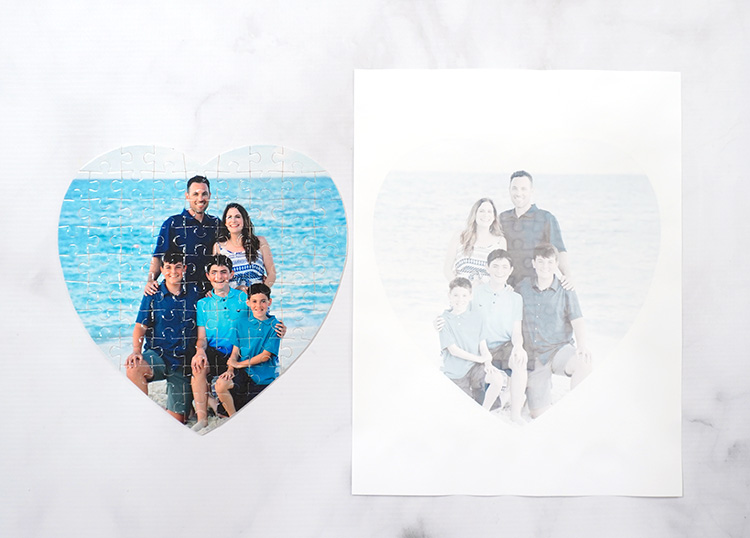
You’ll notice that the printed image is a lot duller and more muted than it appeared on the computer screen. Don’t worry, it’s supposed to look that way! Once we apply heat and pressure to it, the colors of the sublimation ink will become a LOT more vibrant!
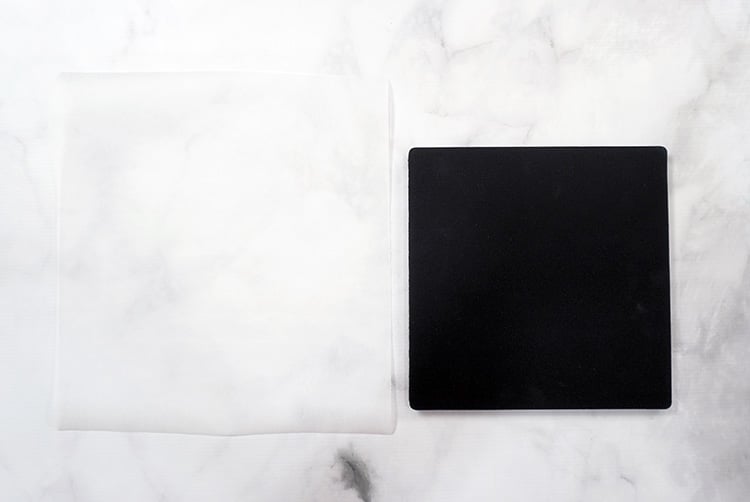
Place a heat-resistant mat on your work surface. This one here is made especially for sublimation, so it can withstand high temperatures. Then, cover the mat with a piece of butcher paper so that none of the sublimation ink accidentally transfers to the mat.
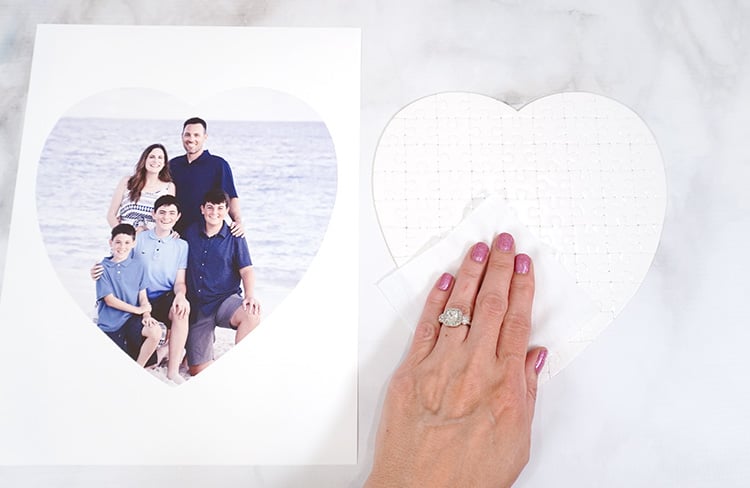
Gently clean the puzzle with a lint-free cloth to remove any dust, lint, or debris on the surface that might interfere with the ink transfer.
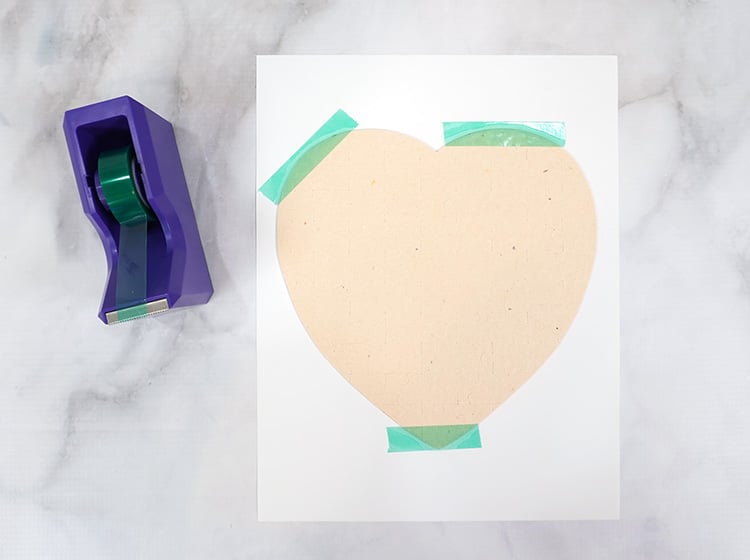
Take the printed image and place it with the ink side up on the work surface, and then take the sublimation puzzle and place it face down on top of the print. Use heat-resistant tape to hold the design in place.
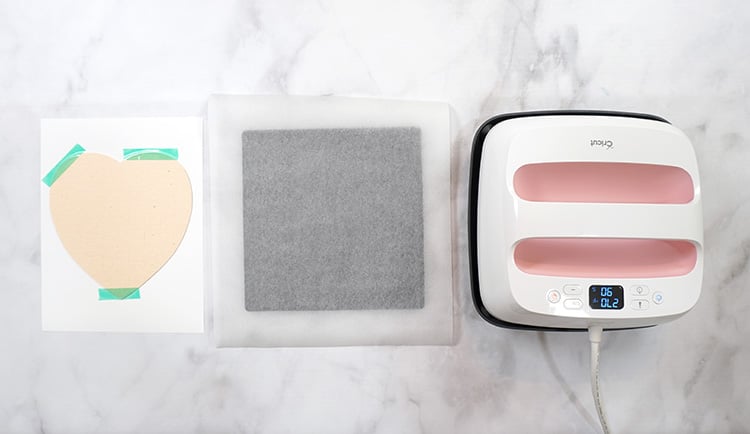
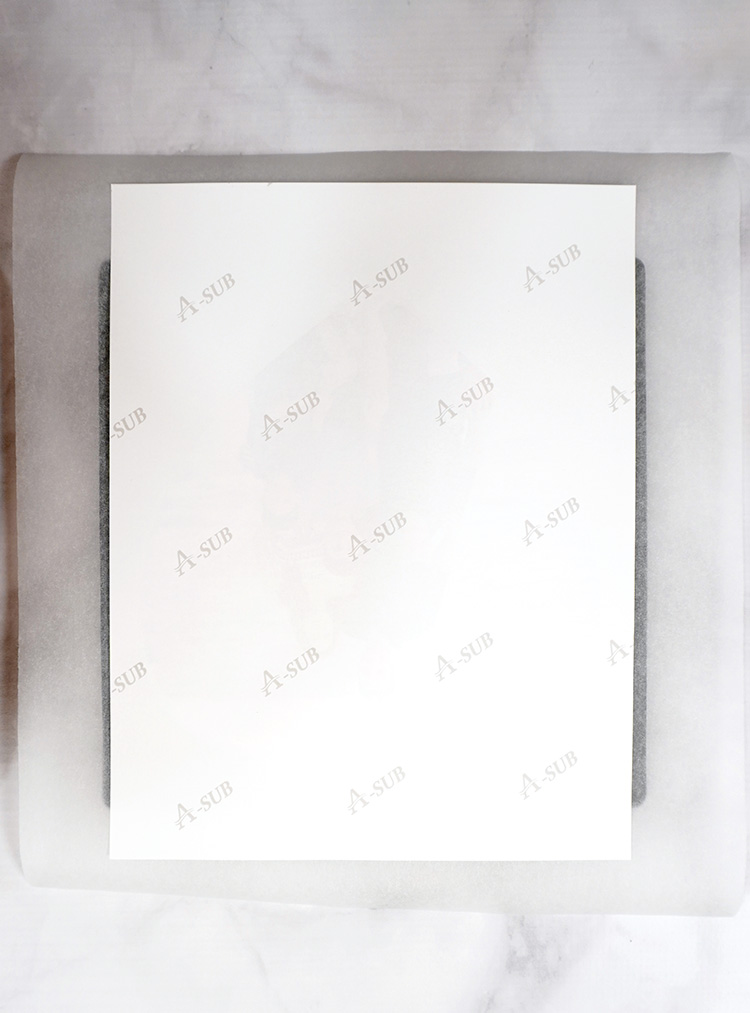
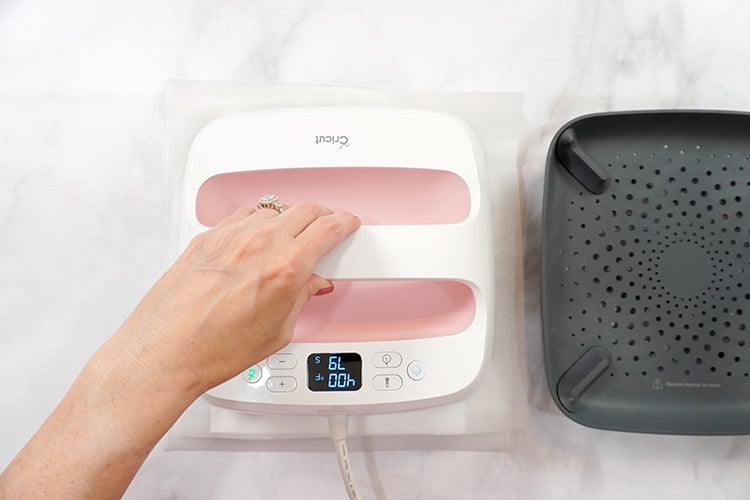
Flip both pieces over and place them on the mat. It is possible for the sublimation ink to seep through the back side of the paper when pressing, so I’m going to add two sheets of butcher paper on top of my project to protect my EasyPress from any possible ink transfer.
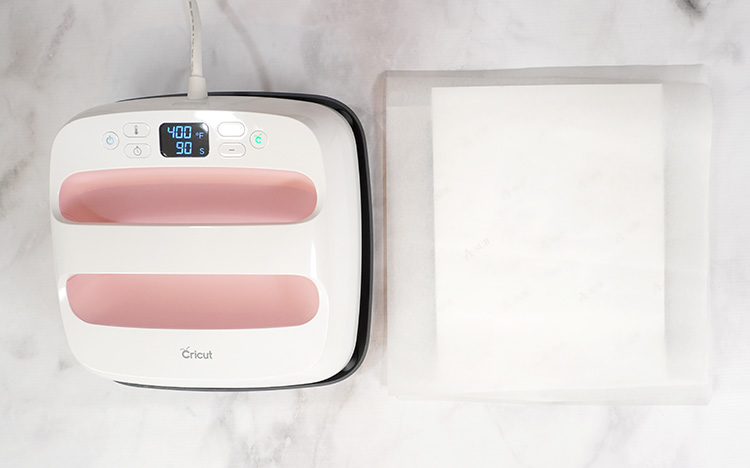
Set the temperature for 400 degrees and 90 seconds, and press the puzzle with medium pressure.
Allow the project to cool and then remove the paper.
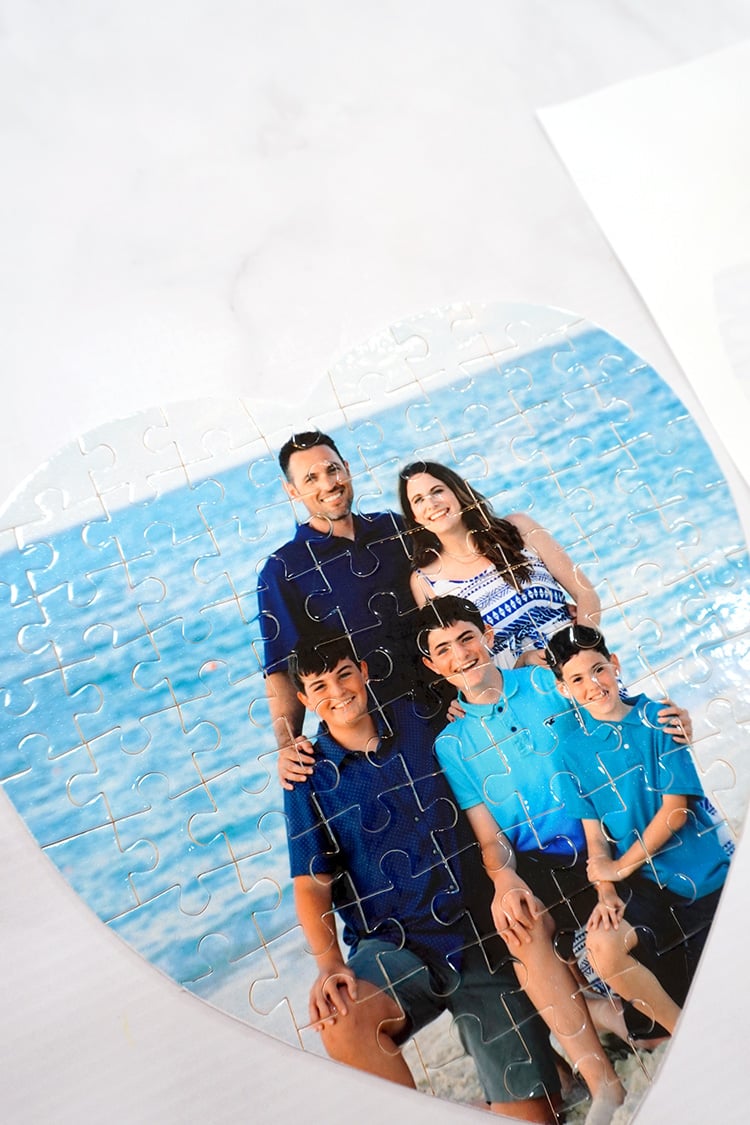
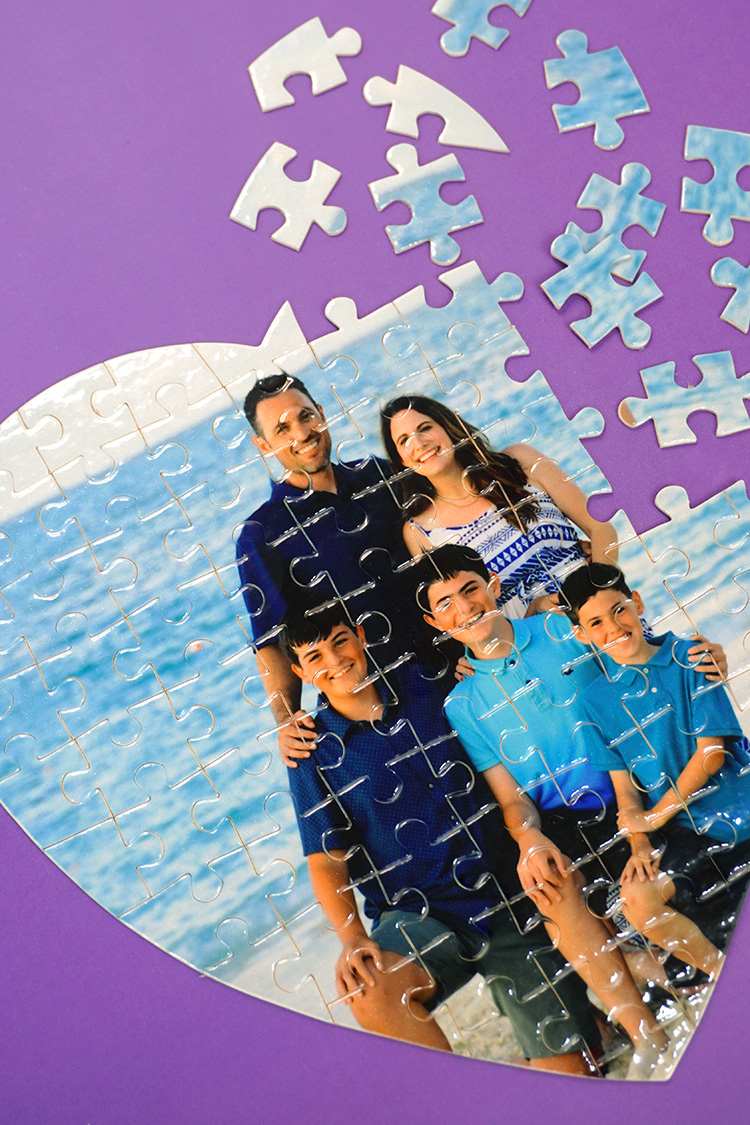
Look at how much brighter and more vivid the colors are now! It’s awesome!
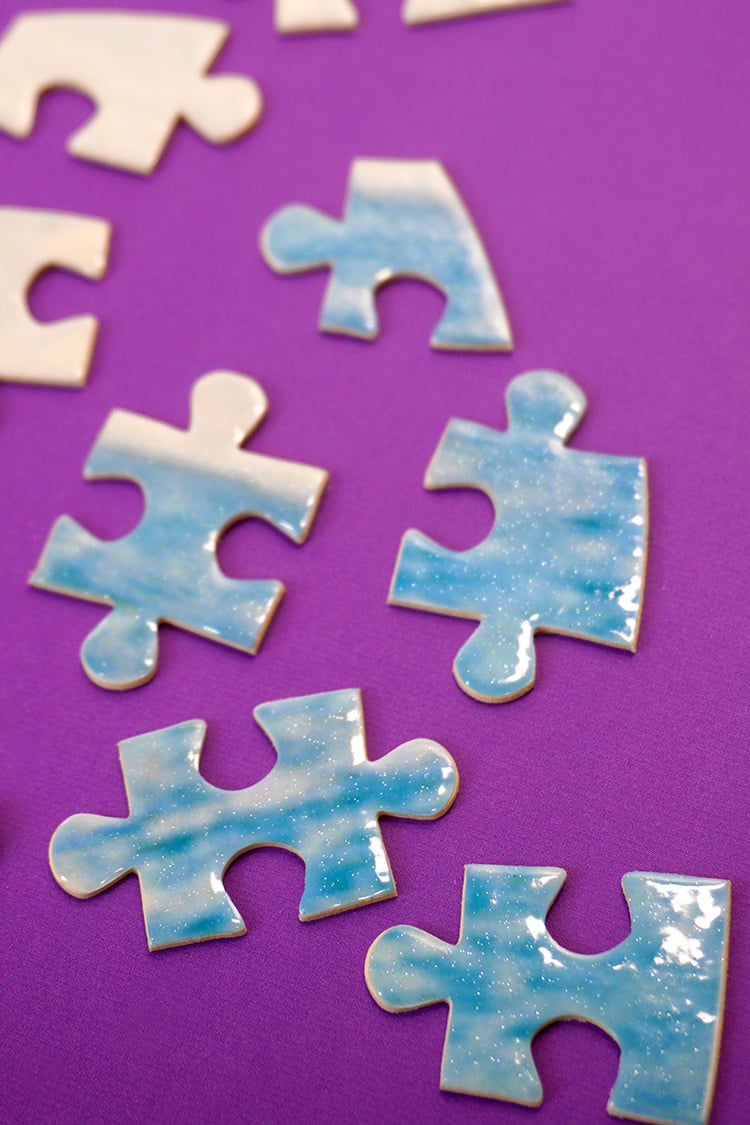
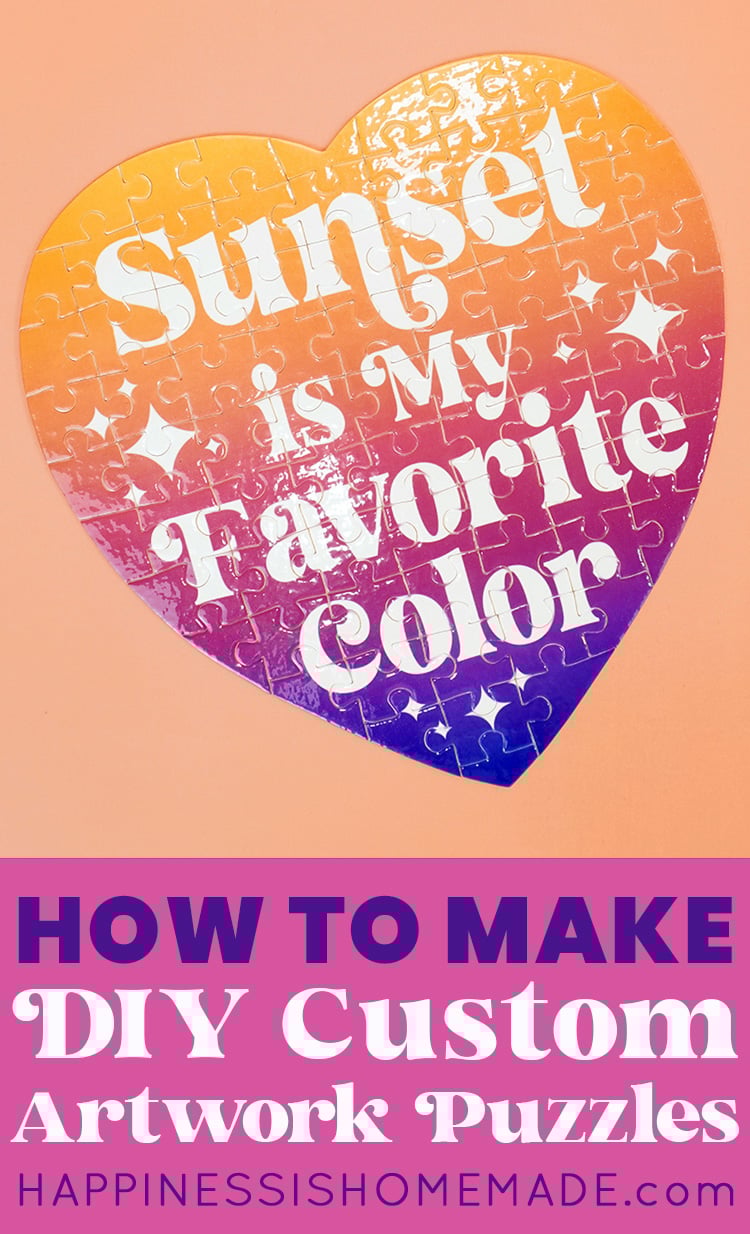
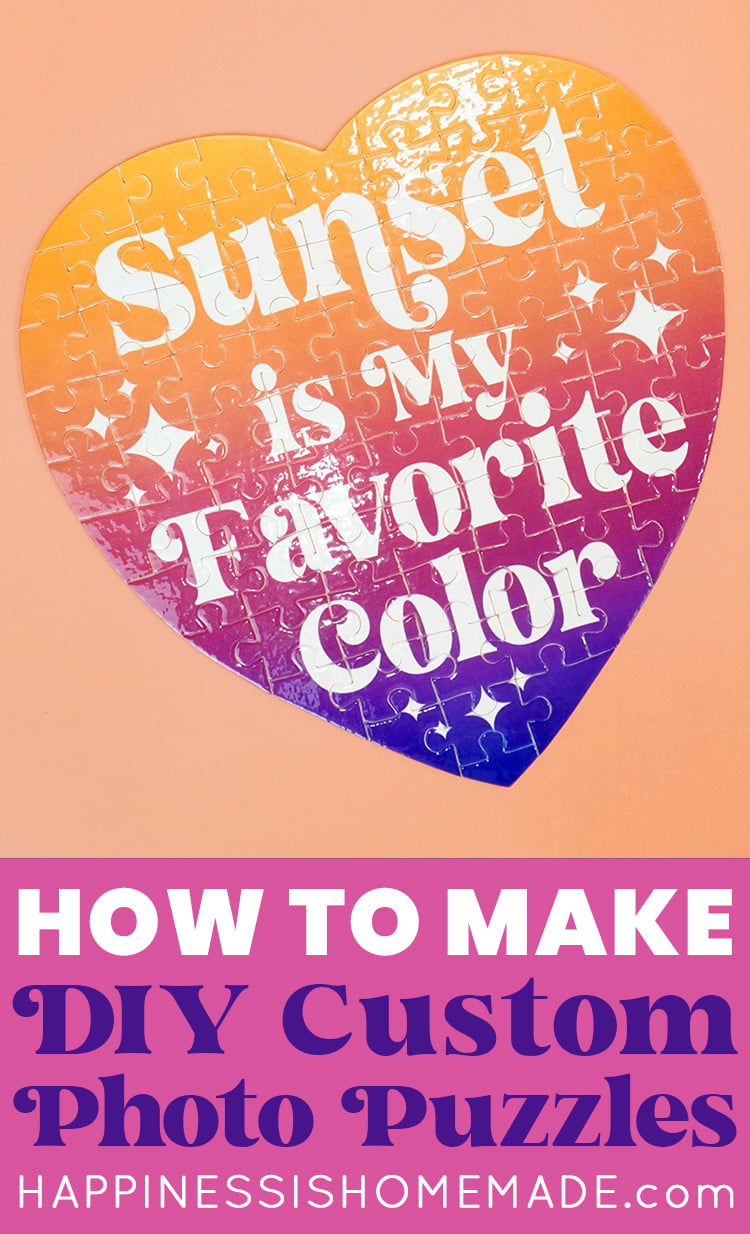
The high-gloss finish on this particular sublimation puzzle also includes a shimmery layer of pearlescent glitter that is super cool. It’s completely smooth to the touch and doesn’t distract from the image at all, but it lends a really nice sparkle and shine when the light hits it just right.
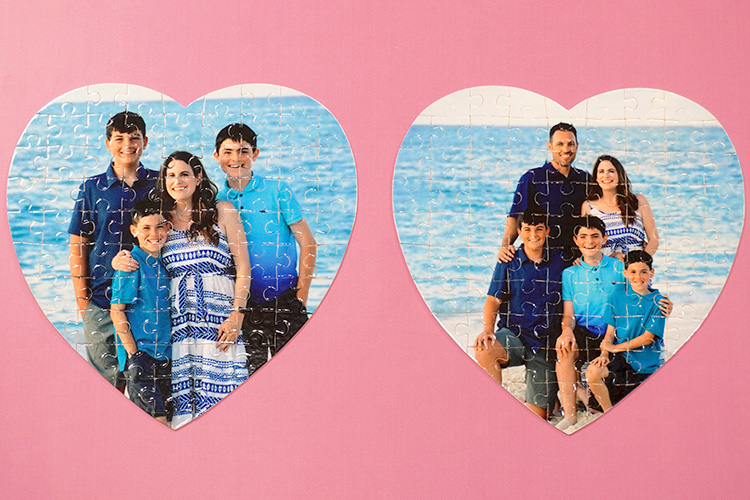
These photo puzzles are SO much fun! They’d make a great gift idea, too!

You’re not just limited to photos, though! Make custom puzzles with your artwork, children’s drawings, and more! The options are truly limitless!
Photo puzzles are just one of the awesome projects that you can make with a sublimation printer, and we have LOTS more sublimation tutorials planned, so stay tuned! Make sure to follow us on Instagram and subscribe to our YouTube channel so you don’t miss a thing!

Check Out These Other Sublimation Posts!
 HTVRONT Manual Heat Press Review & Setup
- Taylor Swift Lyrics DTF Shirt Design
- HTVRONT Auto Tumbler Press Review
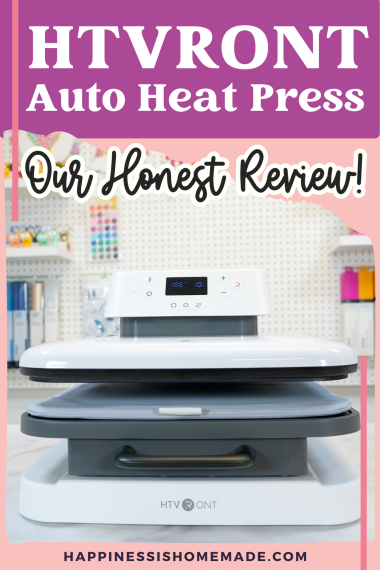
 HTVRONT Auto Heat Press Review + Setup
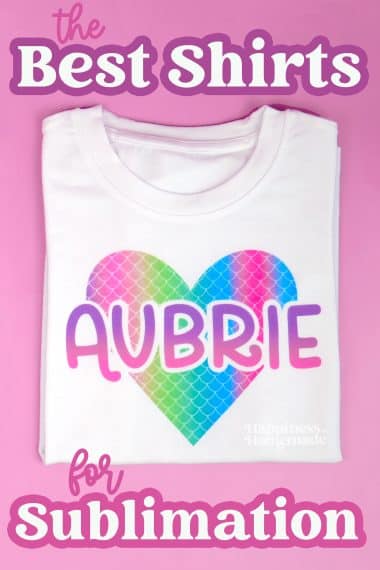
- The Best Shirts for Sublimation – That Aren’t 100% Polyester!
- What is Sublimation Printing?
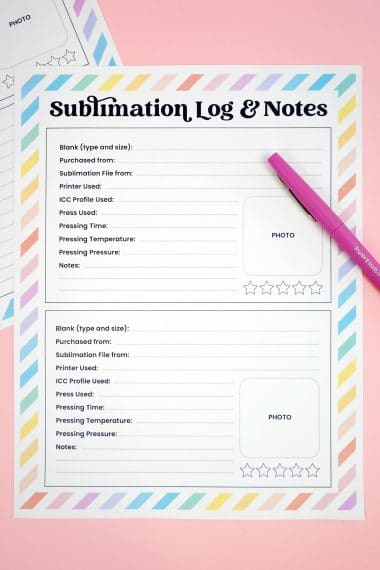
- Free Printable Sublimation Log & Notes Record
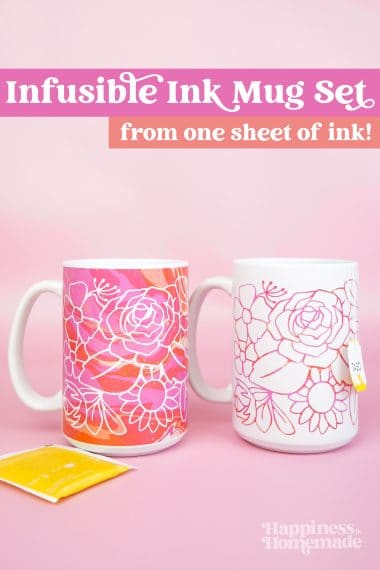
- Infusible Ink Mugs with the Cricut Mug Press

Don’t Forget to Pin This Post for Later!

Heidi Kundin has captivated the hearts of millions with her colorful and inspiring approach to crafting, celebrations, and family fun. With over 15 years of experience, Happiness is Homemade has become a must-visit destination for those seeking quick and easy creative ideas and last-minute solutions. Heidi’s warm personality shines through her posts, inviting readers to join her on a creative journey that’s fun, rewarding, and achievable. Heidi is also the author of Homemade Bath Bombs & More and DIY Tie-Dye.