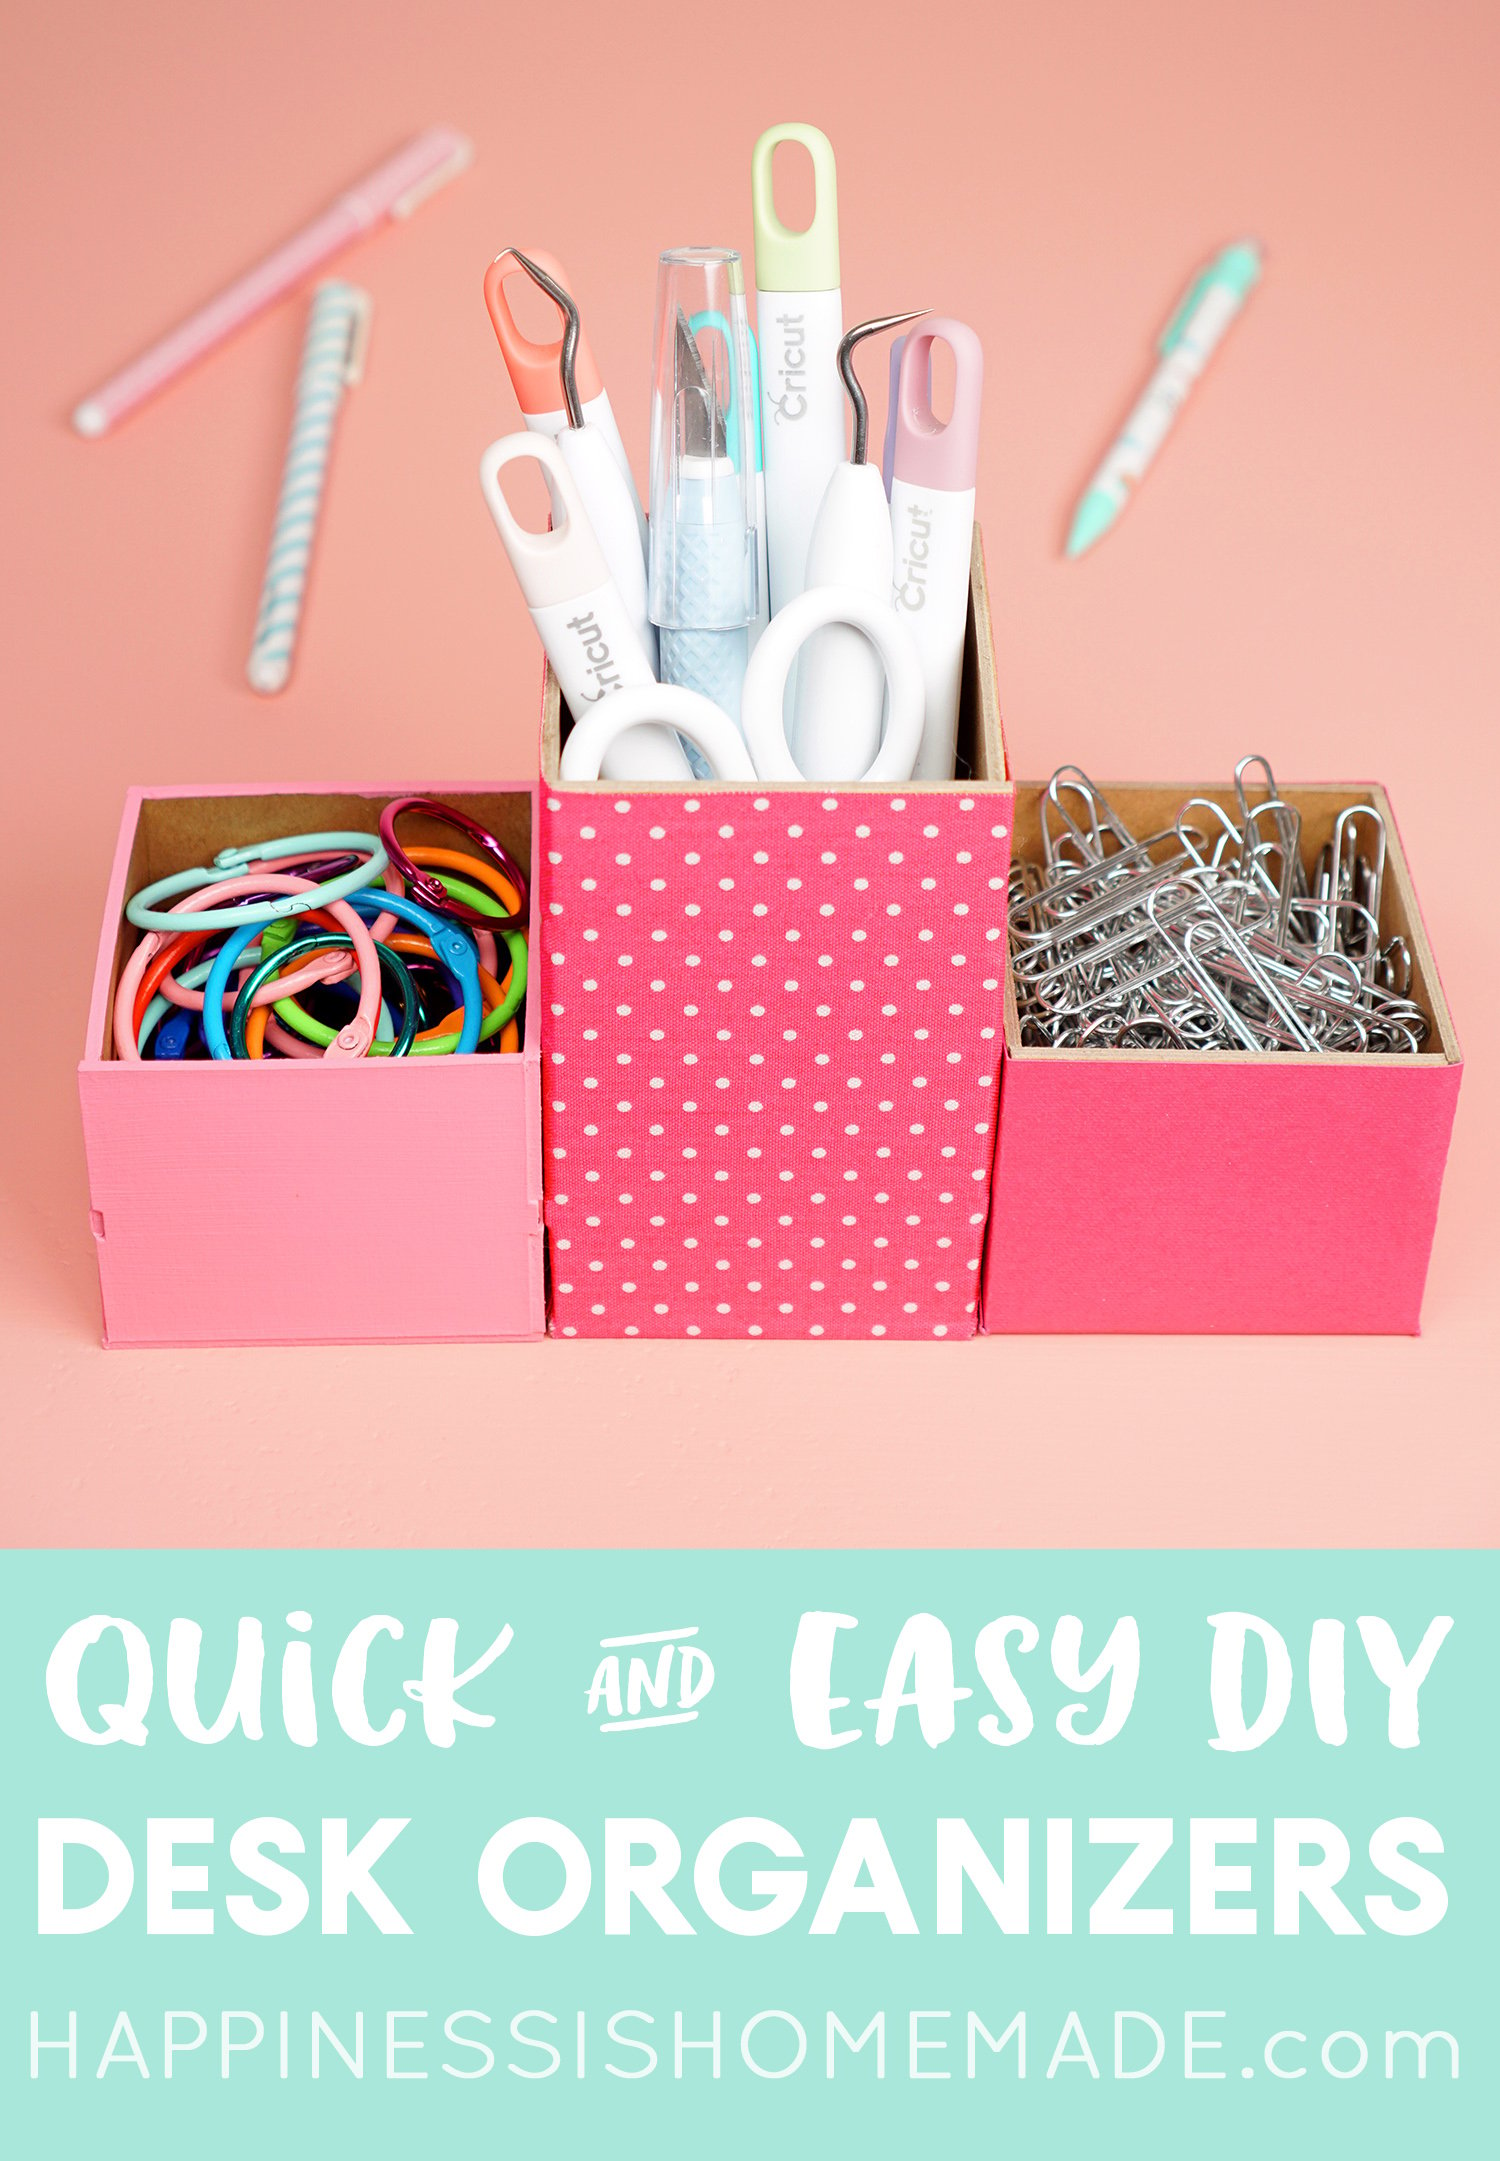
Organize your craft room or office with these easy DIY desk organizers! Get the free Cricut Design Space project to easily make your own organizer bins and boxes!
This post may contain affiliate links. I will receive a small commission from these sales at no additional cost to you! This is a sponsored conversation written by me on behalf of Cricut. The opinions and text are all mine.
DIY Desk Organizers with Cricut
I’m always looking for cute and easy ways to organize my craft room and office, so I designed these desk organizers that can be customized in lots of different styles and sizes! There are about a million and one ways in which you can use these organizers to sort everything from office supplies to cosmetics, jewelry, craft supplies, and more!
SUPPLIES USED:
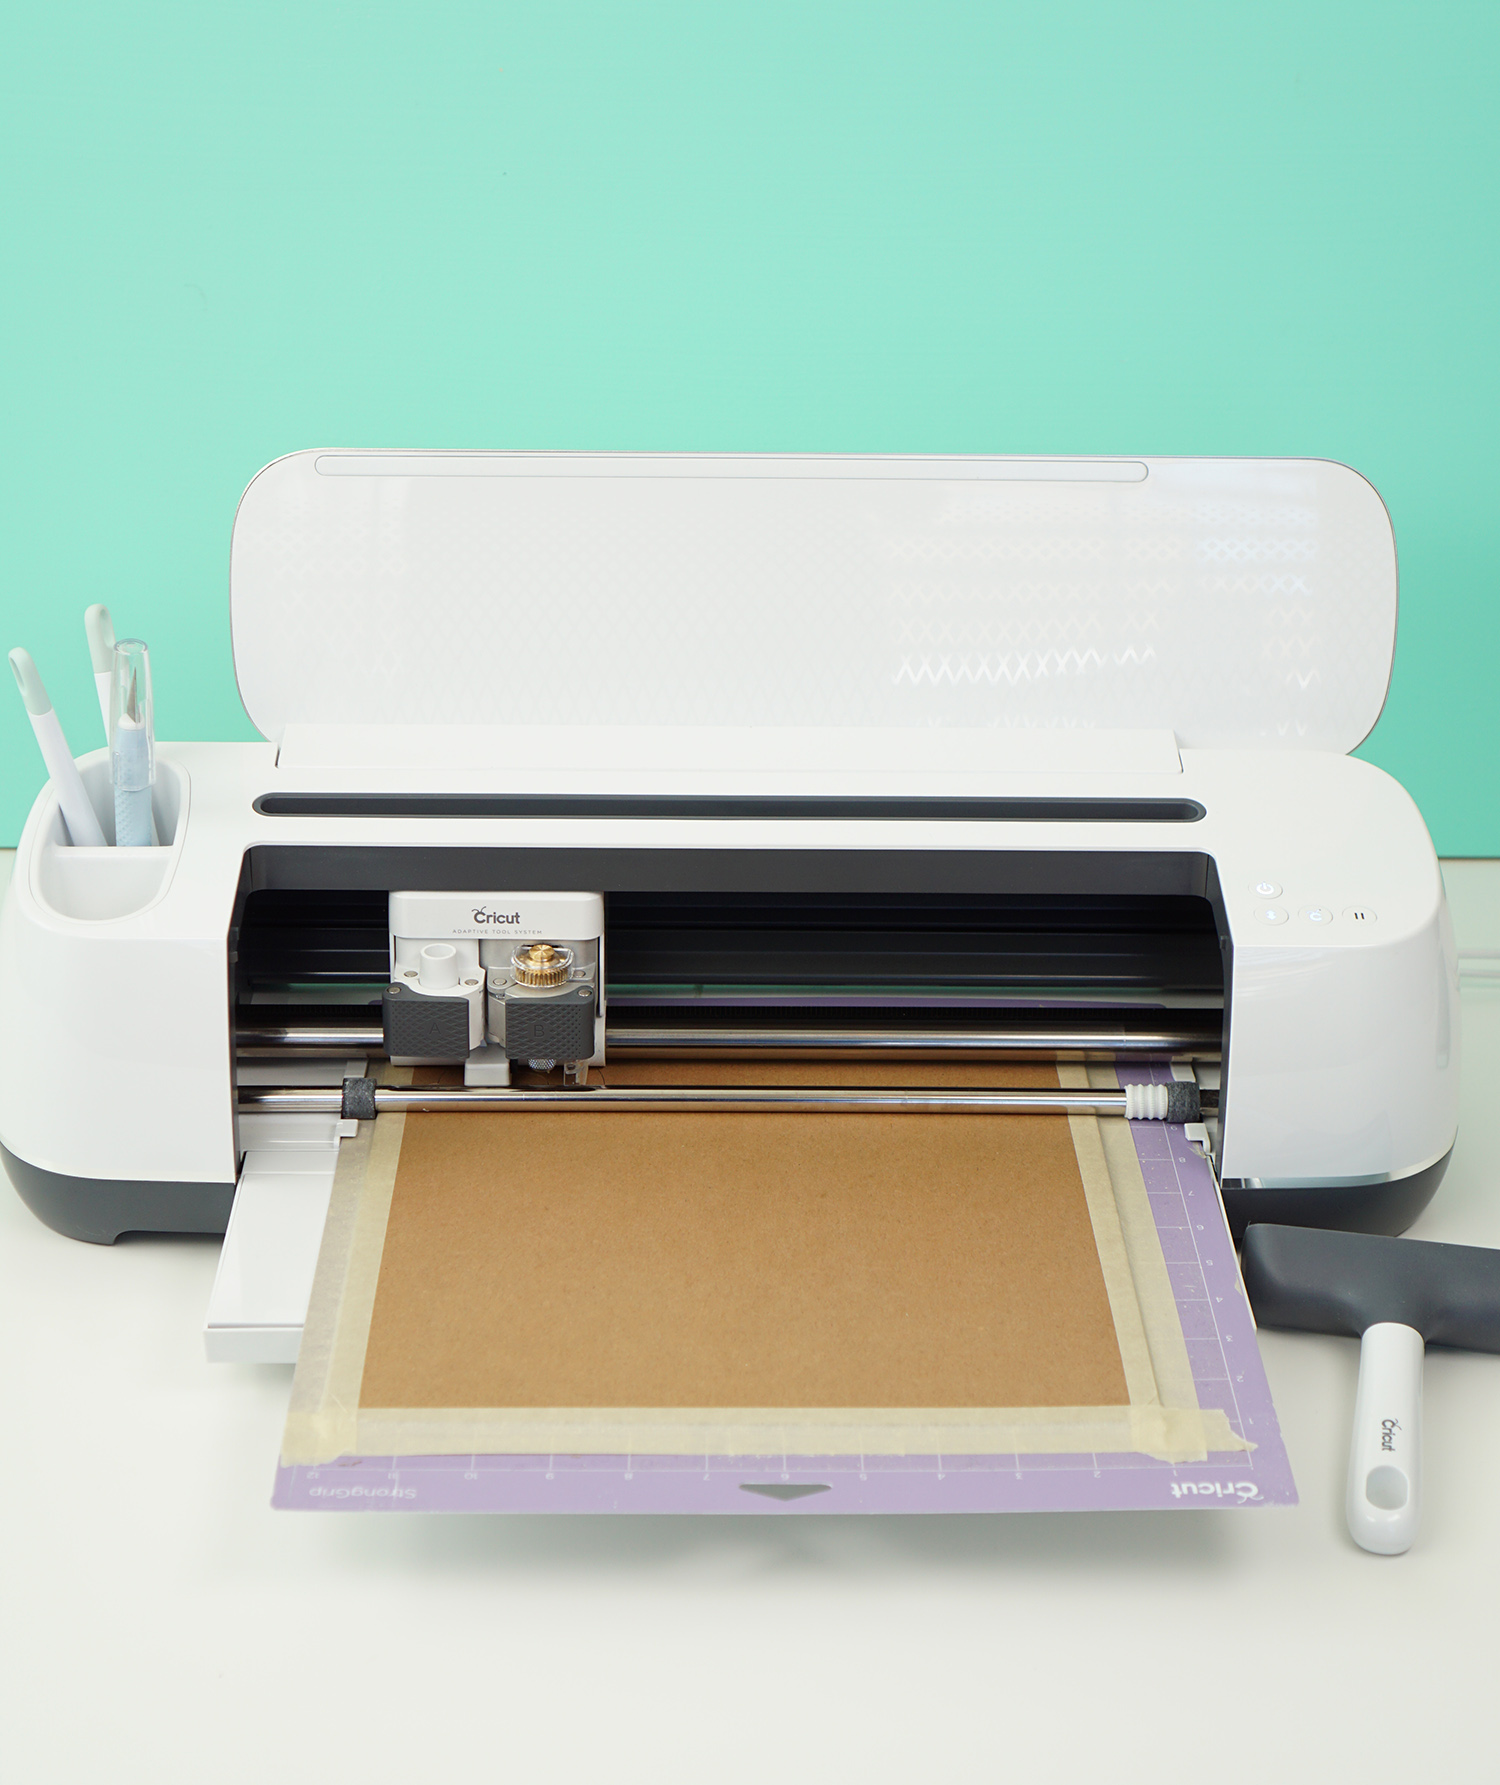
- Cricut Maker Machine with Fine Point Blade, Rotary Blade, and Knife Blade
- Cricut Chipboard
- Fusible Fabric (pink polka dots)
- Cricut Cardstock
- Cricut EasyPress 2 & Mat (9×9 size)
- StrongGrip and StandardGrip Mats
- Masking Tape
- Mini Iron
- Quick Dry Glue
I have been a fan of Cricut products and have used their electronic cutting machines for years, but the Cricut Maker is hands-down my #1 favorite crafting tool EVER. Like the Cricut Explore Air 2 machine, the Maker cuts paper, vinyl, and iron-on with effortless ease and maximum precision; however, the Maker takes Cricut’s cutting abilities up to the next level with the Adaptive Tool System. This unique tool system allows you to utilize interchangeable tools that aren’t available on any other machines including a rotary blade for fabrics and a knife blade that cuts through thicker materials like chipboard, balsa, and basswood. It’s a TOTAL game changer that opens up a world of new crafting possibilities!
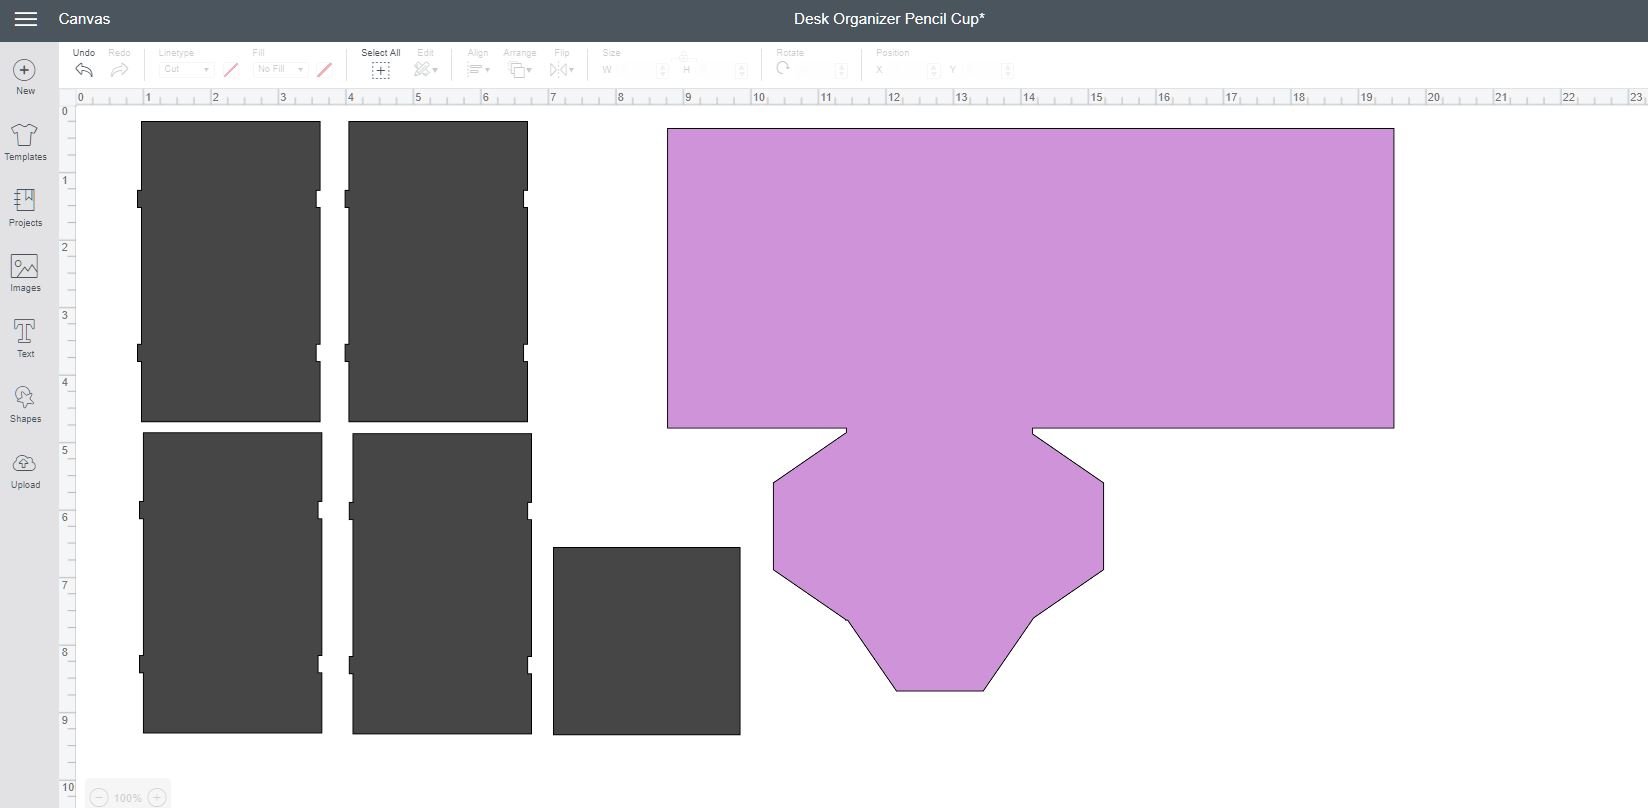
To make our desk organizers, we will be using the Knife Blade, the Rotary Blade, and the standard Fine-Point Blade. Begin by opening up the Desk Organizer Pencil Cup project in Cricut Design Space.
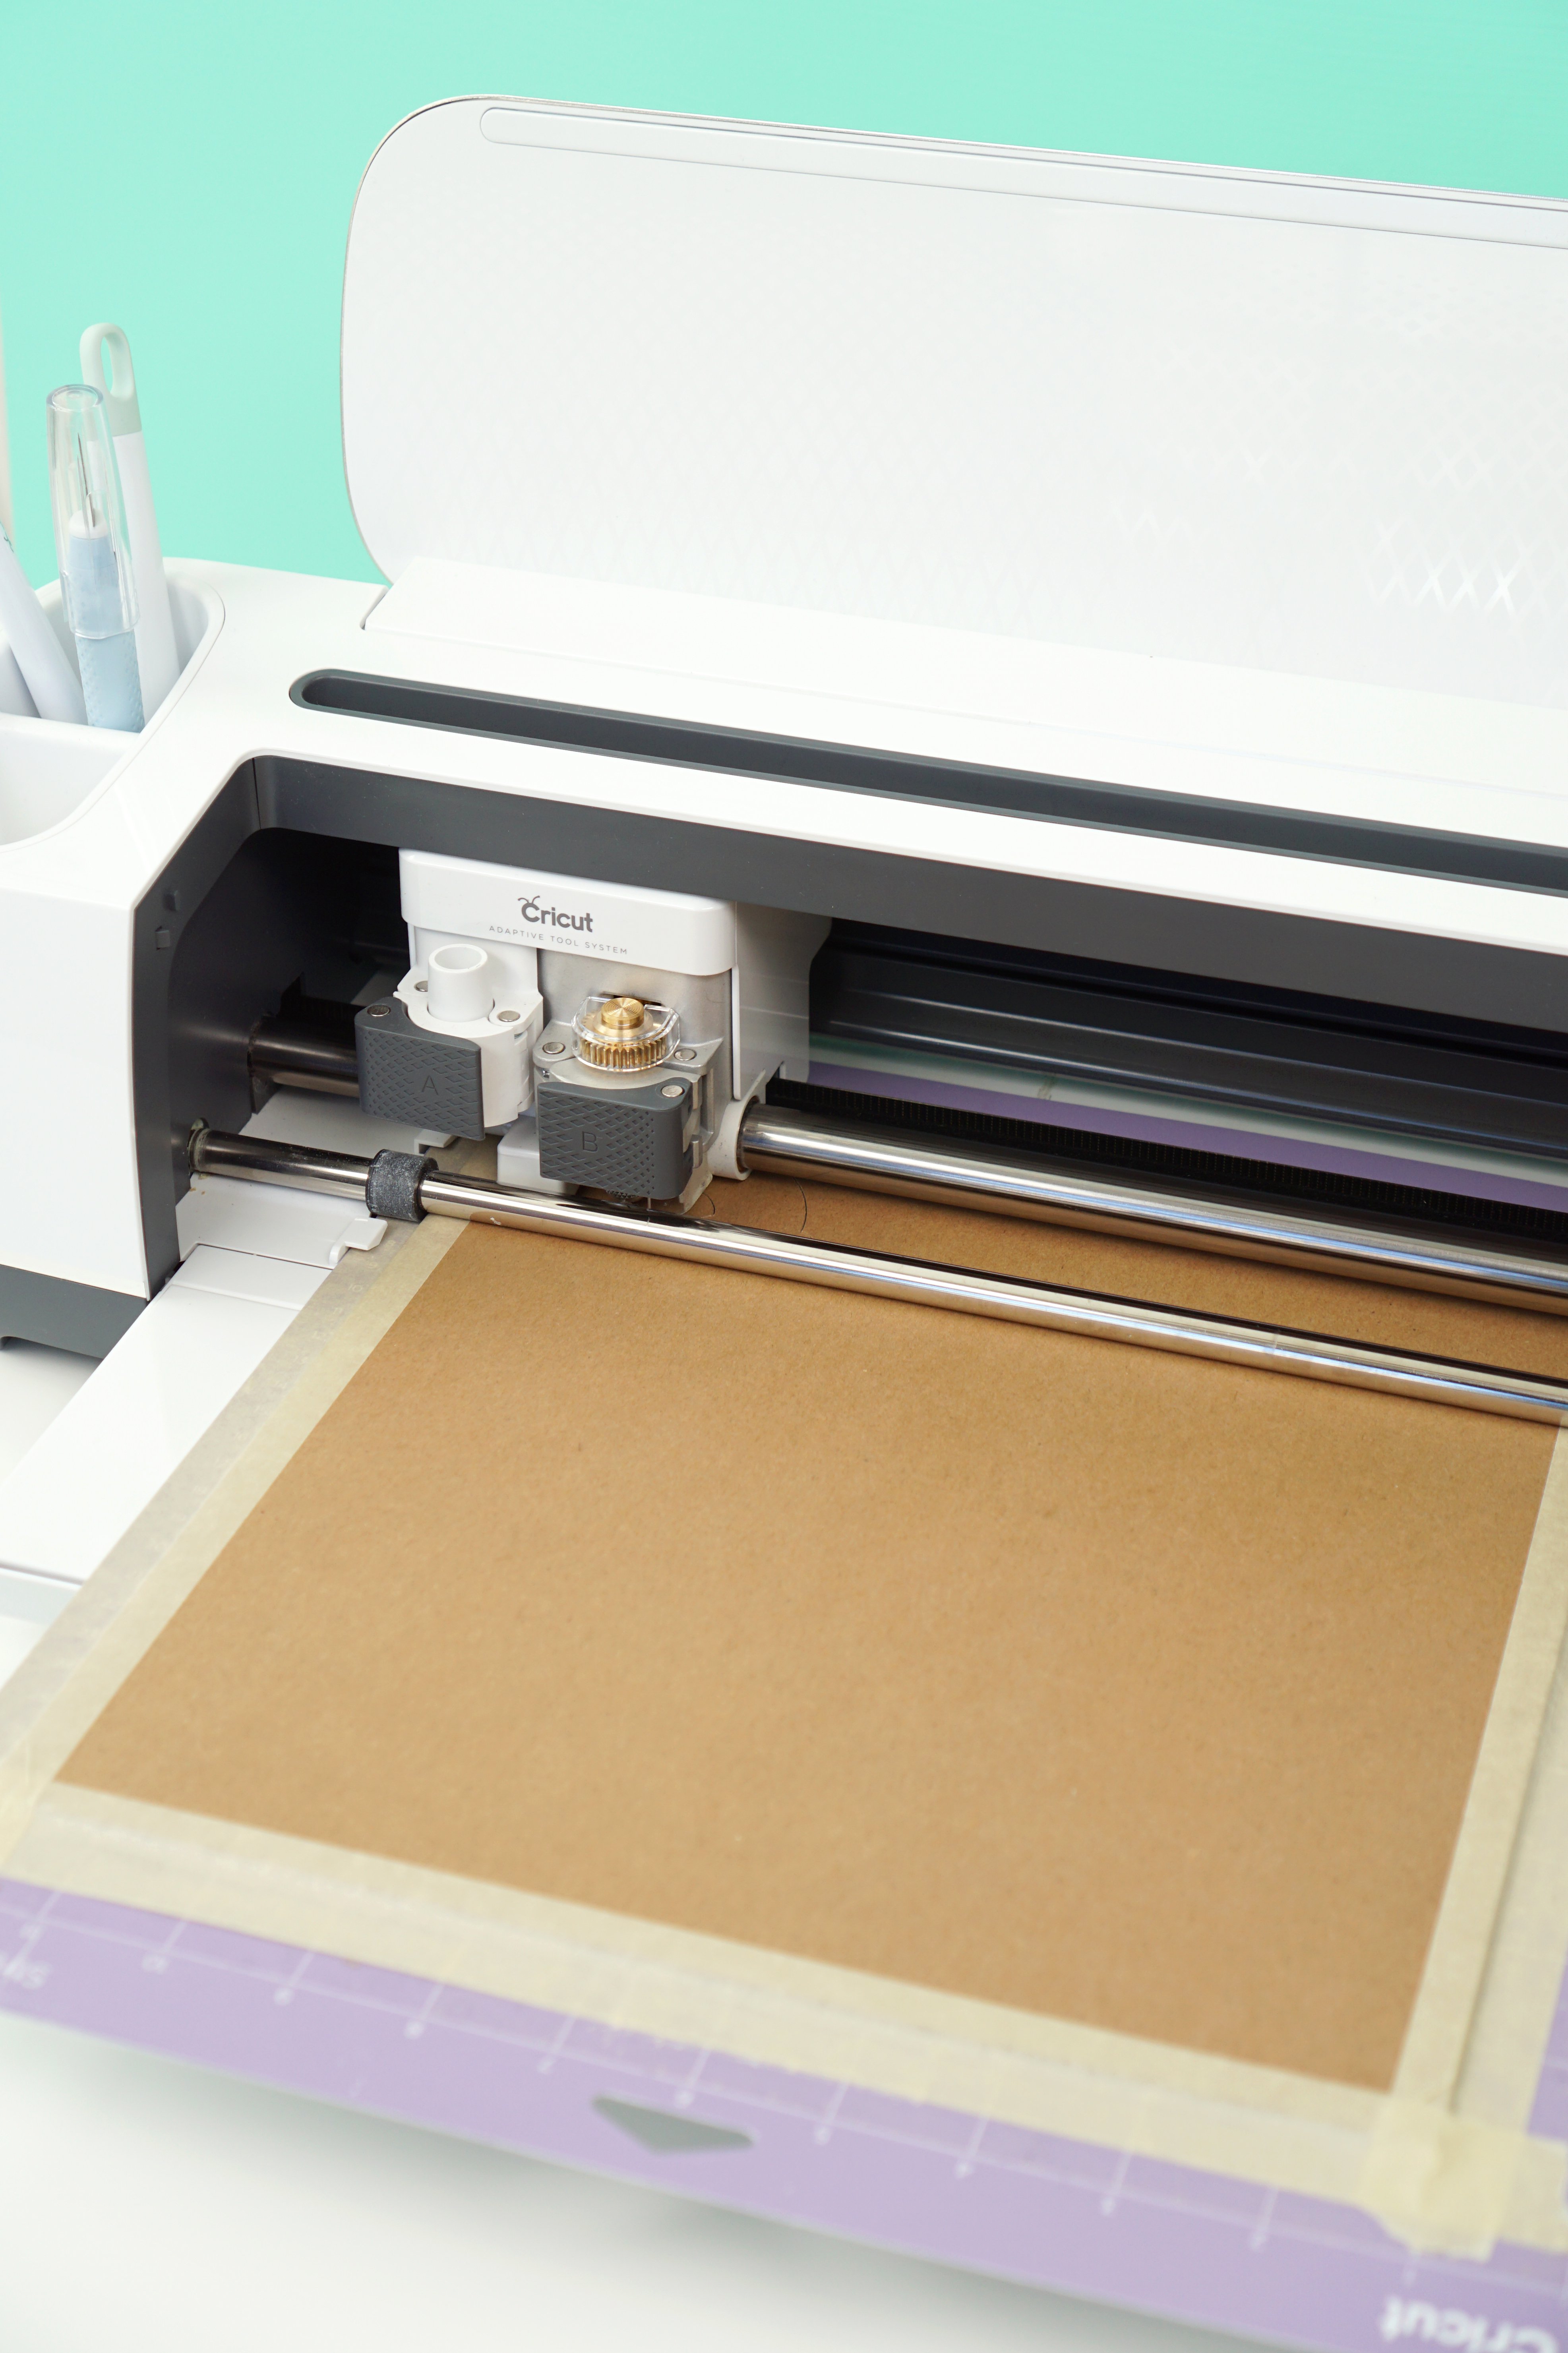
Cut the box pieces out of 2 mm thick Cricut chipboard using the knife blade. (For more tips and tricks on using the knife blade with chipboard, take a peek at this post!) Use the rotary blade to cut the wrap piece from fusible fabric.
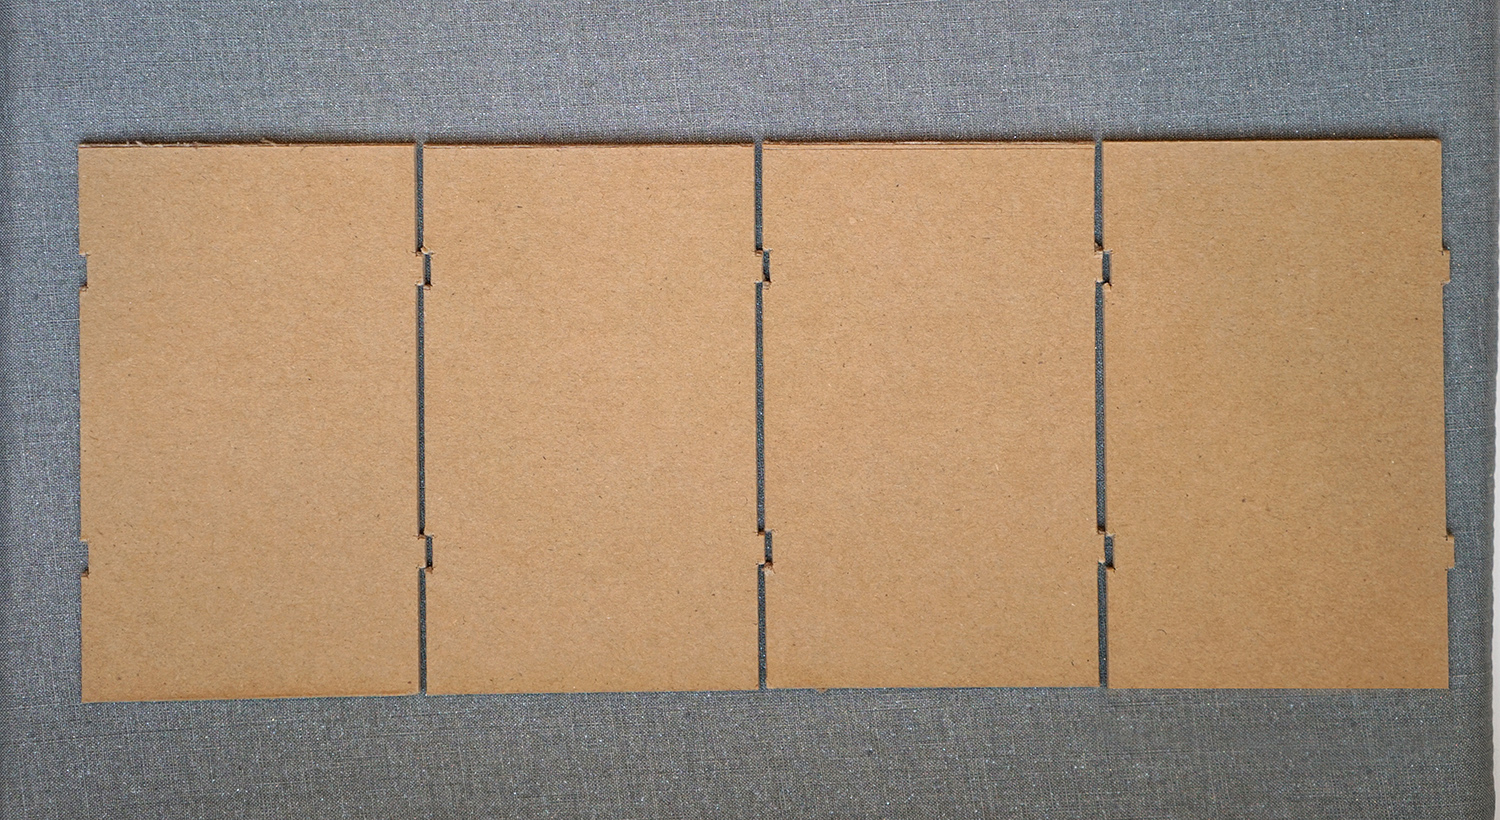
On your EasyPress mat, space the sides of the box about 2 mm apart (to allow space for folding) in a single row.
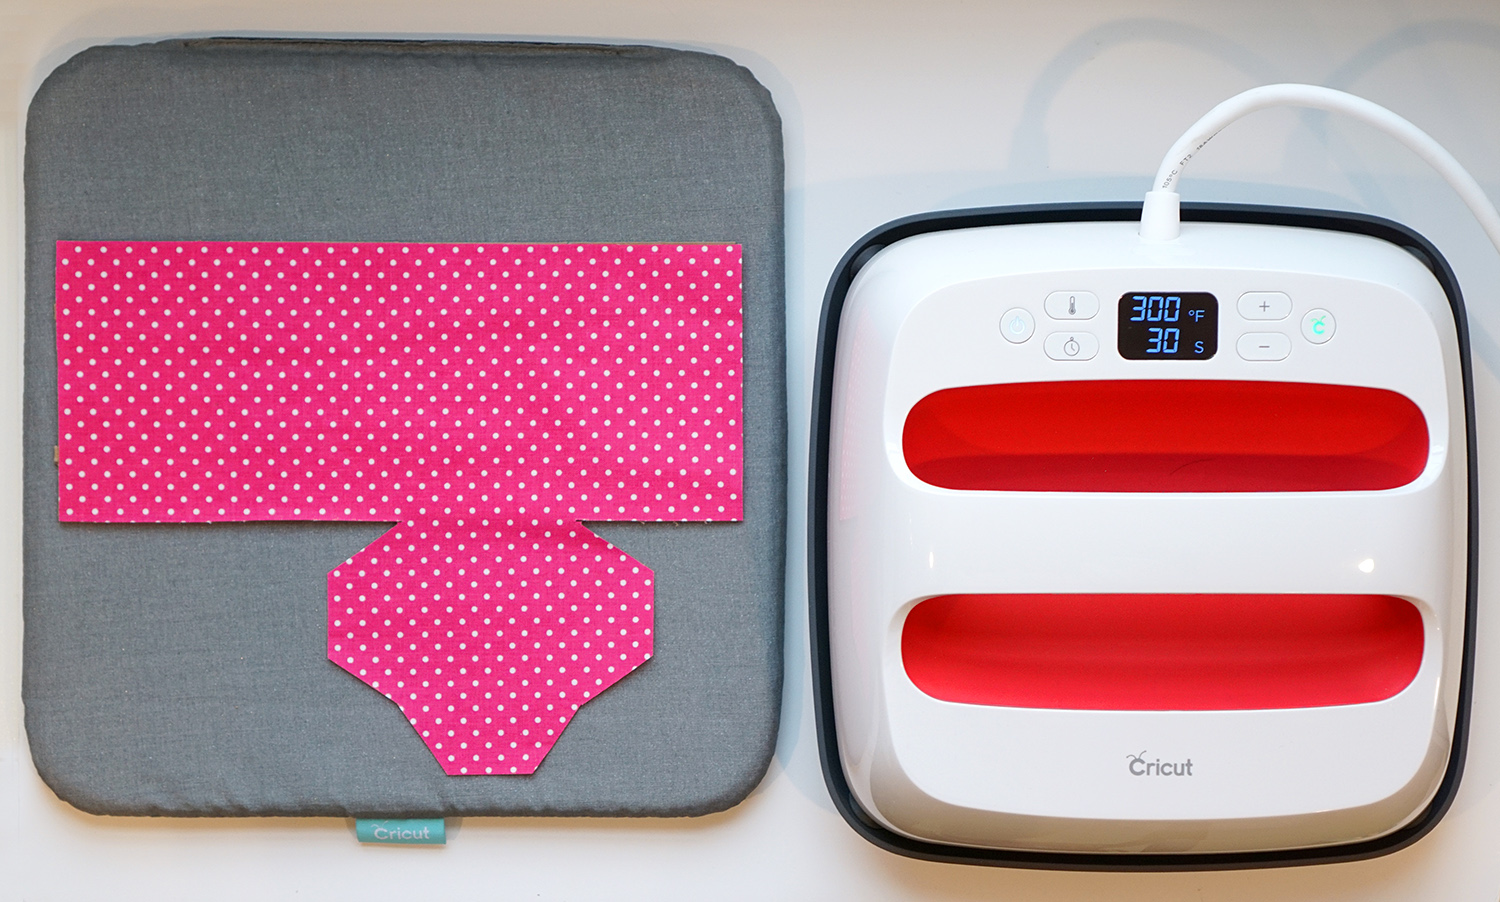
Place the fusible fabric over the chipboard, and use the EasyPress 2 to fuse the fabric to the chipboard at 300 degrees for 30 seconds. Make sure that you are ironing ONLY the top row of fusible fabric so that you don’t iron the bottom piece to your mat!
Note: If your chipboard pieces begin to warp a little bit from the heat of the EasyPress, simply place a book or a heavy object on top of them as they’re cooling, and they’ll flatten right back out!
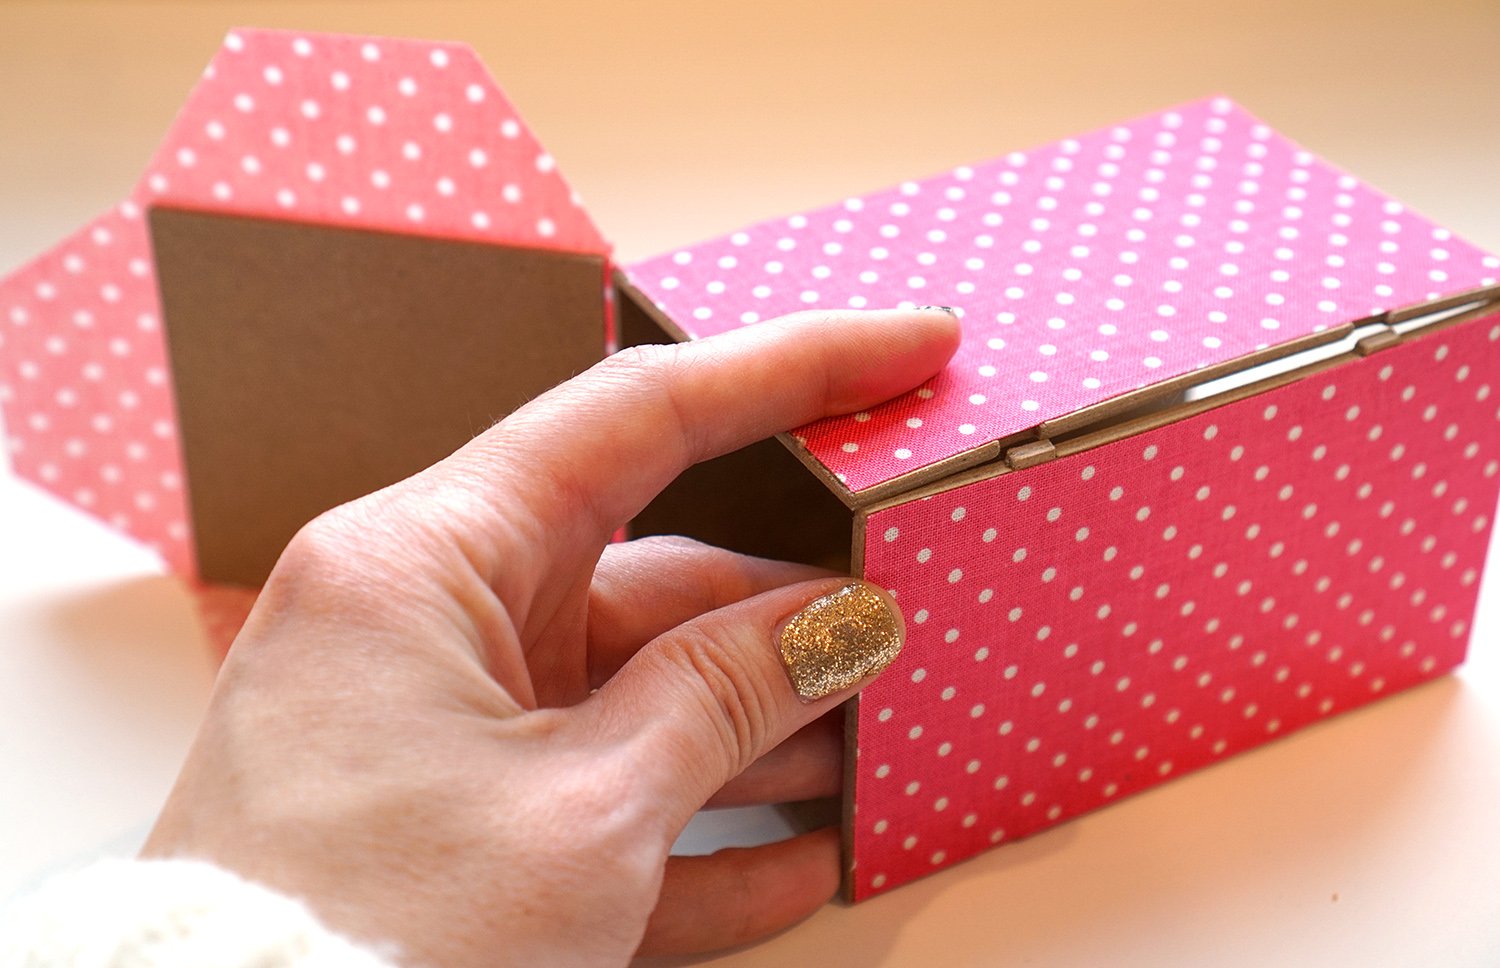
Fold the box and glue the edges into place with quick drying glue.
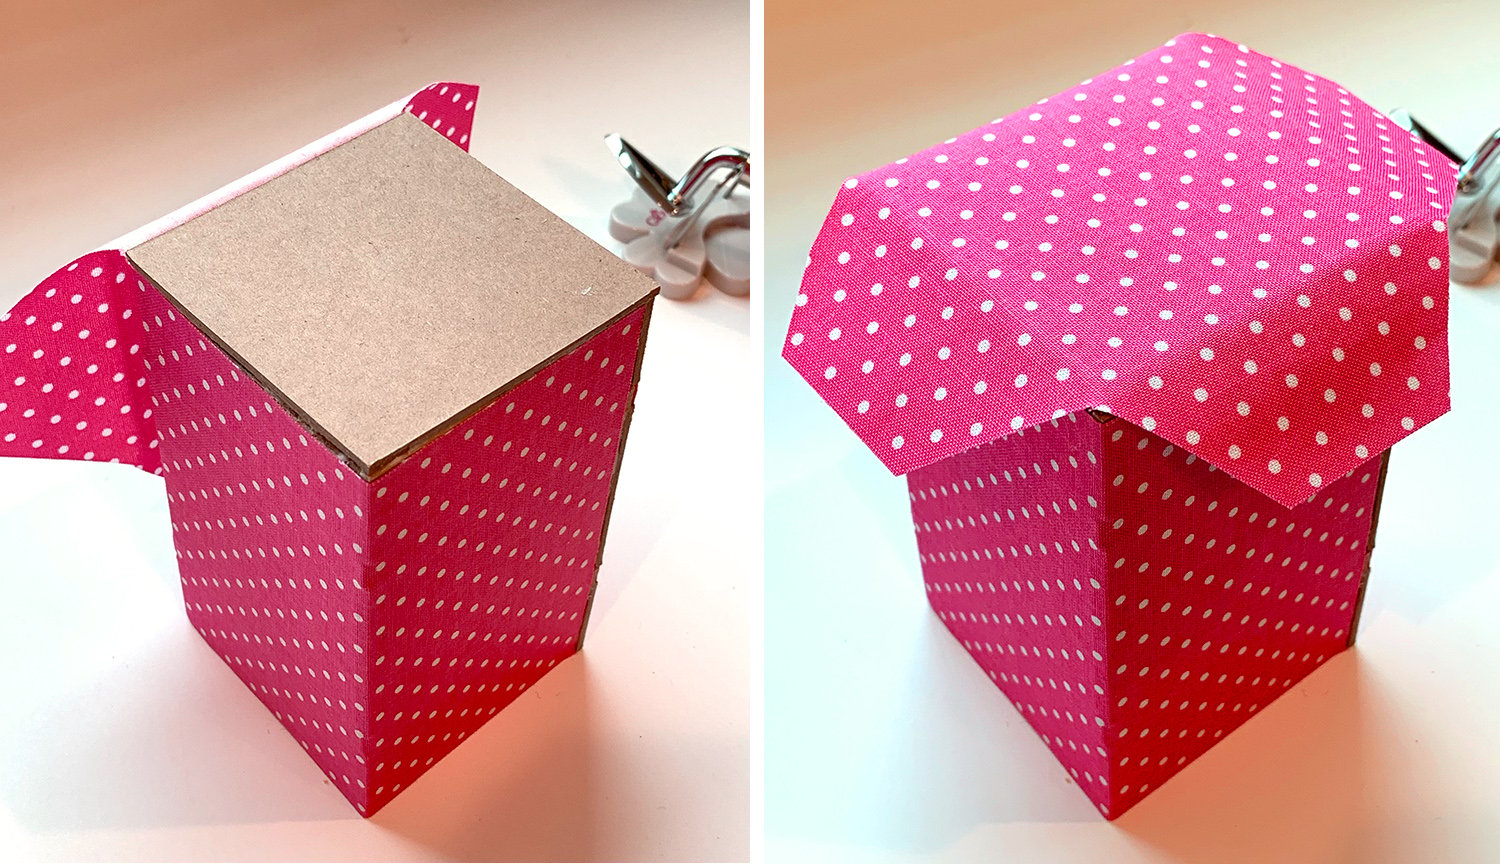
Glue the bottom piece of chipboard to the box, and use a mini iron to fuse the remaining fabric to the box. Unfortunately, for as much as I love my EasyPress 2 (and I love, love, LOVE it!), even the smallest 6×7 size is a little too hefty for this part of the job, so the mini iron is better suited to the task.
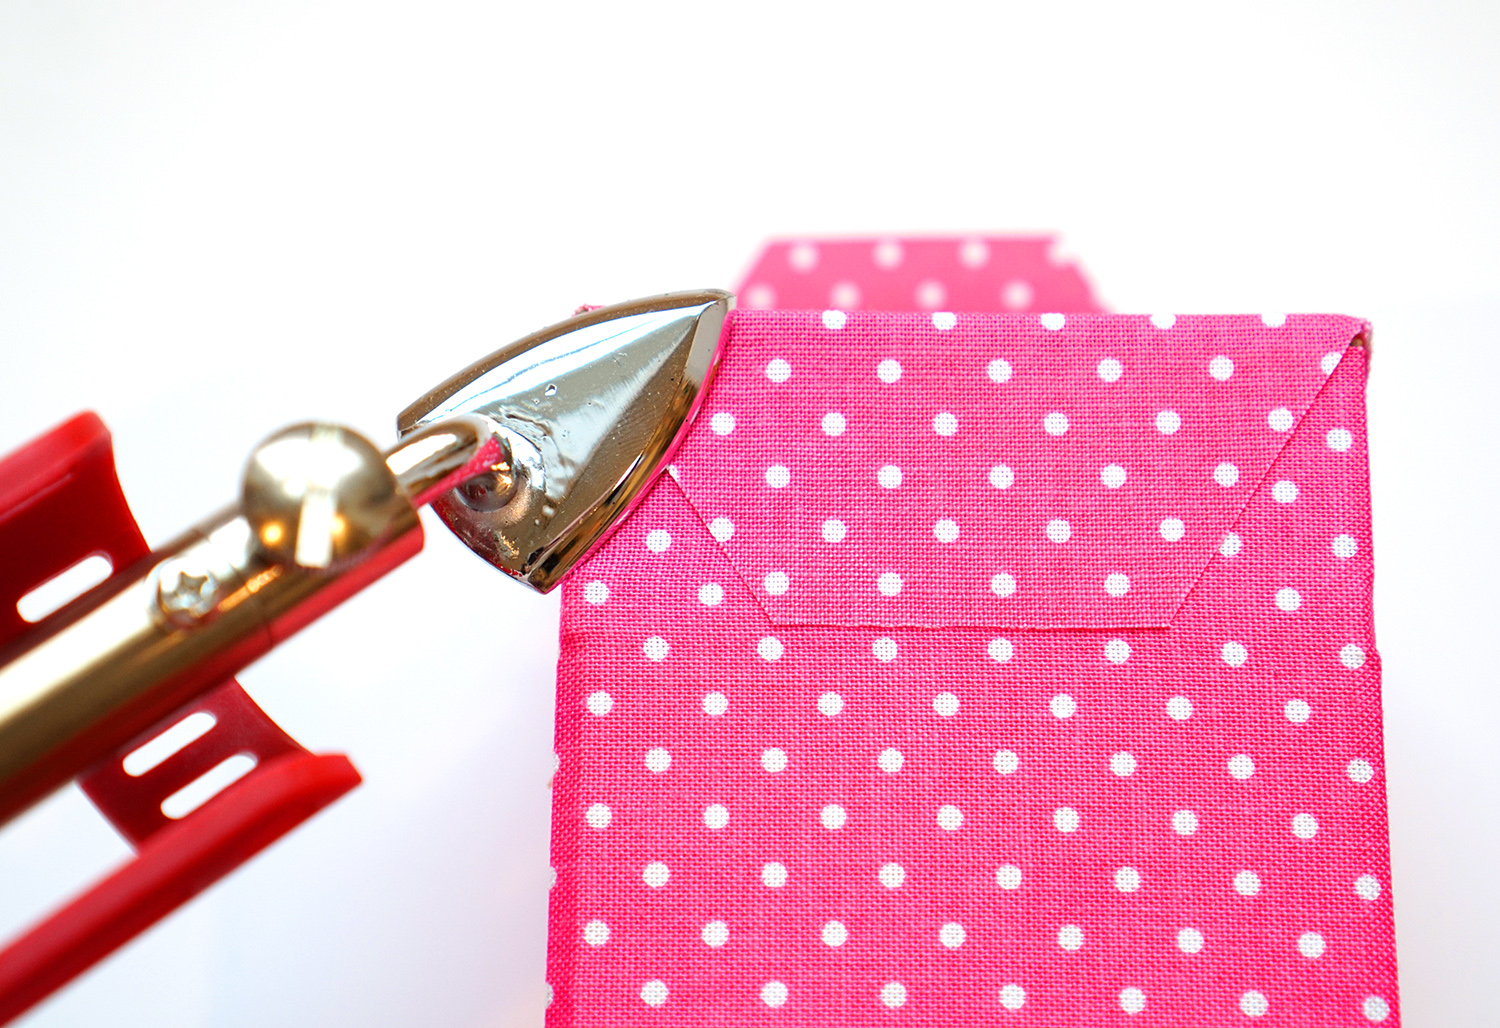
I’m REALLY hoping that Cricut will come out with it’s own mini iron someday because I’m sure it would be even better for the job!
UPDATE: Cricut answered my prayers! Meet the NEW EasyPress Mini here!
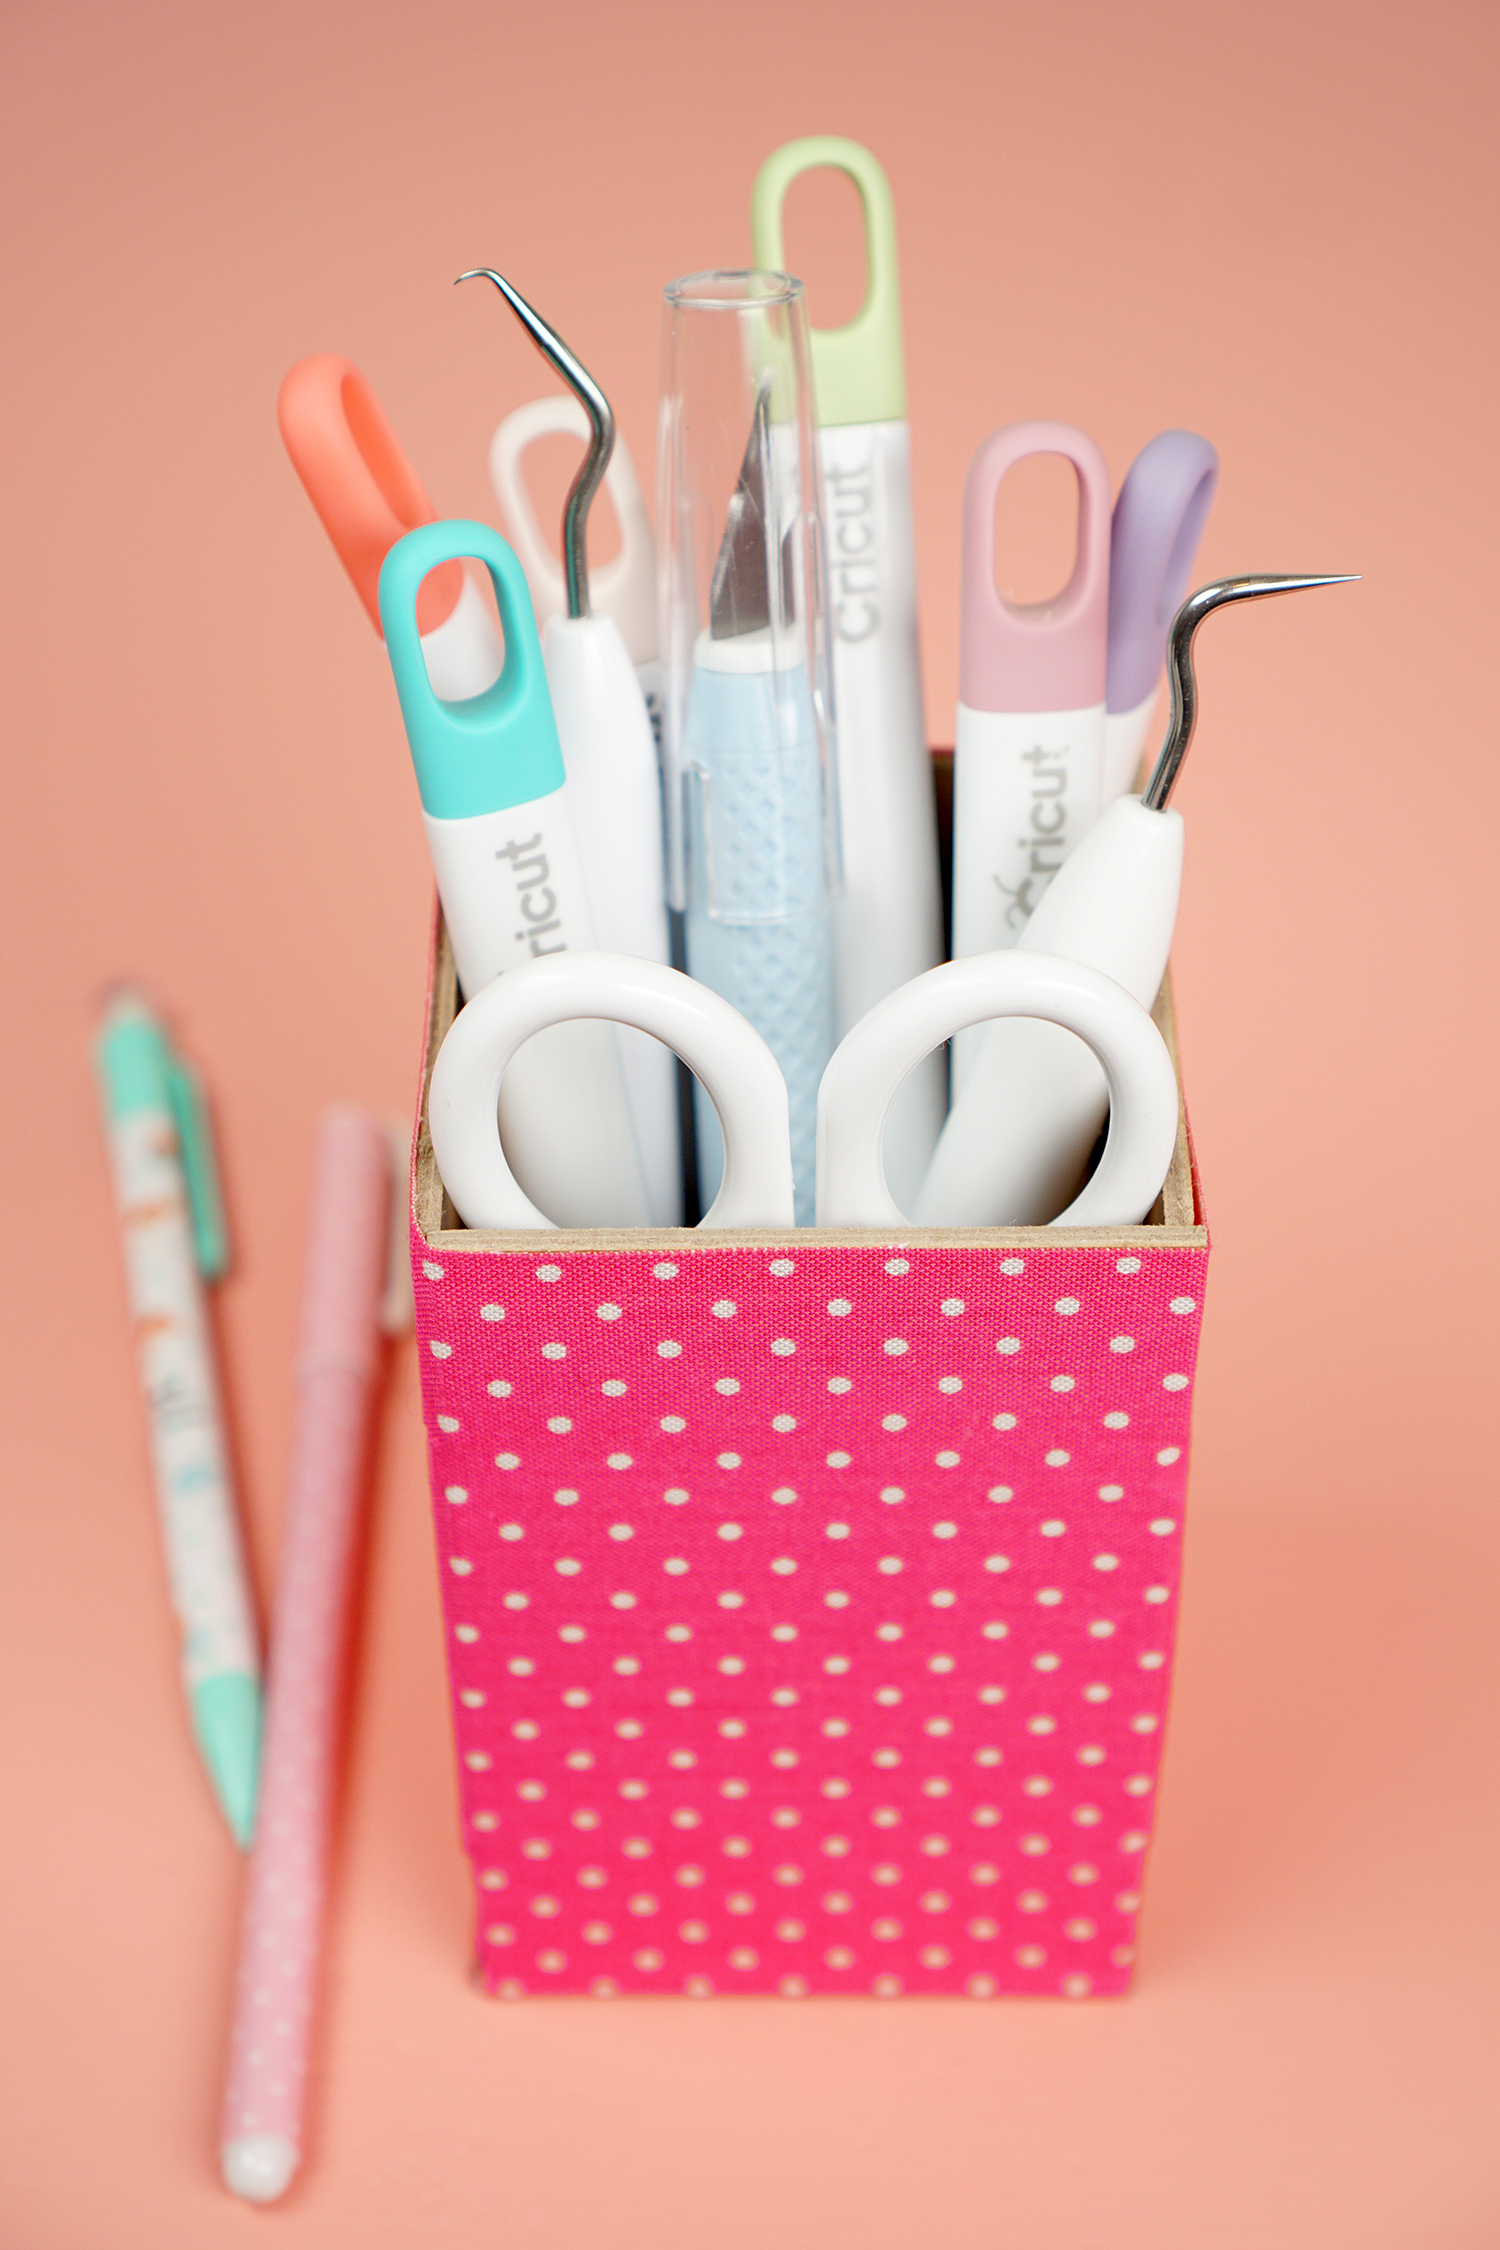
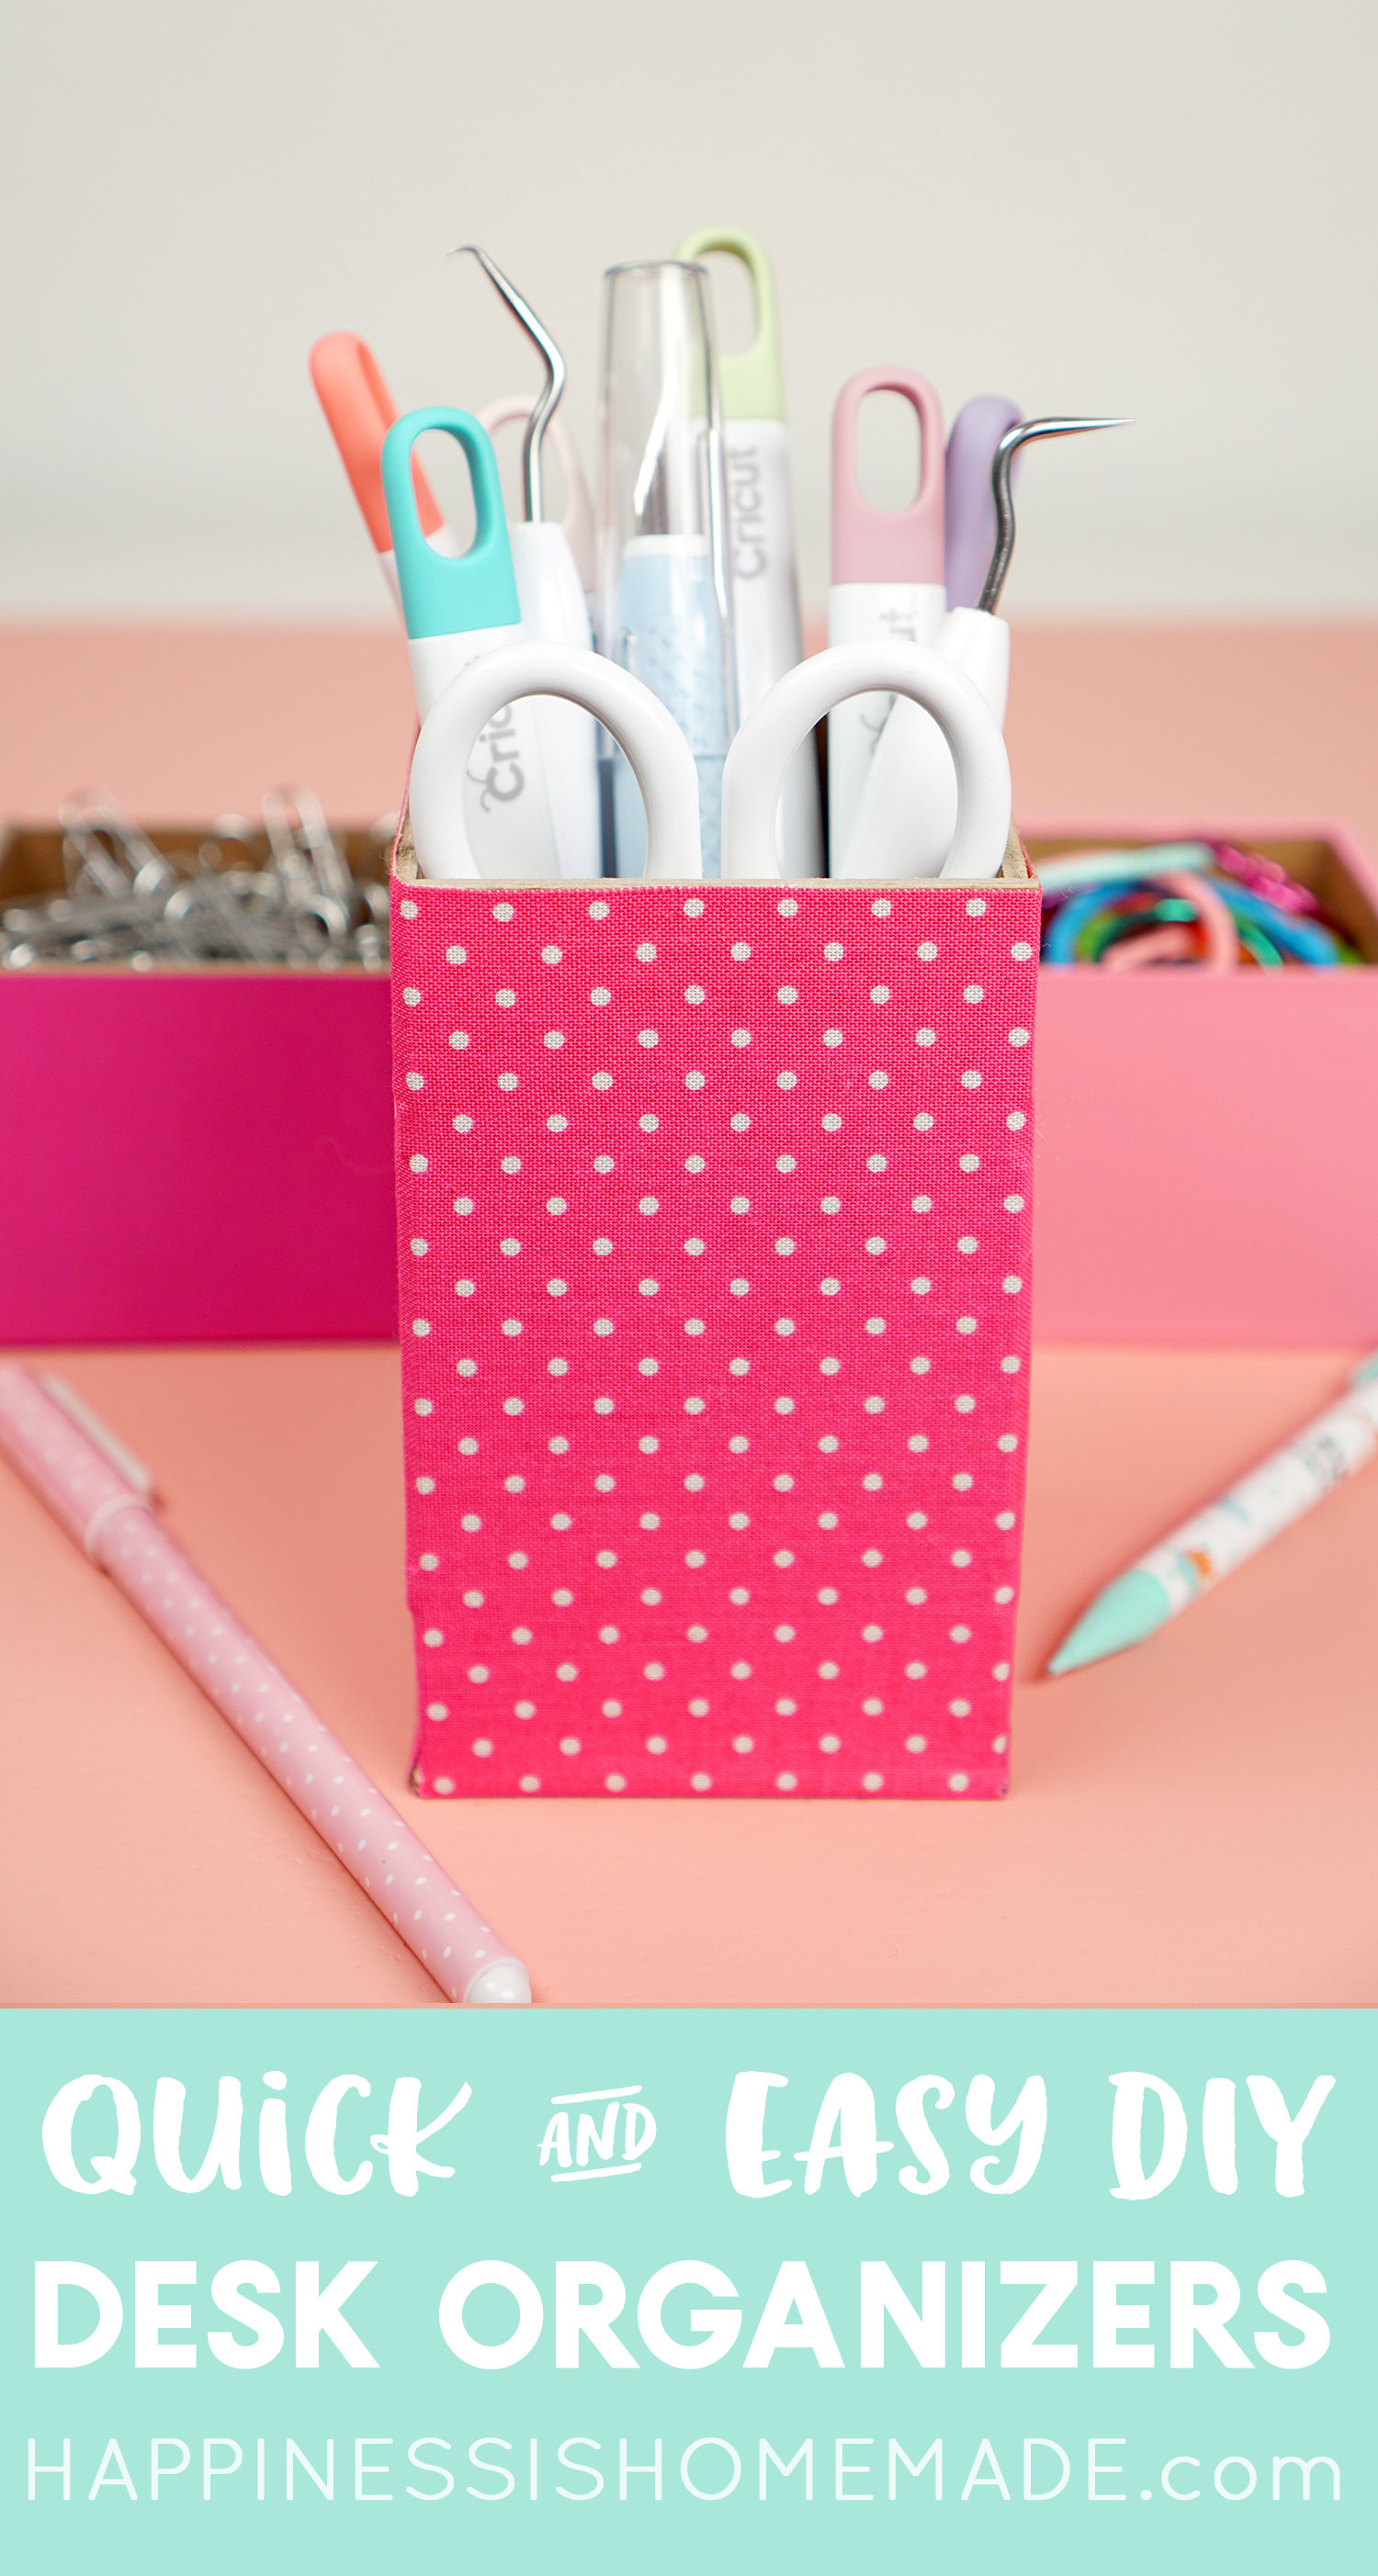
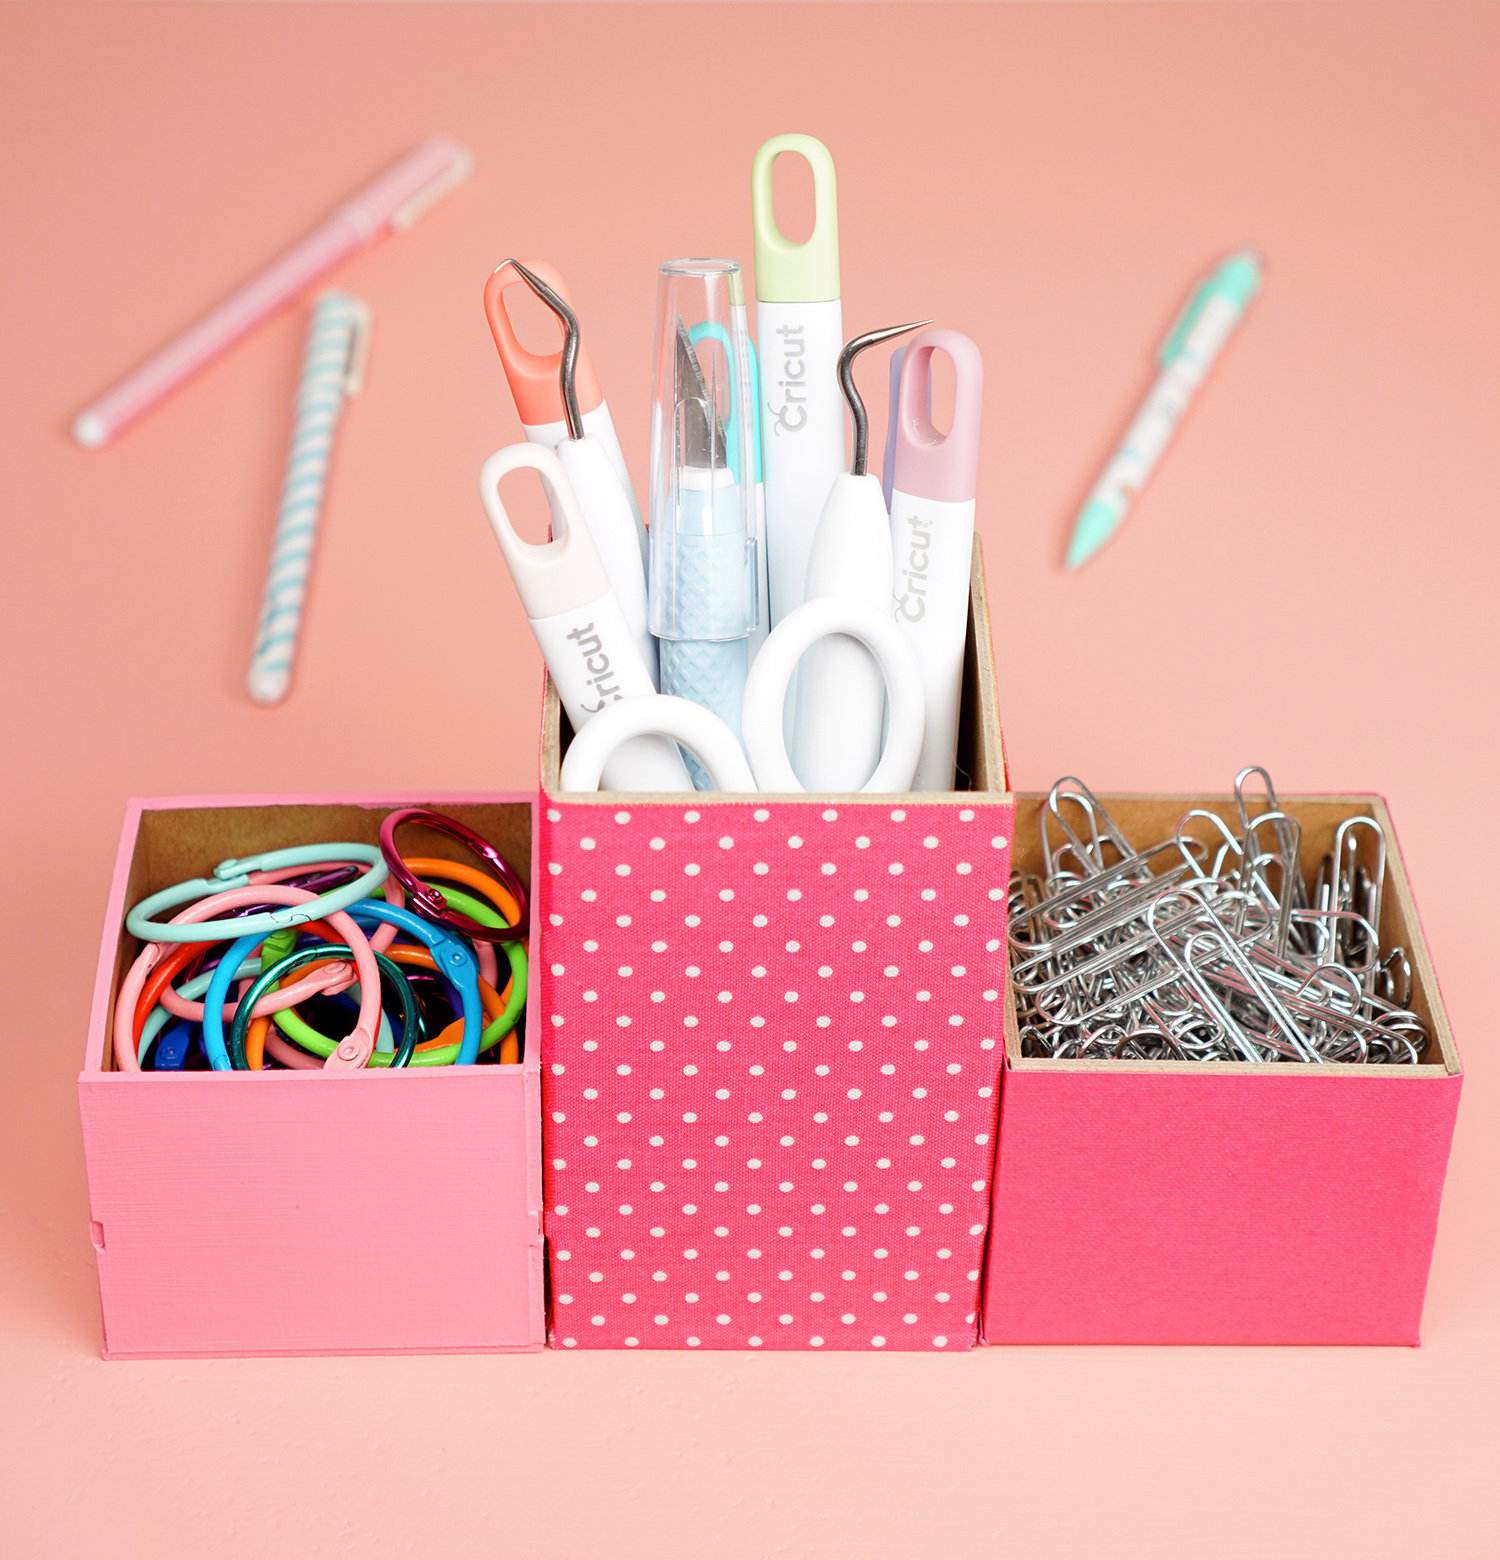
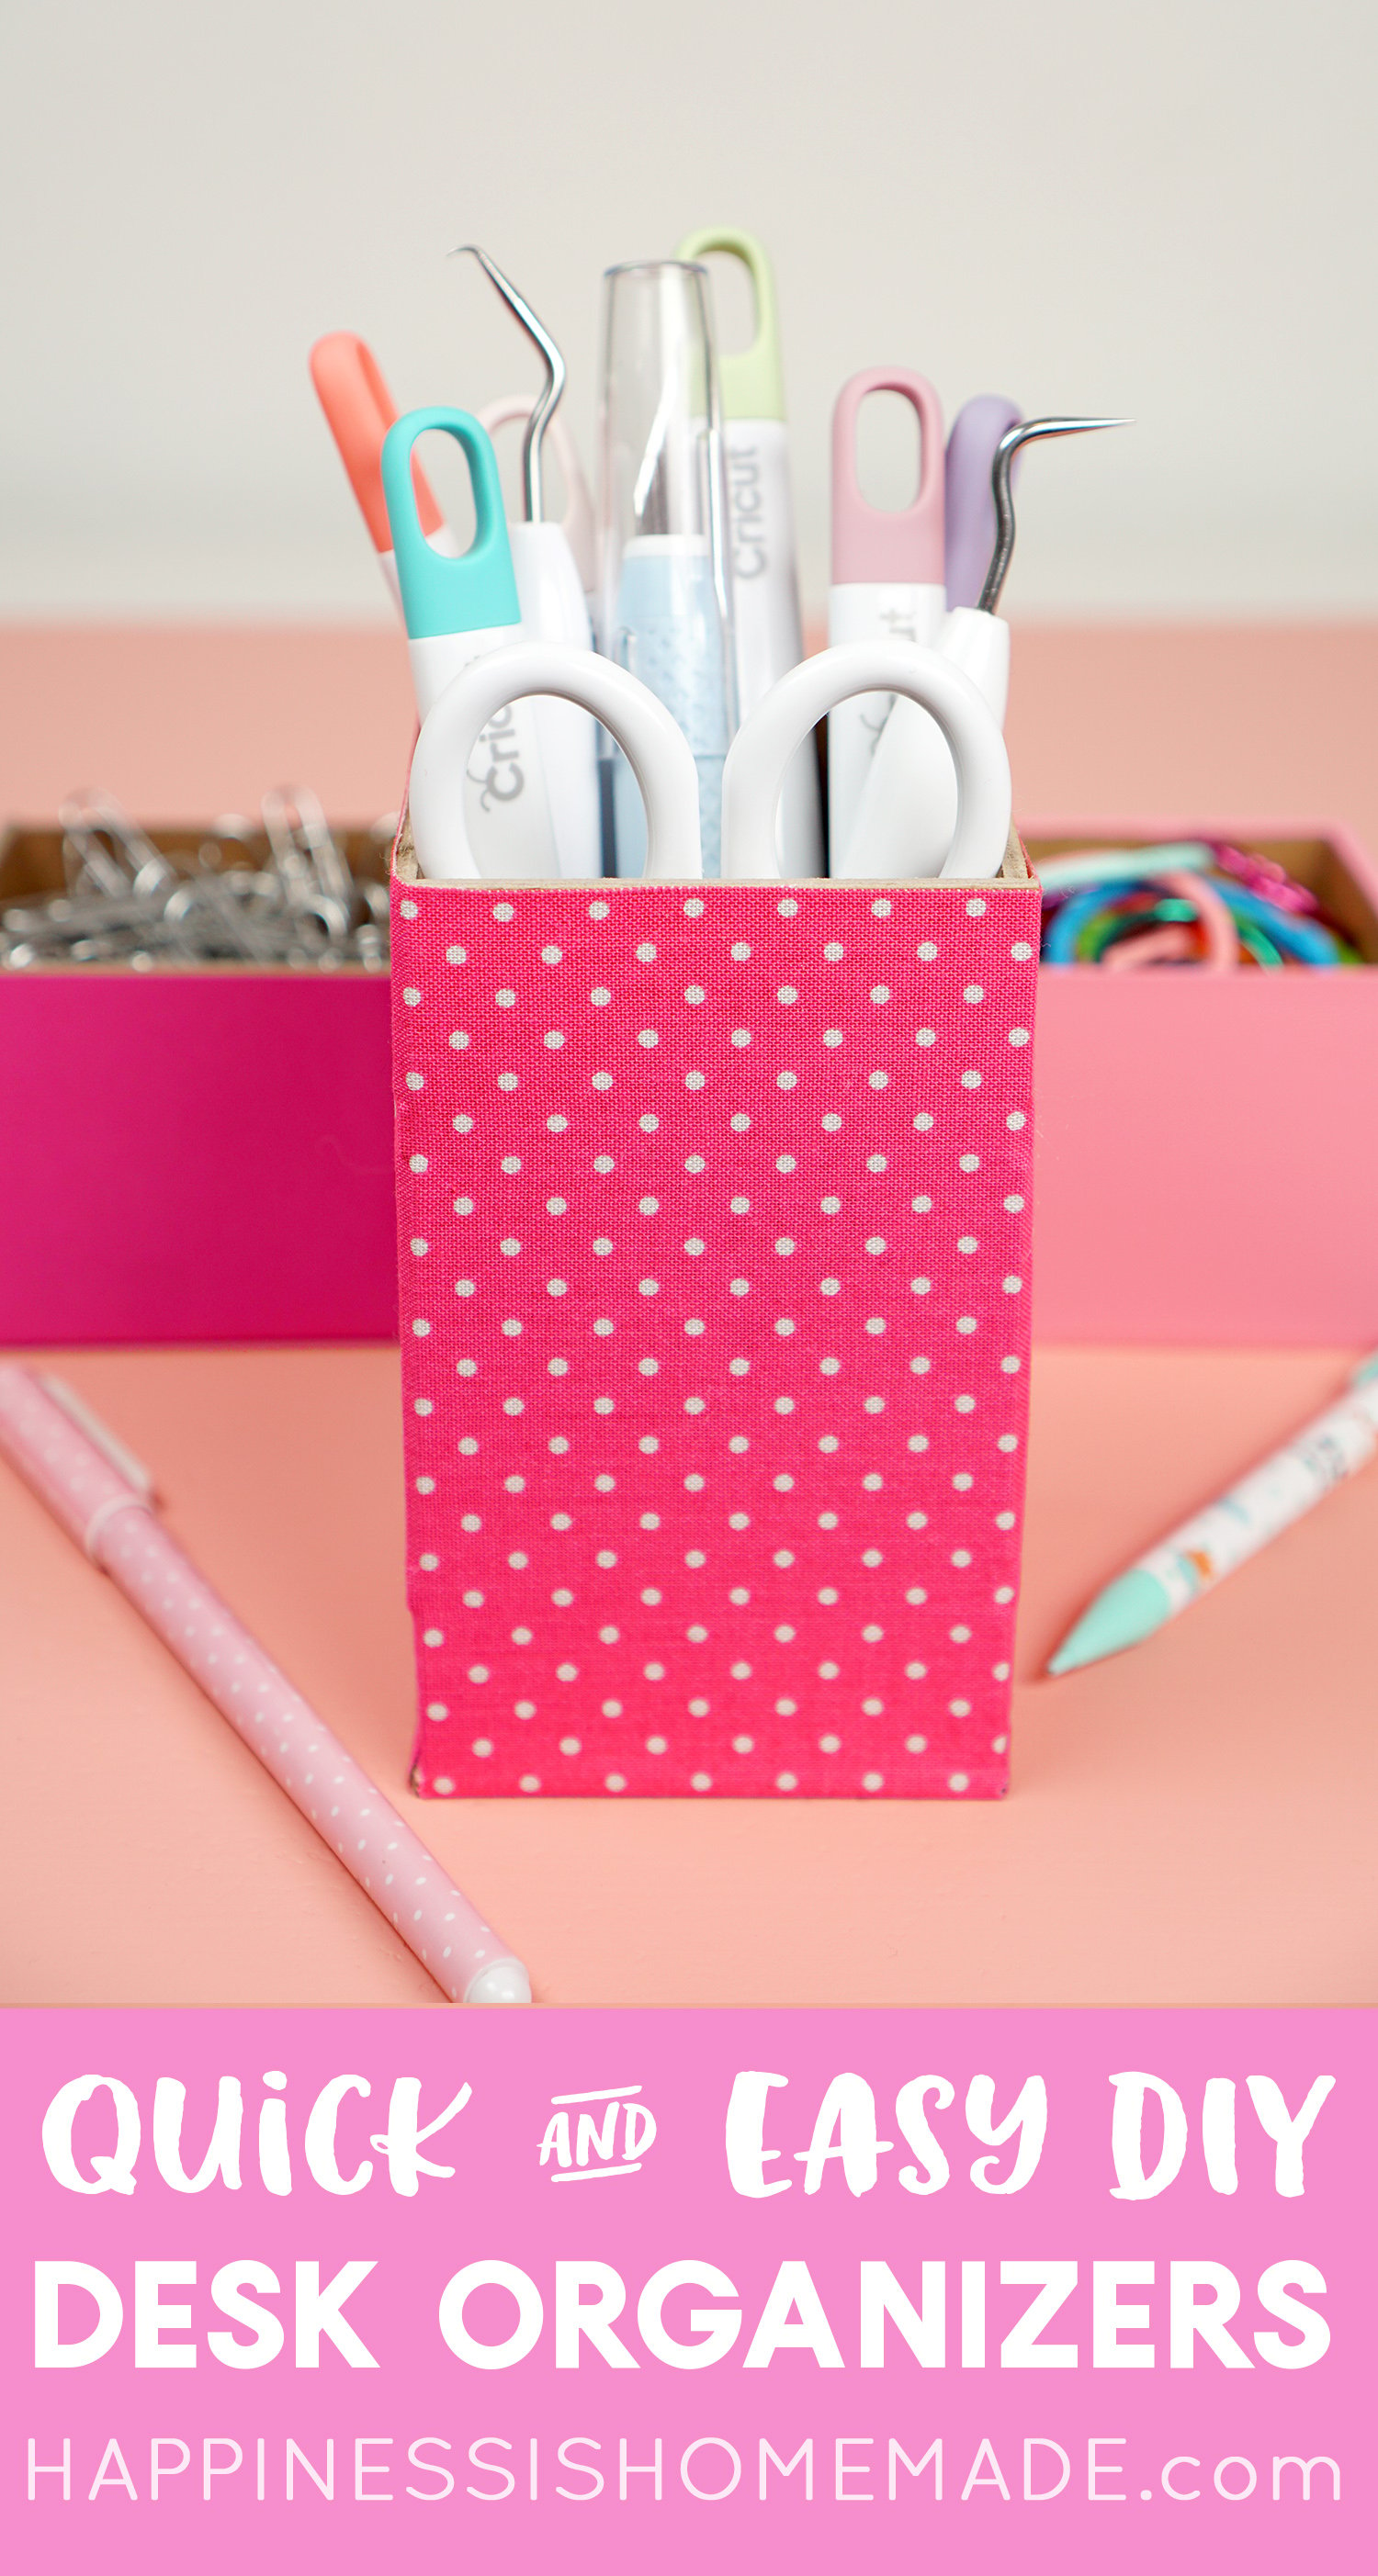
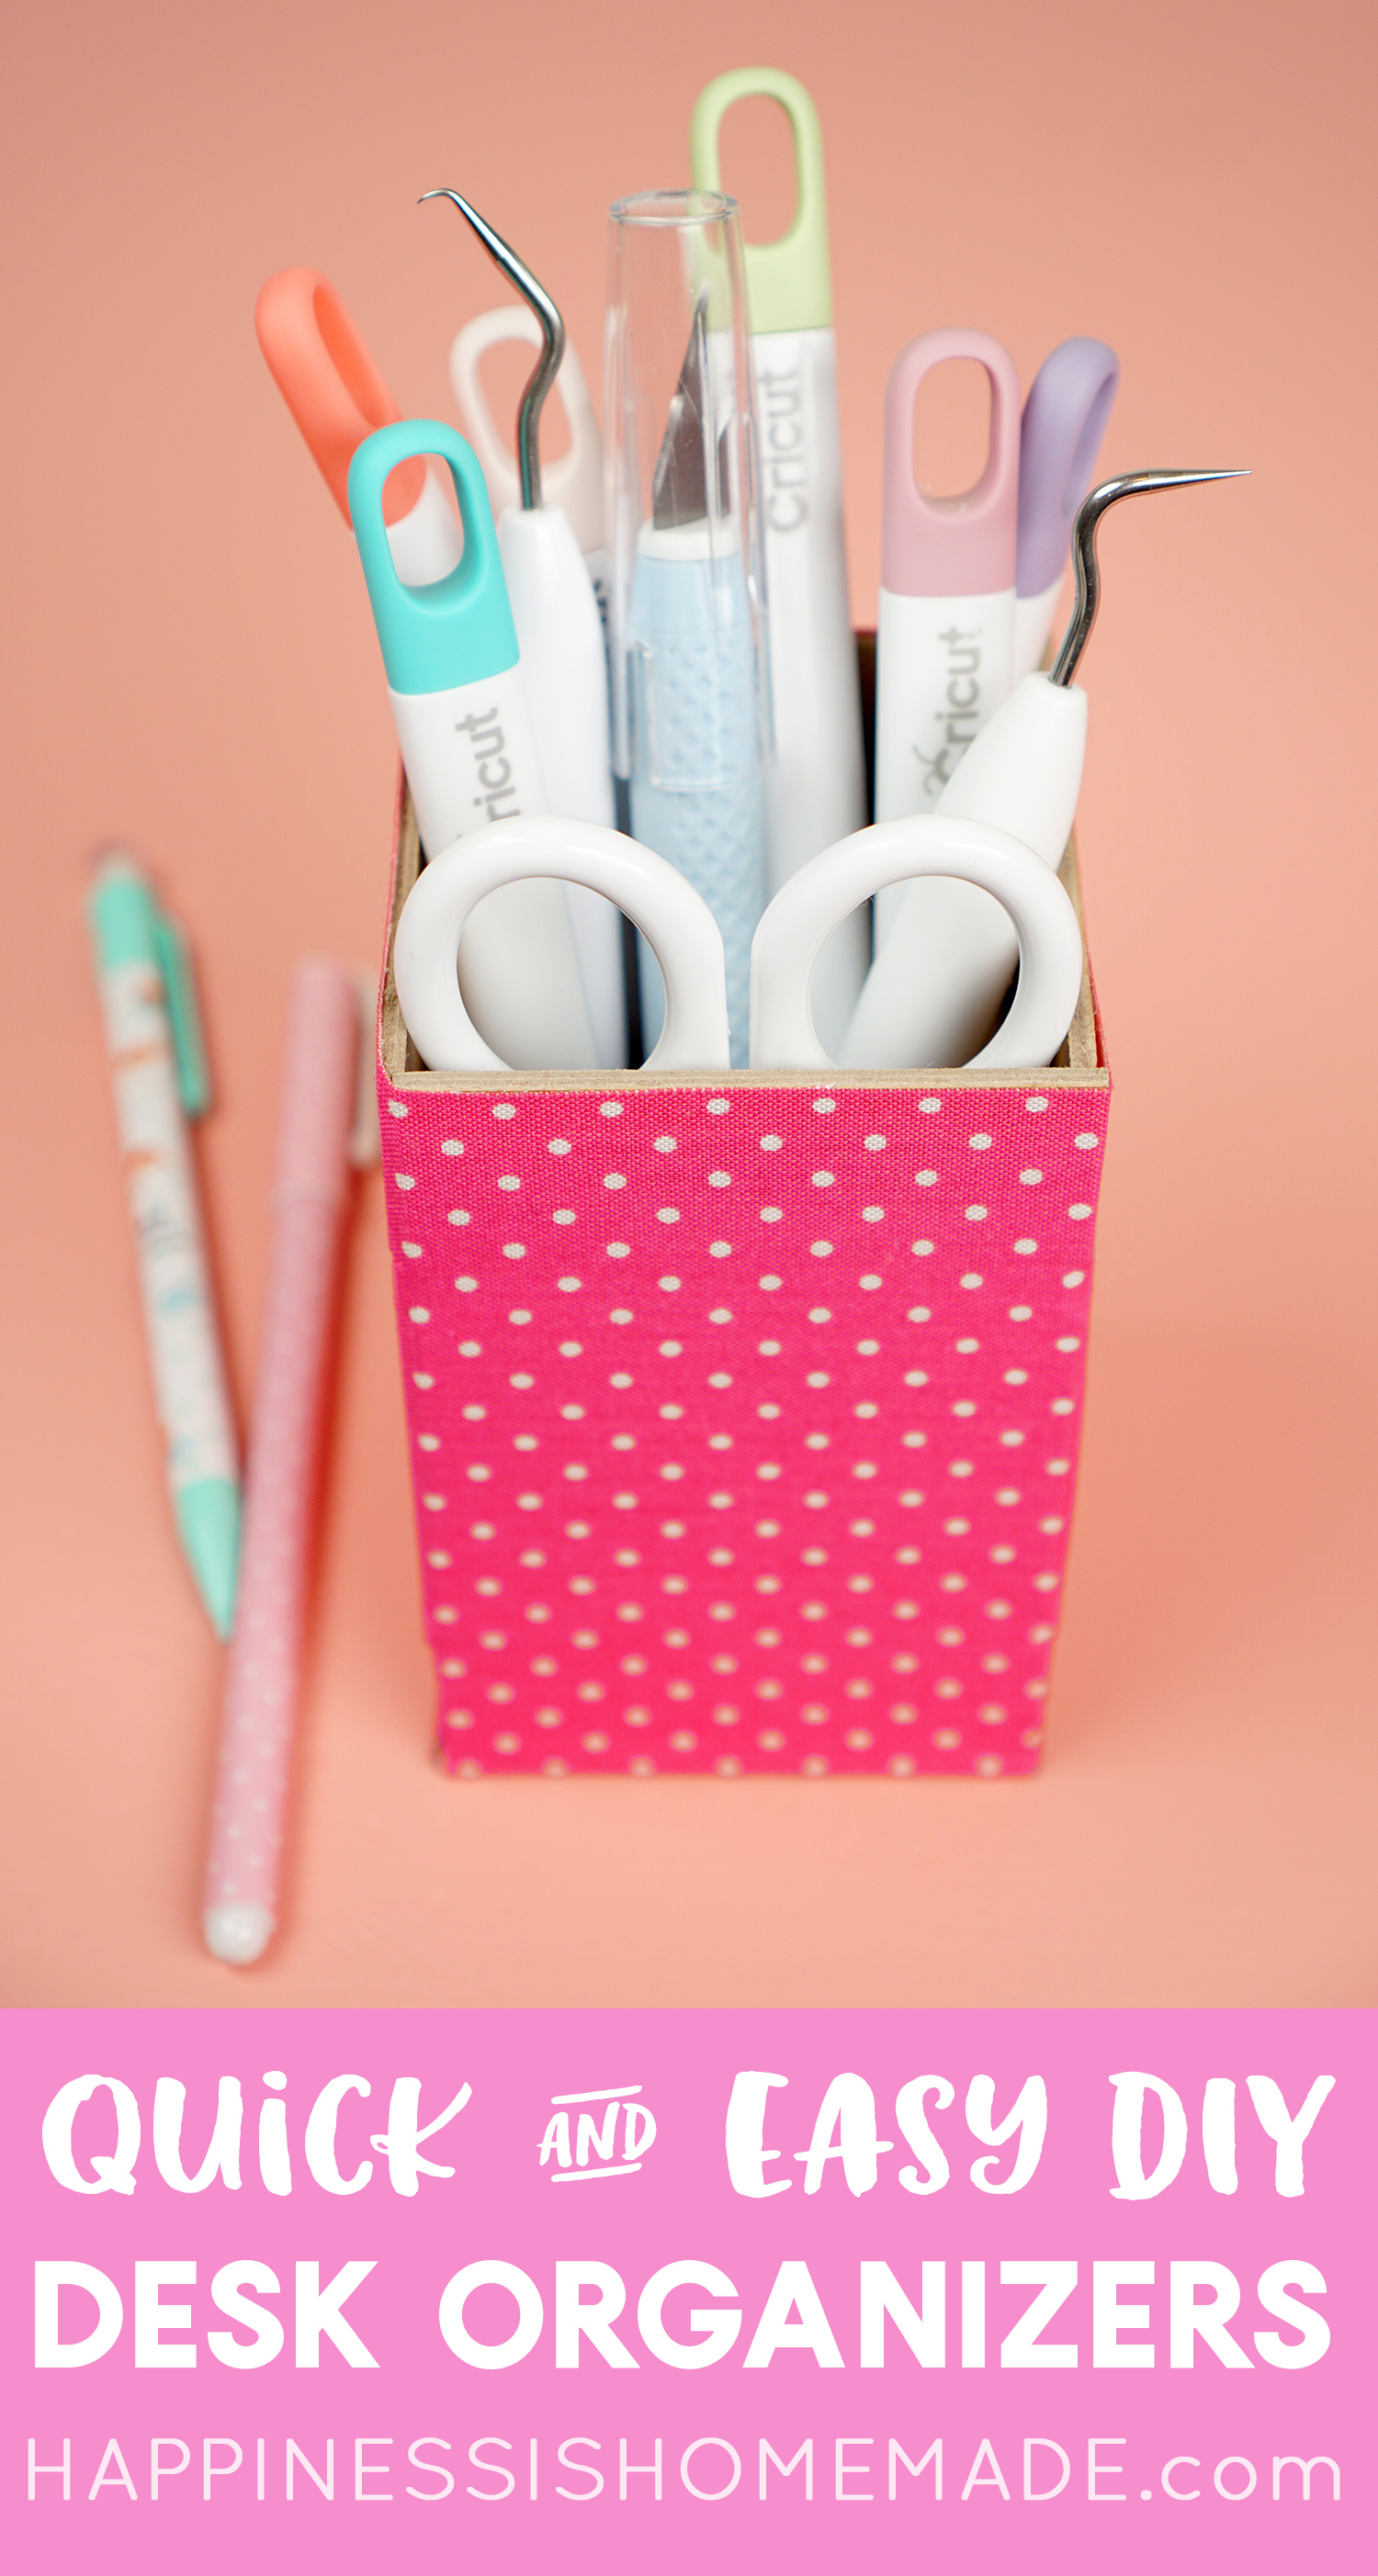
Fill your new desk organizer up with pens, paintbrushes, or your favorite Cricut tools! Totally cute and super easy!
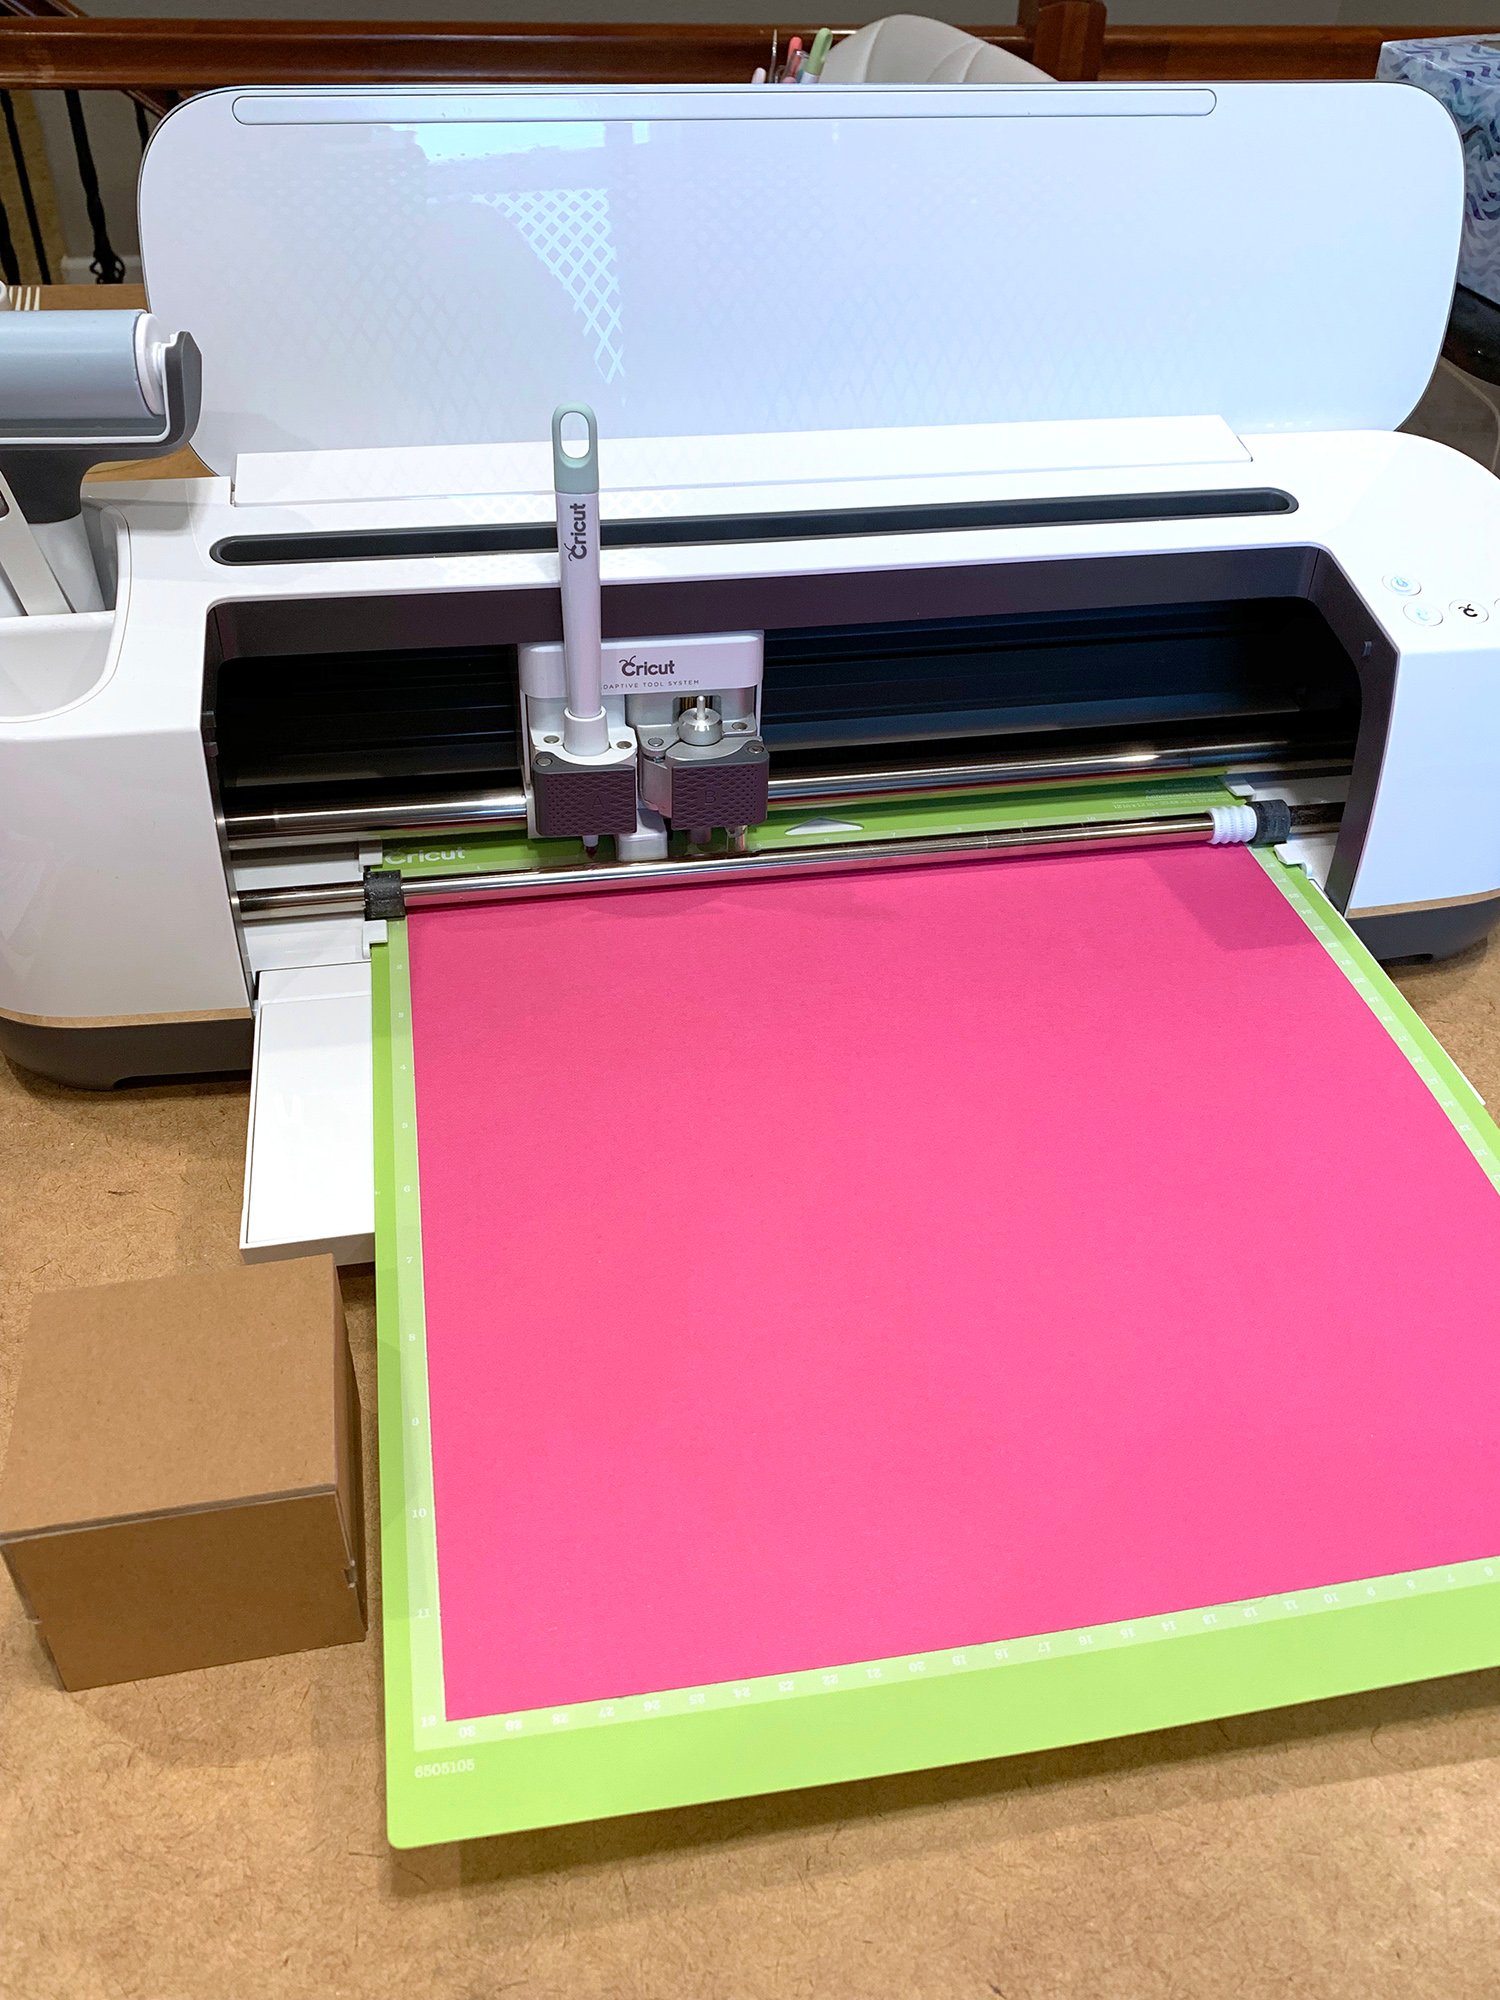
If you don’t want to fuss with fusible fabric and the EasyPress, you can opt to cut your wrap piece out of cardstock for another quick and easy option.
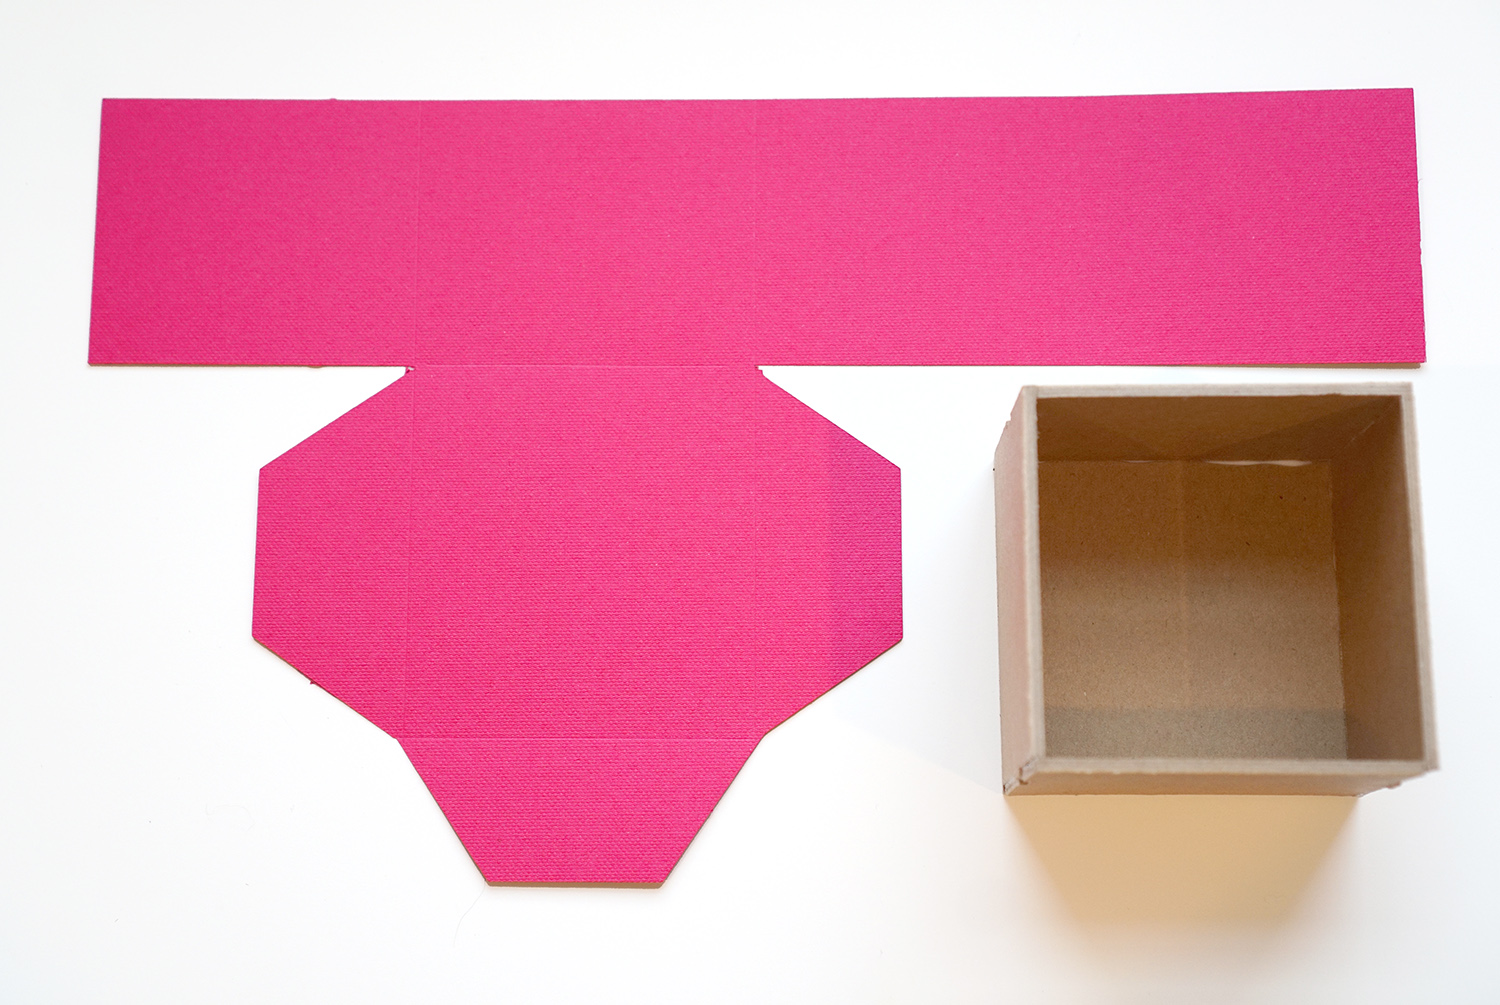
For this Short Desk Organizer Box, I used a glue stick to wrap the box with pretty pink cardstock.
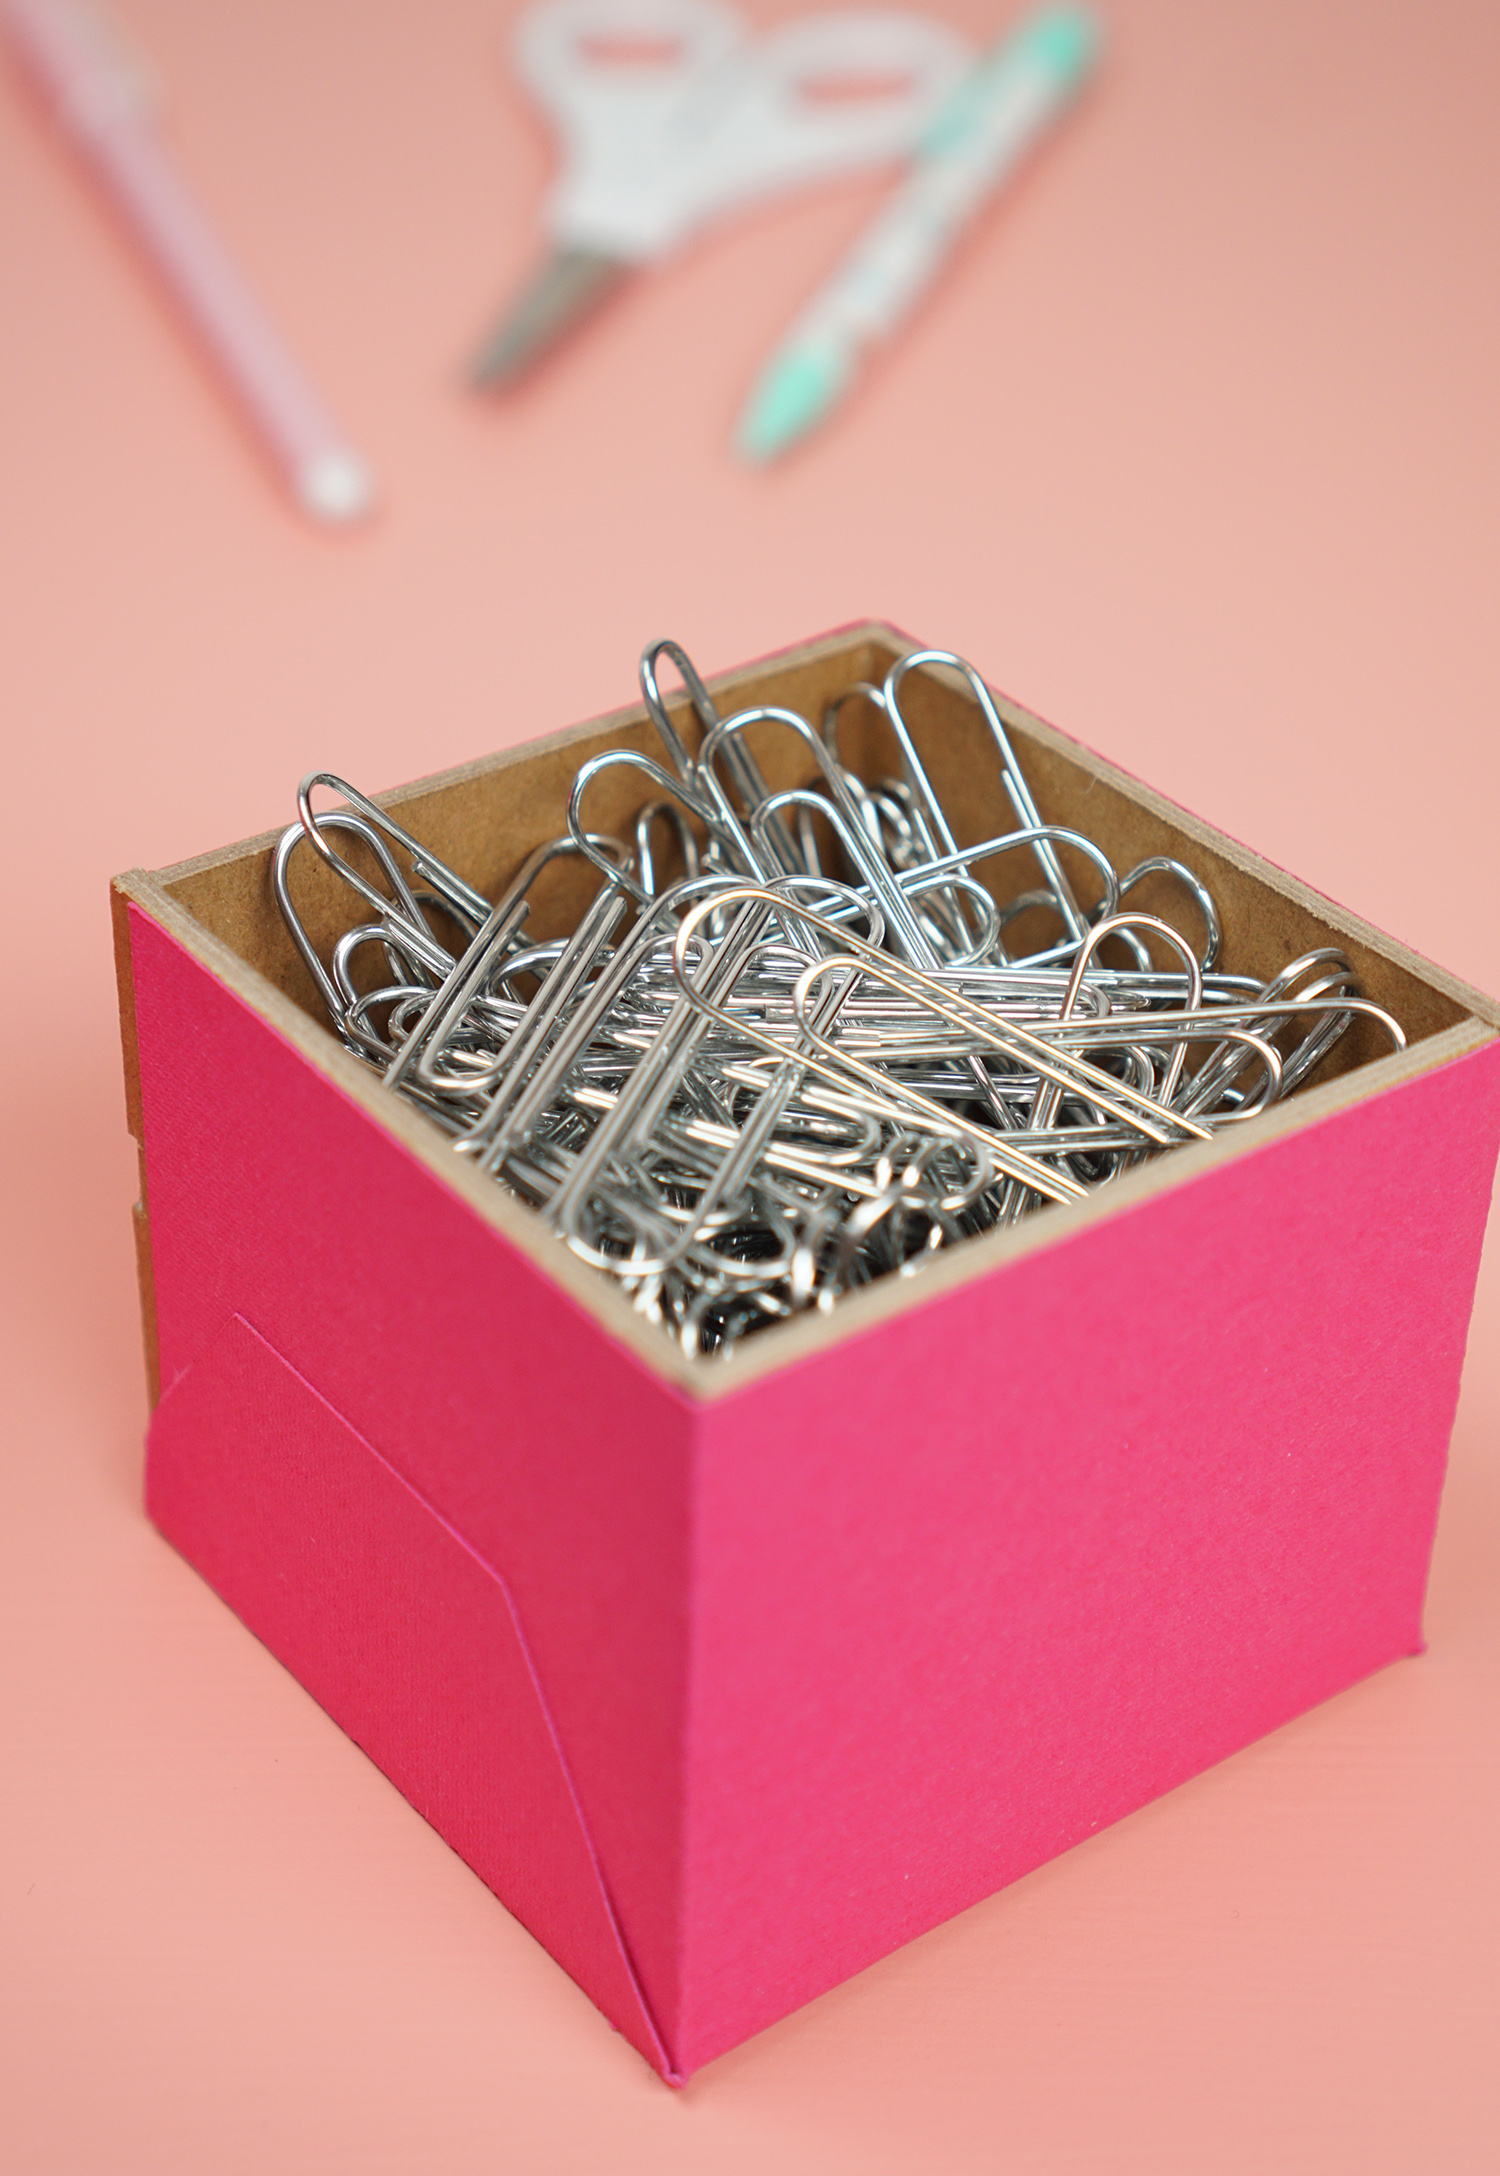
Cute, easy, and totally functional! I can think of about a zillion uses for this little box – it’s the perfect size for organizing your desktop, craft room, cosmetics, and all those little odds and ends!
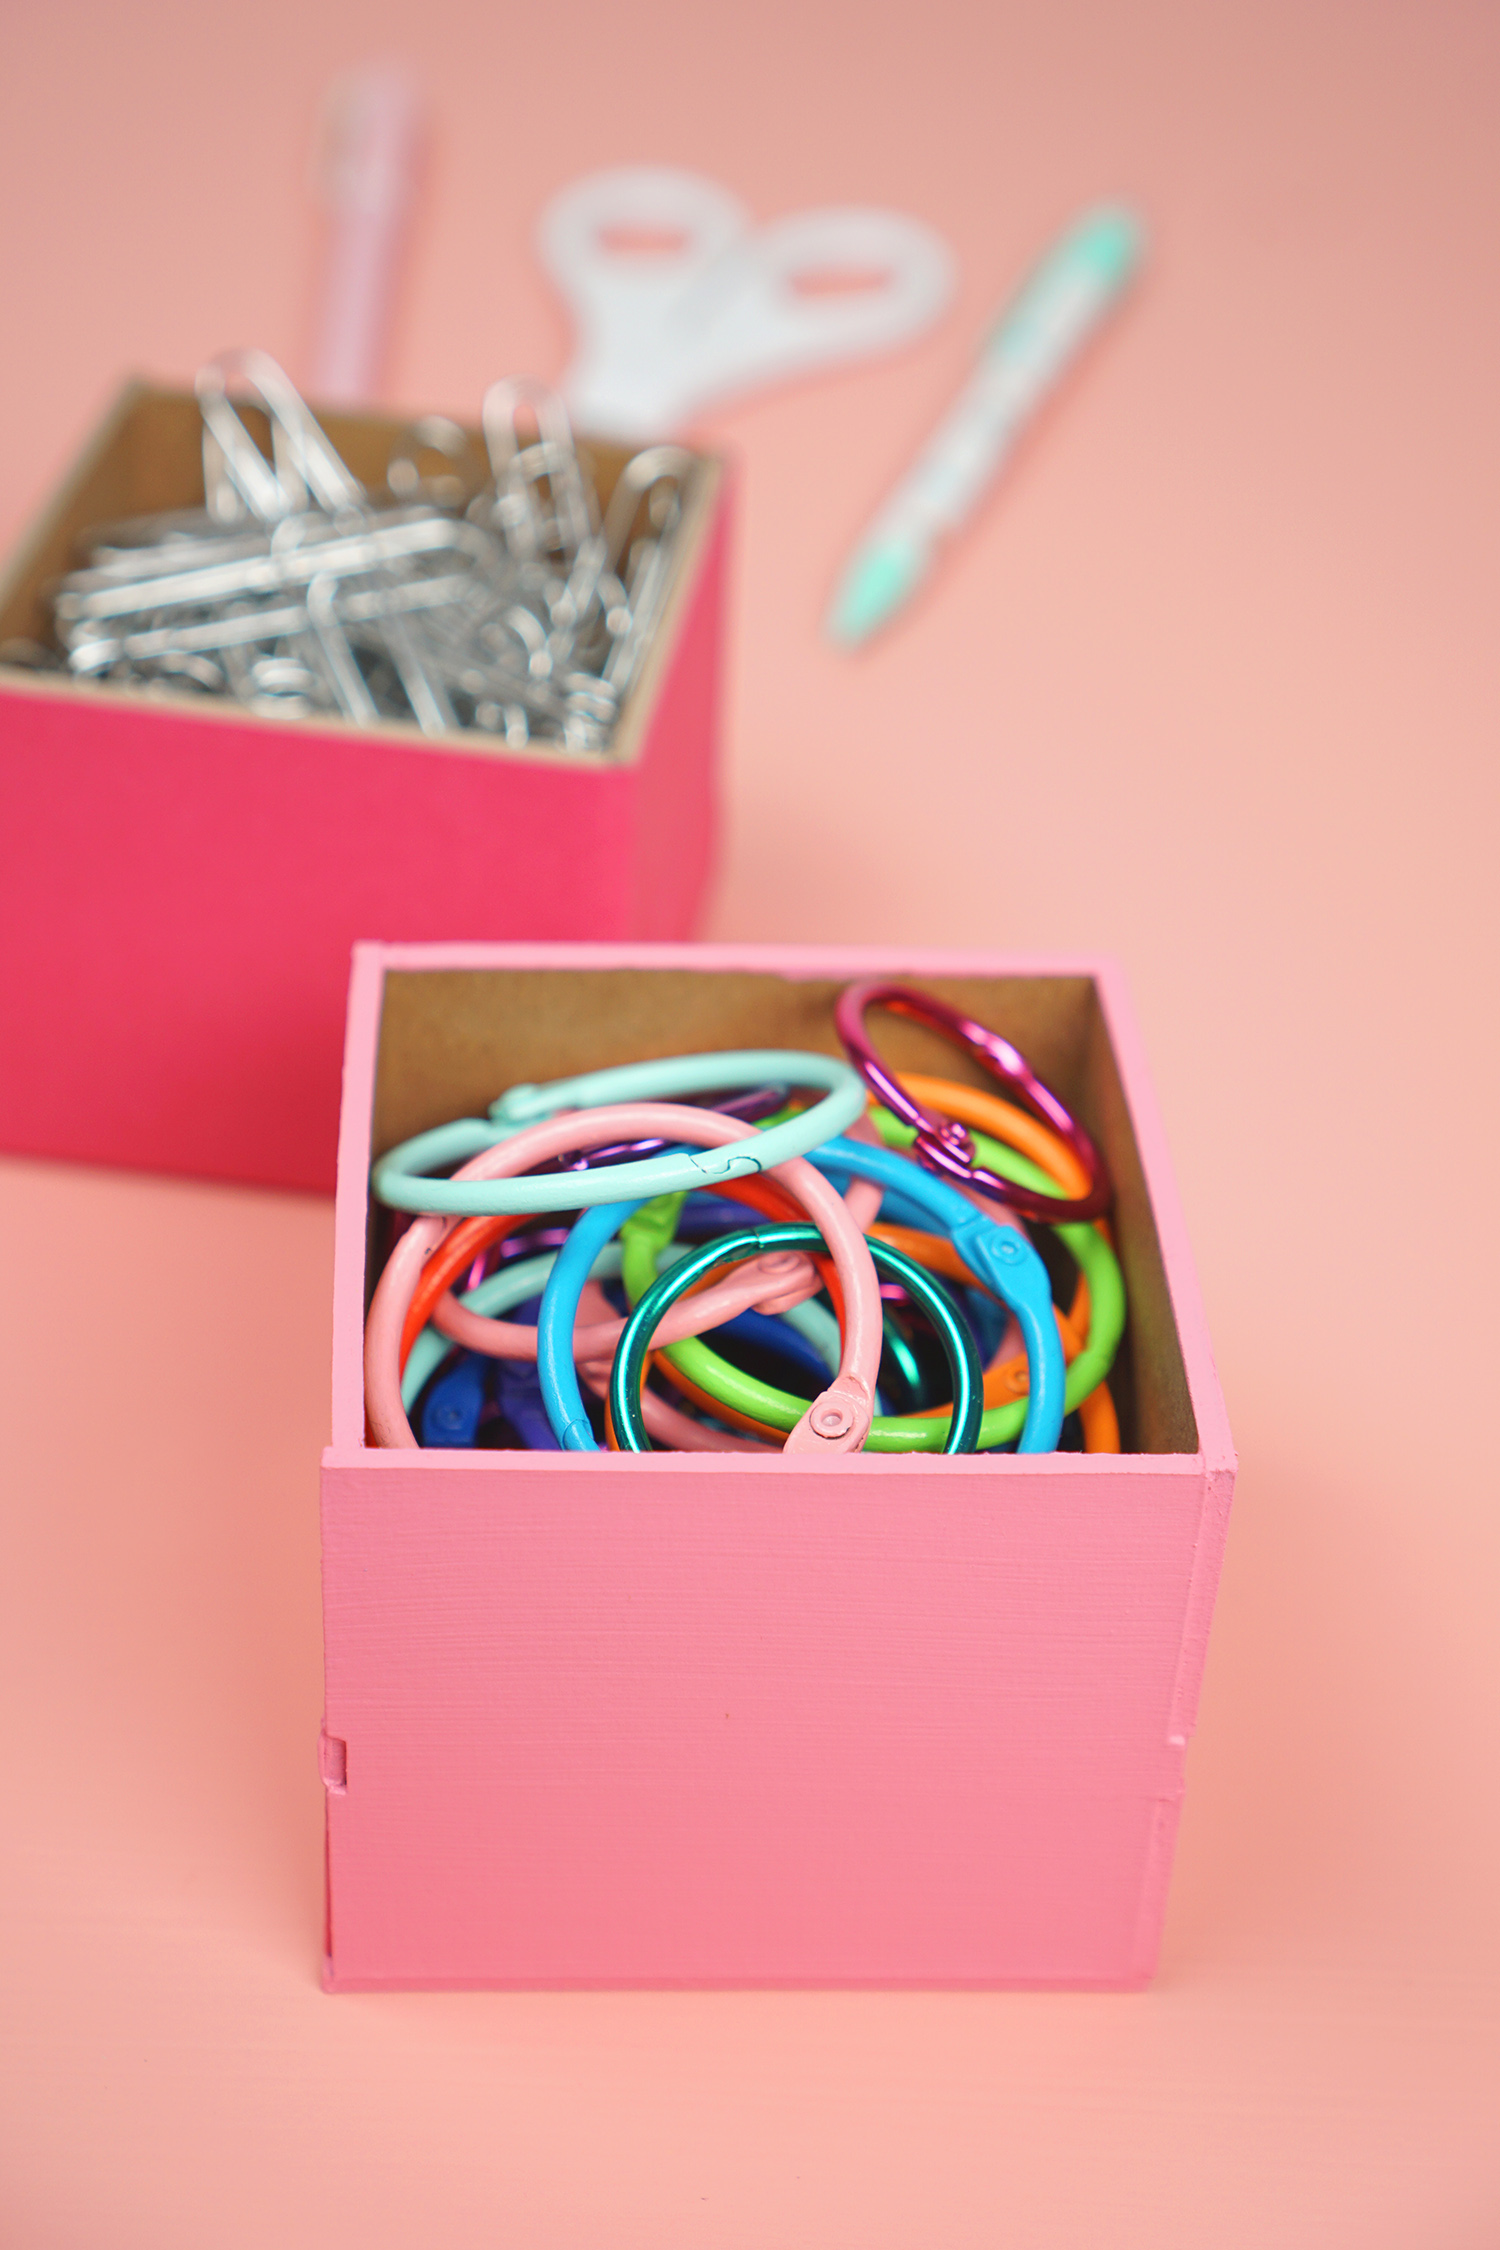
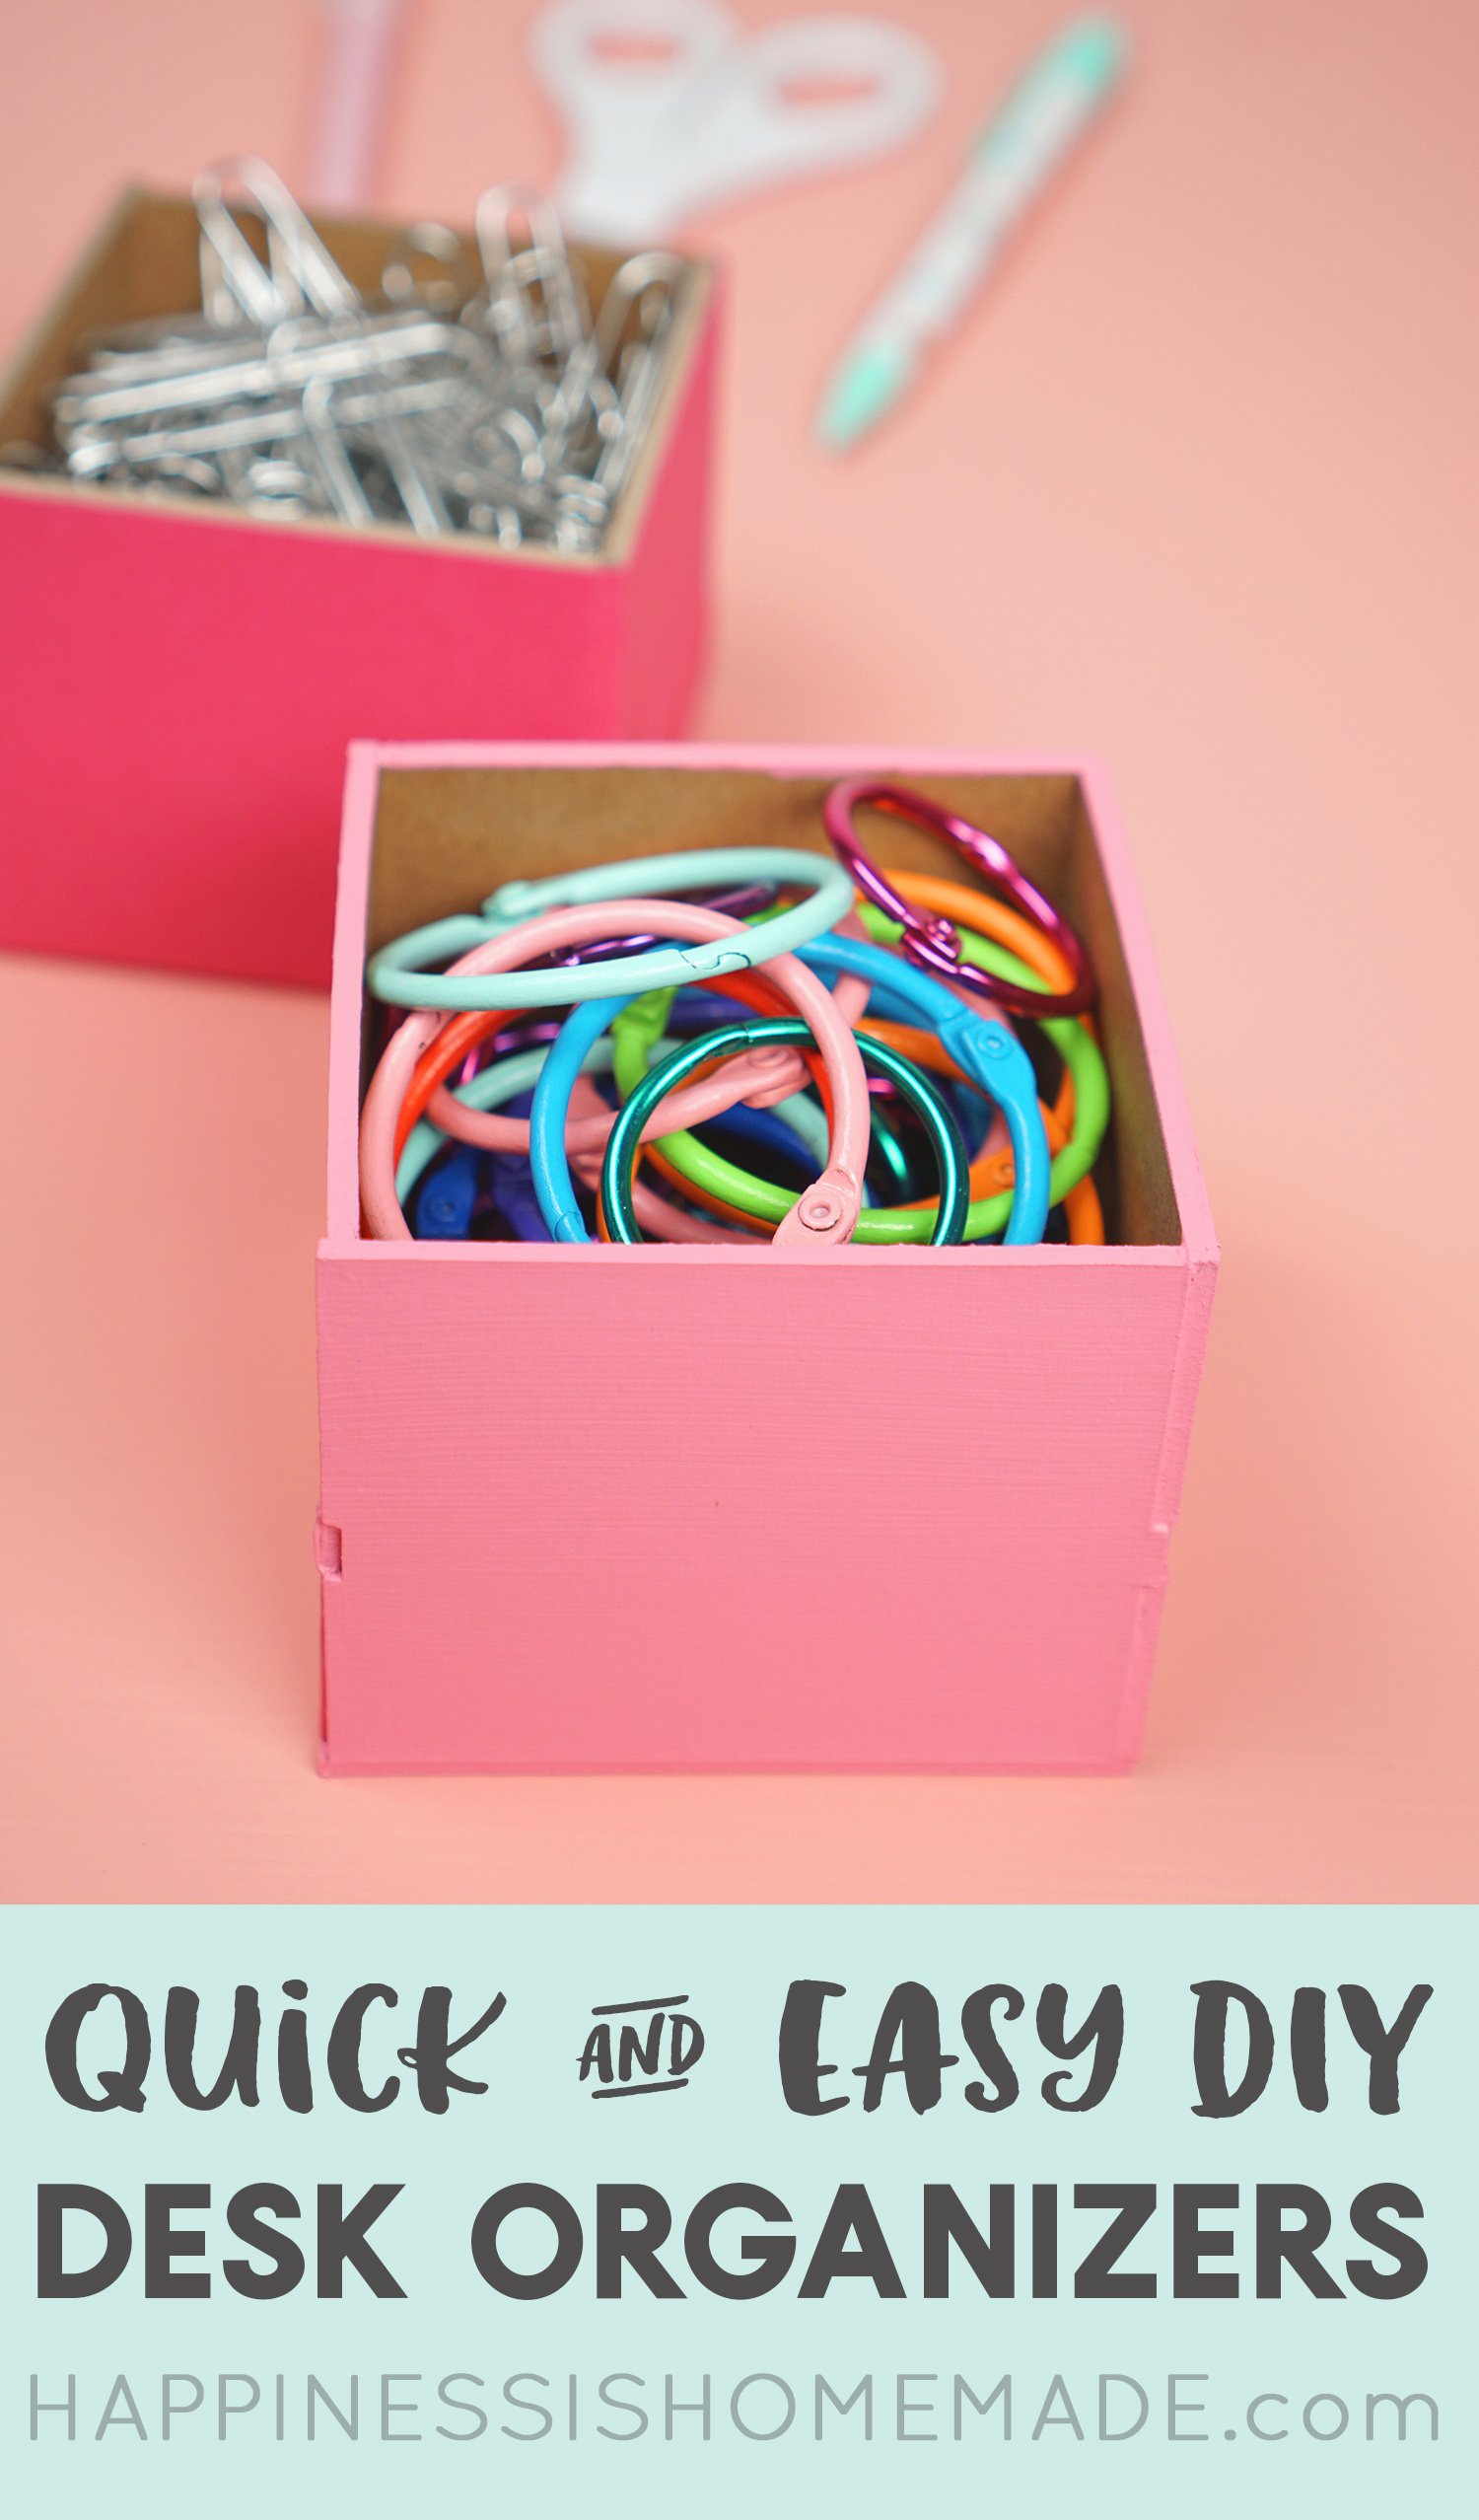
If you don’t want to wrap the chipboard organizer box at all, that’s fine, too! Use them as-is or give them a quick coat of acrylic paint to add a splash of color.
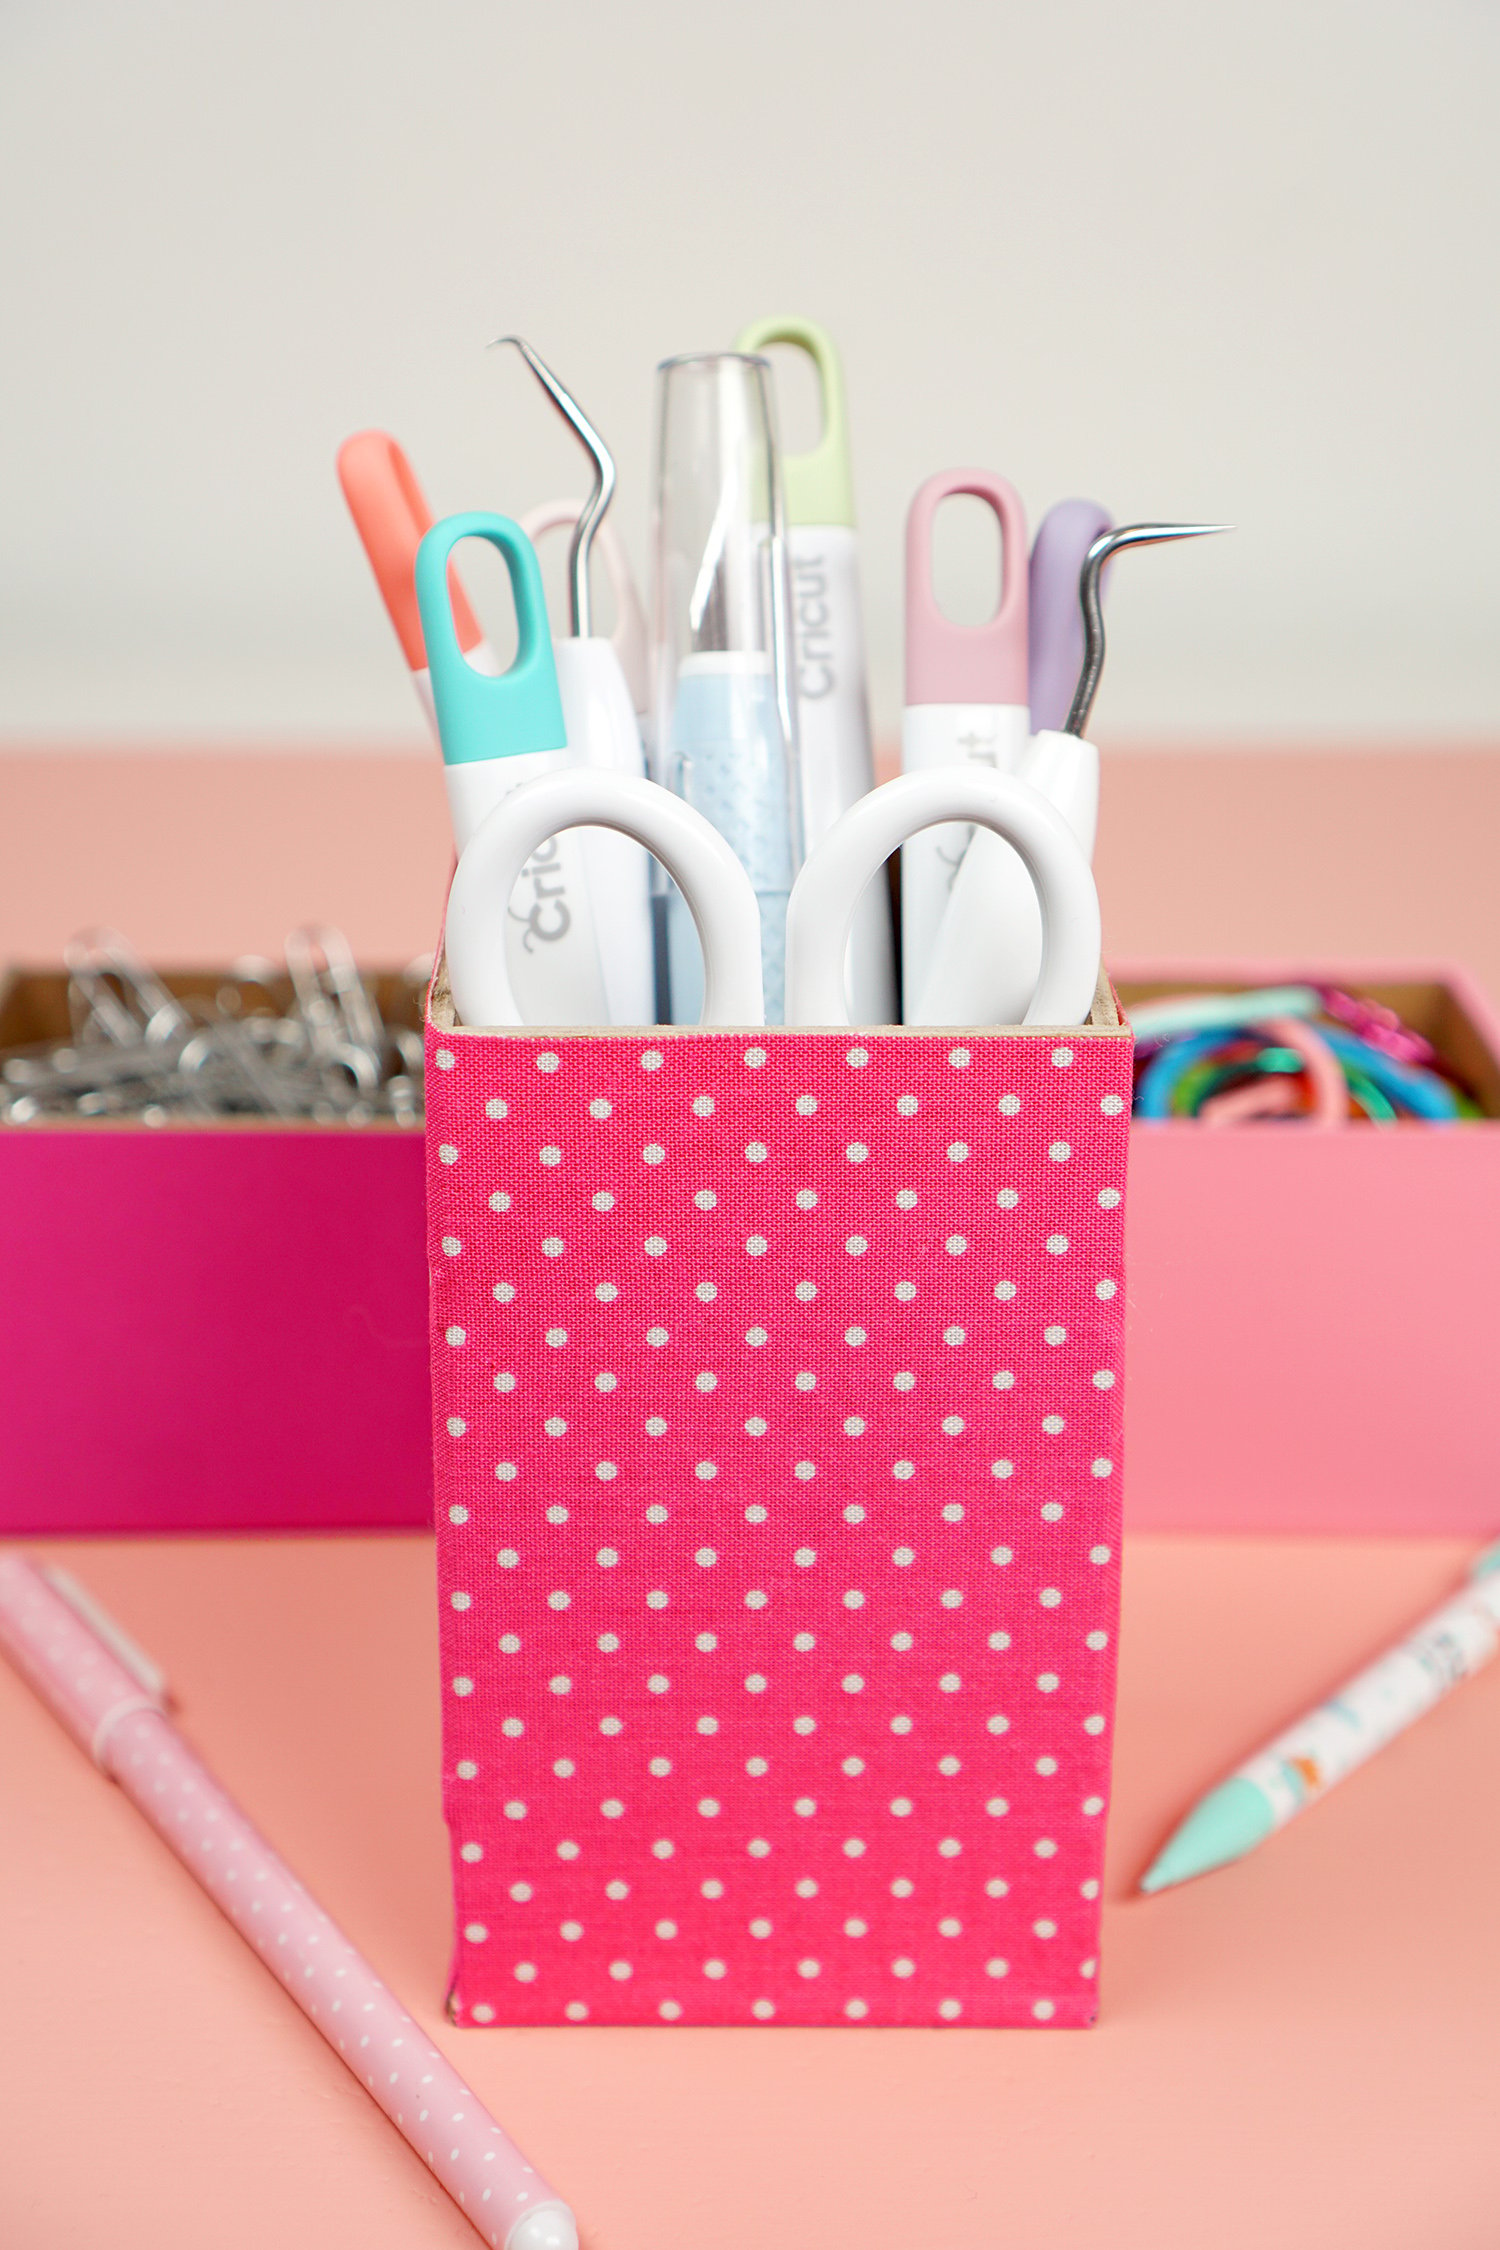
Mix and match patterns and finishes to make a fun desk organizer set in your favorite colors and designs!
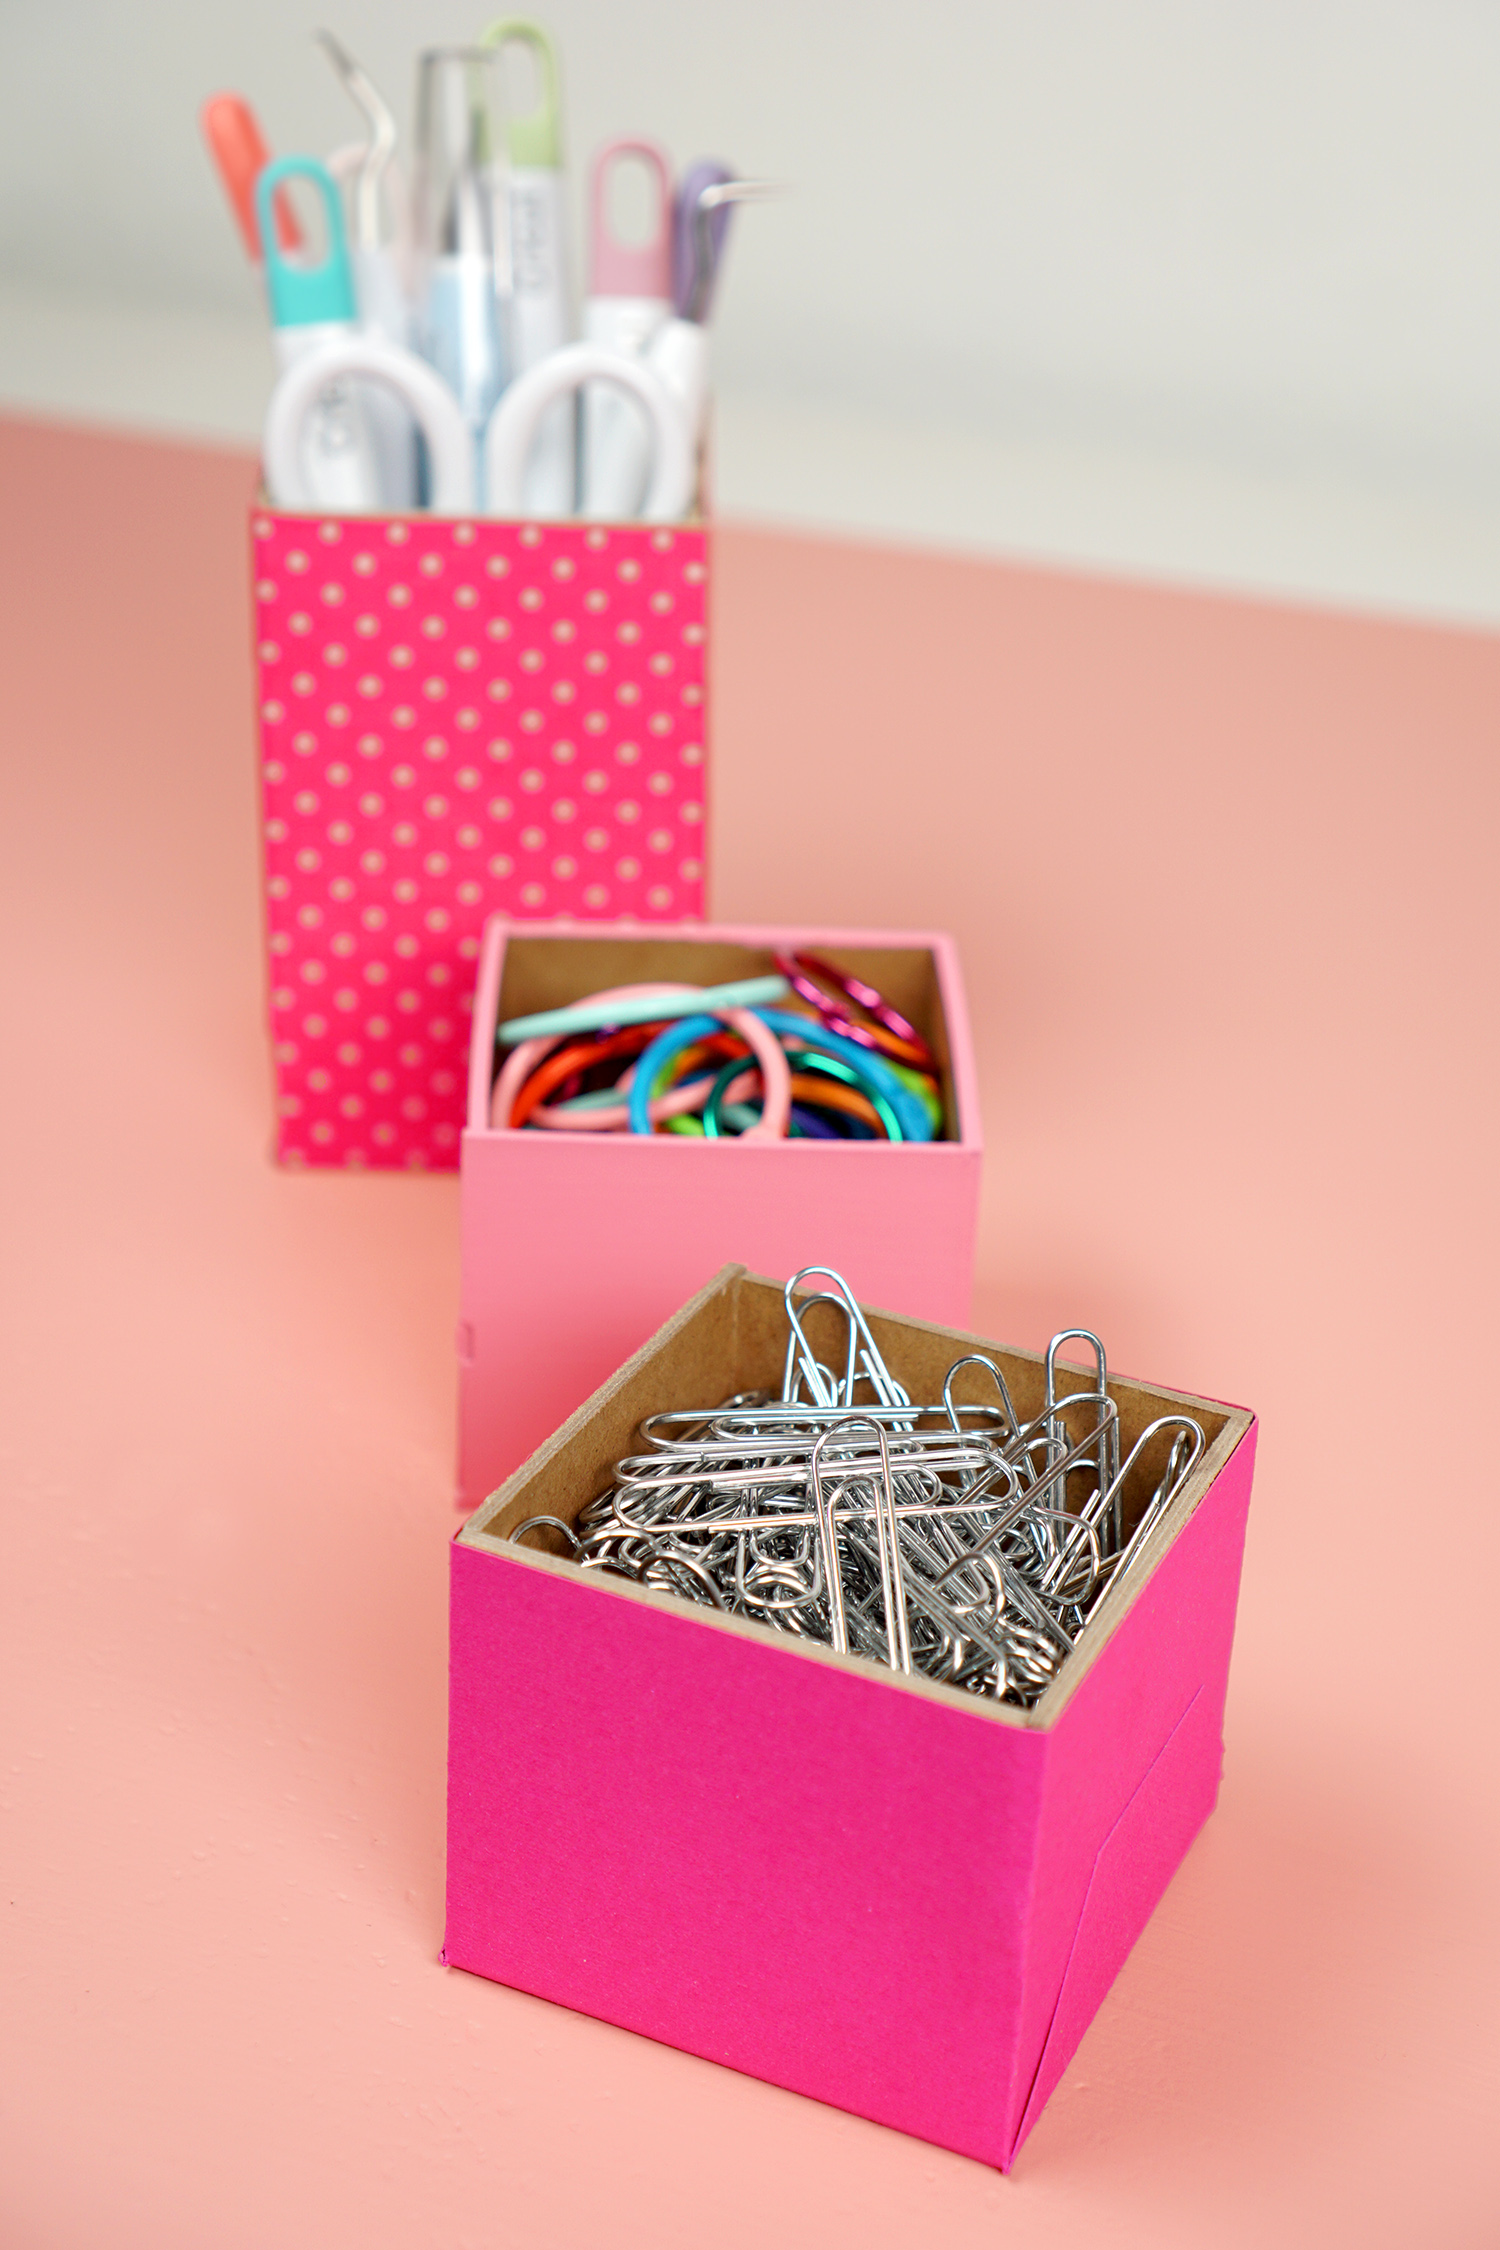
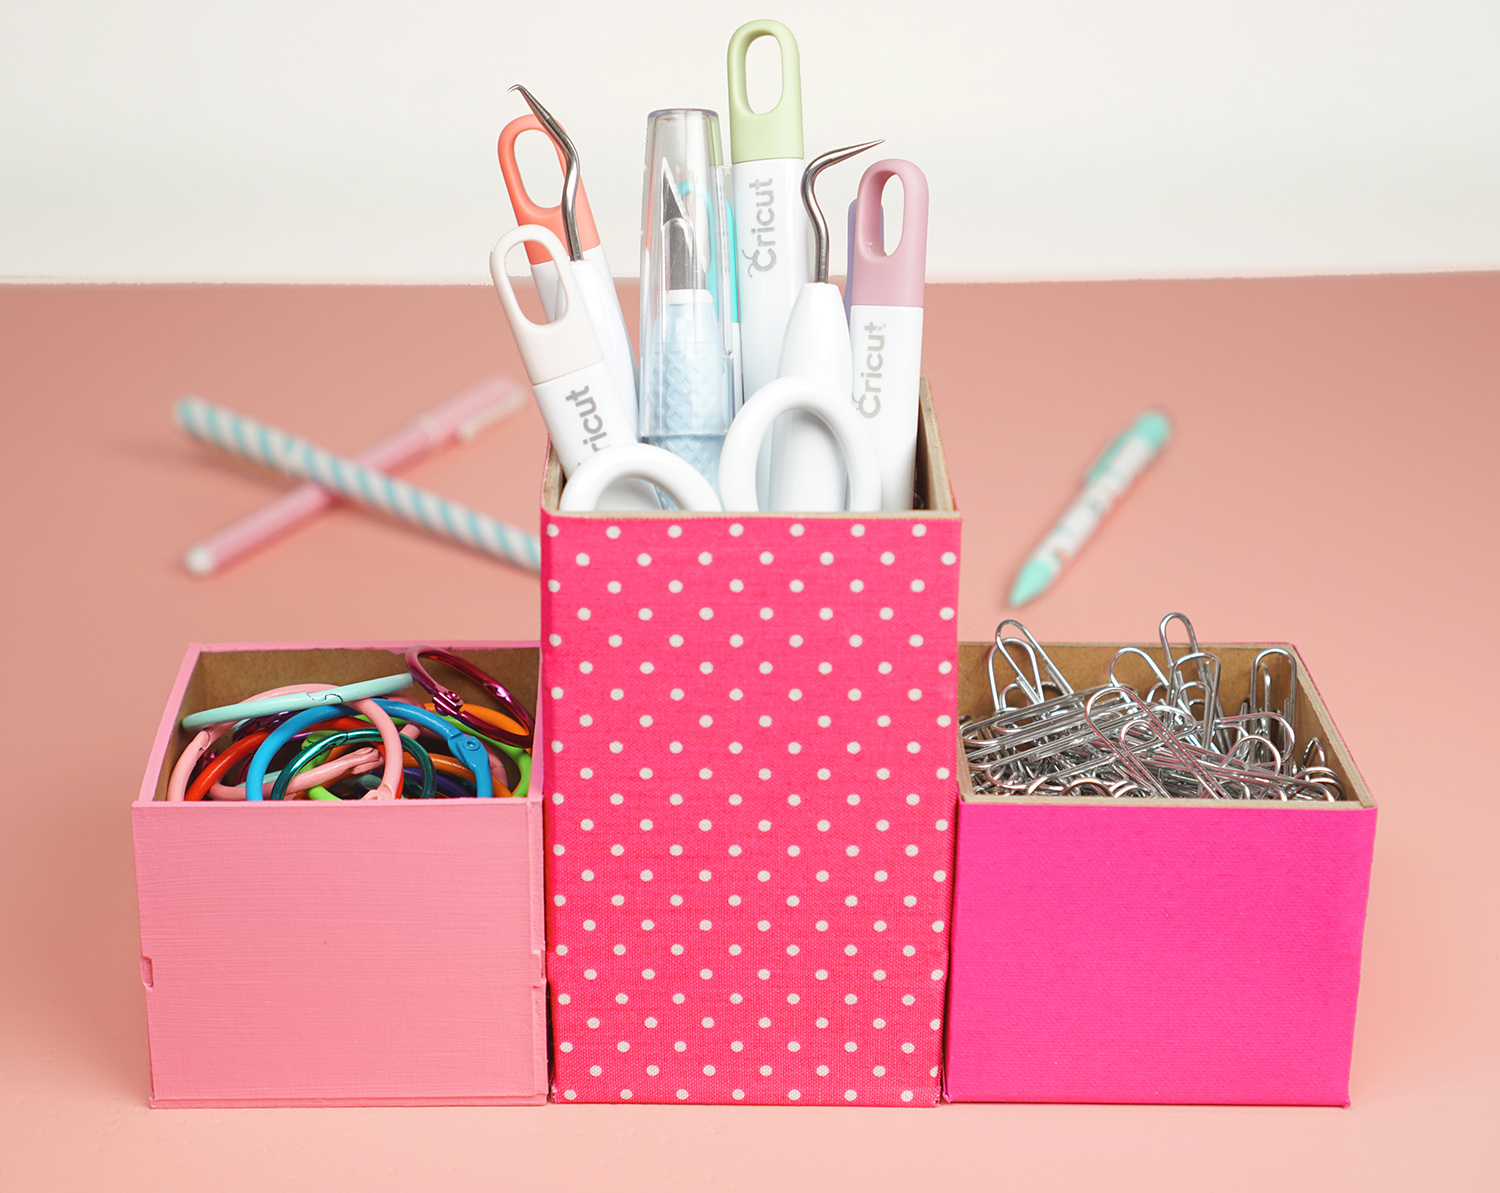
With so many creative ways to use these organizers, I’m sure you’ll find yourself whipping up one or twelve! Happy crafting!

Check Out These Other Cricut Ideas!
Pin these DIY Desk Organizers for Later!

Heidi Kundin has captivated the hearts of millions with her colorful and inspiring approach to crafting, celebrations, and family fun. With over 15 years of experience, Happiness is Homemade has become a must-visit destination for those seeking quick and easy creative ideas and last-minute solutions. Heidi’s warm personality shines through her posts, inviting readers to join her on a creative journey that’s fun, rewarding, and achievable. Heidi is also the author of Homemade Bath Bombs & More and DIY Tie-Dye.

