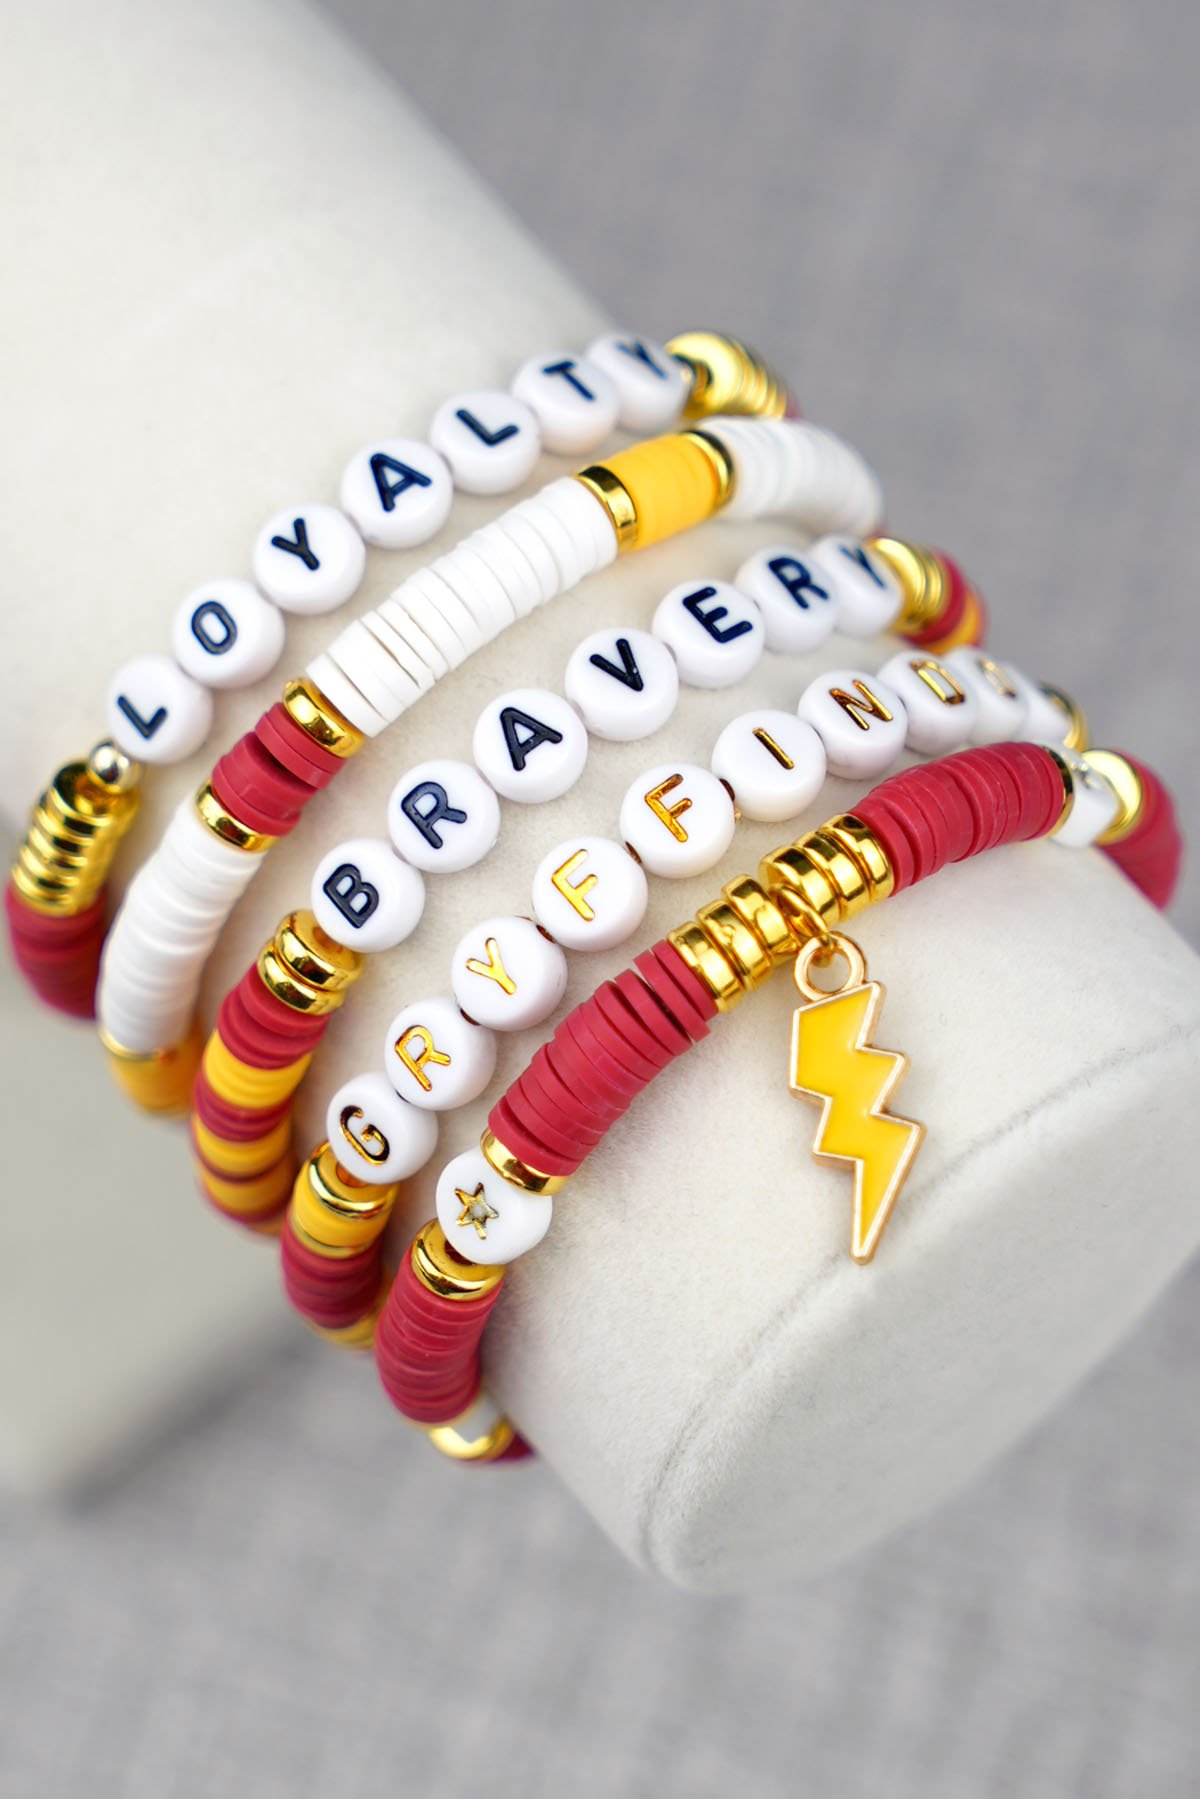
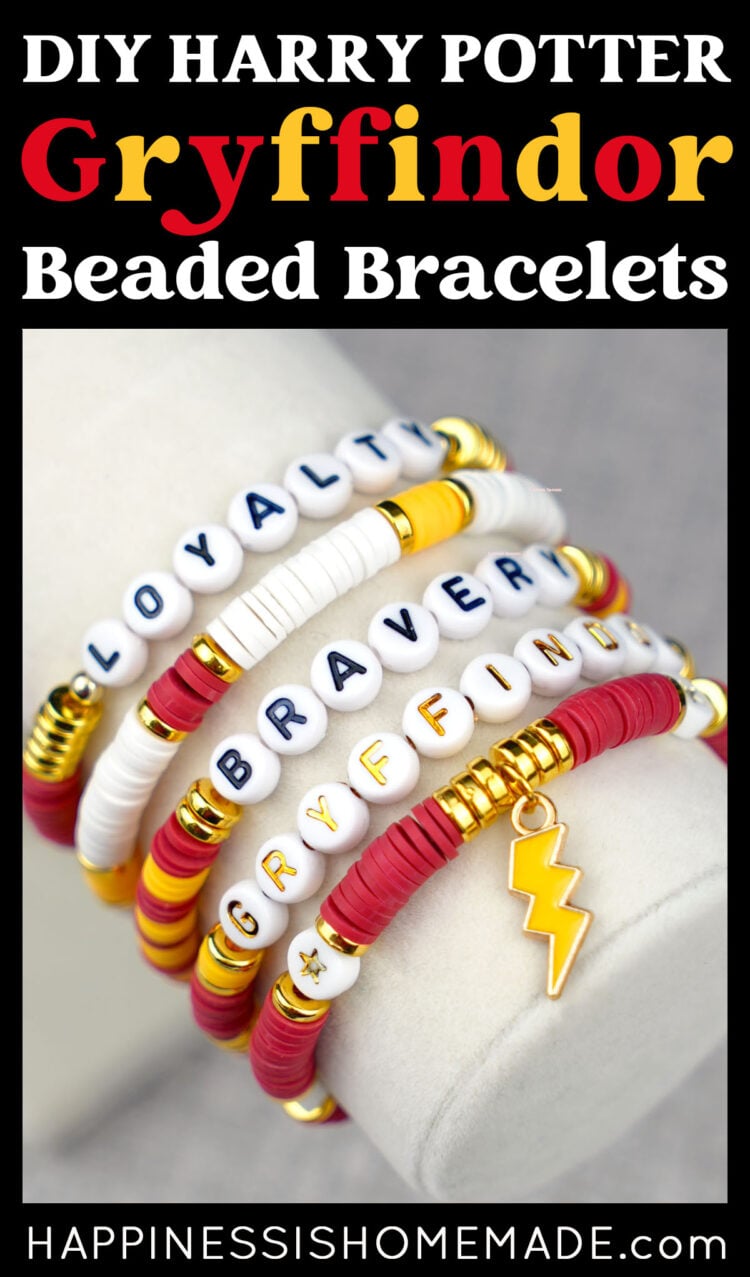
Learn how to make Harry Potter-inspired Gryffindor bracelets and represent your Hogwarts house in style!
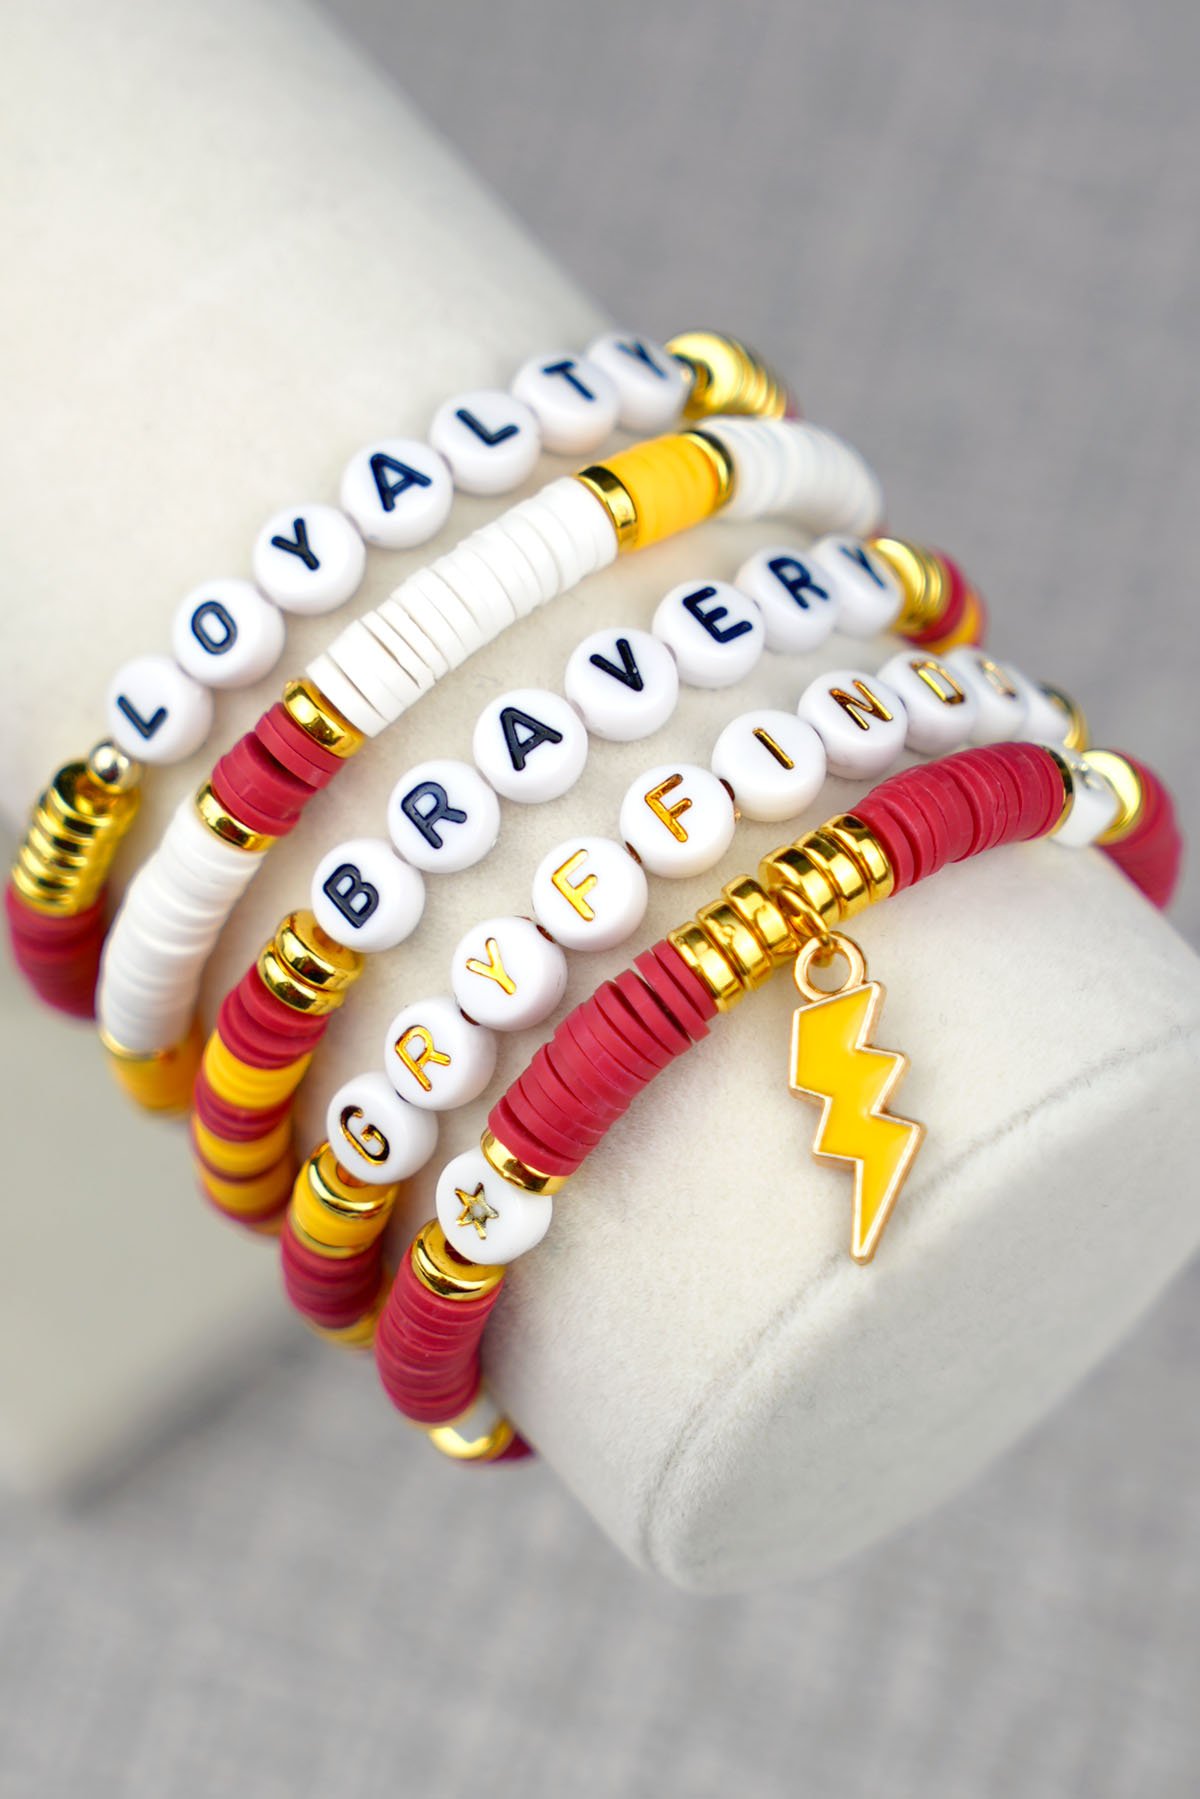
Skill Level: Beginner – these beaded Gryffindor friendship bracelets are an easy Harry Potter craft project for ages 6+ through adults. Younger children may need adult assistance with tying secure knots.
The tradition of making and exchanging Friendship Bracelets has connected friends around the world for generations. With the Taylor Swift Friendship Bracelet craze taking over with the Eras Tour, this trend has become more popular than ever! I even came across a post recently about people trading bracelets at a Blink-182 punk rock concert. It seems friendship bracelets are popping up everywhere!
I have been having SO much fun making themed bracelet sets, and since I am a huge Harry Potter fan, I knew I had to make some Hogwarts house bracelet sets. Today, I’m sharing how to make these cute, beaded Gryffindor friendship bracelets, and the rest of the houses will be coming soon!
These easy DIY beaded friendship bracelets make great gift idea for your favorite Gryffindor friend or family member!
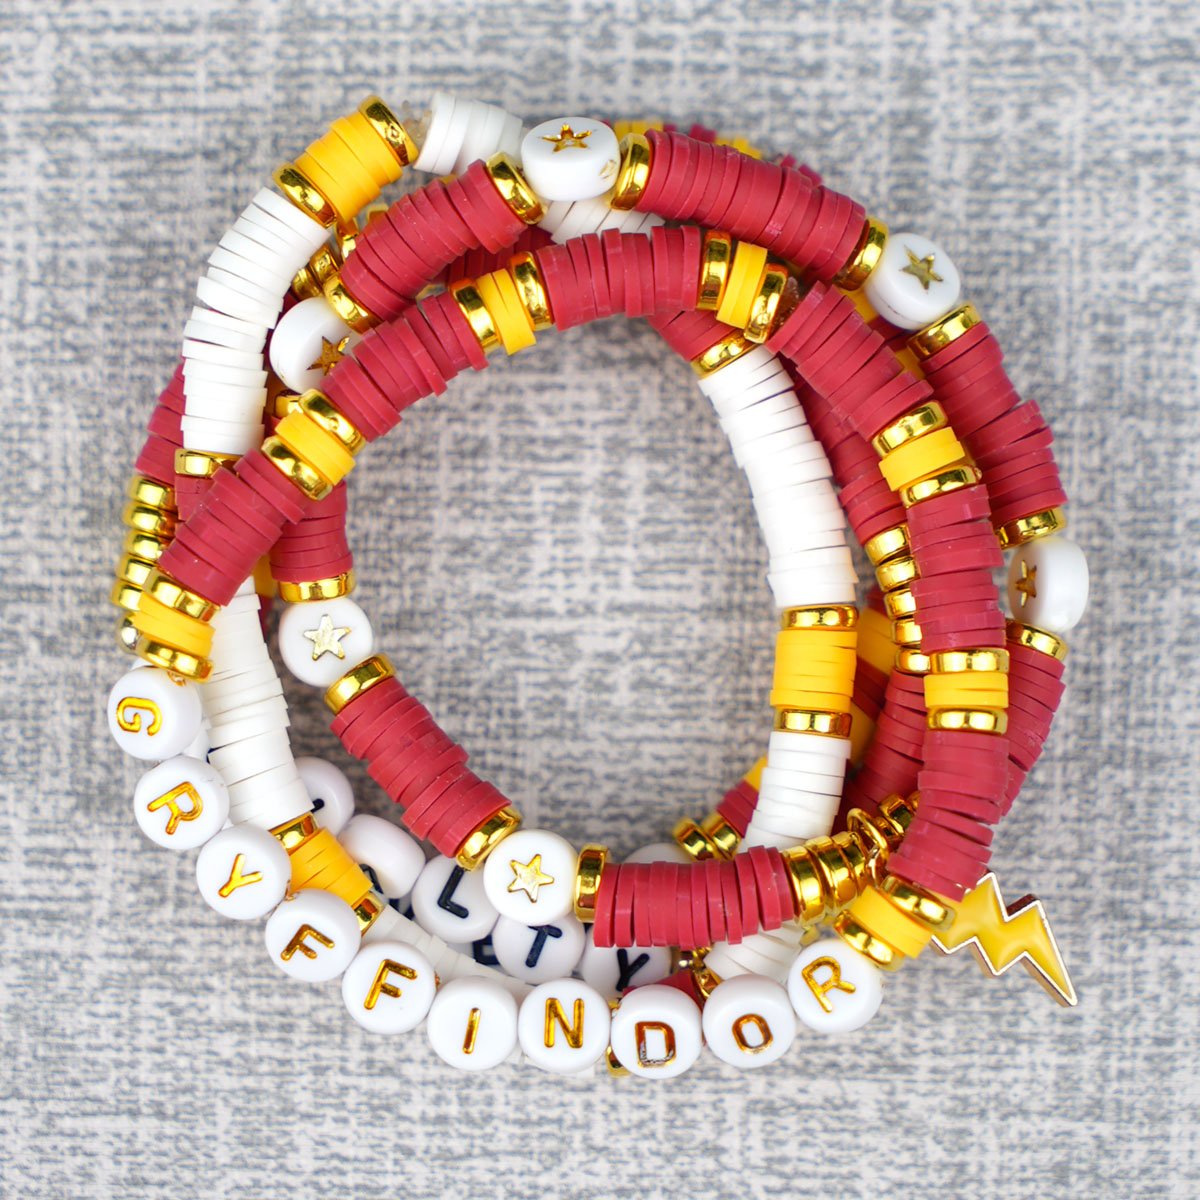
DIY Gryffindor Friendship Bracelets
Making these Harry Potter bracelets is both quick and simple, requiring only a few supplies.
This post may contain affiliate links. I will receive a small commission from these sales at no additional cost to you!
Gryffindor Bracelet Supplies
How to Make a Beaded Bracelet: The Basics
Note: the colors shown in this tutorial here are for basic bracelet-making demonstration purposes. Gryffindor patterns will follow below!
Step 1. Starting the Bracelet
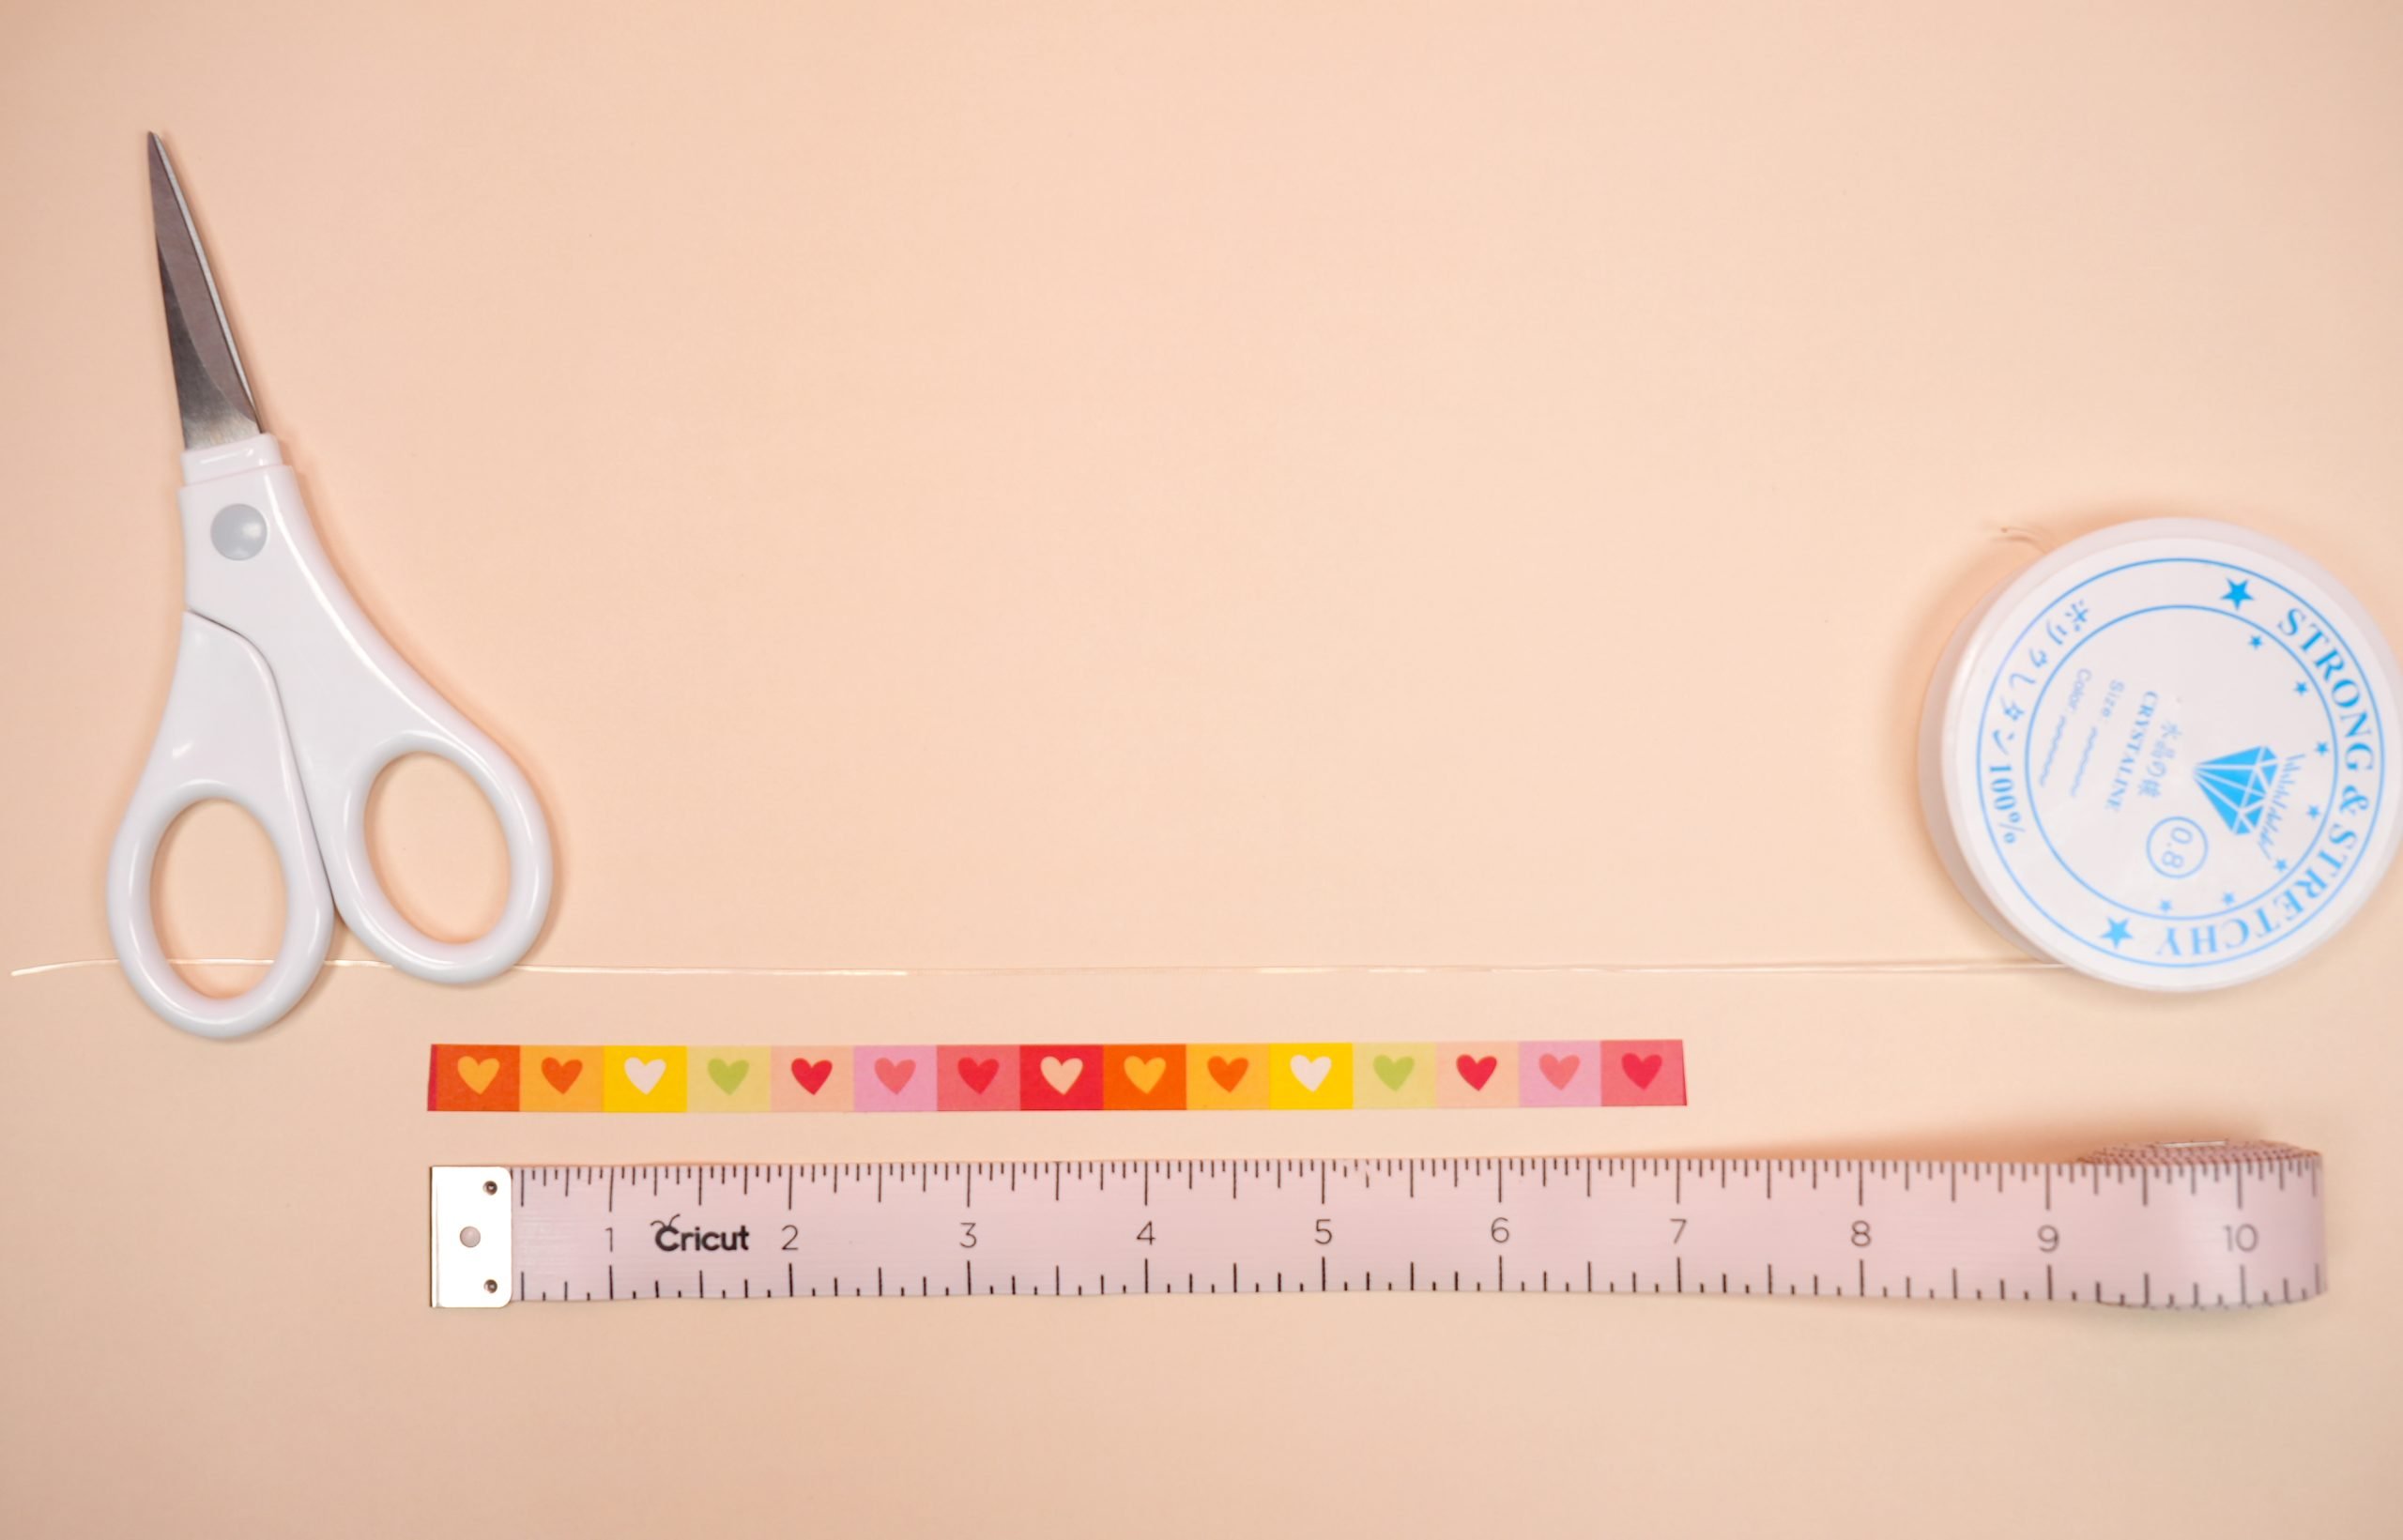
To begin, cut a length of stretchy cord that is approximately 10-12″ long.
Grip the ends of the cord and pull to stretch. Pre-stretching the piece of cord will allow you to tie tighter knots at the end!
Heidi’s Pro Tip:
To make quick work of measuring the cord, add a piece of washi tape to your desk that is 7″ long (or whichever wrist size that you prefer). This measurement should be the equivalent of how many inches of beads you need for your bracelet. To cut the stretchy cords, simply extend the cord 1.5″ or so from each end of the washi tape and then cut to length.
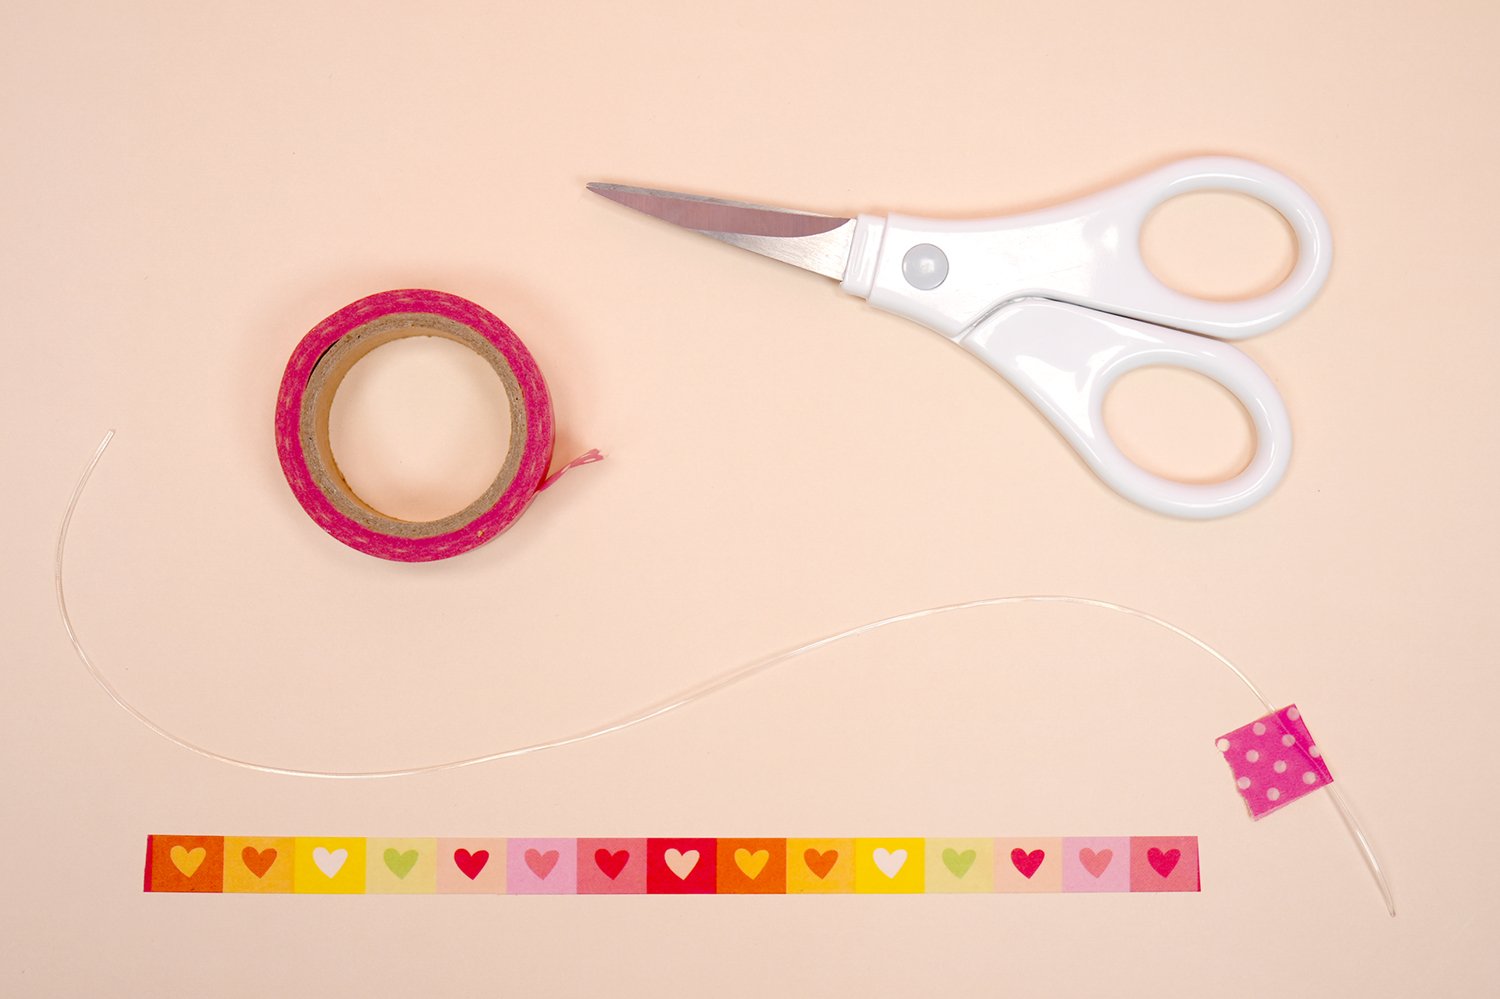
Add a small piece of washi tape or a piece of scotch tape to the end of the elastic cording, and fold the tape back on itself. This will create a barrier so that your beads don’t slip off the end of the cord.
Alternatively, you could forego the tape and instead attach a mini binder clip to the end of the string (but I personally prefer to use the tape method).
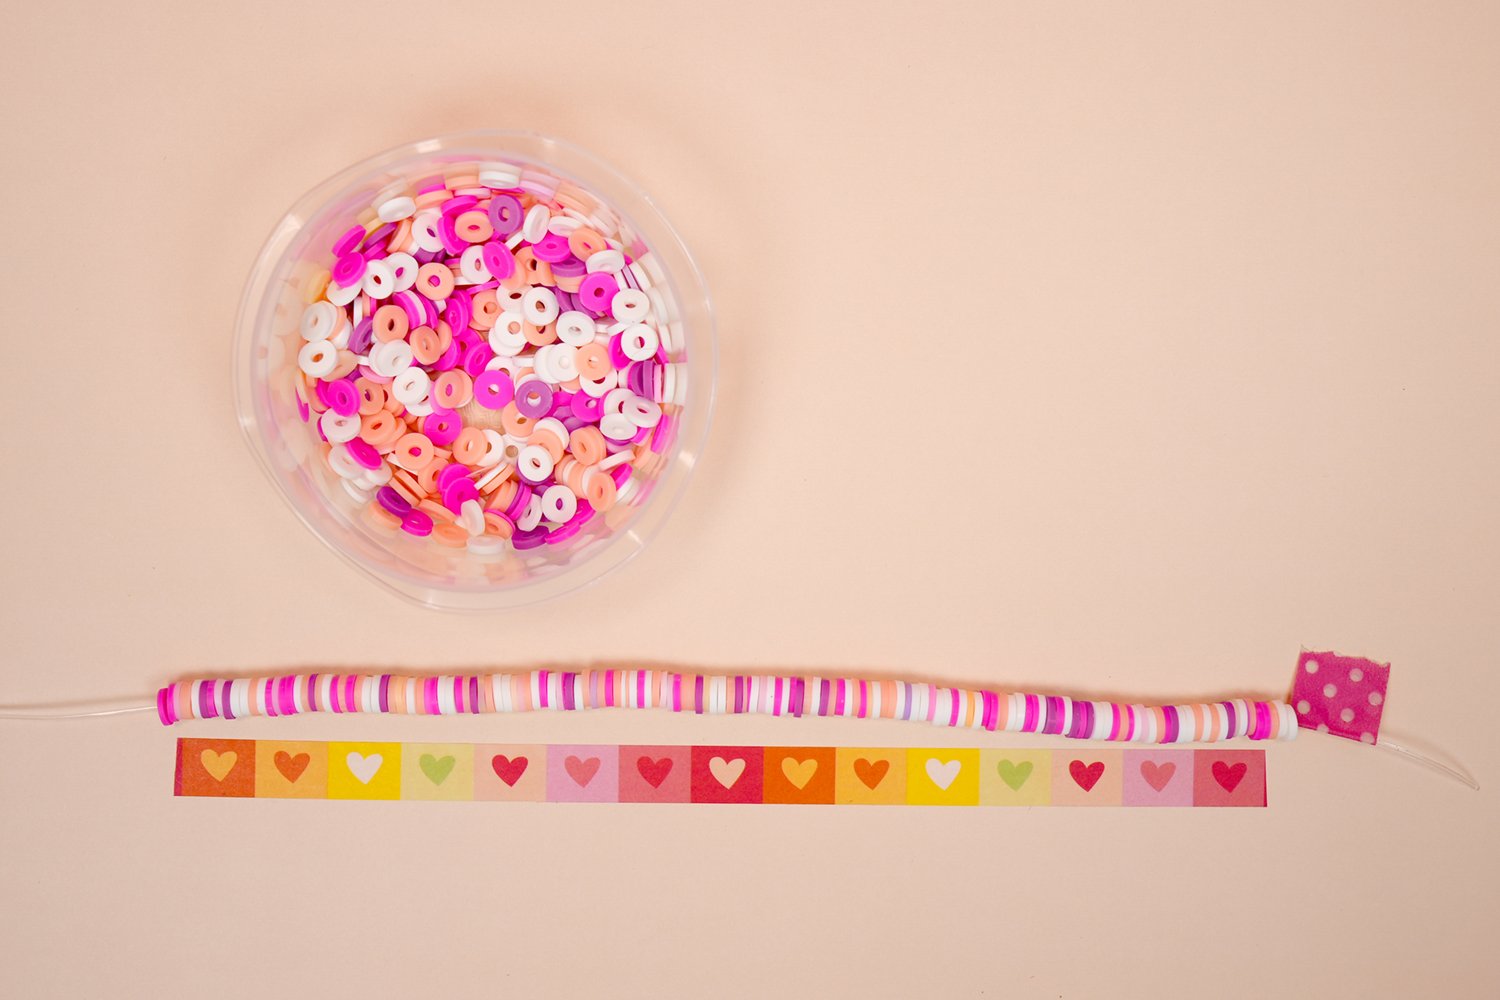
Step 2. Beading the Bracelet
Add beads to the bracelet string (following the patterns below) until it reaches the desired length.
Again, you can use that handy strip of washi tape to easily measure the length at a glance!
Step 3. How to Tie a Beaded Bracelet
My favorite way to tie clay bead bracelets is with a surgeon’s knot. It’s quite simple to do, and it holds better than a typical square knot.
Follow the video above: tie a half-knot, then another half-knot (do NOT pull the second half-knot tight yet!). Loop each tail through one more time, and then pull tightly.
Add a small dot of gel glue to the knot and allow to dry completely before trimming the strings.
Gryffindor Bracelet Patterns
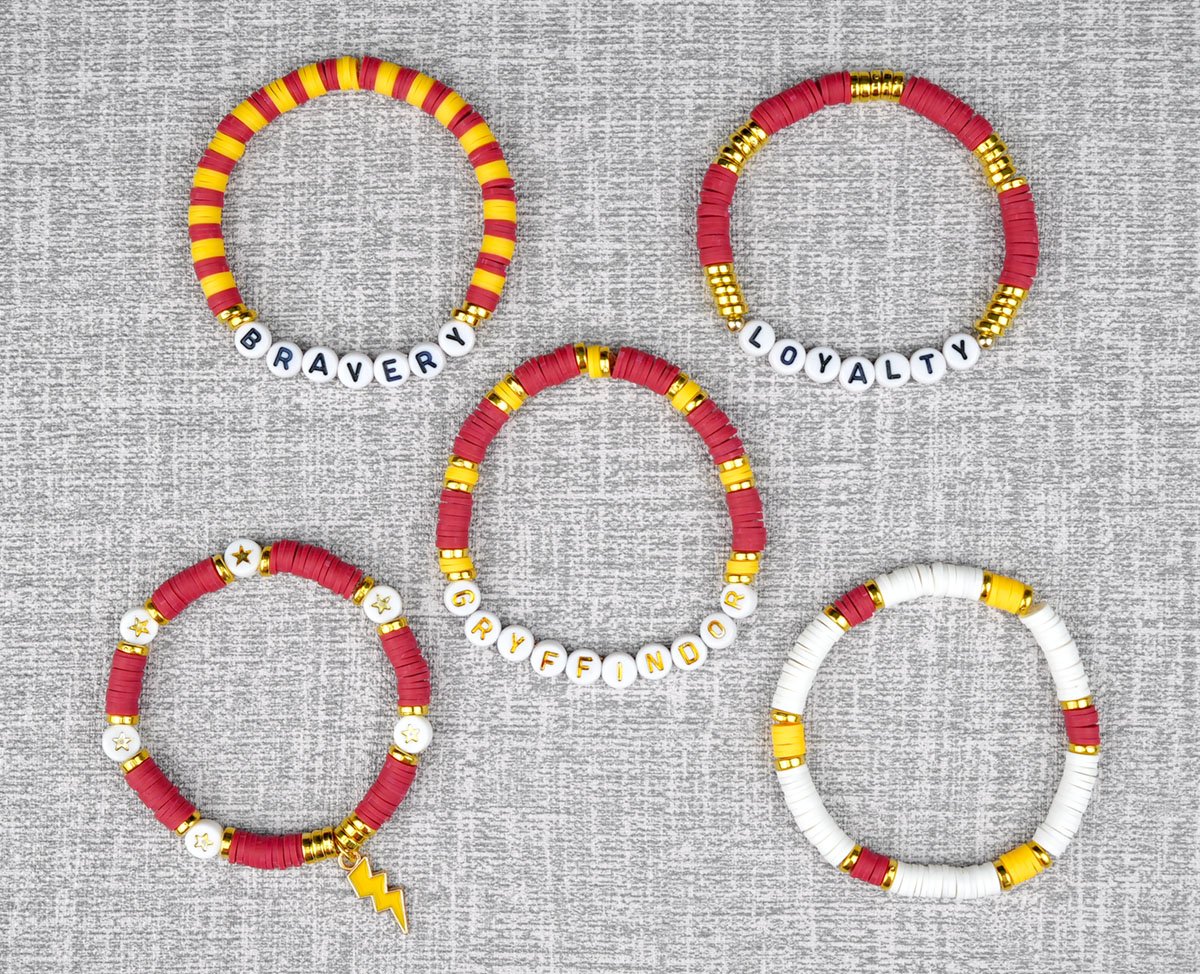
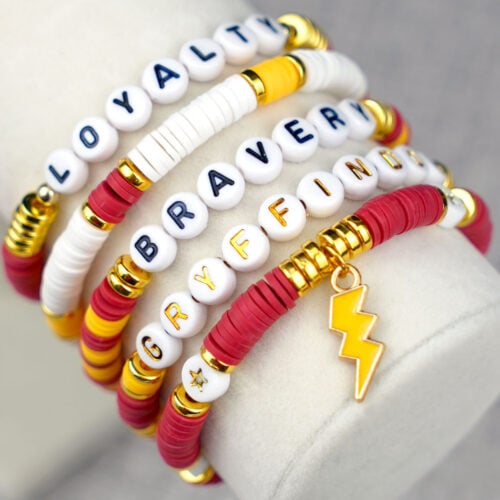
For my Gryffindor bracelets, I used the words Bravery and Loyalty since they are key Gryffindor traits, but you could also choose to use other fitting words such as:
- Courage
- Daring
- Determination
- Honor
- Chivalry
- Honesty
- Bold/Boldness
- Nerve
- Strength
Or, you could even opt to use the name of your favorite Gryffindor characters. Notable Gryffindors include Harry Potter, Hermione Grainger, Ron Weasley, Neville Longbottom, Sirius Black, Remus Lupin, Albus Dumbledore, Rubeus Hagrid, and Minerva McGonagall.
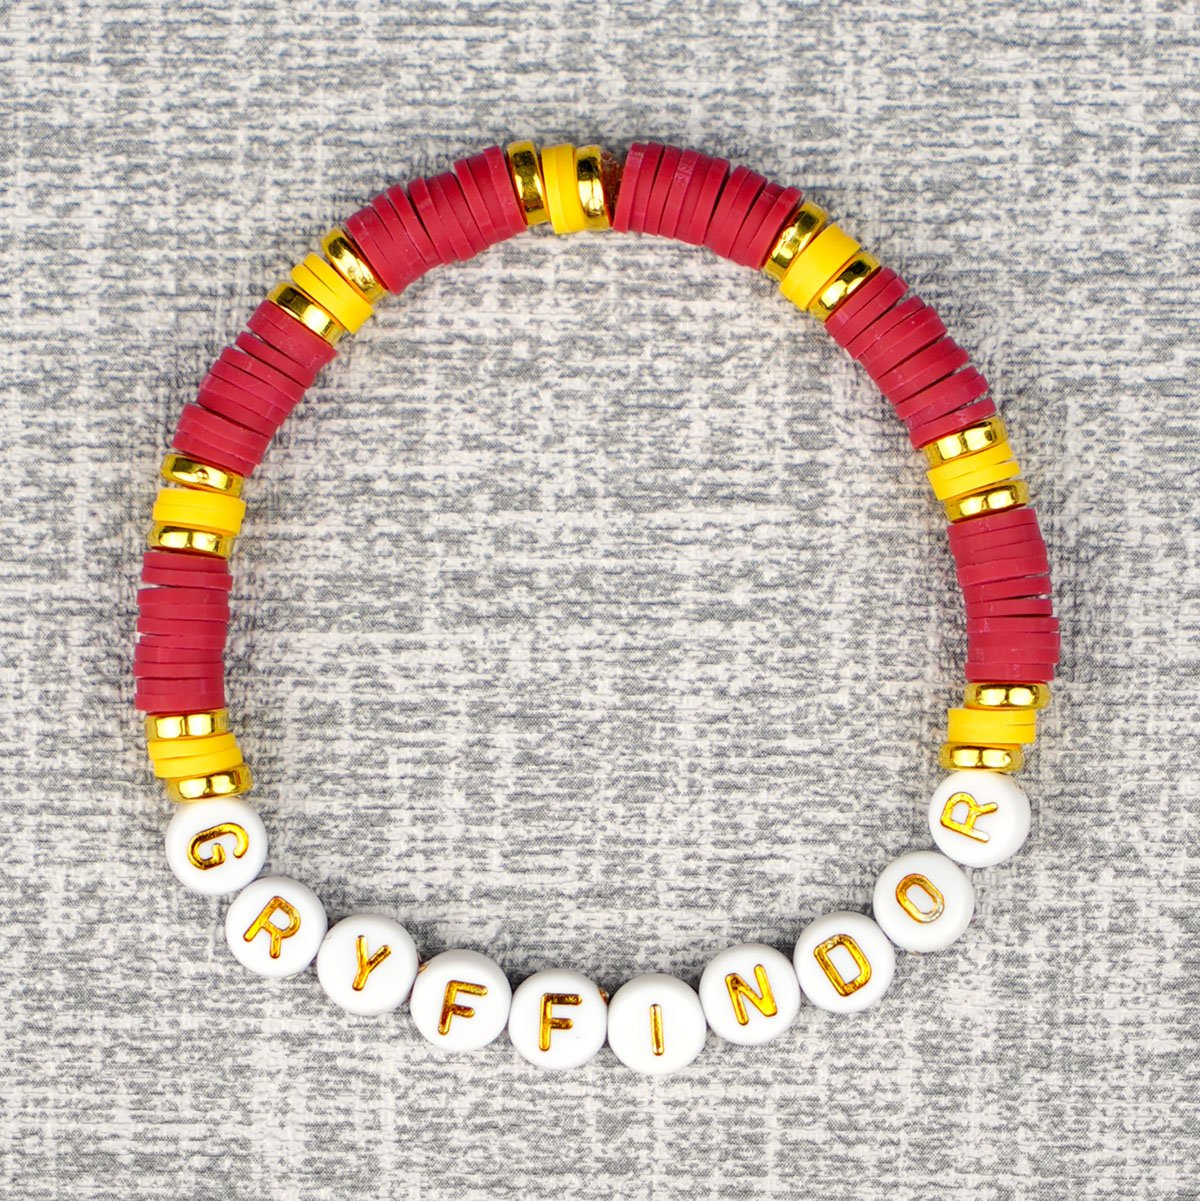
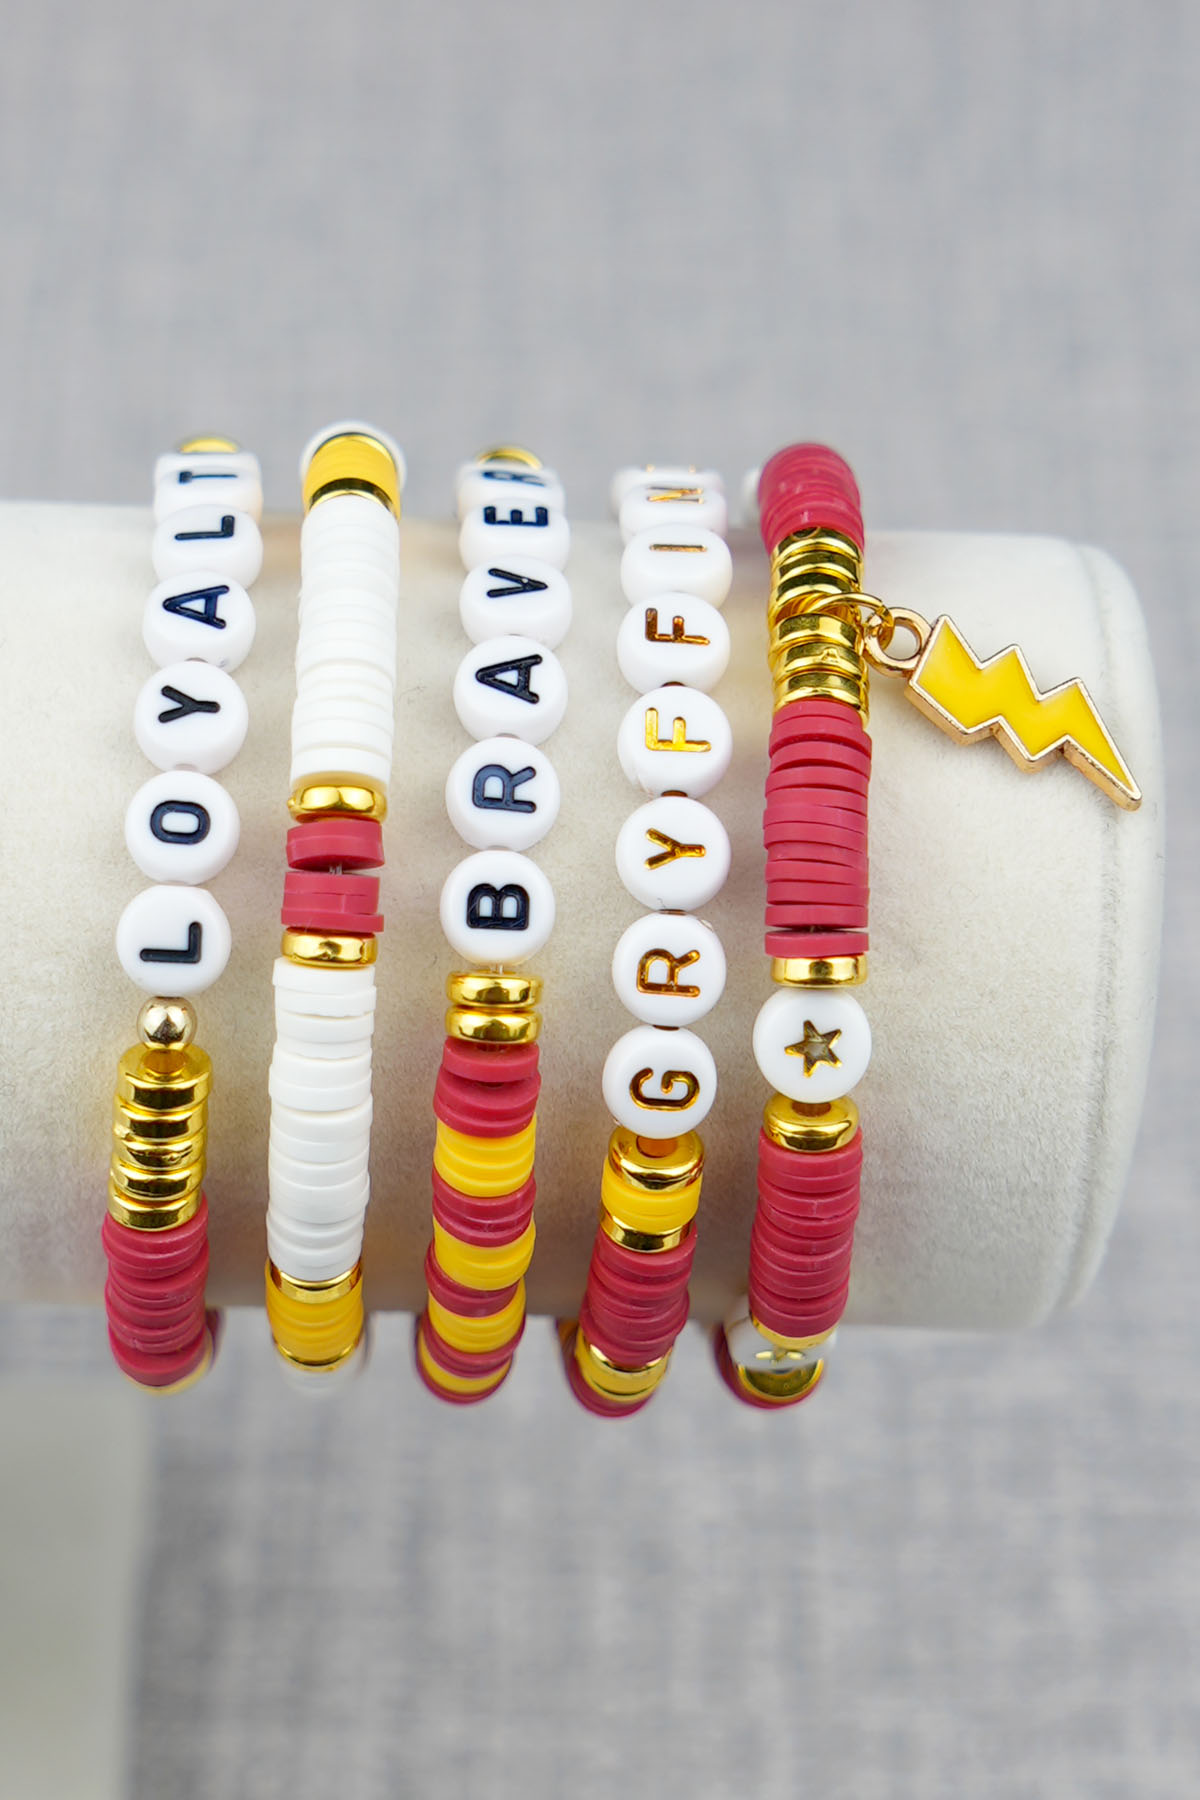
Gryffindor Bracelet
String the beads as follows:
- 10 Dark Red Clay Beads
- Gold Spacer Bead
- 2 Yellow Clay Beads
- Gold Spacer Bead
Repeat this pattern three times. Then, string the alphabet beads to spell out GRYFFINDOR, and repeat the pattern on the opposite side until the desired length is reached.
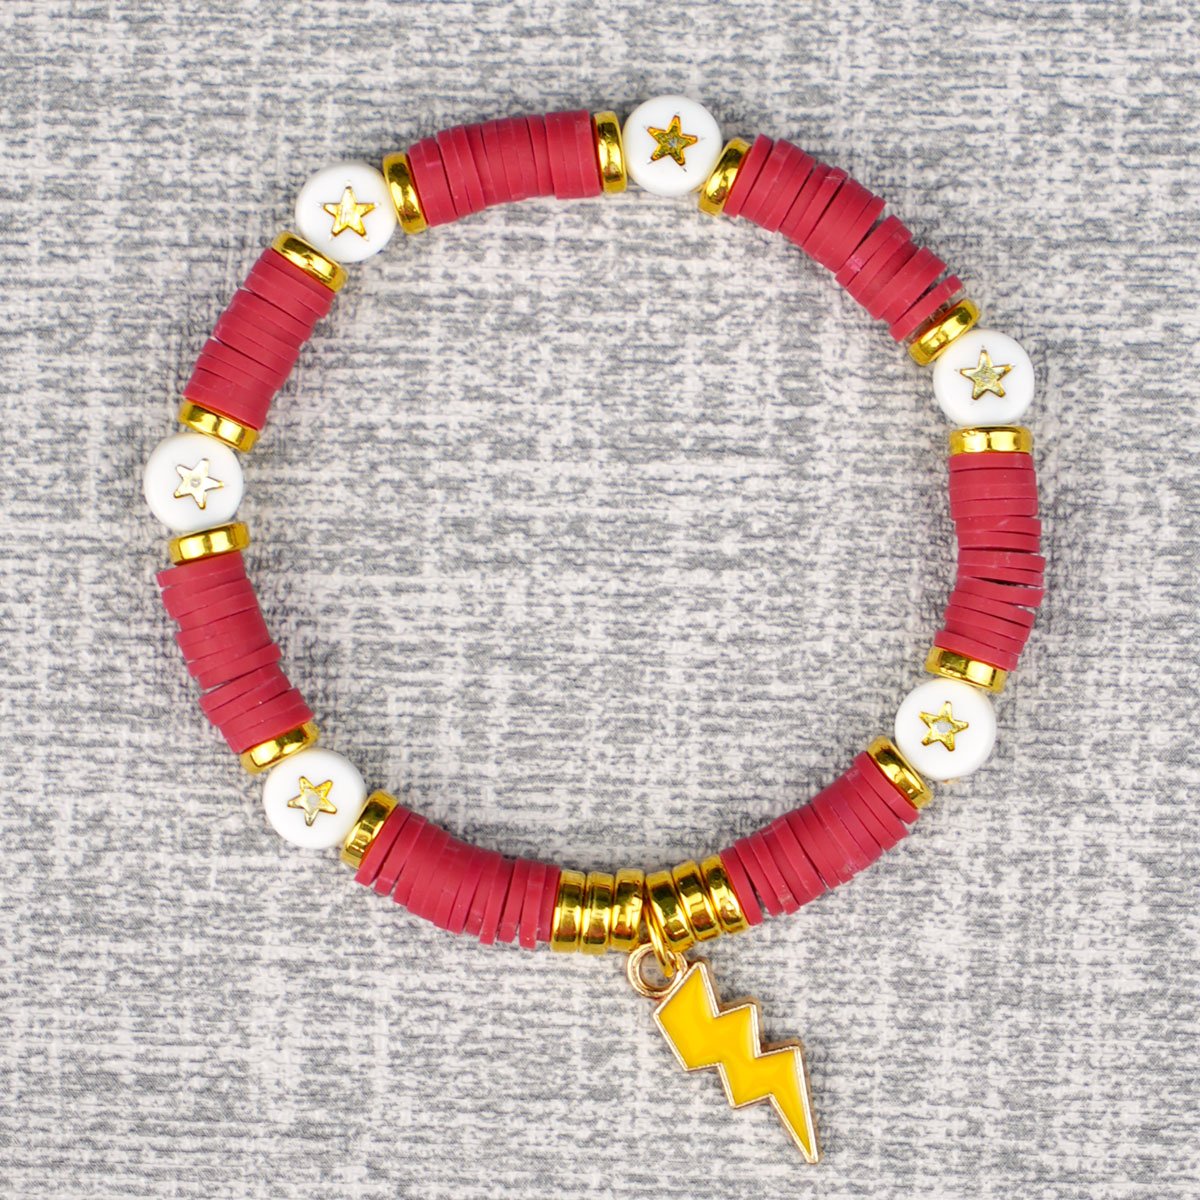
Lightning Bolt Bracelet
String the beads as follows:
- 12 Dark Red Clay Beads
- Gold Spacer Bead
- Gold Star Bead
- Gold Spacer Bead
- Repeat the above pattern one time, followed by
- 12 Dark Red Beads
- 3 Gold Spacer Beads
- Lightning Bolt Charm
Then, repeat the pattern on the opposite side until the desired length is reached.
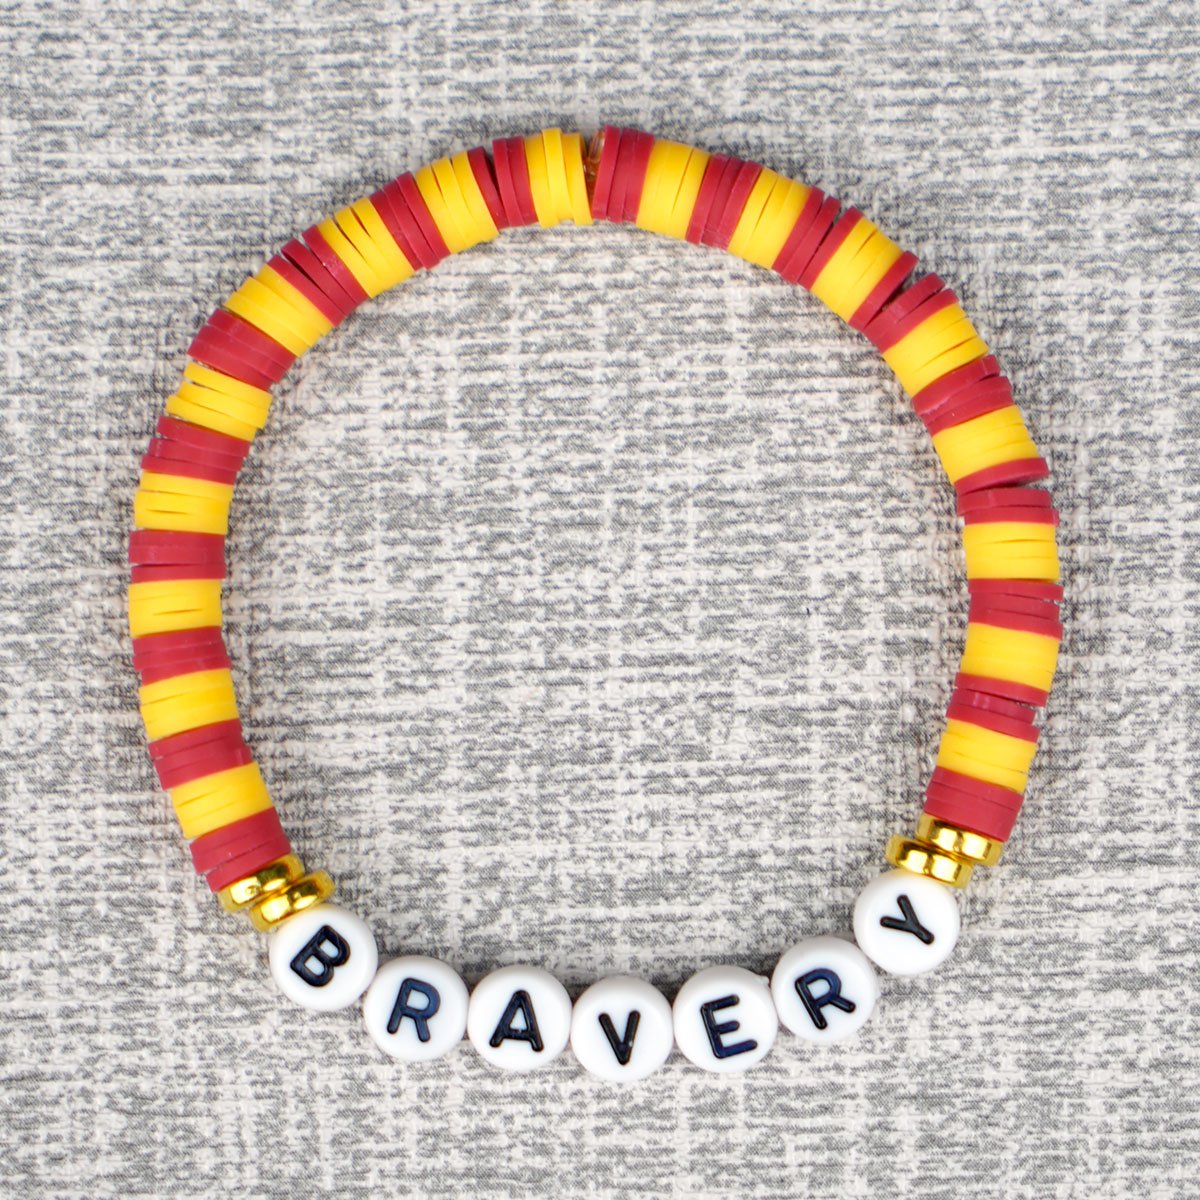
Bravery Bracelet
- 3 Dark Red Clay Beads
- 3 Golden Yellow Clay Beads
- Repeat this pattern 7 times
- 3 Dark Red Clay Beads
- 2 Gold Spacer Beads
- “Bravery” Alphabet Letters
Repeat the pattern on the opposite side until the desired length is reached.
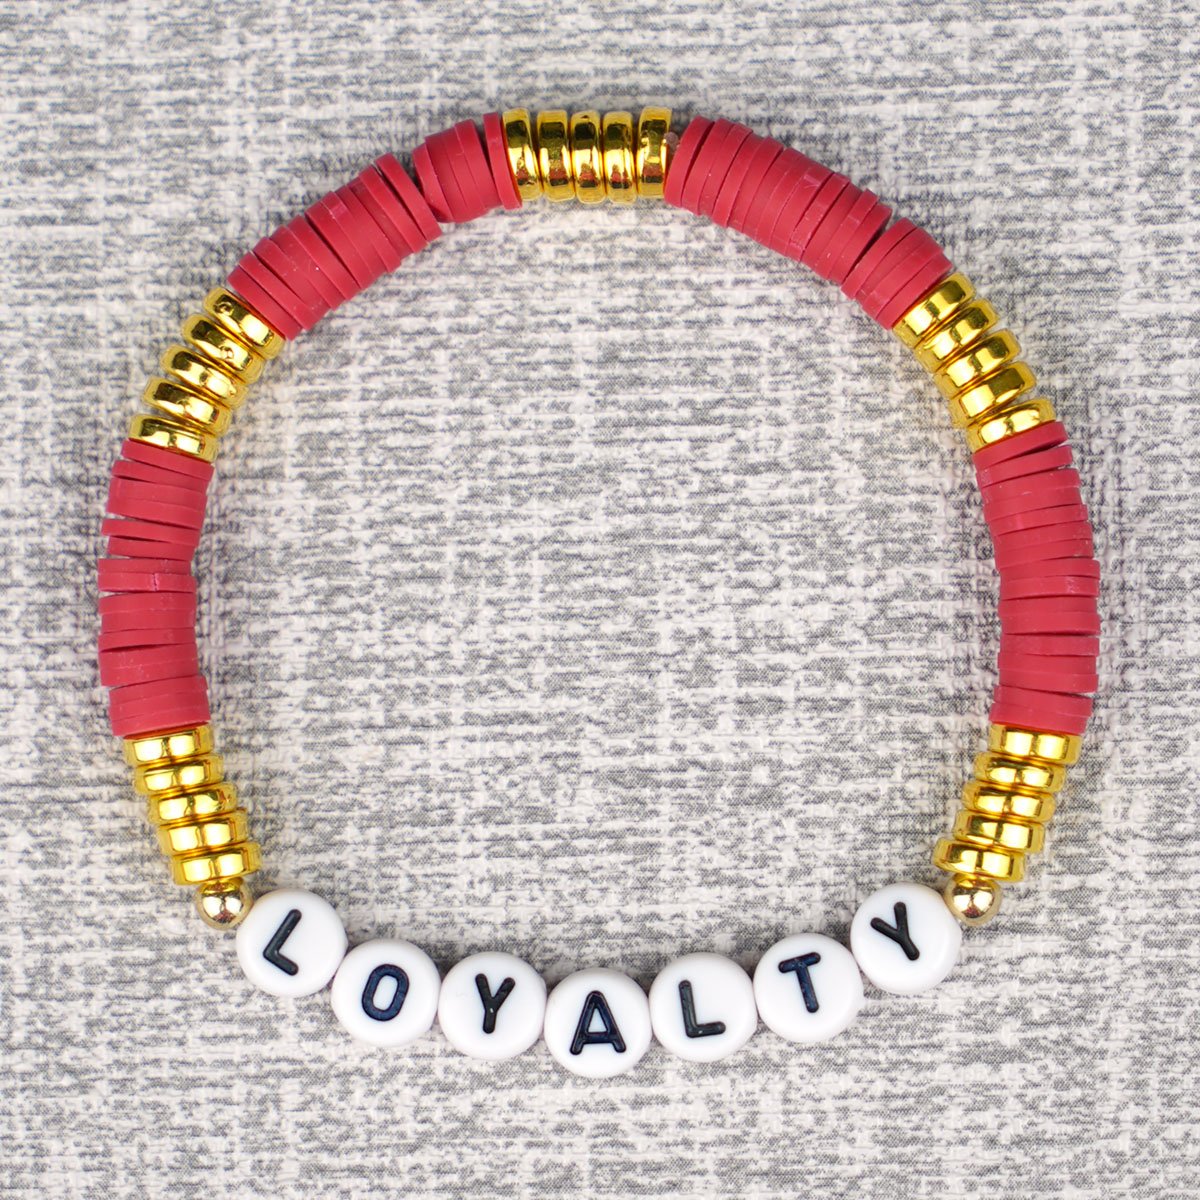
Loyalty Bracelet
- 16 Dark Red Clay Beads
- 5 Gold Spacer Beads
- Repeat this pattern once
- Round Gold Bead
- “Loyalty” Alphabet Letters
Repeat the pattern on the opposite side until the desired length is reached.
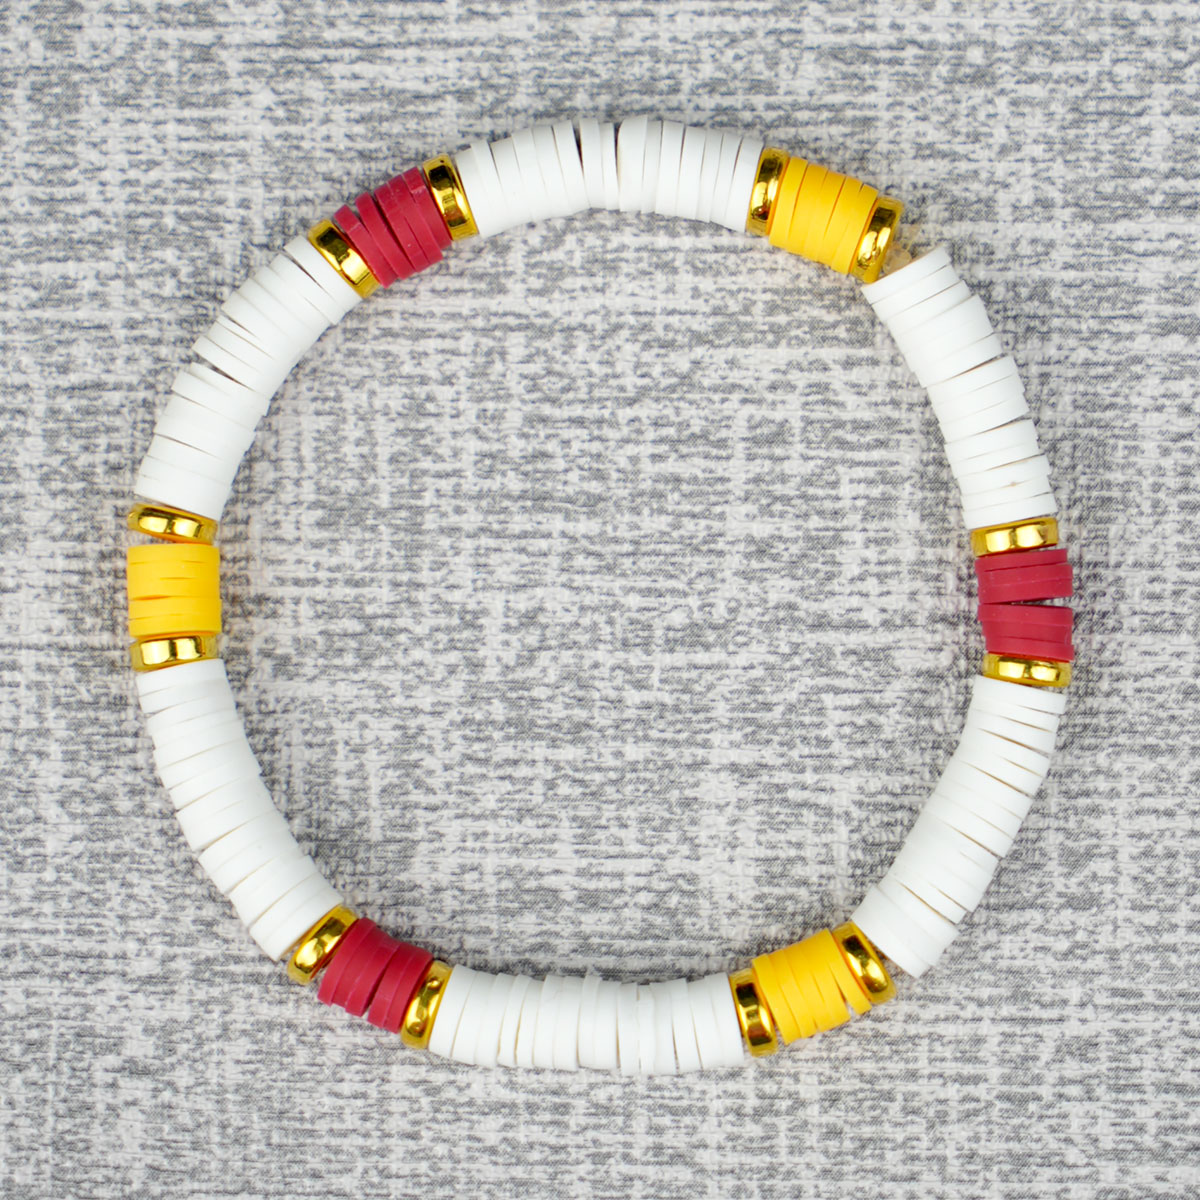
House Colors Bracelet
- 15 White Clay Beads
- Gold Spacer Bead
- 5 Dark Red Clay Beads
- Gold Spacer Bead
- 15 White Clay Beads
- Gold Spacer Bead
- 5 Yellow Clay Beads
- Gold Spacer Bead
Repeat this pattern two more times.
Beaded Friendship Bracelet FAQs
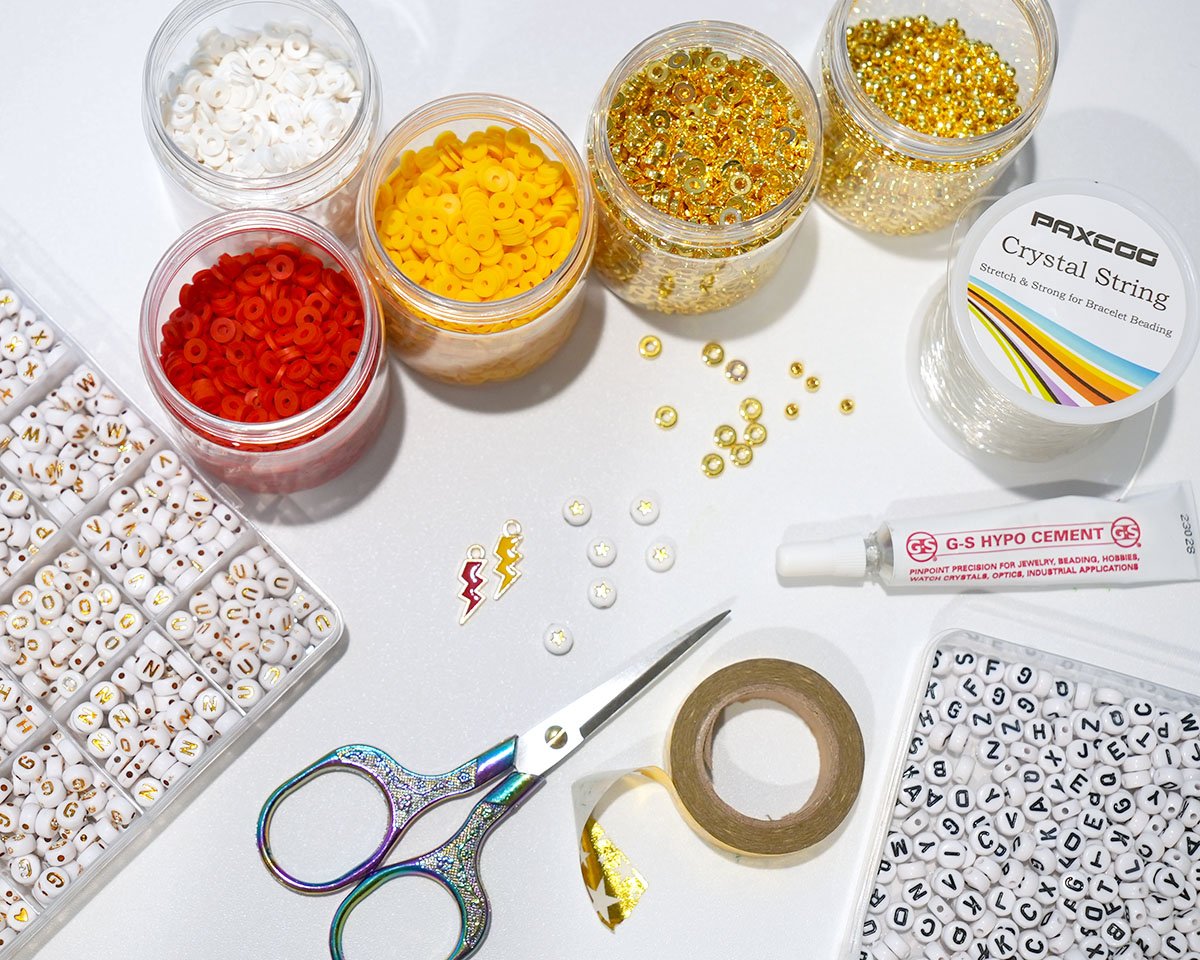
What You’ll Need:
- 6mm Clay Beads, dark red, golden yellow, and white
- Alphabet Beads
- Flat Gold Spacer Beads, 6mm
- Gold Star Beads
- Lightning Bolt Charm
- Stretchy Elastic Cord
- Washi Tape or Scotch Tape
- Super Glue Gel or GS Hypo Cement
Instructions:
- Cut a length of stretchy cord 10-12″ long. Grip the ends of the cord and pull to stretch.
- Add a small piece of washi tape or a piece of scotch tape to the end of the elastic cording, and fold the tape back on itself. This will create a barrier so that your beads don’t slip off the end of the cord.
- Add beads to the bracelet string following the patterns in the blog post until it reaches the desired length.
- Tie the ends into a surgeon's knot (see video linked below). Add a small dot of gel glue to the knot and allow to dry completely before trimming the strings.
More Fun DIY Bracelet ideas
- 25+ Friendship Bracelets – lots of fun ideas for making unique friendship bracelets!
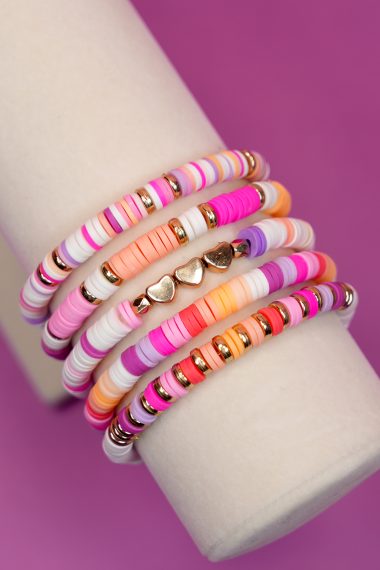
- Preppy Clay Bead Bracelets – learn how to make your own set of preppy bracelets!
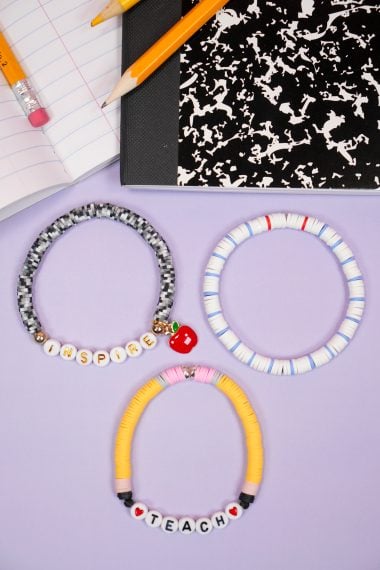
- DIY Teacher Bracelet Set – easy DIY teacher bracelets that look like pencils, notebook paper, and a composition book!
- Shrinky Dink Charm Bracelet – make a super cute donut charm bracelet using shrink plastic!
Check Out These Other DIY Jewelry Ideas!
 DIY Gryffindor Bracelet Set
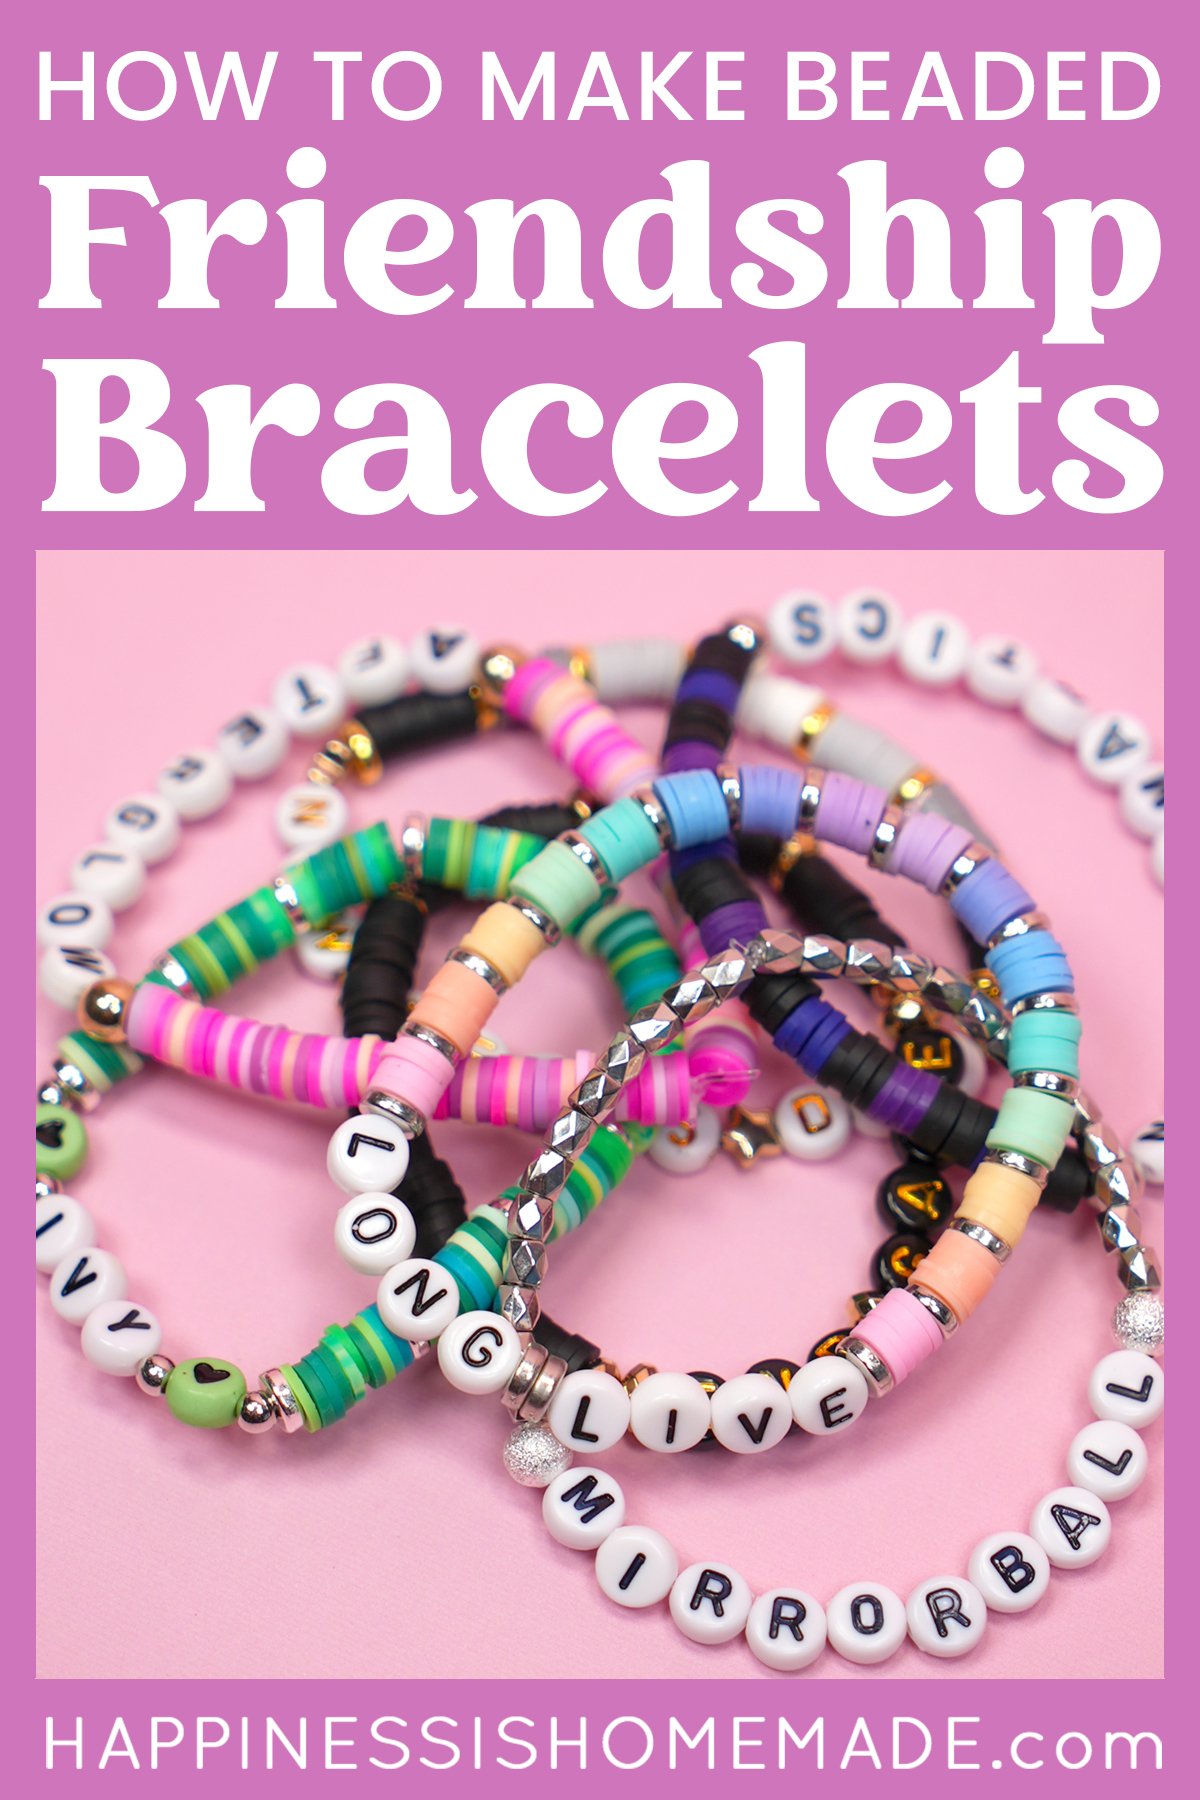
 How to Make Beaded Friendship Bracelets
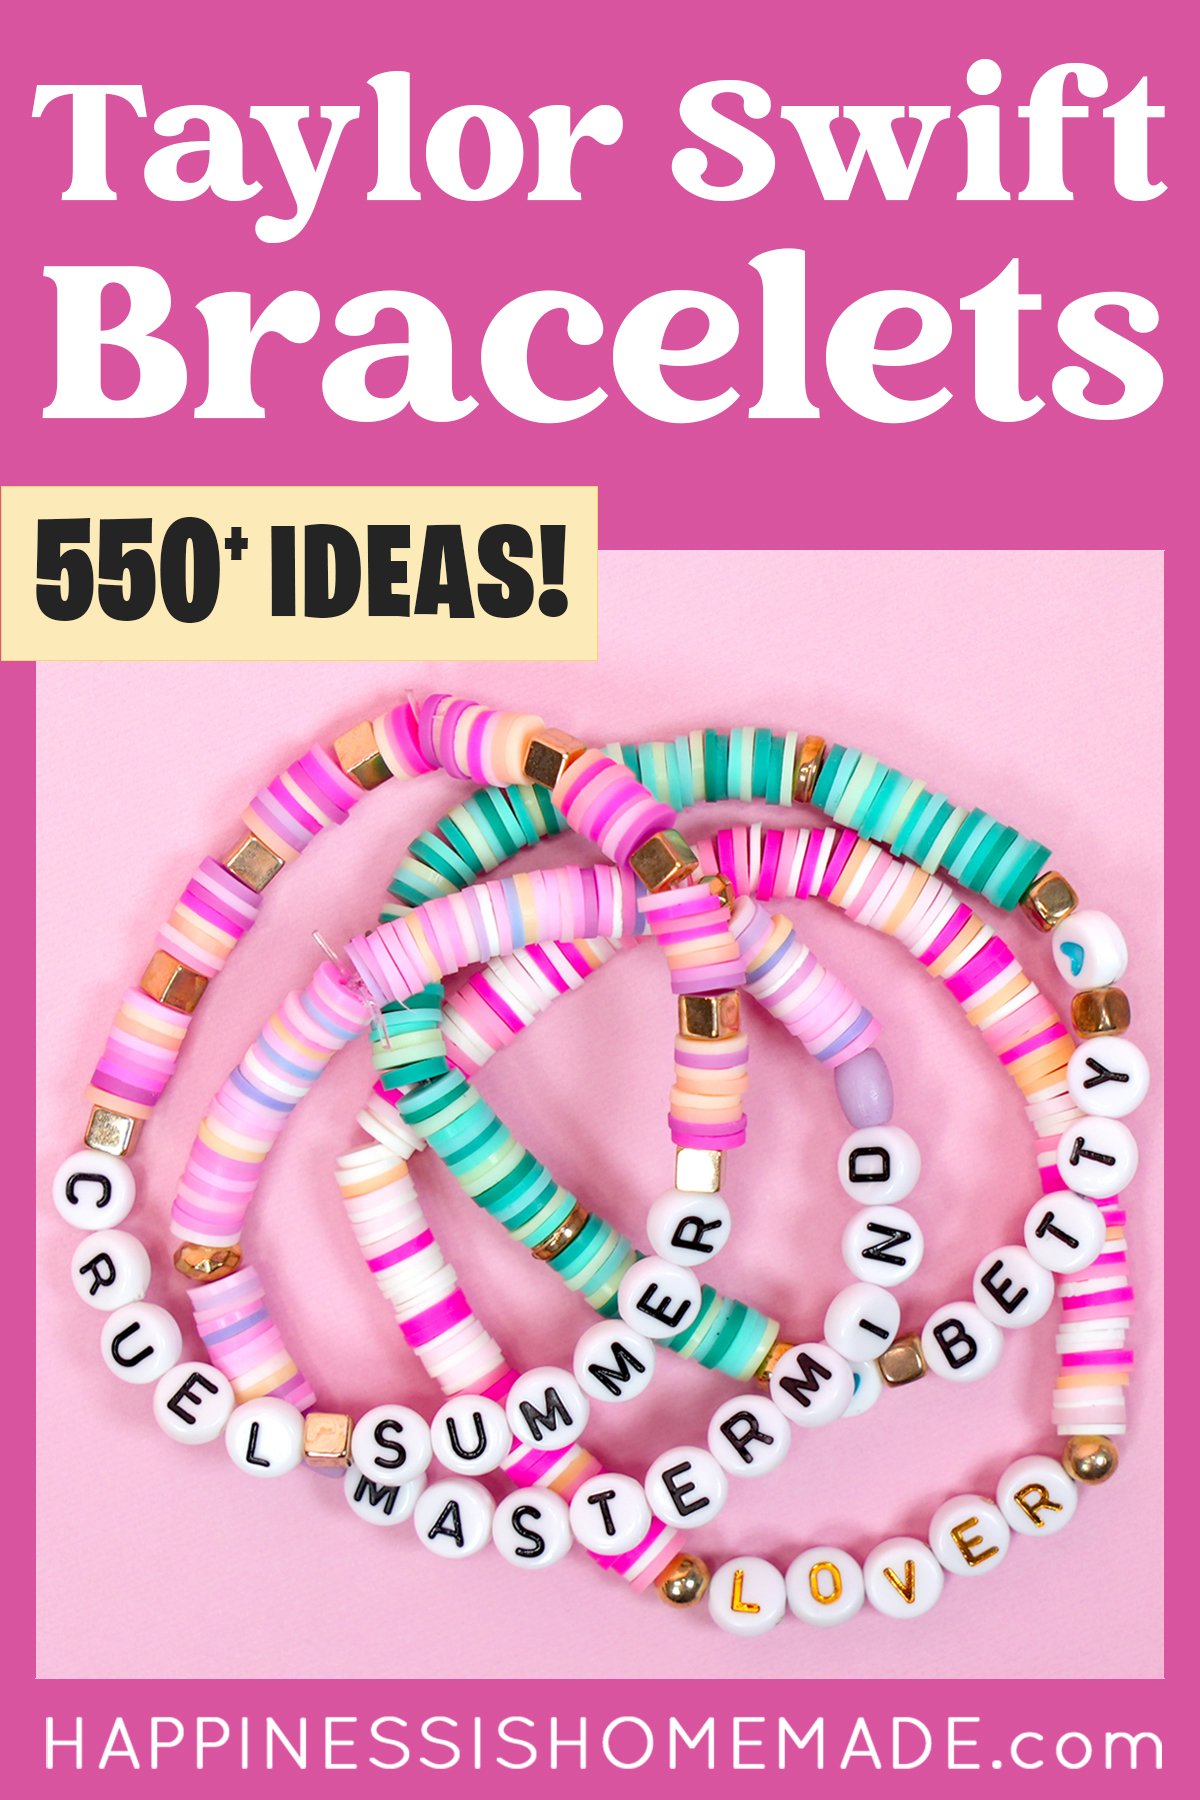
 550+ Taylor Swift Friendship Bracelet Ideas
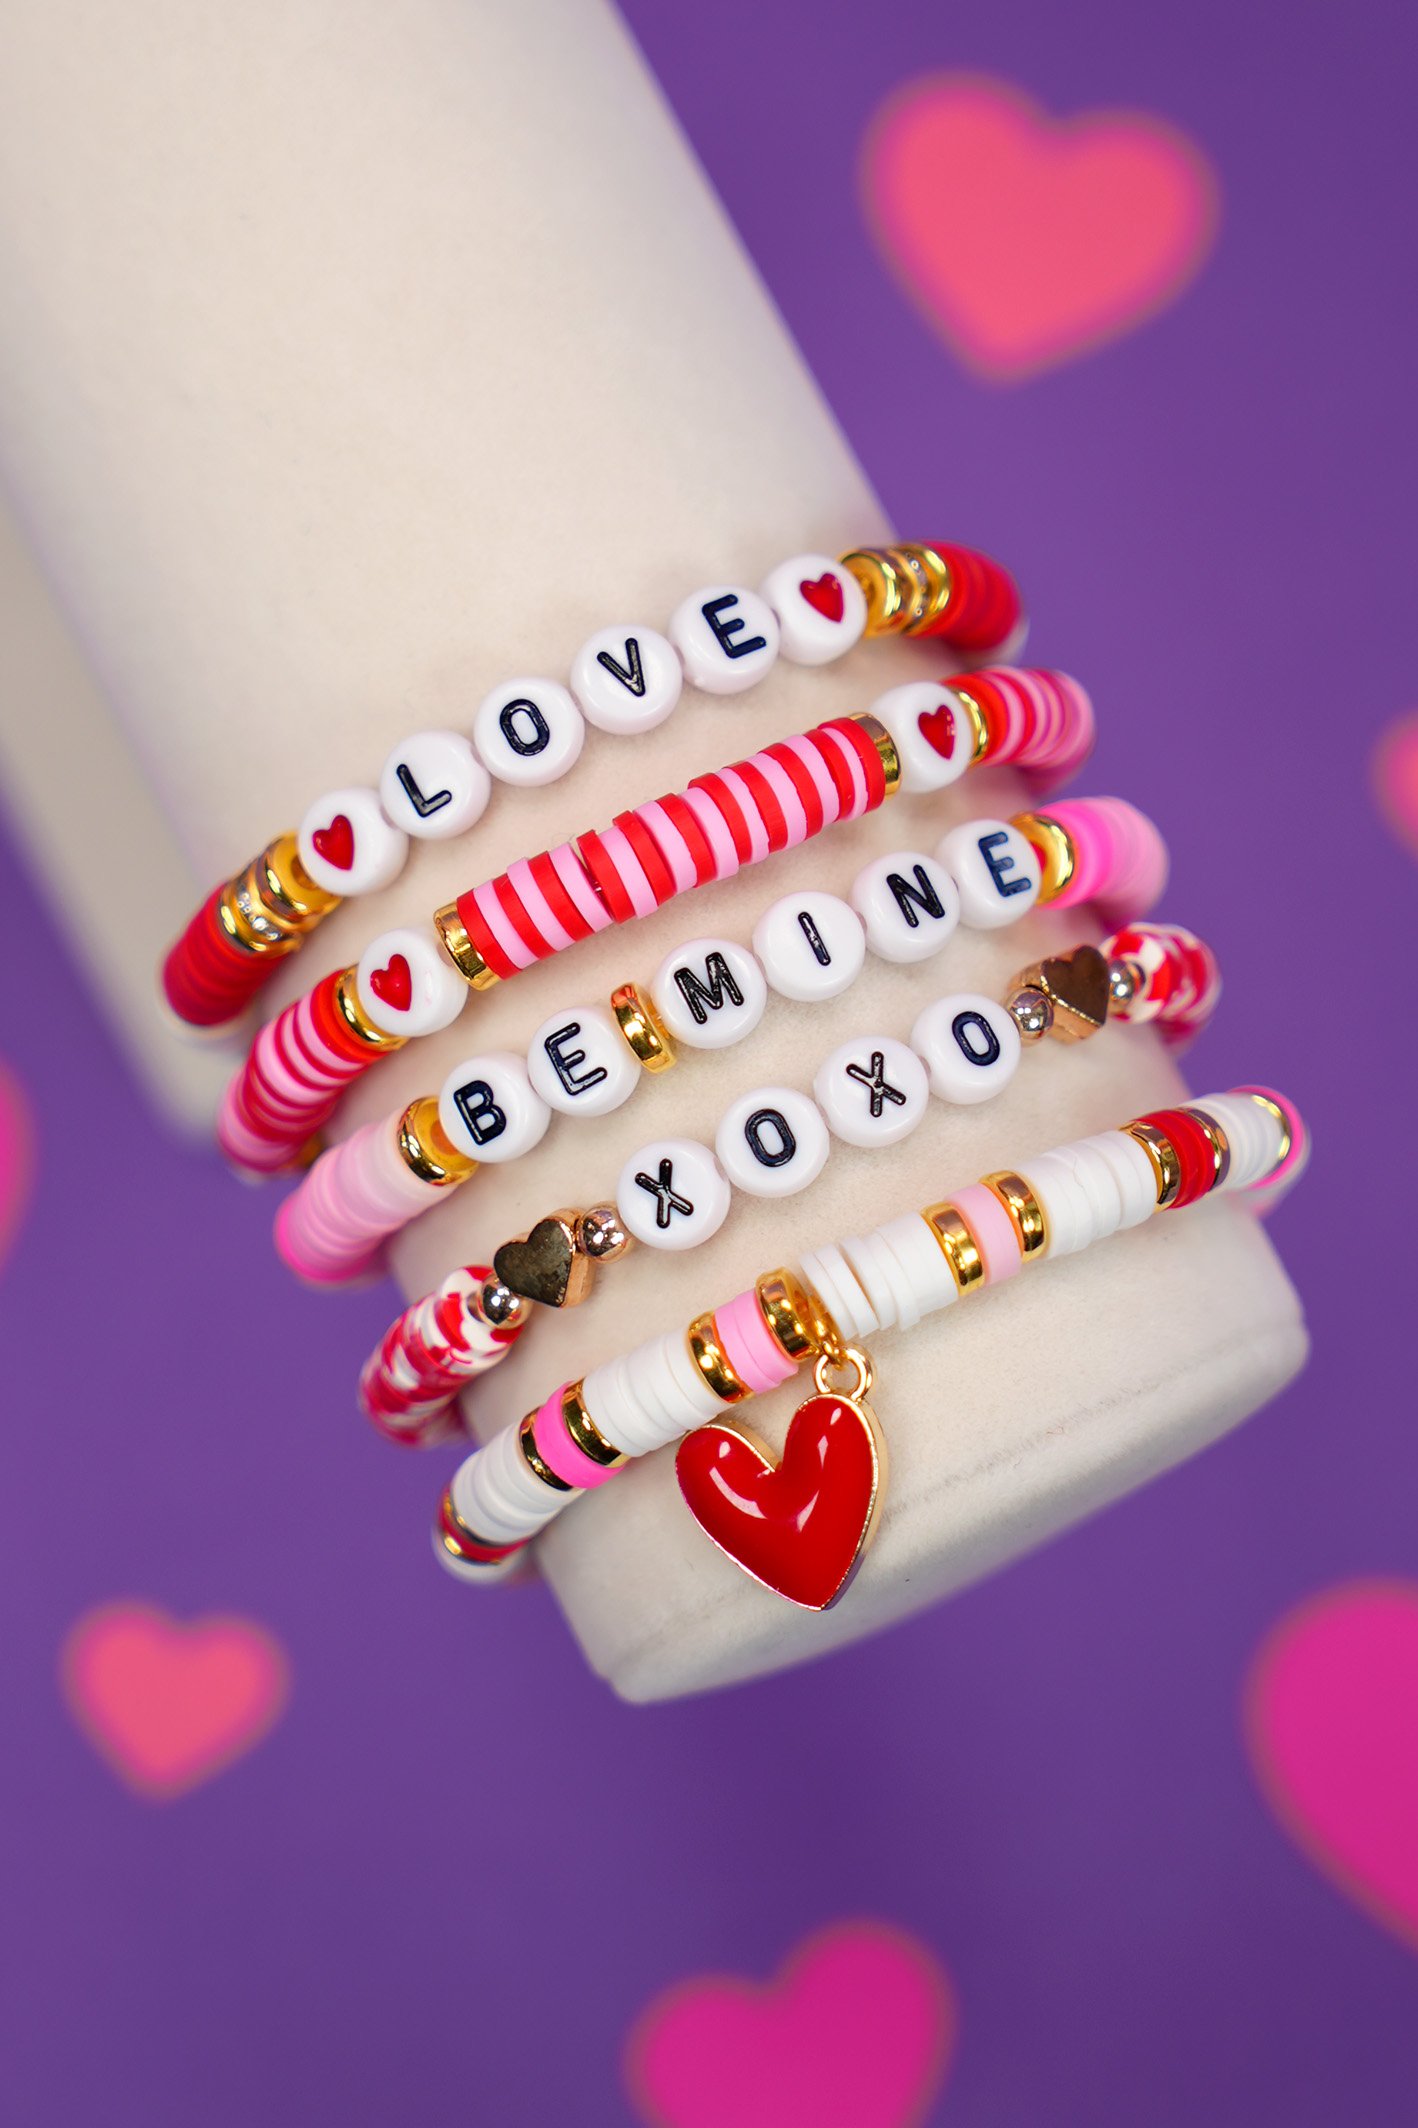
 Easy DIY Valentine’s Day Bracelets
 Easy DIY Teacher Bracelet Set
 Preppy Clay Bead Bracelet Ideas & How-to Tutorial
 25+ DIY Friendship Bracelet Ideas
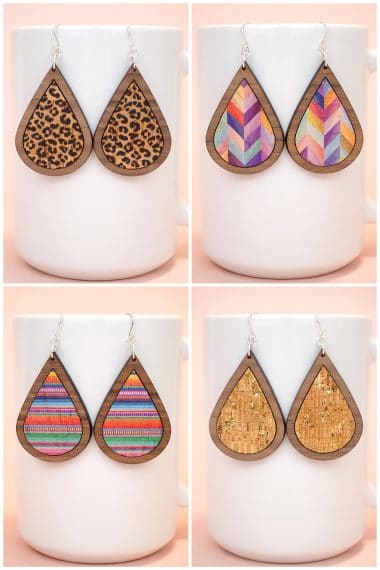
 Laser Cut Wood Earrings with Cork Inlay

Heidi Kundin has captivated the hearts of millions with her colorful and inspiring approach to crafting, celebrations, and family fun. With over 15 years of experience, Happiness is Homemade has become a must-visit destination for those seeking quick and easy creative ideas and last-minute solutions. Heidi’s warm personality shines through her posts, inviting readers to join her on a creative journey that’s fun, rewarding, and achievable. Heidi is also the author of Homemade Bath Bombs & More and DIY Tie-Dye.


