


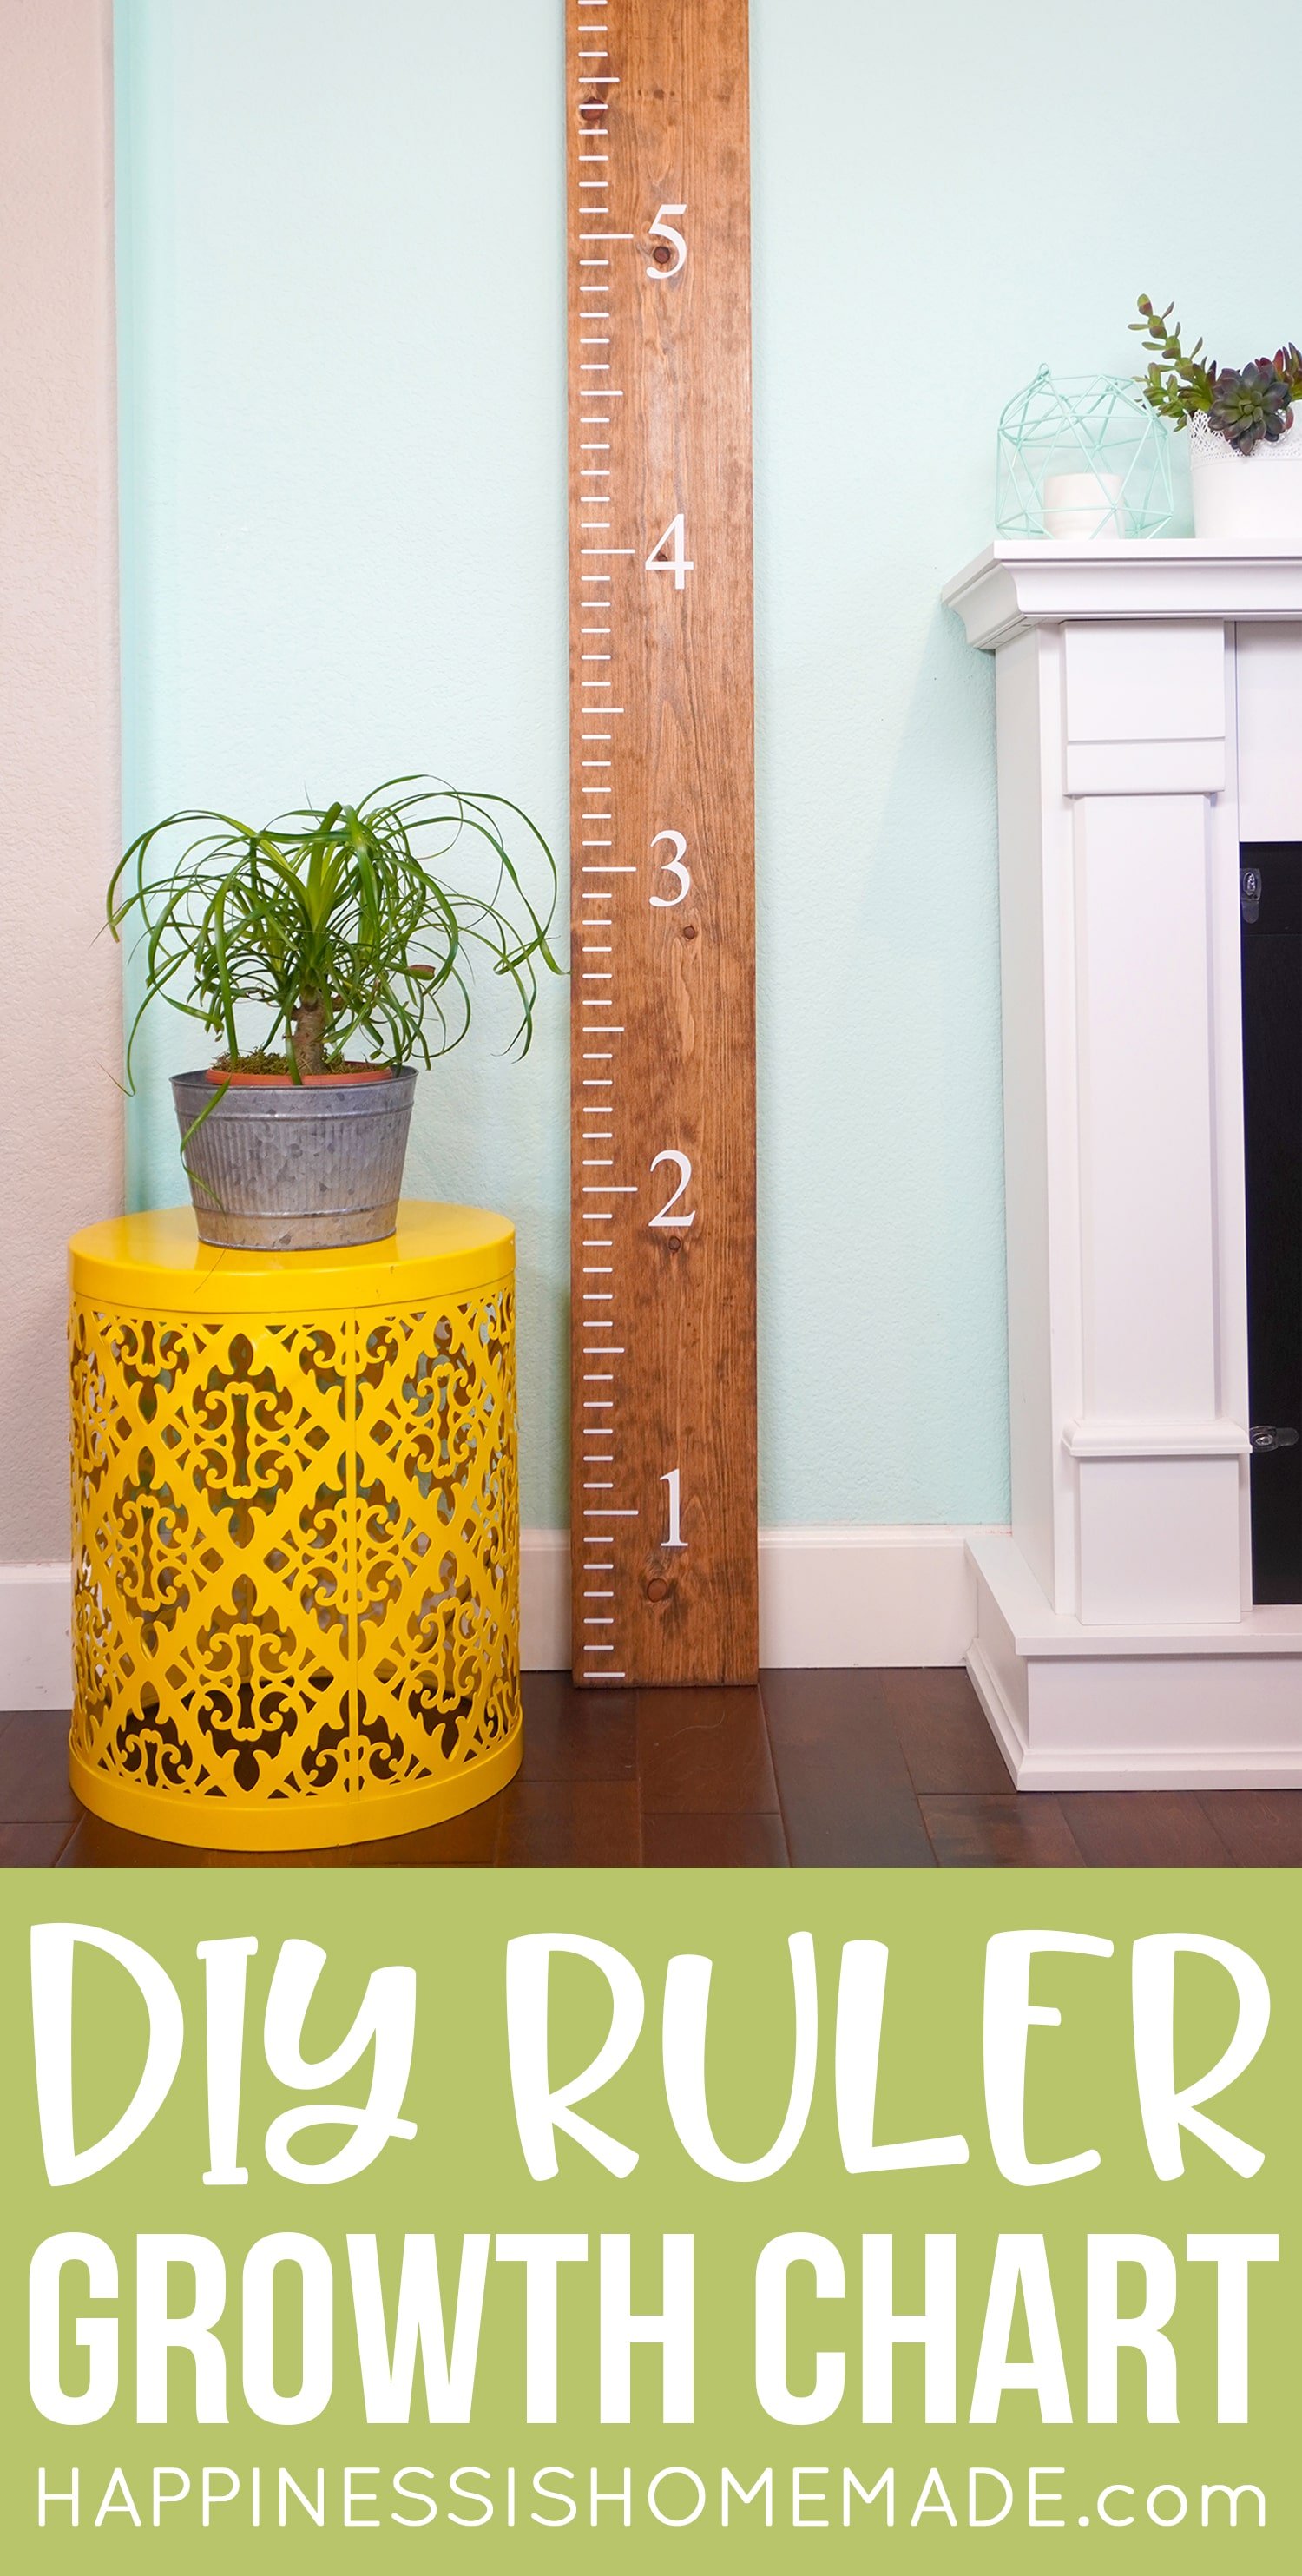

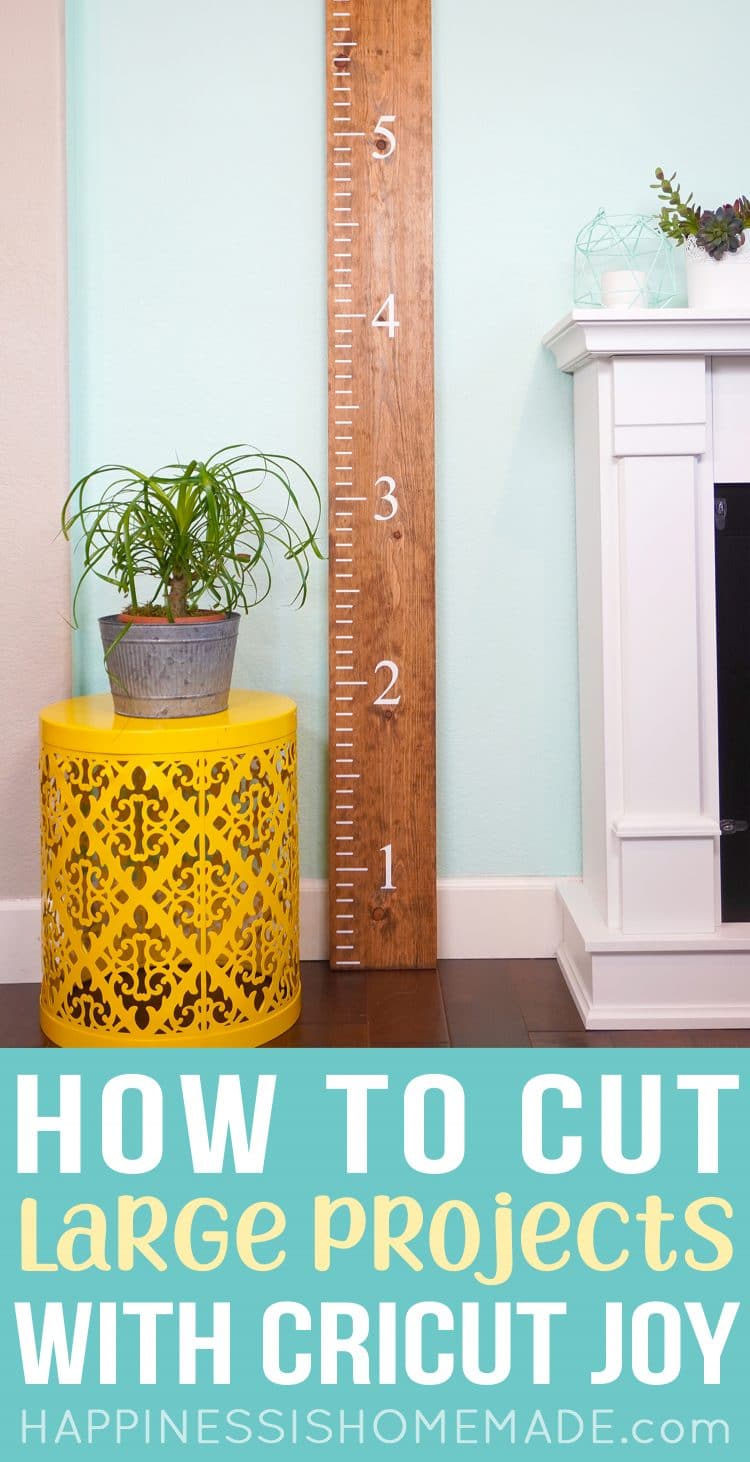
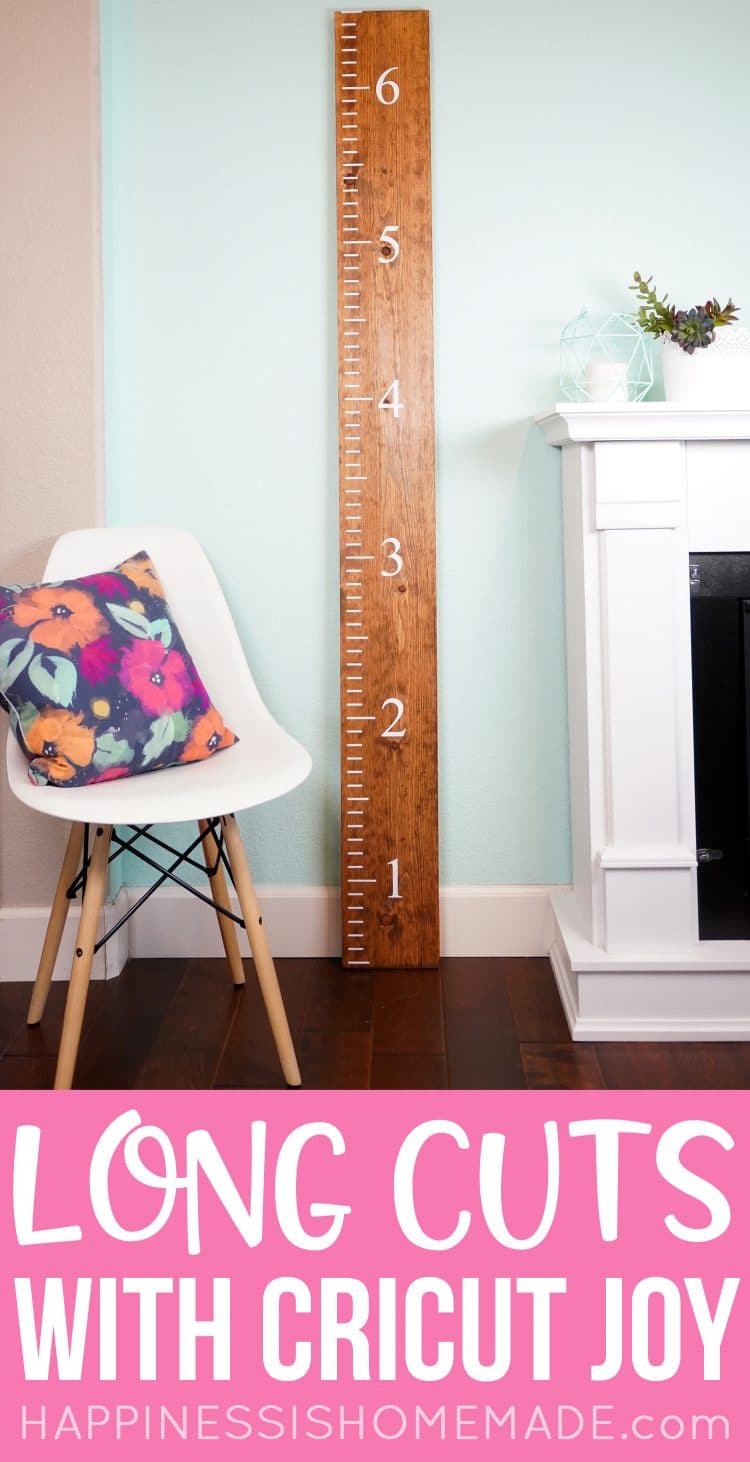
Make this awesome DIY wooden ruler growth chart using our free SVG file and your Cricut machine!
This post may contain affiliate links. I will receive a small commission from these sales at no additional cost to you!
March is National Craft Month, so I’m teaming up with some of my favorite blogger friends for CRAFTWEEK, March 8-14, to bring you some incredible craft ideas along with a killer giveaway that you do NOT want to miss!
DIY Wooden Ruler Growth Chart
Today, I’m sharing a free growth chart SVG file and a complete step-by-step tutorial to walk you through the process of creating your own DIY wooden ruler growth chart with your Cricut machine.
This over-sized project may look complicated at first glance (because I included photos of EVERY single step!), but rest assured, this ruler growth chart is a fantastic DIY project for all skill levels!
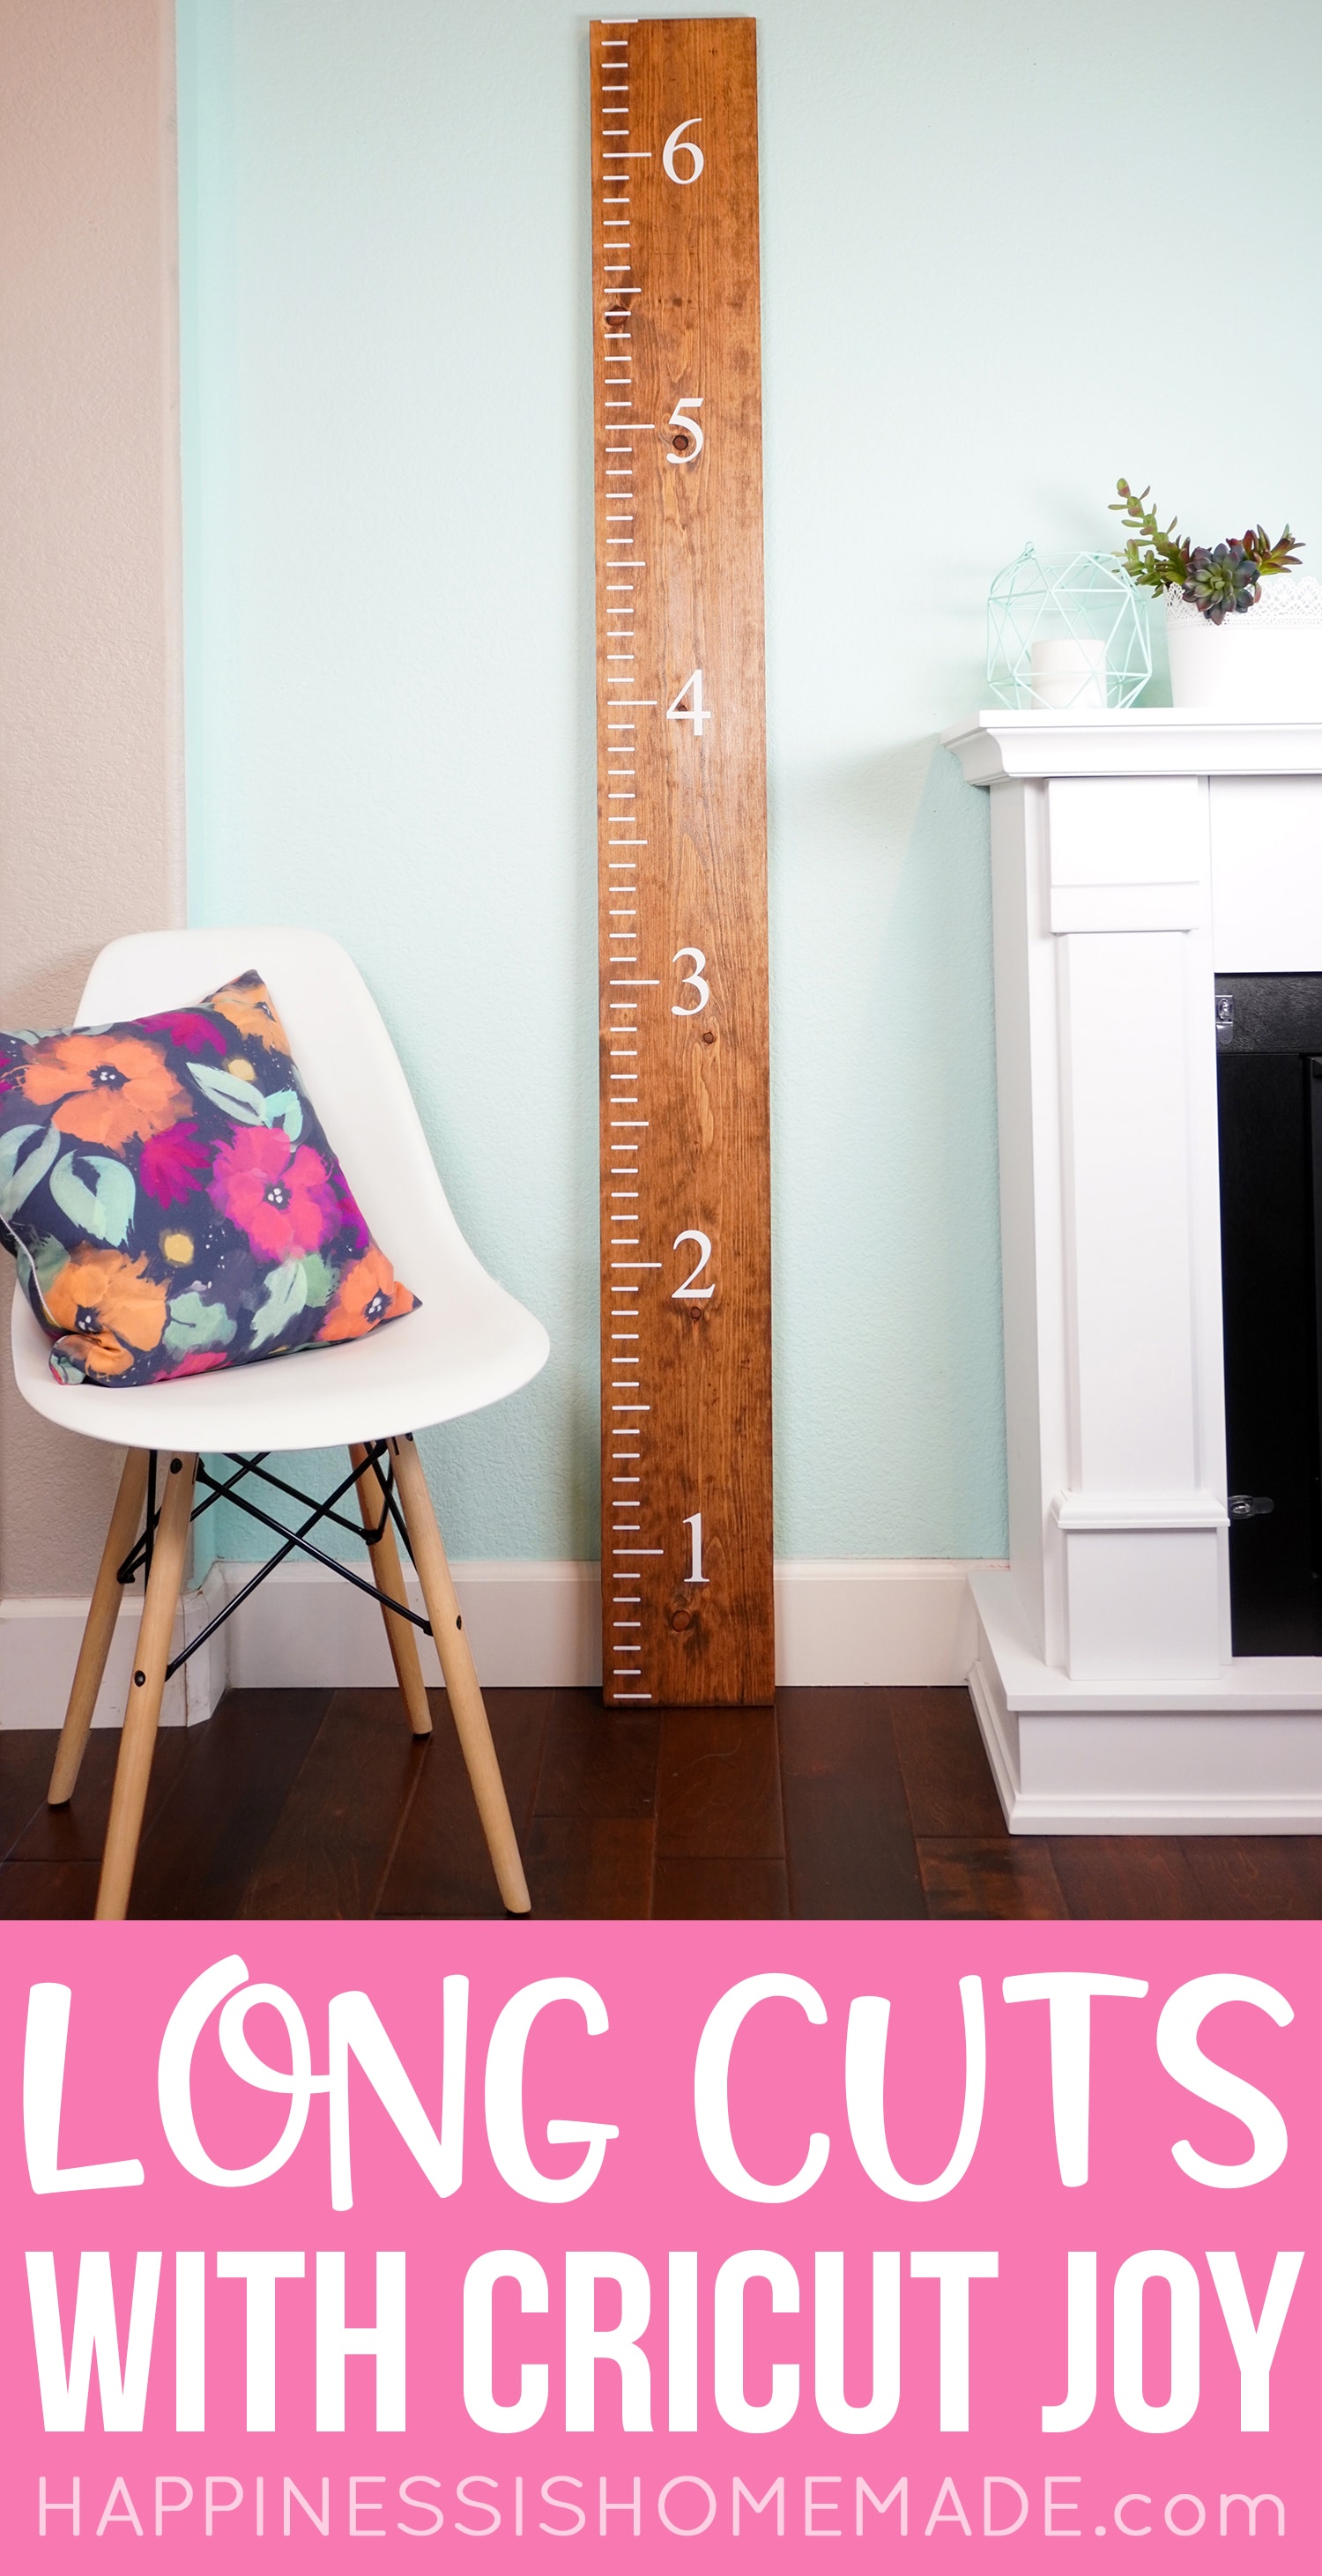
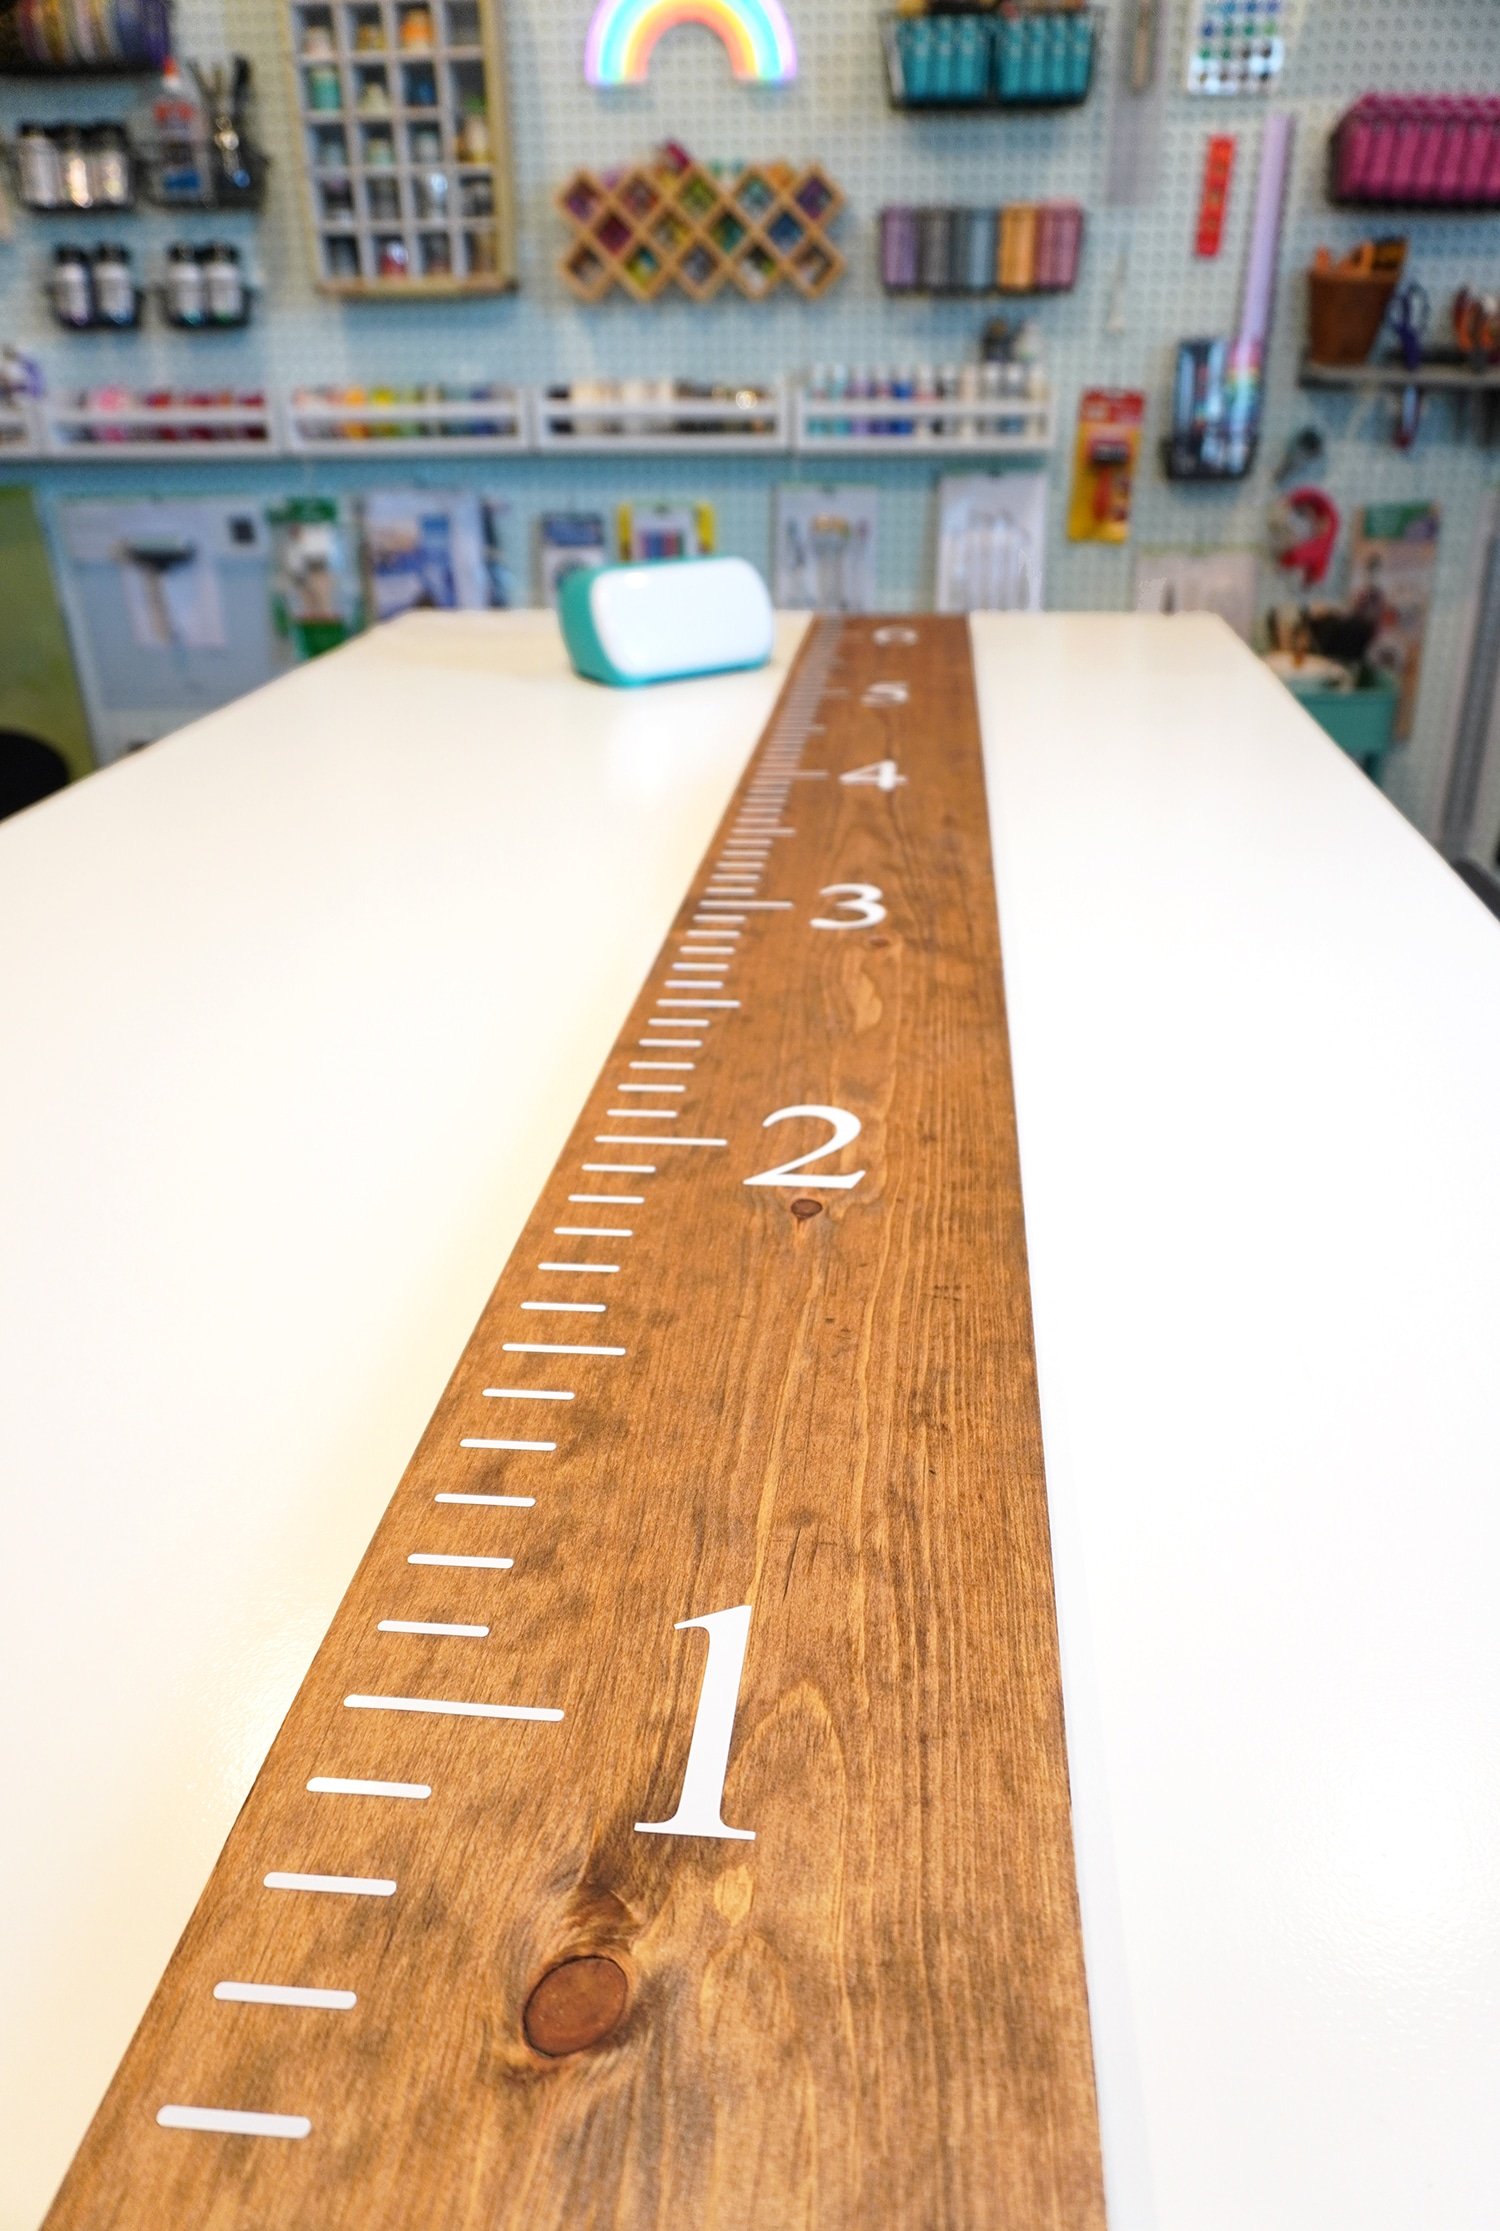
I will be using my Cricut Joy for this project because I thought it was the perfect opportunity to show you just how amazing the Joy is with super LONG cuts of vinyl! With the new mat-free Smart Vinyl, you can now cut up to 20 FEET LONG!
(Maker and Explore Air users, don’t fret – this file will work for you, too!)
If you’re new to Cricut Joy, check out these tutorials to learn more!
LEARN ALL ABOUT CRICUT JOY:
- Video: All About Cricut Joy and Mat-Free Long Cuts
- All About Cricut Joy: What’s New & What Can It Do?
- How to Use the Cricut Joy Card Mat & Insert Cards
- How to Use Cricut Smart Vinyl with Cricut Joy
- How to Cut Large Projects on Cricut Joy: DIY Ruler Growth Chart
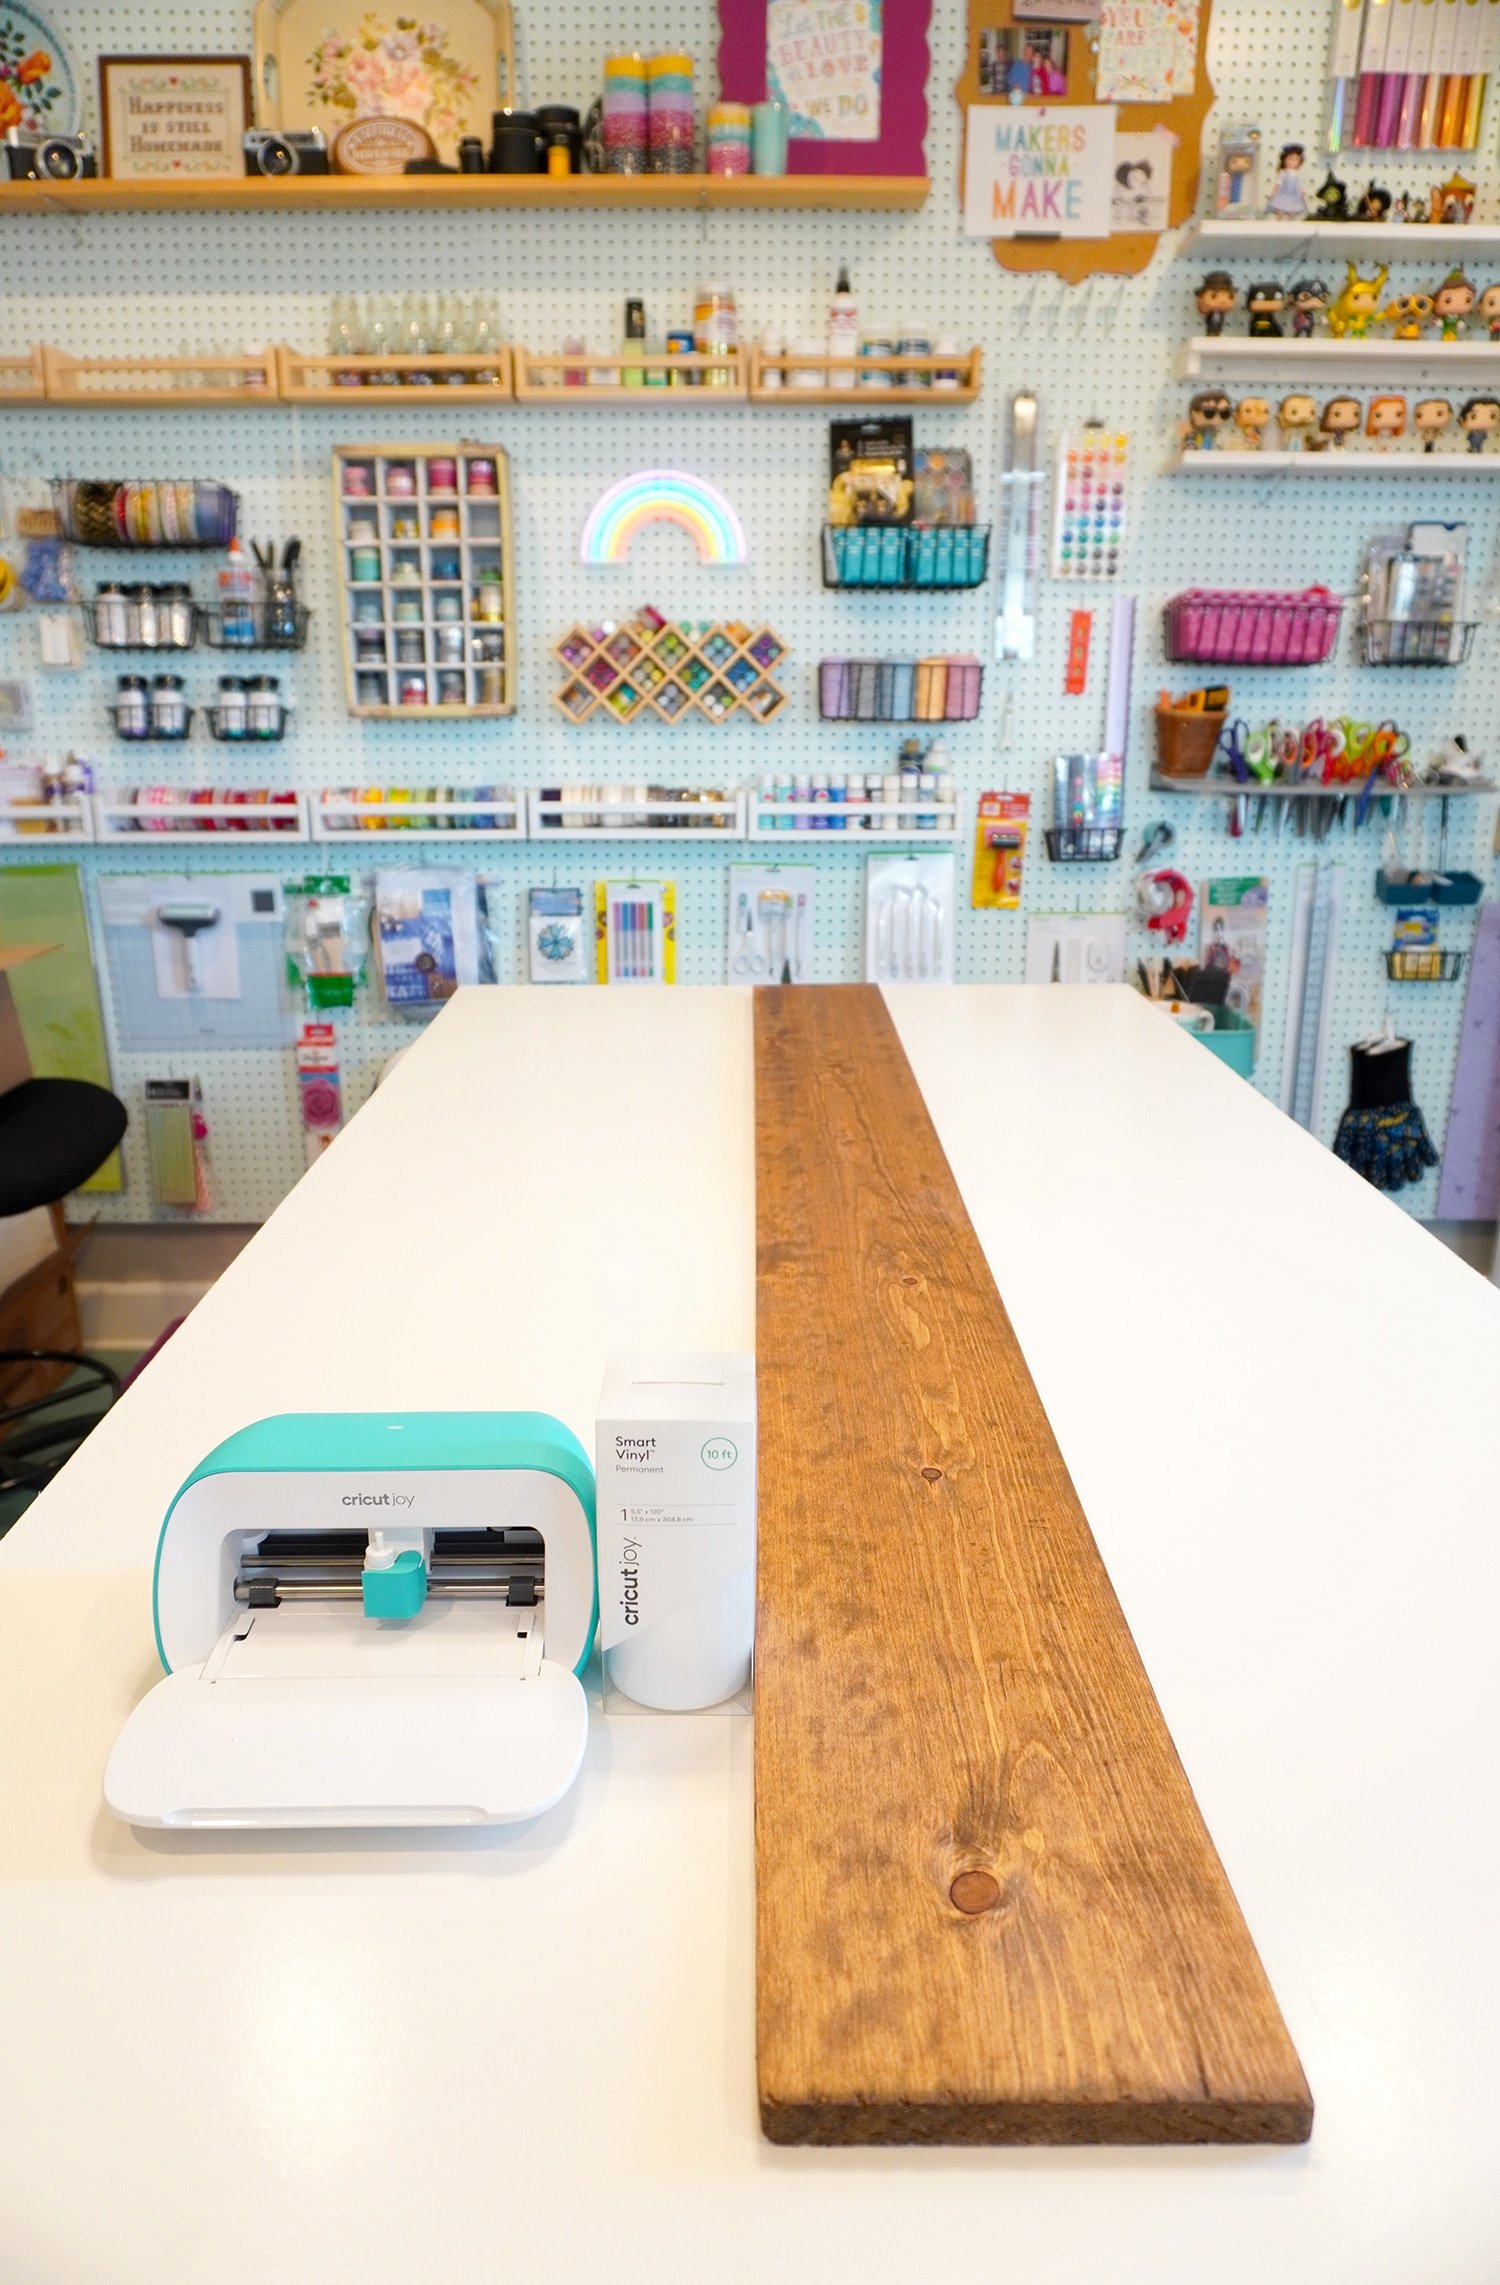
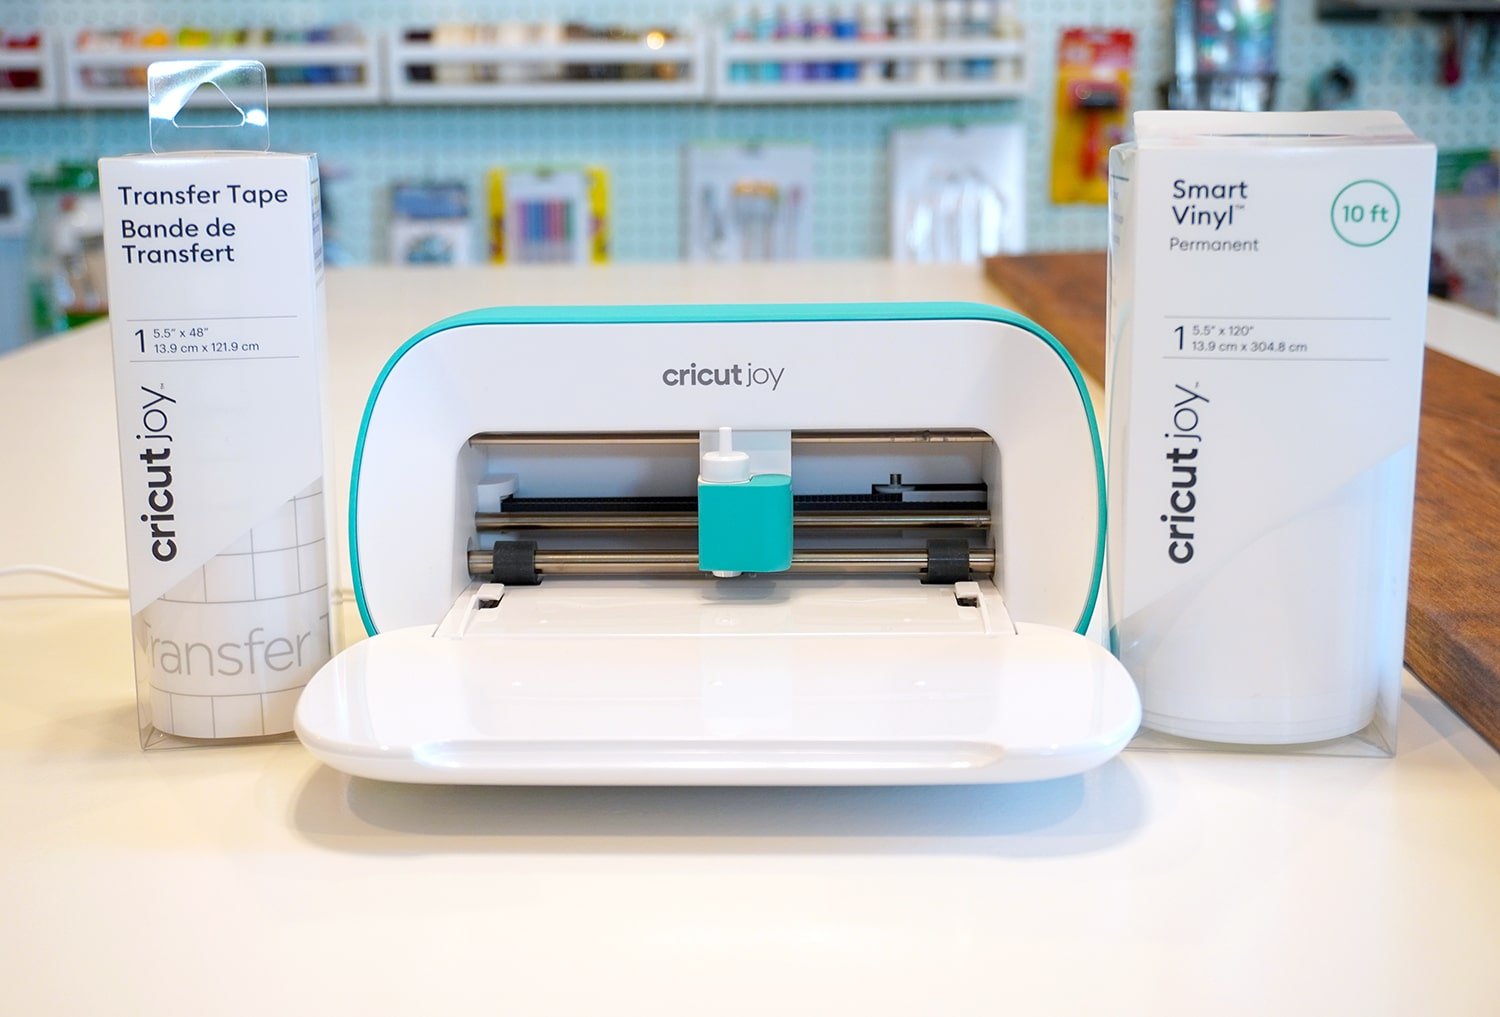
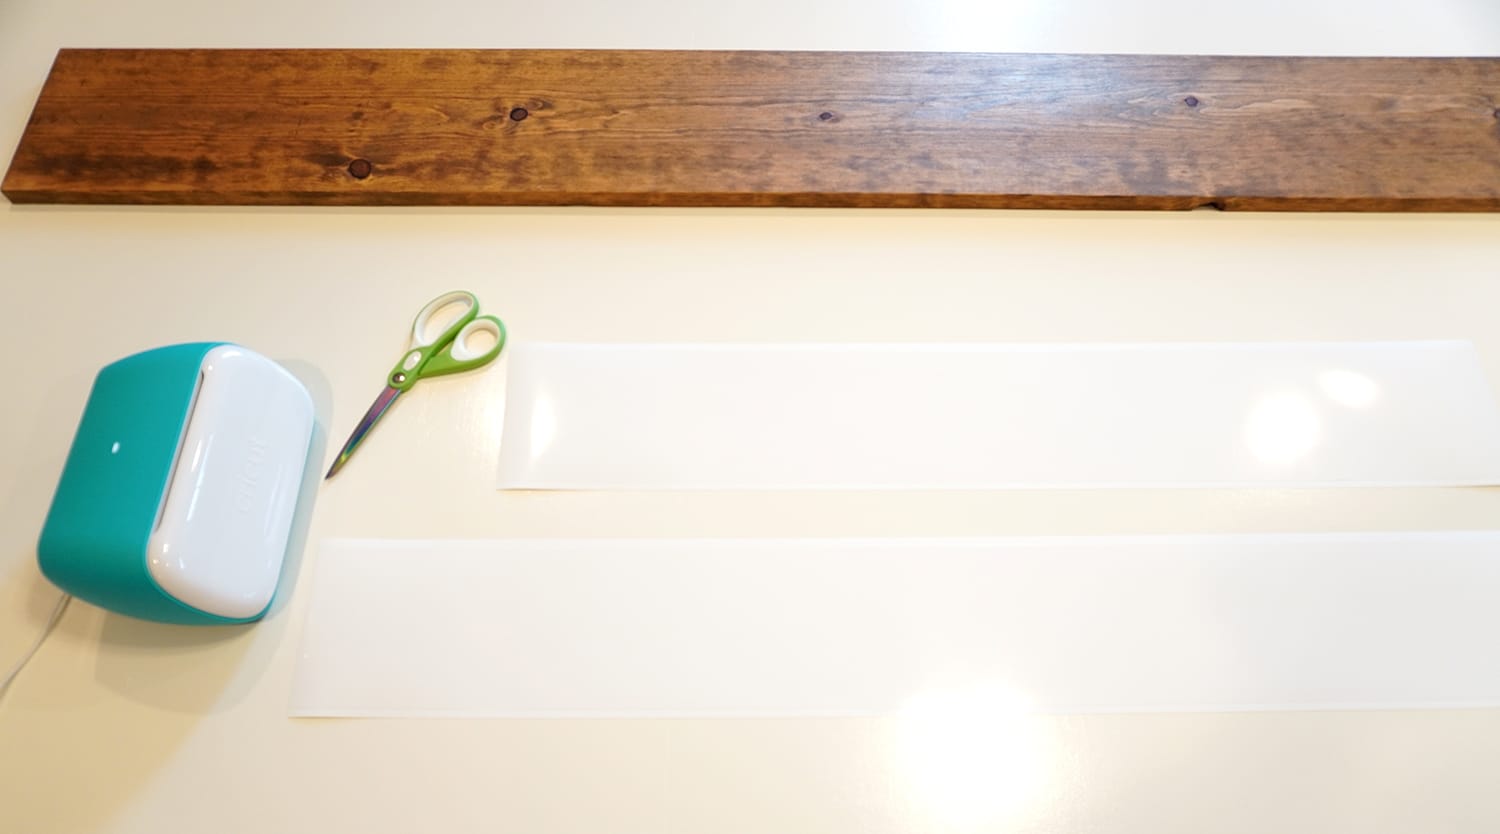
Supplies Used for Ruler Growth Chart:
- Cricut Joy cutting machine
- 1×8 Board (we used a 6-foot length, but you may want to use a 7-foot length if you have extra-tall people in your family!), painted or stained as desired
- Cricut Smart Vinyl, Permanent
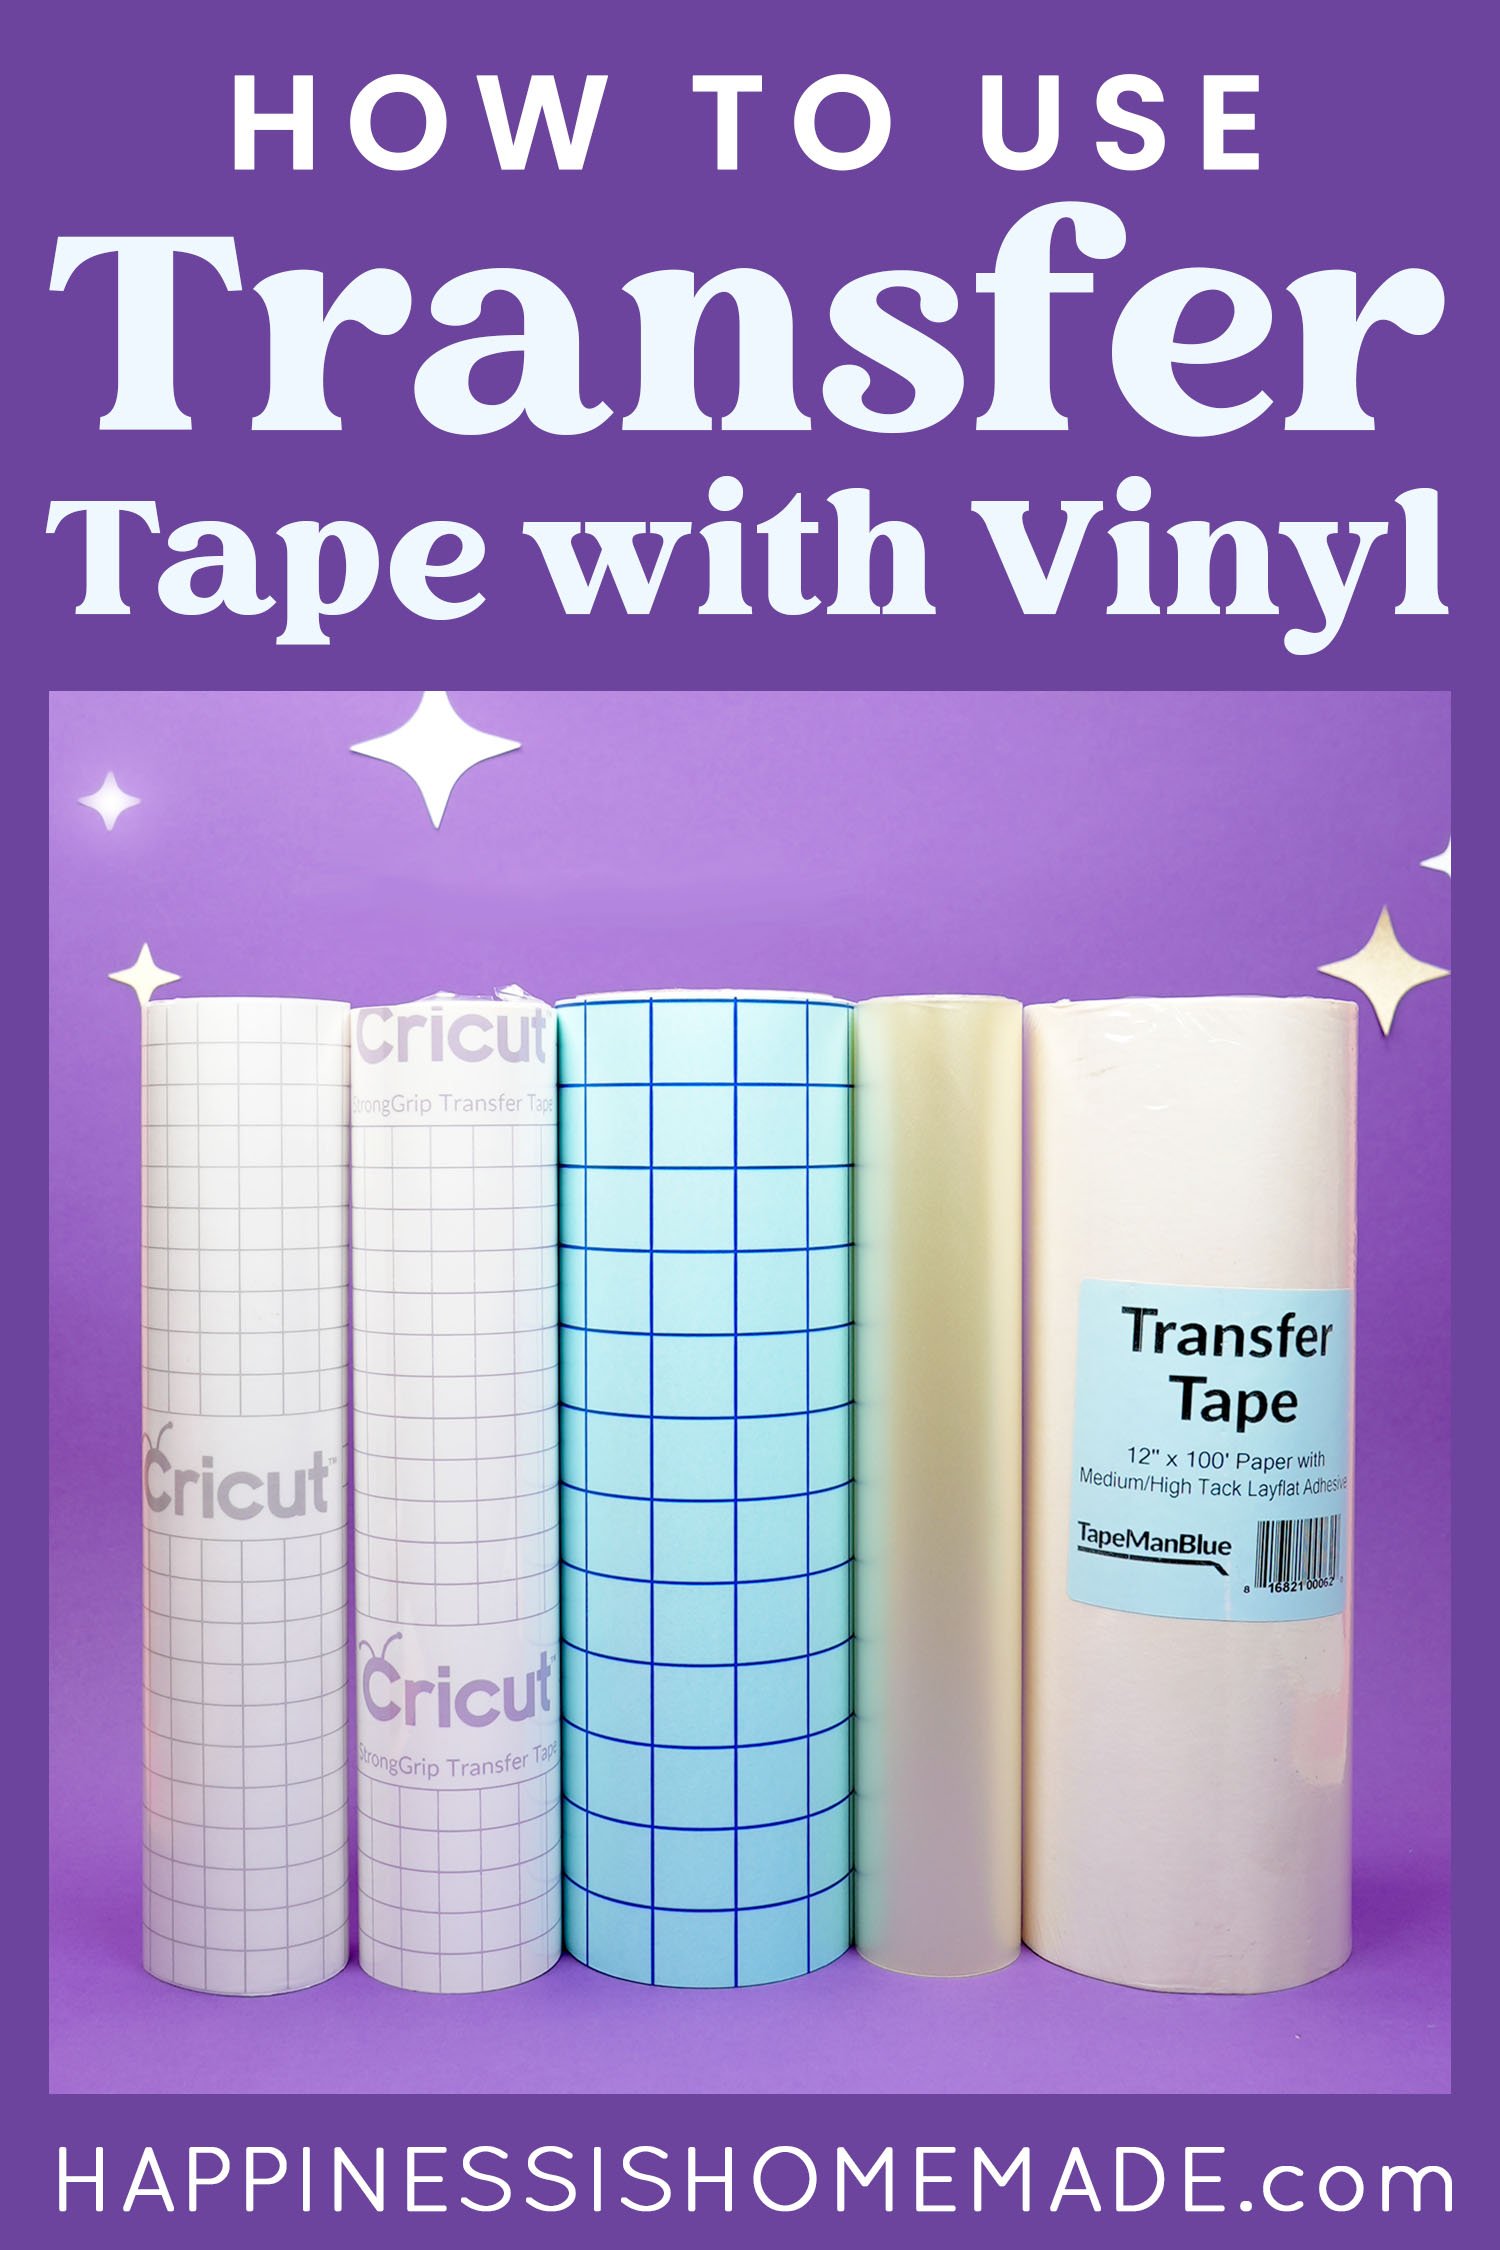
- Cricut Joy Transfer Tape
- XL Scraper
- Scissors
- Painters Tape (optional, for hinge method of vinyl application)
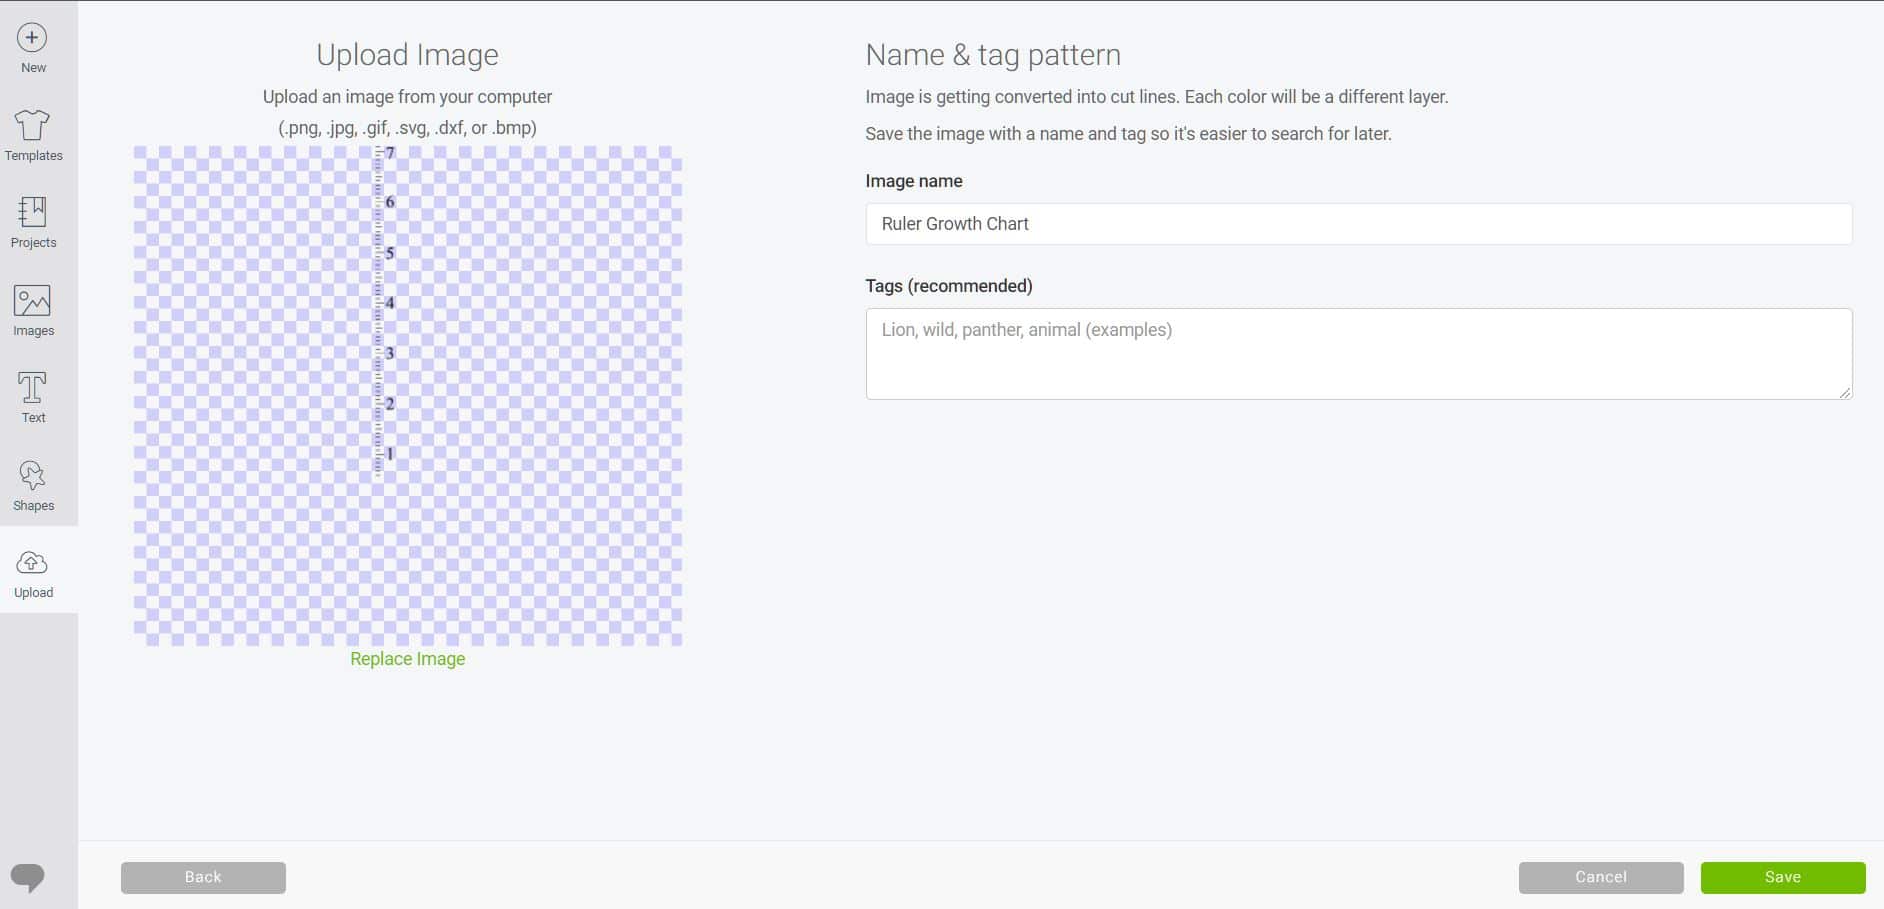
To begin making your ruler growth chart, open up Cricut Design Space and upload the SVG file (available at the bottom of this post).
If you need help uploading the SVG, you can follow our step-by-step tutorial for How to Upload an SVG File.
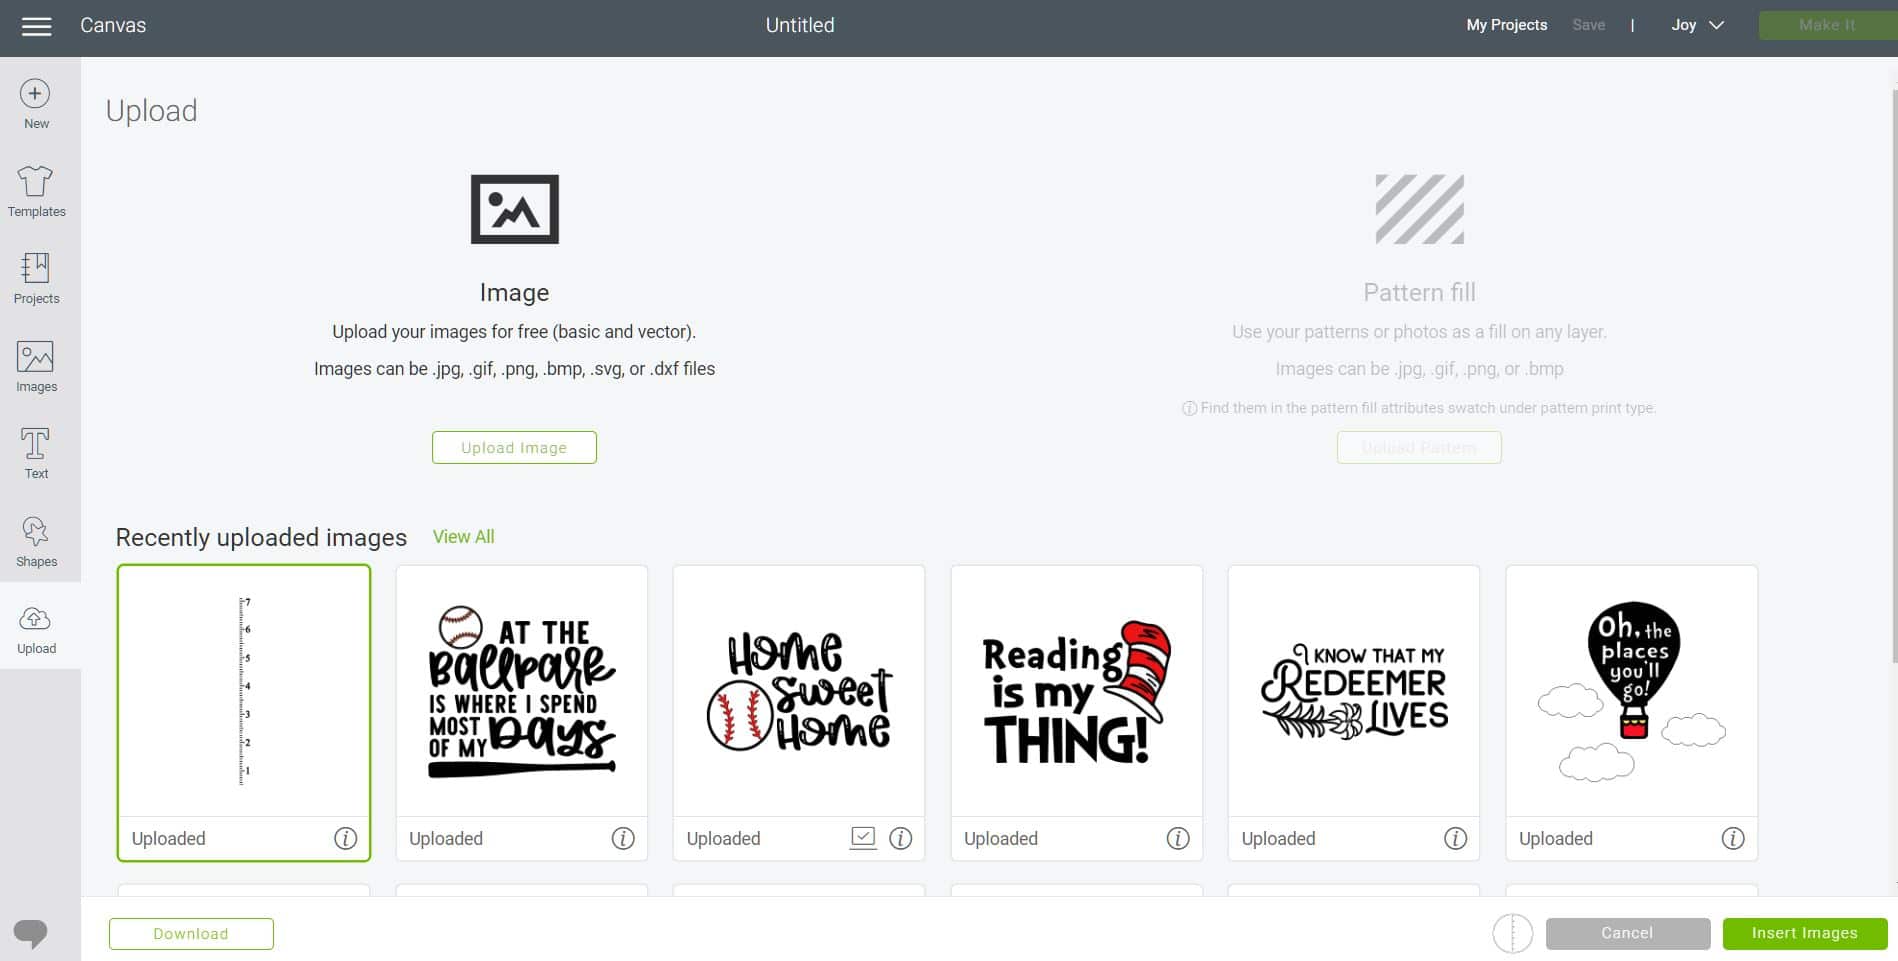
Select the file from the uploaded images and insert it into the Design Space canvas.
(You can find those other cute designs in our Happiness is Homemade SVG Shop!)
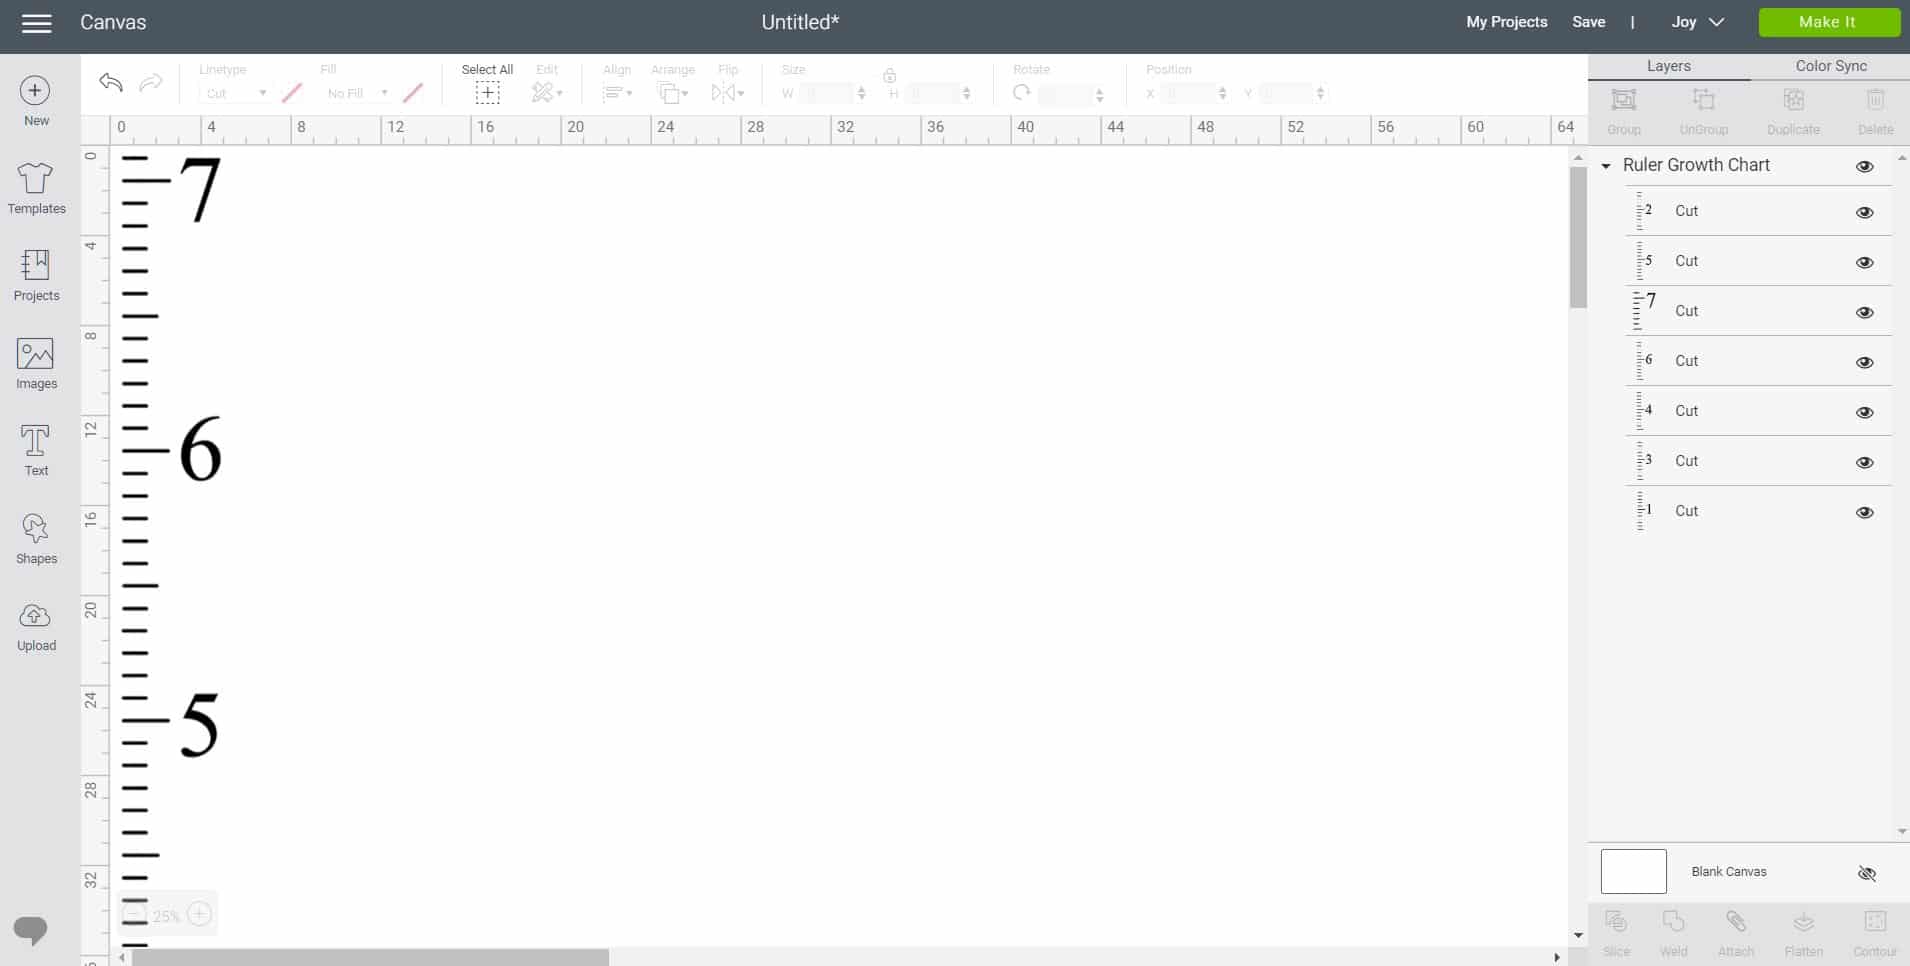
You will see that the ruler growth chart design is broken up into 7 different foot-long sections. This allows this SVG file to be used with all different types of Cricut cutting machines (Maker, Explore family, and Joy).
Cricut Joy can only cut a single image up to 4 feet in length, and since this design is nearly 7 feet long, we’re going to break it up into two sections that can be cut at the same time in one single pass.
Note: If you want to cut this file with your Explore Air or your Maker, simply cut the file as-is. It will cut with two foot-long sections on each mat, and you will need to cut and piece the sections together to fit the wood board.

For Cricut Joy, we are going to turn these seven layers into two. Select layers 1-4 (to select multiple layers, hold down the shift key while clicking on the layer with your mouse) and use the Weld tool from the bottom right corner to combine them into one.
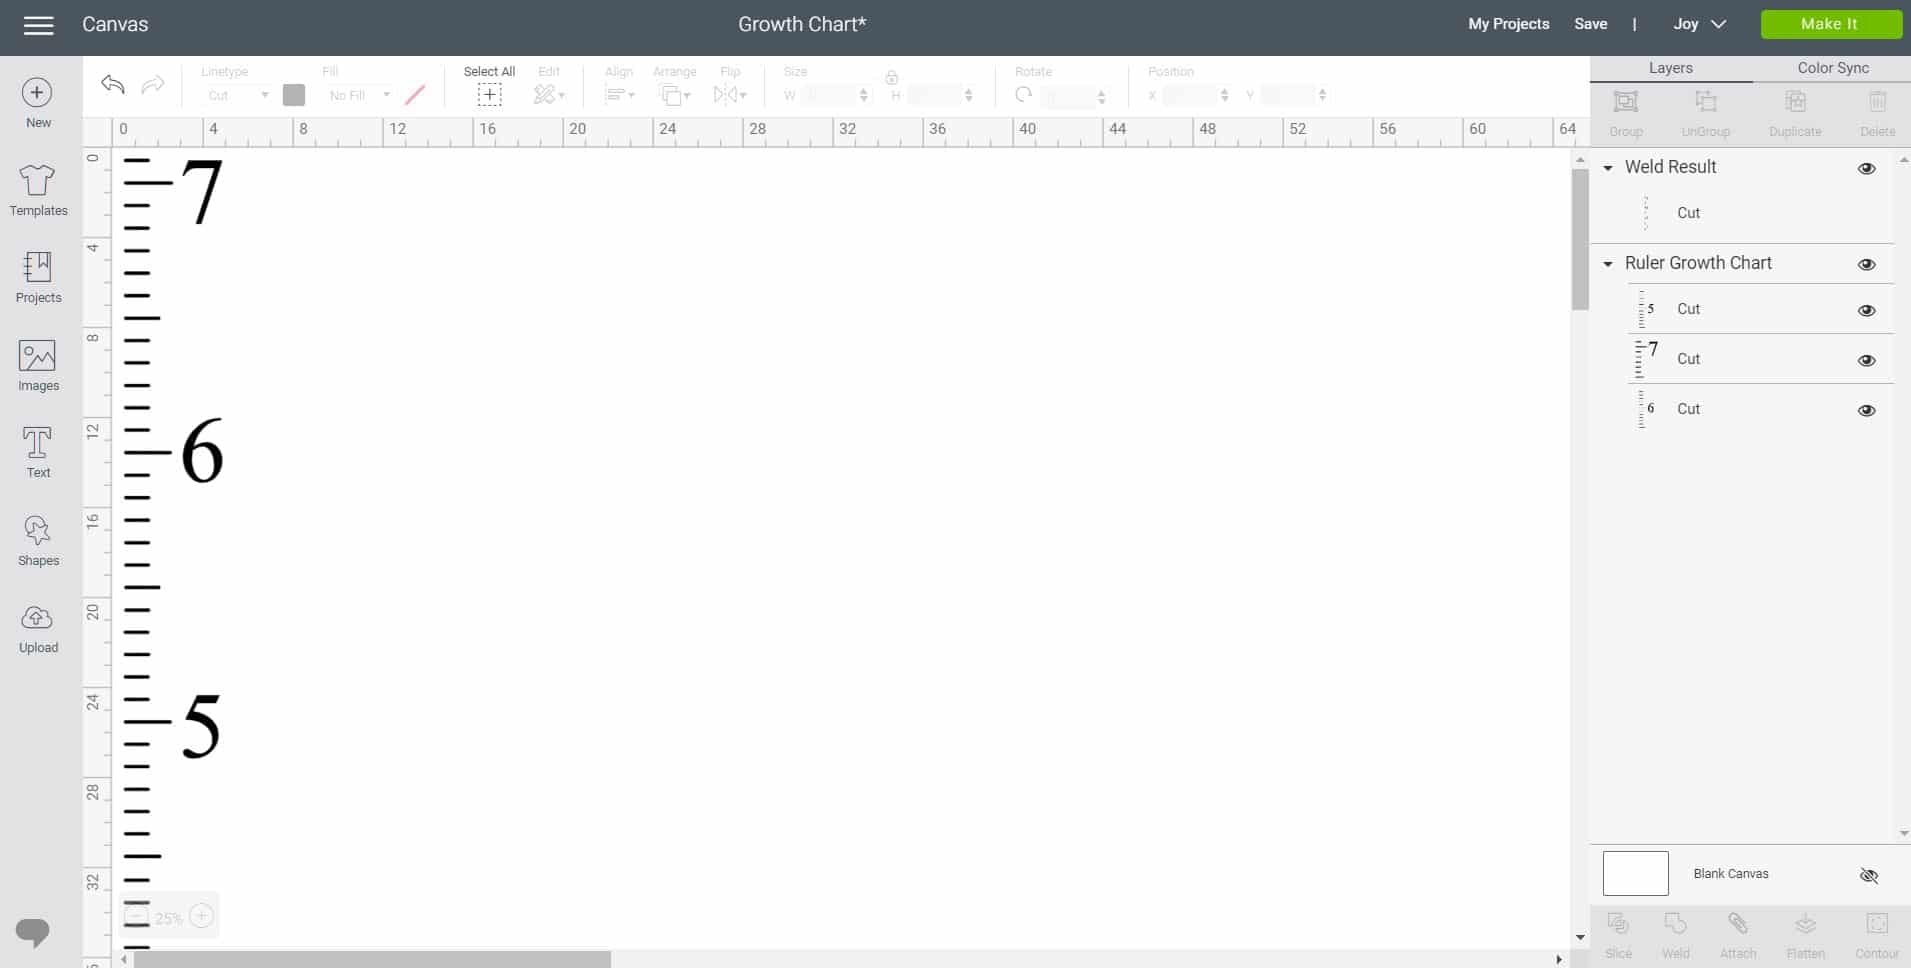
Repeat the process with layers 5-7. When finished, click the green Make It button in the upper right corner.
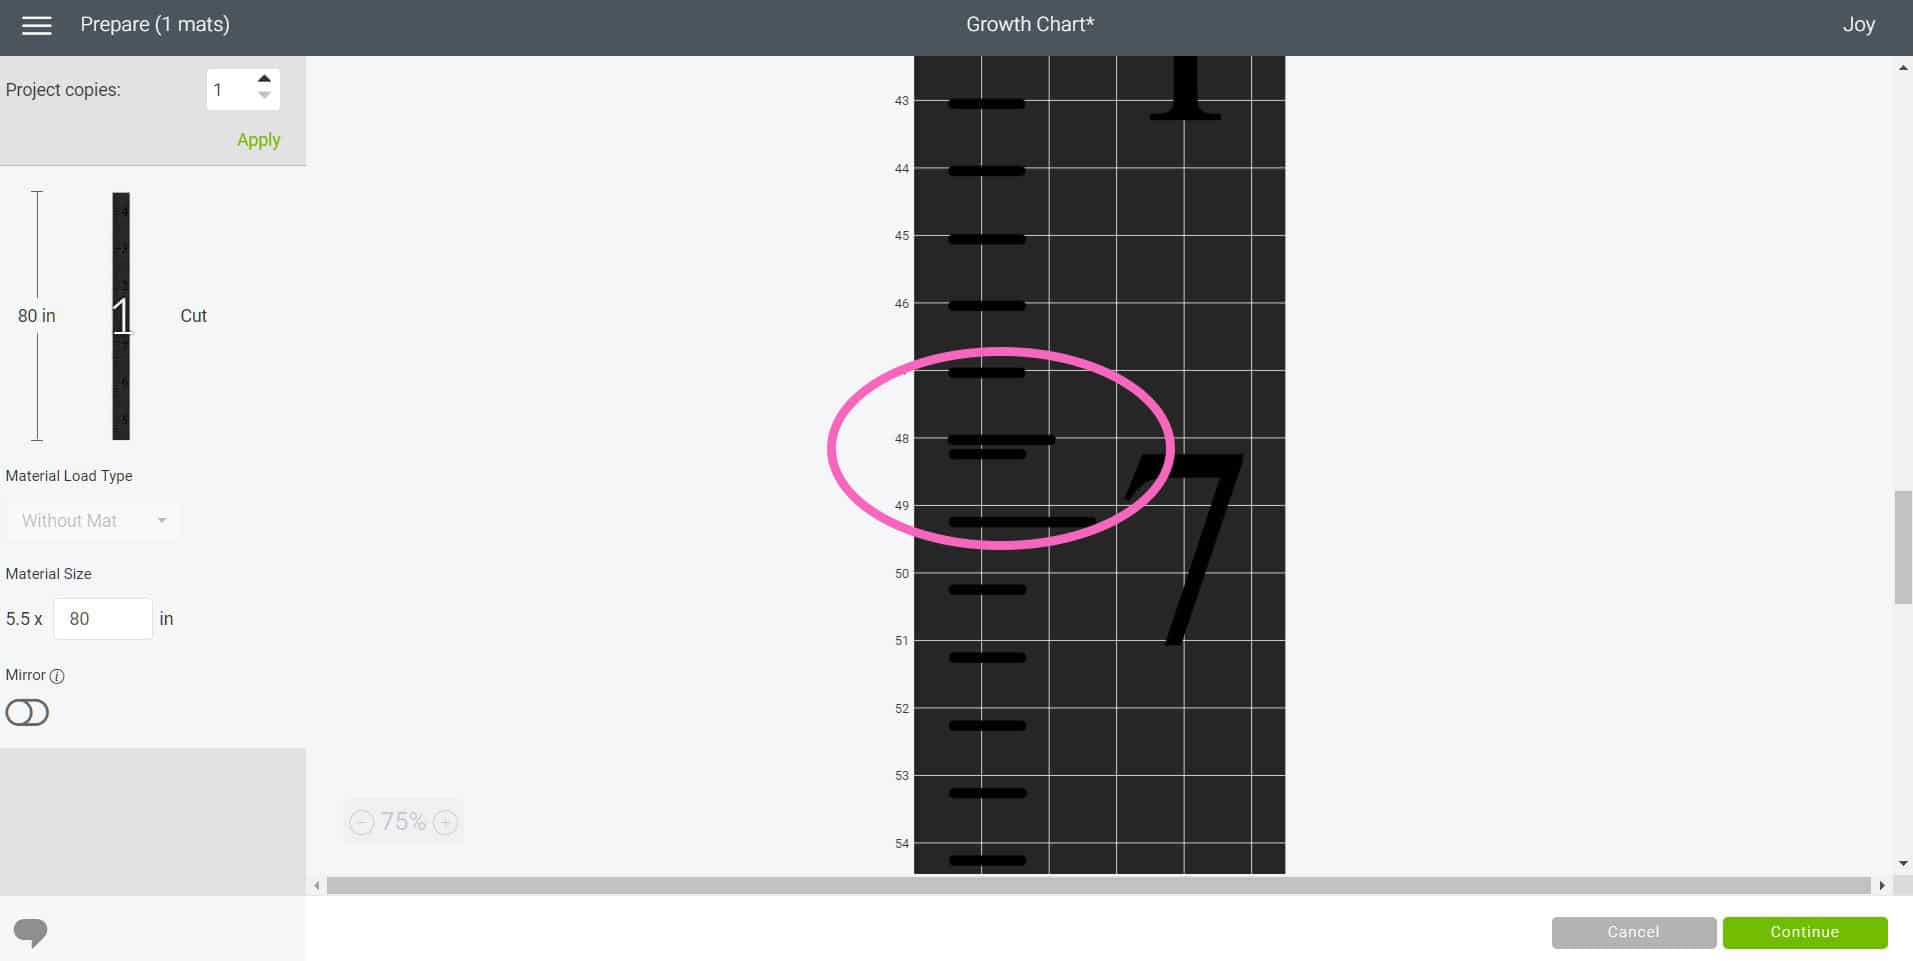
Choose the mat option that says you will be cutting Smart Materials without a mat. The Material Size will initially show up as 80″ long, but as you can see, the two sections of the design are way too close together.
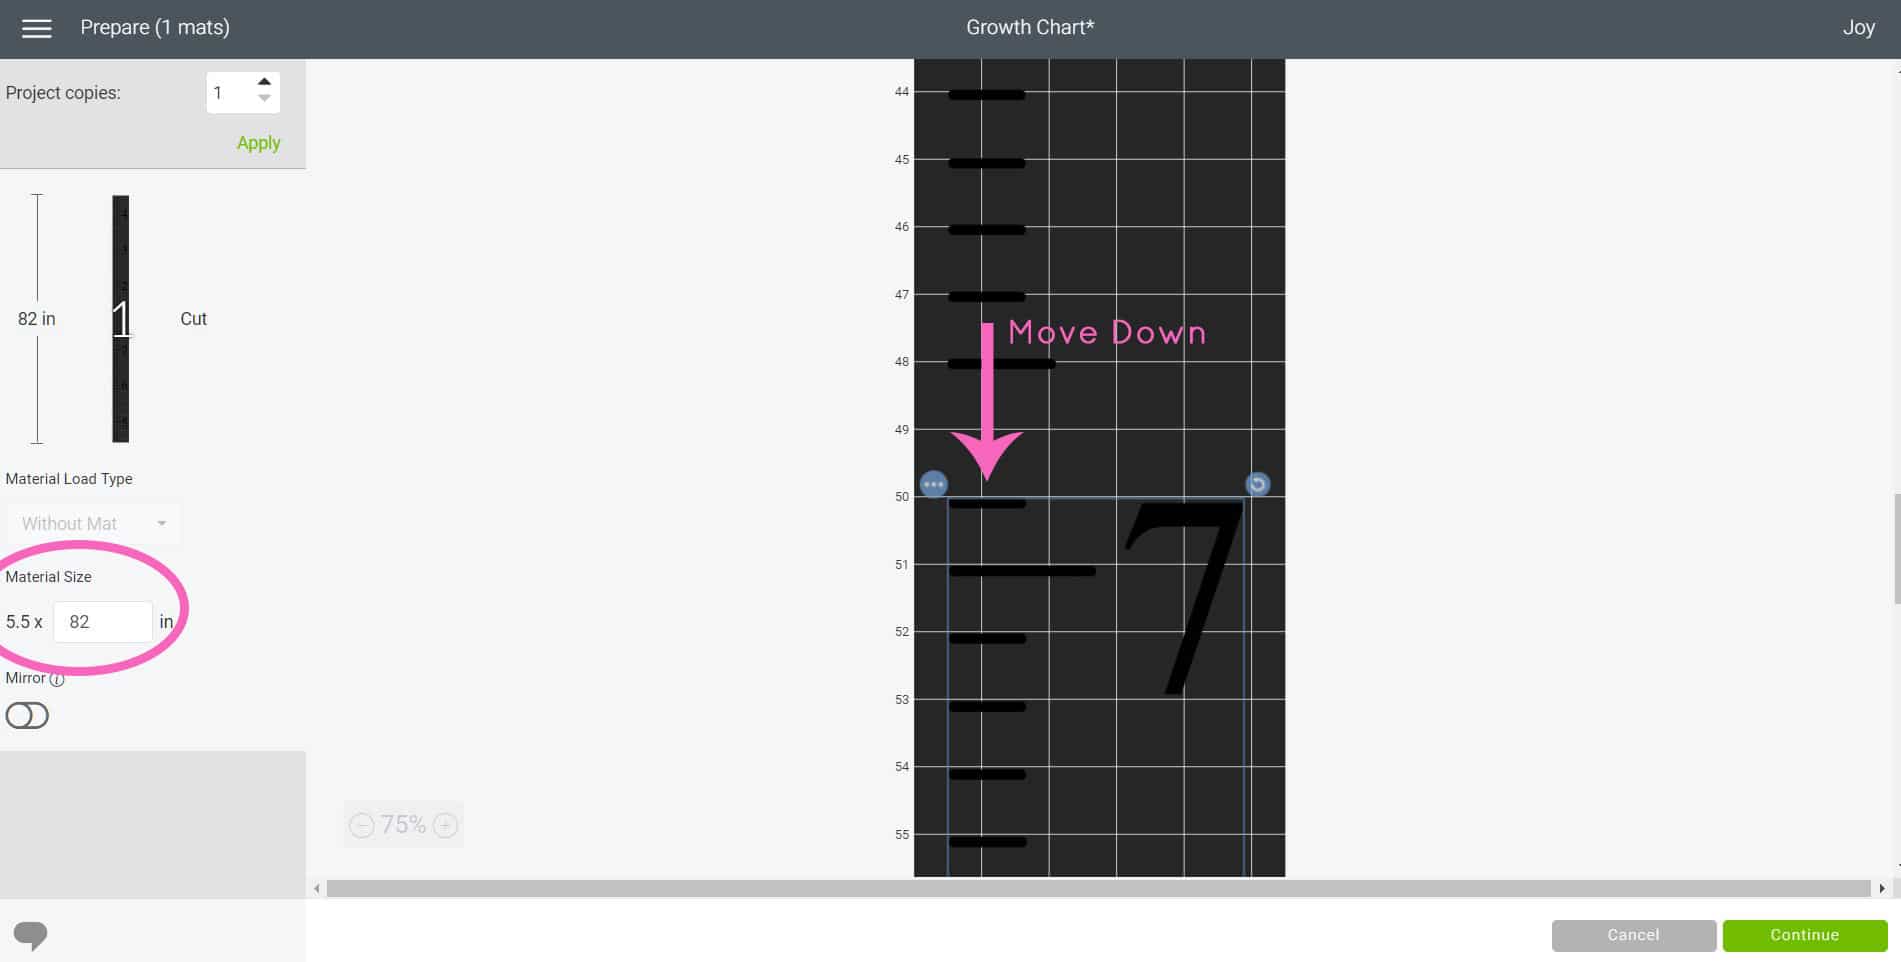
Change the Material Size to 82 inches, and use your mouse to move the sections further apart for cutting.
Note: If desired, you may opt to rearrange the image order in the material screen above so that the numbers are in order. This will allow you to work with one large 7-foot-long piece of vinyl for the remainder of this tutorial. Personally, I think it’s a lot easier to work with two smaller (but still really long!) pieces when you are working with really large amounts of vinyl/transfer tape like we are here…but you’re welcome to do whatever works best for you!
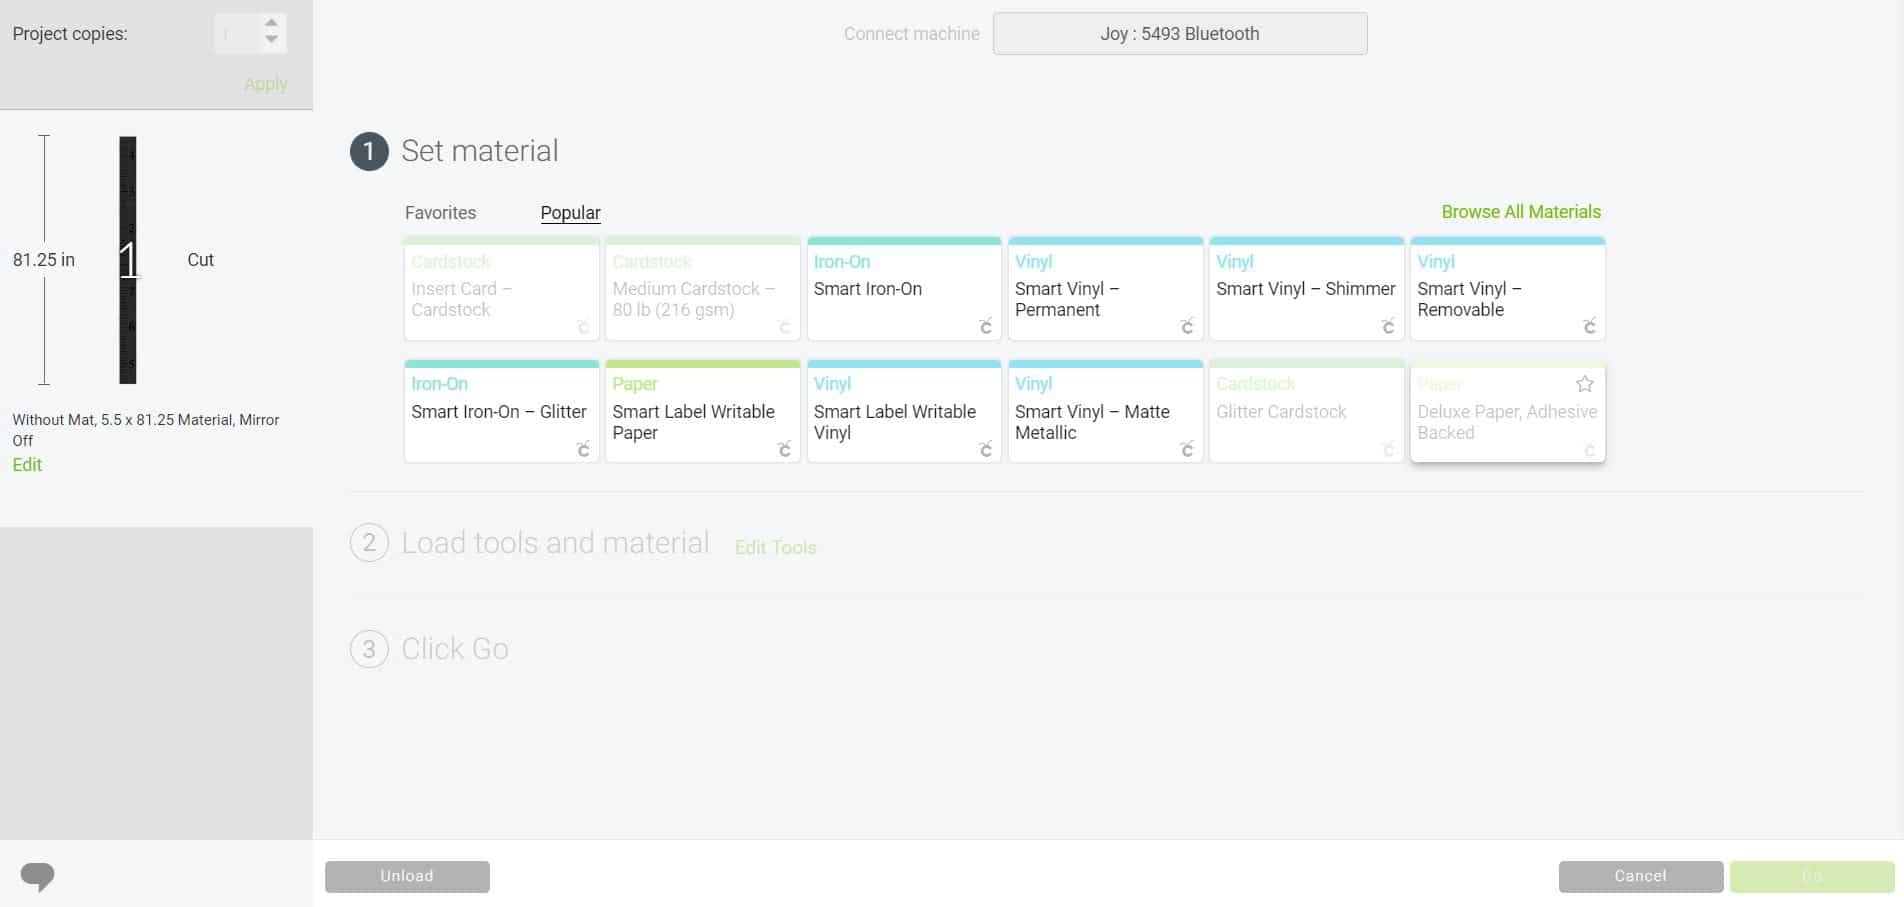
Select your material from the list – we used Permanent Smart Vinyl.
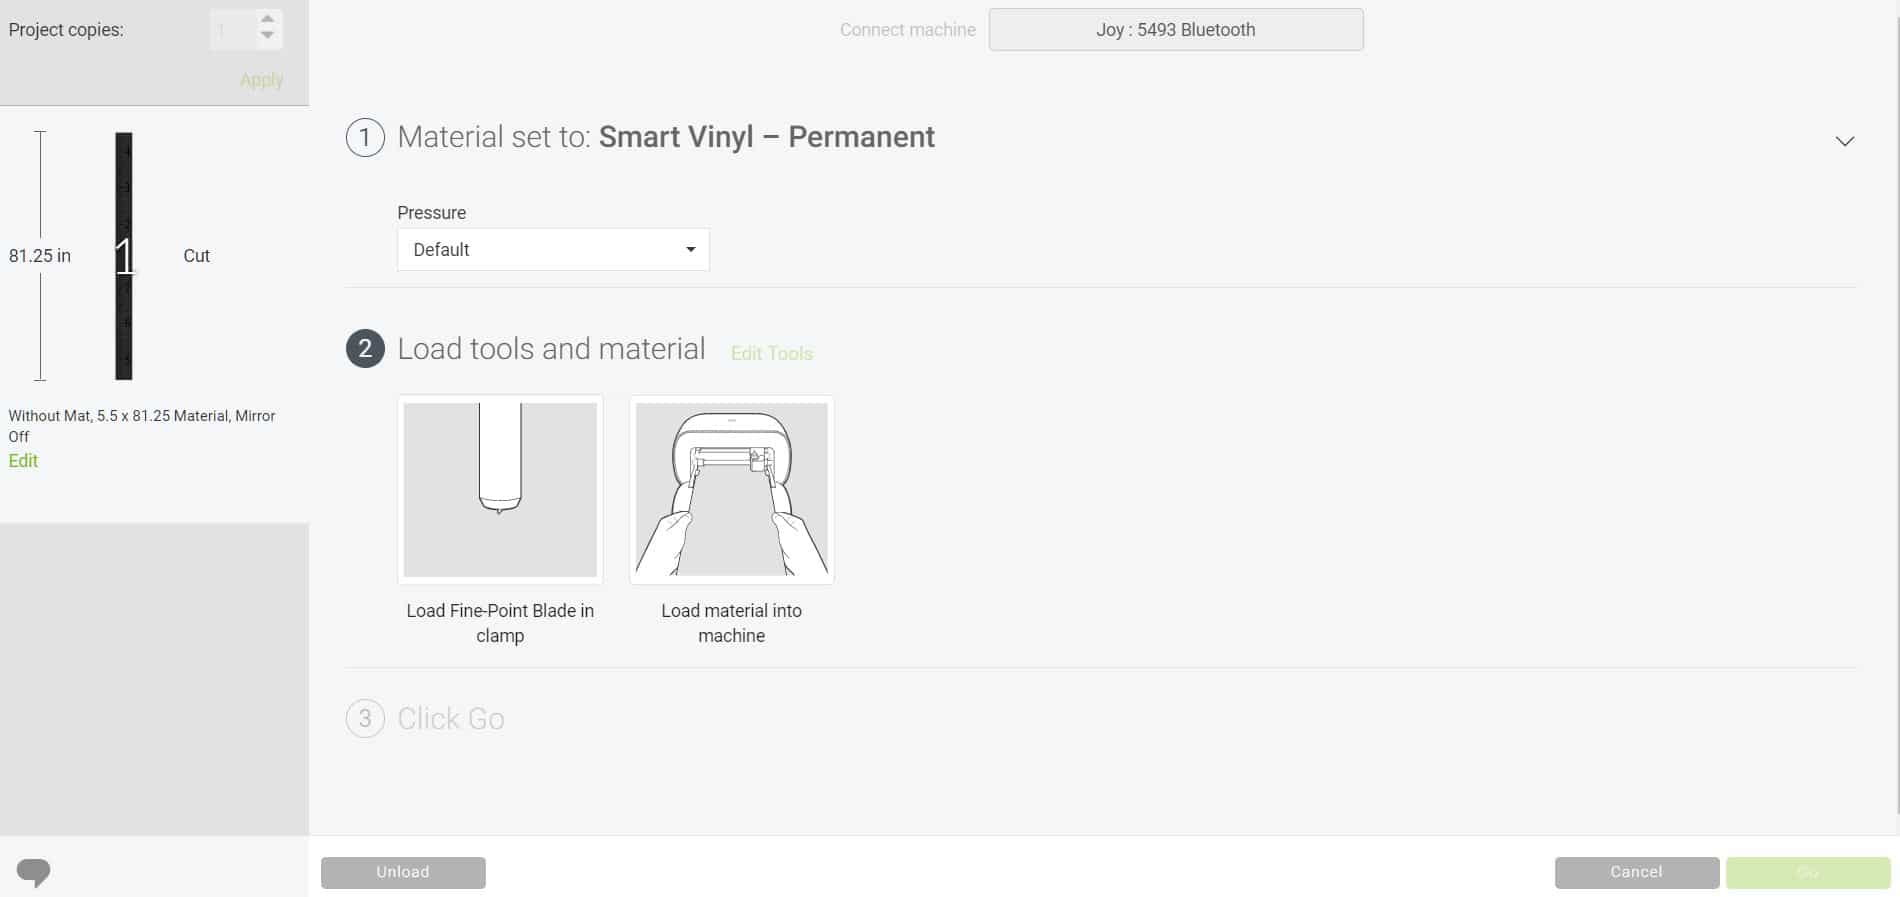
Next, Design Space will prompt you to load the materials into Cricut Joy.

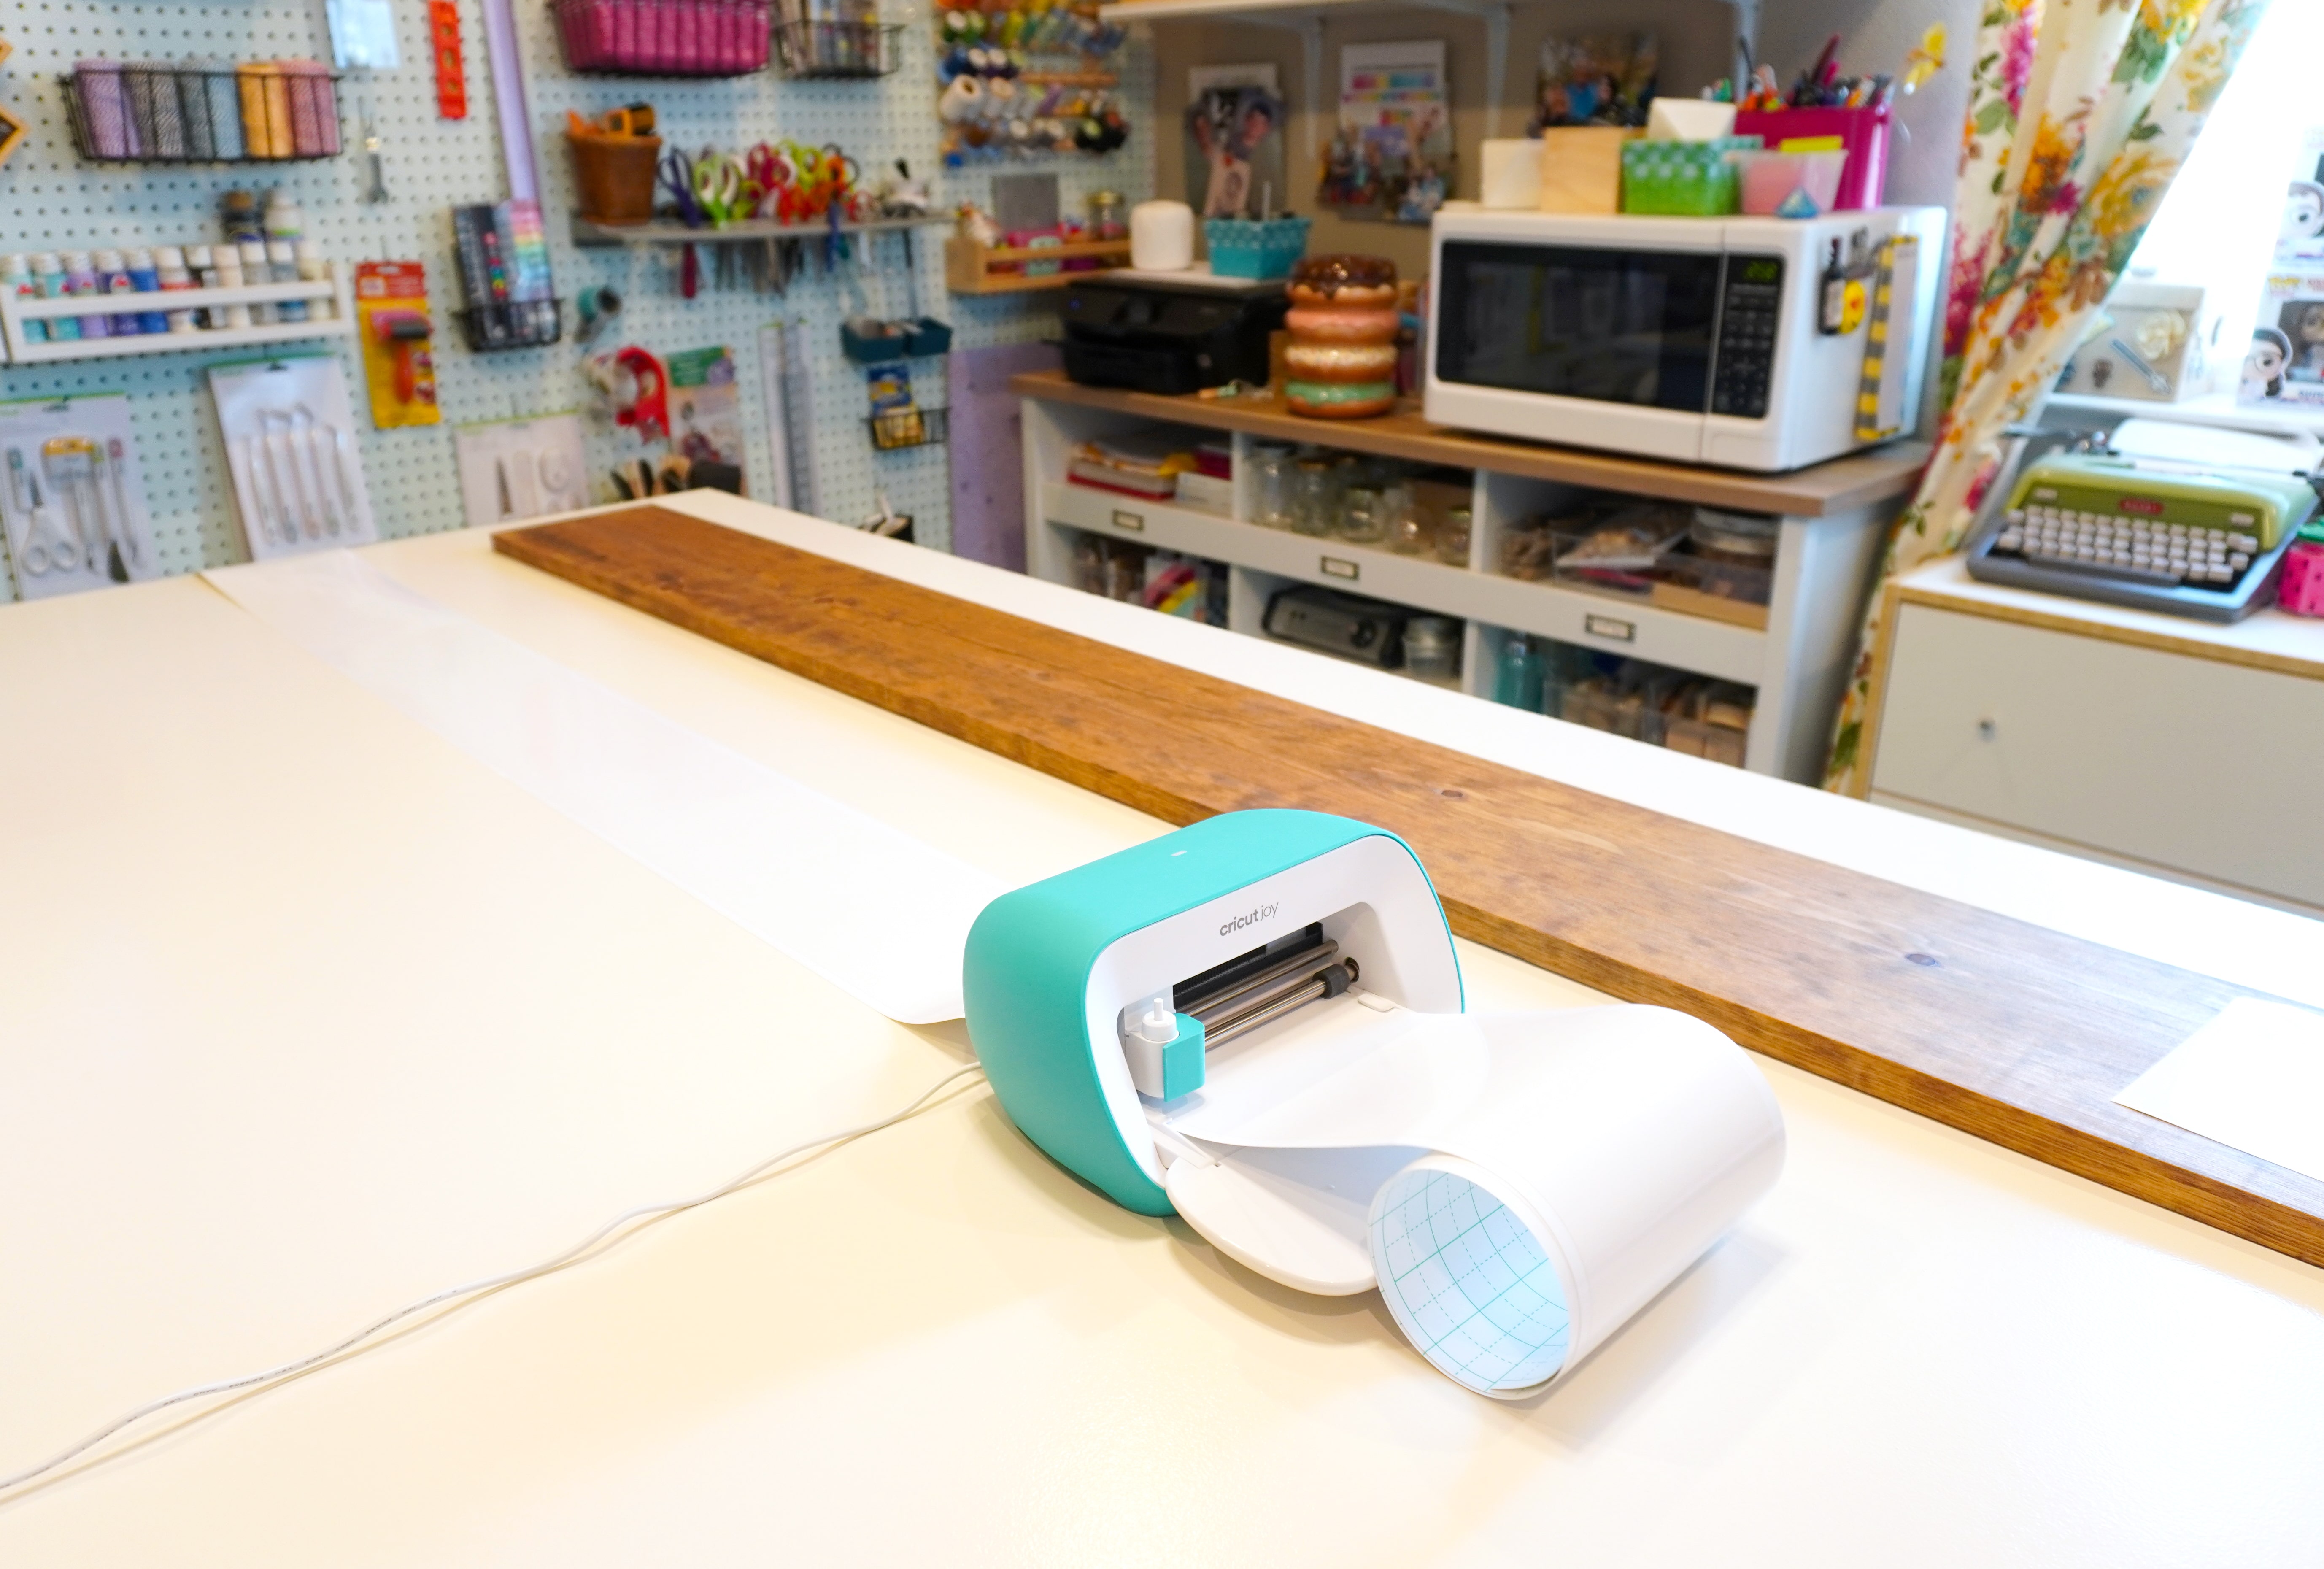
Simply feed the Smart Vinyl between the rollers, and Cricut Joy will automatically pull it in and straighten the material for you.
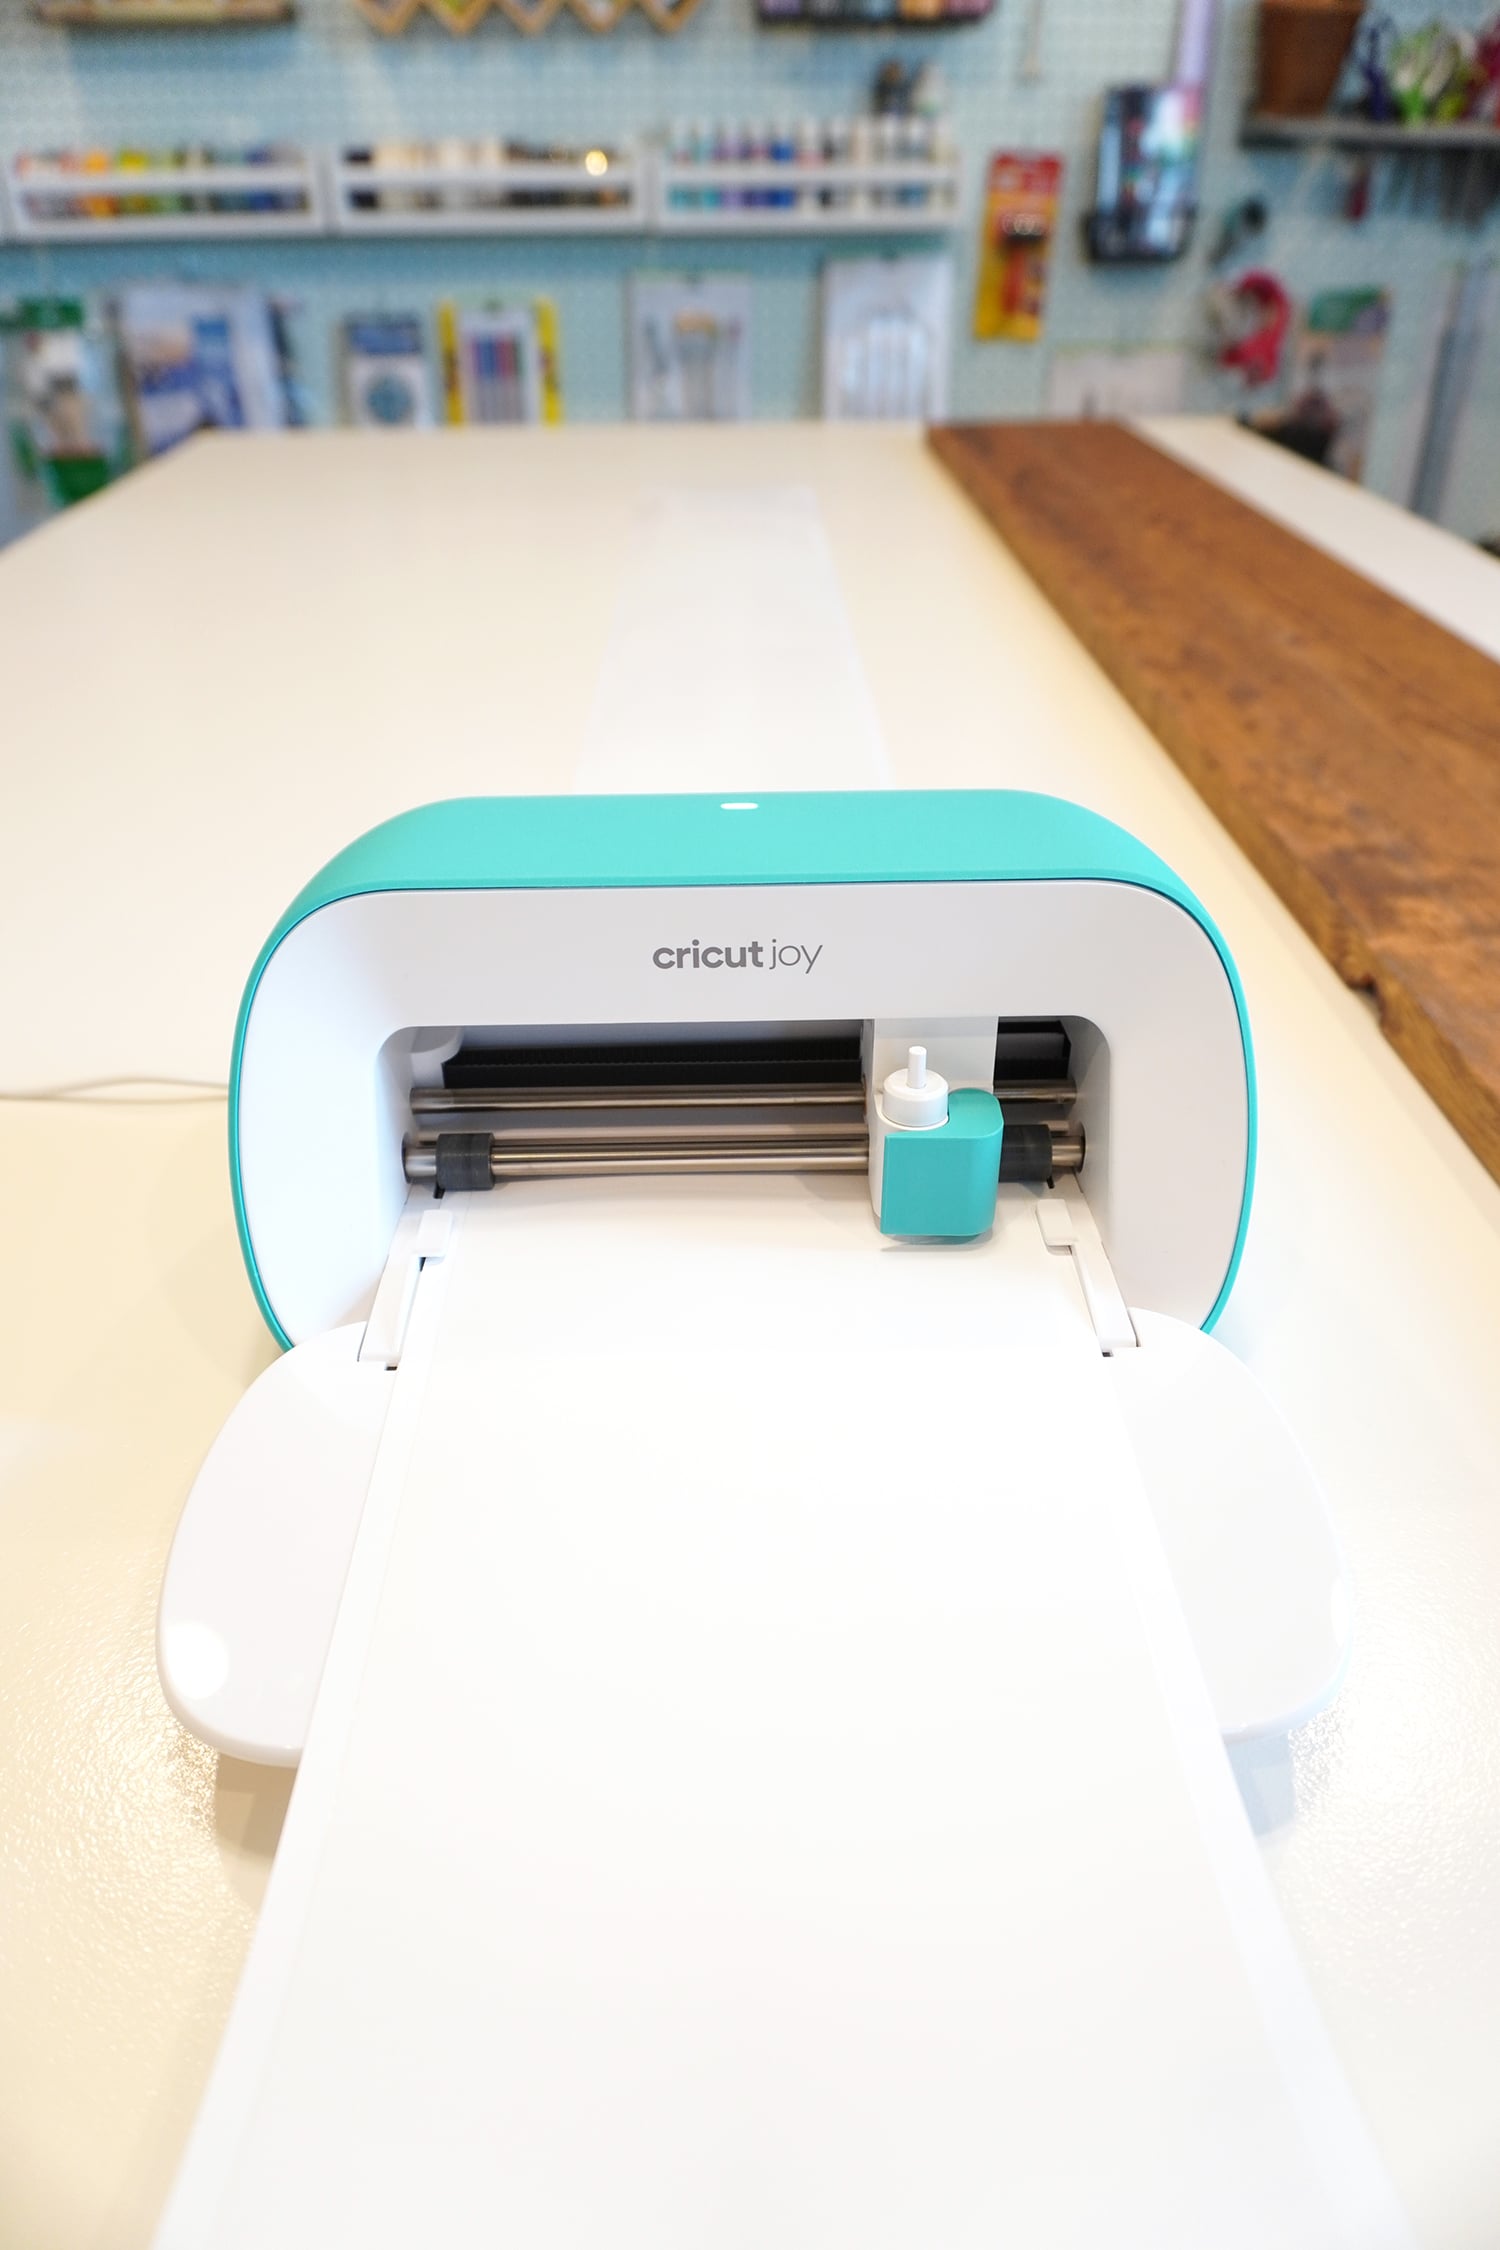
Cricut Joy will pull the entire length of vinyl required for the cut through the machine before it begins the cut. This is done to ensure that you have enough vinyl for your cut and also to straighten the material for precise cuts.
When the materials are loaded and ready, click “Go” in Cricut Design Space to begin the cutting process.
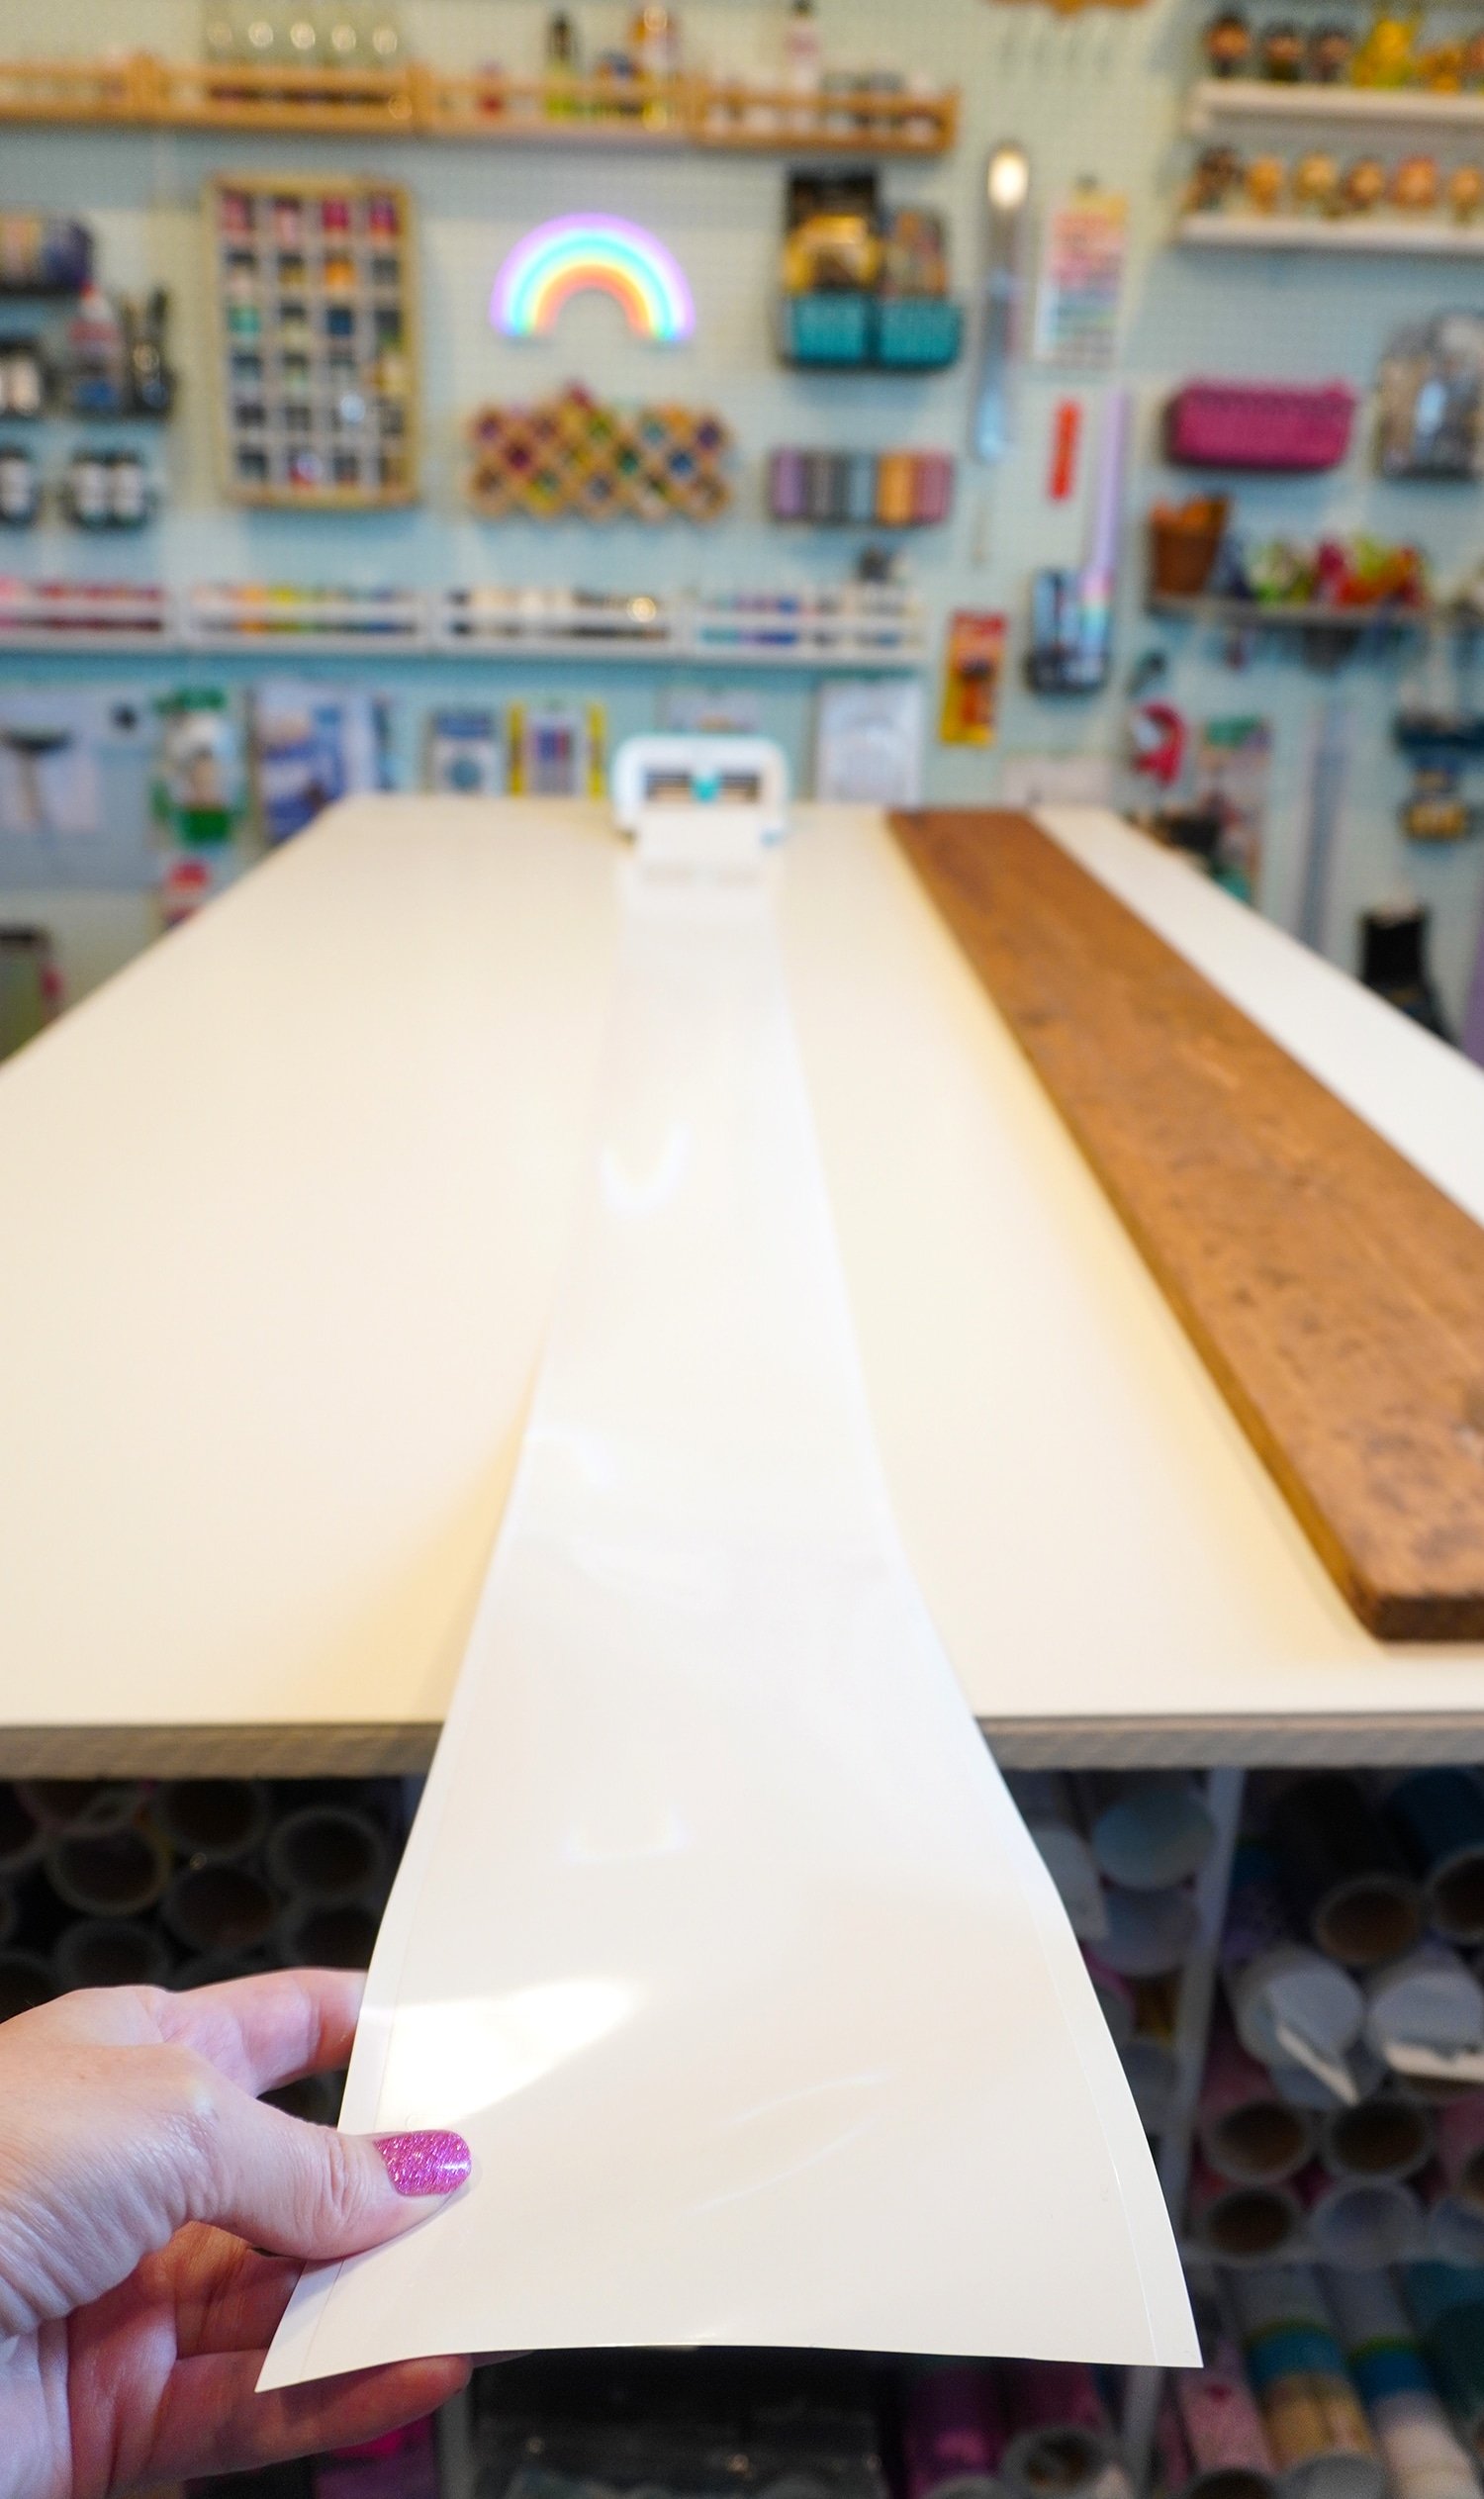
You may be surprised at how quickly it cuts this whole BIG design! When the machine is done cutting, click the “Unload” button in Design Space.
Use scissors to cut the Smart Vinyl design into two separate pieces.
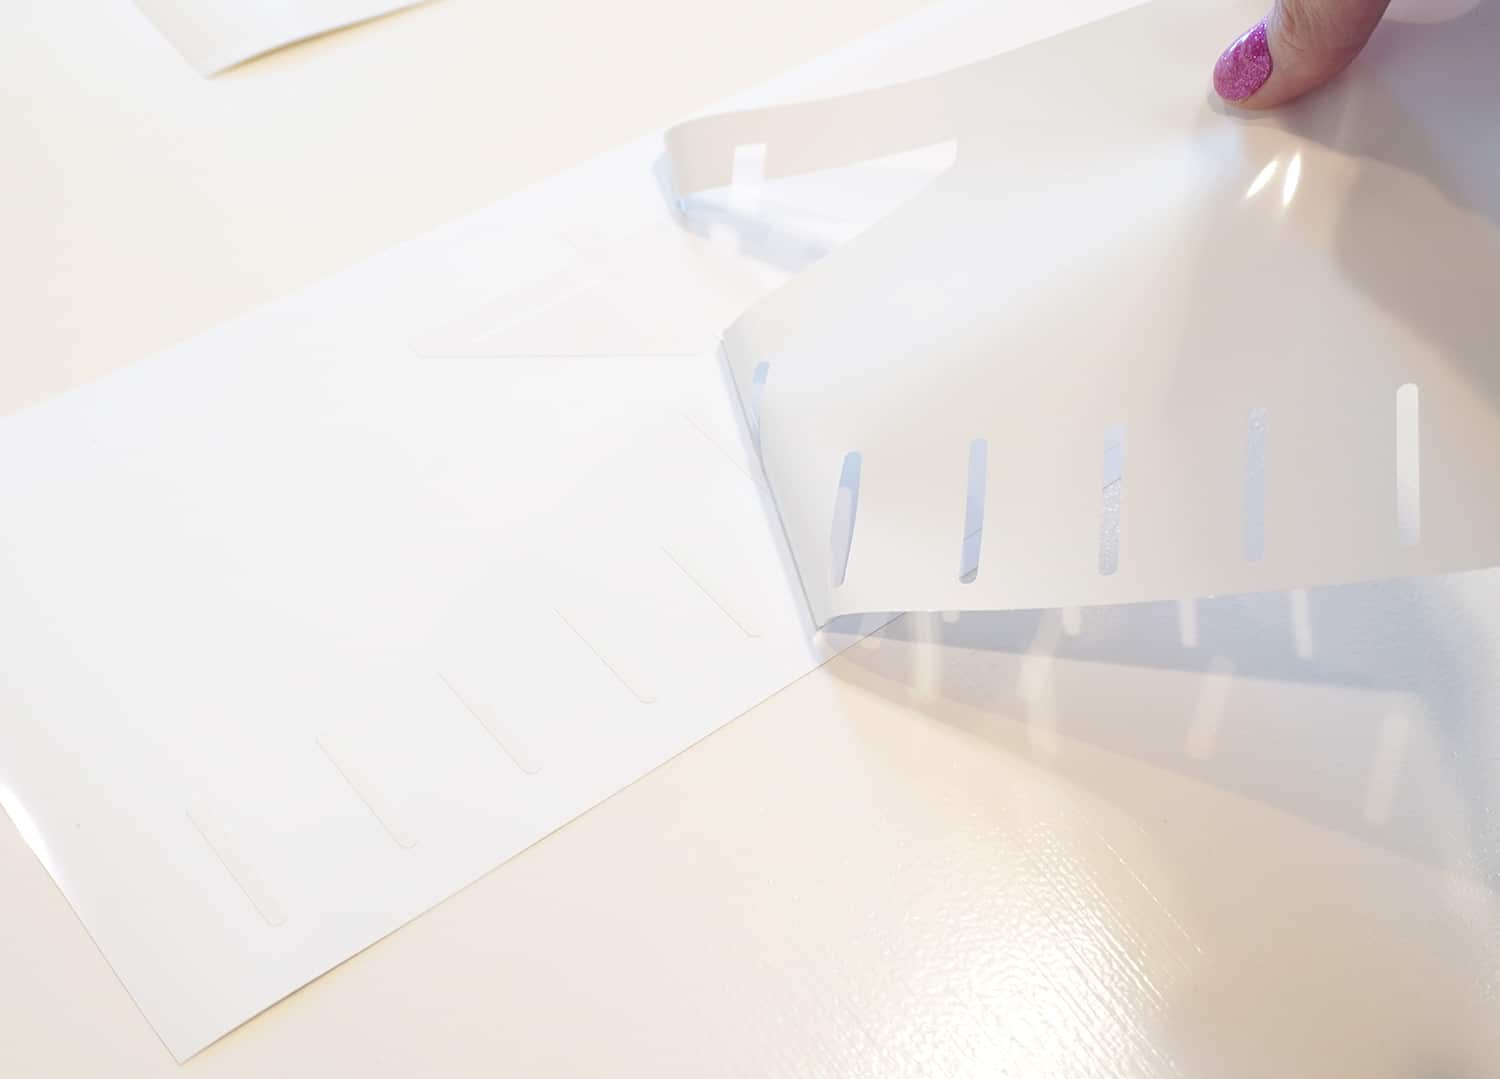
Weed the excess vinyl. All of the pieces of this design are large enough that you should be able to weed it all by hand – no special tools needed!
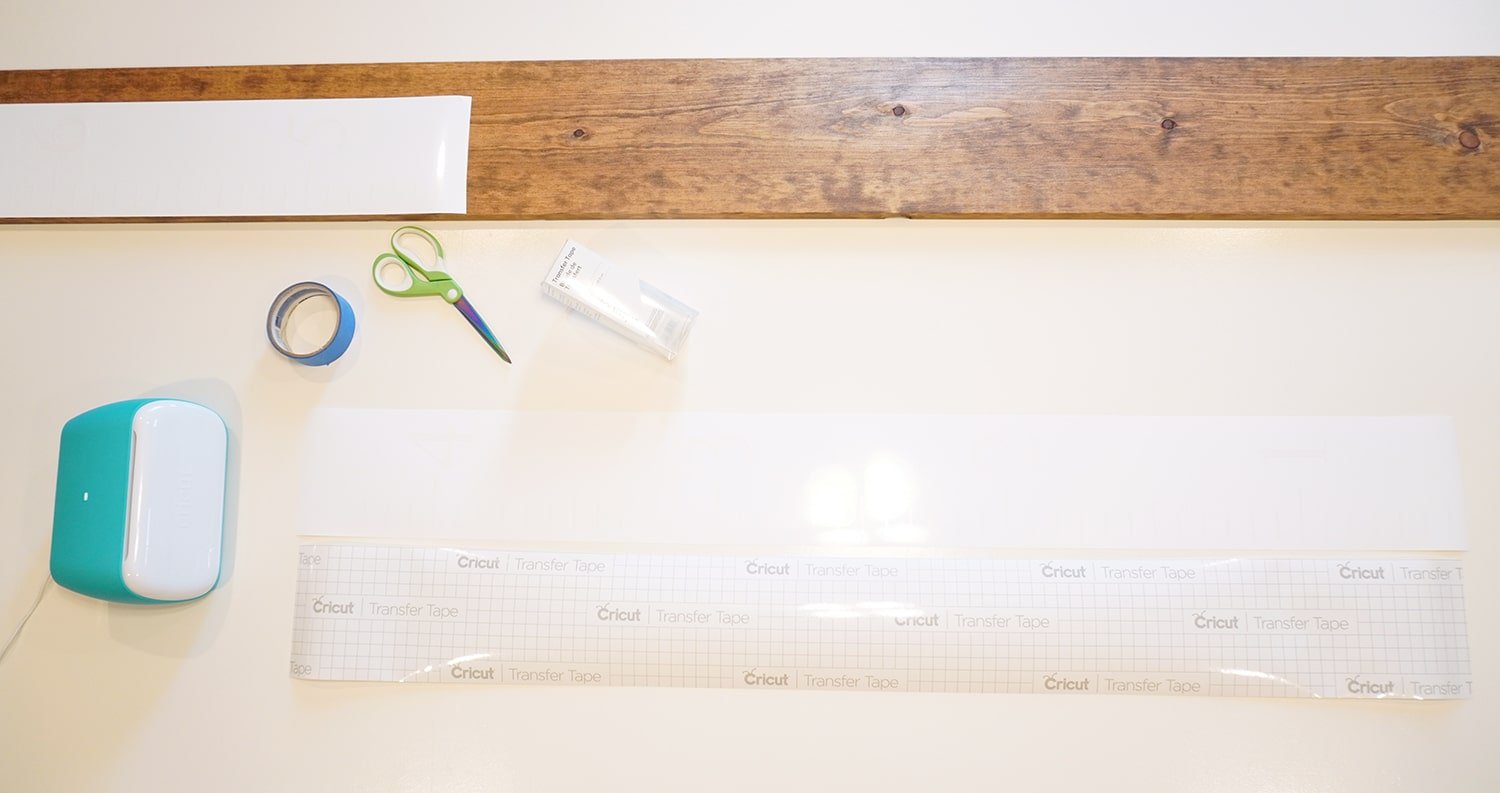
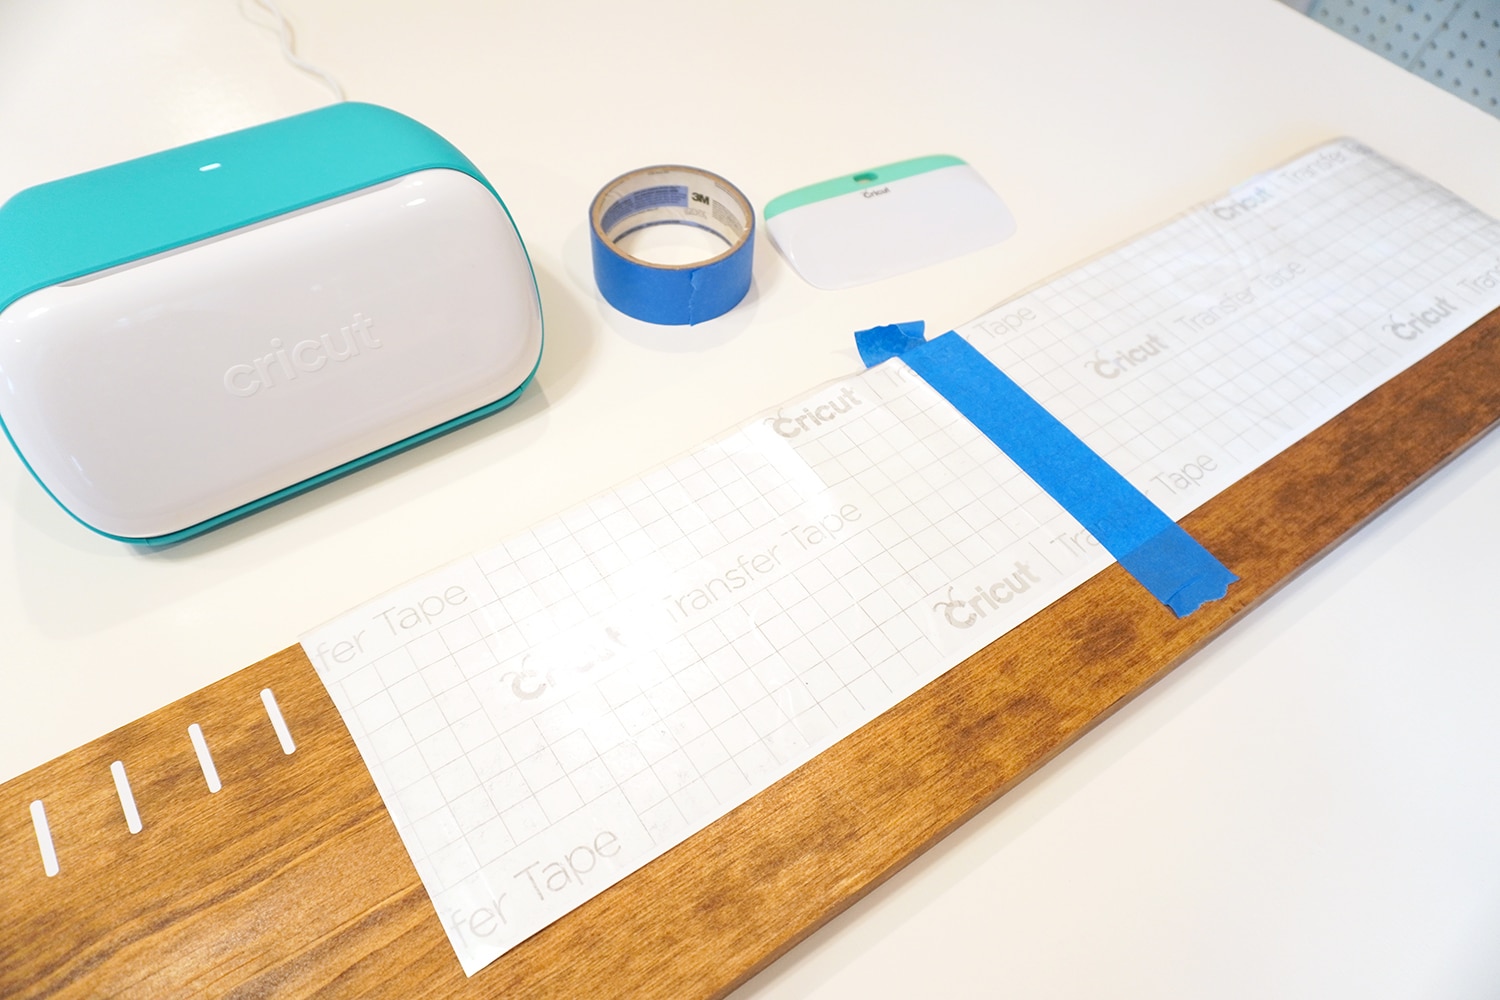
Cut a piece of Cricut Joy Transfer Tape to the same size as your longest piece of vinyl.
Peel back around 4″ of Transfer Tape and bend the backing paper back underneath the length of the tape.
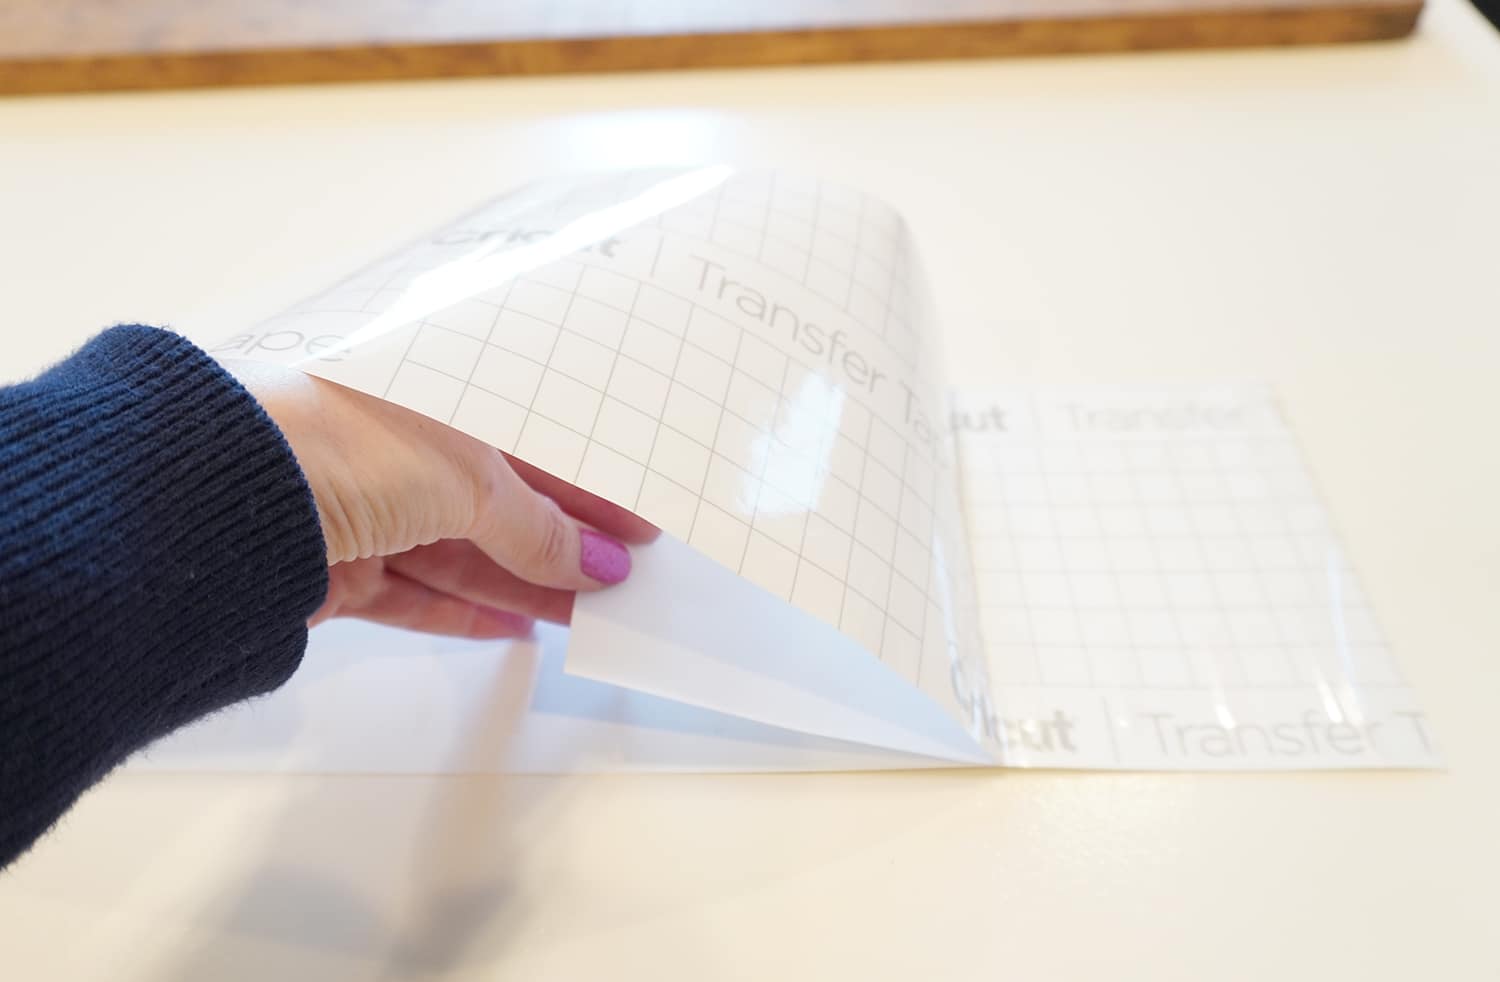
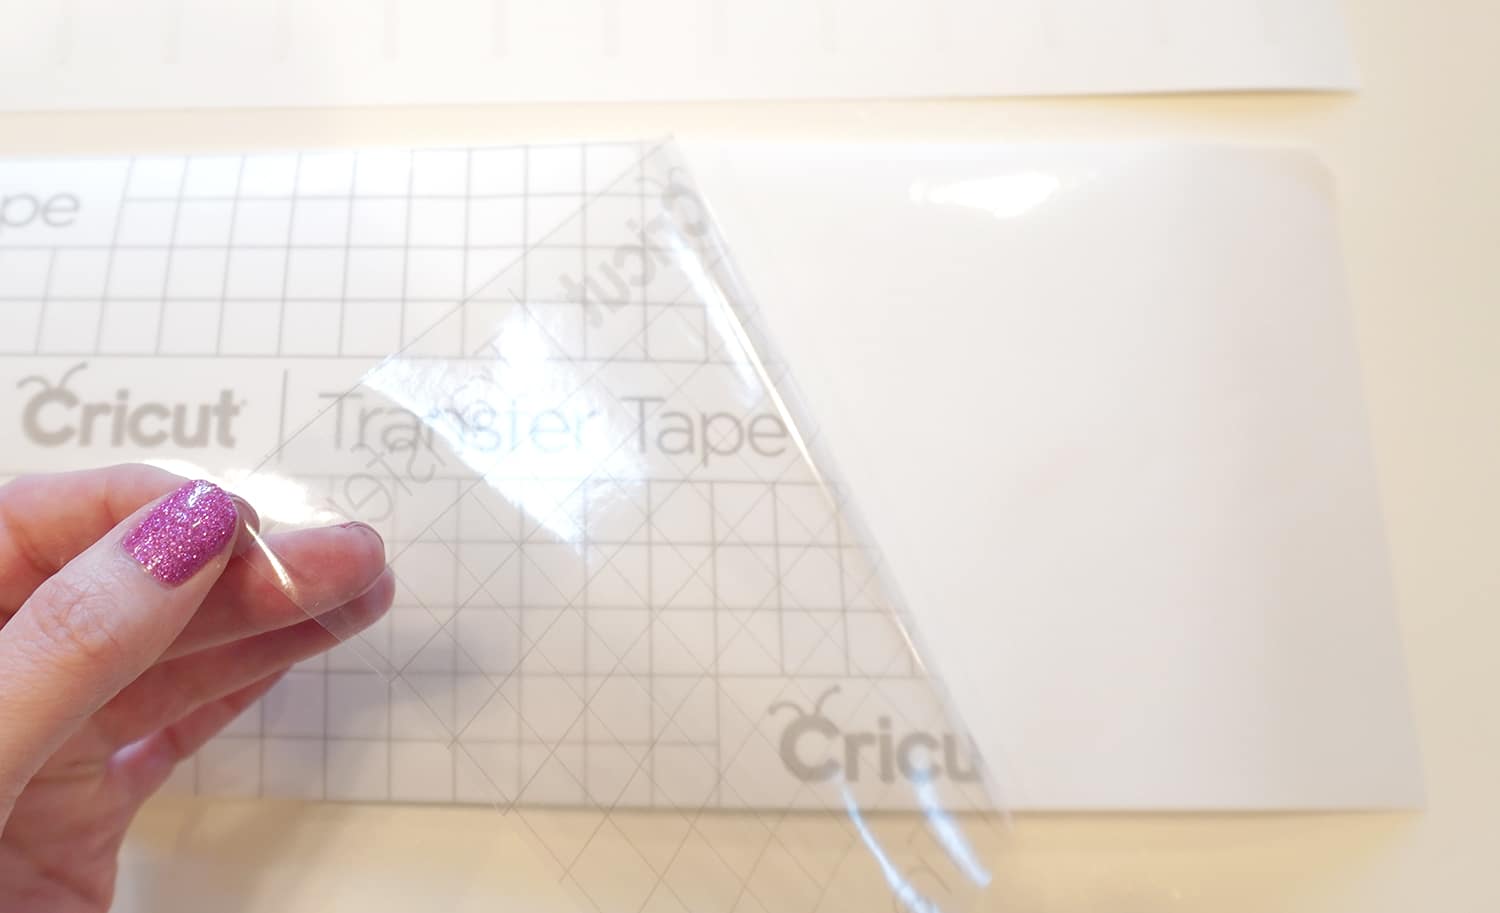
Place the Transfer Tape on top of the Smart Vinyl.
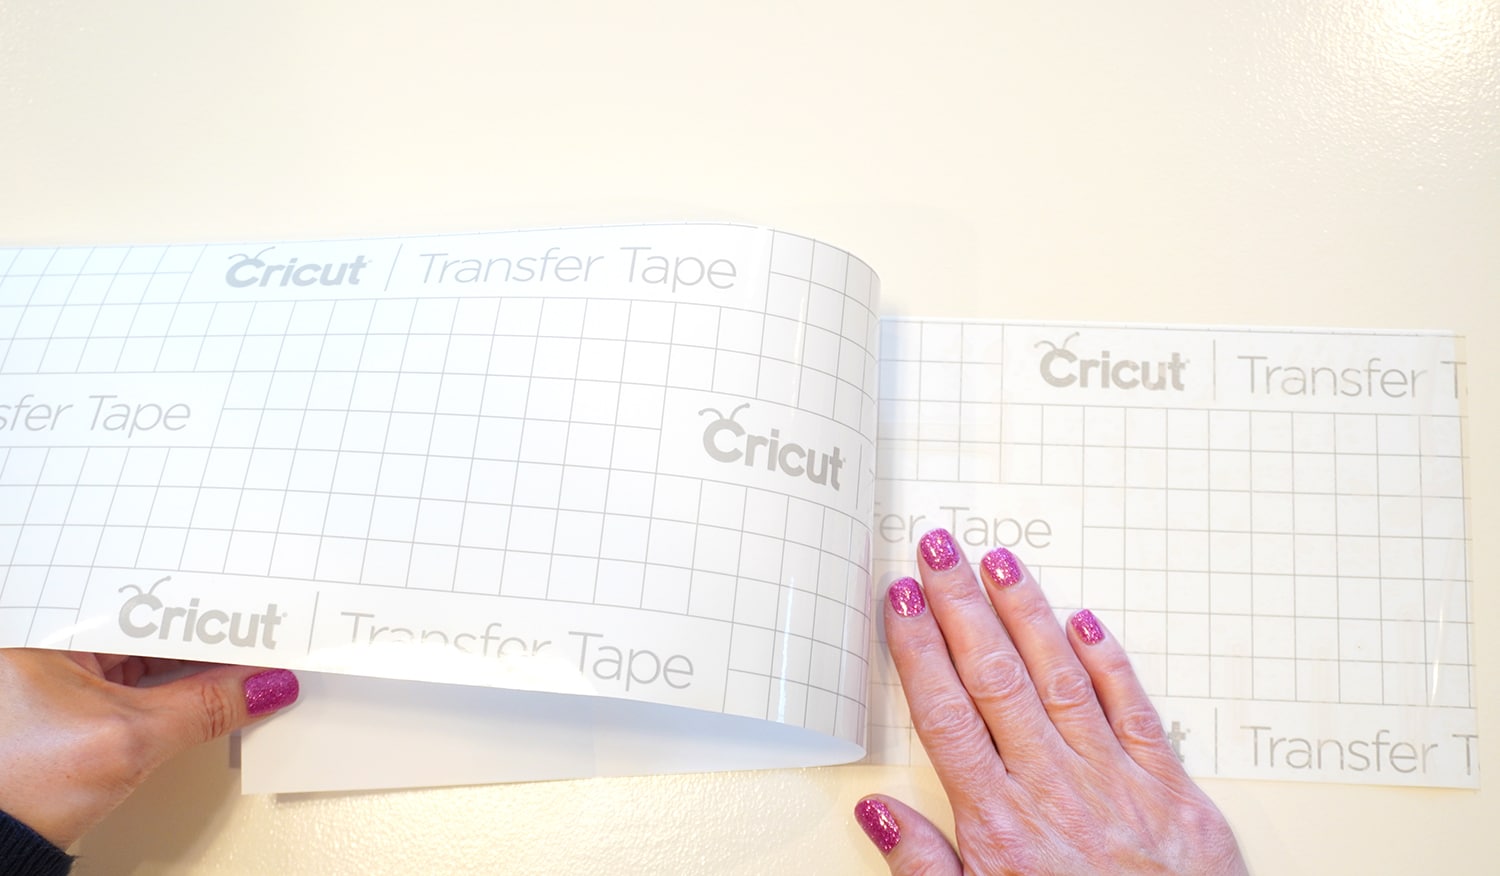
Working in small sections, slowly remove the transfer tape backing, and use your hand to smooth the transfer tape onto the vinyl.
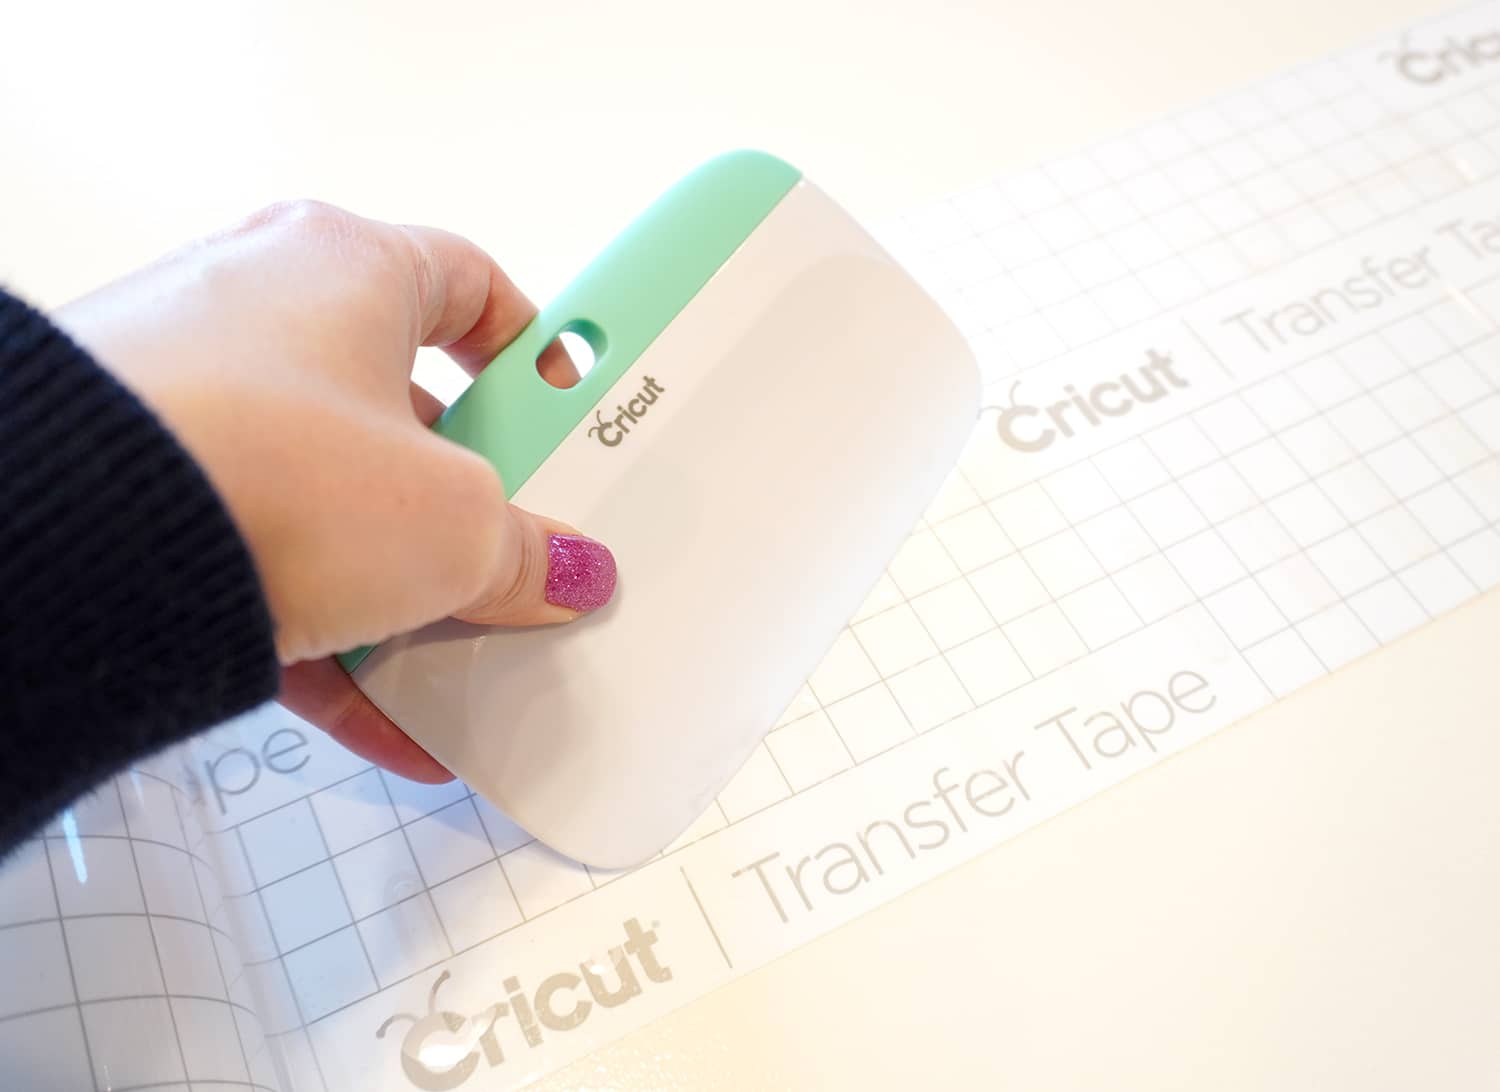
Use an XL Scraper to burnish the top of the transfer tape and make sure it’s completely adhered to the Smart Vinyl design.
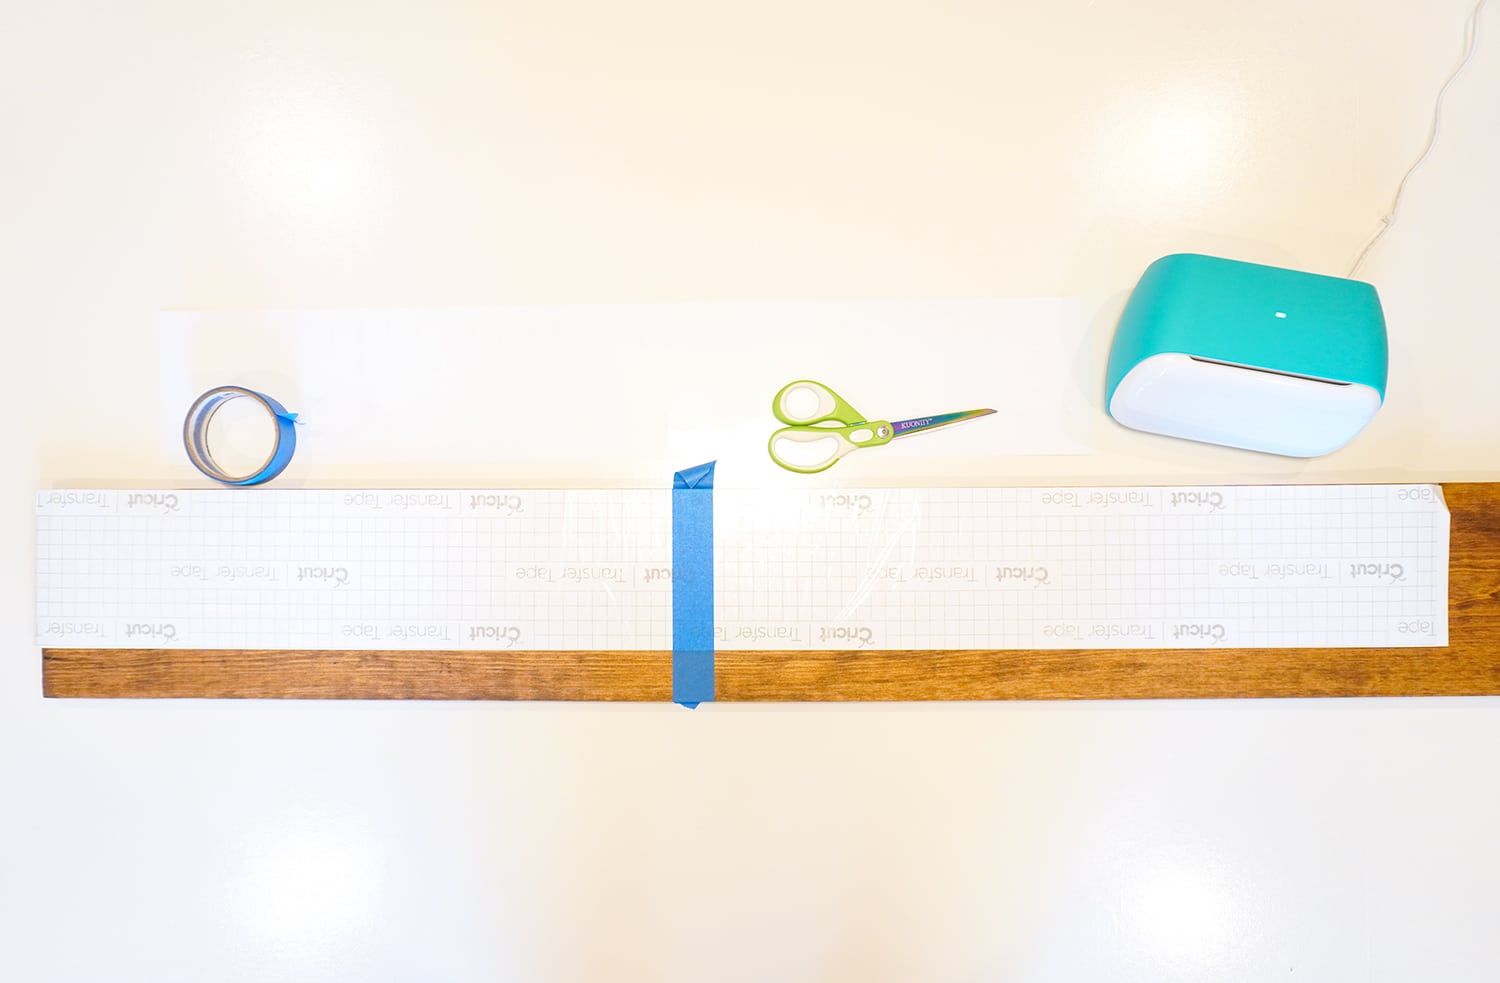
To apply the vinyl to the board, I am going to use the “hinge method” of application. The hinge method helps to ensure that your vinyl stays in the right place as you apply it and is especially helpful when working with large pieces of vinyl such as this.
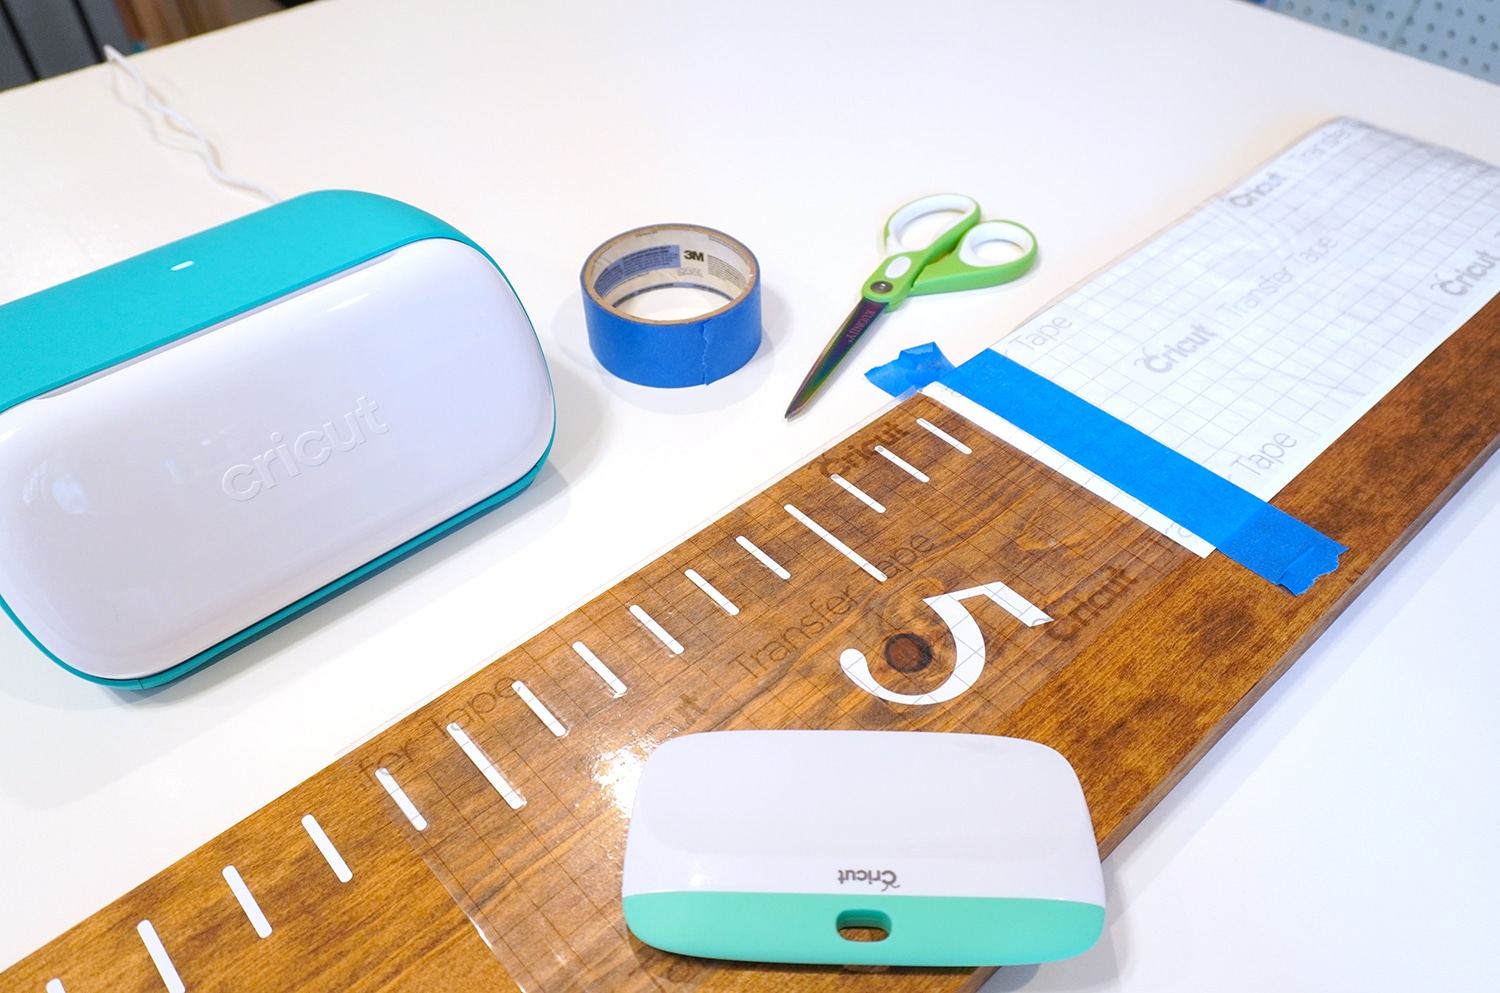
Start by lining up your design in position on the board. I chose to line up the edge of my Smart Vinyl with the edge of my board. Place a piece of painter’s tape in the center of the design to hold it in place.
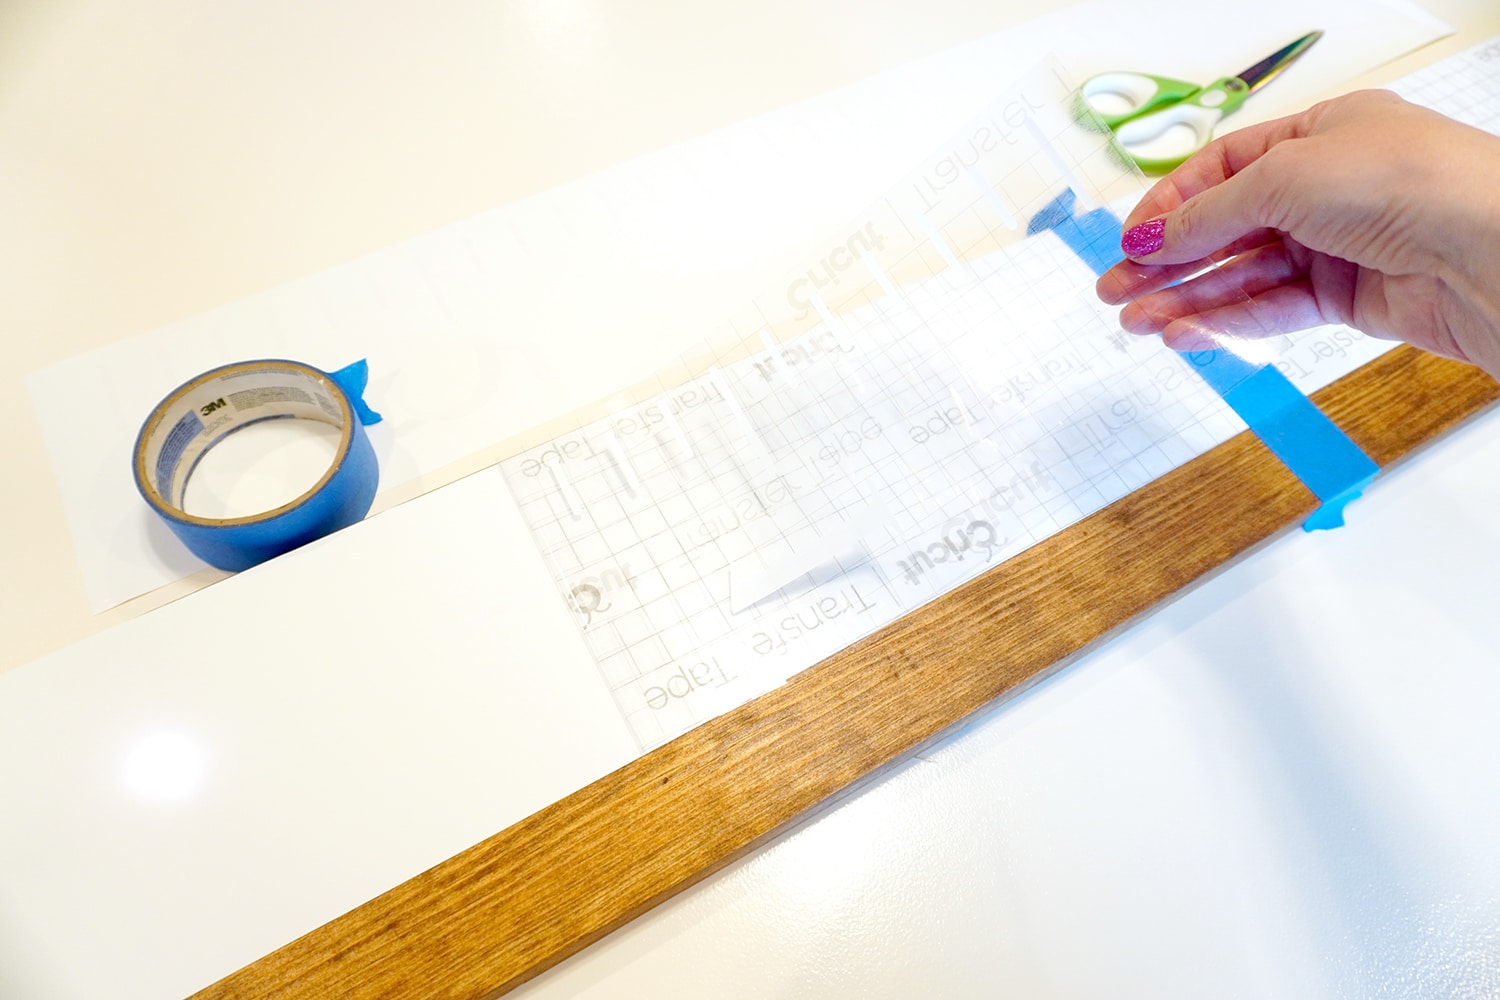
Peel back the transfer tape and vinyl from the left side of the painter’s tape and carefully fold the piece back on the opposite side of the board.

Use scissors to cut away the left half of the backing paper.
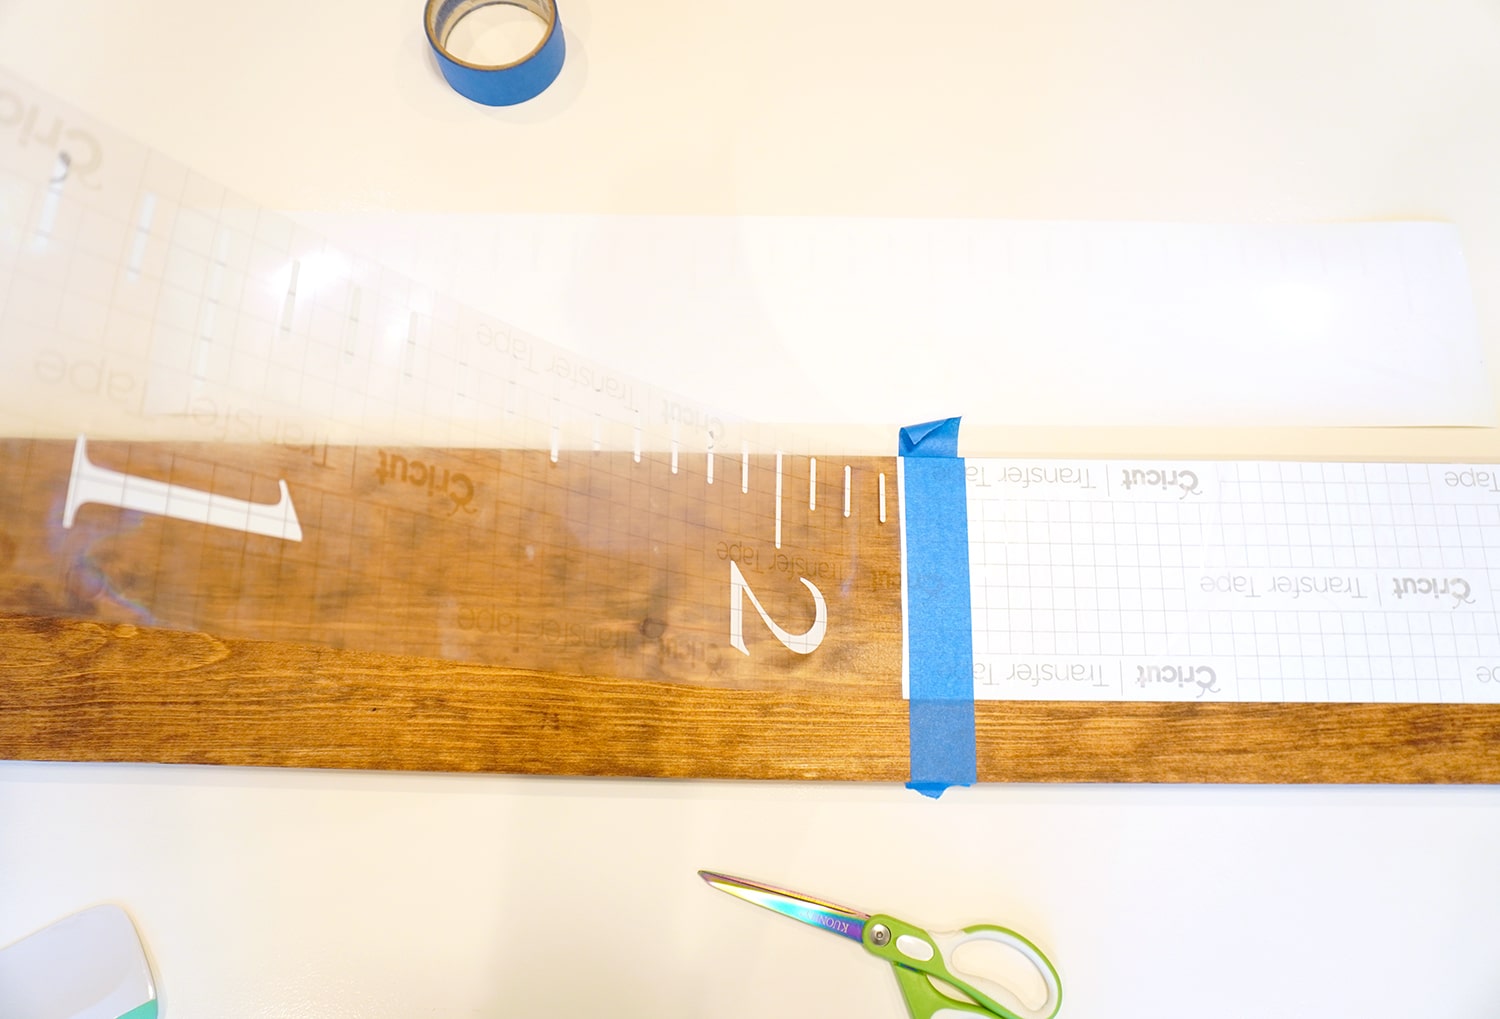
Carefully place the transfer tape and vinyl back down on the board in position.
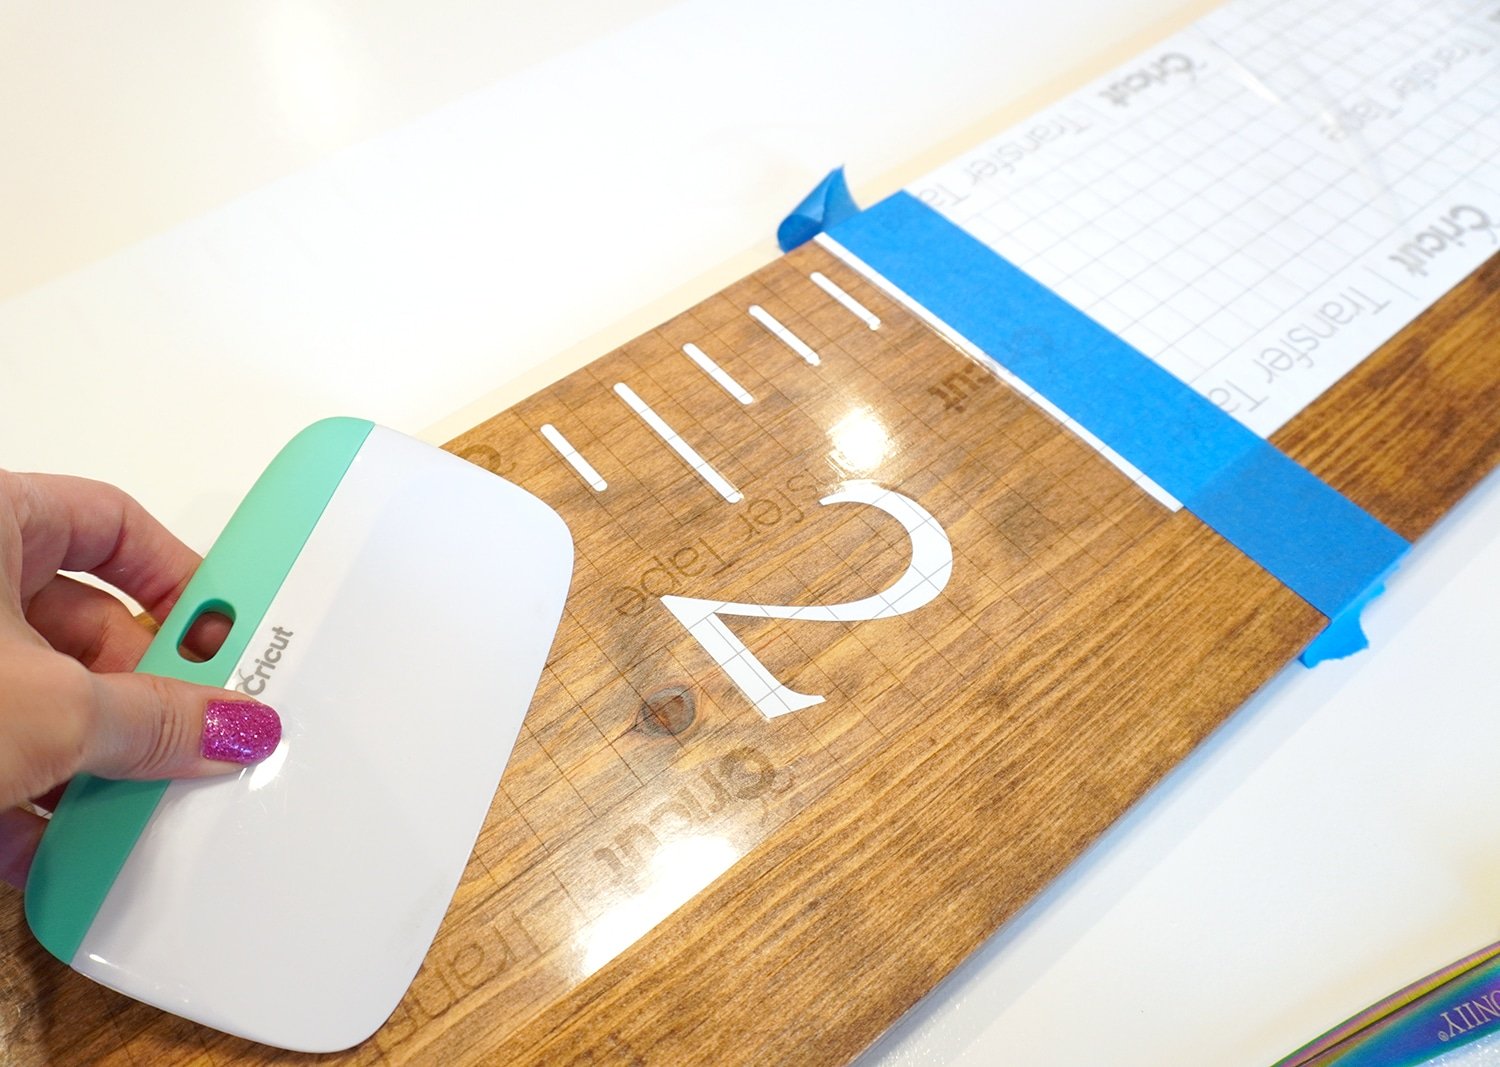
Use the scraper to burnish the surface to ensure that the vinyl has securely adhered to the wood.
Remove the painter’s tape from the design, and repeat the process for the other side of the vinyl.
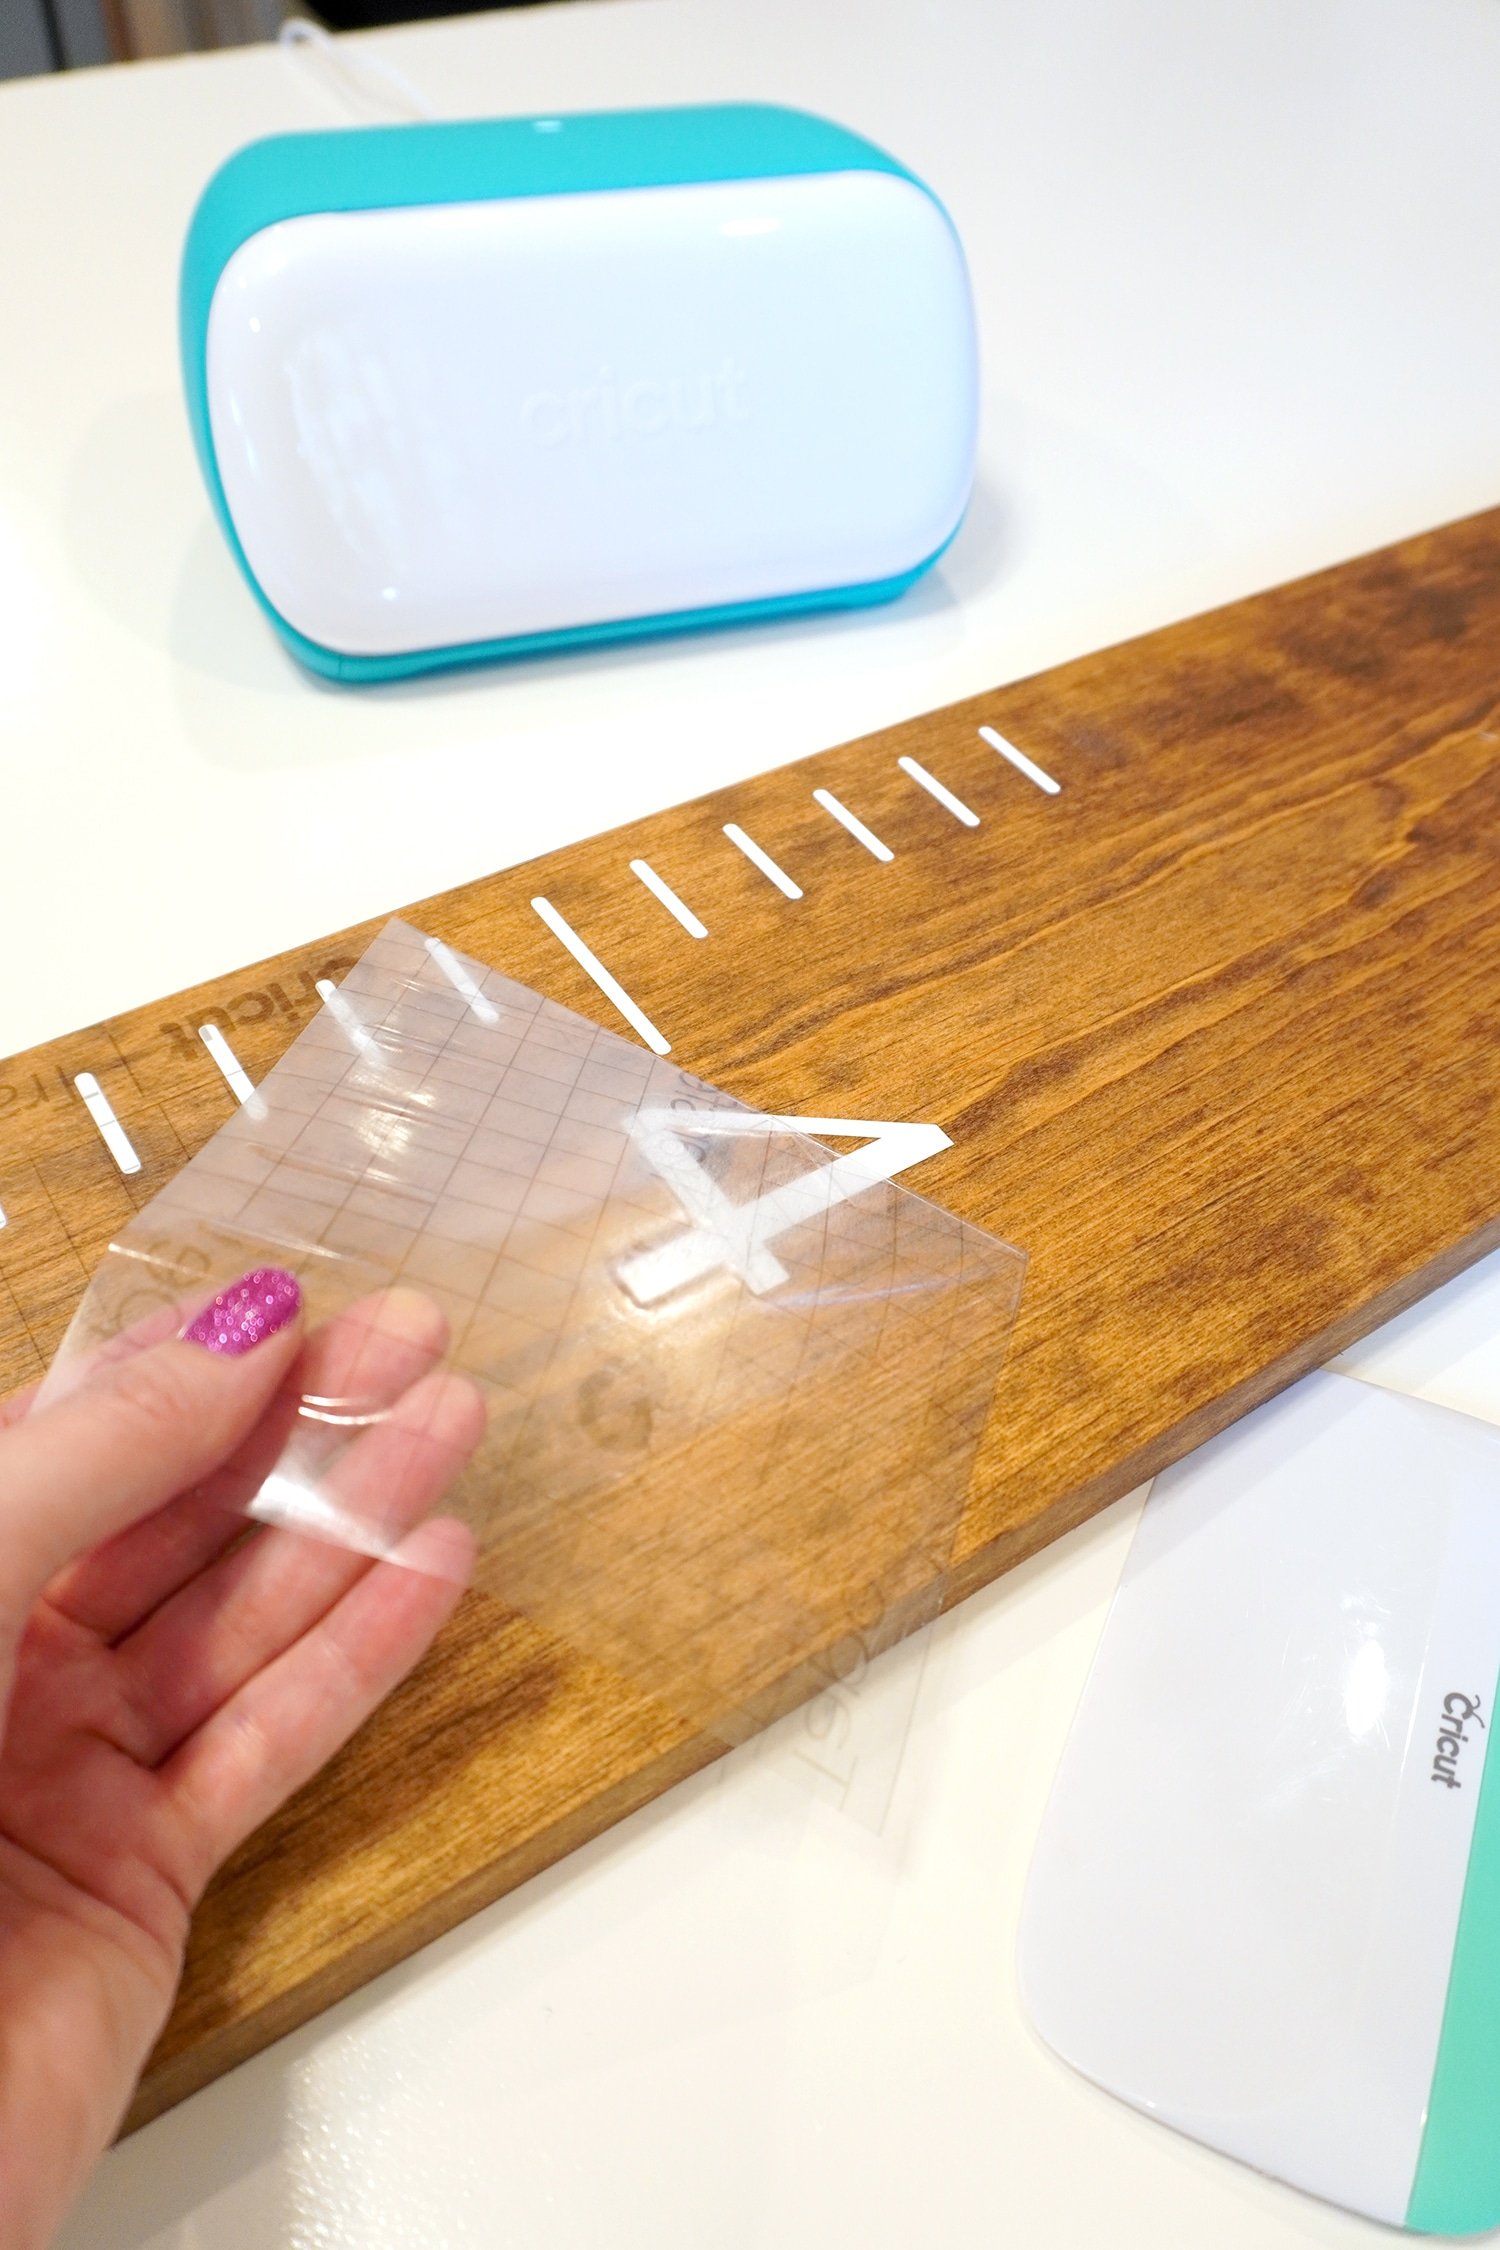
Peel back and remove the transfer tape, leaving the vinyl design on the wood surface.
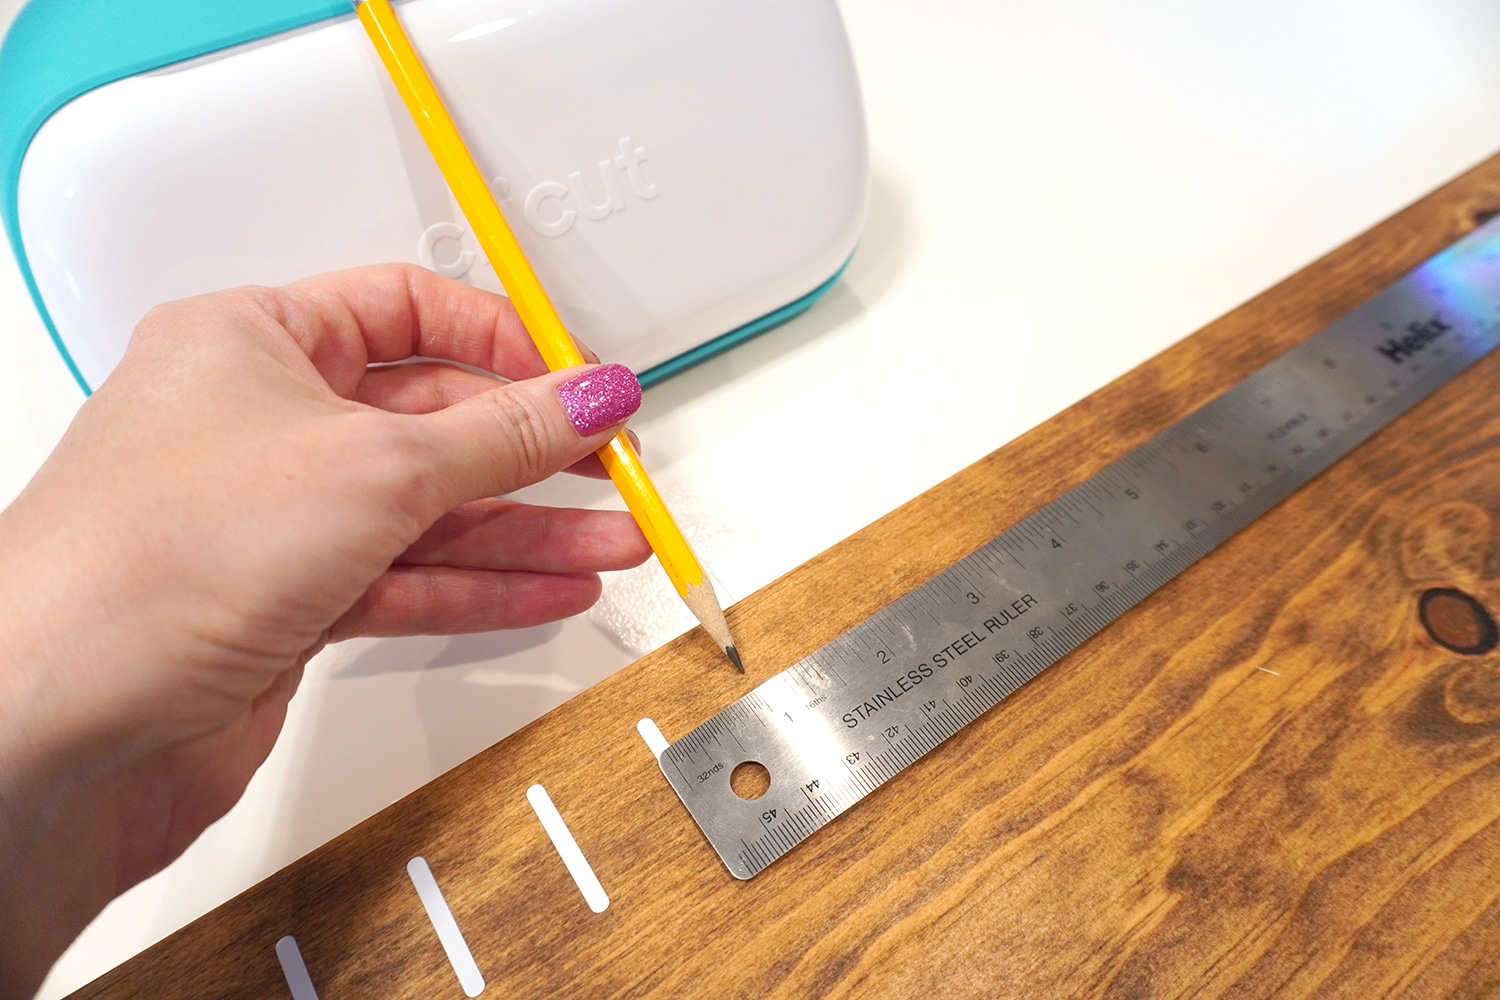
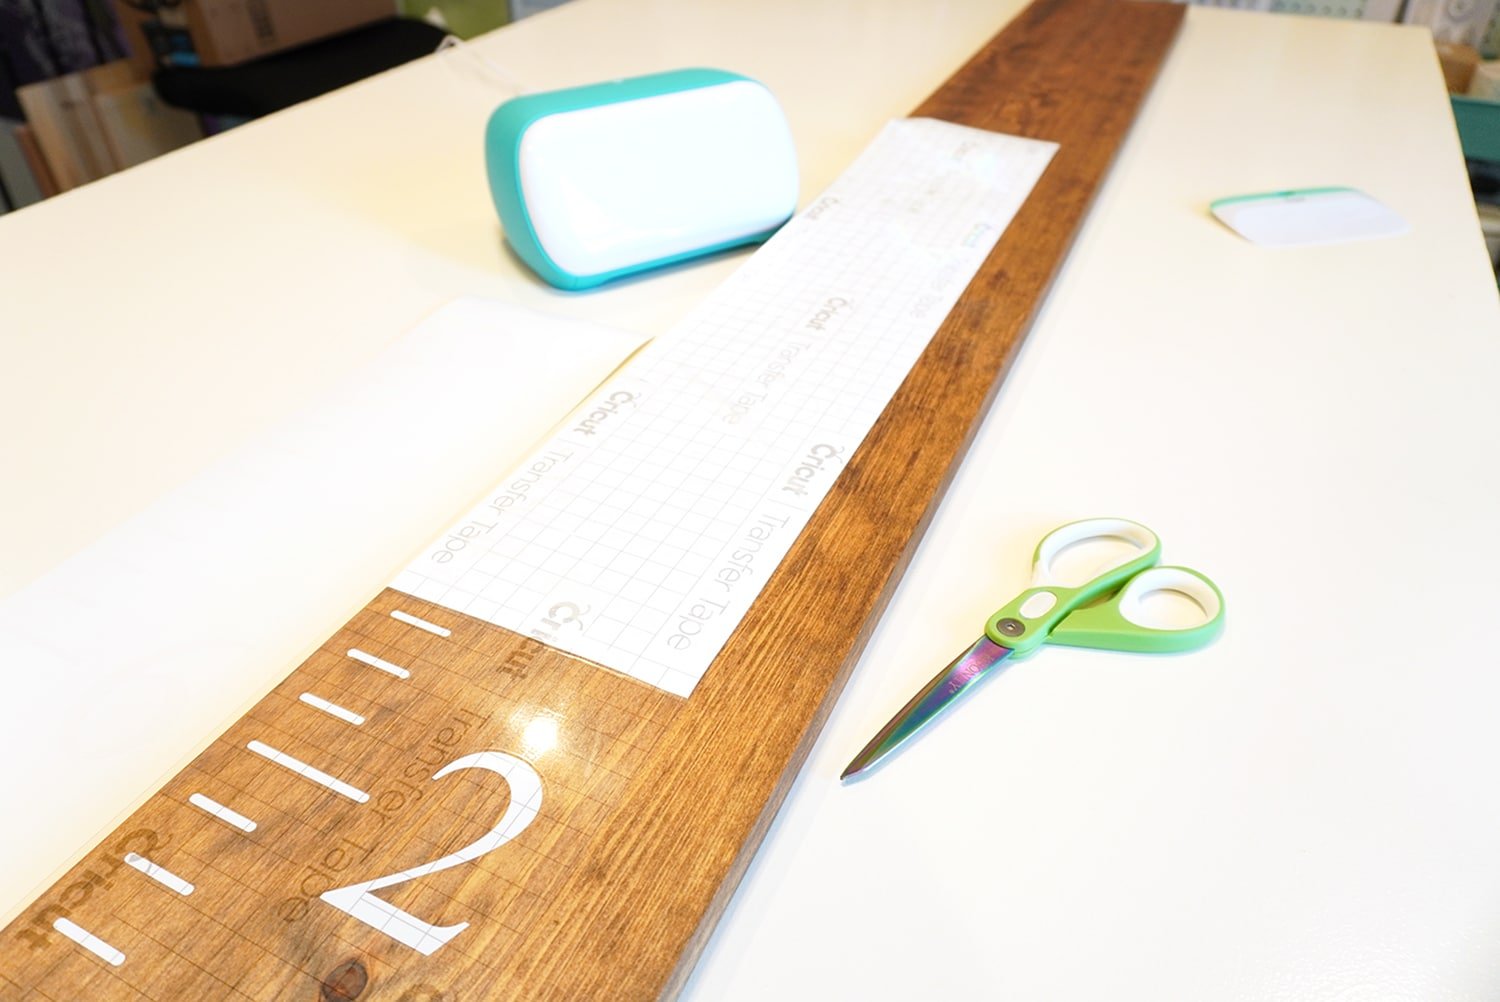
Use a ruler to mark where the second piece of vinyl should be positioned.
Repeat the hinge method process with the second piece of vinyl and transfer tape.
Easy peasy! This is one LONG design and a whole lot of vinyl, but the methods in this tutorial make it super simple to create!
If desired, you can add a sealer to finish your ruler growth chart, but the Permanent Smart Vinyl is super strong and designed to last, so it’s not really necessary. If you do want to seal it, I recommend using a satin polyurethane.
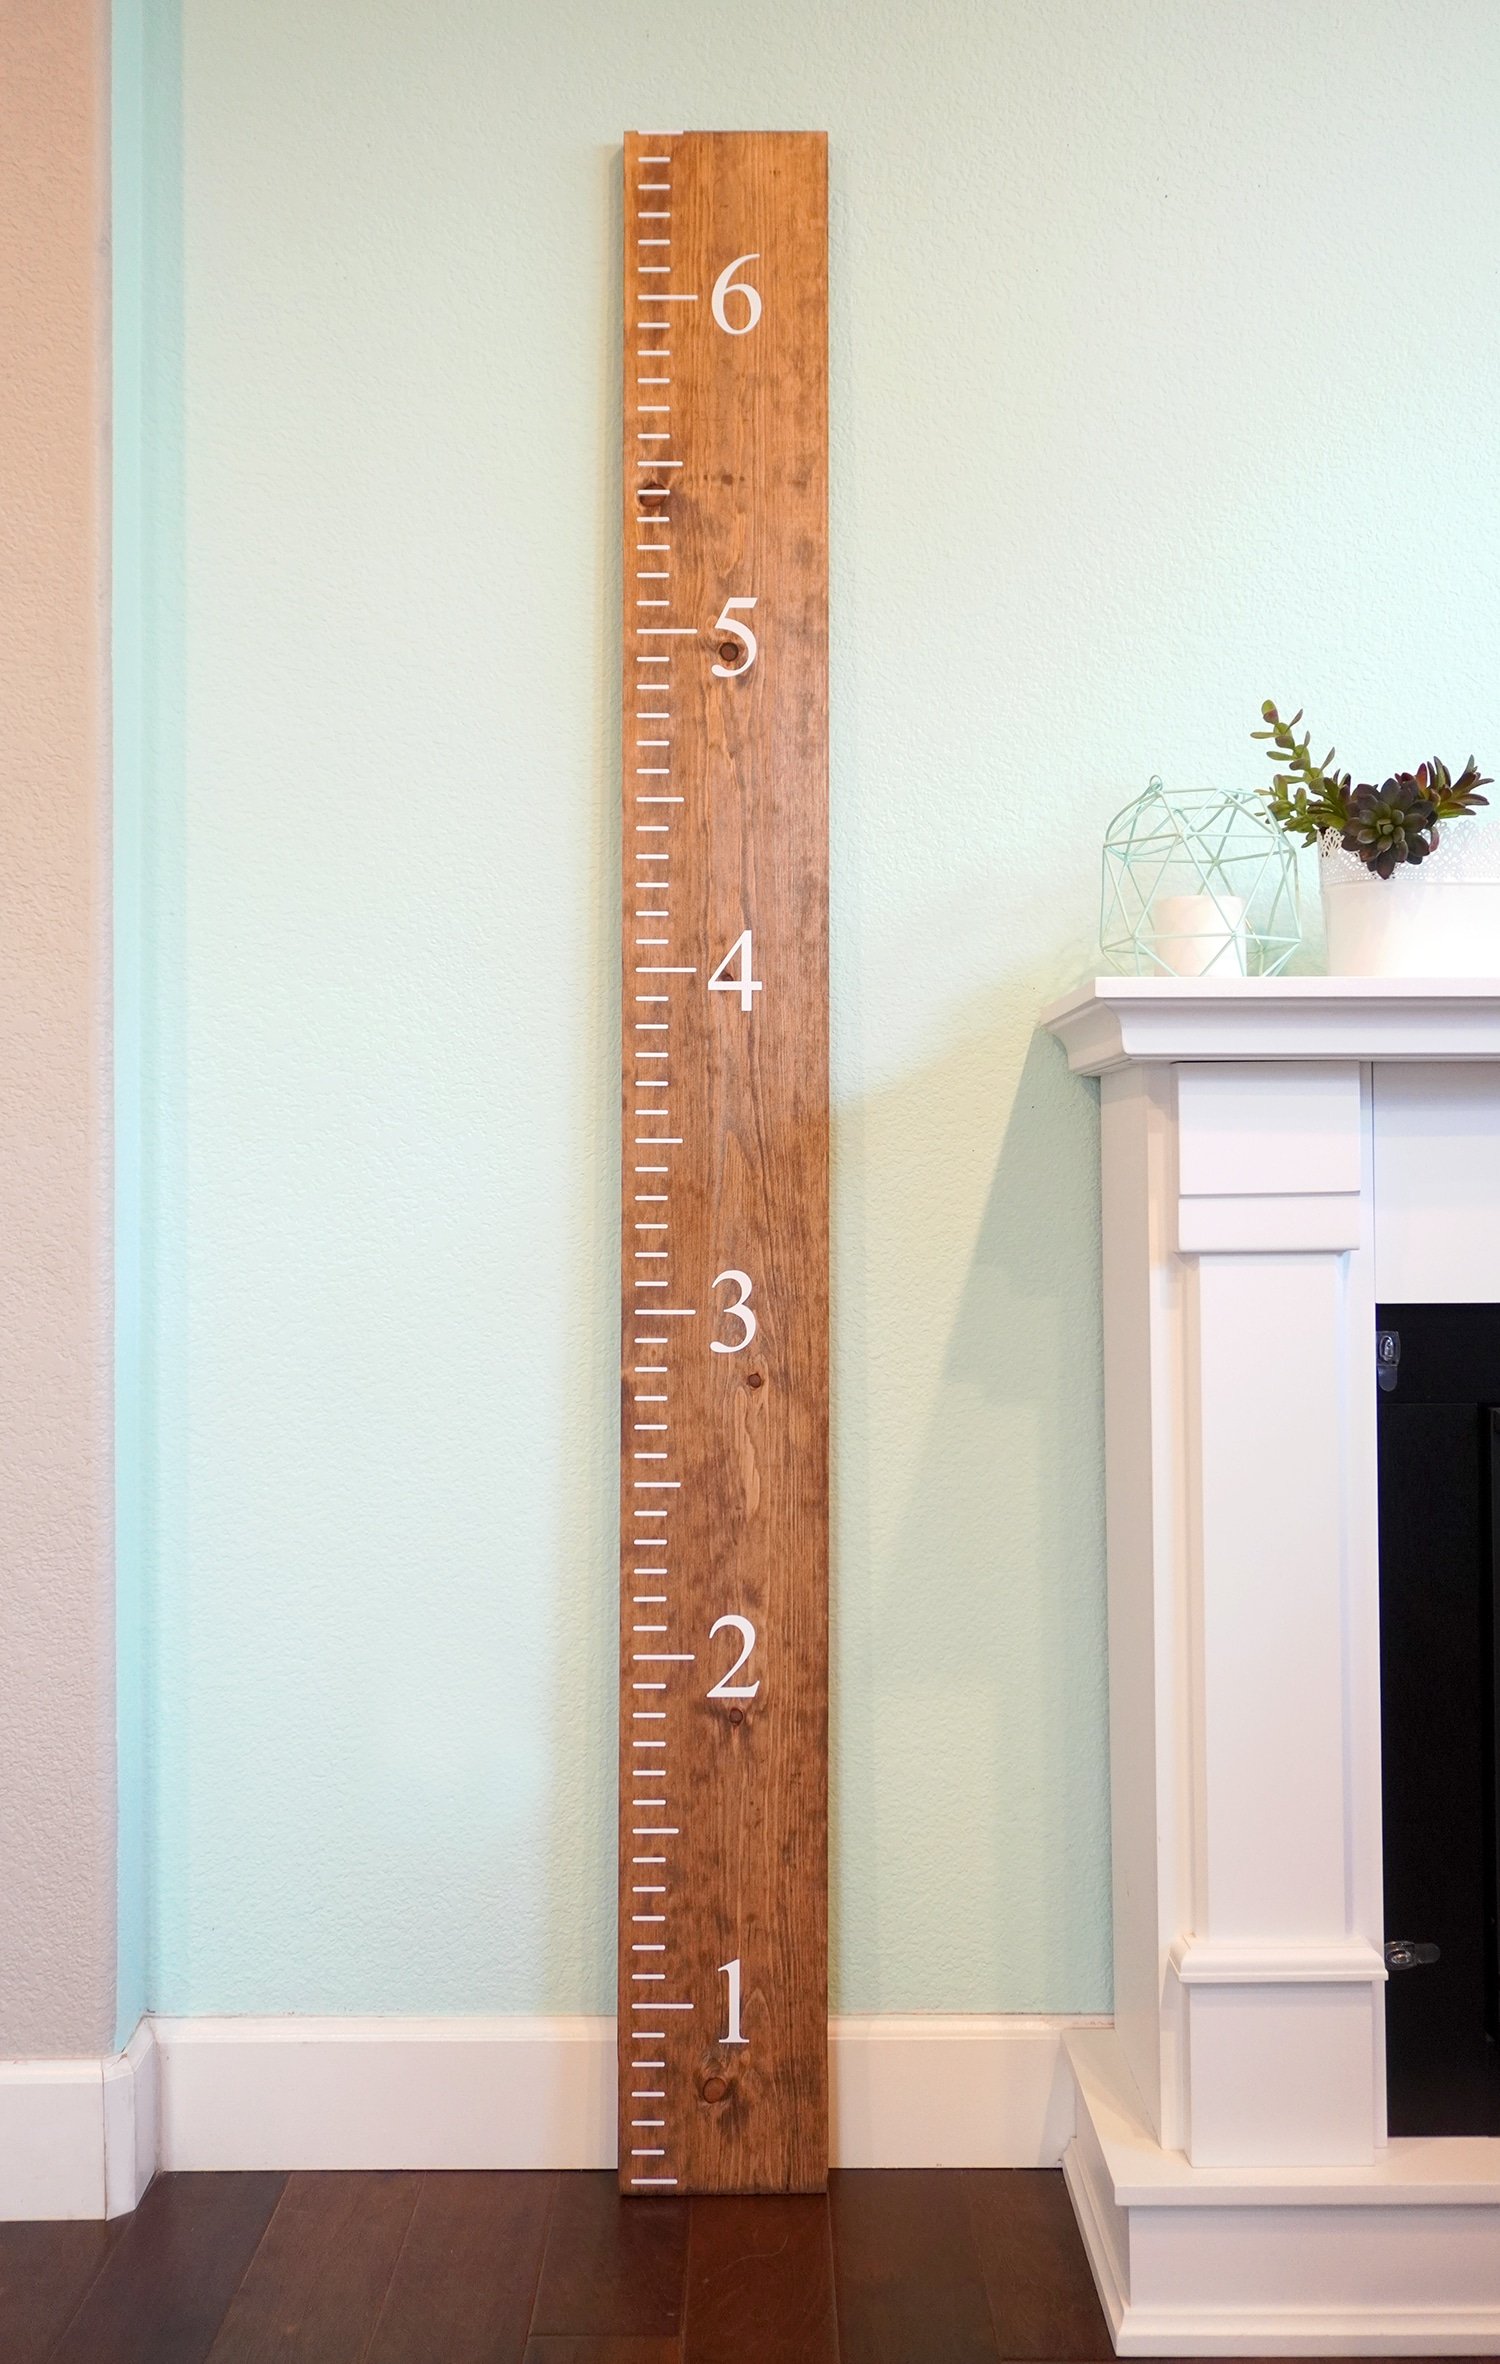
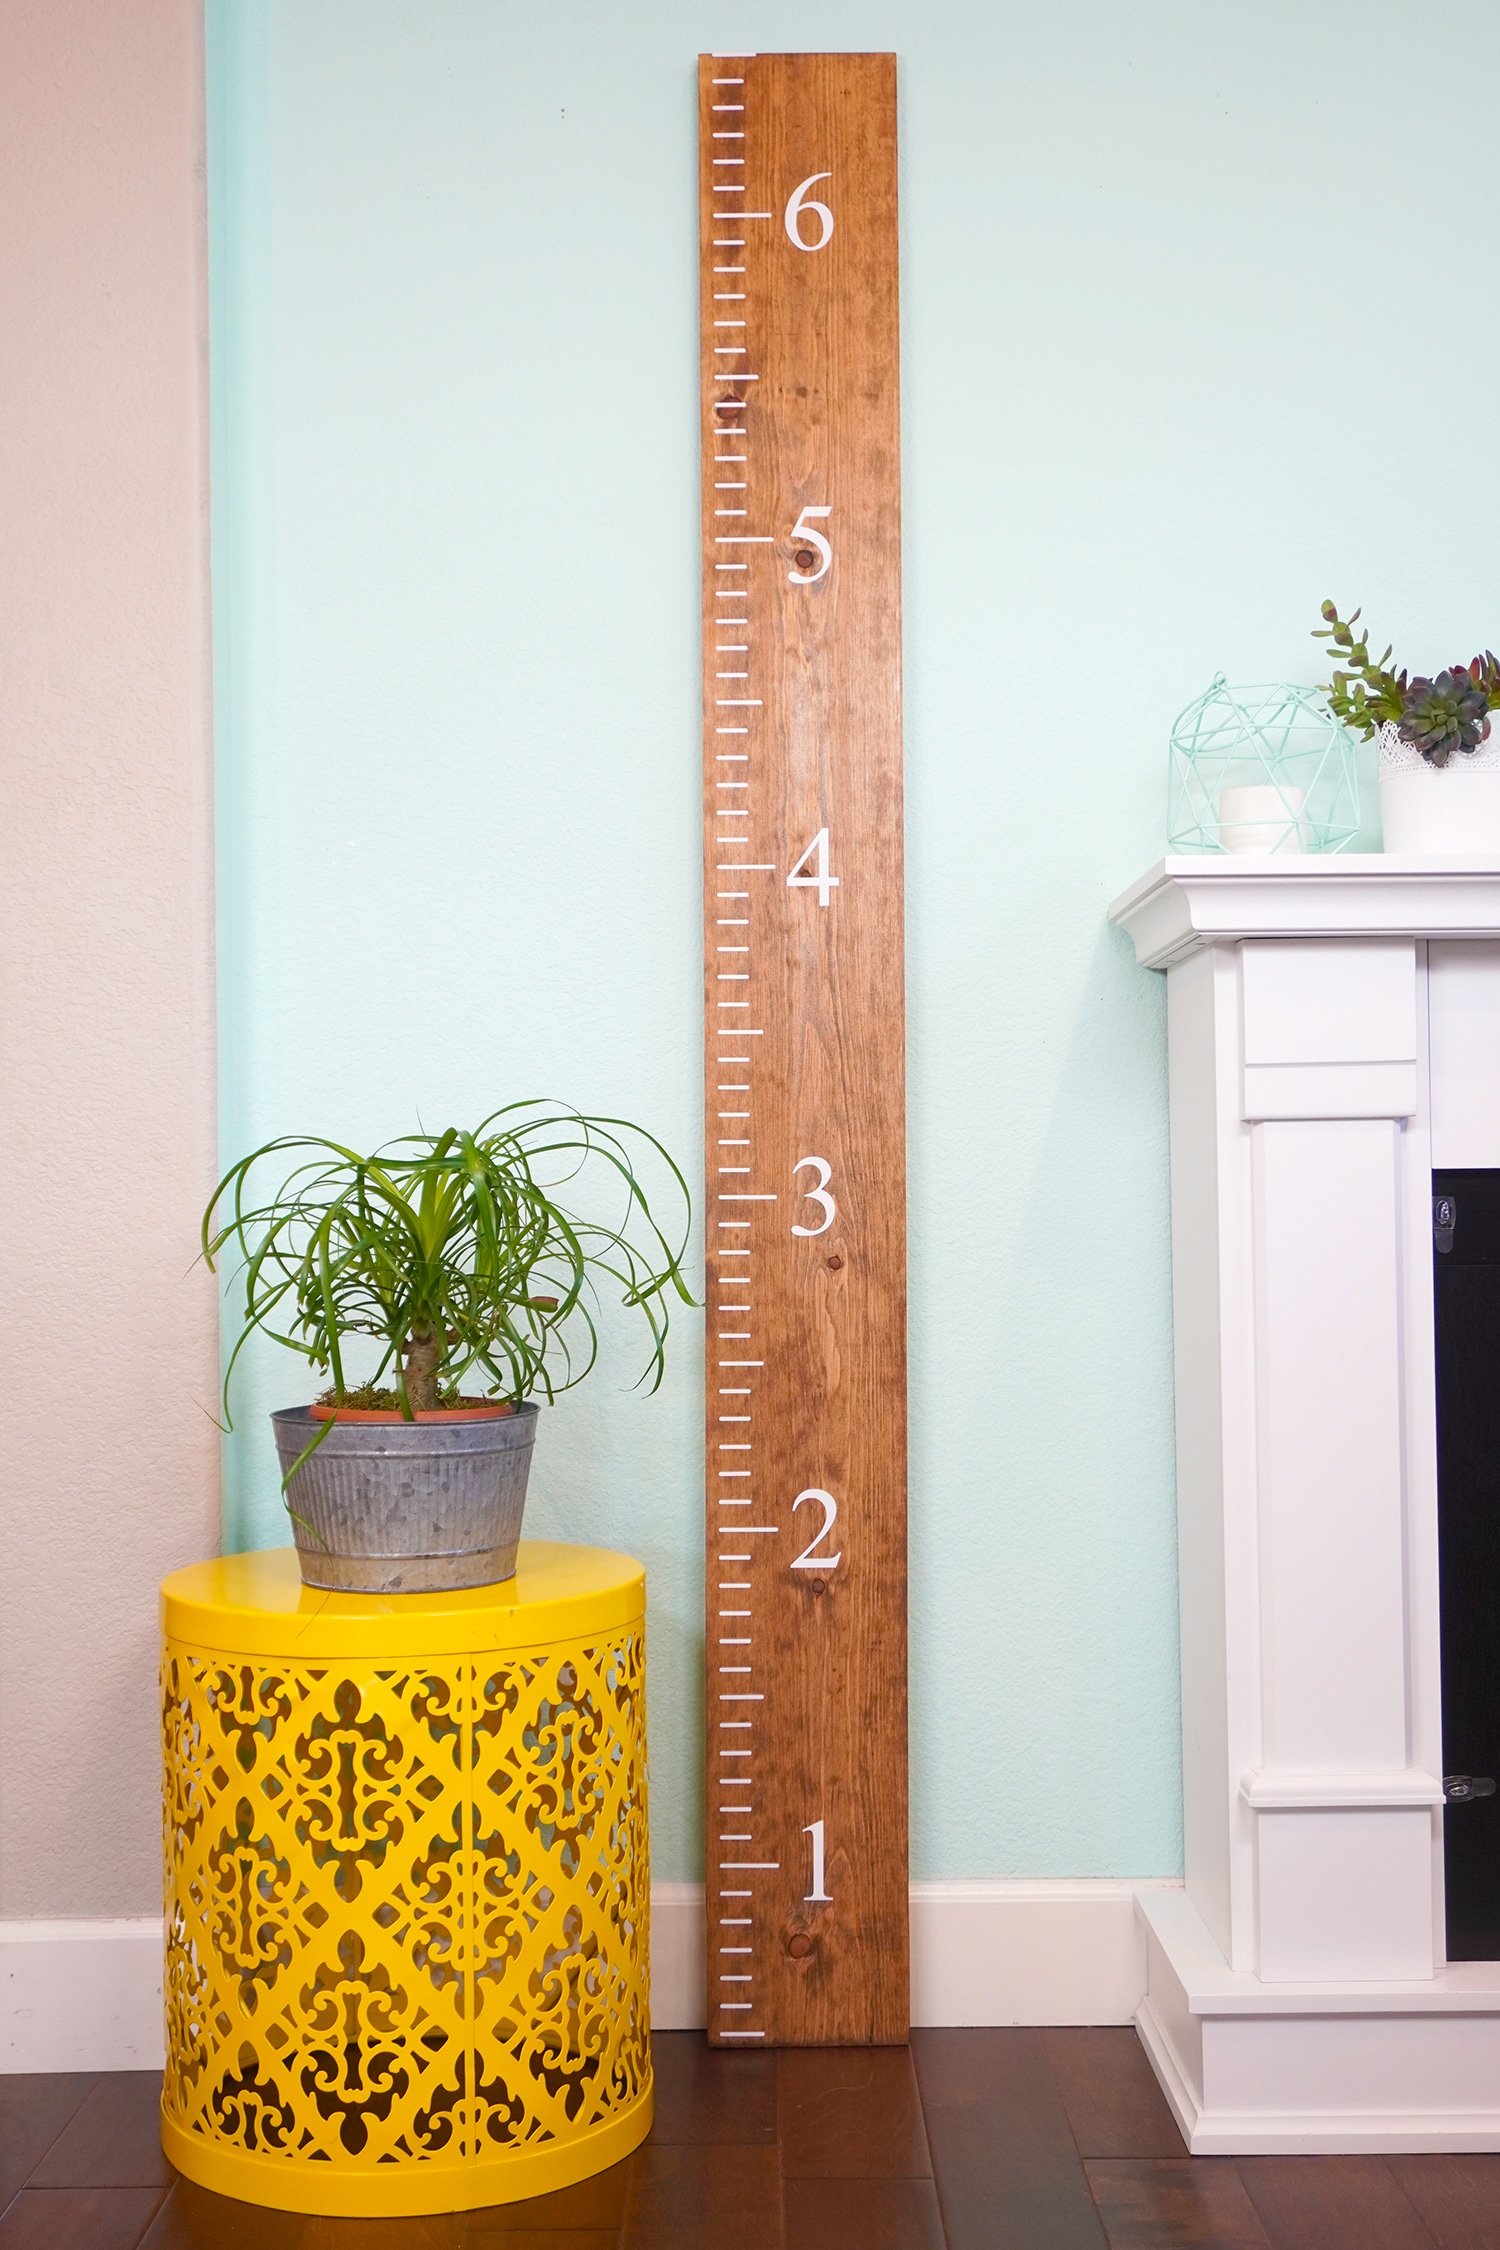
How cute is that?
You can also personalize your ruler growth chart with your child’s name, your family’s last name, or anything else you desire!
I’m still deciding where I want to hang our wooden ruler growth chart in our house, so for now, I just have it leaning against the wall temporarily, but it will eventually hang 6″ off the floor so that the measurements are accurate.
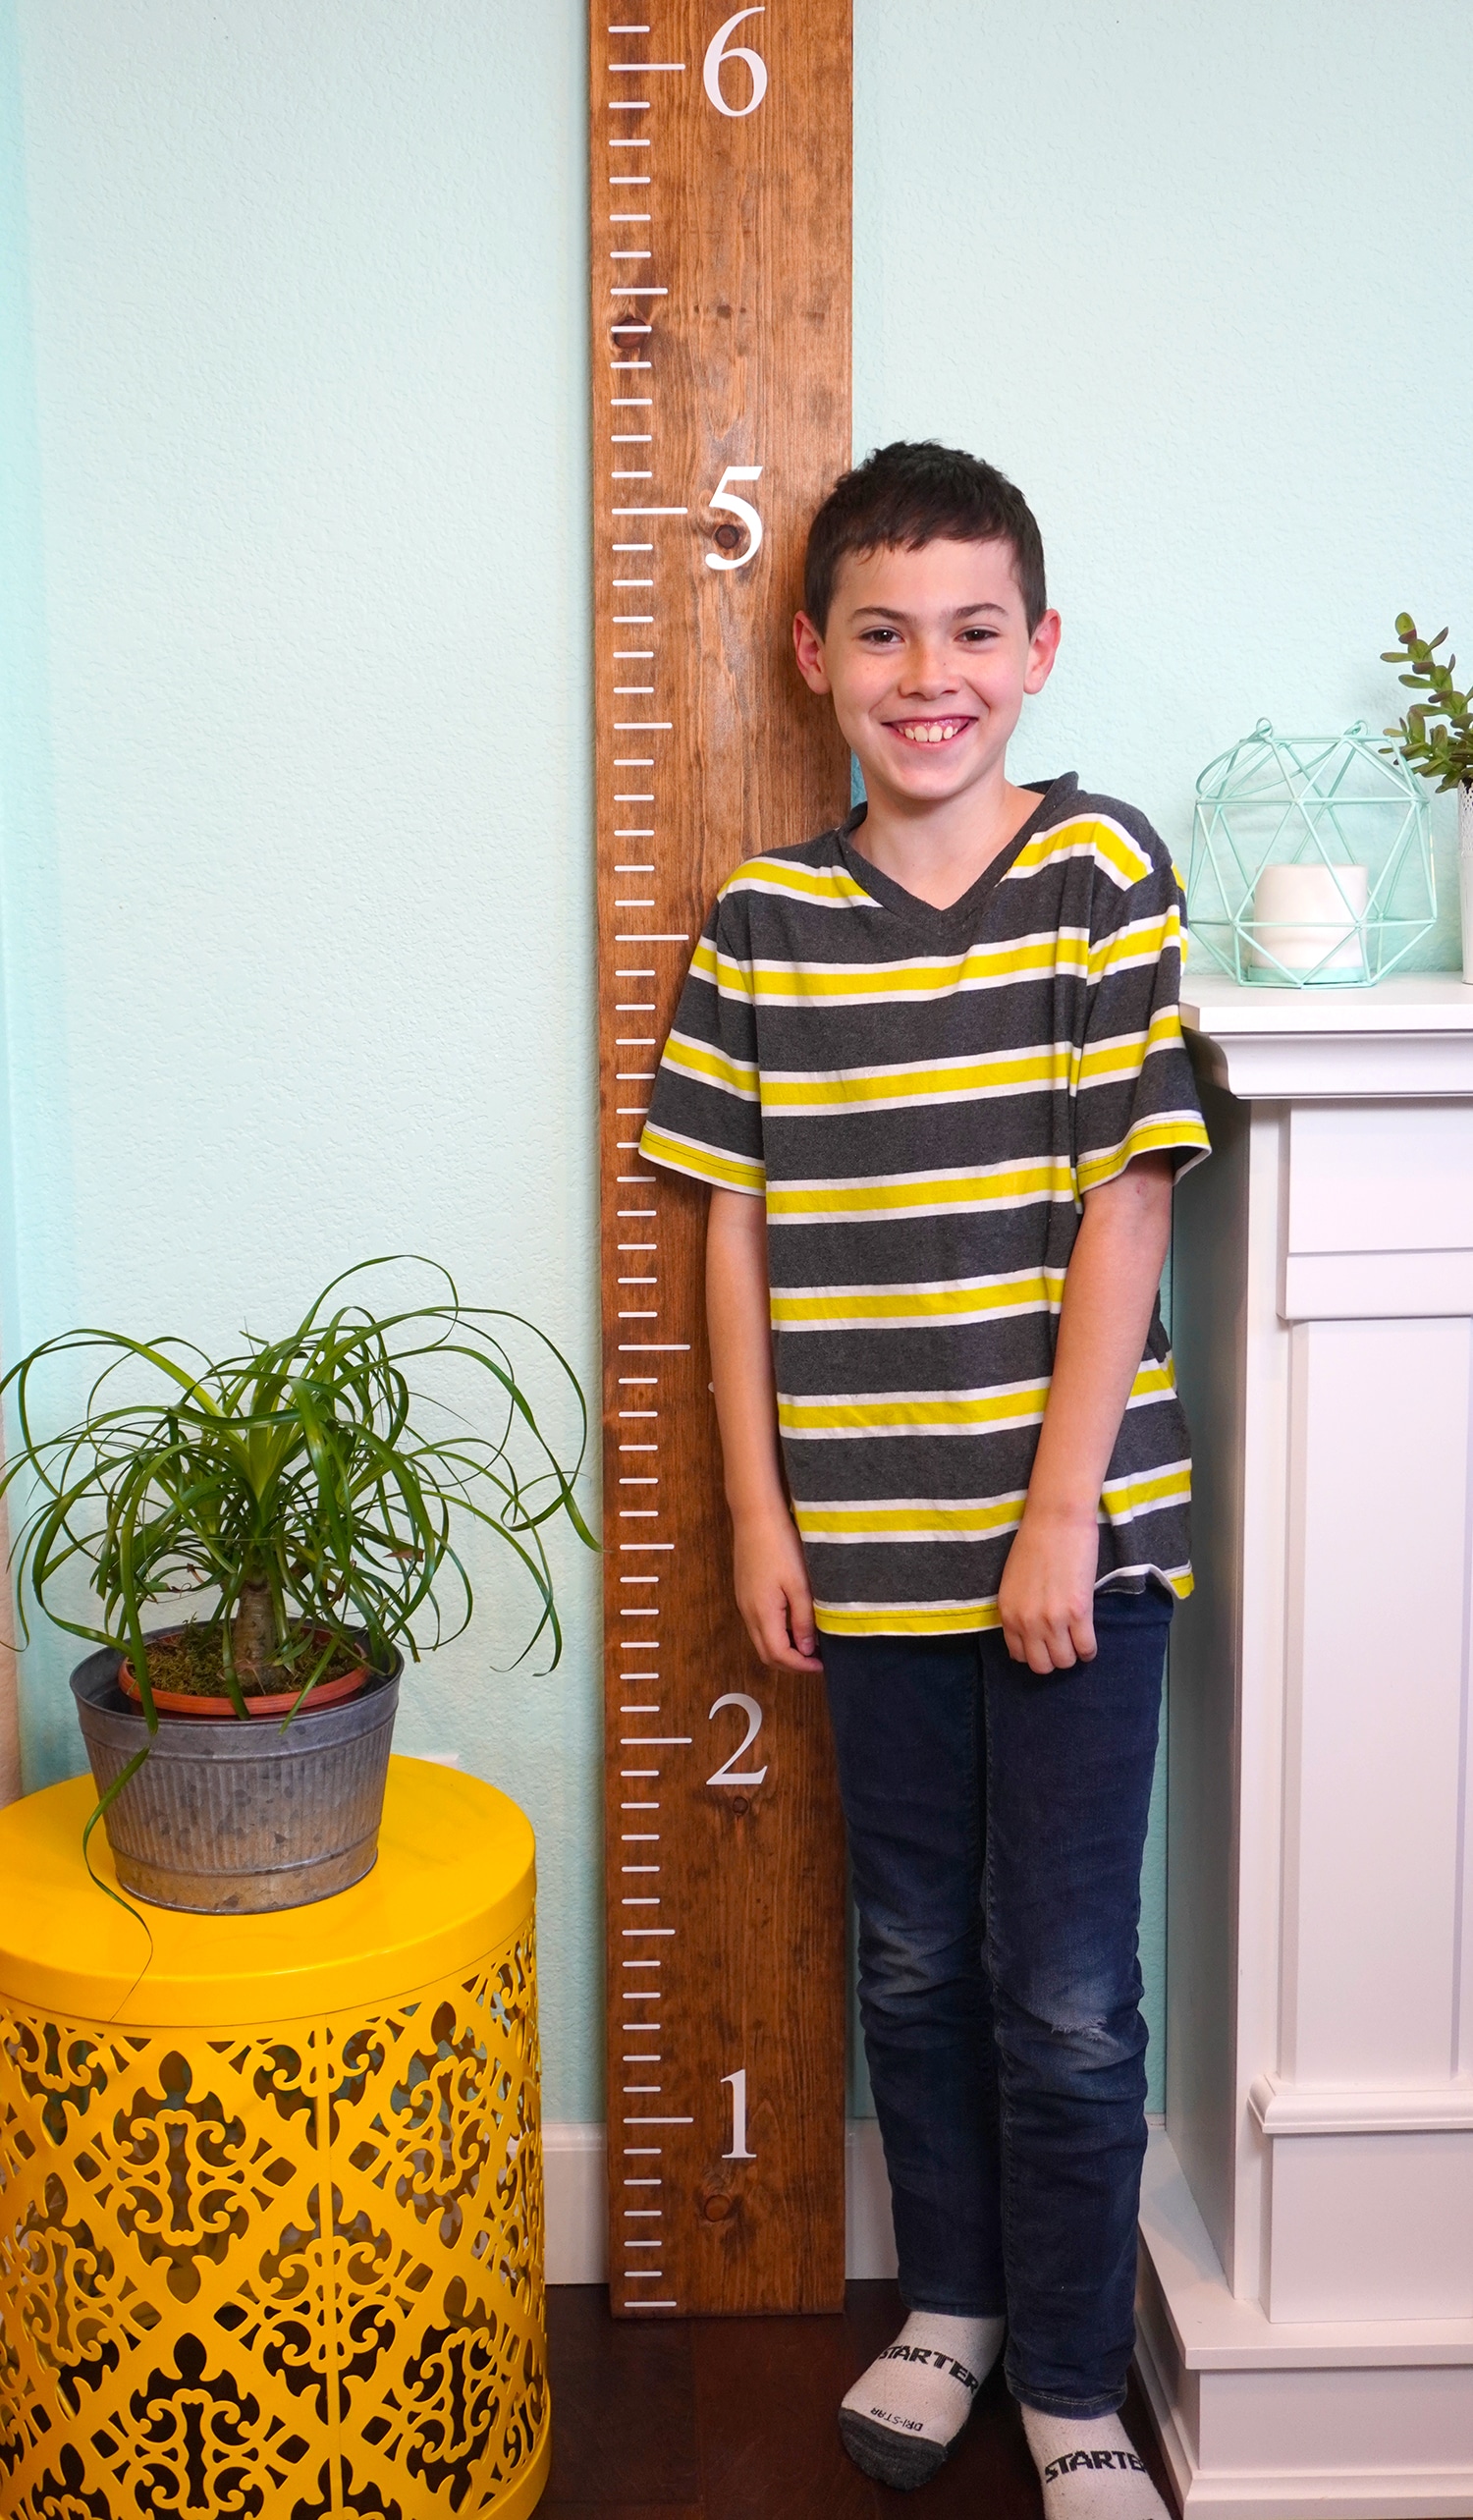
This kiddo couldn’t help but jump next to the growth chart and pose for a picture while it’s not-so-accurate! He was hoping to convince his friends that he’s 5 feet tall already! 😂
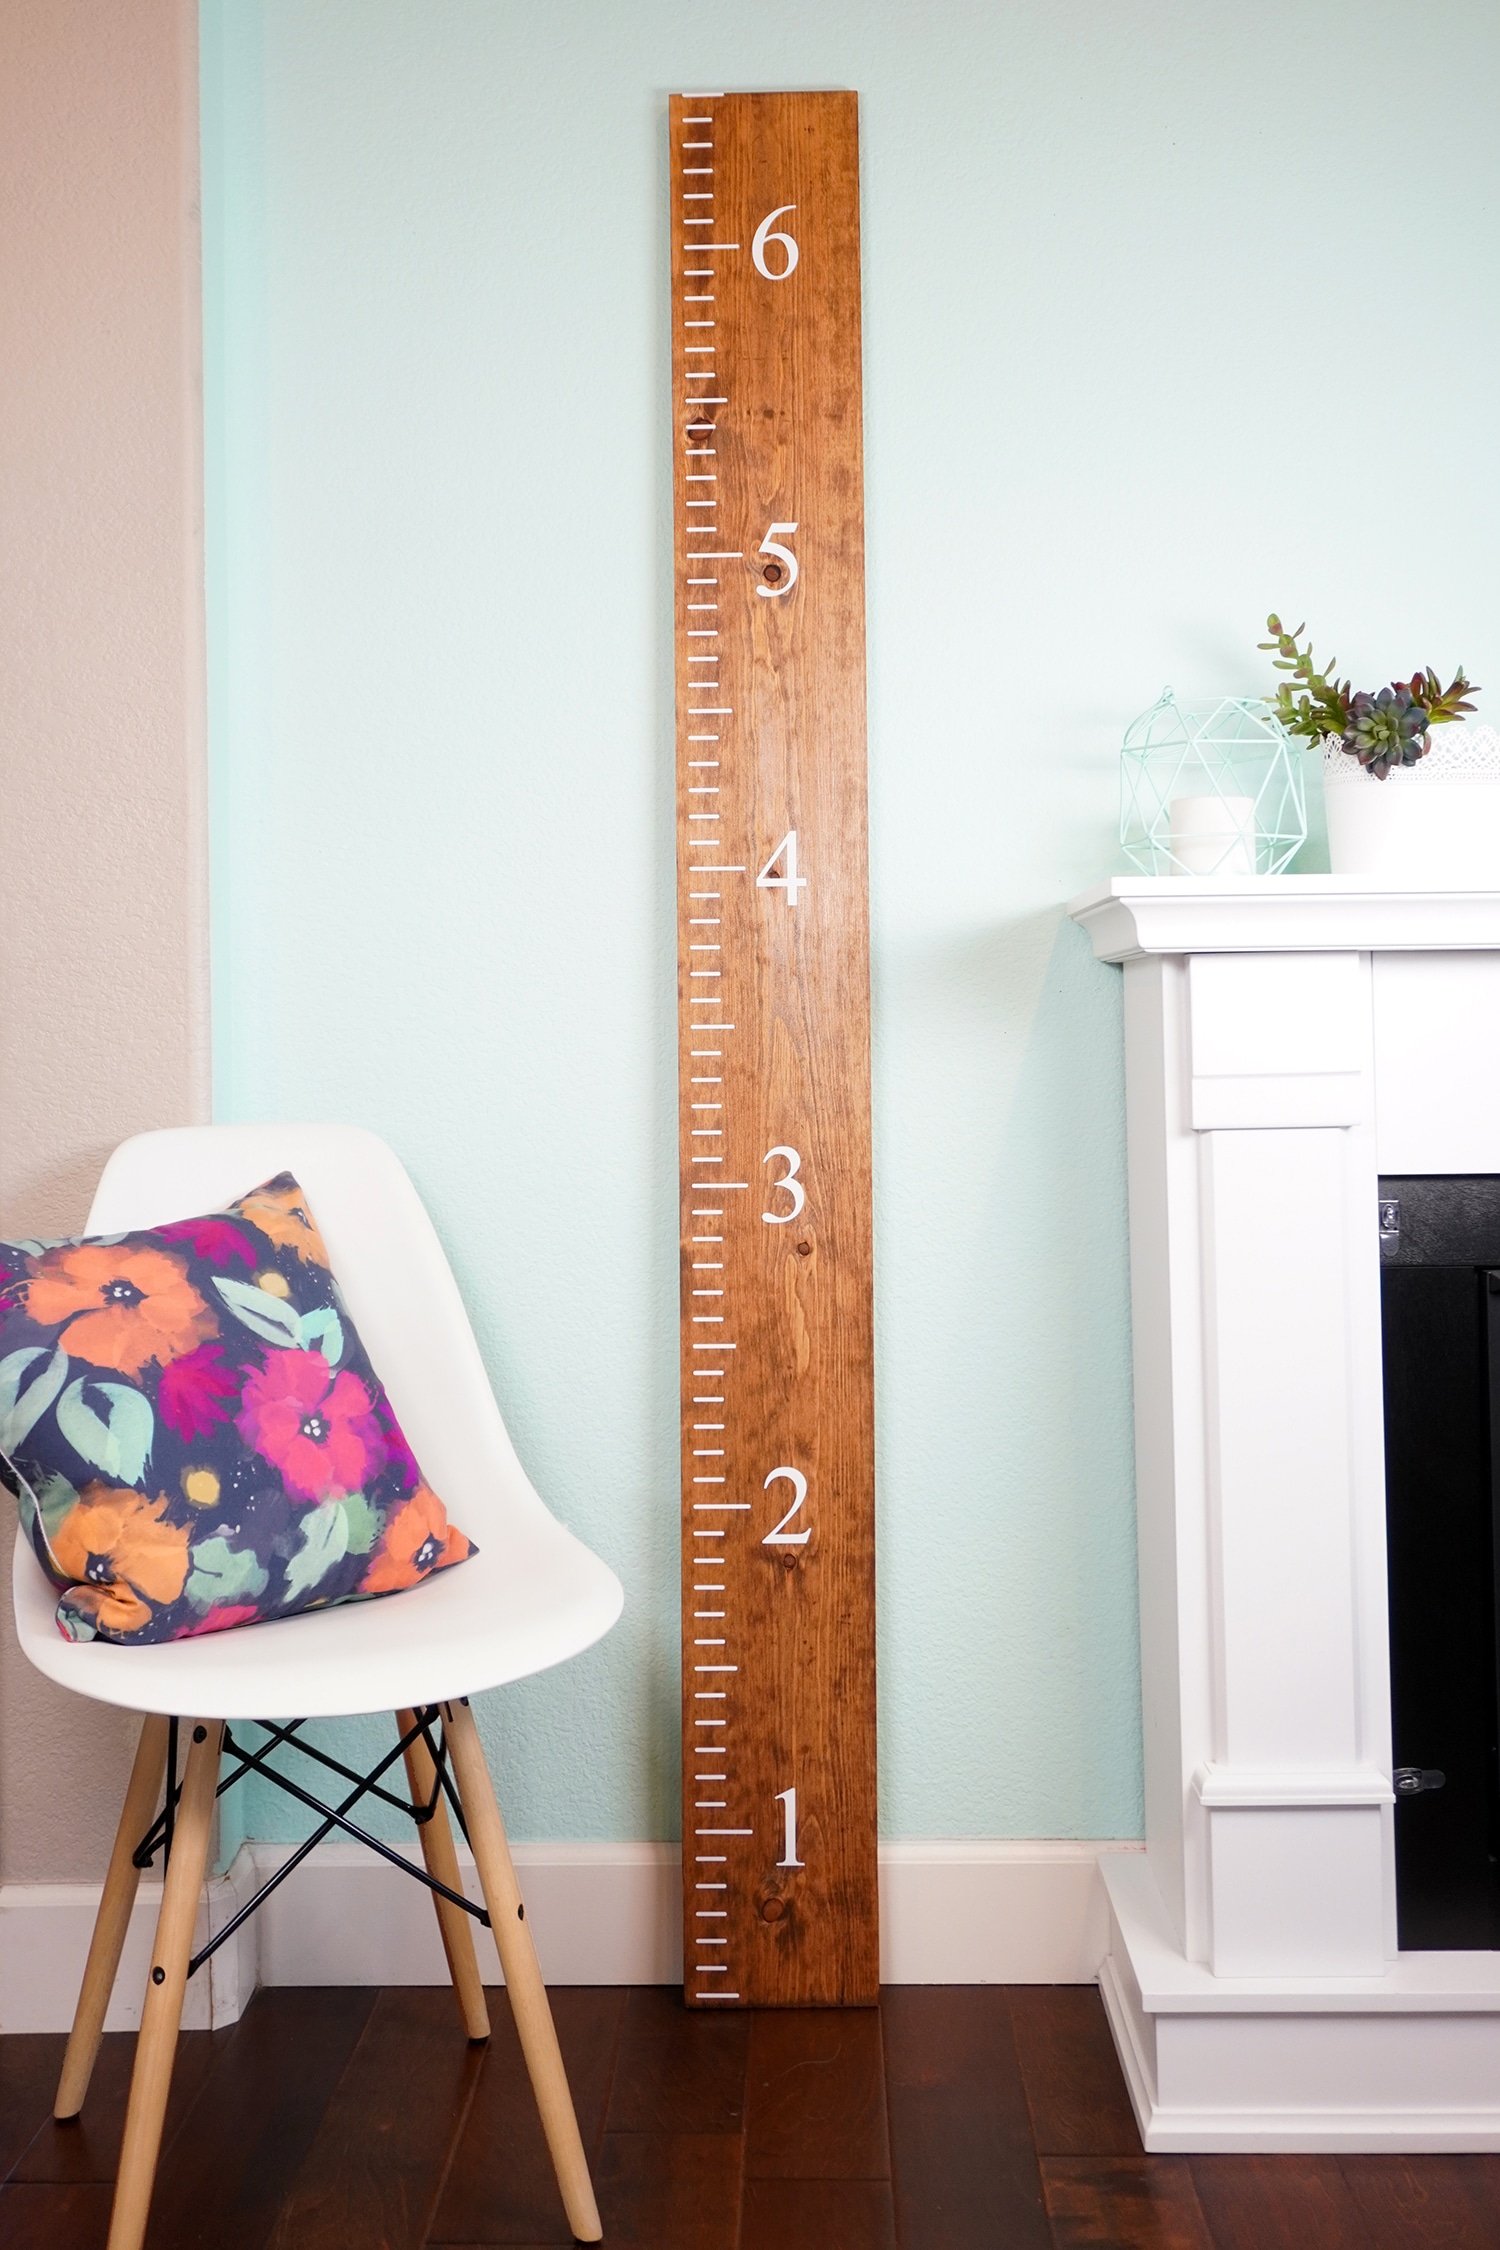
This wooden ruler growth chart is a great addition to your home, and it would make a fantastic gift idea, too!
Get the Ruler Growth Chart SVG File Here
This file is Crafting File #37 in our Freebie Library! Get the password to our Freebie Library by signing up for our Email Club in the form below! If you are already a club member with the password, hop on over to the Freebie Library to download the file now!
All free downloads from Happiness is Homemade are for PERSONAL and CLASSROOM USE ONLY. You MAY NOT share, distribute, sell, or use these files for commercial purposes, including print-on-demand. Commercial licenses for SVG and PNG Crafting Files may be purchased in the Happiness is Homemade Shop. Please read our full license terms here.
Download Trouble?
Can’t find the download form? Having trouble with the file? Check out our Digital Downloads FAQ page for answers to the most common troubleshooting questions!

Check Out These Other Cricut Ideas!


Pin this Ruler Growth Chart for Later!


Heidi Kundin has captivated the hearts of millions with her colorful and inspiring approach to crafting, celebrations, and family fun. With over 15 years of experience, Happiness is Homemade has become a must-visit destination for those seeking quick and easy creative ideas and last-minute solutions. Heidi’s warm personality shines through her posts, inviting readers to join her on a creative journey that’s fun, rewarding, and achievable. Heidi is also the author of Homemade Bath Bombs & More and DIY Tie-Dye.