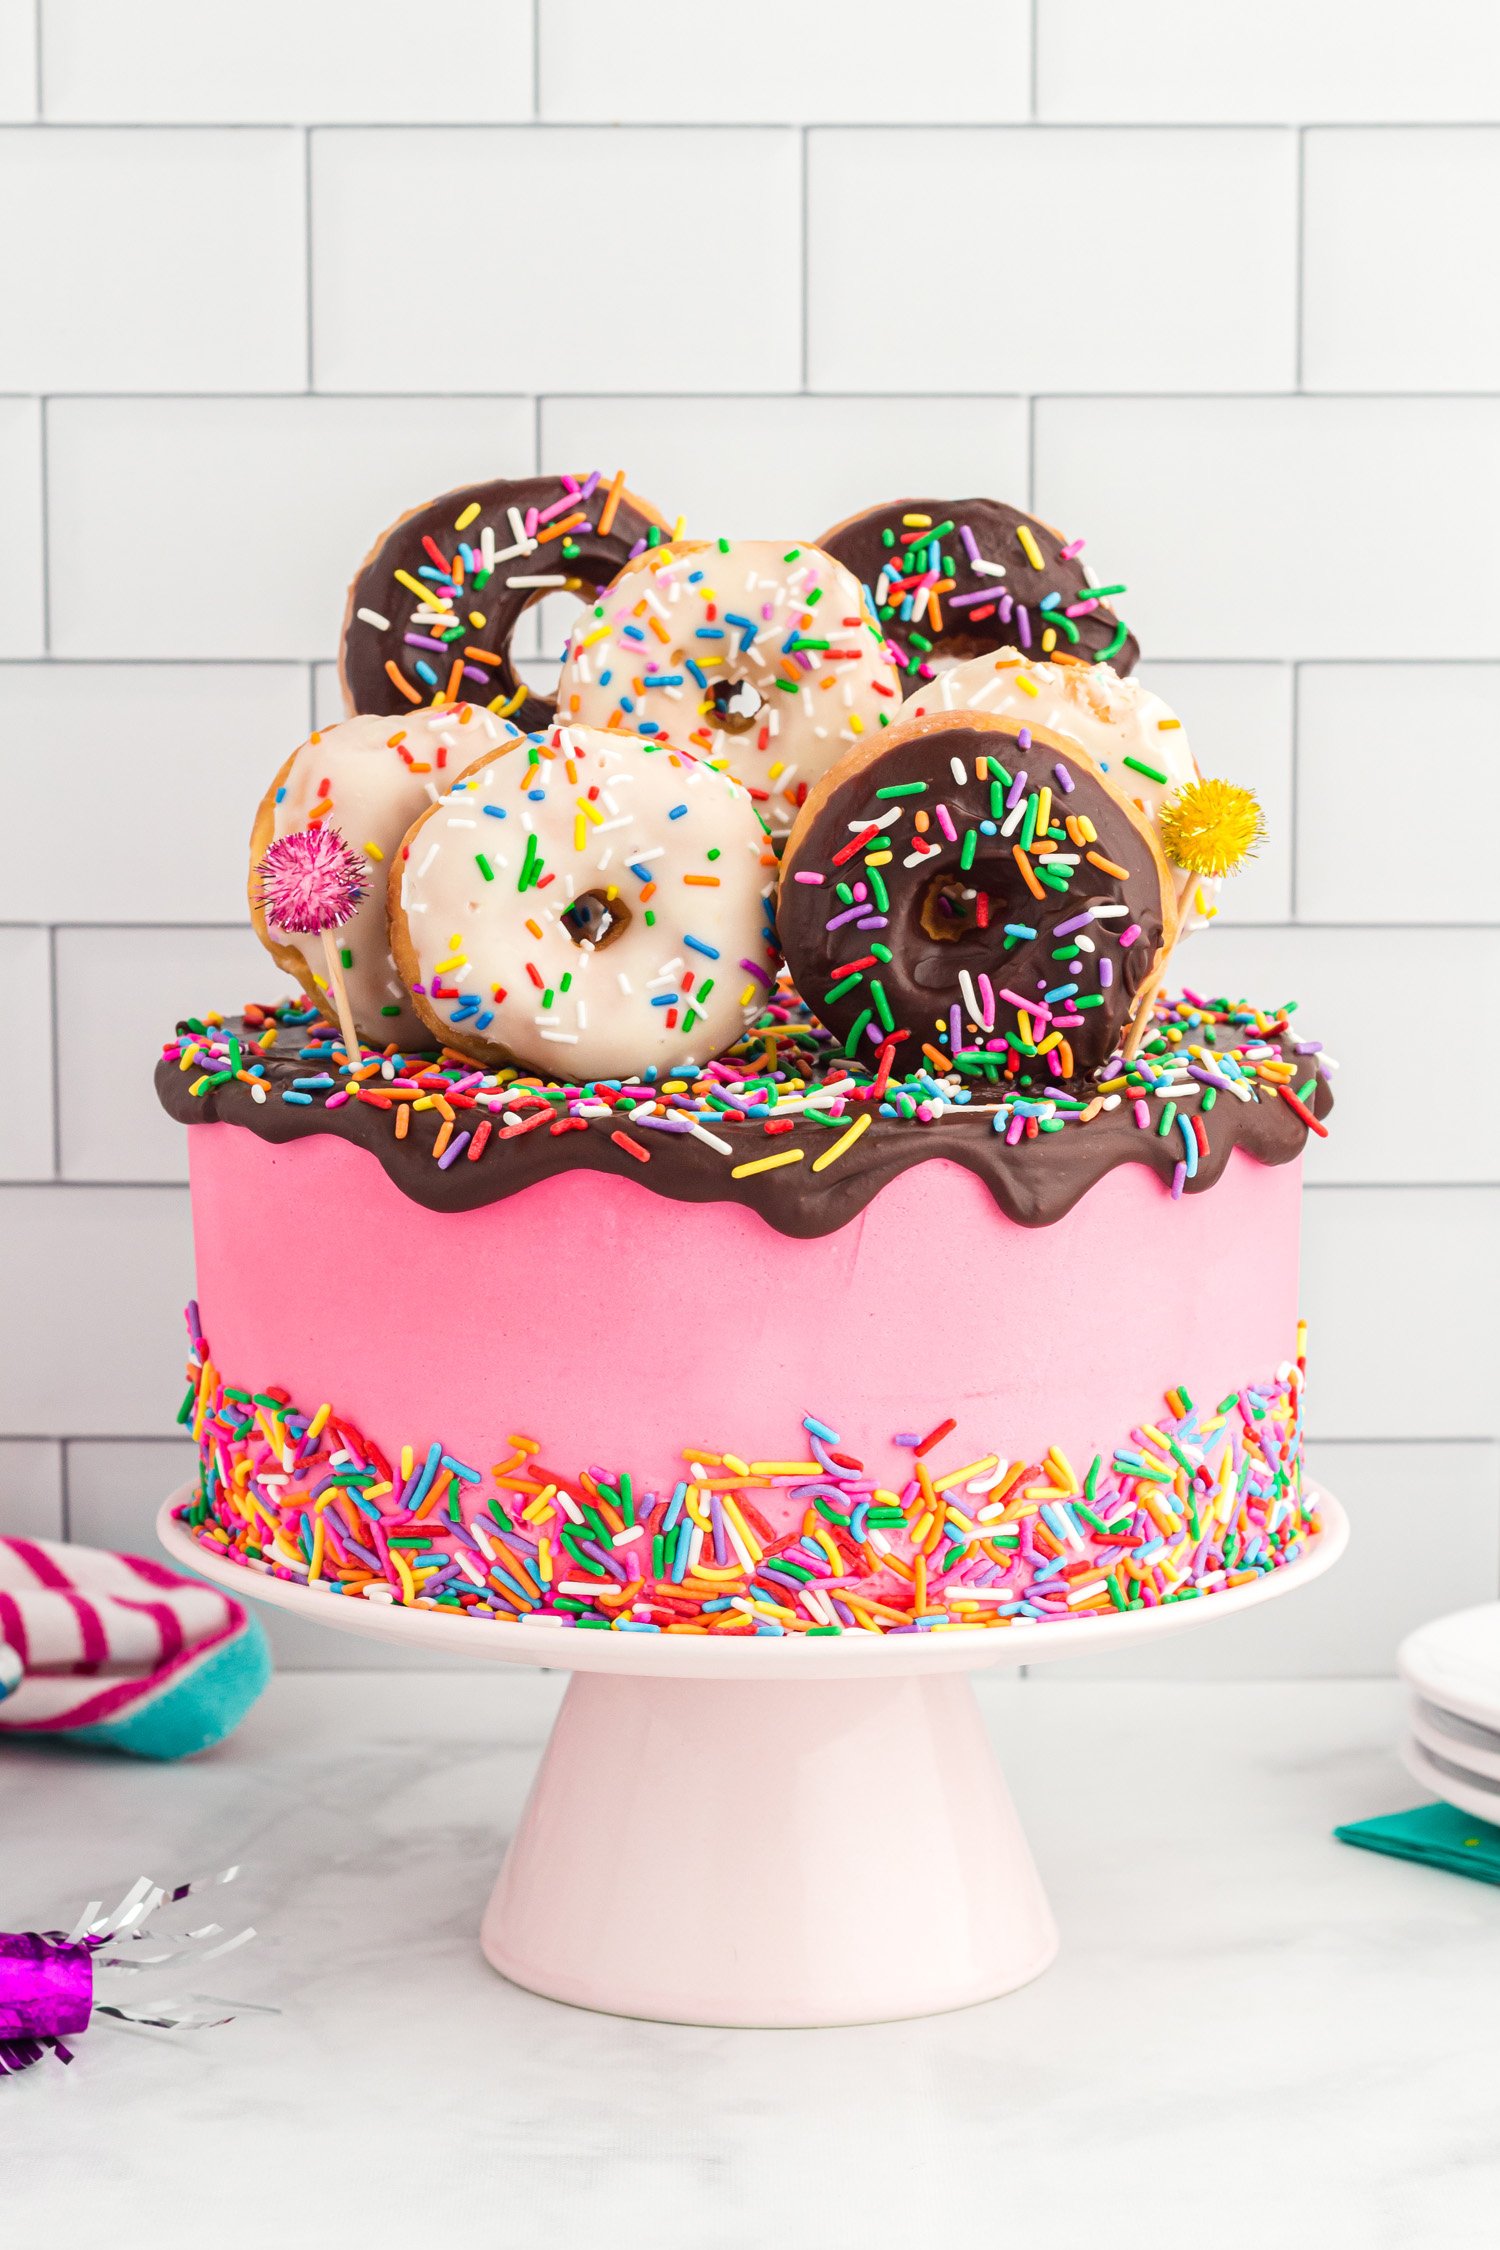
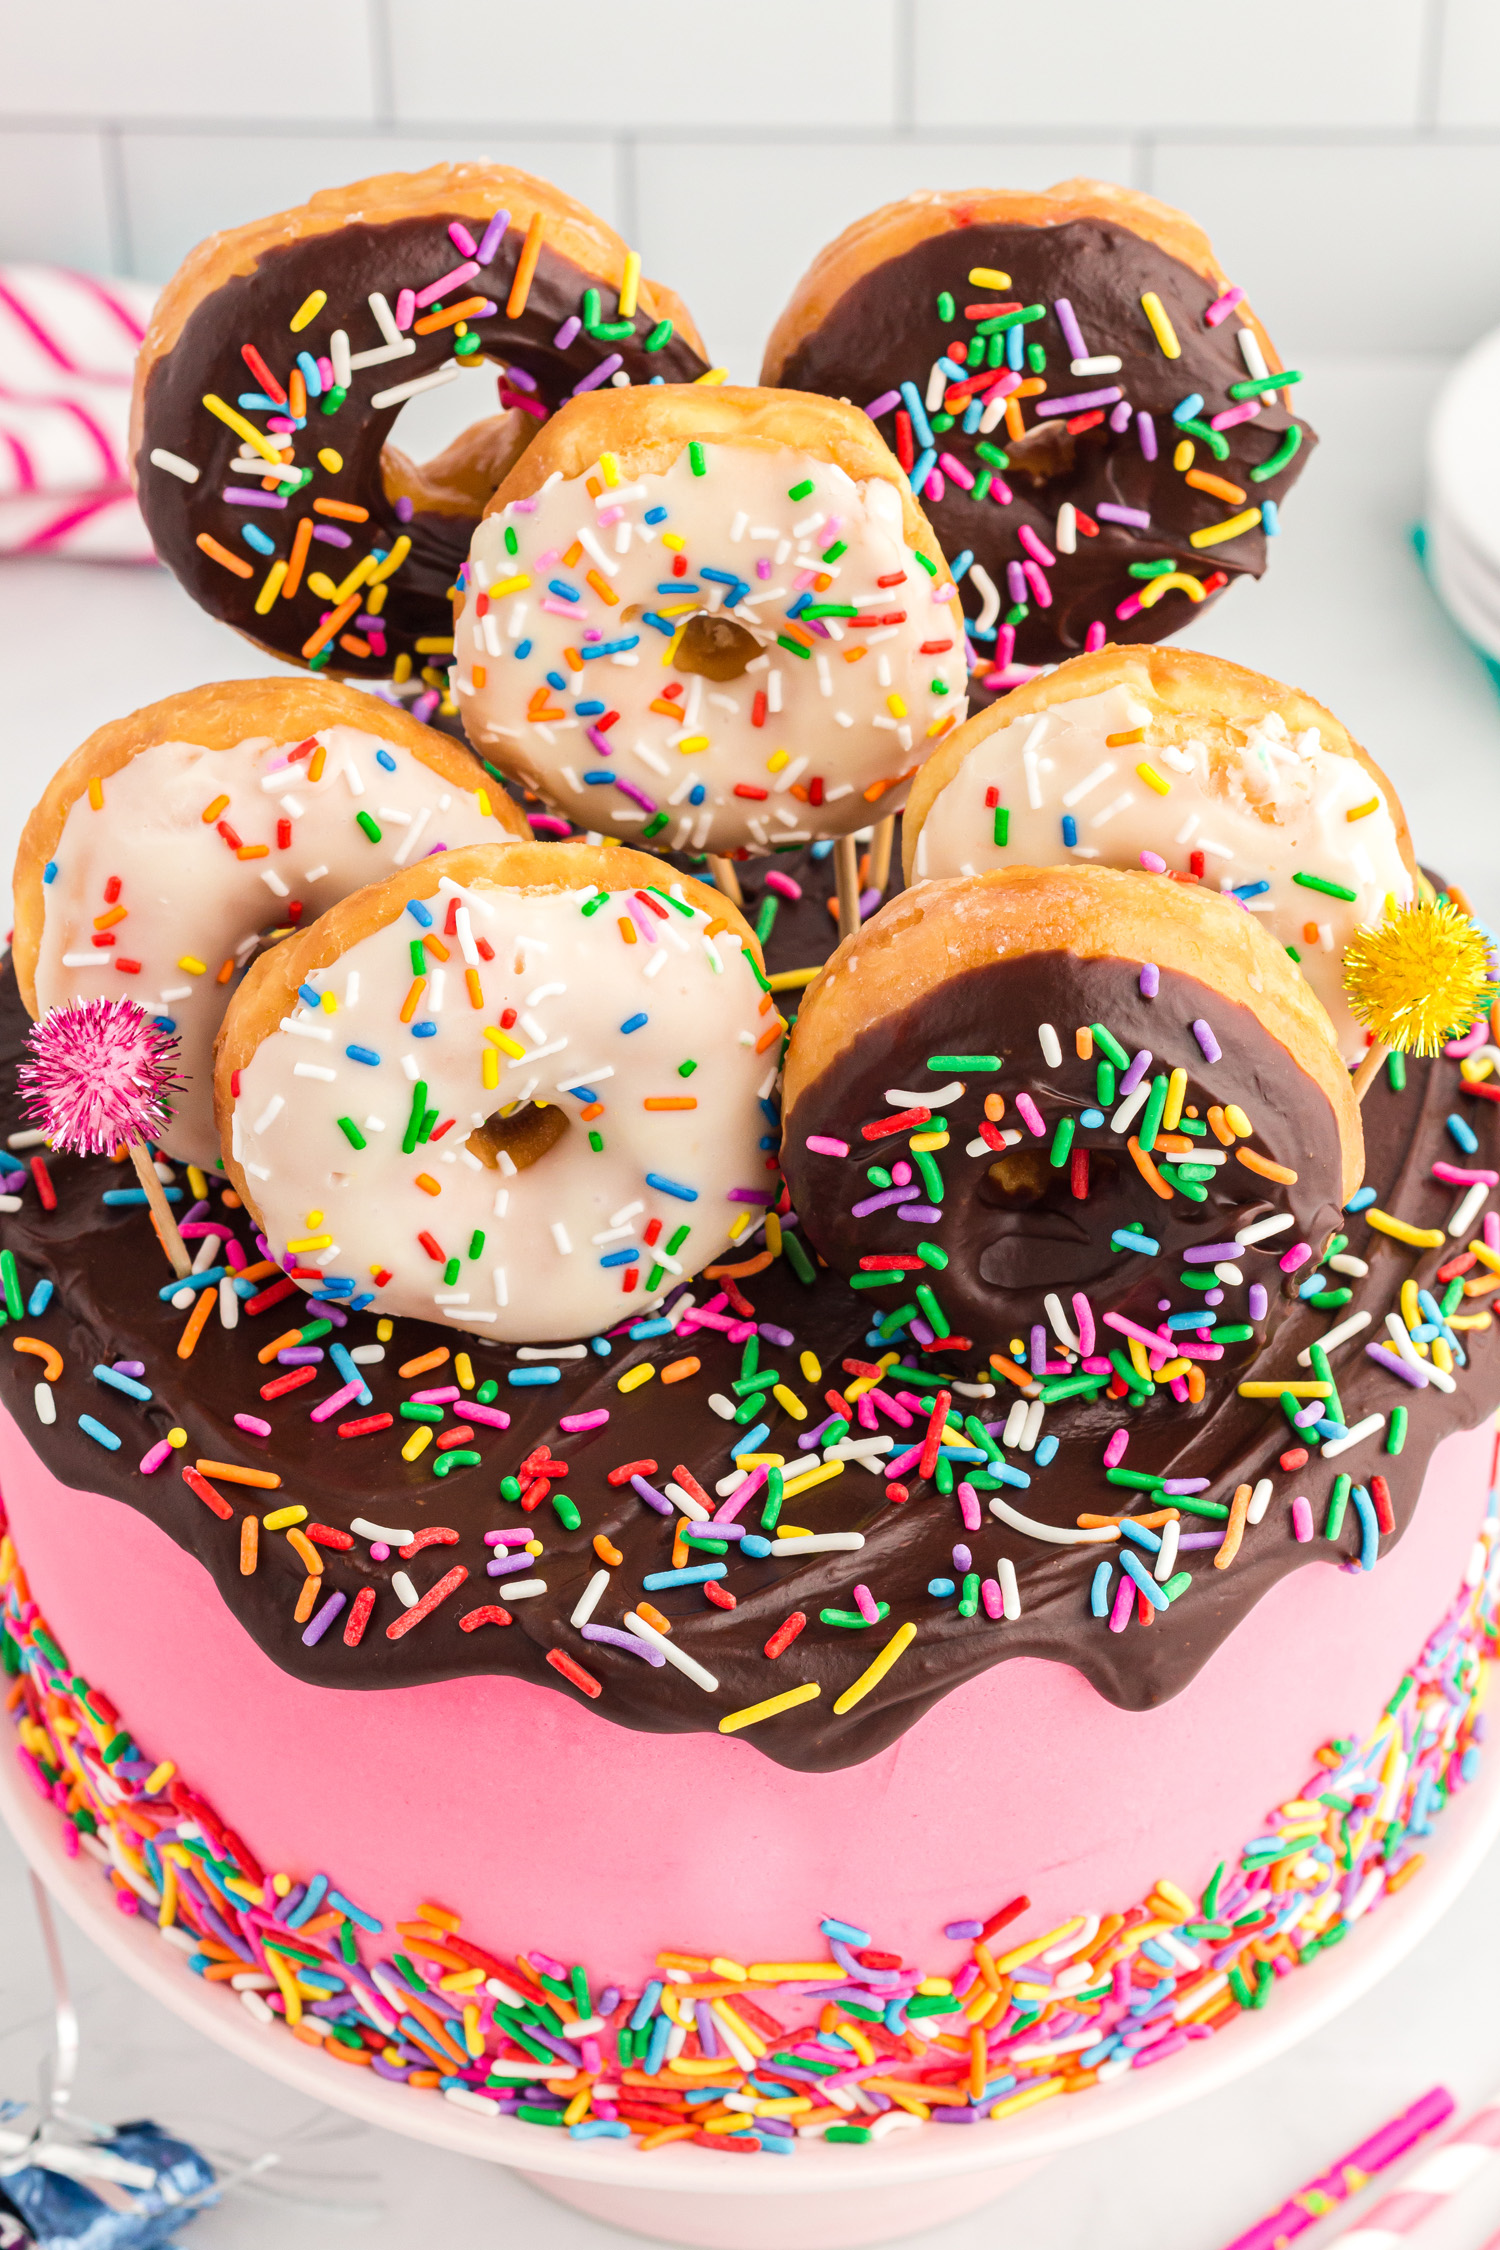
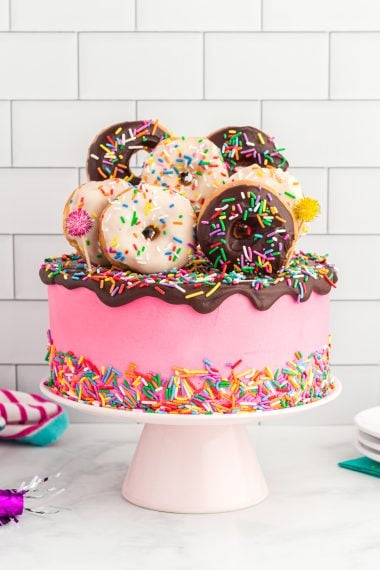
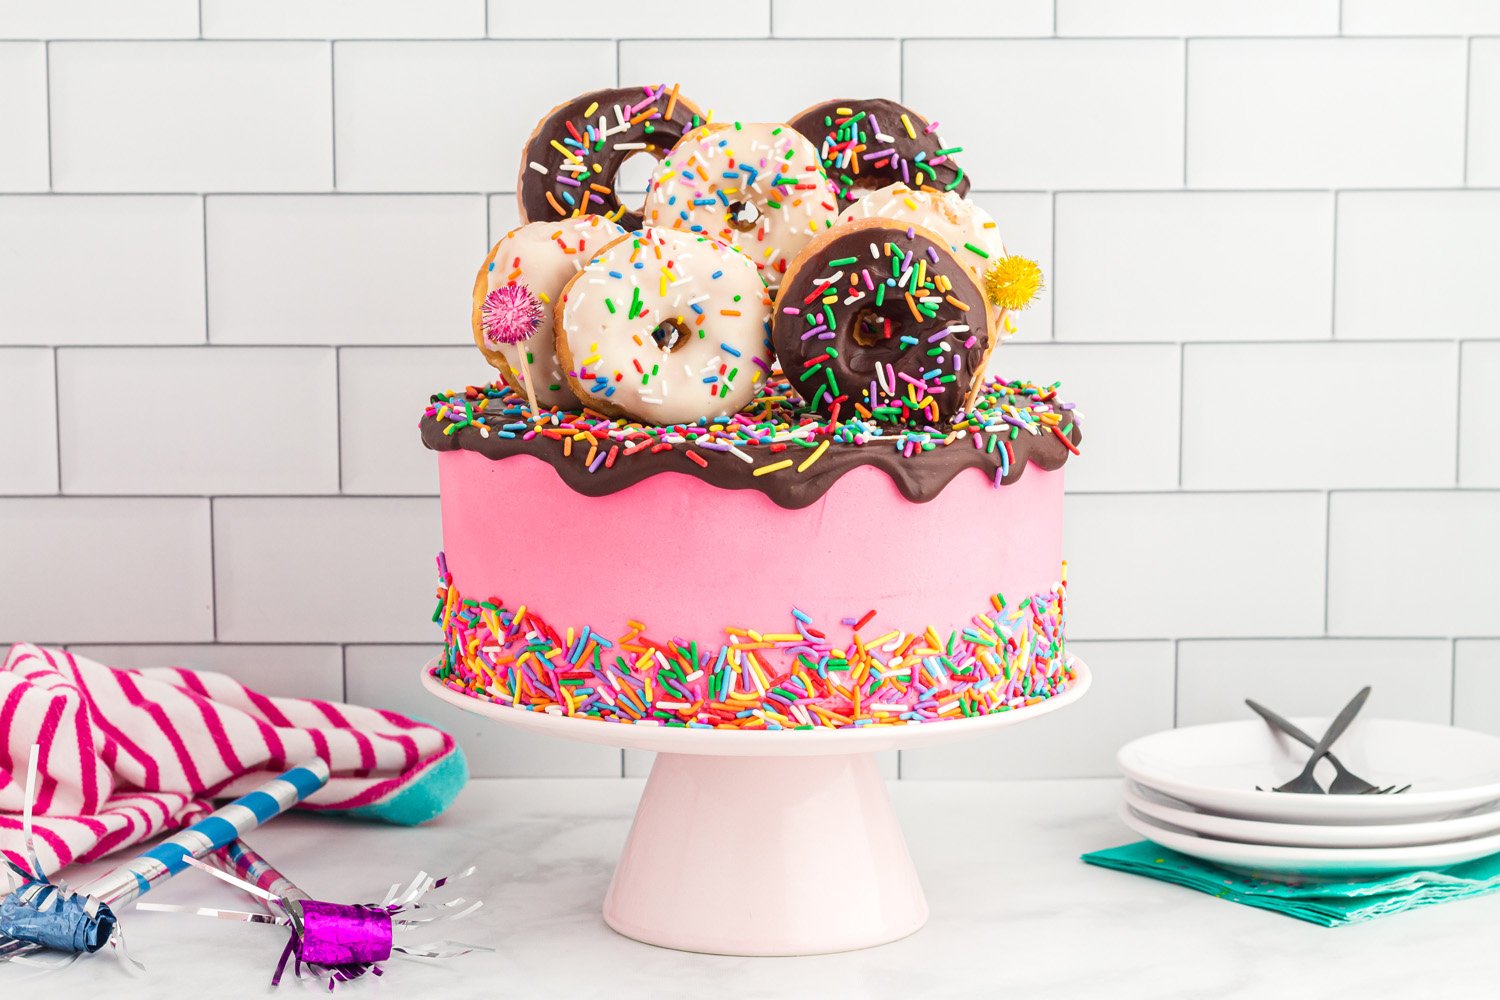
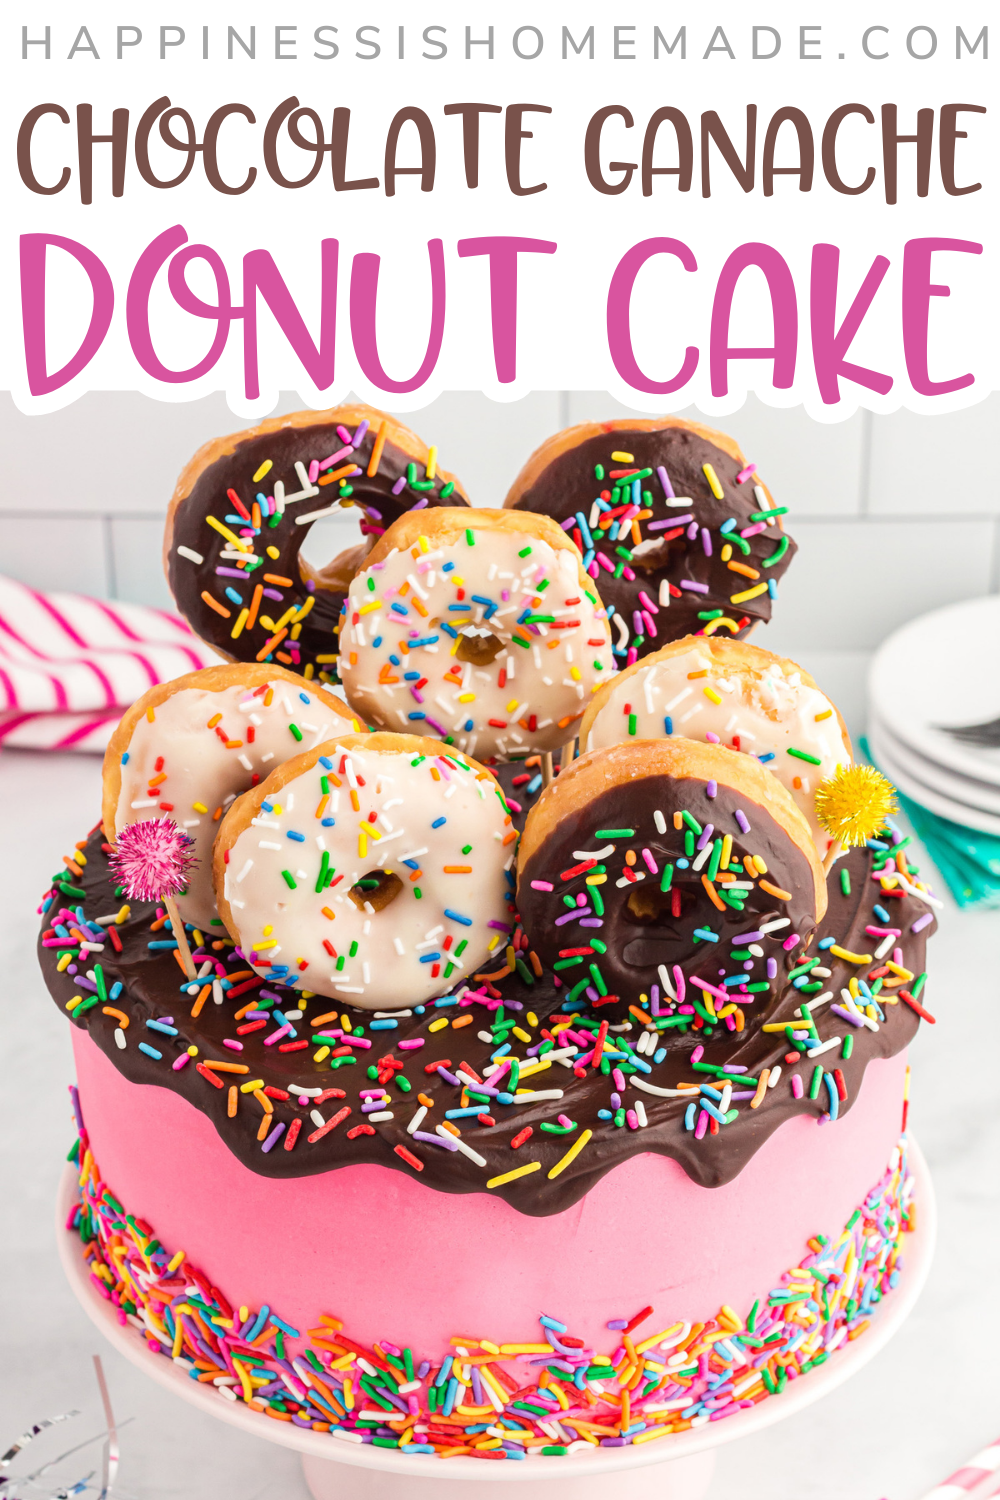
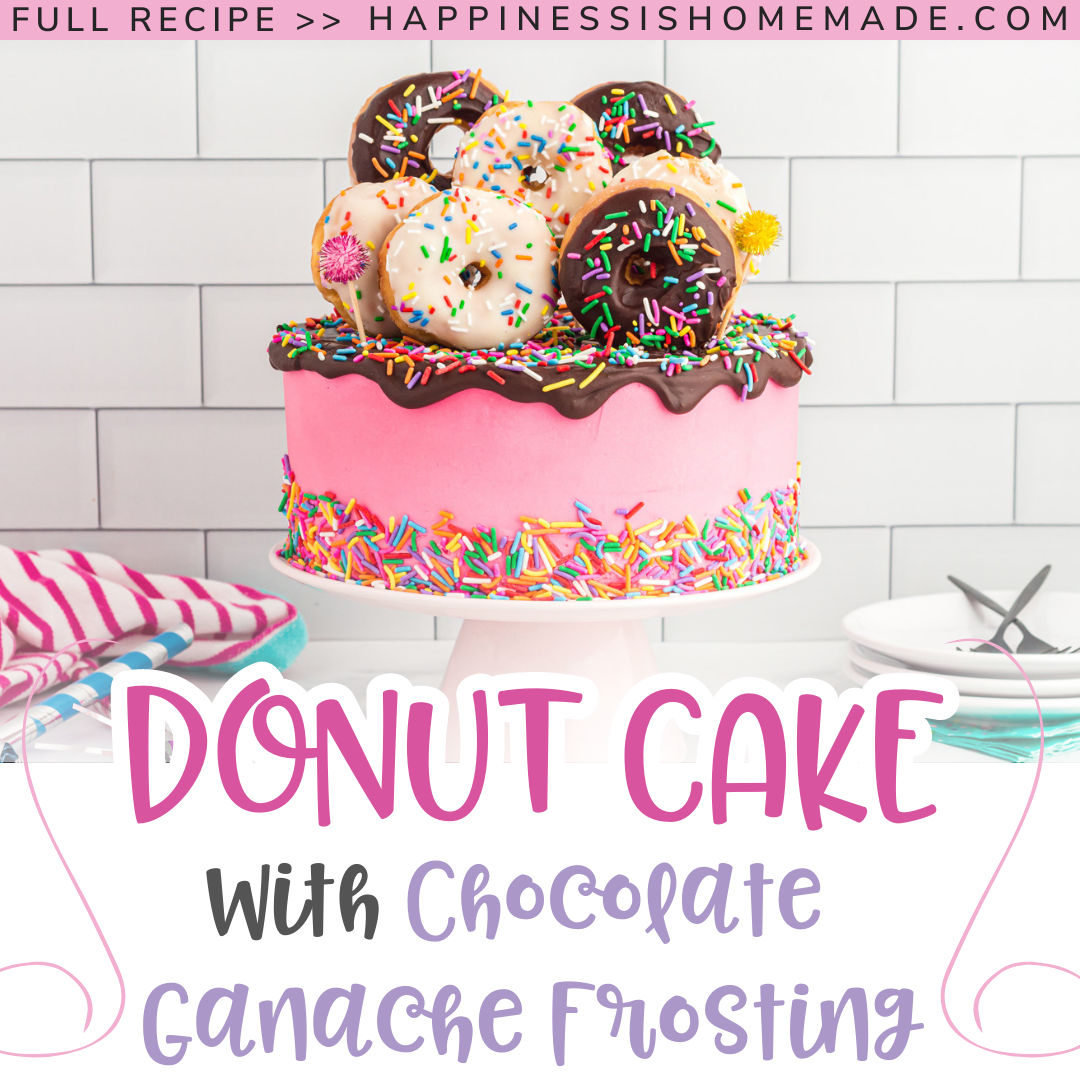
This Easy Donut Cake is perfect for birthday celebrations, holidays, or just because! Topped with a delicious Chocolate Ganache frosting and REAL donuts, this cake is absolutely one-of-a-kind.
This post may contain affiliate links. I will receive a small commission from these sales at no additional cost to you!
Whether it’s your first time making a cake or you’re an expert baker – this scrumptious, moist cake recipe is the perfect way to pull off a FUN, sophisticated cake look that all of your guests will be impressed with! It’s a total donut lover’s dream come true!
With such a fluffy, light texture and rich decadent chocolate ganache frosting…, the best part is that this show-stopping cake is topped with REAL donuts (*internal shrieks of joy!*)! It’s SO much fun making this quick and easy recipe, even the kids will want to join in on your baking bash!
Easy DIY Doughnut Cake
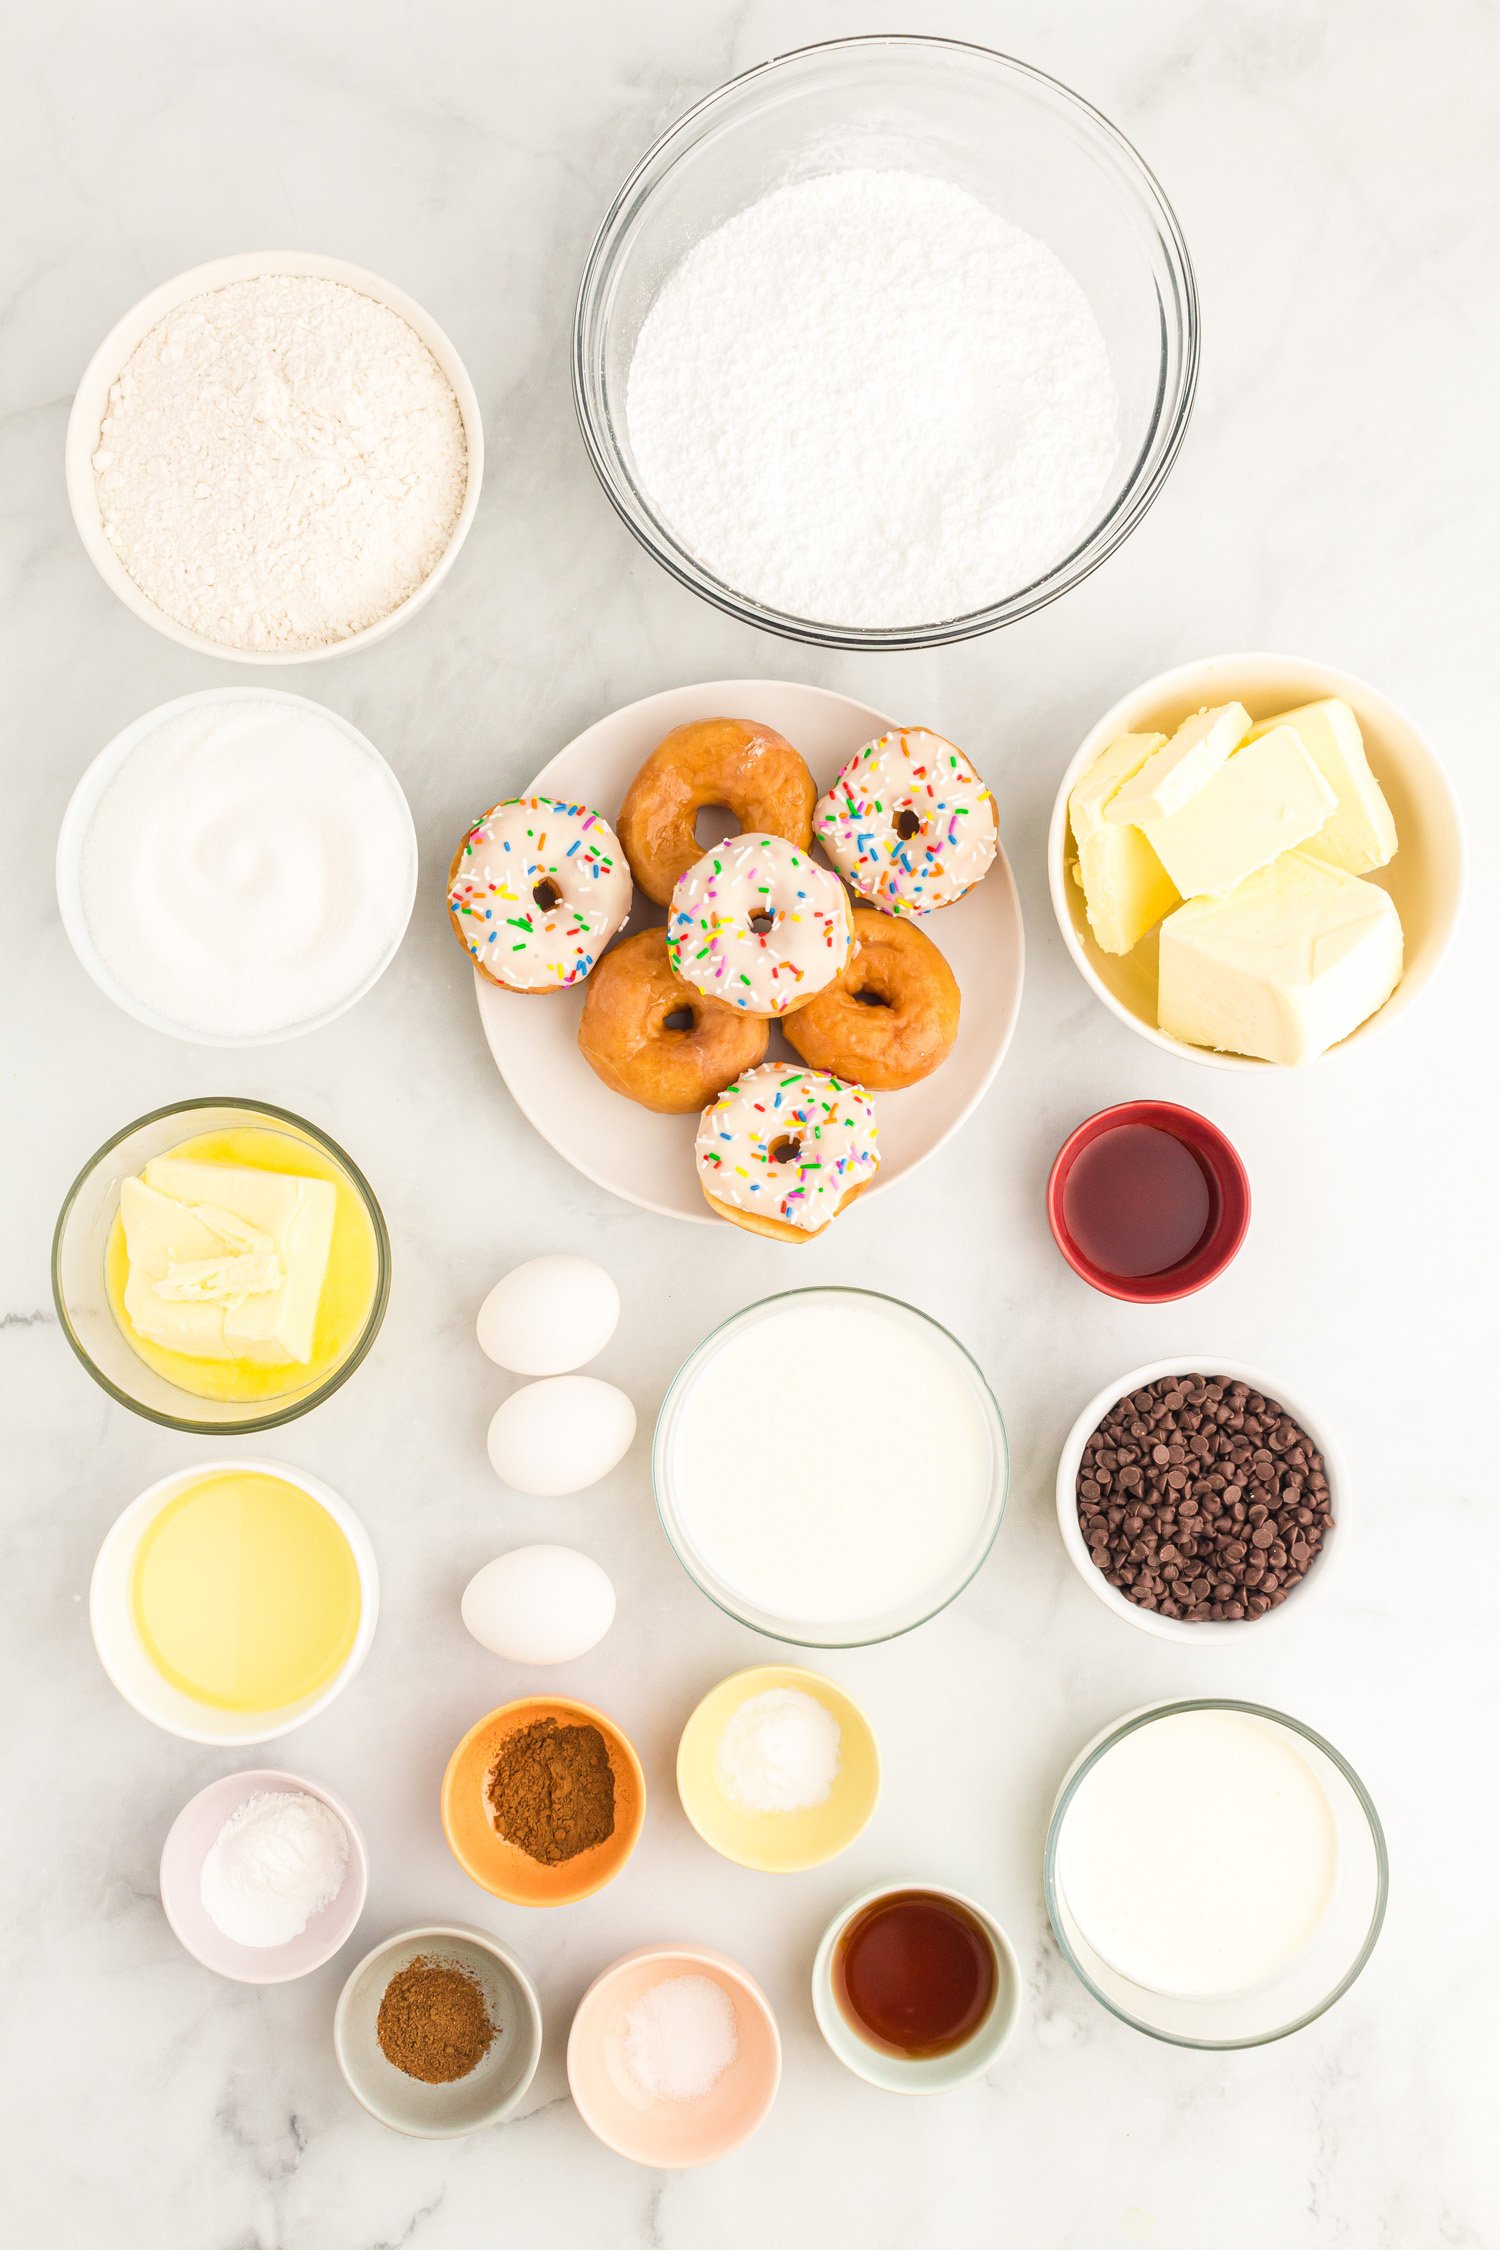
It’s pretty simple to put together this easy cake, but it is absolutely show-stopping! Here’s what you’ll need to get started:
Ingredients Needed for Donut Cake Recipe:
- All-Purpose Flour
- Baking Powder
- Baking Soda
- Ground Cinnamon
- Ground Nutmeg
- Salt
- Granulated Sugar
- Unsalted Butter (slightly melted)
- Vegetable Oil
- Eggs
- Vanilla Extract
- Buttermilk
- Confectioners’ Sugar
- Semi Sweet Chocolate Chips
- Heavy Cream
- Premade Donuts
- Sprinkles (optional)
- Gel Food Coloring (optional)
NOTE: If you don’t wish to visit a local donut shop, or don’t have one to pick up pre-made donuts from, try one of our easy homemade donut recipes!
Supplies Needed for Doughnut Cakes:
IMPORTANT! NOTES ON MEASURING FLOUR:
How to Make This Easy Cake Recipe:
Preheat oven to 350 degrees F.
Spray three 8” round cake pans with non-stick cooking spray and line the inside bottom of each pan with parchment paper. Set aside.
In a medium mixing bowl, stir together flour, baking powder, baking soda, cinnamon, nutmeg, and salt. Set aside for now.
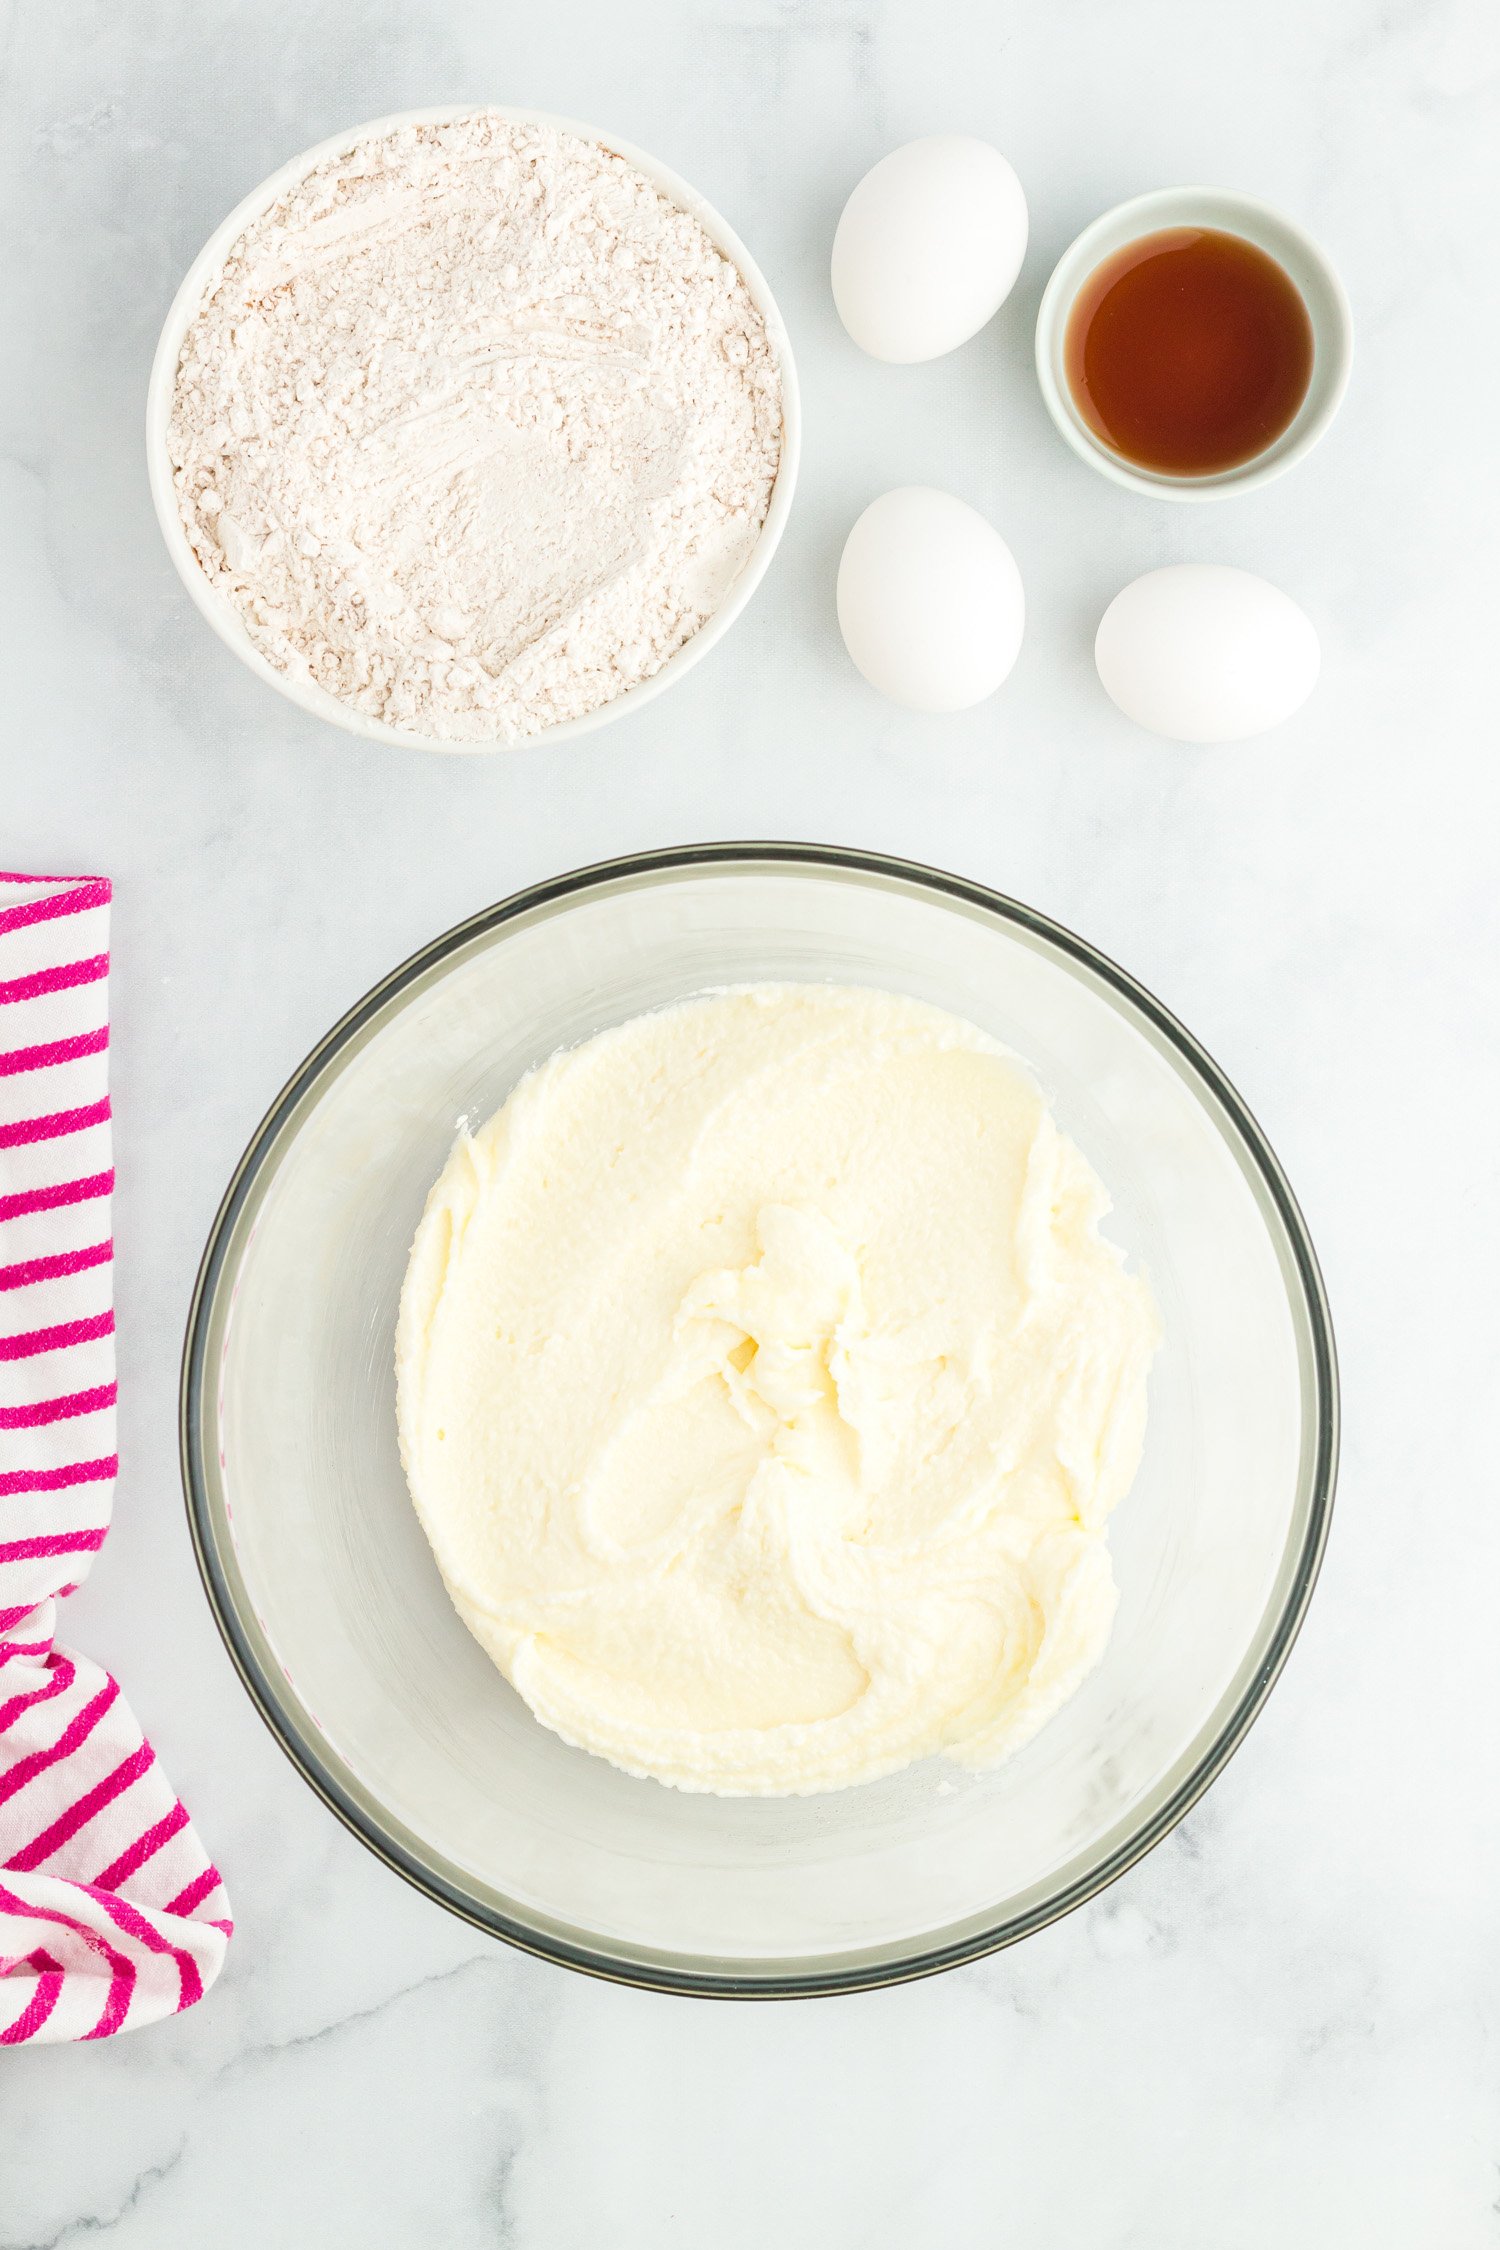
In a separate bowl, using the paddle attachment, beat together granulated sugar, melted butter, and vegetable oil together on high speed until light in color and well combined (about 1 minute).
Beat eggs and vanilla extract into the wet mixture until light & fluffy (about 1 minute).
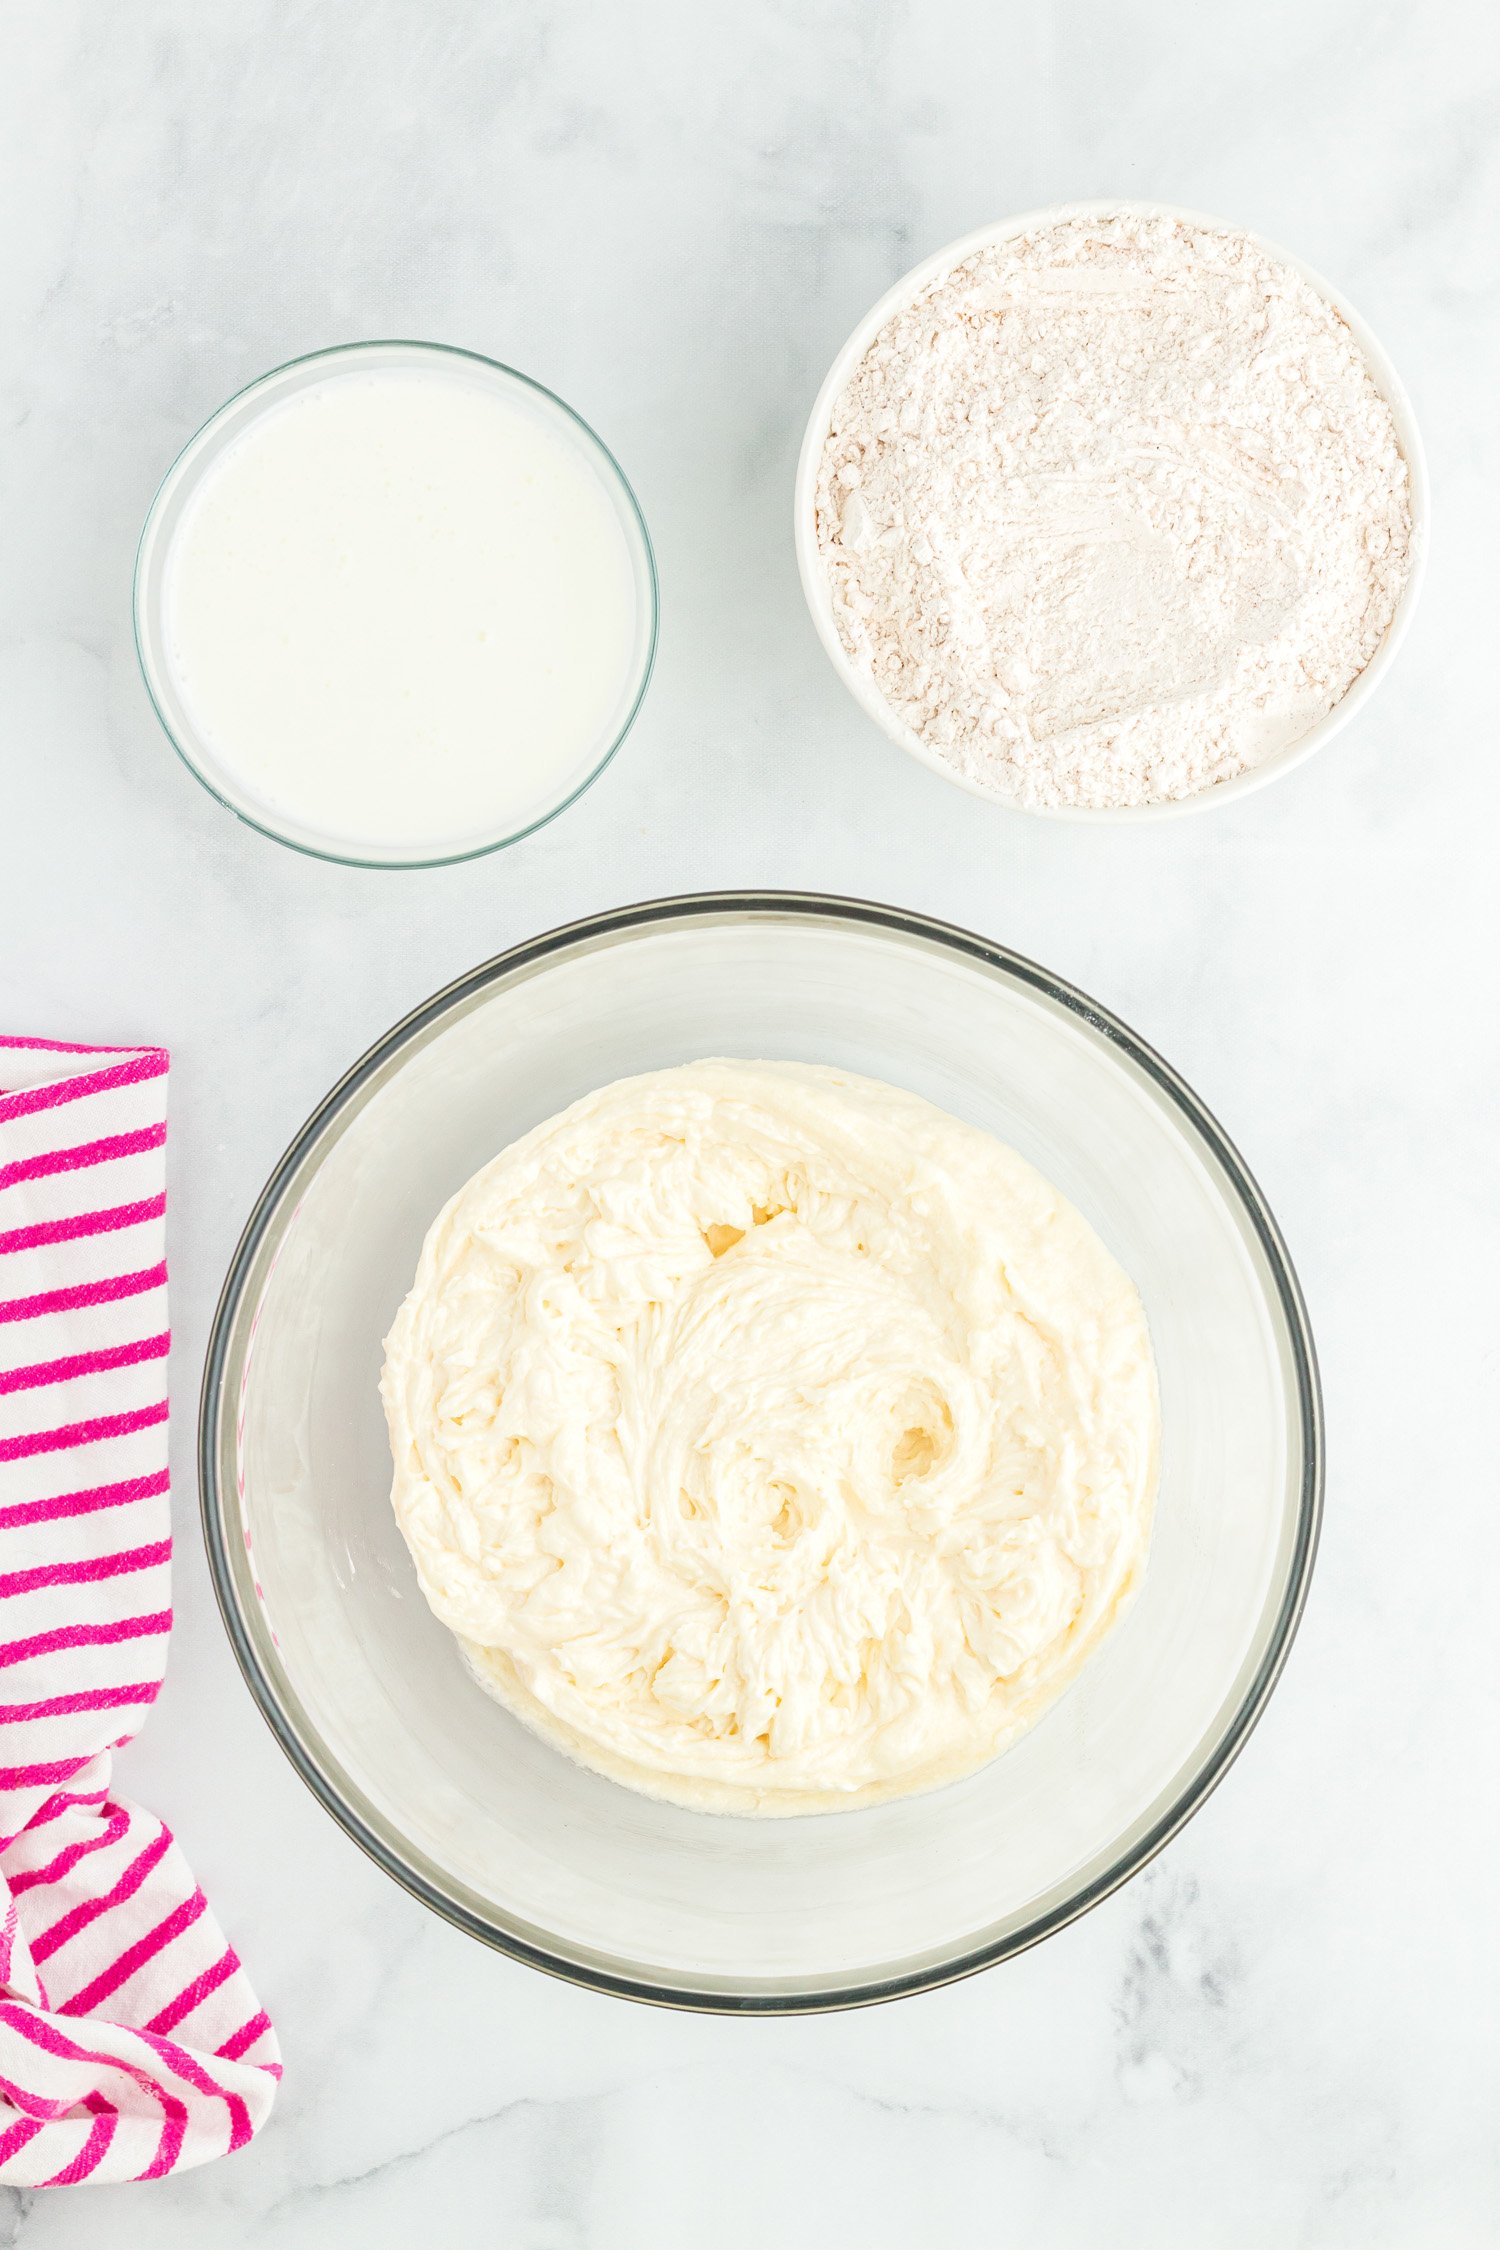
On low speed, beat half of the dry ingredients into the wet ingredients mixture. Beat just until you no longer see streaks of white flour in the cake batter. Do not overmix.
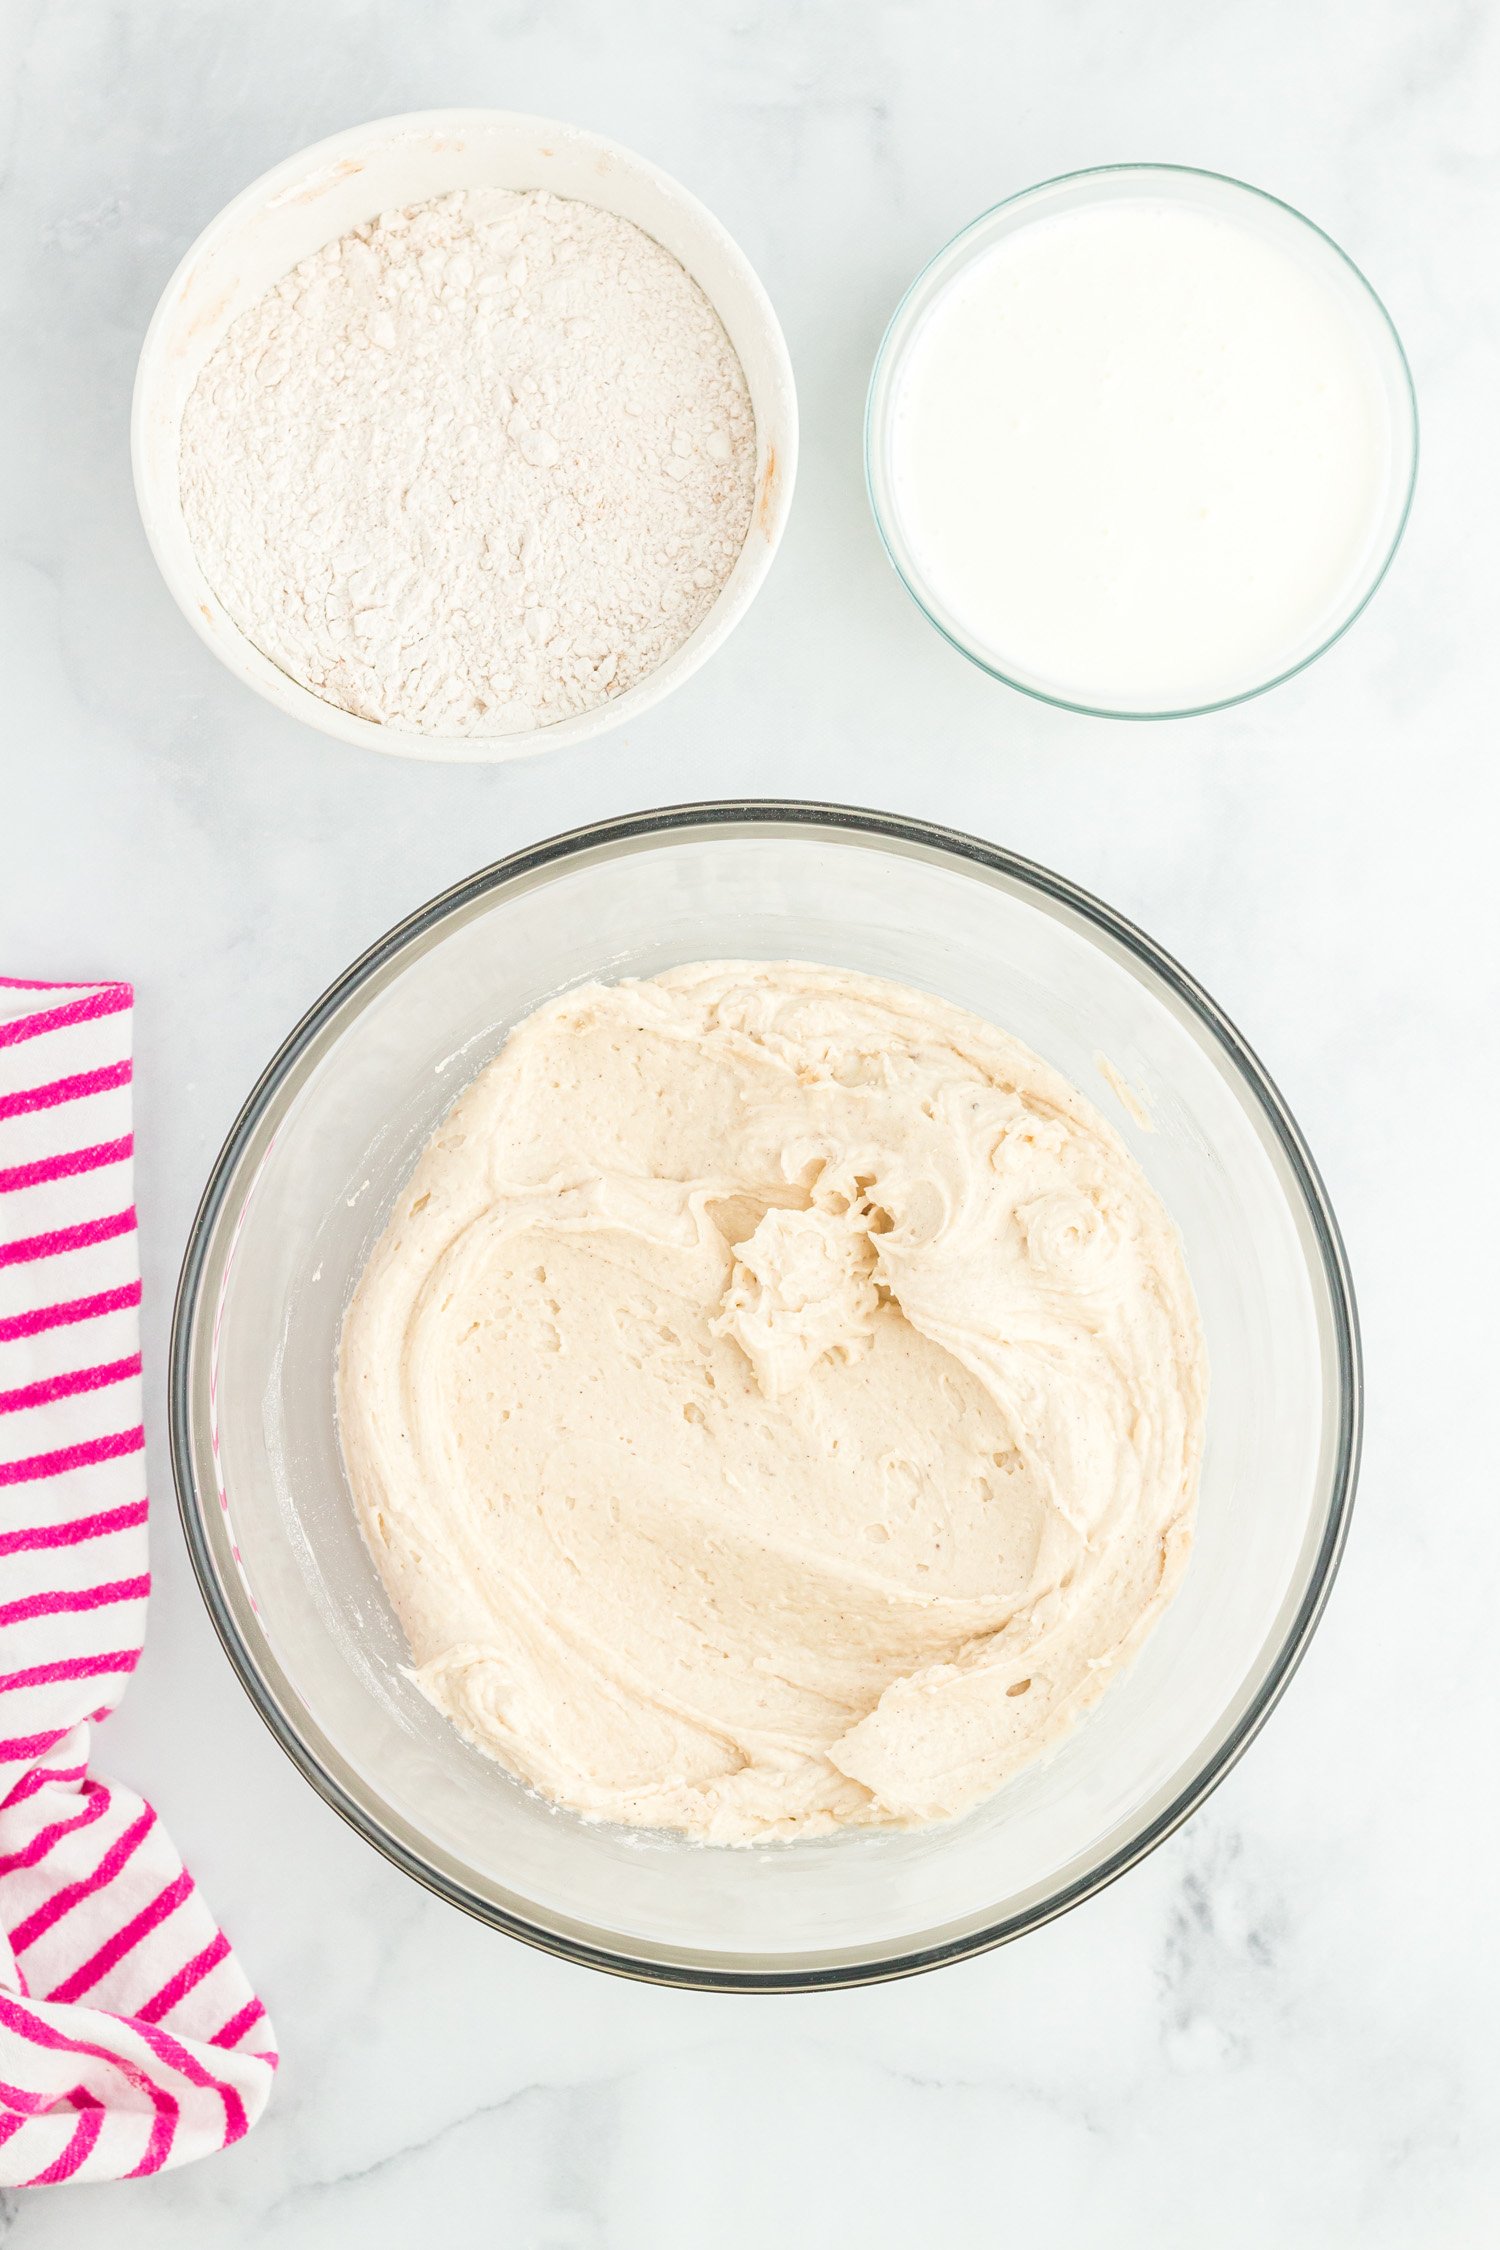
On low speed, beat in all of the buttermilk just until mixed. Be careful not to overmix your cake mix – just mix until the buttermilk is combined with the other ingredients.
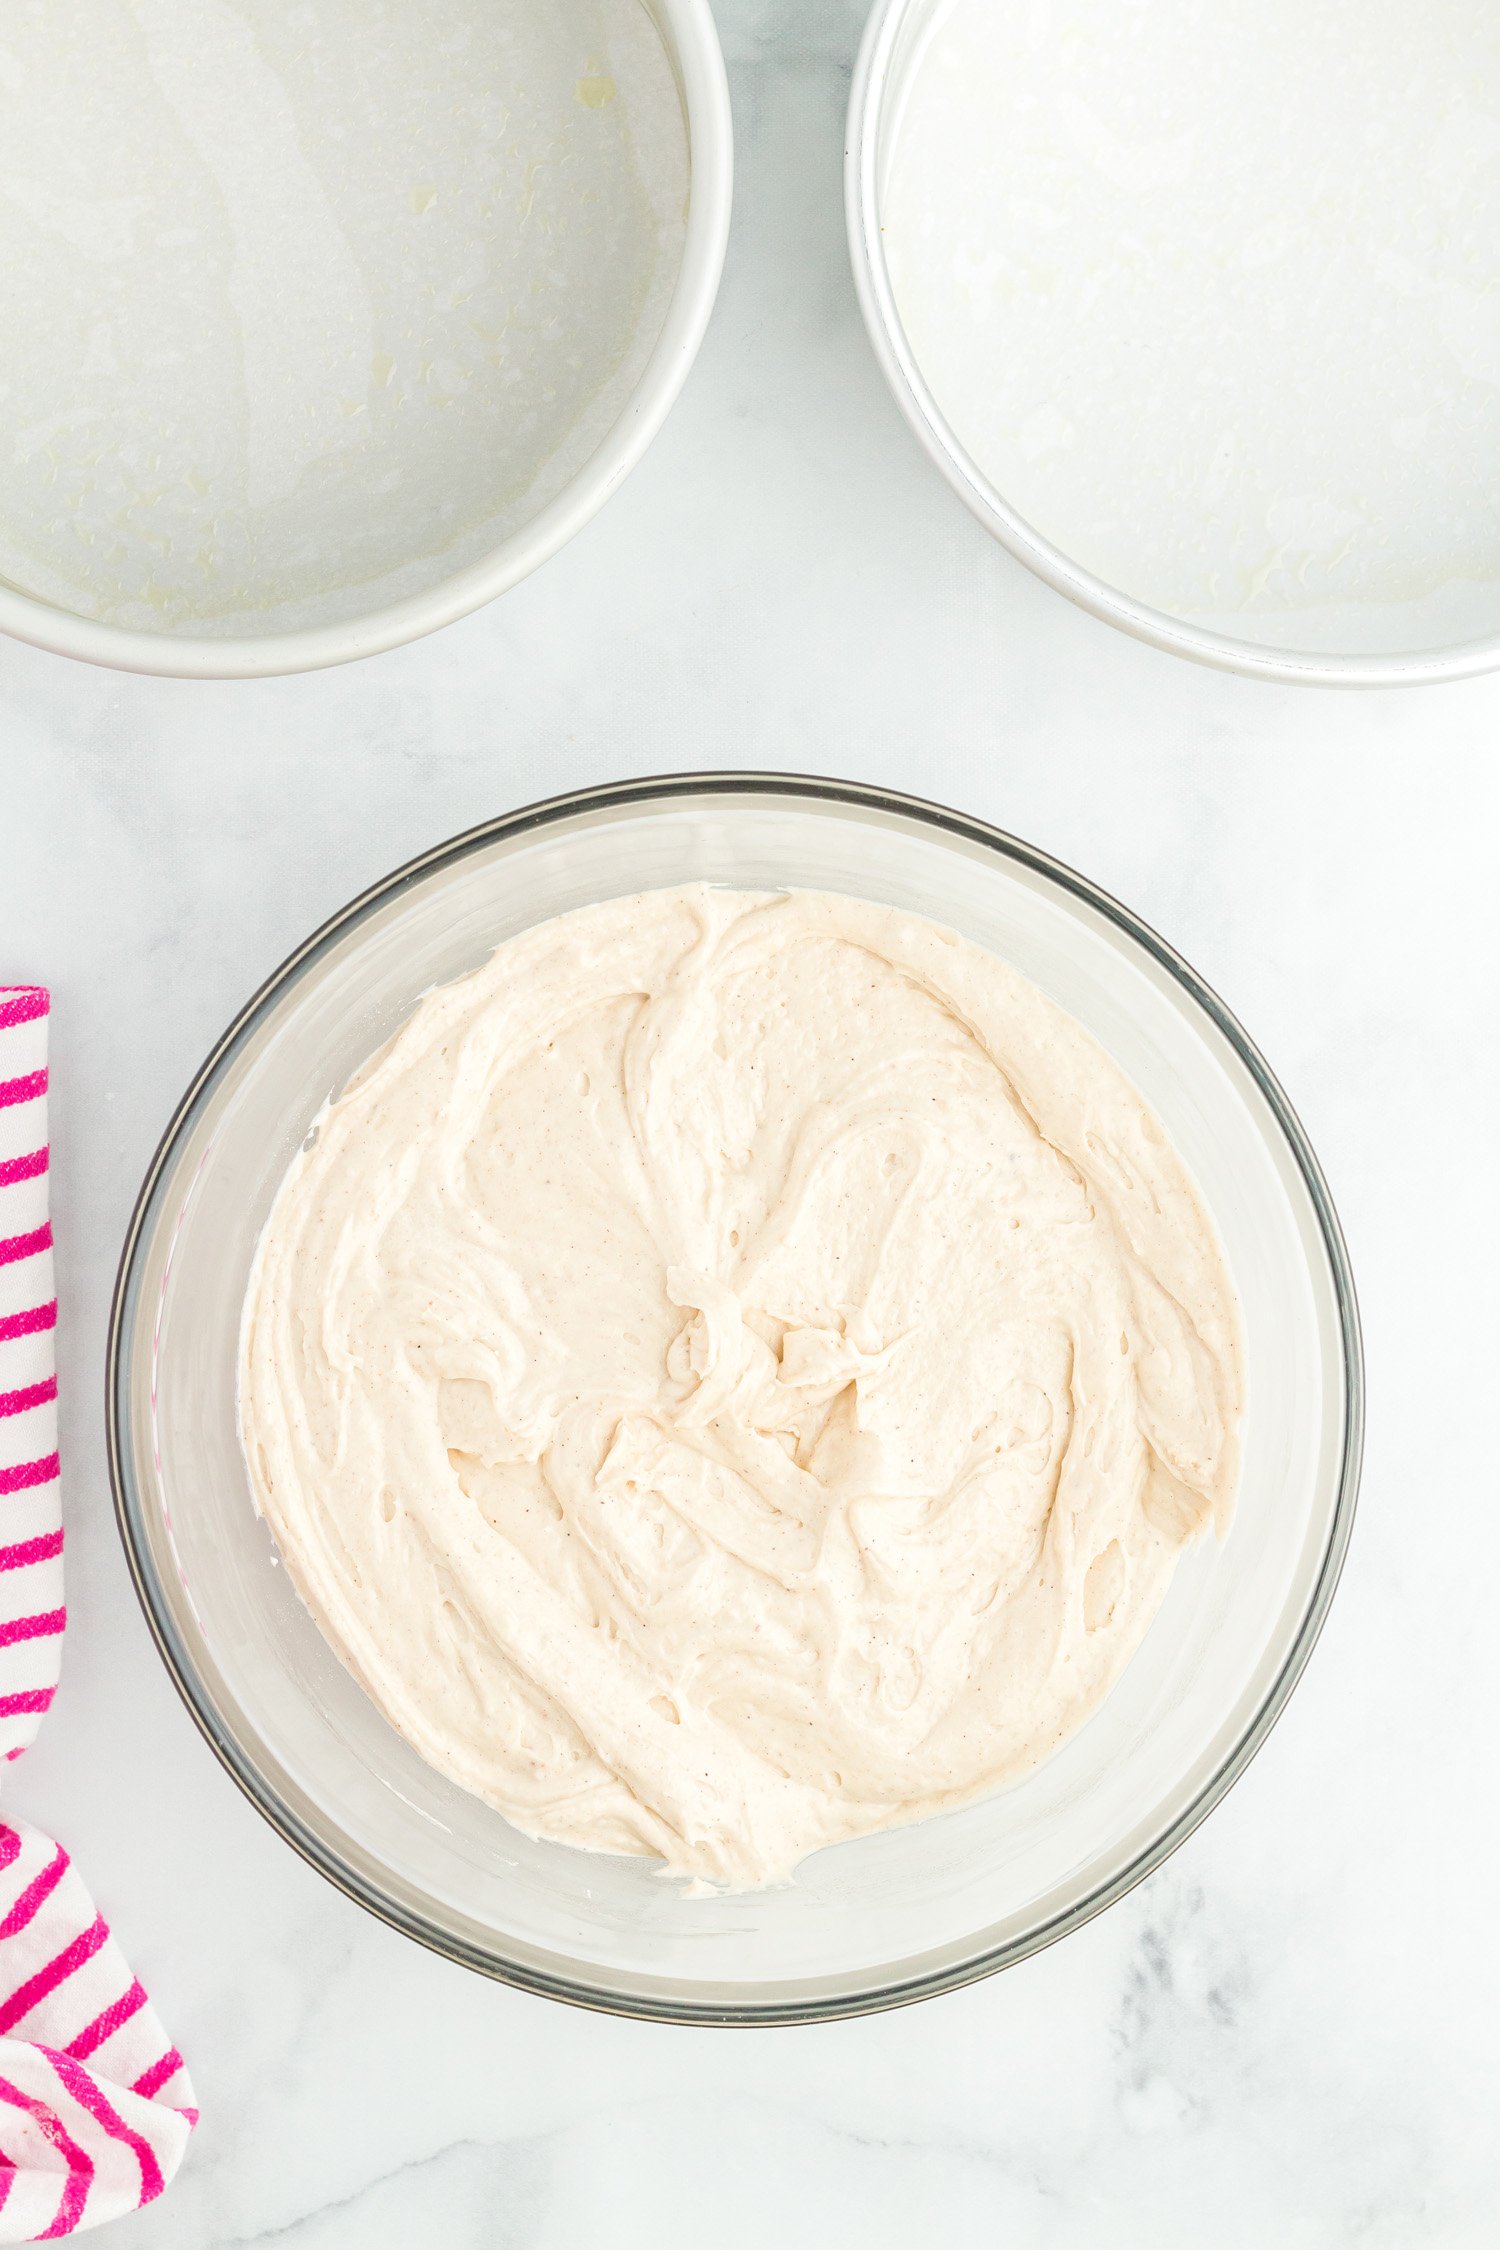
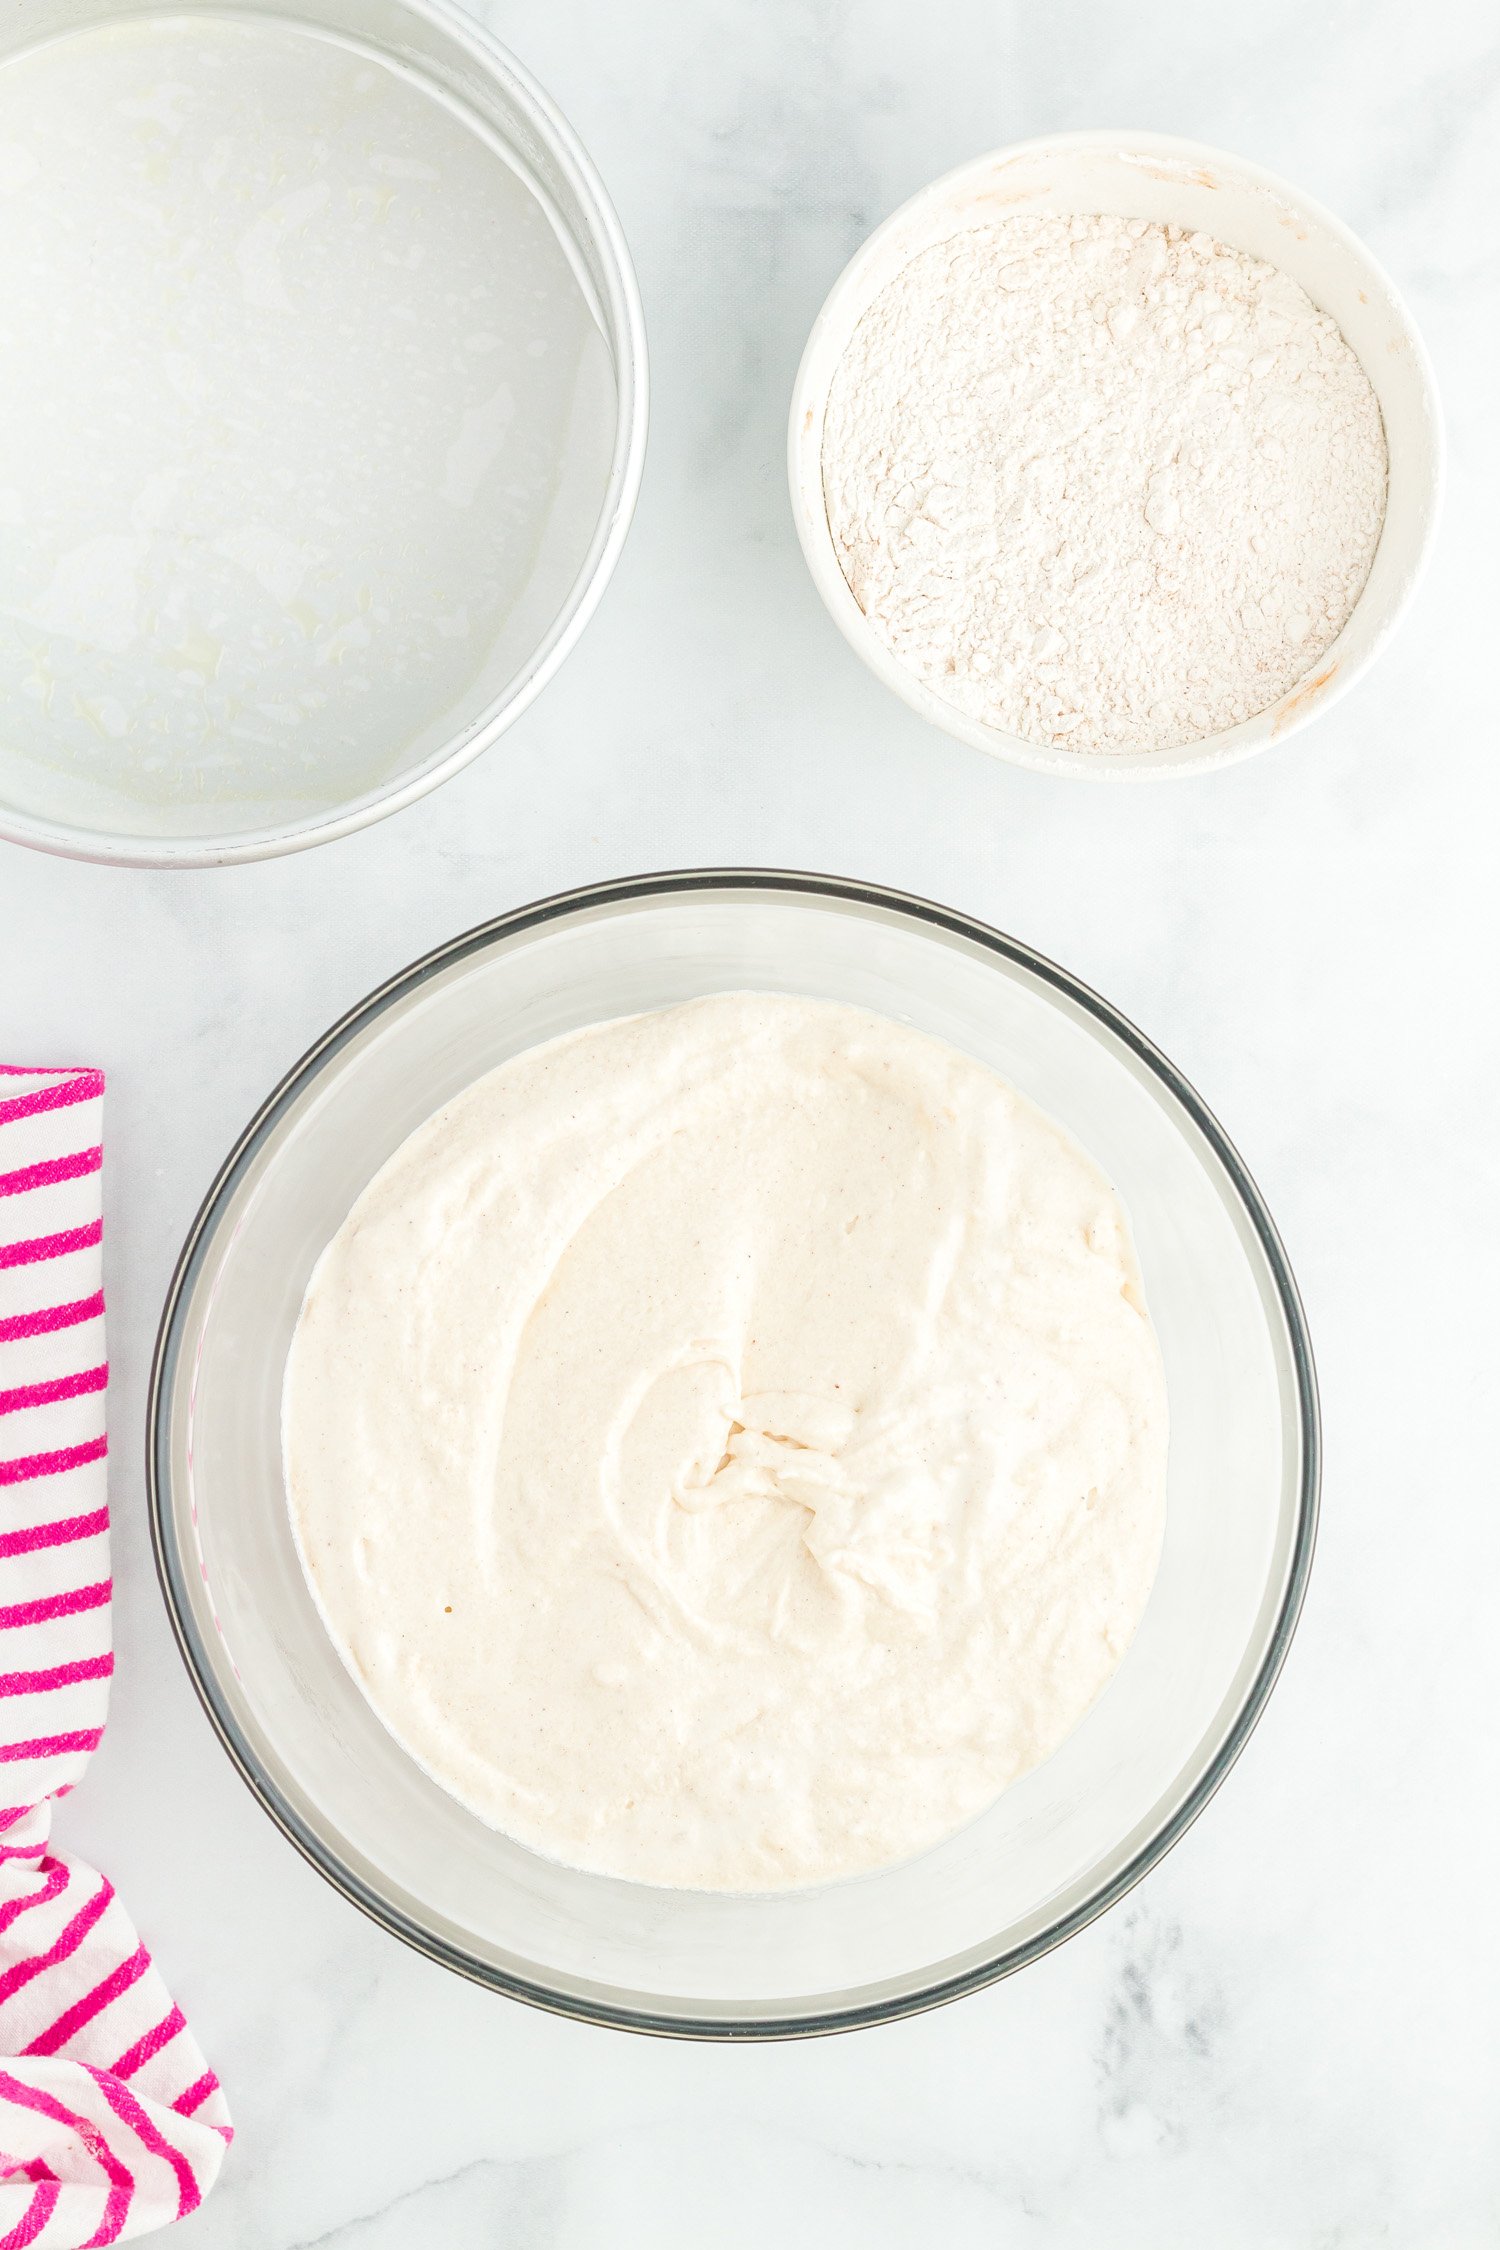
Beat in the remaining dry ingredients on low speed. Again, do not overmix or the cake will bake up dry.
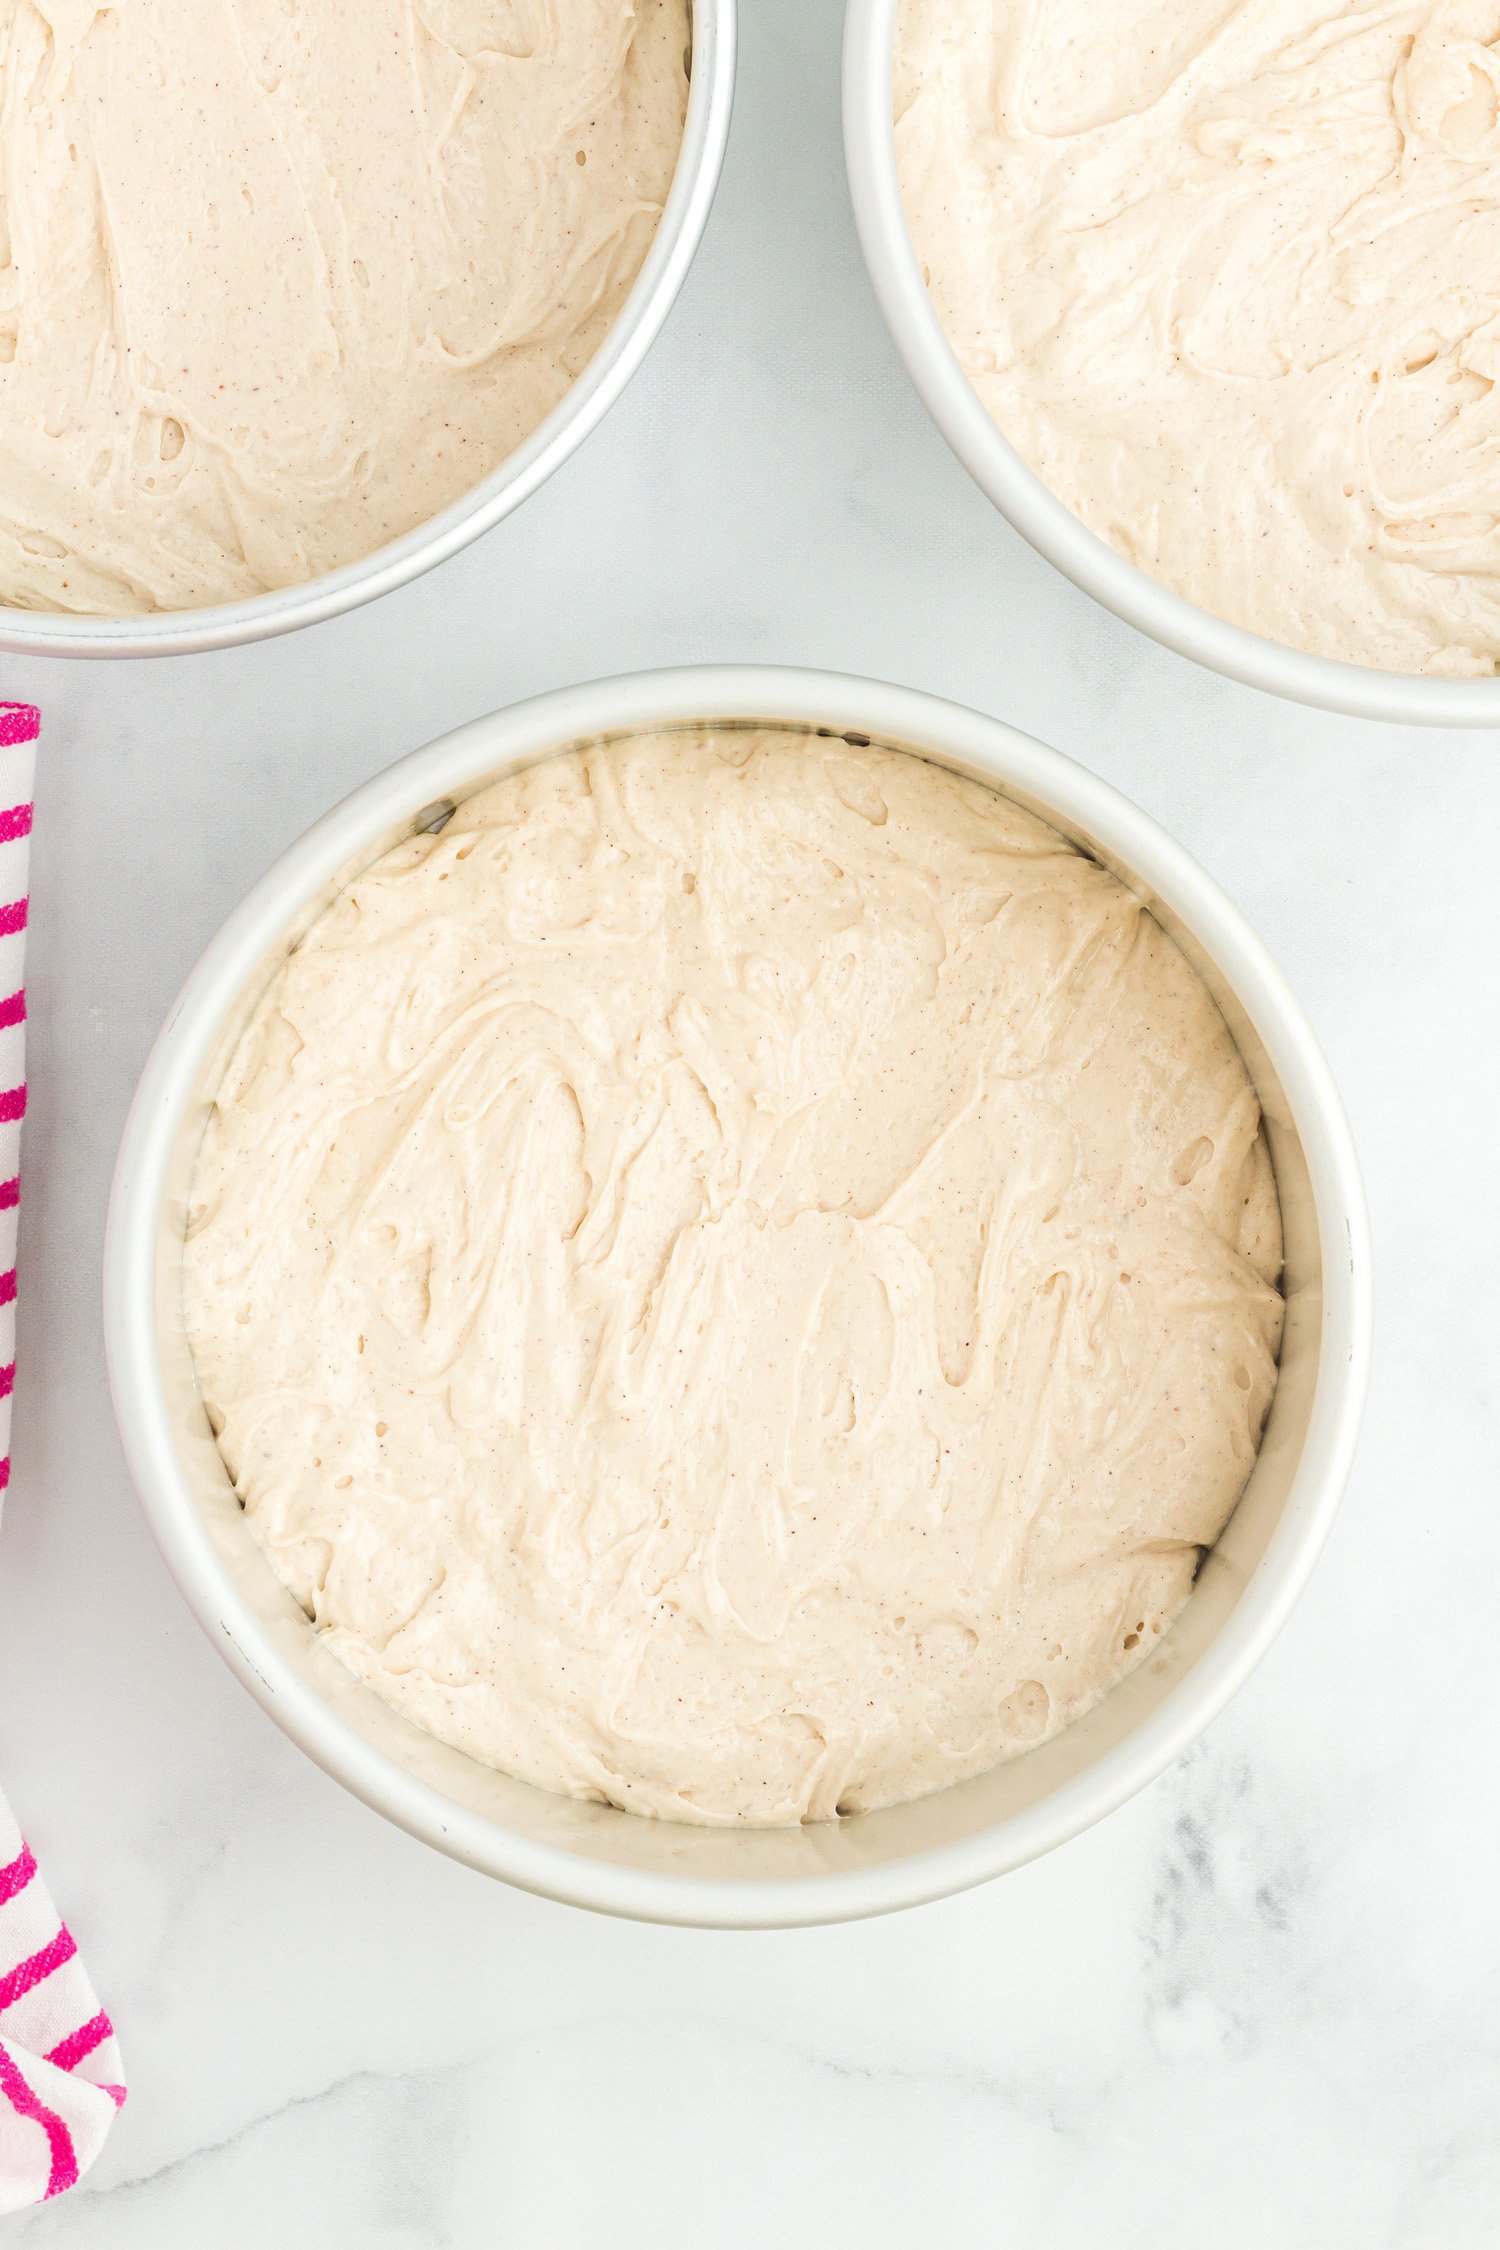
Pour batter evenly between the prepared cake pans. Try to get the same amount in each pan so that they bake at the same speed and bake up to the same size (height). Bake the cakes in the oven for 28 to 30 minutes until golden brown, or until a toothpick inserted in the middle of the cakes come out clean.
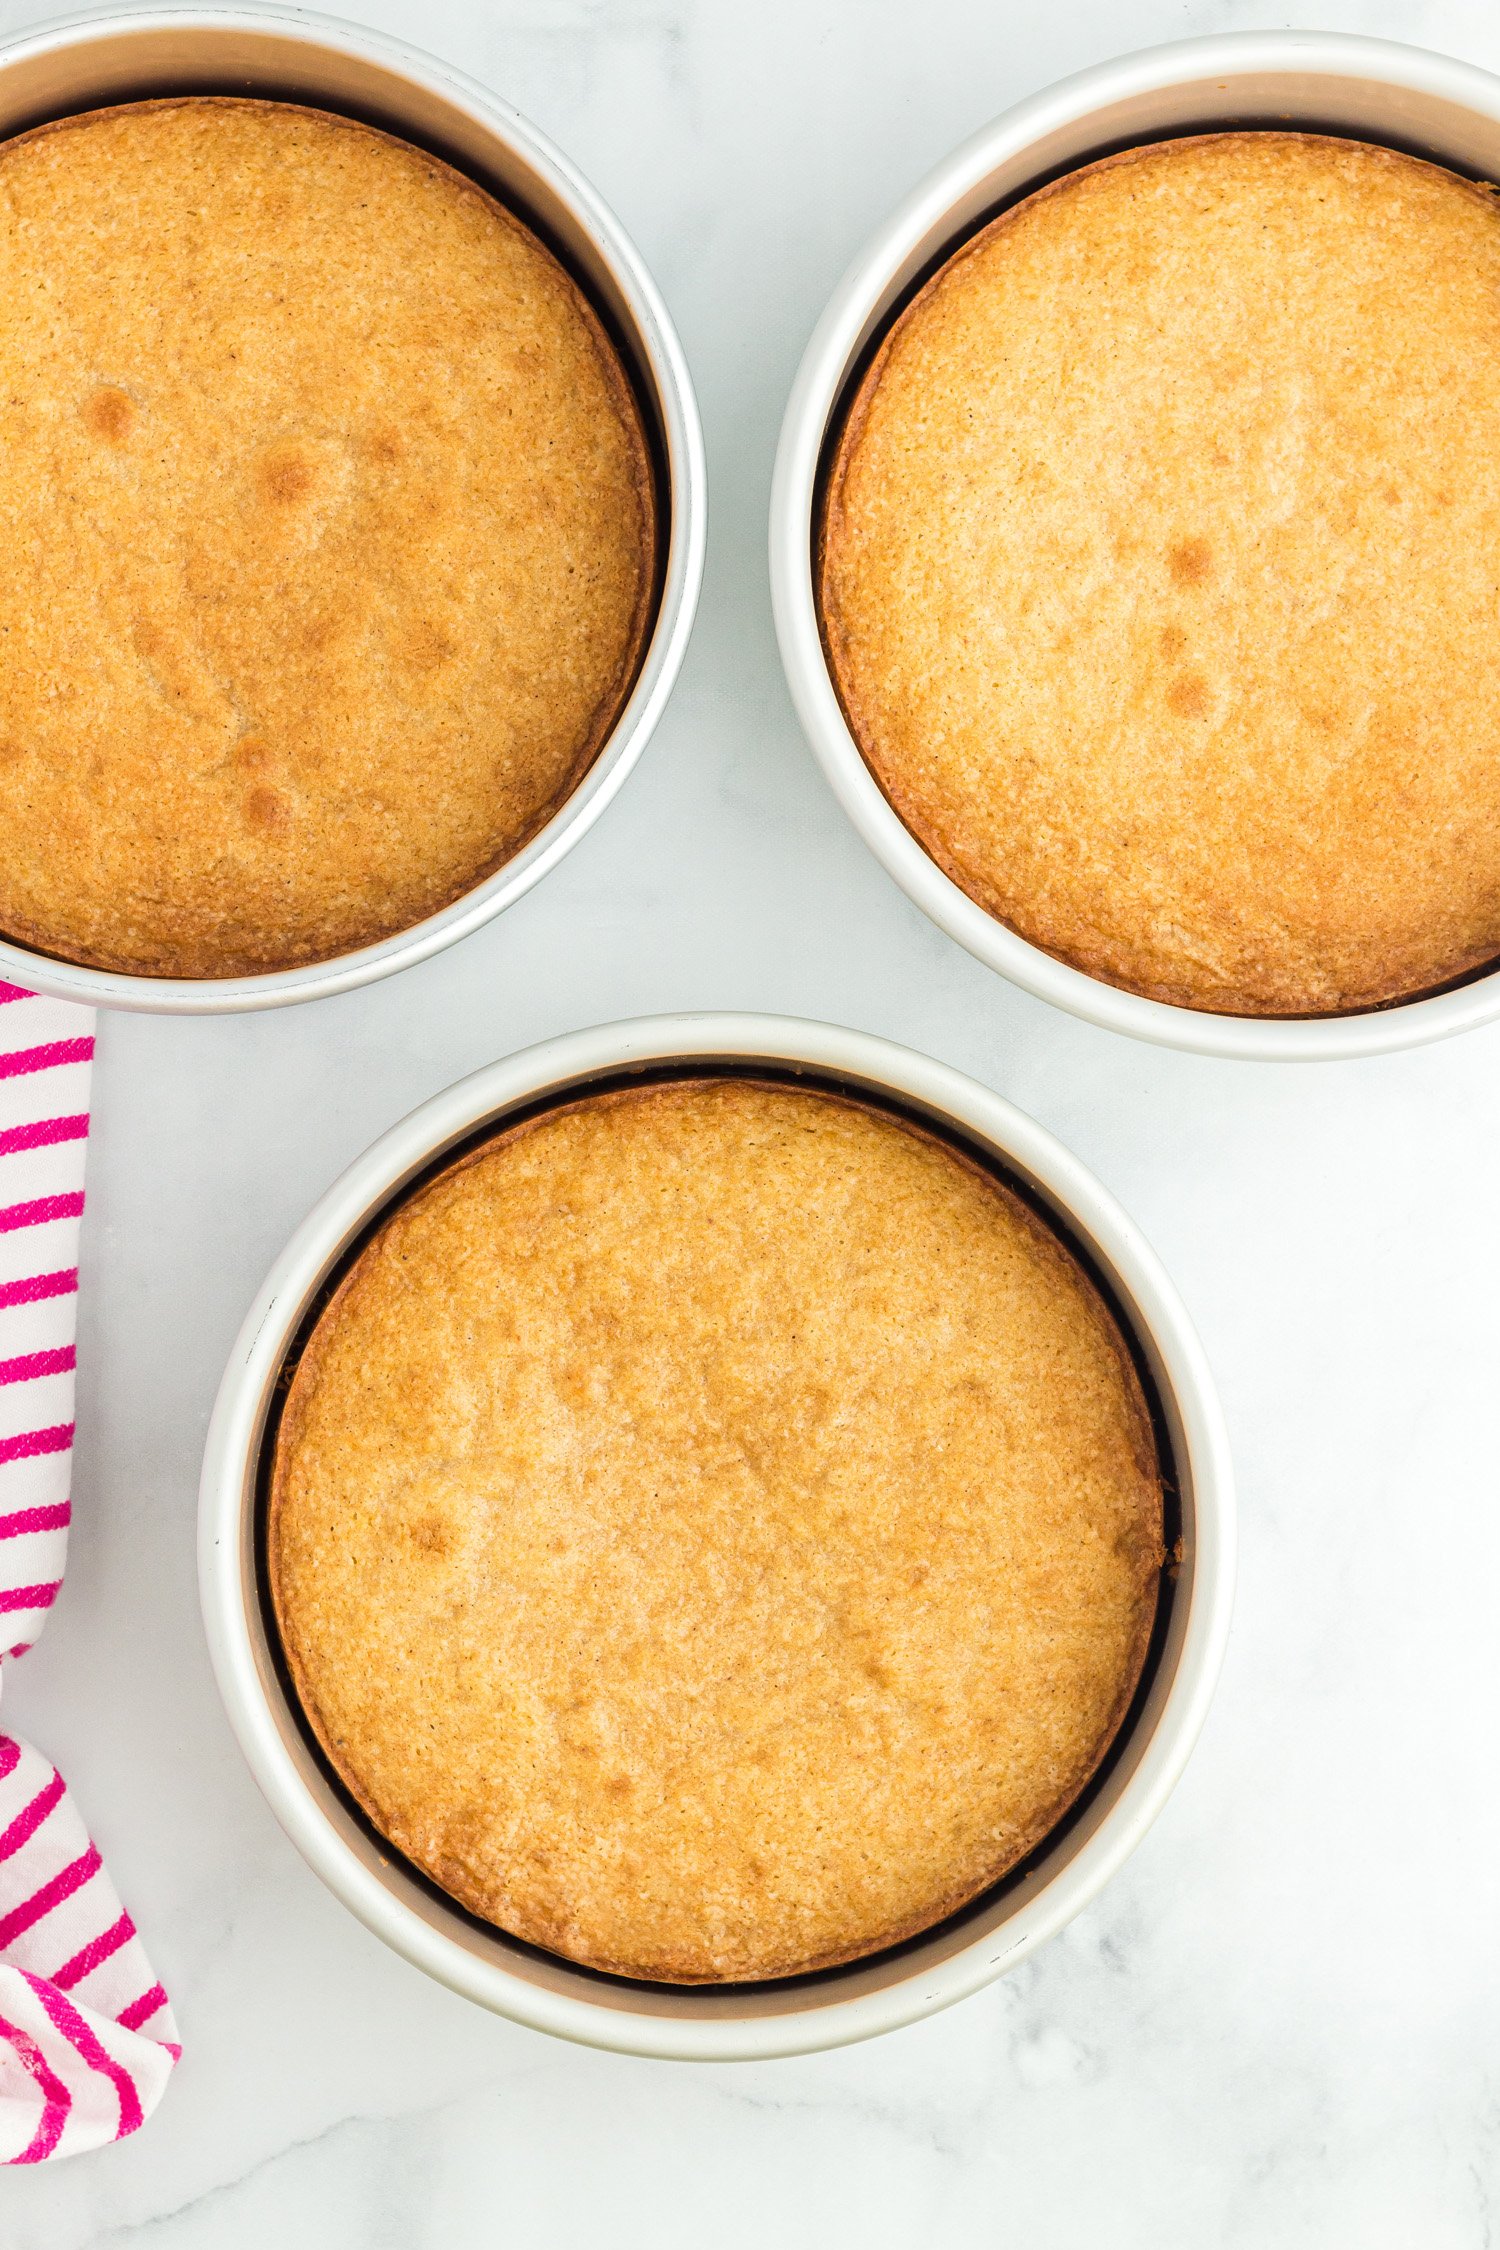
Remove cakes from oven and let cakes cool in their pans for 15 minutes before removing cakes from pans. Place them a on wire rack or cooling rack to finish cooling.
Once cakes have completely cooled to room temperature, cover each cooled cake completely in food-safe plastic wrap (wrap each cake separately so they don’t stick together) and refrigerate for two hours. This step is important because you’ll want the cakes to be firm before frosting. If they are too soft when you start frosting, the cakes may crumble and break apart during the decorating process.
Remove the cakes from the fridge, and use a large serrated knife to cut the dome tops off all cake layers so they all have a flat top. These cakes don’t rise a lot so there won’t be much of a dome top to cut off.
Donut Cake Frosting Instructions:
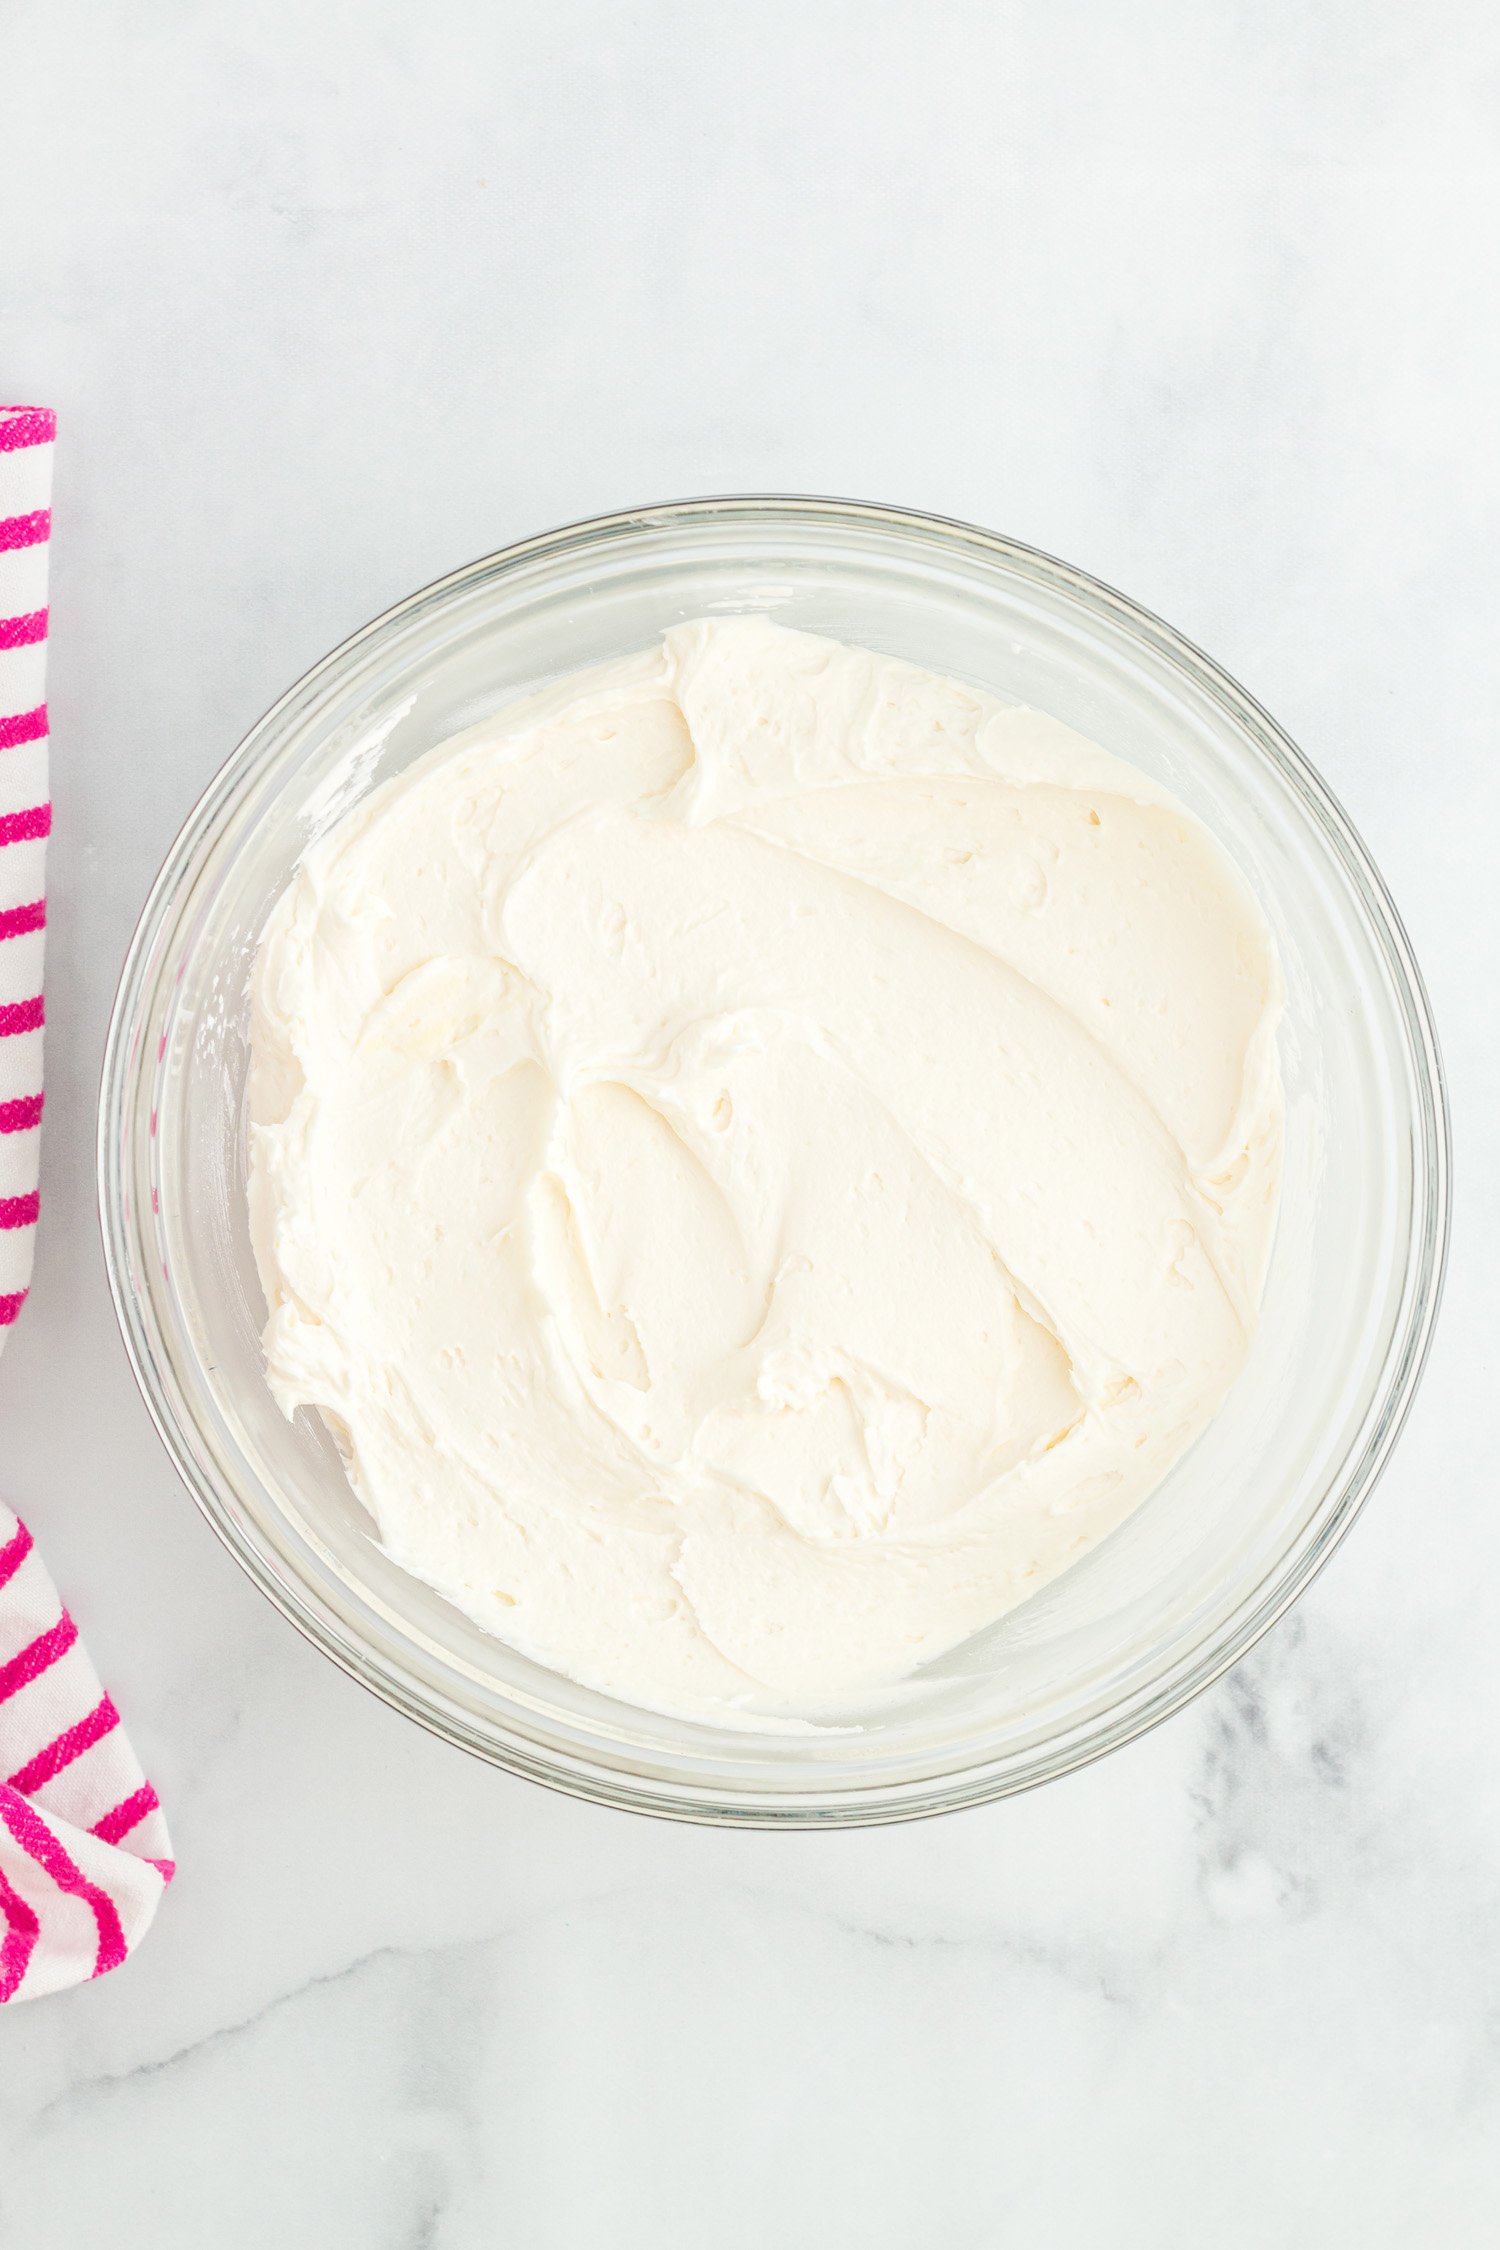
In a large bowl, beat the confectioners’ sugar, butter, and vanilla extract on high speed until light and fluffy (about 5 minutes). The frosting should be firm enough to hold its shape while piping with an icing tip, but soft enough that it can be frosted onto the cake smoothly. If you want the frosting between the layers to be colored, you can add your food coloring now to get your desired color scheme.
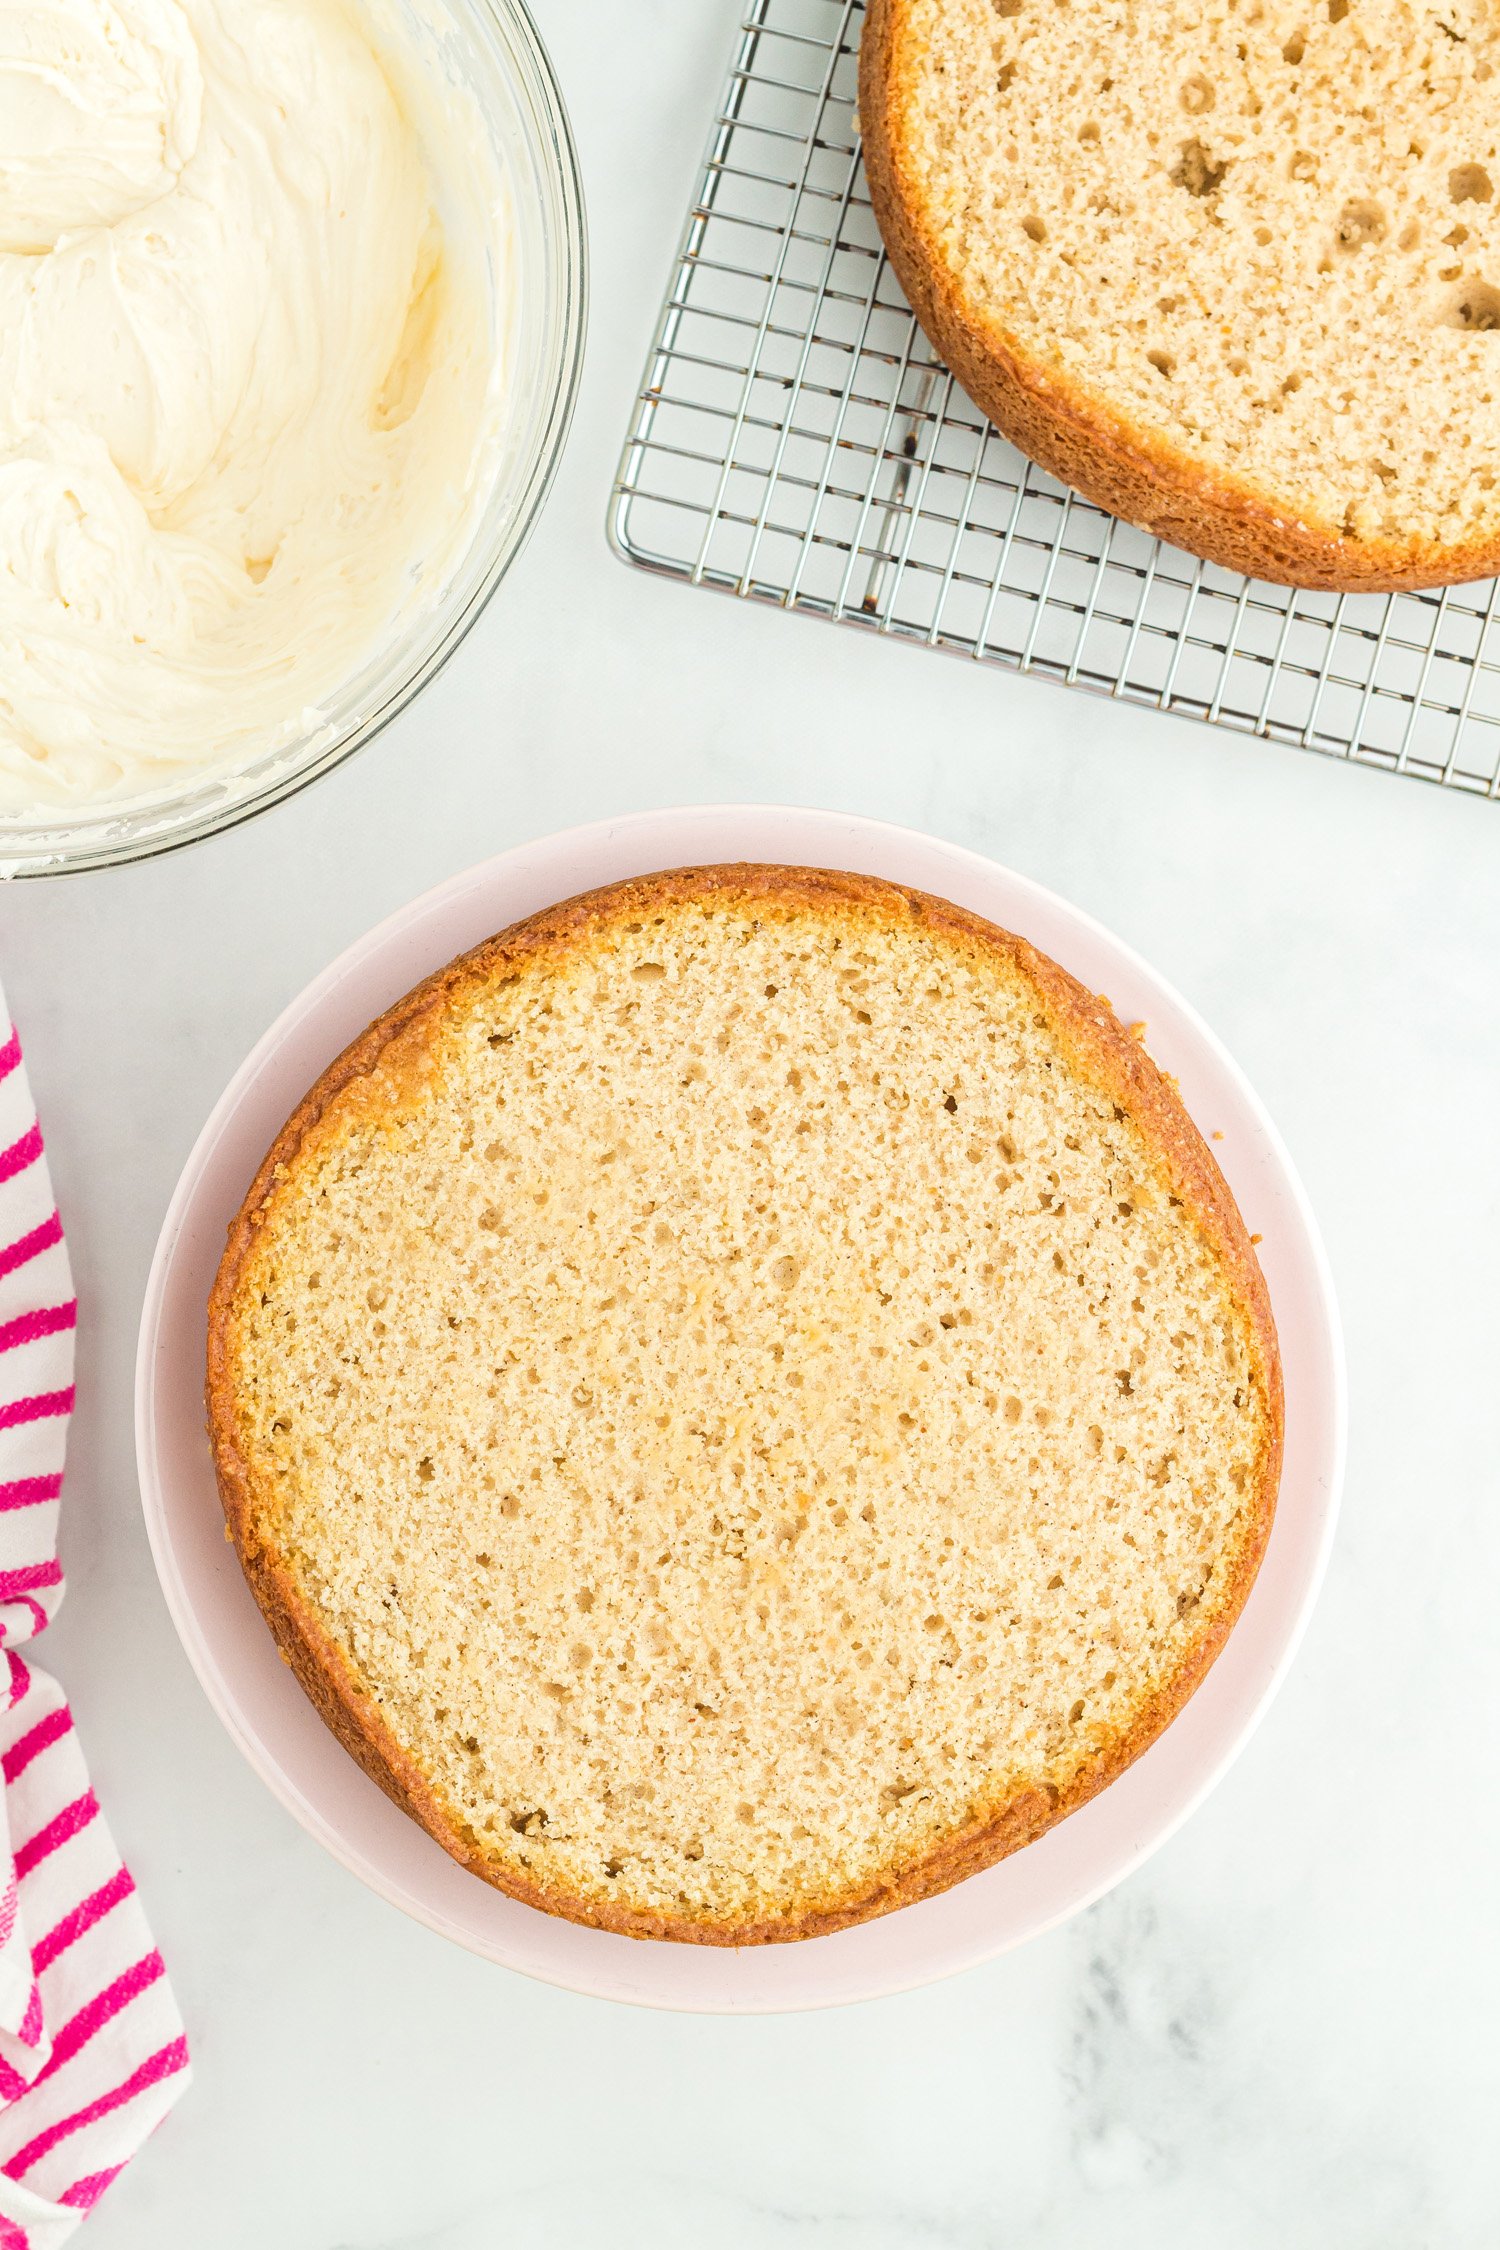
Place a thin layer of frosting (about 2 tablespoons) in the middle of a cake board or cake plate then place one cake (cut side facing up) on top of that frosting. This is meant to secure the bottom half of the cake to the cake board or cake plate so it doesn’t slide around during decorating.
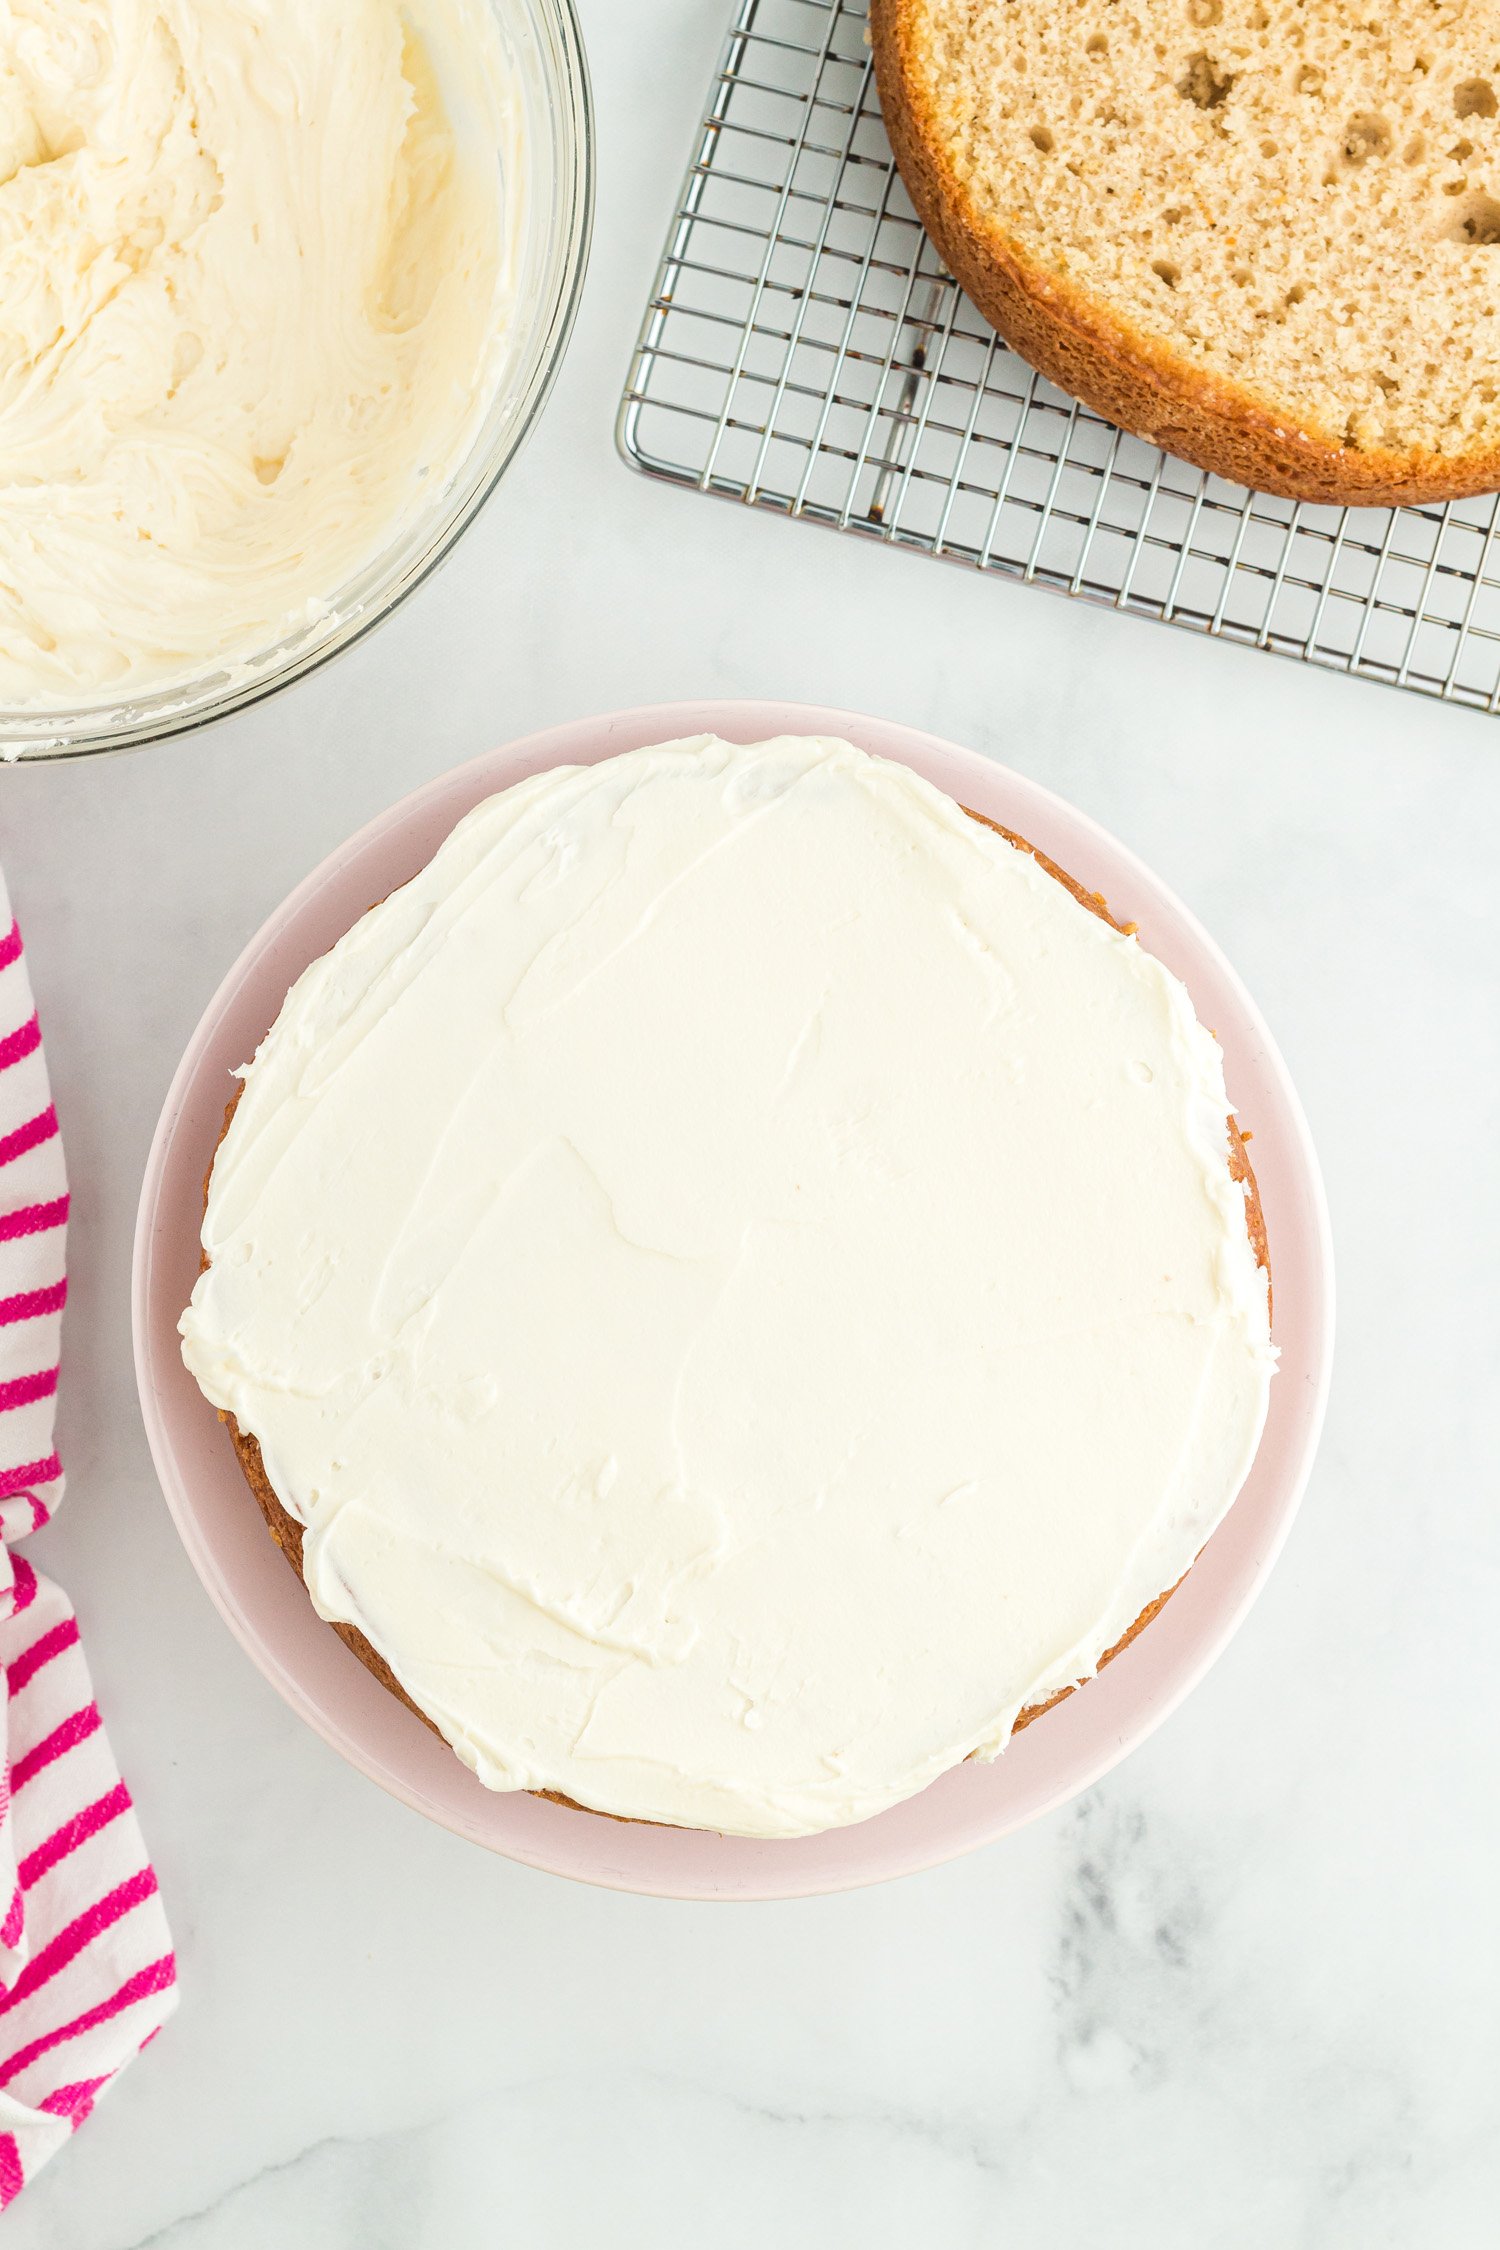
Add a generous layer of frosting on top of that first layer of cake, smoothing it out evenly. Place the second layer of cake (cut side facing up again) on top of the first layer.
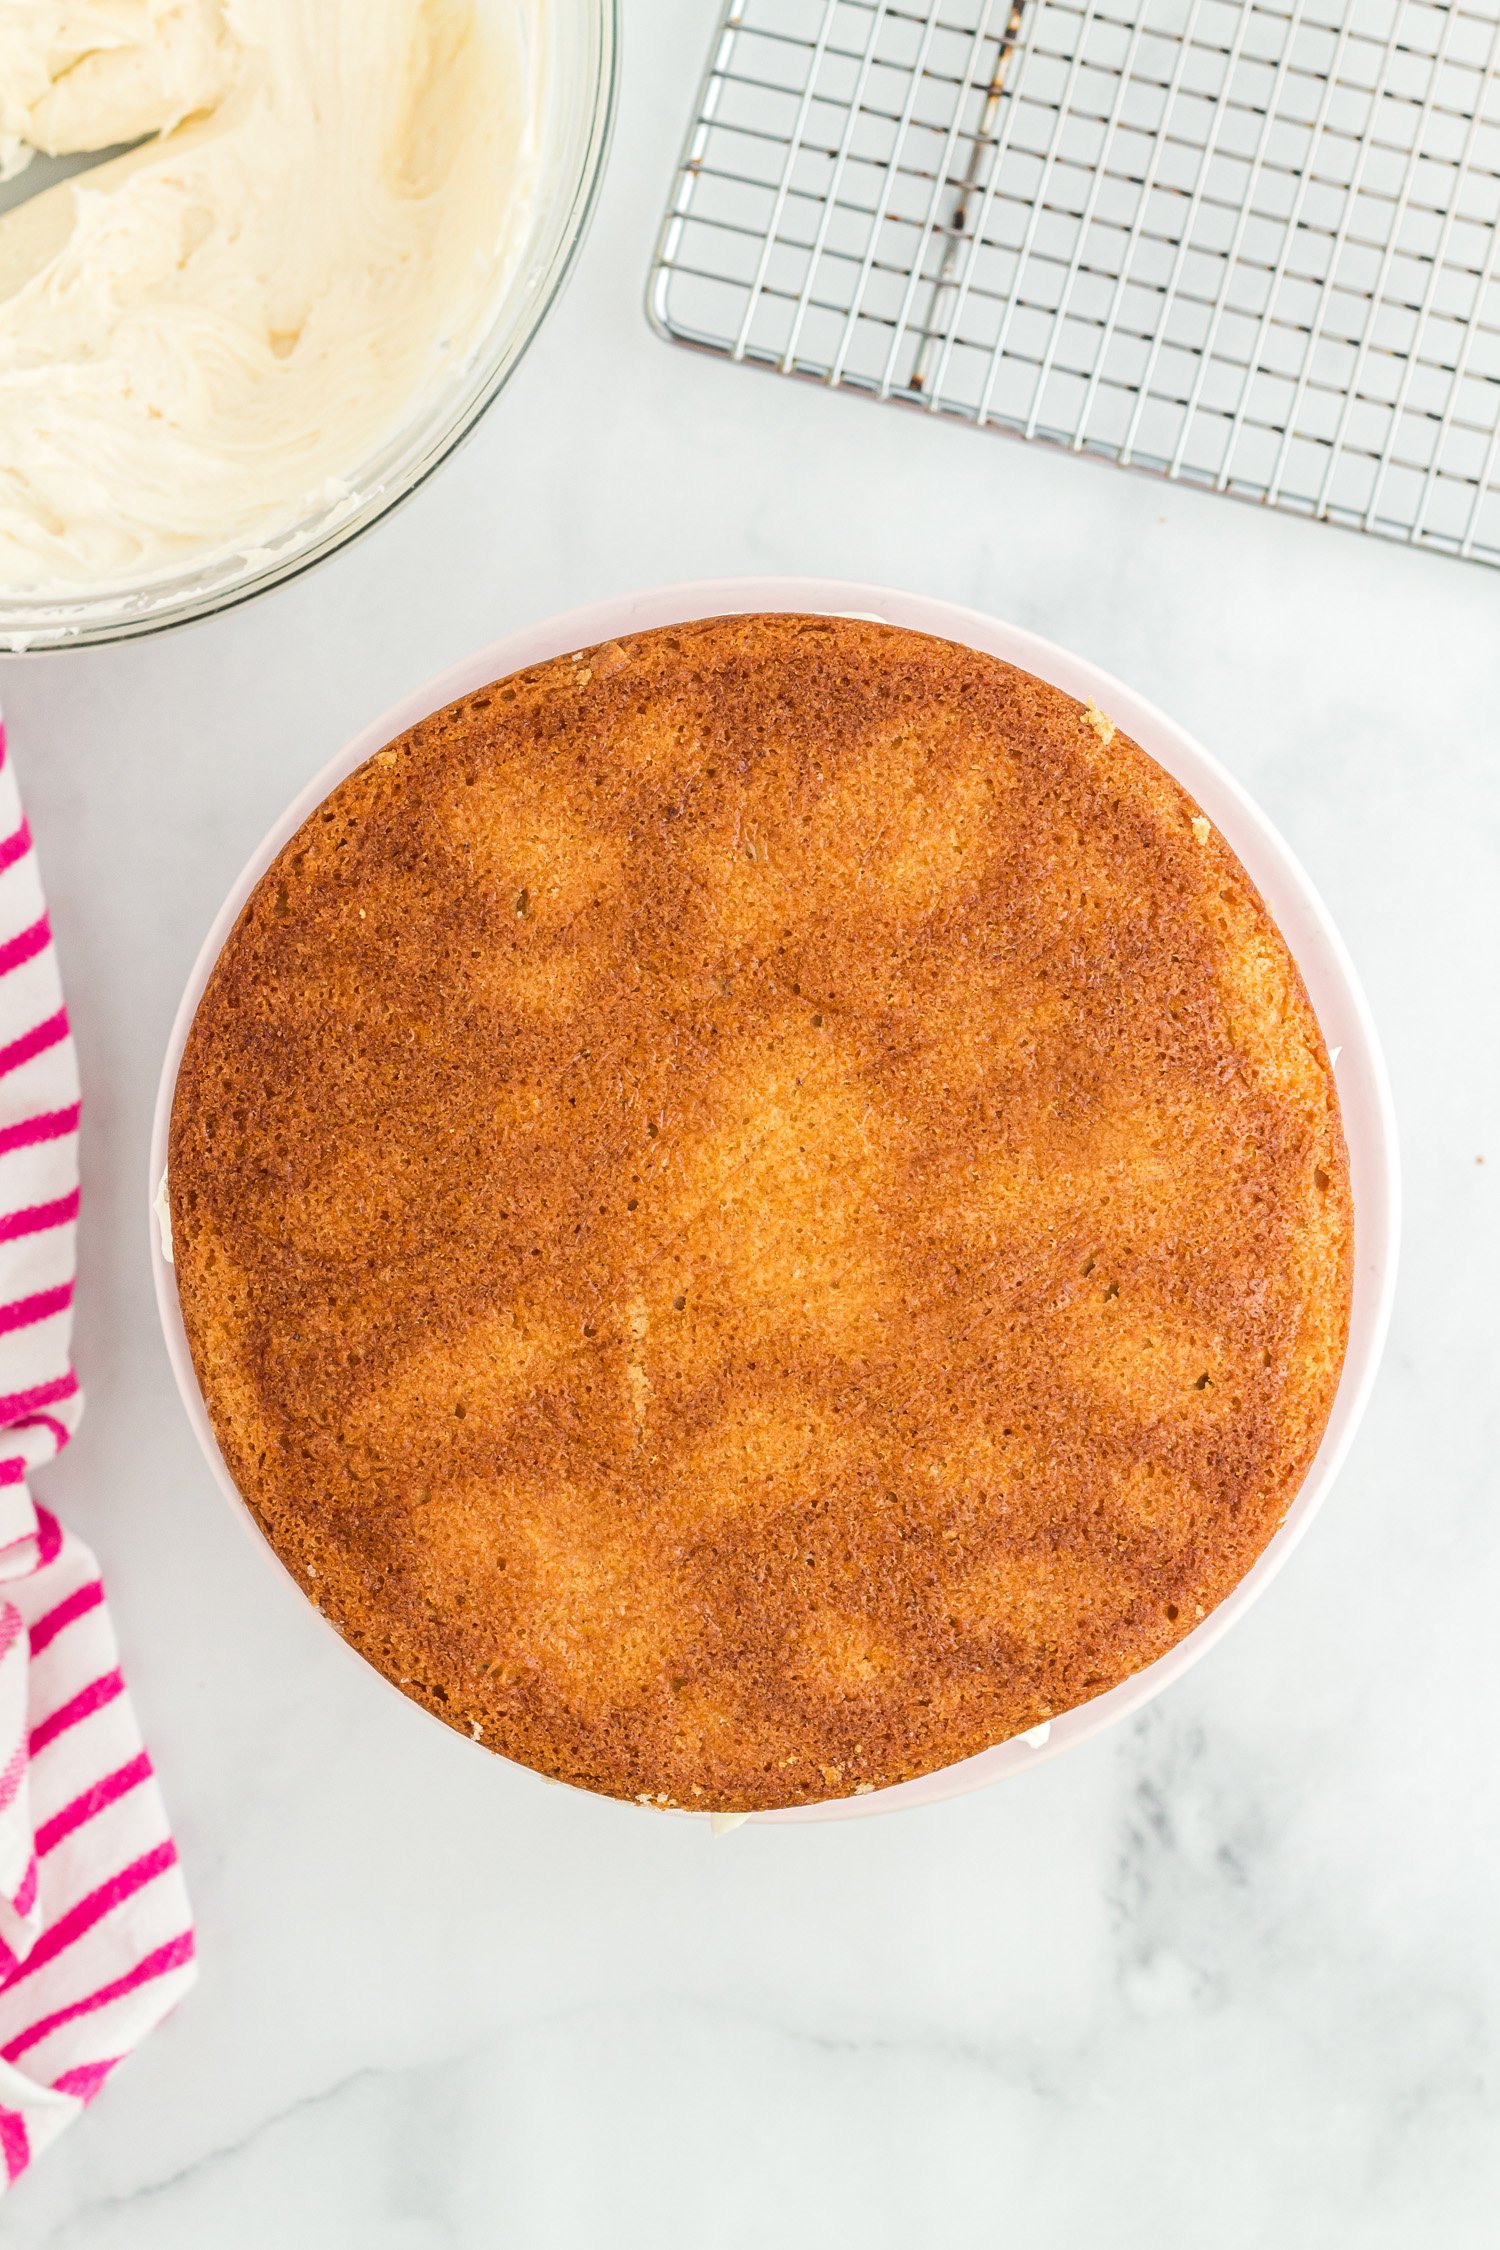
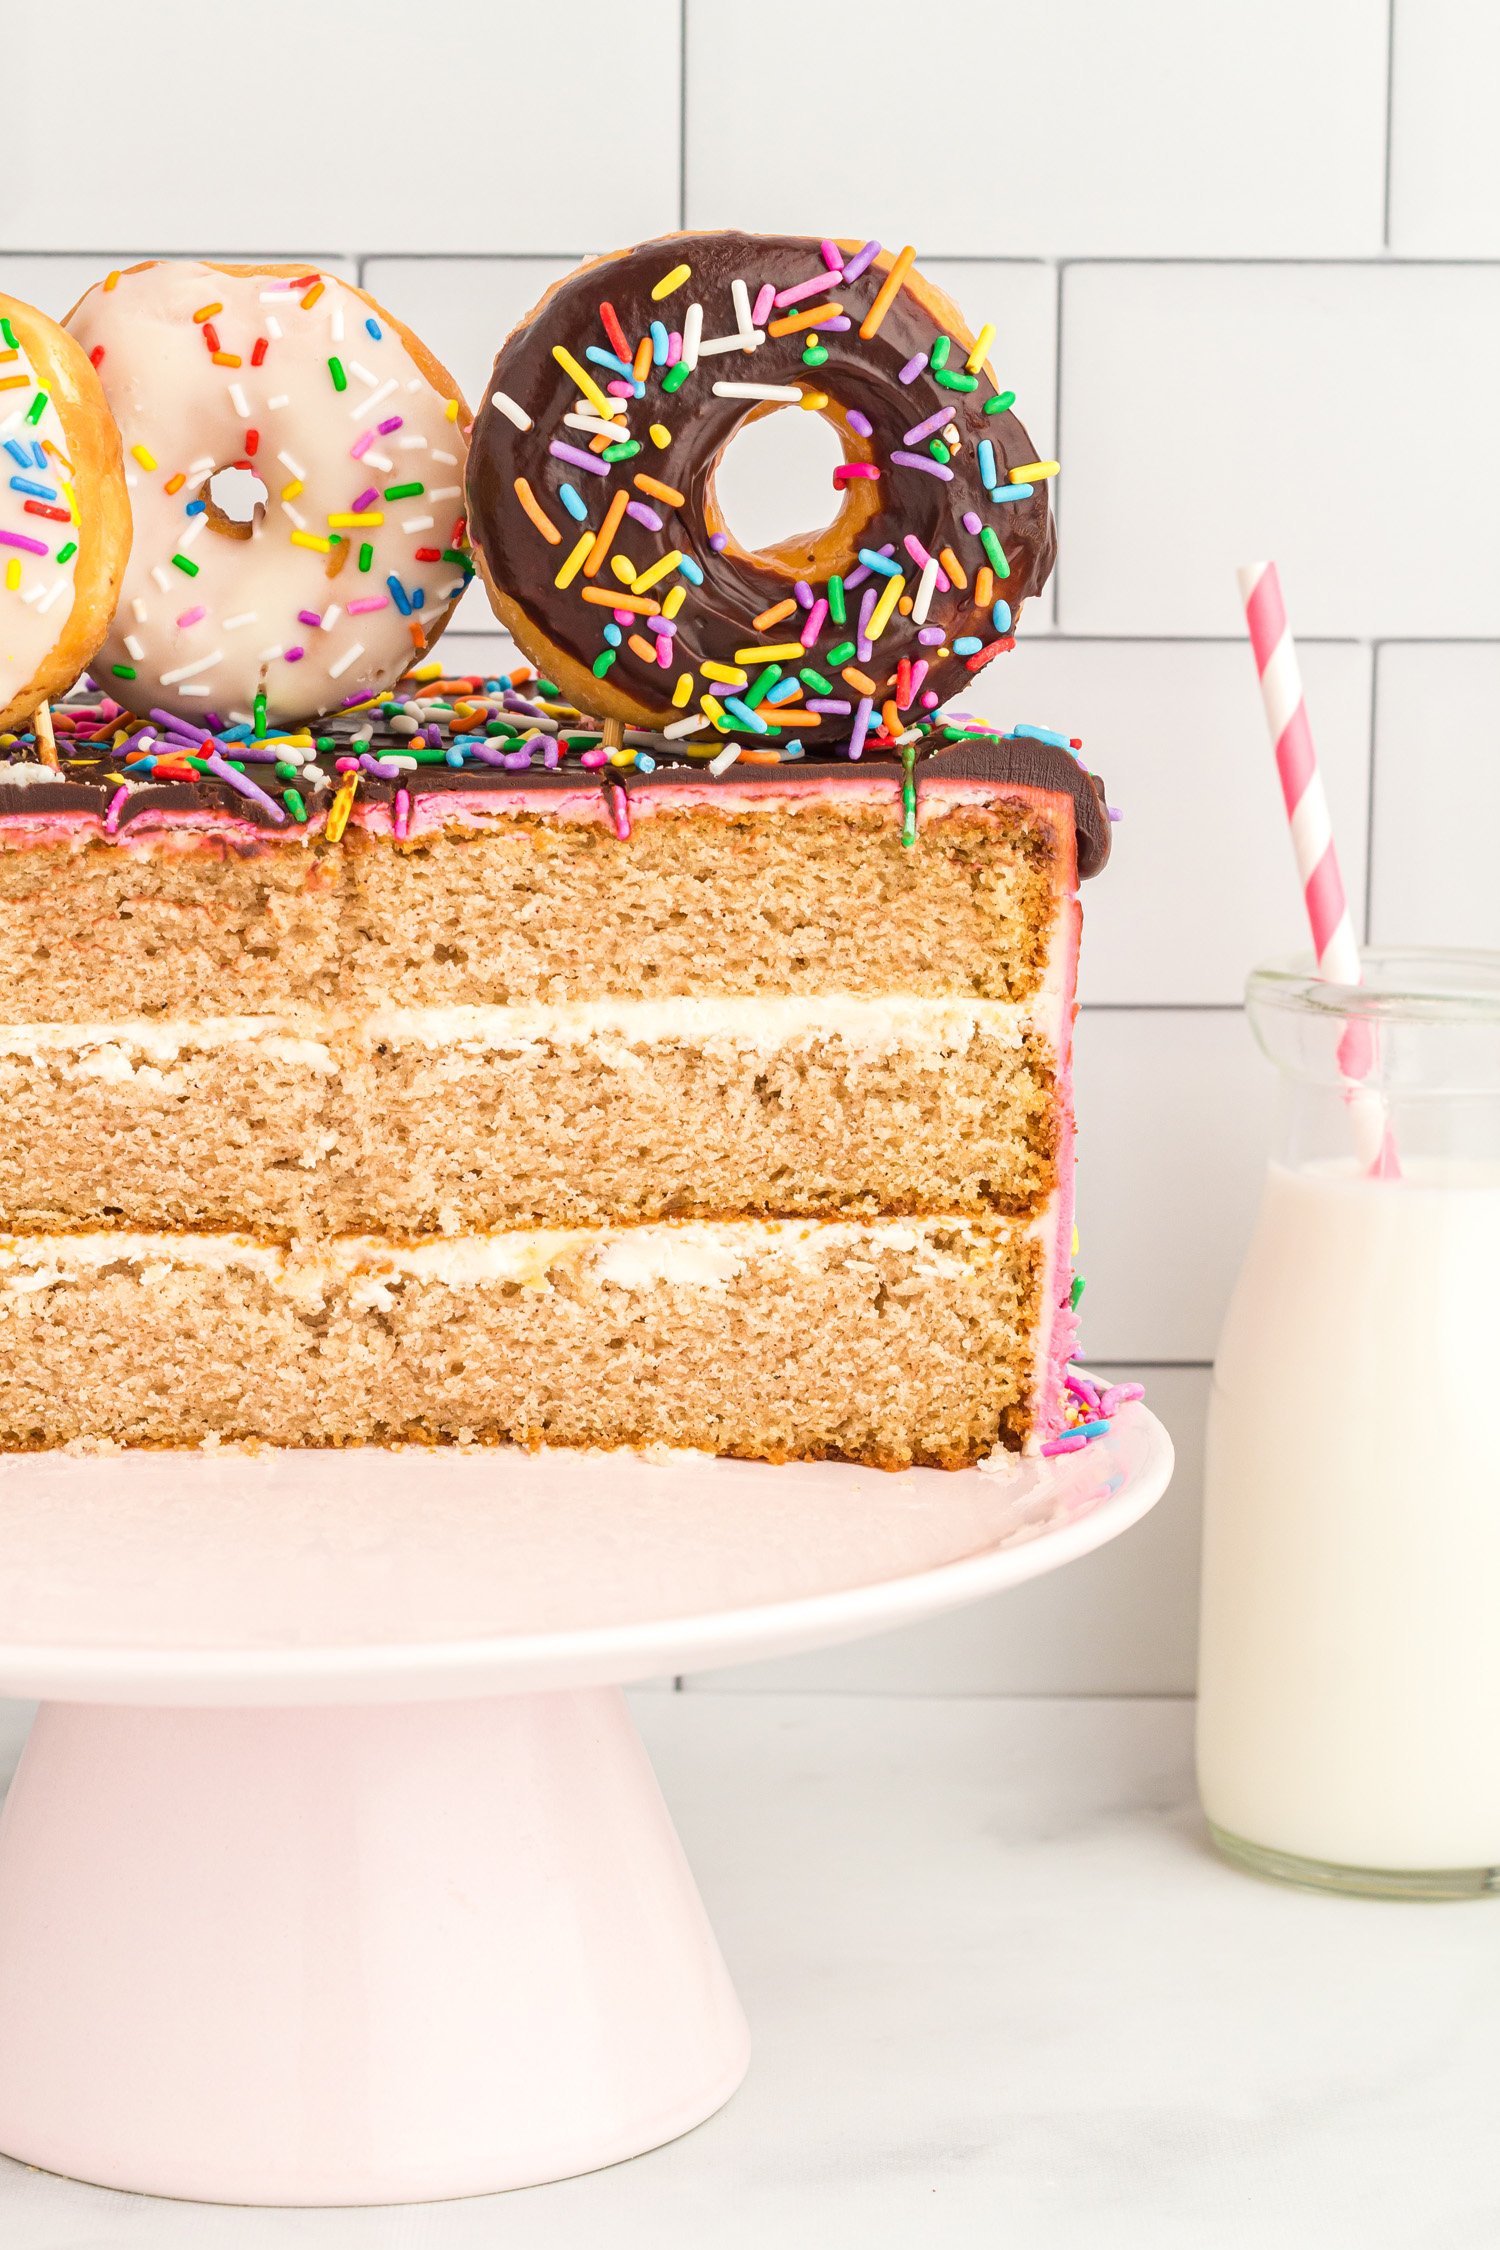
Add a generous layer of frosting on top of that second layer of cake, smoothing it out evenly, then place the third layer of cake (bottom side facing up) on top of that frosted second layer.
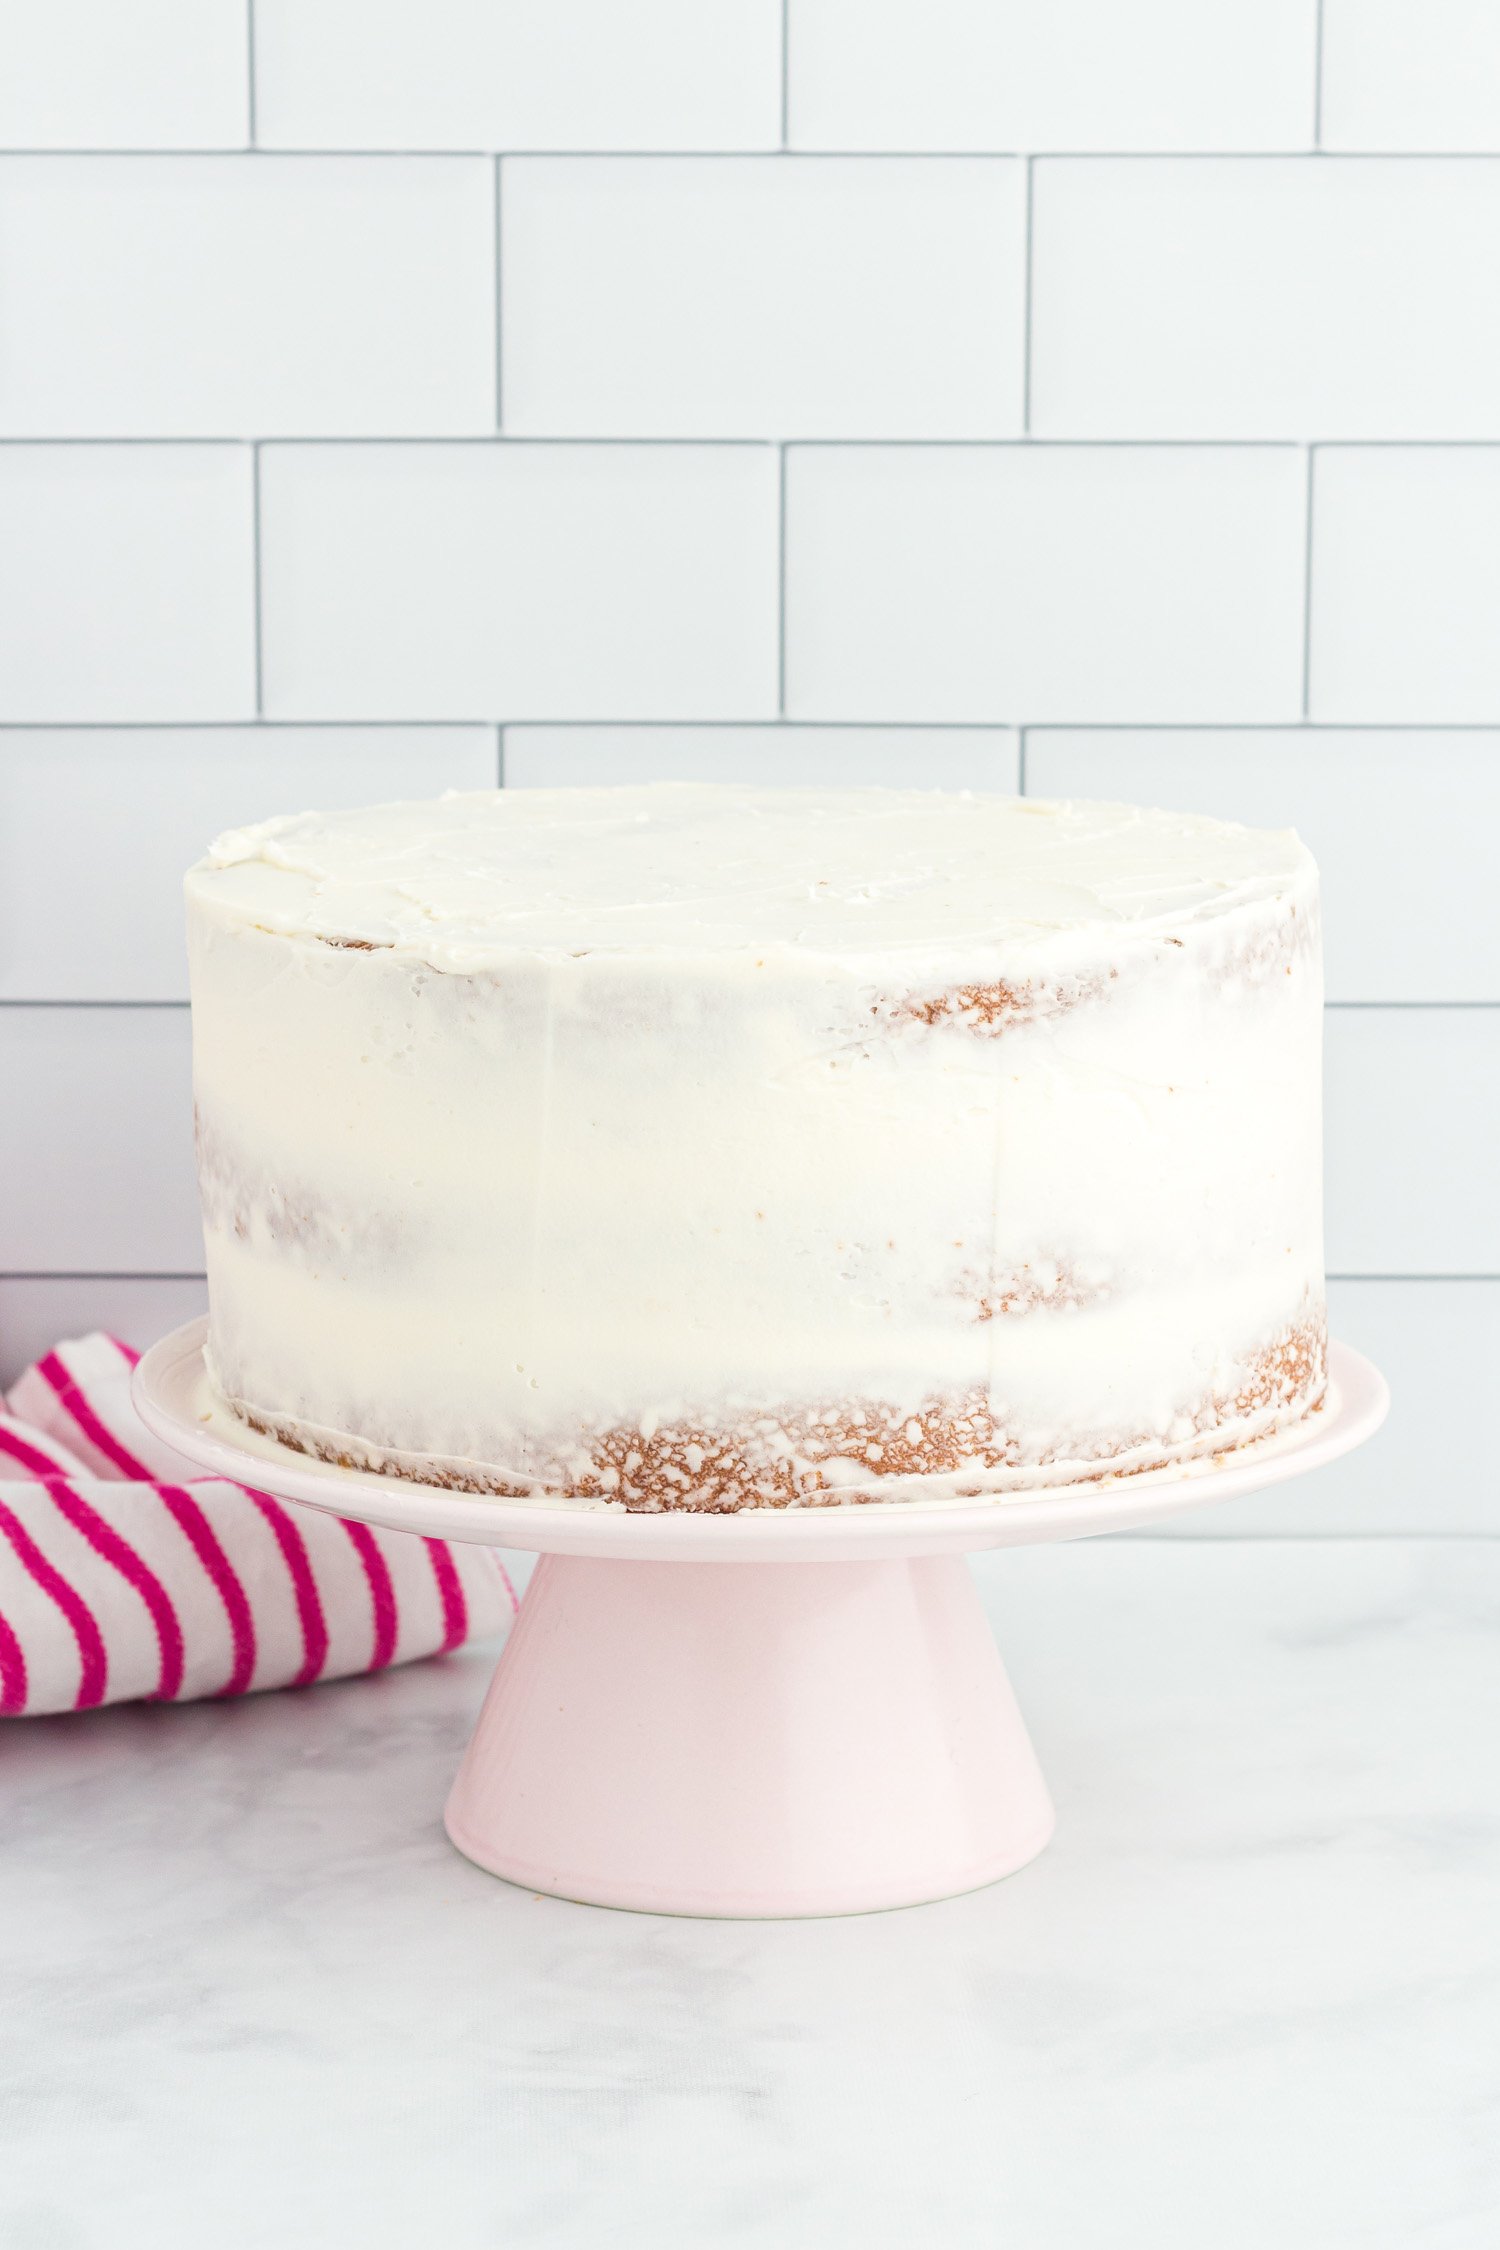
Frost a thin layer of frosting around the top and sides of the cake. This first thin layer of frosting (called a crumb coat) is meant to secure all the crumbs to the cake so you don’t get crumbs into the final layer of frosting. To make the layers of frosting smooth, use a smooth-edged tool, like a cake scraper, to smooth the icing out.
Place the lightly frosted (crumb-coated) cake in the freezer for 10 minutes so the crumb coat hardens up a bit before frosting the next layer.
Remove the cake from the freezer to apply the final layer of frosting on the sides of the cake. If you want the final layer of frosting colored, add the desired food coloring now. Spread the frosting as smoothly as you can using the cake scraper tool.
Optional: Add sprinkles to the bottom border of the cake while the frosting is still soft enough.
Place the cake back into the freezer for about 5 minutes.
Easy Chocolate Ganache Instructions:
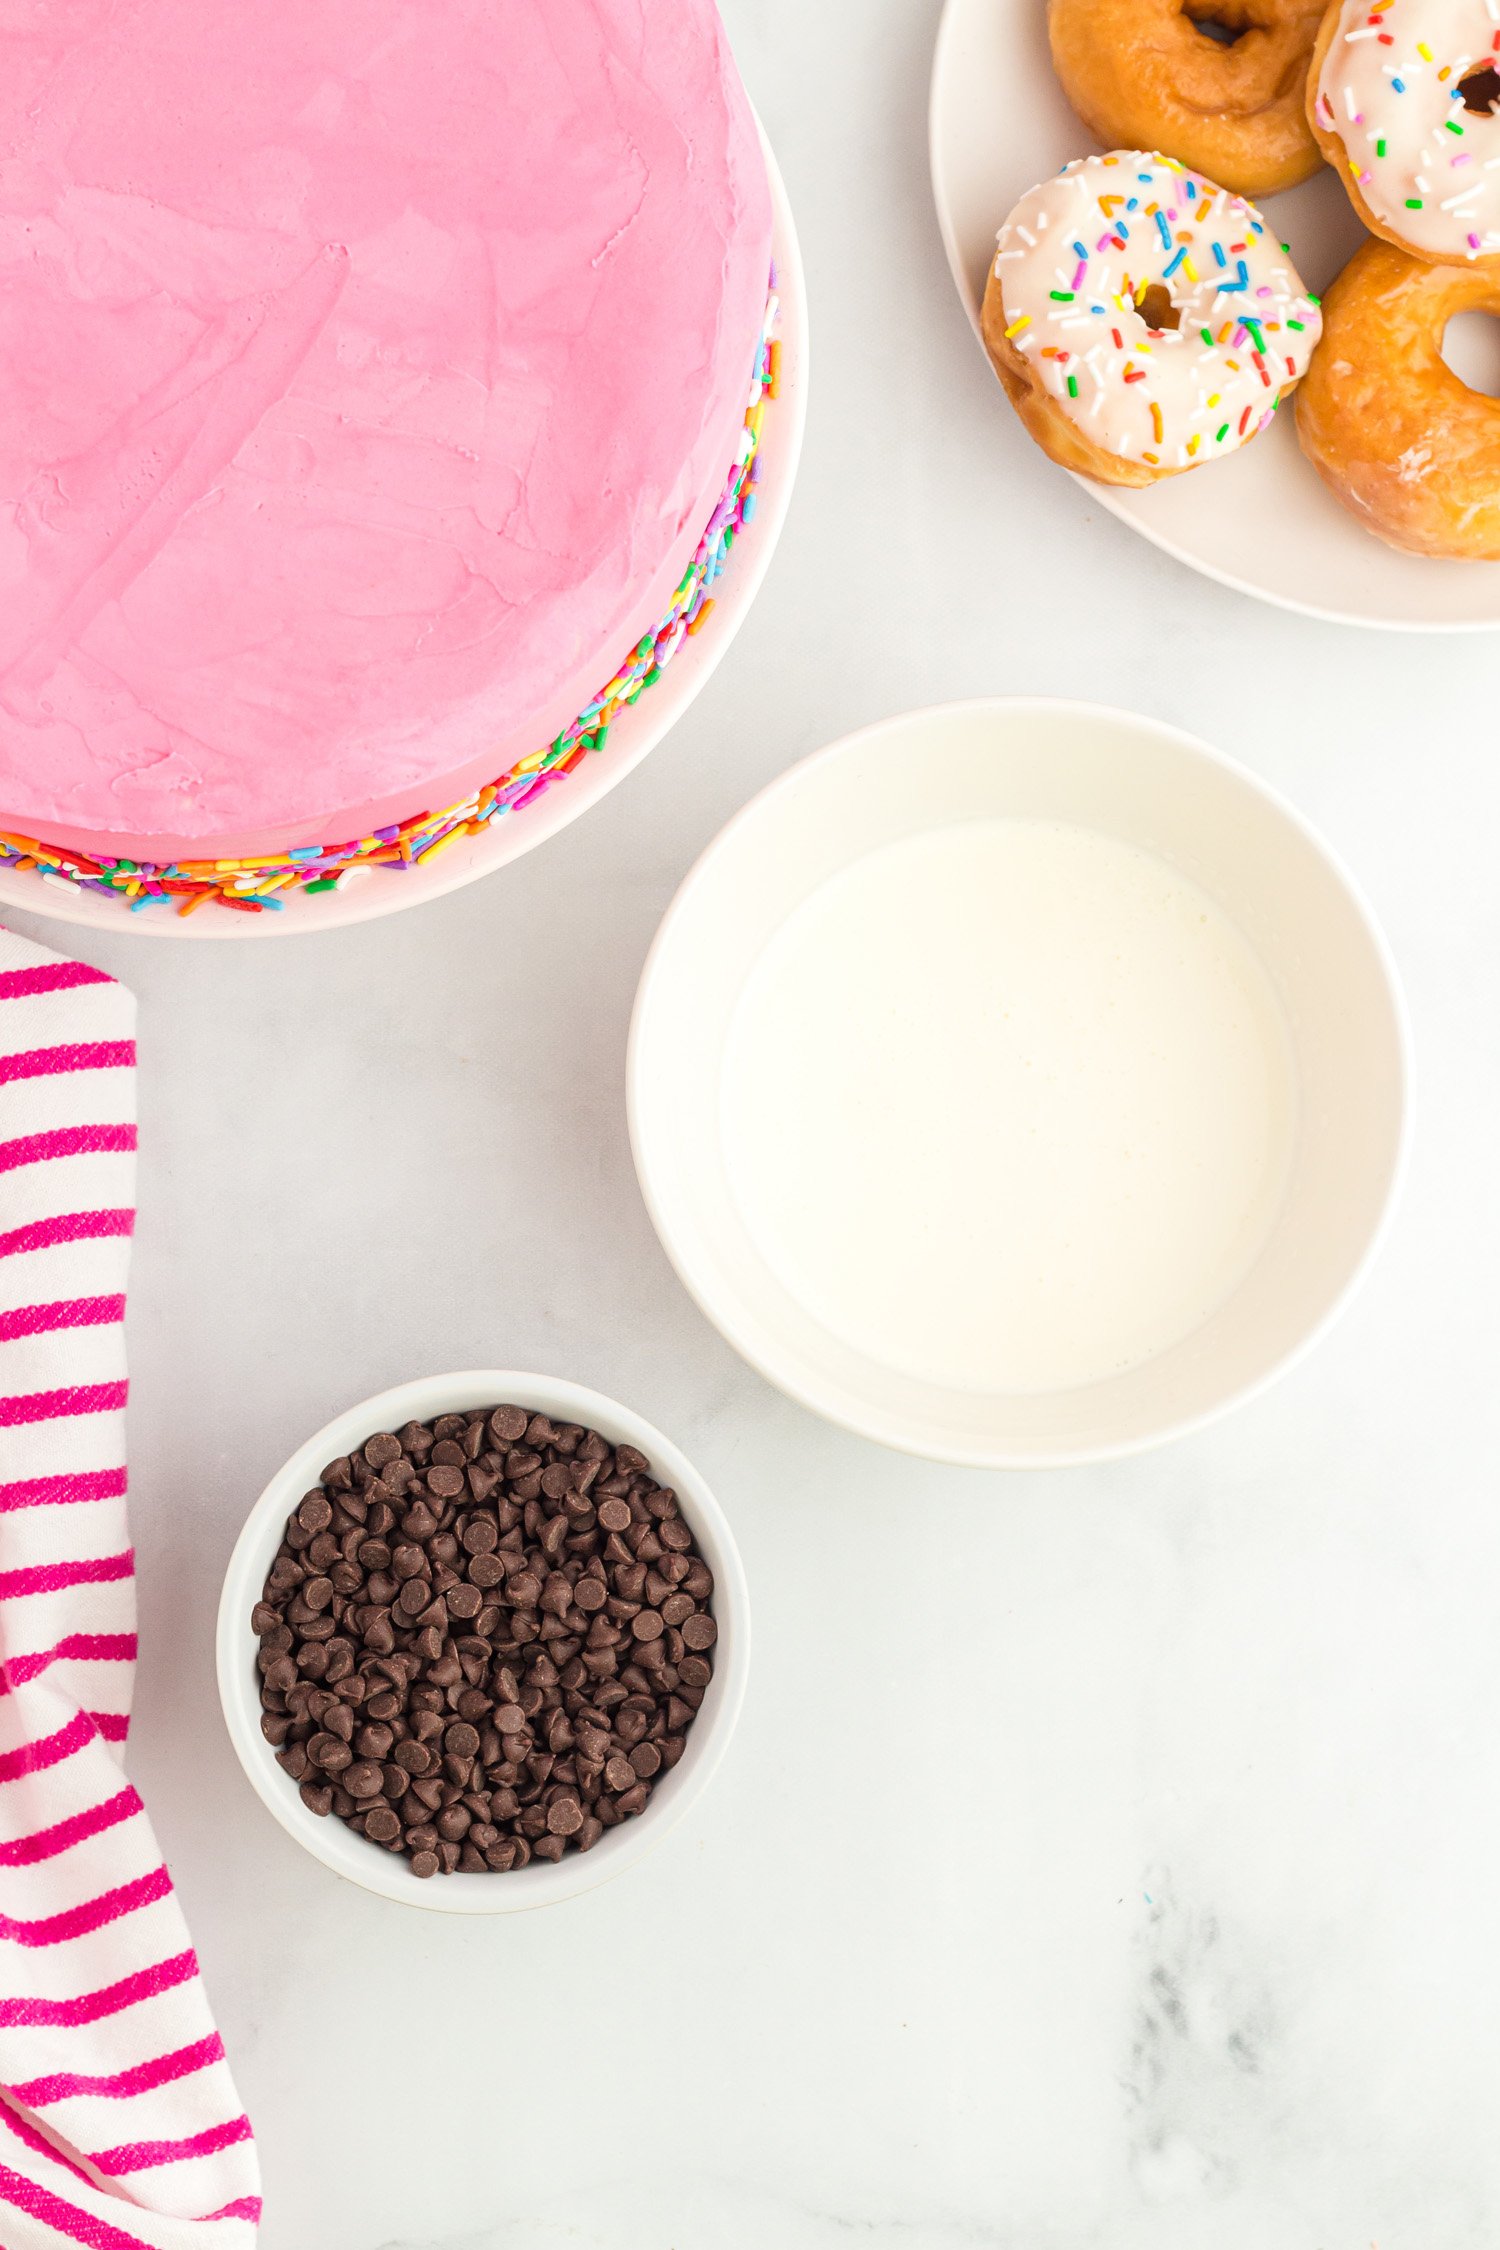
For the chocolate ganache, using a microwave-safe small bowl, place the heavy cream in the microwave until it starts to simmer (about 1 minute).
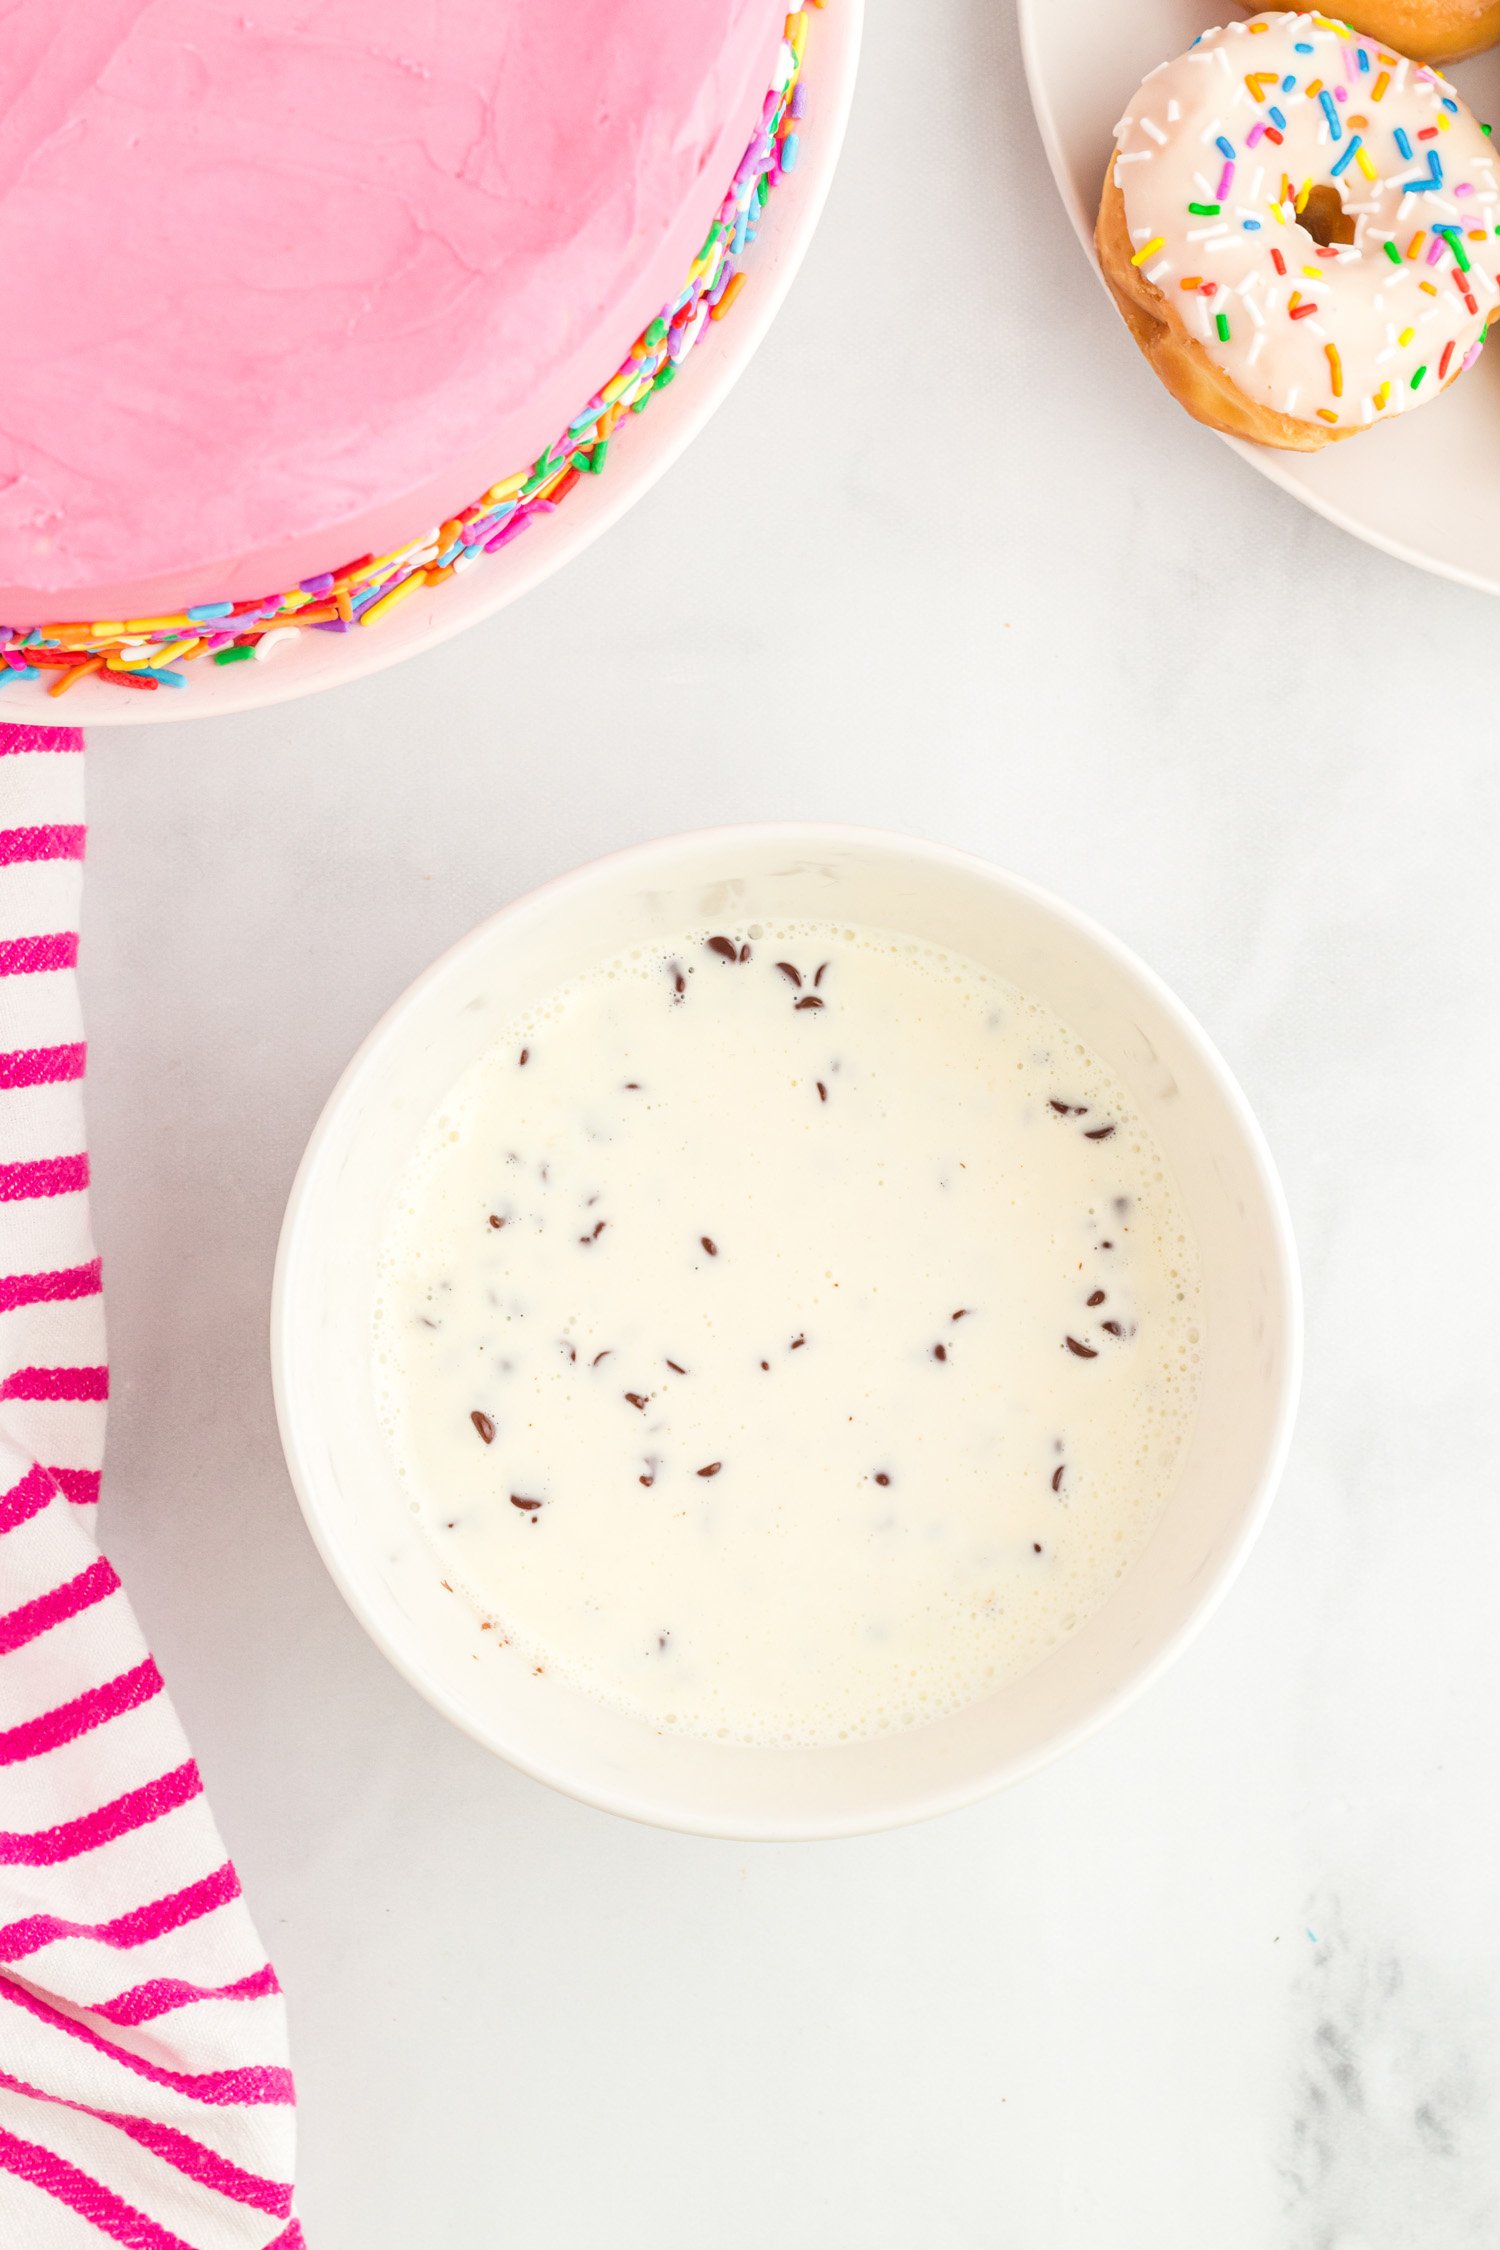
Immediately pour hot heavy cream over the chocolate chips and let sit for 5 minutes before stirring.
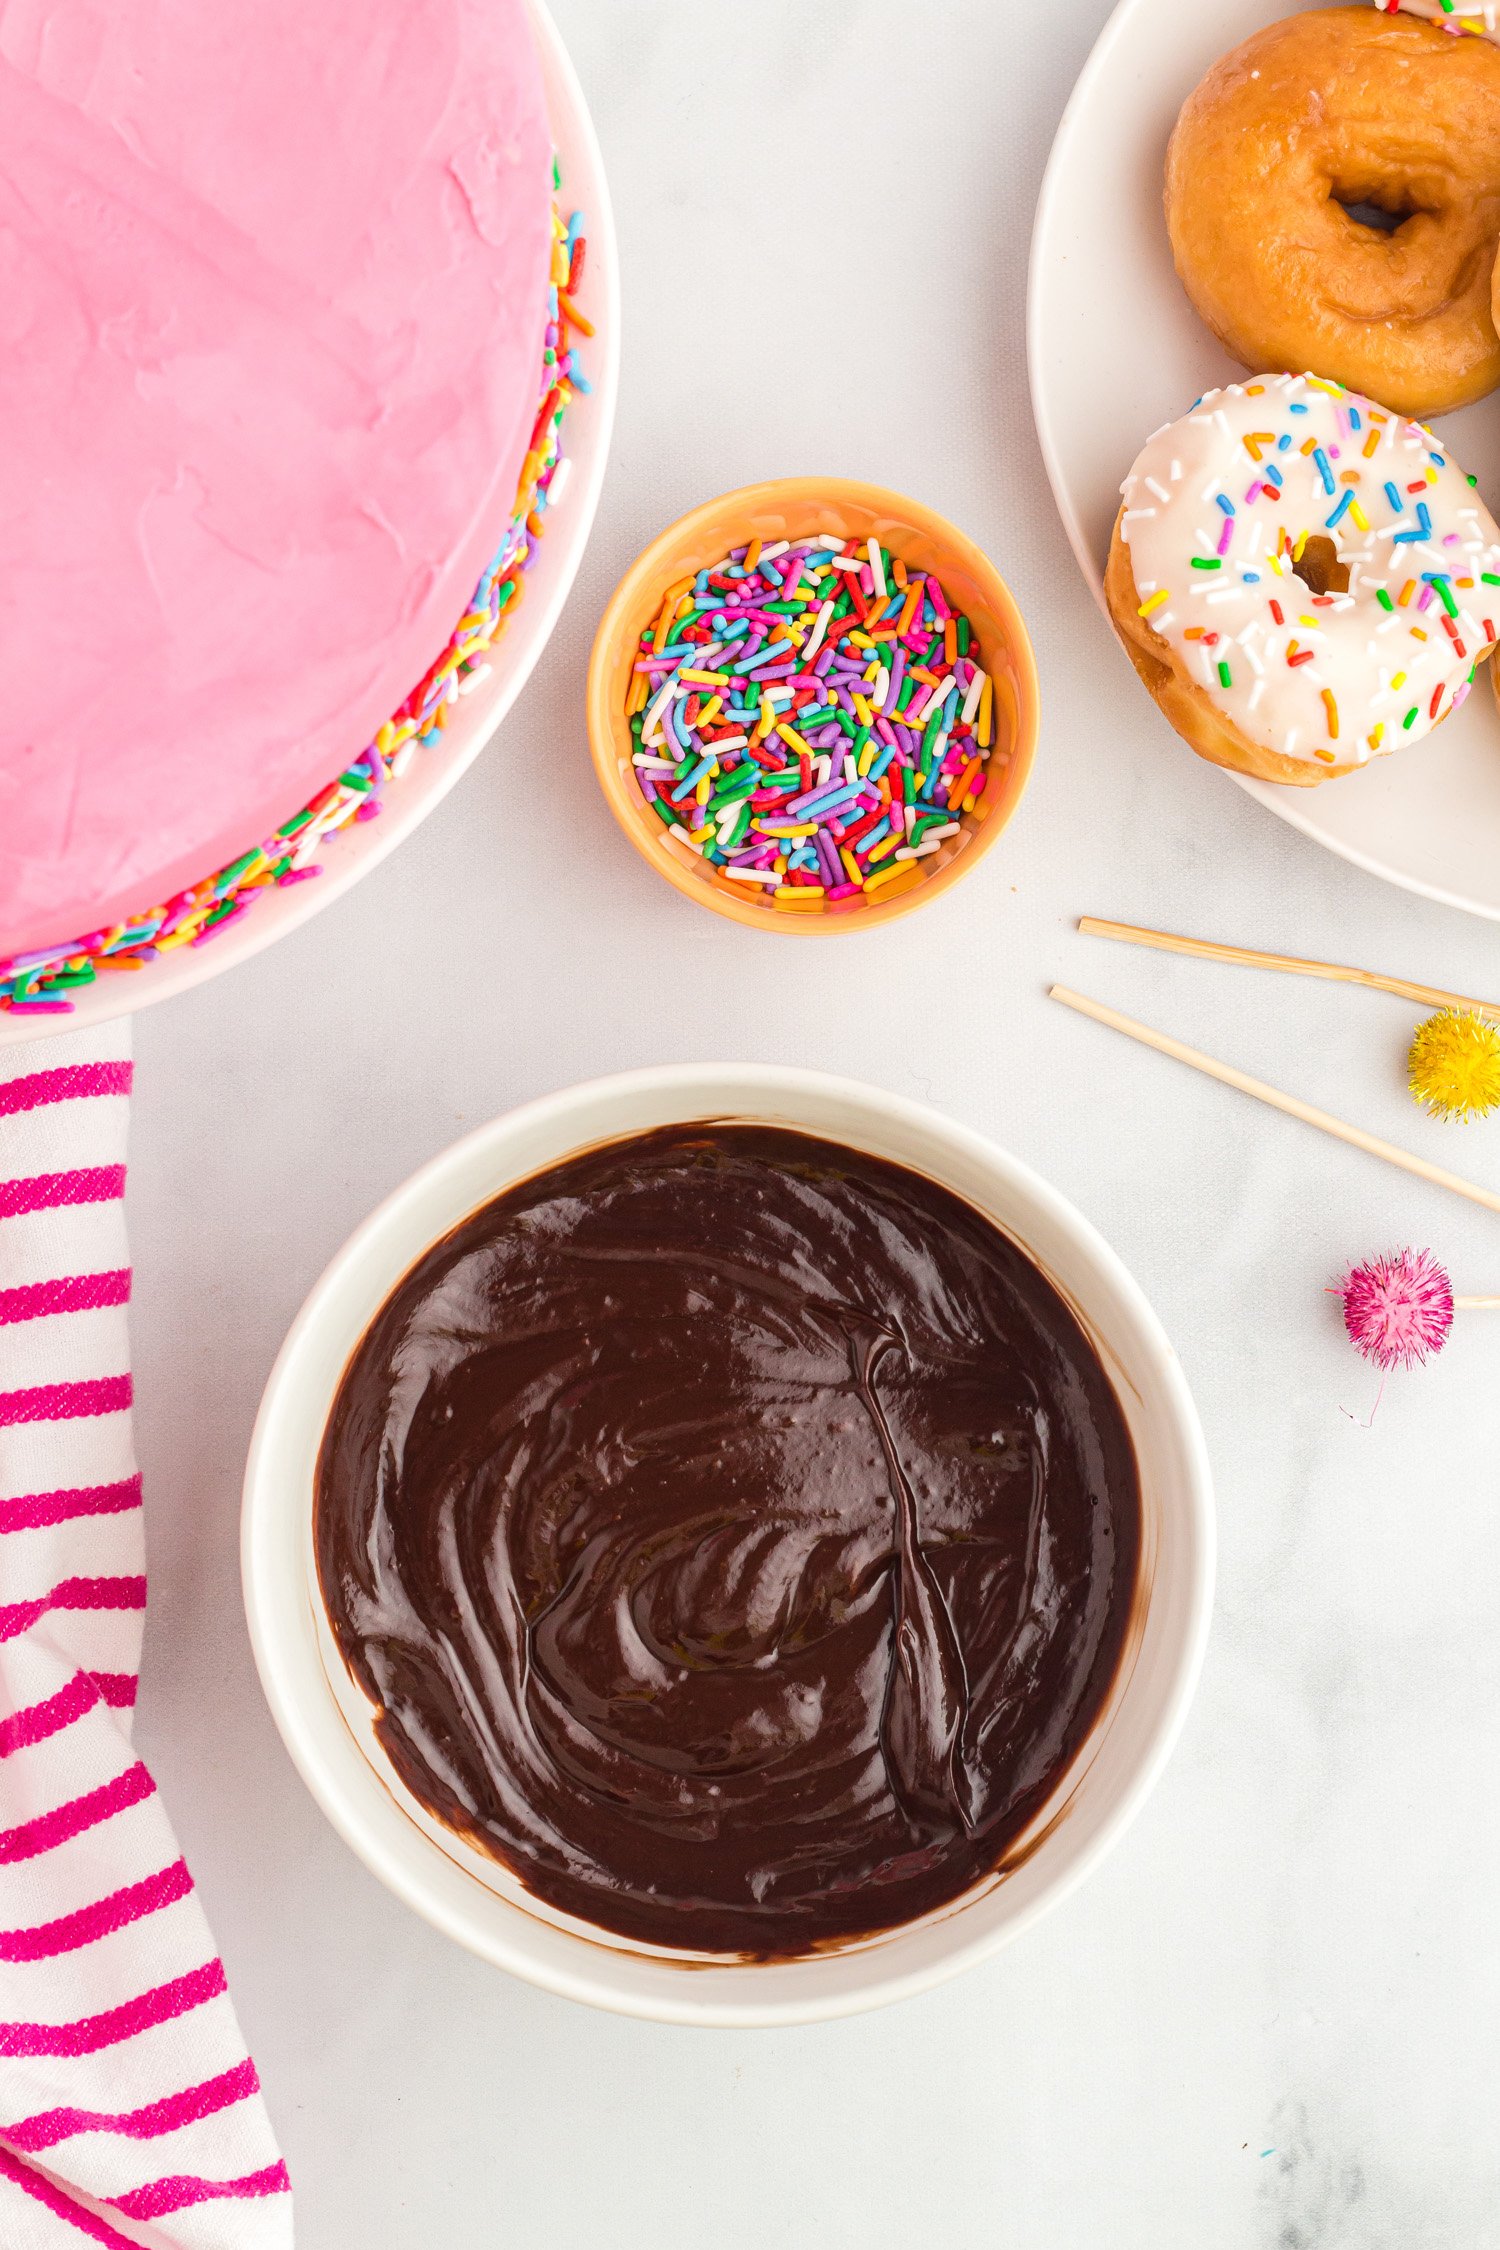
After 5 minutes, stir until well mixed and smooth.
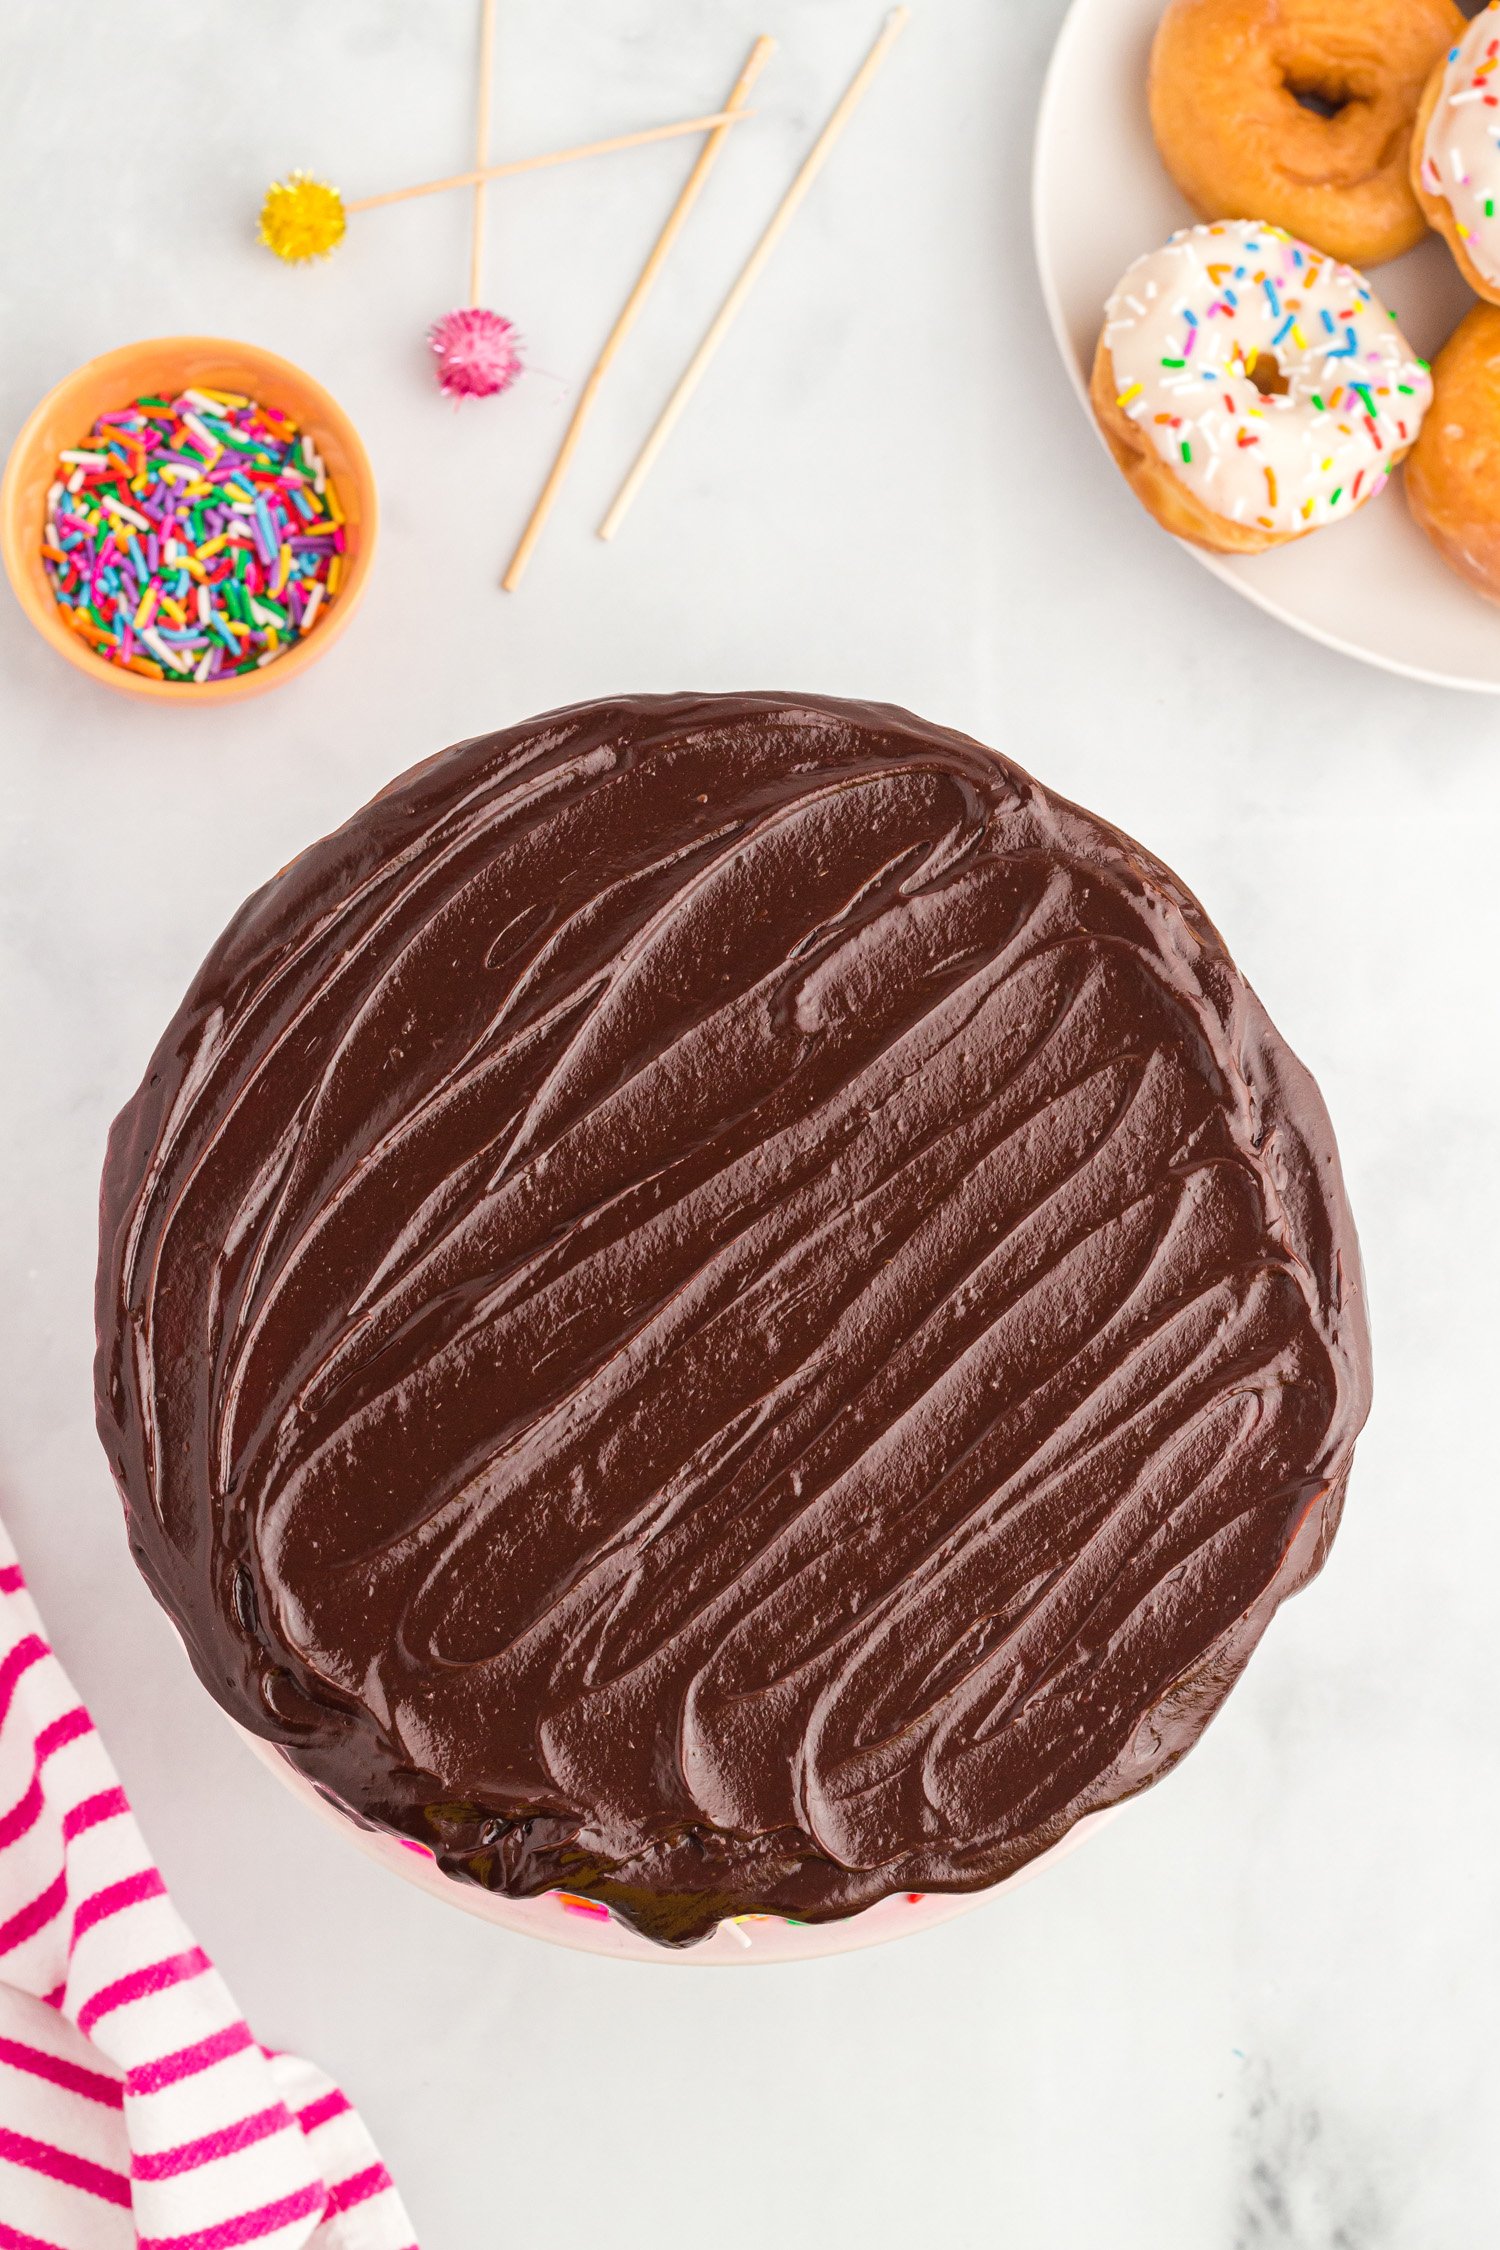
Use a spoon to gently spoon the chocolate ganache over the top of the chilled cake and let it drip a bit down the sides of the cake. Optional: add sprinkles if desired.
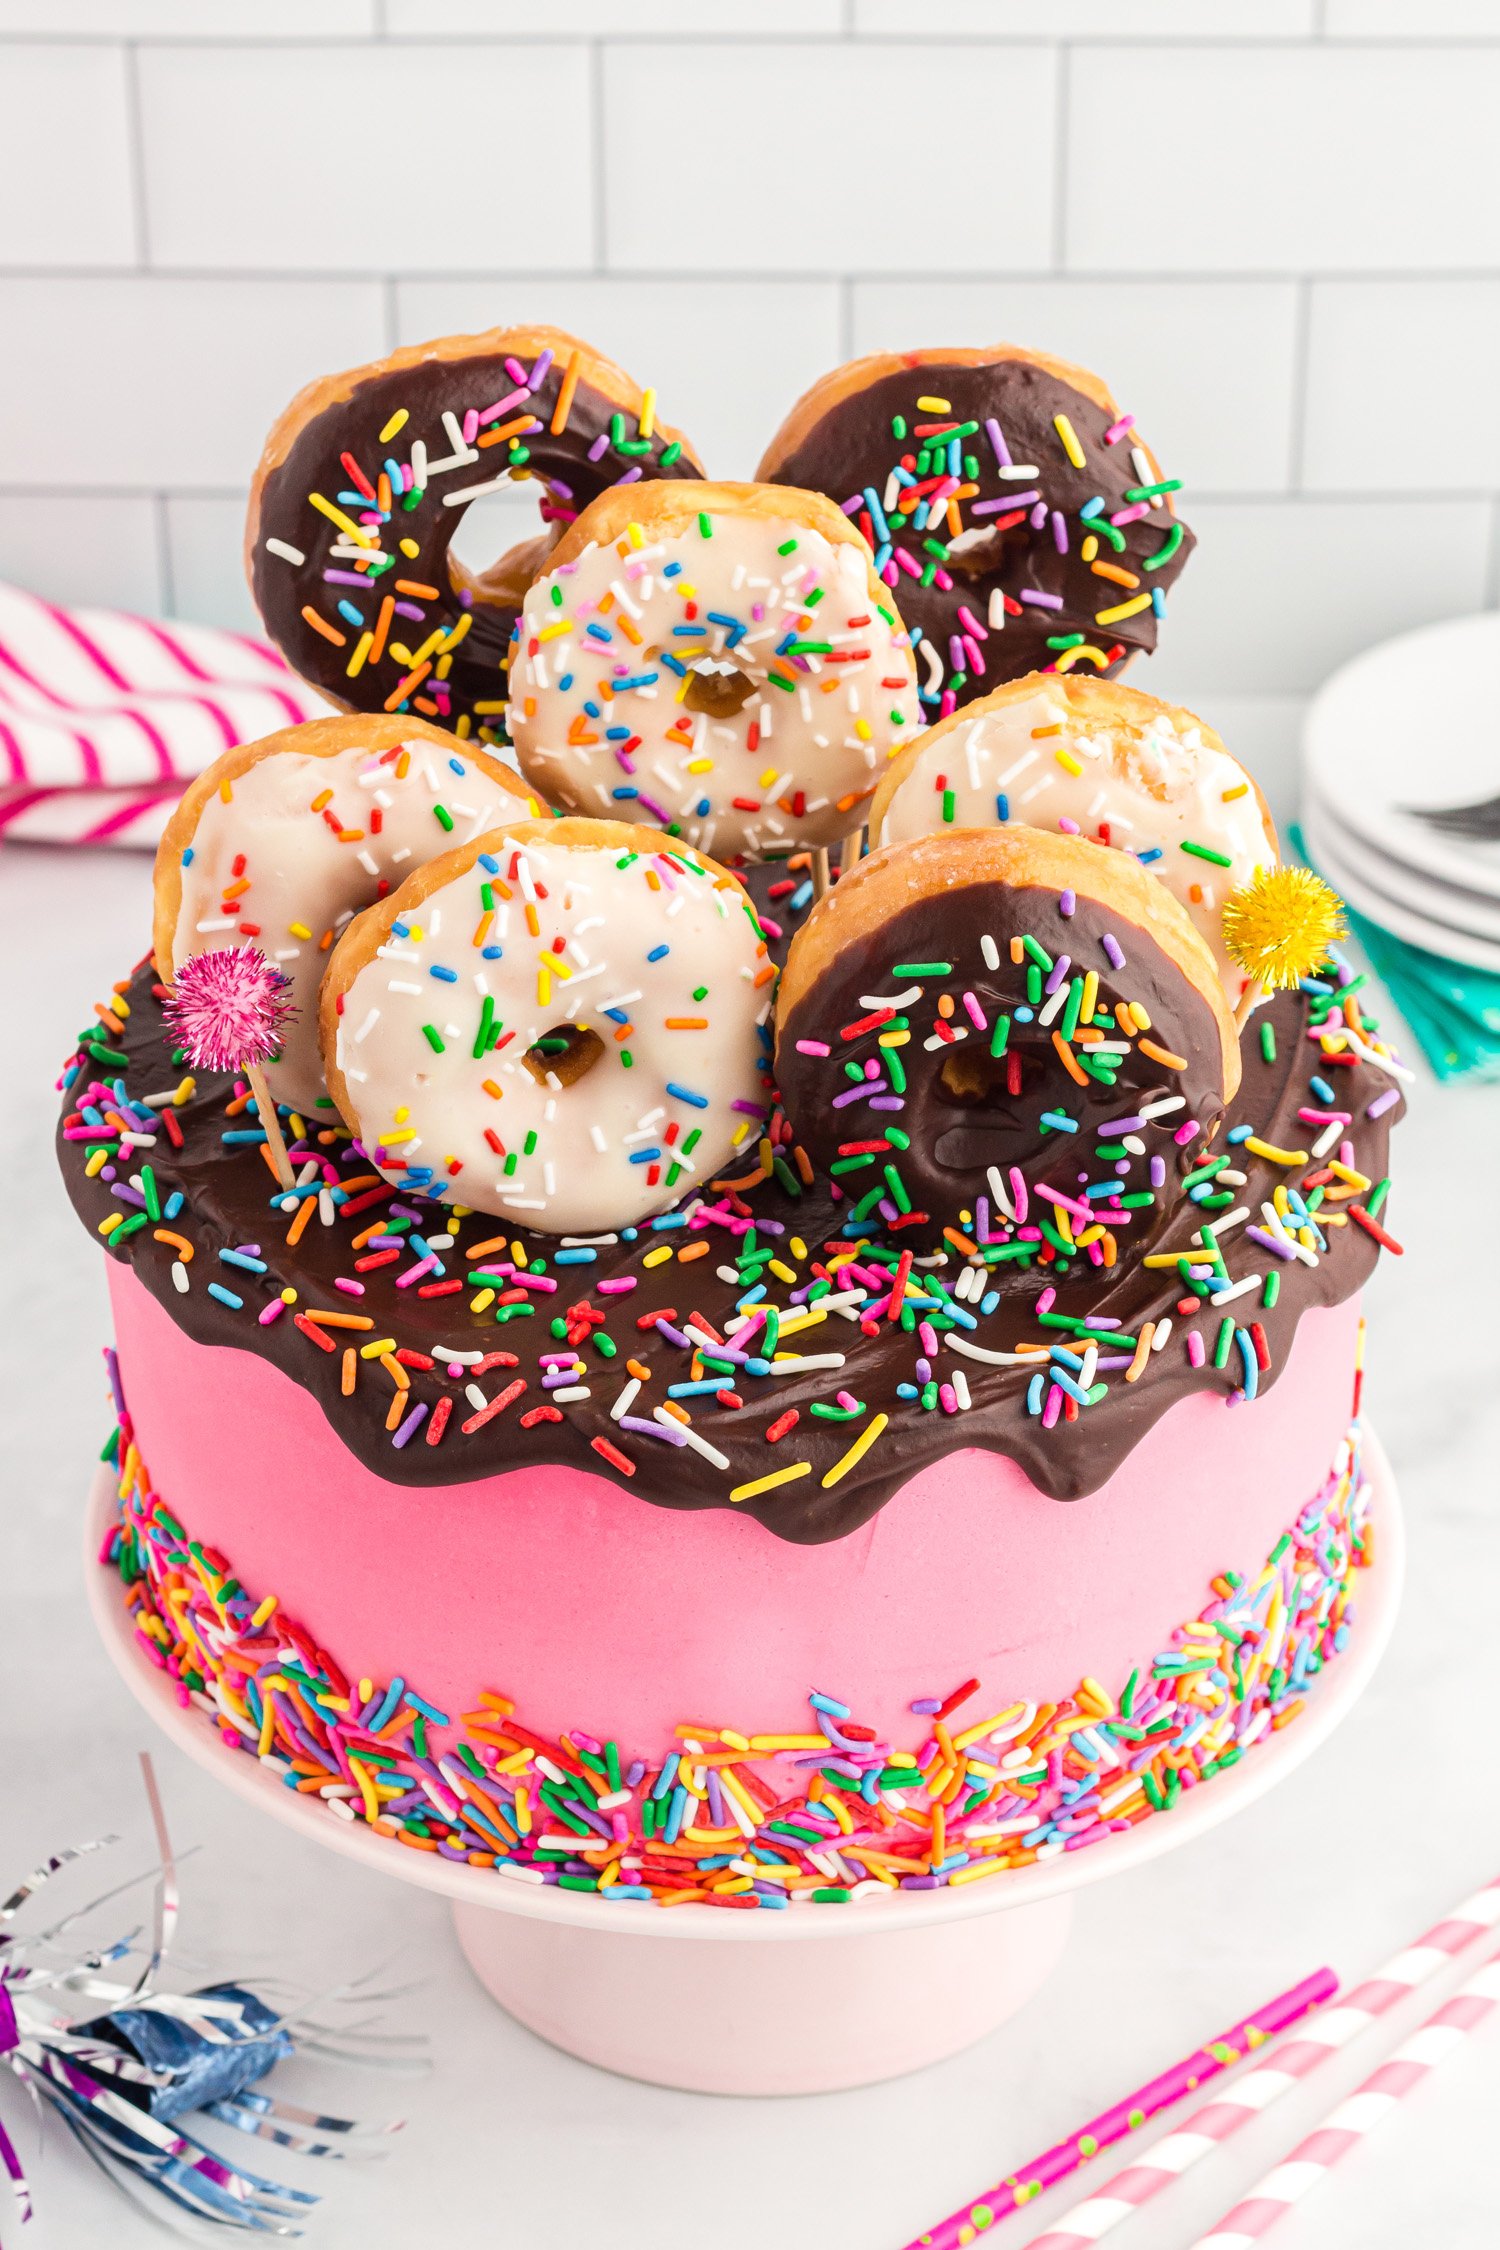
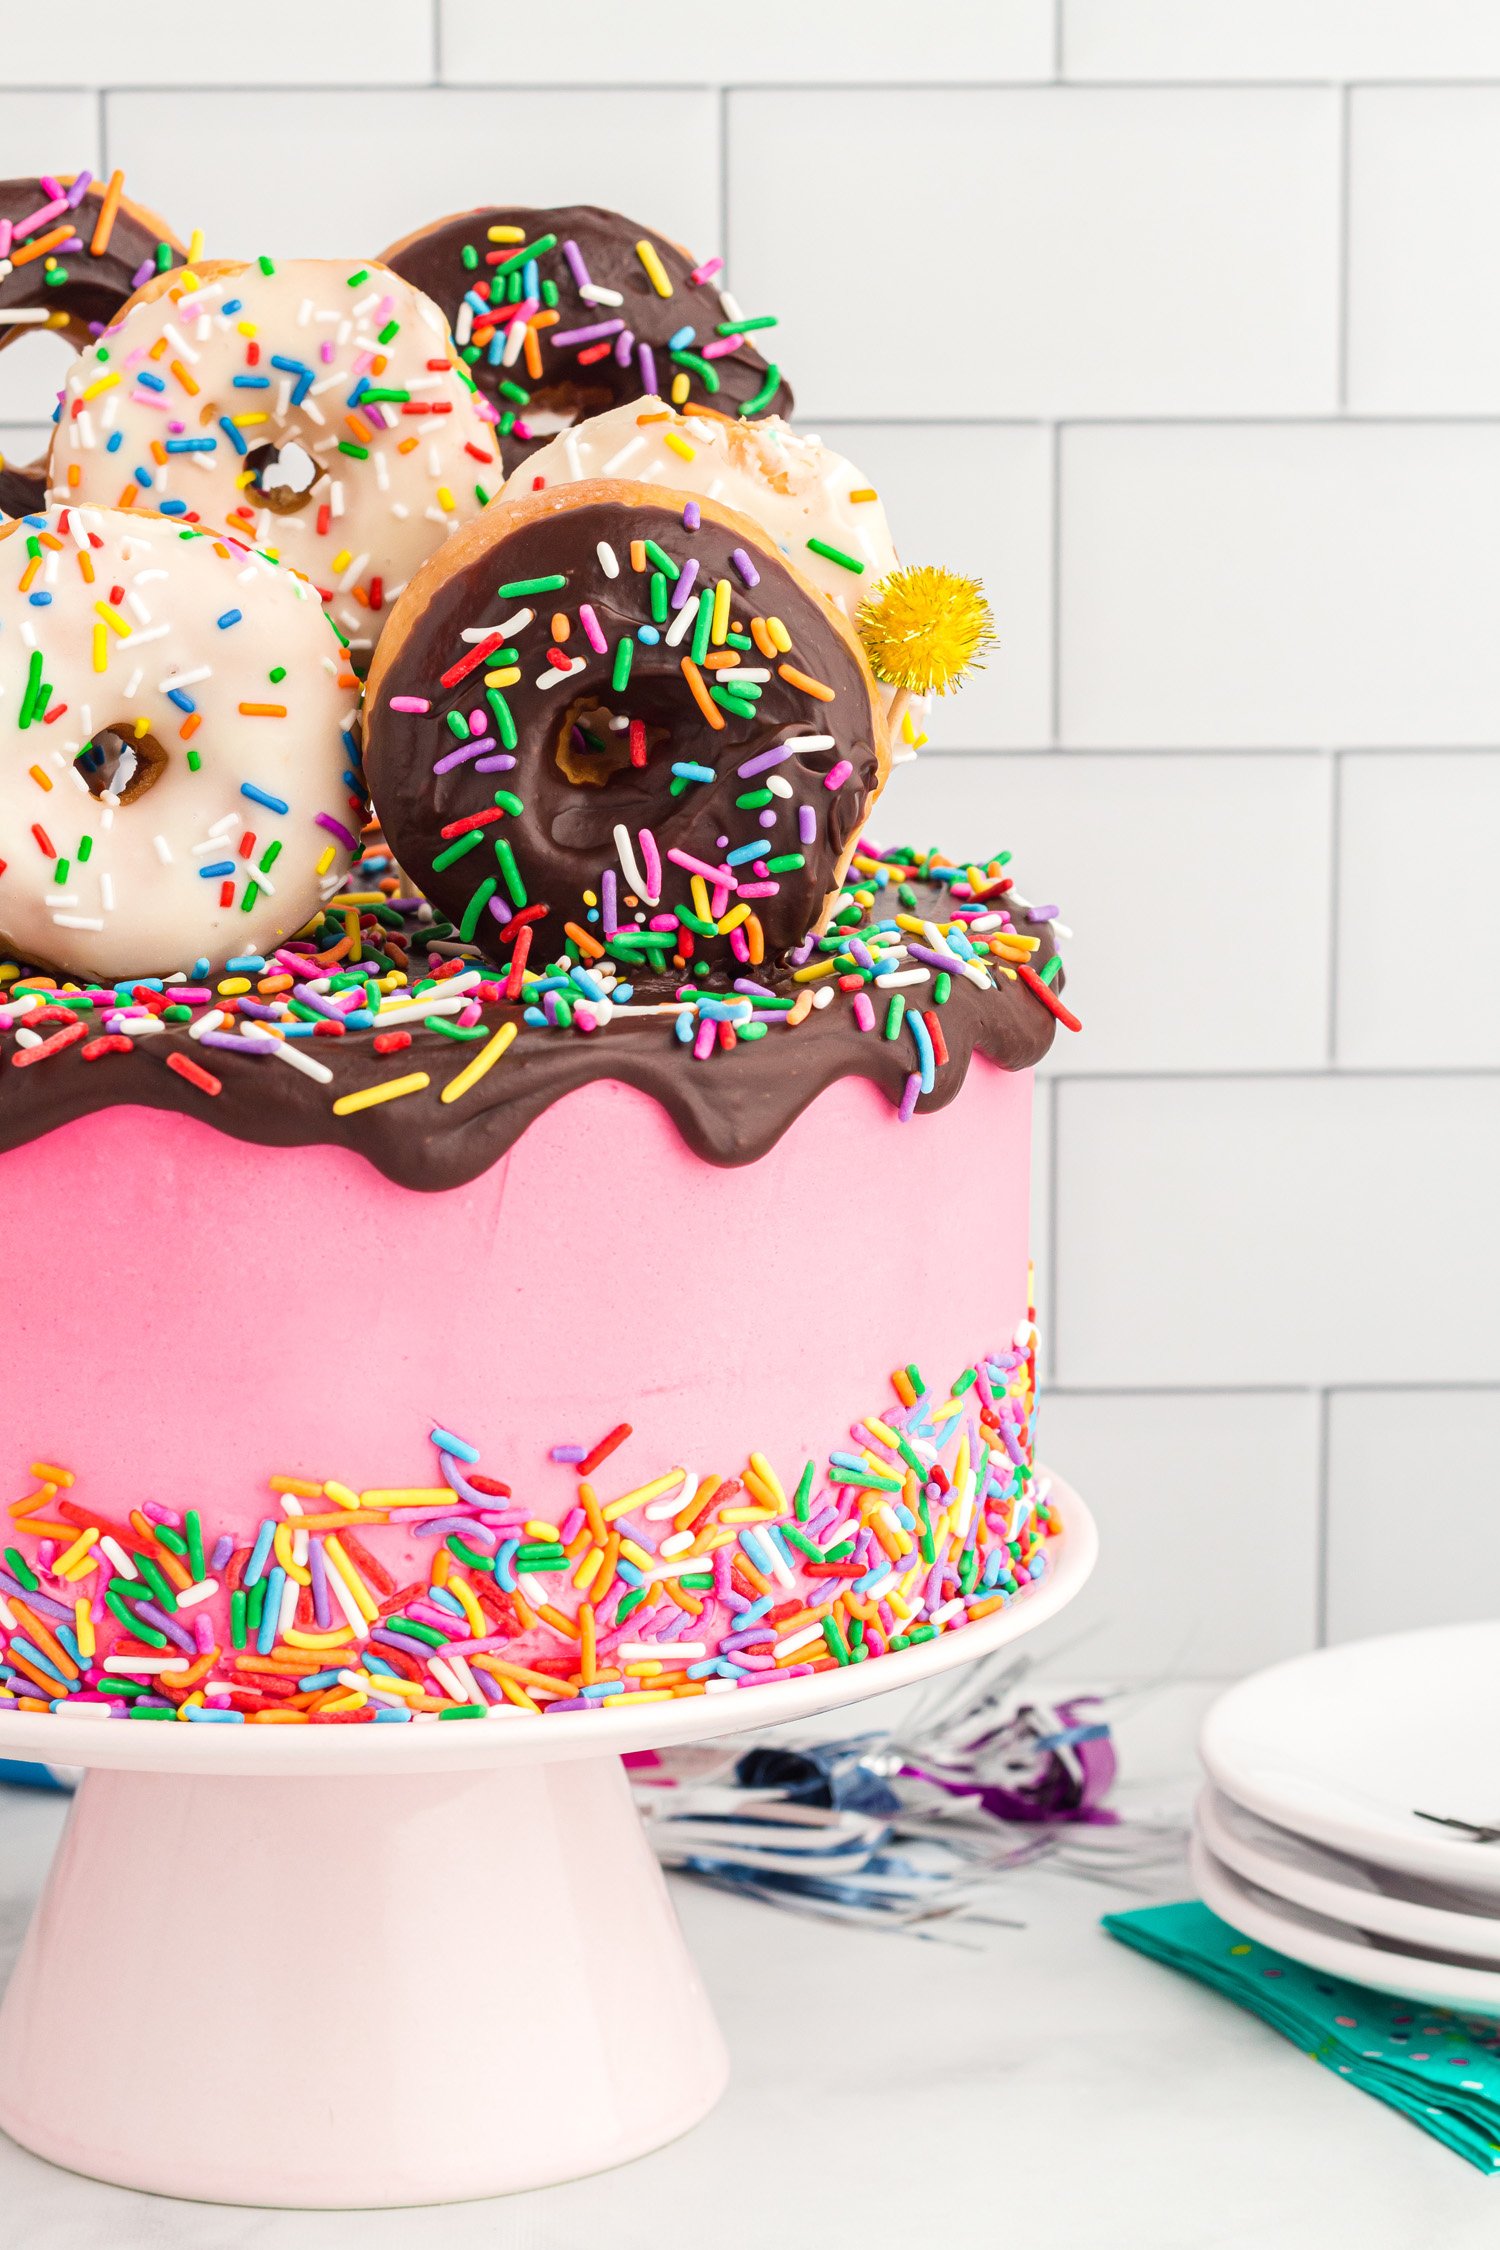
Add pre-baked donuts to the top of the cake while the chocolate is still wet. You can use toothpicks to help the donuts stand up, if needed.
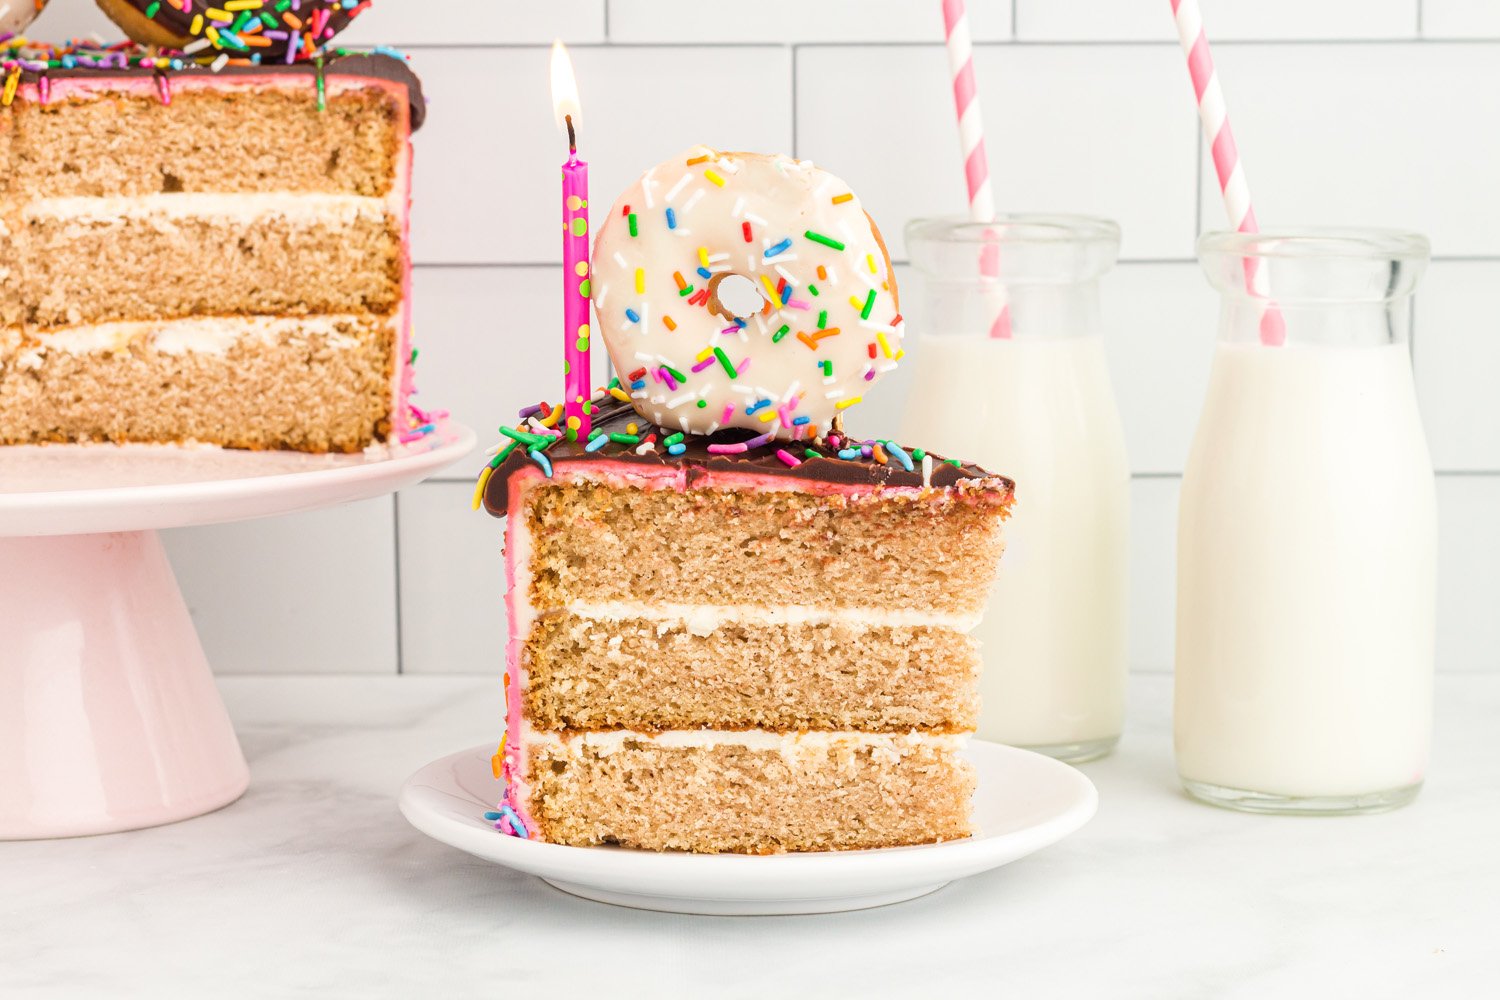
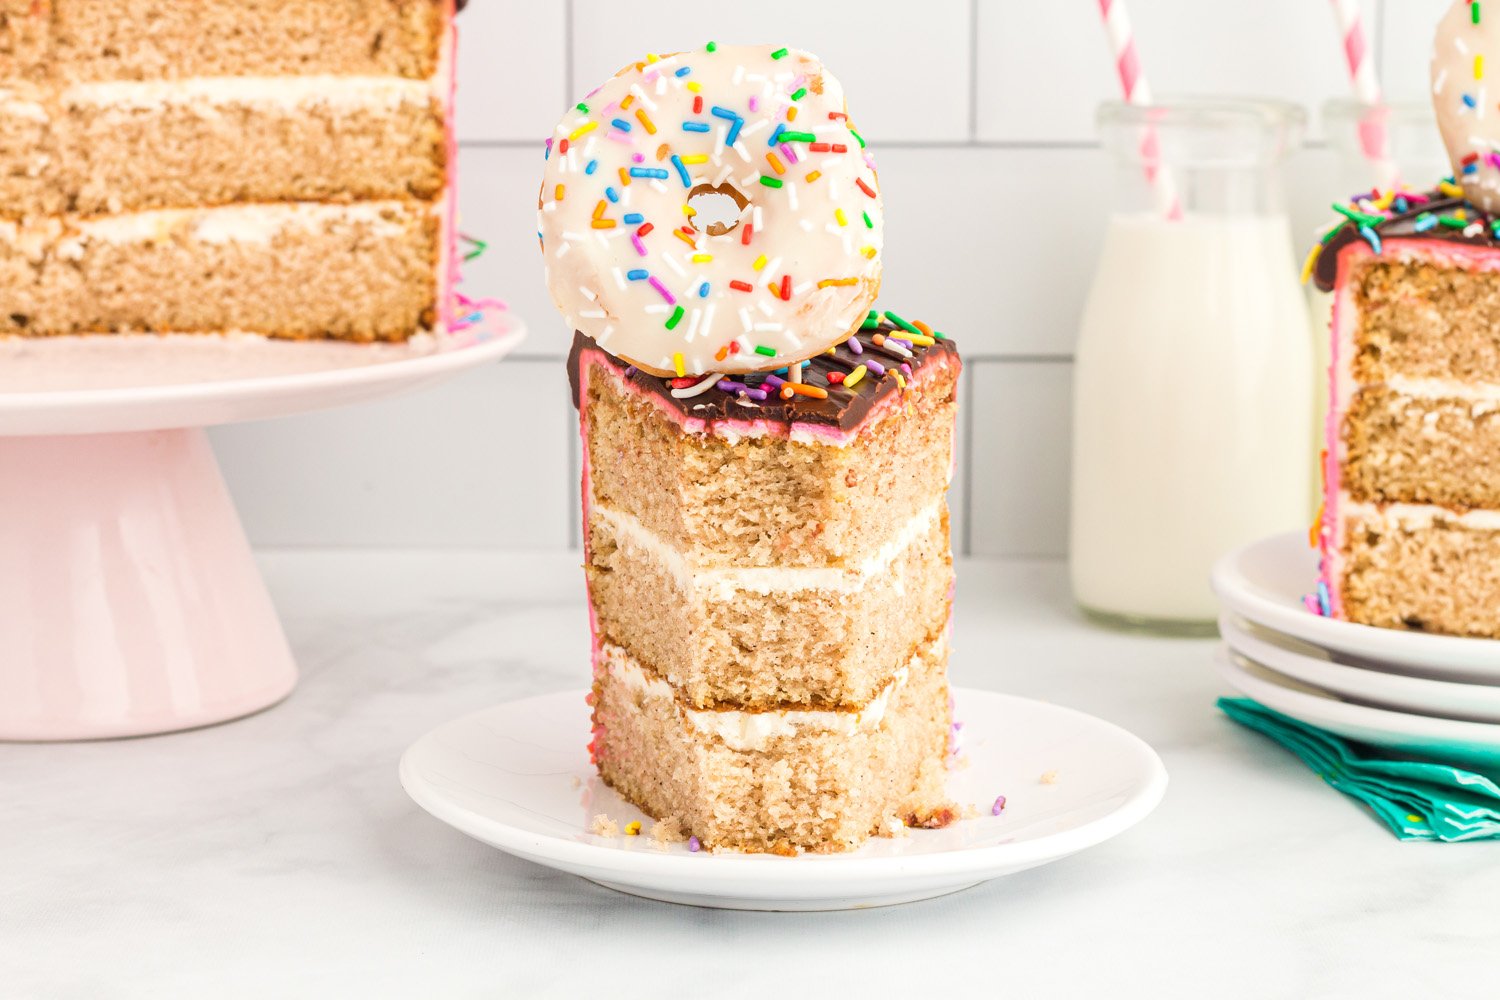
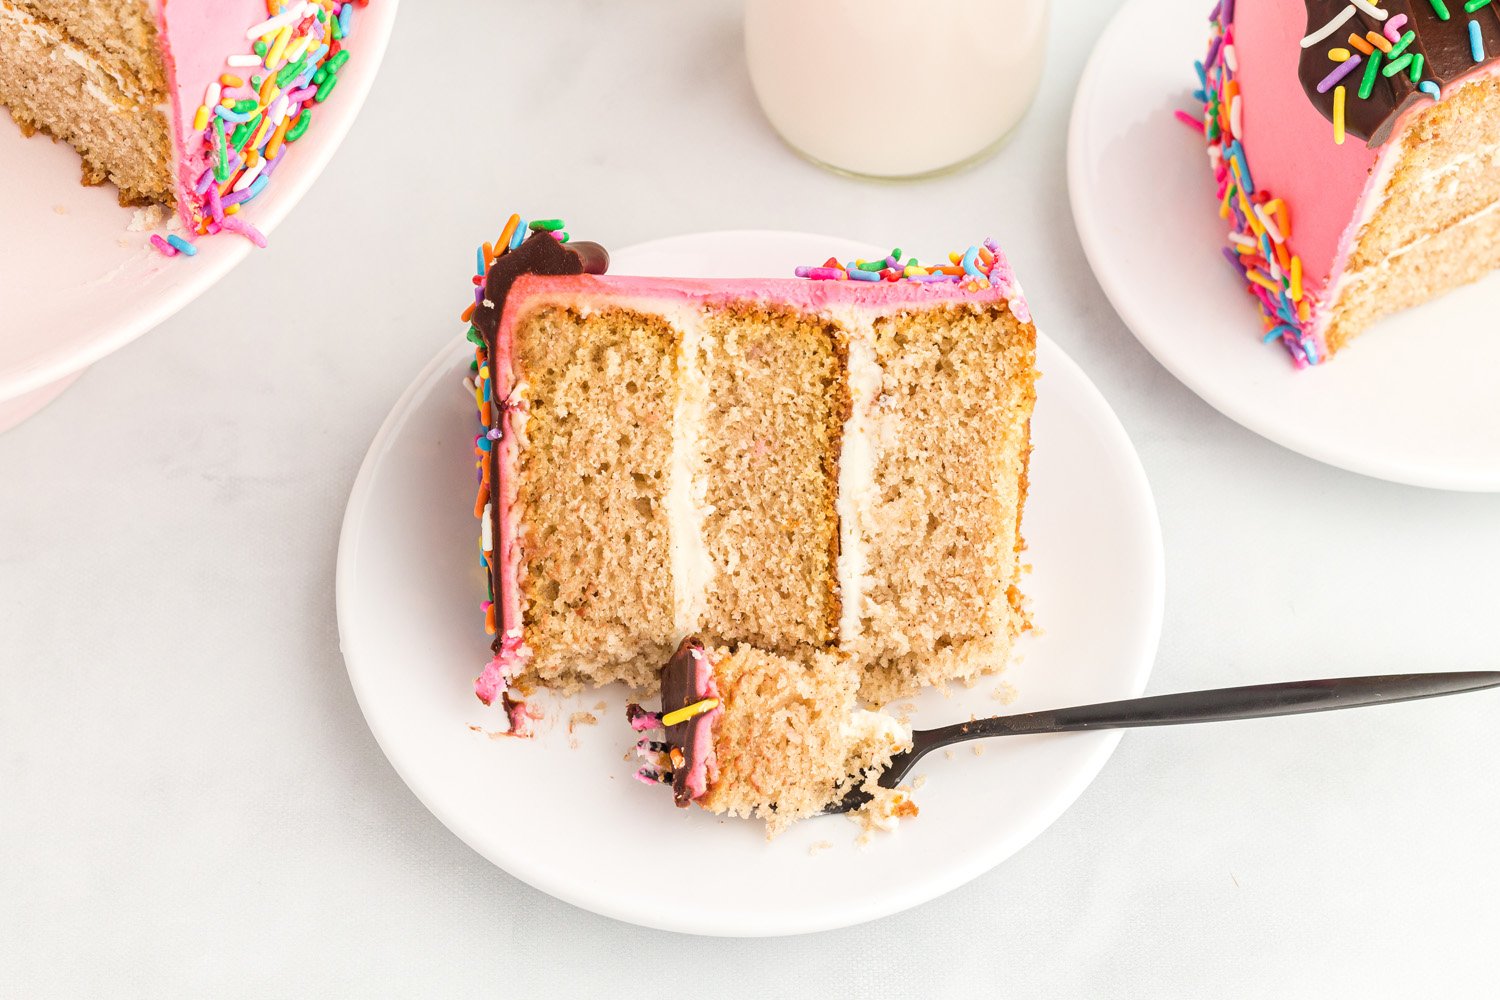
All that’s left to do is slice & serve this delicious, mouth-watering cake to friends and family members. It makes the perfect birthday cake for donut lovers!
Frequently Asked Questions
My Cake Crumbles and Breaks Apart When I Try To Frost It. What Happened?
Either the frosting is too thick (you can fix this by beating in a tablespoon of heavy cream), or the cake needs to be chilled in the fridge longer so it holds its shape while being frosted.
Why Do Some of the Refrigerated Ingredients Need To Be Kept at Room Temperature?
Bring refrigerated items to room temperature before mixing, as it will help all the ingredients to combine together properly. Too cold of ingredients won’t blend in properly and too hot of ingredients could pre-cook items(like eggs) when mixed into the batter.
How Long Will This Cake Last?
The cake can remain at room temperature (in an airtight container) for up to 3 days. After 3 days, refrigerate or freeze the leftovers (wrapped tightly in food-safe plastic wrap then placed into a sealed food-safe container). Bring the cake back to room temperature before serving.
Donut Cake: Printable Recipe Card
Easy Donut Cake
Equipment:
What You’ll Need:
Cake Ingredients
- 3 Cups All-Purpose Flour 420 Grams
- 2 Tsps Baking Powder
- 1 Tsp Baking Soda
- 1 Tsp Ground Cinnamon
- 1/2 Tsp Ground Nutmeg
- 1/2 Tsp Salt
- 2 Cups Granulated Sugar 400 Grams
- 3/4 Cup Unsalted Butter Slightly Melted
- 1/3 Cup Vegetable Oil
- 3 Large Eggs Room Temperature
- 1 Tbsp Vanilla Extract
- 1 Cup Buttermilk Room Temperature
Frosting Ingredients
- 5 Cups Confectioners’ Sugar 600 Grams
- 1 1/2 Cups Unsalted Butter Slightly Melted
- 1 Tbsp Vanilla Extract
- Gel Food Coloring Optional
Chocolate Ganache Drip
- 1 Cup Semi Sweet Chocolate Chips
- 1/2 Cup Heavy Cream 35%
Toppings
- Premade Donuts Optional
- Sprinkles Optional
Instructions:
Cake Instructions
- Preheat oven to 350 degrees F. Spray three 8” round cake pans with non-stick cooking spray and line the inside bottom of each pan with parchment paper. Set aside. In a medium mixing bowl, stir together flour, baking powder, baking soda, cinnamon, nutmeg and salt. Set aside for now. In a separate bowl, using the paddle attachment, beat together granulated sugar, melted butter and vegetable oil together on high speed until light in color and well combined (about 1 minute).
- Beat eggs and vanilla extract into the wet mixture until light & fluffy (about 1 minute).
- On low speed, beat half of the dry ingredients into the wet ingredients mixture. Beat just until you no longer see streaks of white flour in the cake batter. Do not overmix.
- On low speed, beat in all of the buttermilk just until mixed. Be careful not to overmix your cake mix – just mix until the buttermilk is combined with the other ingredients.
- Beat in the remaining dry ingredients on low speed. Again, do not overmix or the cake will bake up dry.
- Pour batter evenly between the prepared cake pans. Try to get the same amount in each pan so that they bake at the same speed and bake up to the same size (height). Bake cake in oven for 28 to 30 minutes until golden brown, or until toothpick inserted in middle of cakes comes out clean.
- Remove cakes from oven and let cakes cool in their pans for 15 minutes before removing cakes from pans. Place them a on wire rack or cooling rack to finish cooling. Once cakes have completely cooled to room temperature, cover each cooled cake completely in food-safe plastic wrap (wrap each cake separately so they don’t stick together) and refrigerate for two hours. This step is important because you’ll want the cakes to be firm before frosting. If they are too soft when you start frosting, the cakes may crumble and break apart during the decorating process. Remove cakes from fridge and use a large serrated knife to cut the dome tops off all cake layers so they all have a flat top. These cakes don’t rise a lot so there won’t be much of a dome top to cut off.
Frosting Instructions:
- In a large bowl, beat the confectioners’ sugar, butter and vanilla extract on high speed until light and fluffy (about 5 minutes). The frosting should be firm enough to hold its shape while piping with an icing tip, but soft enough that it can be frosted onto the cake smoothly. If you want the frosting between the layers to be colored, you can add in your food coloring now to get your desired color scheme.
- Place a thin layer of frosting (about 2 tablespoons) in the middle of a cake board or cake plate then place one cake (cut side facing up) on top of that frosting. This is meant to secure the bottom half of the cake to the cake board or cake plate so it doesn’t slide around during decorating.
- Add a generous layer of frosting on top of that first layer of cake, smoothing it out evenly. Place the second layer of cake (cut side facing up again) on top of the first layer.
- Add a generous layer of frosting on top of that second layer of cake, smoothing it out evenly, then place the third layer of cake (bottom side facing up) on top of that frosted second layer.
- Frost a thin layer of frosting around the top and sides of the cake. This first thin layer of frosting (called a crumb coat) is meant to secure all the crumbs to the cake so you don’t get crumbs into the final layer of frosting. To make the layers of frosting smooth, use a smooth edged tool, like a cake scraper, to smooth the icing out.Place the lightly frosted (crumb coated) cake in the freezer for 10 minutes so the crumb coat hardens up a bit before frosting the next layer. Remove cake from the freezer to apply the final layer of frosting on the sides of the cake. If you want the final layer of frosting colored, add the desired food coloring now. Spread the frosting as smoothly as you can using the cake scraper tool. Optional: Add sprinkles to the bottom border of the cake while the frosting is still soft enough. Place the cake back into the freezer for about 5 minutes.
Chocolate Ganache Instructions:
- For the chocolate ganache, using a microwave-safe small bowl, place the heavy cream in the microwave until it starts to simmer (about 1 minute).
- Immediately pour hot heavy cream over the chocolate chips and let sit for 5 minutes before stirring.
- After 5 minutes, stir until well mixed and smooth.
- Use a spoon to gently spoon chocolate ganache over the top of the chilled cake and let it drip a bit down the sides of the cake. Optional: add sprinkles if desired.
- Add donuts to the top of the cake while the chocolate is still wet. You can use toothpicks to stand up each real donut on the cake, if needed.
We know you’re going to LOVE this delicious donut cake recipe at your next event or gathering! If you’re looking for even more dessert recipes, check out our catalog of other fun dessert recipes, too.

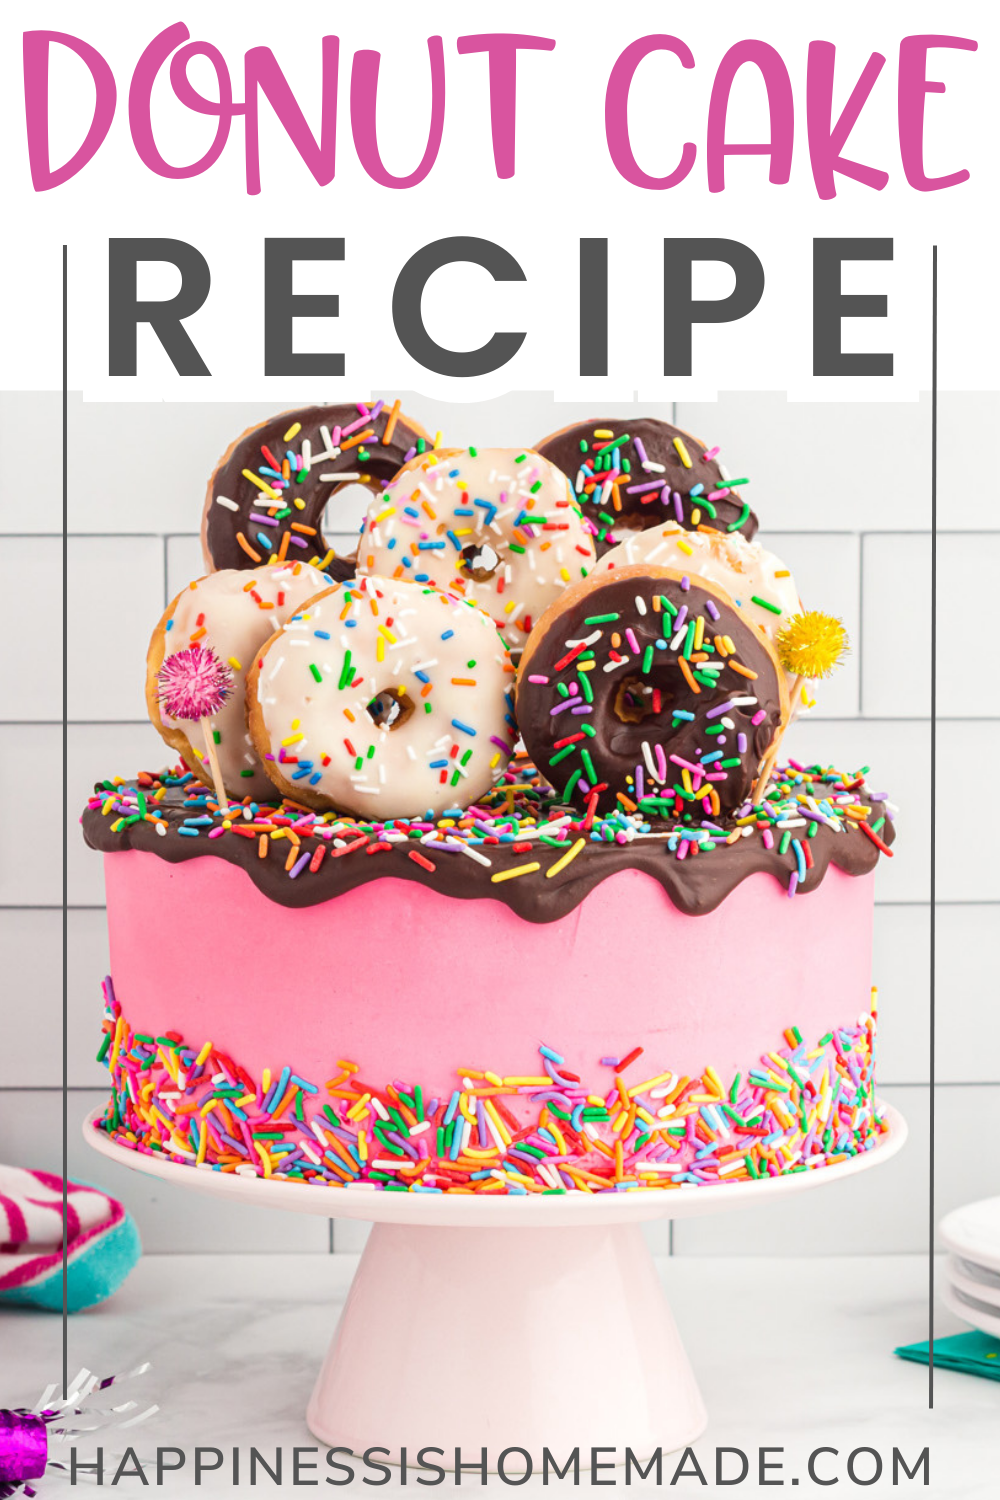
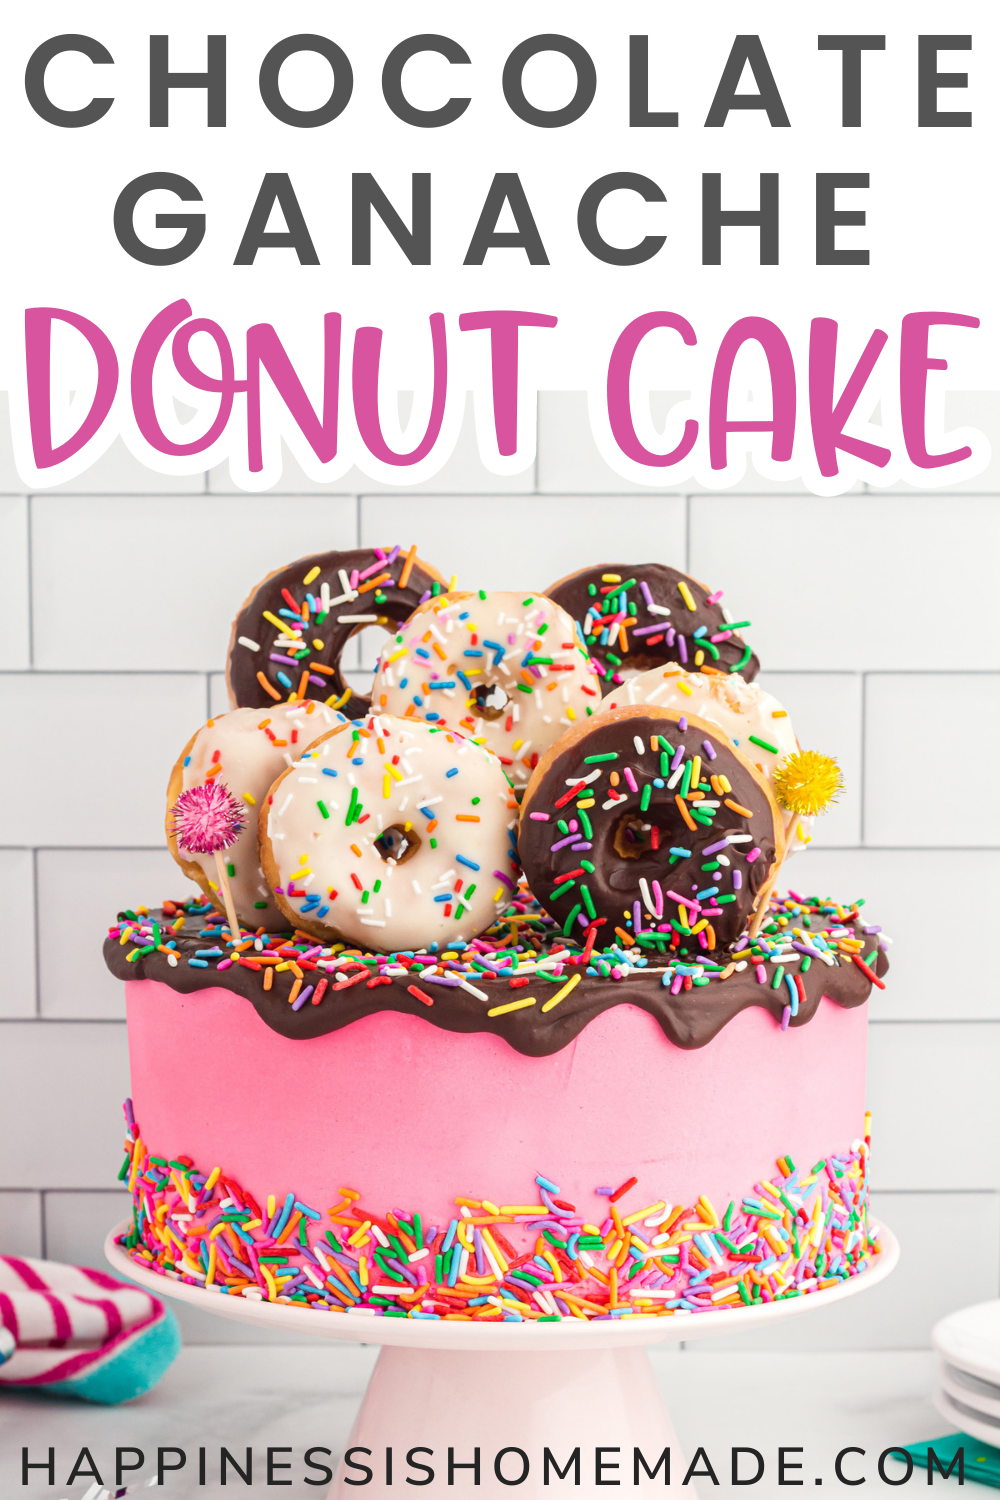
Don’t Forget to Pin This Delicious Cake Recipe for Later!

Heidi Kundin has captivated the hearts of millions with her colorful and inspiring approach to crafting, celebrations, and family fun. With over 15 years of experience, Happiness is Homemade has become a must-visit destination for those seeking quick and easy creative ideas and last-minute solutions. Heidi’s warm personality shines through her posts, inviting readers to join her on a creative journey that’s fun, rewarding, and achievable. Heidi is also the author of Homemade Bath Bombs & More and DIY Tie-Dye.

