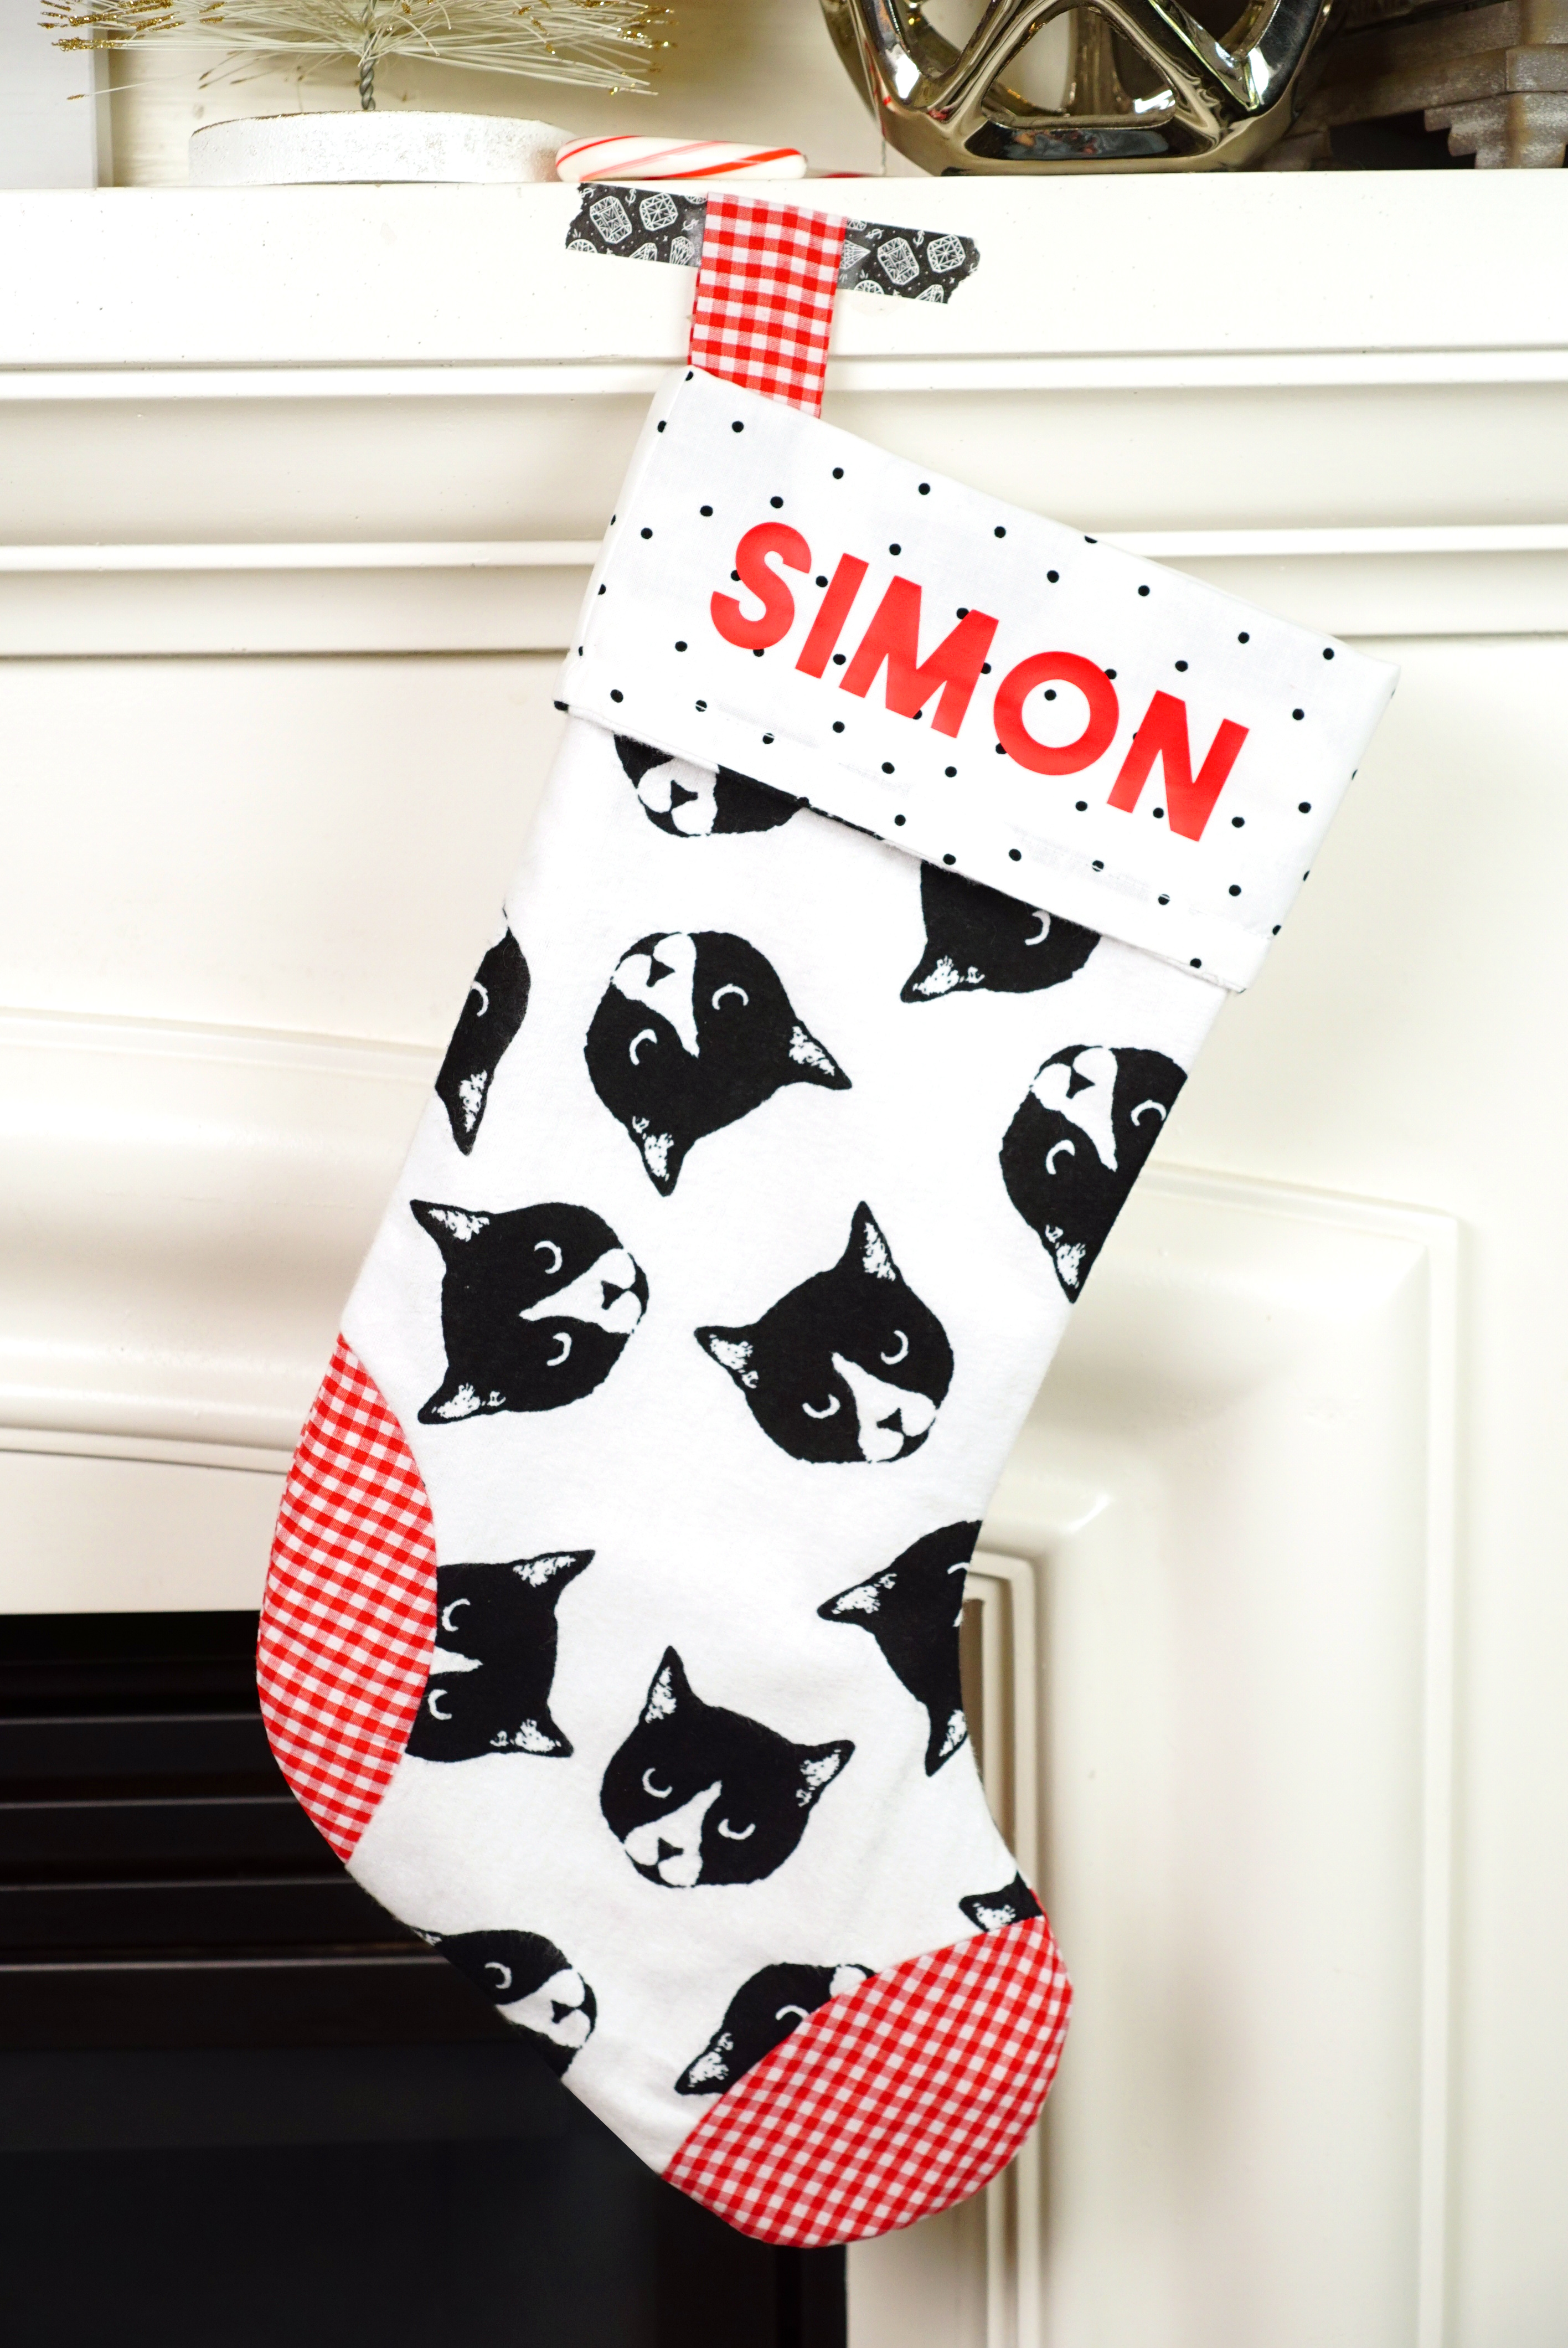
These Easy Christmas Stockings are one of the 50 FREE patterns included with the new Cricut Maker machine! Find out why this machine is a game-changer for sewing, and get the tutorial for how to make Christmas stockings of your own!

I recently introduced y’all to the amazing new Cricut Maker machine, and today I want to talk to you all about one of the fantastic bonuses that come along with the Maker – FIFTY super awesome ready-to-make projects!
The 50 projects include many different types of craft mediums, but since the Cricut Maker is known for being a game-changer in the sewing industry, it’s no surprise that over half of the projects included are sewing projects. Don’t sew? Honestly, I don’t sew very frequently either, but the Cricut Maker machine MAKES ME WANT TO SEW! Seriously, with precise machine-cut pieces that save you TONS of time and effort, all that’s left for you to do is the fun part! I can actually foresee many more sewing projects in my future because the Maker makes it SO simple!
Last year, my boys asked me if I would make a Christmas stocking for our kitty, Lucy, so when I spied an easy Christmas Stocking pattern among the Cricut Maker projects, I knew it would be the perfect sewing project for me and my Cricut Maker!
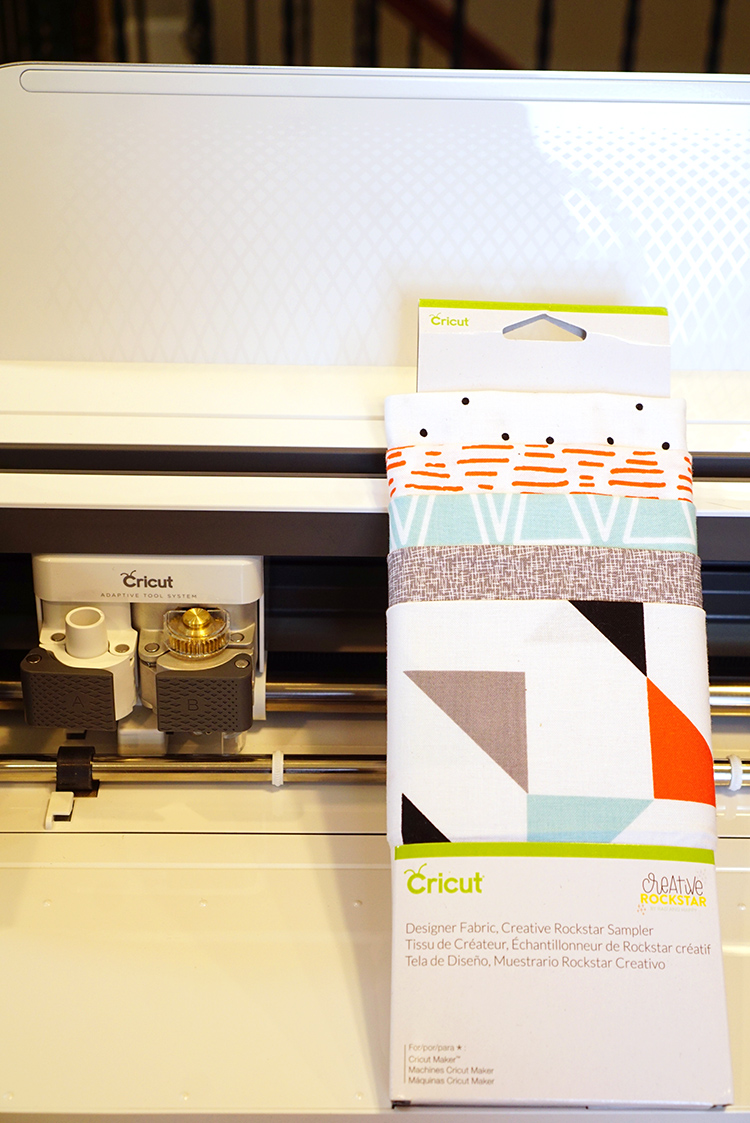

To coincide with the release of the Cricut Maker machine and the free project library, Cricut also released a line of fabrics in partnership with Riley Blake Designs, and I LOVE the prints! This fabric collection is called Creative Rockstar, and I used the polka dot print for the cuff and lining of my easy Christmas stockings.
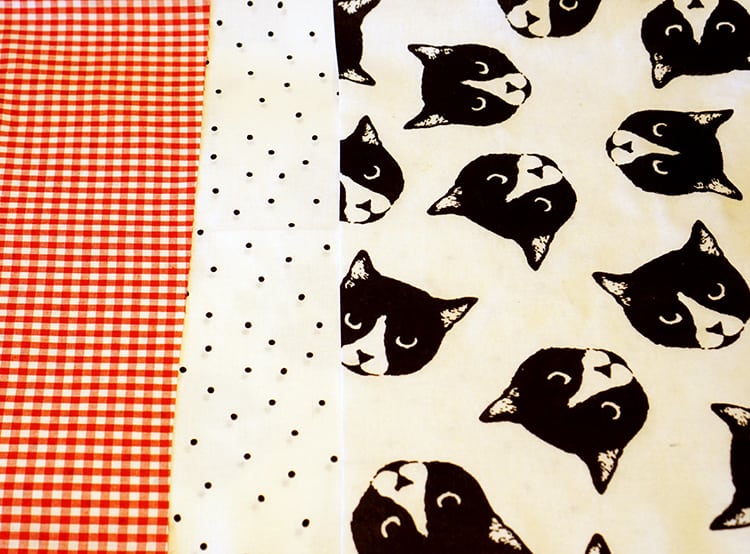
For the other stocking fabrics, I chose to stick with a black, white, and red theme to match our current holiday decor.
Supplies Used for Easy Christmas Stockings:
- Cricut Maker Machine with Rotary Blade
- 12×24 FabricGrip Cutting Mat (Amazon | Cricut)
- Cricut Fabric – Creative Rockstar (Polka Dot Fabric)
- Flannel Cat Fabric
- Red Gingham 1/8″ Check Fabric
- White Thread & Bobbin
- Brother CS-6000i Sewing Machine
- Red Iron-On Vinyl (HTV) (Amazon | Expressions Vinyl | Cricut)
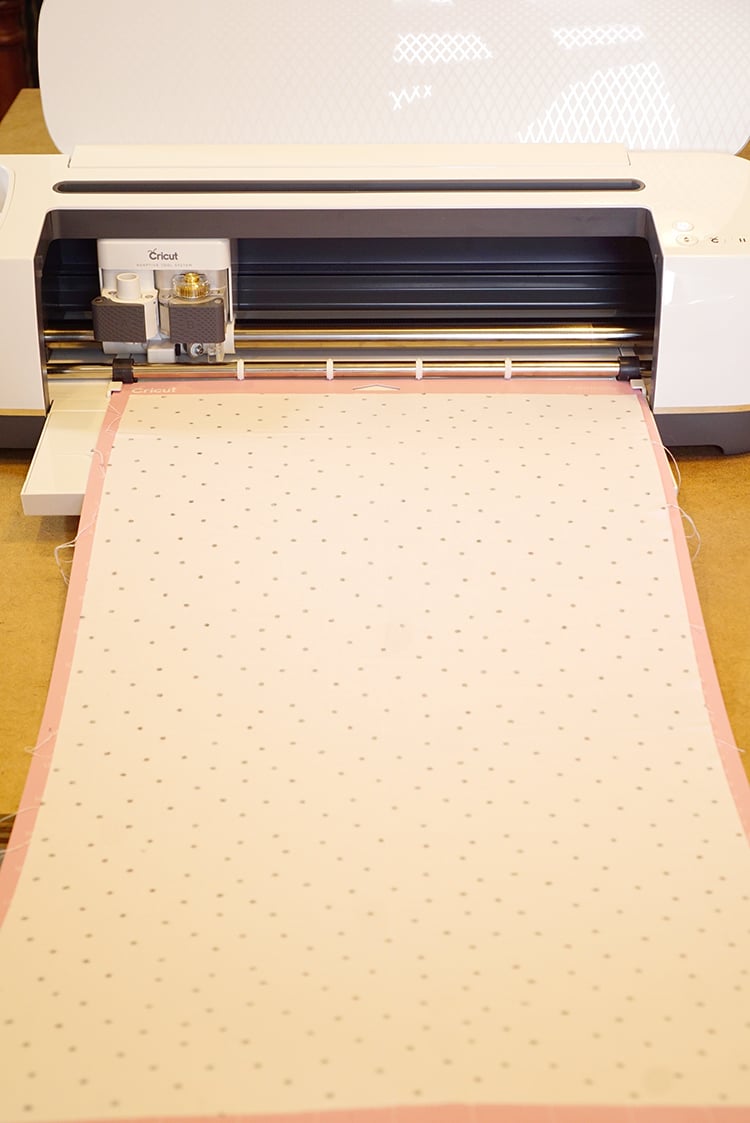
To begin, I cut all of my fabric to size as instructed in the project directions. Each project comes with a printable set of assembly instructions and a supply list, so it’s easy to follow along. The Christmas stocking pattern requires 1/3 yard each of the main body print and the lining fabrics as well as a fat quarter of the heel/toe print. Once the fabric pieces have been cut to size to fit your pink FabricGrip cutting mat, the design software will prompt you to load each mat into the Cricut Maker one at a time to cut your pattern pieces.
Note: make sure that you are loading the mat with the right side of the fabric facing DOWN onto the mat!
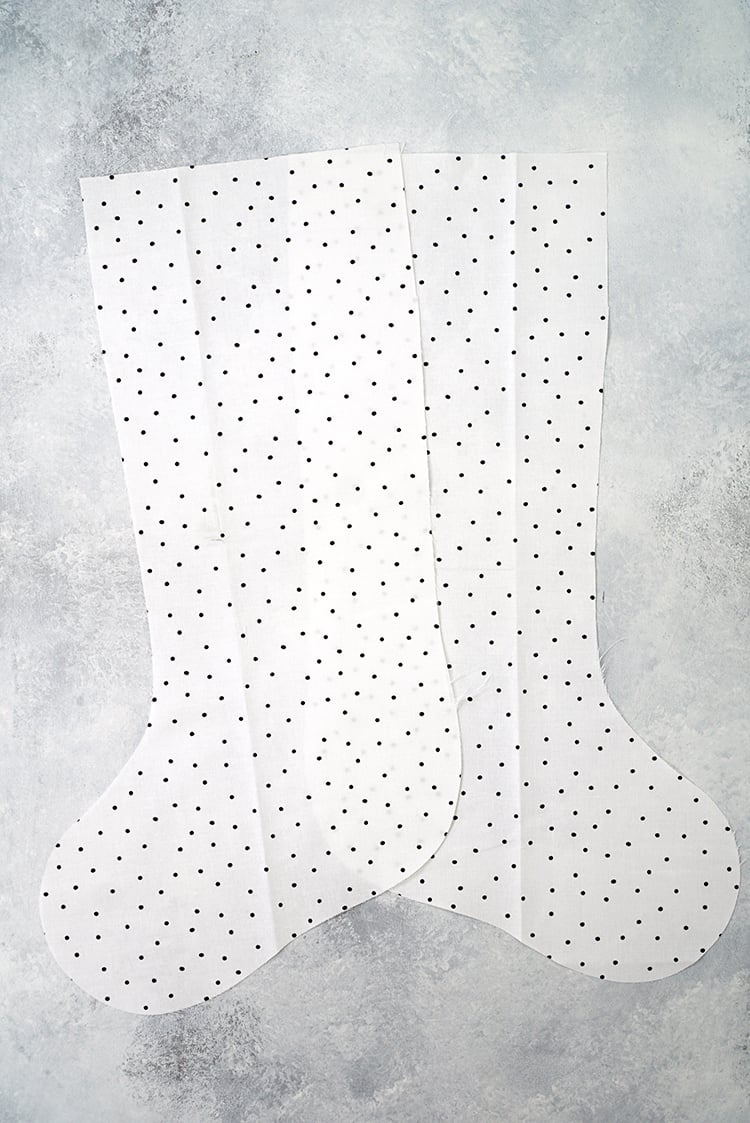
The first two mats will cut your inside lining pieces.
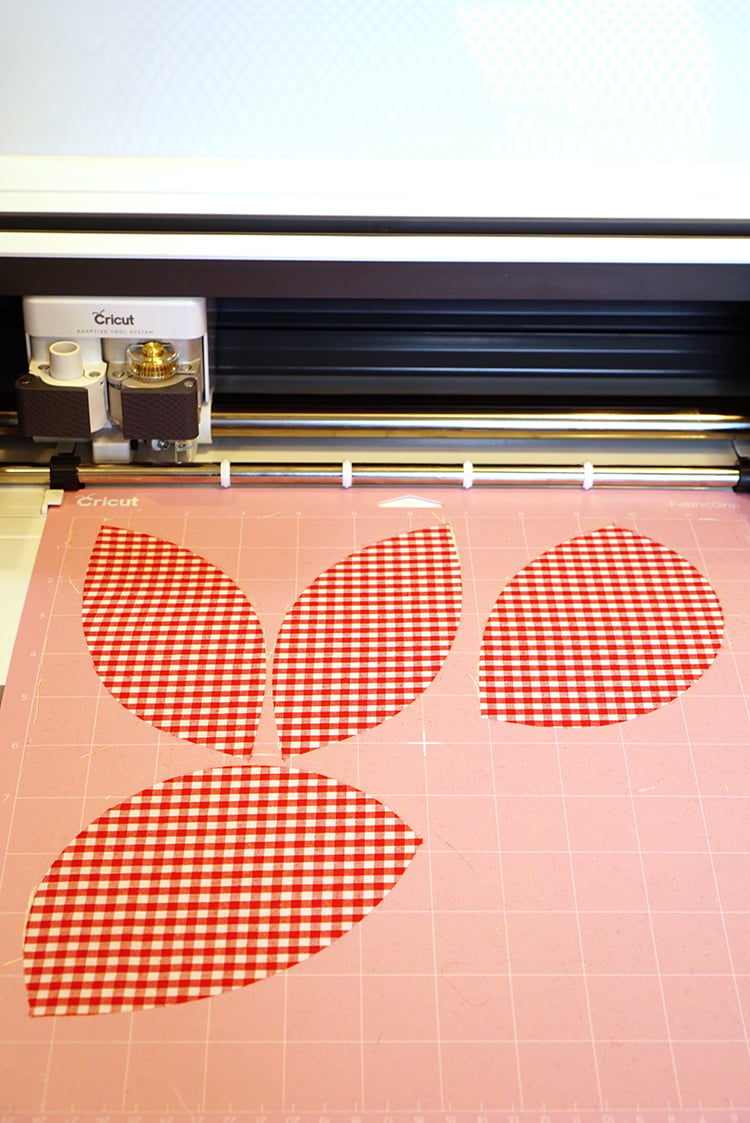
Mat #3 will cut both sets of heel and toe pieces. You can opt to use the 12×24 or the 12×12 FabricGrip mat for Mat #3.
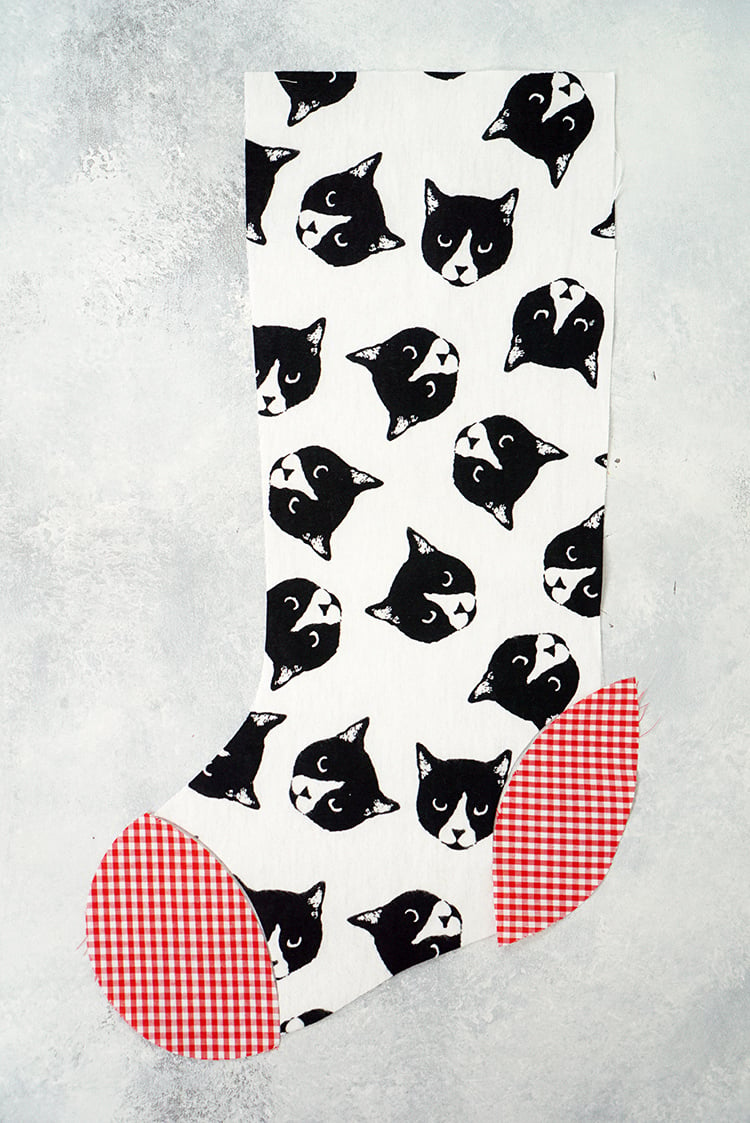
Mat #4 and #5 will cut the two main body panels which will be sewn to the heel and toe pieces.
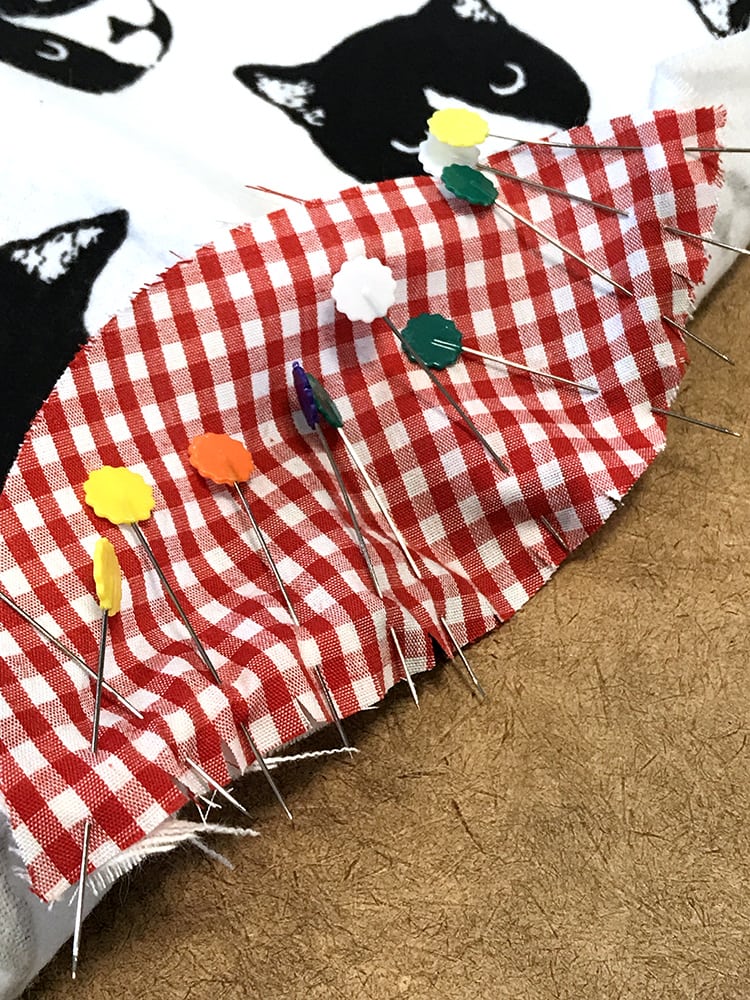
Attaching the heel and toe pieces is the first step in sewing your pattern. Sewing a concave curve to a convex curve can be tricky, so go slow and use LOTS of pins (even if it doesn’t look pretty!). For some tips and tricks, I highly recommend watching this YouTube video: Sewing Concave and Convex Seams
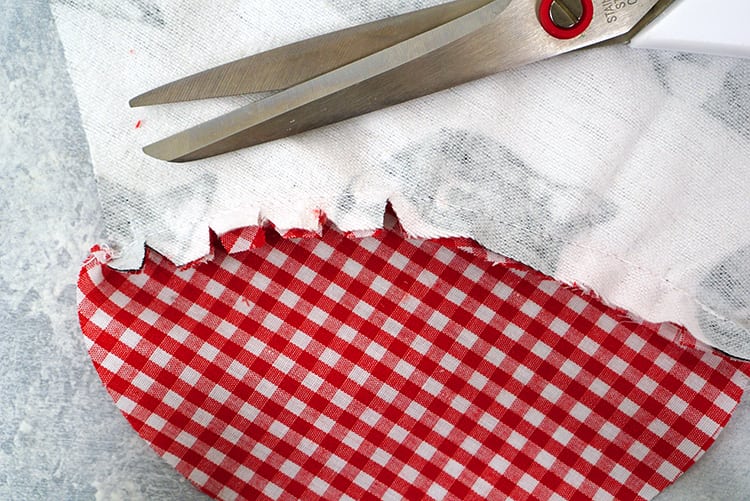
After you sew all of the heel and toe seams, carefully notch along the curves and then press the seams open. This will allow the curves to lay flat.
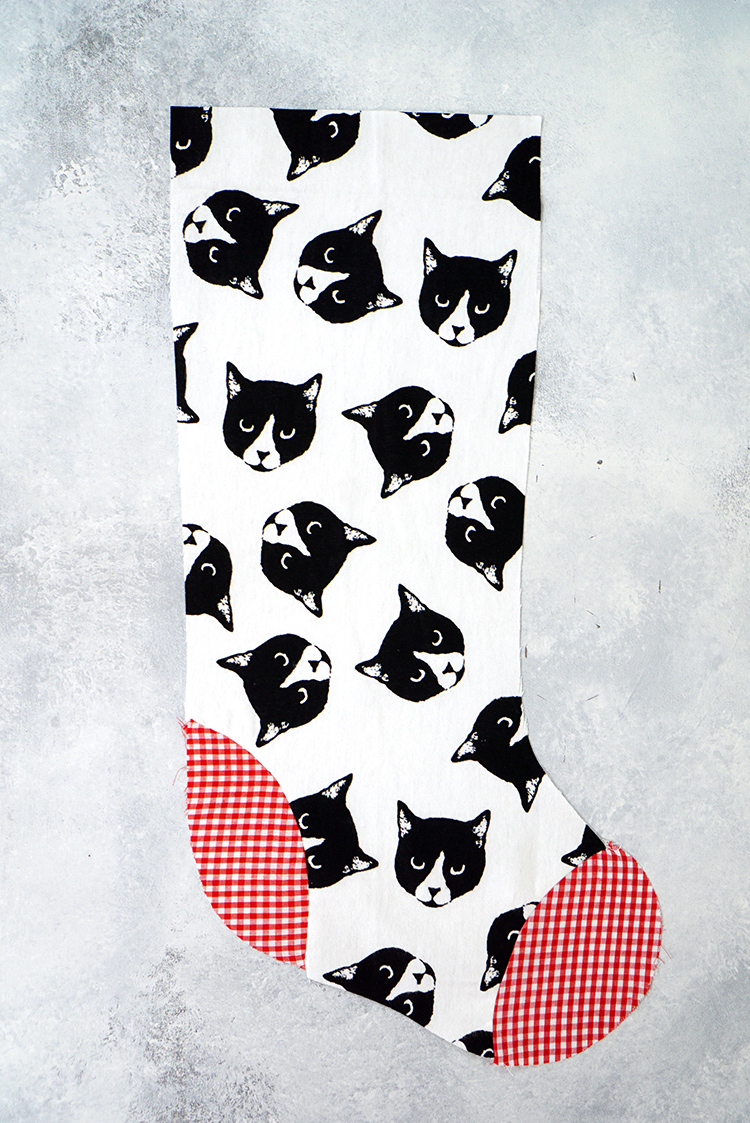
Ta da! Now, place both of the stocking pieces right sides together, and sew along the edges (except for the top edge). Repeat the process for the lining fabric and follow the steps included in the pattern to attach the lining fabric to the main stocking body.
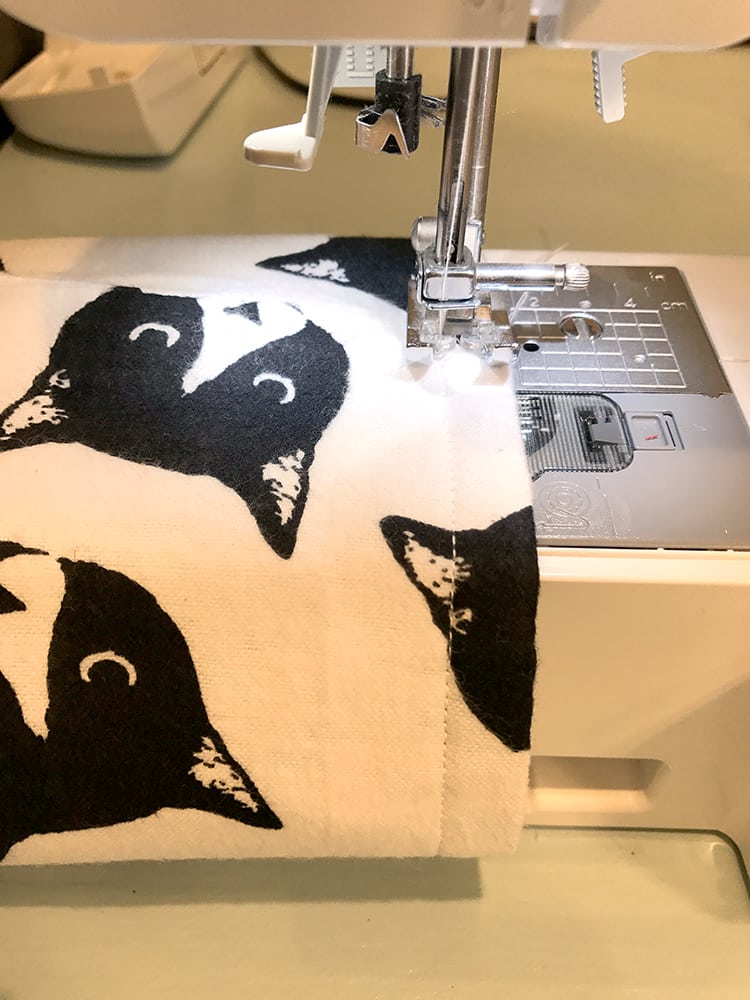
After attaching the lining fabric to the stocking body, top stitch along the edge to finish.
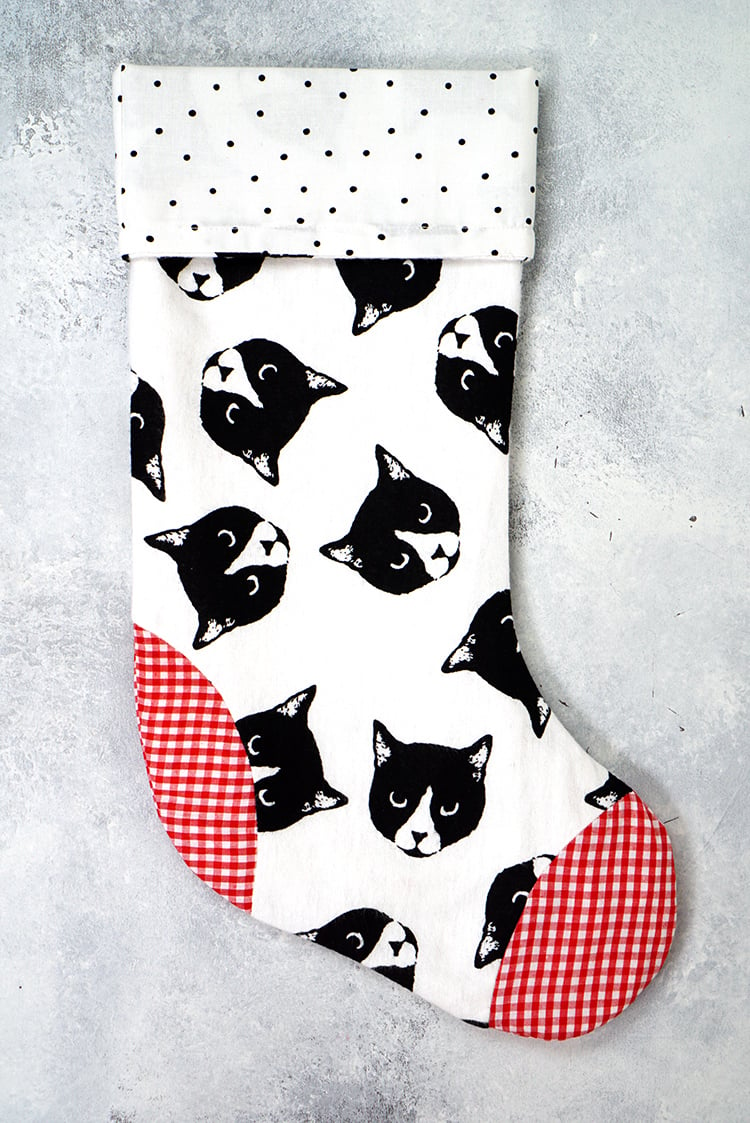
Turn the cuff over and press – easy peasy!
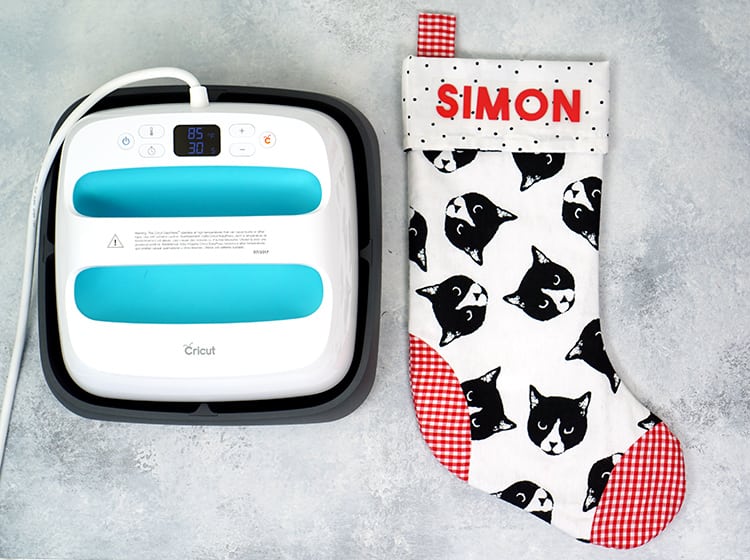
Now, you may have noticed that the name on the stocking did NOT end up saying Lucy, the name of our kitty, as planned. Instead, it says Simon, my cat-loving seven-year-old, who decided that this new stocking was destined to be his instead of the cat’s. 😉
I used the Cricut Maker and the fine-point blade to cut his name out of red iron-on vinyl and then used my AMAZING new Cricut EasyPress to apply the name to the cuff of the stocking. (You can read all about why we LOVE the EasyPress here!)
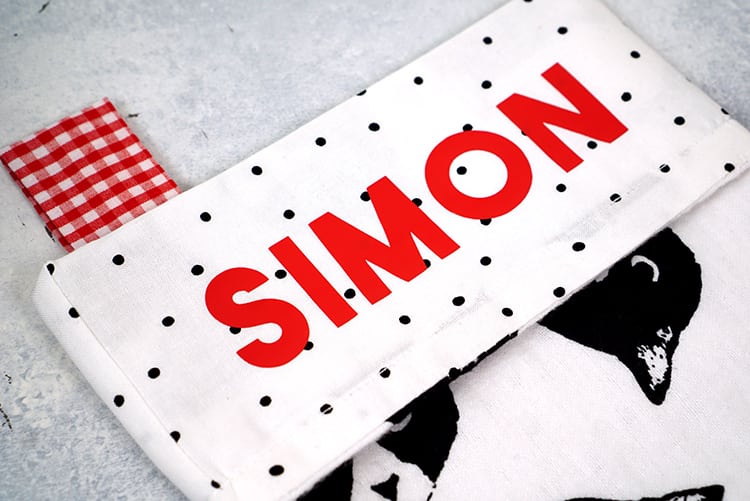
Adding his name literally took about two minutes worth of work! SO easy, but totally adorable!
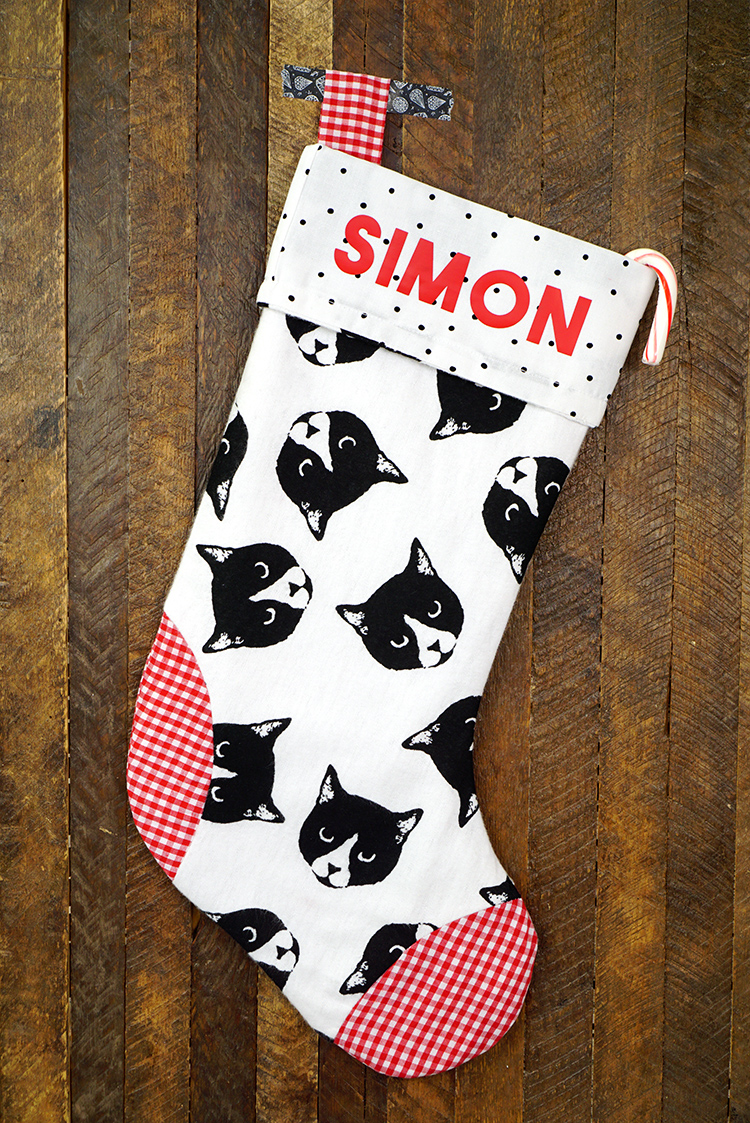
I absolutely love the way that this stocking turned out, and I’m pretty sure that I’m going to be making these for all of our family members before Christmas this year!
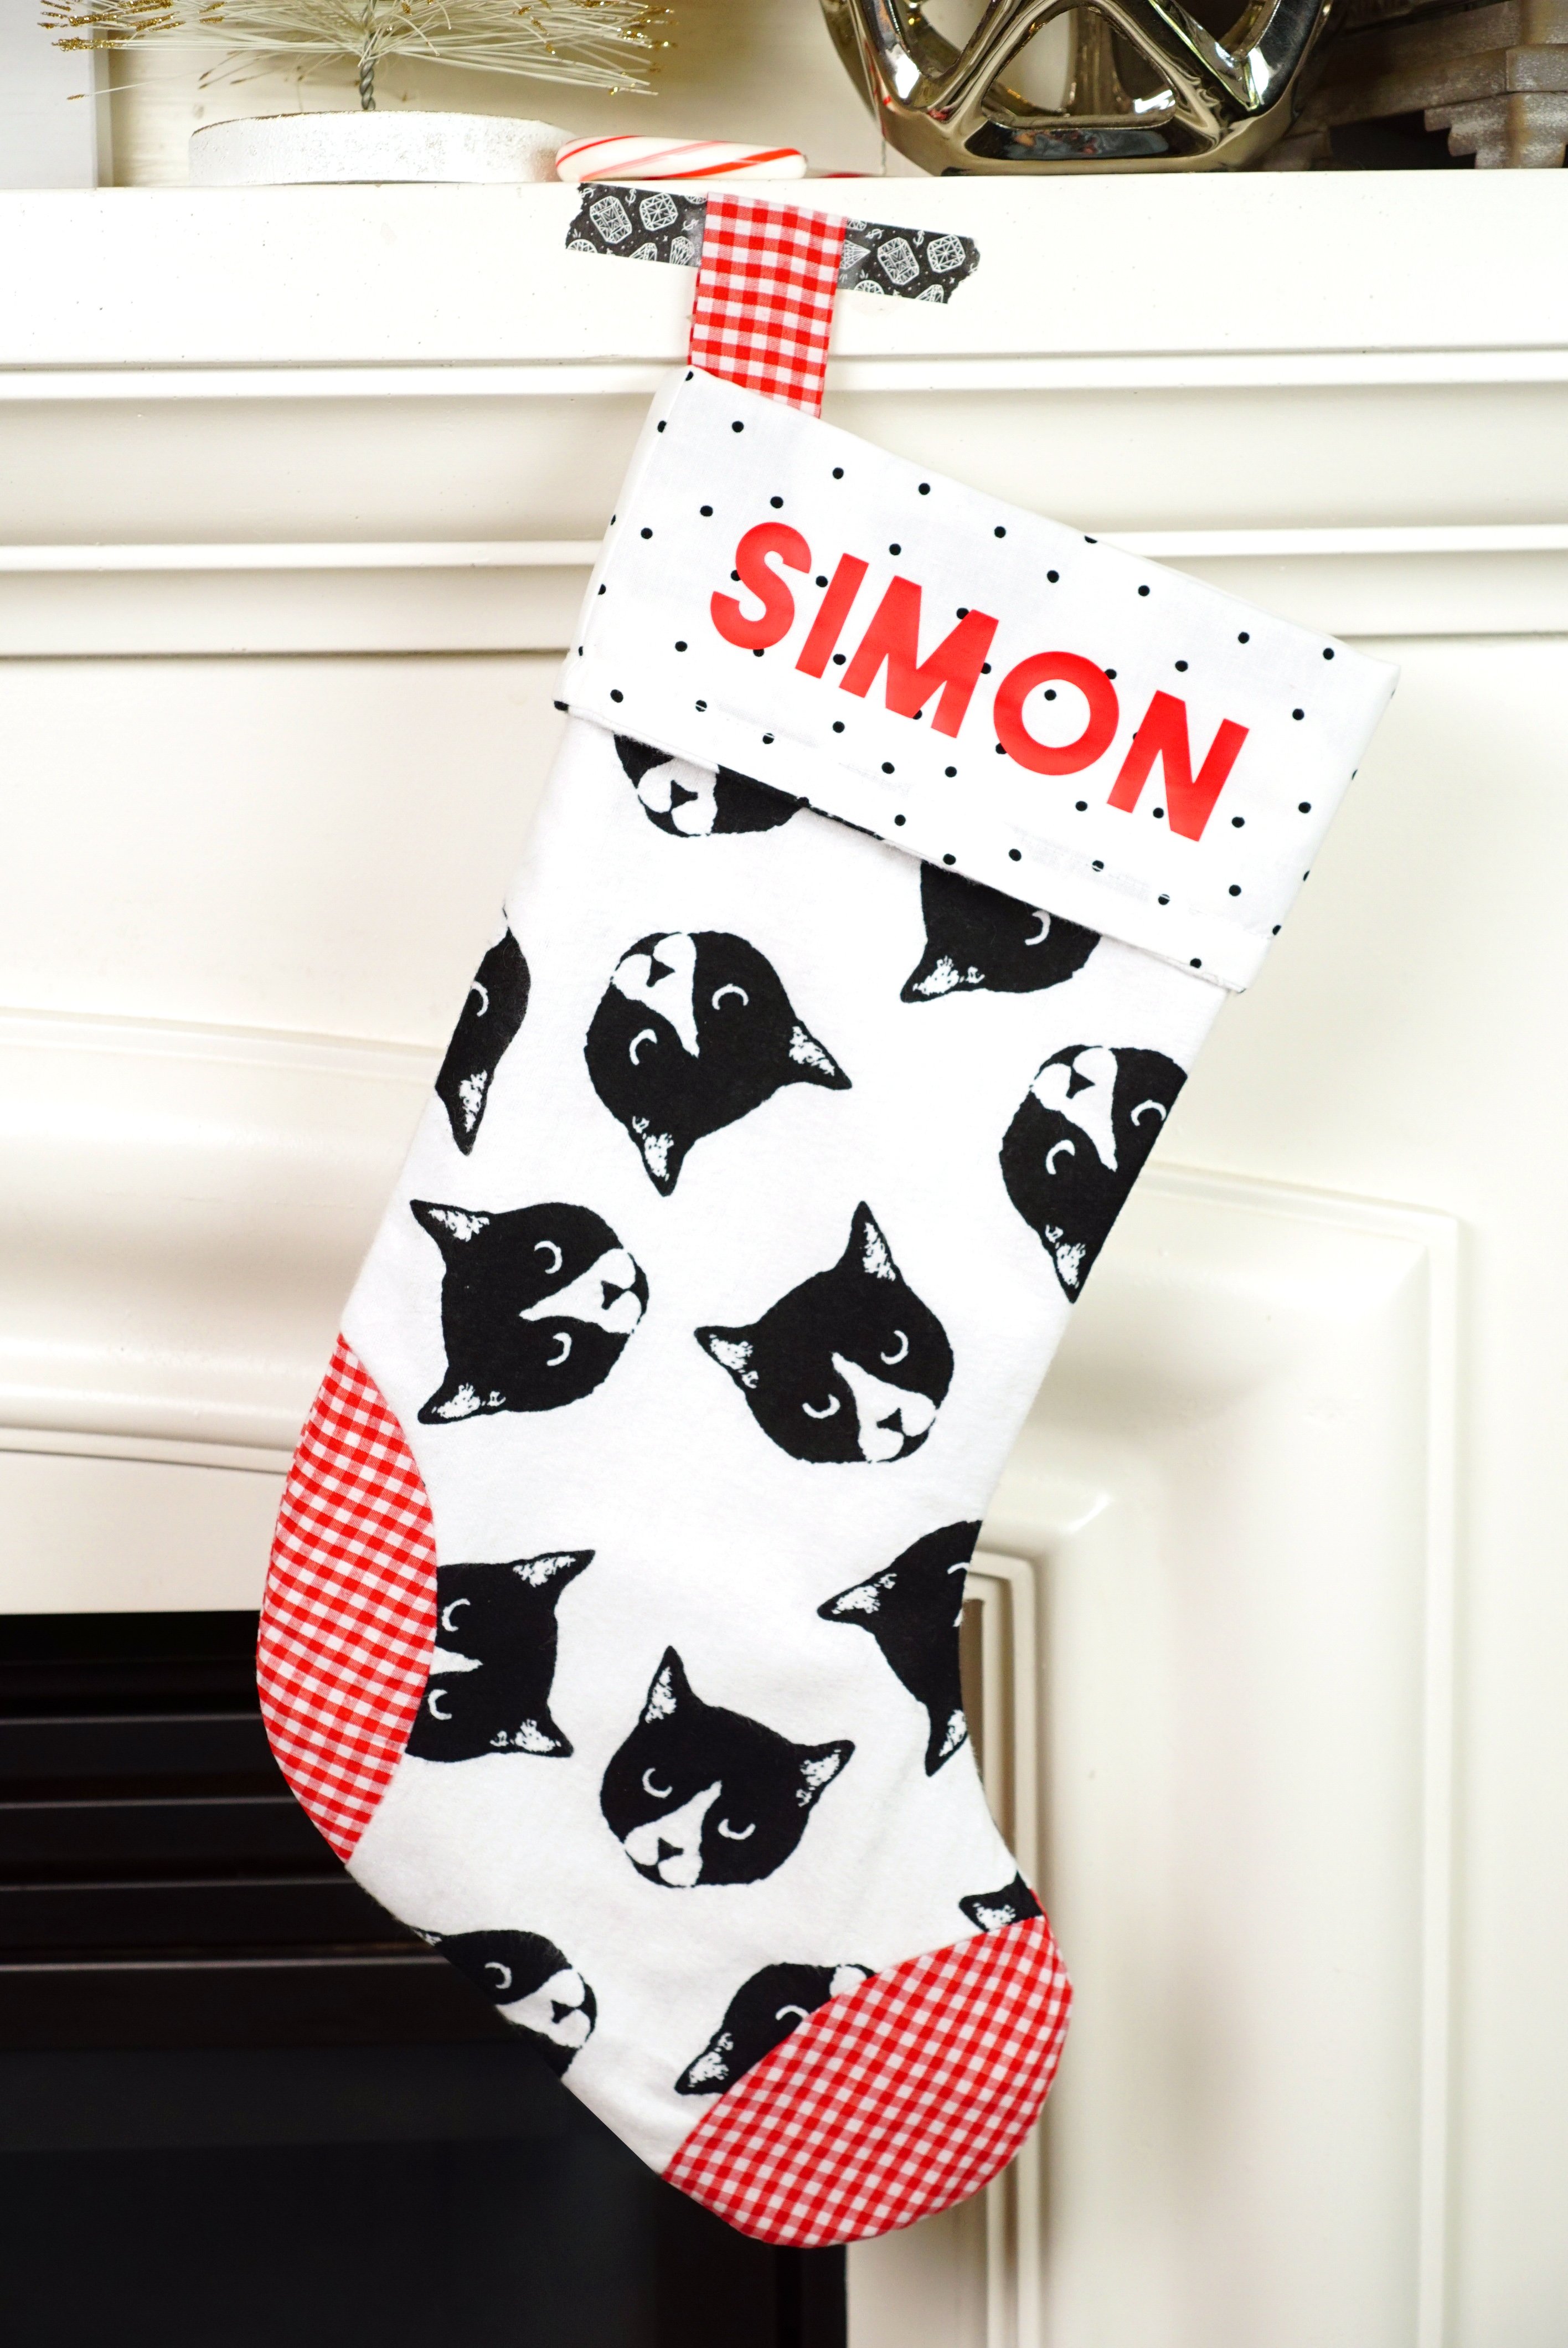
This Cricut Maker sewing project was simple and easy-to-follow; however, I do want to note that it took me longer to make one single stocking than I anticipated. The project directions indicate that this is an intermediate pattern that will take 1-2 hours, and it did take me about 1.5 hours to complete (with several interruptions from the seven-year-old along the way!). Time misjudgment aside, this was a SUPER fulfilling project, and I am feeling incredibly inspired and motivated (and dare I say CAPABLE!) to create the other 49 projects on the list now!

Check Out These Other Christmas Inspired Cricut Ideas!
 Cardboard Gingerbread Houses + SVG Files
 Free Christmas Countdown SVG +16 Christmas Cut Files
 The Best Cricut Holiday Gift Ideas for Crafters
 Santa’s Magic Key Printable Tag + SVG File
 Personalized Christmas Ornaments with Cricut Infusible Ink
 25+ DIY Neighbor Gifts with Cricut
 Christmas Baby Onesie with Cricut Infusible Ink
 Free Christmas SVG Files
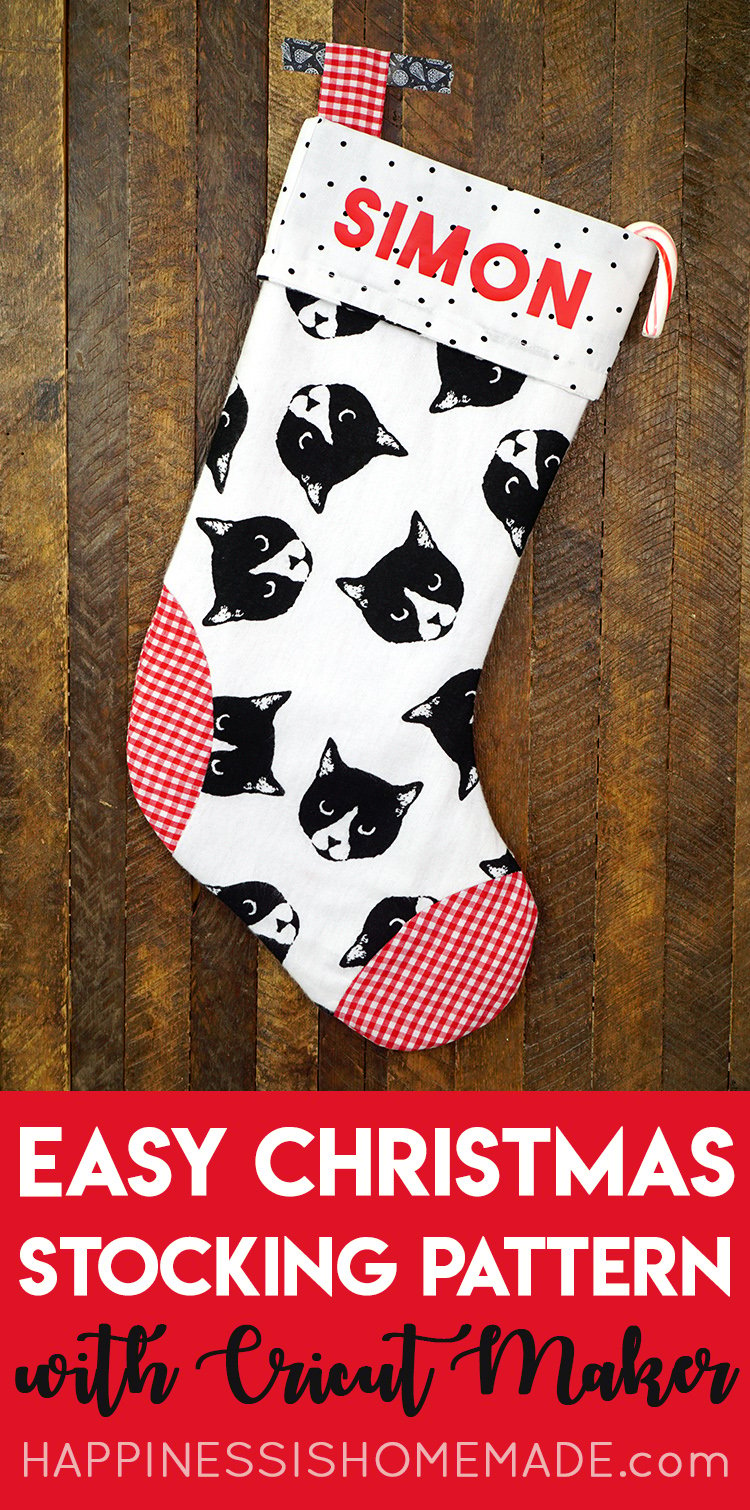
Don’t Forget to Pin This Easy Christmas Stocking Pattern for Later!

Heidi Kundin has captivated the hearts of millions with her colorful and inspiring approach to crafting, celebrations, and family fun. With over 15 years of experience, Happiness is Homemade has become a must-visit destination for those seeking quick and easy creative ideas and last-minute solutions. Heidi’s warm personality shines through her posts, inviting readers to join her on a creative journey that’s fun, rewarding, and achievable. Heidi is also the author of Homemade Bath Bombs & More and DIY Tie-Dye.

