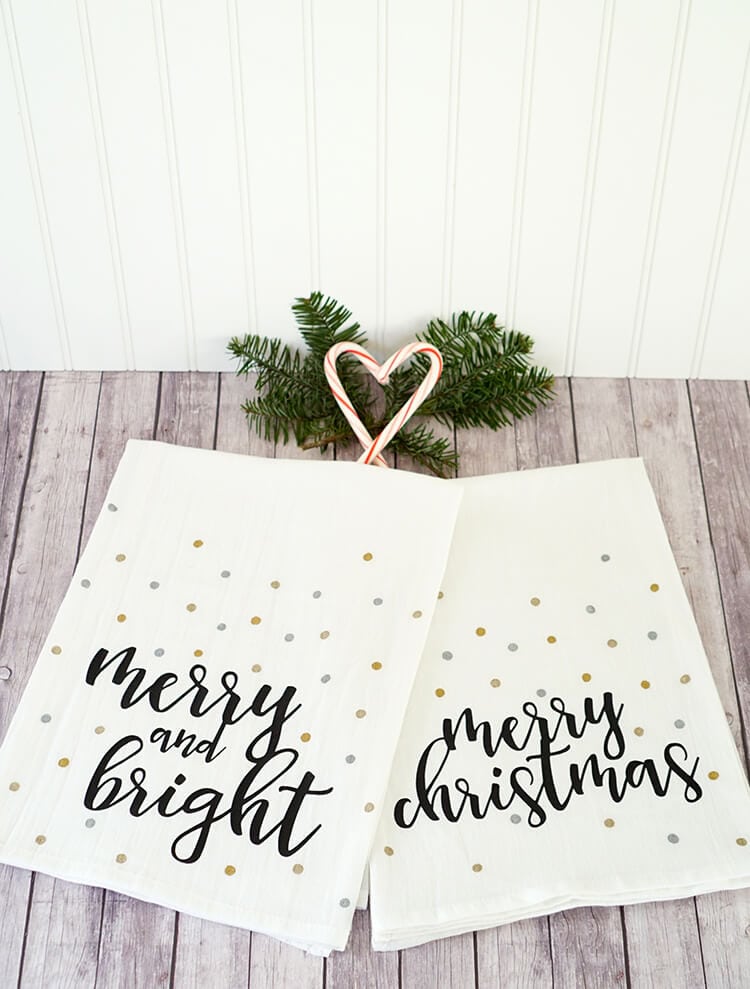
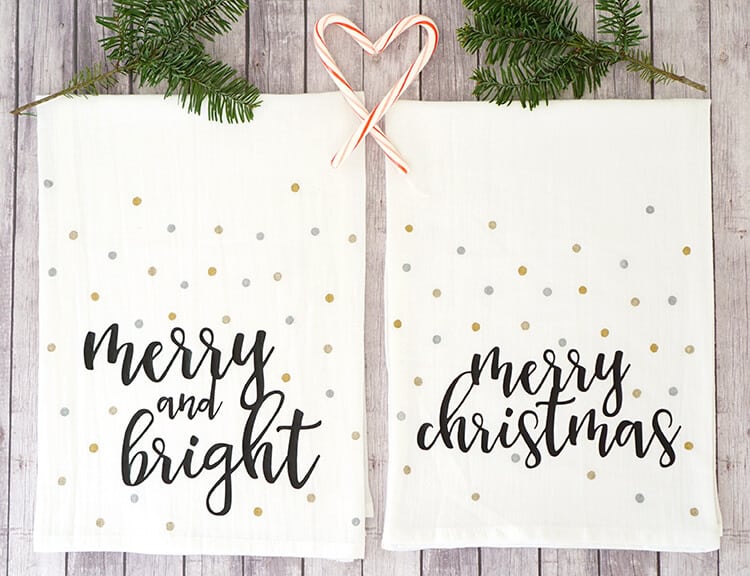
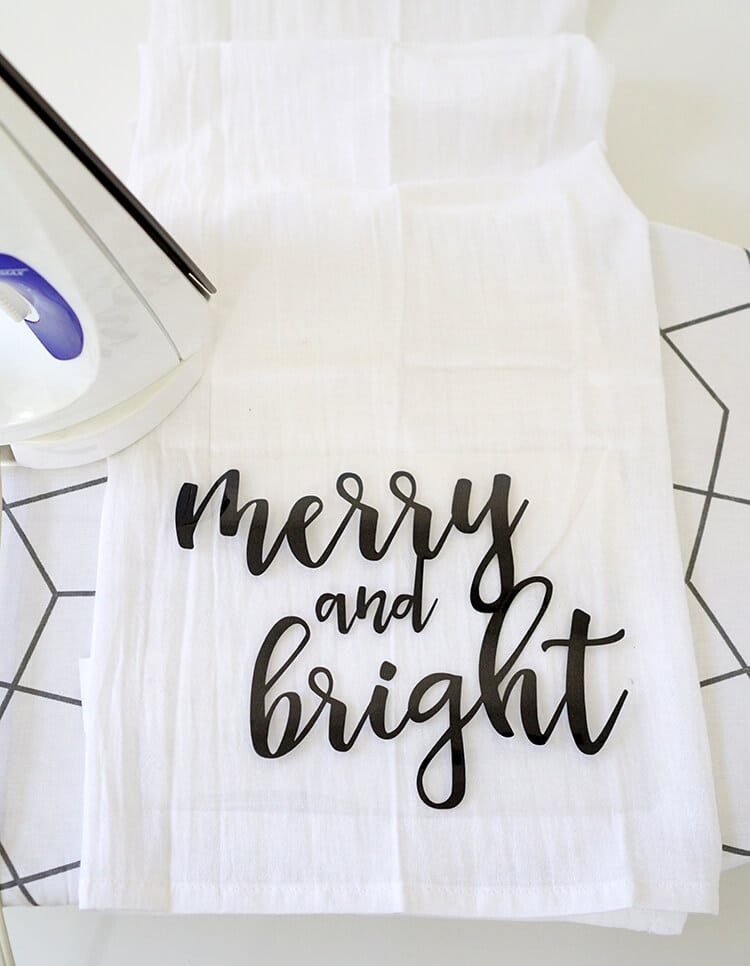
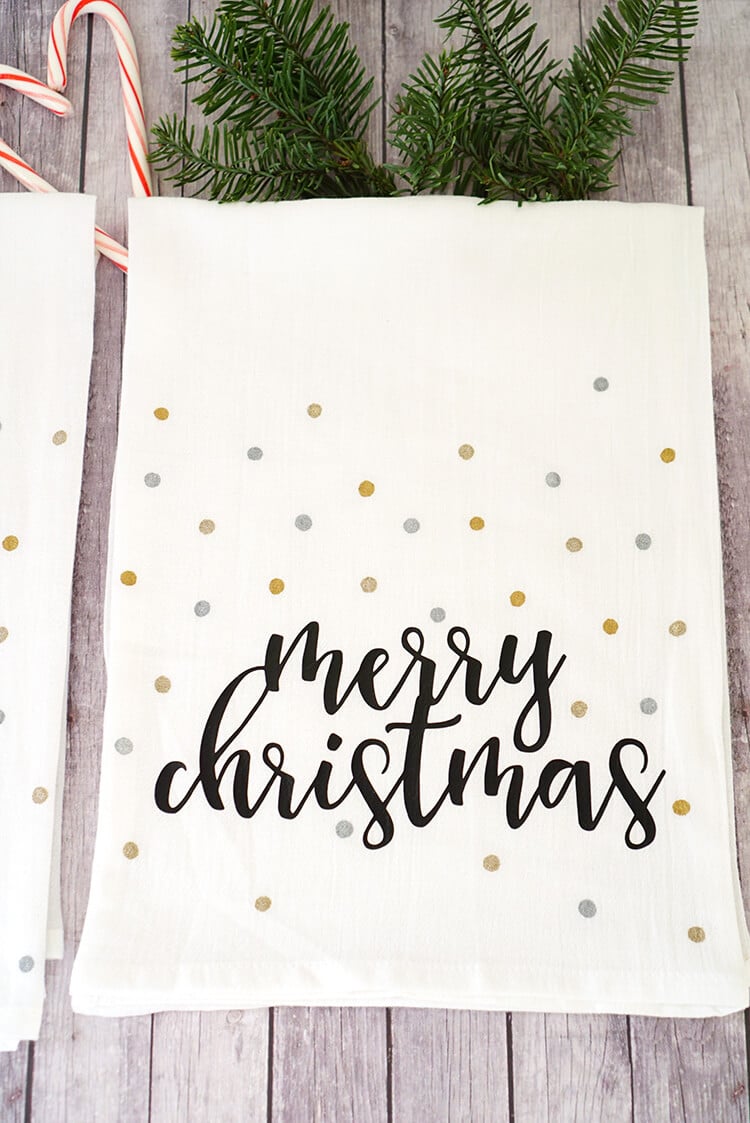
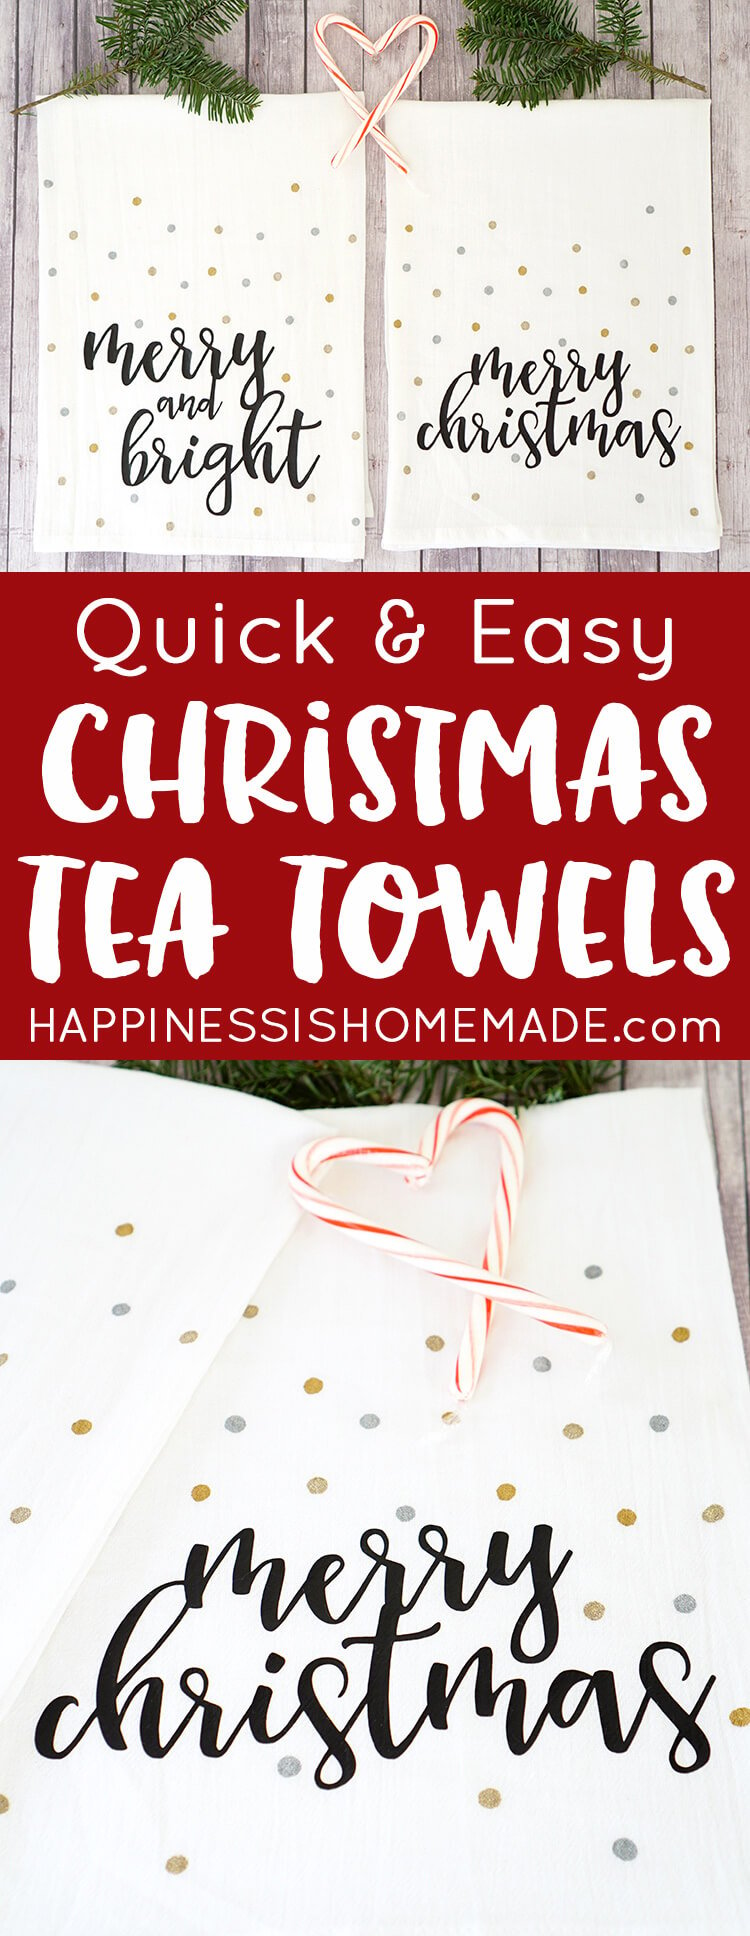
These cute Christmas tea towels are a quick and easy beginner project for the Cricut Explore Air cutting machine! Just add heat transfer vinyl, and your design options are nearly endless!
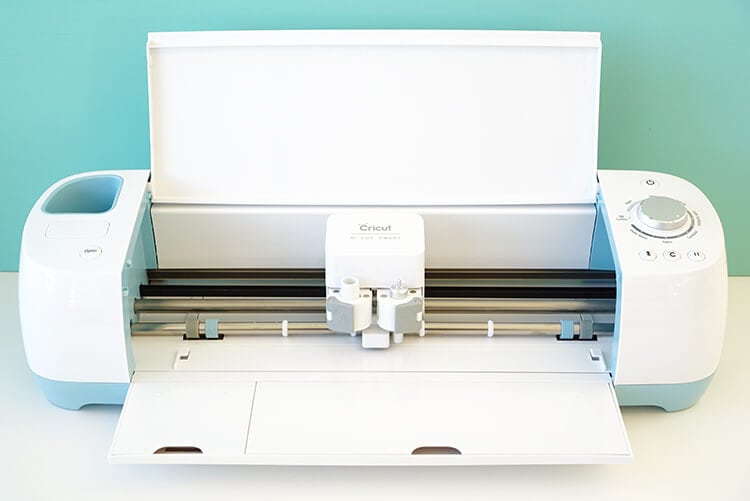
Last week I introduced you to my newest cutting machine, the Cricut Explore Air. Today I’m using the same techniques to create these totally adorable Christmas tea towels which ALSO happen to make a great gift idea!
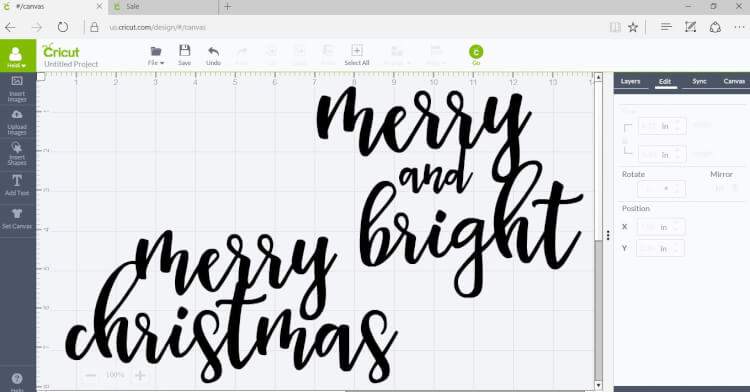
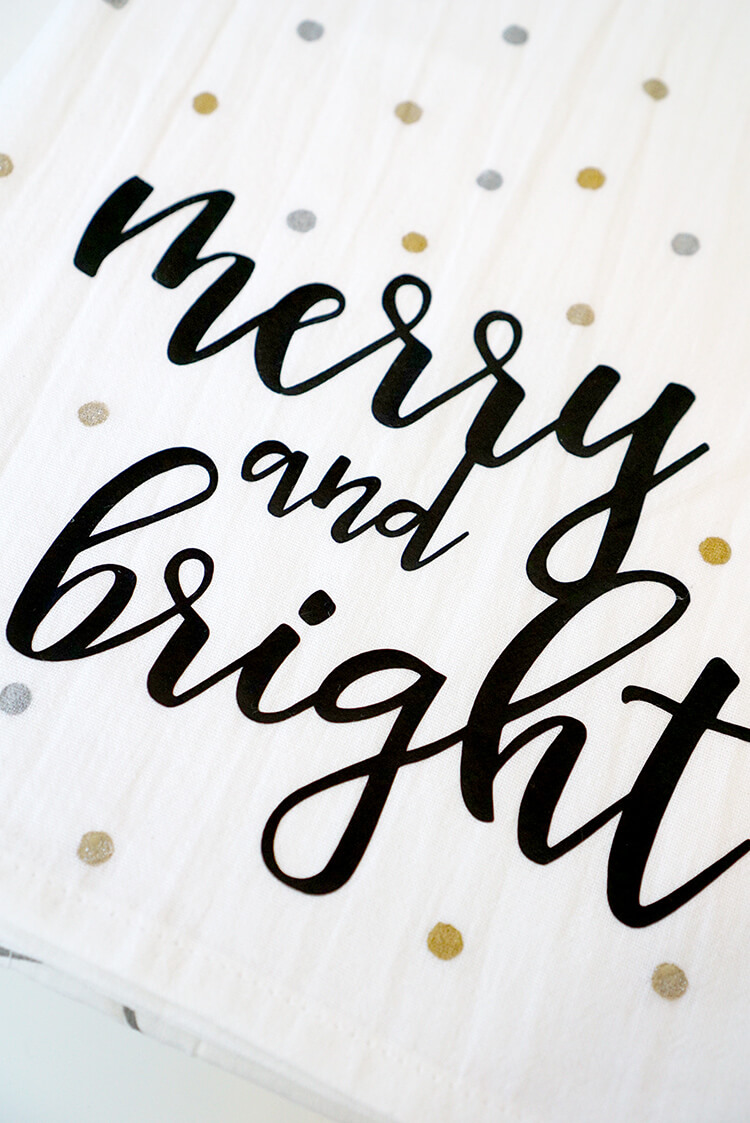
To start, I opened up The Cricut Design Space and started a new project. The Cricut Design Space Image Library includes over 60,000+ images that you can choose from, so it’s easy to start designing your project in no time at all! Just click to select the image that you wish to work with, and the software will insert it into a new project document. I chose these awesome hand-lettered “Merry Christmas” and “Merry and Bright” designs for my tea towels and arranged them on the project document to fit my sheet on heat transfer vinyl.
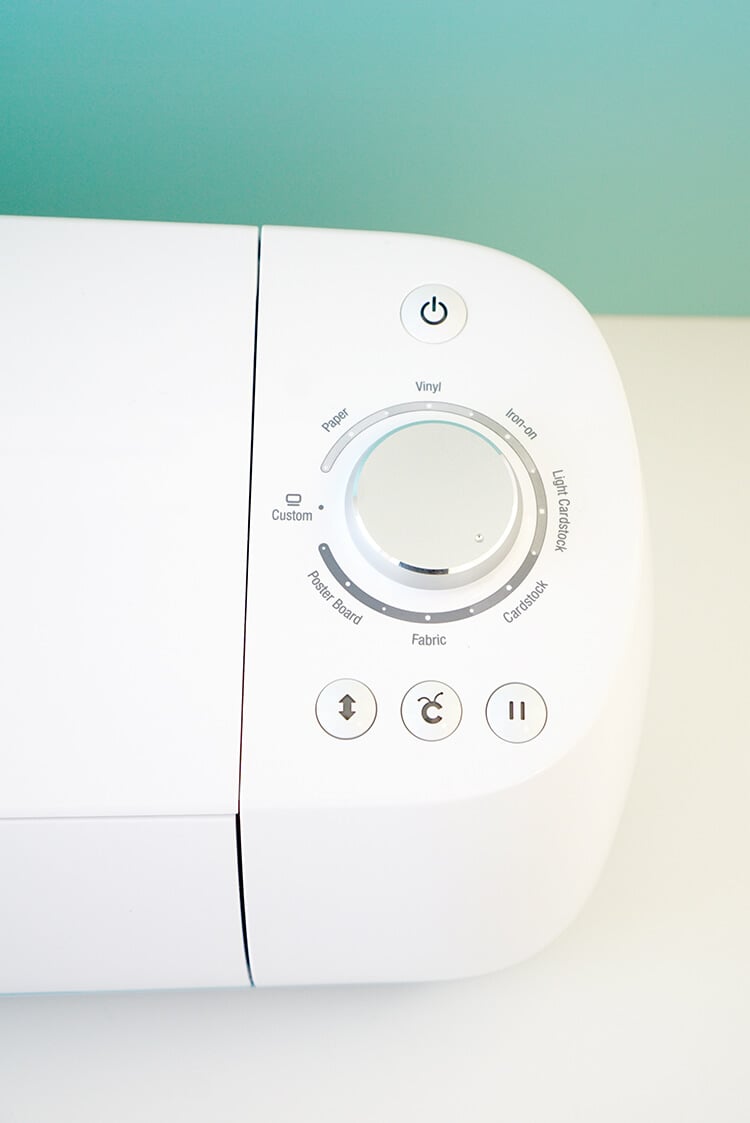
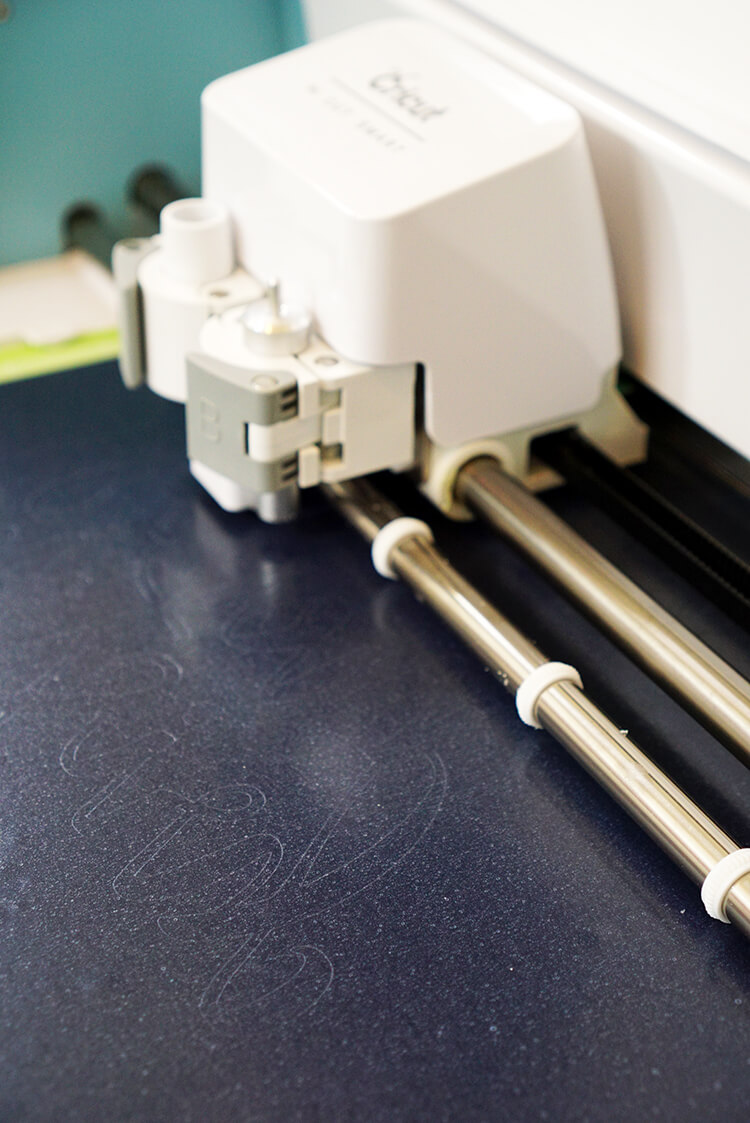
One of my favorite features of the Explore Air is the dial settings (you don’t have to worry about manually changing the blade depth or remembering which depth matches up to each material!). With the Cricut Explore Air, you simply turn the dial to select the material that you are working with, and the machine takes care of the rest – easy peasy! For this project, set the dial to “Iron-on” and you’re ready to cut!
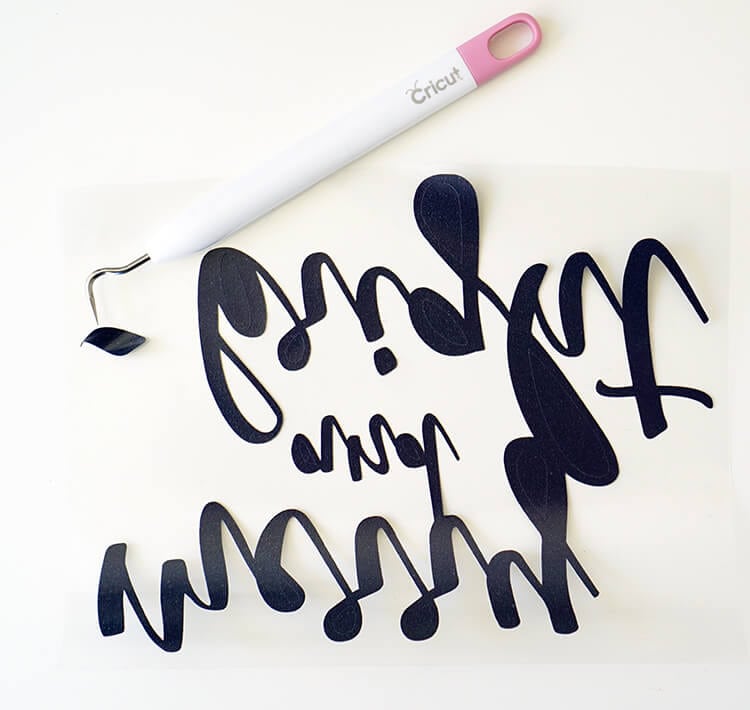
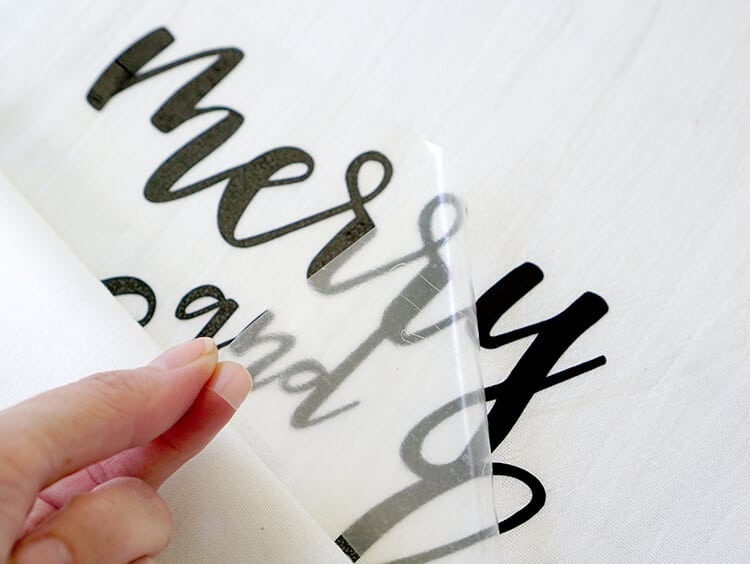
Use the Cricut Weeder Tool to remove the excess vinyl pieces from the design.
For even more quick and easy ideas, be sure to follow Cricut on Facebook and Pinterest!

Check Out These Other Cricut Ideas!
If you like this idea, don’t forget to pin it!

Heidi Kundin has captivated the hearts of millions with her colorful and inspiring approach to crafting, celebrations, and family fun. With over 15 years of experience, Happiness is Homemade has become a must-visit destination for those seeking quick and easy creative ideas and last-minute solutions. Heidi’s warm personality shines through her posts, inviting readers to join her on a creative journey that’s fun, rewarding, and achievable. Heidi is also the author of Homemade Bath Bombs & More and DIY Tie-Dye.

