
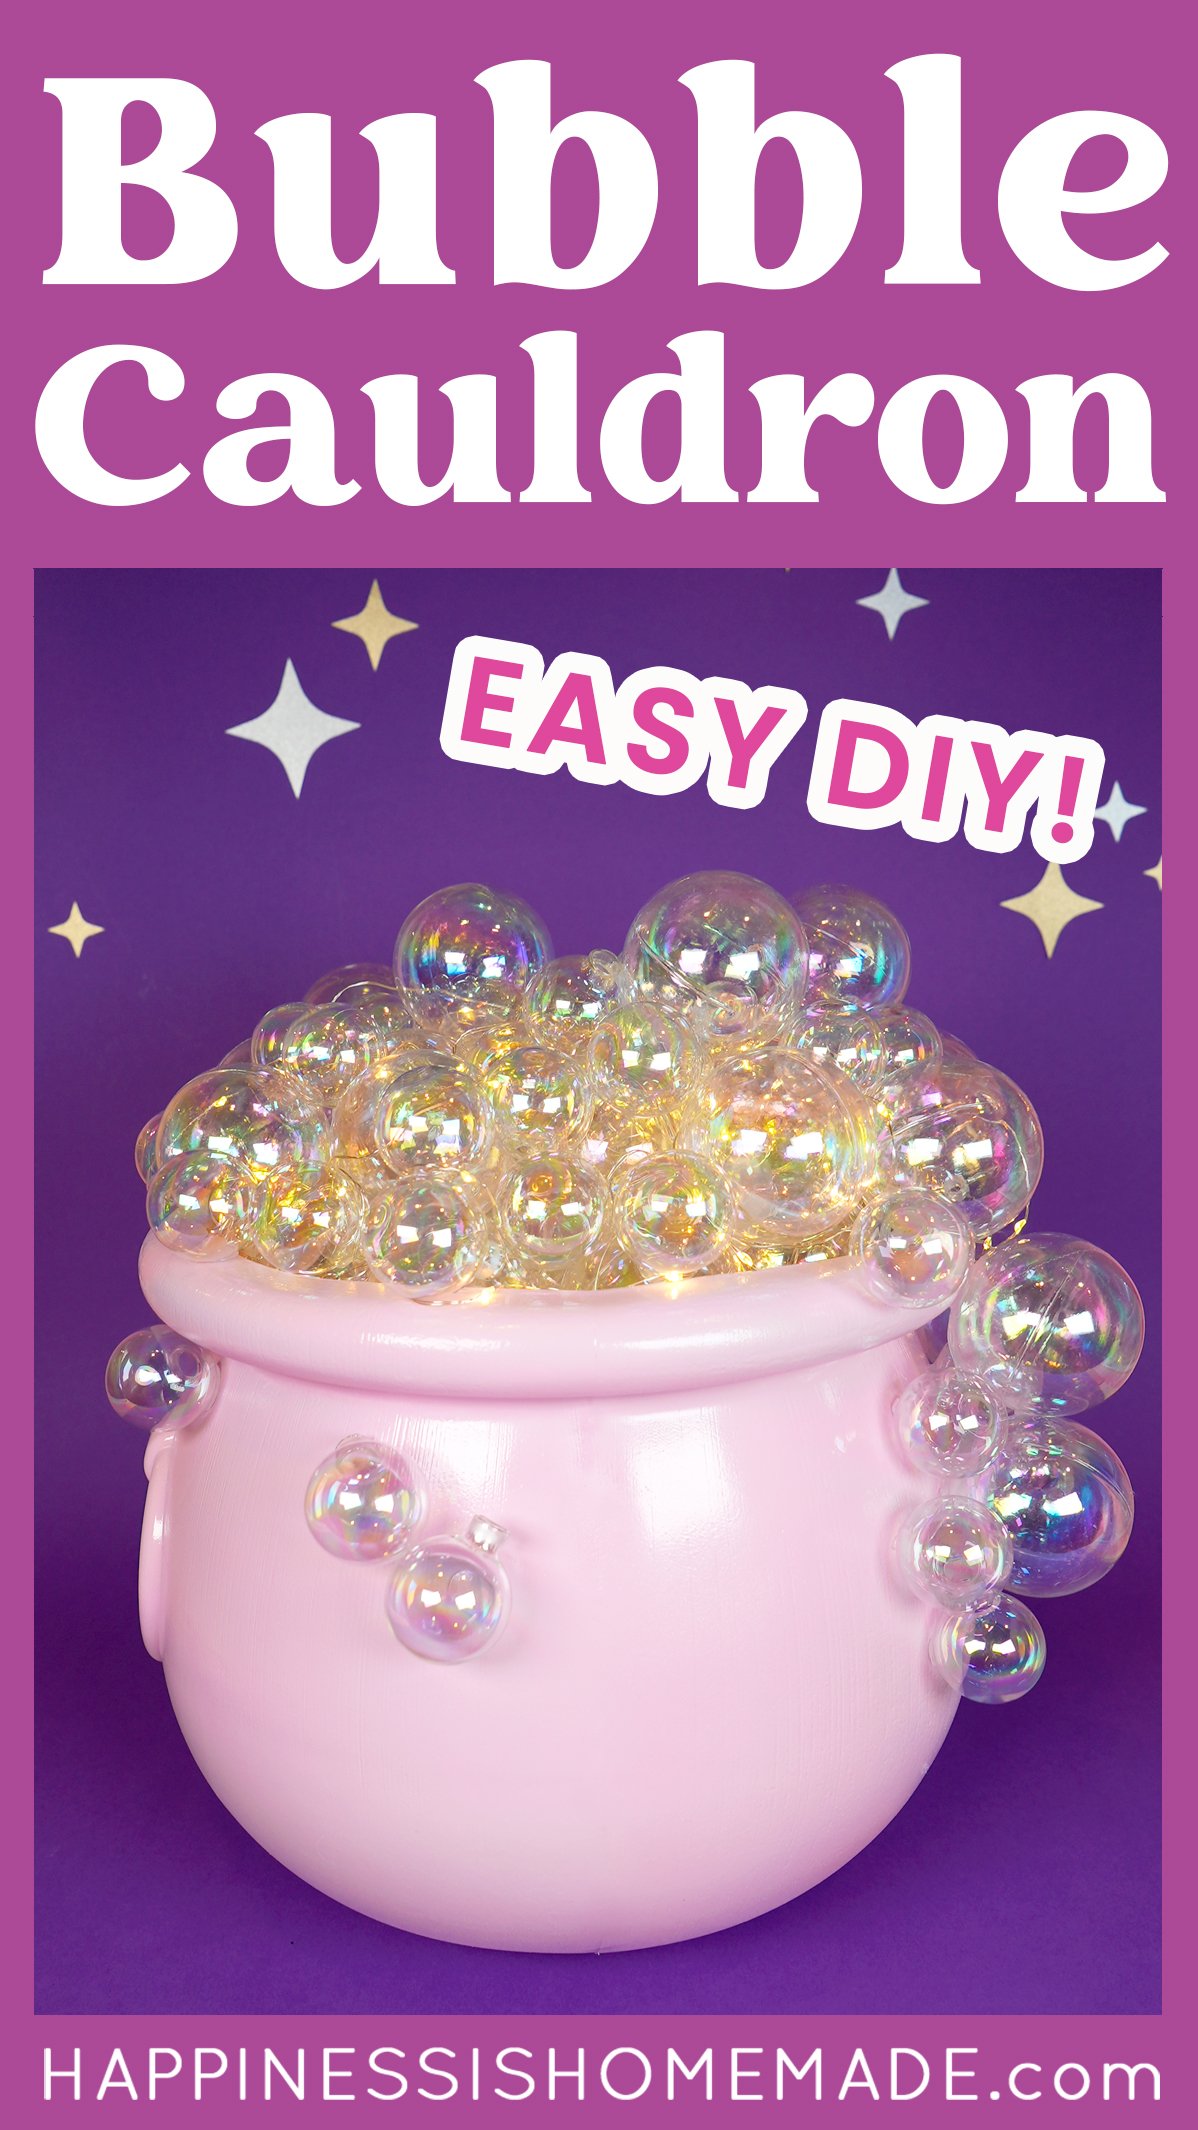
✨ Learn how to make an EASY DIY bubble cauldron and elevate your Halloween décor! 🔮 A quick and easy Halloween craft that’s perfect for beginners!
Skill Level: Beginner – This fun bubble cauldron is SUPER easy to make! Recommended for ages 13+. Adult supervision may be needed when working with hot glue.
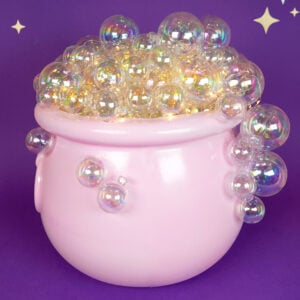
Looking for a Halloween decoration that is easy-to-make and packs a big punch? This classic bubbling cauldron is perfect! This easy Halloween craft project is simple enough for beginners but impressive enough to wow any crowd!
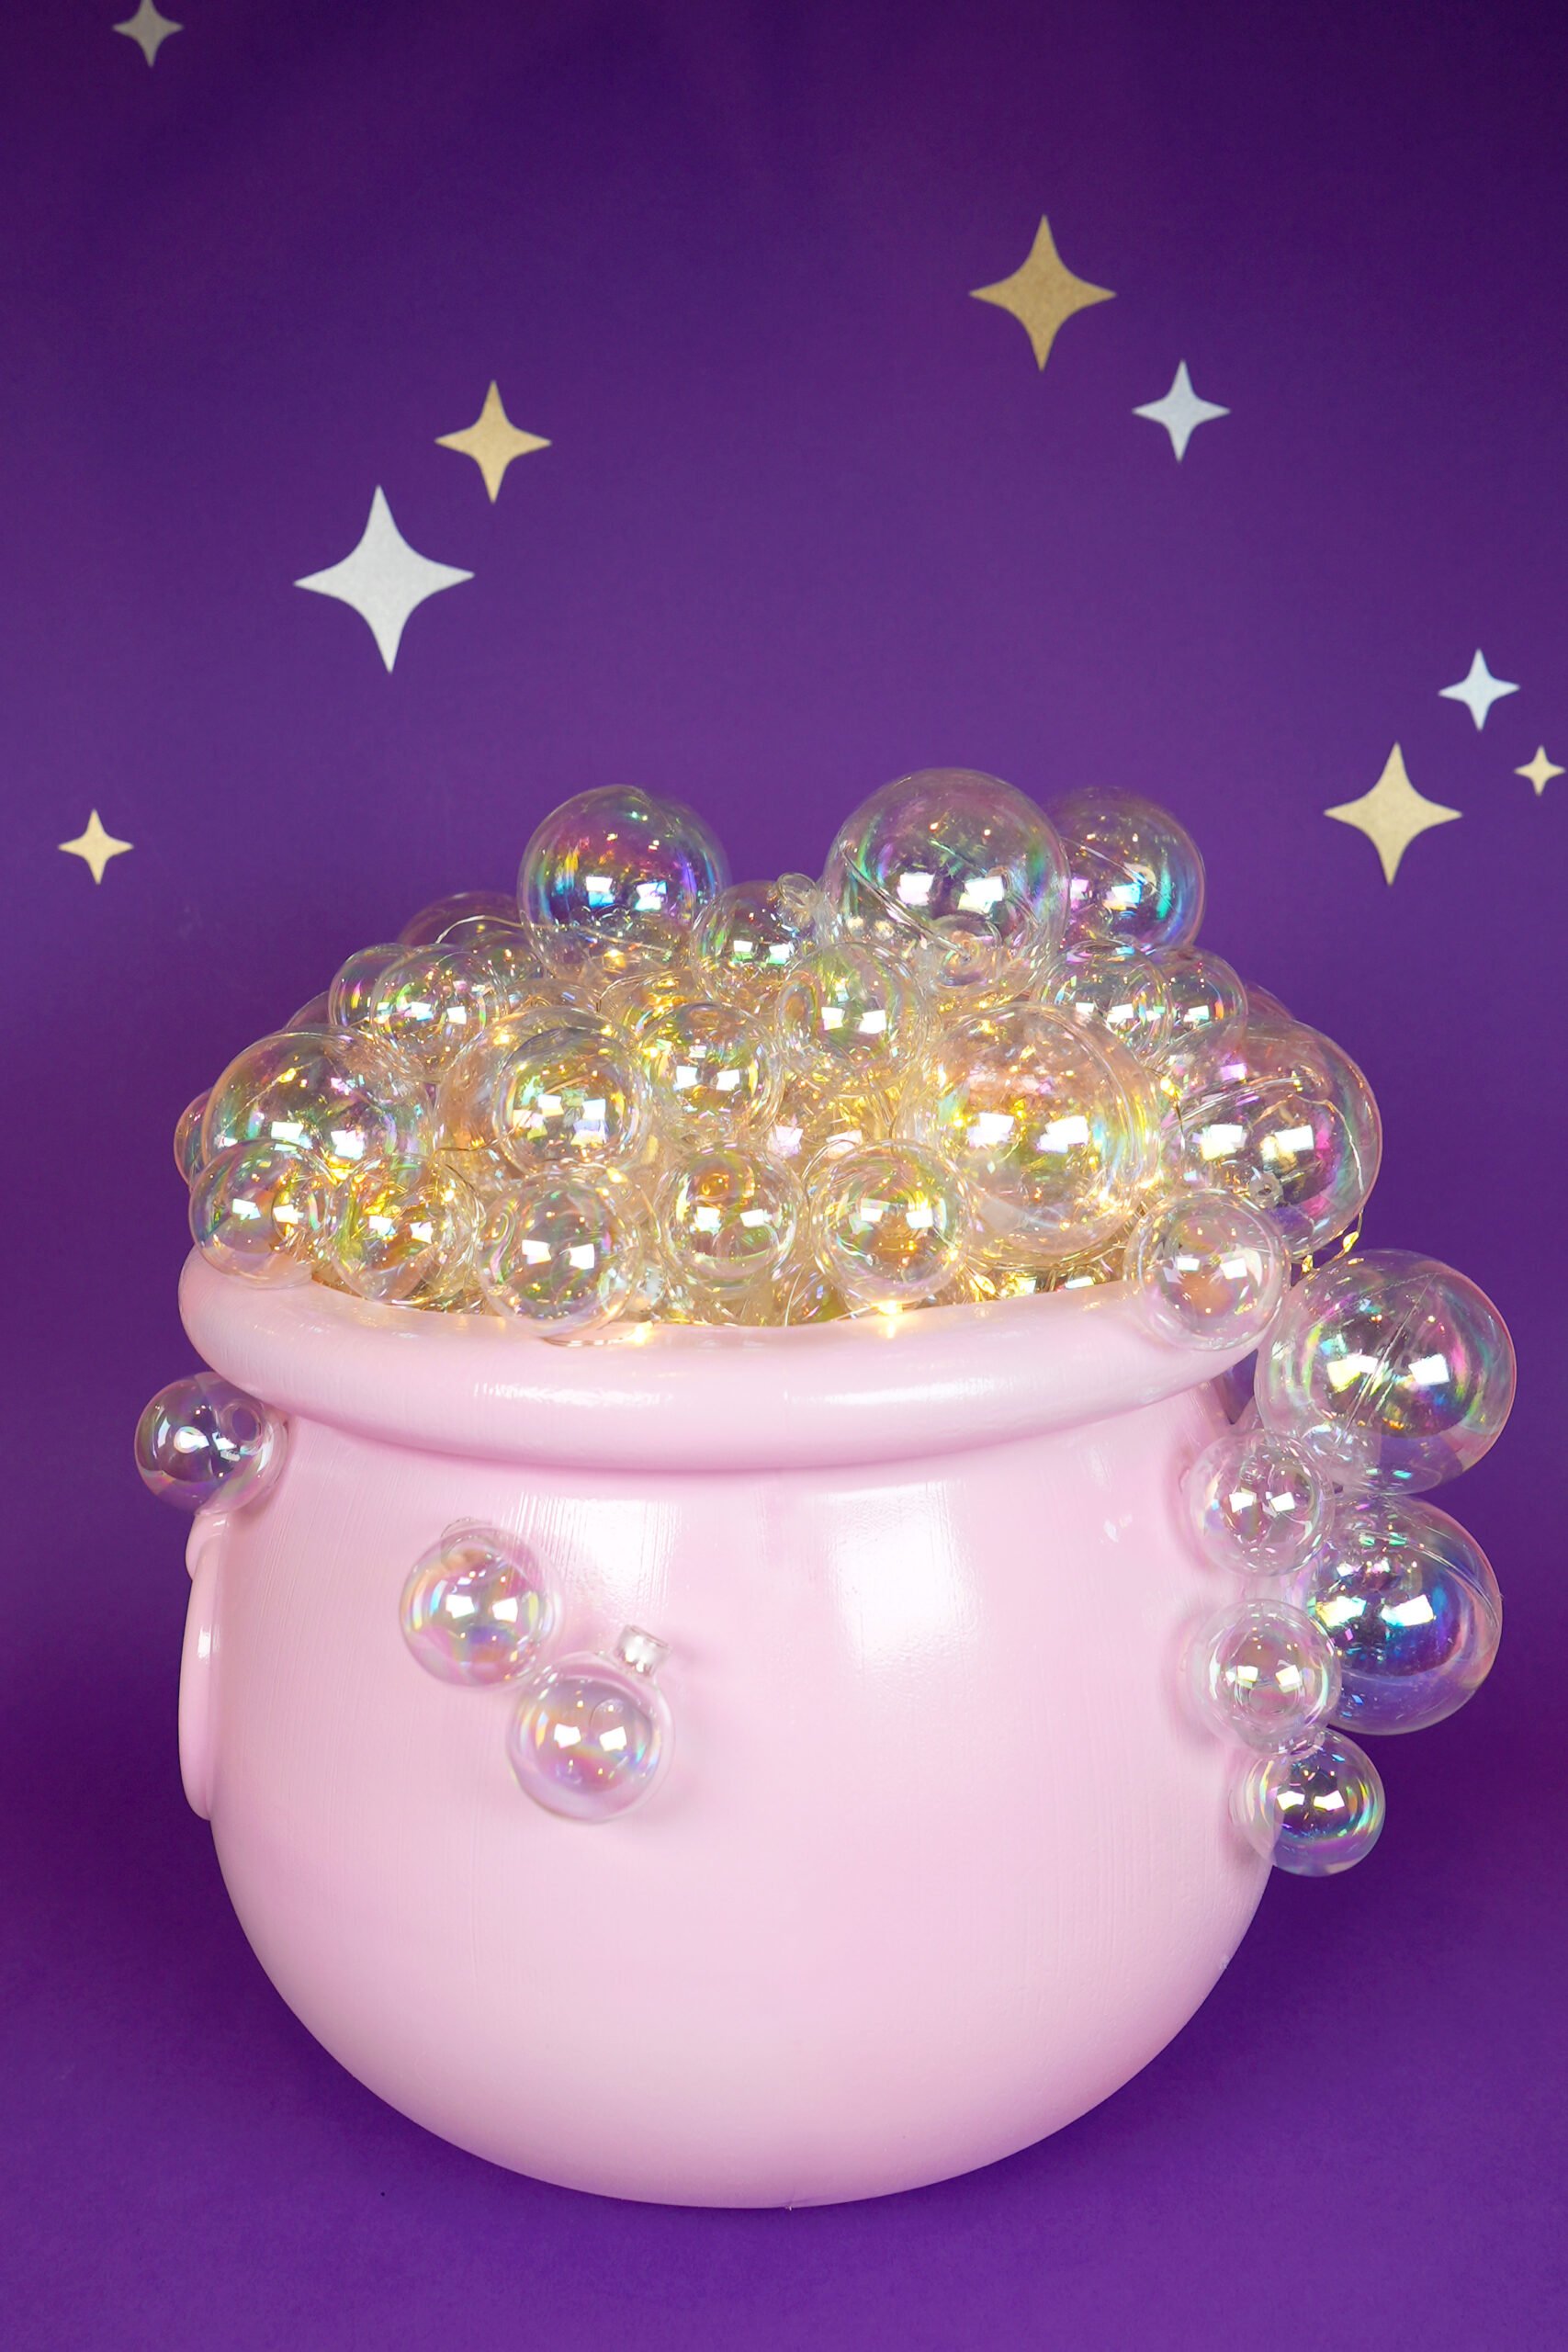
Creating a DIY bubble cauldron is a fun and spooky way to add a magical touch to your Halloween décor. This iconic decoration uses simple materials like plastic ornaments, fairy lights, and a cauldron to create the illusion of frothy, bubbling potion brewing right in your home. Whether you’re hosting a haunted house or a Halloween party or just want to impress the trick-or-treaters, this bubbling cauldron is sure to add an extra dose of Halloween magic!
Why You’ll Love This DIY Bubbling Cauldron Project:
Quick: This fun Halloween decoration can be made in around 30 minutes!
Easy: This easy project is VERY simple and forgiving – perfect for beginners!
Minimal Supplies: It only takes a few materials to make!
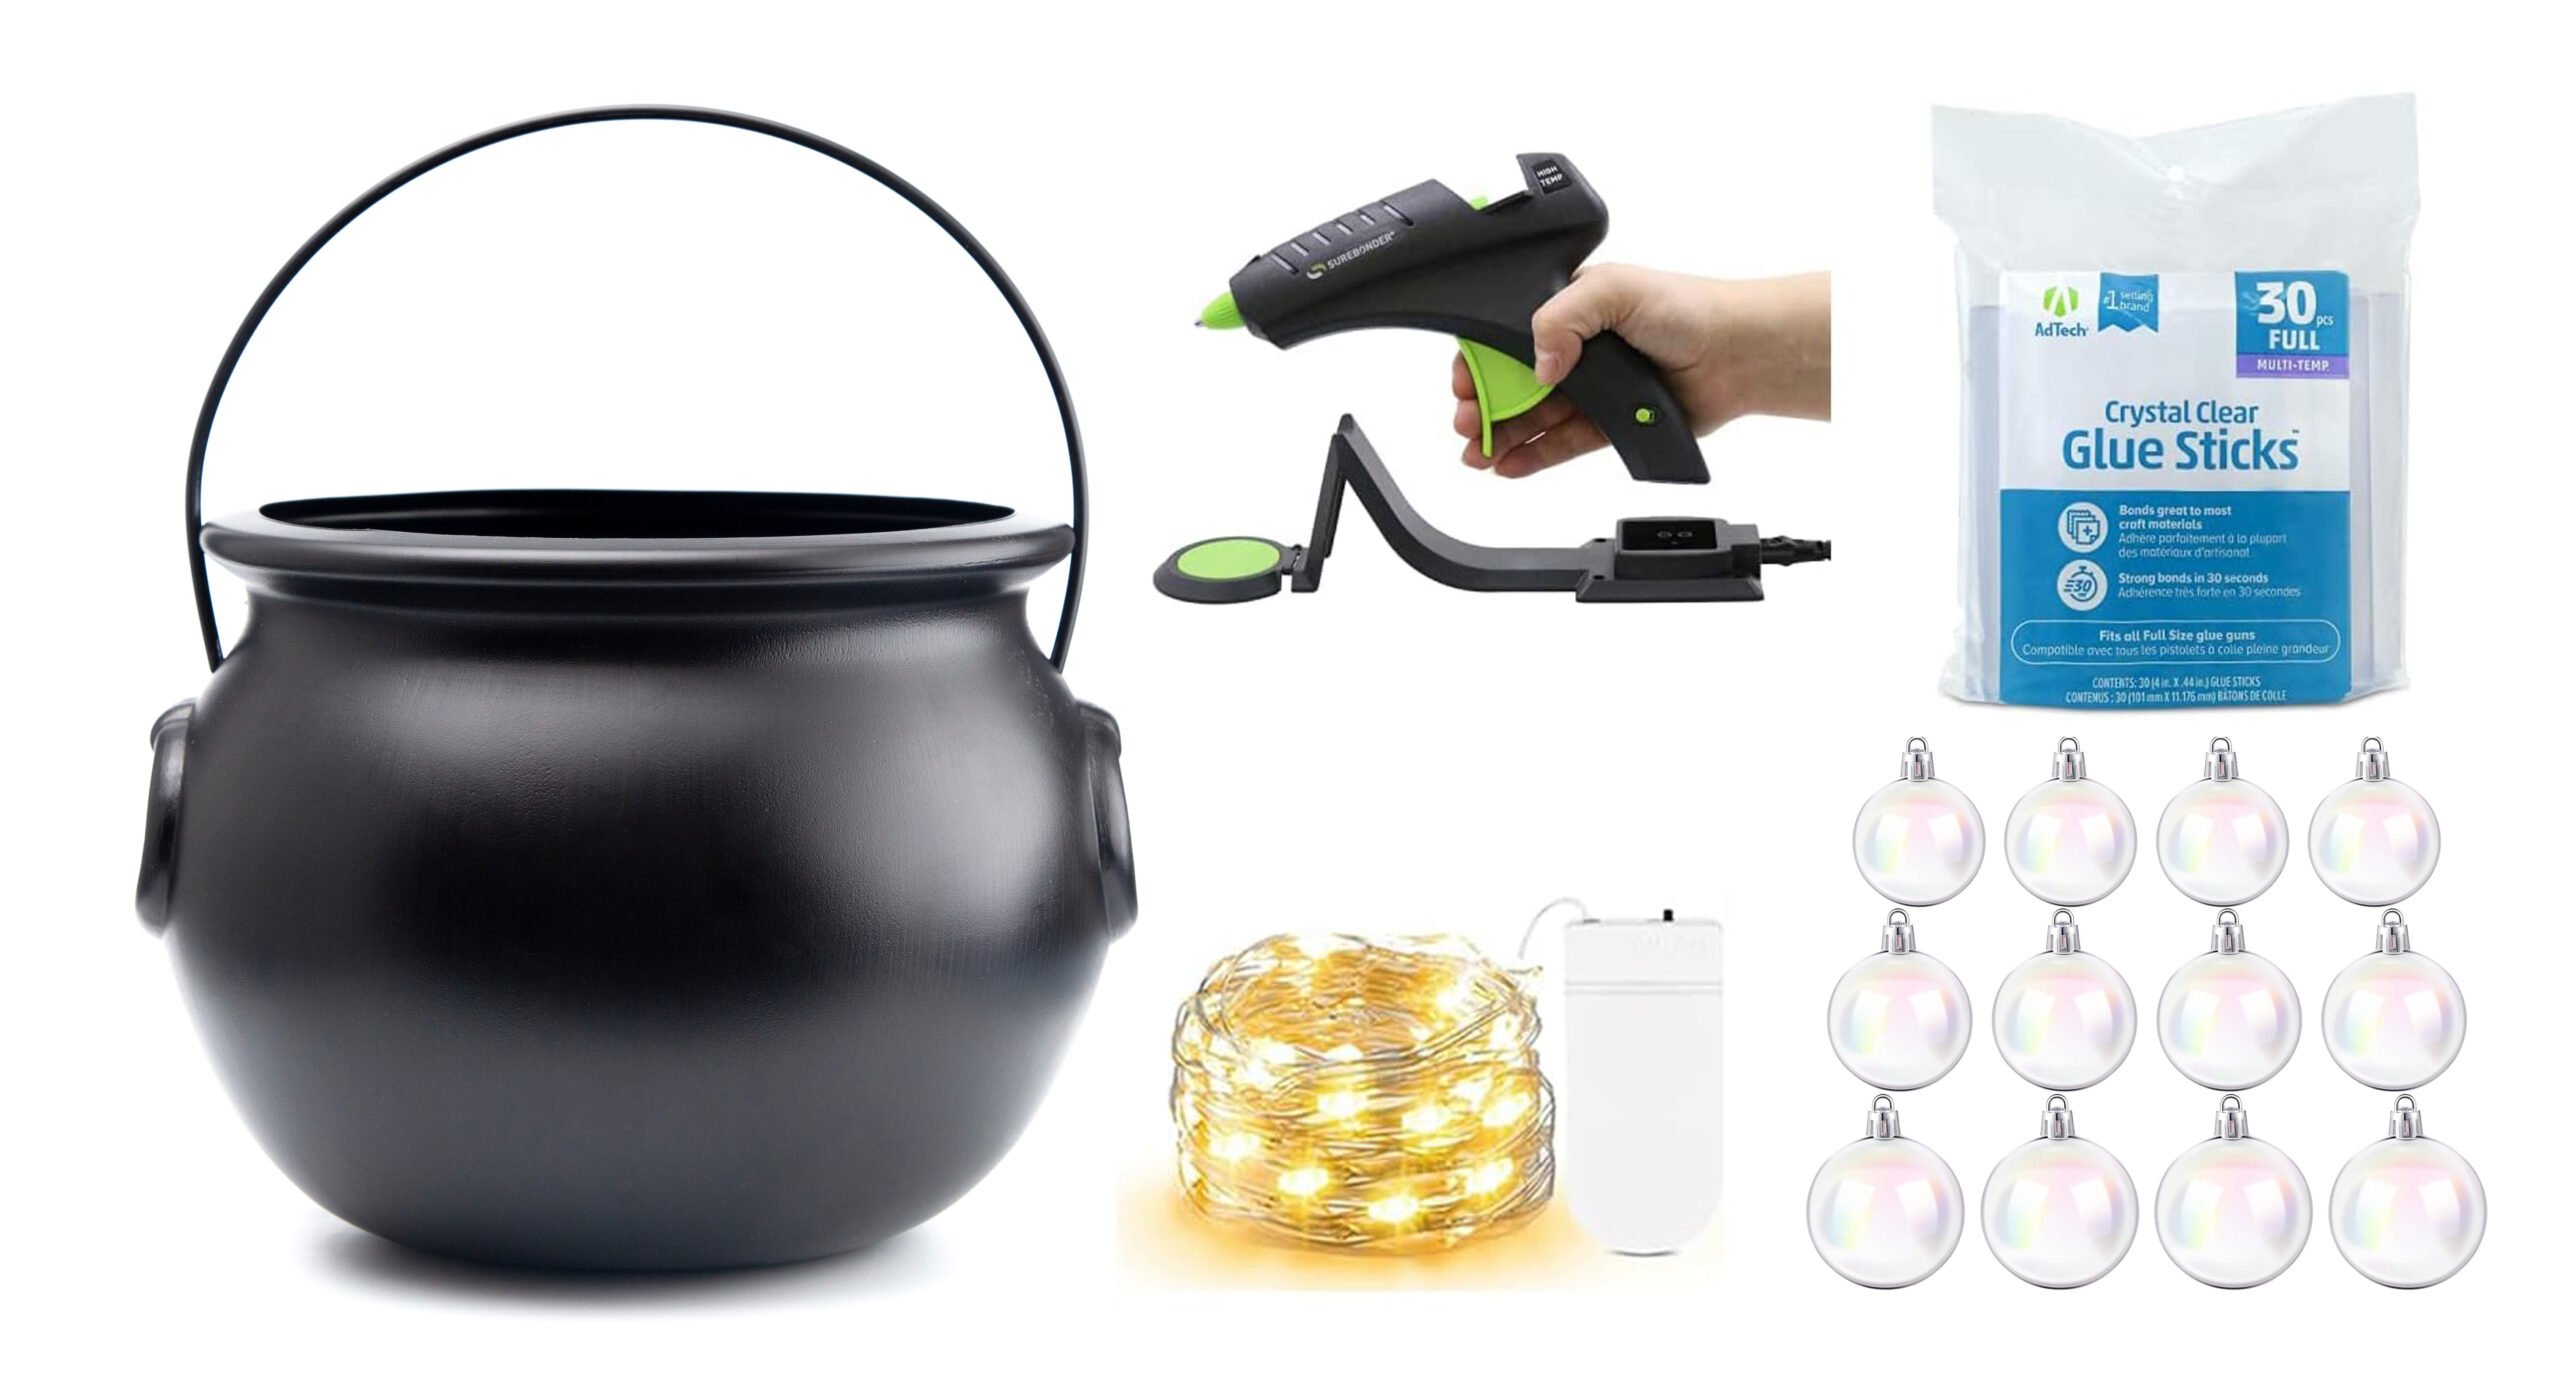
Bubble Cauldron Supplies
You will also need some sort of recyclable material to fill the cauldron. I used pieces of packing foam from a delivery I had received, but cardboard, crumpled newspapers, Styrofoam, and other similar materials would work as well.
DIY Bubbling Cauldron Video

If you prefer video tutorials, watch this quick video above to see how I made my cute bubble cauldron. Or, keep scrolling to read all about it!
How to Make a Bubbling Cauldron Decoration
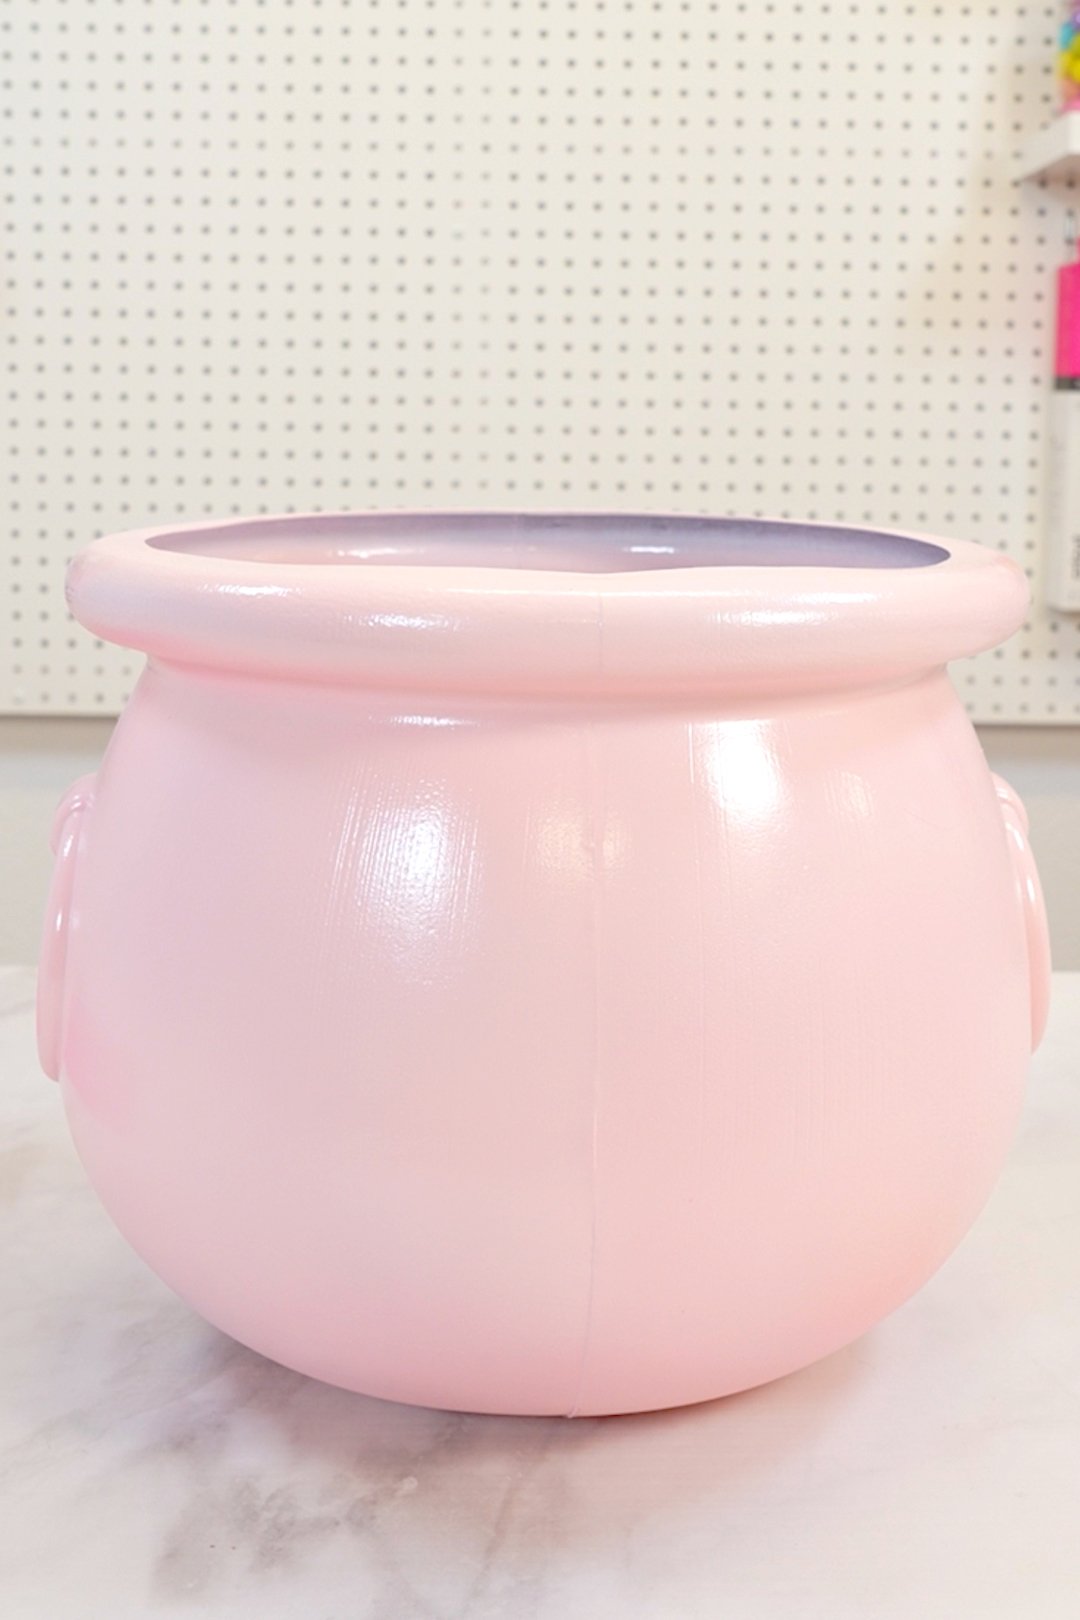
If you do not wish to keep your cauldron black, start by spray painting it in your color of choice and allowing it to dry completely. I used Rust-Oleum 2x Spray Paint in Candy Pink.
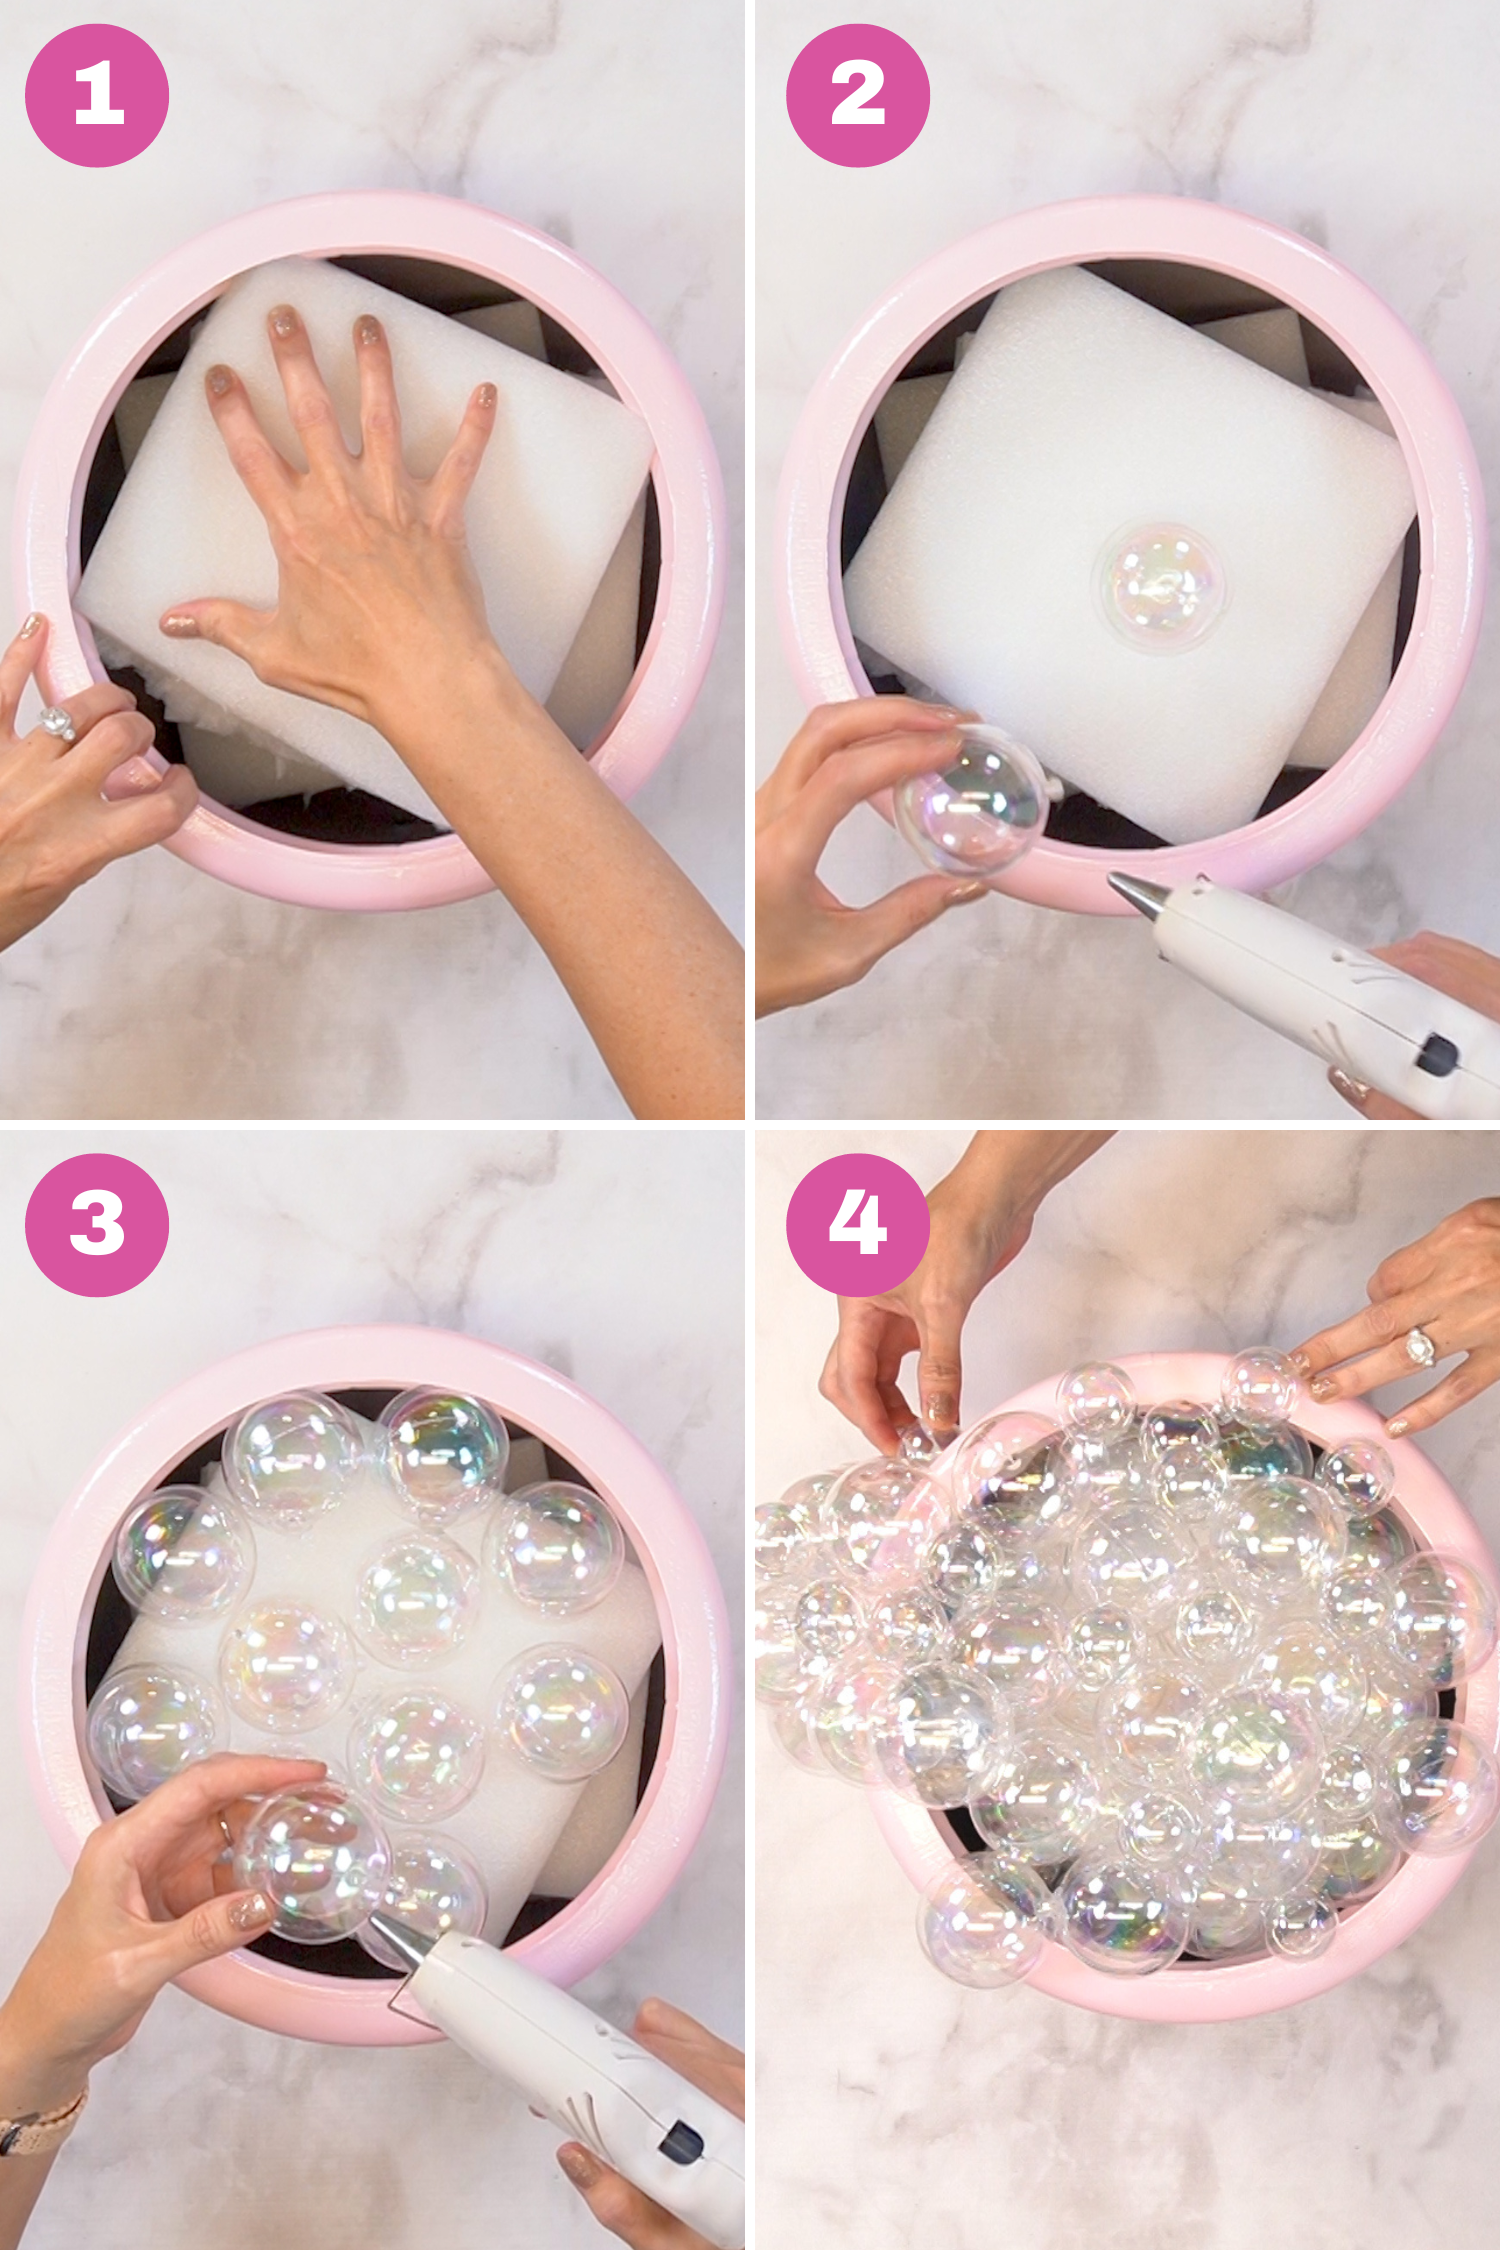
- Step 1 – Fill your cauldron with recyclable materials until it is filled to within 1″ of the top of the cauldron’s interior. It does not need to be solidly filled – just filled enough that ornaments can’t slip past the filling and down inside the cauldron.
- Step 2 – Remove the wire hangers from the ornaments. Use the hot glue gun to attach the 2.5″ ornaments to the top of your cauldron filler.
- Step 3 – Continue to add more ornaments until you have covered your filler material.
- Step 4 – Add additional layers of ornaments in both sizes to build up the cauldron’s appearance of bubbling. Be sure to place the bubbles around the rim of the cauldron and in a cascade down one side.
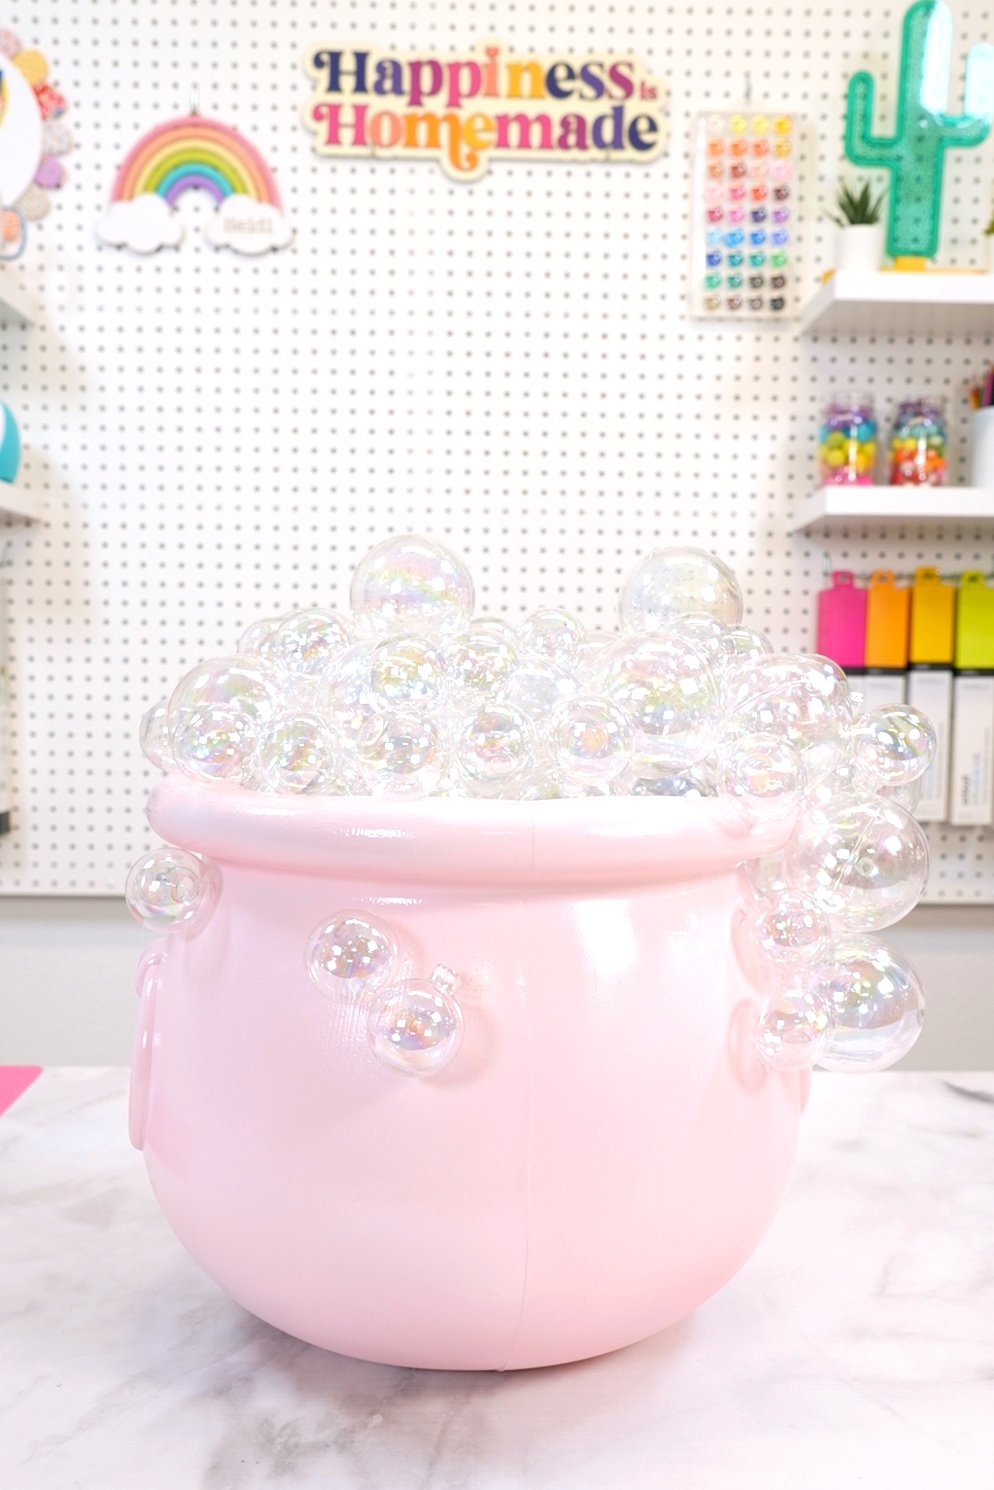
Step 5 – Add a few extra small “bubbles” to the front and sides of your cauldron.
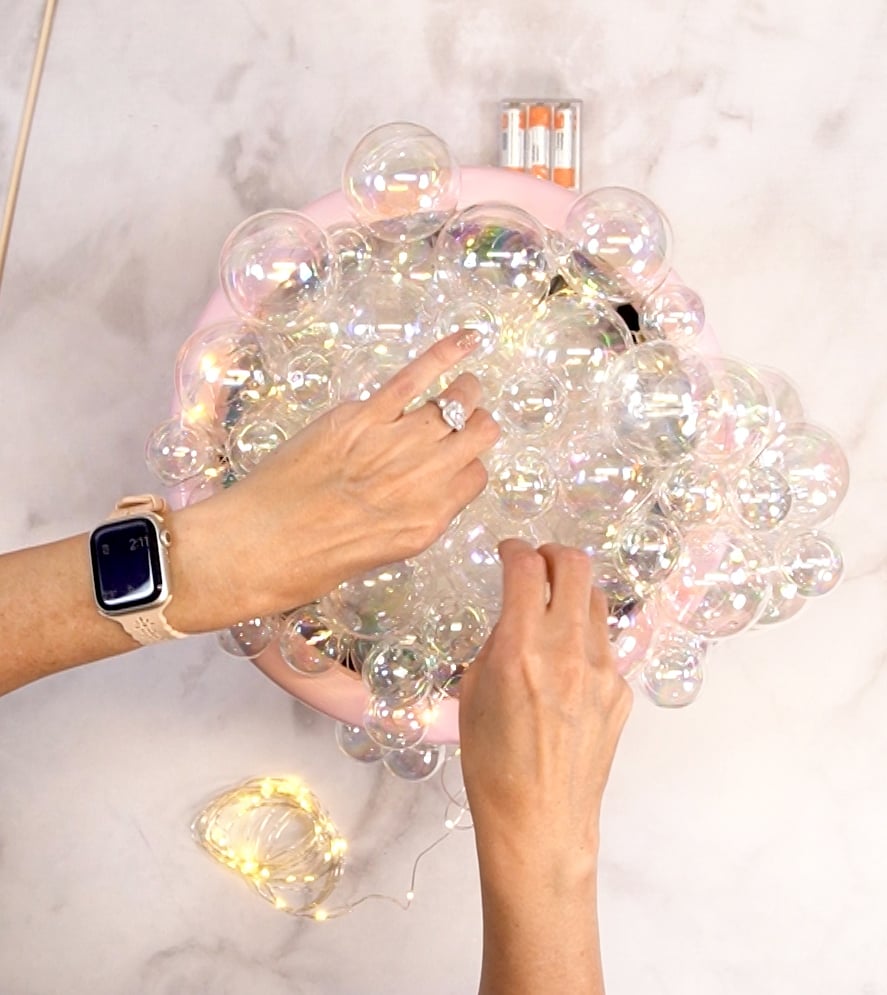
Step 6 – Weave the string of lights in between and all around the bubbles to illuminate them. If necessary, use a wooden skewer to help you push the light cording down in between the bubbles.
I used wire fairy lights that were 16 feet (5 meters) long, but I think anywhere from 10-20 feet of lights would work well.
Heidi’s Pro Tip!
If you want the cords of your fairy lights to be completely hidden within the cauldron’s bubbles, weave the strand of lights throughout the ornaments as you glue down each bubble layer, rather than adding them after all layers are in place.
I used lights with a clear cord and silver wire, so they were able to be well-hidden after building up my bubble design, but keep this in mind if you are using a conspicuous color of cord!
Additional Decorating Ideas:
Depending on your decorating style, you may want to make your bubbling cauldron a bit more cutesy or spooky. Here are a few creative ideas to make your bubble cauldron unique to you:
- Add a bow or ribbon to your cauldron! (I recommend adding your bow or ribbon before you start gluing the bubble ornaments for best results.)
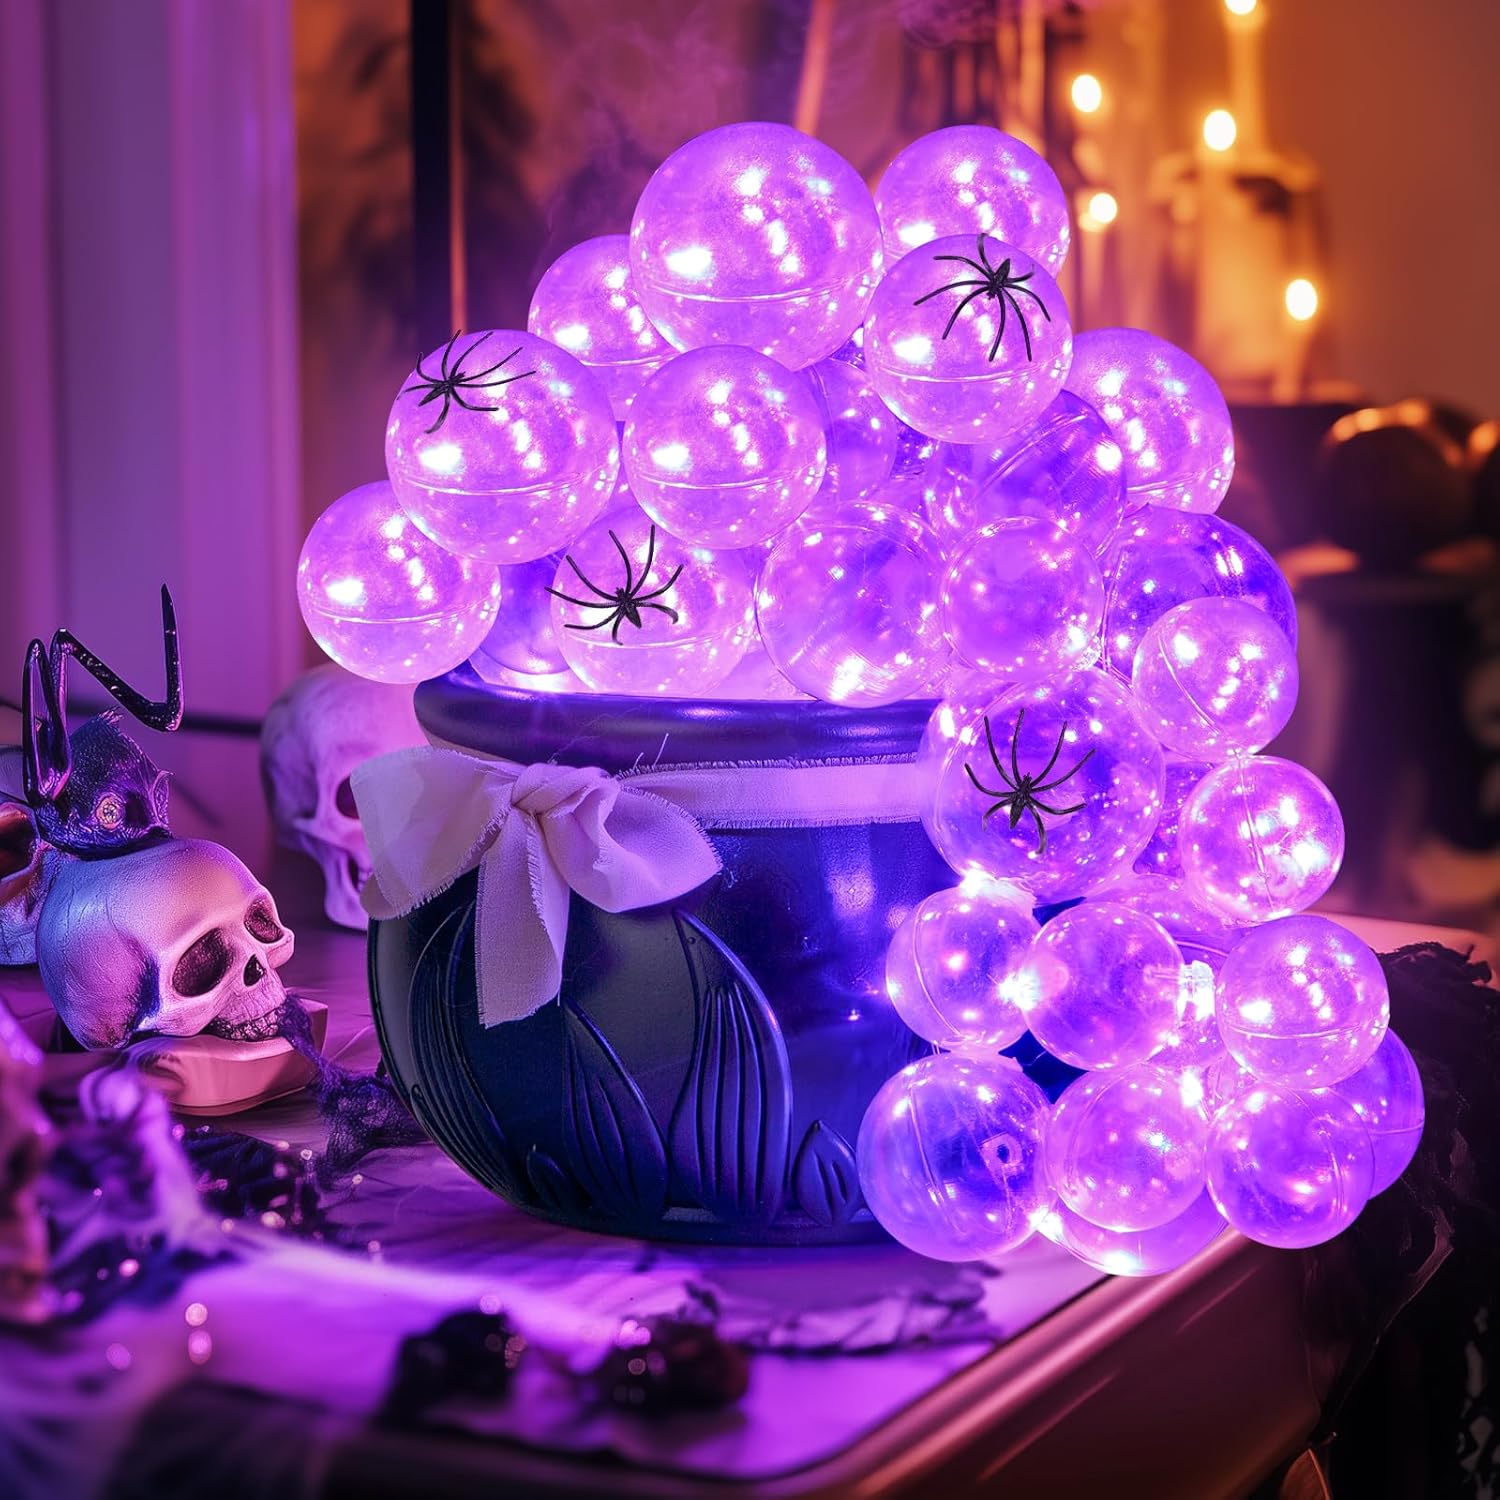
- Use colored lights – purple, green, or orange lights would make a really fun alternative!
- Make it extra spooky by adding plastic spiders and cobwebs!
- Stack multiple cauldrons in different sizes for an even bigger decorating impact!
Bubble Cauldron FAQs

Easy DIY Bubbling Cauldron
What You’ll Need:
- Plastic Cauldron, 10-20" in height
- Spray Paint, optional
- Iridescent Ball Ornaments, various sizes
- Hot Glue Gun & Glue Sticks
- Recycled Packing Material, etc.
Instructions:
- If you do not wish to keep your cauldron black, start by spray painting it in your color of choice and allowing it to dry completely.
- Fill your cauldron with recyclable materials until it is filled to within 1″ of the top of the cauldron’s interior. It does not need to be solidly filled – just filled enough that ornaments can’t slip past the filling and down inside the cauldron.
- Remove the wire hangers from the ornaments. Use the hot glue gun to attach the 2.5″ ornaments to the top of your cauldron filler.
- Add additional layers of ornaments in both sizes to build up the cauldron’s appearance of bubbling. Be sure to place the bubbles around the rim of the cauldron and in a cascade down one side. Add a few extra small “bubbles” to the front and sides of your cauldron.
- Weave the string of lights in between and all around the bubbles to illuminate them. If necessary, use a wooden skewer to help you push the light cording down in between the bubbles.
Notes:
More DIY Halloween Decorations
- Floating Candle Decorations – these easy DIY Harry Potter-inspired floating candles will add TONS of charm and ambiance to your Halloween party!
- Happy Halloween Sign – use our Ouija Board-inspired SVG design to create your own spooky Halloween sign!
- Halloween Felt Banner – use your cutting machine to make this fun and festive felt Halloween banner!
- Outdoor Halloween Decorations – spook-ify your home’s exterior with these fun outdoor Halloween decorating ideas!
Check Out These Other Halloween Ideas!


Heidi Kundin has captivated the hearts of millions with her colorful and inspiring approach to crafting, celebrations, and family fun. With over 15 years of experience, Happiness is Homemade has become a must-visit destination for those seeking quick and easy creative ideas and last-minute solutions. Heidi’s warm personality shines through her posts, inviting readers to join her on a creative journey that’s fun, rewarding, and achievable. Heidi is also the author of Homemade Bath Bombs & More and DIY Tie-Dye.