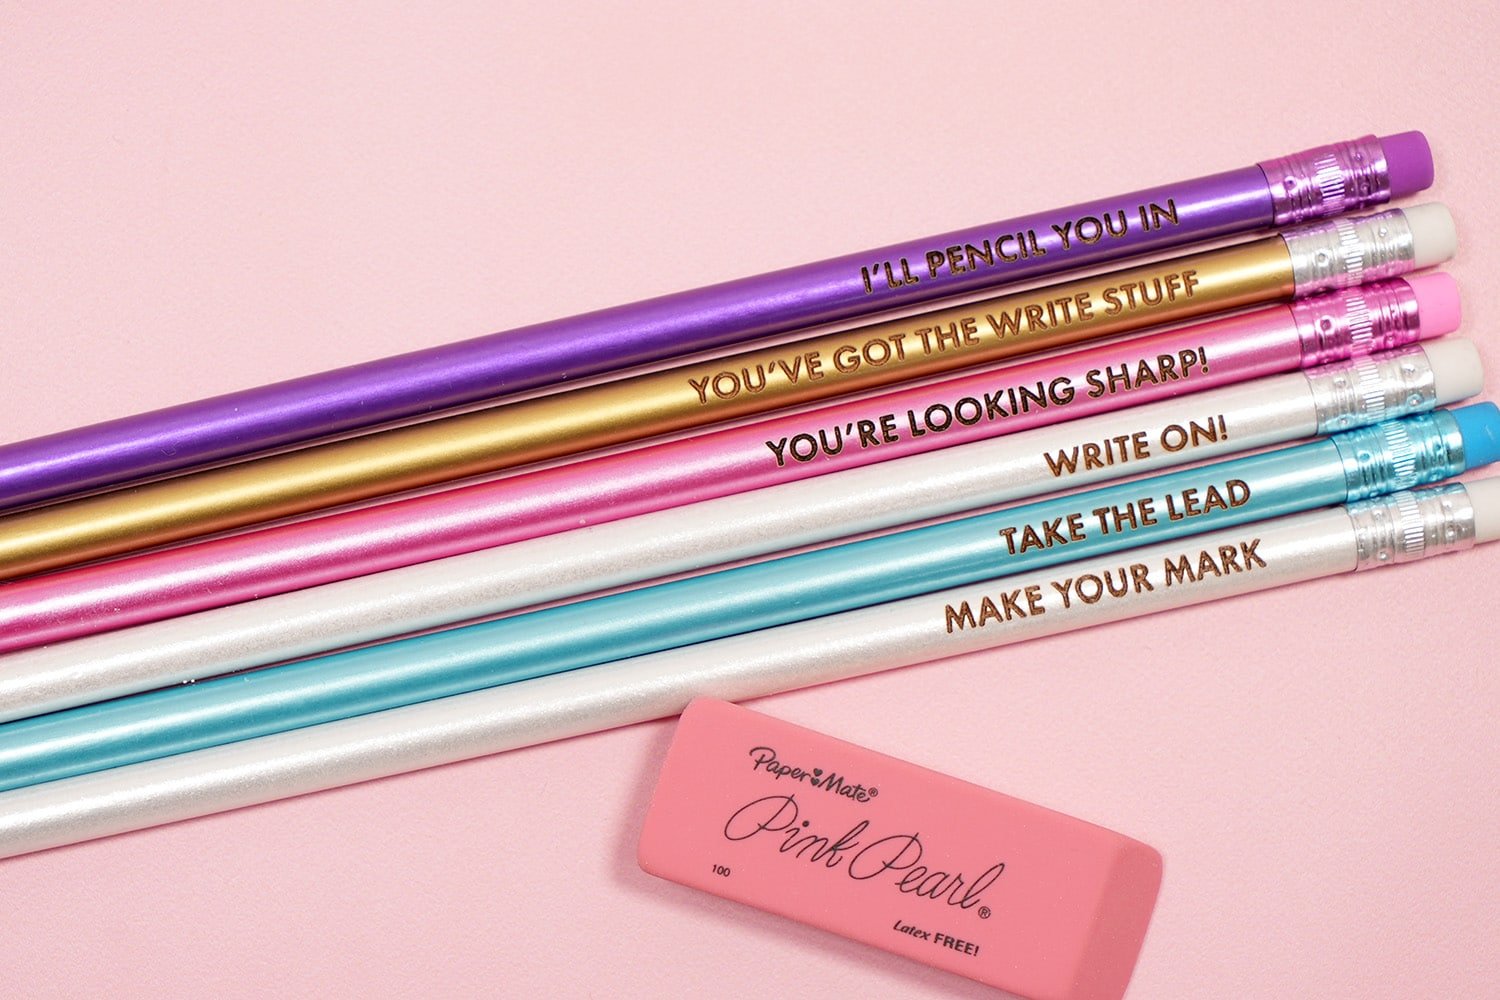
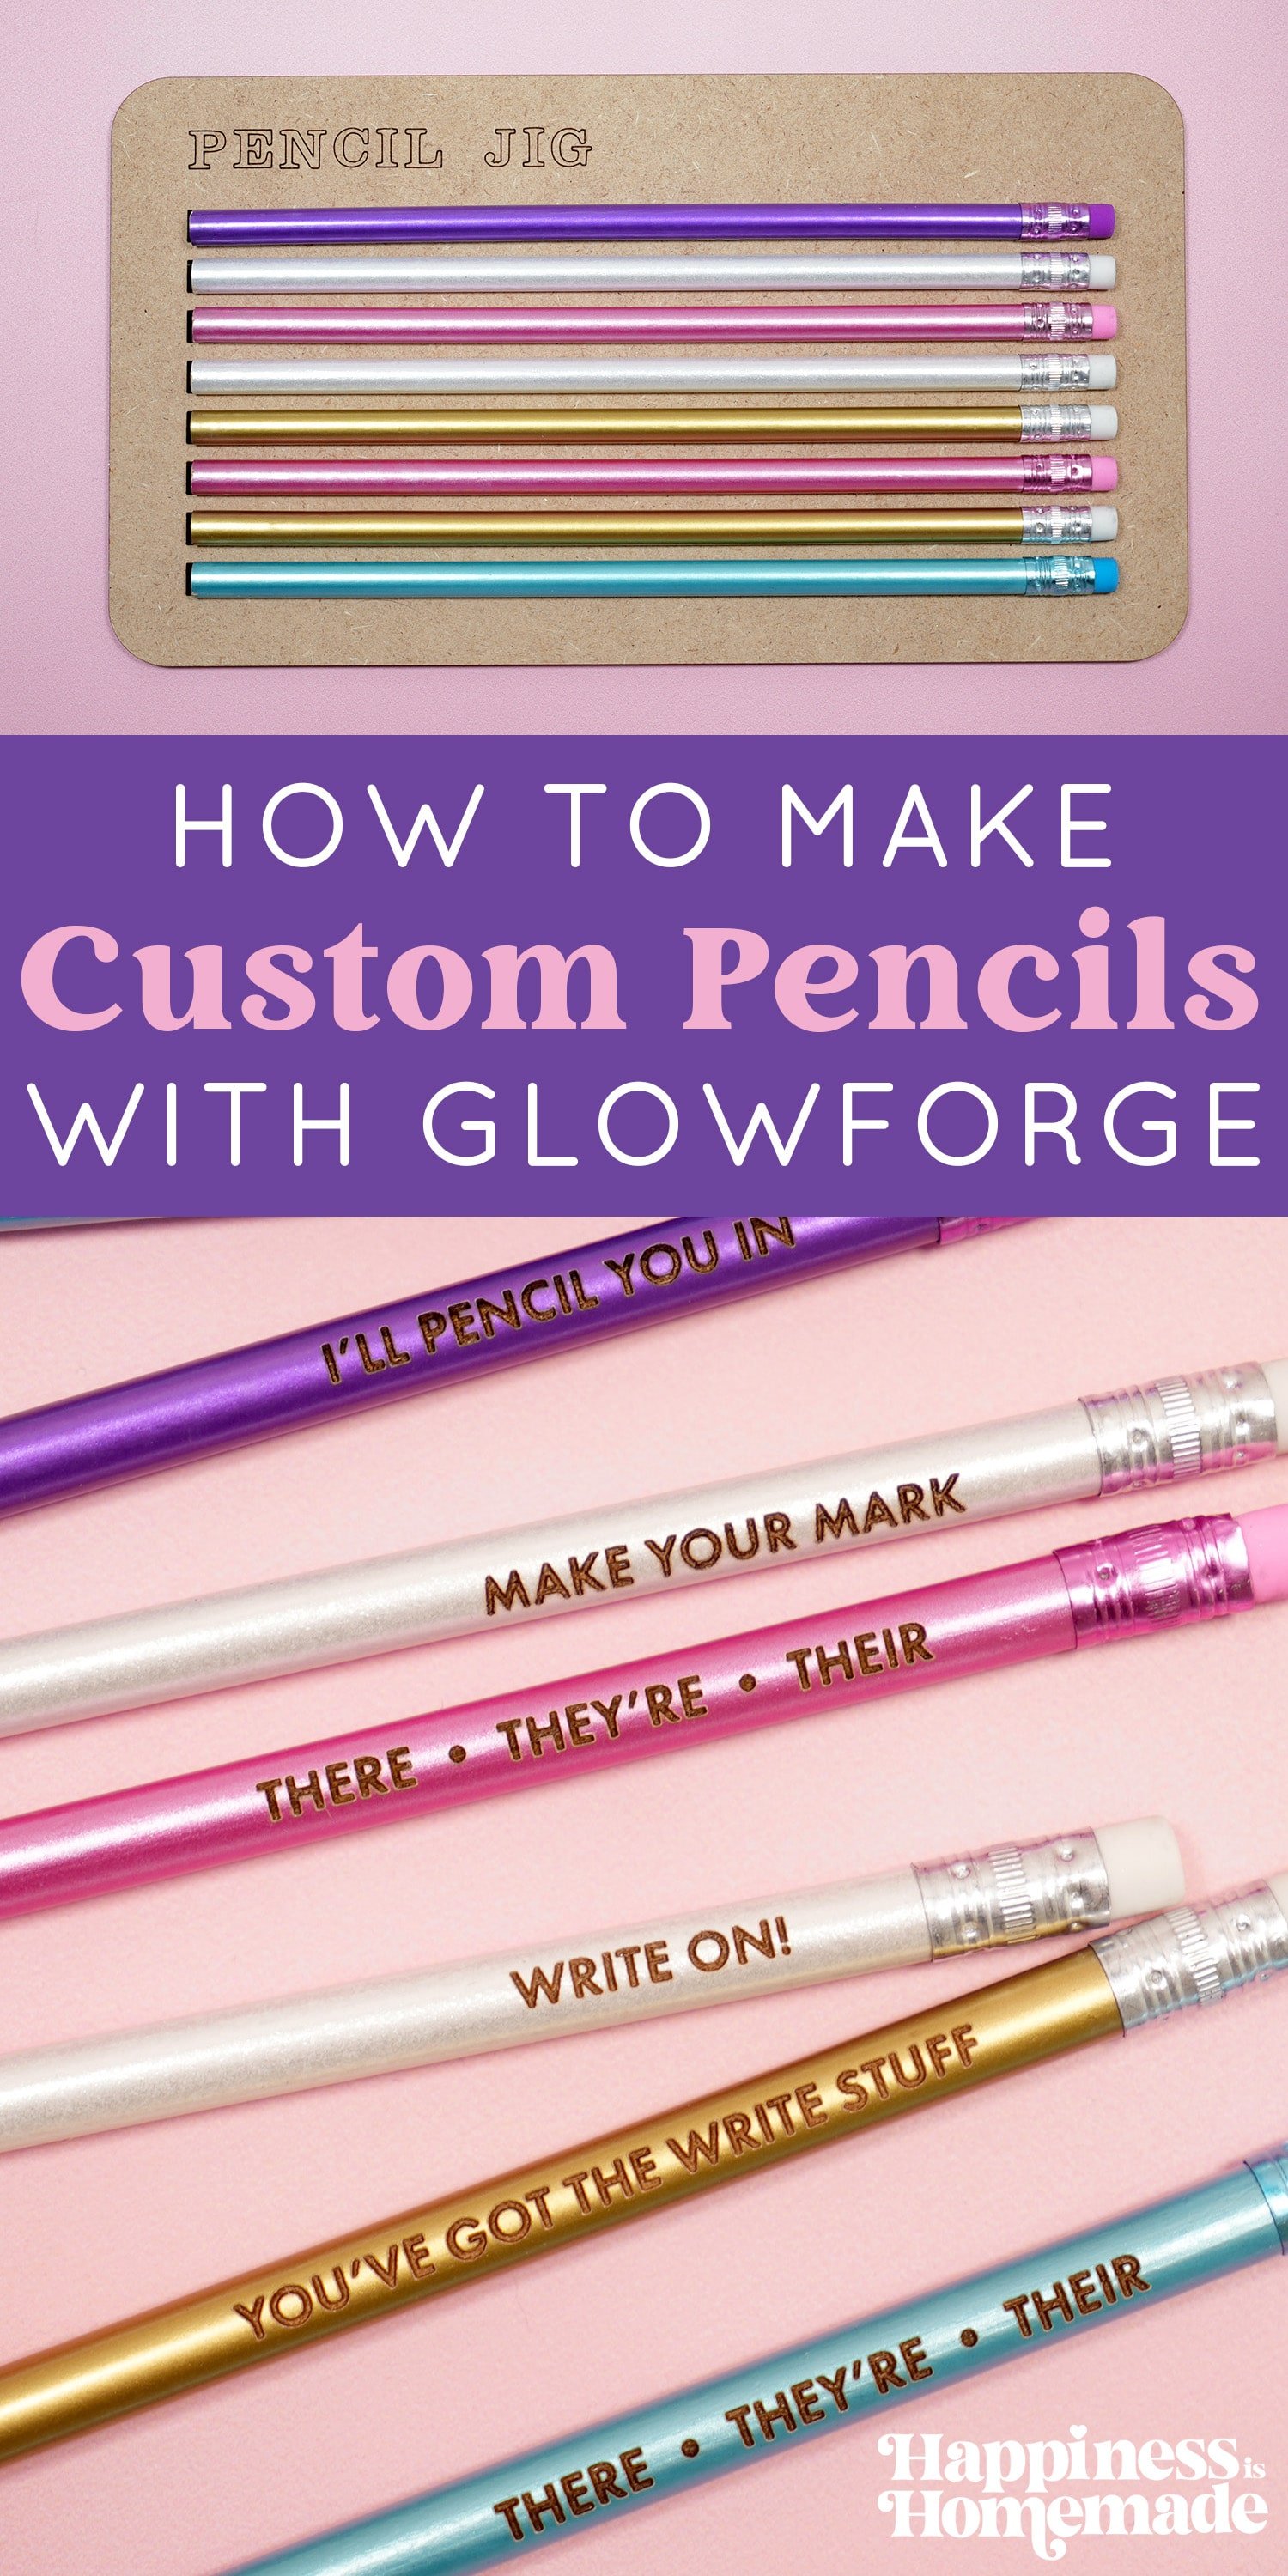
Learn how to make engraved custom pencils with your Glowforge laser and our free pencil jig SVG! Make personalized pencils for all occasions!
This post may contain affiliate links. I will receive a small commission from these sales at no additional cost to you!
Learn how to make custom laser-engraved pencils with a Glowforge! Plus, learn our tricks for perfect pencils every time!
Personalized pencils are a fun and easy DIY gift idea – perfect for Back-to-School, teacher gifts, stocking stuffers, and more!
If you don’t have a Glowforge yet and are considering a purchase, make sure to read our guide to Everything You Need to Know Before Buying a Glowforge for lots of helpful information and a Glowforge discount that can save you up to $500 on your Glowforge!
Check Out These Other Glowforge Projects!

How to Make Custom Pencils with Glowforge
Supplies Needed:
- Glowforge (Basic, Plus, or Pro – all will work!)
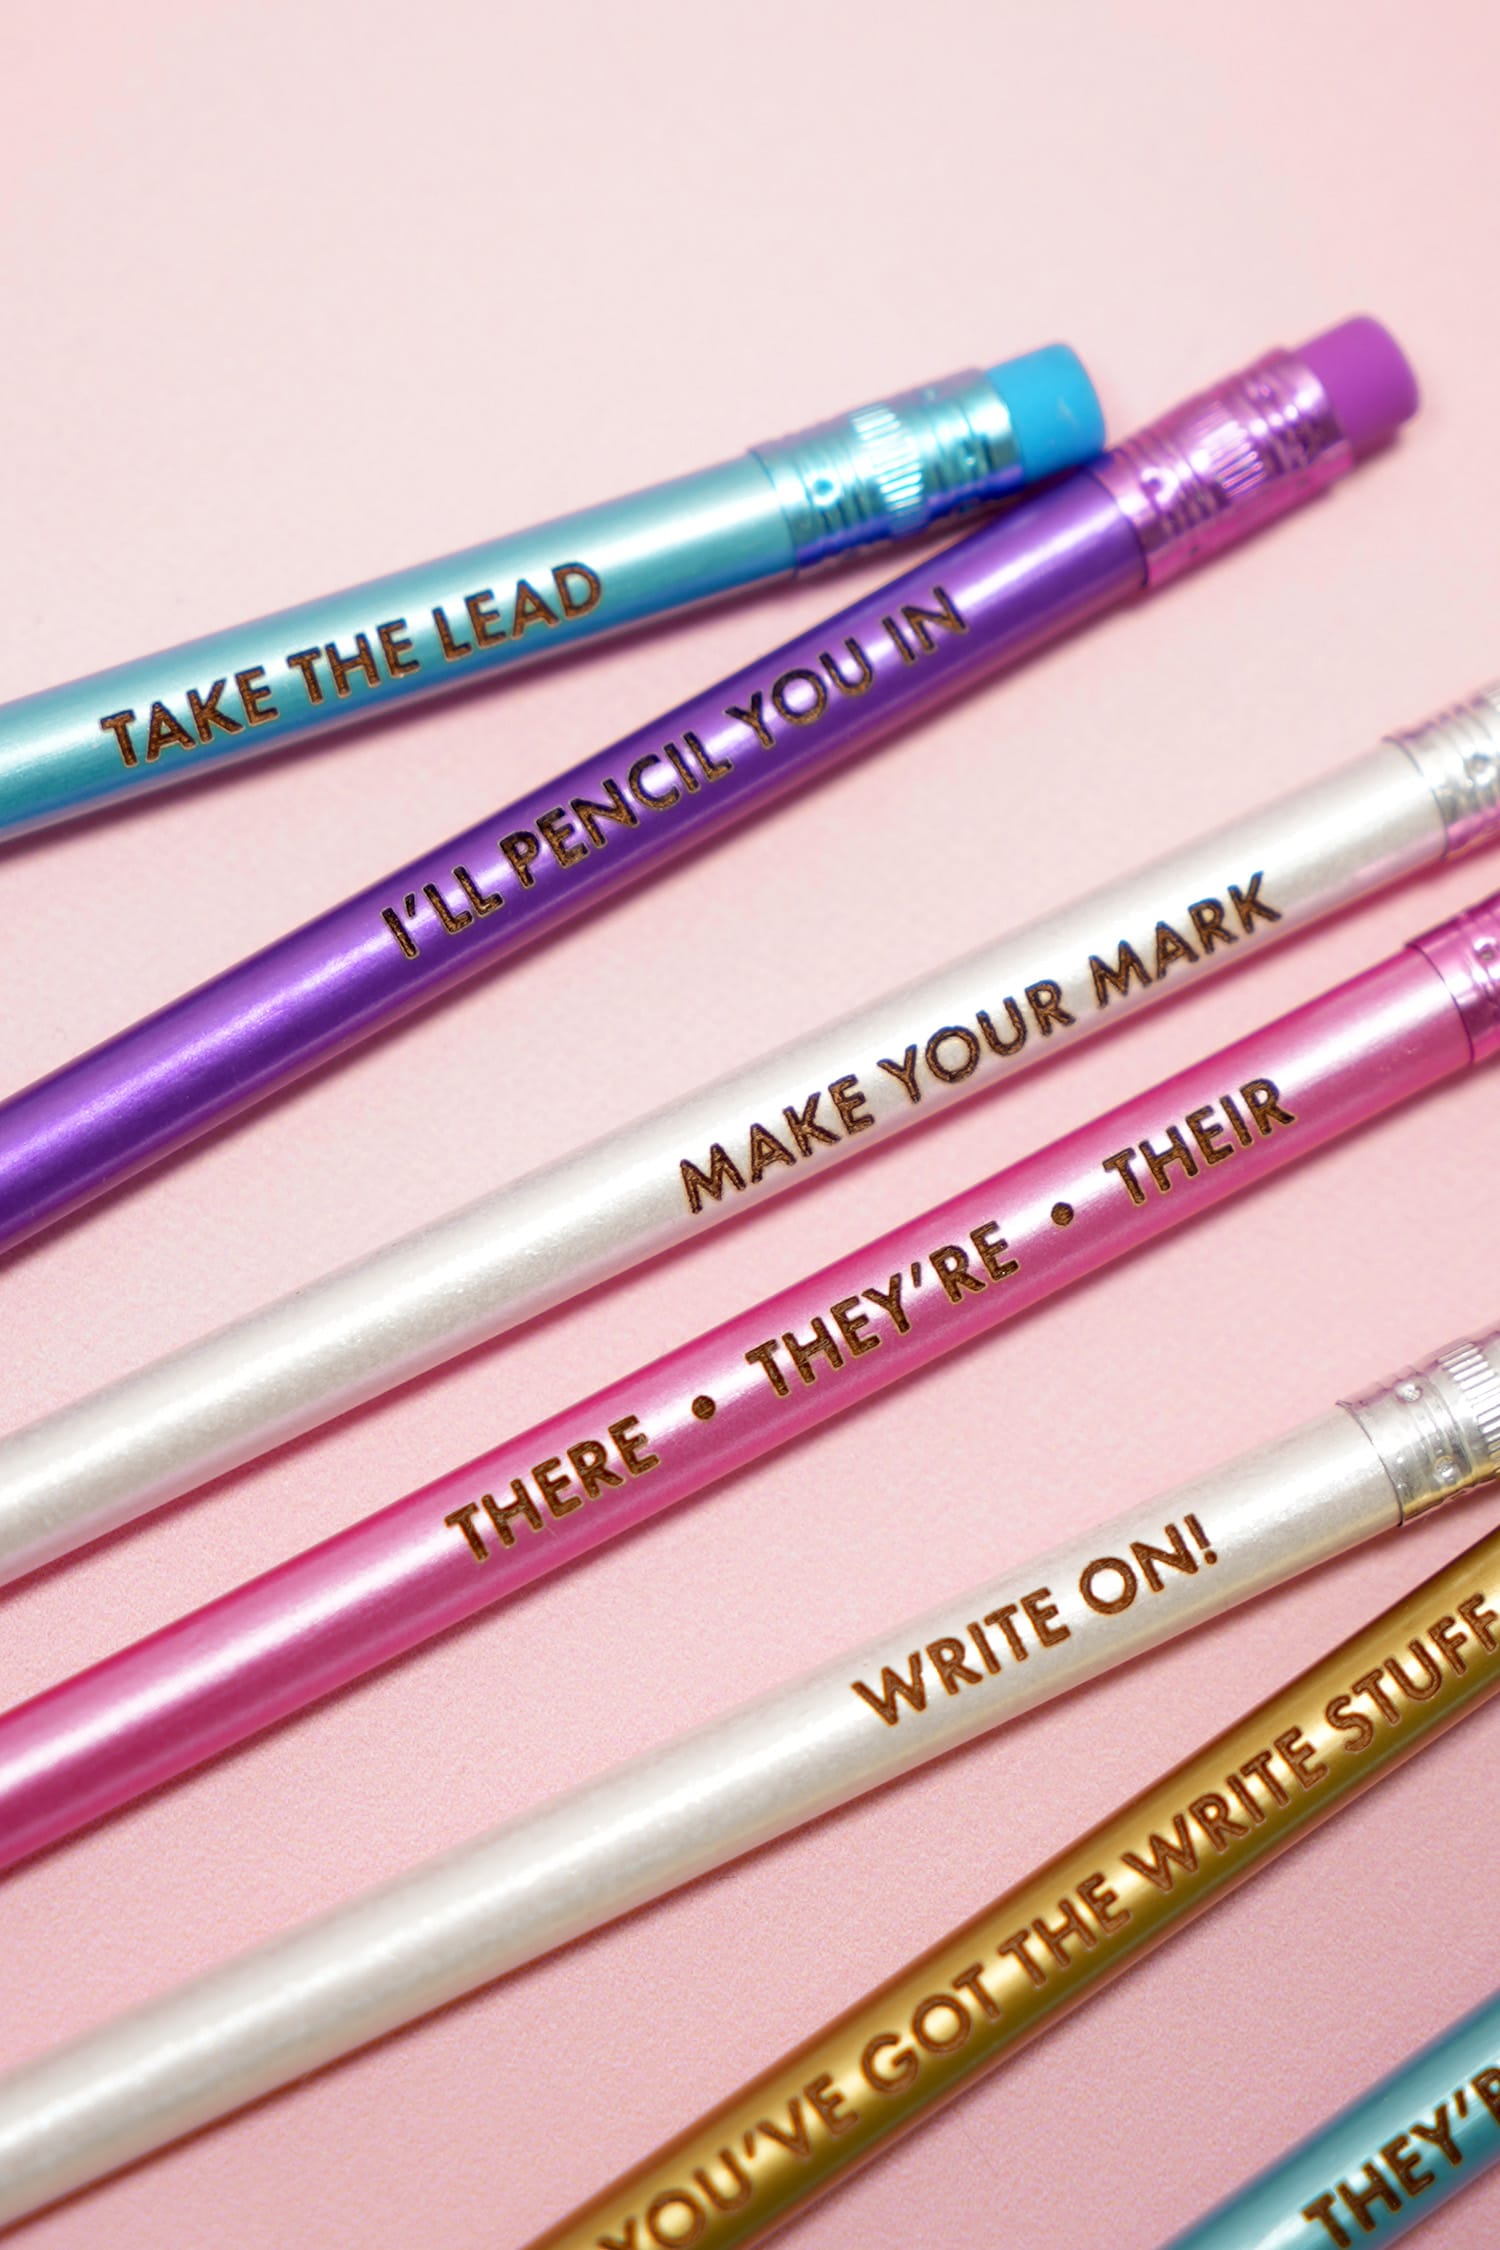
- Wood Pencils (I used these colorful pencils from Amazon – they’re marketed as holographic, but they’re more pearlescent, if you ask me!)
- 1/8″ MDF for Pencil Jig
- Pencil Jig SVG File (available below)
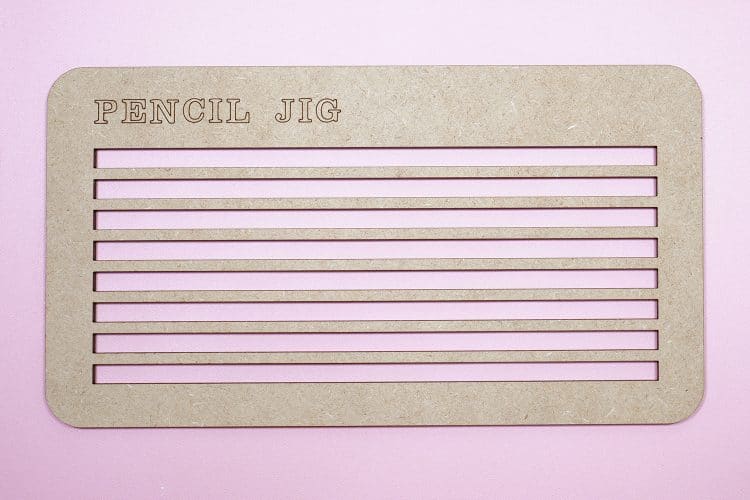
The very first step in creating custom pencils is to create a pencil jig which will allow you to position the pencils and keep them perfectly still and aligned during the engraving process. For cost effectiveness, I recommend using MDF or draft board to create the jig, but you could also use wood or acrylic as well.
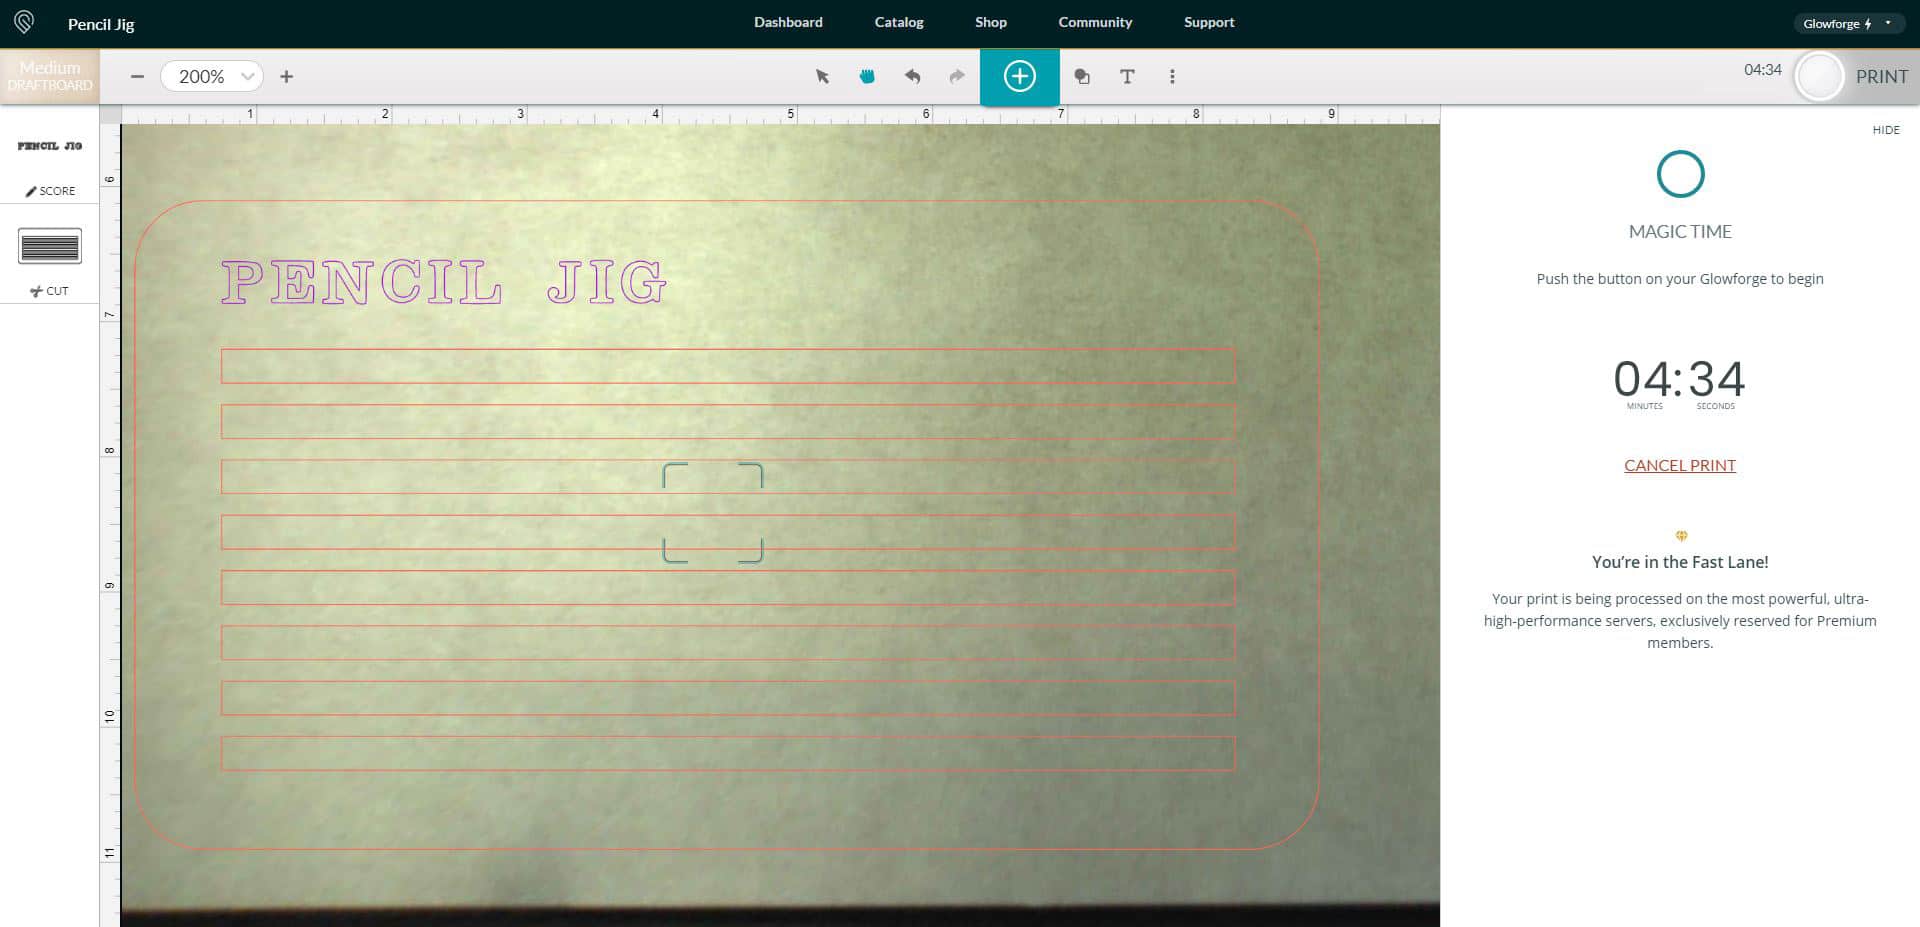
Upload the pencil jig SVG file into the Glowforge Print App software, set the cut settings for your material of choice, and click “print” to begin cutting your pencil jig.
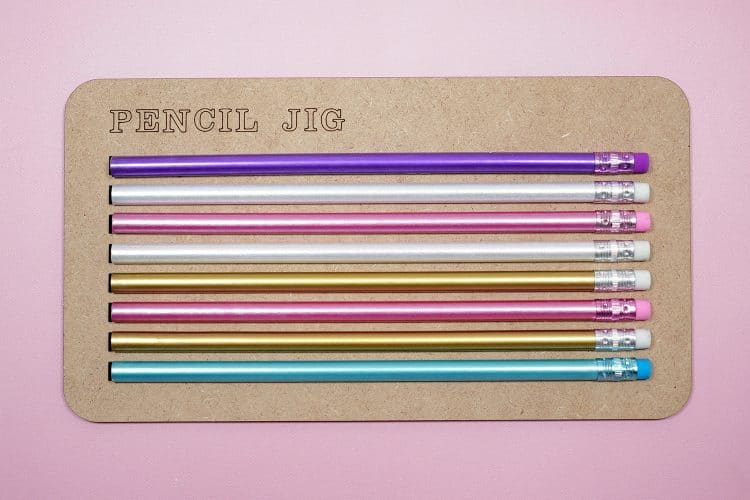
Next, place your pencils into the jig – you can position them with the eraser on the right or left hand side, either works – and set the jig and pencils inside the bed of the Glowforge.
Note: I do not usually mask my pencils before engraving as any faint post-engraving residue typically wipes off easily with a baby wipe.
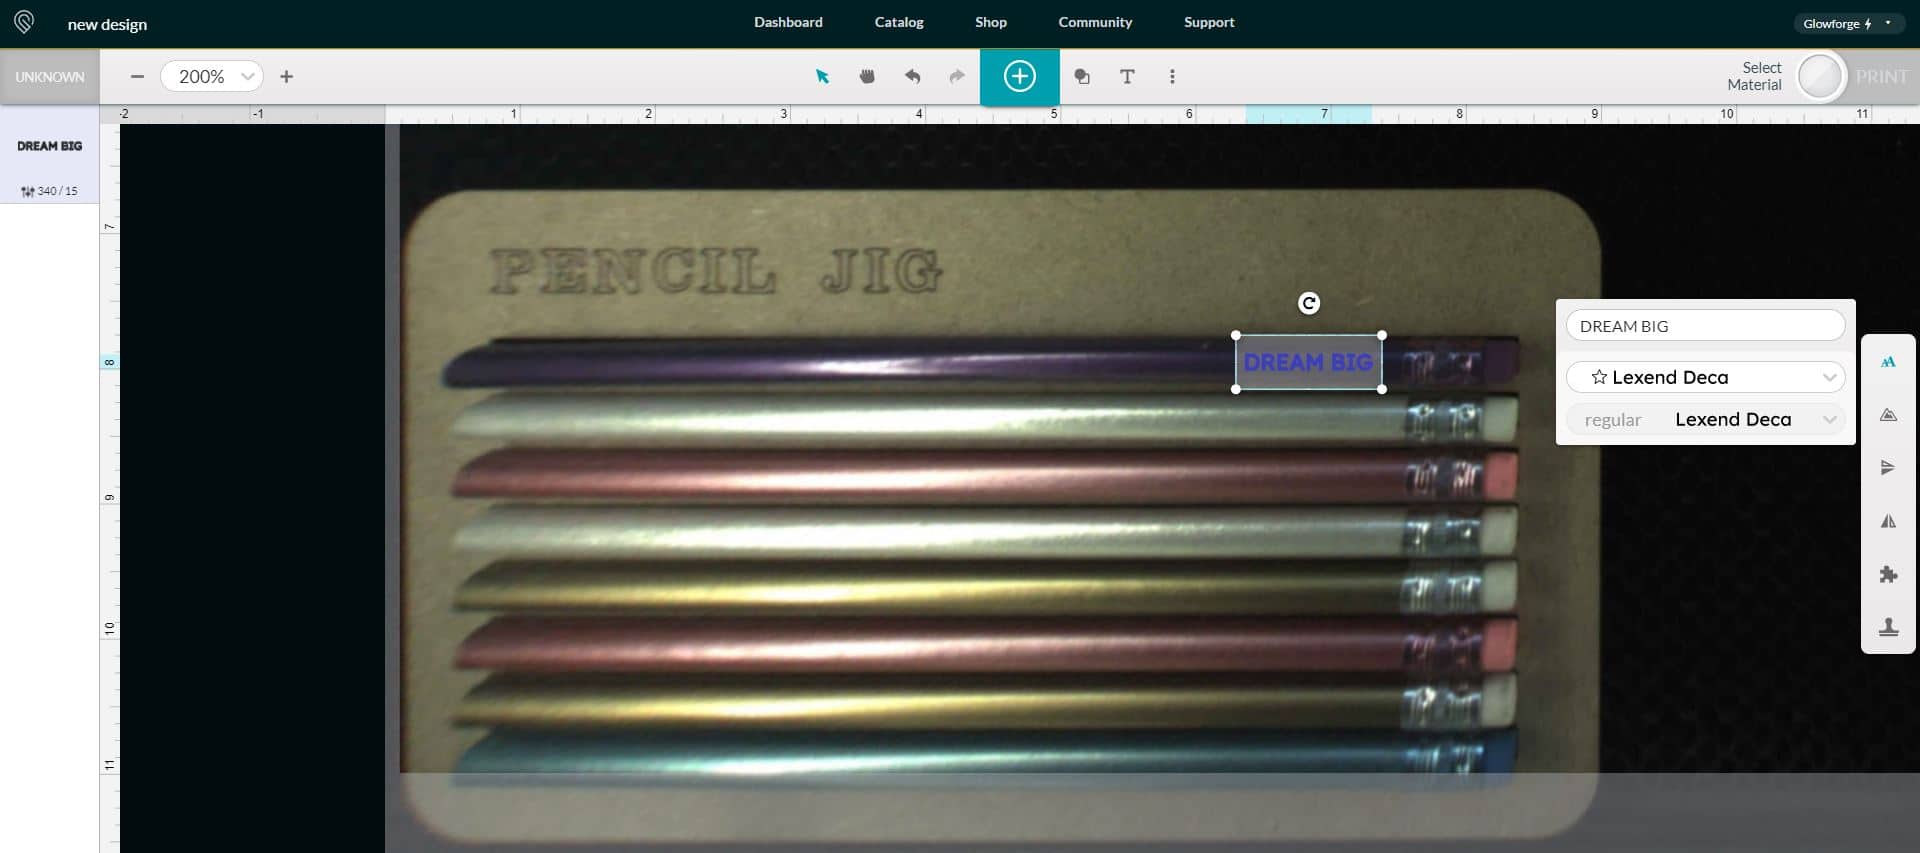
Open up the Glowforge Print App, and the camera will show you an image of your pencils and jig in the machine. If you have a subscription to Glowforge Premium, you can add text to your pencils by simply inserting a text box into the project in the Glowforge Print App as shown above and using the engrave setting.
However, as you can also see, the fisheye lens of the Glowforge’s camera causes some distortion to the shape of the pencils in the software image (see how that purple pencil seems to be sticking up on the left hand side? In actuality, it’s perfectly flat and normal). This can sometimes make sizing and positioning the text tricky, especially when working with large batches of pencils.
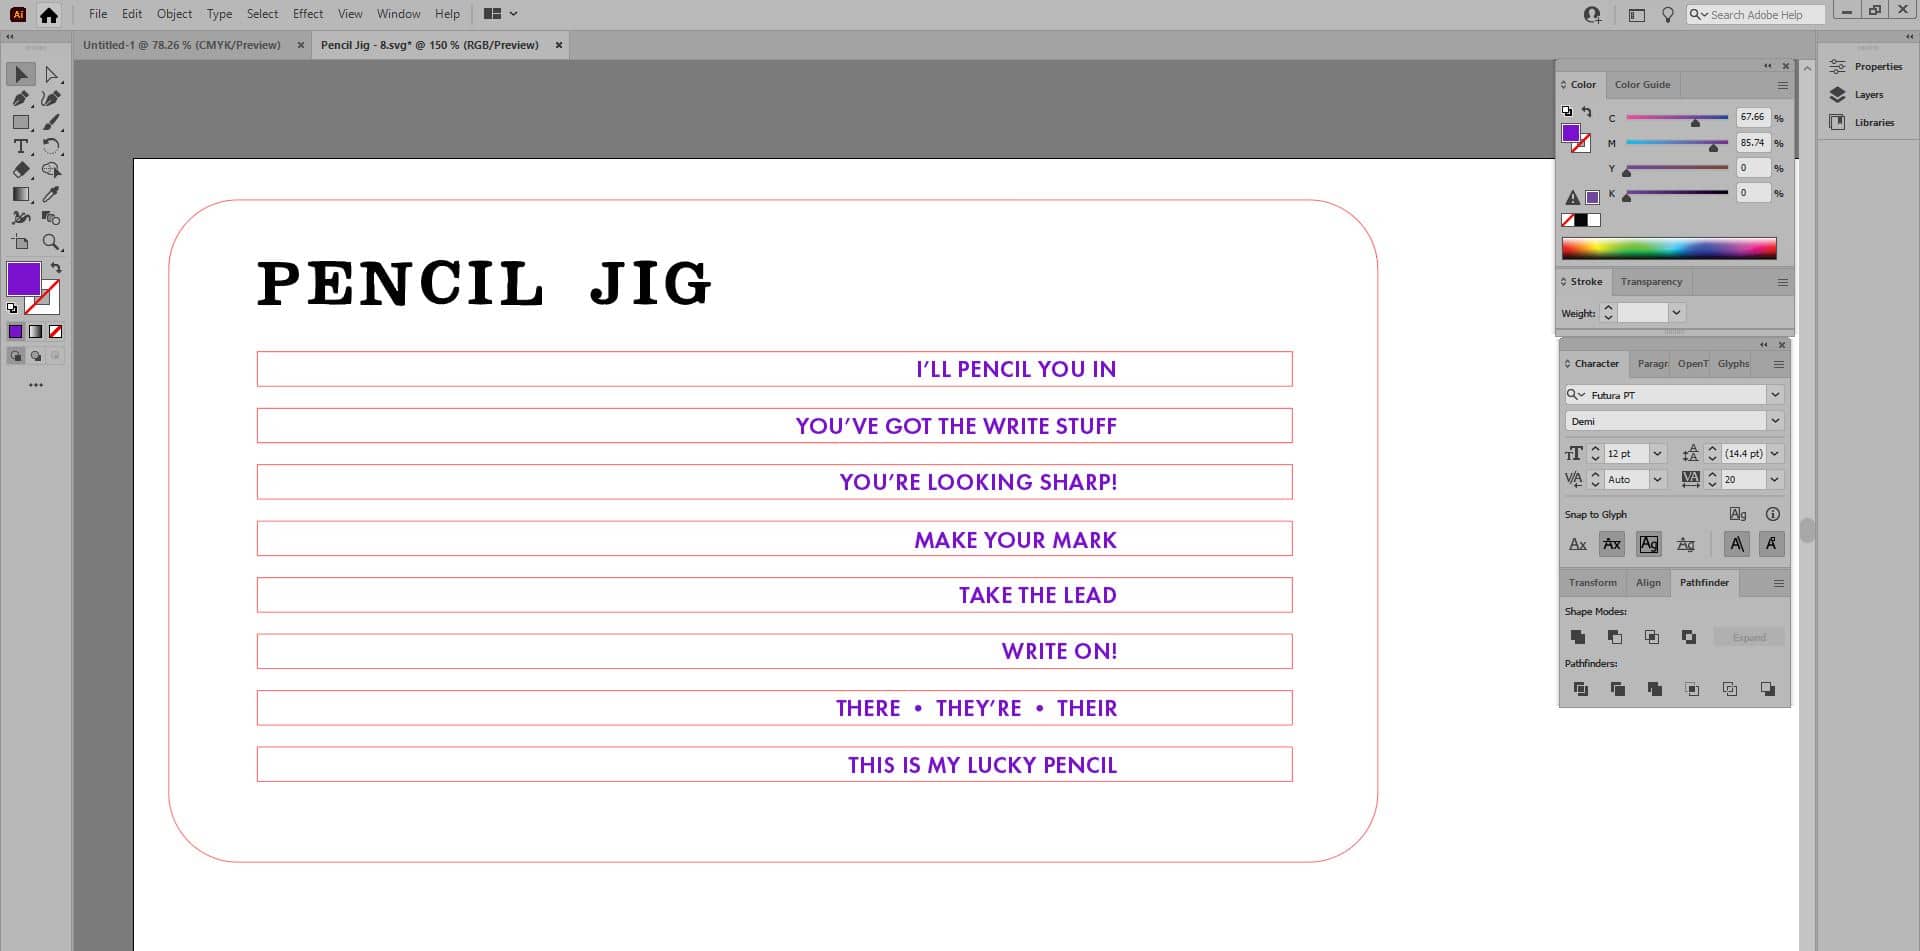
For perfectly positioned pencils EVERY time, I use my Pencil Jig SVG as a template for my text. Using the jig as a template ensures that your engravings will be perfectly aligned without any guesswork!
I prefer to add my text in Adobe Illustrator since I generally already have it open on my computer, but you can also use this same process in Canva (though you will need a Canva Pro account to save it as an SVG file).
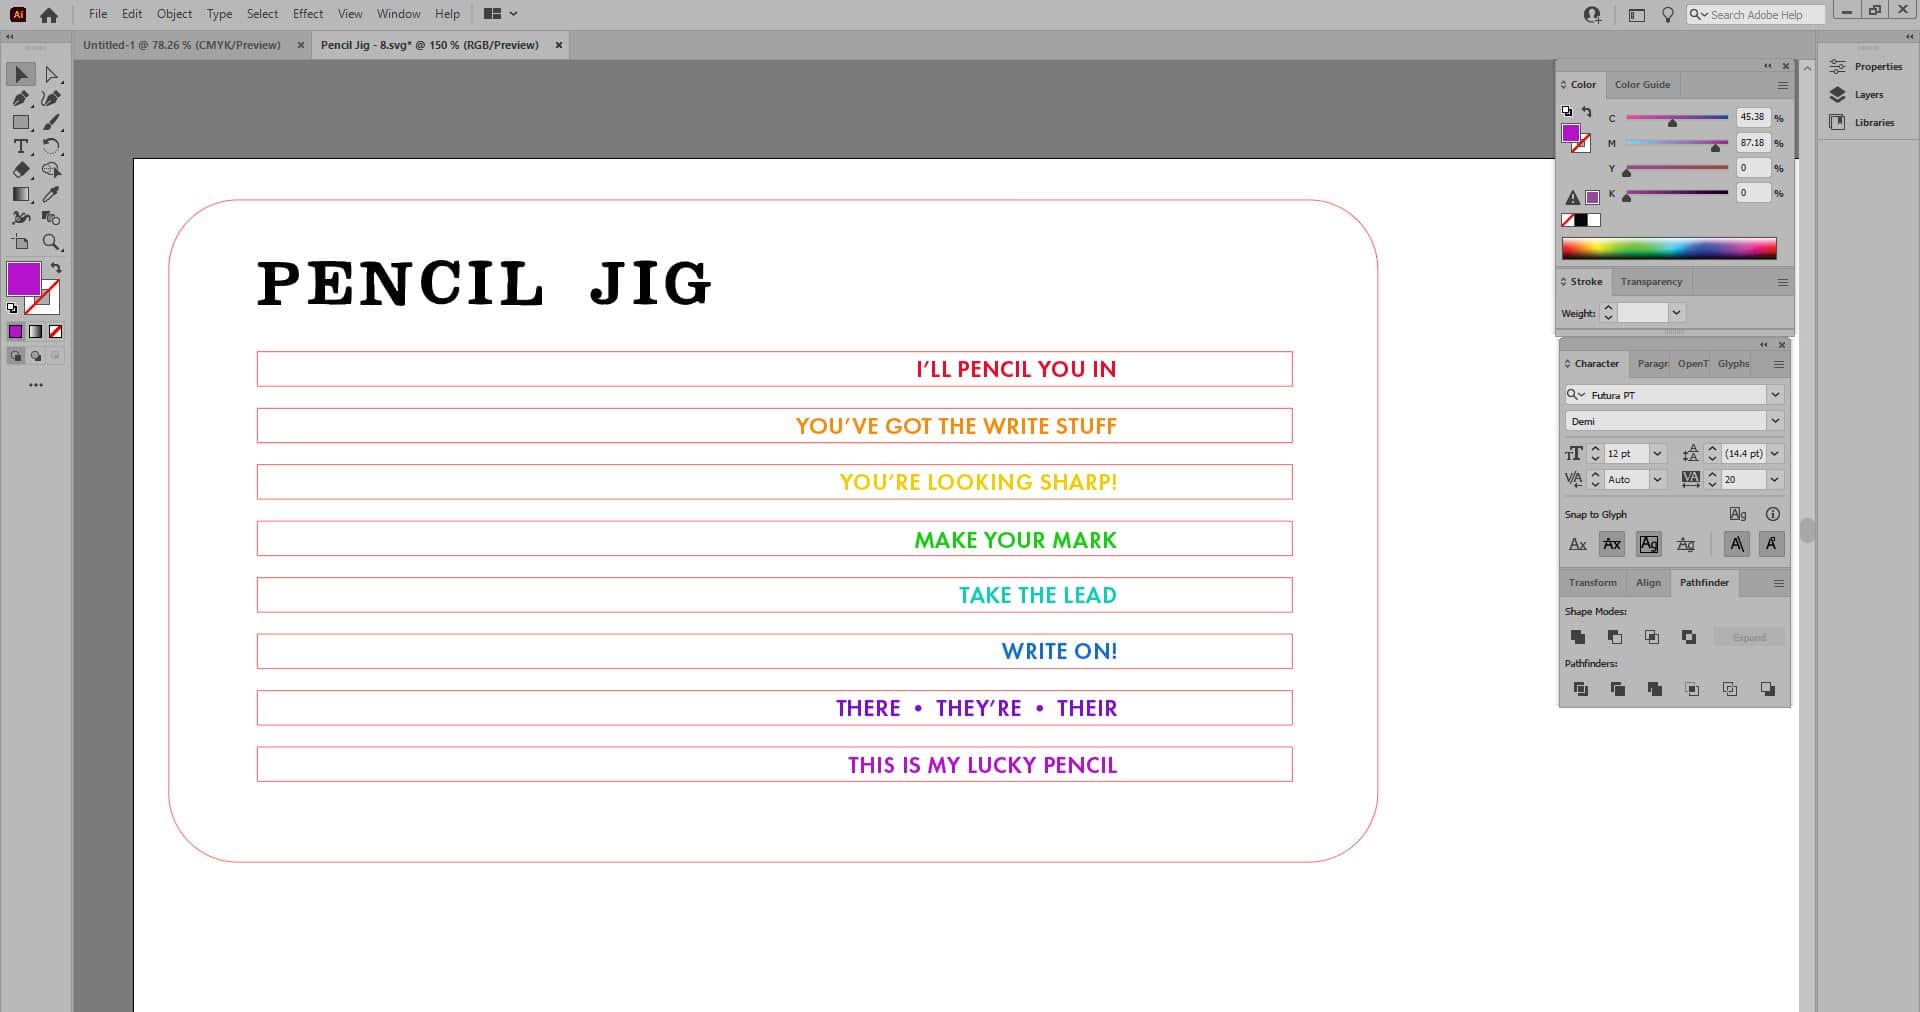
Simply open the SVG in your desired program and add text – I like to position mine around 1.25″ from the eraser end of the pencil.
If you choose to make your text all the same color, when you import it into the Glowforge Print App software, all of the text will be on the same layer and must be moved and positioned as one. If you would like the option of moving each text layer individually, make sure that each line of text is a different color.
(Keeping the text one single color will work totally fine, but I know that some people still prefer to have the ultimate level of control possible!)
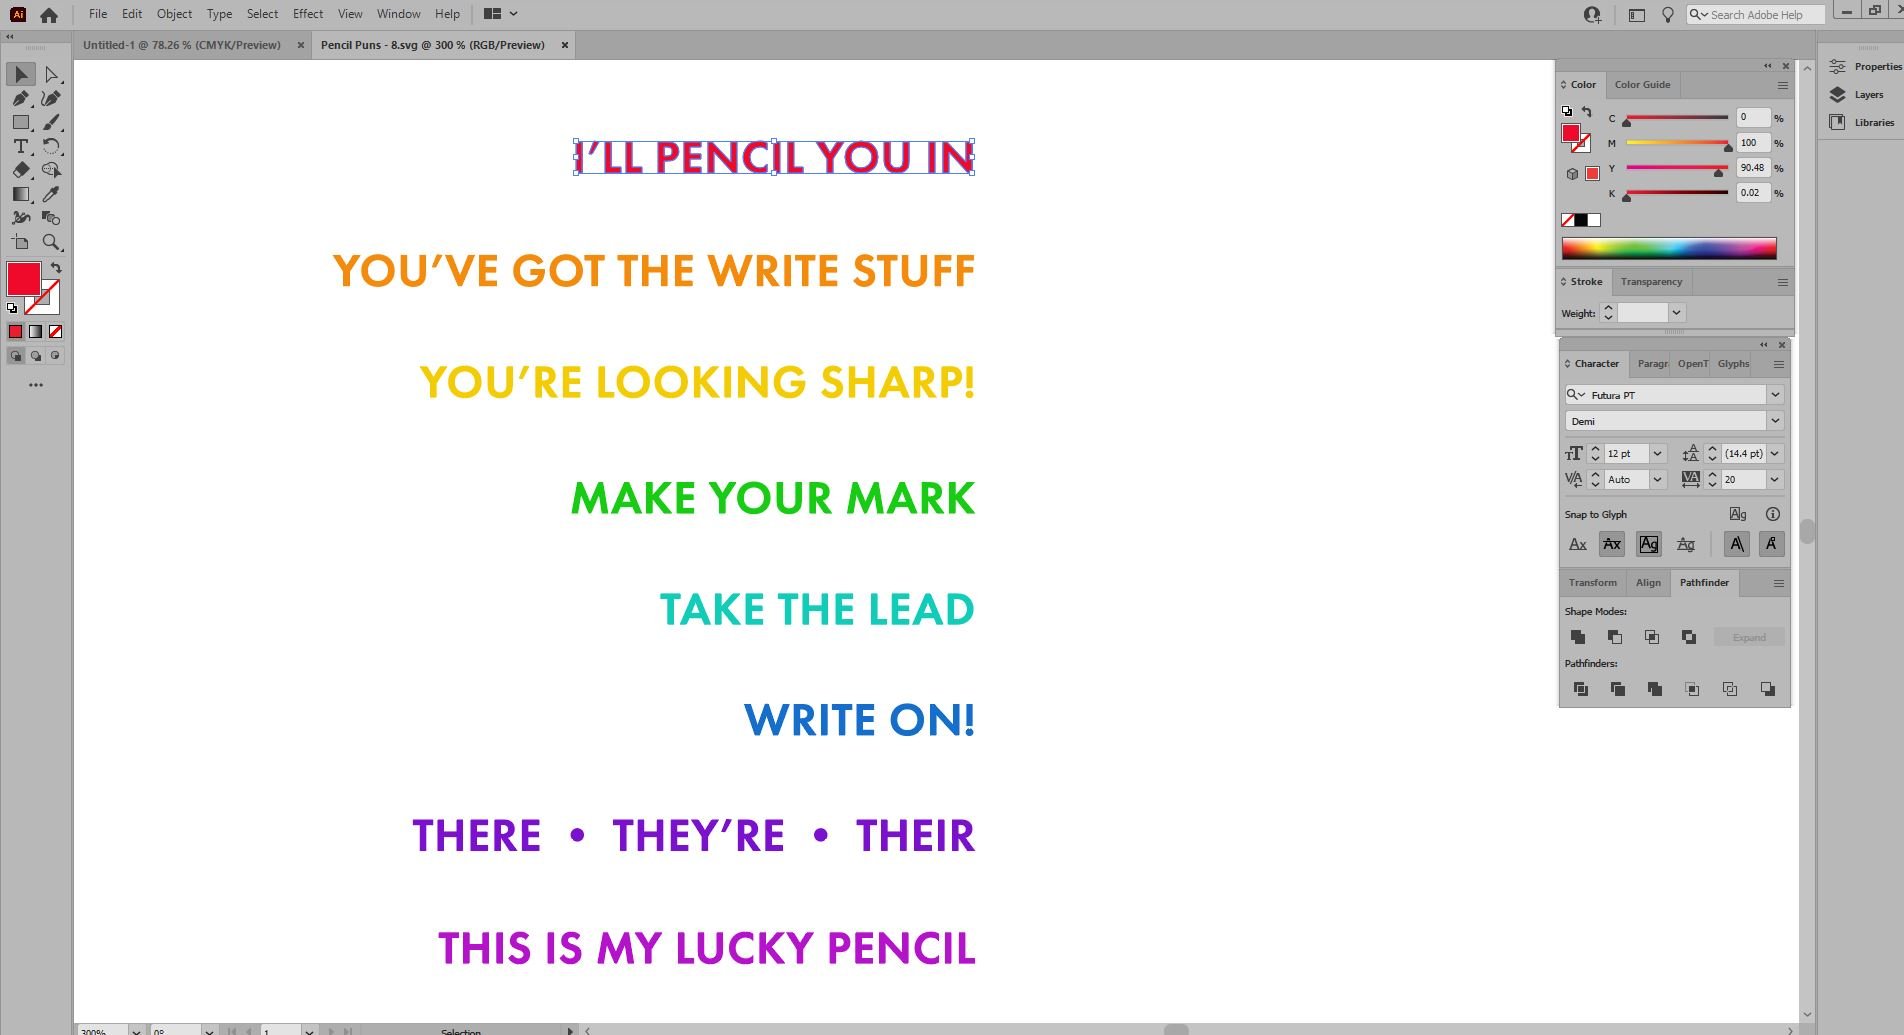
Once all of the text is in position, delete the pencil jig layer, outline the text, save it as a compound path, and save everything as a new SVG file. Now, it’s ready to be opened and engraved in the Glowforge!
Note: if you’re using Canva Pro, save the SVG with a transparent background for best results!
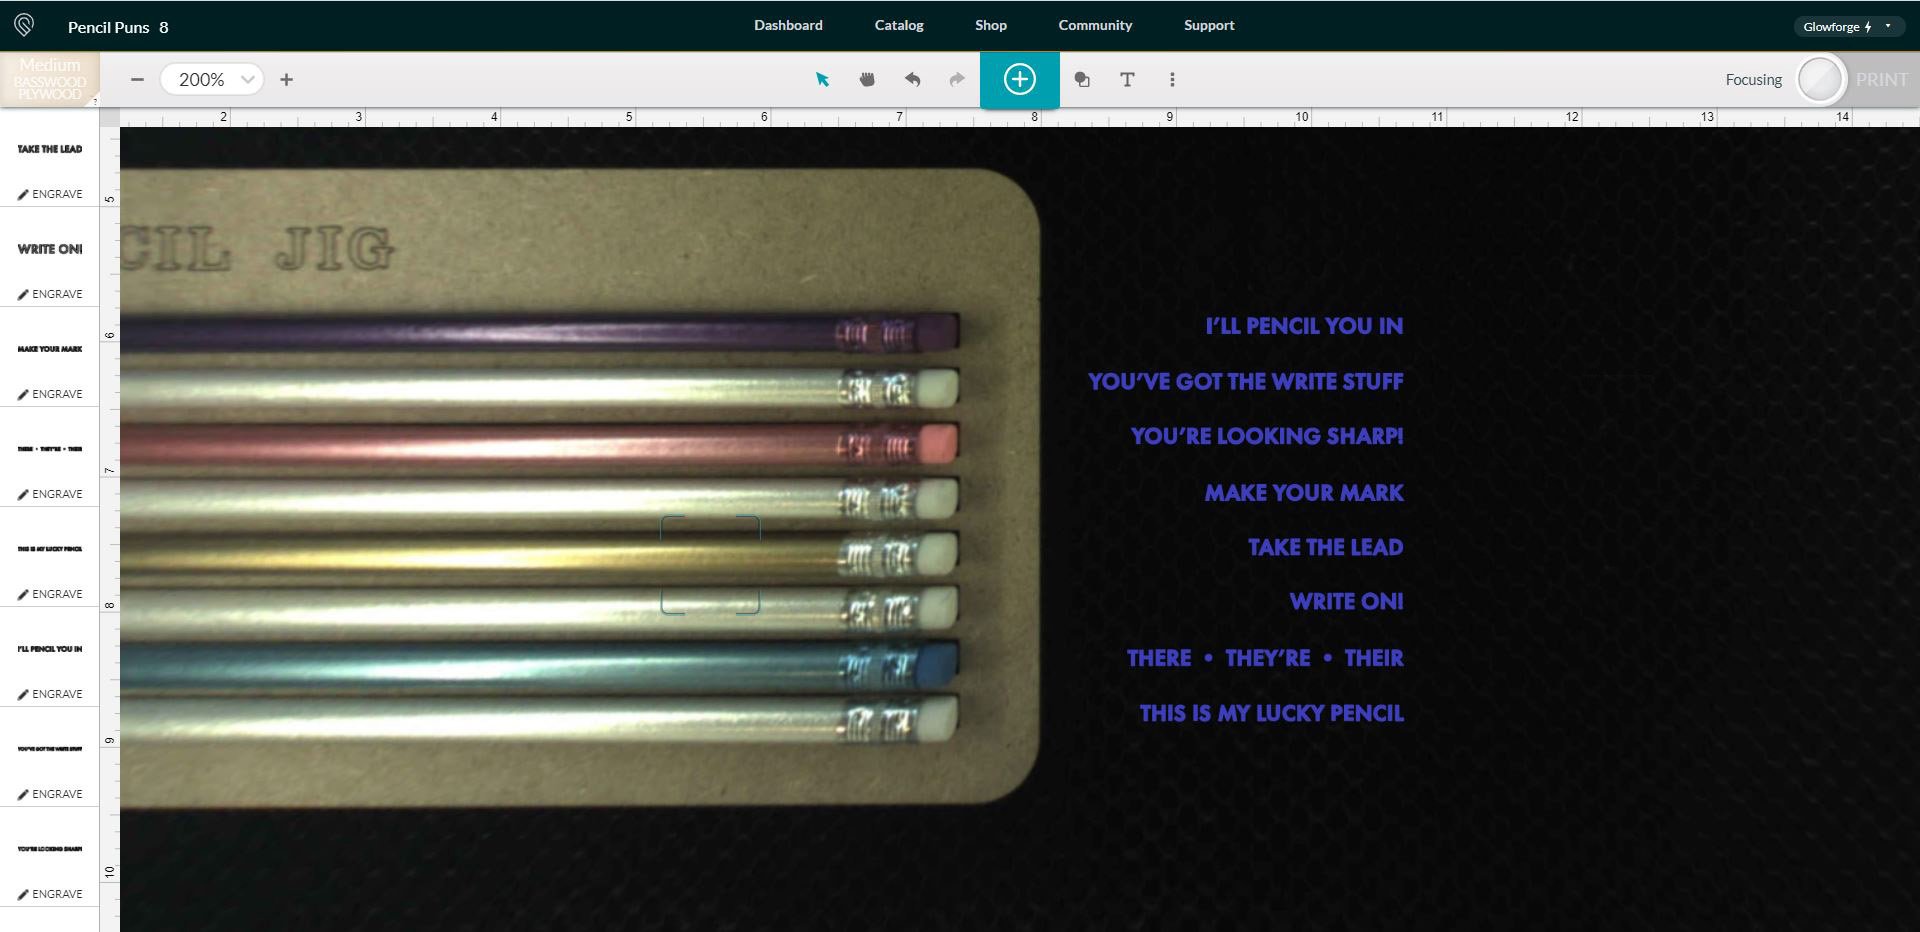
Open the text SVG in the Glowforge Print App, and before you do anything with it, you’ll want to set the machine’s focus to ensure that nothing jumps around when you click the “Print” button in the final step.
Go up to the ⋮ menu (to the right of the text icon) and select “Set Focus.” I like to set the focus on one of the pencils near the center of my engraving area.
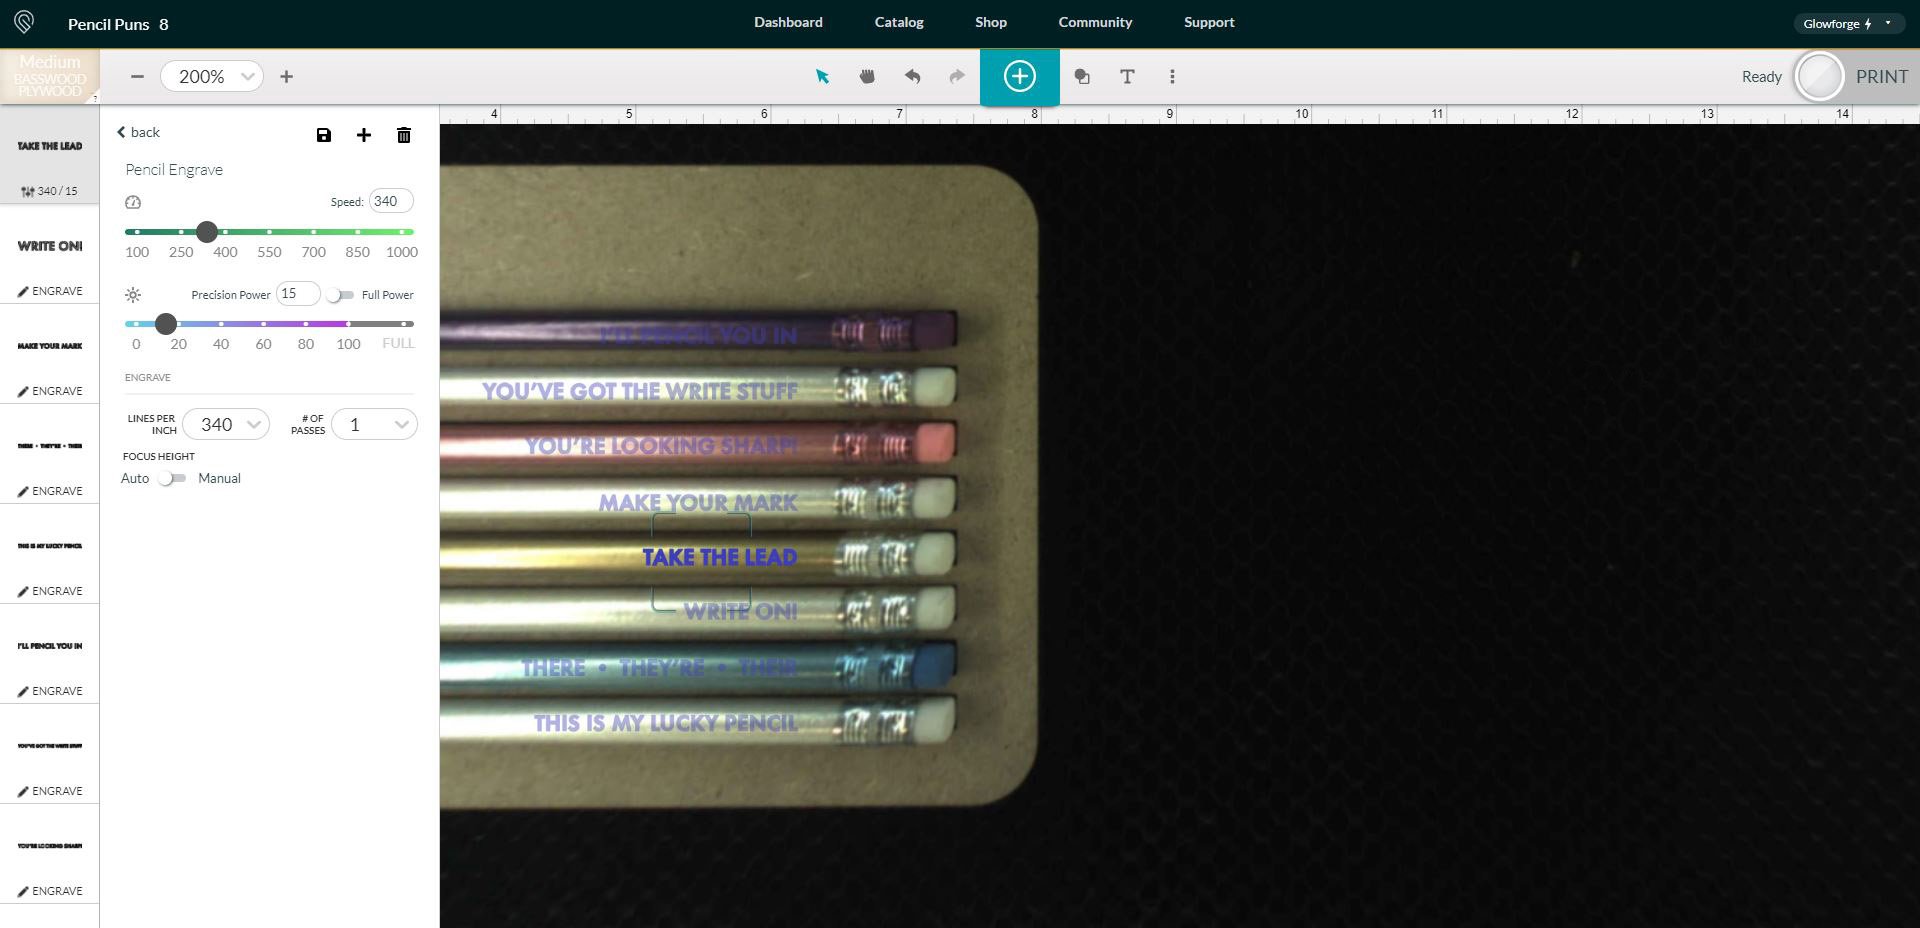
Place the text as desired, and then set the engraving settings. I use 340 speed, 15 power, and 340 LPI for engraving pencils.
Note: You can set up a custom pencil engraving setting by clicking on “Manual” and then using the + icon at the top of the page. This will allow you to easily select the new settings for each of the layers with just one click!
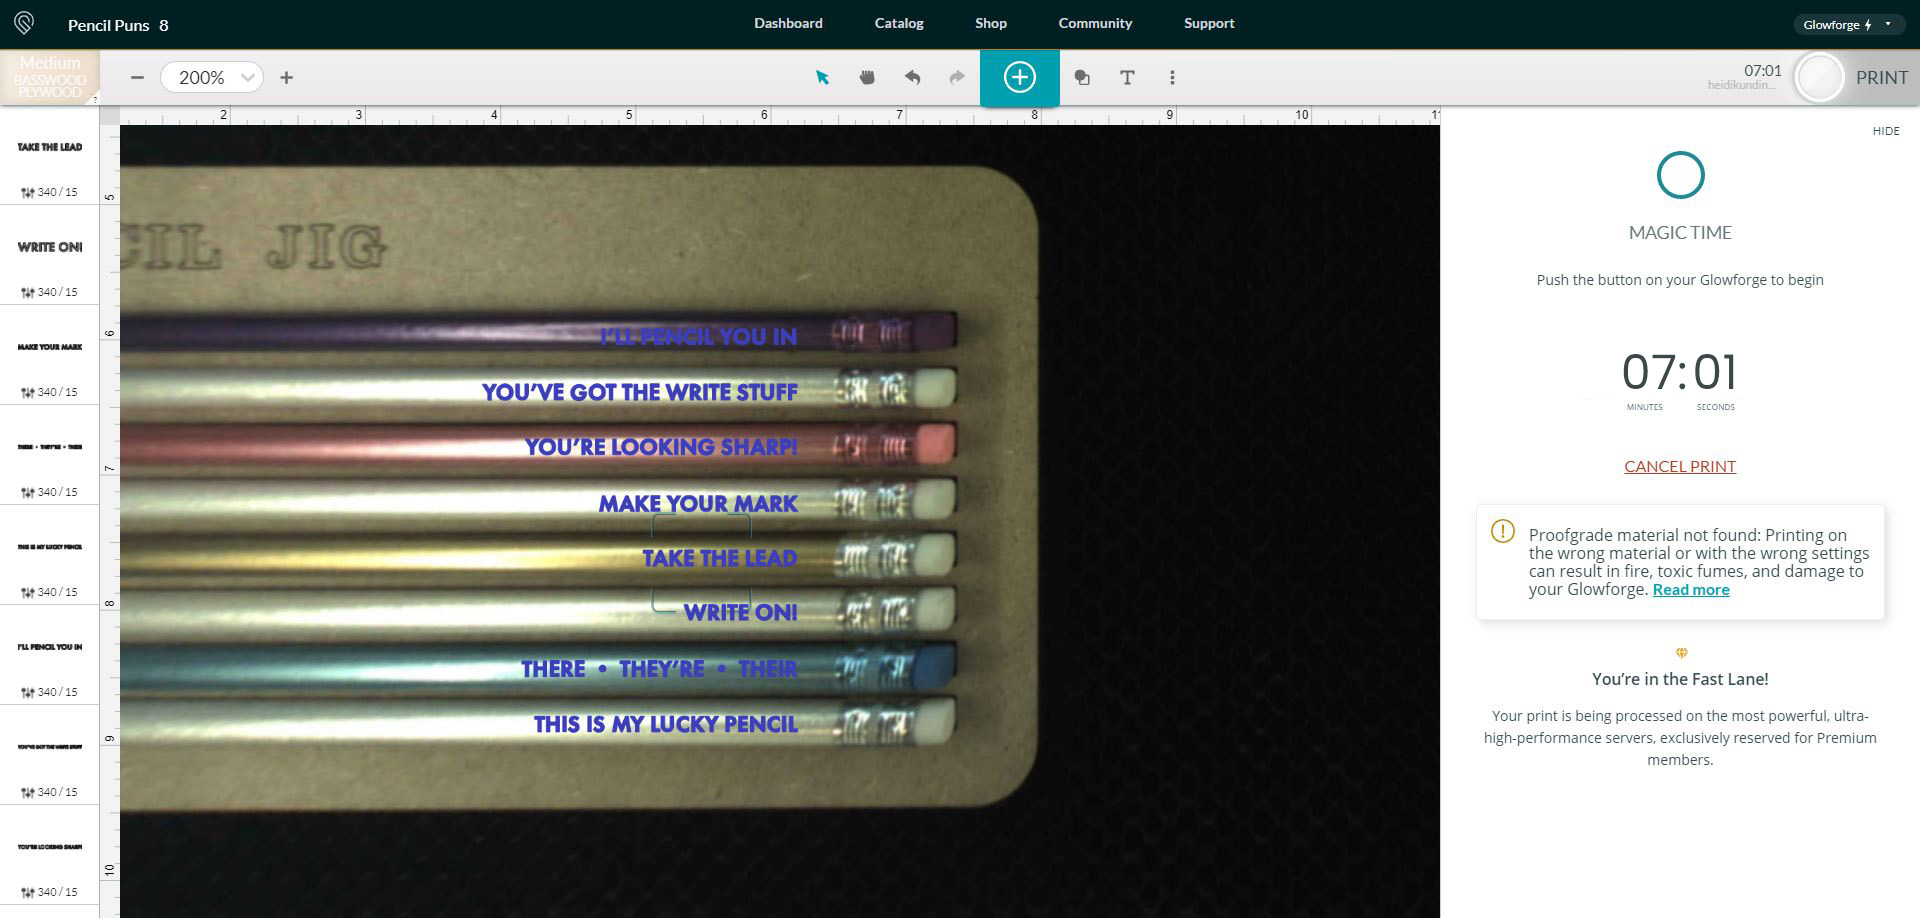
When everything has been positioned and set as desired, click on the “Print” button in the upper right corner.
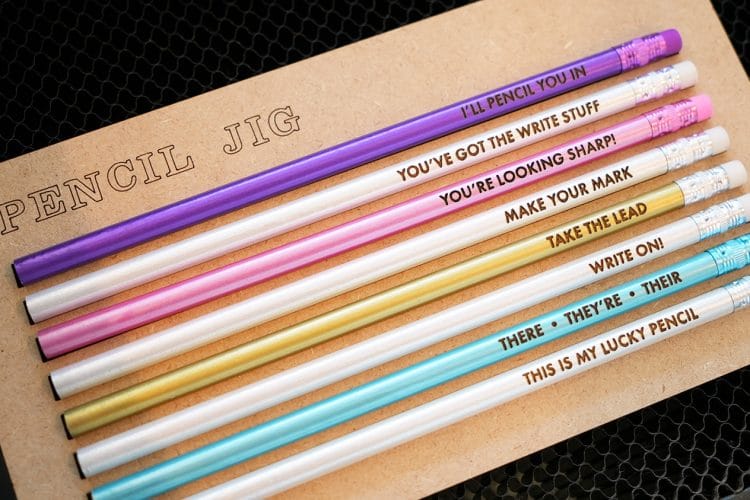
SO fun, right?!
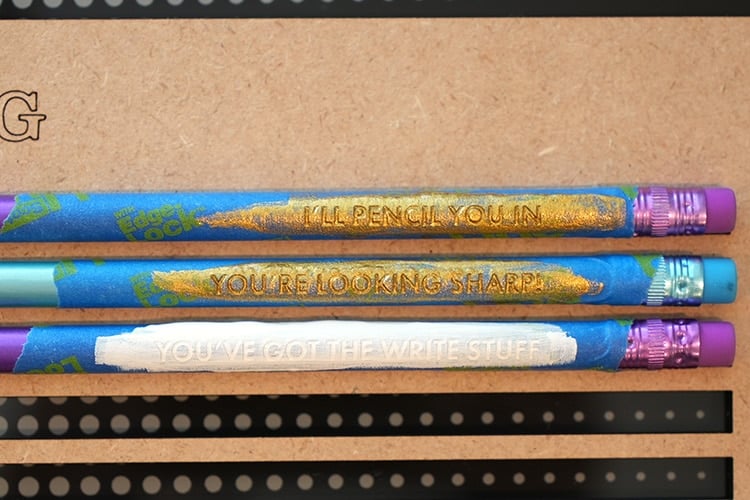
Now, I mentioned earlier that I don’t typically mask my pencils before engraving, but if you DO, you can easily fill in the engraving with paint for a different look that’s just as cool!
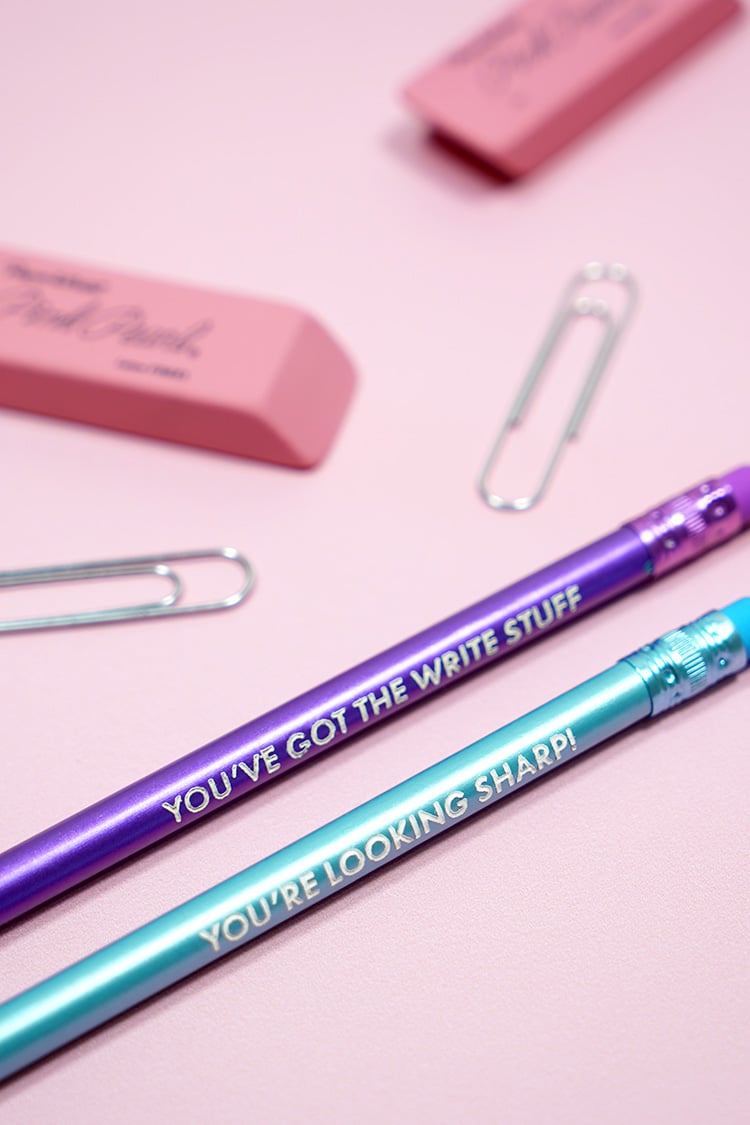
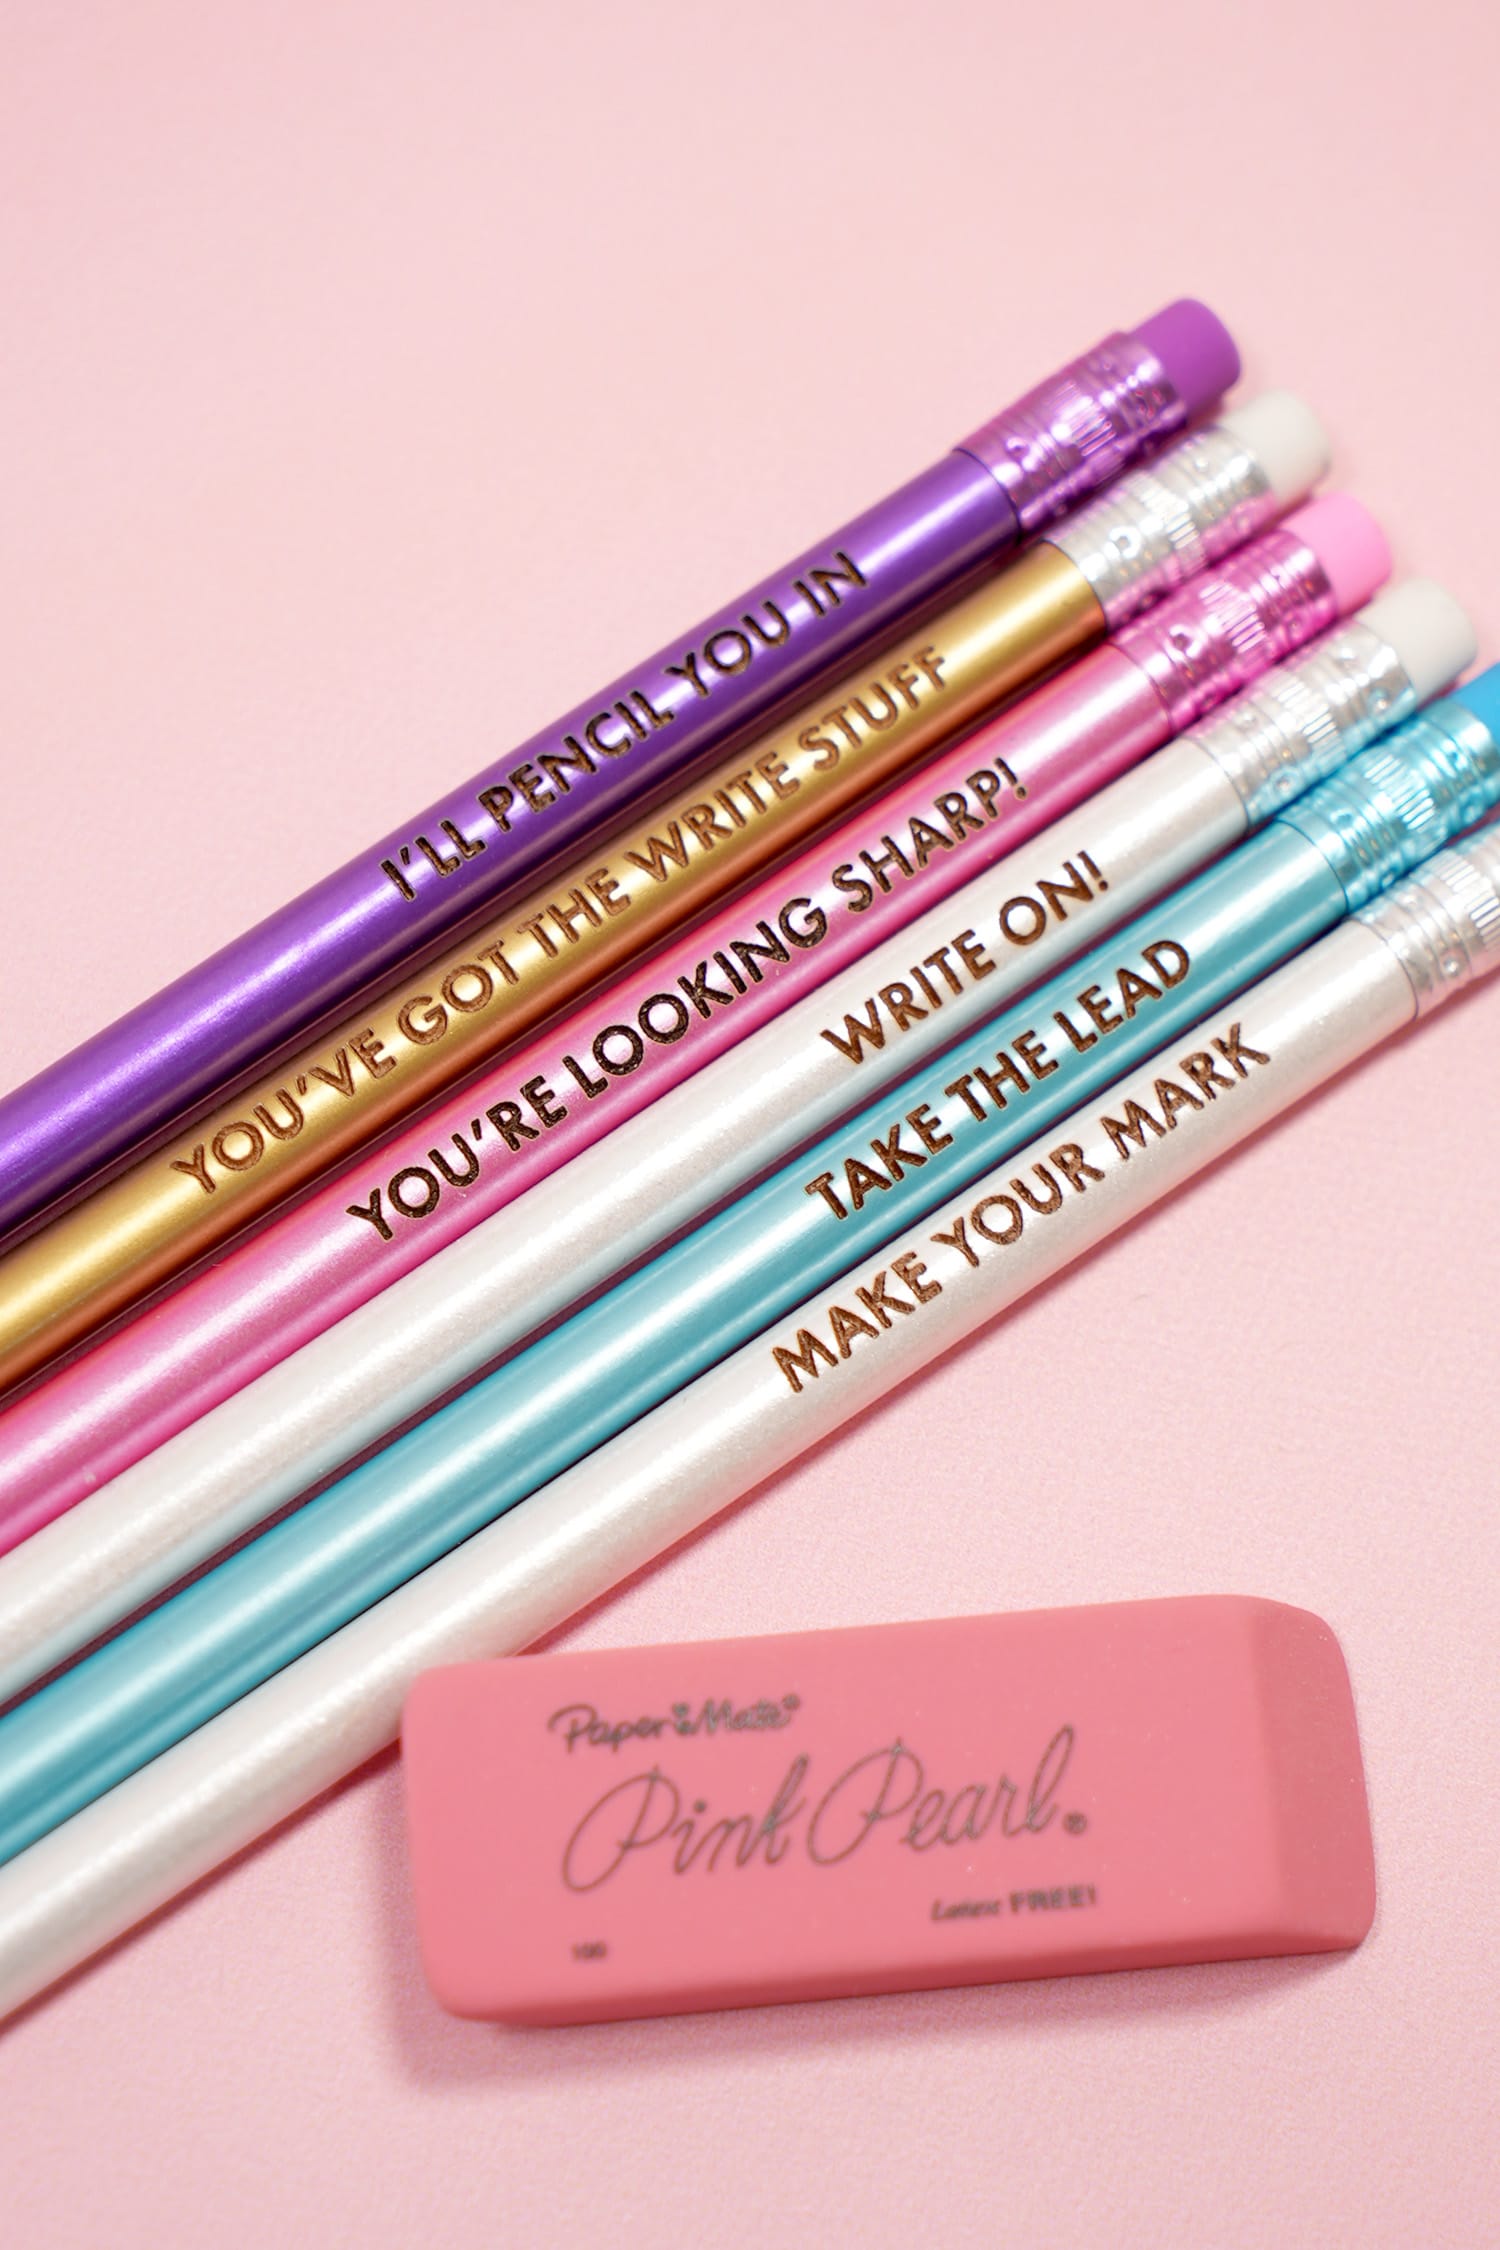
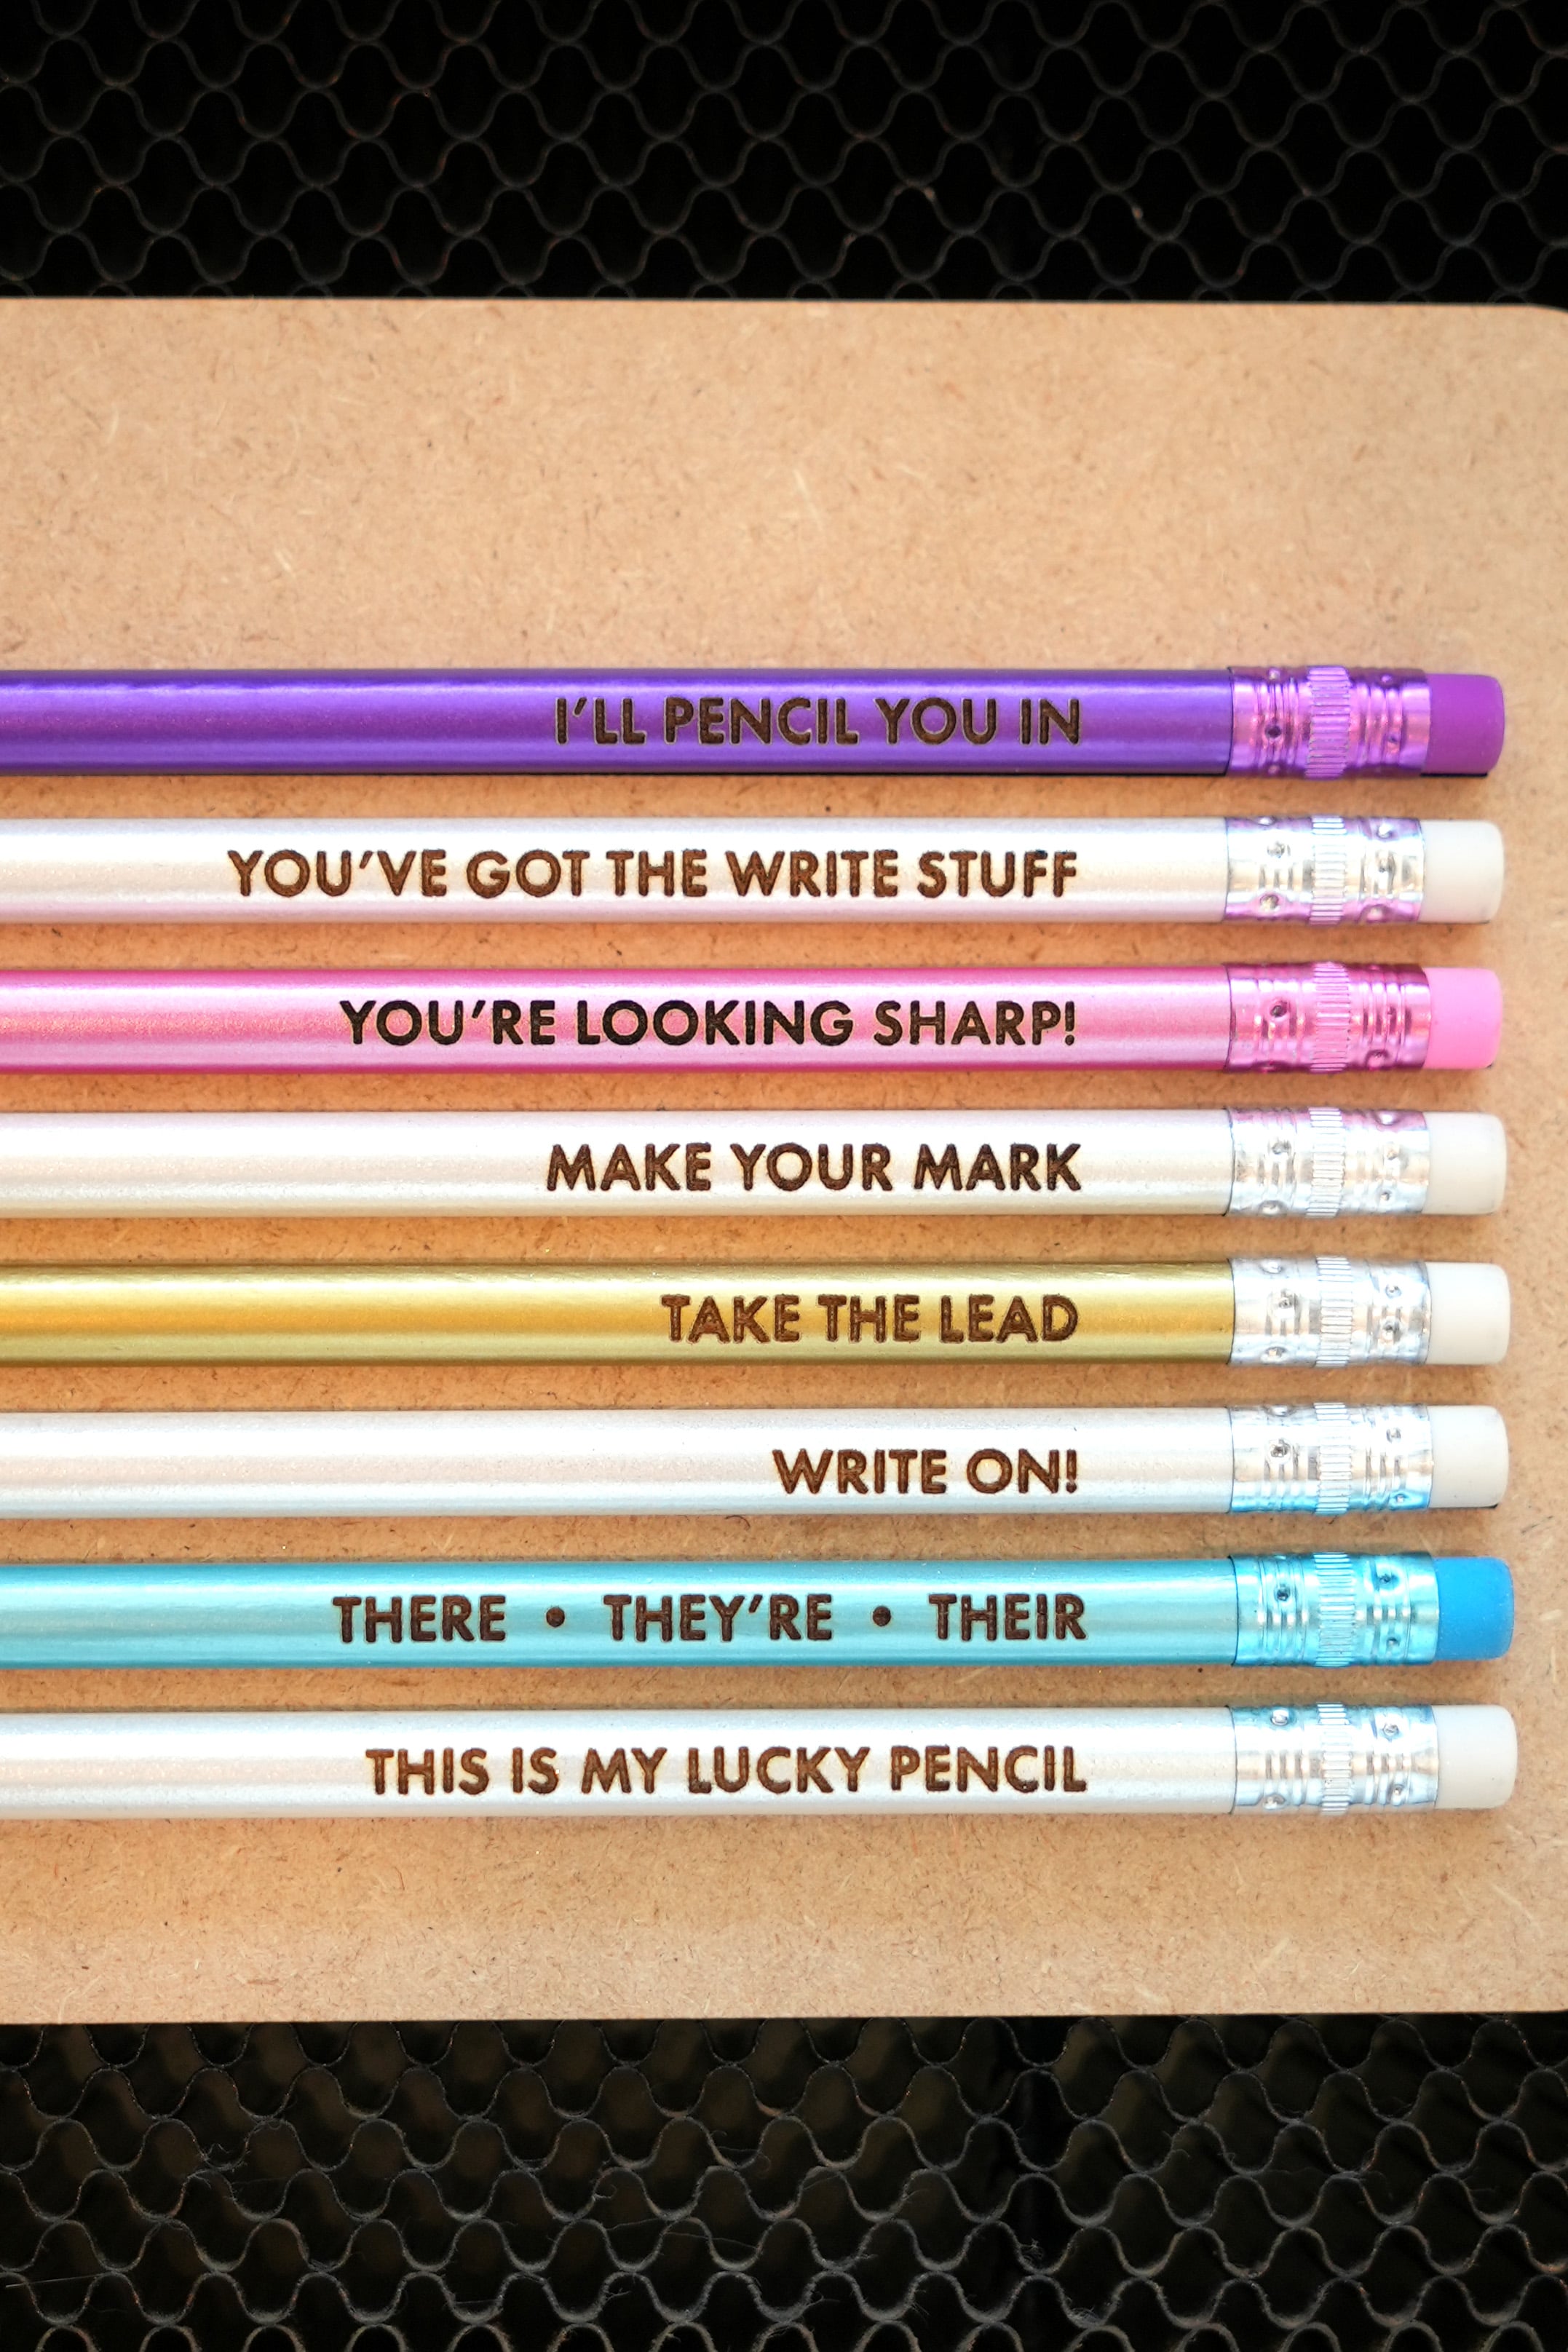
My youngest son is VERY into puns these days, so I made all of these custom pencils with pencil puns, but it would be so much fun to make these with all kinds of different themes!
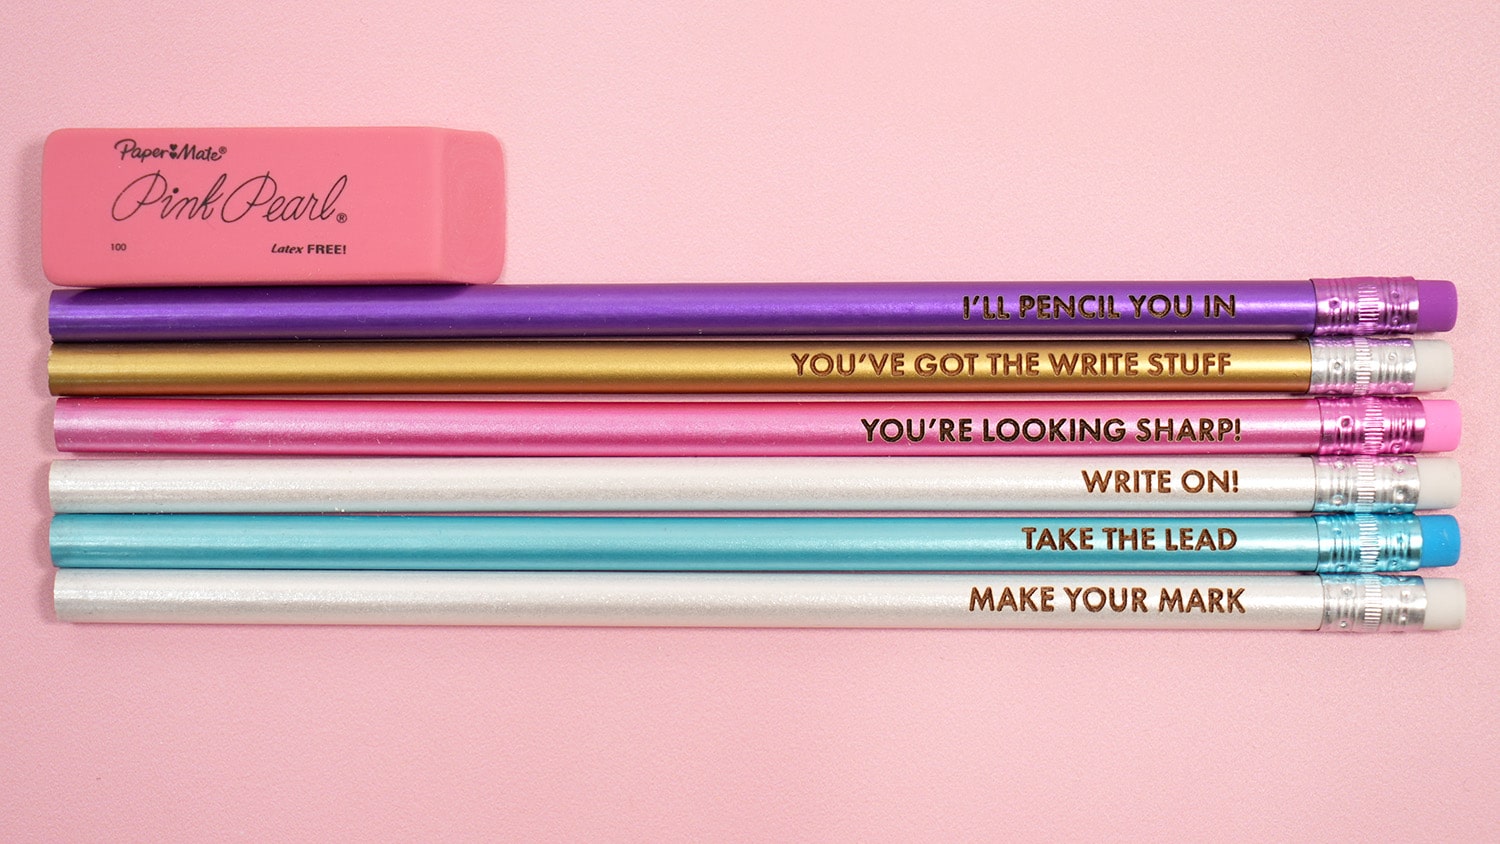
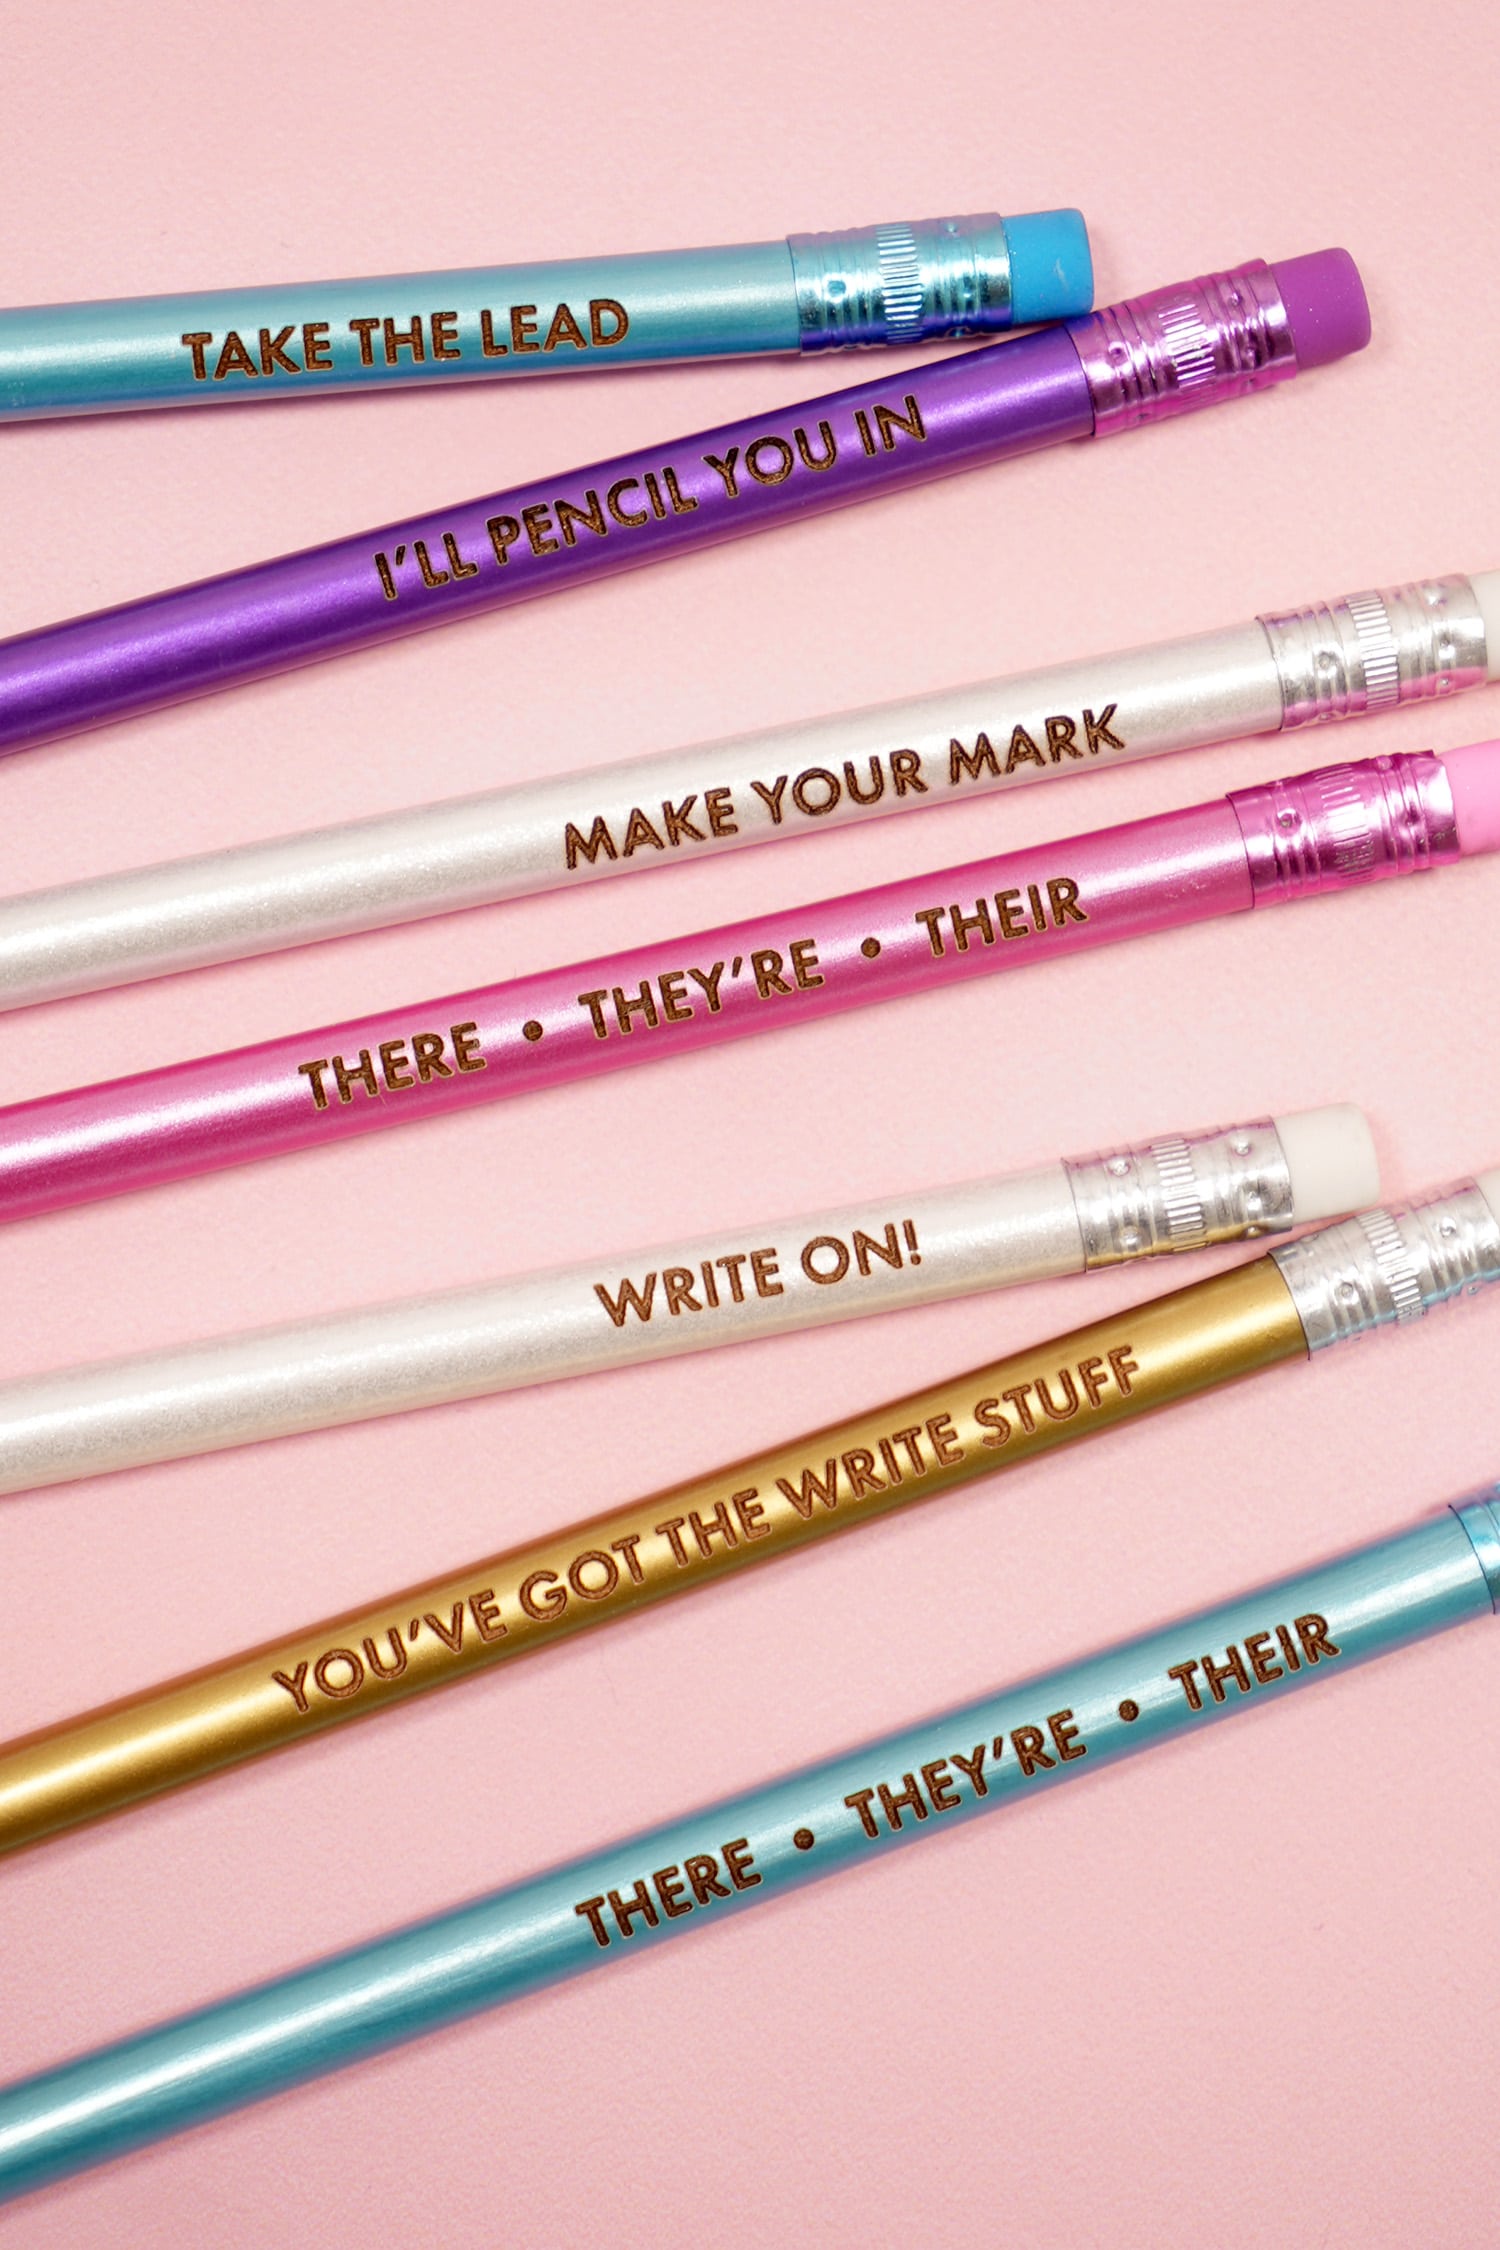
Once you start making custom pencils with your Glowforge, you’re going to want to make them for ALL the different occasions and holidays! They’re SO fun and easy!
Get the GLOWFORGE PENCIL JIG SVG FILE Here
This file is Crafting File #74 in our Freebie Library! Get the password to our Freebie Library by signing up for our Email Club in the form below! If you are already a club member with the password, hop on over to the Freebie Library to download the file now!
All free downloads from Happiness is Homemade are for PERSONAL and CLASSROOM USE ONLY. You MAY NOT share, distribute, sell, or use these files for commercial purposes, including print-on-demand. Commercial licenses for SVG and PNG Crafting Files may be purchased in the Happiness is Homemade Shop. Please read our full license terms here.
Download Trouble?
Can’t find the download form? Having trouble with the file? Check out our Digital Downloads FAQ page for answers to the most common troubleshooting questions!
Our free pencil jig is designed to be used with 8 pencils – if you’d like larger jigs that allow you to create more custom pencils at a time, you may purchase them here:
Happy crafting!

Check Out These Other Glowforge Project Ideas!
Don’t Forget to Pin This for Later!

Heidi Kundin has captivated the hearts of millions with her colorful and inspiring approach to crafting, celebrations, and family fun. With over 15 years of experience, Happiness is Homemade has become a must-visit destination for those seeking quick and easy creative ideas and last-minute solutions. Heidi’s warm personality shines through her posts, inviting readers to join her on a creative journey that’s fun, rewarding, and achievable. Heidi is also the author of Homemade Bath Bombs & More and DIY Tie-Dye.

