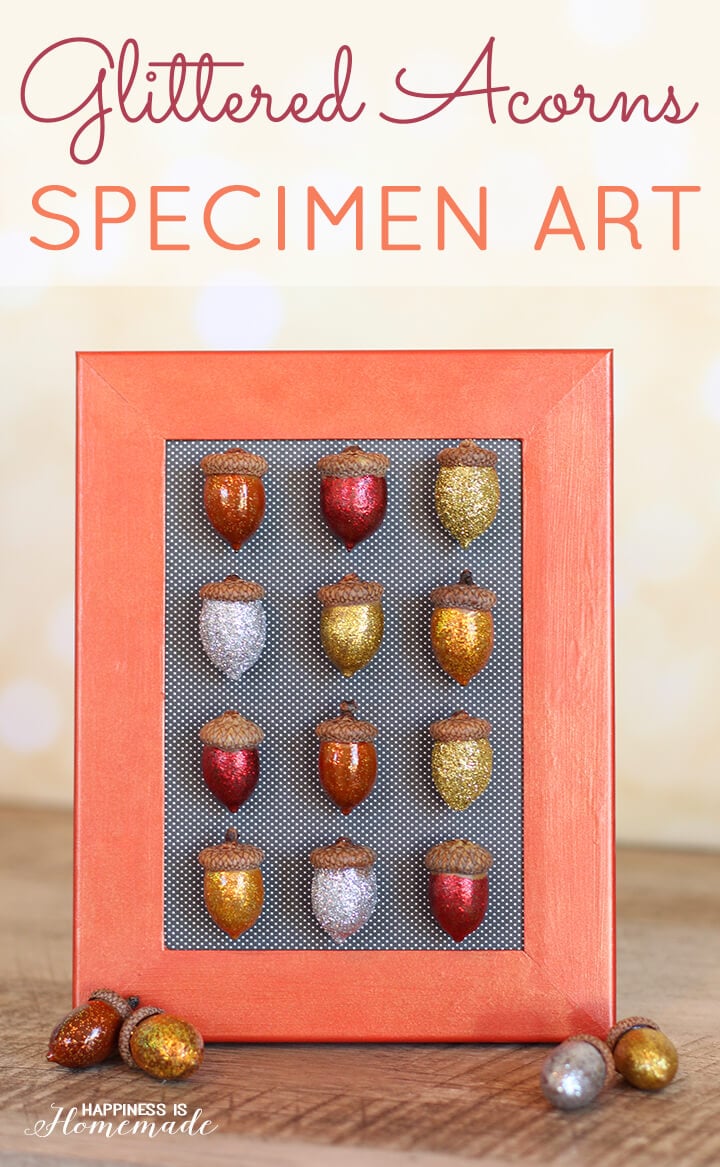
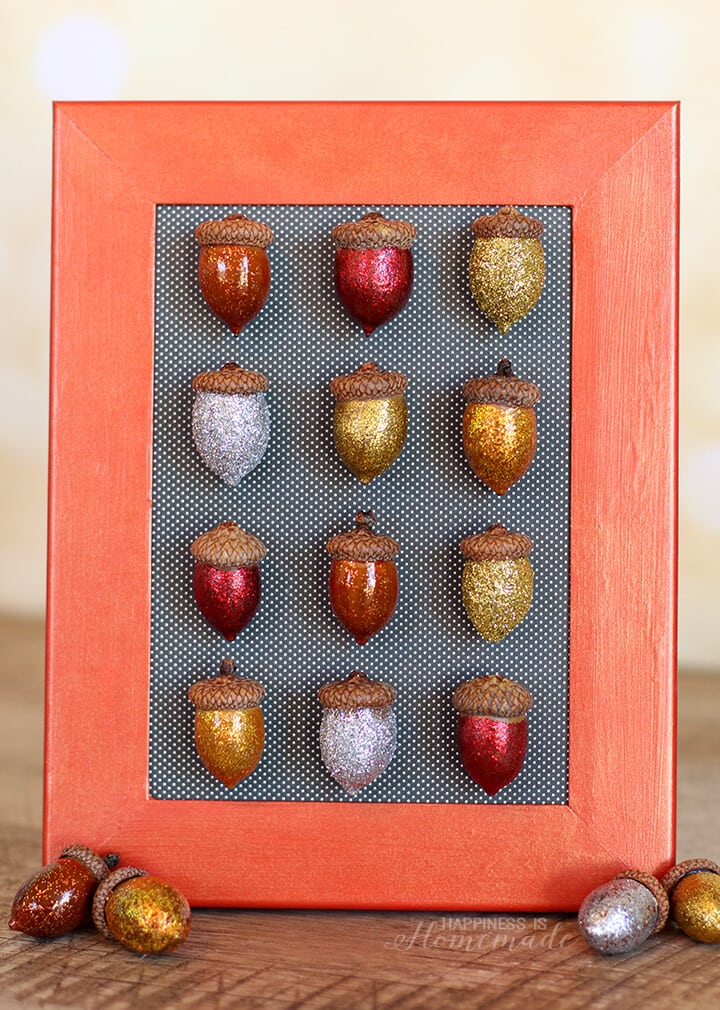
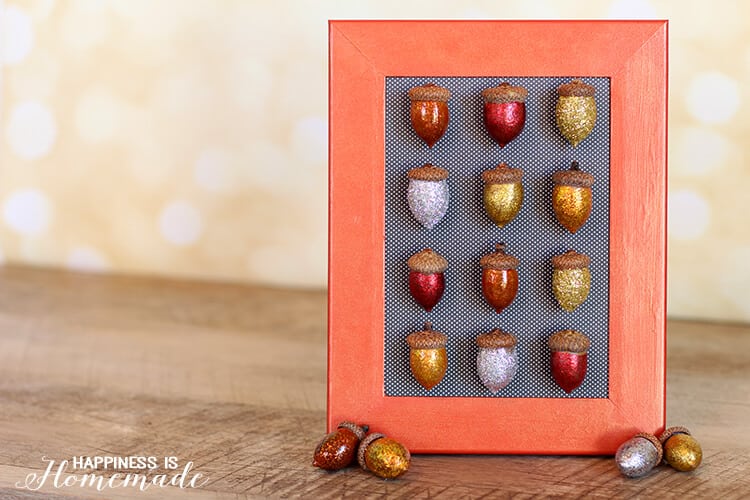
These glittery acorns are SO much fun to make, and it’s easy to turn them into unique specimen artwork to compliment your fall decor!
What I Used:
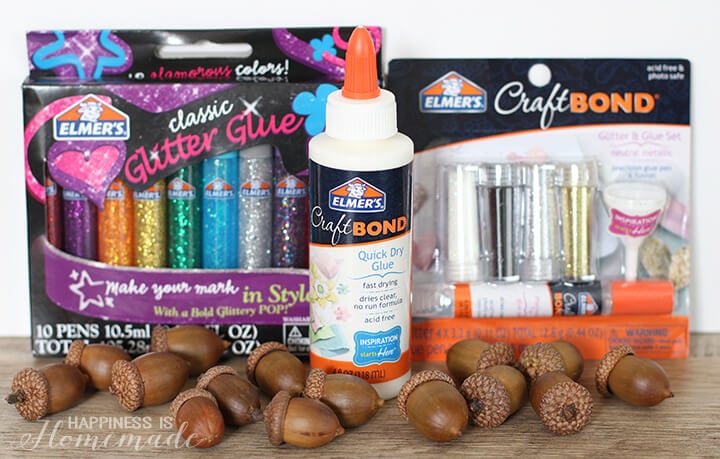
- Acorns (if you don’t have acorns locally, faux acorns work great, too!)
- Elmer’s Quick Dry Craft Bond Glue
- Elmer’s Glitter
- Elmer’s Classic Glitter Glue
- Elmer’s Hot Glue Gun & Glue Sticks
- Paintbrush
- Sheet of Cardstock (for background)
- Frame
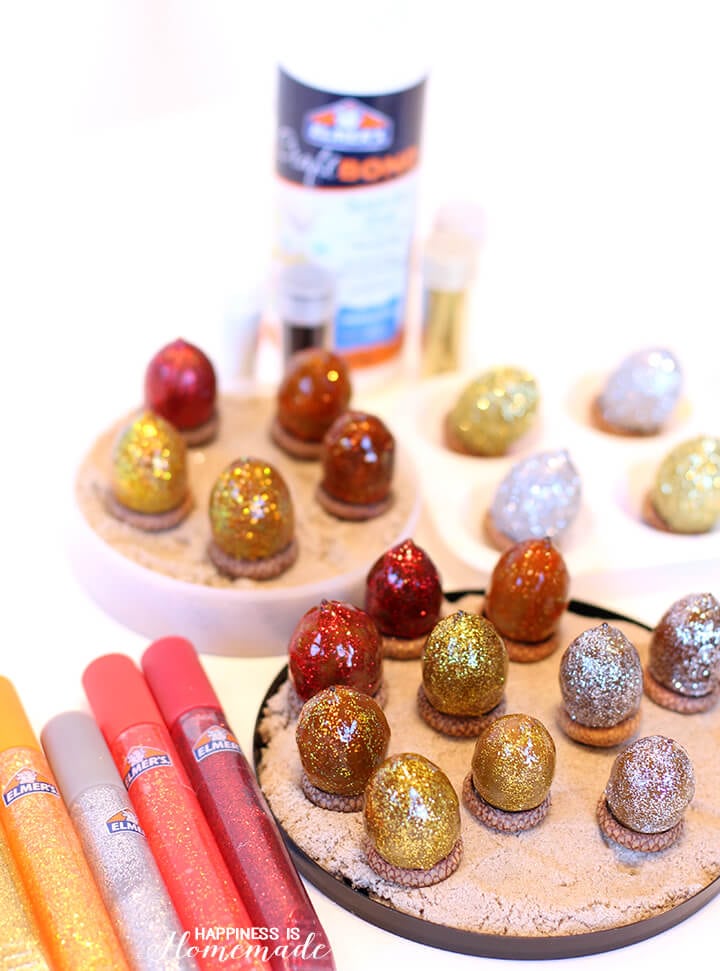
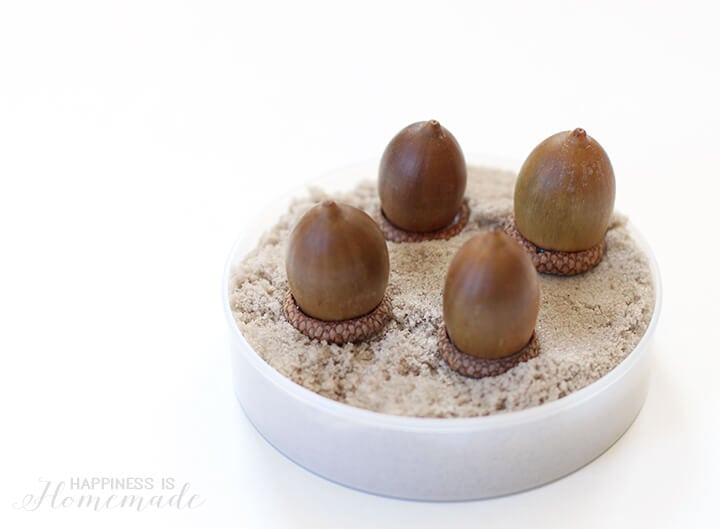 Tip: One non-traditional item that I used for this project was a small dish full of Kinetic Sand. It works perfectly for holding the acorns upside down while they dry!
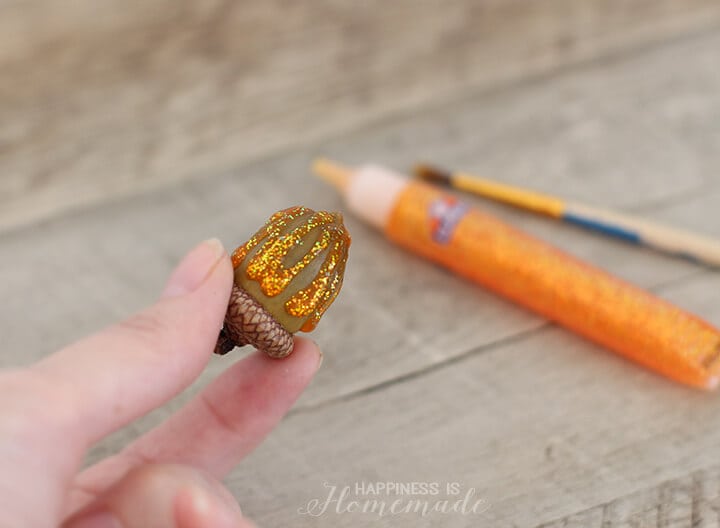
I started with the Classic Glitter Glue, and simply squeezed some on to my acorn and spread it around with the paintbrush. The glitter glues are all slightly different, for example, the orange tube has iridescent glitter in an orange translucent glue base, and the gold tube has lots of gold glitter in a clear glue base, so they dry with different amounts of glitter and color to them. All of the glitter glues dry with a glossy finish and embed the glitter so that it doesn’t rub off on your hands.
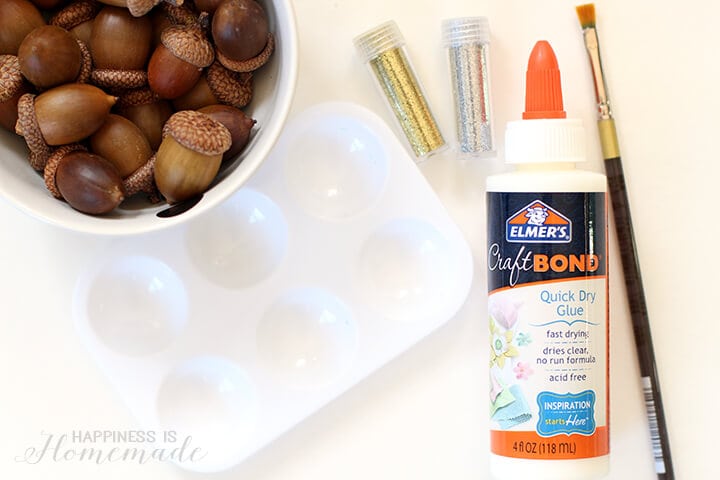
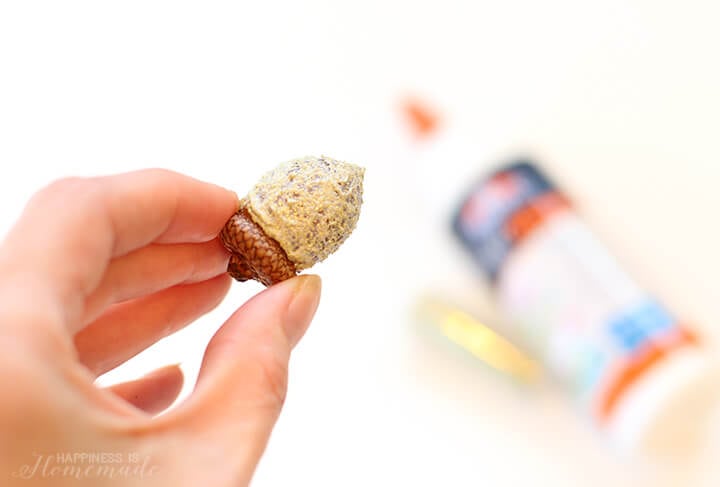
To make the acorns with a chunkier and more heavily textured glitter finish, I used Elmer’s Craft Bond glue and Elmer’s glitter.
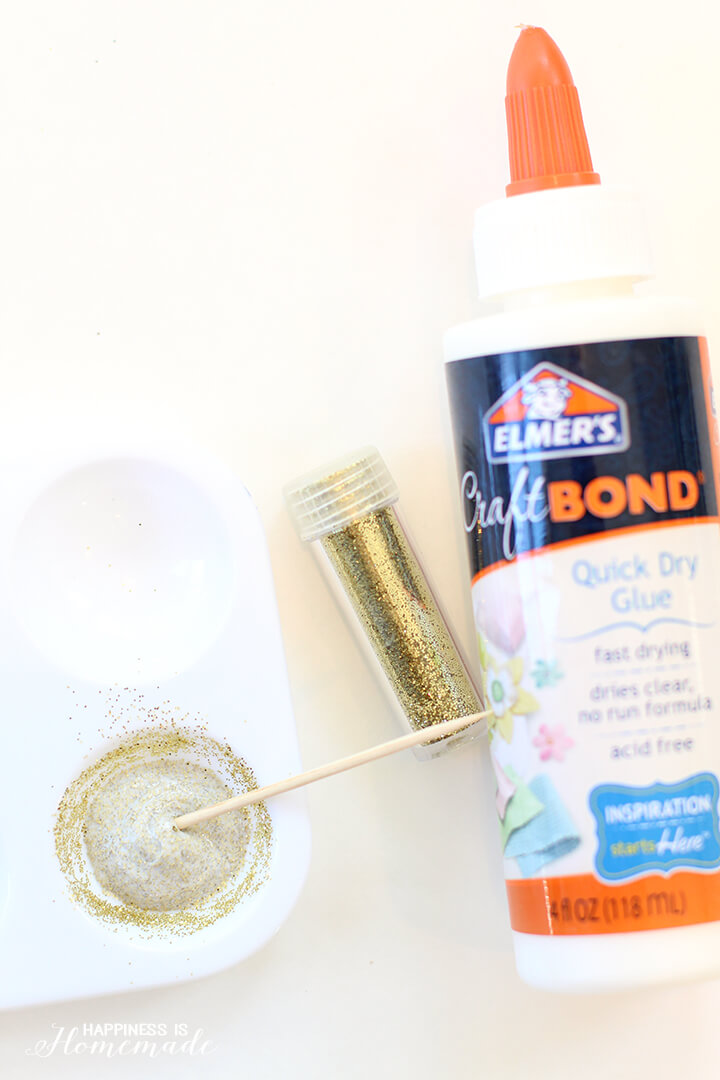 I mixed about 1 tsp. each of glue and glitter, and I used the paintbrush to paint the mixture on to the acorns.
The glue dries clear, so I made sure to put a lot on there so that the final result would be completely covered in gold glitter.
All of my acorns were super sparkly after one coat, but I decided to let them dry and add a second coat just to make sure that they were as shimmery as possible.
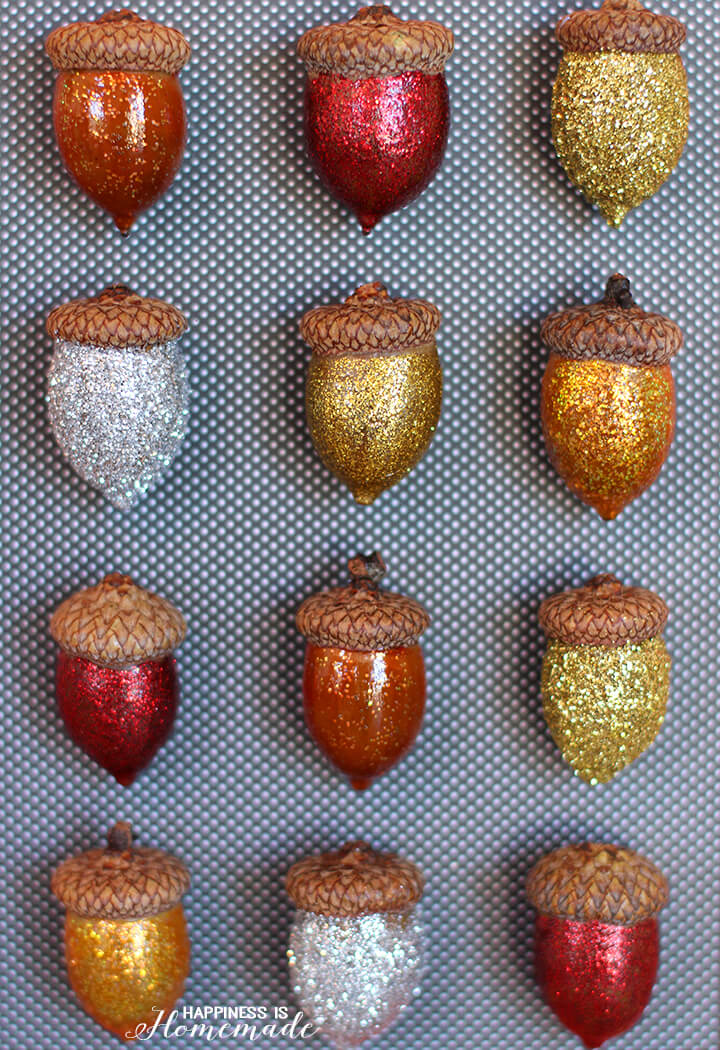
I love the way that the different techniques and materials gave each acorn its own unique style. In the photo above, the gold acorn in the top row, the silver acorn in the second row, and the gold and silver acorns in the bottom two rows were all created with the Craft Bond glue and glitter combination, and the rest of the acorns were made using the Classic Glitter Glue. I love them all!
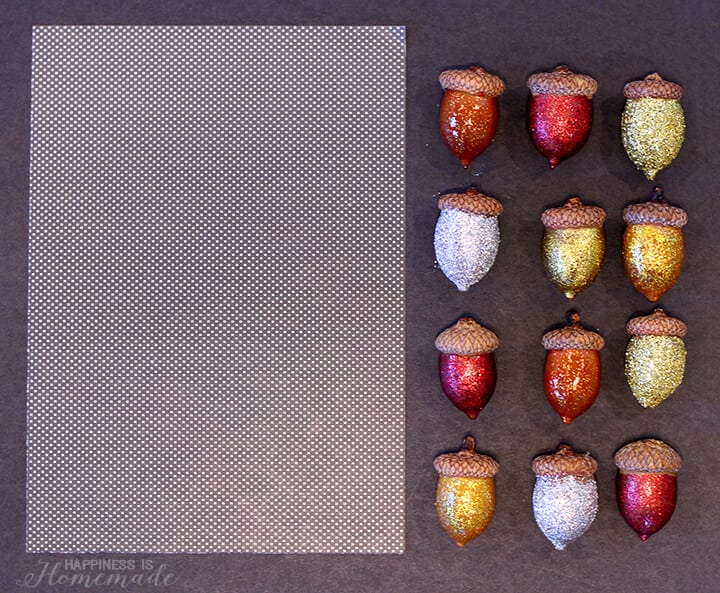
To finish up the project, simply glue the acorns on to a piece of cardstock using a hot glue gun, and place them inside of the frame (with the glass removed, of course!).
Super cute, and easy peasy!
For more fun craft ideas, be sure to sign up for the Elmer’s Newsletter and check them out onTwitter, Facebook, Instagram & Pinterest! Happy crafting!

Heidi Kundin has captivated the hearts of millions with her colorful and inspiring approach to crafting, celebrations, and family fun. With over 15 years of experience, Happiness is Homemade has become a must-visit destination for those seeking quick and easy creative ideas and last-minute solutions. Heidi’s warm personality shines through her posts, inviting readers to join her on a creative journey that’s fun, rewarding, and achievable. Heidi is also the author of Homemade Bath Bombs & More and DIY Tie-Dye.

