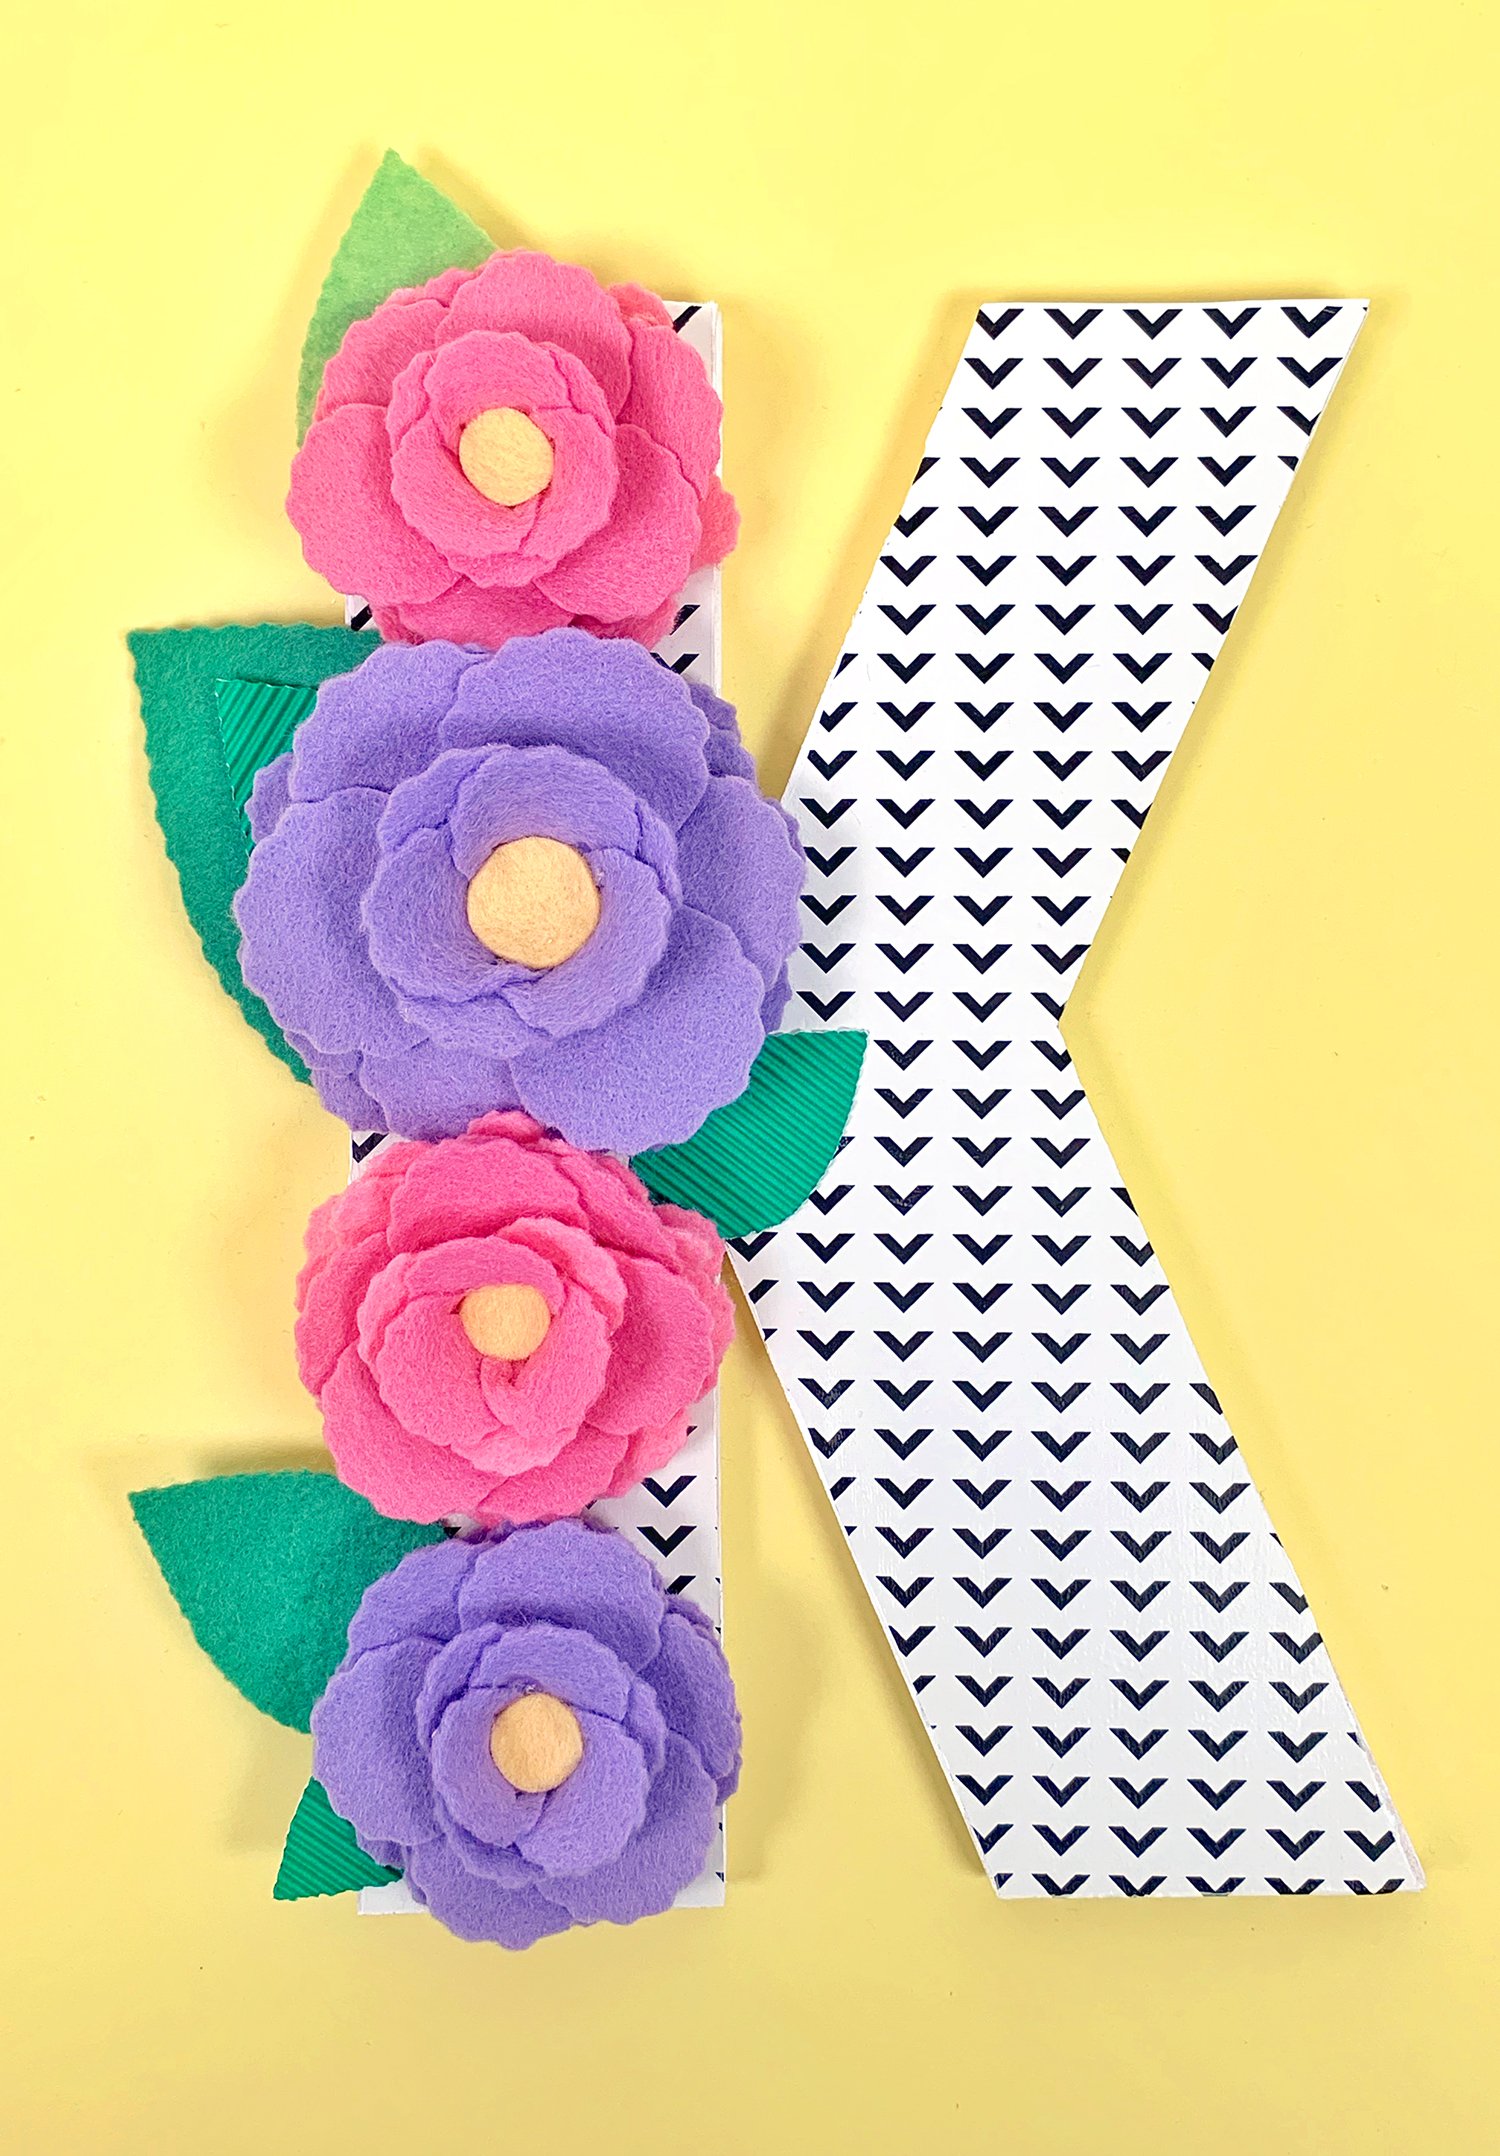
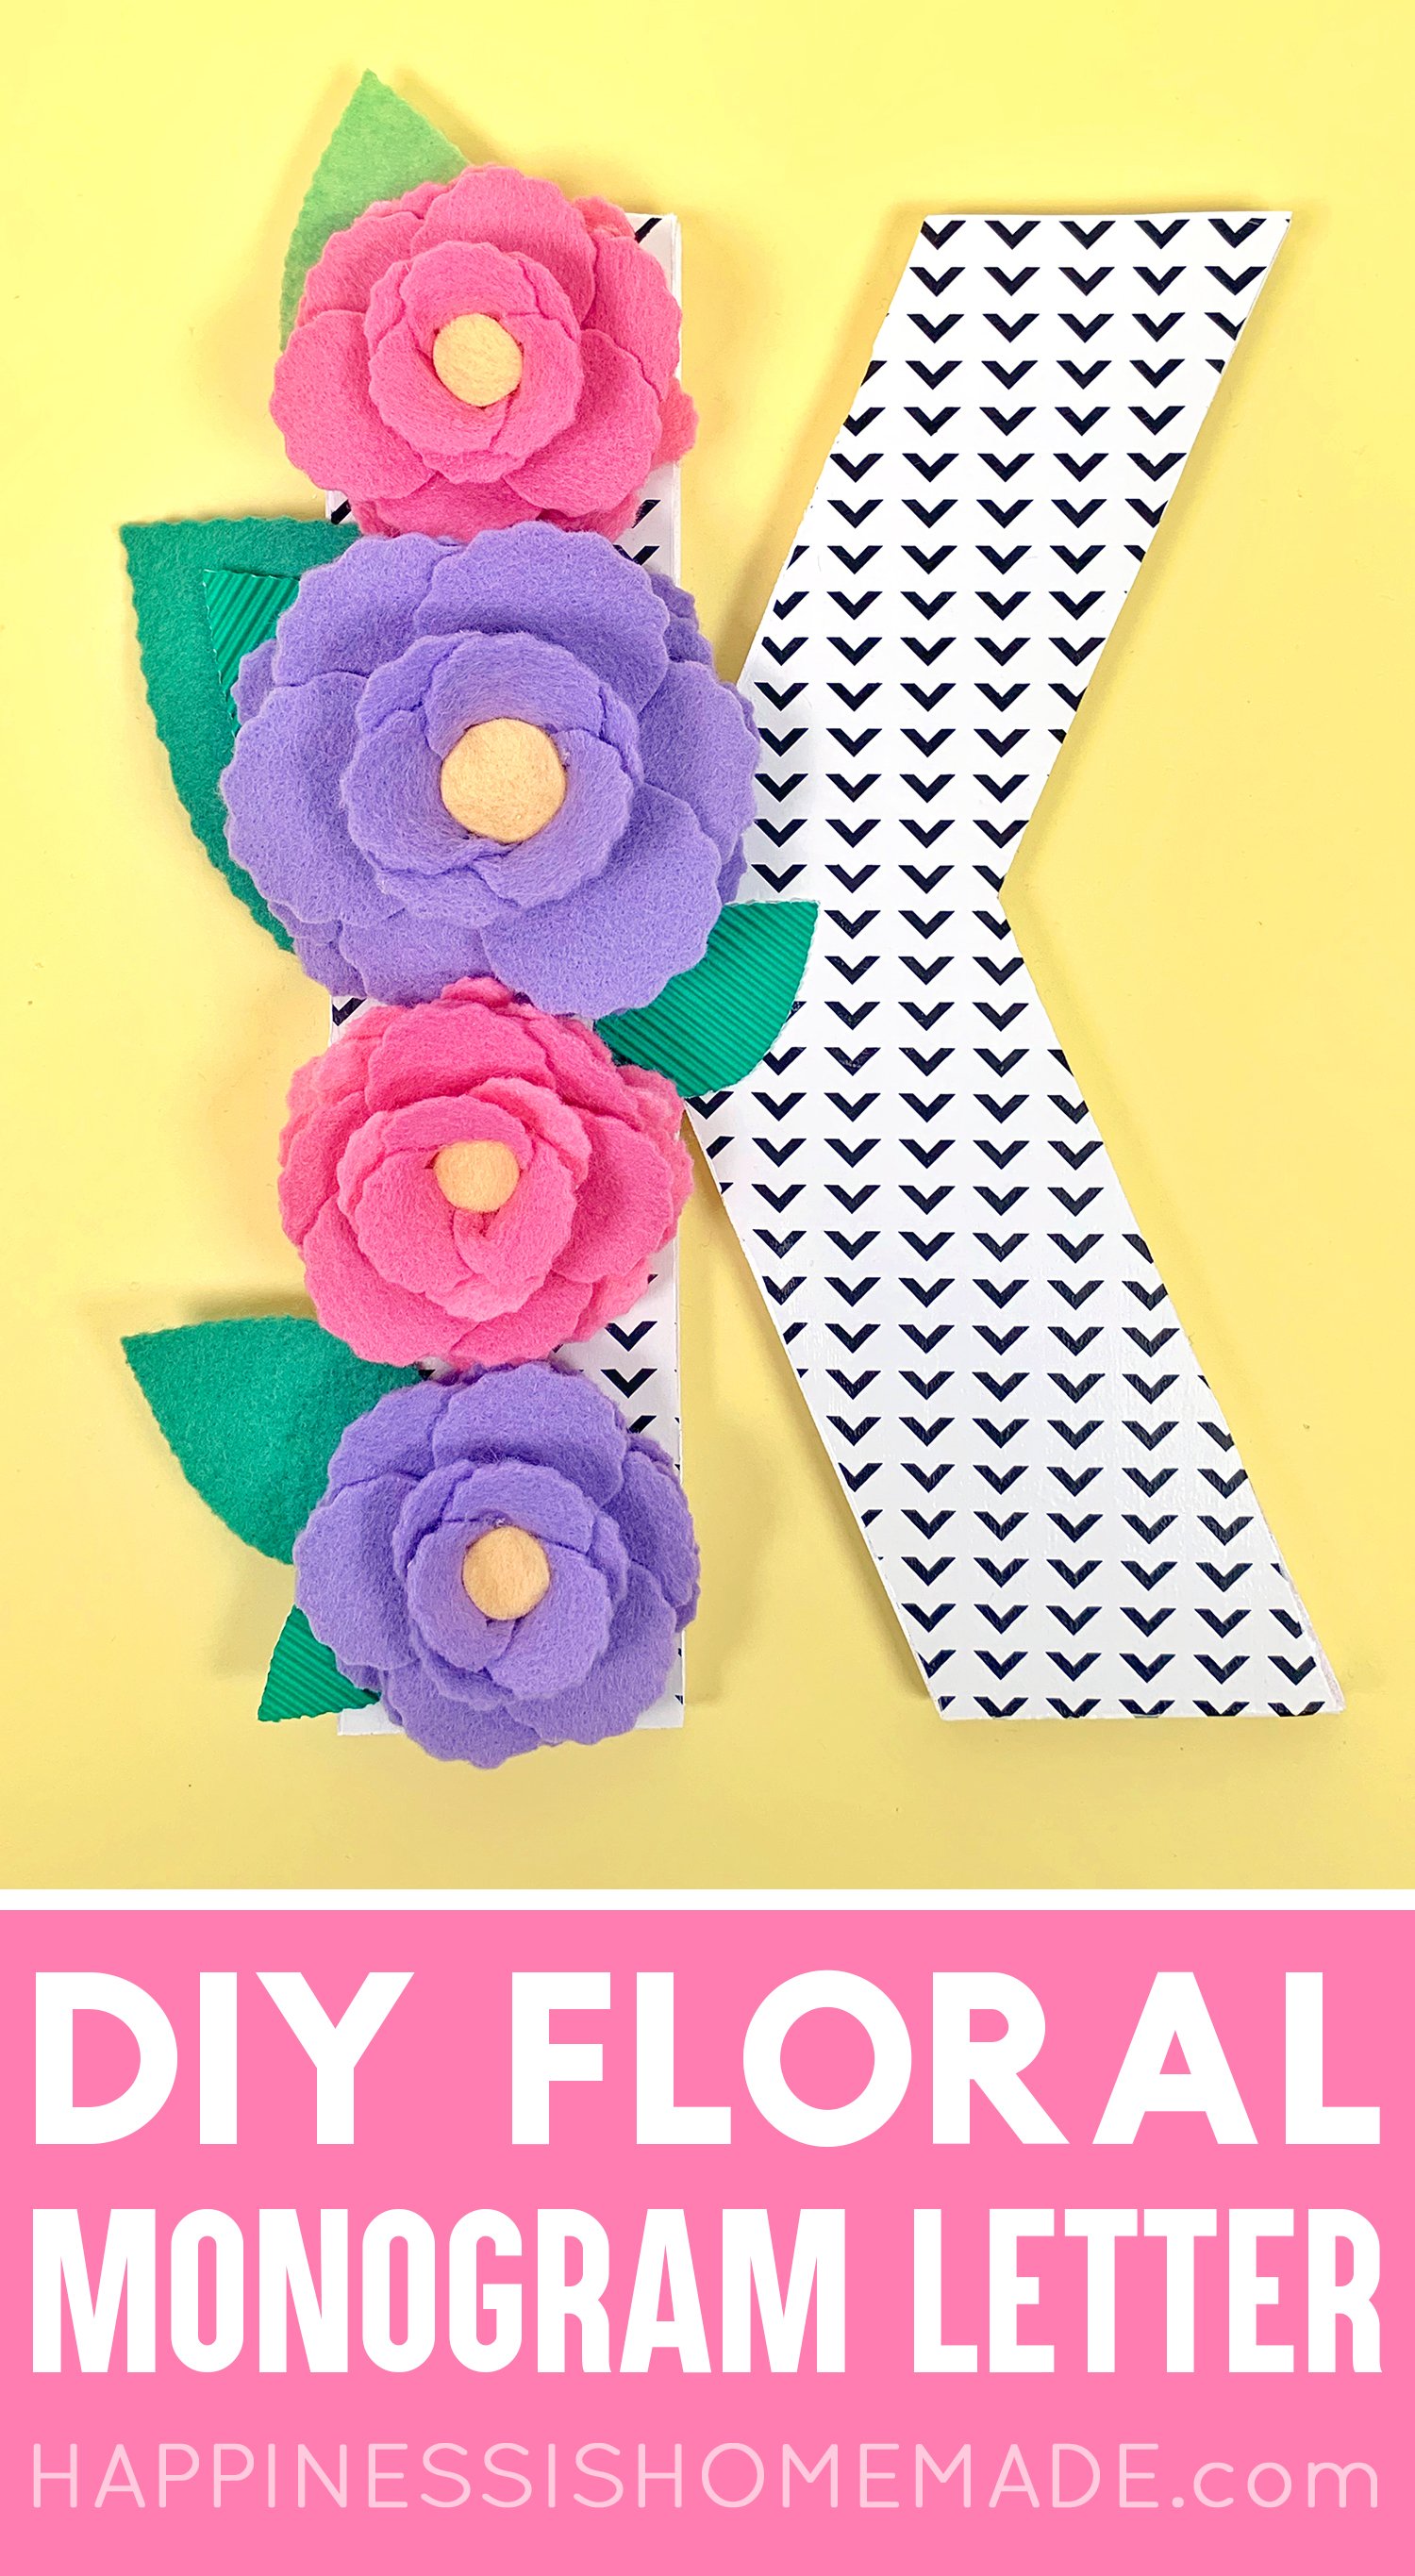
Make these cute DIY Floral Wooden Monogram Letters for your next special occasion! Makes a wonderful baby shower or bridal shower decoration or gift idea!
This post may contain affiliate links. I will receive a small commission from these sales at no additional cost to you! This is a sponsored conversation written by me on behalf of Cricut. The opinions and text are all mine.
As we head toward springtime, I find myself with a growing list of baby shower and bridal shower invitations, and people are always asking me for advice about DIY shower decorations. One of my favorite baby or bridal shower decorations is a pretty floral monogram letter using the first initial of the baby’s name or the future bride’s new last name. It makes a gorgeous shower decoration, and the guest of honor can take it with them to display in their home afterward, so it doubles as a fantastic gift idea, too!
DIY Floral Monogram Letters
I whipped up this adorable DIY monogram letter using my Cricut Maker, and it’s perfect for all of your baby and bridal shower decorating and gifting needs! Let me show you how easy it is to make your own!
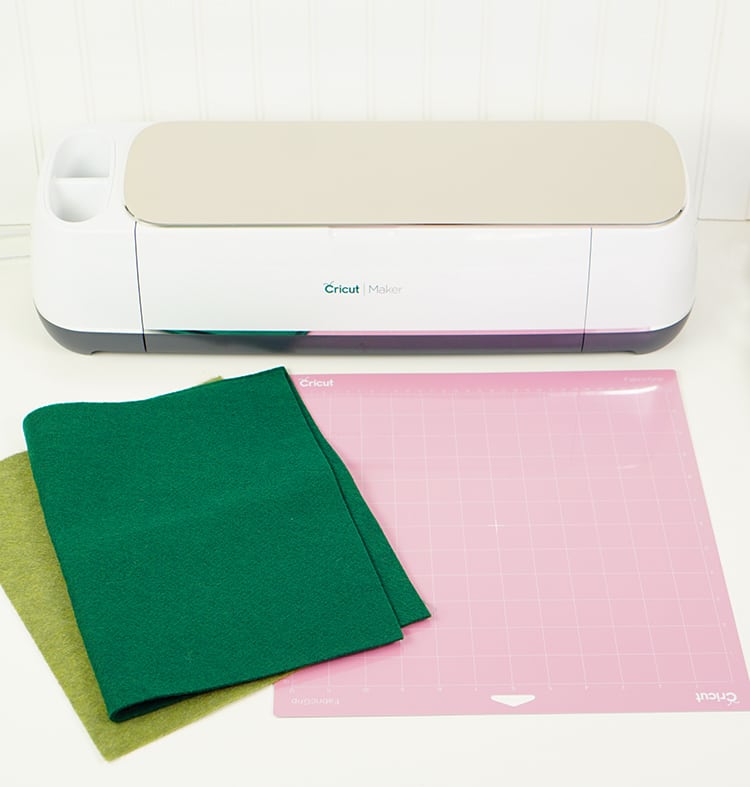
What We Used to Make DIY Floral Monogram Letters:
- Cricut Maker with Rotary Blade and Knife Blade
- Cricut FabricGrip Mat and StrongGrip Mat
- Masking Tape
- 1/16″ Basswood
- Assorted Colors of Felt – I used a combination of wool felt and Cricut felt
- Corrugated Cardboard
- Cricut Patterned Iron-On
- Cricut EasyPress 2
- Hot Glue Gun
- Brayer (optional, but helpful)
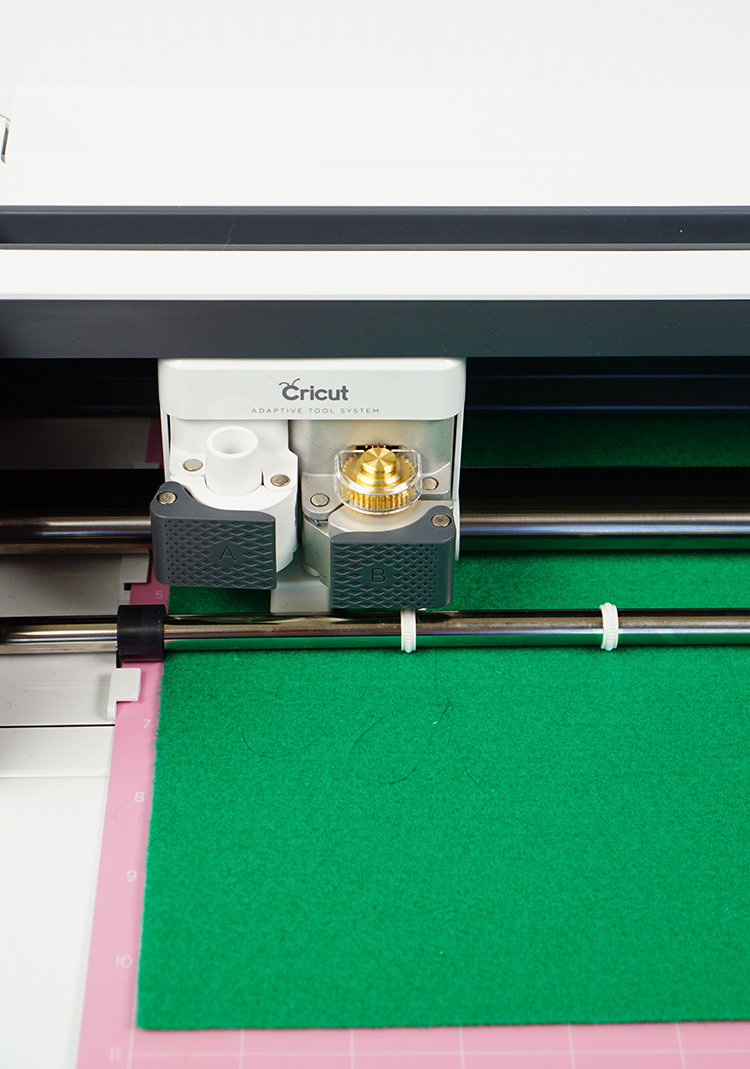
One of my favorite things to cut with my Cricut Maker is felt, especially thicker wool felt, because the rotary blade cuts through it like a hot knife through butter! It’s SO smooth and precise! The Maker is built with Cricut’s revolutionary Adaptive Tool System, which allows you to swap out lots of different tools including the standard fine-point blade, fabric rotary blade, and the knife blade for cutting a huge variety of surfaces.
To begin making my monogram letter, I started by using my Maker to cut different shades of felt flowers and leaves using this FLORAL MONOGRAM LETTER DESIGN SPACE PROJECT.
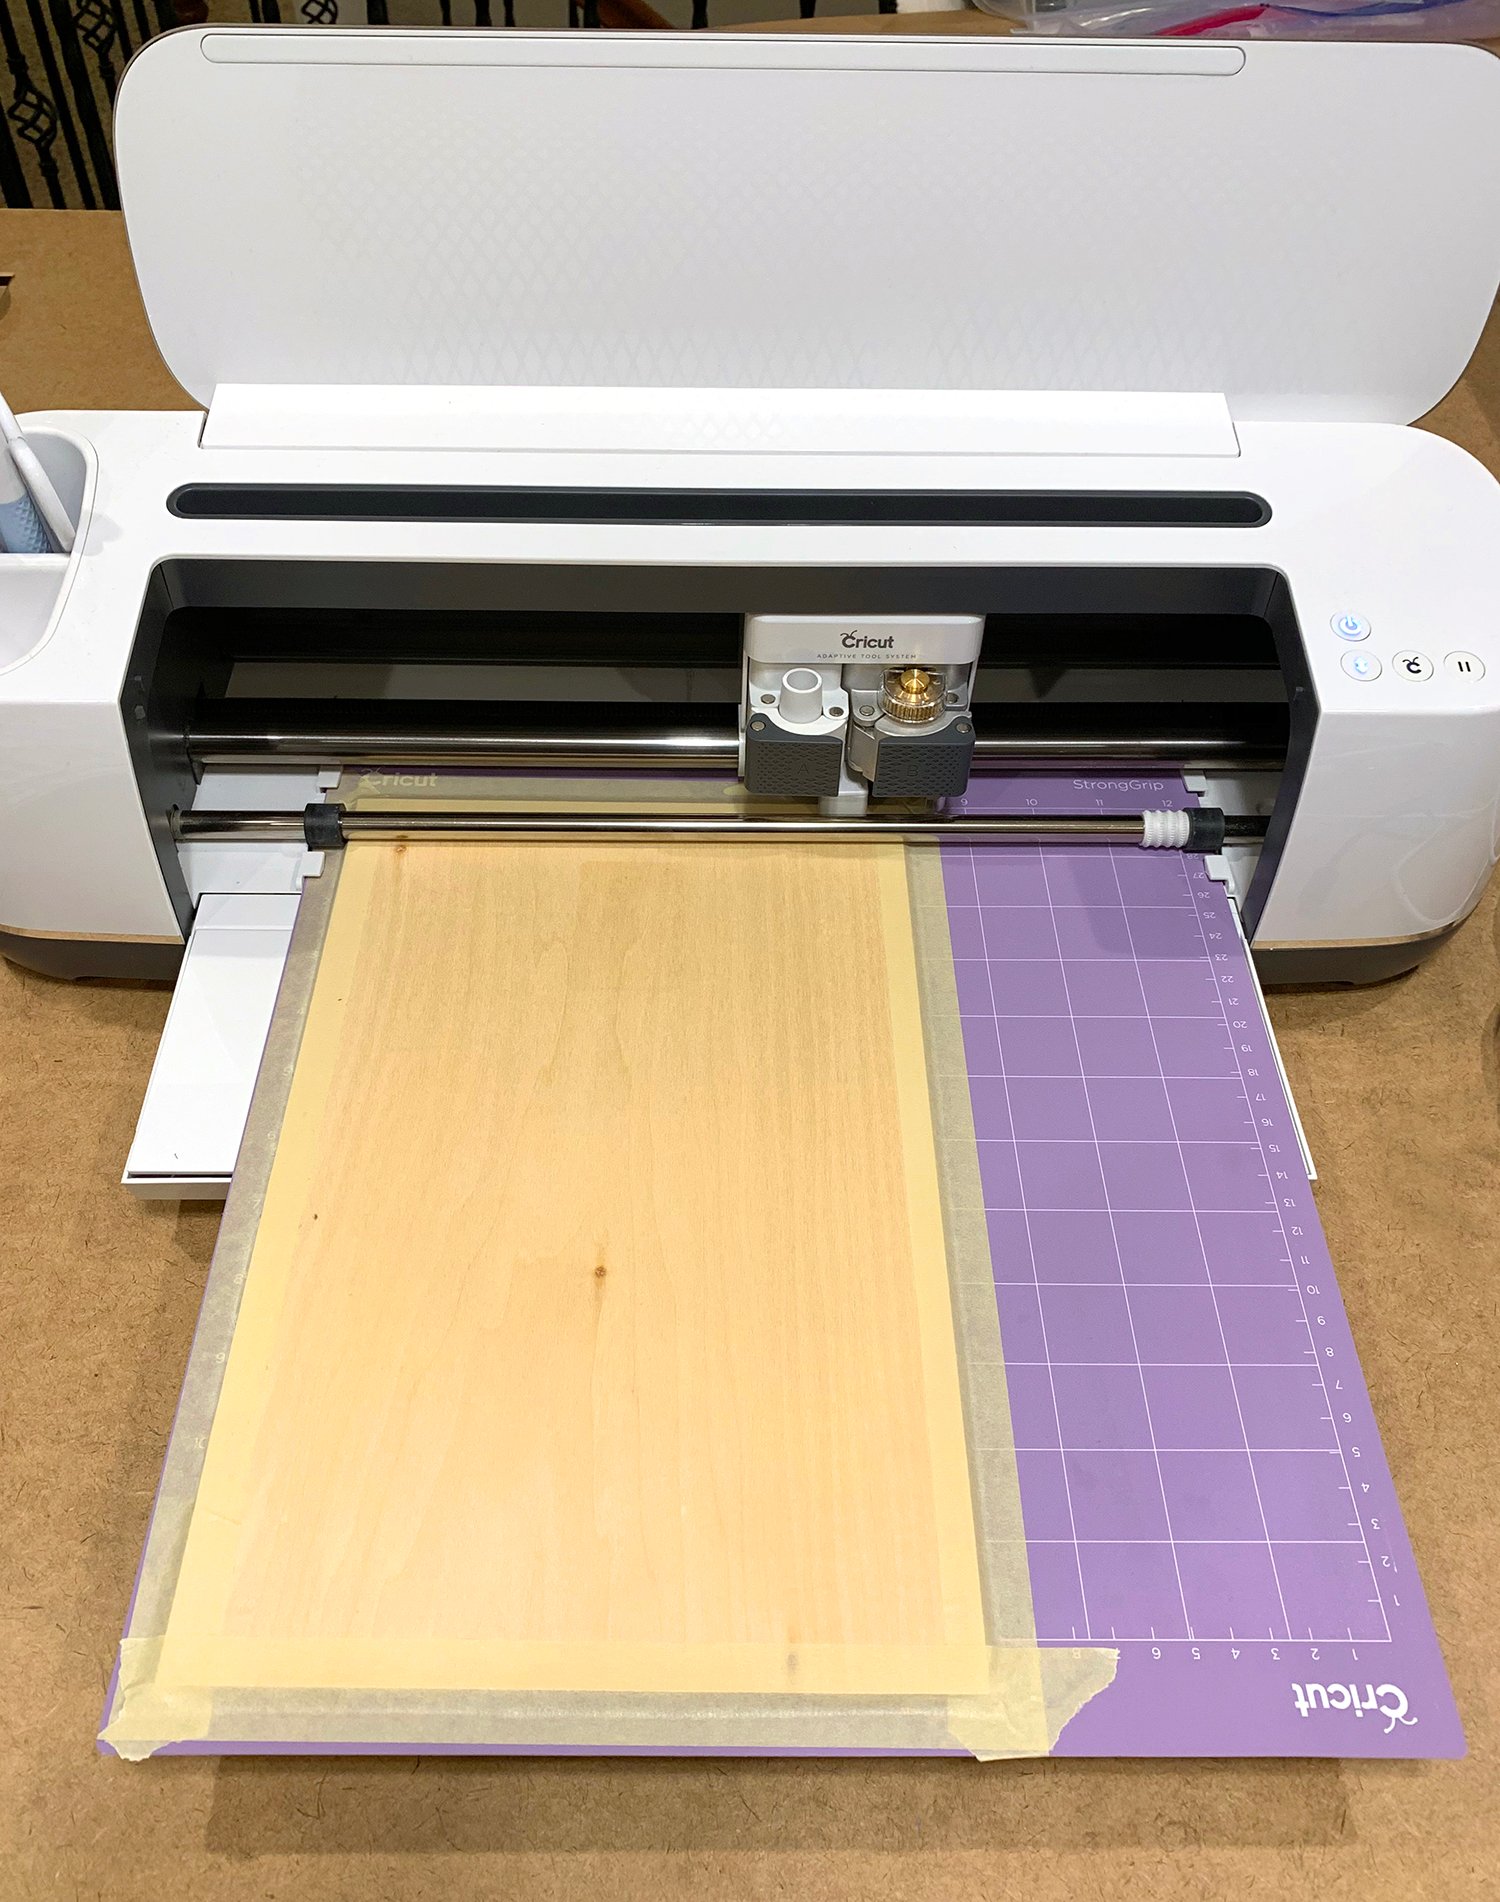
Next, I cut the monogram letter out of basswood using the Knife Blade.
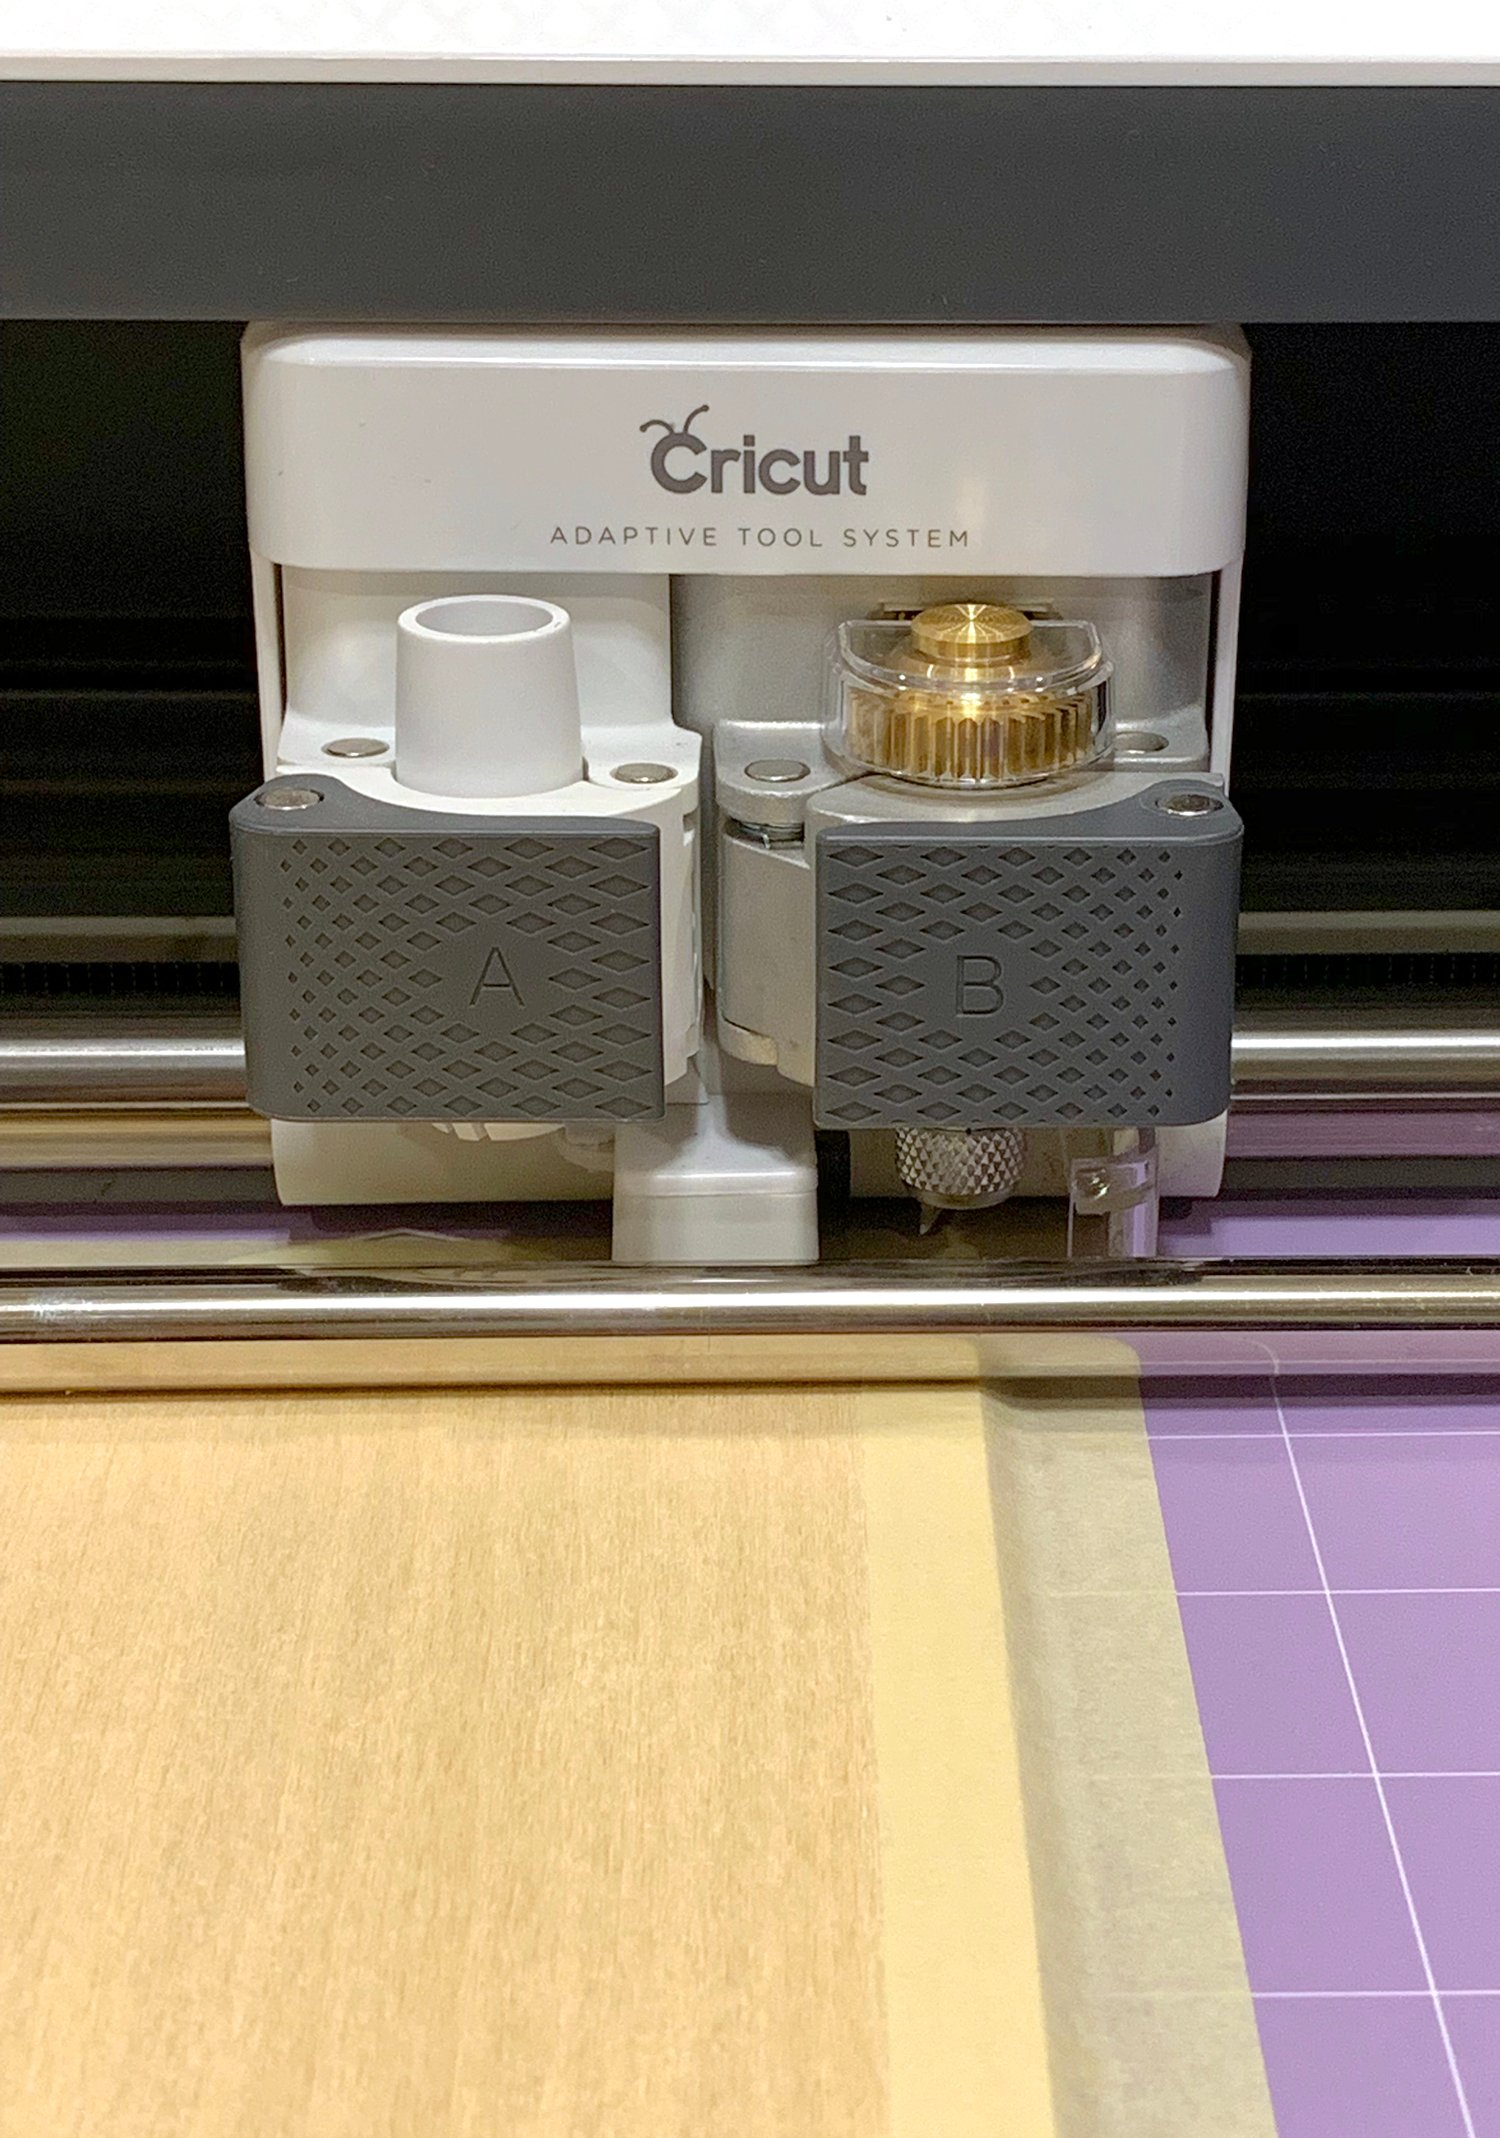
When working with the knife blade and thicker materials such as the basswood, there are a few things that you need to do:
- Move the white “star wheels” all the way over to the right-hand side of the roller bar. You material cannot be wider than 11″
- Make sure that you are using a StrongGrip Mat (that’s the purple one).
- Use a brayer and firm pressure, make sure that your material is adhered to the mat, and then use masking tape to secure the material to the mat on all four sides.
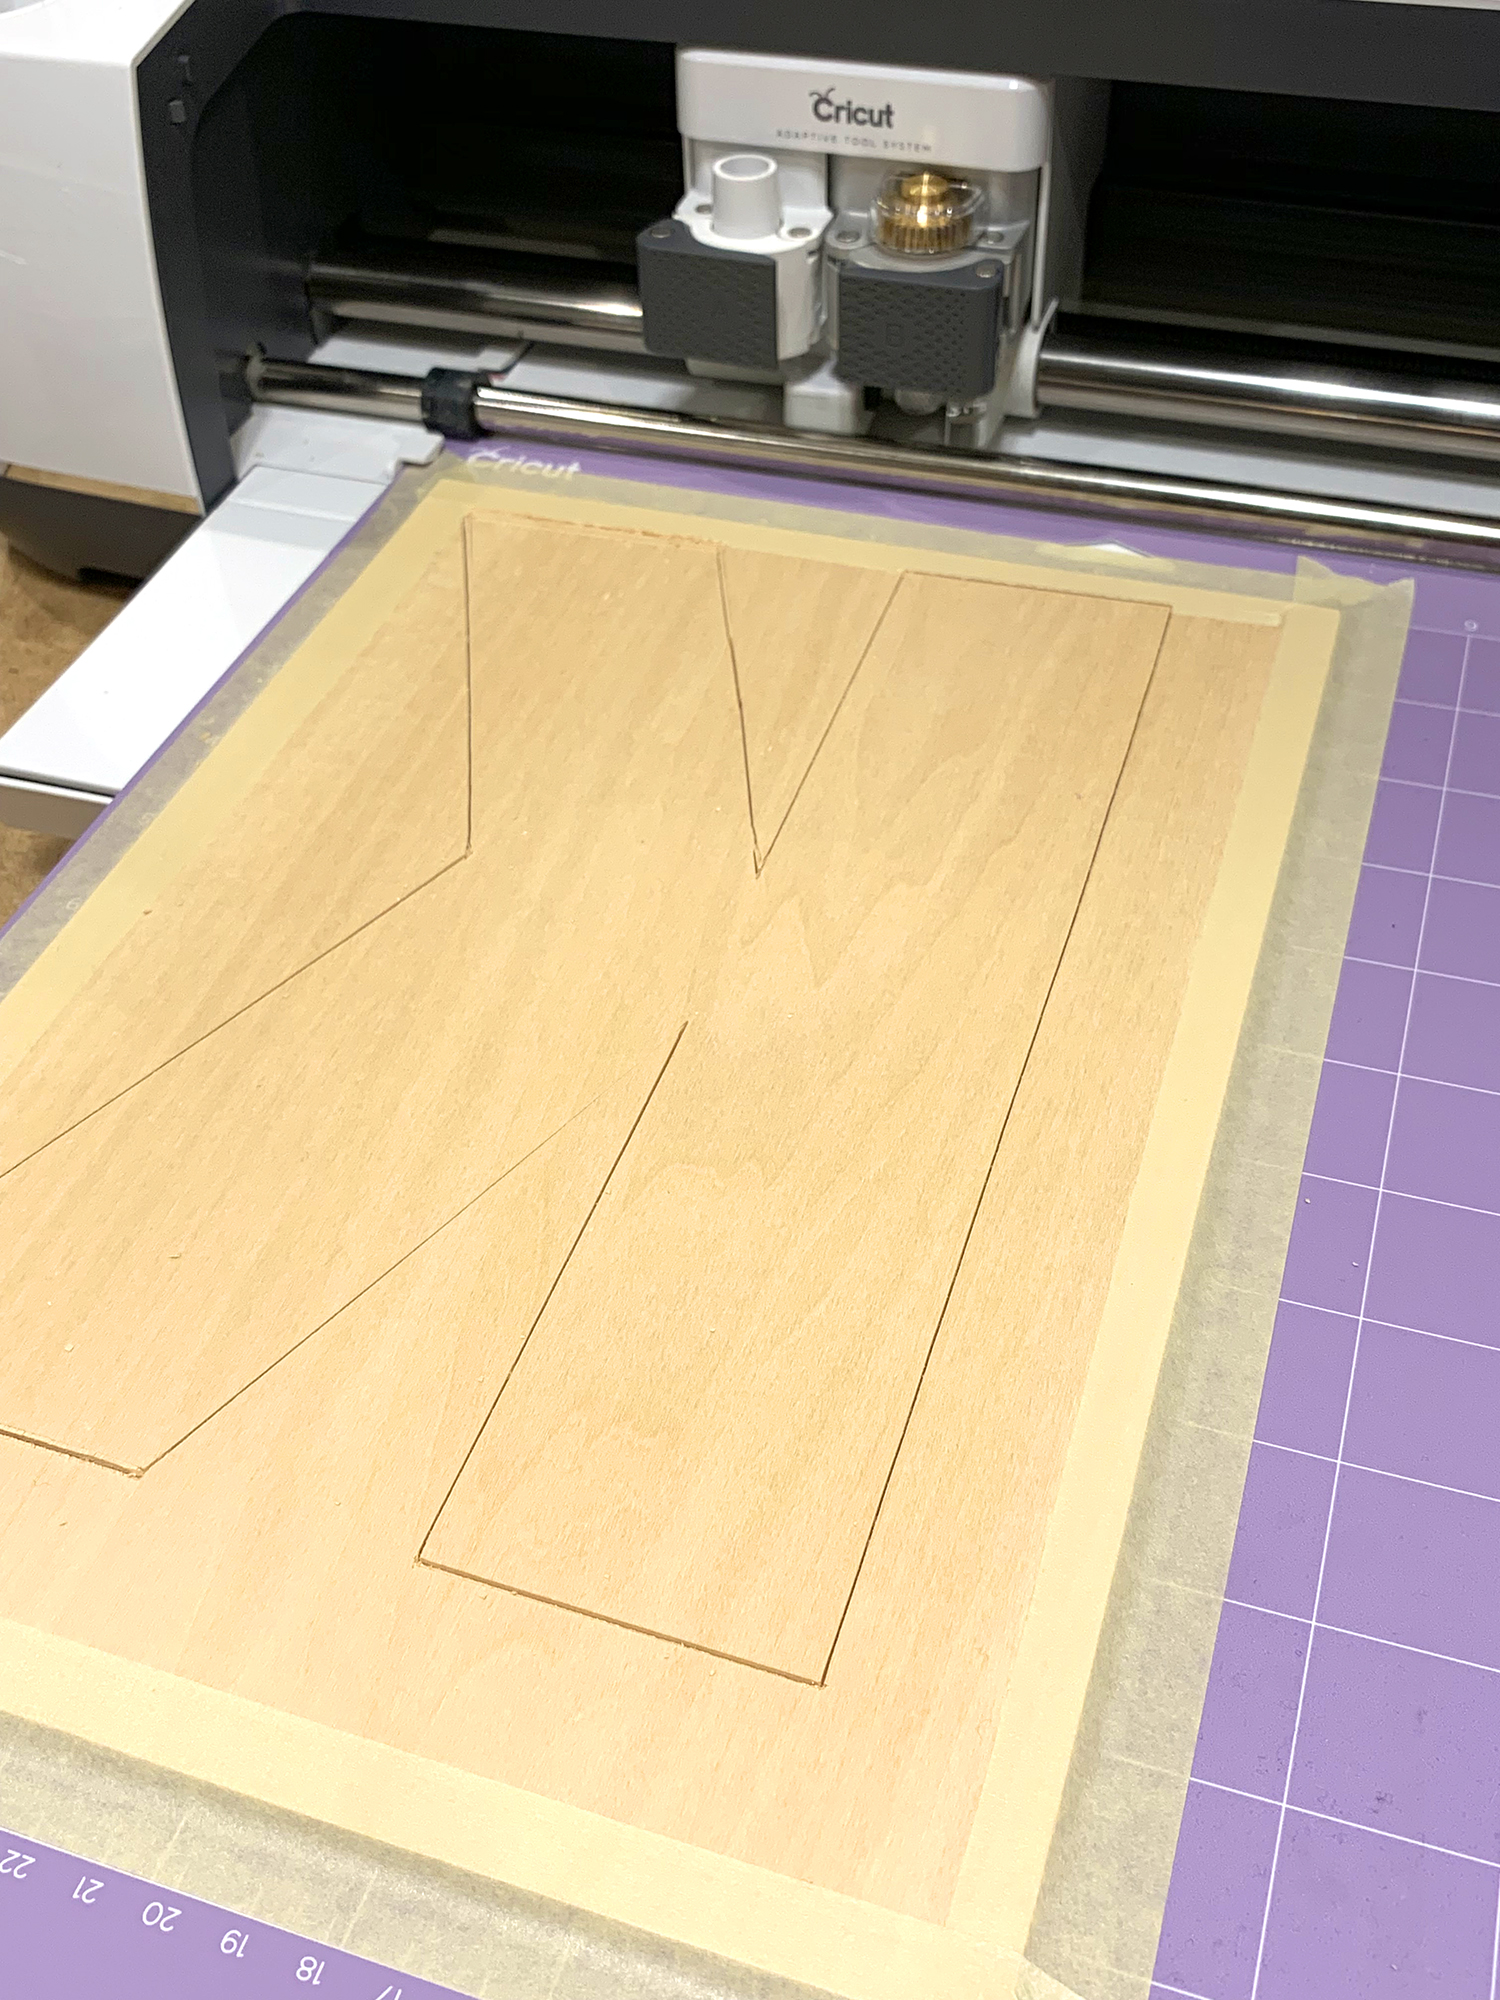
It’s so fun to sit back and watch the machine do all of the hard work for you! I wanted to build up the bulkiness of my monogram letter, so I cut four K’s from my basswood.
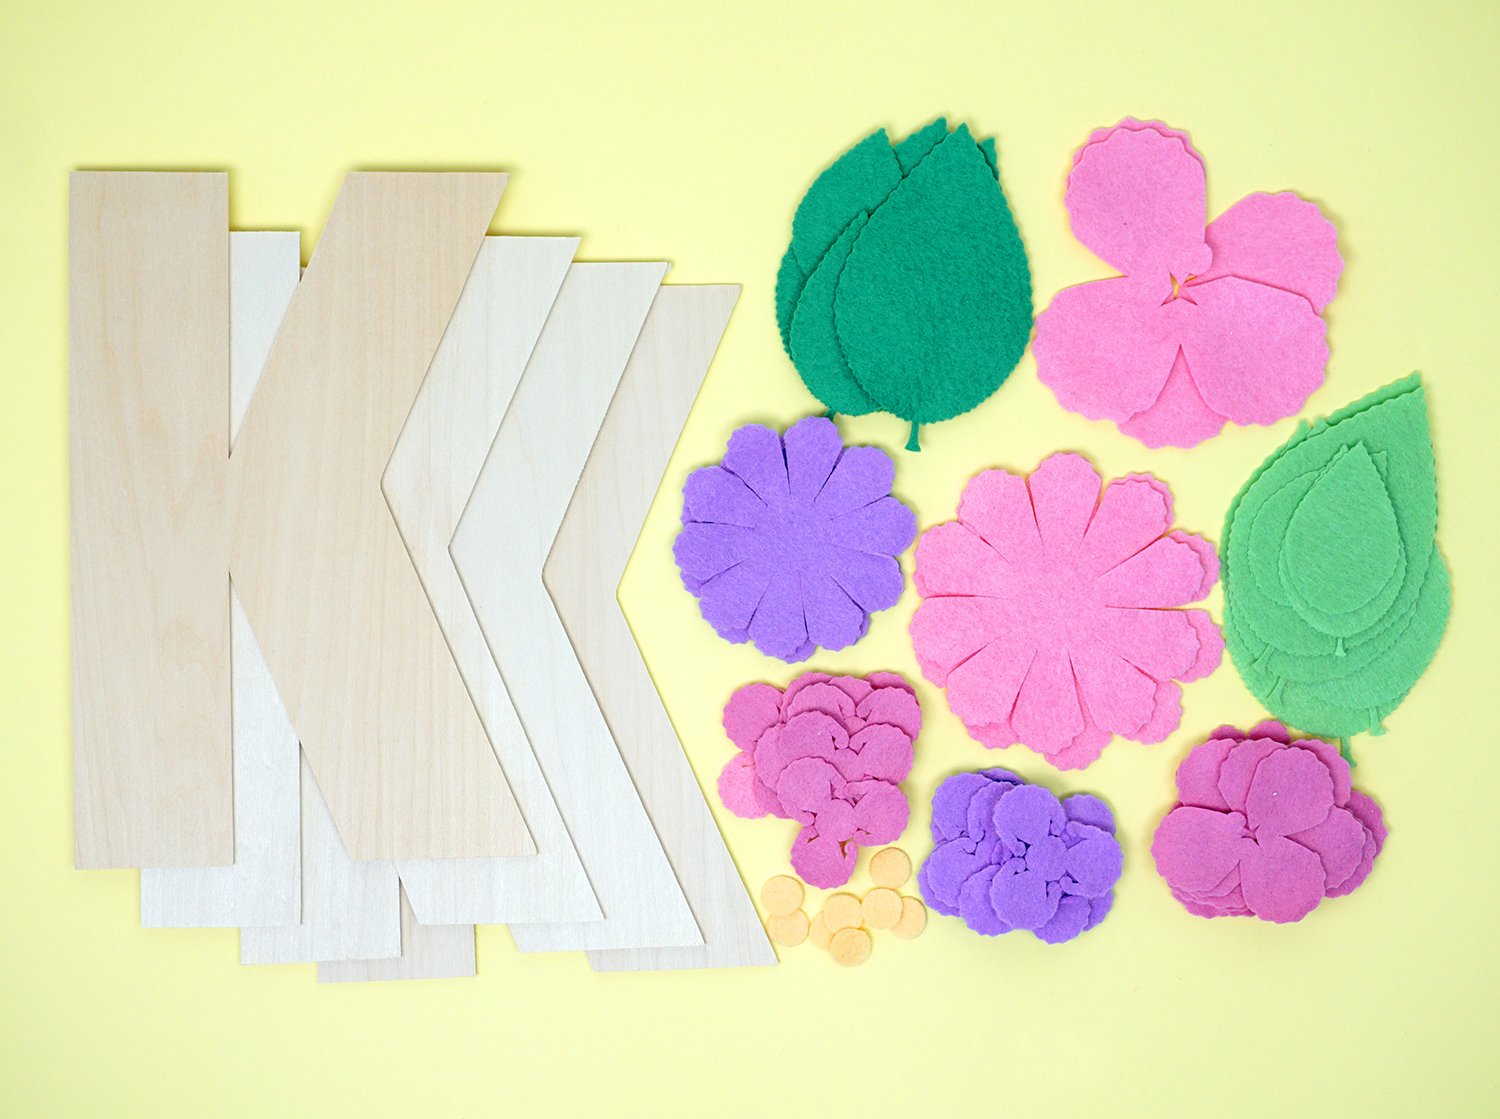
When I was done cutting, I laid out all of my pieces and started assembling everything.
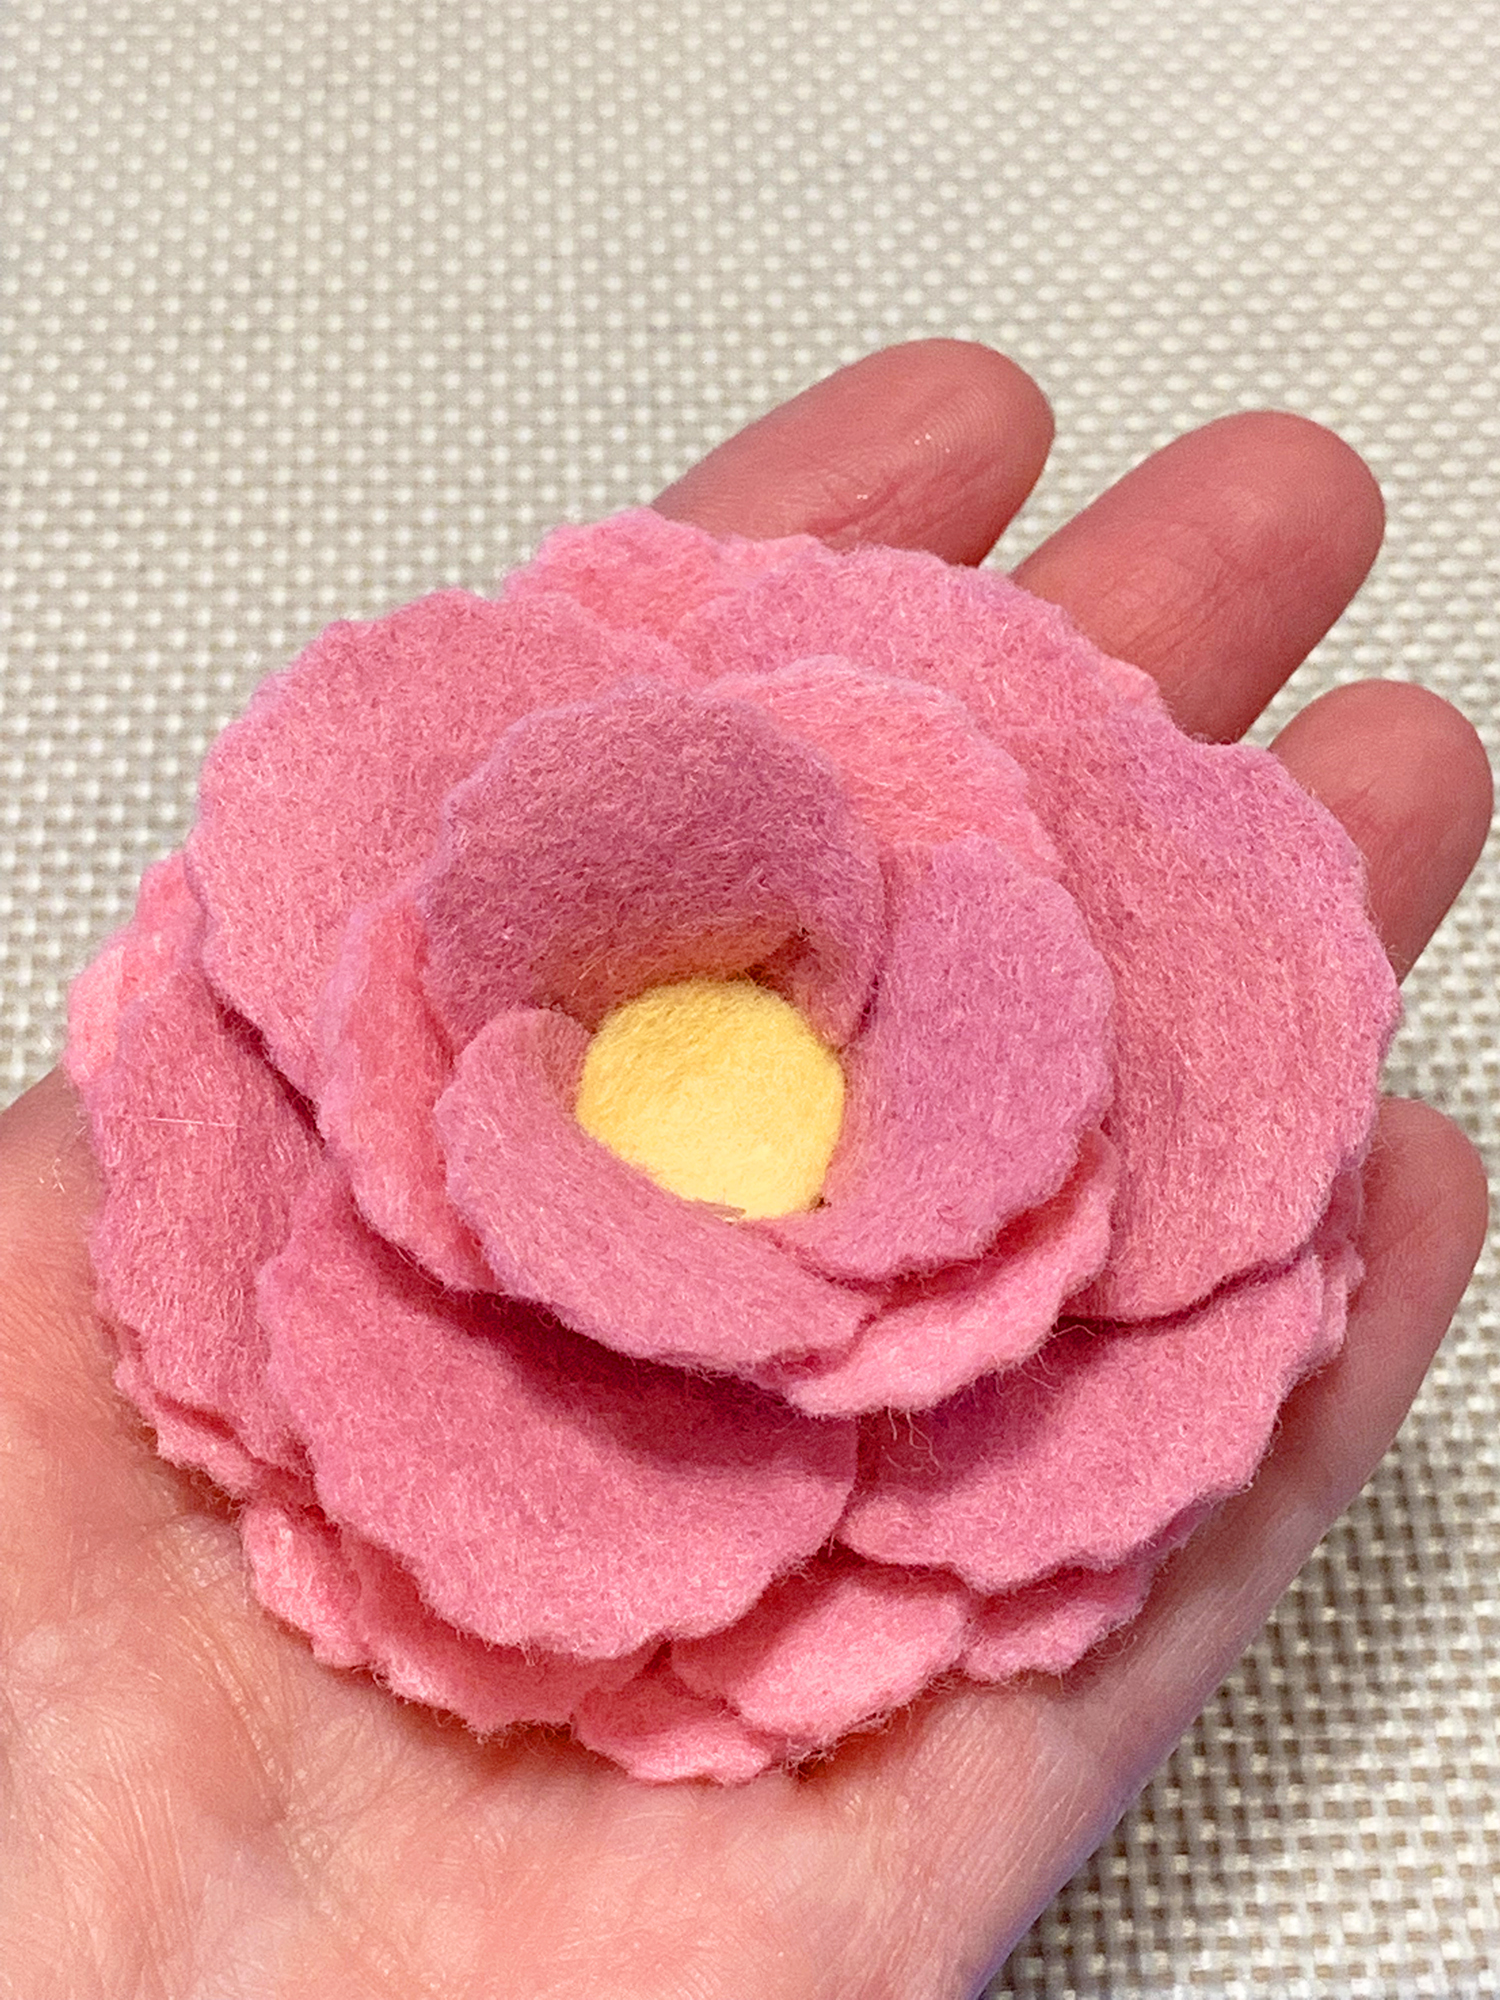
I used hot glue to assemble my peony flowers – each flower is created with six different pieces which are then layered to create a gorgeous flower.
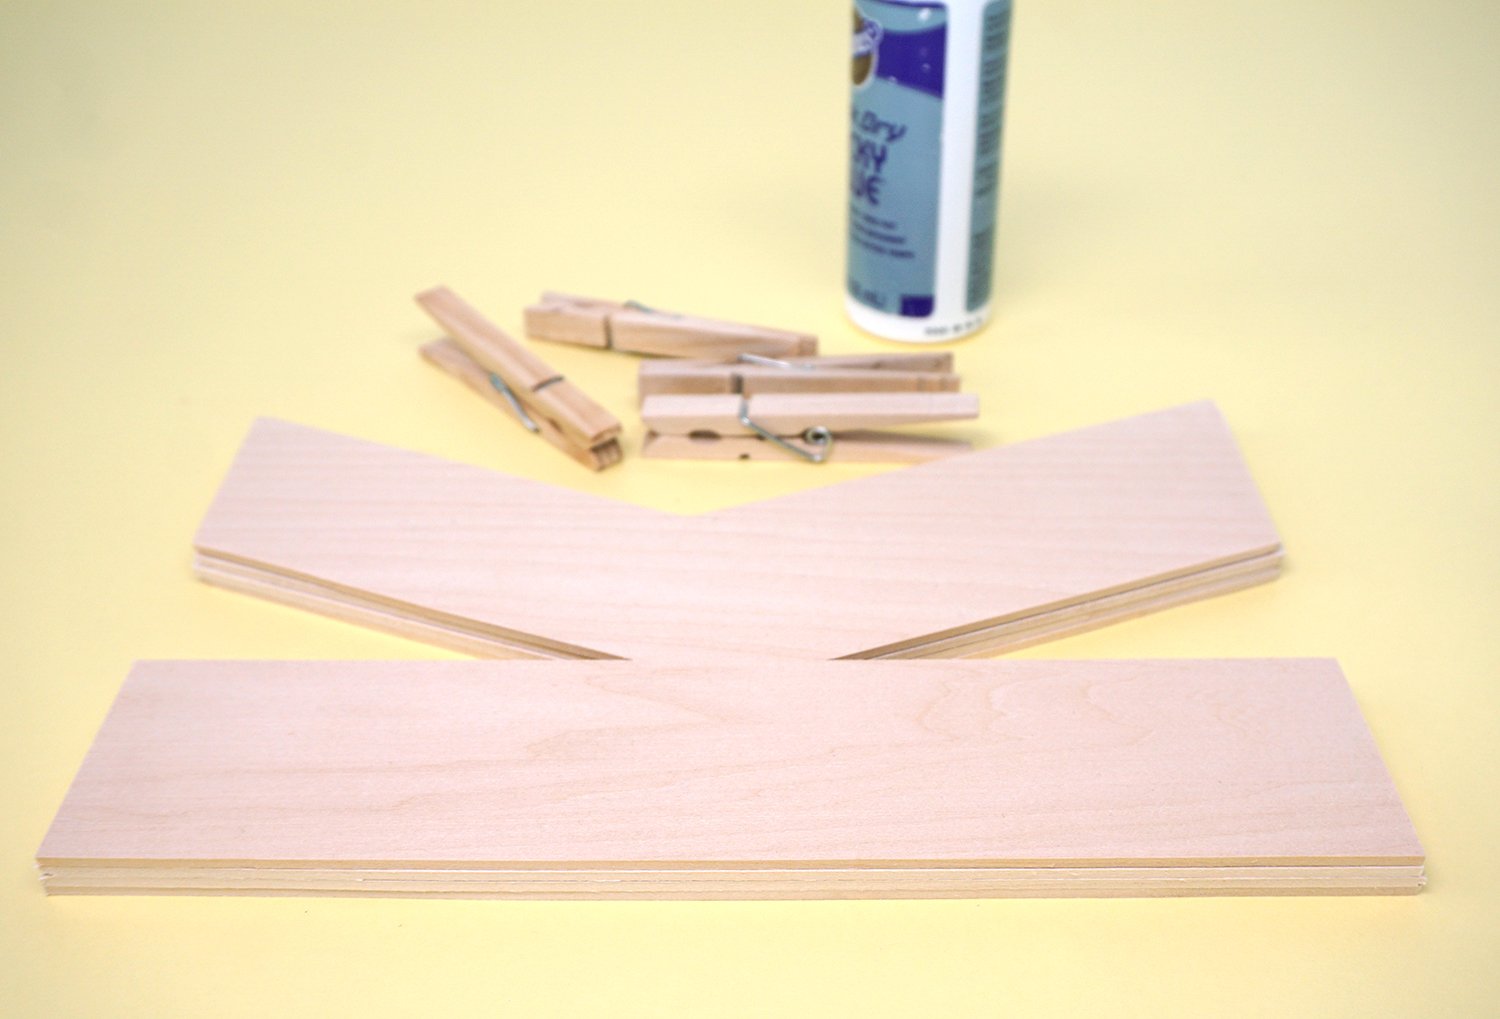
I glued the four layers of basswood together and used clothespins to hold the edges in place while the glue was drying.
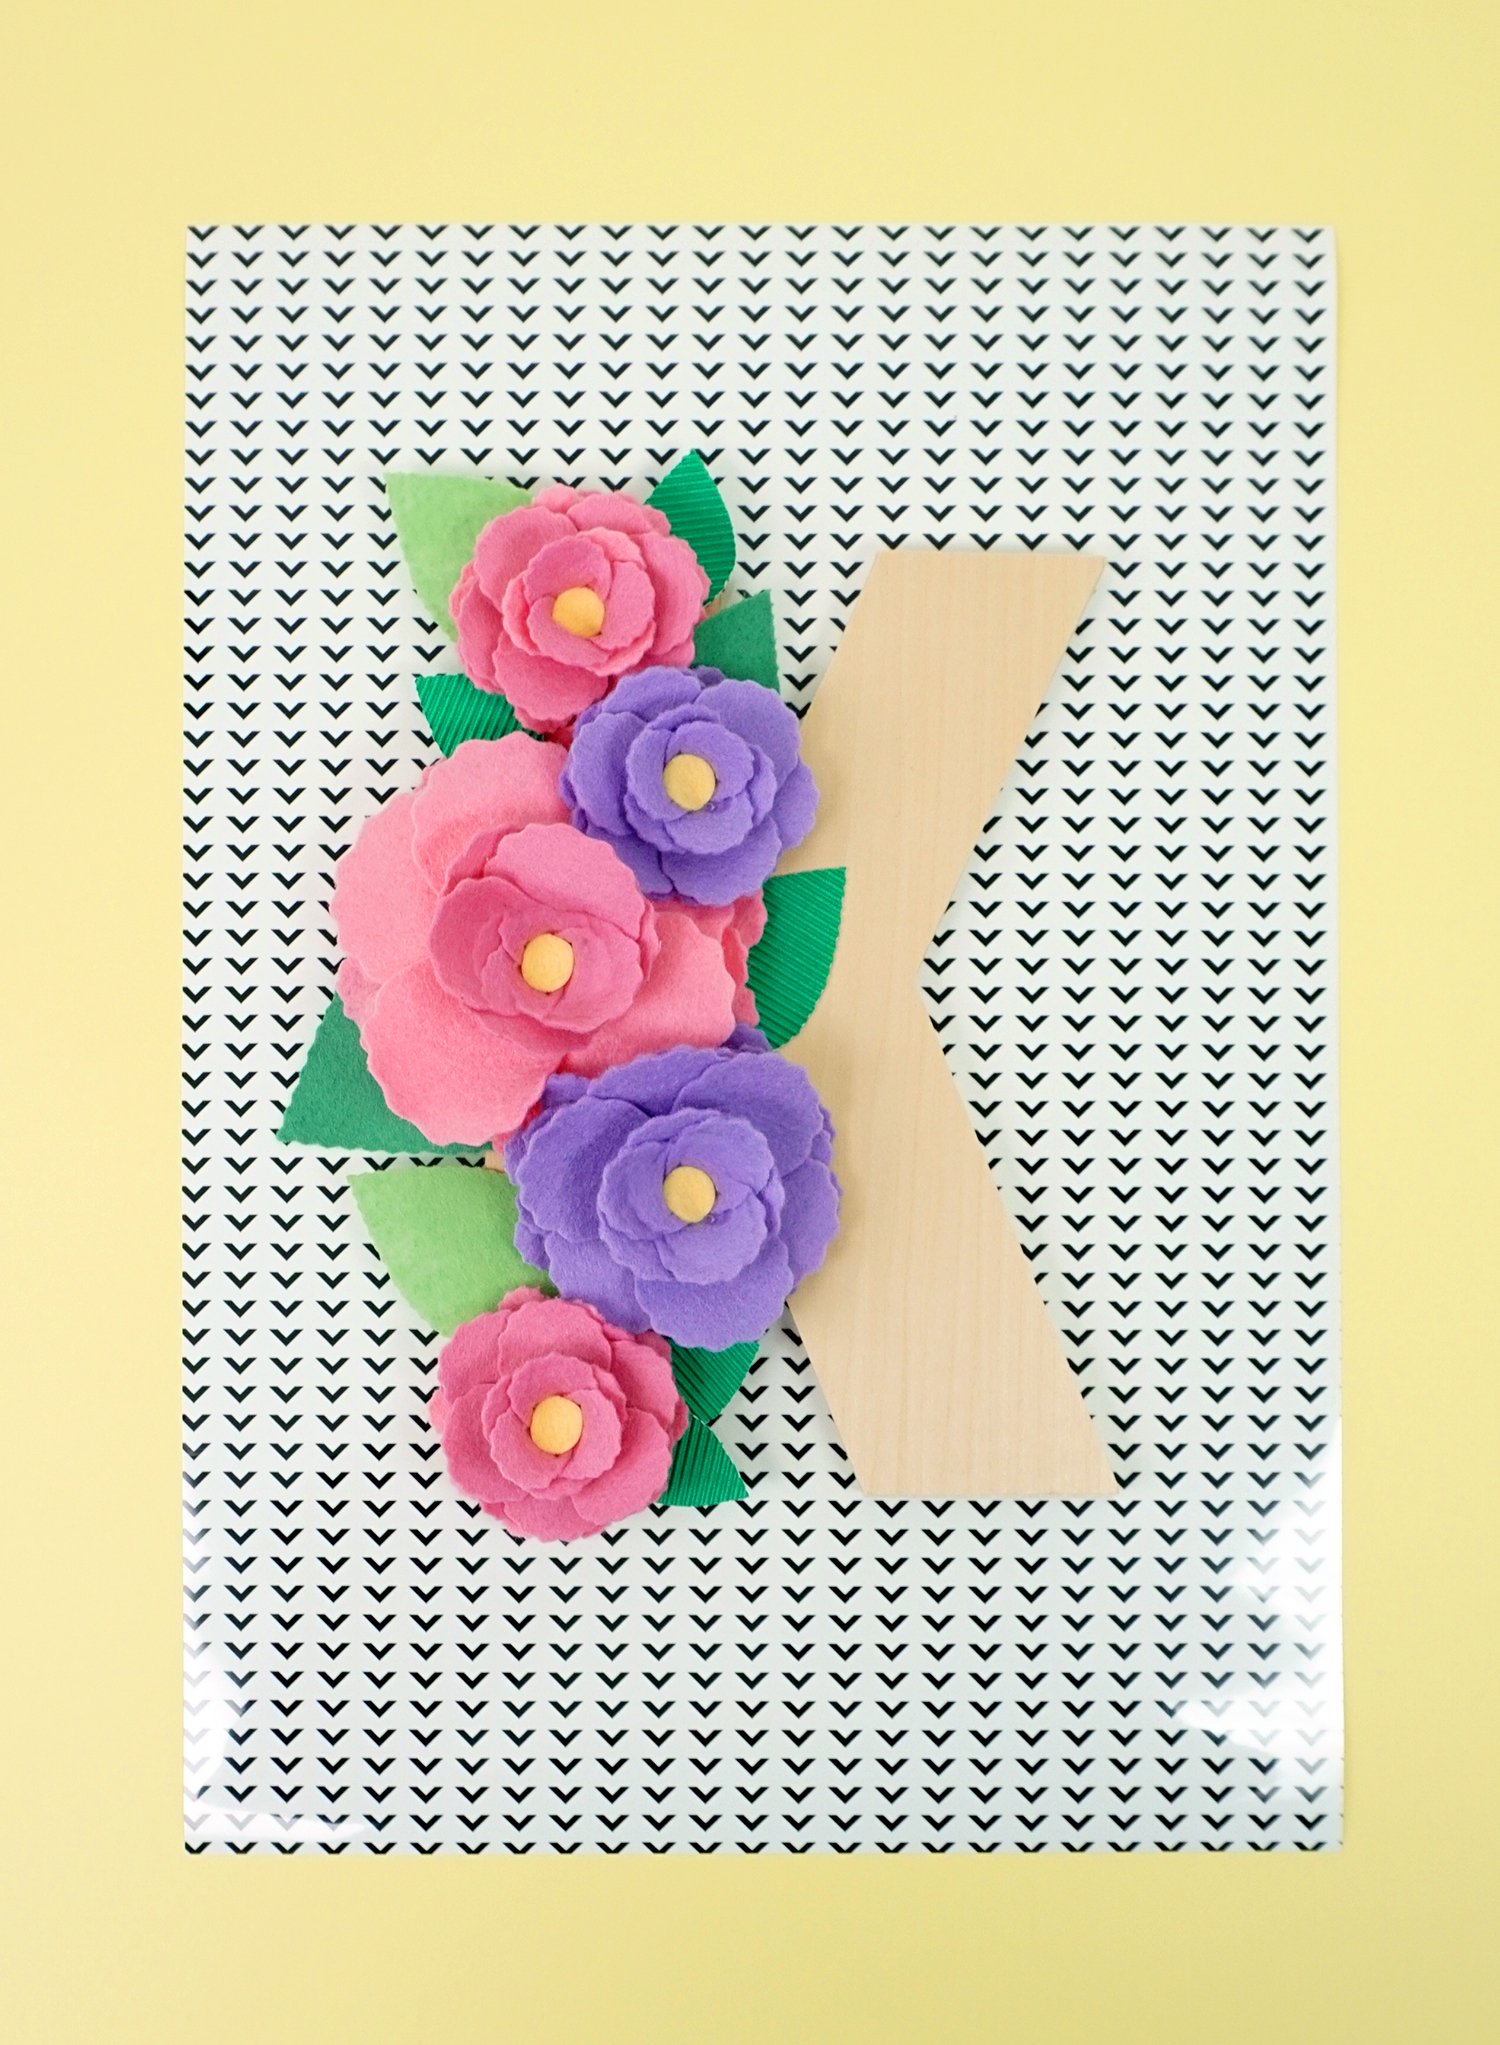
I laid out some of the elements and tried to figure out how I wanted everything arranged. I also played around with a few different patterned iron-ons until I decided which one I liked the best.
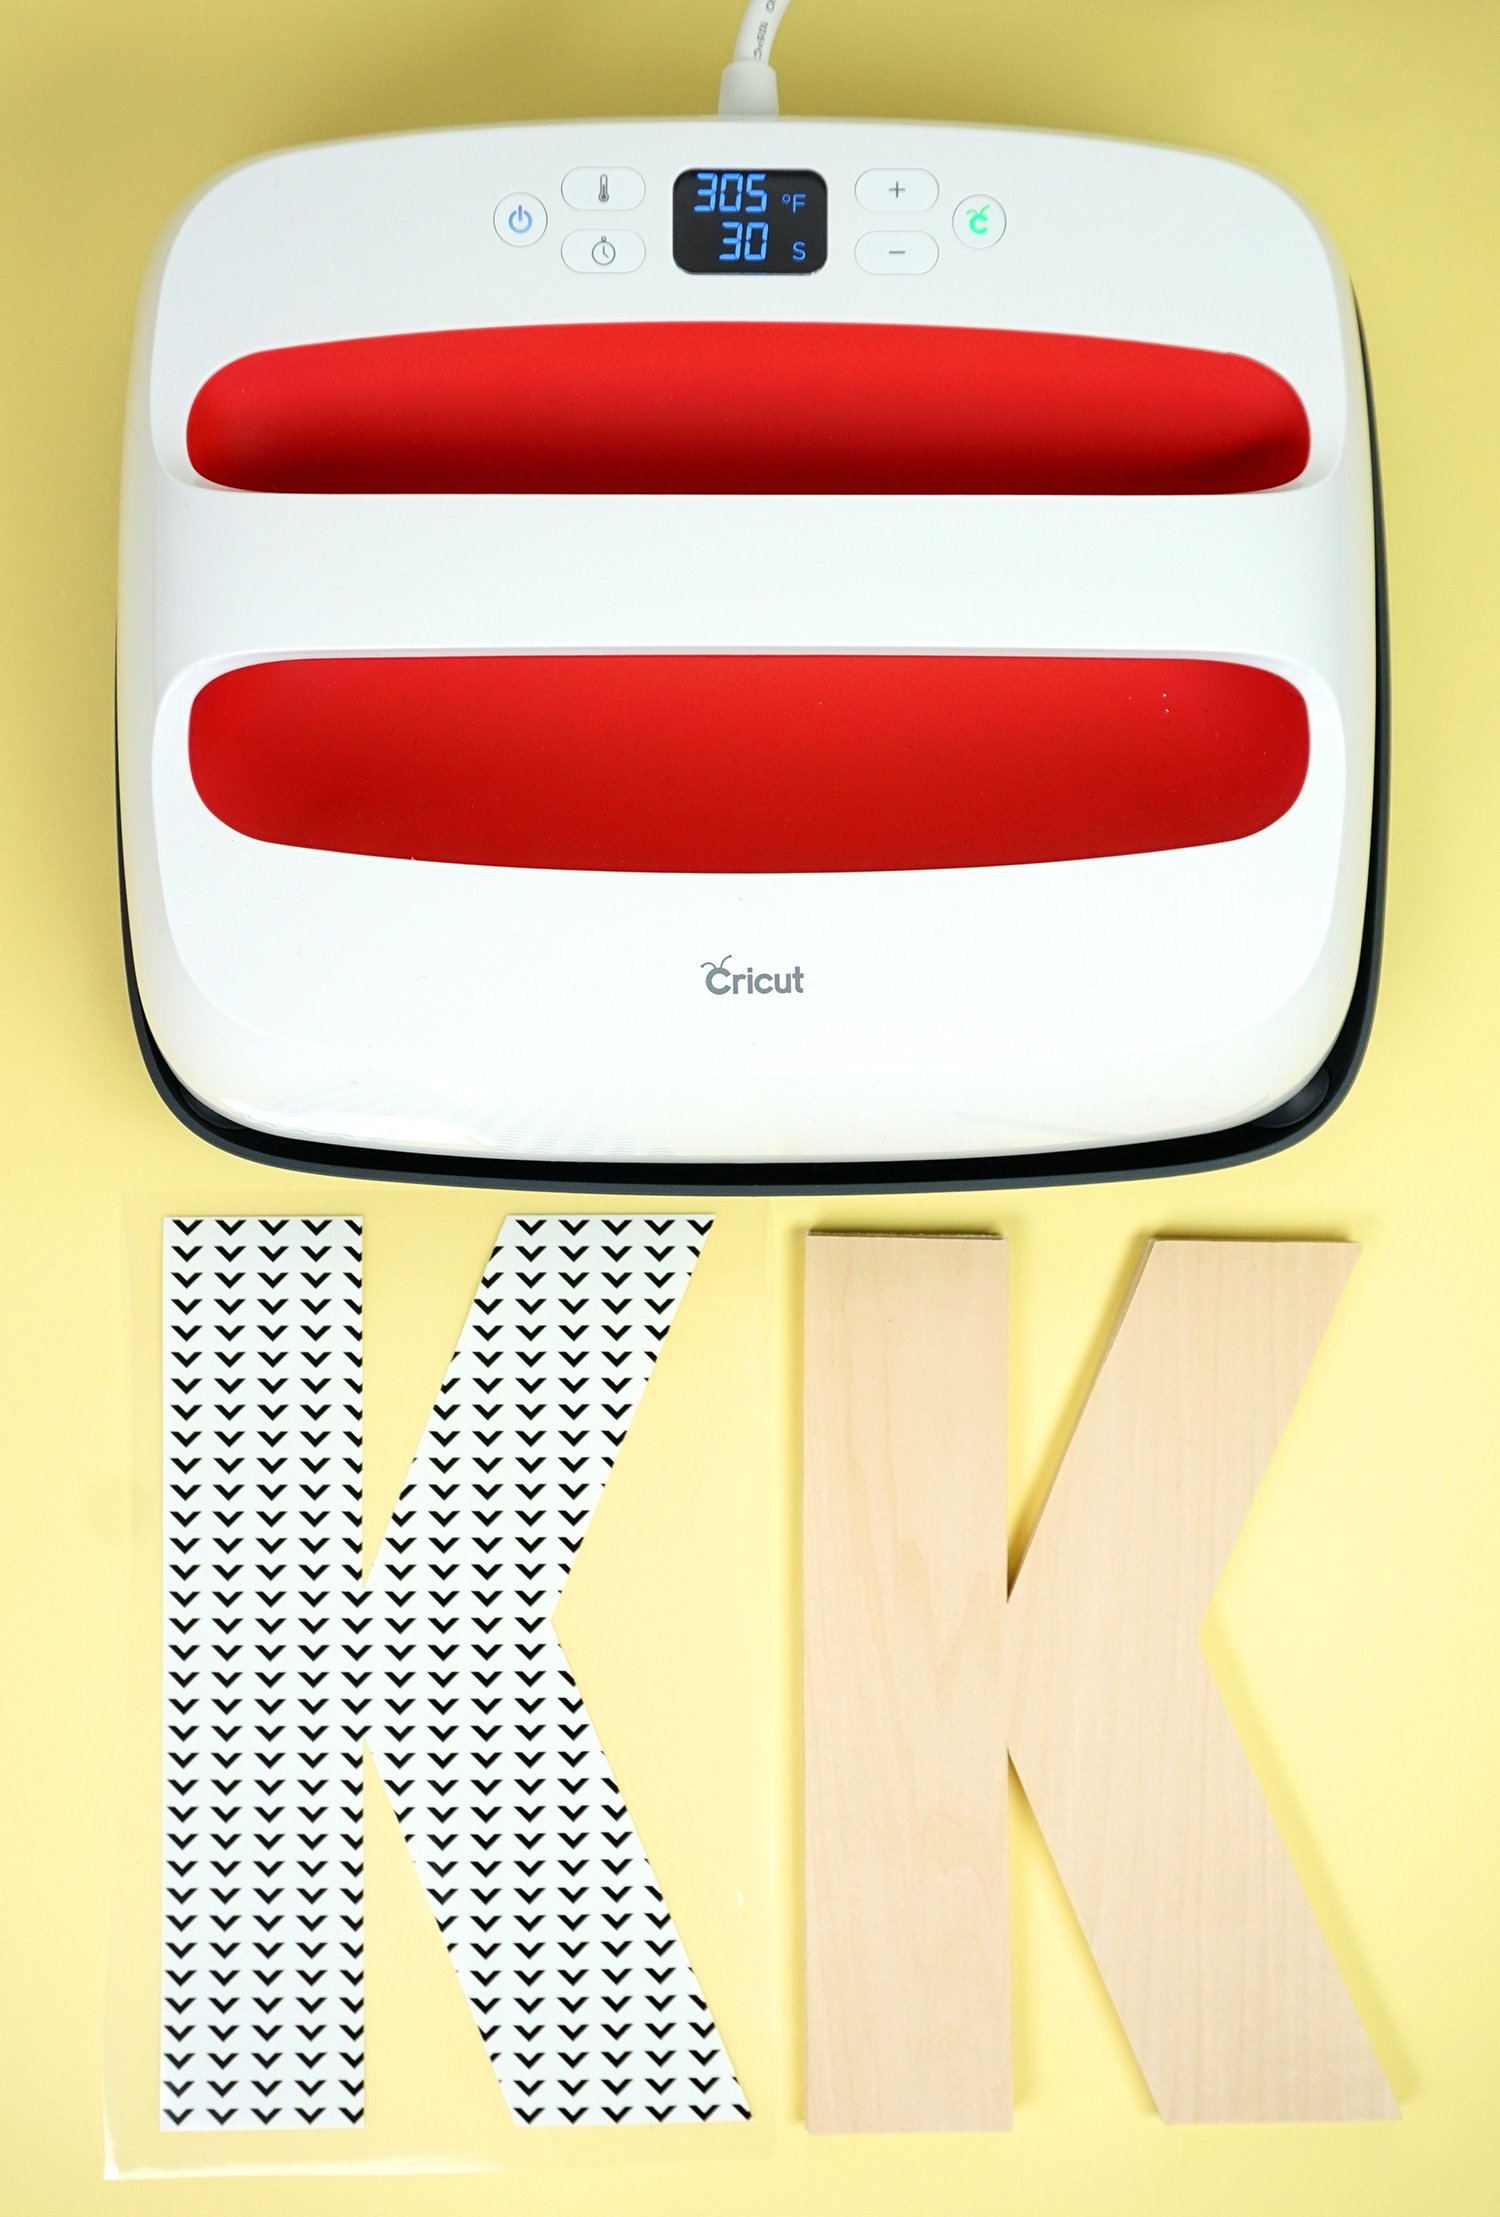
The Cricut EasyPress 2 isn’t just for making shirts! I LOVE using iron-on on unconventional surfaces like this wooden monogram letter! The Interactive Quick Reference Guide suggested that I use 305 degrees for 30 seconds for patterned iron-on on wood, but since the basswood is thinner and more delicate than a thicker slab of wood, I would recommend using 285 degrees for 25 seconds.
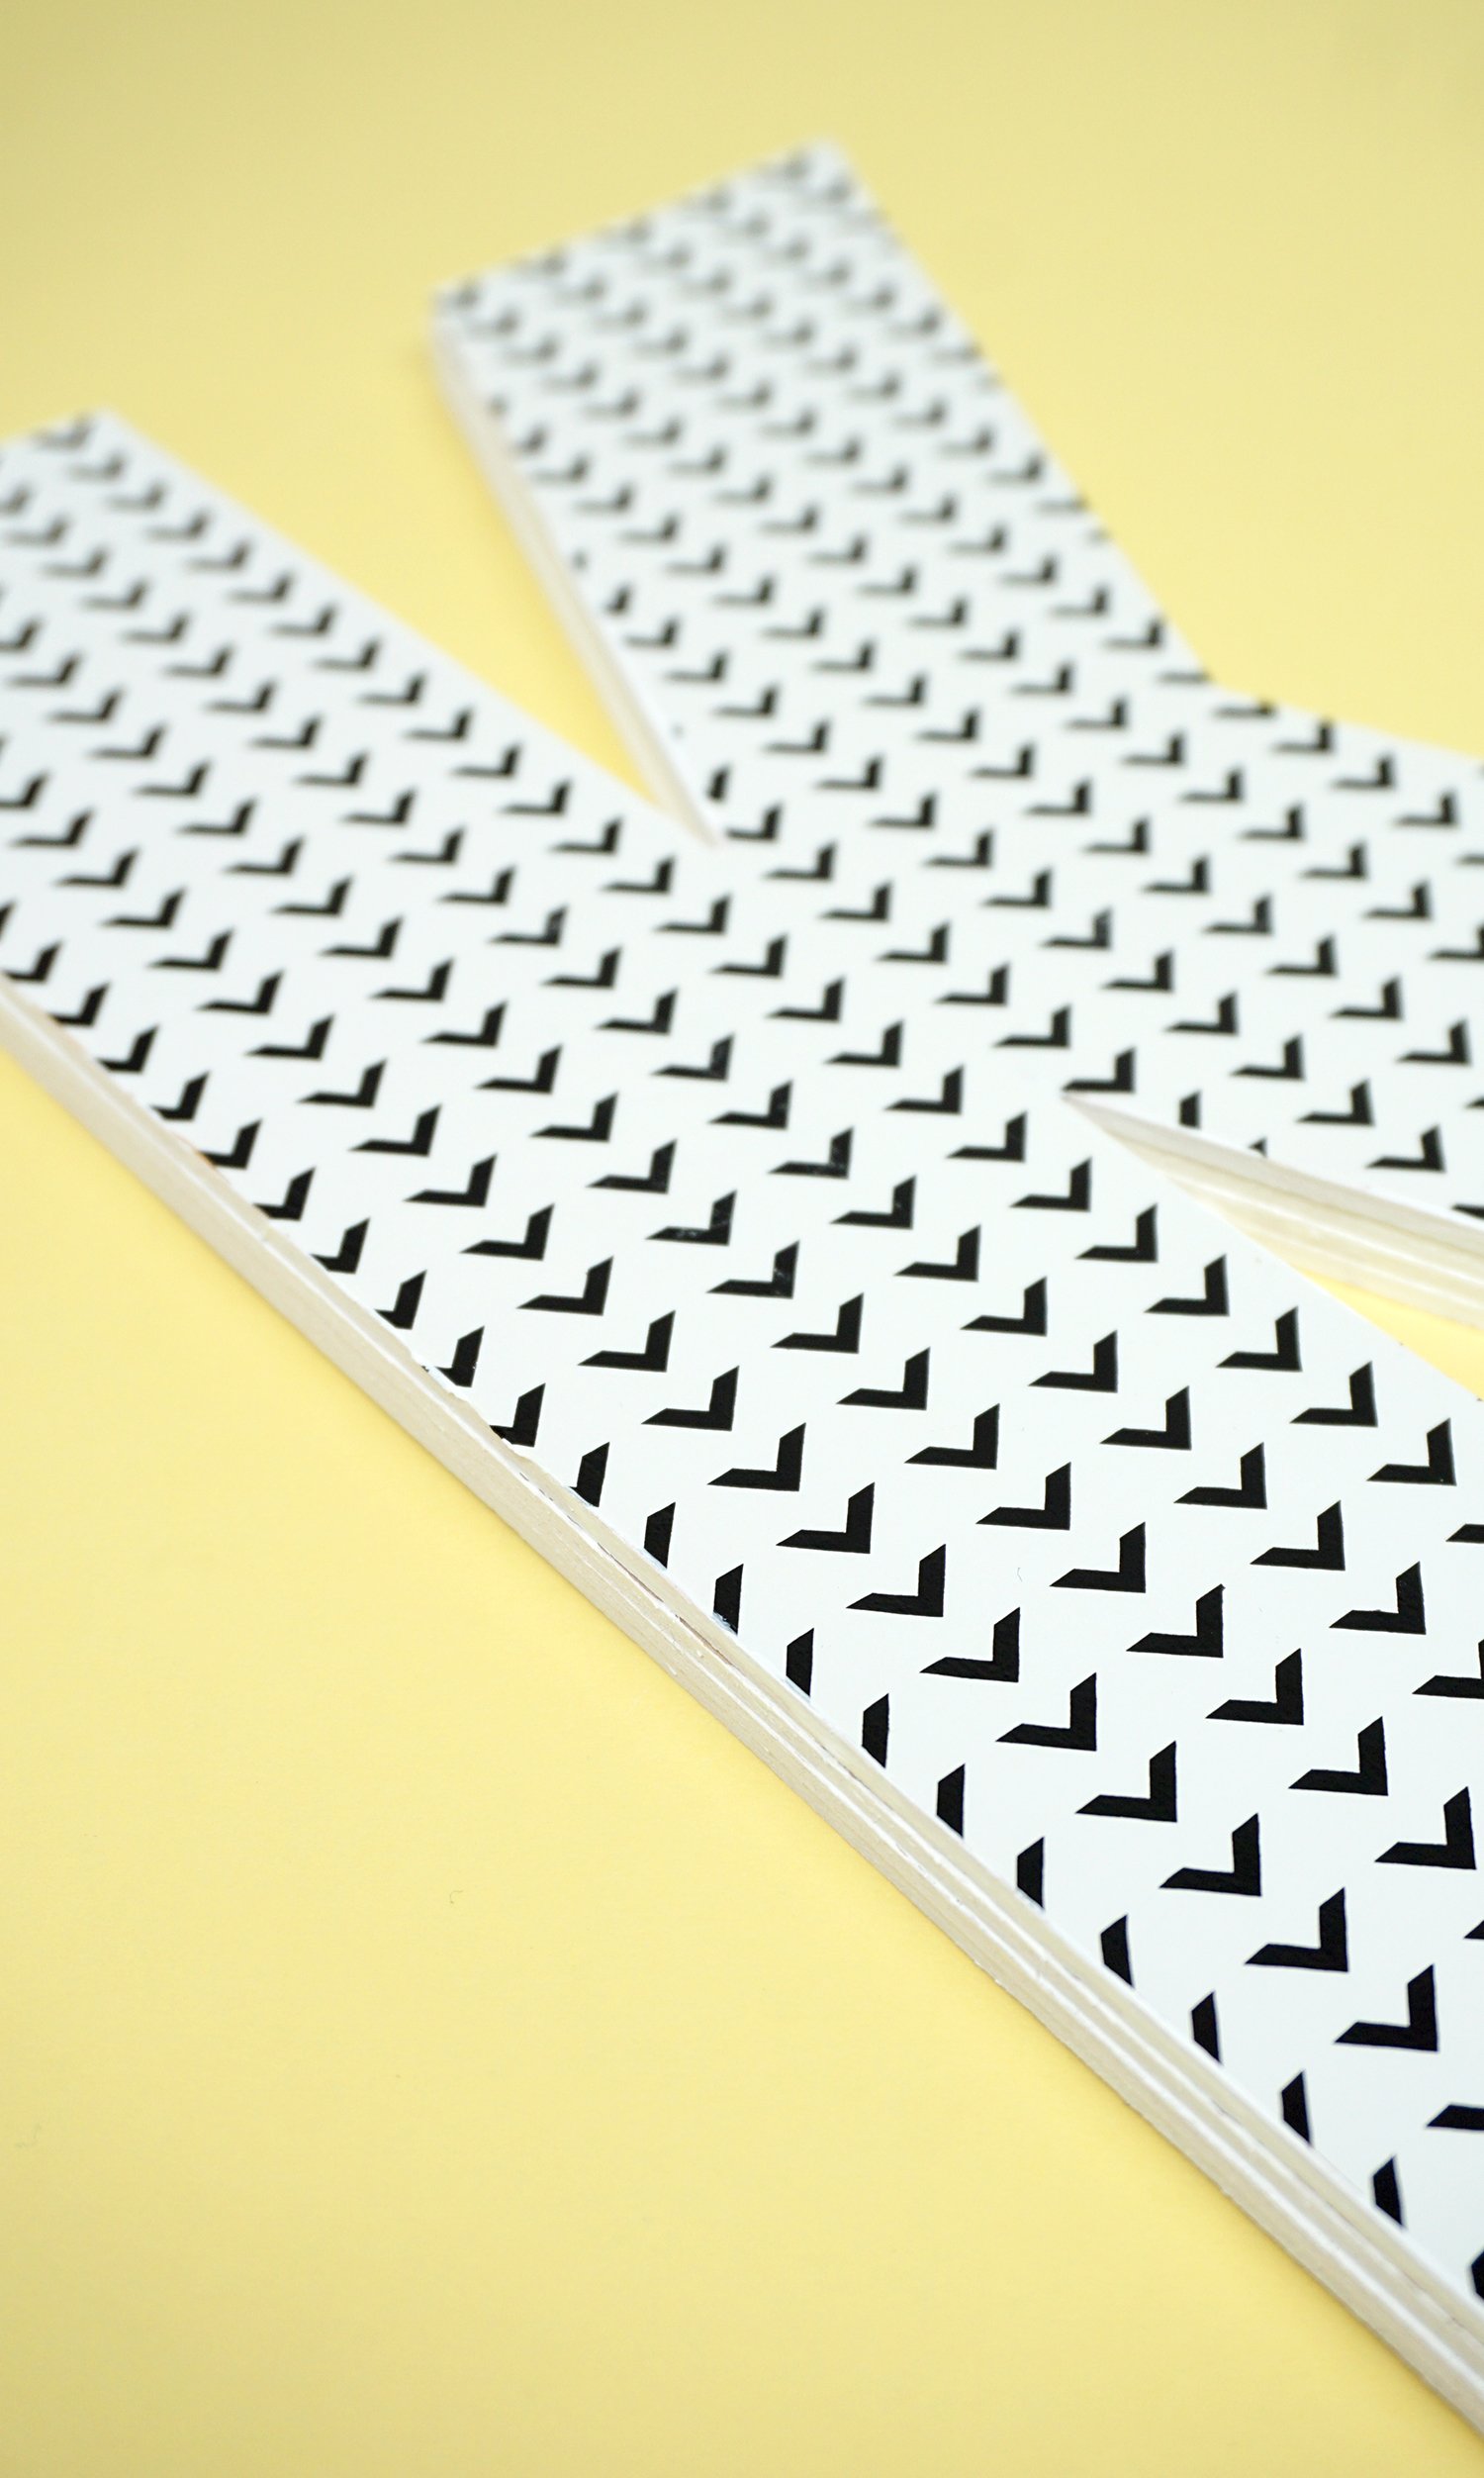
I gave the edges of the monogram letter a coat of white paint to match the background color of the vinyl.
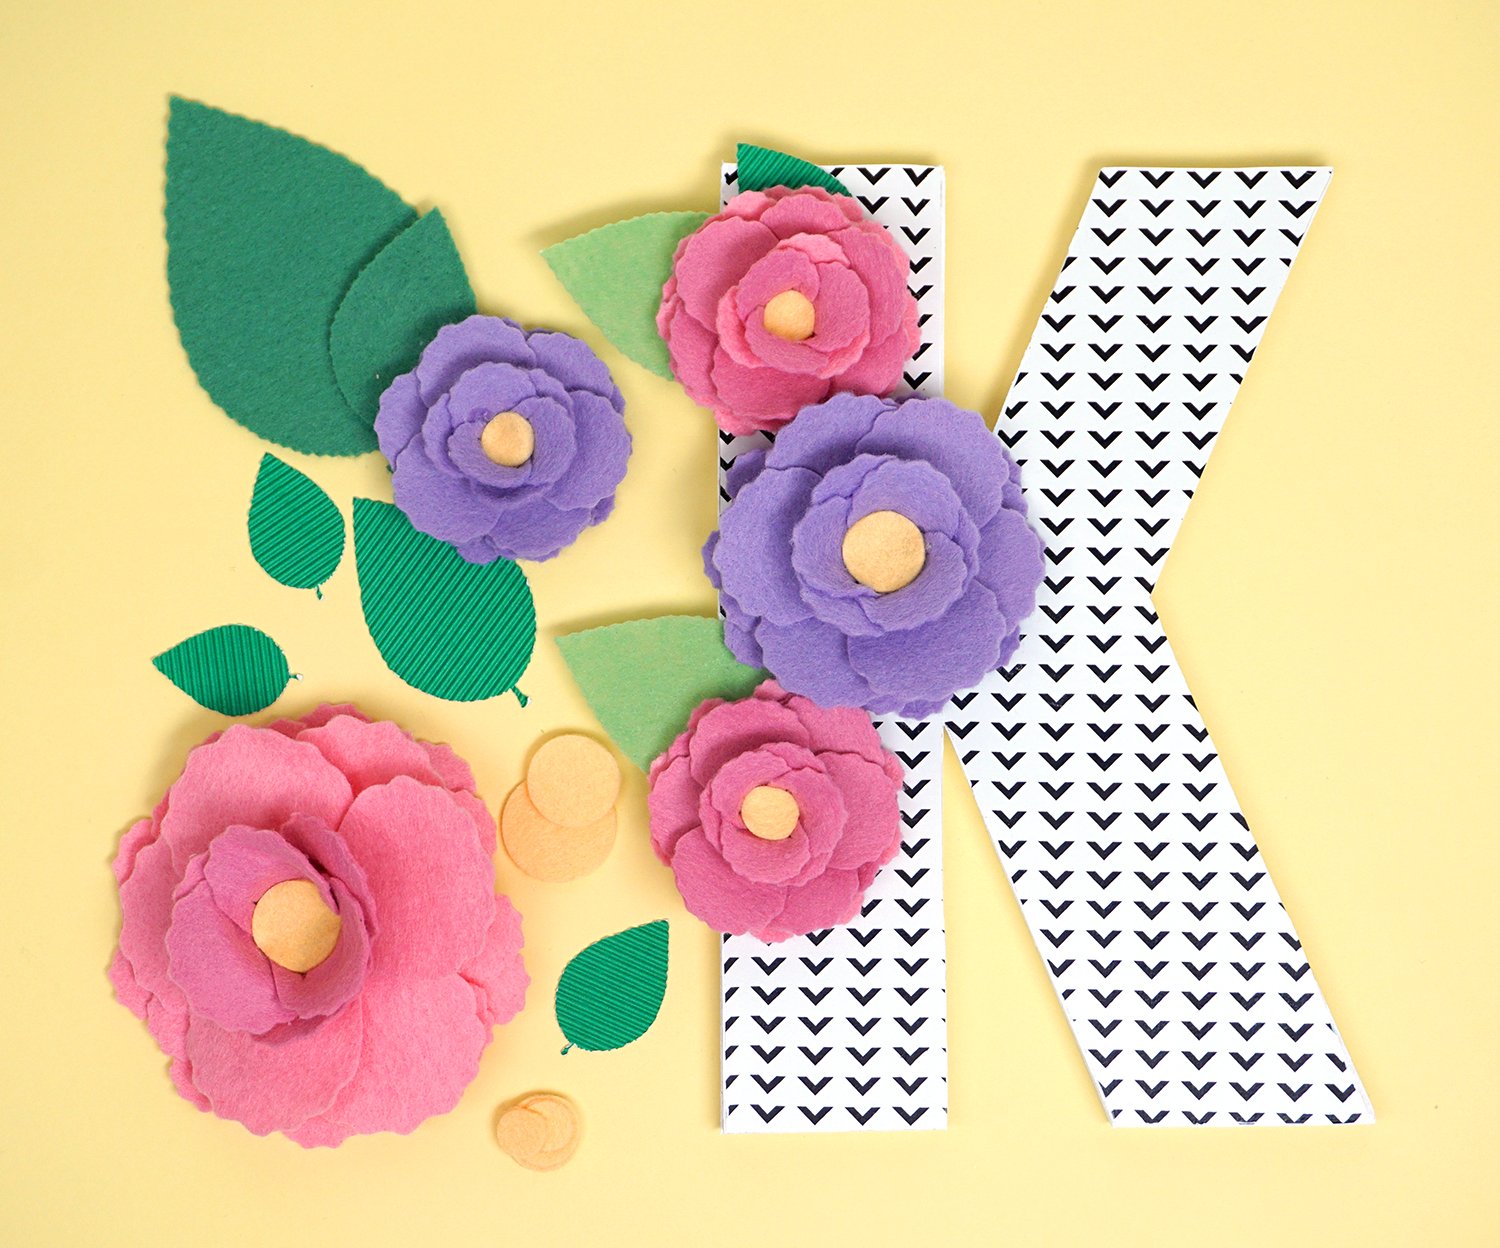
I really wanted to use that large pink flower, but in the end it was just too over-sized to look proportionate on my monogram, so I’m saving it for another project, and I opted to use the four other flowers.
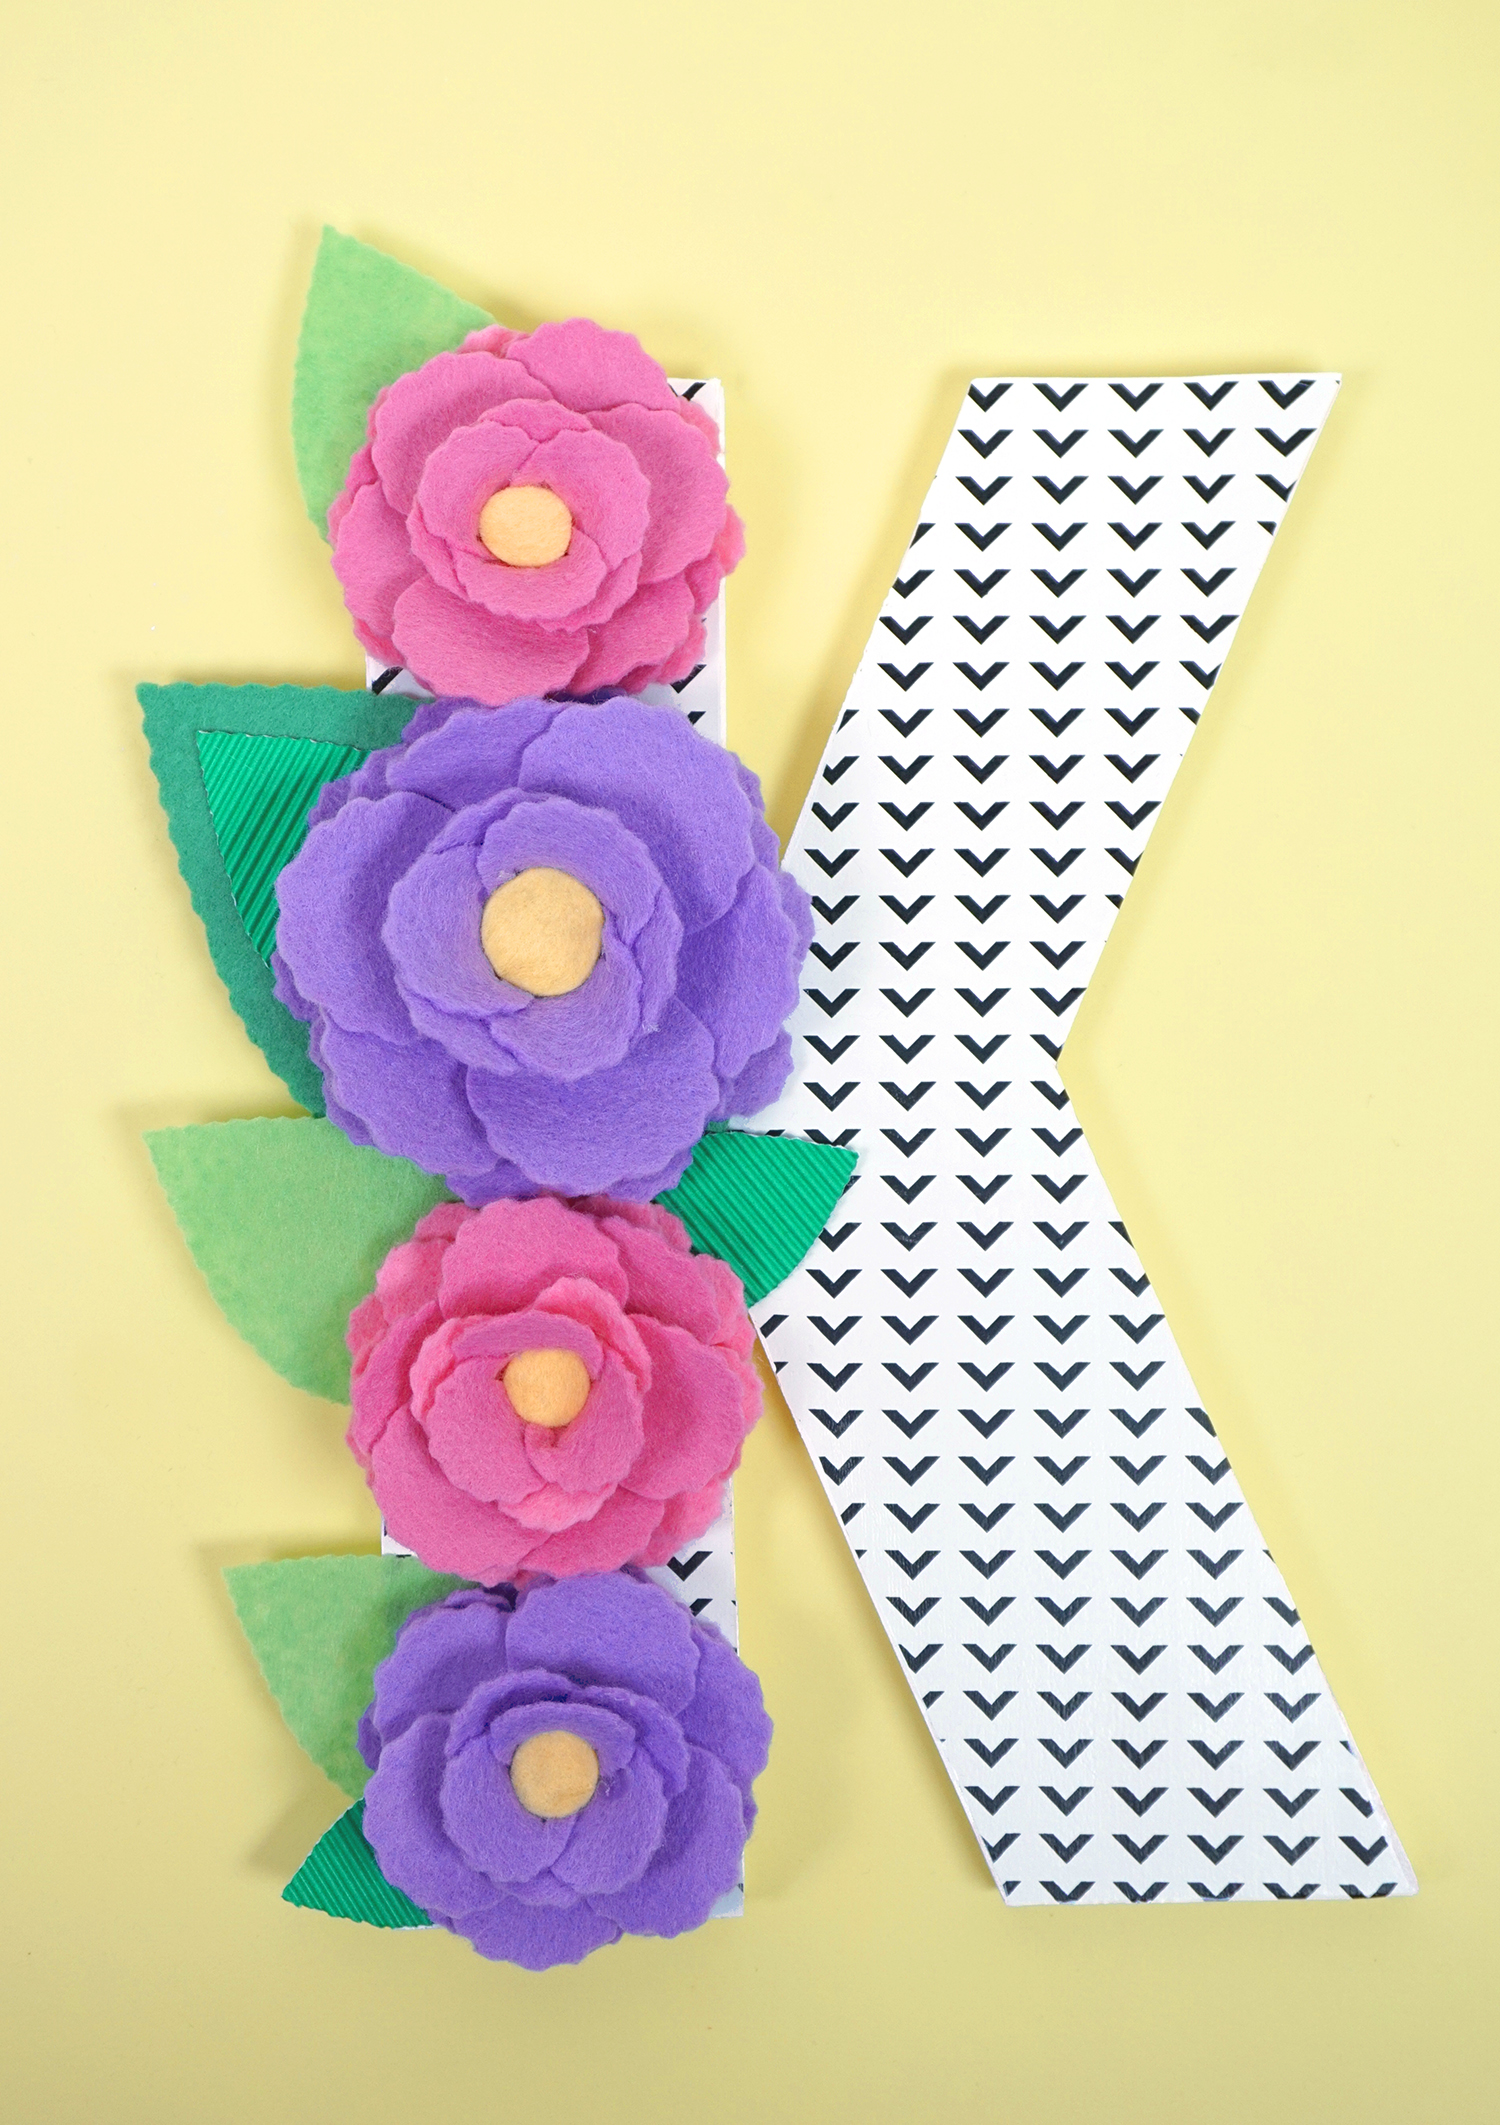
A little more hot glue, and the flowers were attached to the monogram and ready for display!
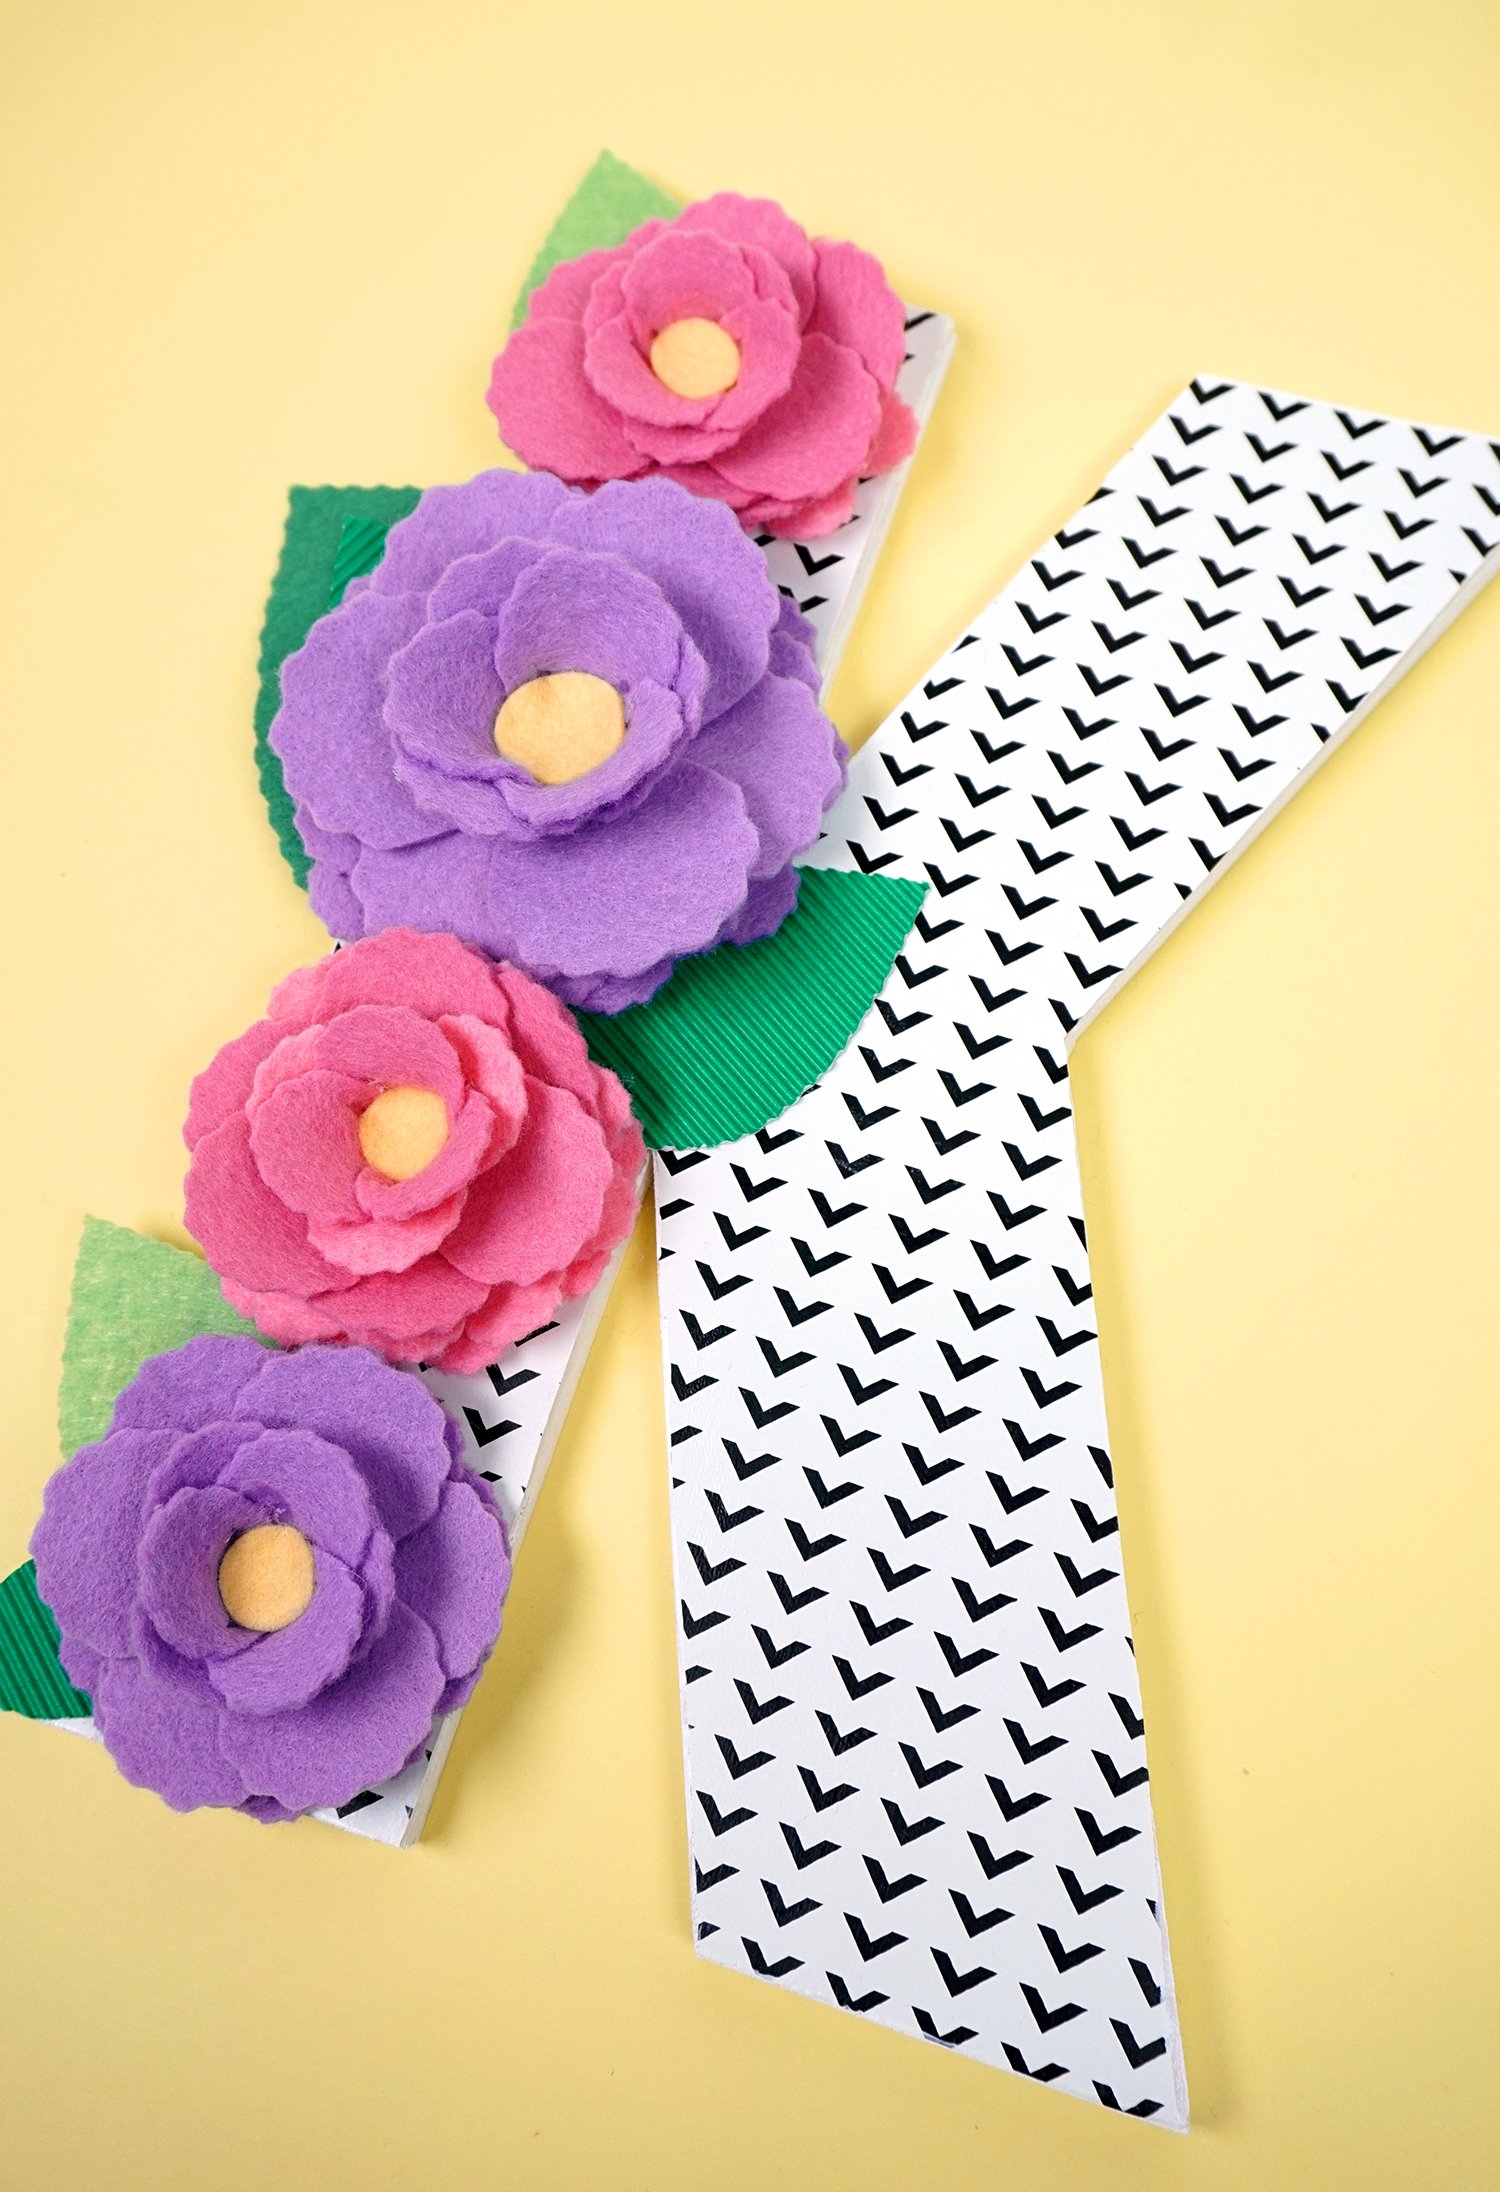
I ended up cutting some corrugated cardboard leaves to mix in with the felt to add another layer of texture and dimension, and I love the way that they turned out!
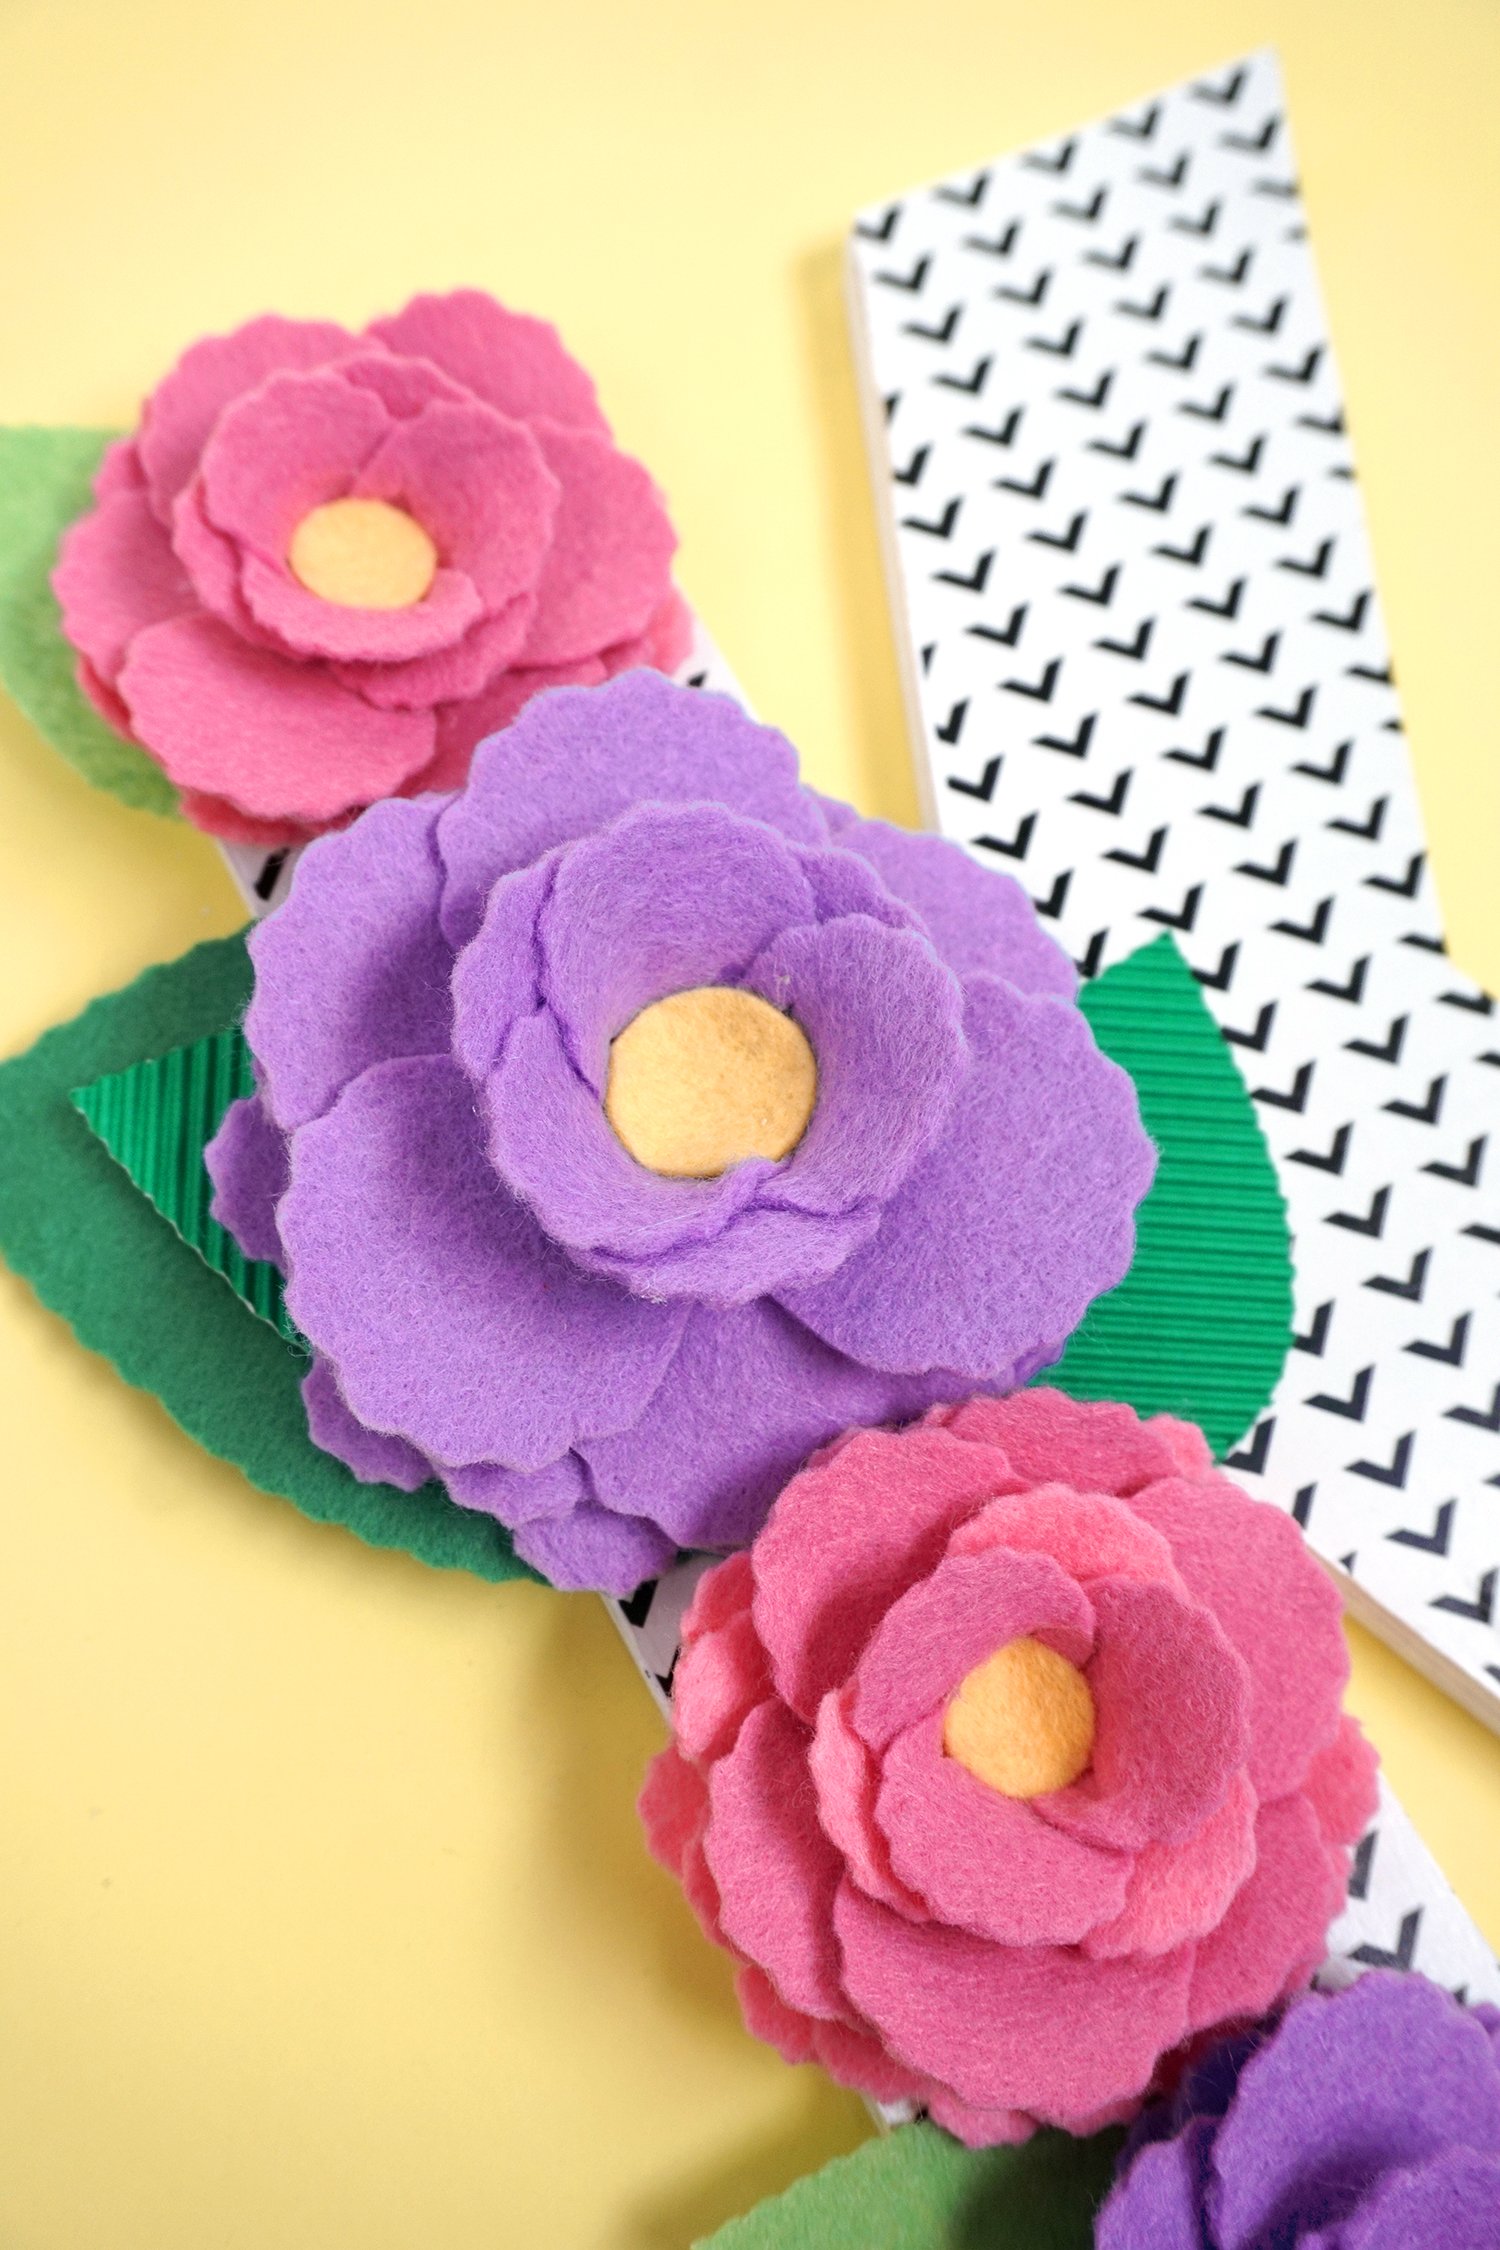
There are so many tiny details about this project that I love, by my favorite is definitely all of these tiny scalloped flower edges! It’s those little details that make this floral monogram letter special and perfect for special occasion decorating and gifting!


Check Out These Other Cricut Ideas!
You May Also Like:
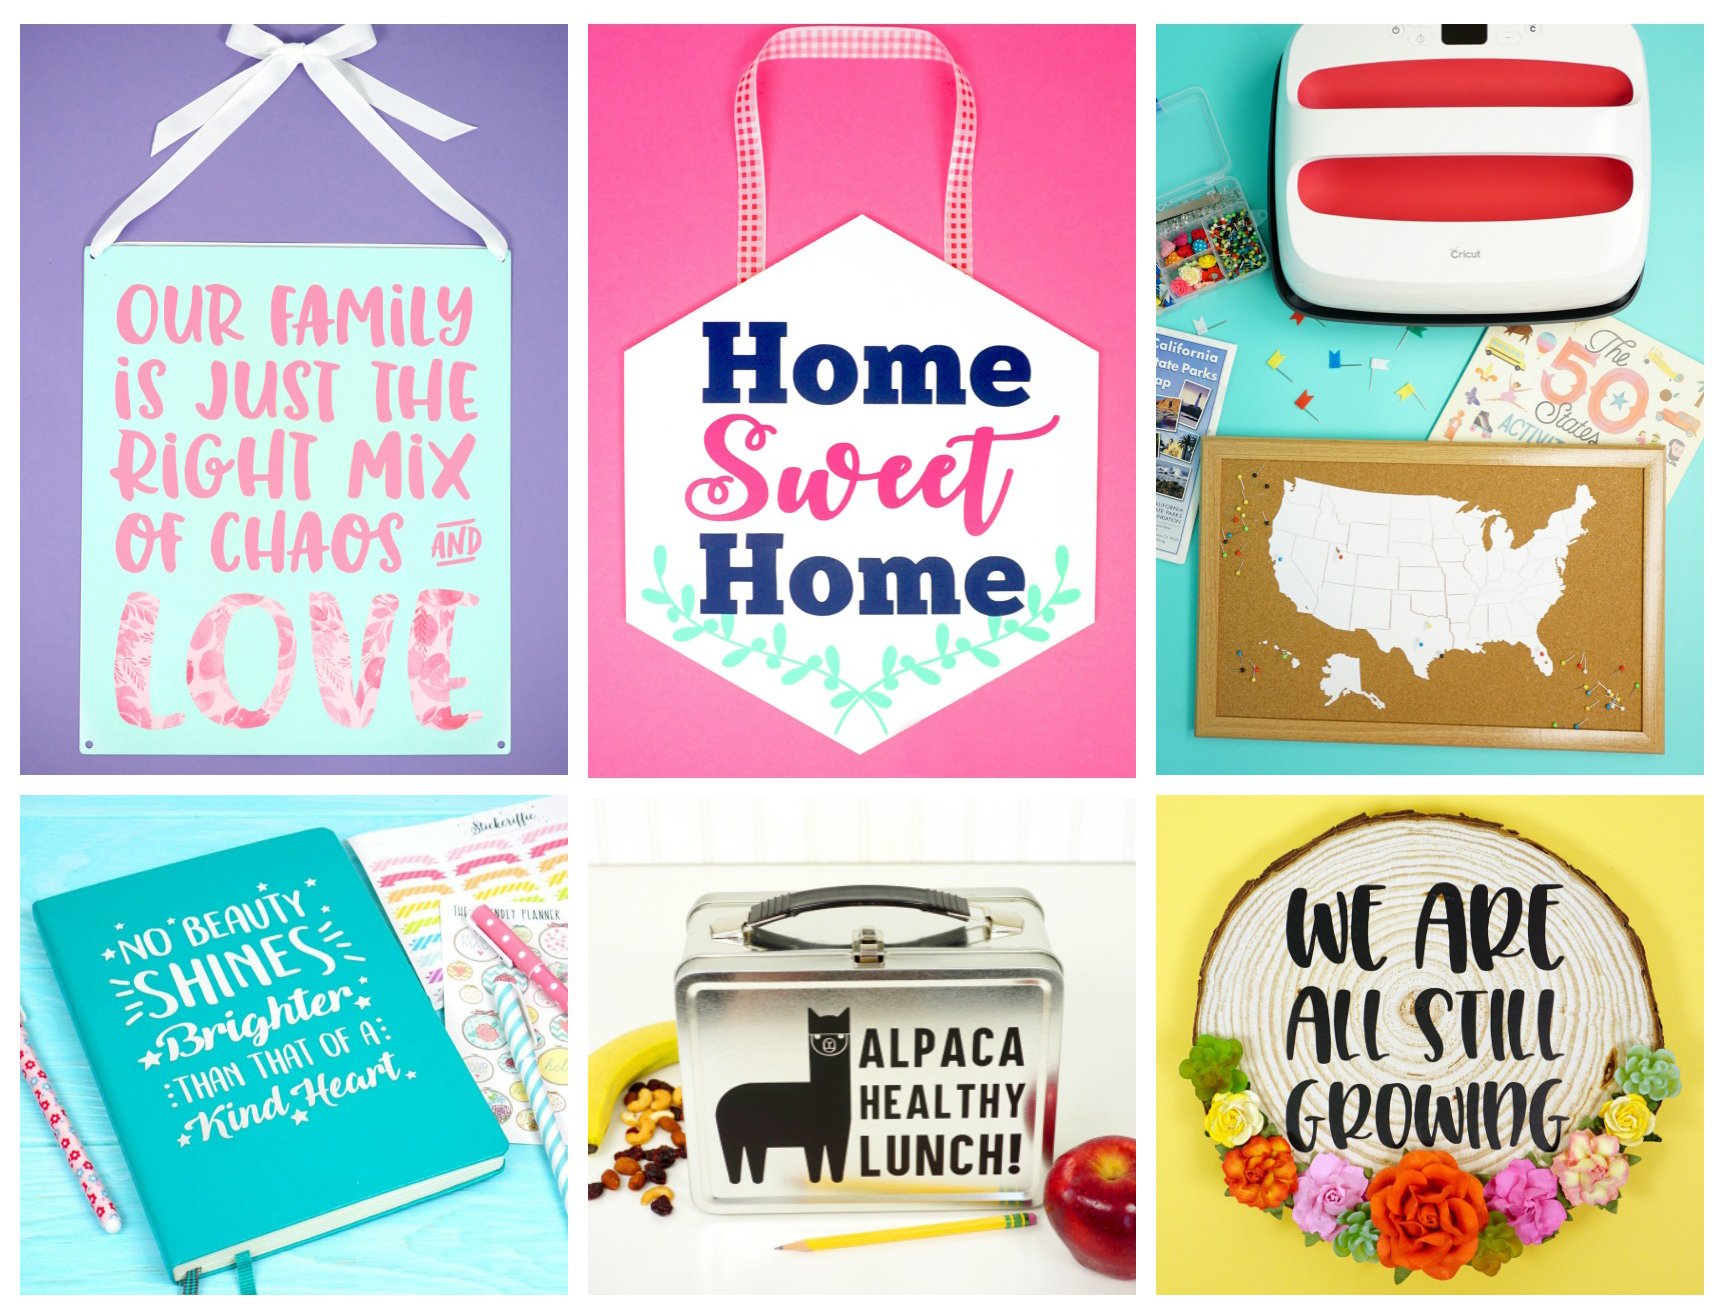
I have a whole catalog of EasyPress Projects on my site, but these are a few of my favorites that use creative and unique iron-on bases:
- How to Use Iron-On on Metal (Chaos and Love Sign)
- How to Use Iron-On on Wood and MDF (Home Sweet Home Sign)
- Iron-On Travel Map Cork Board
- Custom Journals with Iron-On
- Funny Alpaca Metal Lunchbox
- Iron-On Wood Slice Sign
- DIY Tile Trivet with Iron-On
Pin this Wooden Monogram Letter for Later!

Heidi Kundin has captivated the hearts of millions with her colorful and inspiring approach to crafting, celebrations, and family fun. With over 15 years of experience, Happiness is Homemade has become a must-visit destination for those seeking quick and easy creative ideas and last-minute solutions. Heidi’s warm personality shines through her posts, inviting readers to join her on a creative journey that’s fun, rewarding, and achievable. Heidi is also the author of Homemade Bath Bombs & More and DIY Tie-Dye.

