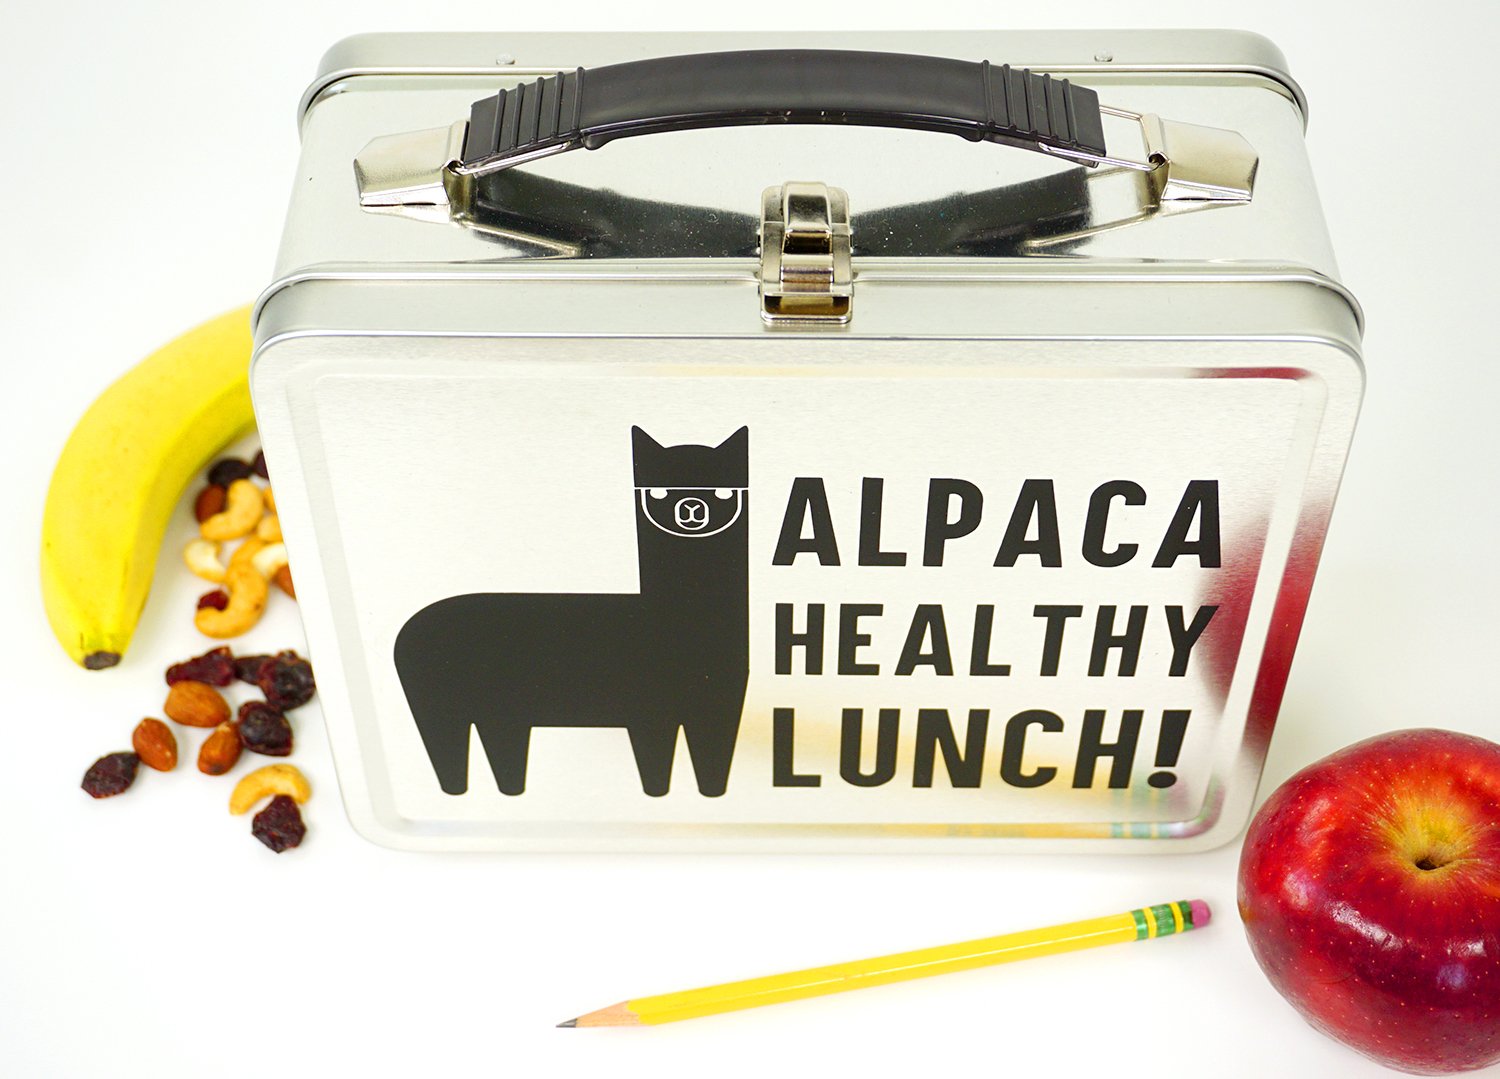
Send your kids back to school in style with this funny alpaca DIY lunch box design that’s perfect for the first day of school! “Alpaca a Healthy Lunch” in here!

Over the summer, I taught a few classes at the Cricut Mountain Make-a-Thon in Salt Lake City called “Cover Your Bases,” and we talked ALL about using iron-on on unique surface materials. One of my favorite things EVER! In preparation for the class, I made over a dozen new projects that haven’t hit the blog yet, but I promised the class attendees that I would get those projects up shortly, so today I’m bringing you one of the most requested projects – the funny alpaca lunch box! (Don’t worry, those sports balls are coming up next!)
Funny Alpaca Lunch Box
What You’ll Need:
- Cricut Maker or Cricut Explore Air 2 cutting machine
- Cricut EasyPress
- Alpaca Cut File (see below)
- Everyday Iron-On in your choice of colors
- Blank Metal Lunch Box
- Iron-On Protective Sheet (or parchment paper/thin fabric sheet)
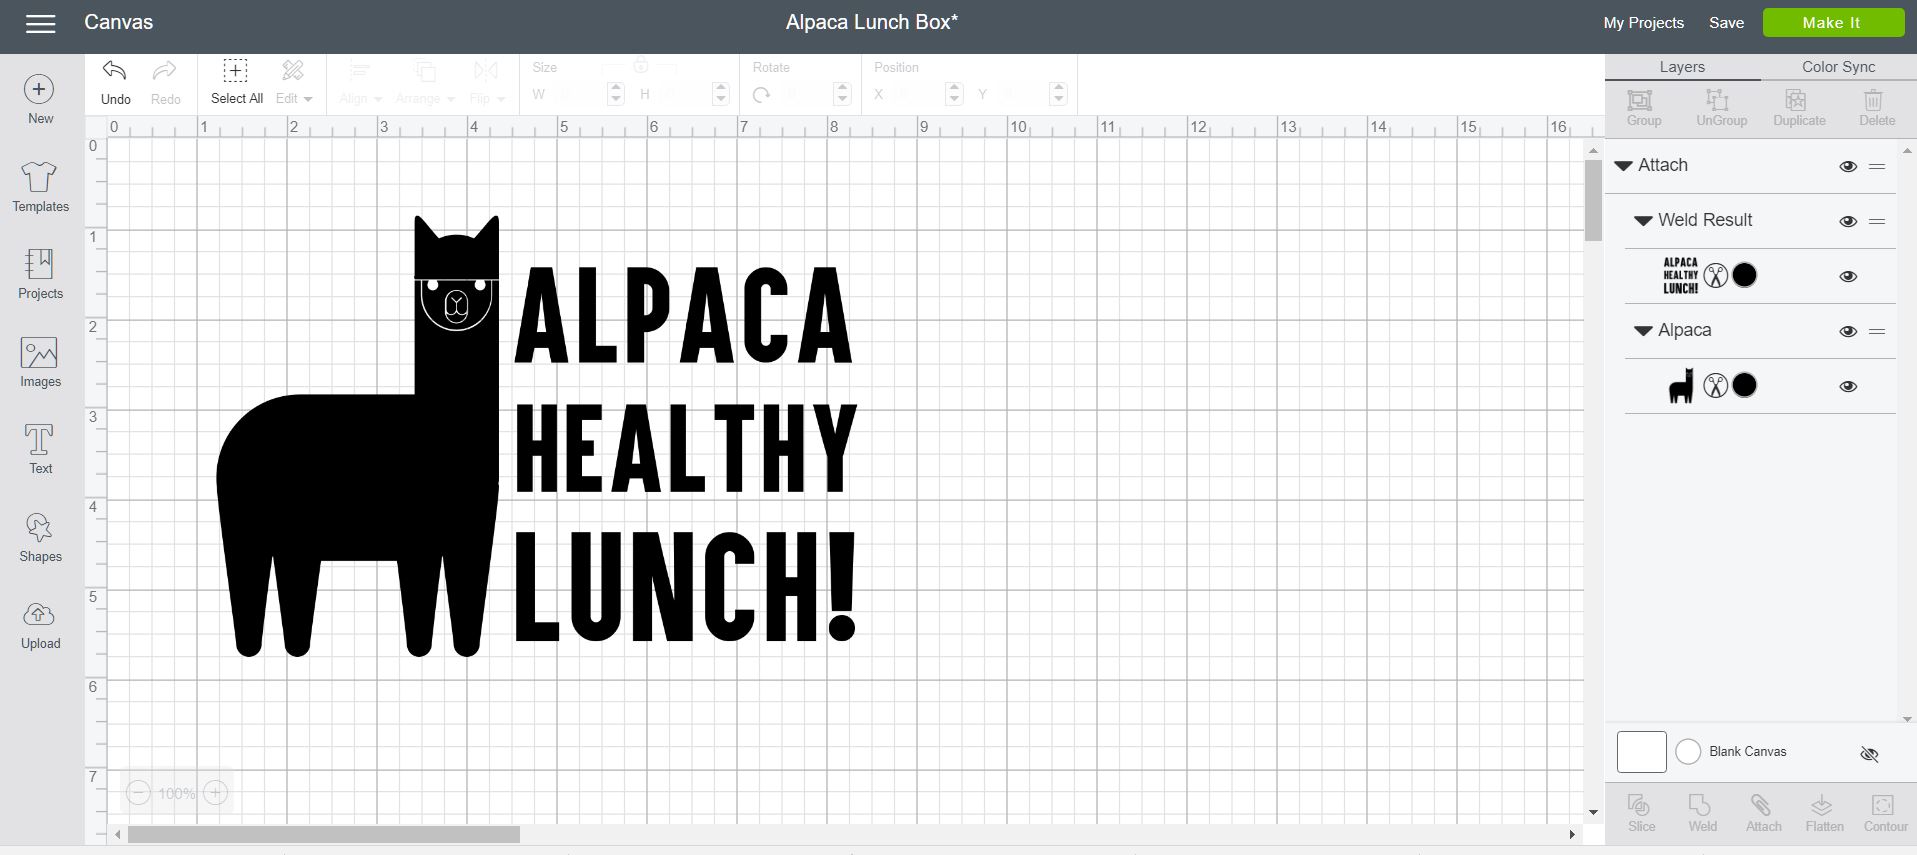
I designed the alpaca lunch box in Cricut Design Space, so it’s all ready to go and super easy for you to recreate! All you have to do is CLICK HERE, and the project will pop up in Design Space. Click “Customize” to re-size the project to fit your needs, and then click “Make It” to cut the material.
Now, I didn’t take any in-process photos of this project since I was in a rush trying to get everything finished up before my classes, but it was SUPER easy peasy!
- Cut the alpaca design from Cricut Everyday Iron-on (make sure to mirror the design before cutting!) and weed the excess vinyl.
- Set your EasyPress (the new EasyPress 2 in the 6×7 size would be perfect for this job!) to 300 degrees and 30 seconds. Note: If you don’t have an EasyPress, you can also use an iron, but I HIGHLY recommend using an EasyPress because they’re a total game changer when it comes to iron-on! (You can read more about why I love the EasyPress here!)
- Place the iron-on design on to the metal lunch box, cover with an iron-on protective sheet or a thin piece of fabric/parchment paper, and press the design with the EasyPress or iron for 30 seconds. Note: When working with metal base materials, peeling the vinyl backing off while the iron-on is still warm will help it best adhere to the metal. PLEASE BE CAREFUL! The metal WILL be very hot!
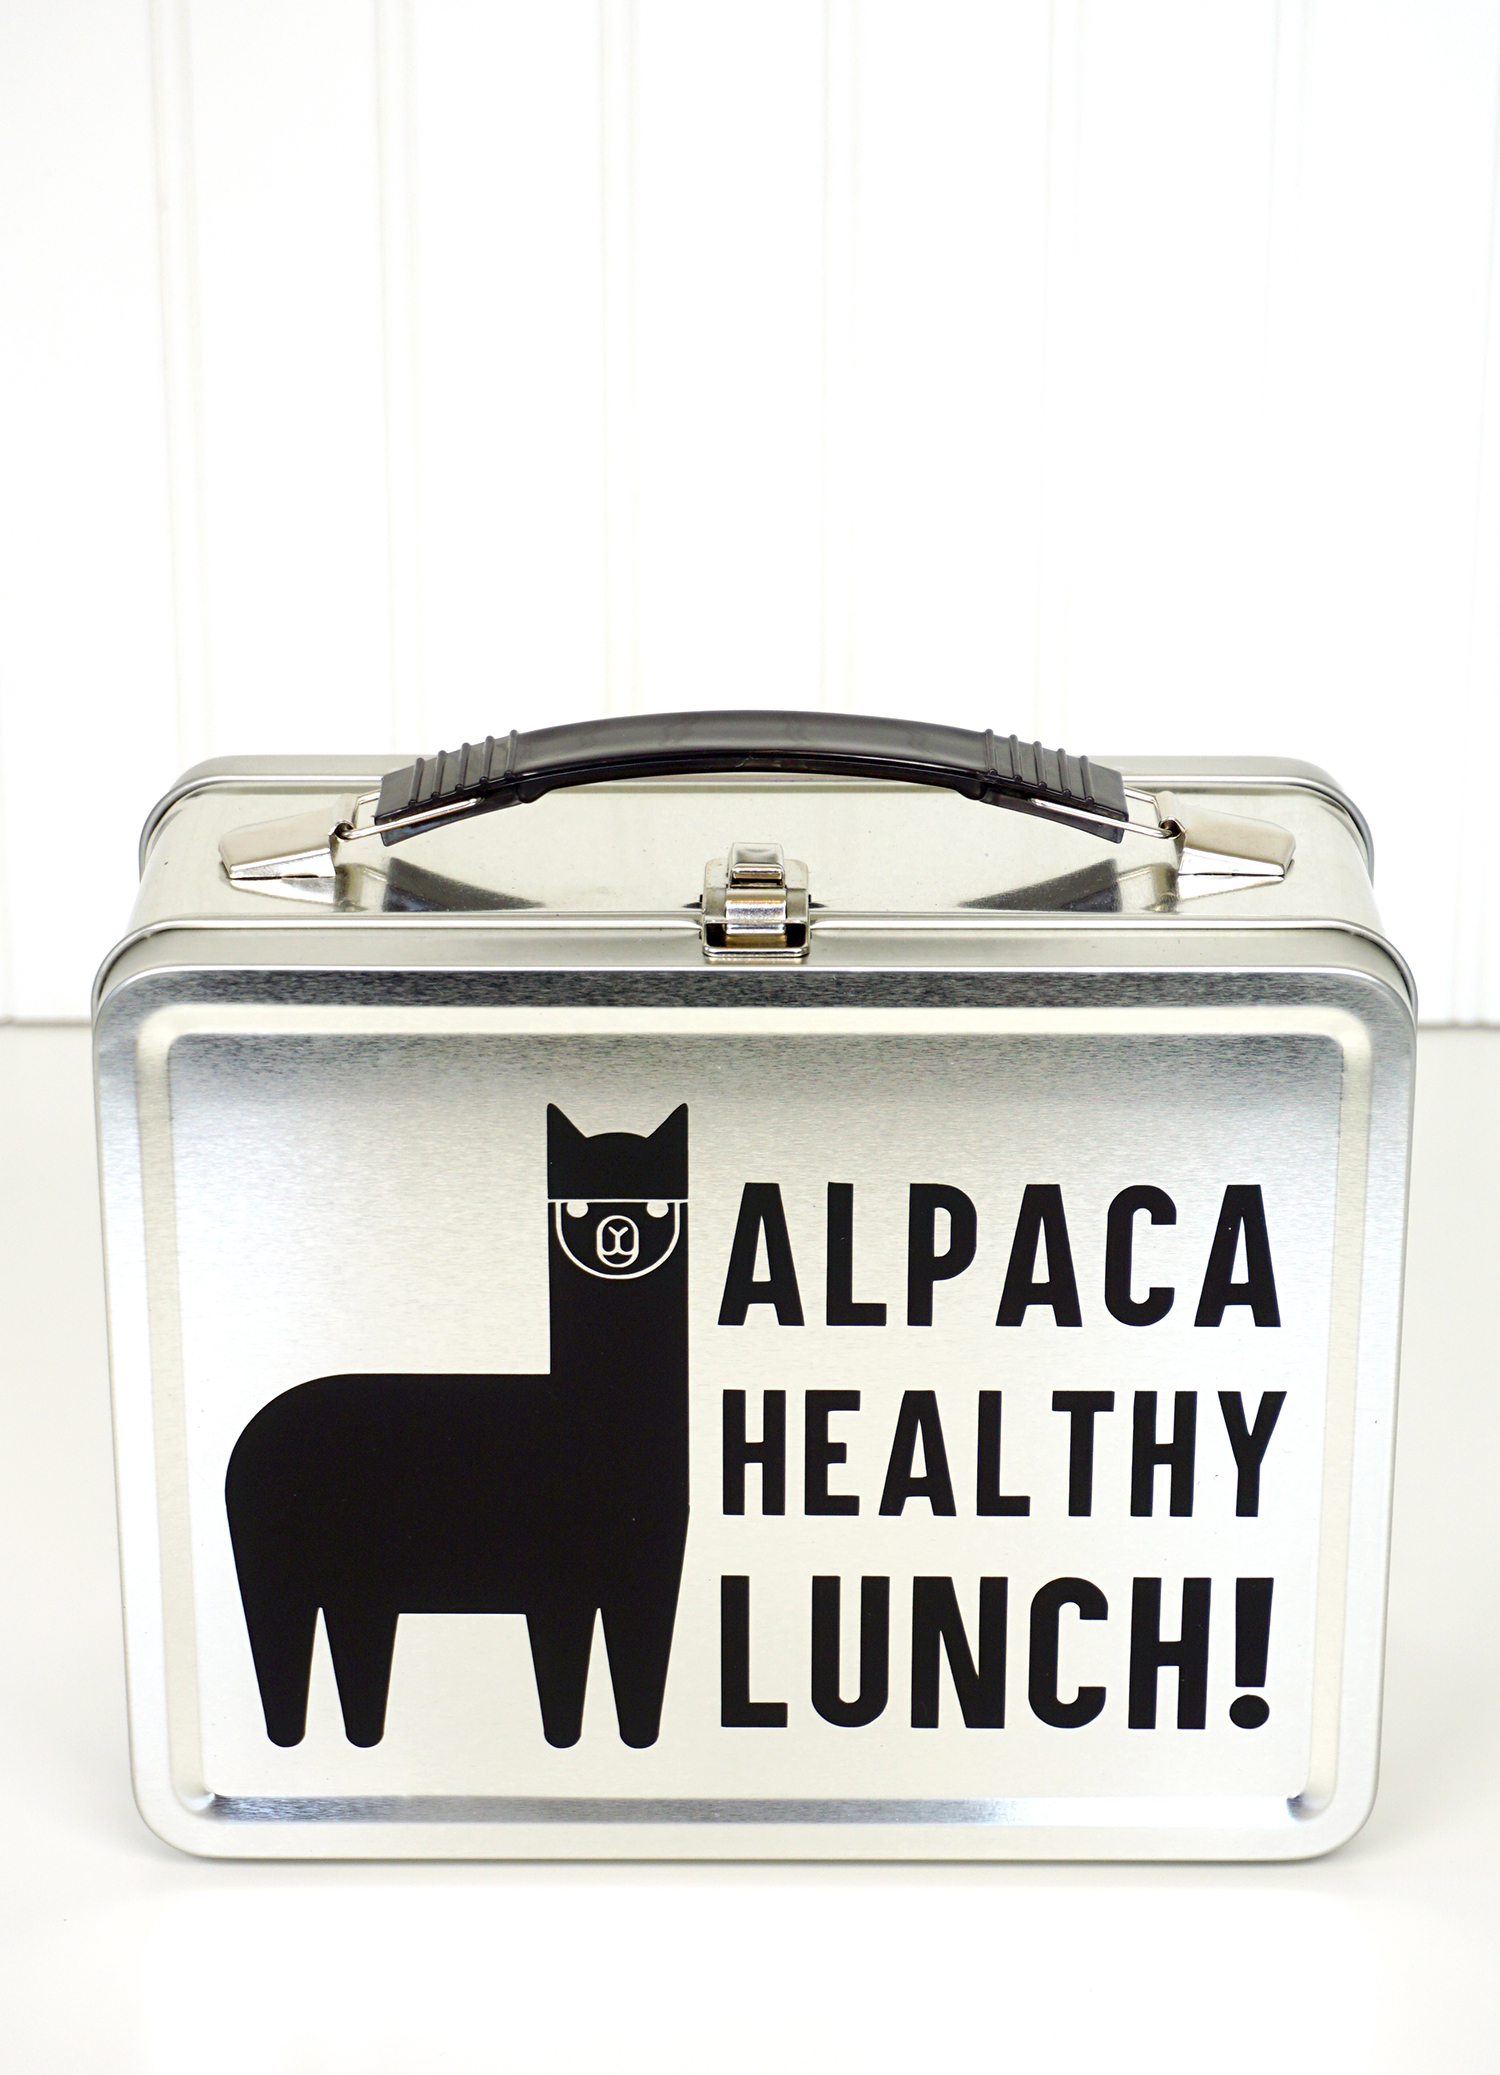
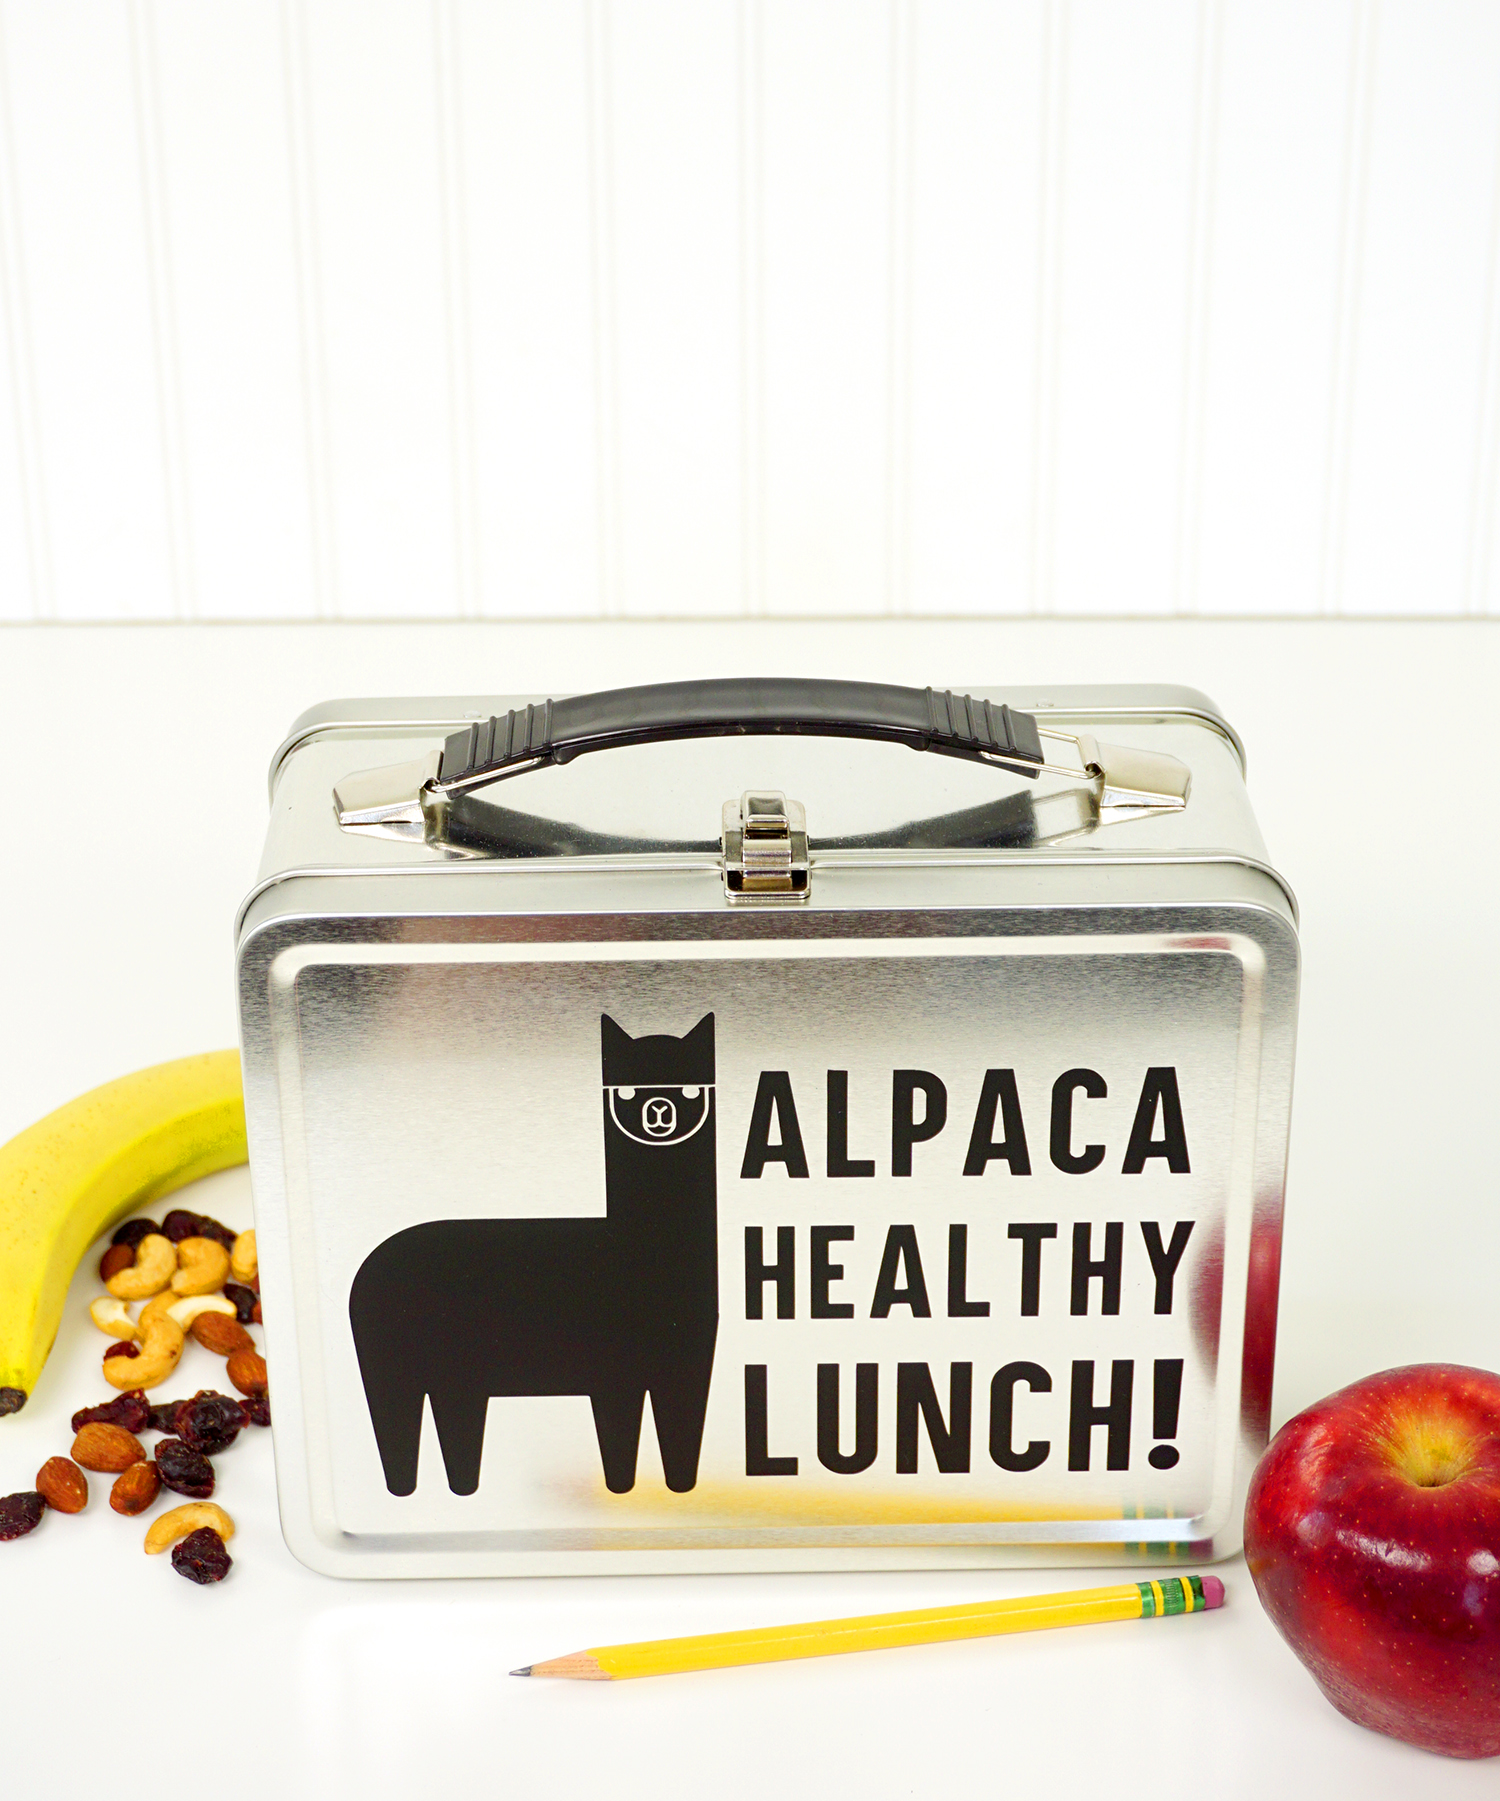
Quick, easy, and totally cute!
“Alpaca Healthy Lunch” in here for the first day of school, wouldn’t you?! I love the way that this funny lunch box turned out, and my kids have been arguing over who gets to take it to school…looks like I need to make a couple more!

Check Out More Cricut Ideas Here:
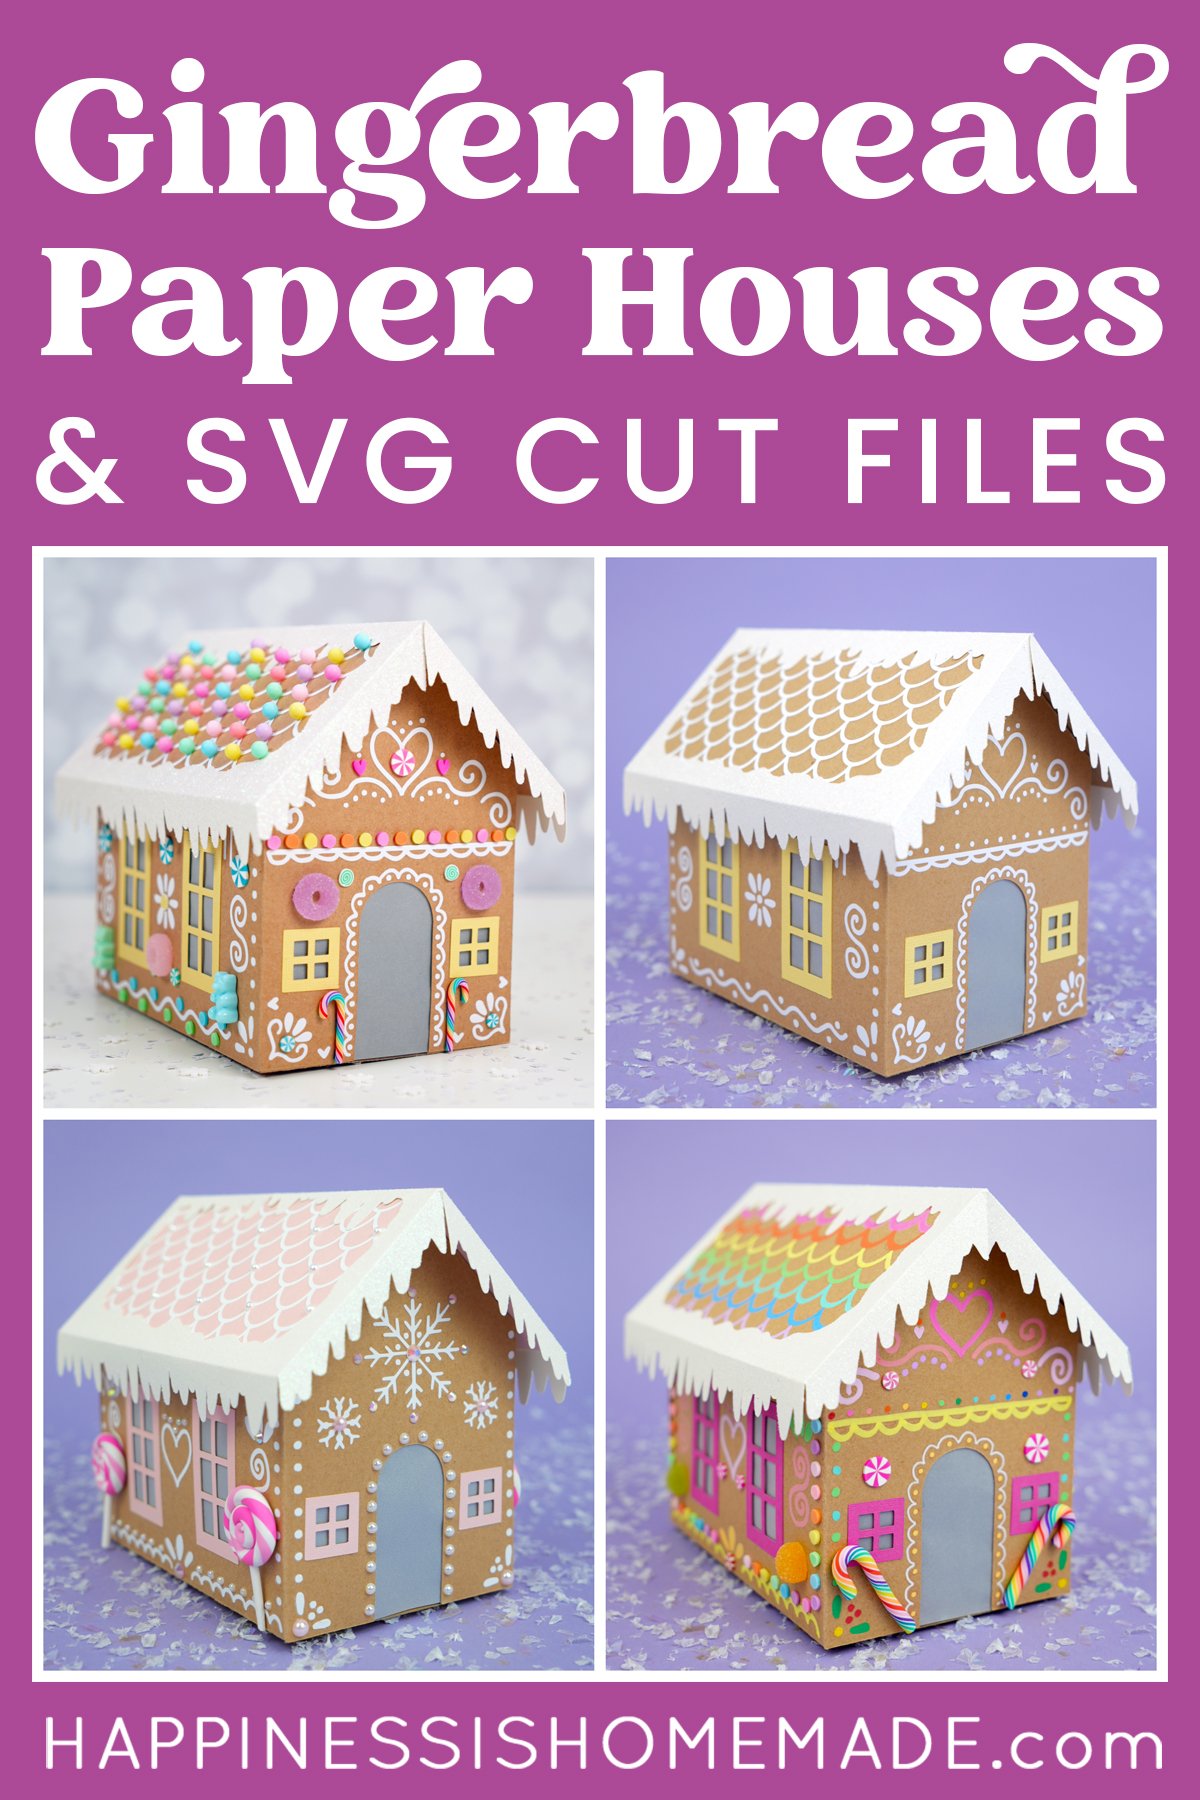
 Cardboard Gingerbread Houses + SVG Files
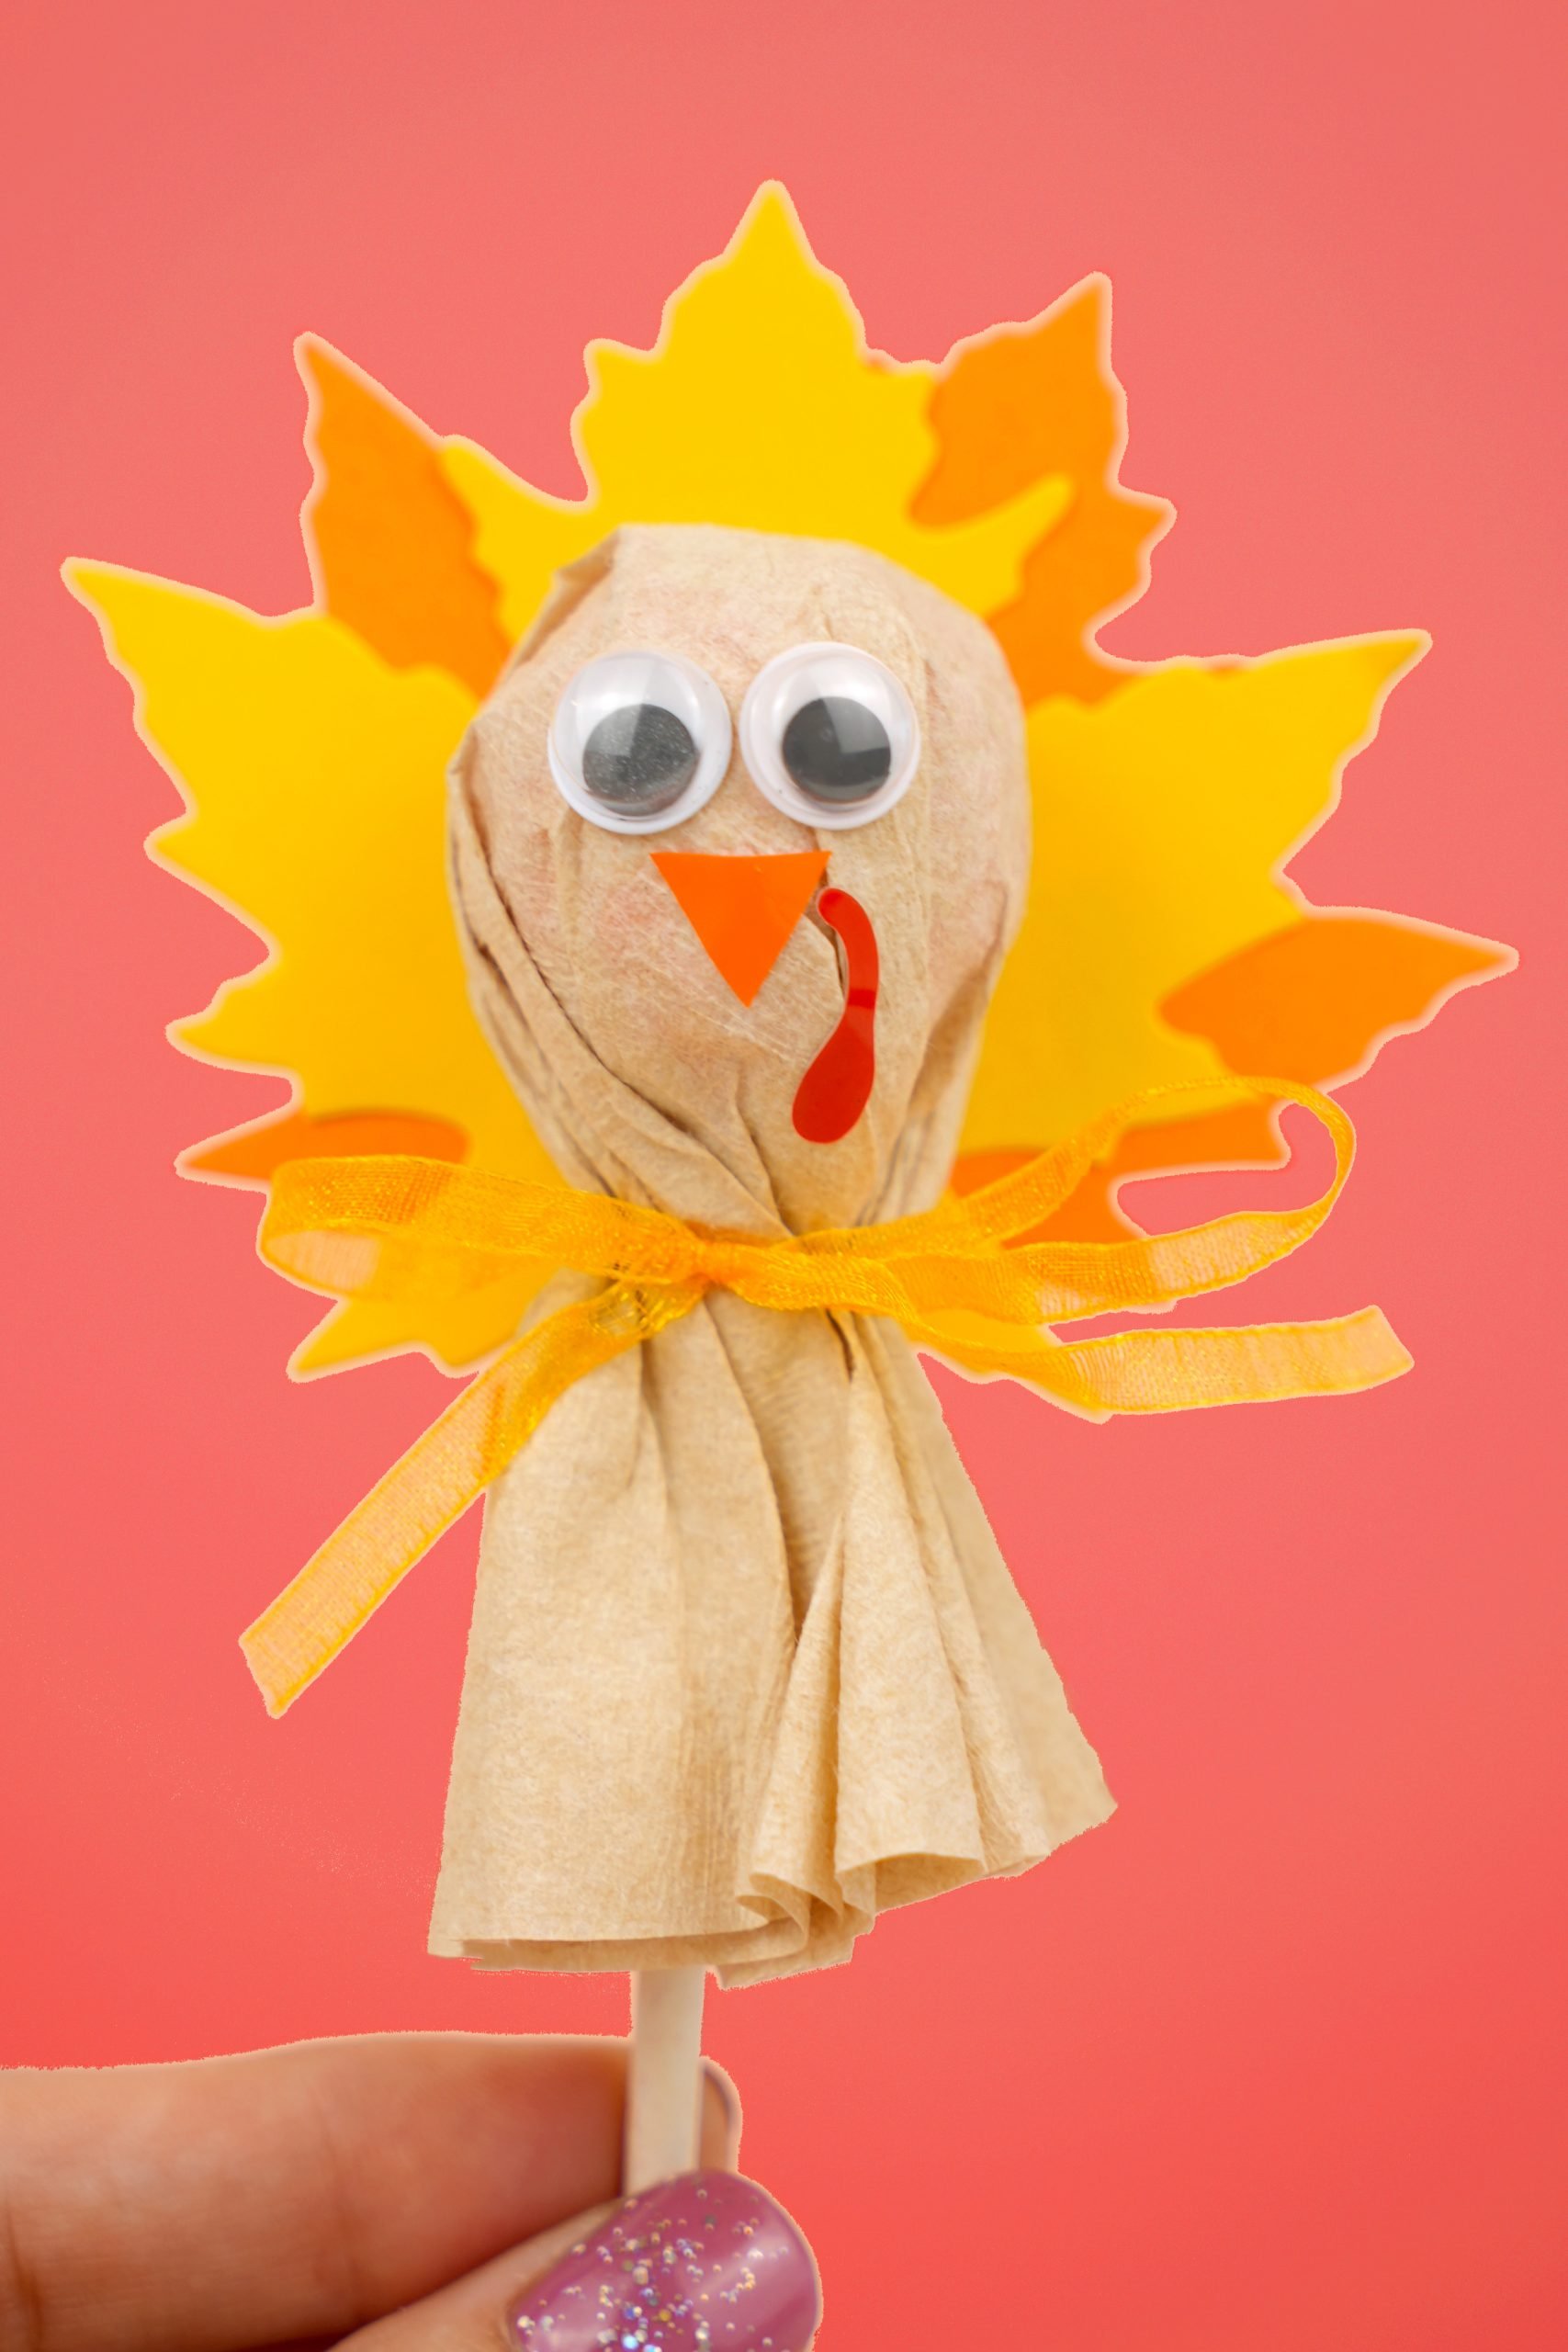
 Thanksgiving Treats: Turkey Lollipops
 35+ Mother’s Day Cricut Craft Ideas
 Free Christmas Countdown SVG +16 Christmas Cut Files
 13 Free Bat SVG Files for Halloween
 3D Stars + Christmas Ornament SVG Files
 Ouija Board Halloween Sign + SVG
 Back to School SVG + Coloring Shirt
350+ Lunch Box Jokes & Notes – enough for the entire school year!
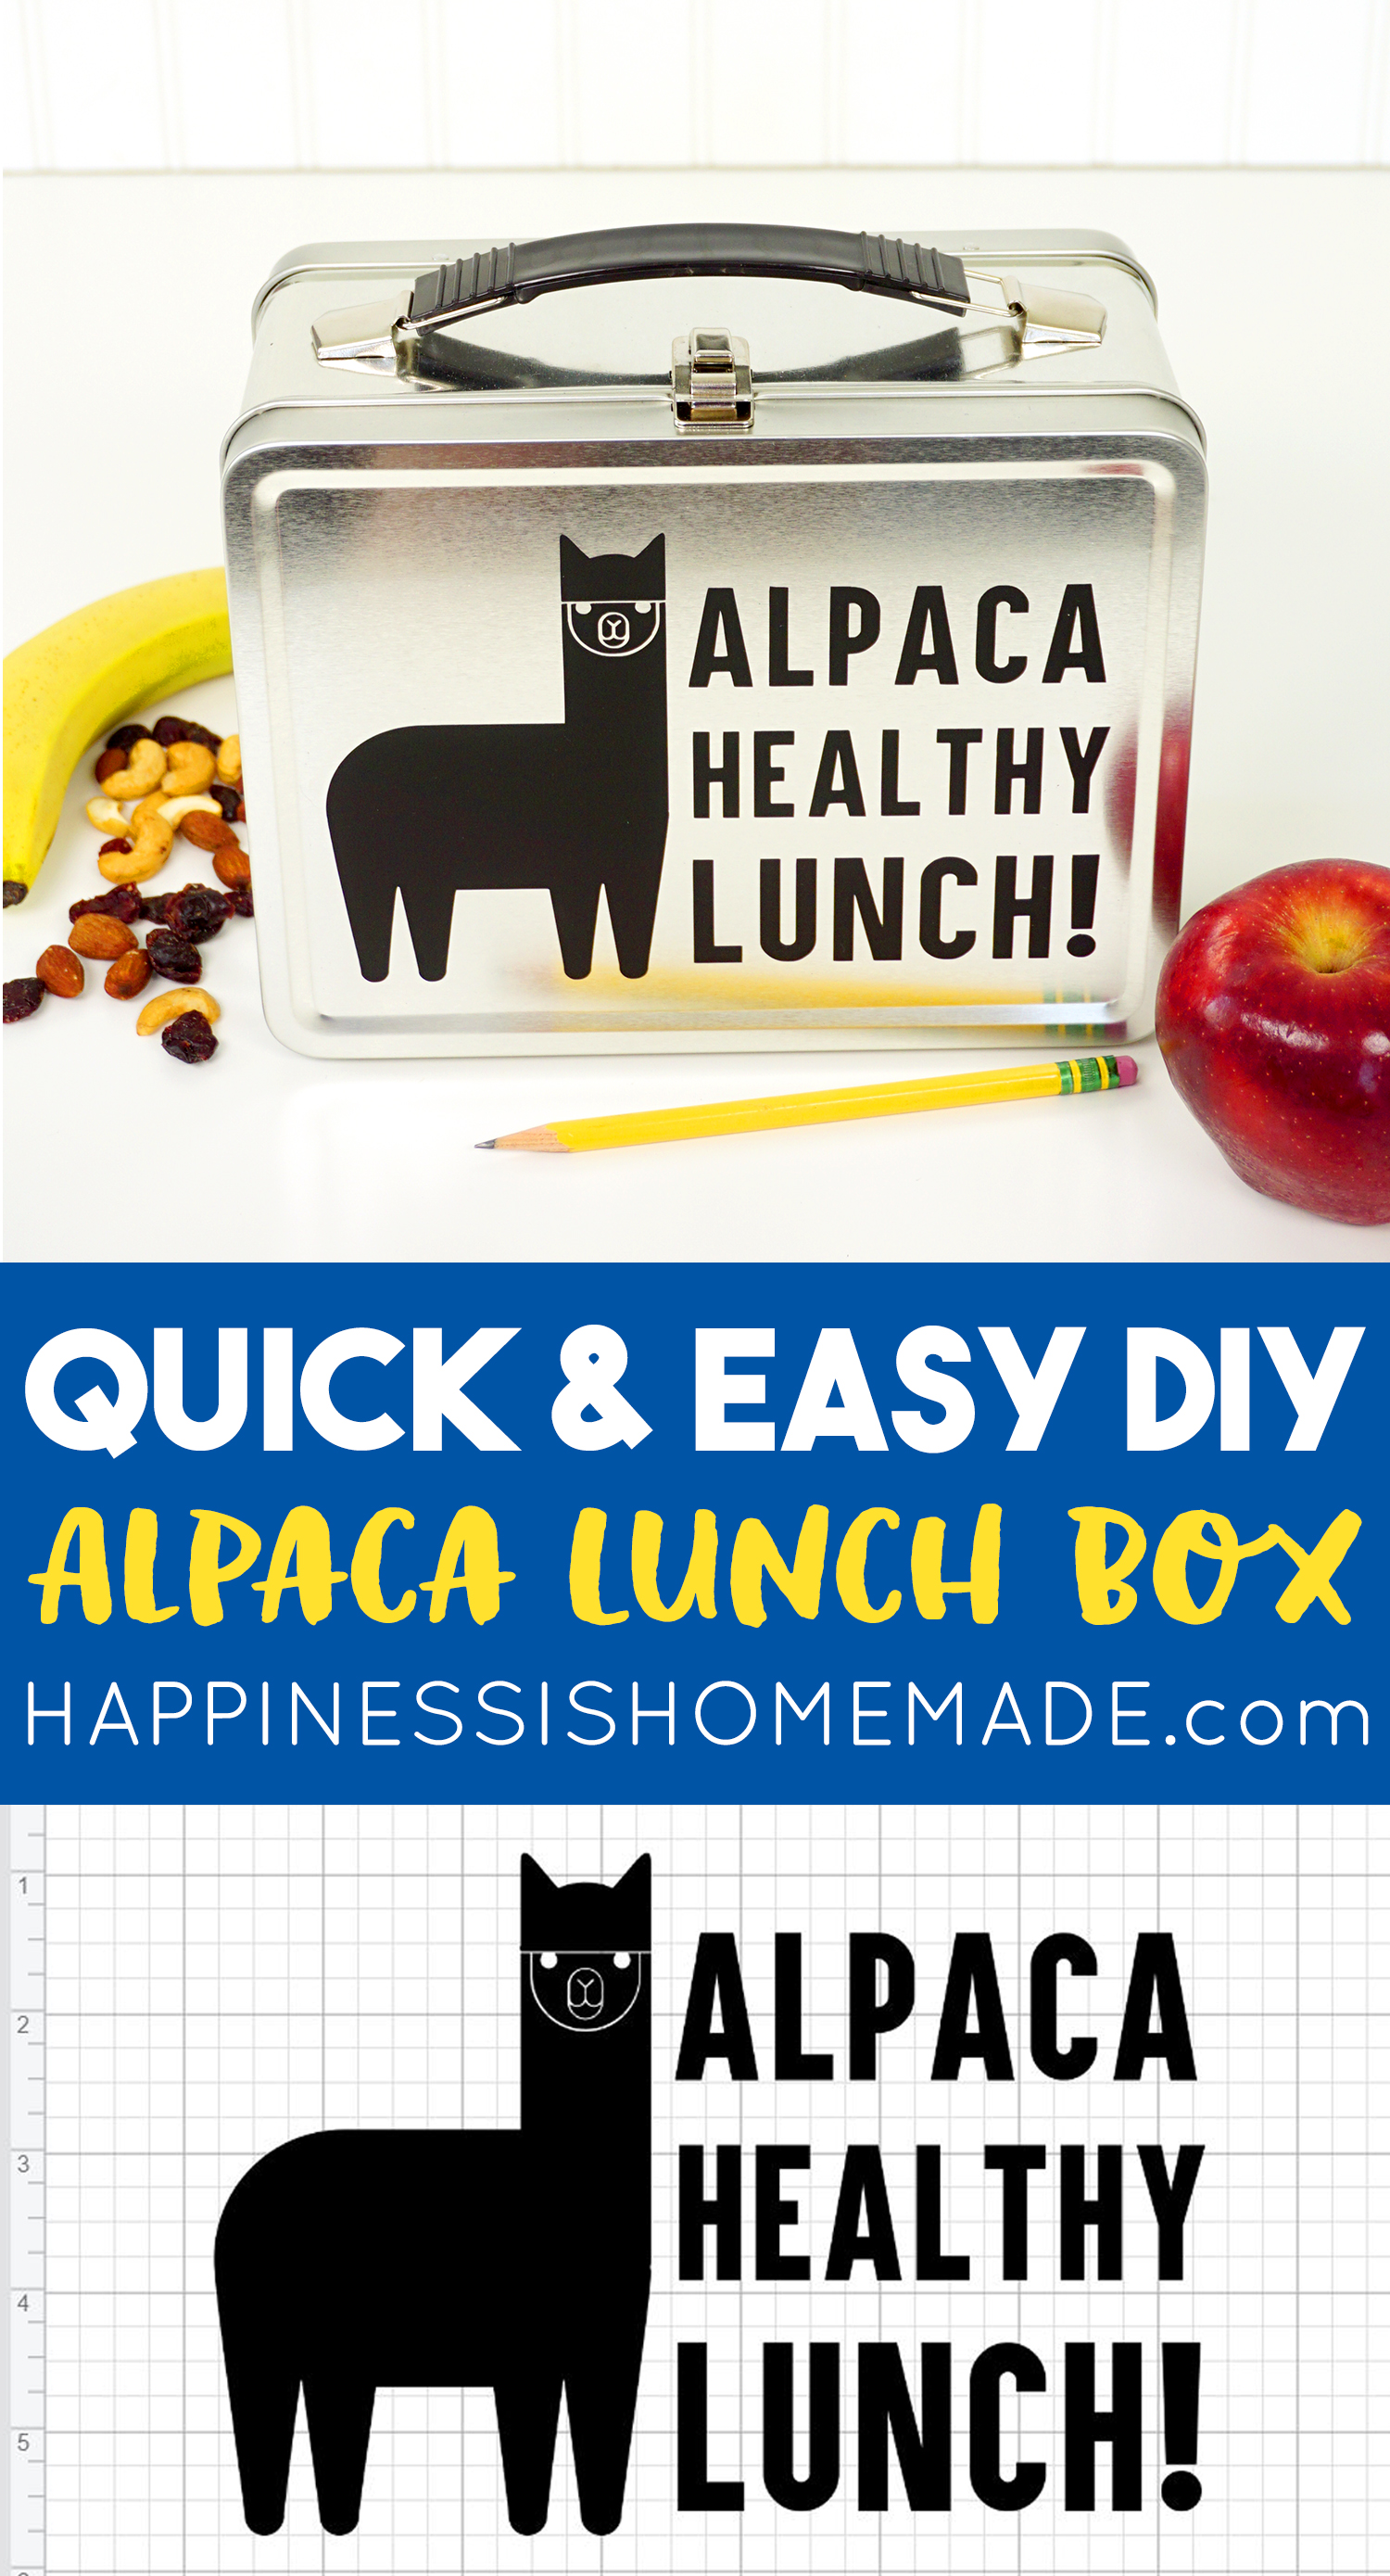
Pin this DIY Lunch Box for Later!

Heidi Kundin has captivated the hearts of millions with her colorful and inspiring approach to crafting, celebrations, and family fun. With over 15 years of experience, Happiness is Homemade has become a must-visit destination for those seeking quick and easy creative ideas and last-minute solutions. Heidi’s warm personality shines through her posts, inviting readers to join her on a creative journey that’s fun, rewarding, and achievable. Heidi is also the author of Homemade Bath Bombs & More and DIY Tie-Dye.

