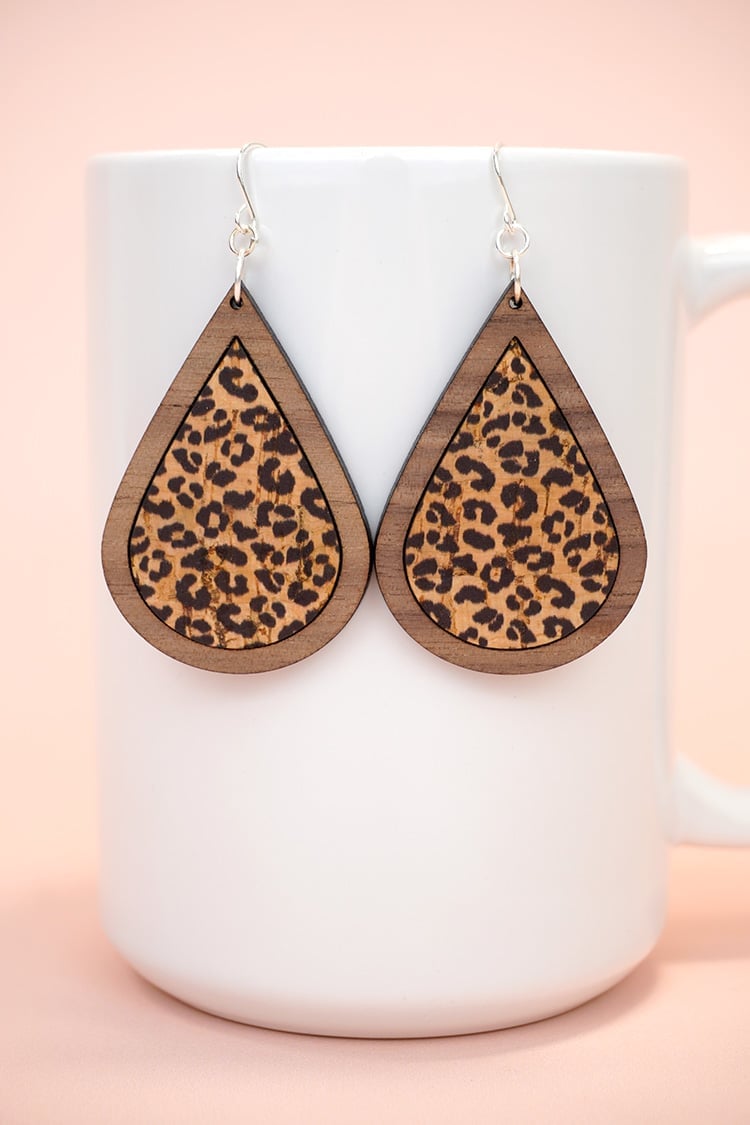
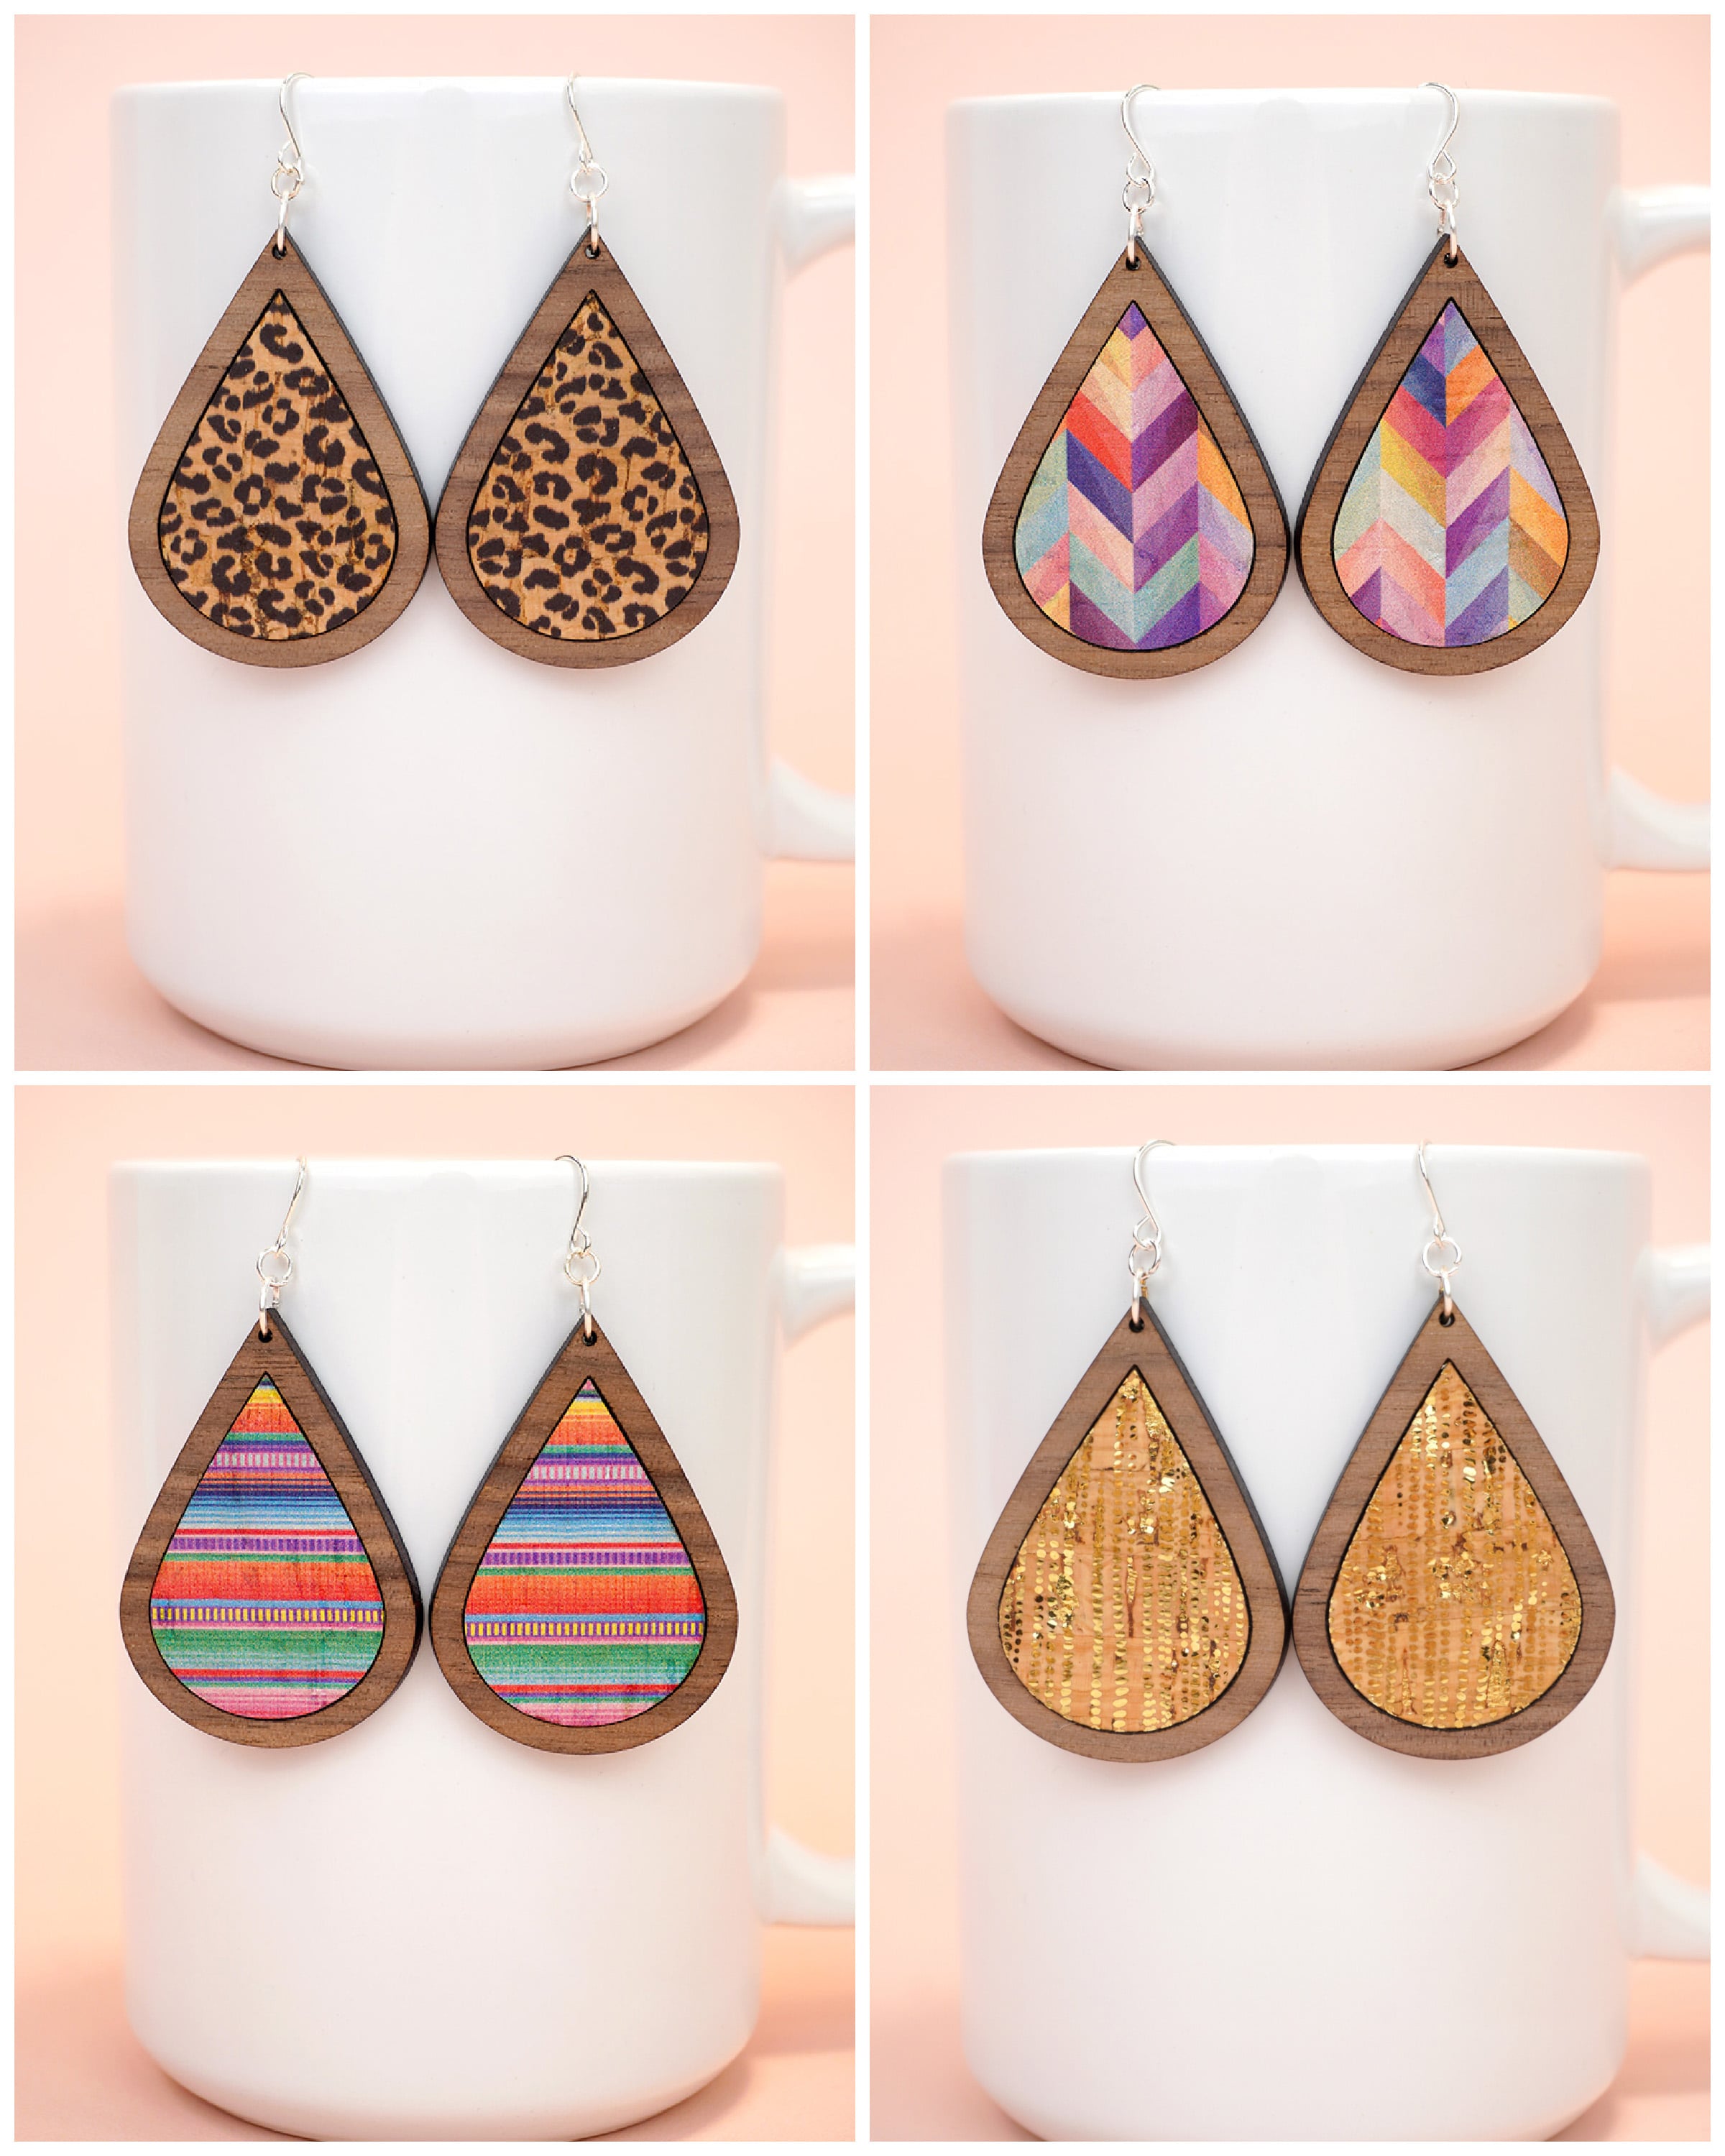
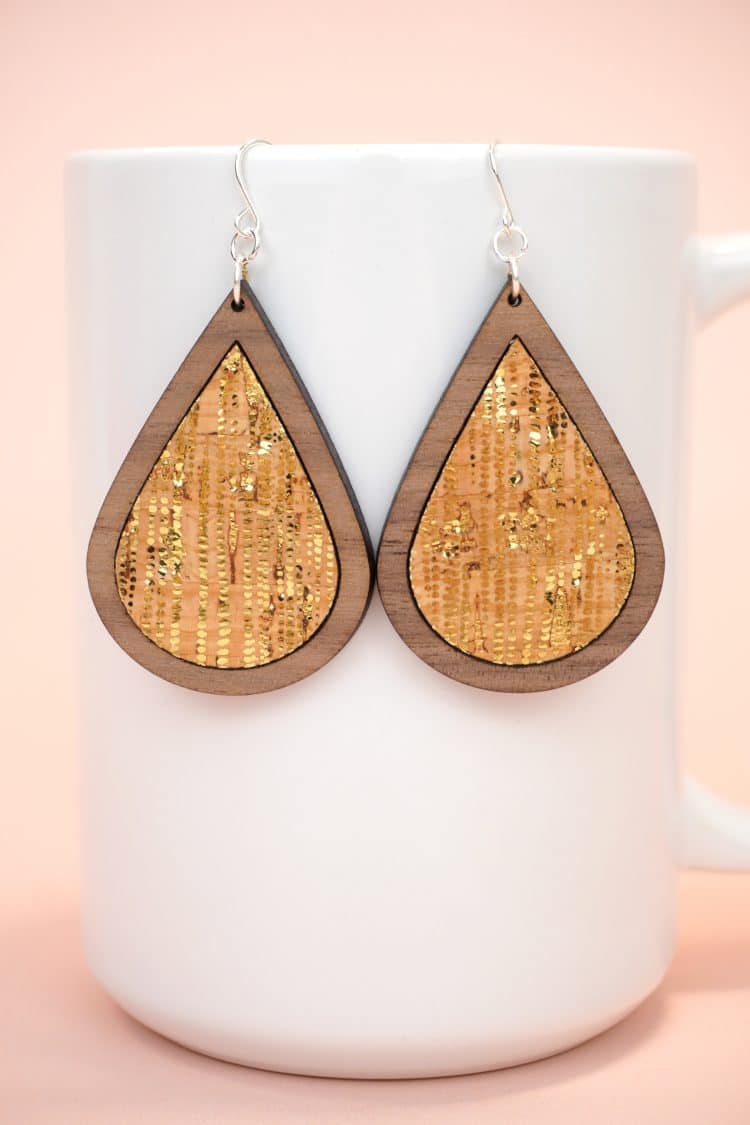
Learn how to make laser cut wood earrings with cork inlay – a quick and easy DIY project that makes a fantastic gift idea for all occasions!
This post may contain affiliate links. I will receive a small commission from these sales at no additional cost to you!
One of my favorite things to make with my Glowforge laser cutter is jewelry, and these laser cut wood earrings are one of my favorite projects ever! They’re quick and easy to make, and the combination of cork and wood makes them ultra light and super comfortable to wear!
These wooden earrings also make a great DIY homemade gift idea, so make a few extra pairs to keep on hand for last-minute gifting. They’re perfect for all kinds of occasions!
Supplies Needed:
- Glowforge Machine (Basic, Plus, or Pro) or other laser cutter
- 1/8″ Walnut (Proofgrade Hardwood or Walnut Plywood Sheet)
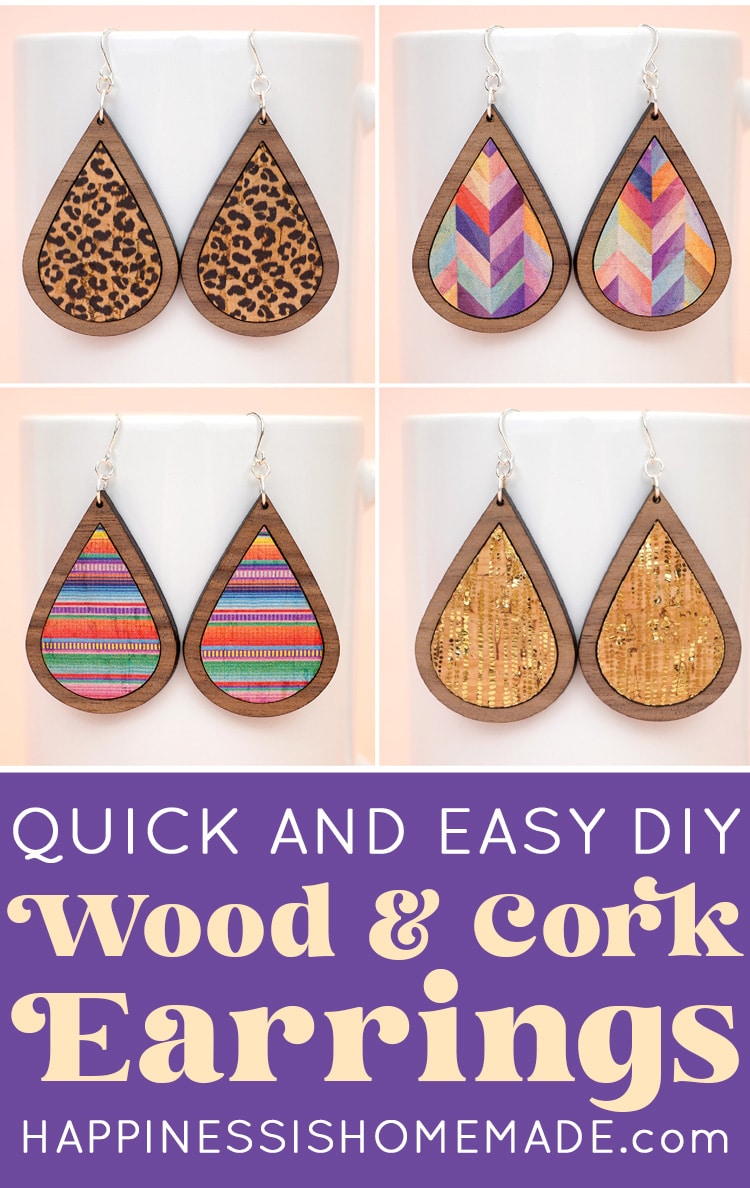
- Cork Fabric Sheets in patterns of choice
[we used Rainbow Chevron, Tiny Rainbow Serape Stripes, Dalmatian, Gold Rain Shower (no longer available, but Gold Tiny Stripes is very similar!), Black Leopard, and Rainbow Splatter Drops for the earrings shown] - Masking Paper
- E6000 Adhesive
- Earring Wires
- Jump Rings & Jewelry Pliers
- Cork Earring SVG File (available below)
- Sewing Clips, optional
Quick Note!
If you don’t have a Glowforge yet and are considering a purchase, make sure to read our guide to Everything You Need to Know Before Buying a Glowforge for lots of helpful information and a Glowforge discount that can save you up to $500 on your Glowforge!

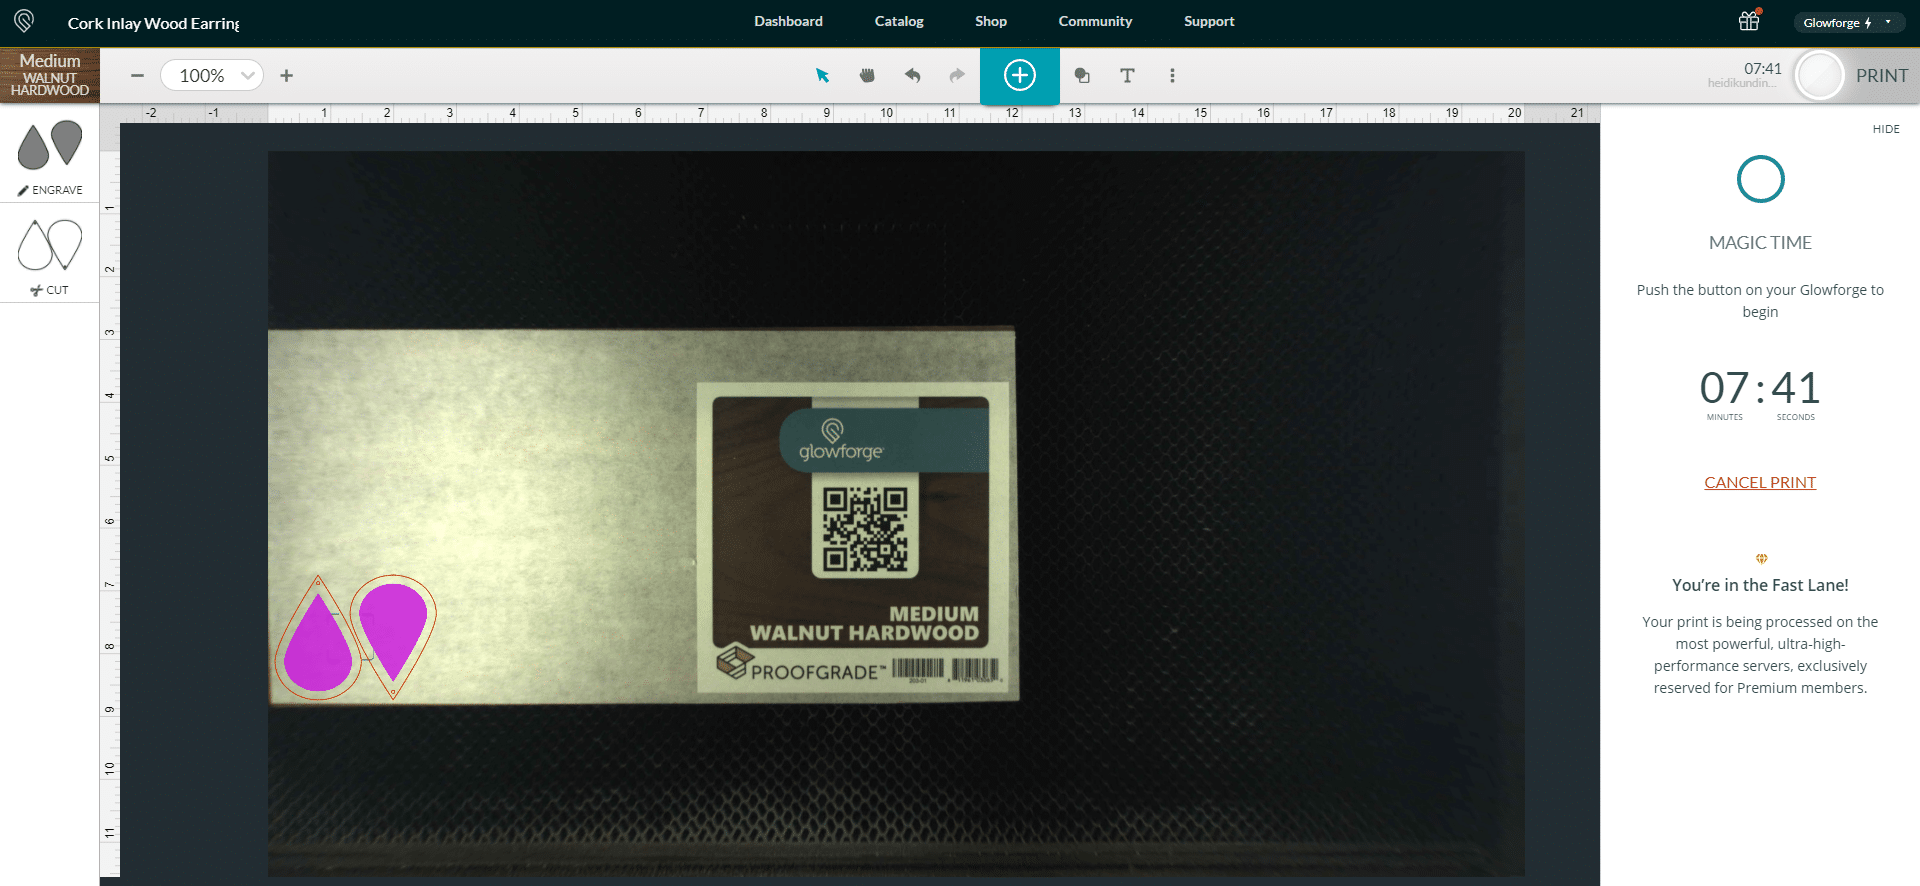
Upload the Cork Earring SVG File to the Glowforge App software. Make sure that the outer teardrops are set to cut and that the inner teardrops are set to engrave (we used the Proofgrade settings for Medium Walnut Hardwood).
Load the wood into the Glowforge, and push the flashing magic button!
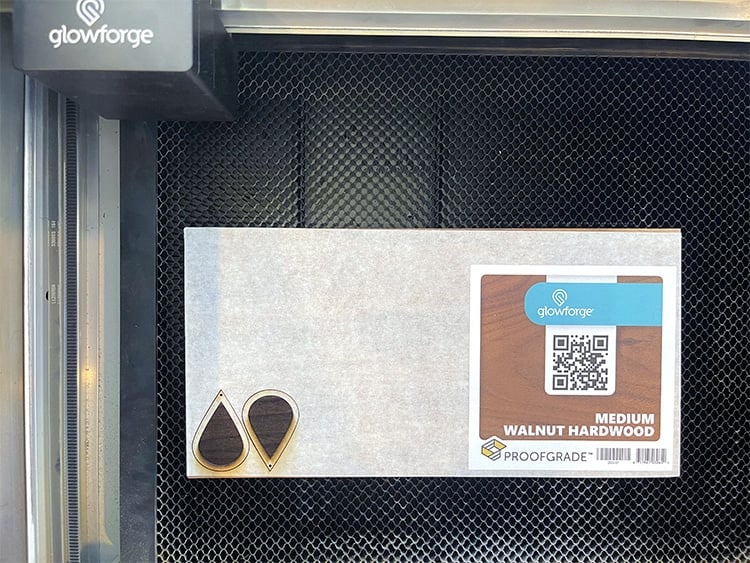
When the cutting has finished, remove the earring pieces and wood sheet from the Glowforge.
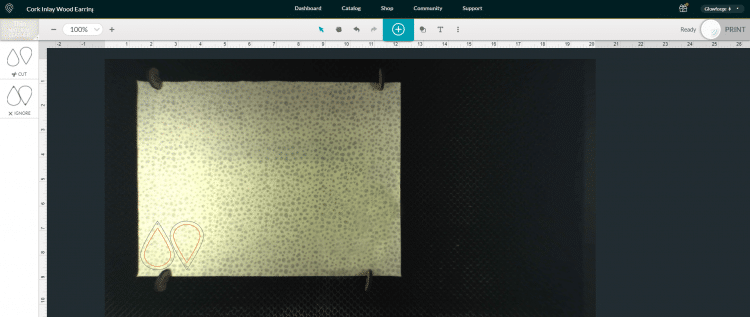
Mask the patterned side of the cork fabric, and place it masked side up in the bed of the Glowforge. You may wish to use hold down pins to keep the sheet securely in place since the machine’s fan tends to blow lightweight items around.
In the Glowforge App software, set the outer teardrop to “ignore” and the inner teardrops to cut using the Thin Natural Leather settings.
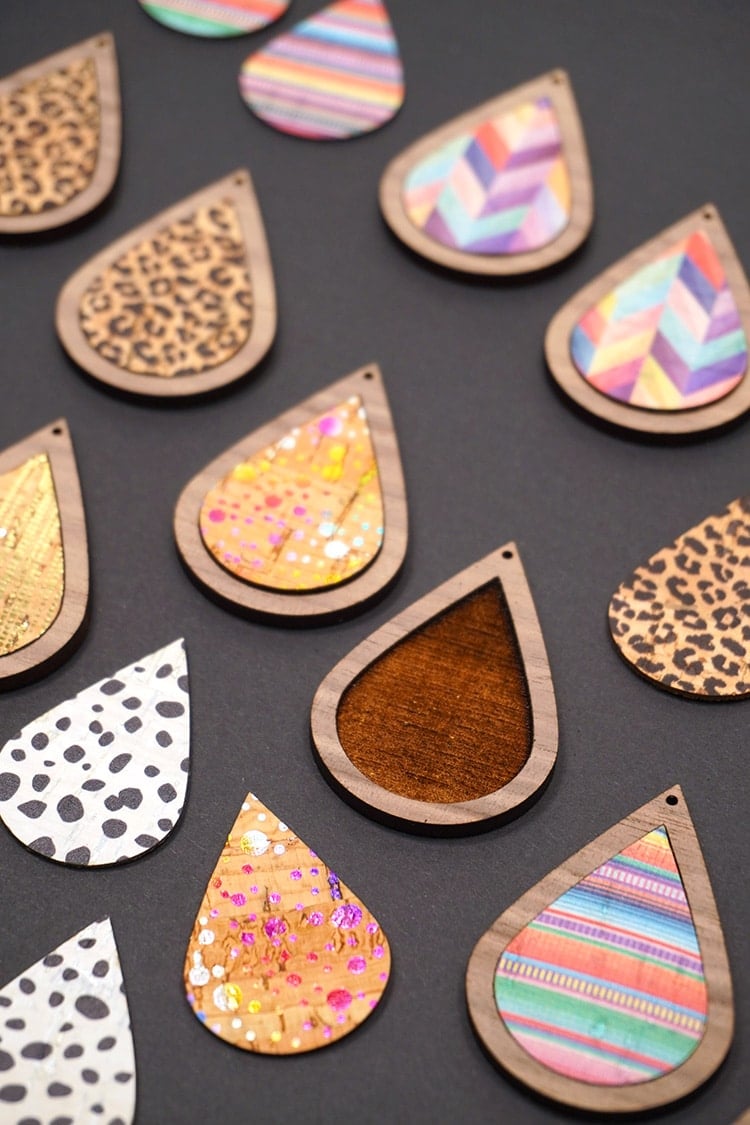
Unmask the cork and wood pieces, and pair them up into earring sets. The cork inlay pieces nestle perfectly into the engraved area of the laser cut wood earrings!
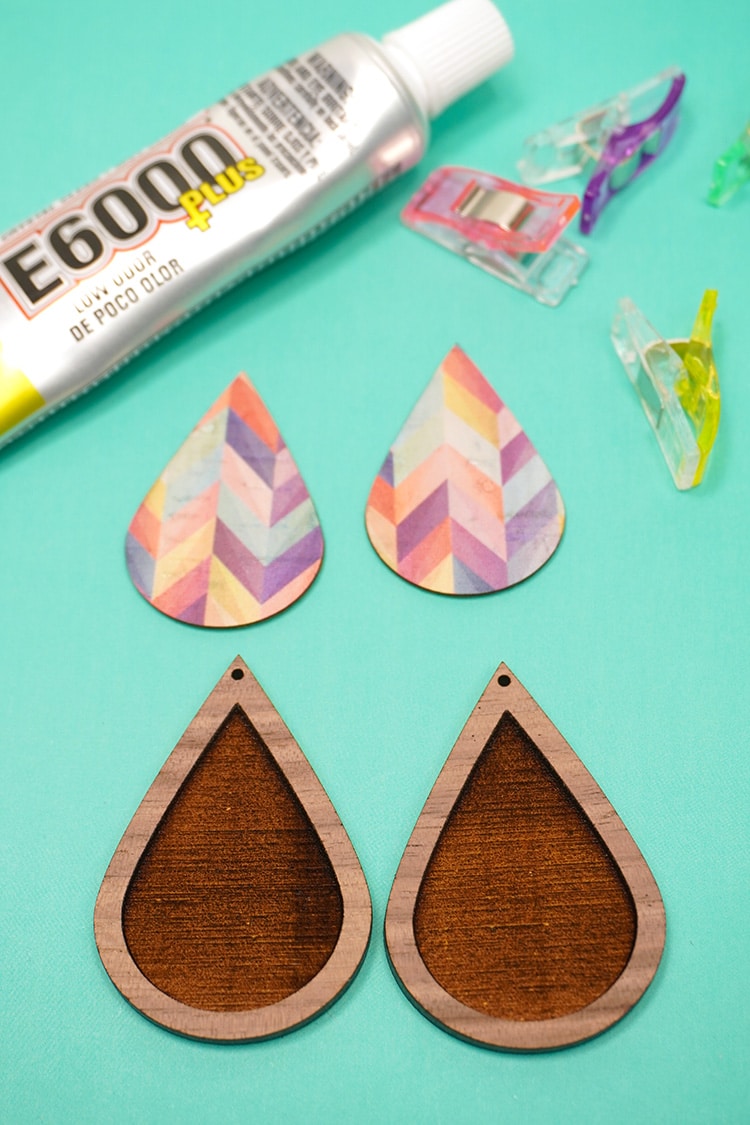
Add a small amount of E600 adhesive to the back of the cork pieces, then place the cork into the wood earrings.
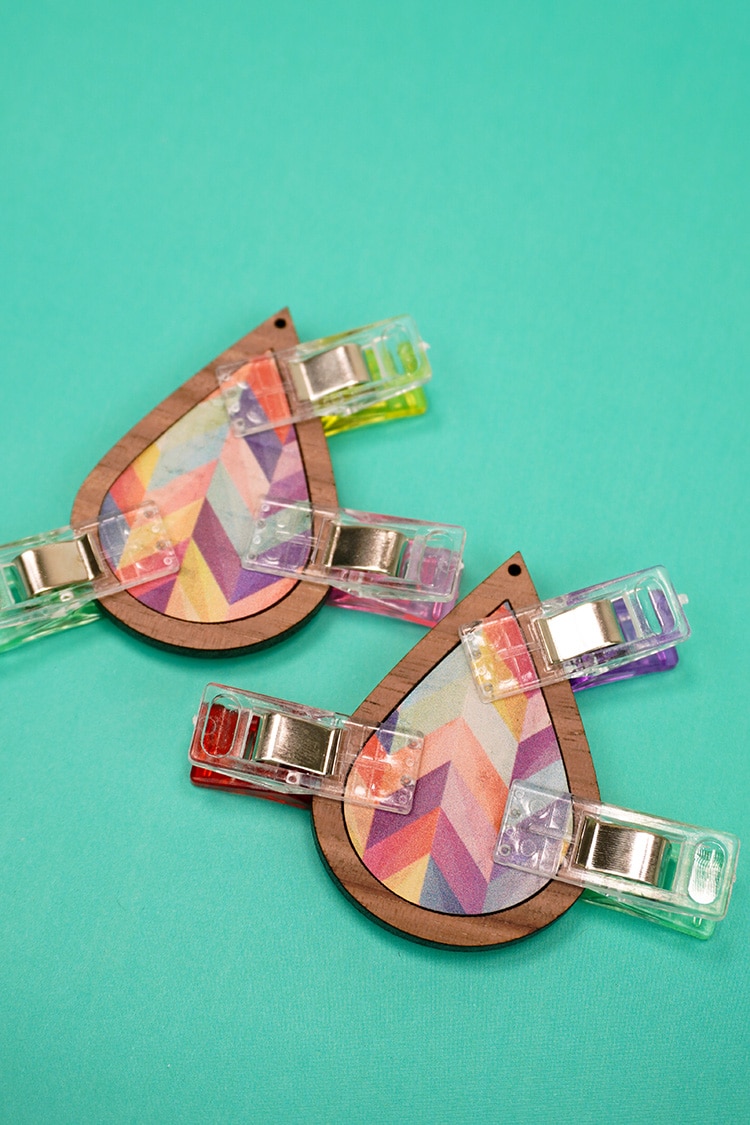
If desired, use sewing clips to hold everything securely in place until the glue has dried completely.
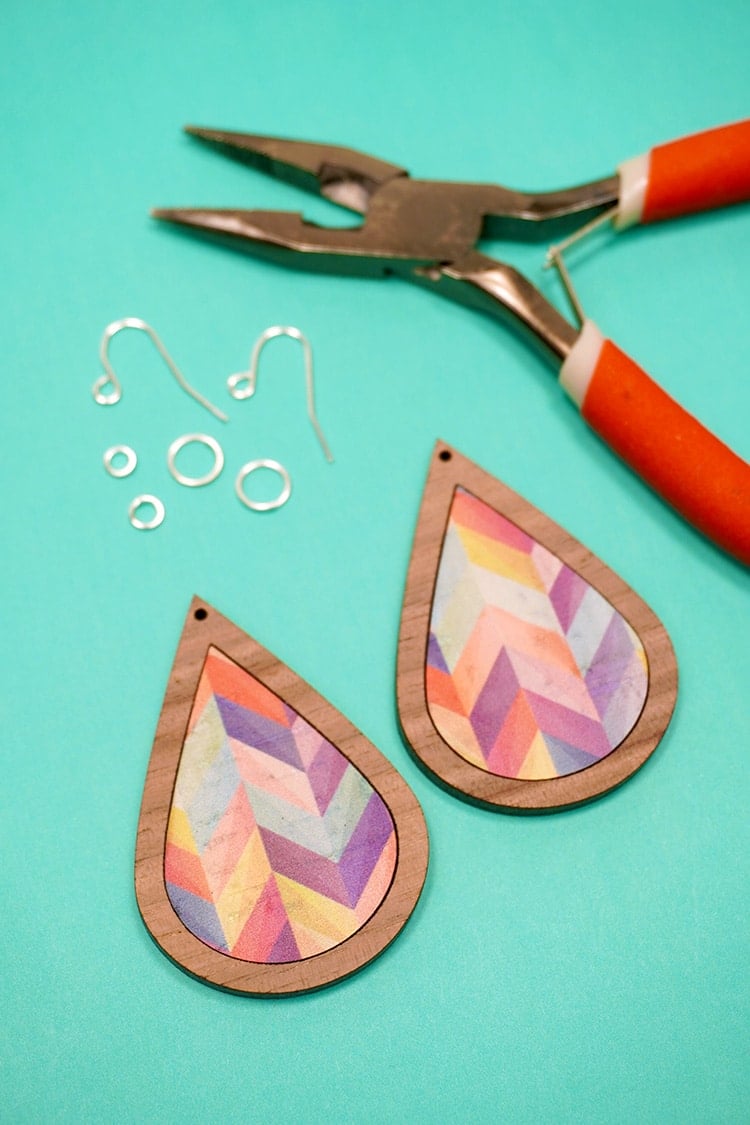
Use the jewelry pliers to attach the jump rings and earring wires.
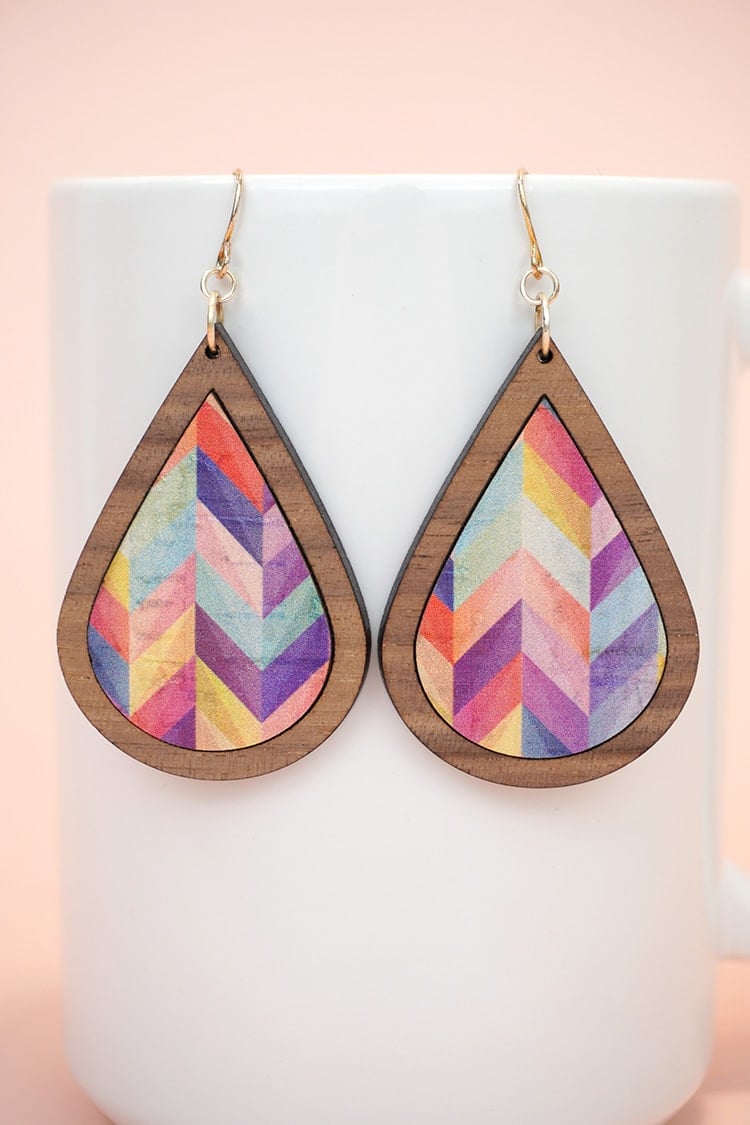
Easy peasy! How cute are these!?
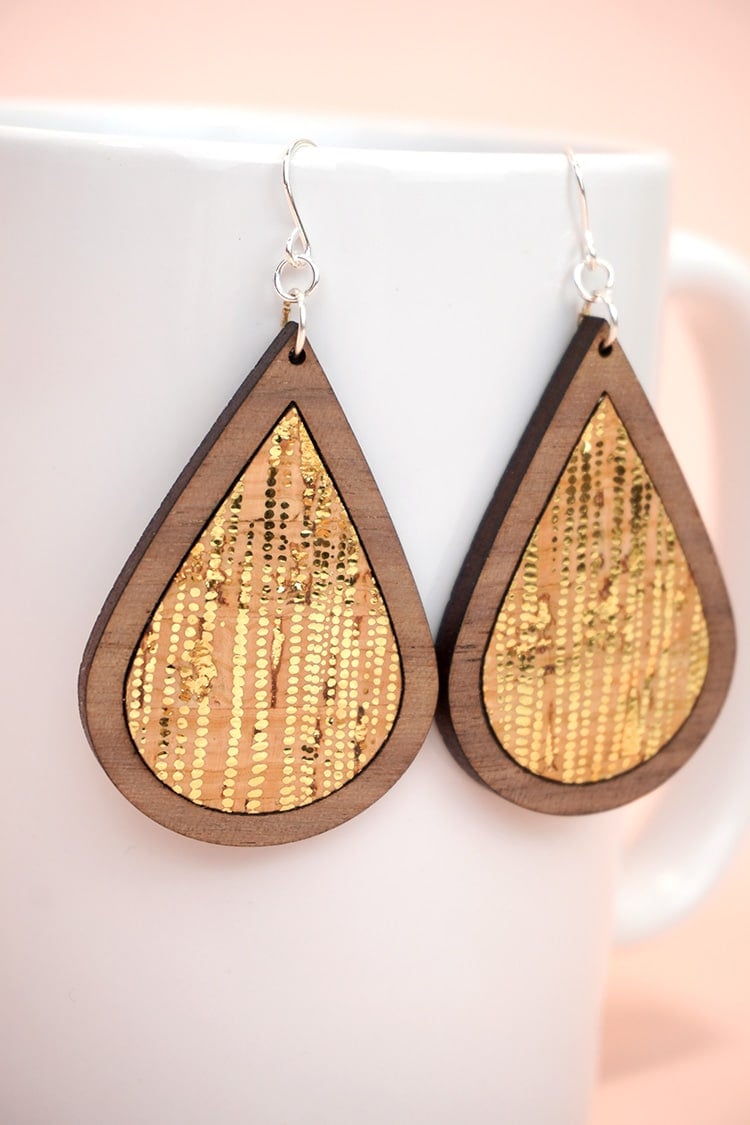
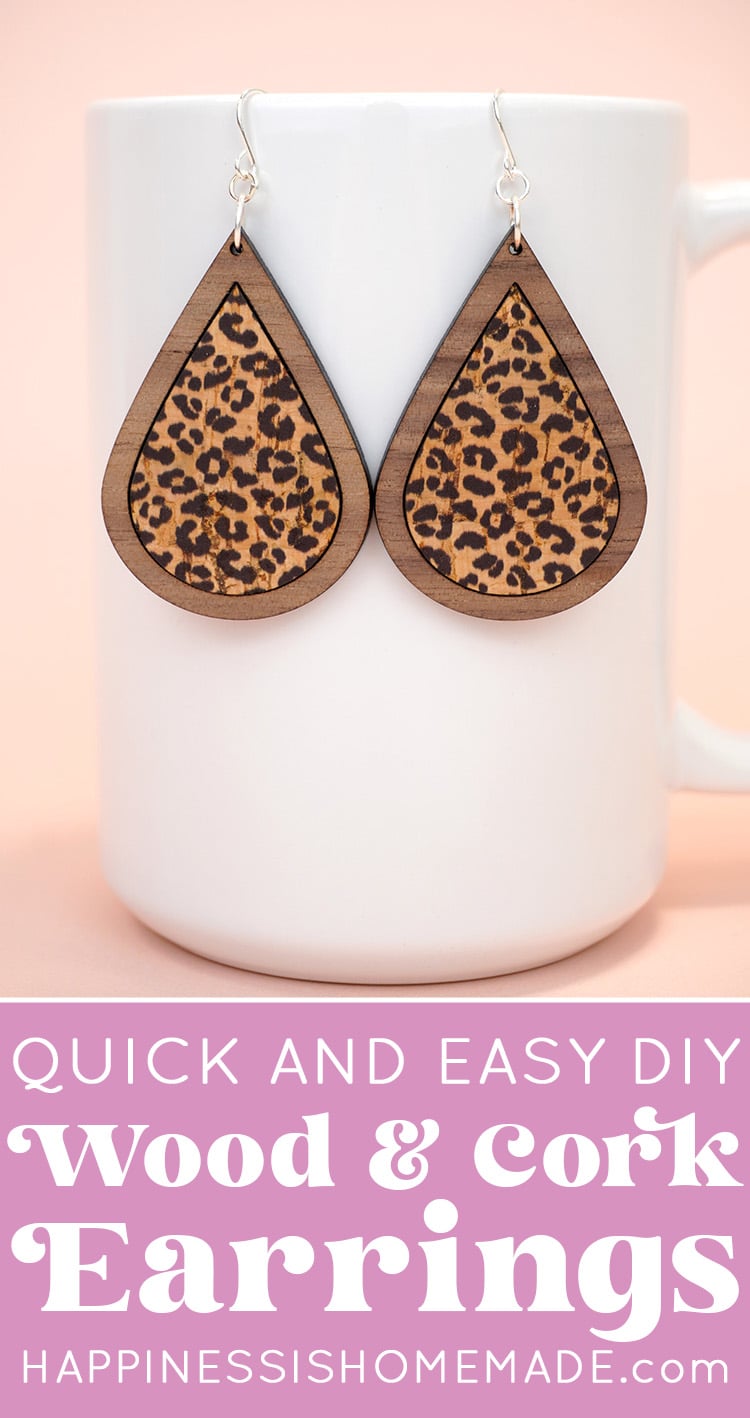
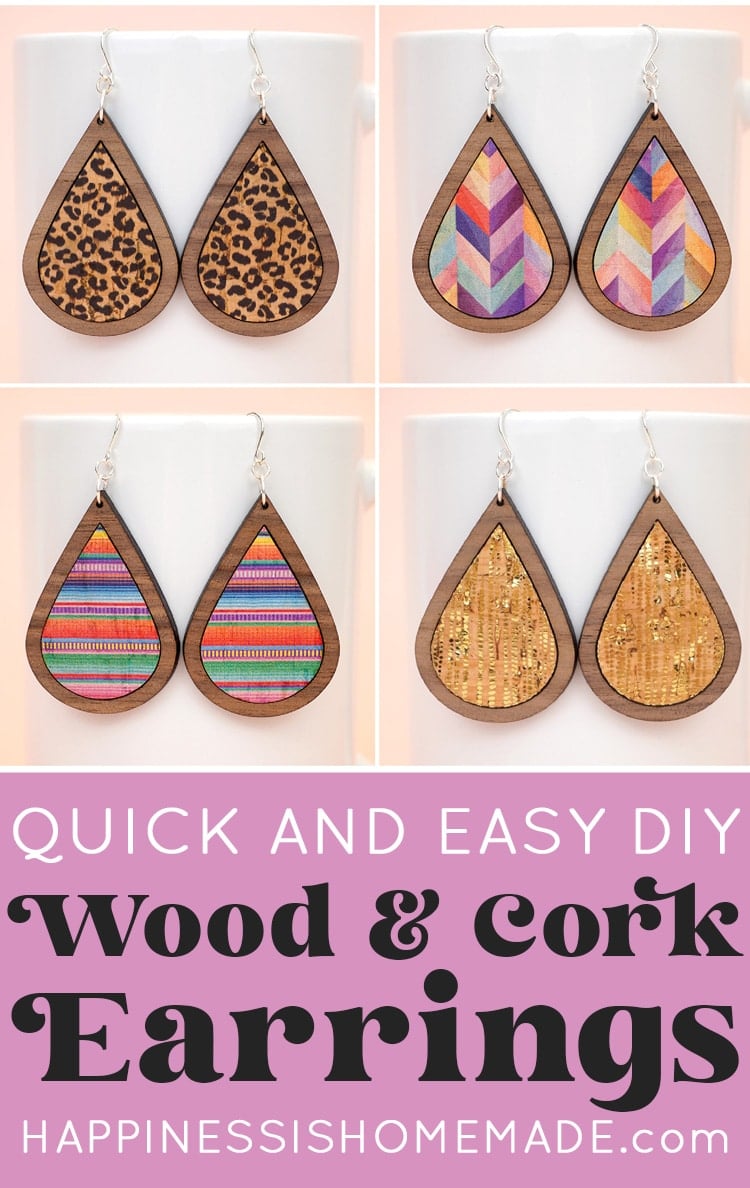
With SO many awesome patterned cork fabrics available, you’re going to want to make these laser cut wood earrings in ALL the different styles! 😍😍😍
Laser Cut Wood Earrings with Cork Inlay
Equipment:
- Glowforge Machine (Basic, Plus, or Pro)
What You’ll Need:
- 1 sheet 1/8" Walnut Wood
- 1 sheet Cork Fabric
- Paper Masking Tape
- SVG File (available below)
- E6000 Adhesive
- Earring Wires
- Jump Rings & Jewelry Pliers
- Sewing Clips, optional
Instructions:
- Turn on the Glowforge and place the masked walnut wood into the machine on top of the crumb tray.
- Open up the Glowforge App software on your computer. Upload the SVG file, focus on the material, and resize/position the design on the wood if needed.
- Make sure that the outer teardrops are set to cut and that the inner teardrops are set to engrave (use the Proofgrade settings for Medium Walnut Hardwood).
- Click "Print," press the flashing button on your Glowforge machine, and watch the magic happen! When the machine is finished cutting and engraving, remove the earring pieces and wood sheet from the Glowforge.
- Mask the patterned side of the cork fabric, and place it masked side up in the bed of the Glowforge. You may wish to use hold down pins to keep the sheet securely in place.
- In the Glowforge App software, set the outer teardrop to “ignore” and the inner teardrops to cut using the Thin Natural Leather settings. Cut the cork and remove from machine.
- Unmask the cork and wood pieces and pair them into earring sets.
- Add a small amount of E600 adhesive to the back of the cork pieces, then place the cork into the wood earrings. If desired, use sewing clips to hold everything securely in place until the glue has dried completely.
- Use the jewelry pliers to attach the jump rings and earring wires.
Get the Cork Inlay Wood Earrings SVG File Here
This file is Crafting File #56 in our Freebie Library! Get the password to our Freebie Library by signing up for our Email Club in the form below! If you are already a club member with the password, hop on over to the Freebie Library to download the file now!
All free downloads from Happiness is Homemade are for PERSONAL and CLASSROOM USE ONLY. You MAY NOT share, distribute, sell, or use these files for commercial purposes, including print-on-demand. Commercial licenses for SVG and PNG Crafting Files may be purchased in the Happiness is Homemade Shop. Please read our full license terms here.
Download Trouble?
Can’t find the download form? Having trouble with the file? Check out our Digital Downloads FAQ page for answers to the most common troubleshooting questions!
This inlay technique is SO much fun! I can’t wait to play around with it some more! What type of inlay design should I design next? Let me know in the comments!

Check Out These Other Glowforge Posts!
Don’t Forget to Pin These Wooden Earrings for Later!

Heidi Kundin has captivated the hearts of millions with her colorful and inspiring approach to crafting, celebrations, and family fun. With over 15 years of experience, Happiness is Homemade has become a must-visit destination for those seeking quick and easy creative ideas and last-minute solutions. Heidi’s warm personality shines through her posts, inviting readers to join her on a creative journey that’s fun, rewarding, and achievable. Heidi is also the author of Homemade Bath Bombs & More and DIY Tie-Dye.

