
You’ve probably heard of shaker cards, but what about shaker SIGNS?! Learn how to make your own custom shaker sign with your Glowforge or other laser cutter!
This post may contain affiliate links. I will receive a small commission from these sales at no additional cost to you!
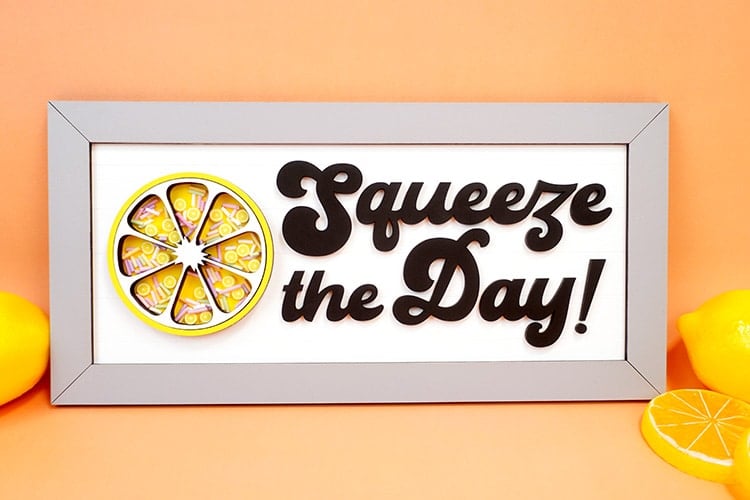
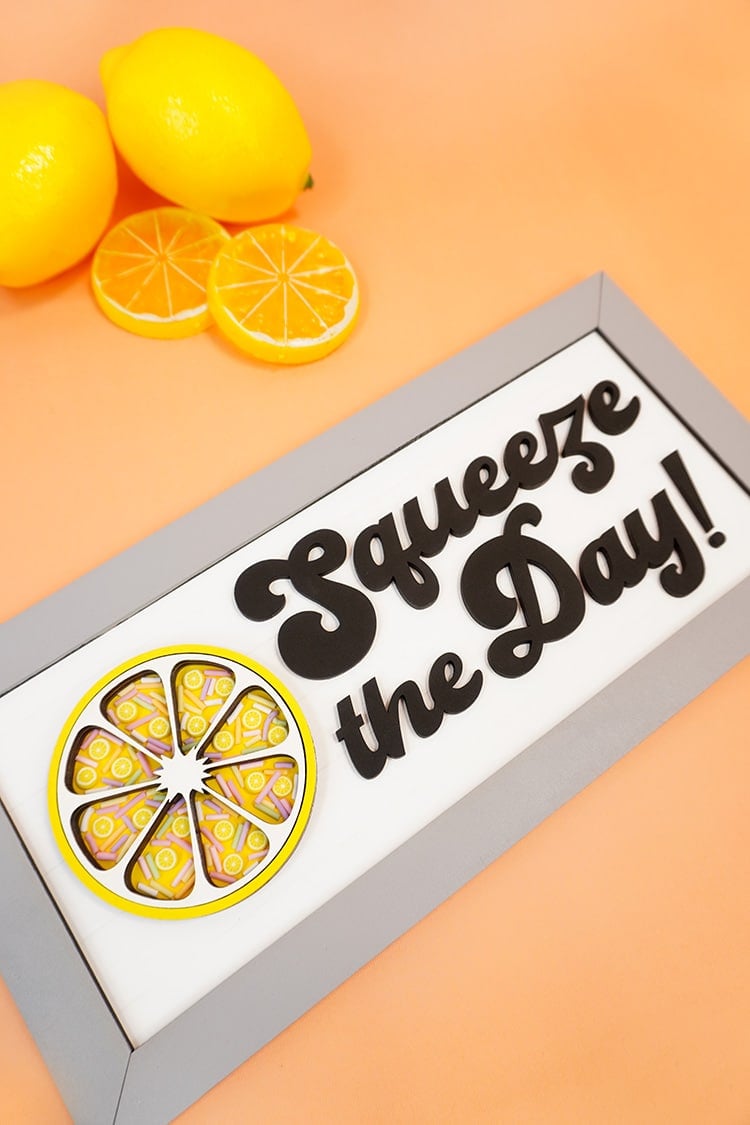
Shaker Cards have long been a popular staple of card-making and paper crafting, and now, I’m inviting wood crafting to the party with this fun DIY Shaker Sign! Use wood or MDF and your favorite shaker embellishments to create fun shaker signs of all kinds. Perfect for making unique and one-of-a-kind gift ideas!
How to Make a Shaker Sign
Supplies Needed:
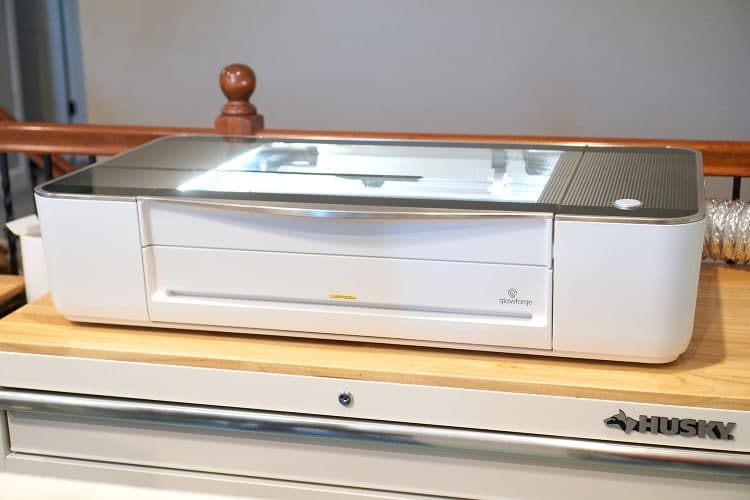
- Glowforge (Basic, Plus, or Pro)
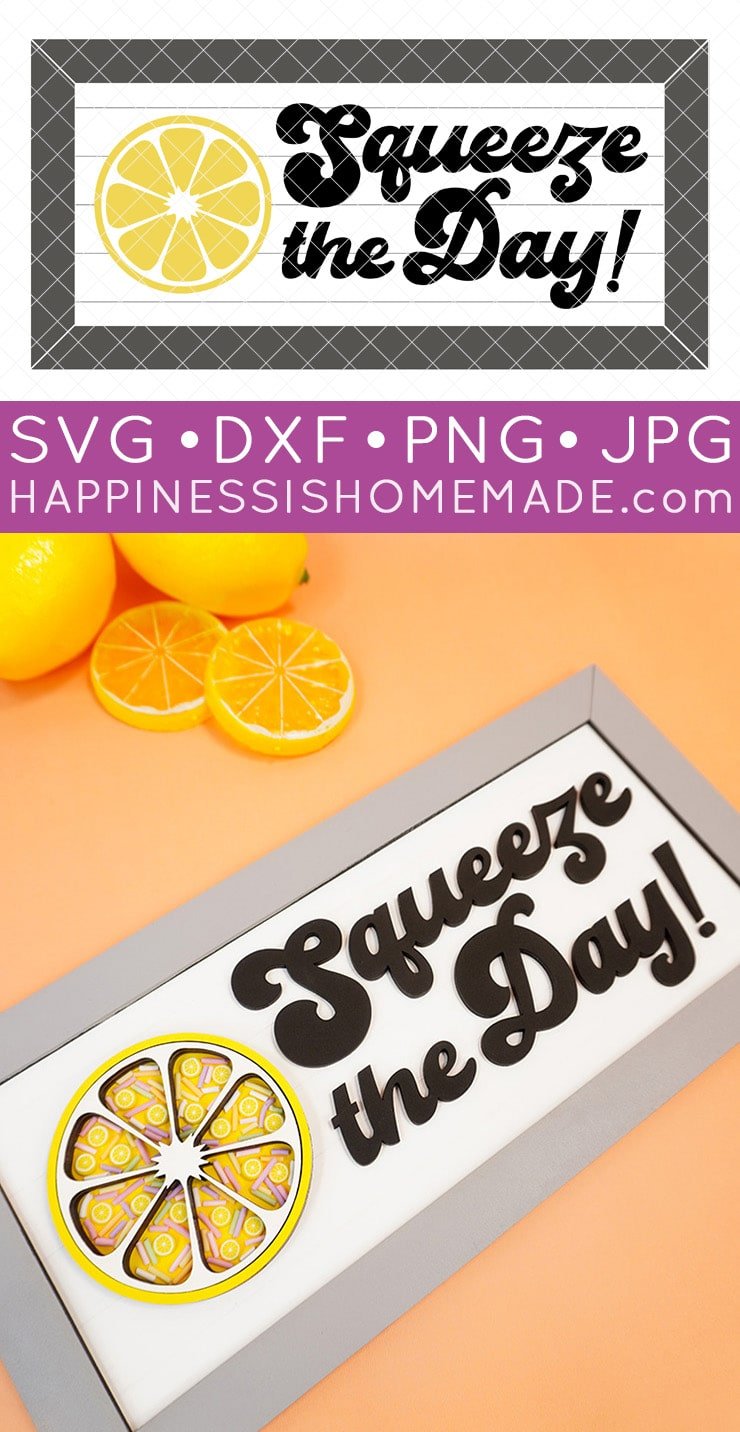
- “Squeeze the Day” SVG File (available below)
- 1/8″ MDF or Baltic Birch Sheet (I’m using MDF here for my demo)
- Acetate Sheet (or piece from larger roll)
- 3M Double-Sided Adhesive, optional
- Tacky Glue
- Kingston Crafts Lemon Shaker Embellishments
- Faux Sprinkles
- Acrylic Paint
Quick Note!
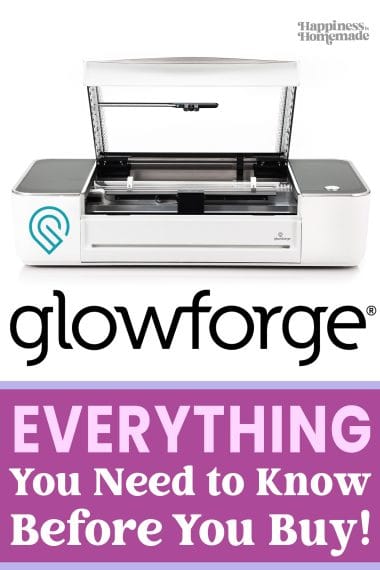
If you don’t have a Glowforge yet and are considering a purchase, make sure to read our guide to Everything You Need to Know Before Buying a Glowforge for lots of helpful information and a Glowforge discount that can save you up to $500 on your Glowforge!
Check out all of our Glowforge Laser Projects and Files here!

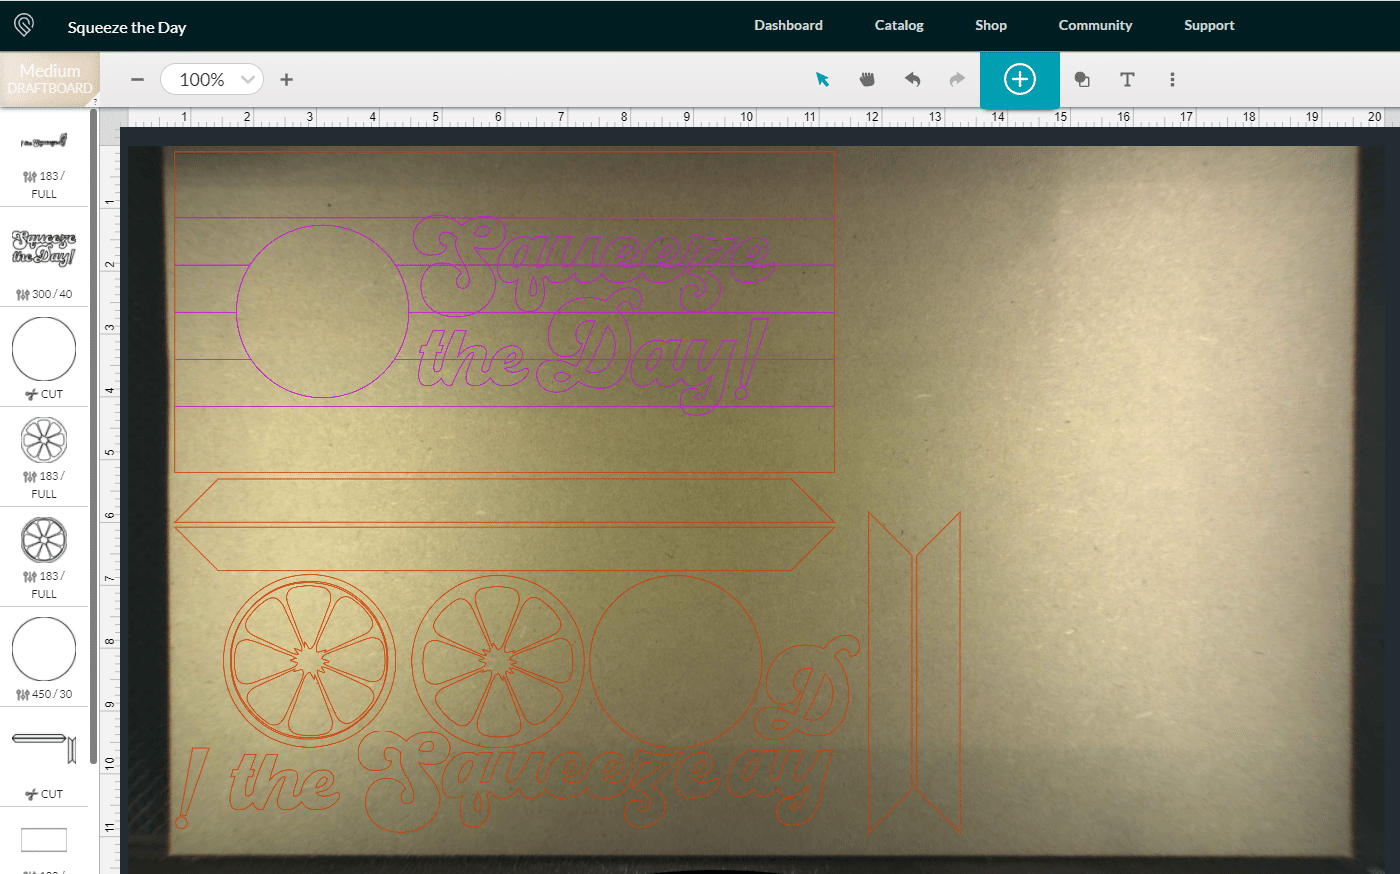
First, upload the Squeeze the Day SVG file (available below) into the Glowforge App software and change the layer settings as needed. All of the pieces in this file should be set to cut EXCEPT for the layout guidelines on the backing board which should be set to score. I set the circle and text to score at 450/30 and the shiplap lines to score a little deeper at 300/40.
Since the sign is going to be completely painted, I opted to forego masking to save time and supplies. This will result in the MDF/wood getting some slight singe marks around the edges of the pieces, but don’t worry – the paint will easily cover them up!
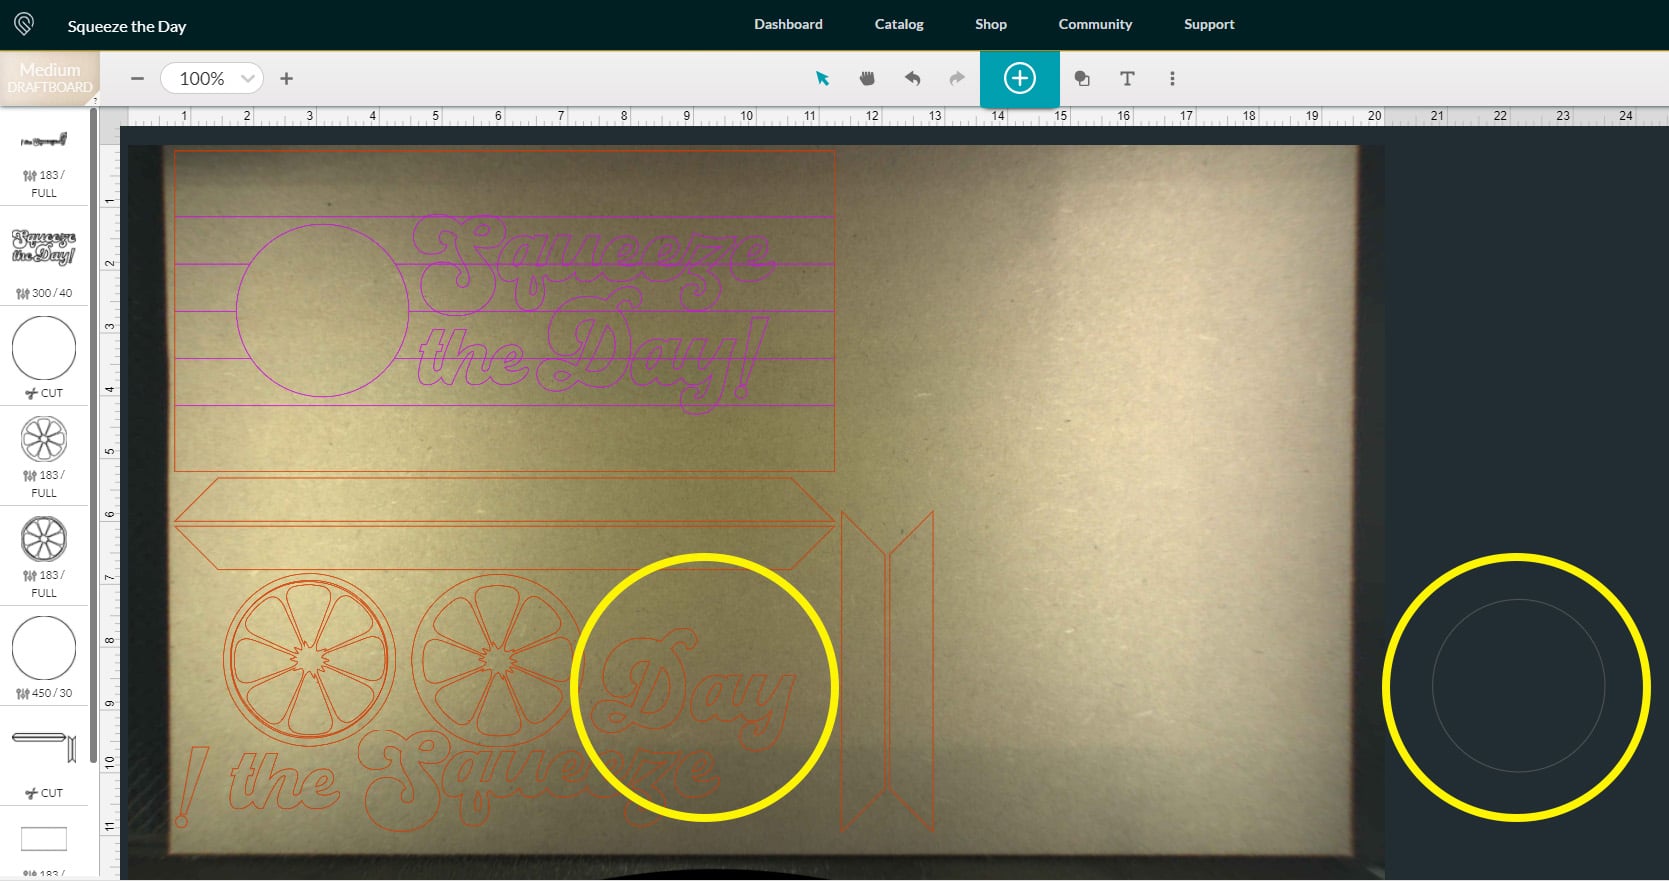
Next, move the solid circle cut layer off screen so that it will NOT cut from the MDF/wood (this will get cut from acetate) and rearrange the other elements to consolidate space if desired.
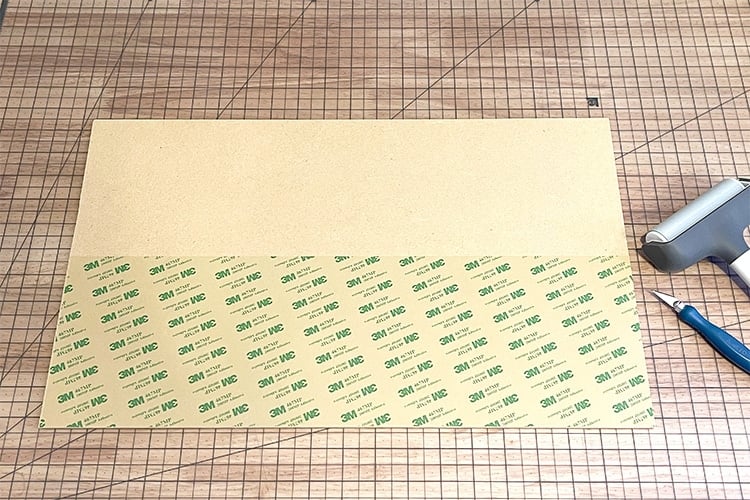
If you’re using 3M double-sided adhesive, apply it to the bottom half of the MDF/wood only. This will allow you to peel and stick all of the lemon shaker and text pieces to the sign base without having to use messy glue.
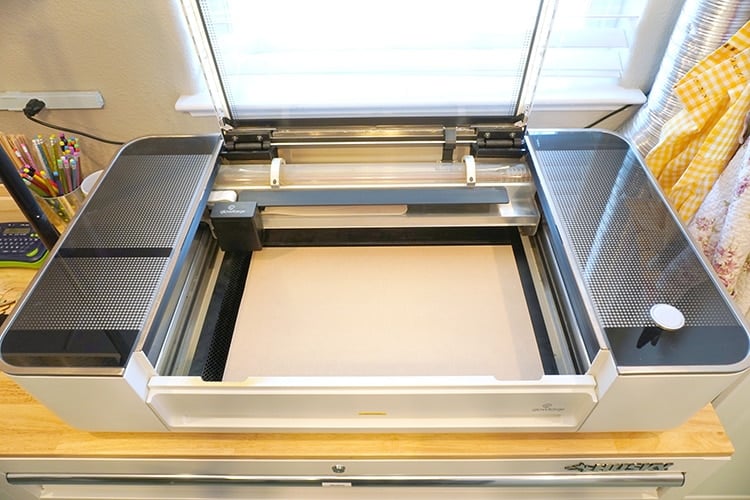
Place the sheet inside of the Glowforge, click “Print” in the app software, and then press the flashing button on the machine to start cutting!
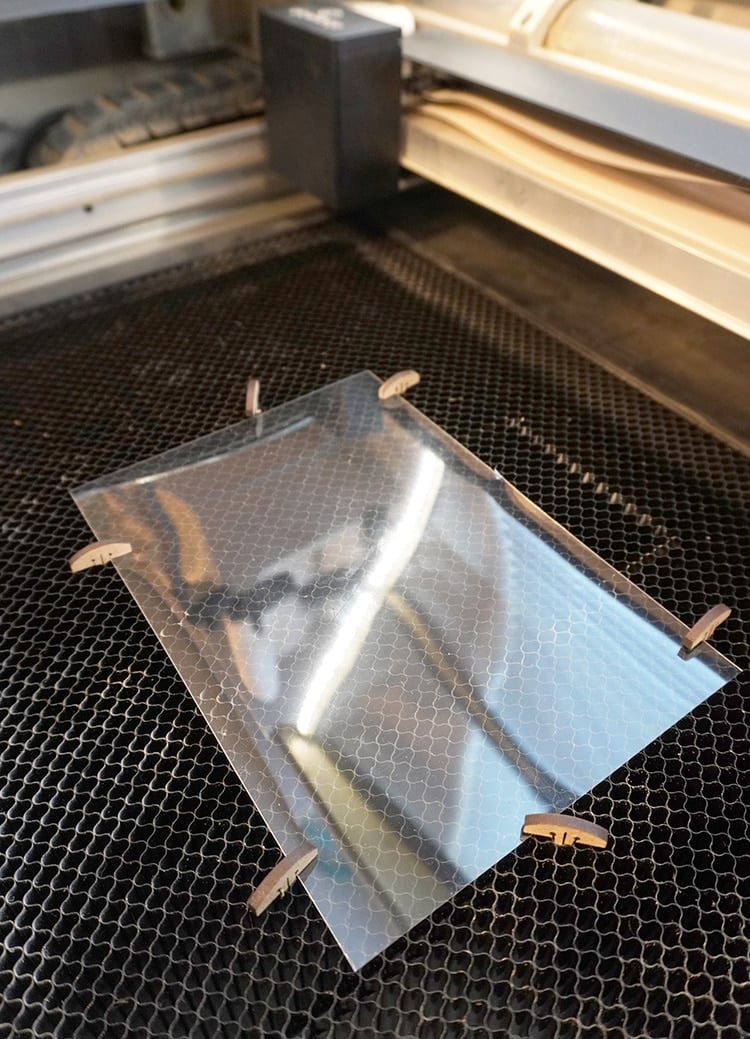
Remove the MDF/wood pieces and place a small sheet of acetate material in the bed of the Glowforge. The acetate is really lightweight and has a tendency to blow away, so you will want to use hold down pins to keep it in place during cutting.
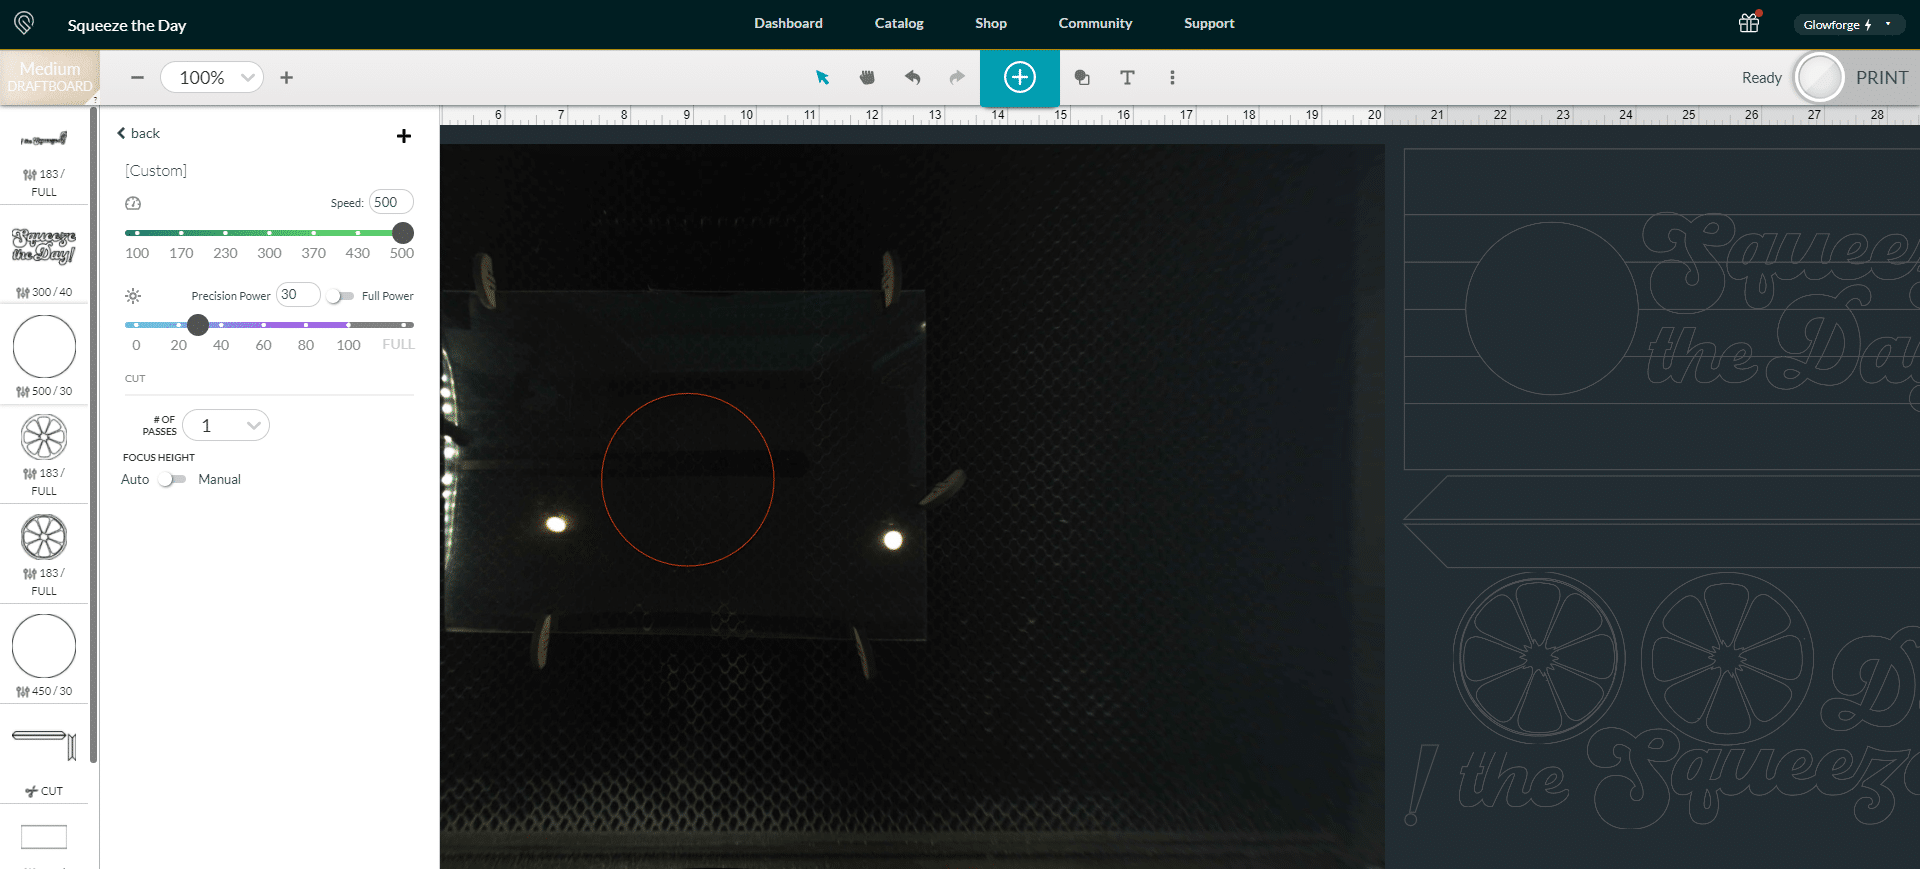
In the Glowforge app software, move all of the pieces out of the work area and replace them with the circle that we previously set aside. Your Glowforge settings will depend on the thickness of the acetate that you are using, but I used 500/30 for the 125 micron acetate here.
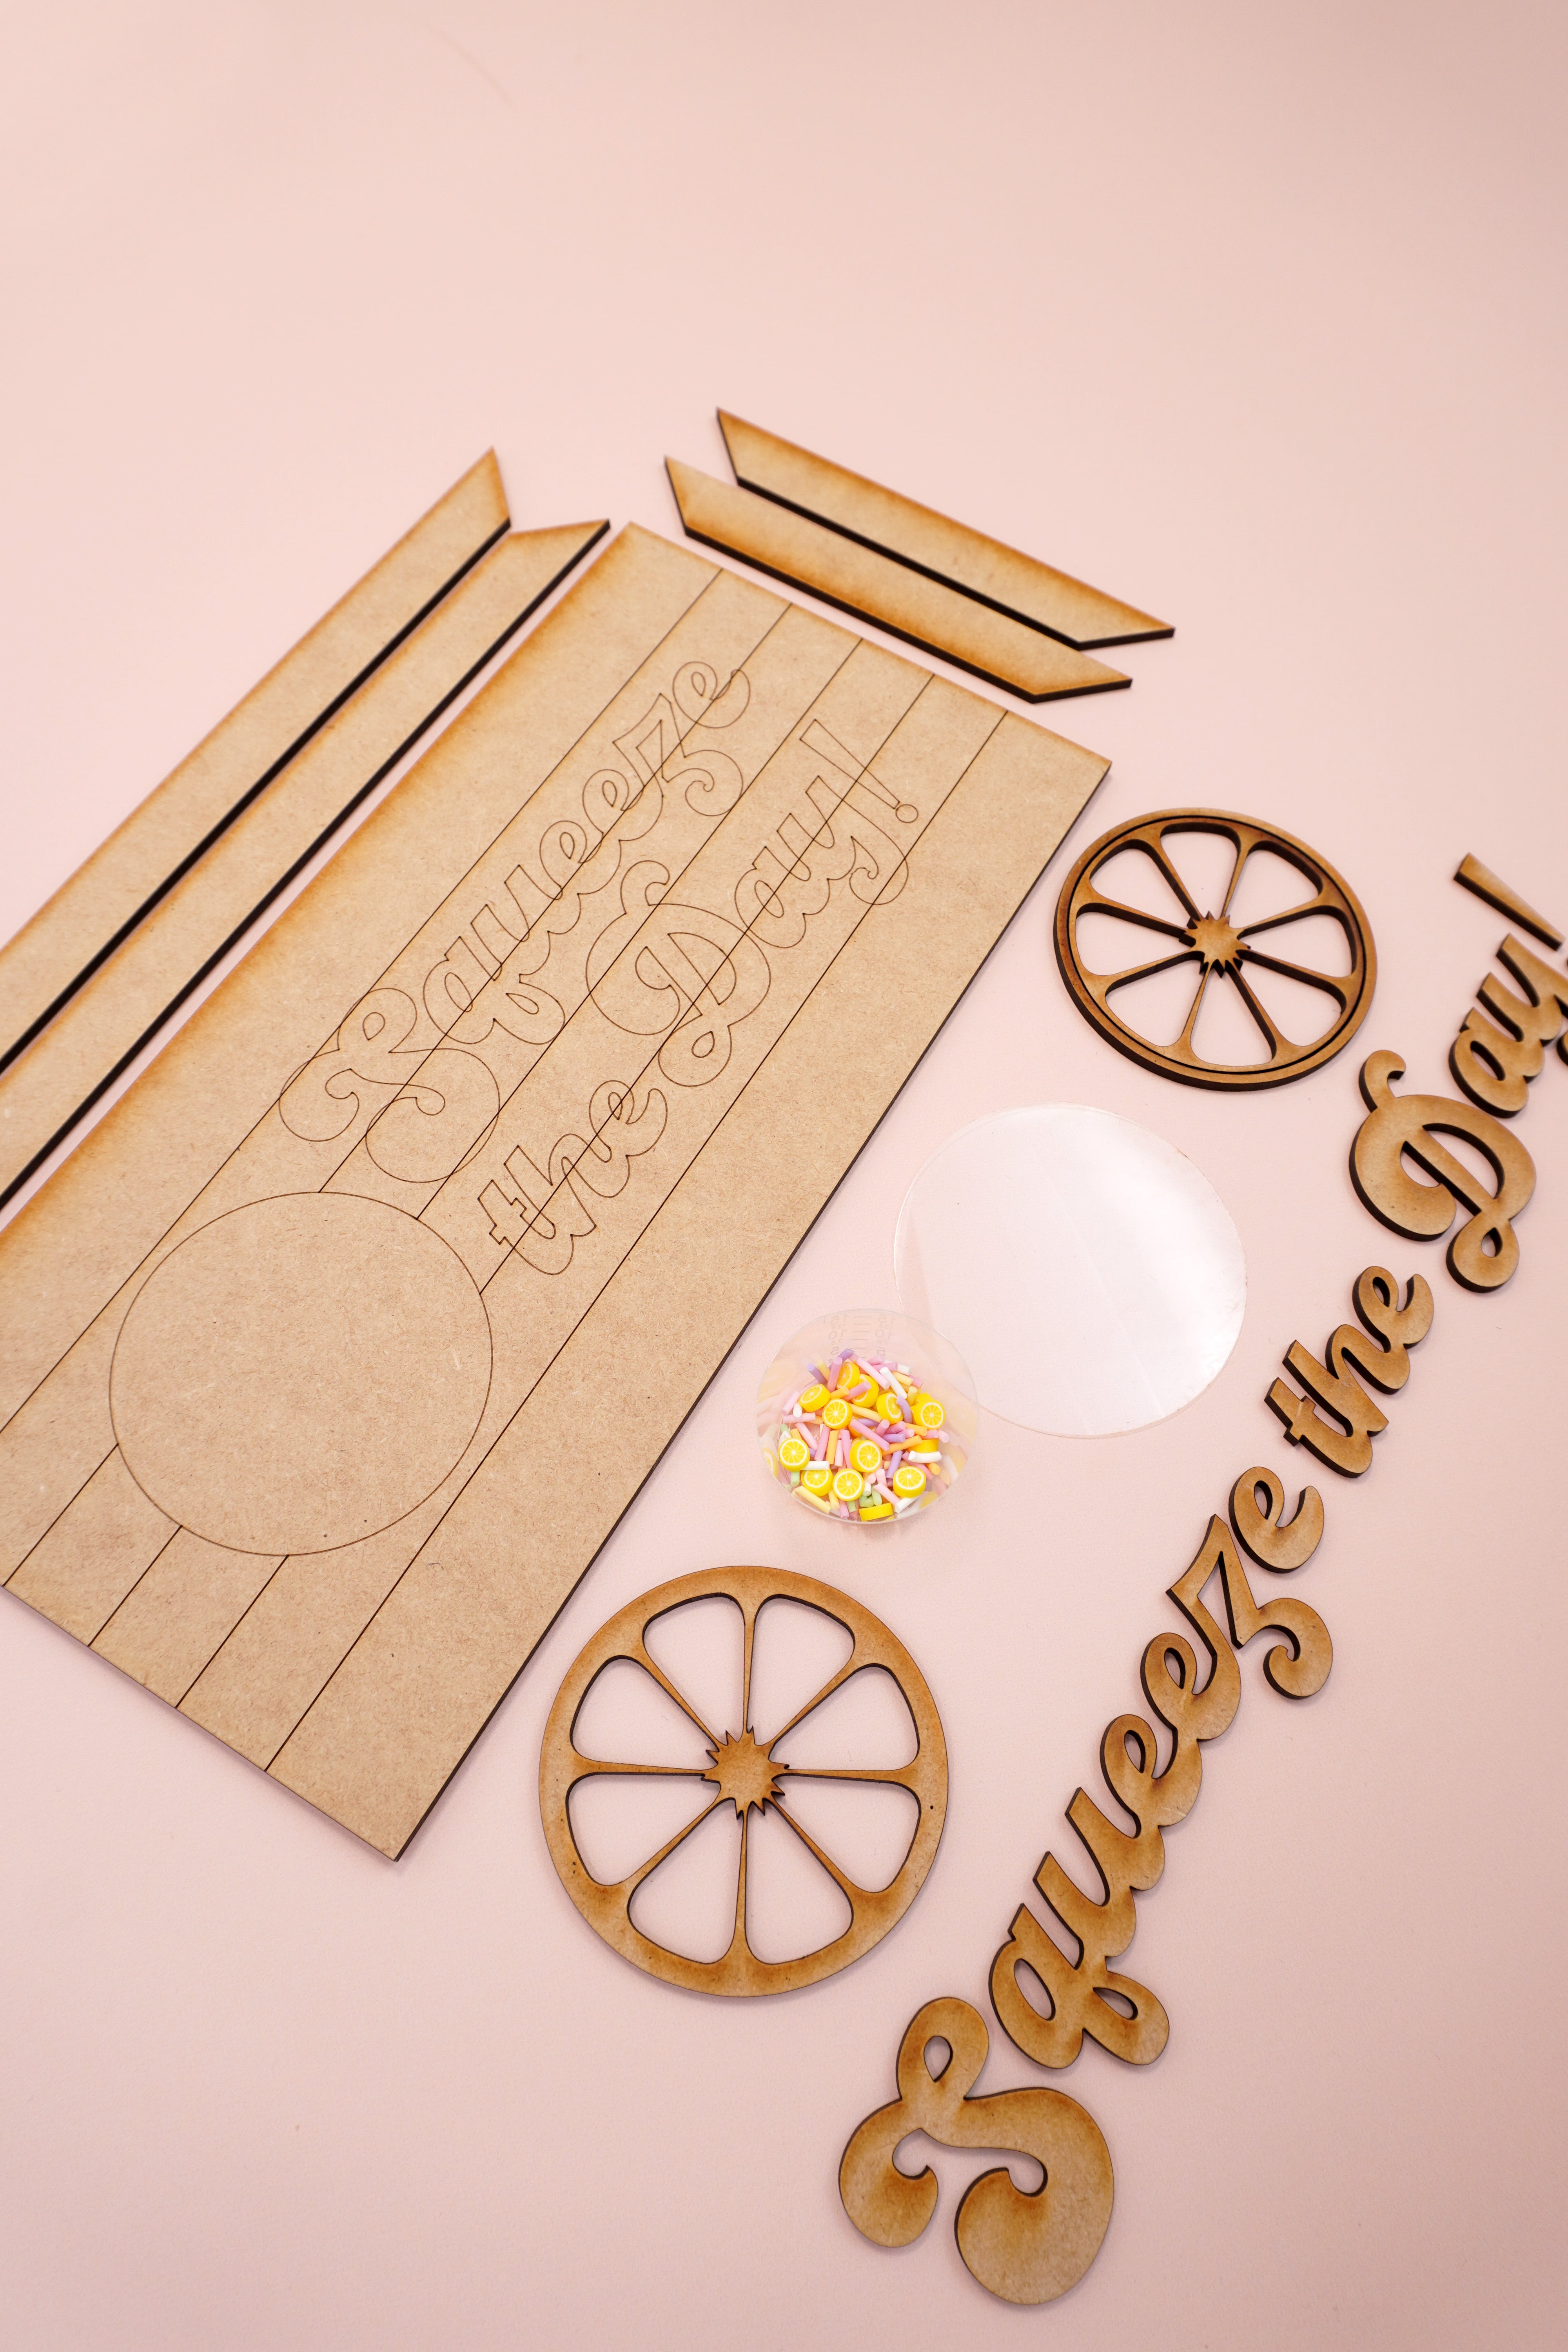
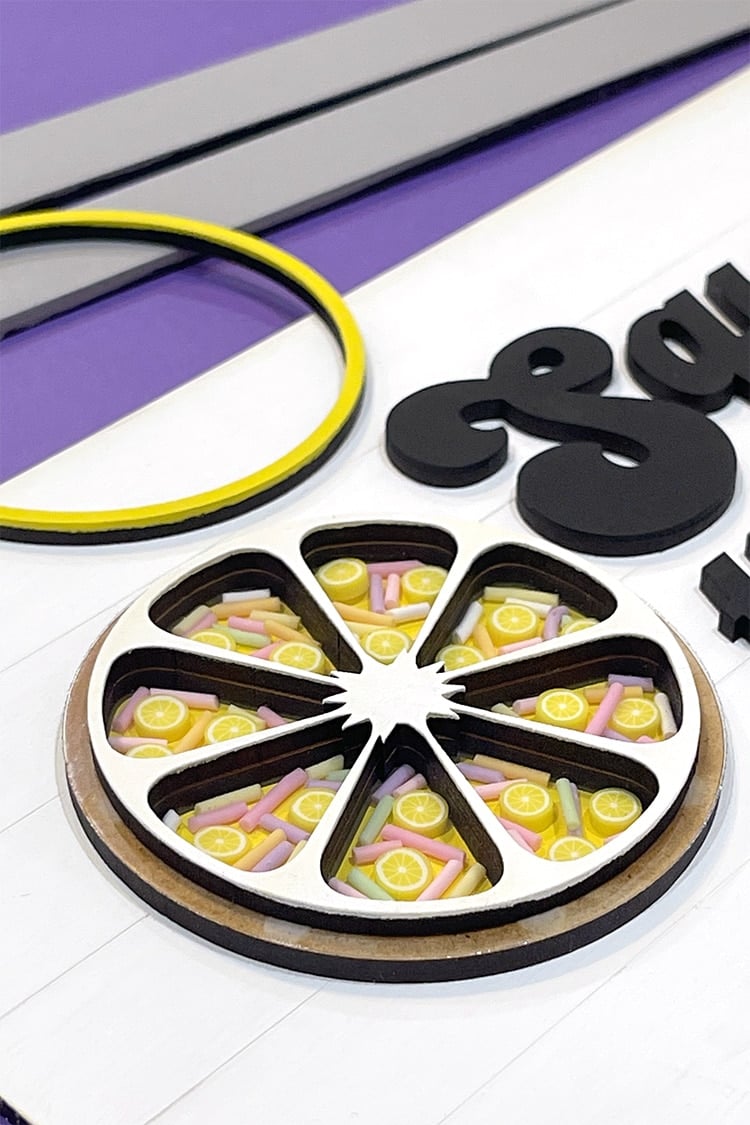
When everything has finished cutting, lay out all the pieces on your work surface.
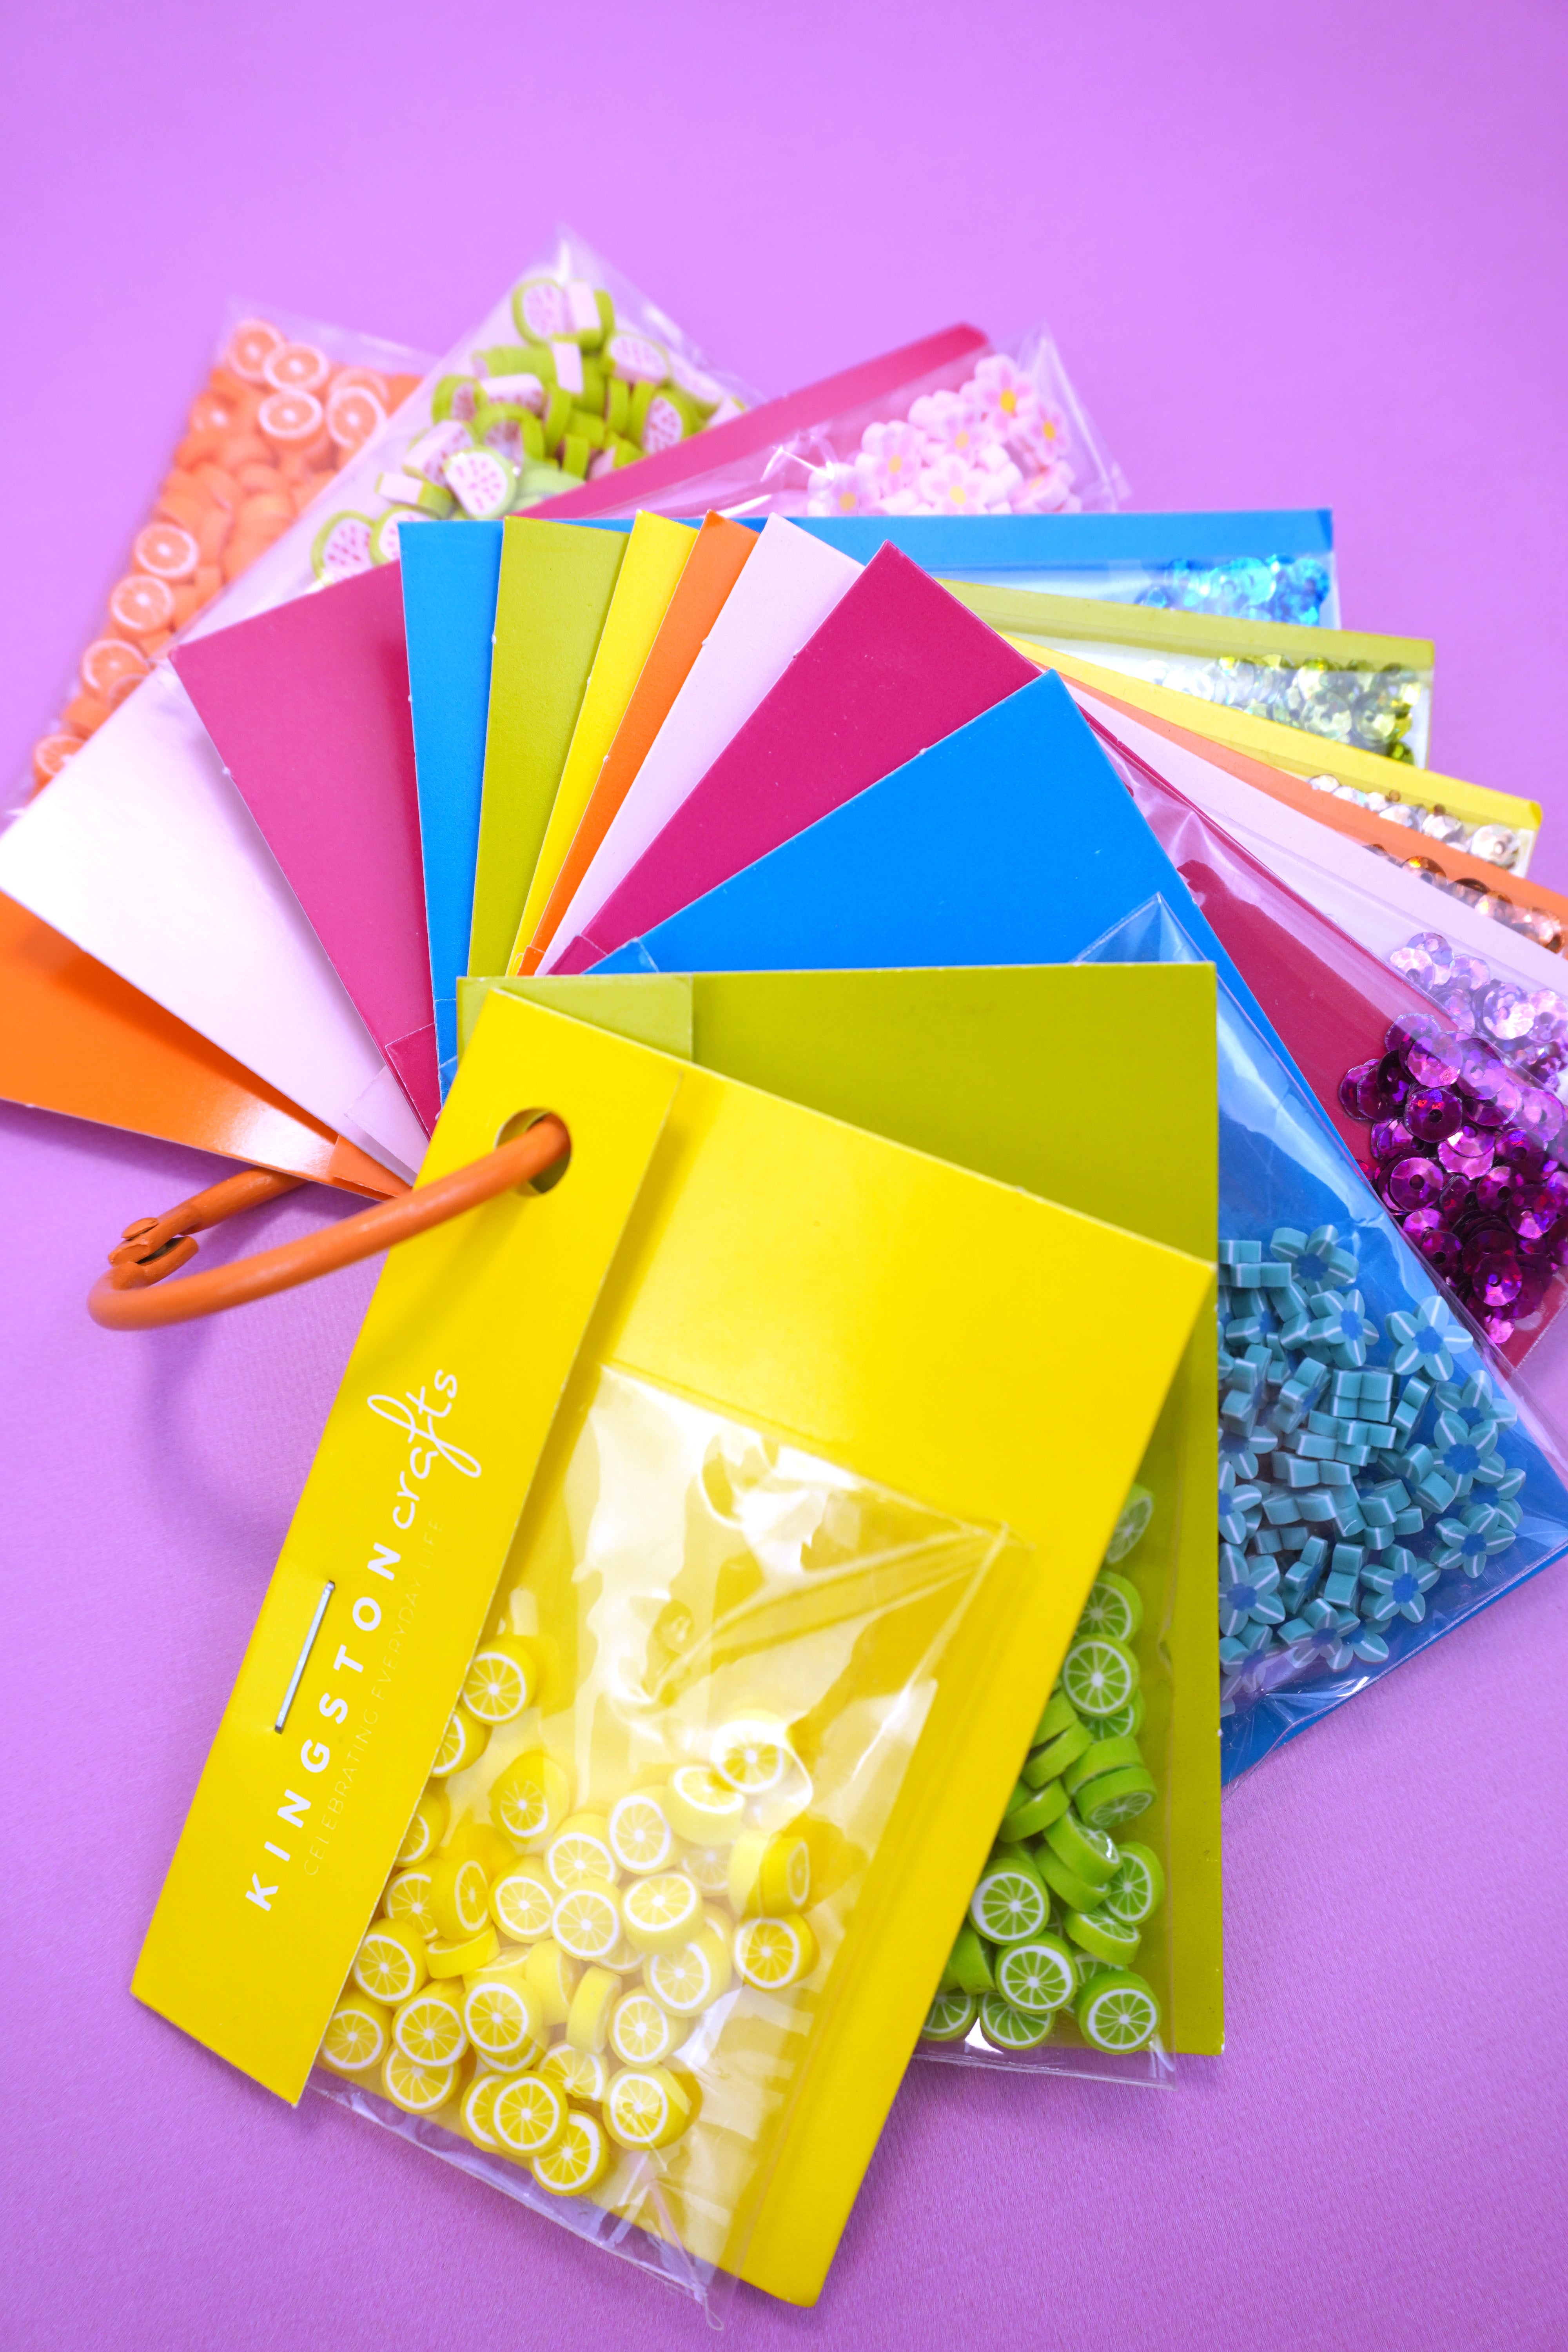
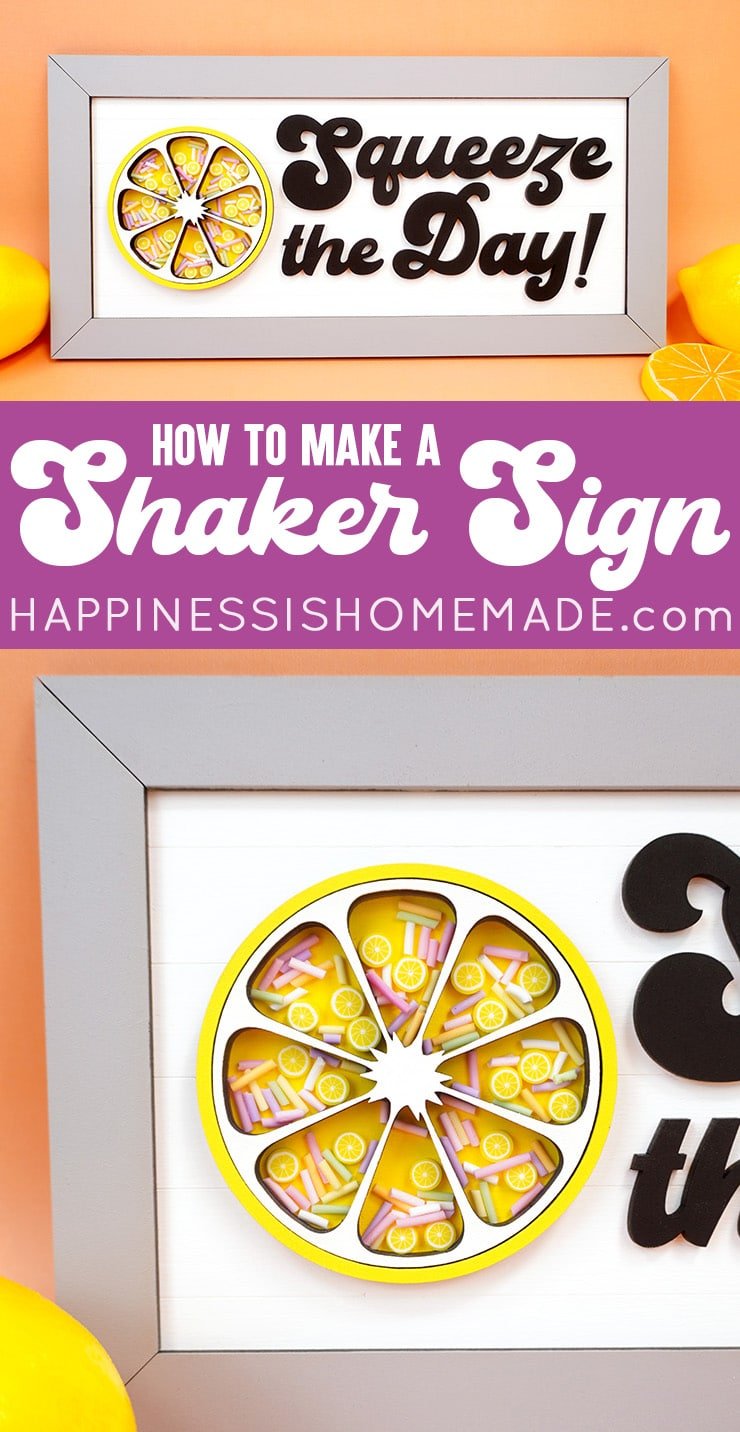
To fill the lemon shaker piece, I’m using these adorable lemon shaker embellishments from Kingston Crafts. They’re part of a larger (and totally awesome!) set of spring/summer shaker pieces that include lemons, limes, oranges, watermelons, two types of flowers, and a bunch of shiny sequins. They’re the cutest!
I also combined the lemon shaker embellishments with some adorable pastel faux sprinkles from Happy Kawaii Supplies.
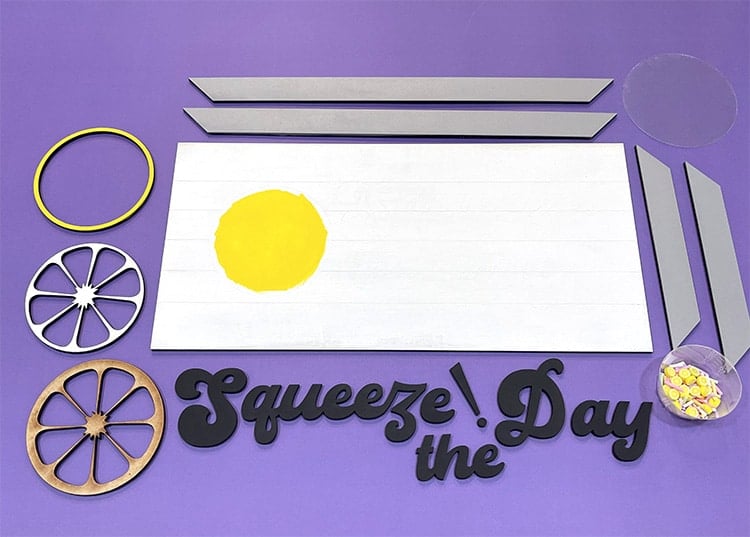
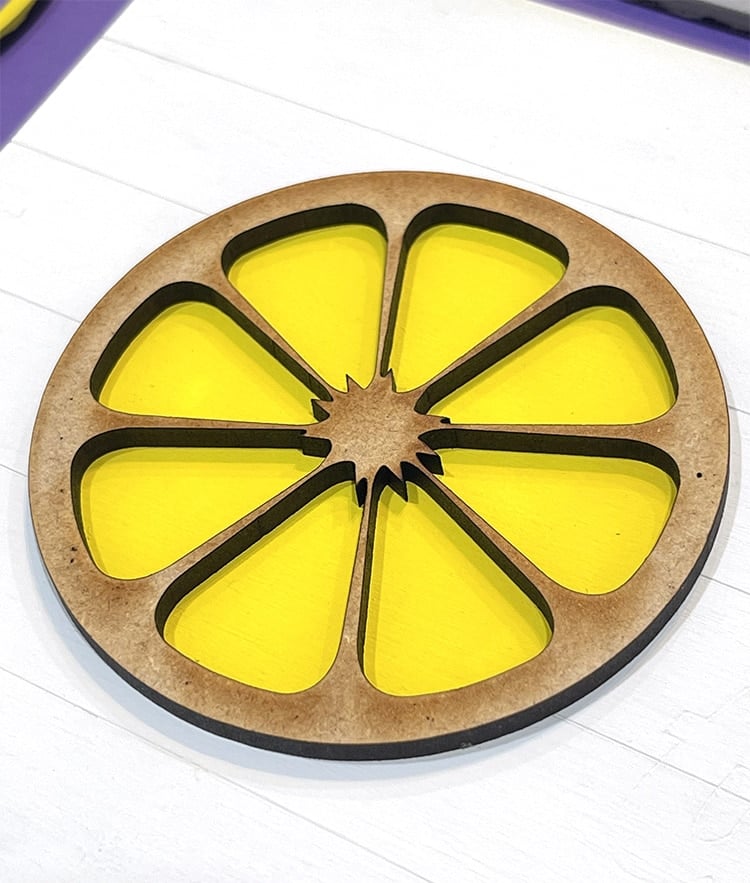
Paint the sign base white and paint the circle yellow just inside the guidelines. Paint the 2-part lemon wheel in white and yellow. I used black and grey for the frame and text, but feel free to use whichever colors you’d prefer! Allow the paint to dry.
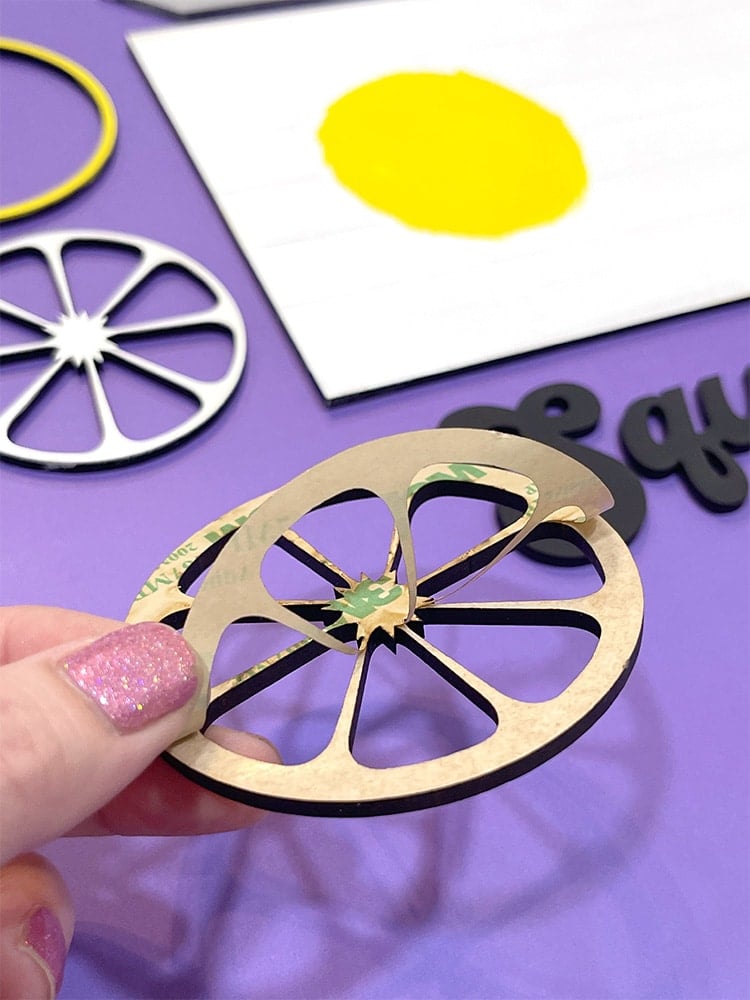
Peel the backing from the 3M Adhesive and stick the unpainted lemon wheel in place on the sign (over the yellow painted circle). If you didn’t use double-sided adhesive, use small dots of glue to attach your pieces.
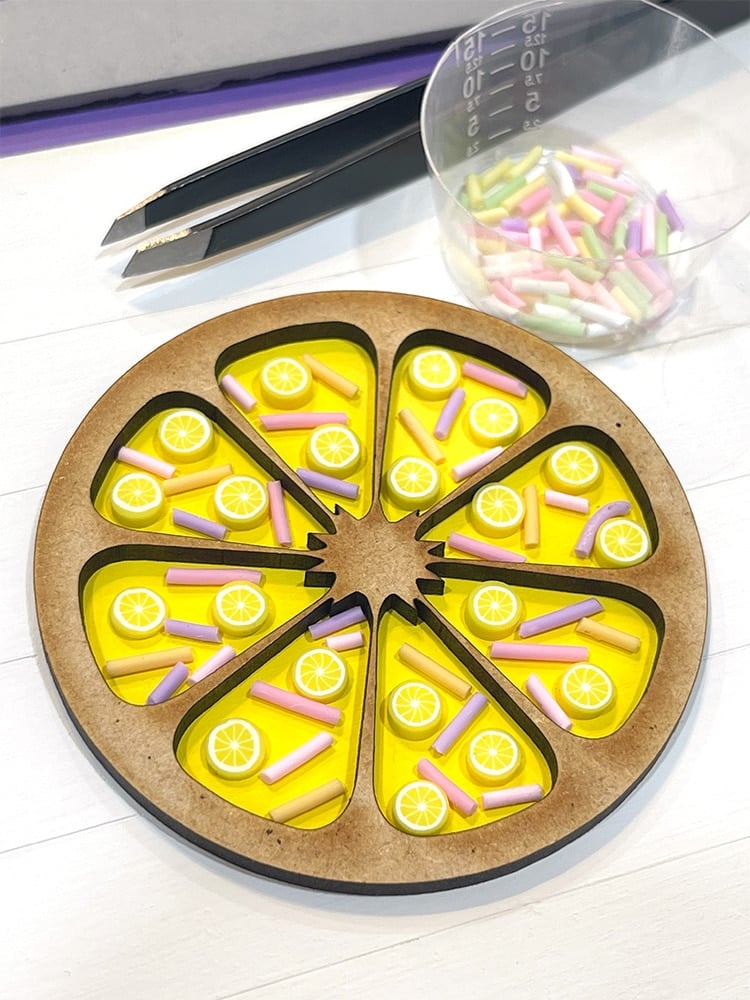
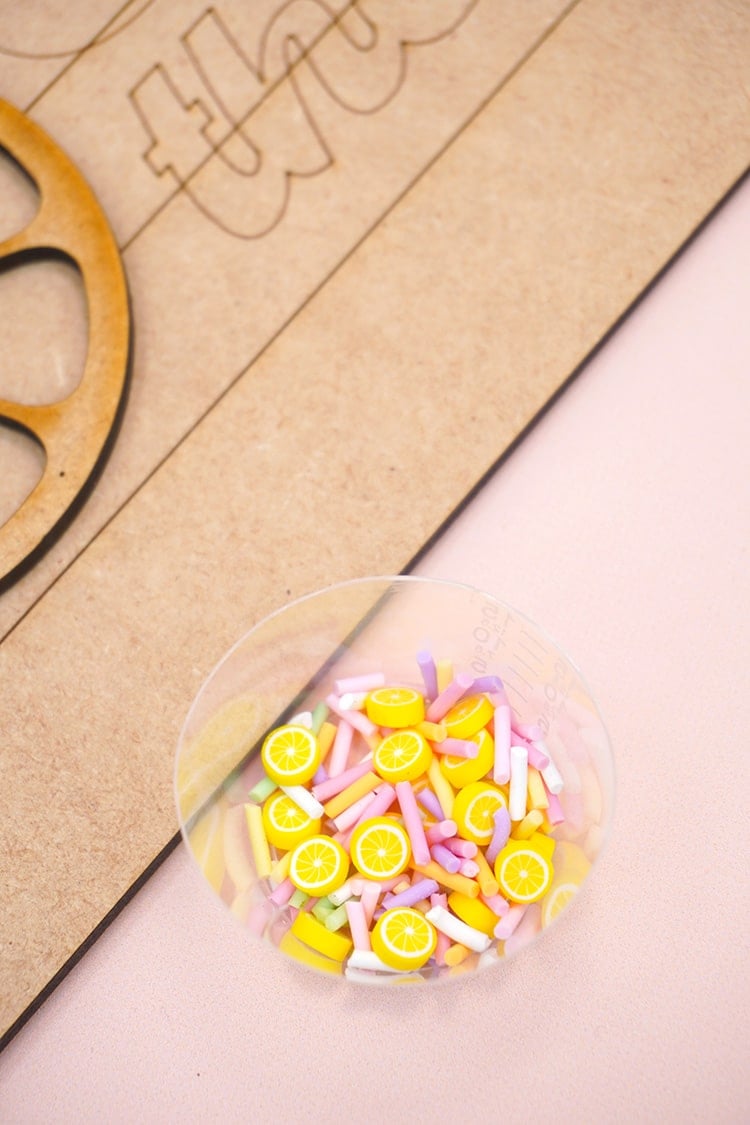
Fill each space in the lemon wheel with lemon and sprinkle embellishments. I use tweezers and start with the lemons and largest sprinkles and then get progressively smaller until there is a generous single-layer of sprinkles in each area.
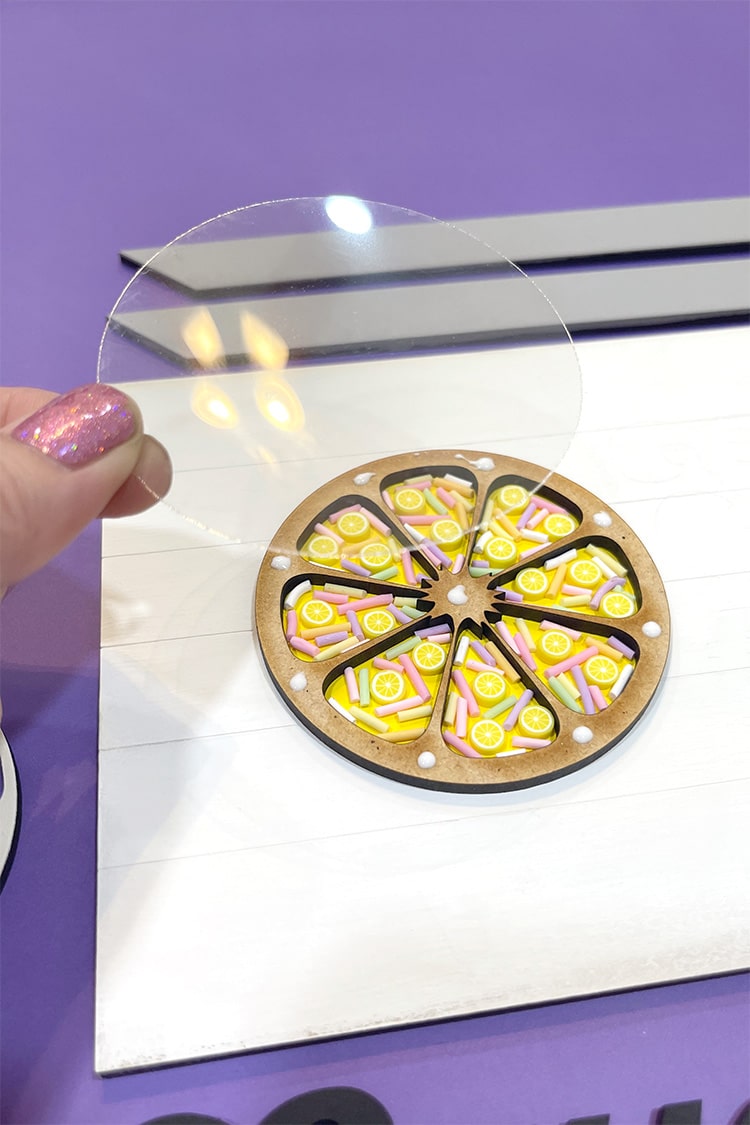
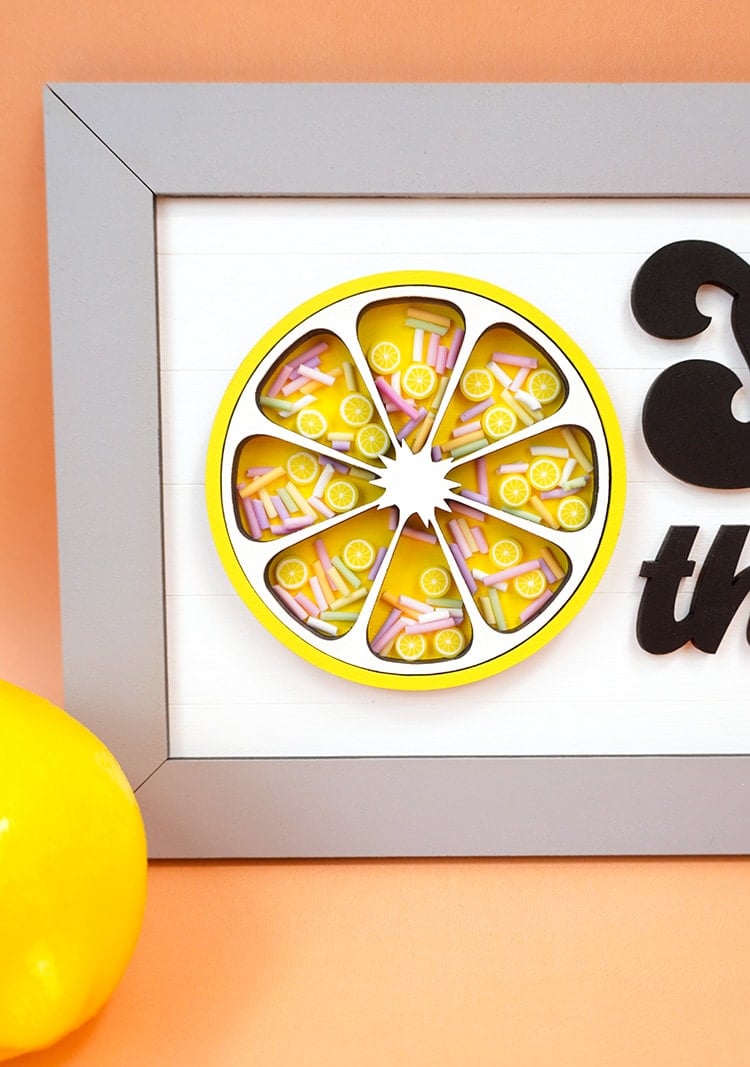
Add a few small dots of tacky glue around the rim and center of the lemon wheel, and place the acetate circle on top.

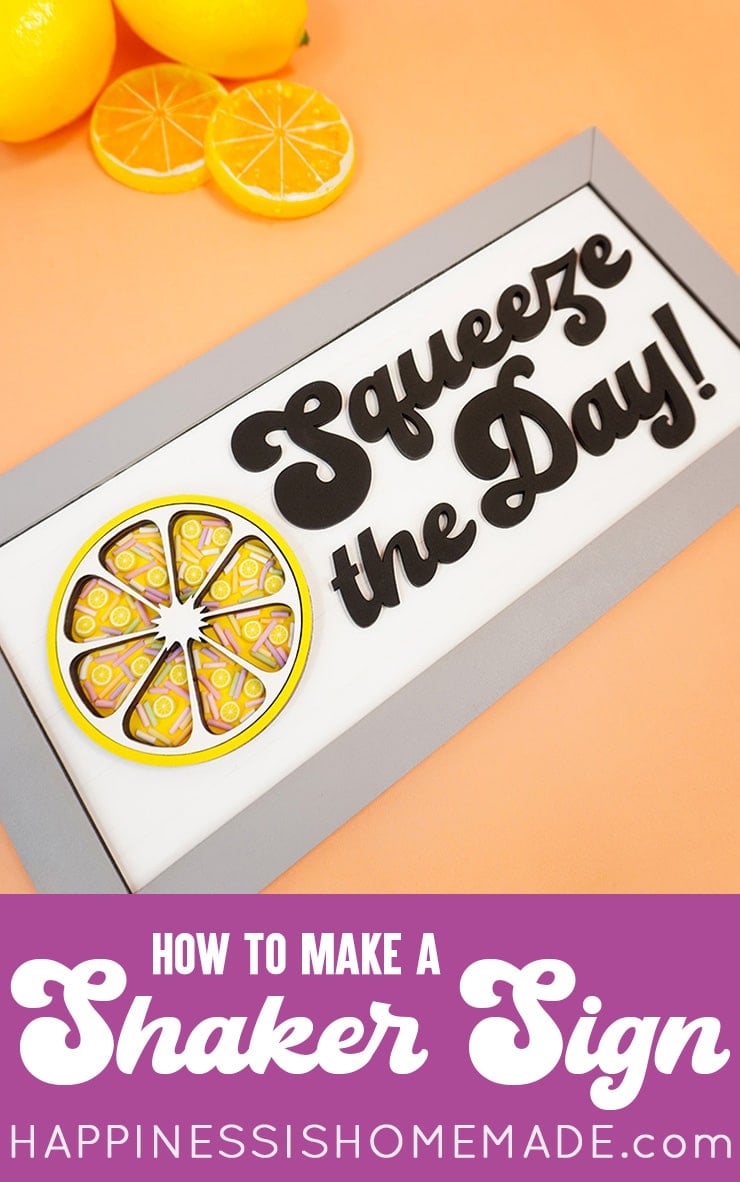
After the glue has set, place the white inner wheel on top, followed by the yellow outer ring. Use the guidelines on the sign base to position and adhere the text.
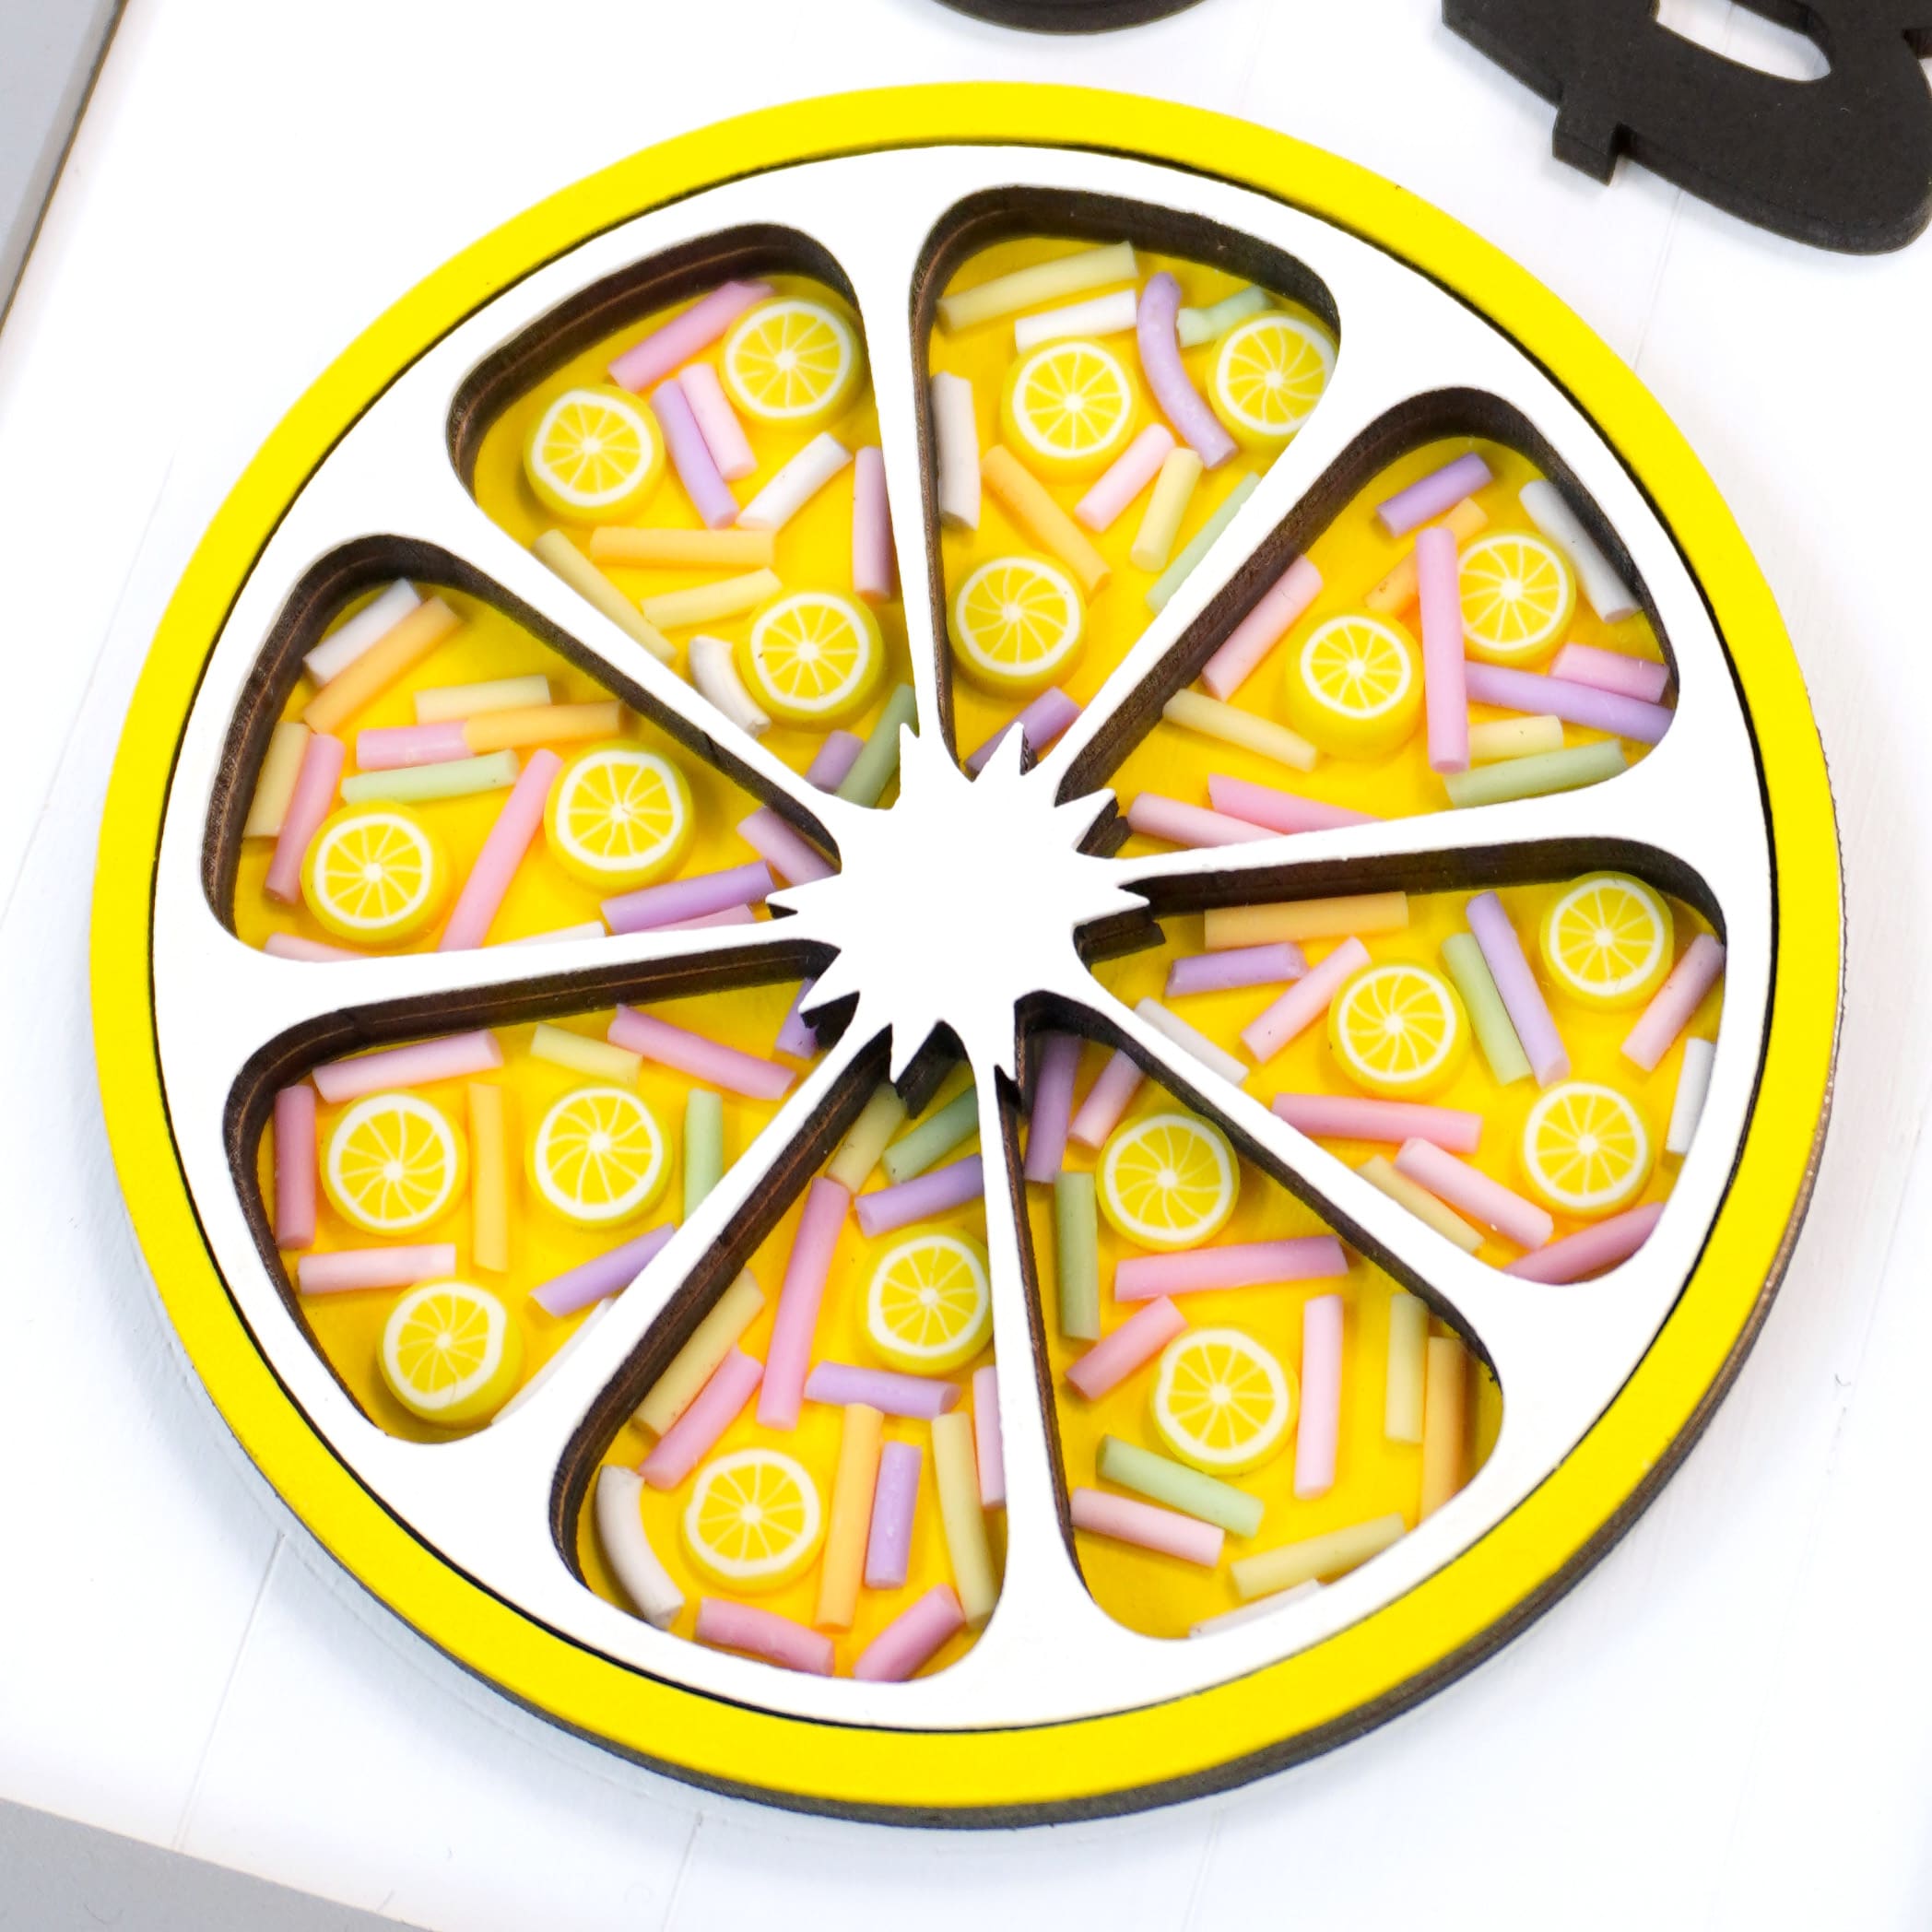
Seriously, how cute are those little lemons?! 😍😍😍 I love, love, LOVE this!
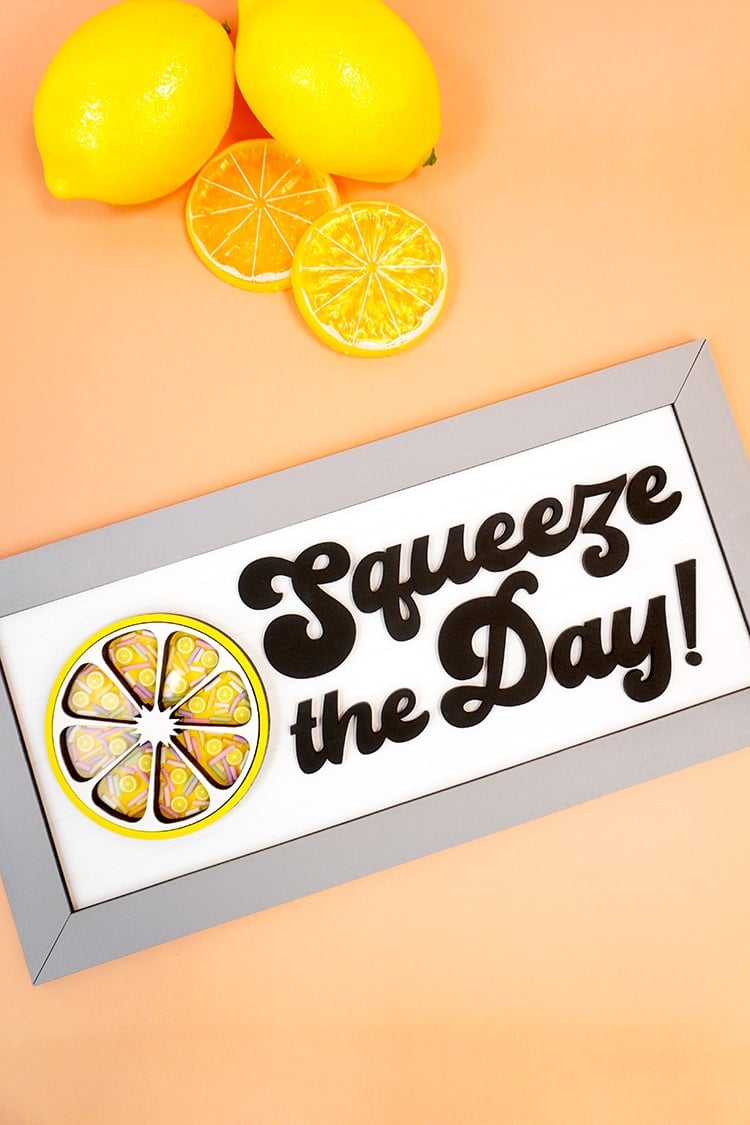
This adorable sign really WAS easy peasy lemon squeezy!
This was my very first time making a shaker sign, but it certainly won’t be my last! It’s SO much fun!
What do you think about the idea of shaker signs?
Get the “Squeeze the Day” Shaker Sign SVG File Here:

Check Out These Other Glowforge Posts!
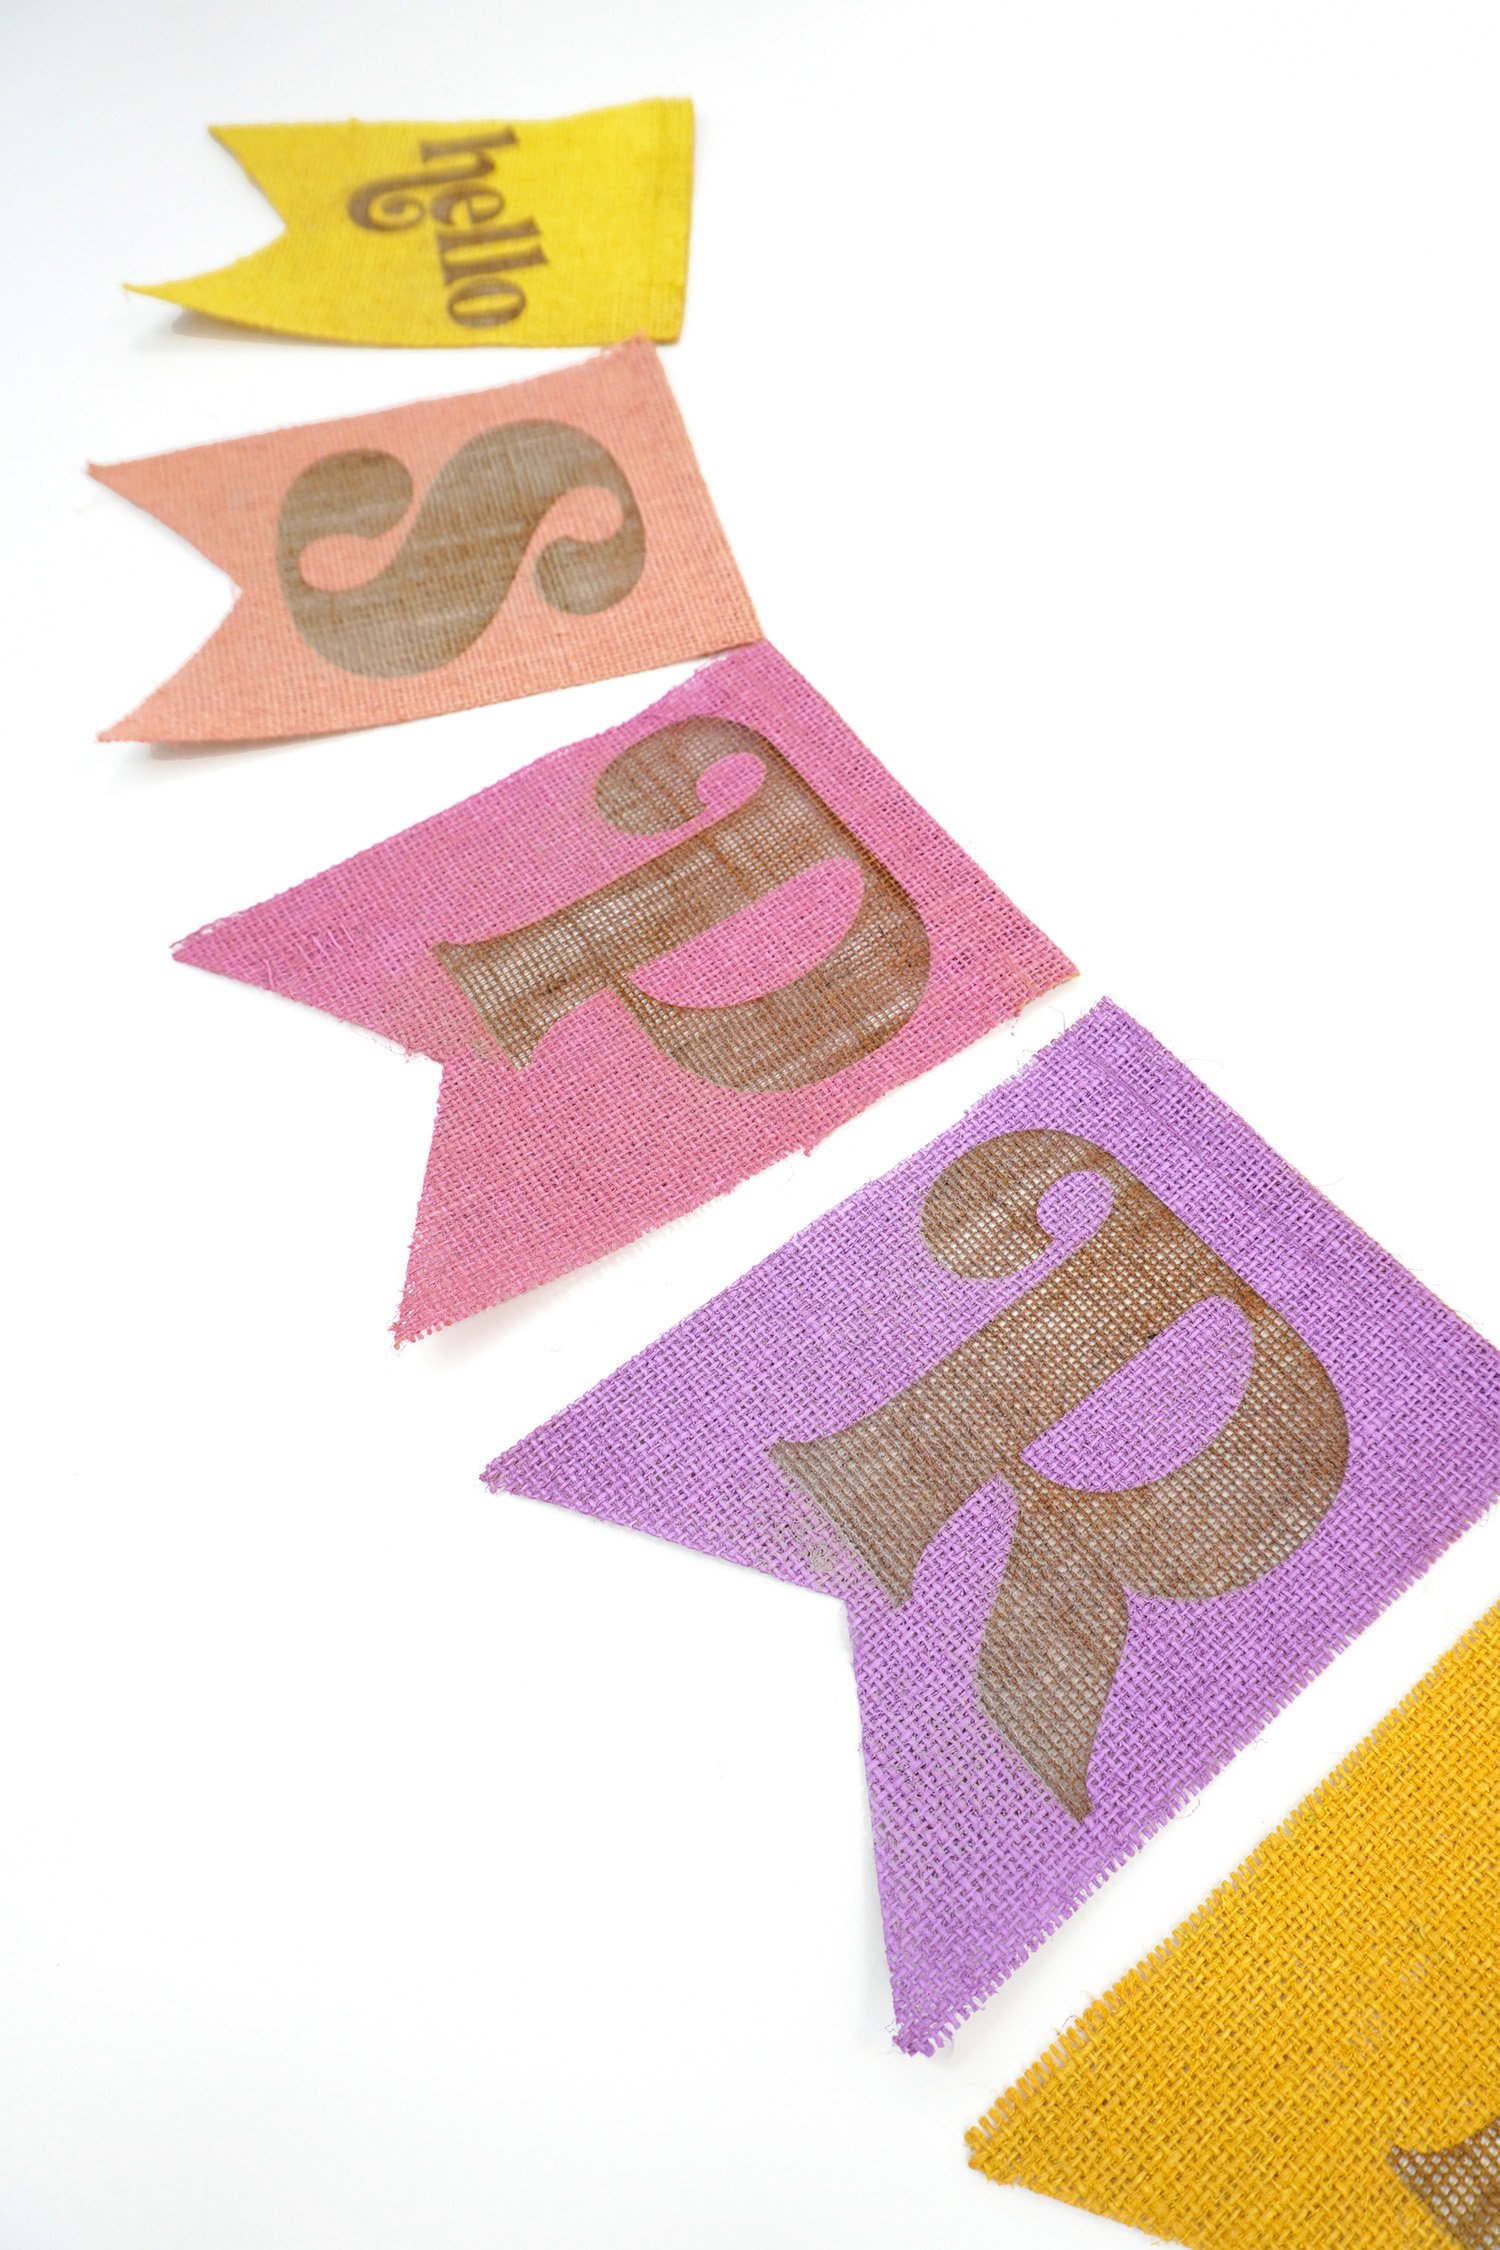
 How to Laser-Engrave a Burlap Banner
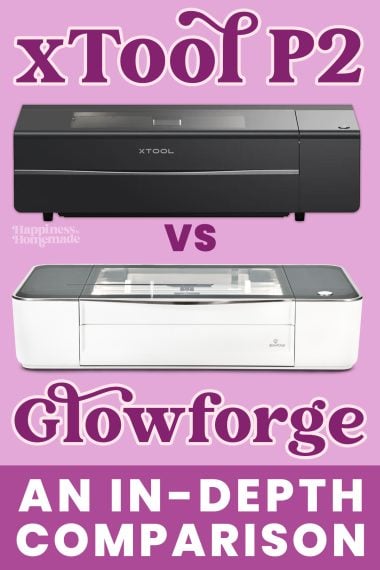
 xTool P2 vs Glowforge: CO2 Laser Comparison
- Custom Tape Measure Gift Idea
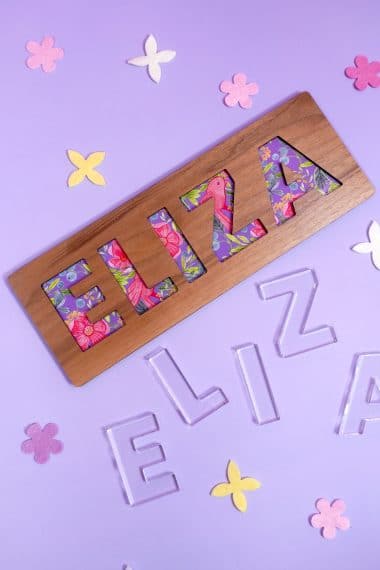
- DIY Name Puzzles with Glowforge & xTool
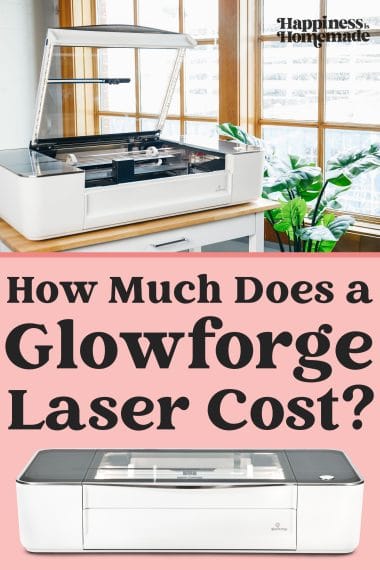
- How Much Does a Glowforge Cost?
- Glowforge Guide: Everything You Need to Know!
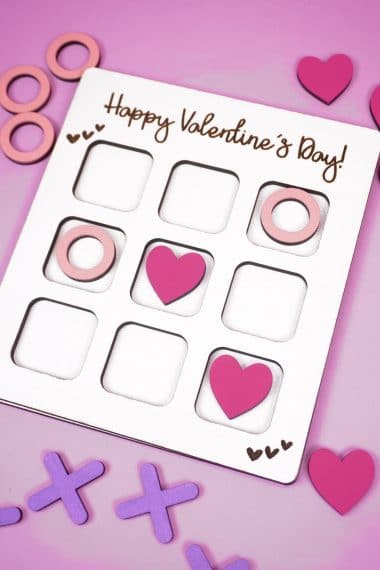
- Valentine Tic-Tac-Toe SVG File
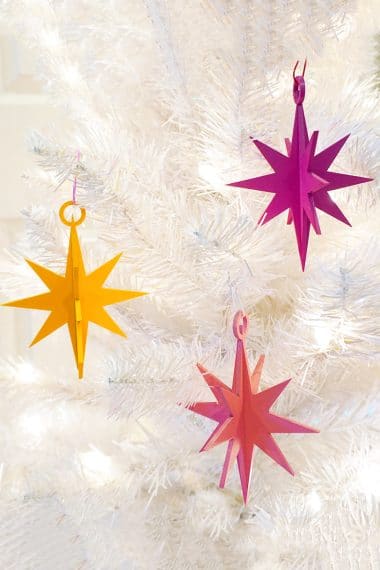
- 3D Stars + Christmas Ornament SVG Files

Don’t Forget to Pin This Post for Later!

Heidi Kundin has captivated the hearts of millions with her colorful and inspiring approach to crafting, celebrations, and family fun. With over 15 years of experience, Happiness is Homemade has become a must-visit destination for those seeking quick and easy creative ideas and last-minute solutions. Heidi’s warm personality shines through her posts, inviting readers to join her on a creative journey that’s fun, rewarding, and achievable. Heidi is also the author of Homemade Bath Bombs & More and DIY Tie-Dye.
I love these SVG!! Thank you lots!!!!!
Very cool!