
Make this adorable and easy Halloween hoop art decoration with your Cricut machine! Get the project file and full tutorial here!
This post may contain affiliate links. I will receive a small commission from these sales at no additional cost to you!
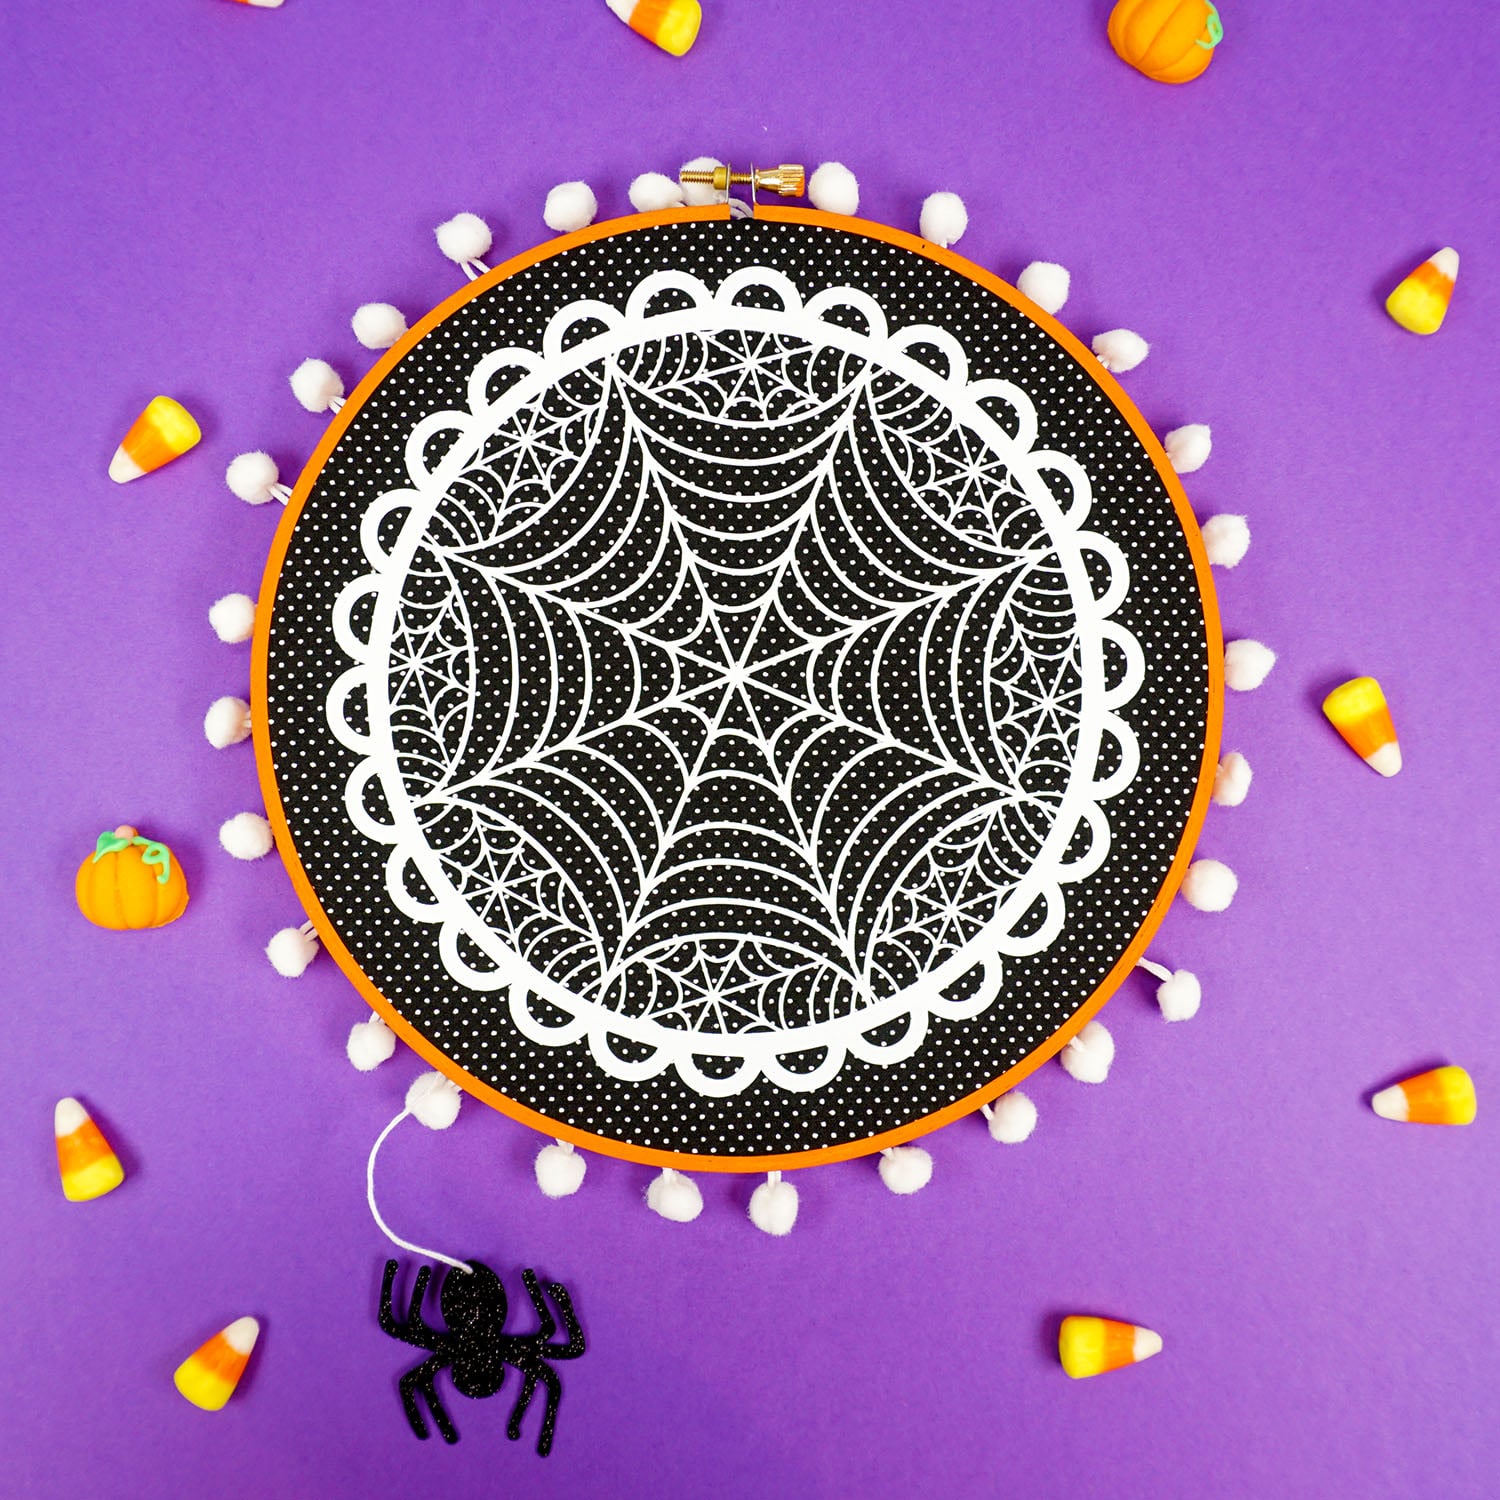
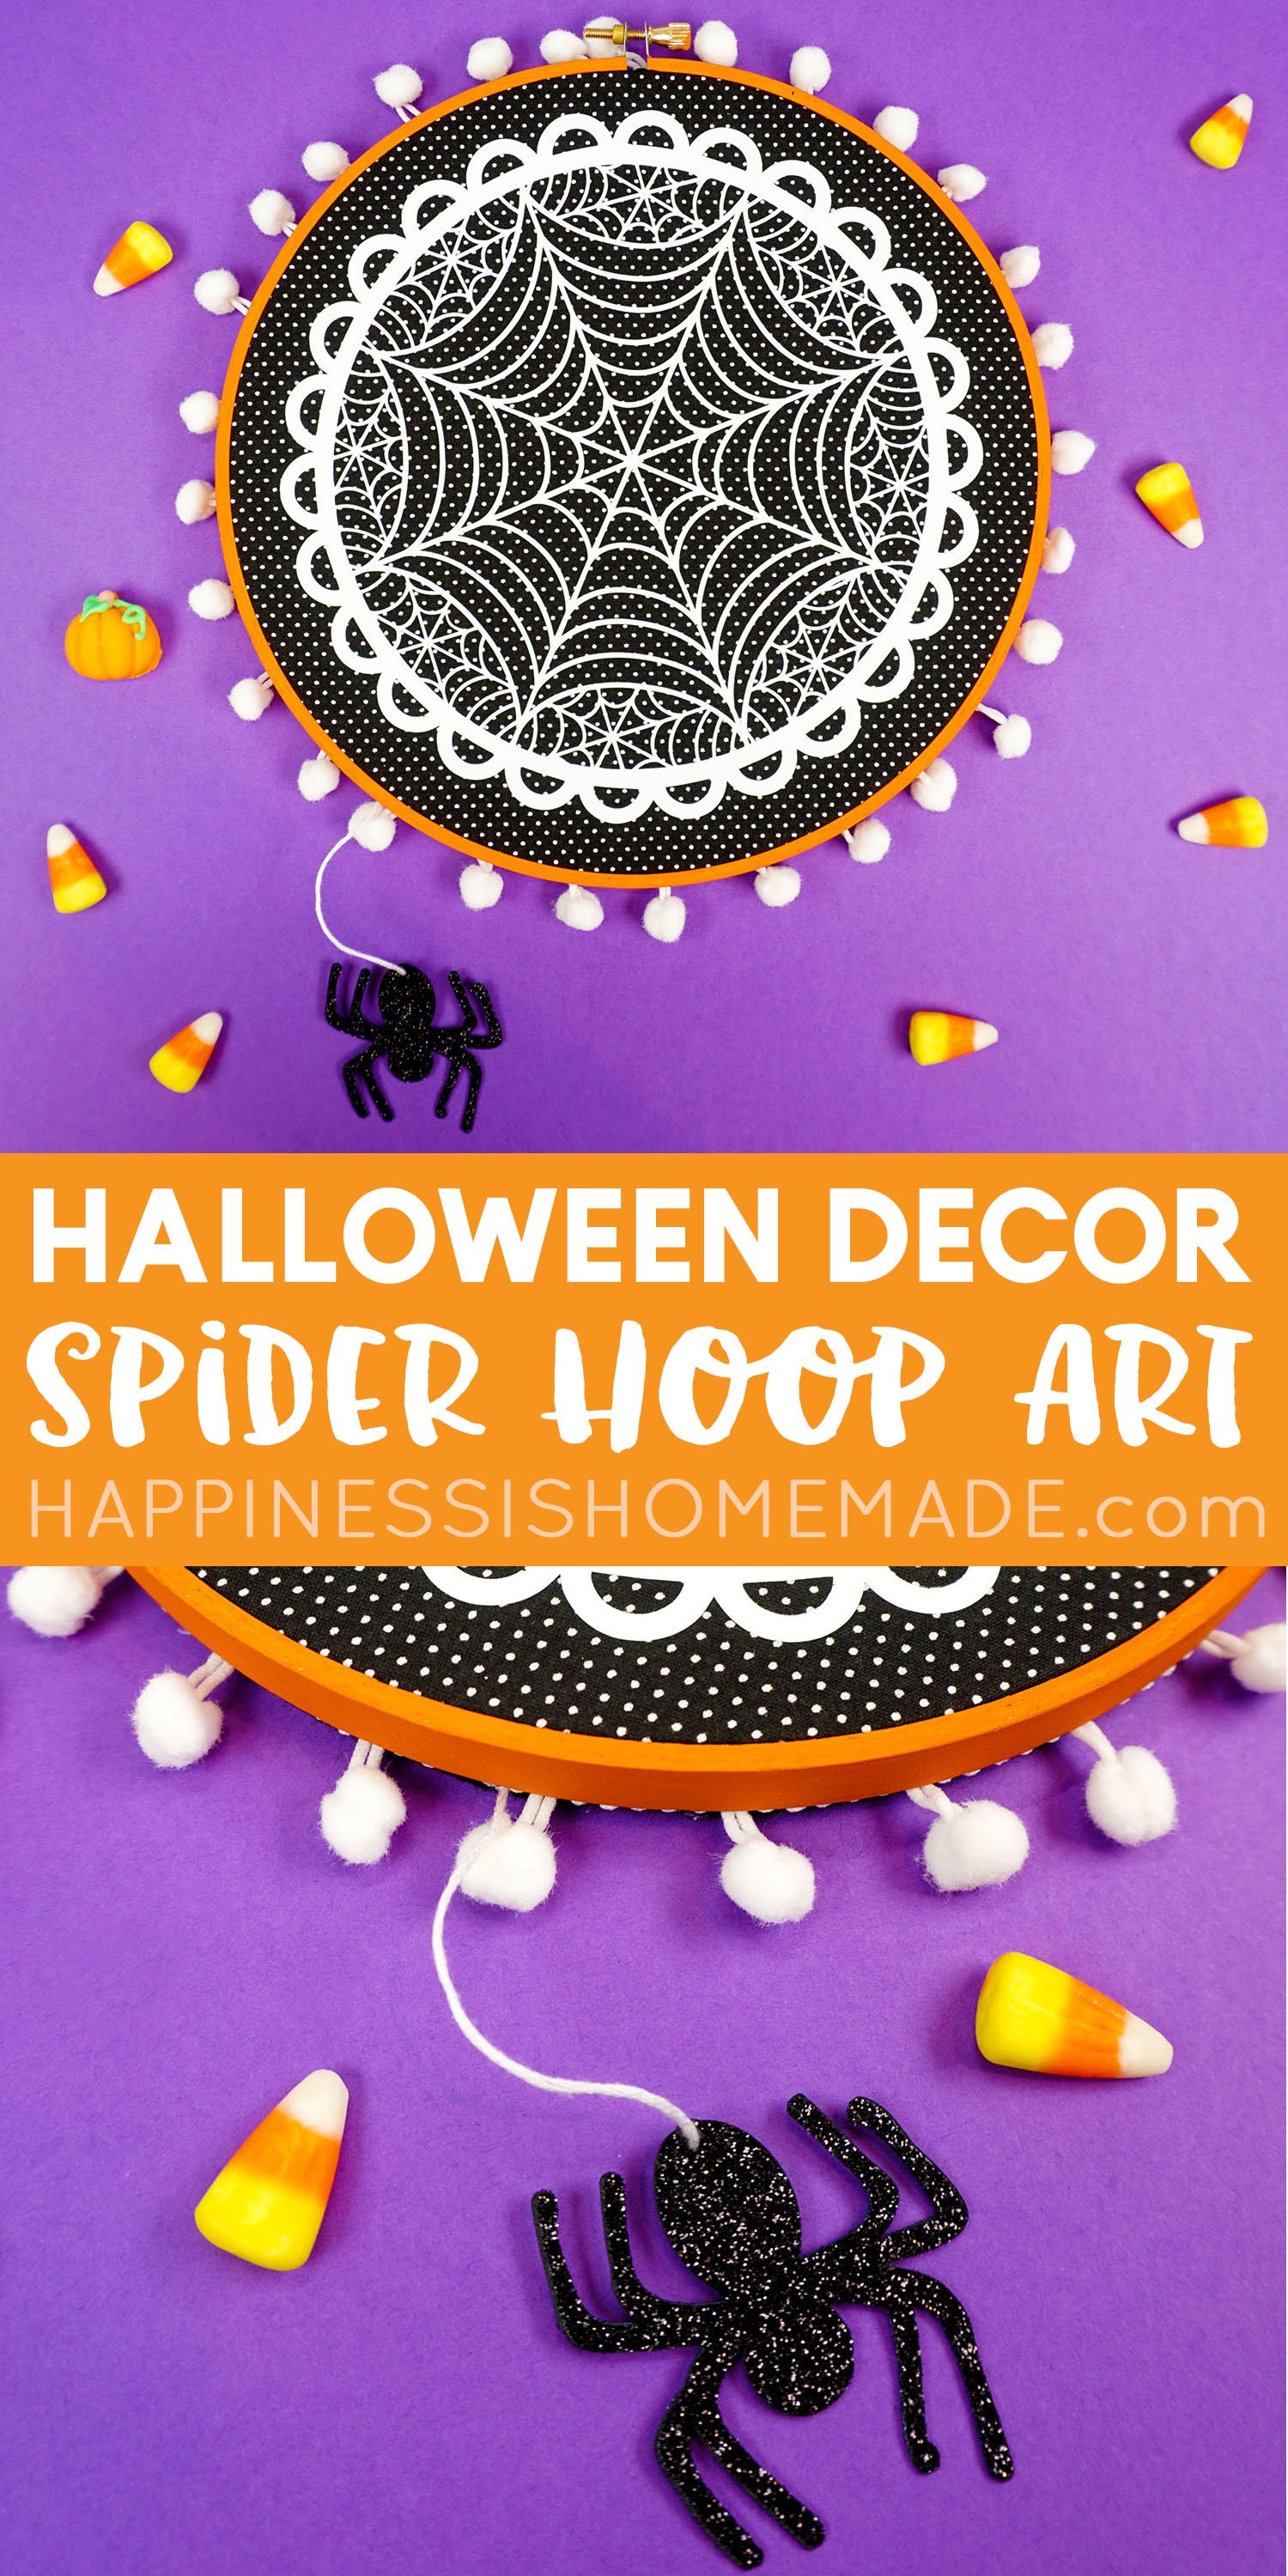
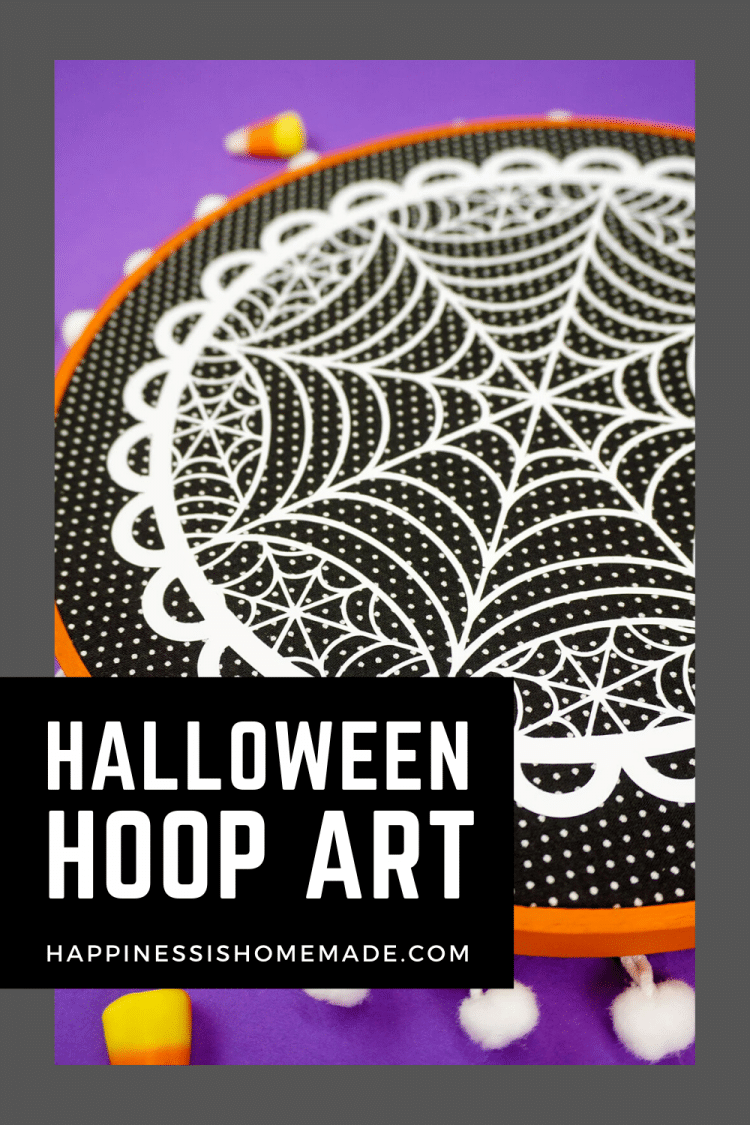
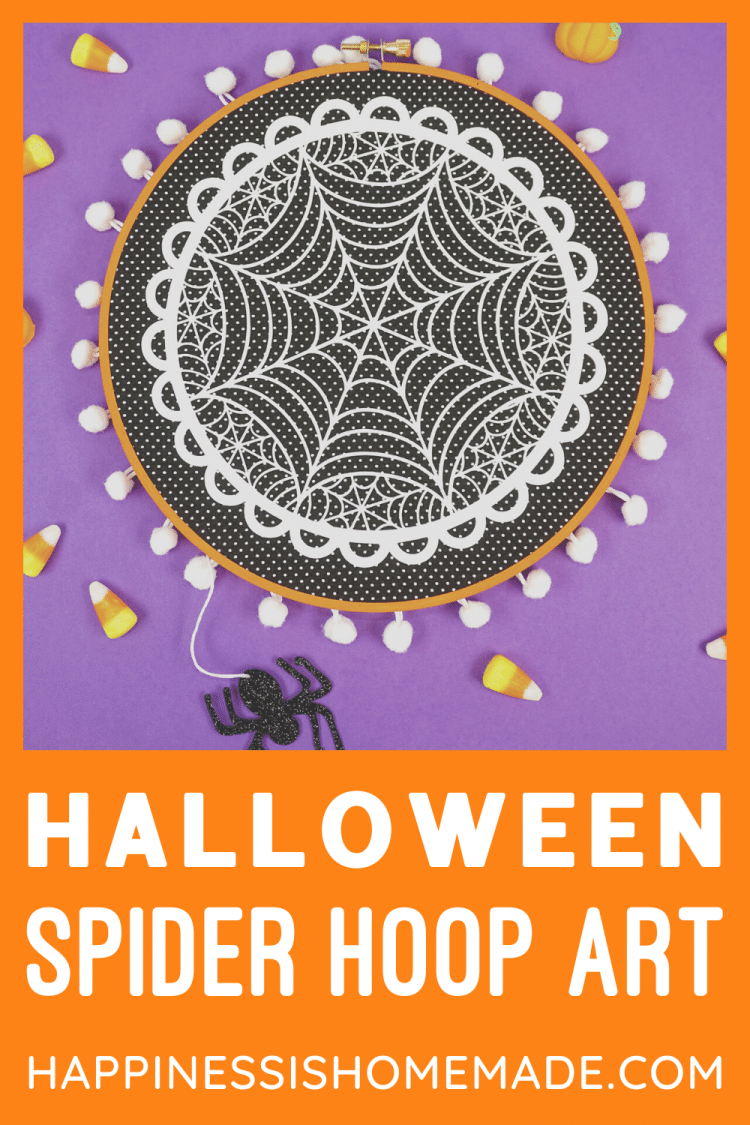
Halloween Decor: Spiderweb Hoop Art
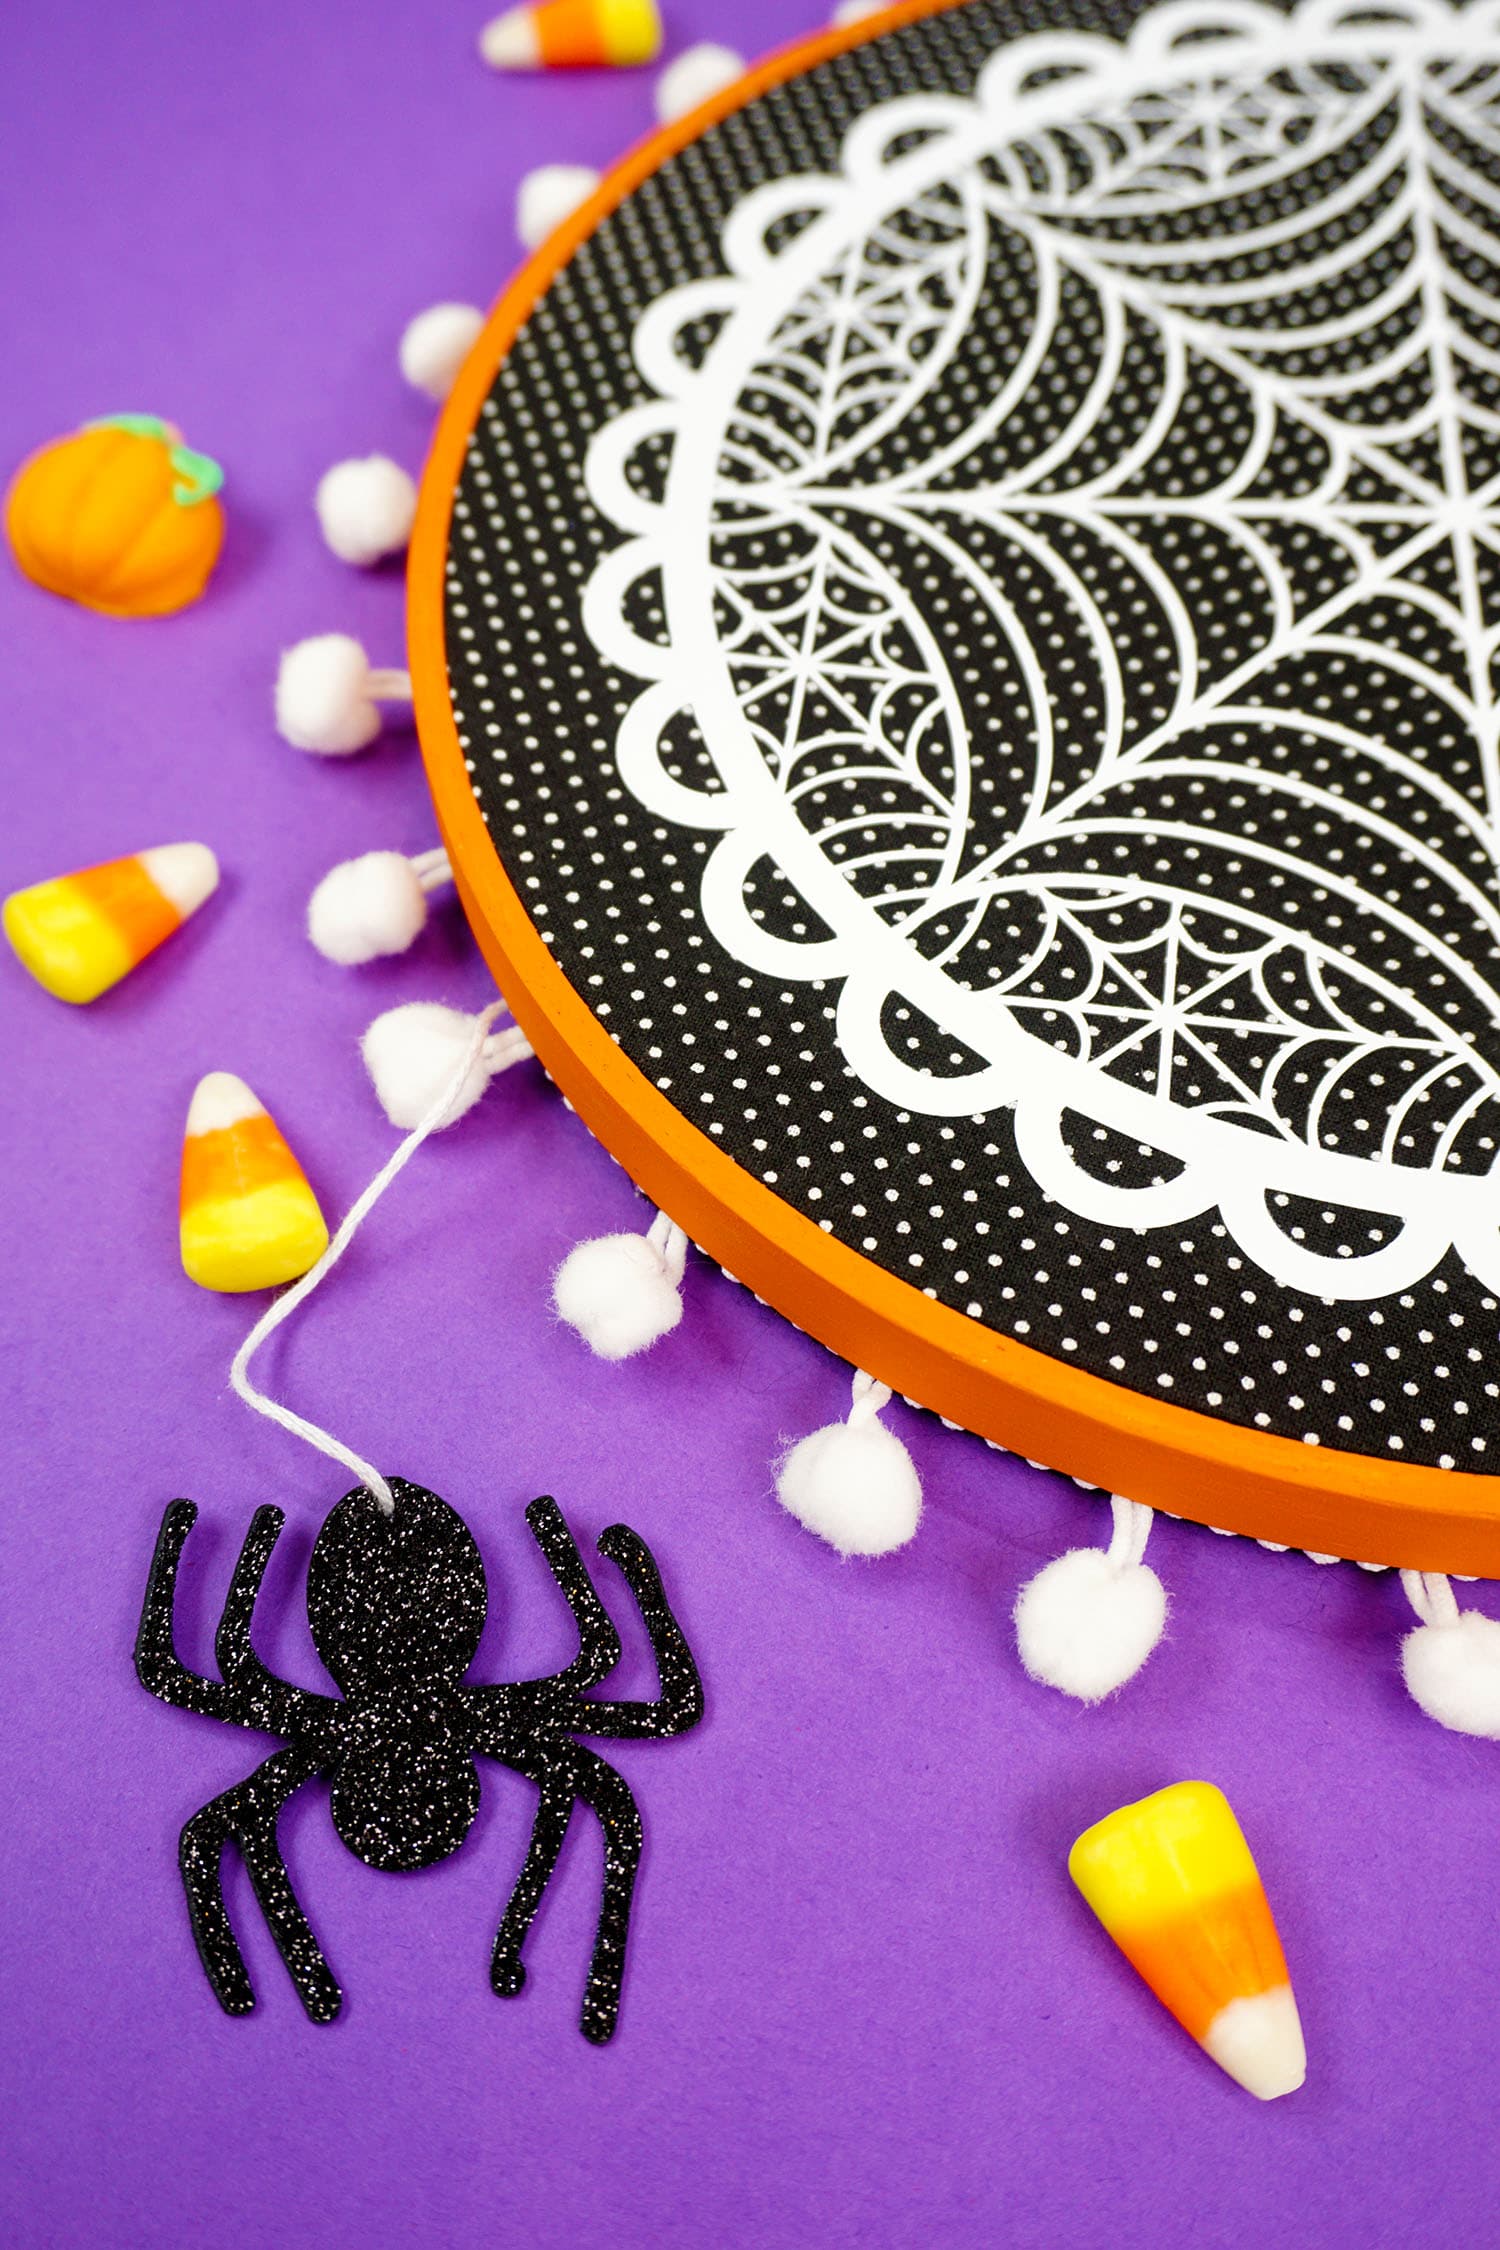
Halloween will be here before you know it, so get a jump start on your holiday decorating with this adorable (and easy!) spiderweb hoop art – including a sparkly dangling spider!
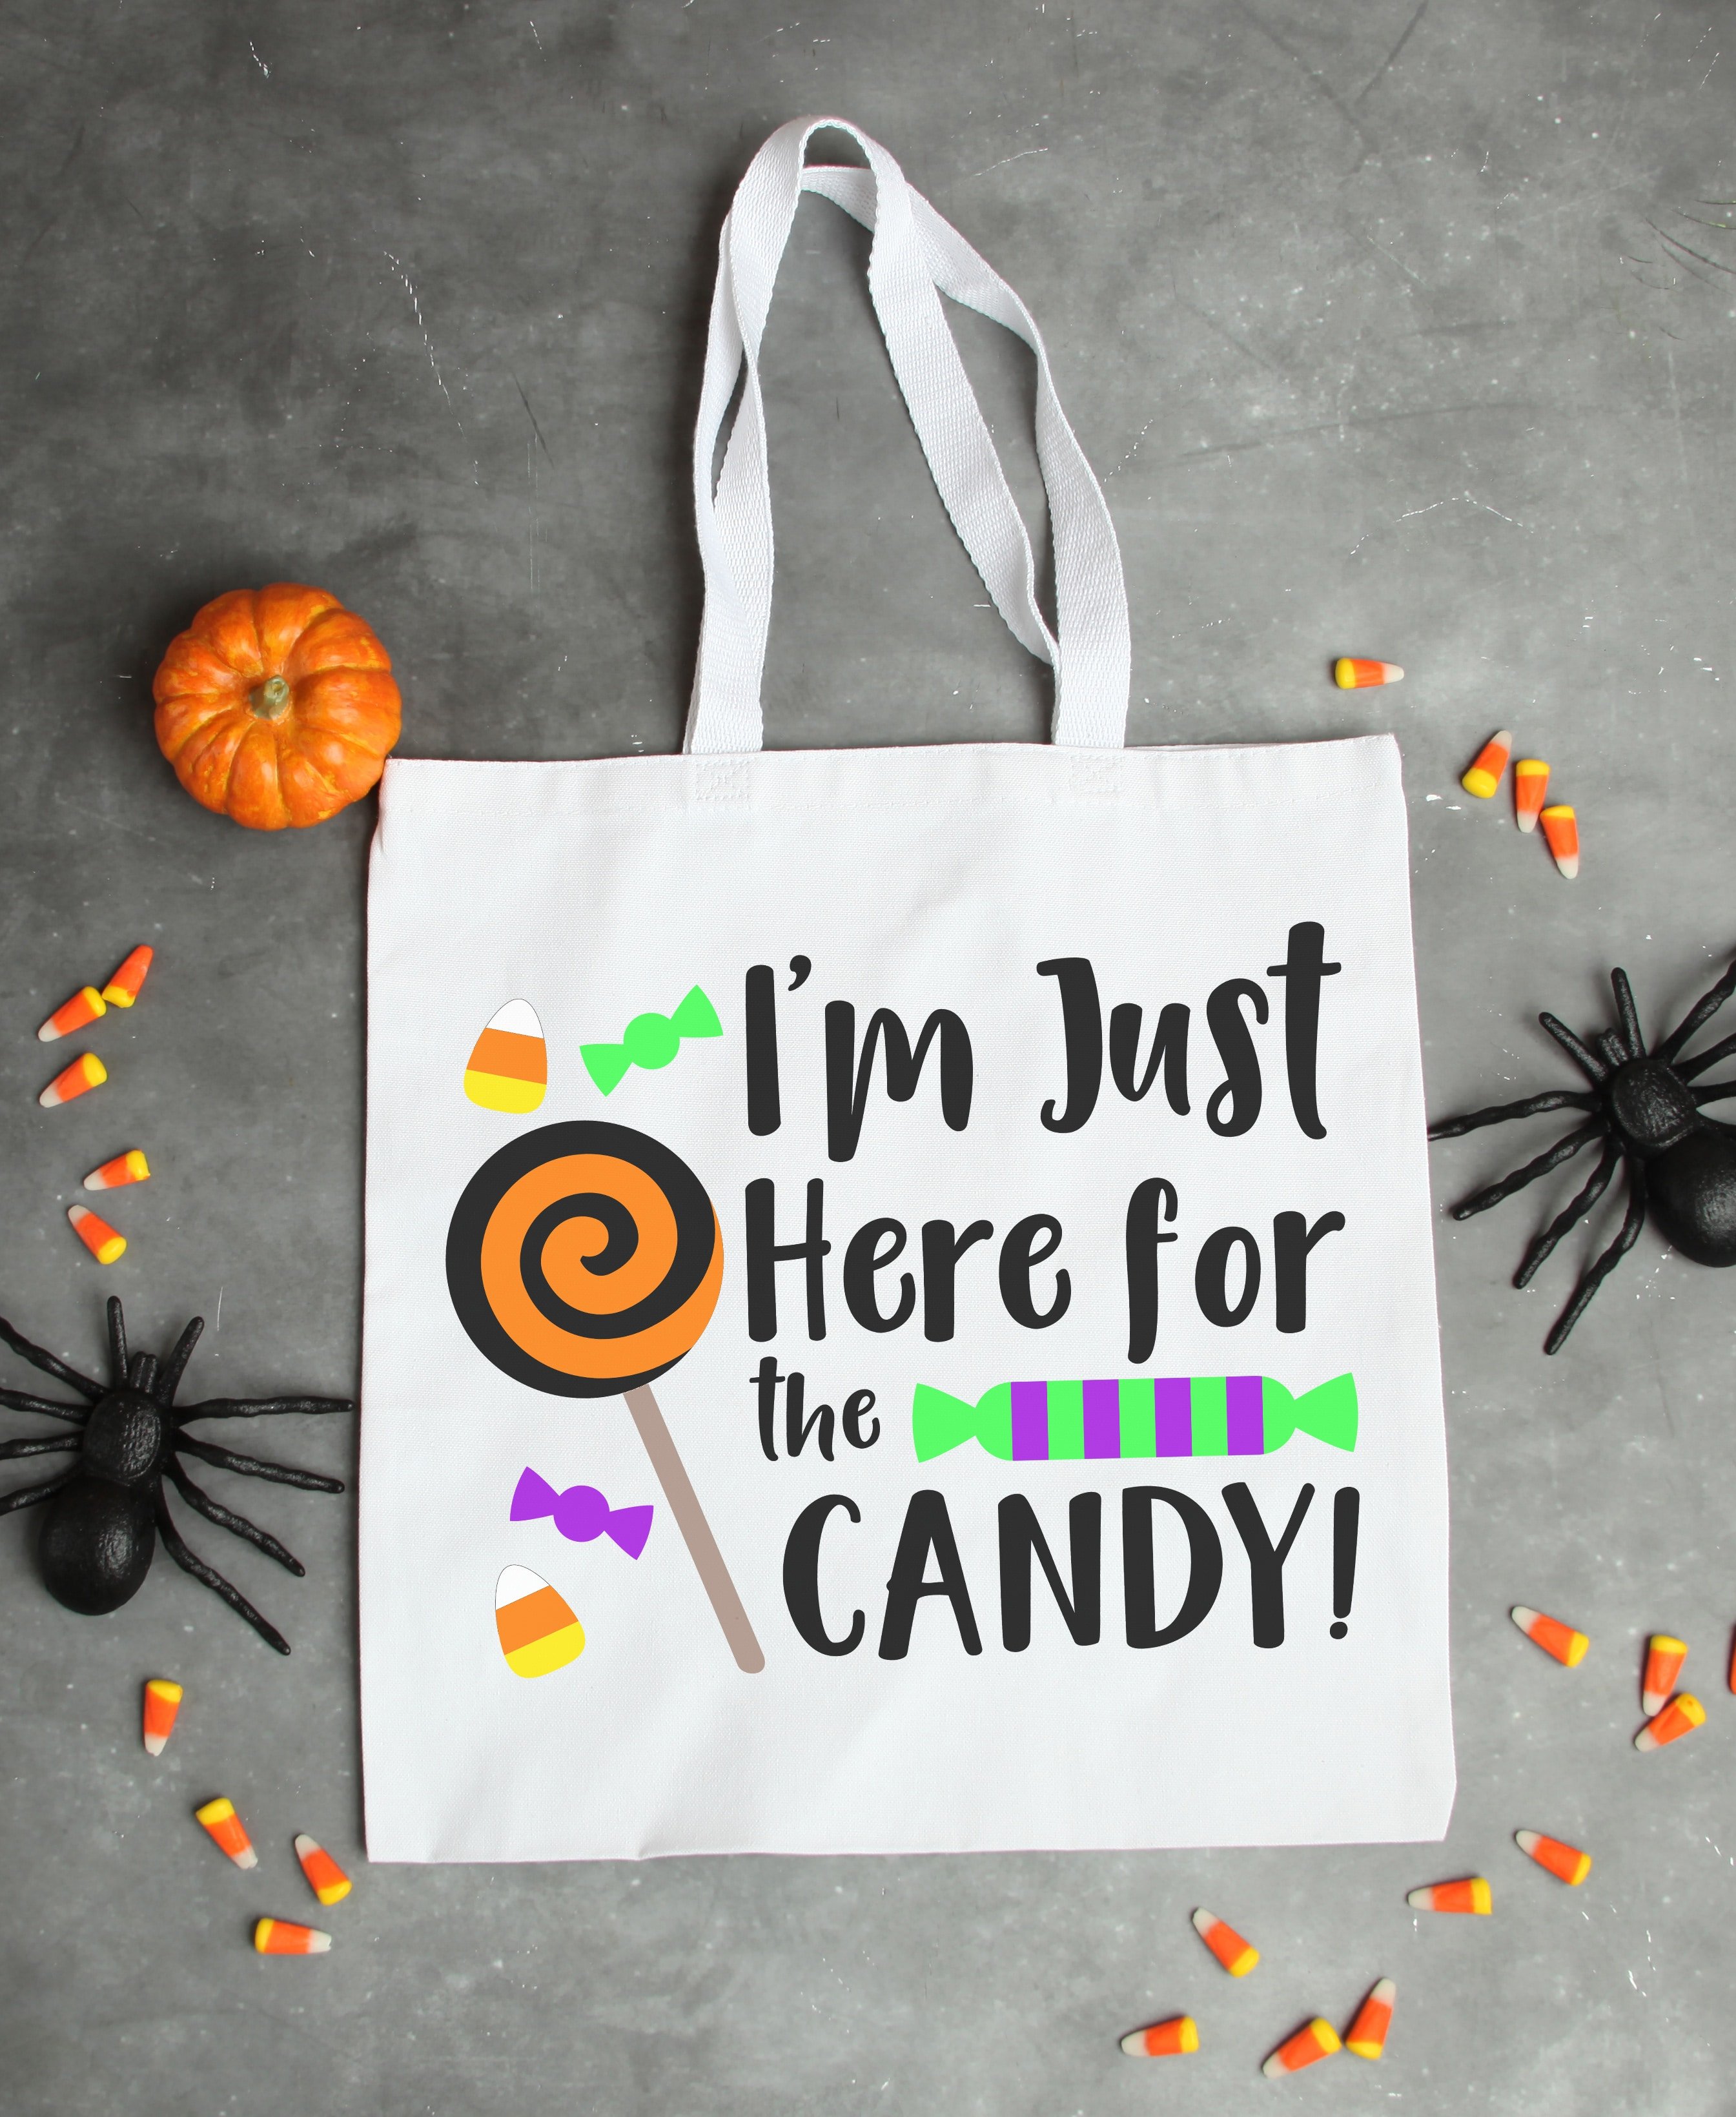
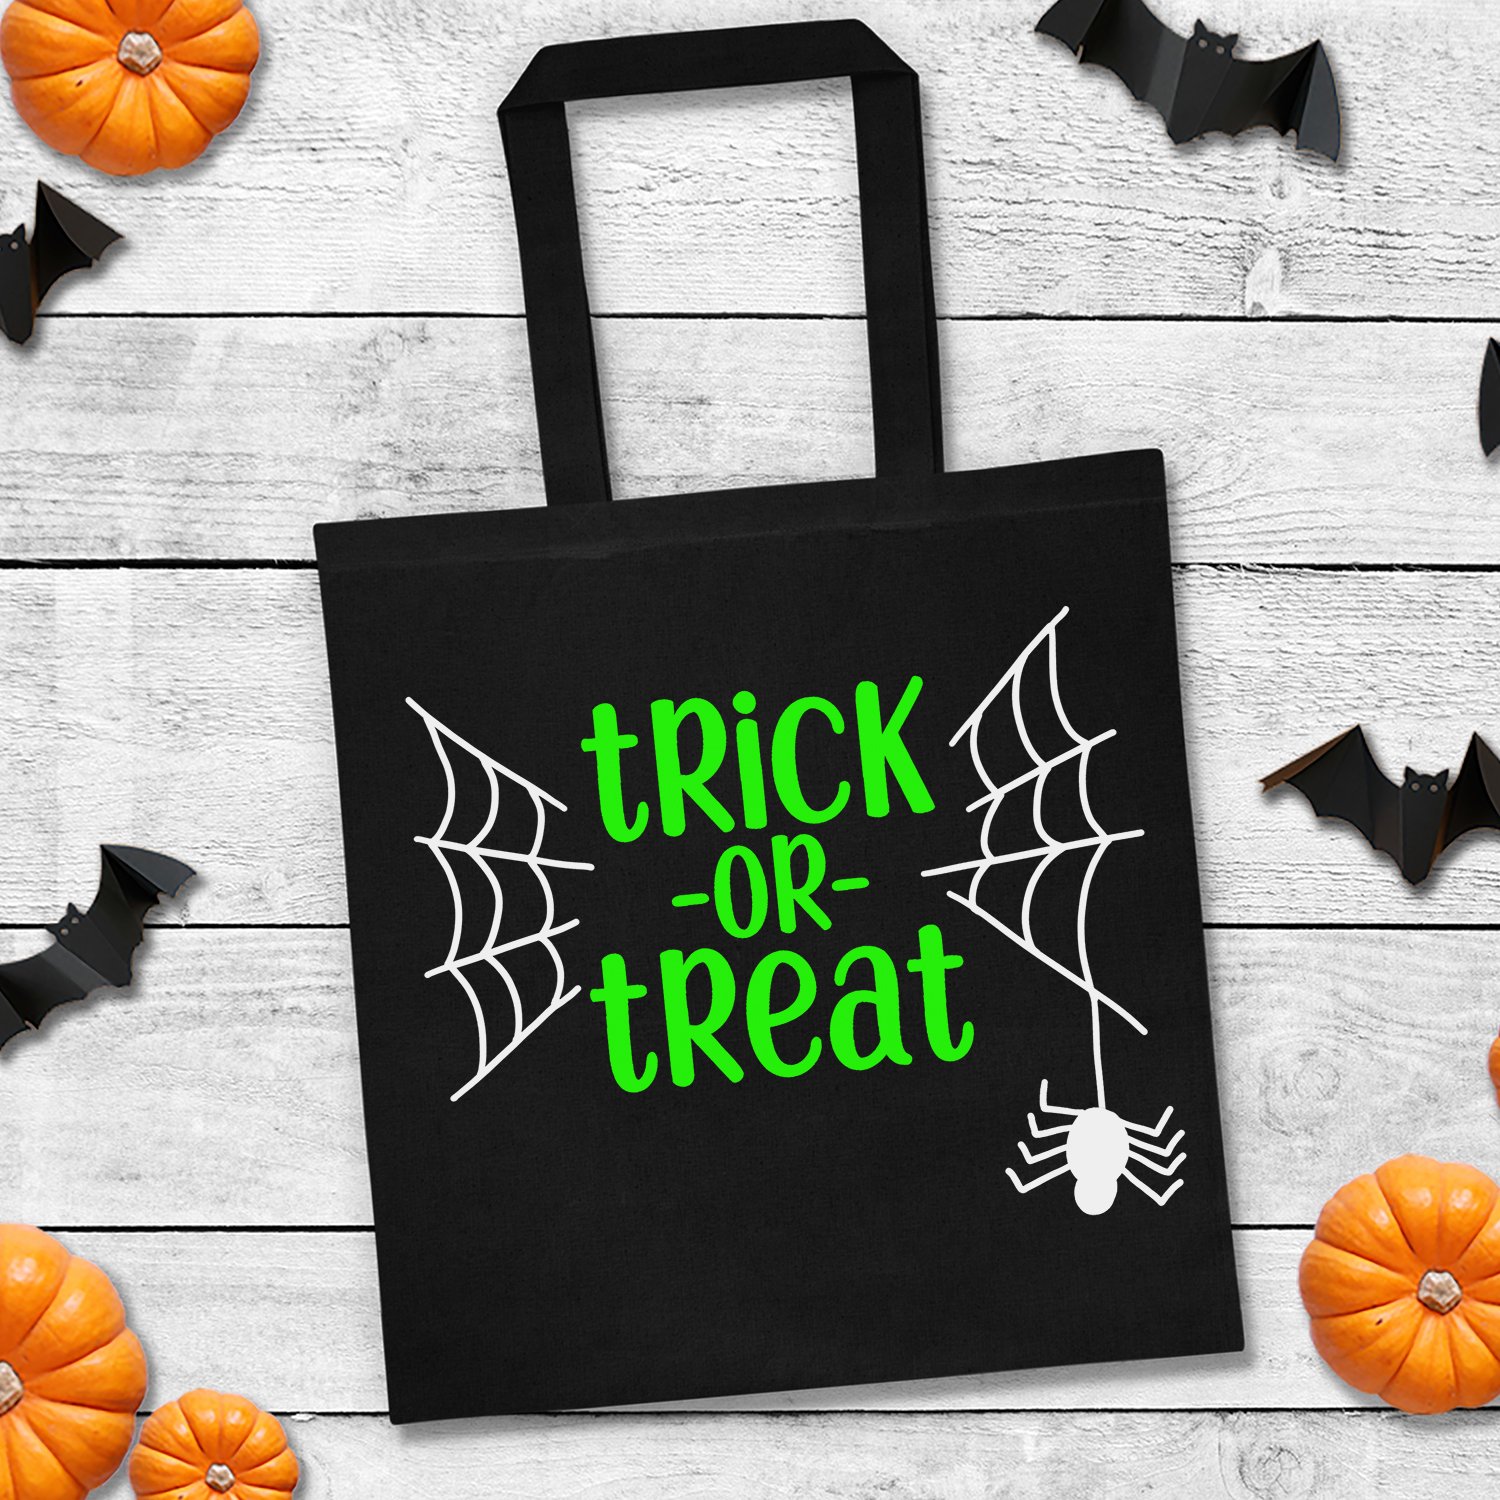
If you like making Halloween projects with your Cricut machine, you may also like 15 FREE Halloween SVG Files, “I’m Just Here for the Candy” FREE SVG File, and Easy DIY Felt Halloween Banner.
Spiderweb Hoop Art With Cricut
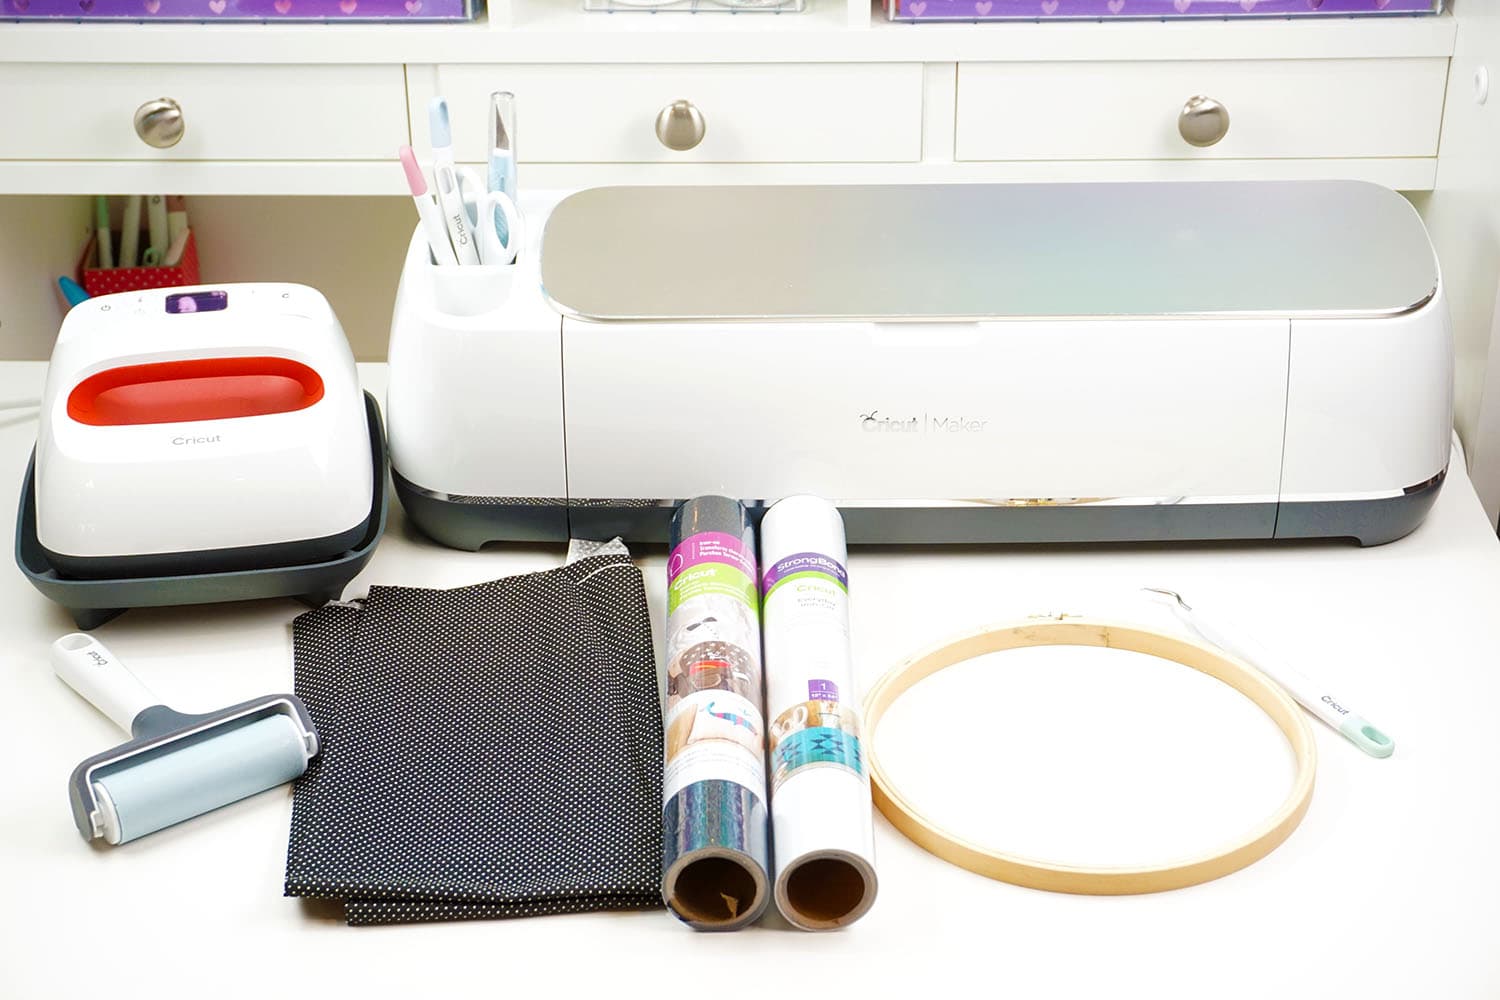
What You’ll Need to Make Halloween Hoop Art:
- Cricut Everyday Iron-On in White (or Glitter White would look awesome, too!)
- Cricut Glitter Iron-On in Black
- Black Cardstock
- Black Felt
- 8″ Wooden Embroidery Hoop
- Orange Paint & Paintbrush
- 10″ Square Piece of Dark Fabric (we used black with tiny white polka dots)
- Weeding Tools
- Cricut Maker or Explore Air 2 Machine (Note: you will need the Deep Cut Blade if using the Explore)
- Cricut EasyPress
- Small Scrap of Parchment Paper
- 6″ Length of White Embroidery Floss
- Pom Pom Trim
- Hot Glue Gun
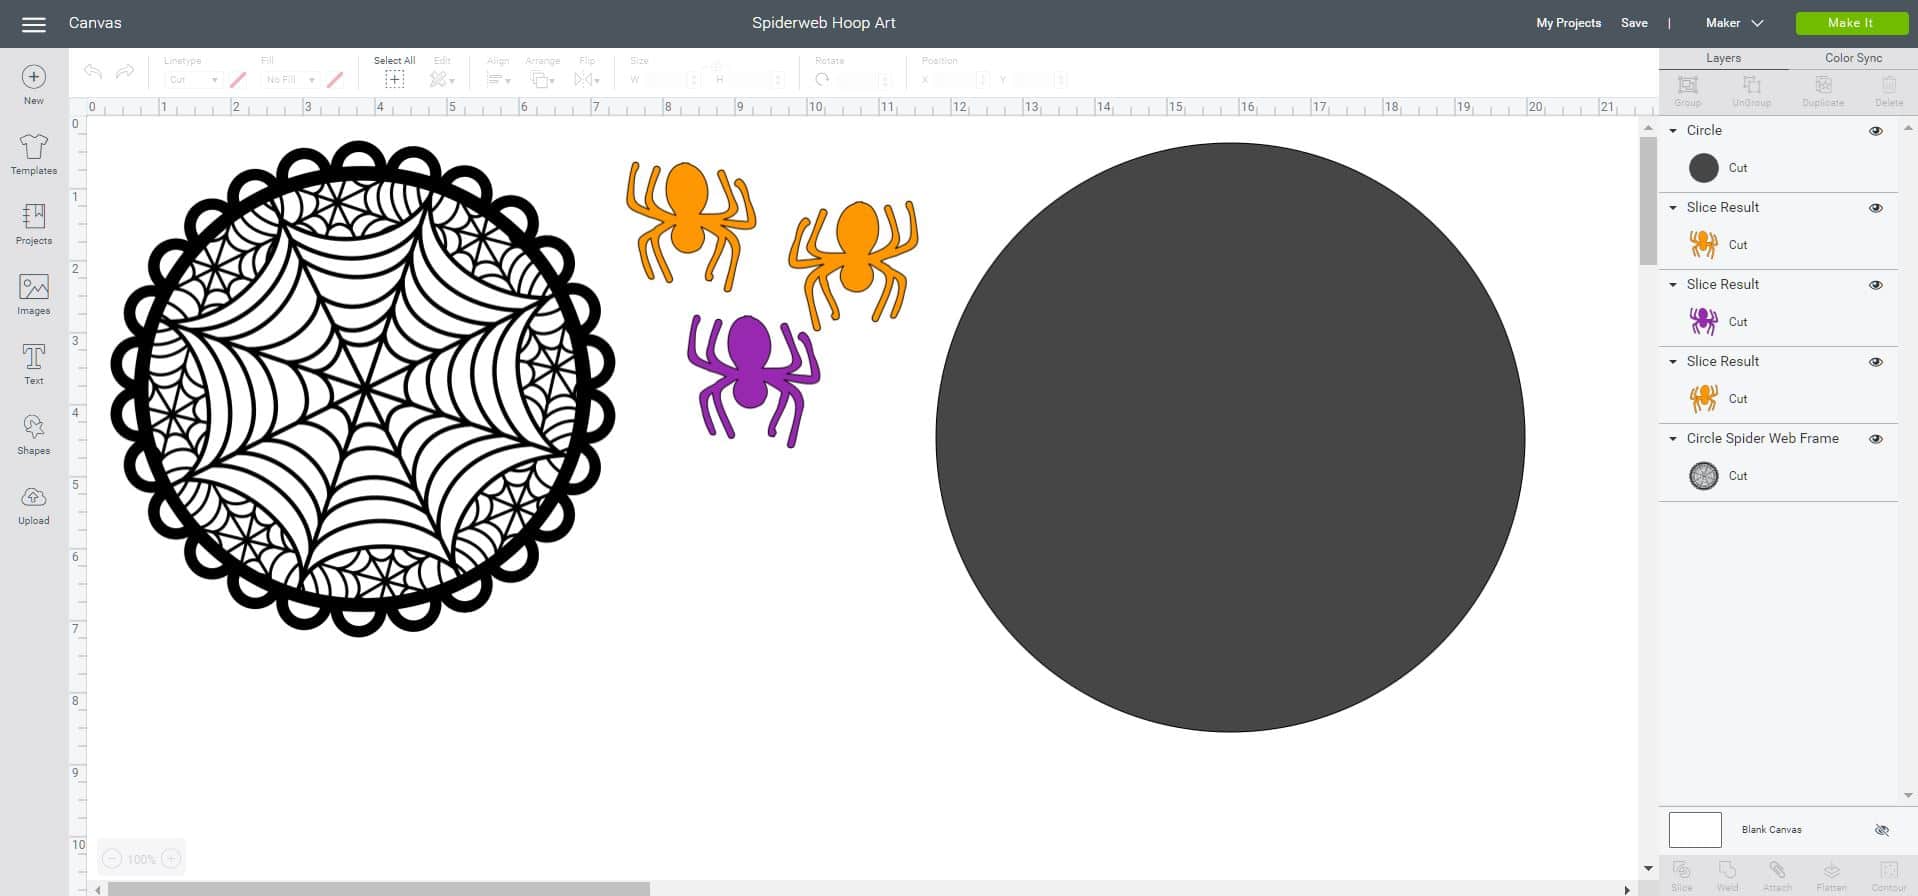
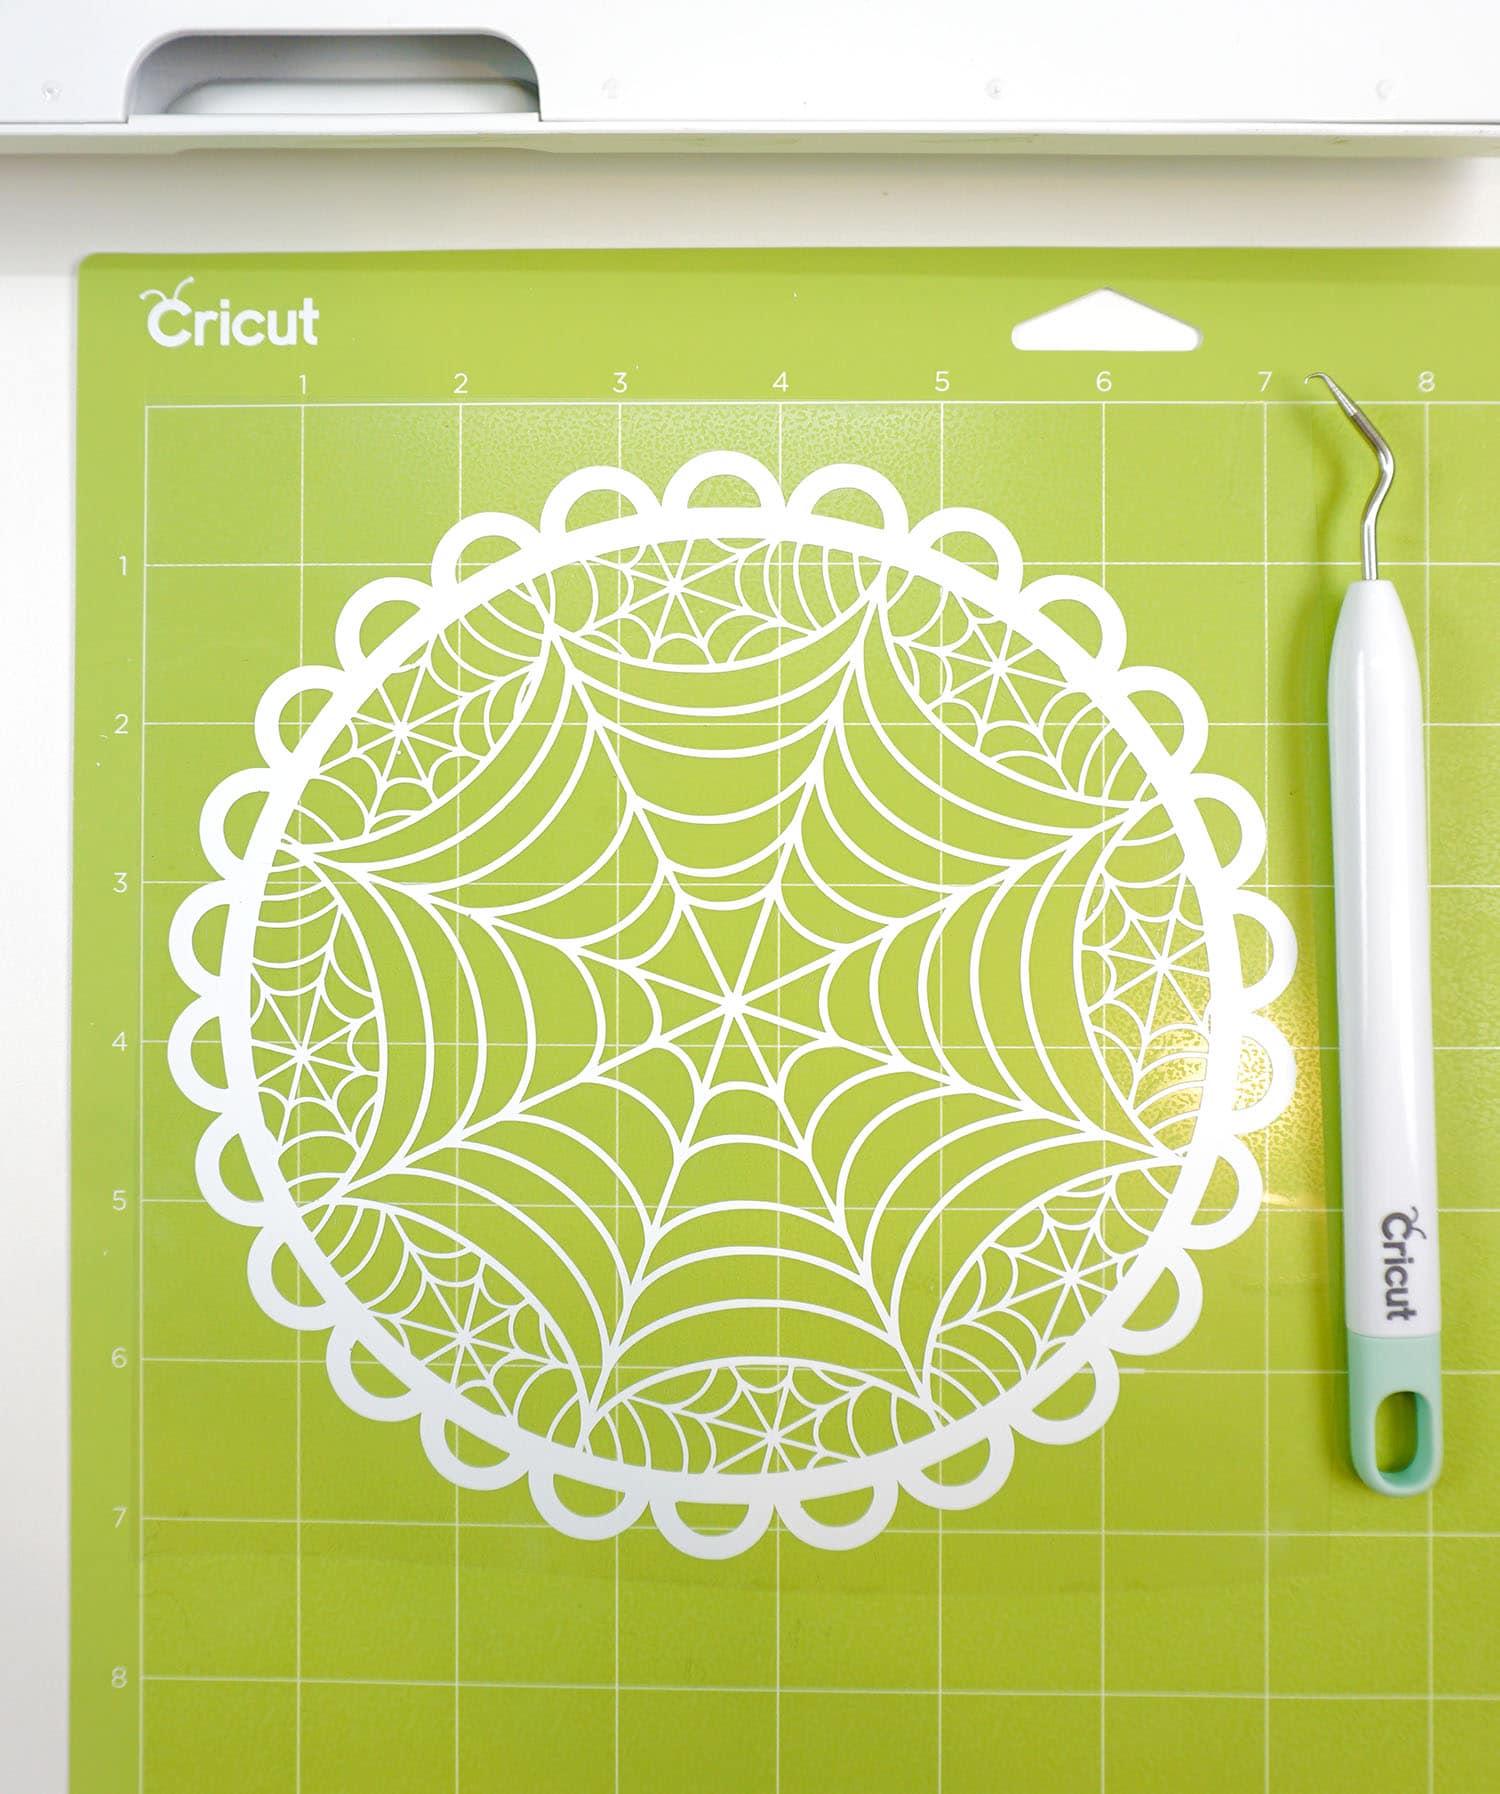
Start by opening the Spiderweb Hoop Art project in Cricut Design Space. You will want to cut the spiderweb layer out of White Everyday Iron-On, the orange spider layer out of Black Glitter Iron-On, the purple spider layer out of Black Cardstock, and the grey circle out of Black Felt.
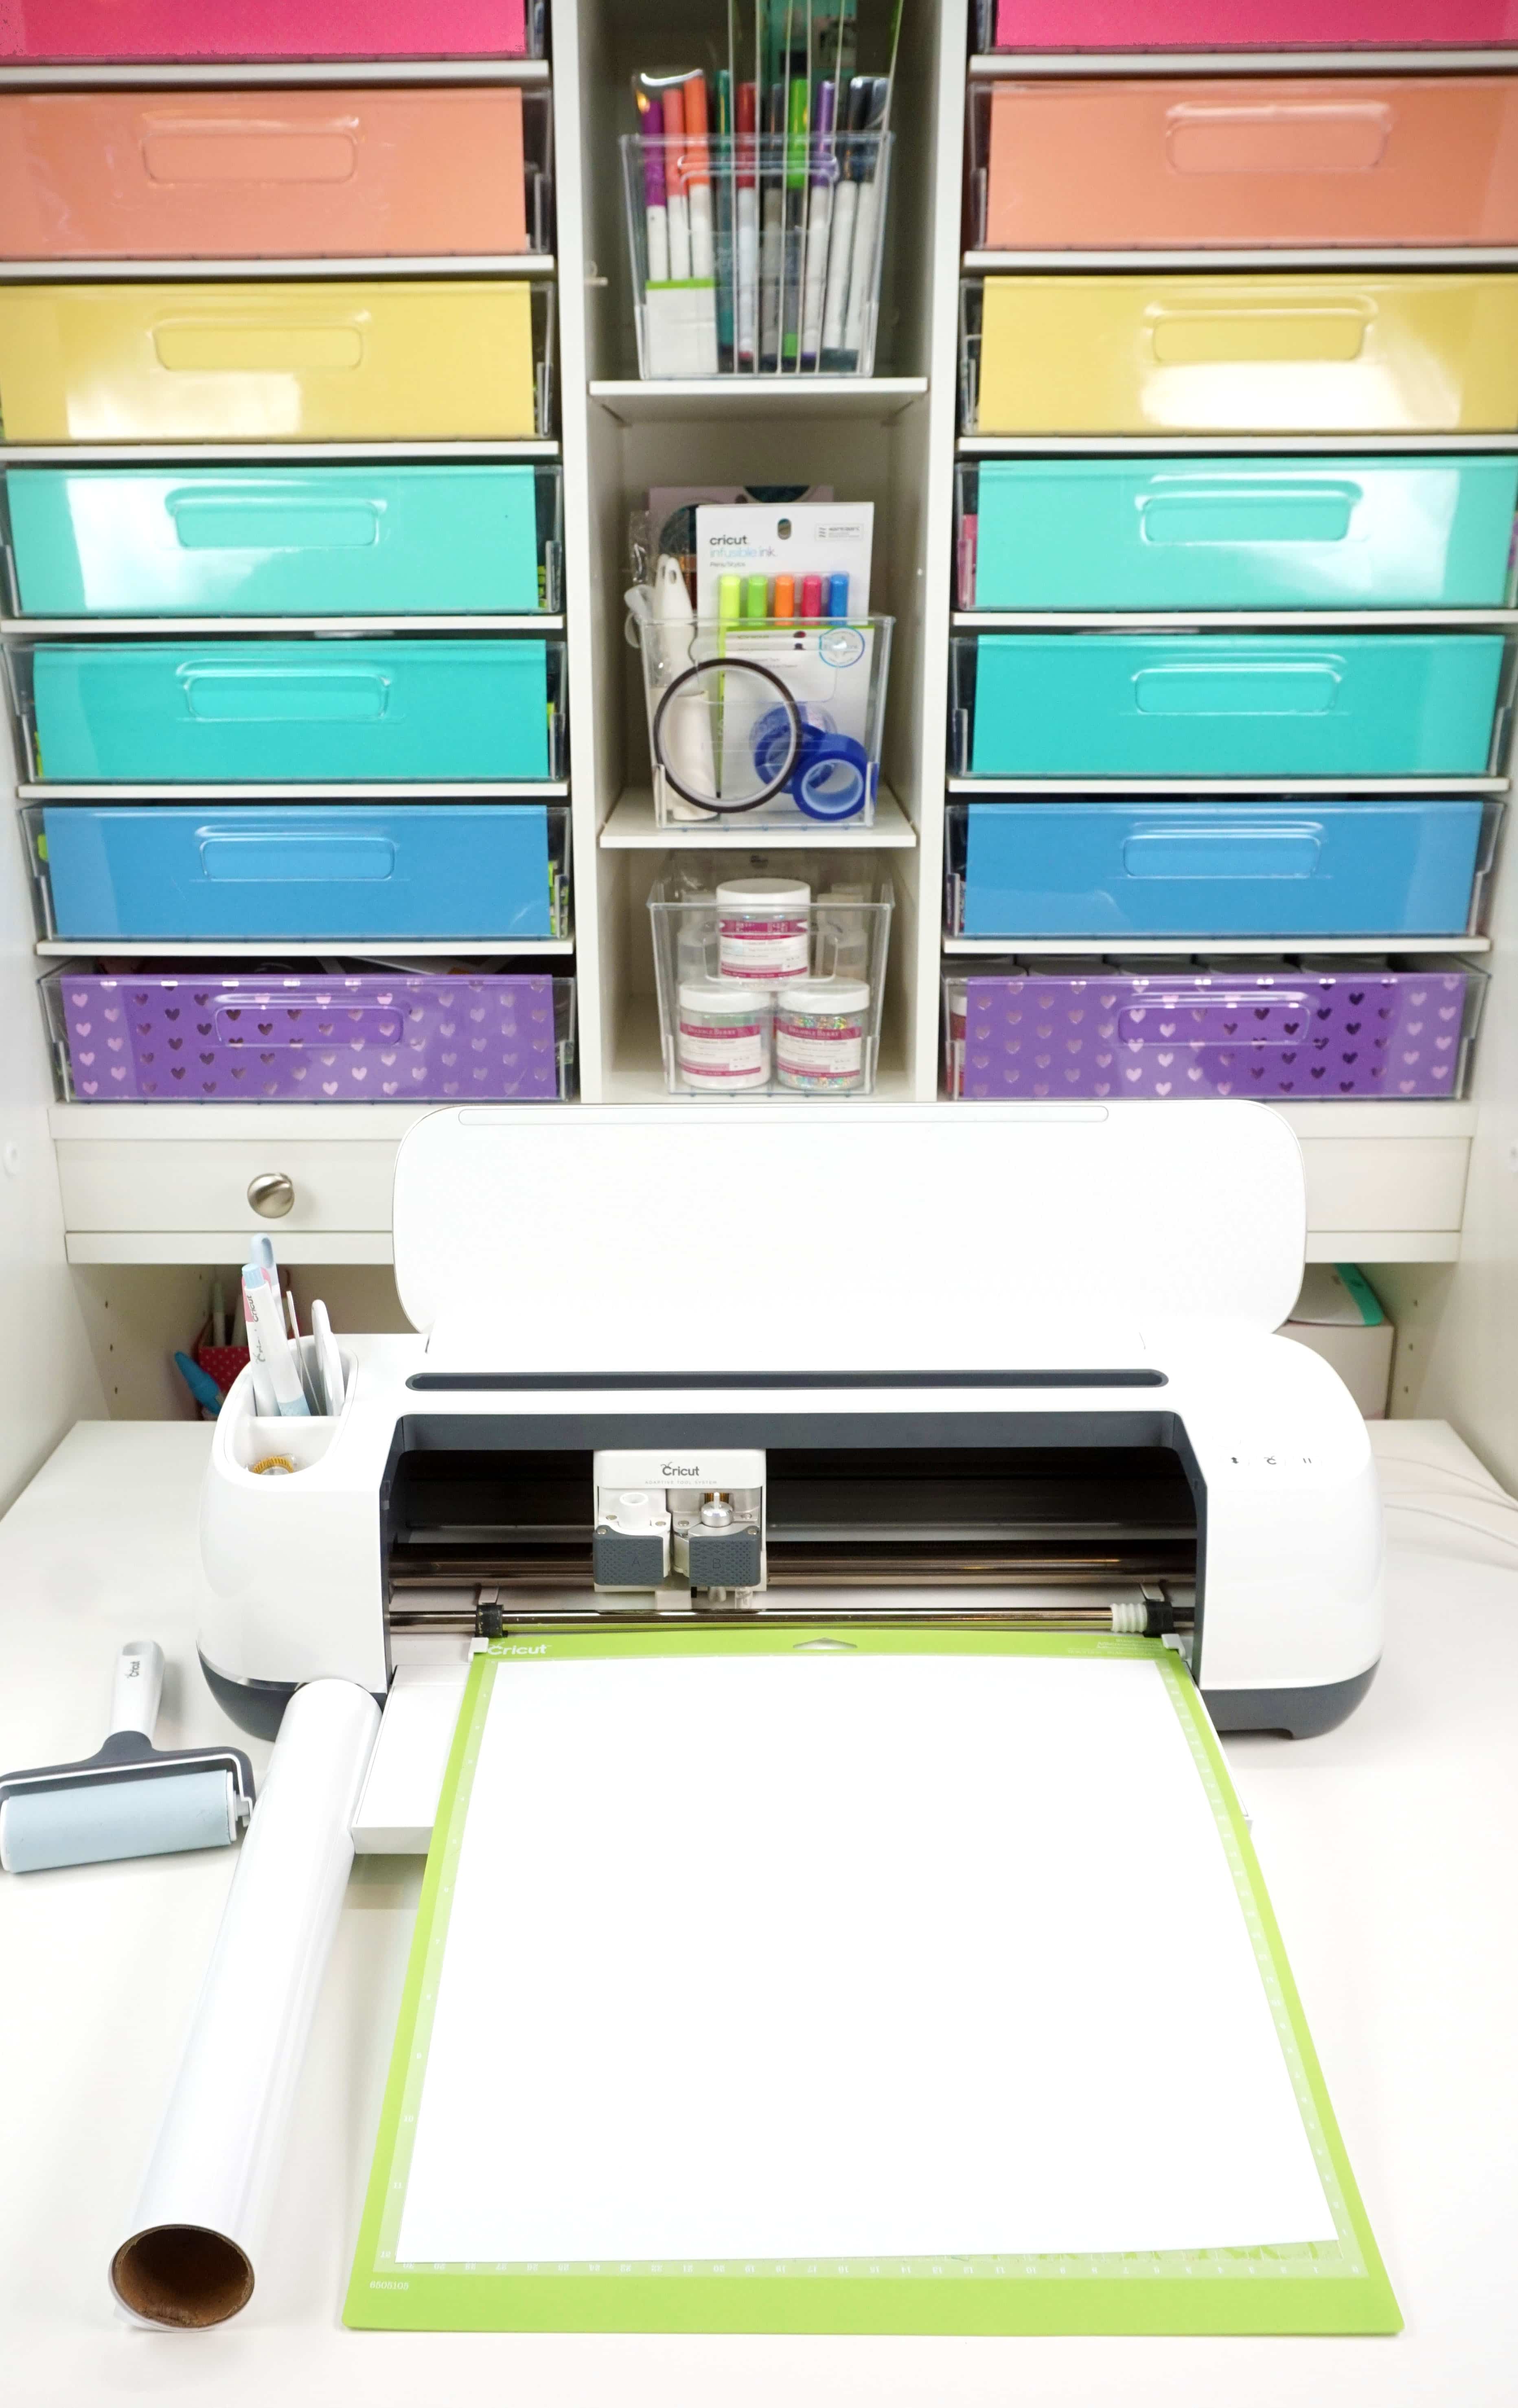
Start by cutting the spiderweb layer out of white Everyday Iron-On. I love that the Everyday Iron-On includes Cricut’s Strong Bond Guarantee, so I know that my project will stay stuck for years to come!

Weed the excess iron-on using your weeding tools.
Now, I know that I say this is almost ALL of my iron-on and vinyl posts, but if you don’t have a Hooked Weeding Tool yet, GET ONE…now! It’s seriously the best tool ever, and it makes weeding projects like this SO much easier!
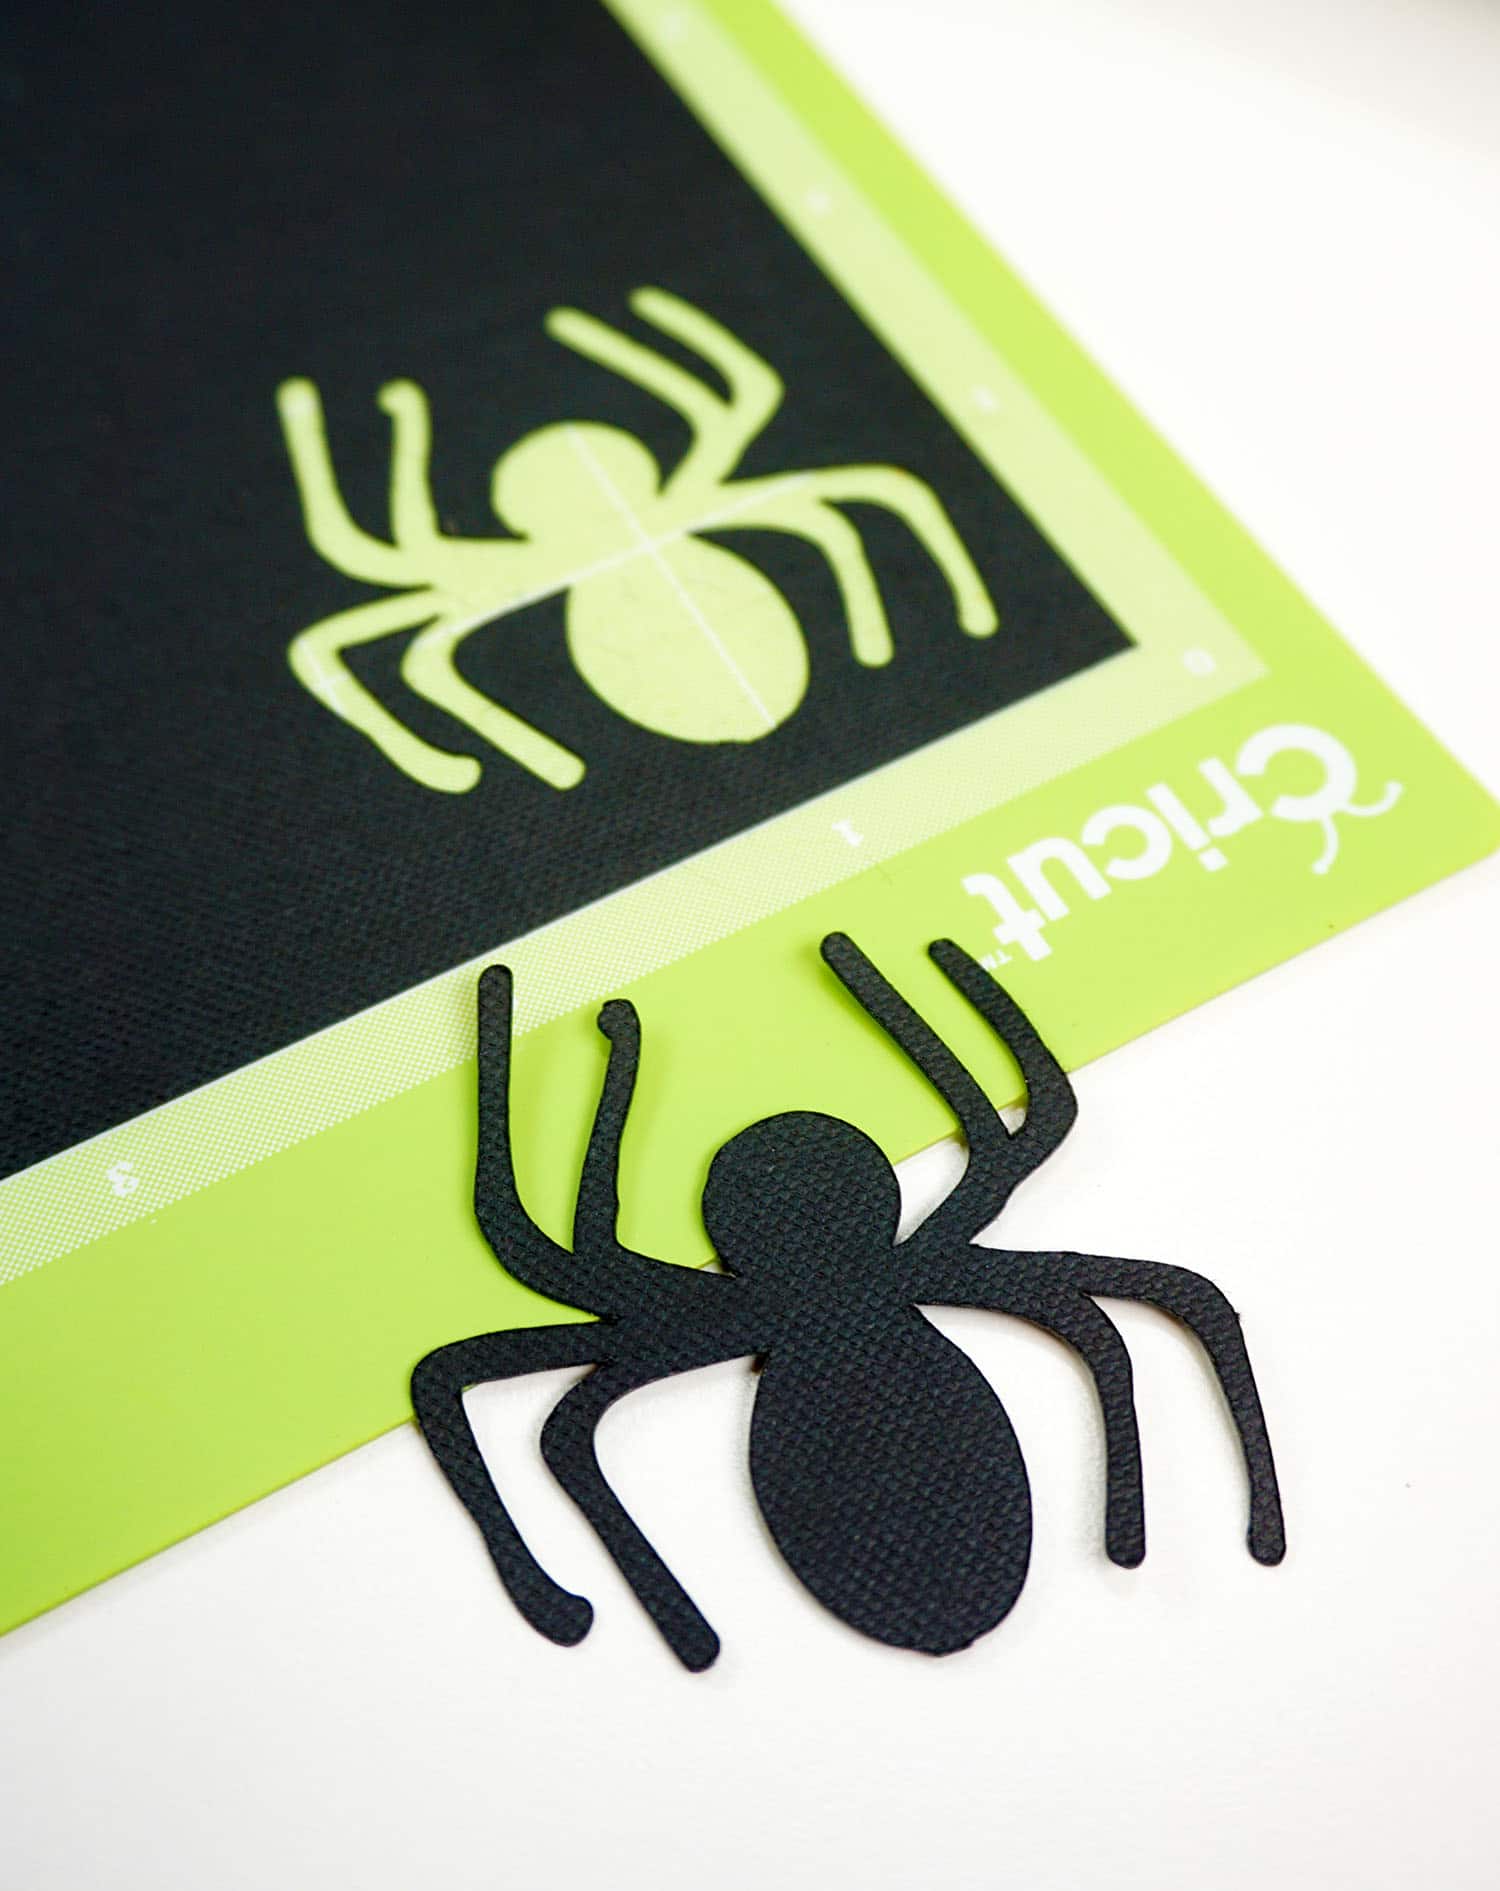
Next, cut one black spider out of cardstock and two black spiders out of Glitter Iron-On. You’ll notice that the two glitter spiders face opposite directions – that’s so that you can add one to each side of the cardstock spider!
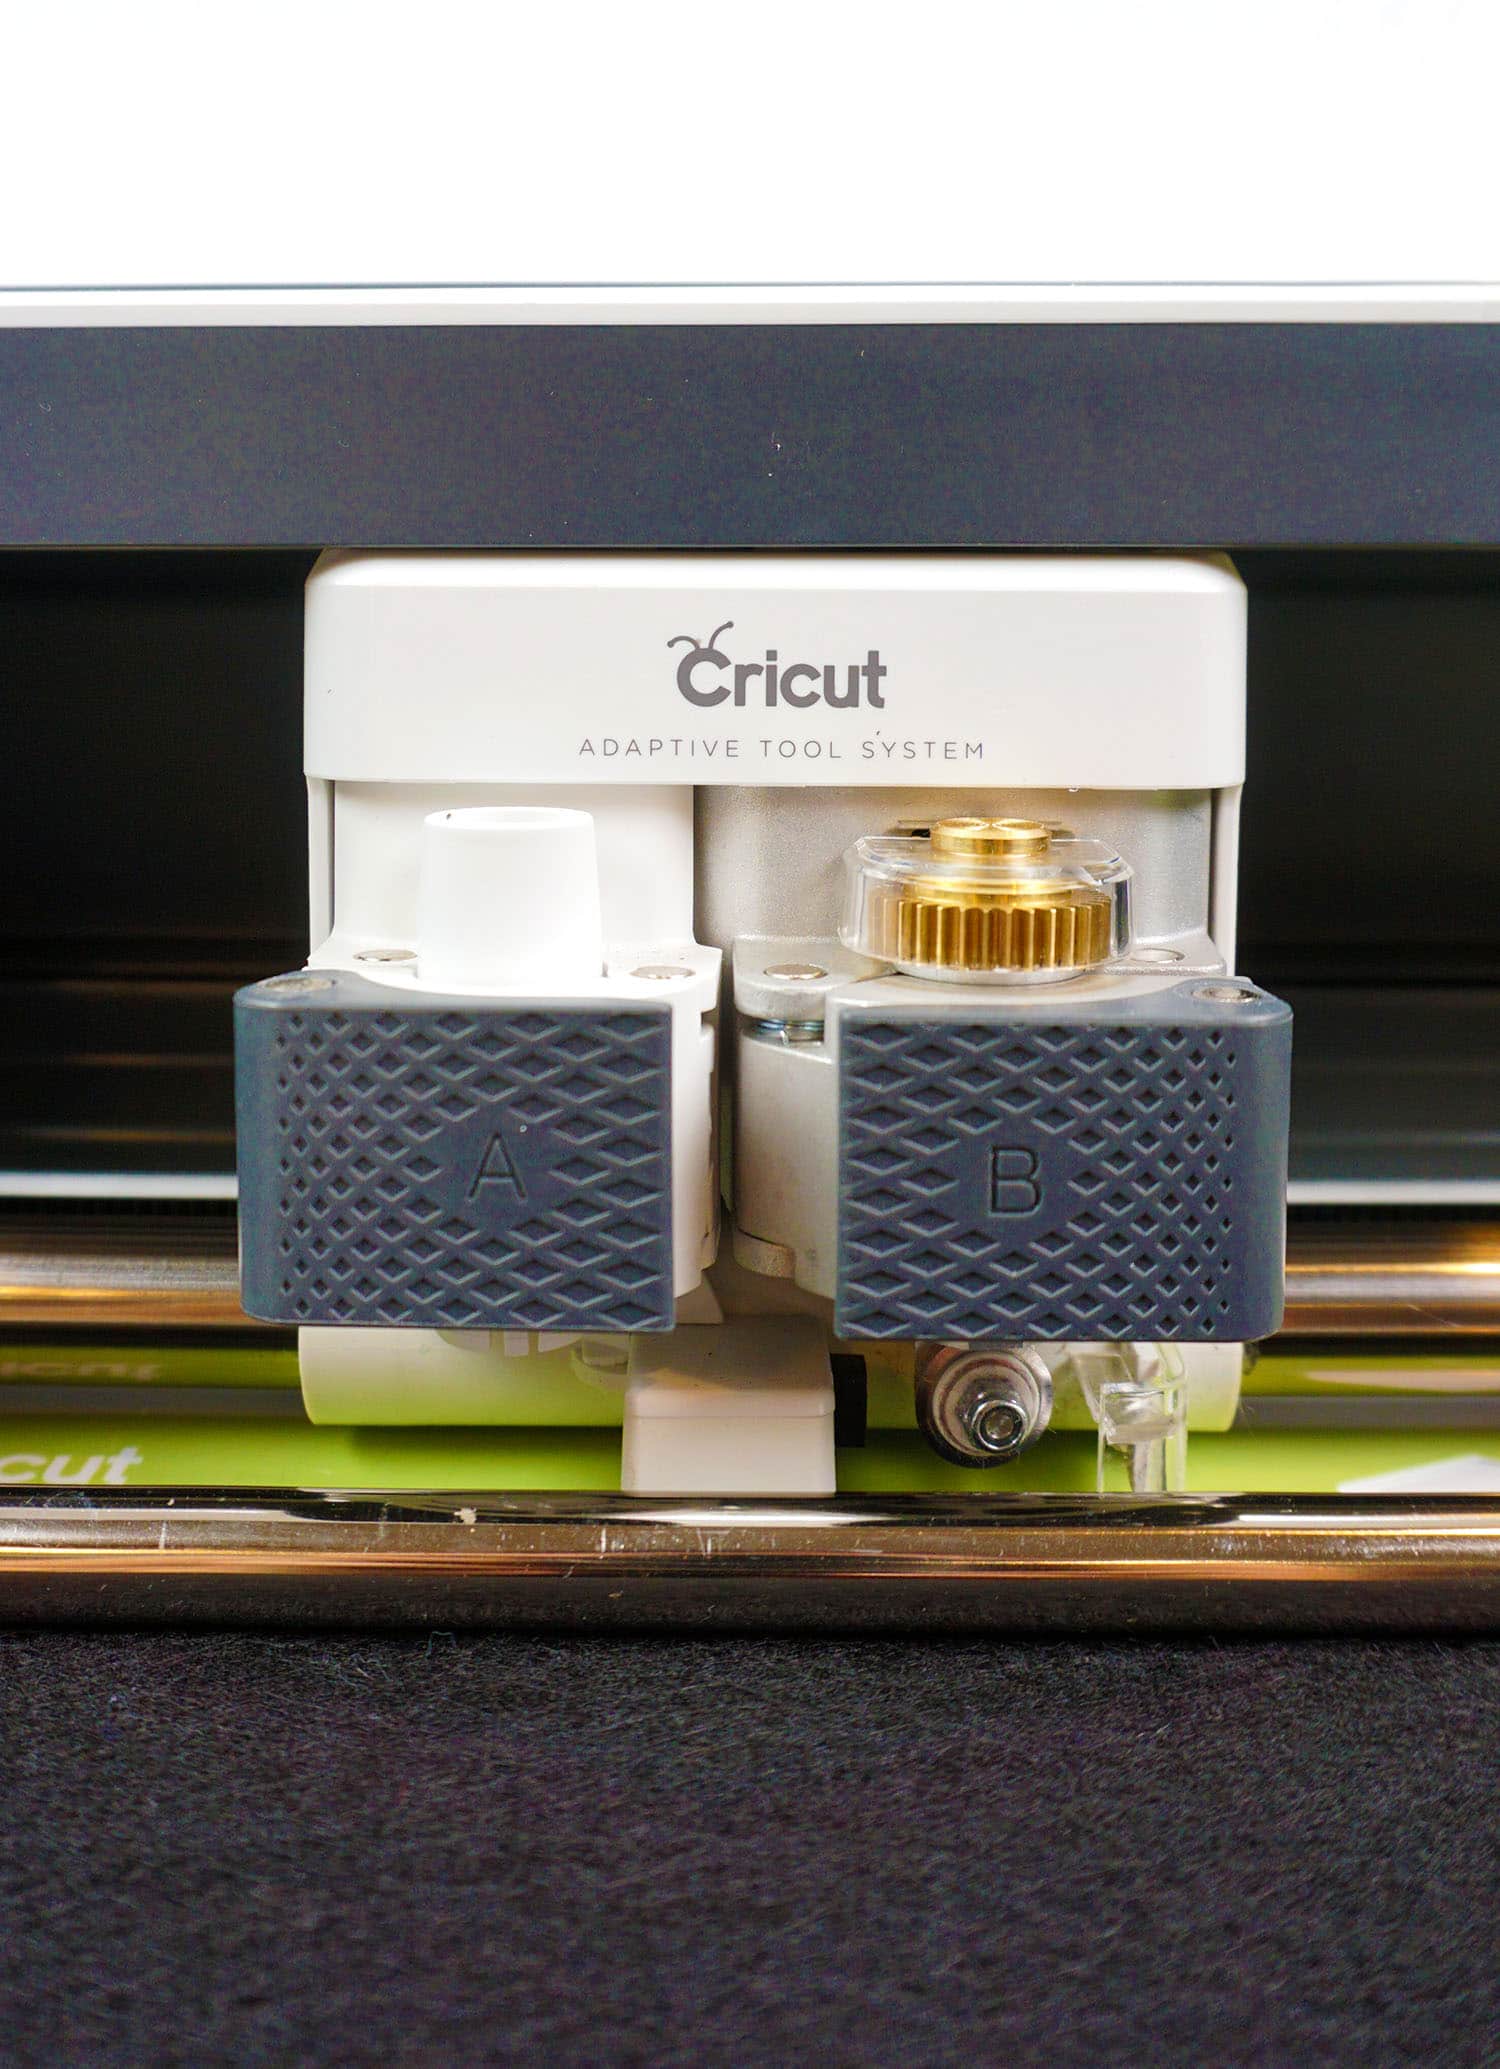
Use the Rotary Blade (if using the Maker) or the Deep Cut Blade (if using the Explore Air 2) to cut the large circle of black felt.
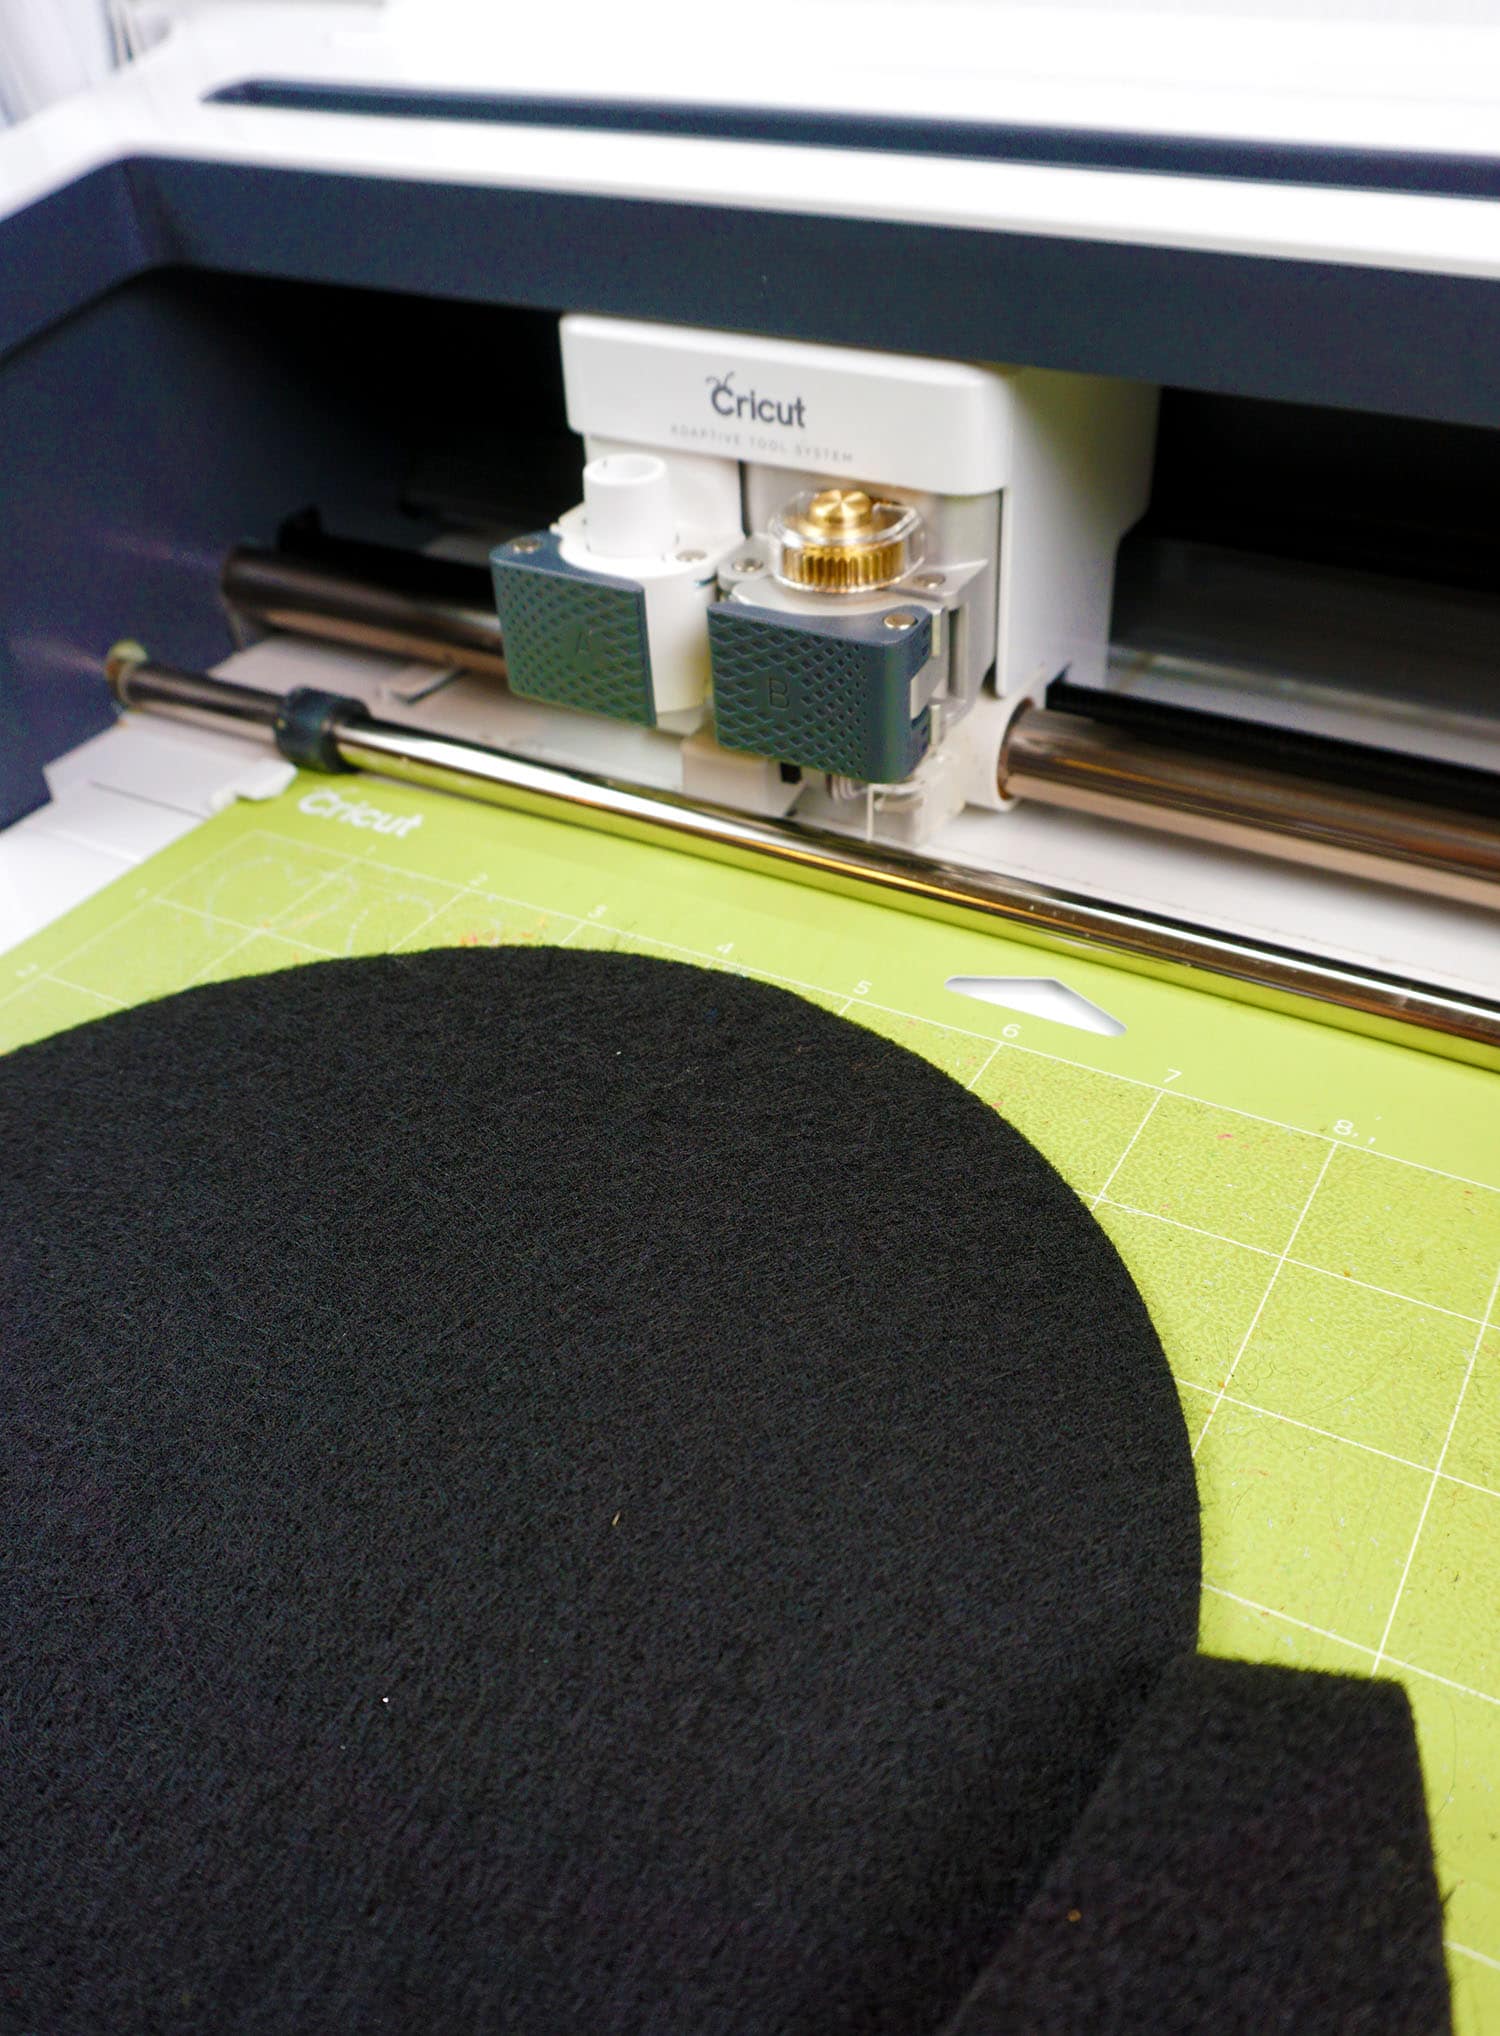
I looooove the Maker’s Rotary Blade for cutting felt – it’s like a knife through hot butter!
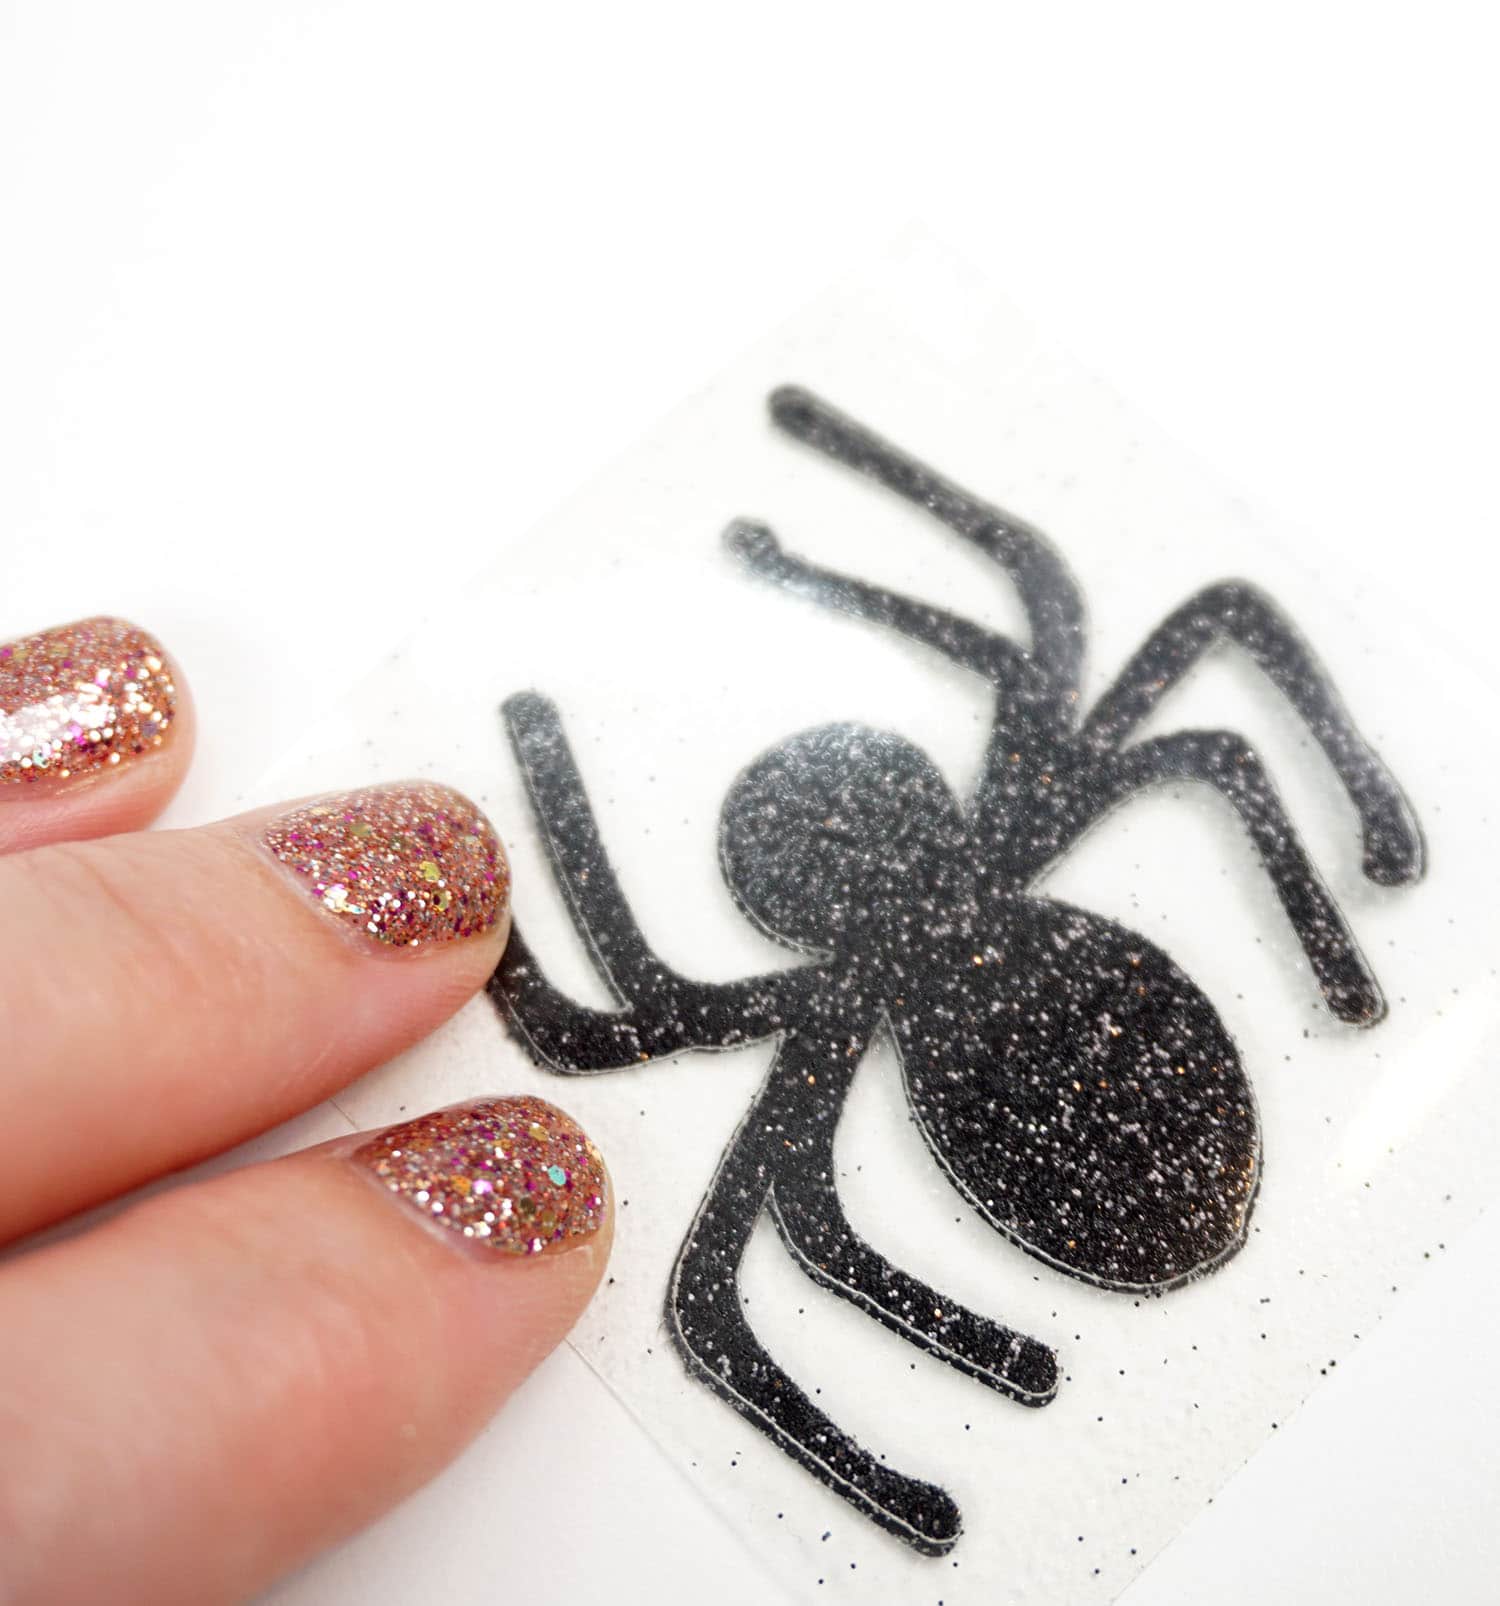
Next, it’s time to start assembling your layers! Layer the glitter spiders on to each side of the cardstock spider and gently sandwich the layers between a folded sheet of parchment paper.
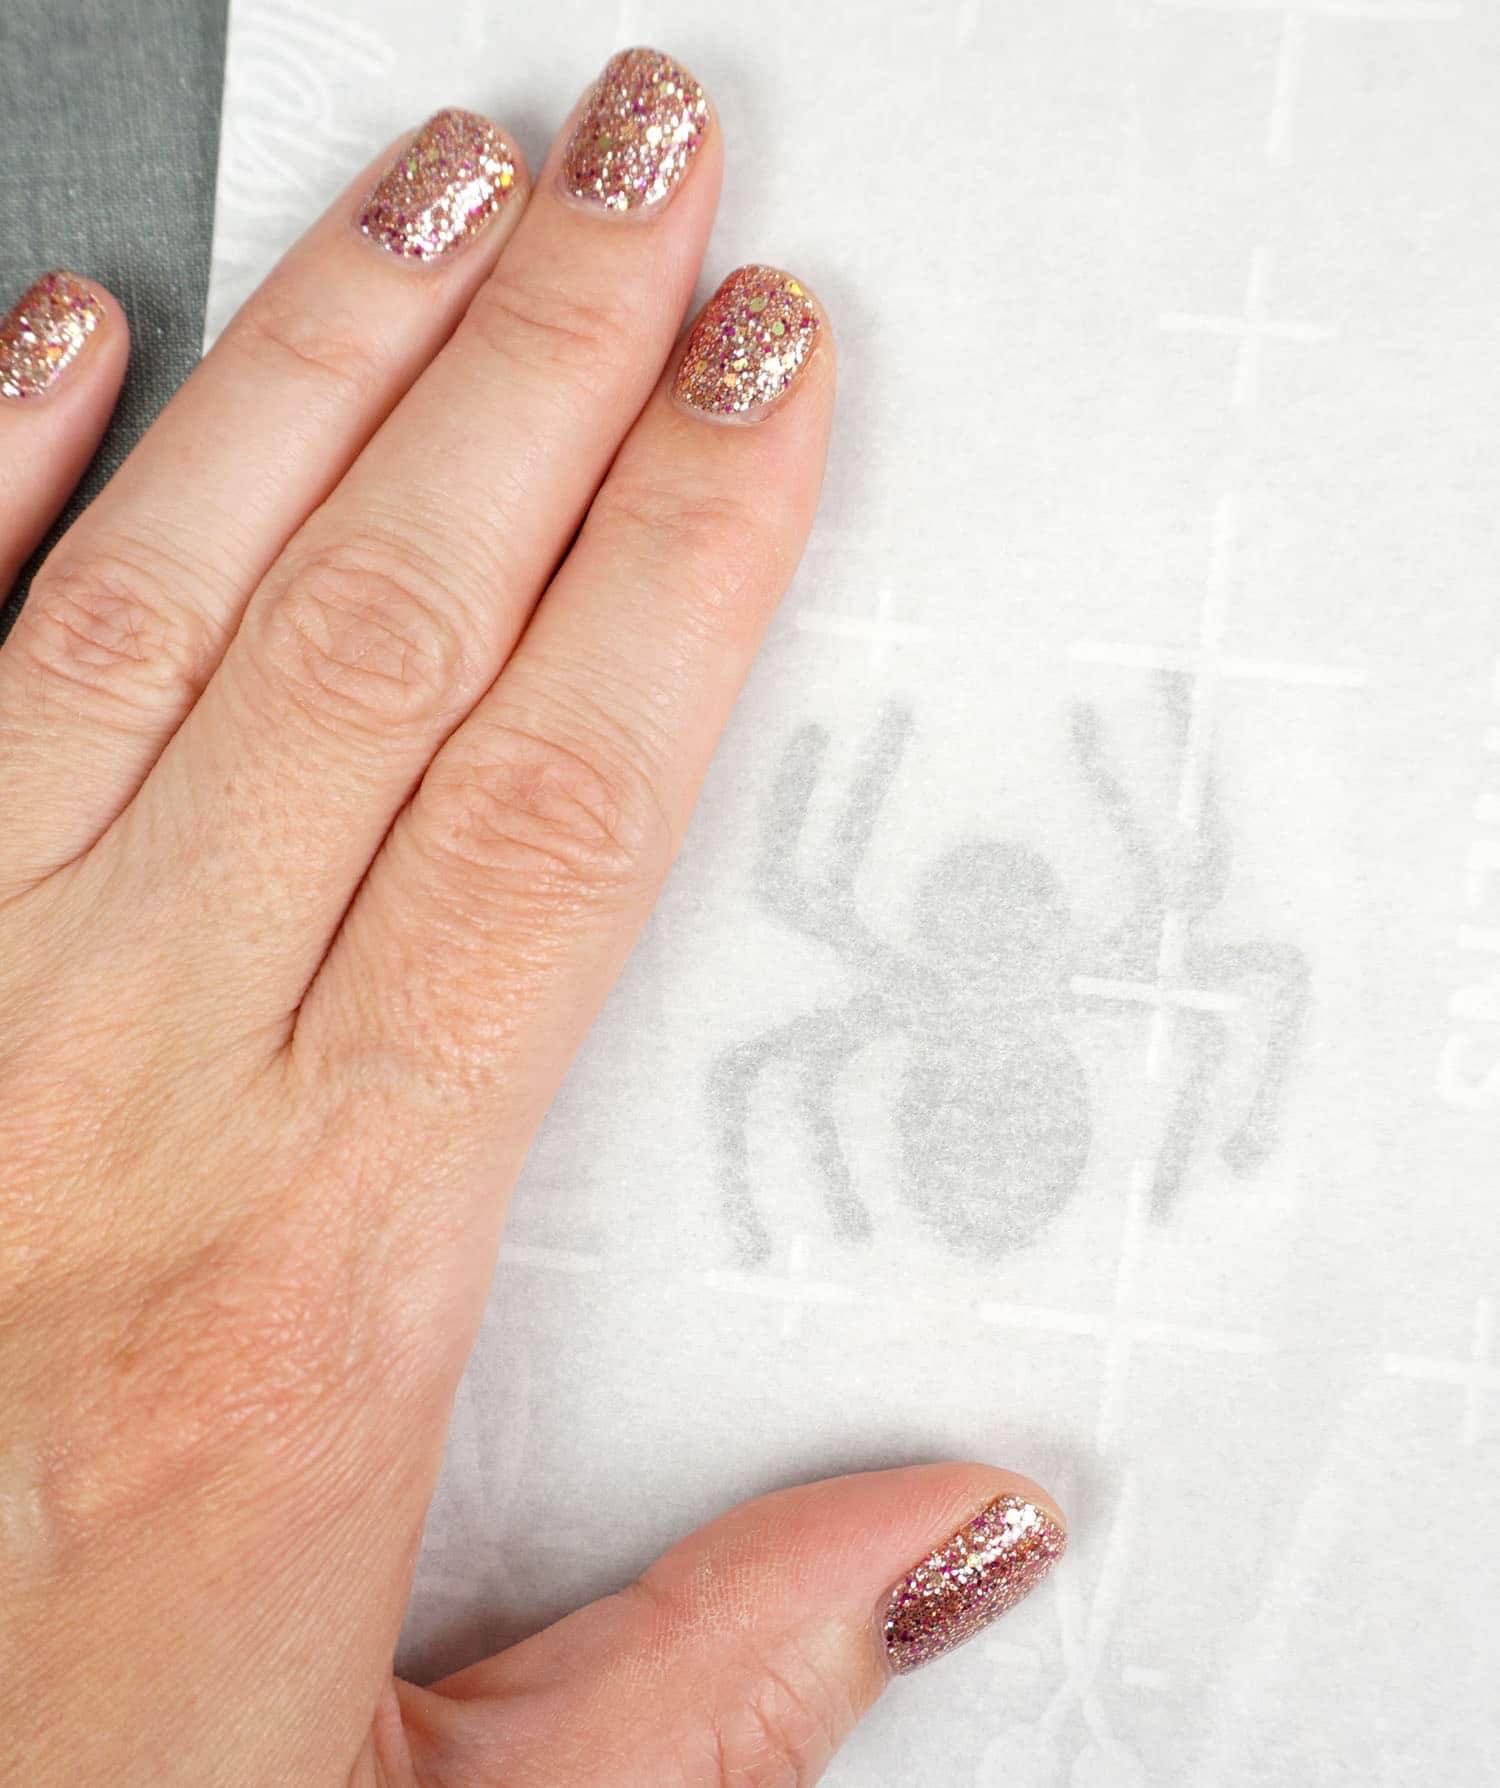
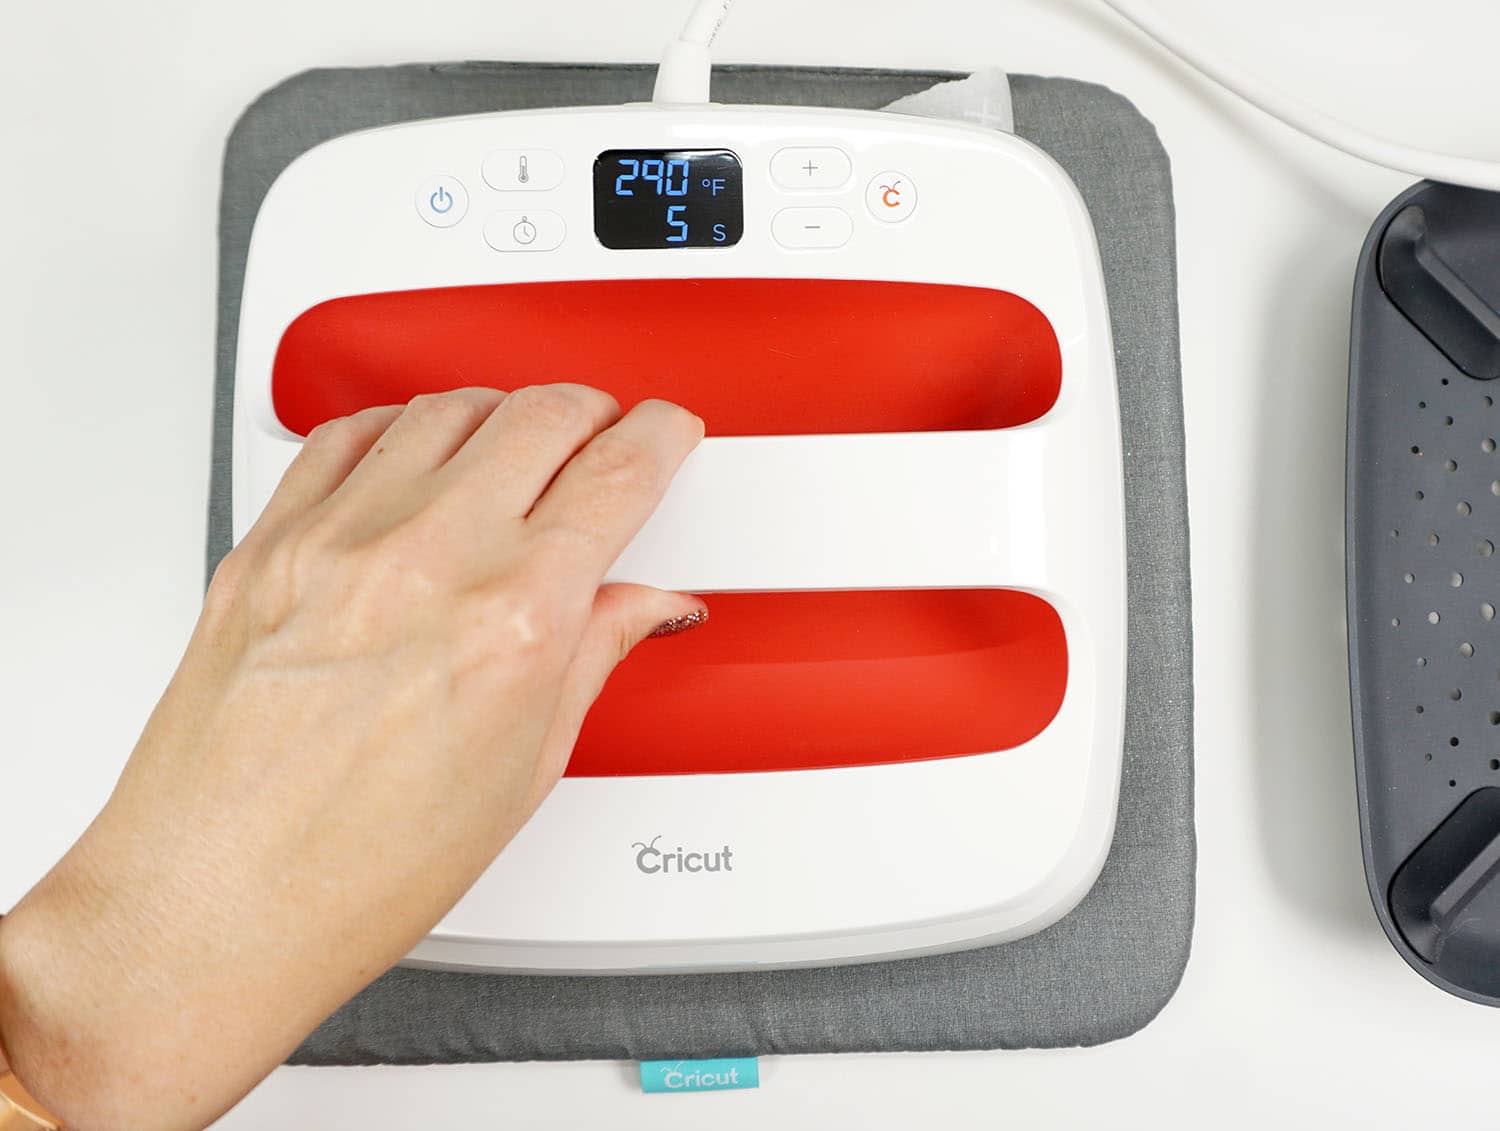
Set the EasyPress to 290 degrees and press for 30 seconds. Allow to cool slightly, and then flip the parchment packet over to press the opposite side.
Peel the plastic backings to reveal your shimmery sparkly spider!
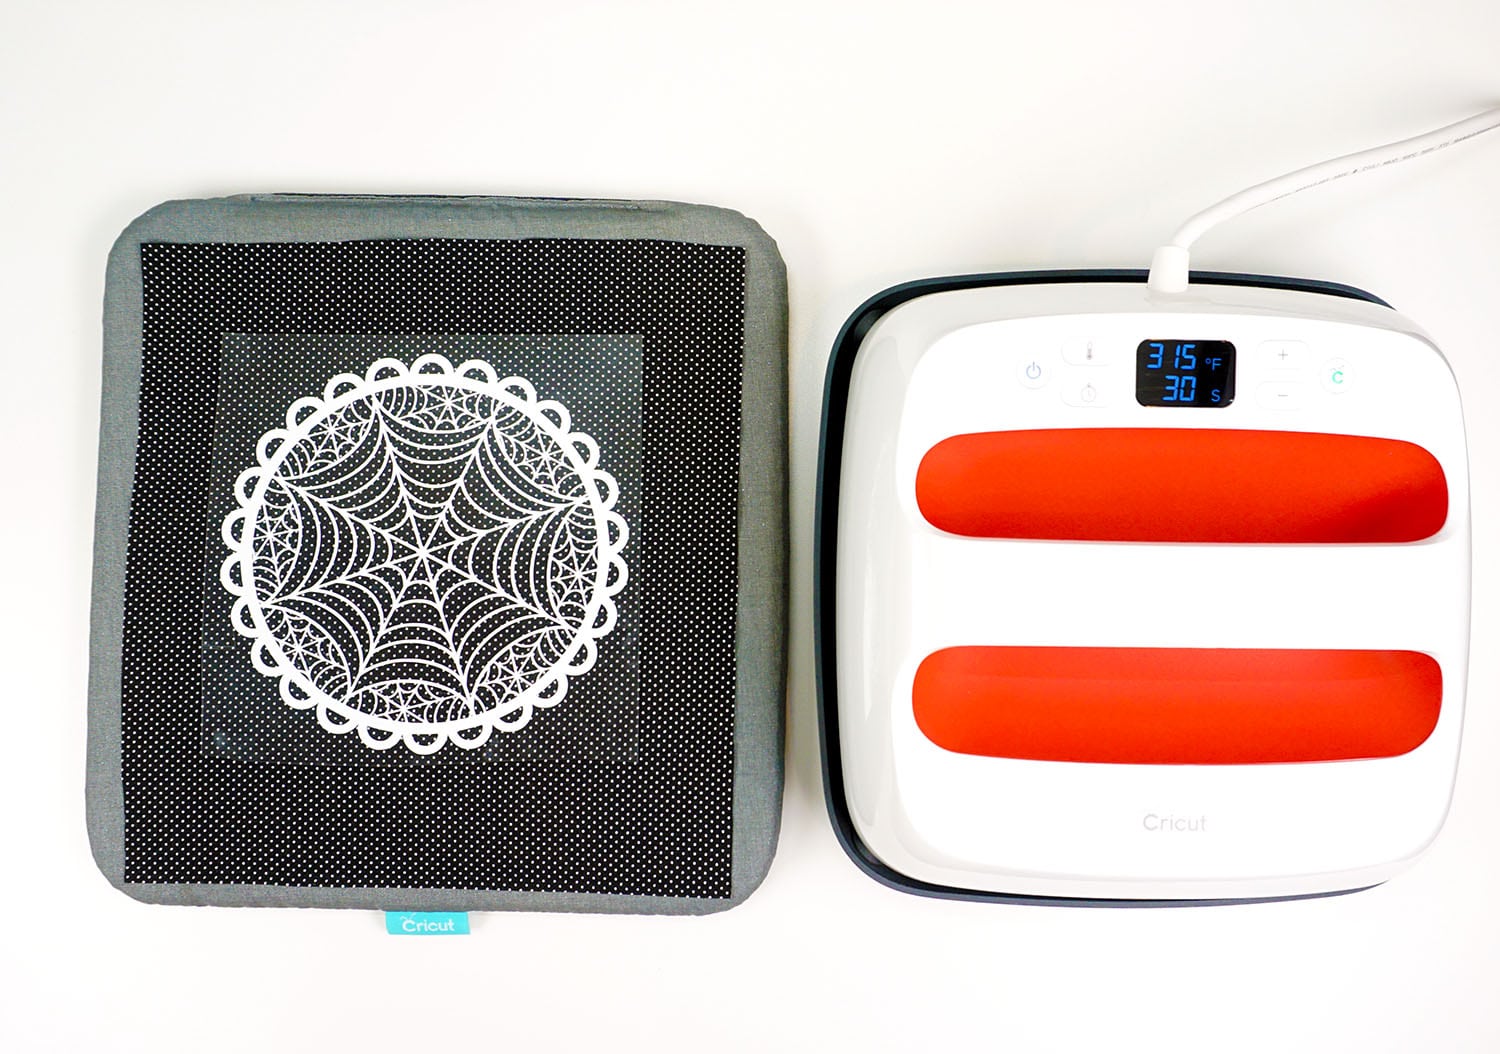
Increase the heat on the EasyPress to 315 degrees.
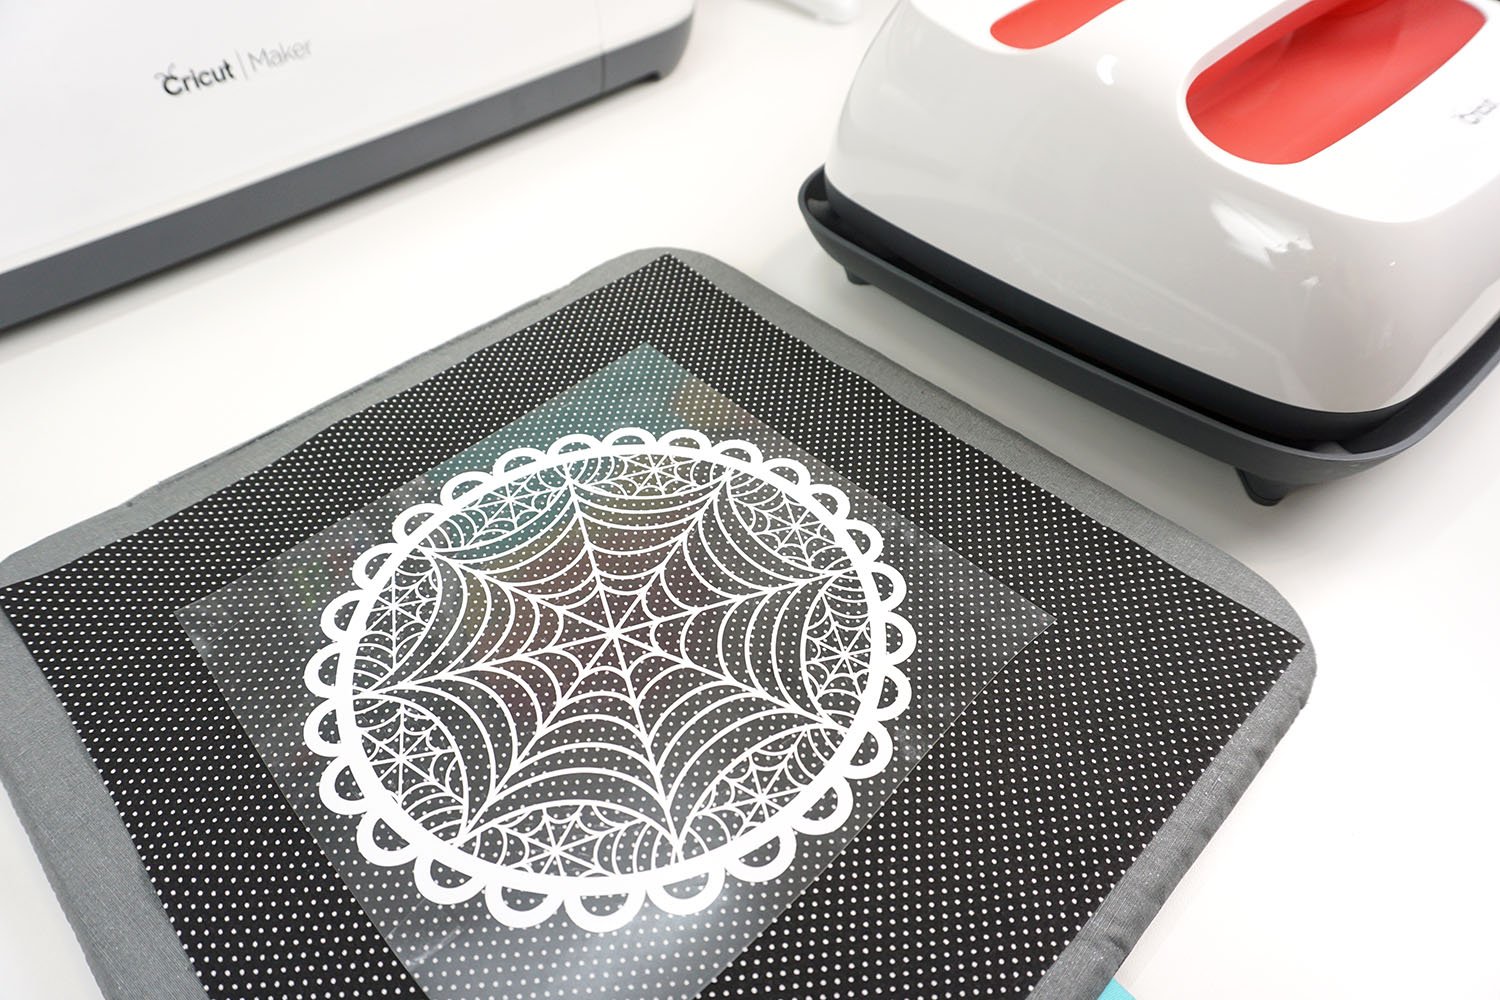
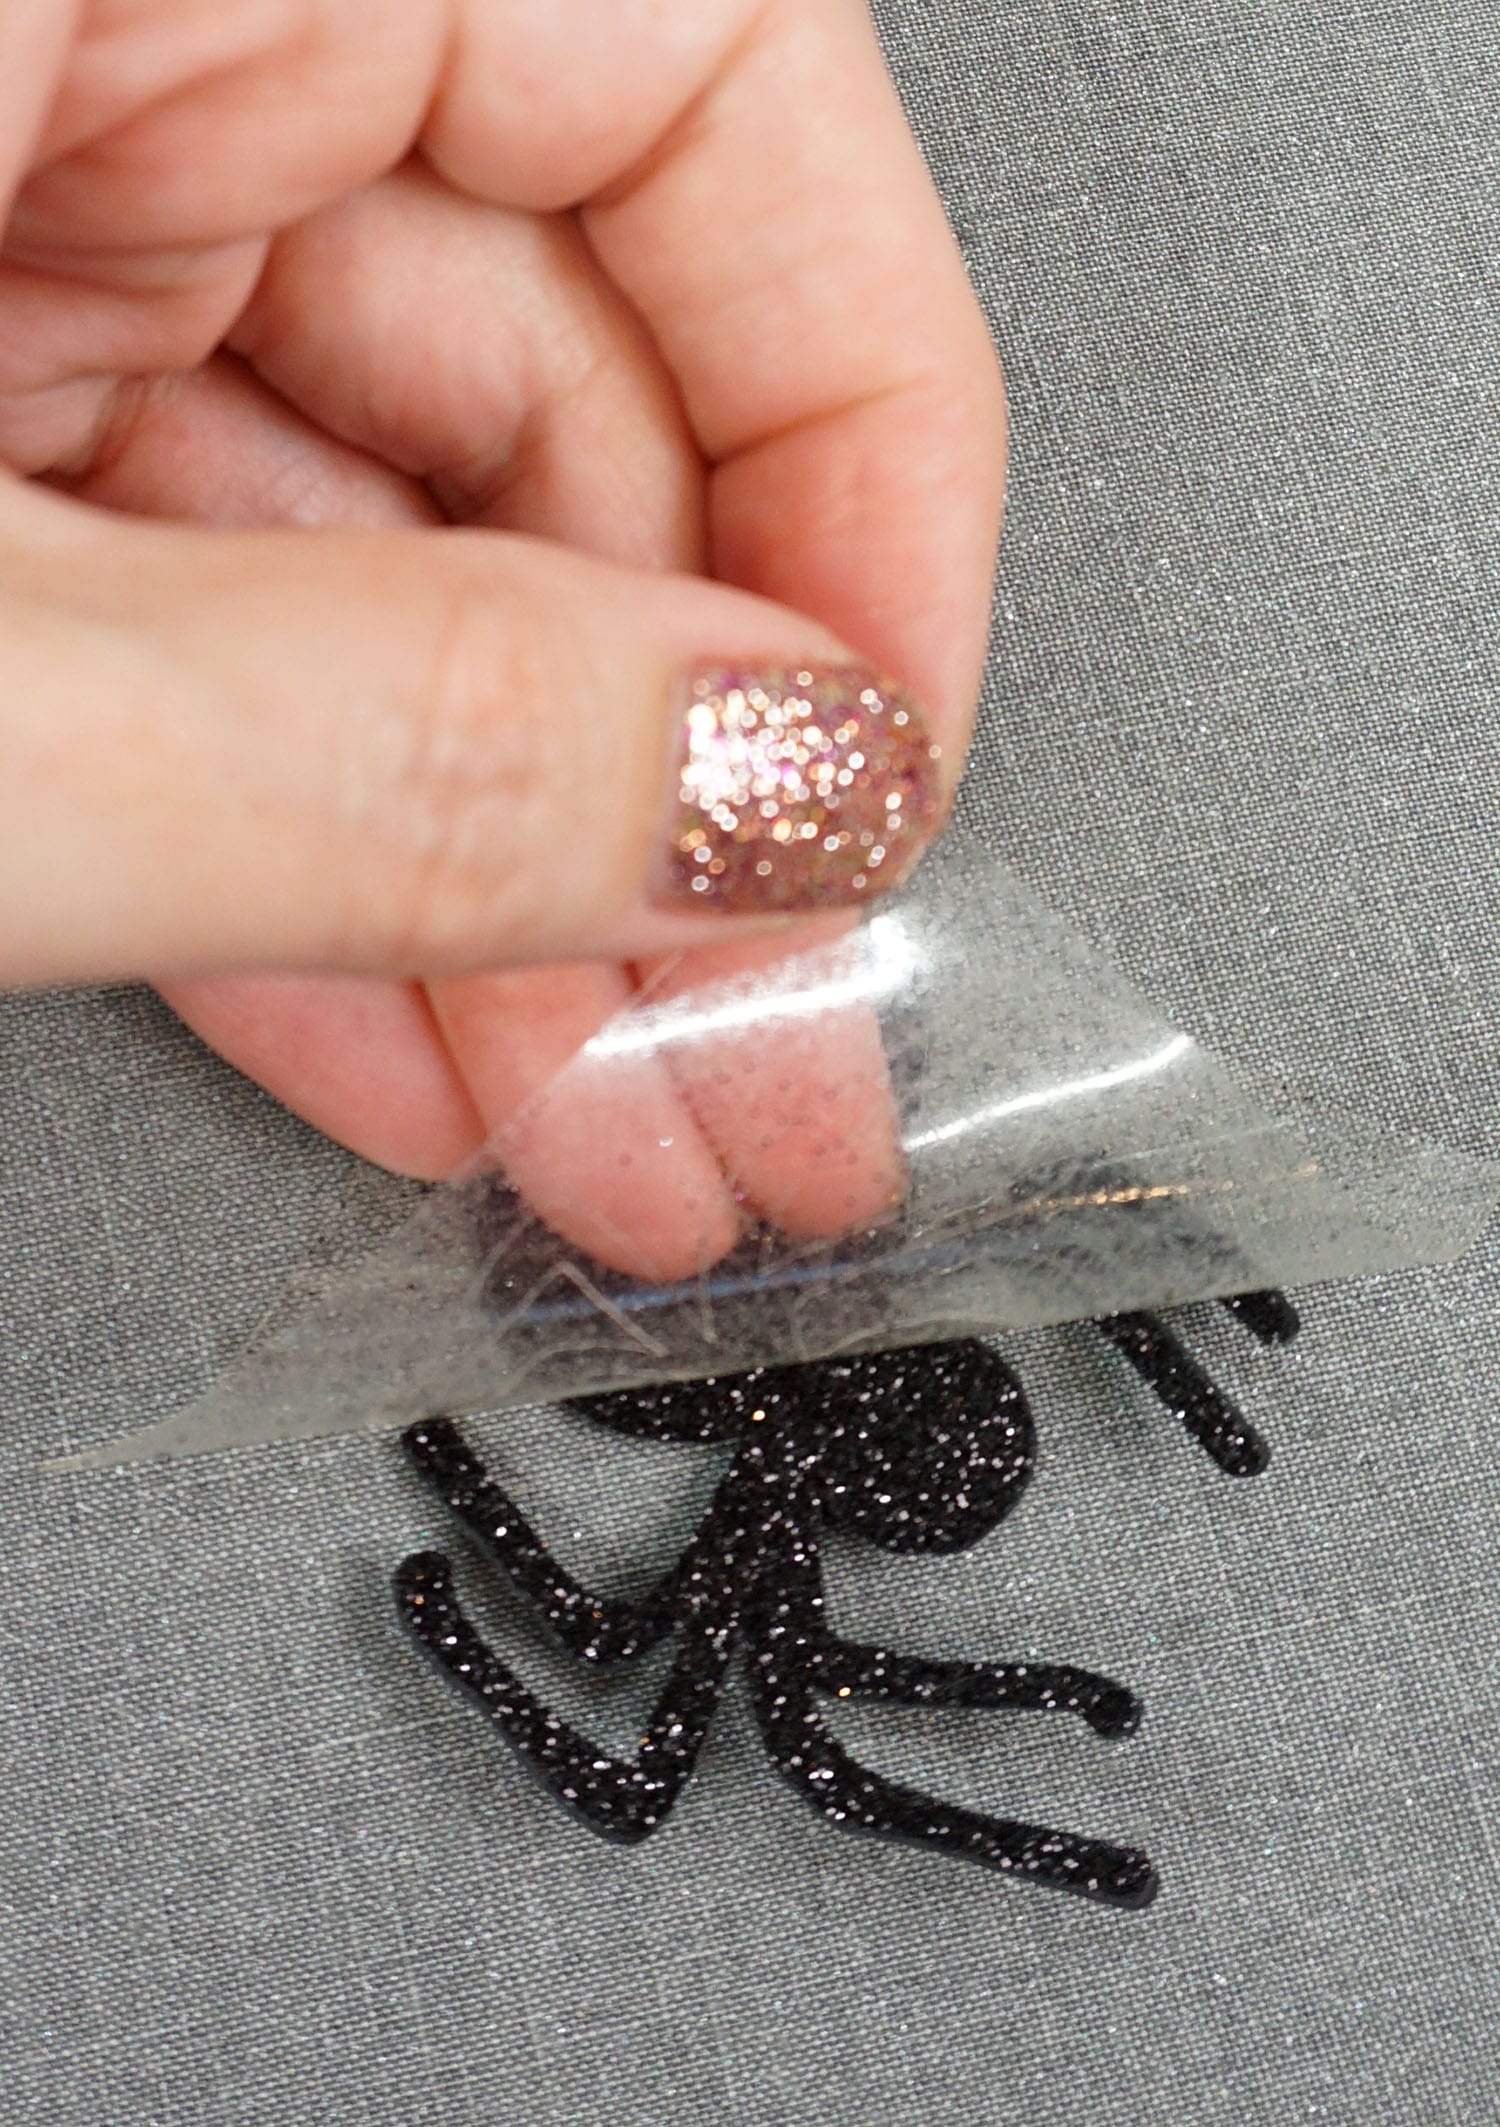
Press the spiderweb on to the dark fabric for 30 seconds. Flip over and press for an additional 15 seconds before peeling off the plastic backing paper.
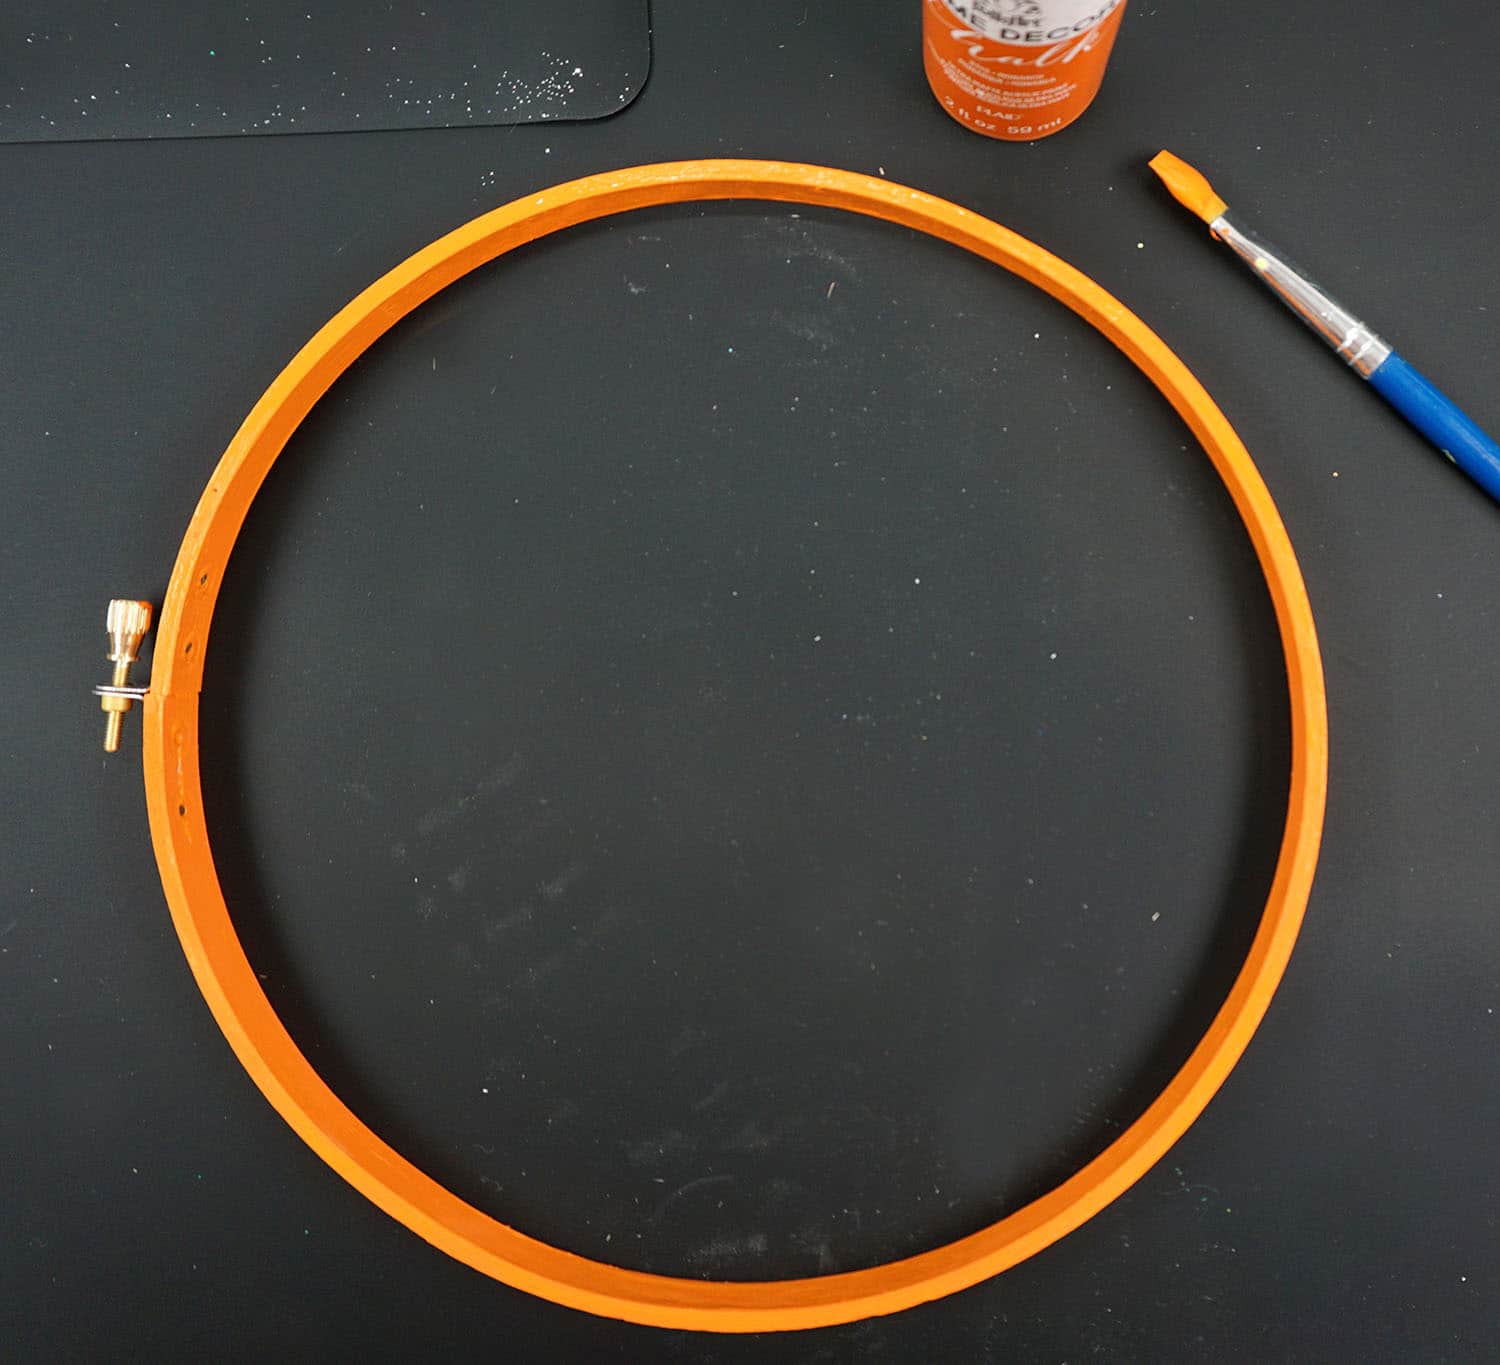
Paint the exterior ring of the embroidery hoop with a layer of orange paint. Allow to dry.
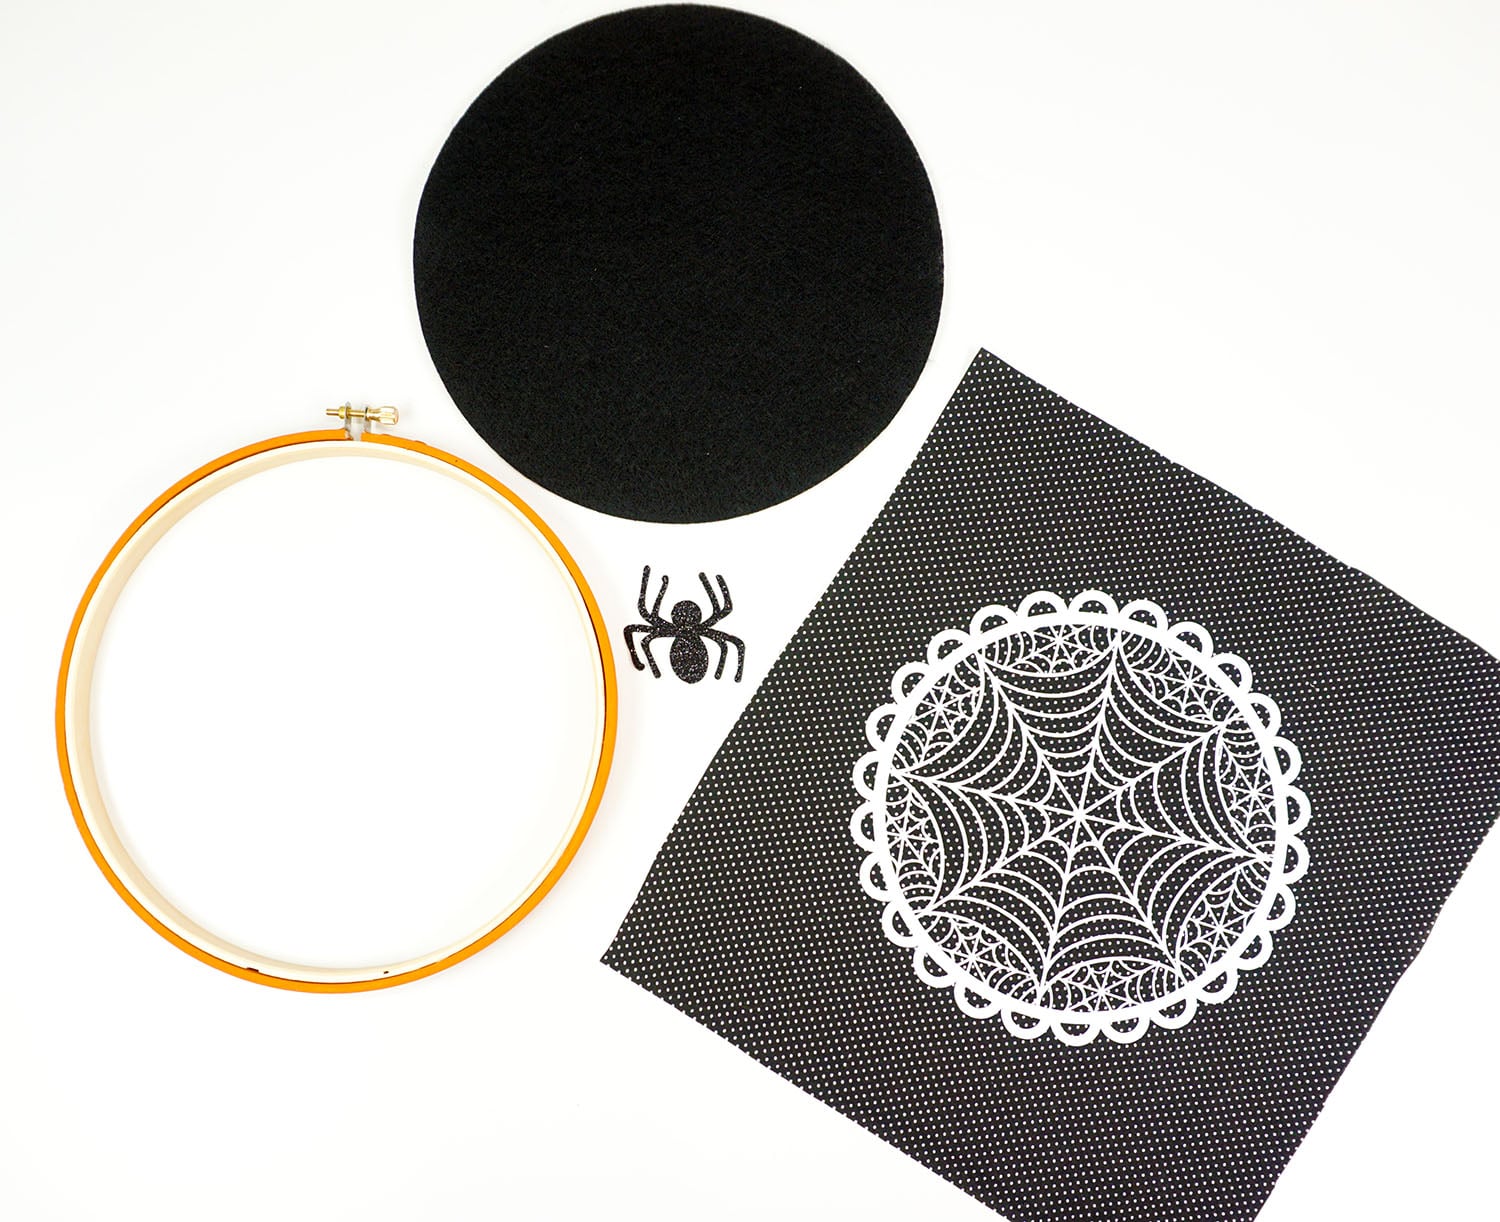
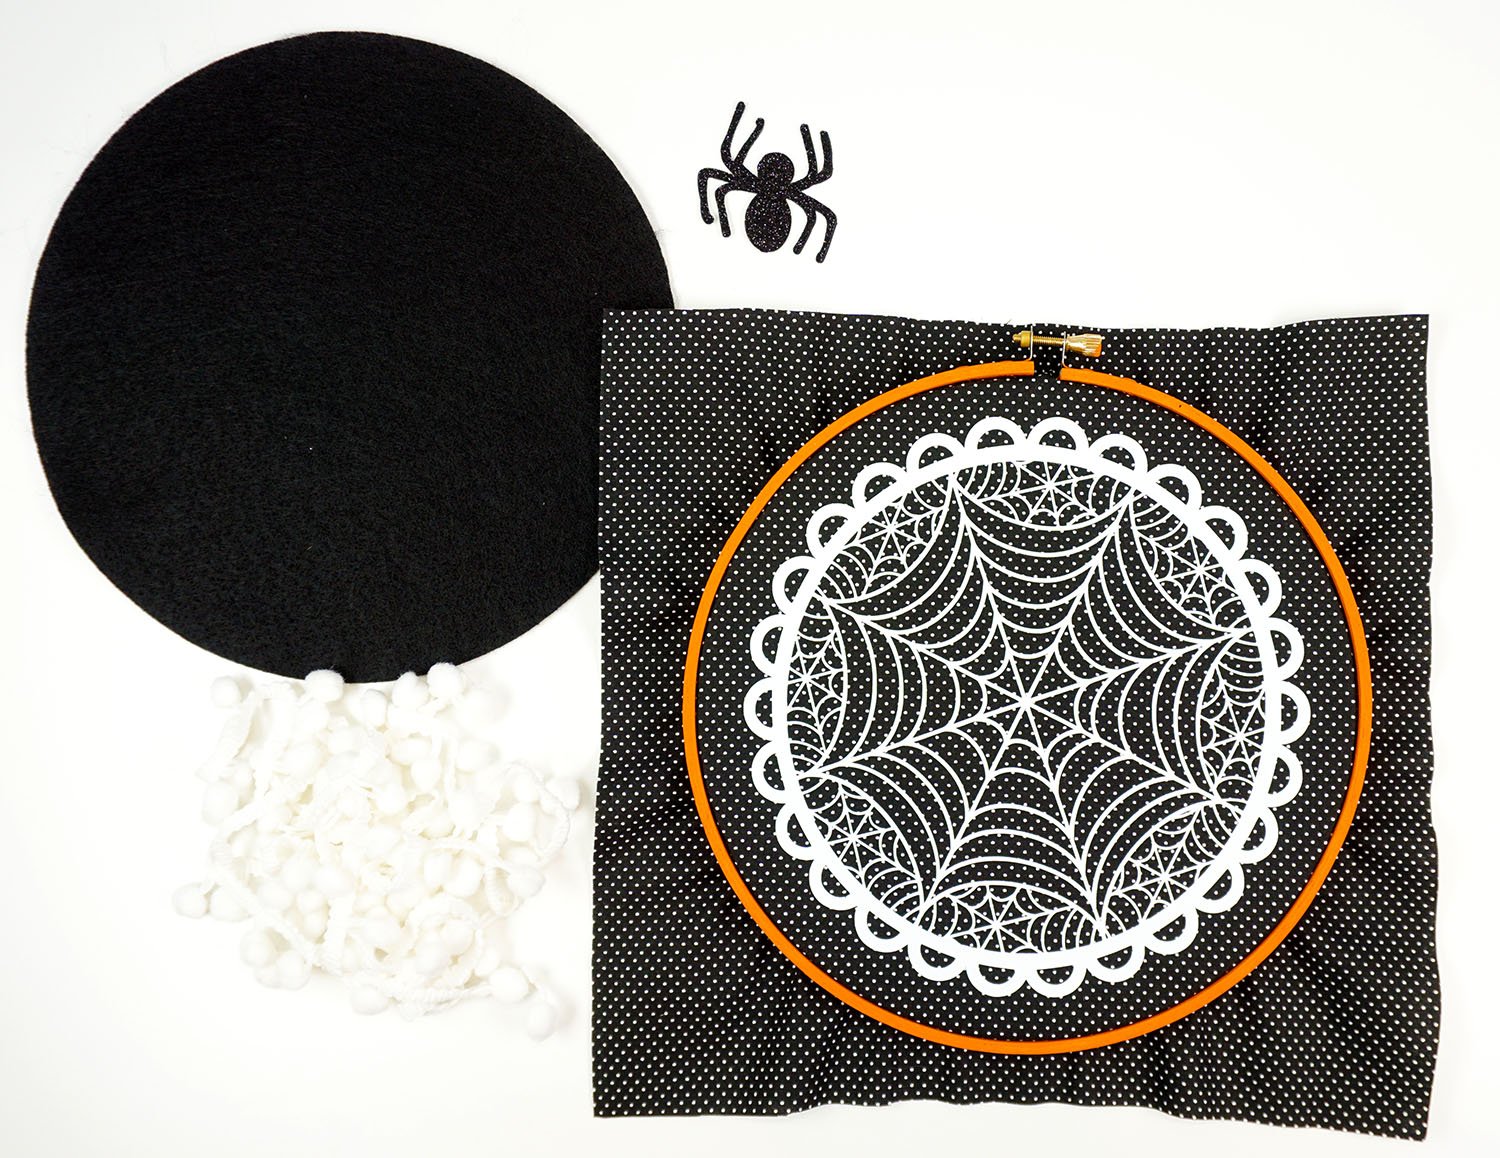
Gather all of your pieces – you should now have a double-sided sparkly spider, a spiderweb-decorated piece of fabric, a painted embroidery hoop, and a large felt circle.
Place the spiderweb fabric into the hoop and center the design.
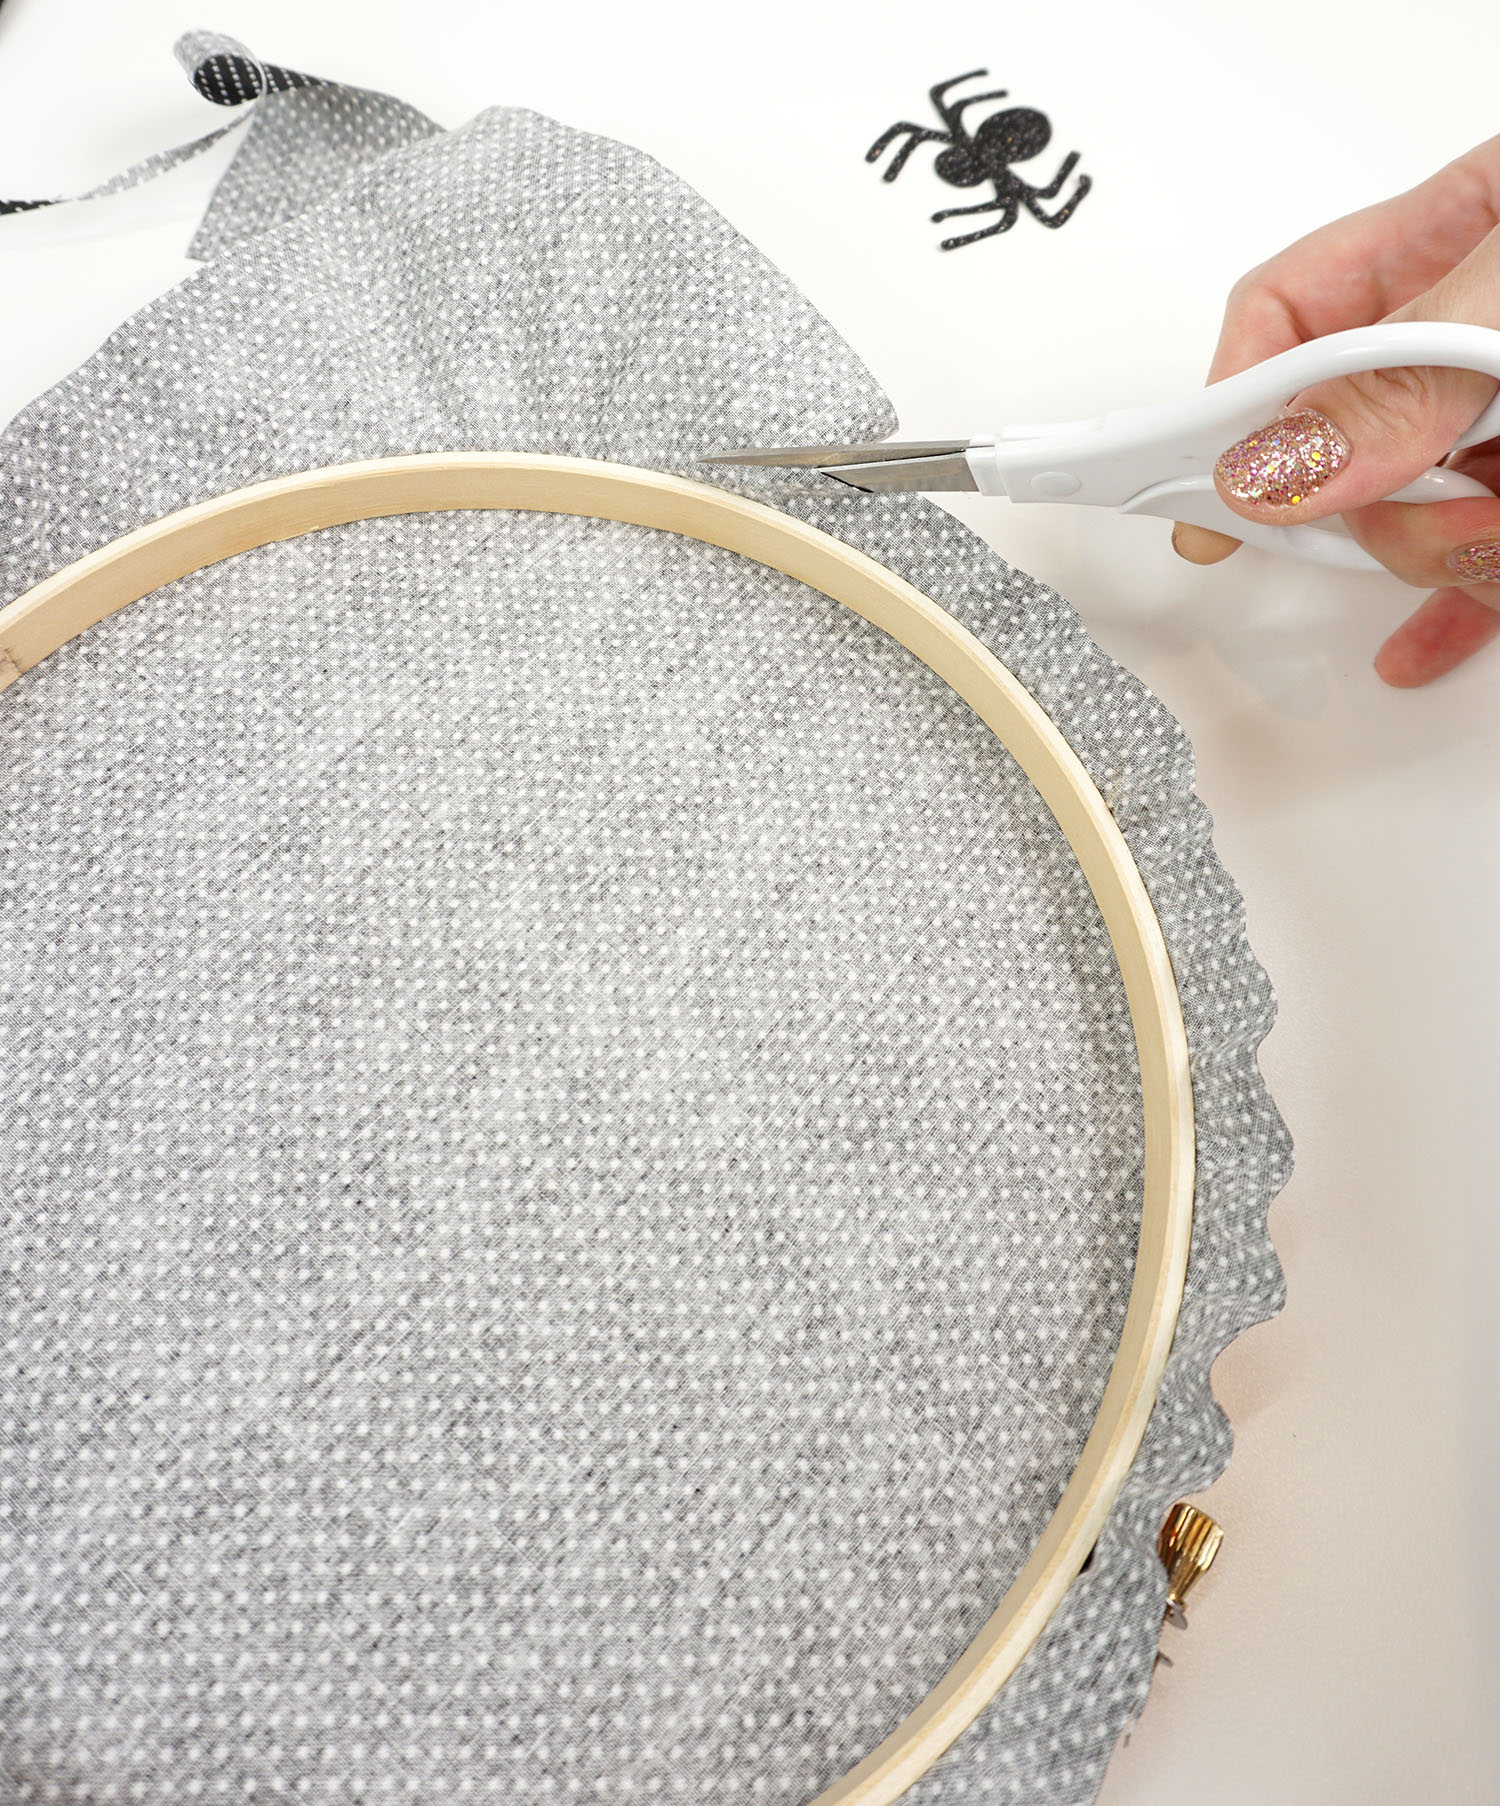
Trim the edges of the fabric so that they are approximately 1/2″ wide.
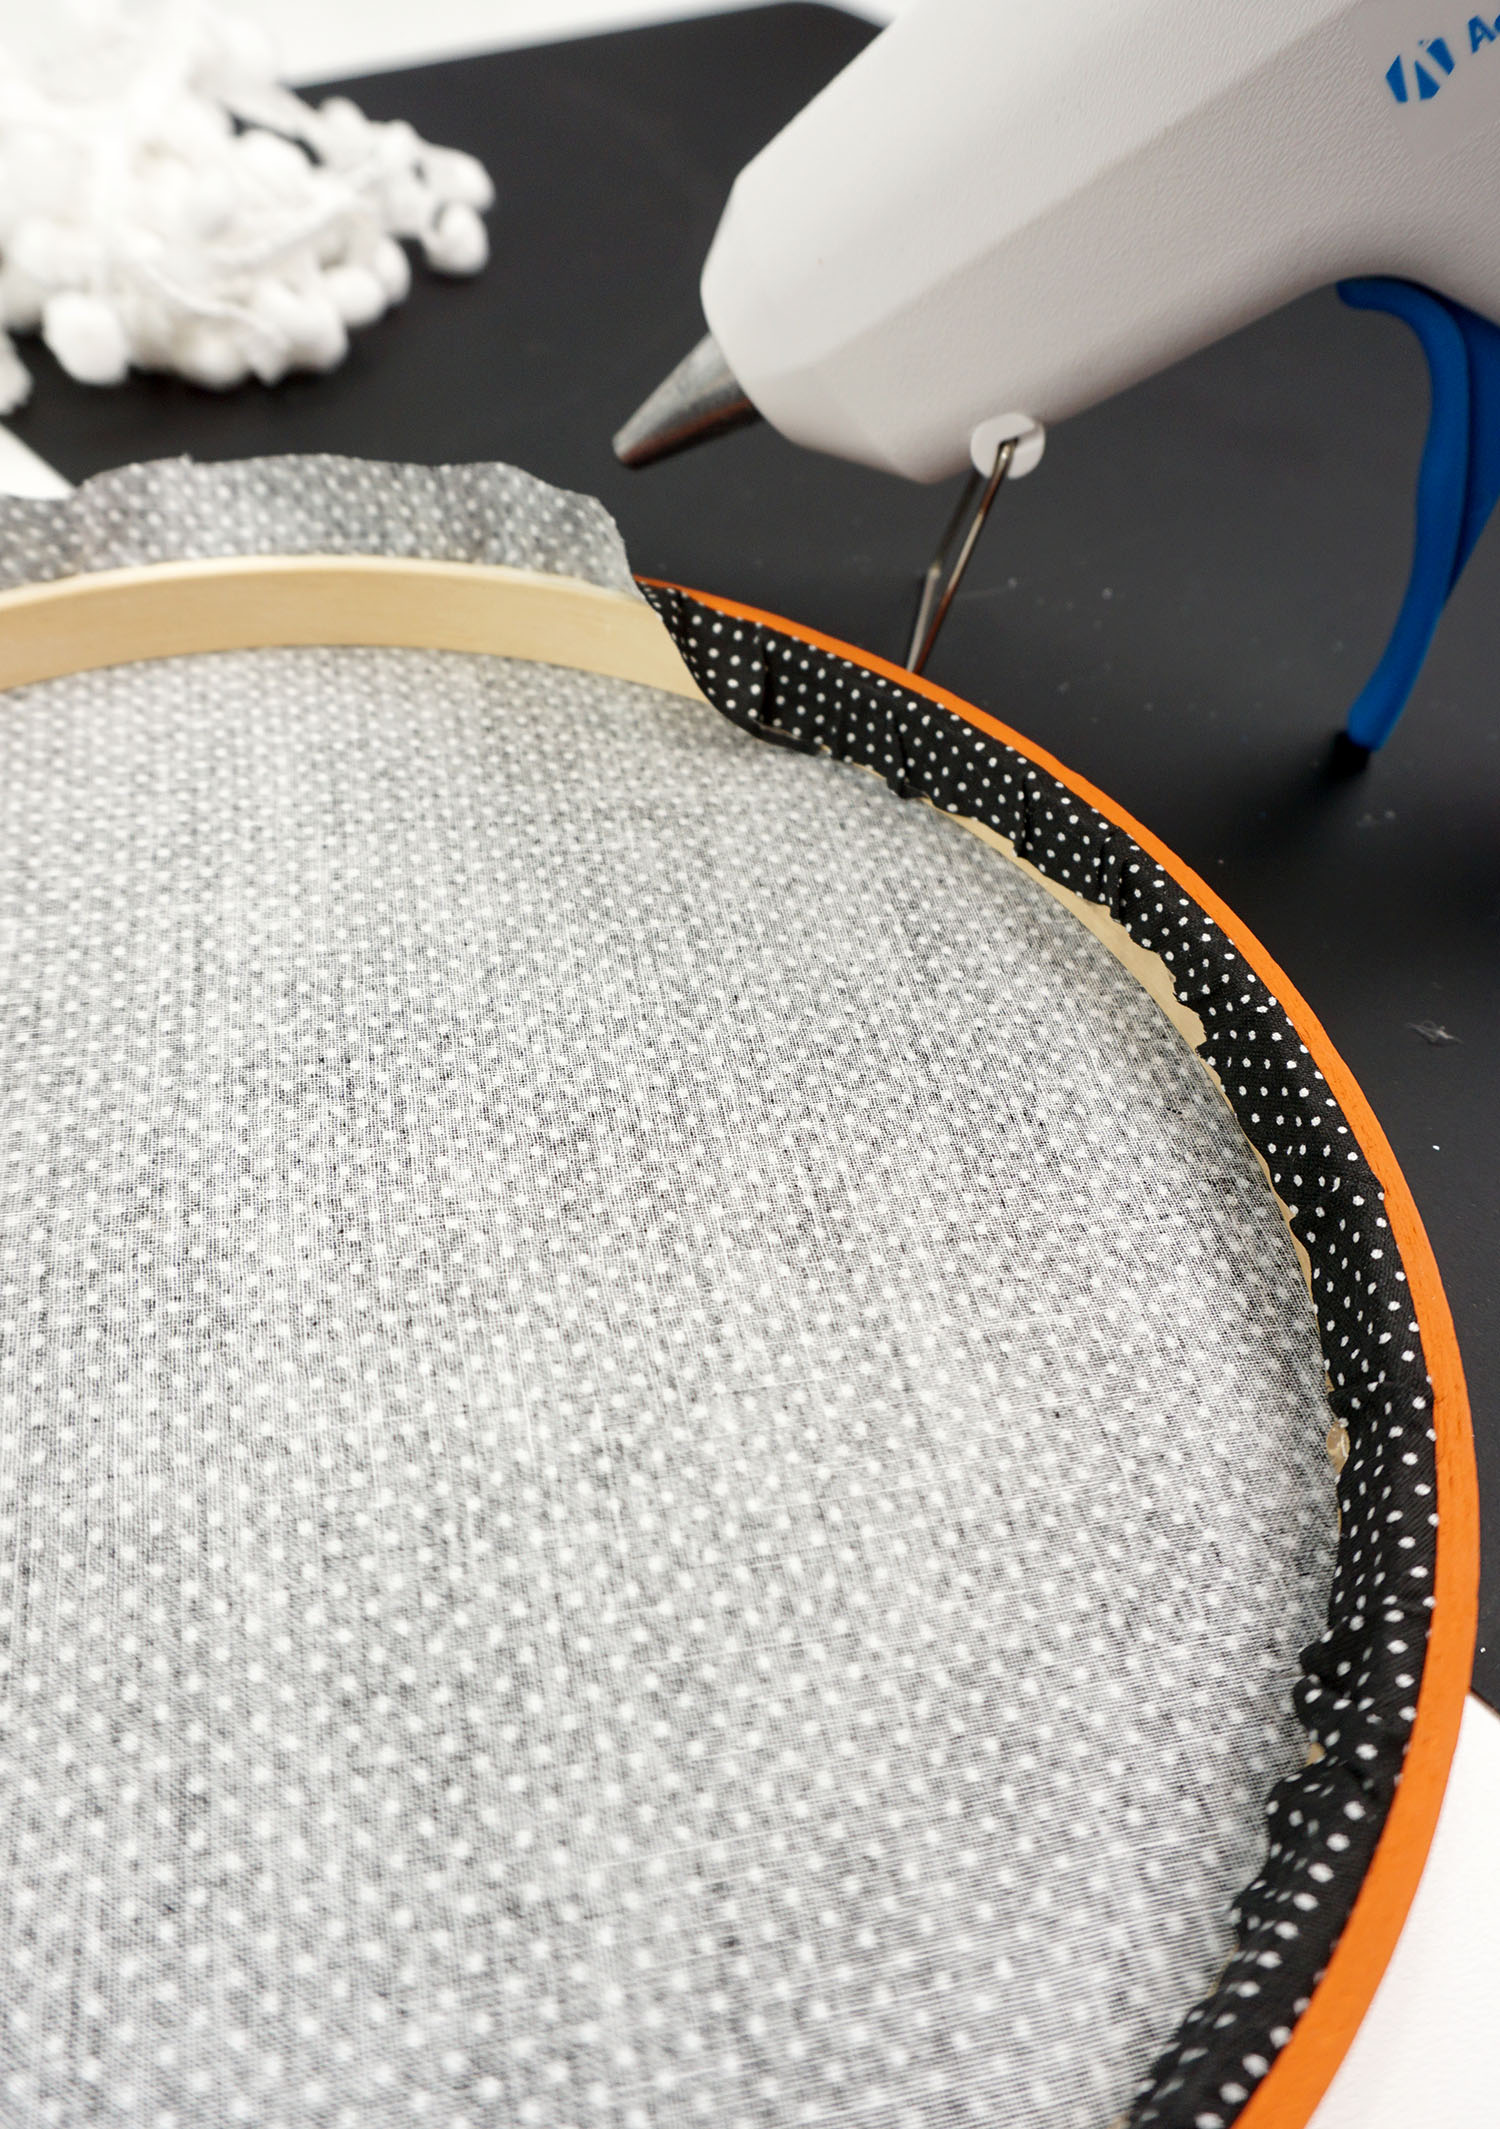
Use the hot glue gun to secure the extra fabric to the inside of the hoop.
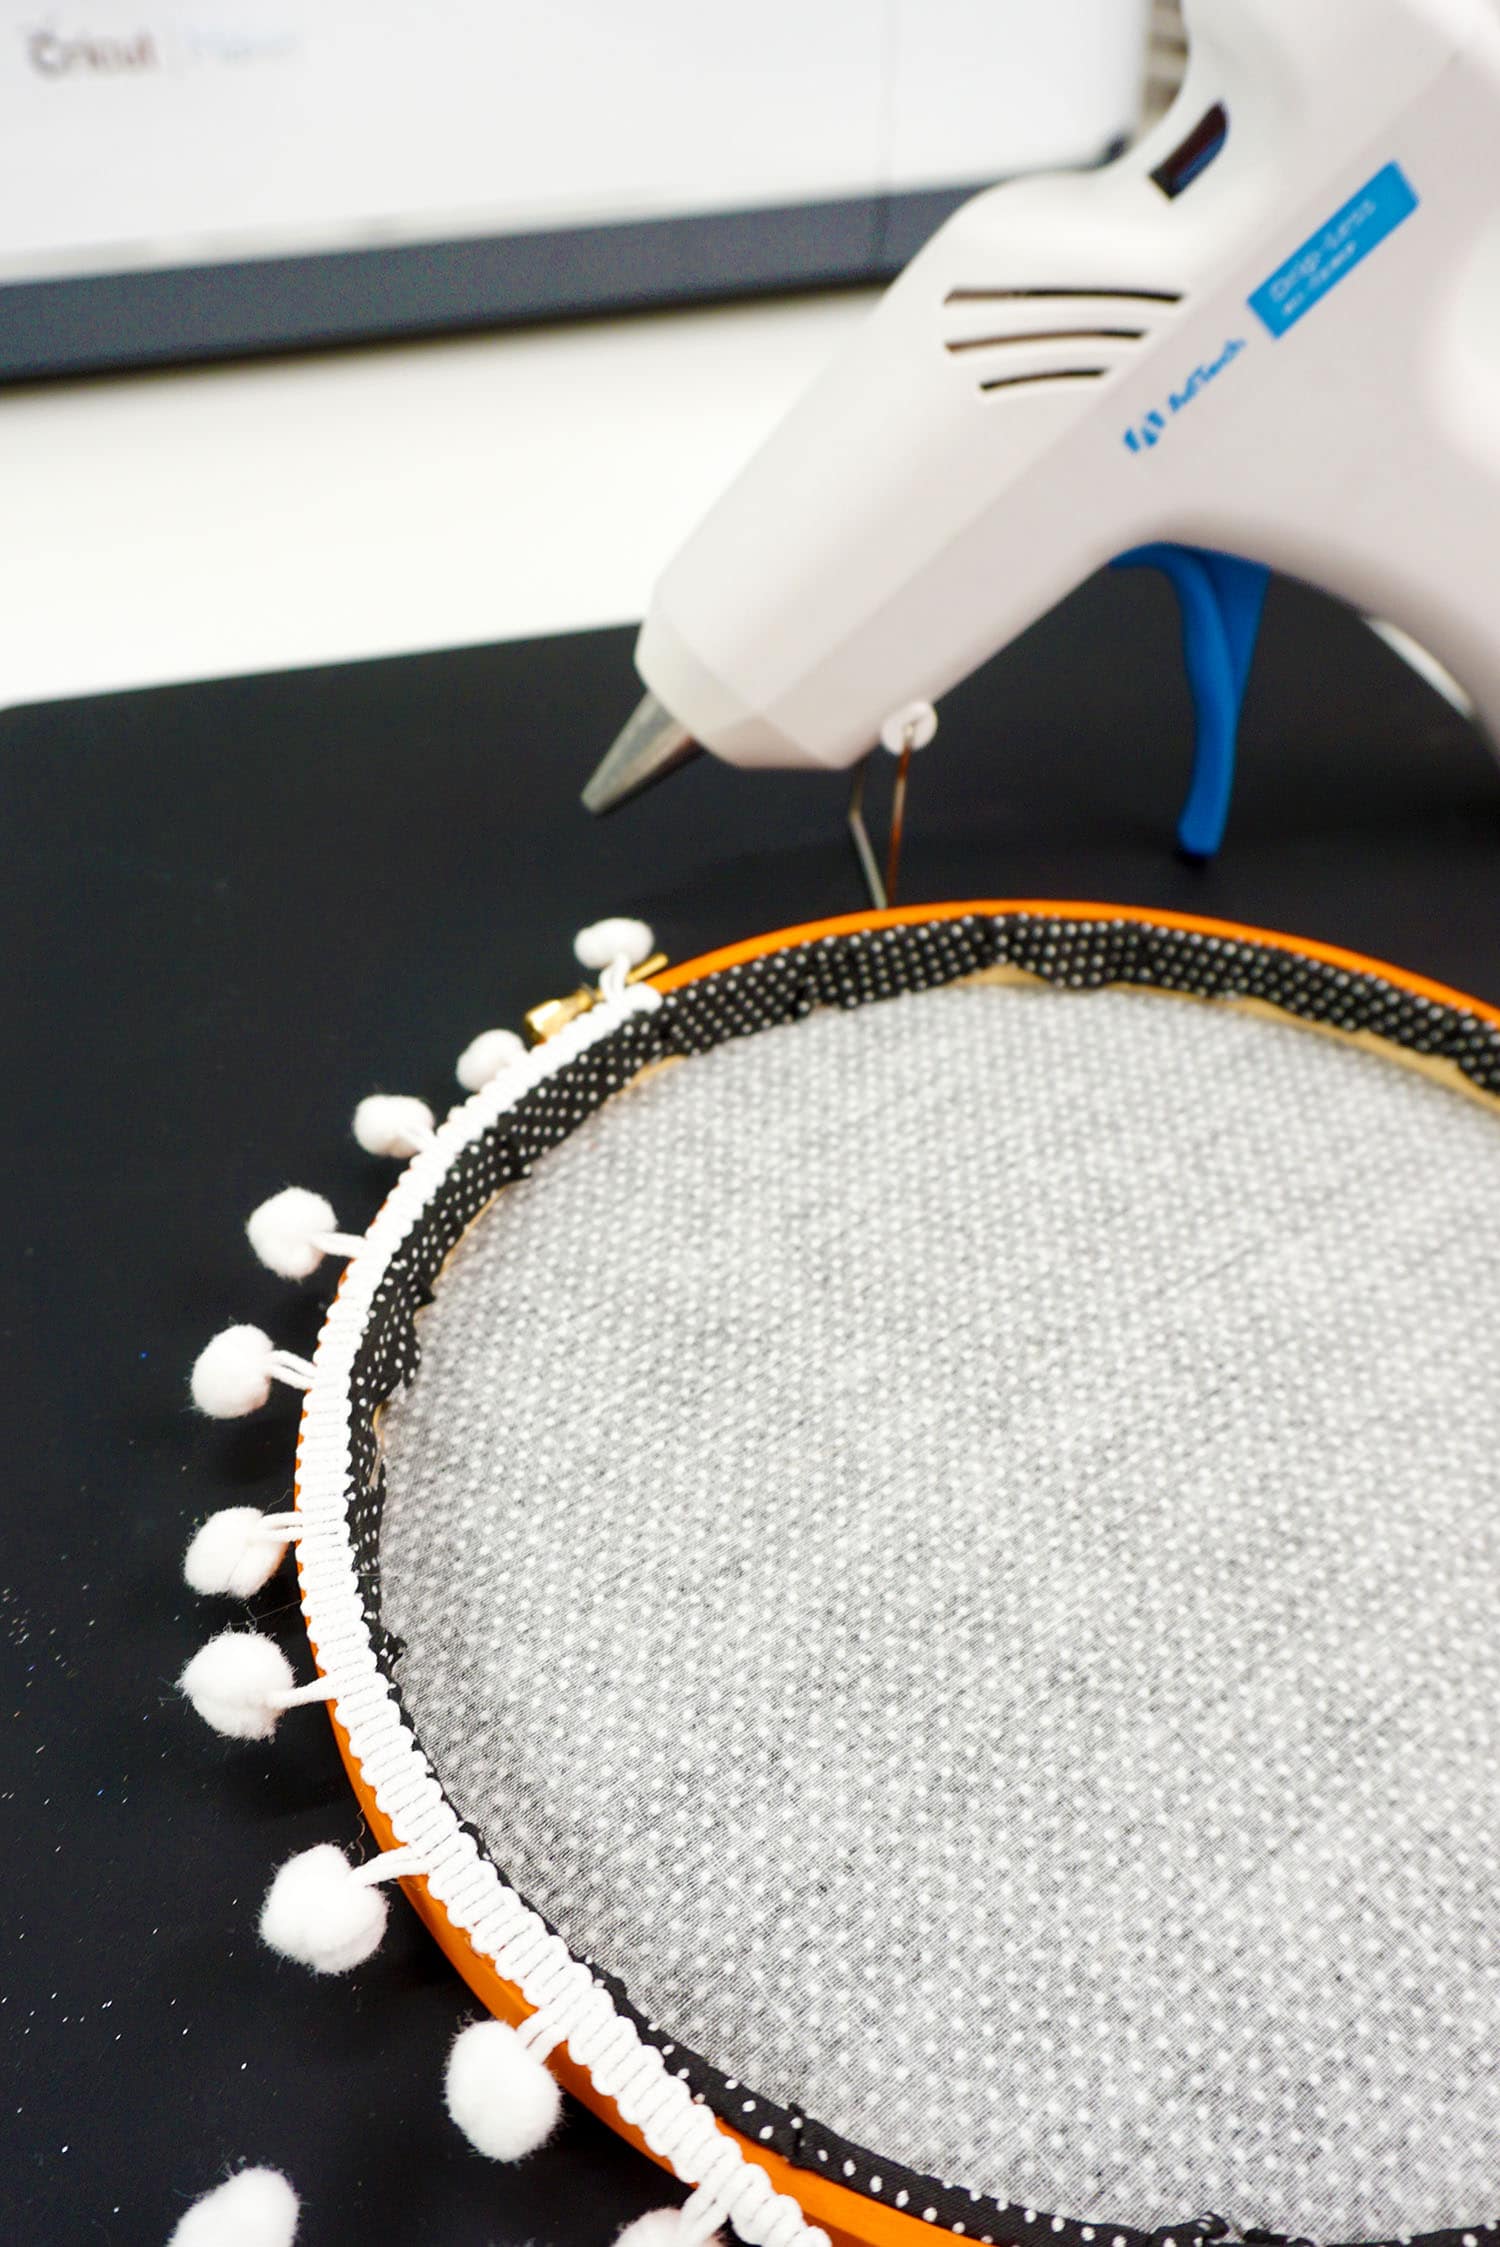
Use the glue gun to add pom pom trim to the back of the hoop if desired.

Use a sharp object (I used my Cricut Paper Piecing Tool) to poke a small hole into the spider’s bum and insert a short length of white embroidery floss. Tie a small knot on the end of the floss.
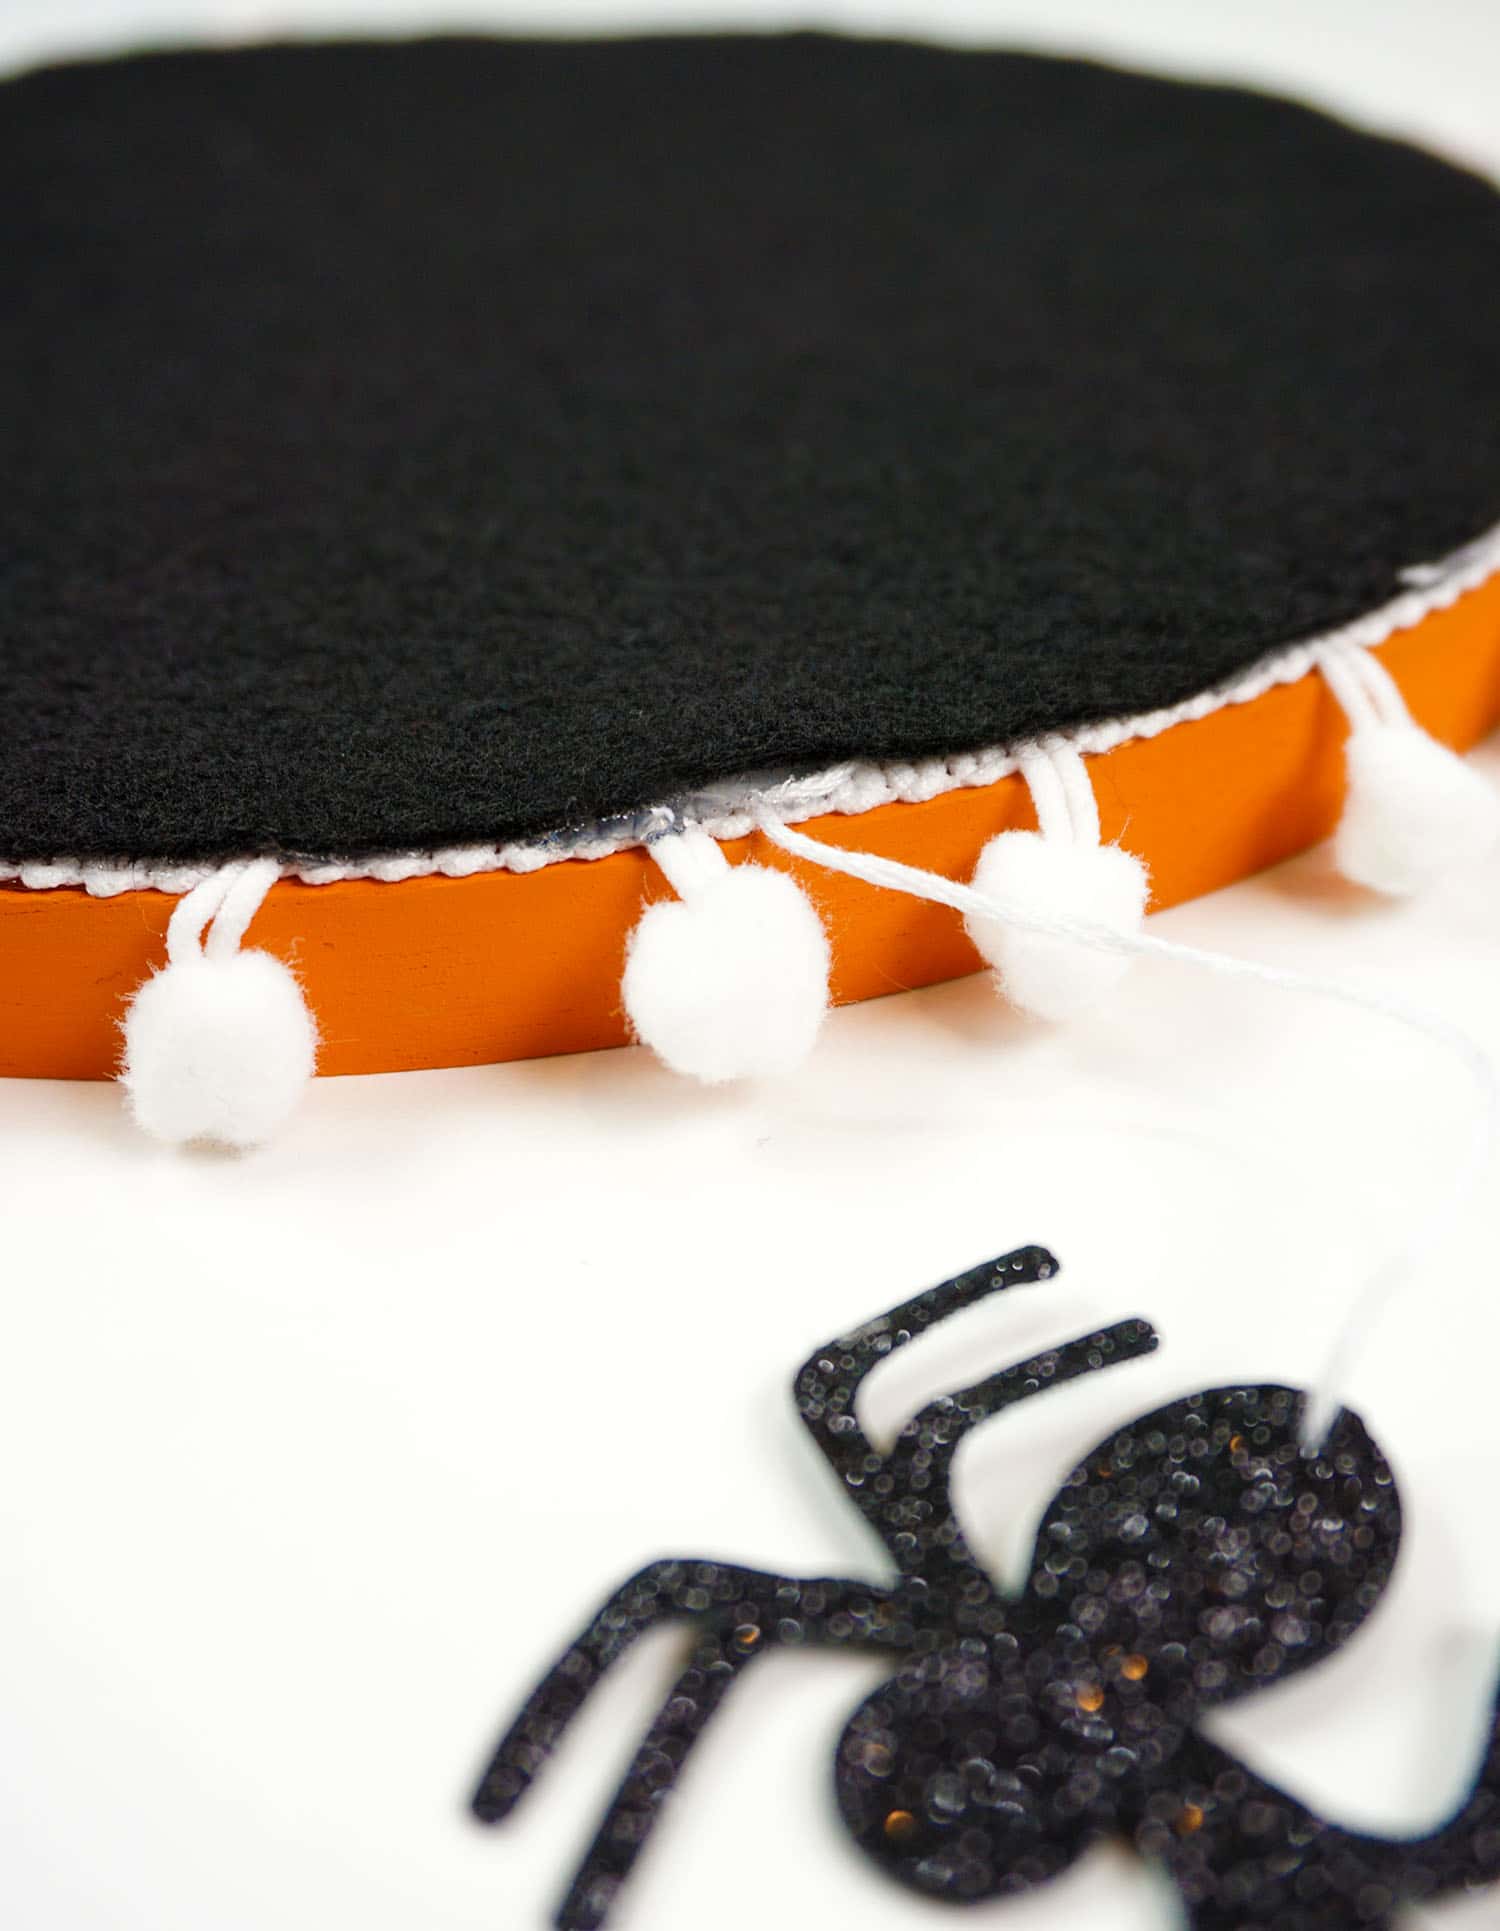
Add a dab of hot glue to the back of the hoop and secure the spider’s “web” of white embroidery floss to the hoop.
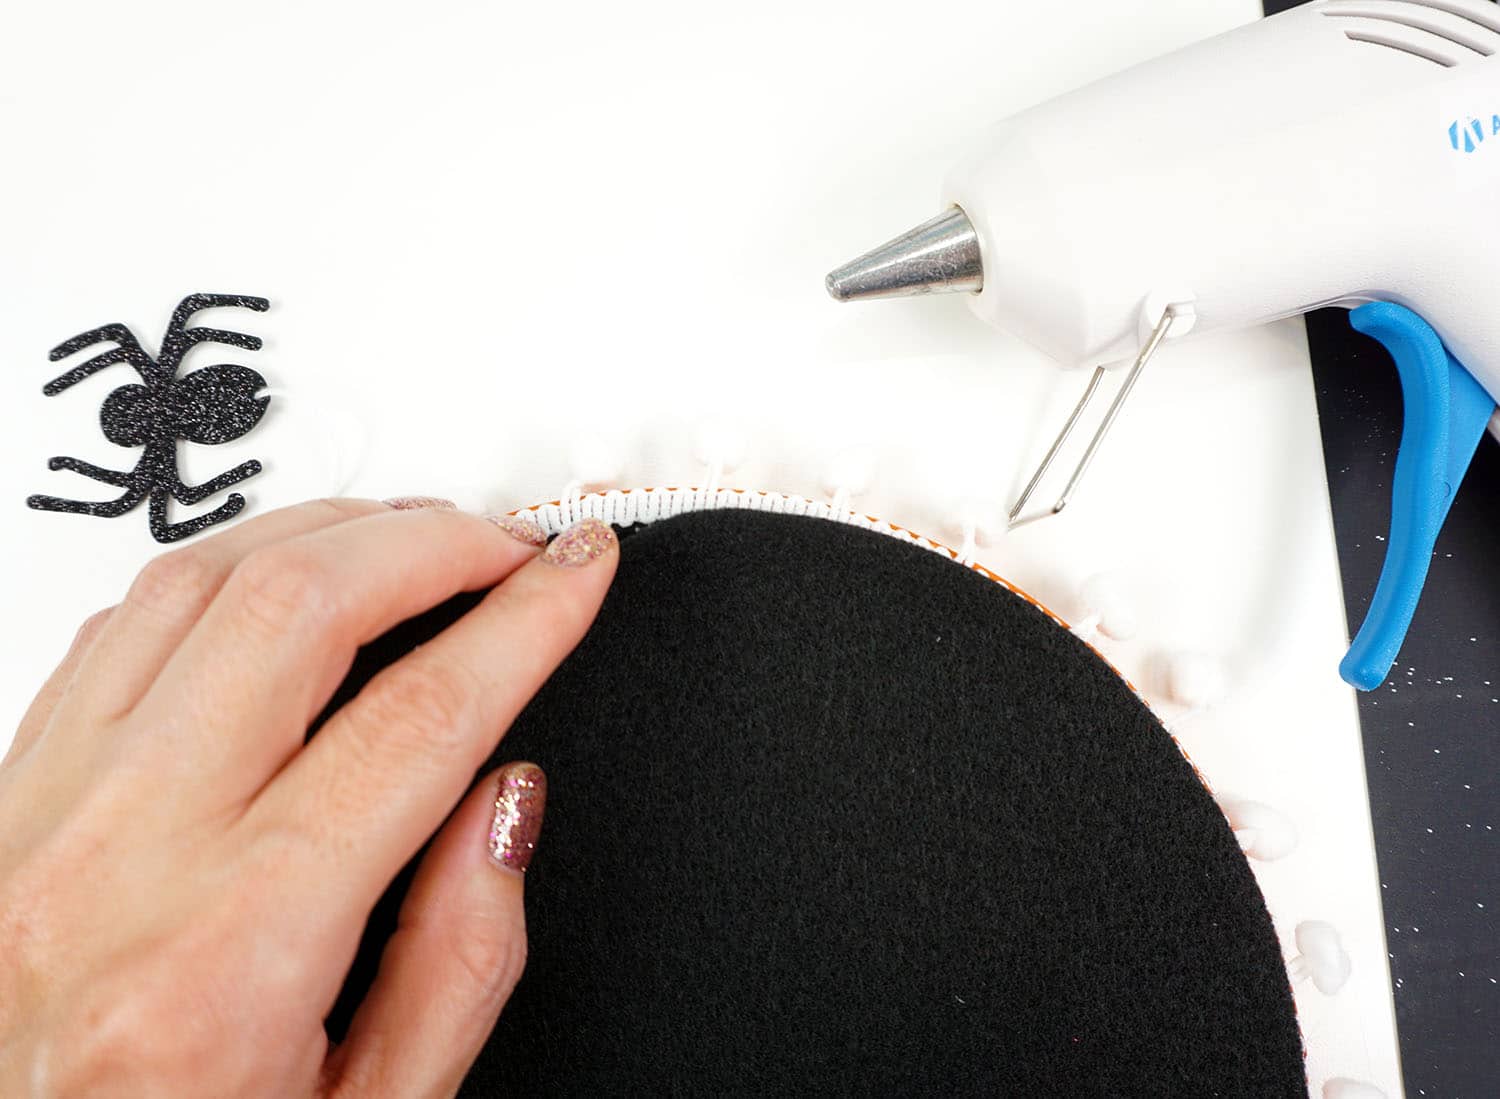
Use the hot glue gun to glue the black felt circle into place and neatly cover the back of the hoop.
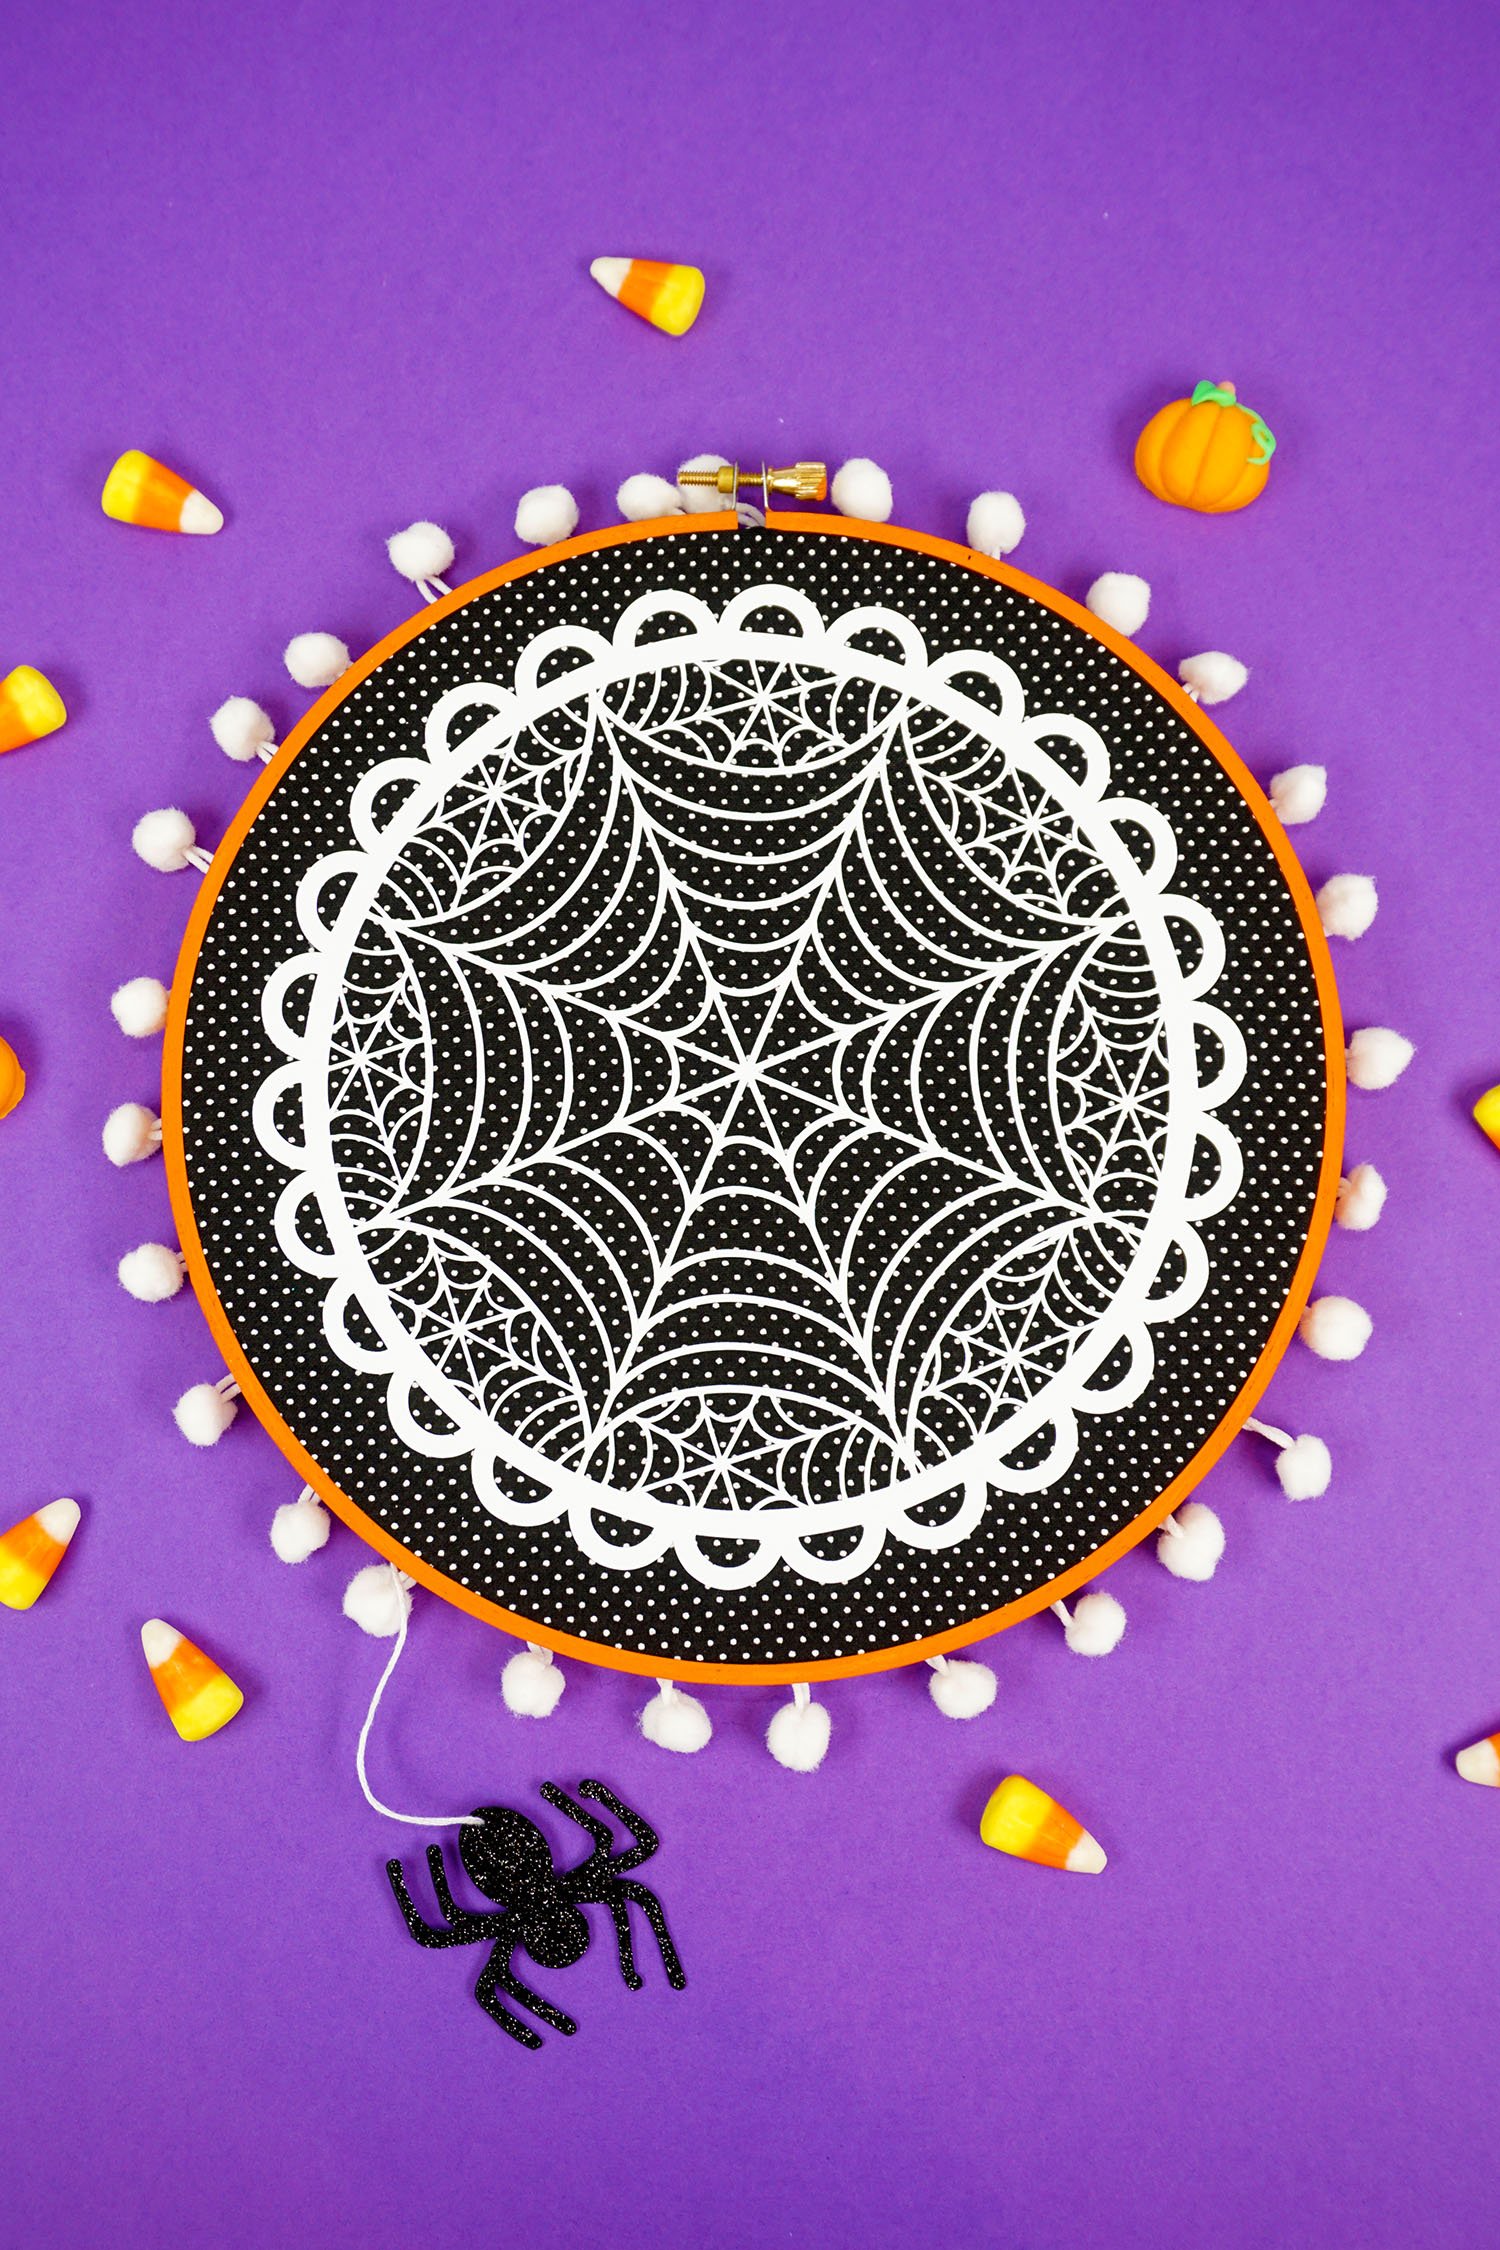
Easy peasy and super cute!
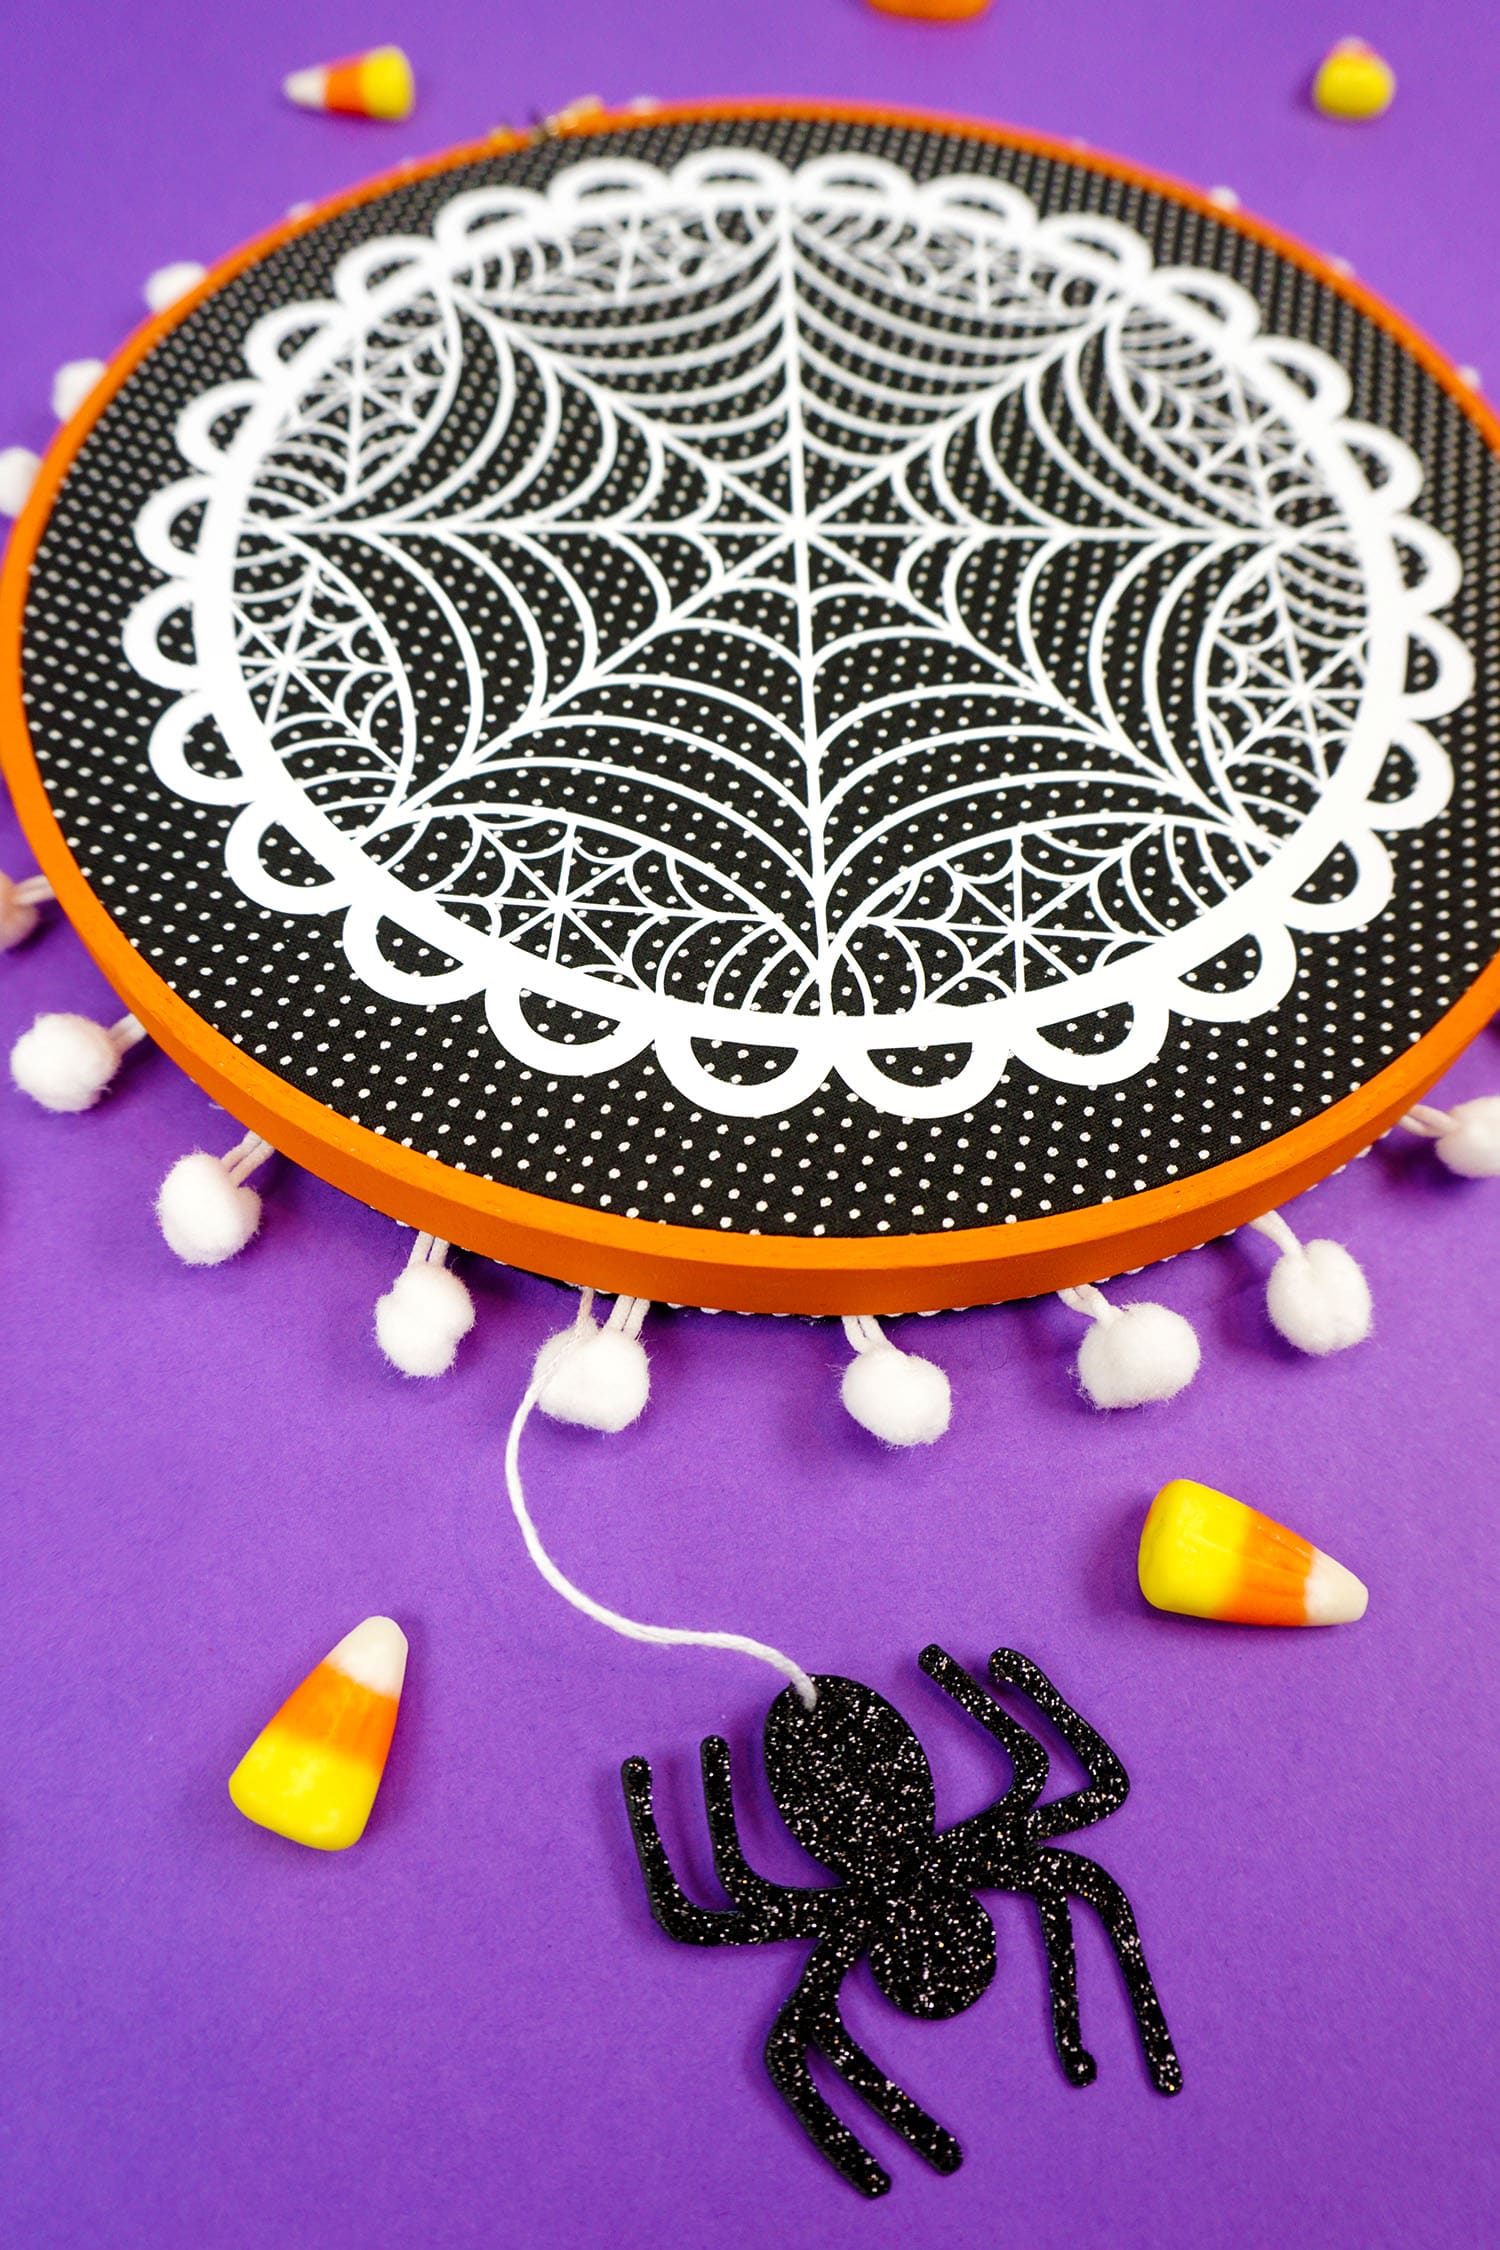
I love how sparkly this little spider guy is!
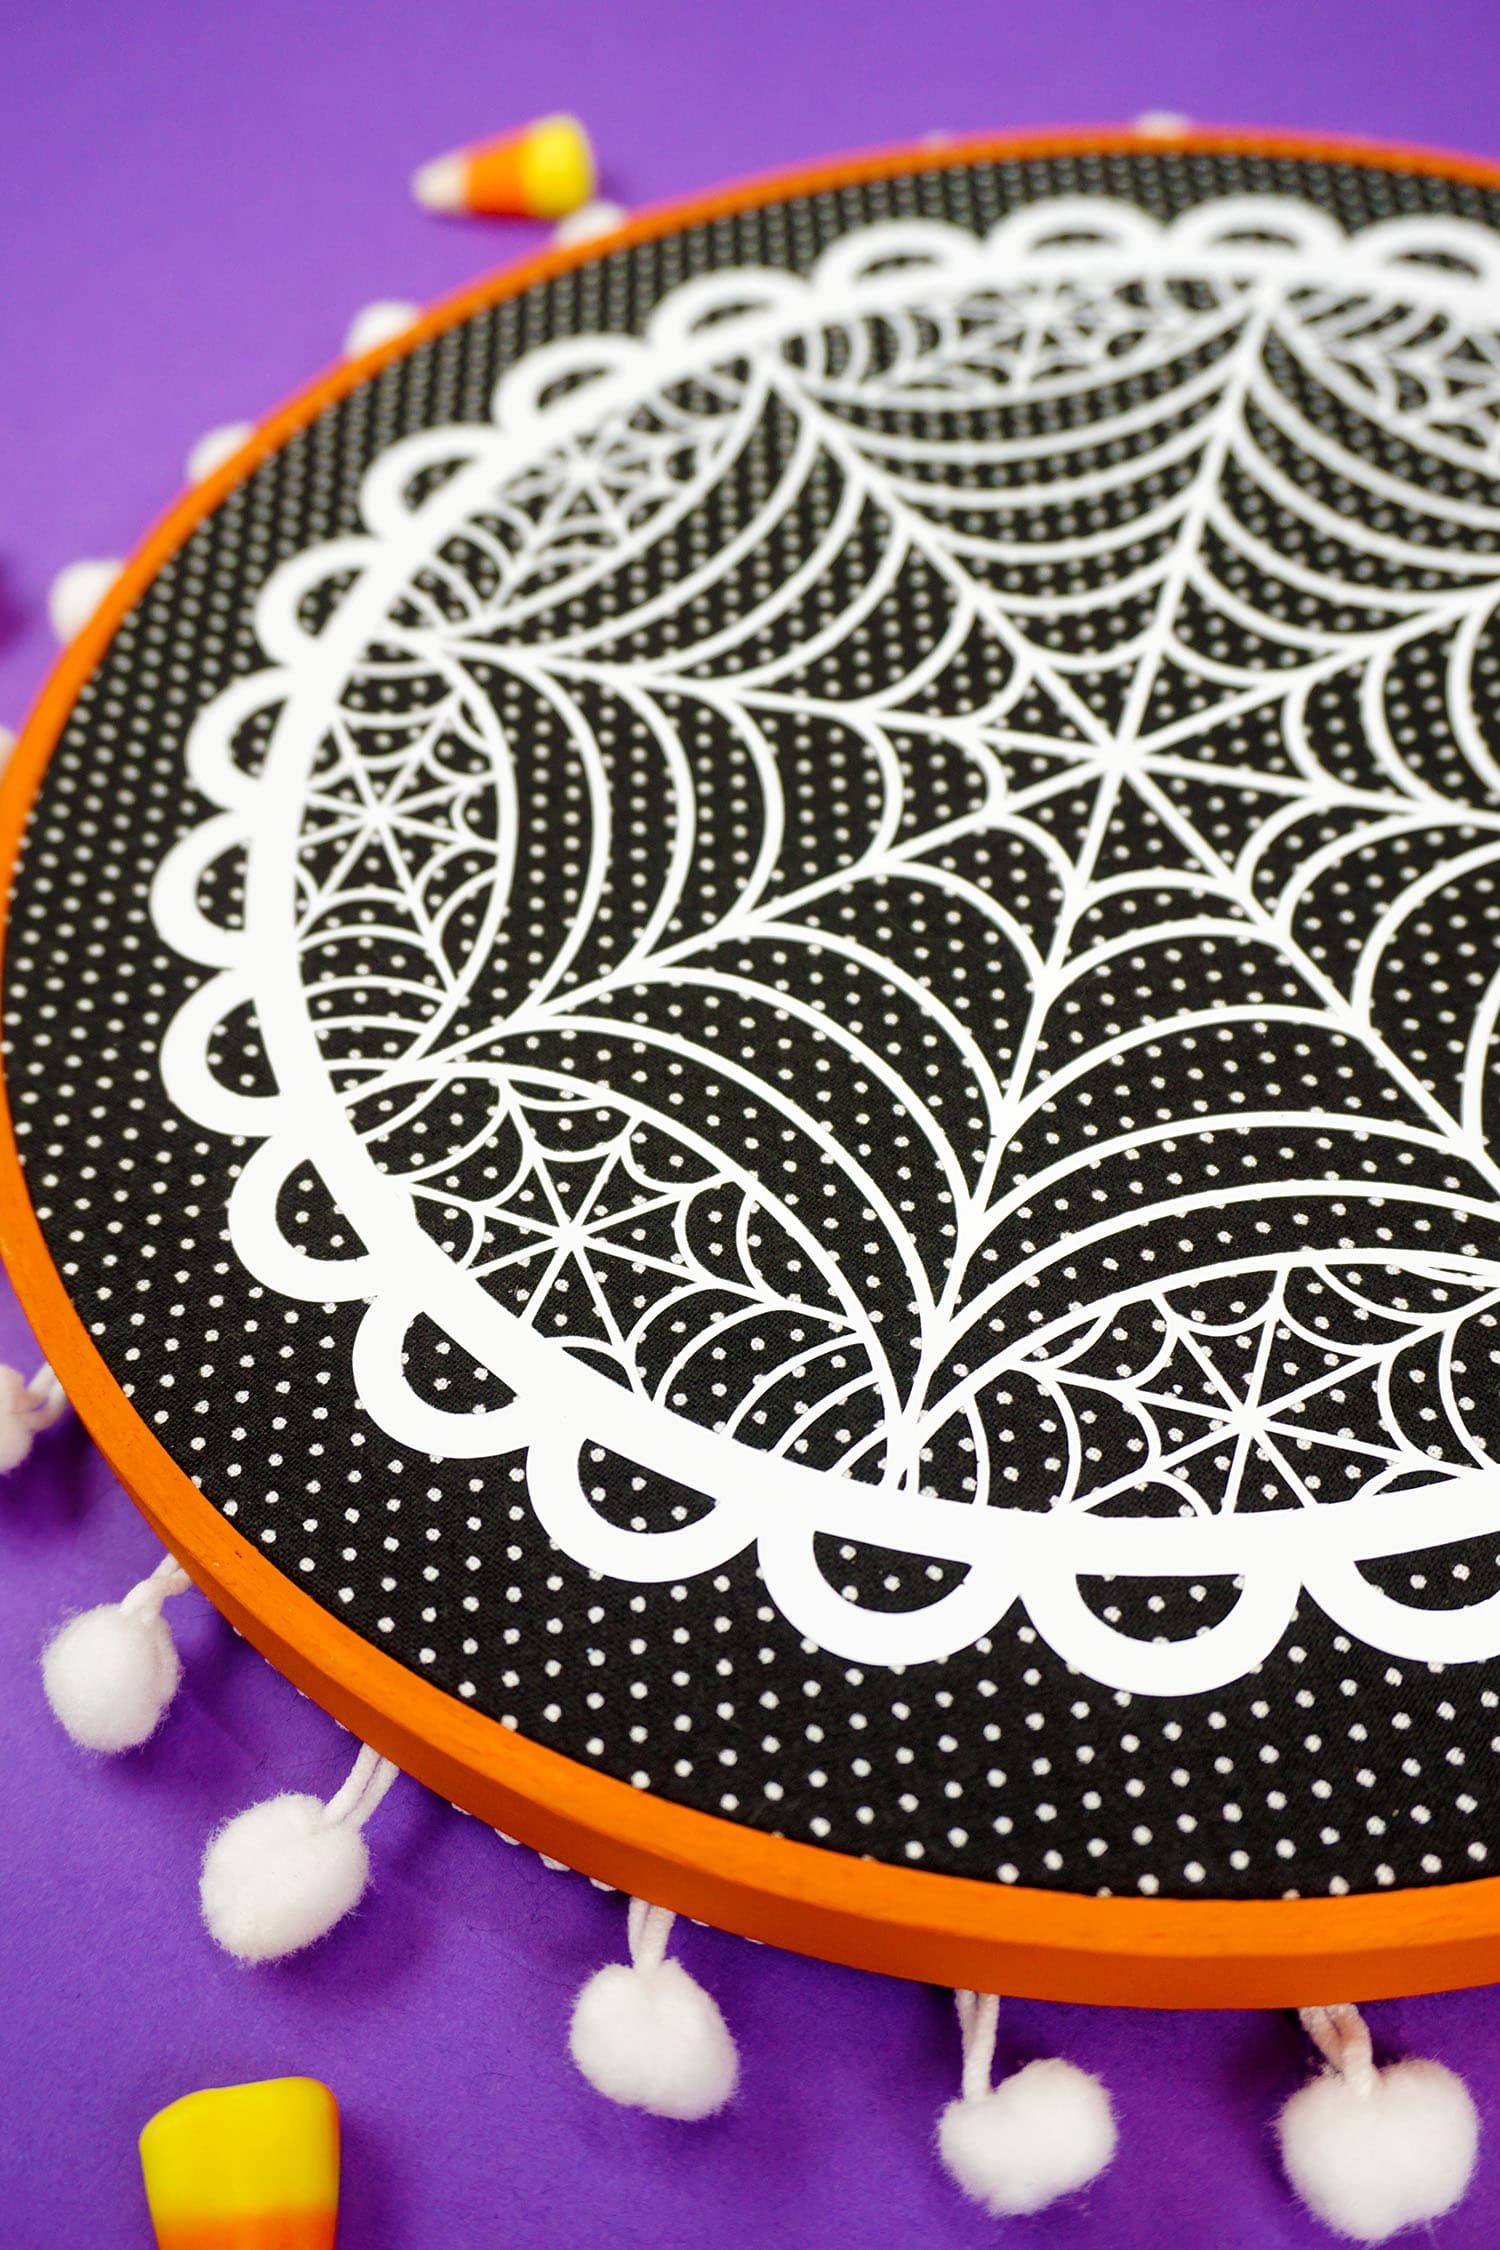
And the pom pom trim adds an extra layer of fun and cuteness, don’t you think?!
I’m feeling inspired to make cute holiday hoop art for ALL of the holidays now! What do you think I should make next? Let me know in the comments below!

This is a sponsored conversation written by me on behalf of Cricut. The opinions and text are all mine.

Pin this Halloween Hoop Art for Later!

Heidi Kundin has captivated the hearts of millions with her colorful and inspiring approach to crafting, celebrations, and family fun. With over 15 years of experience, Happiness is Homemade has become a must-visit destination for those seeking quick and easy creative ideas and last-minute solutions. Heidi’s warm personality shines through her posts, inviting readers to join her on a creative journey that’s fun, rewarding, and achievable. Heidi is also the author of Homemade Bath Bombs & More and DIY Tie-Dye.