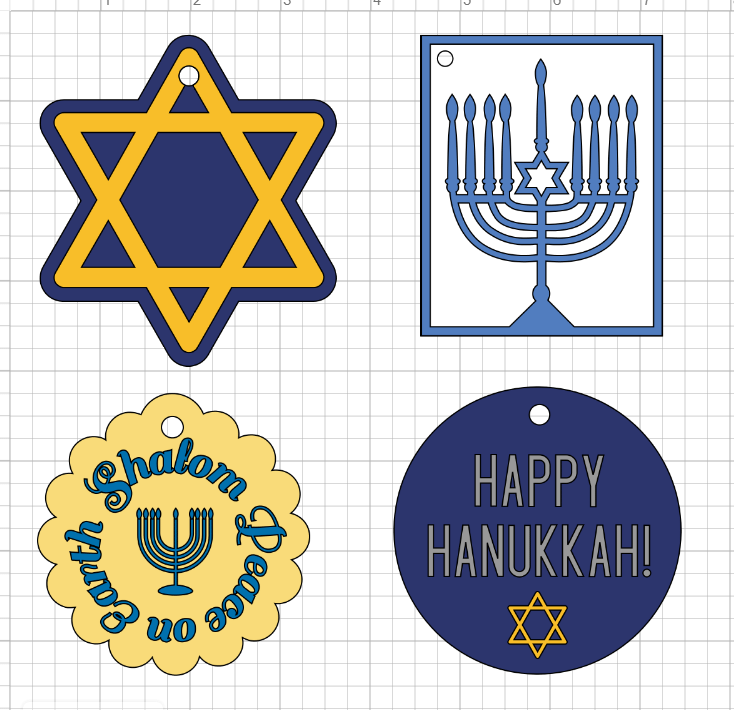
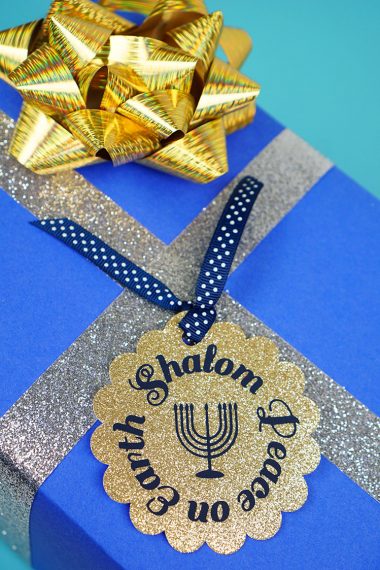
It’s easy to add a touch of sparkle and shimmer to your holiday presents with these metallic, glitter, and leather Hanukkah gift tags! Get the cut file for Cricut Design Space and start making your own gift tags for all of your Hanukkah presents!
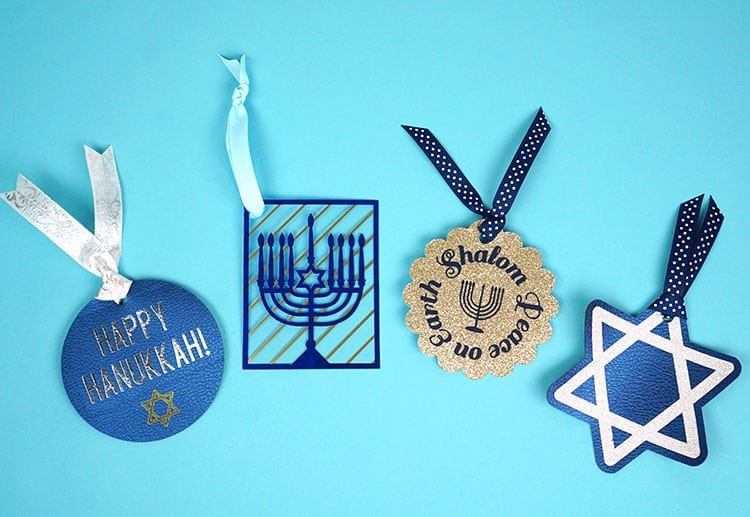

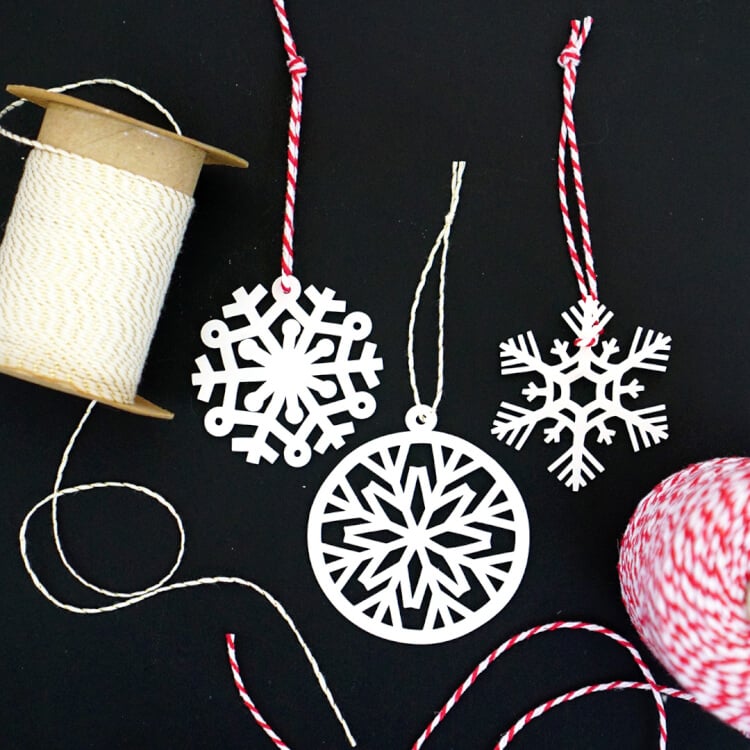
Last year we used our Cricut machine to create fun Shrinky Dink Snowflake Ornaments that doubled as cute gift toppers, and this year I wanted to create something special for our Hanukkah gifts. I picked up some metallic, glittery, and shimmery Cricut materials, and I created these layered Hanukkah gift tags to top our presents.
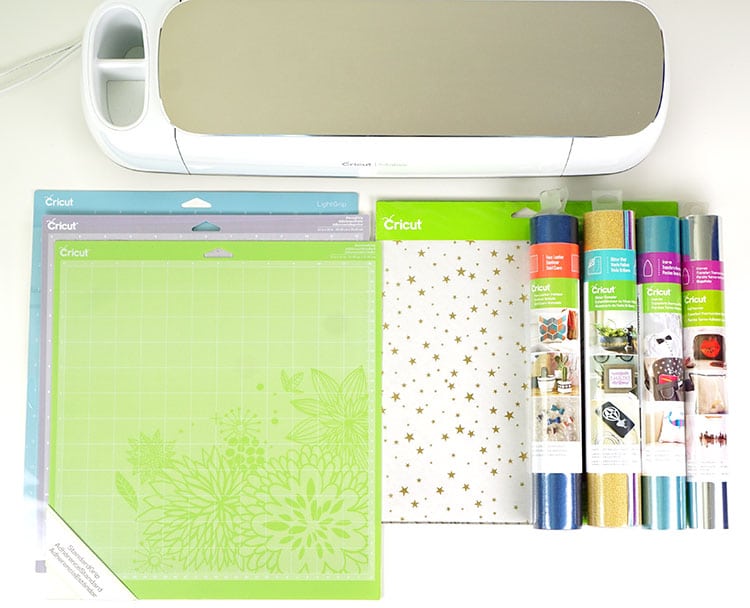

Supplies Used for These Hanukkah Gift Tags:
- Cricut Maker Machine (can also use the Cricut Explore series of machines)
- Cricut Faux Leather
- Cricut Sparkle Paper
- Cricut Glitter Vinyl
- Cricut Foil Iron-On
- Cricut Adhesive Foil
- Cricut Foil Acetate
- Cricut EasyPress
- Hanukkah Gift Tags File
Note: these are the supplies that I used for MY tags, but Cricut has tons of other supplies that would also be fun to mix-and-match for this project including Felt, Craft Foam, Vellum, and more! I’ll give you the scoop on what I used for each of my tags, but feel free to play around with different material combinations for your own tags!
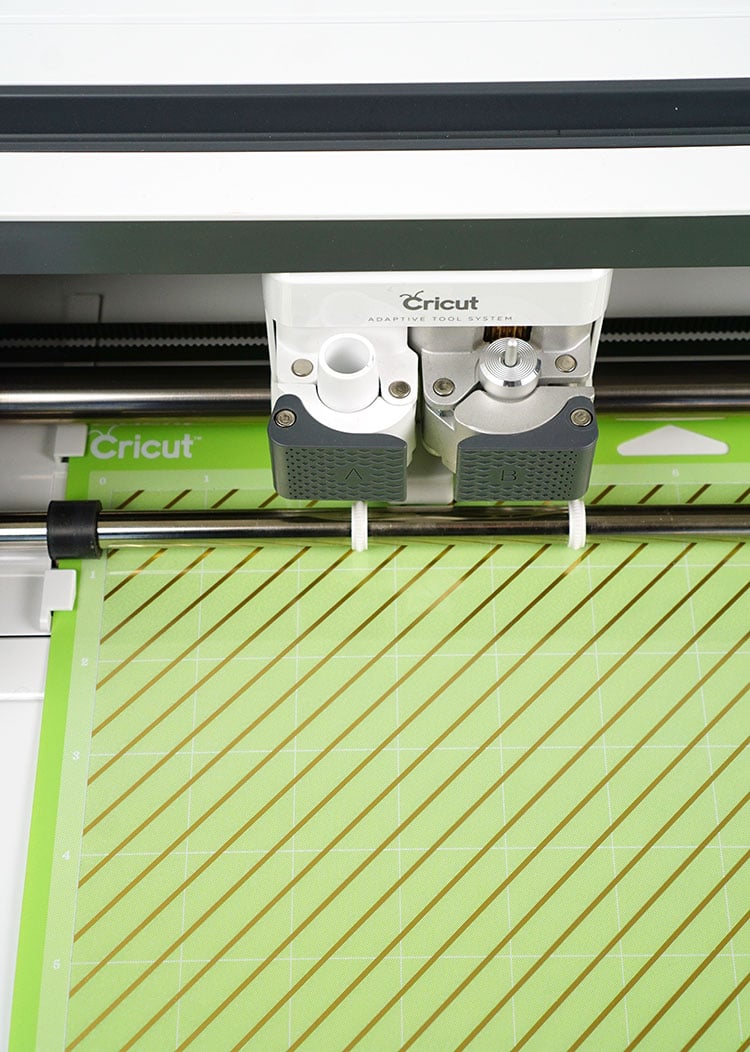
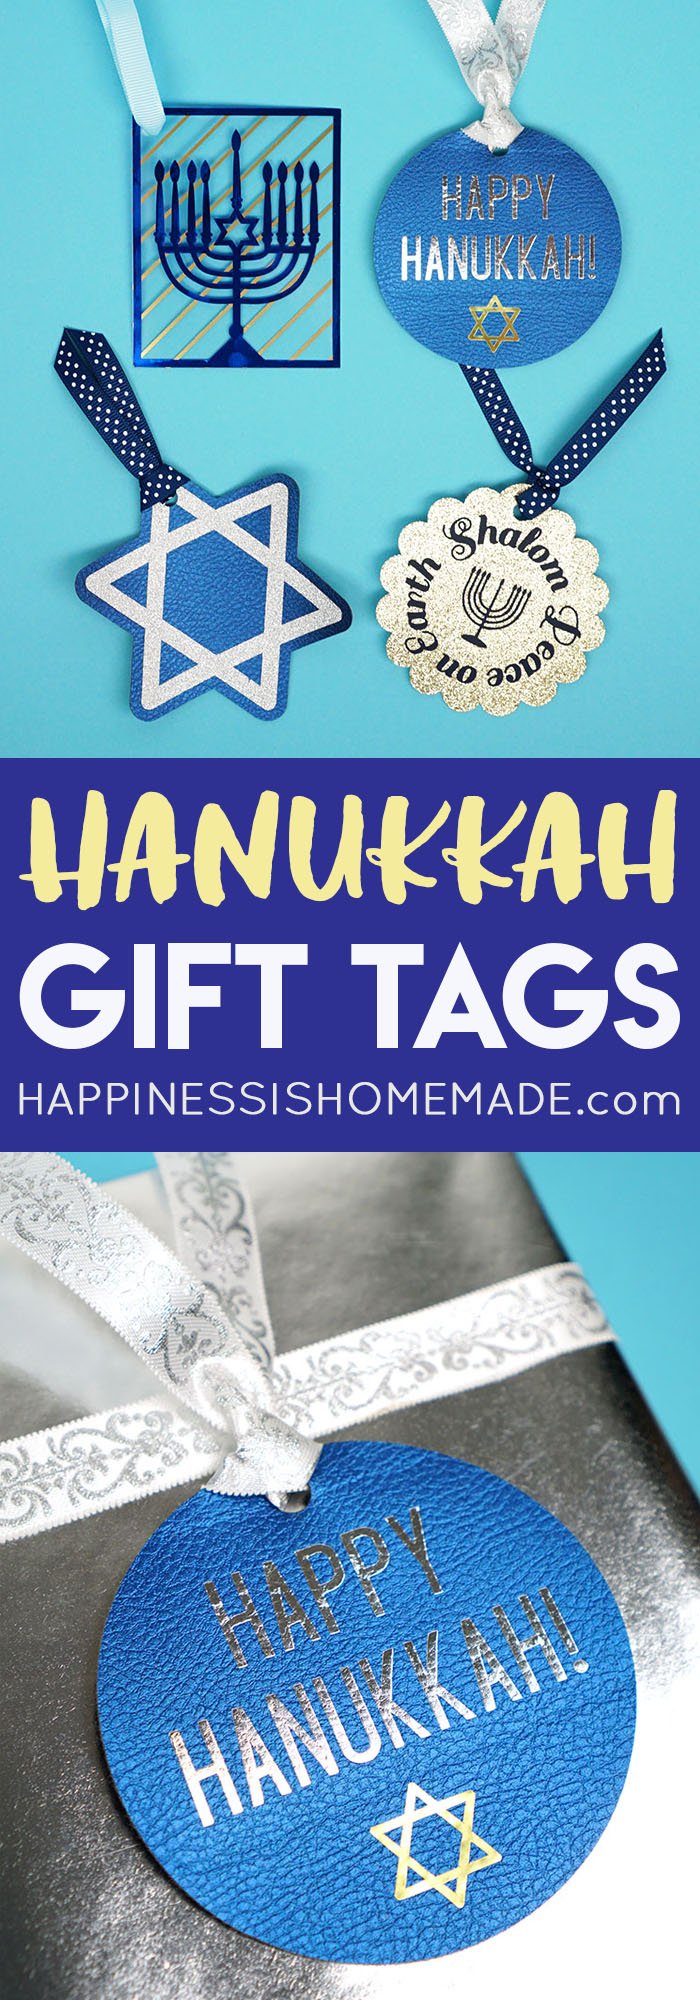
The menorah gift tag started with a base layer of metallic gold striped Foil Acetate. I had never used the Foil Acetate before this project, but oh my gosh, it’s my new favorite! The Foil Acetate is a thin sheet of plastic that is perfect for scoring and folding into small gift boxes, packaging, and about a million other crafty things. I can’t wait to use more of it!
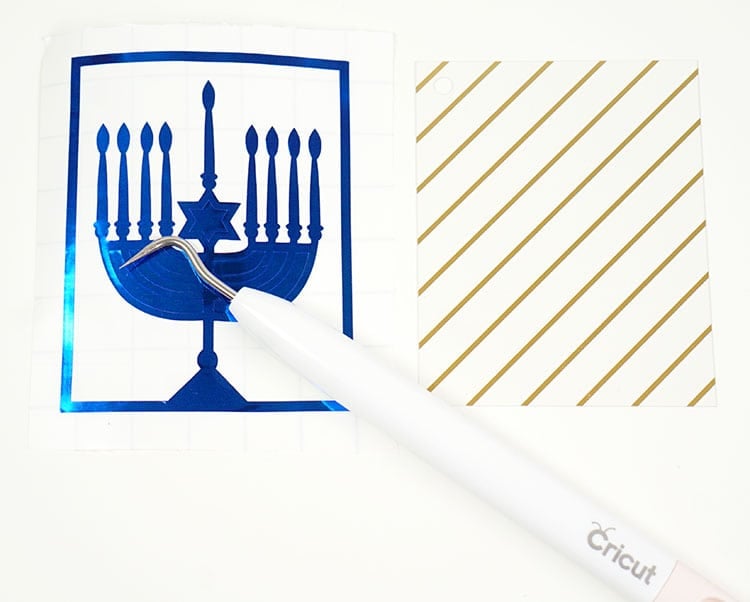
I cut the framed menorah layer from blue Adhesive Foil, weeded the excess vinyl, and then layered it upon the Foil Acetate piece.
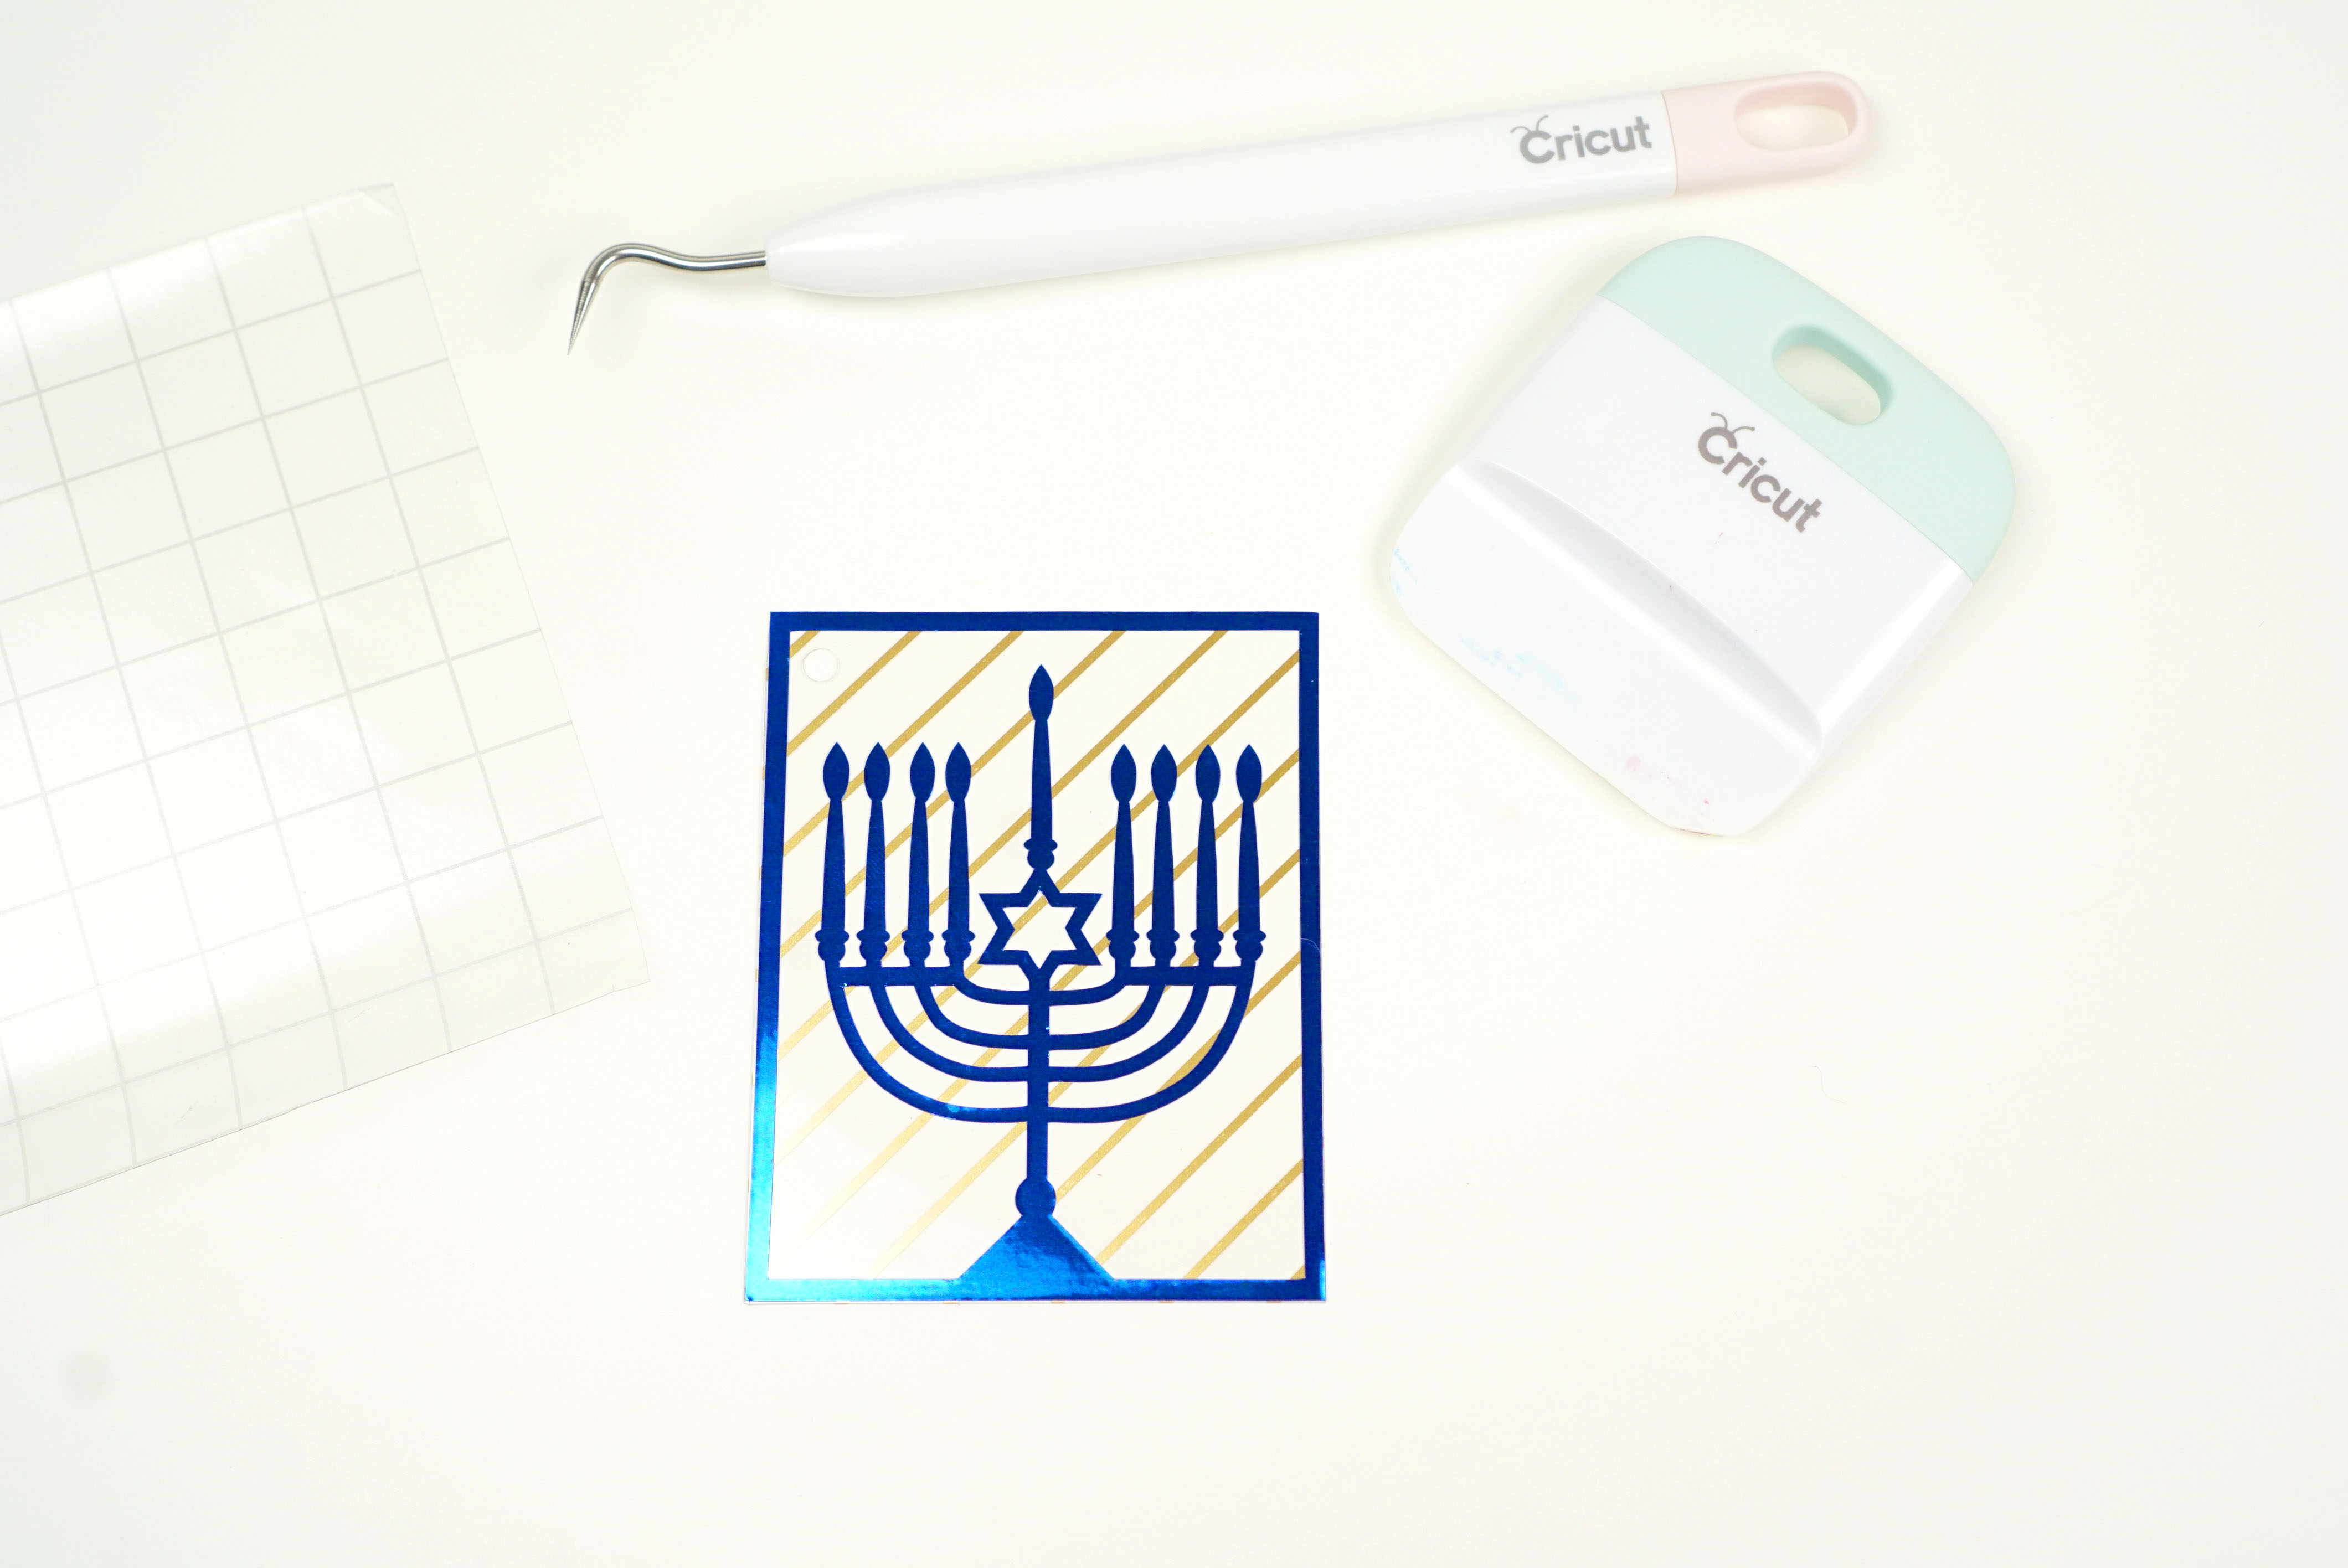
Easy peasy! Add a ribbon, and this tag is good to go!
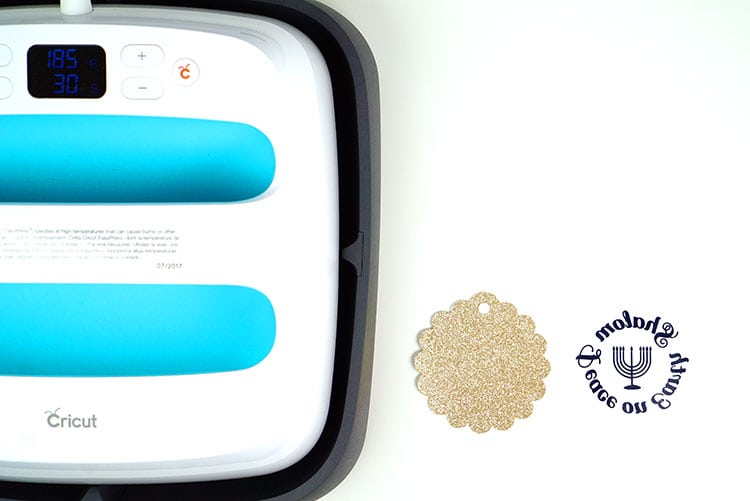
The Shalom tag is made from a base layer of gold Sparkle Paper topped with Iron-On. Yep, that’s right! You can use Iron-On on paper, wood, and lots of things aside from fabric! I used my EasyPress to make quick and easy work of transferring the Iron-On to the Sparkle Paper.
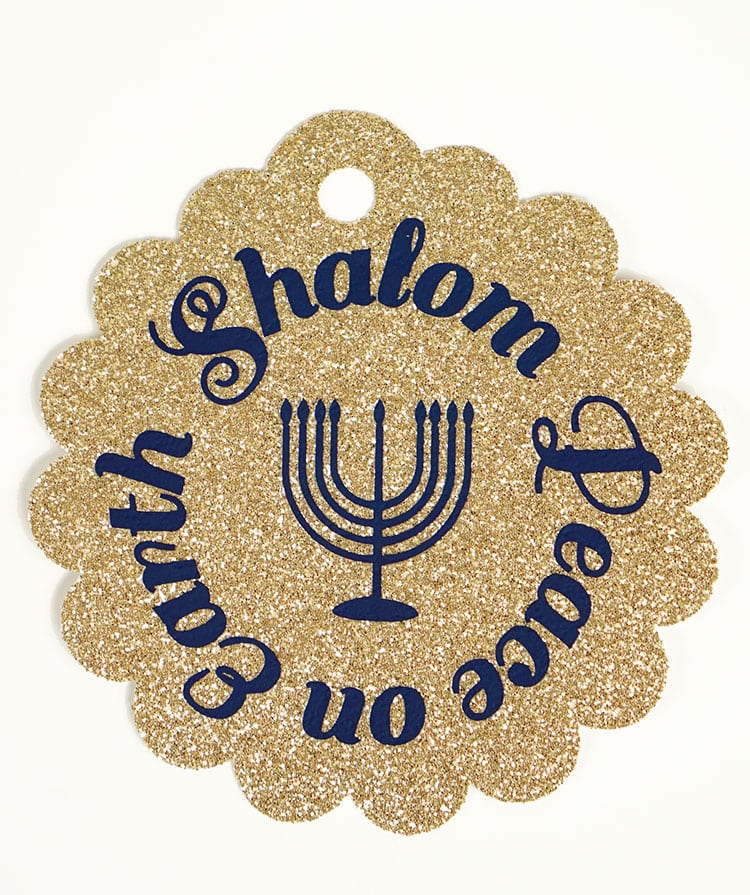
Simple and elegant!
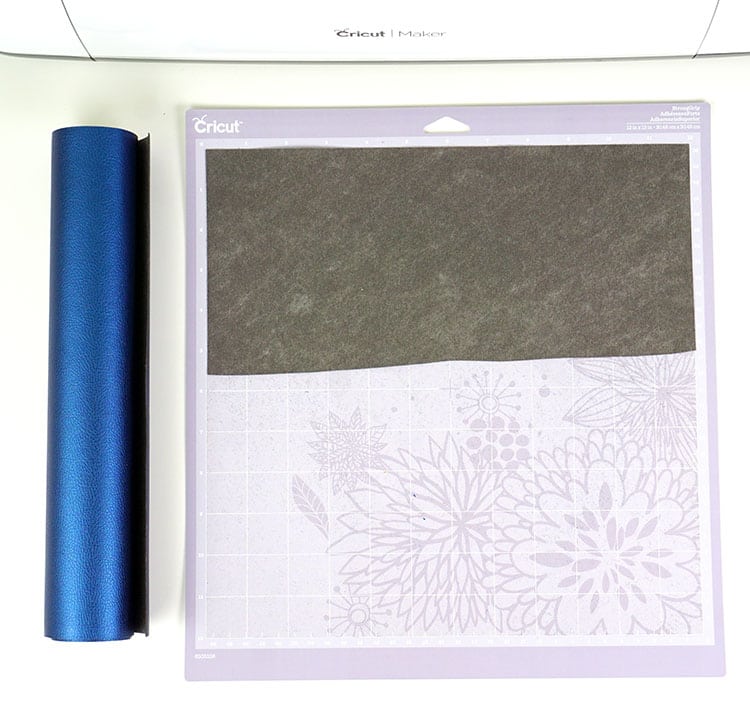
The last two tags both start with a base of Sapphire Pebbled Faux Leather. The Pebbled Faux Leather has a slight metallic sheen to it that I absolutely LOVE and was perfect for these Hanukkah gift tags. When using the Faux Leather, I like to work with the purple Strong Grip Mat for best results. While the green Standard Grip Mat is ideal for the majority of cutting materials, Cricut makes three additional mats – Light Grip, Strong Grip, and Fabric Grip – that work best with delicate, heavy, and fabric materials, respectively.
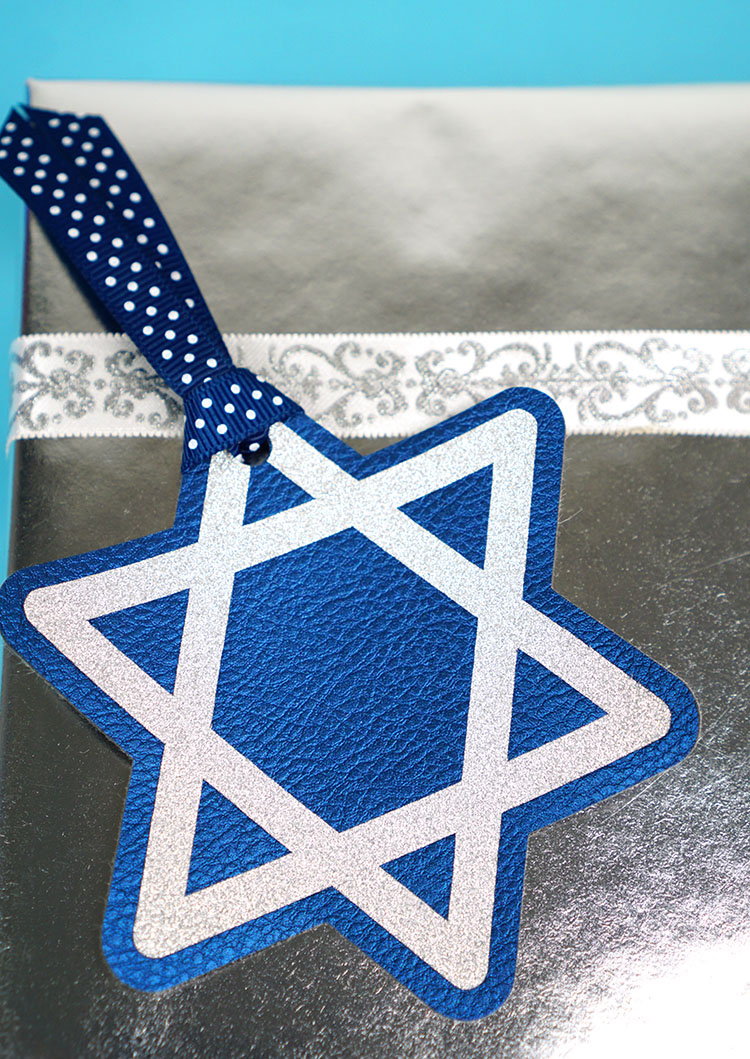
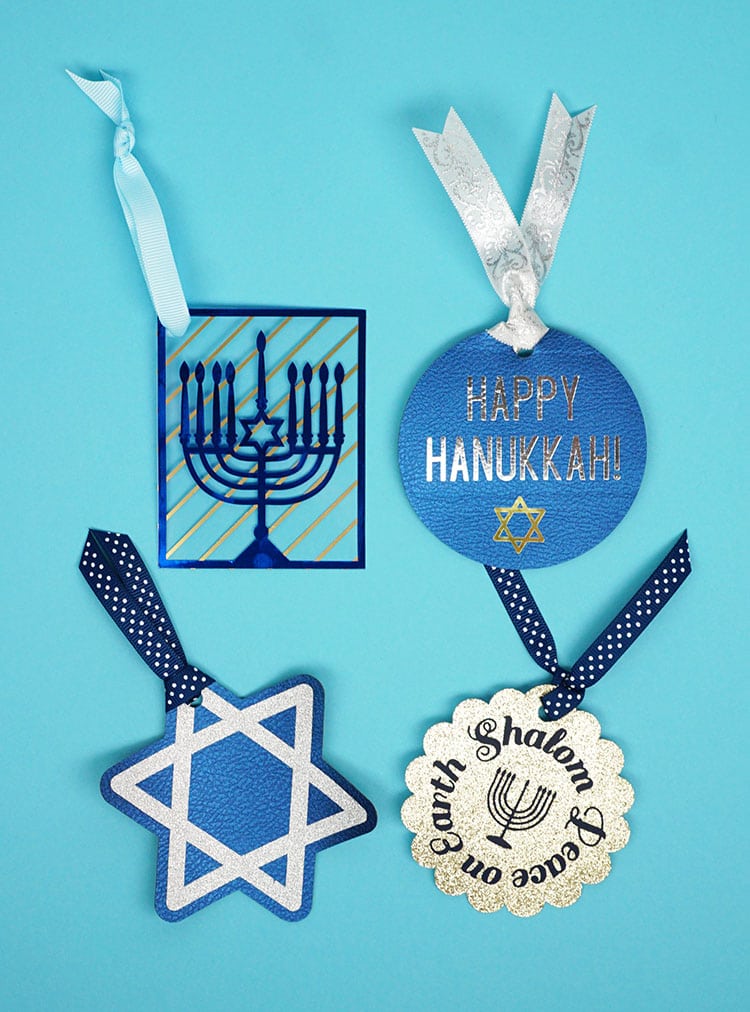
The Star of David Faux Leather tag is layered with Adhesive Glitter Vinyl and the “Happy Hannukah” tag is made with silver and gold Foil Iron-On on top of the Faux Leather. Each one of these four Hanukkah gift tags took just a few minutes to make, and I totally love the way that they turned out!
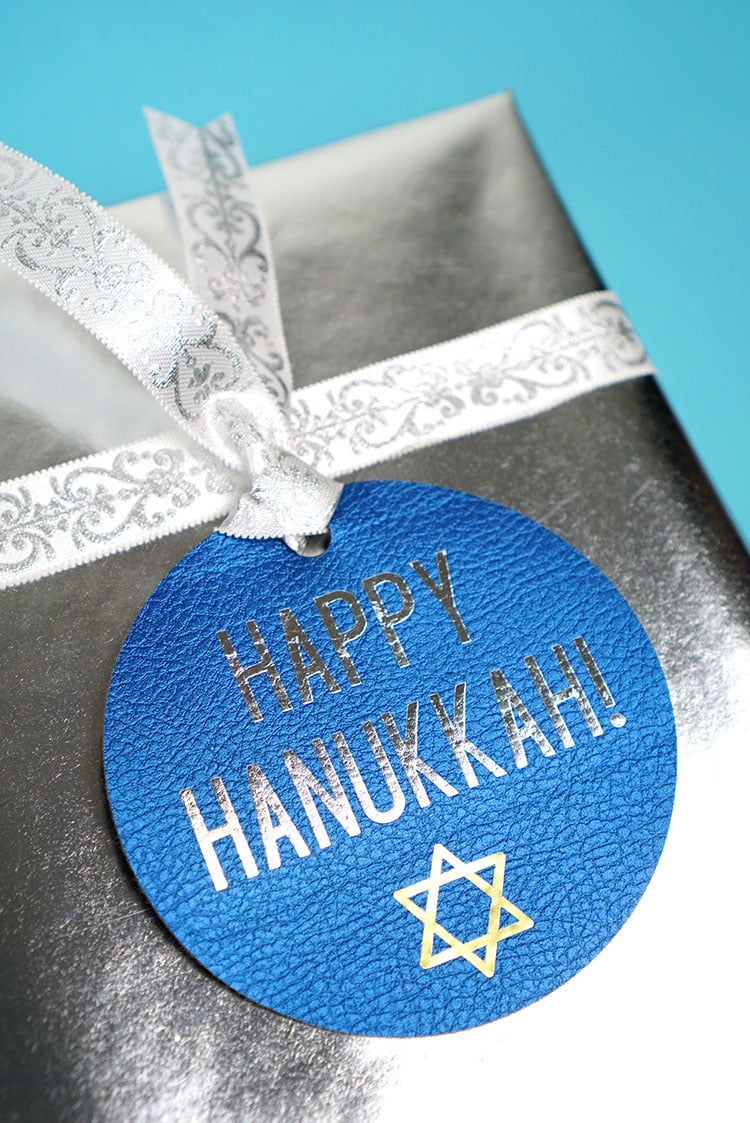
These tags look gorgeous atop all of our Hanukkah presents!
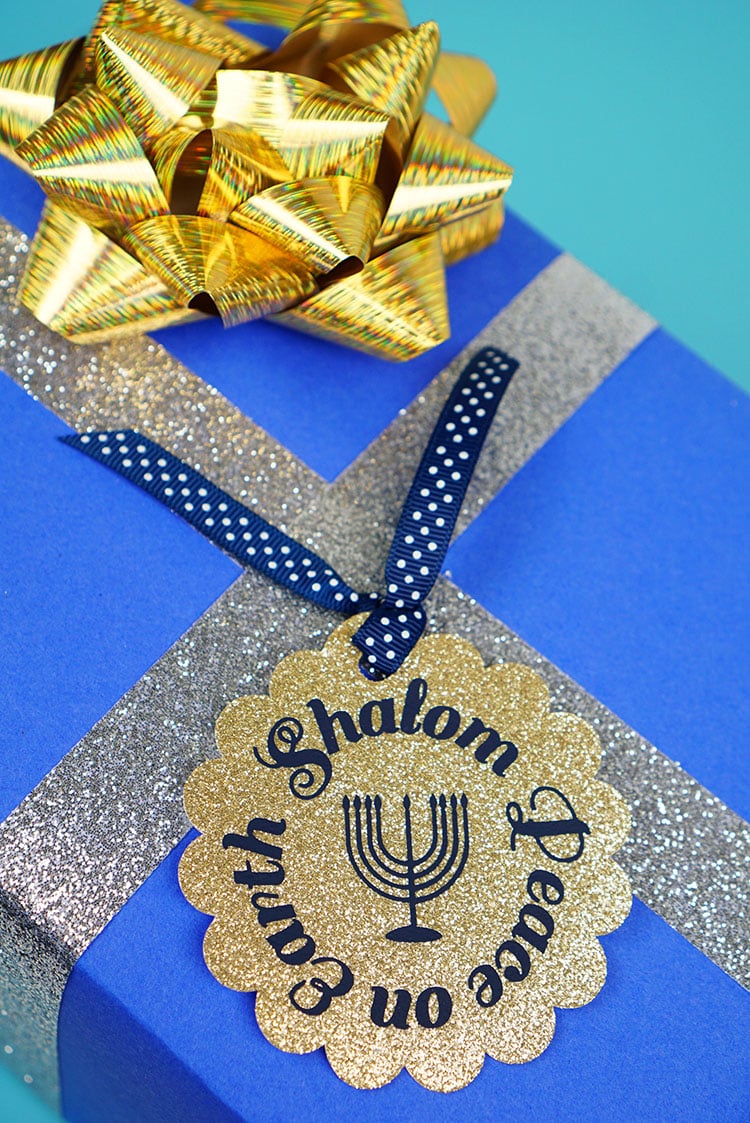
If you make your own set of Hanukkah gift tags, I’d love to hear about which materials combinations you used and love the most! Happy holidays!

Check Out These Other Hanukkah Ideas!
Pin these Hanukkah Gift Tags for Later!
You May Also Like:
Shrinky Dink Snowflake Ornaments

Heidi Kundin has captivated the hearts of millions with her colorful and inspiring approach to crafting, celebrations, and family fun. With over 15 years of experience, Happiness is Homemade has become a must-visit destination for those seeking quick and easy creative ideas and last-minute solutions. Heidi’s warm personality shines through her posts, inviting readers to join her on a creative journey that’s fun, rewarding, and achievable. Heidi is also the author of Homemade Bath Bombs & More and DIY Tie-Dye.

