
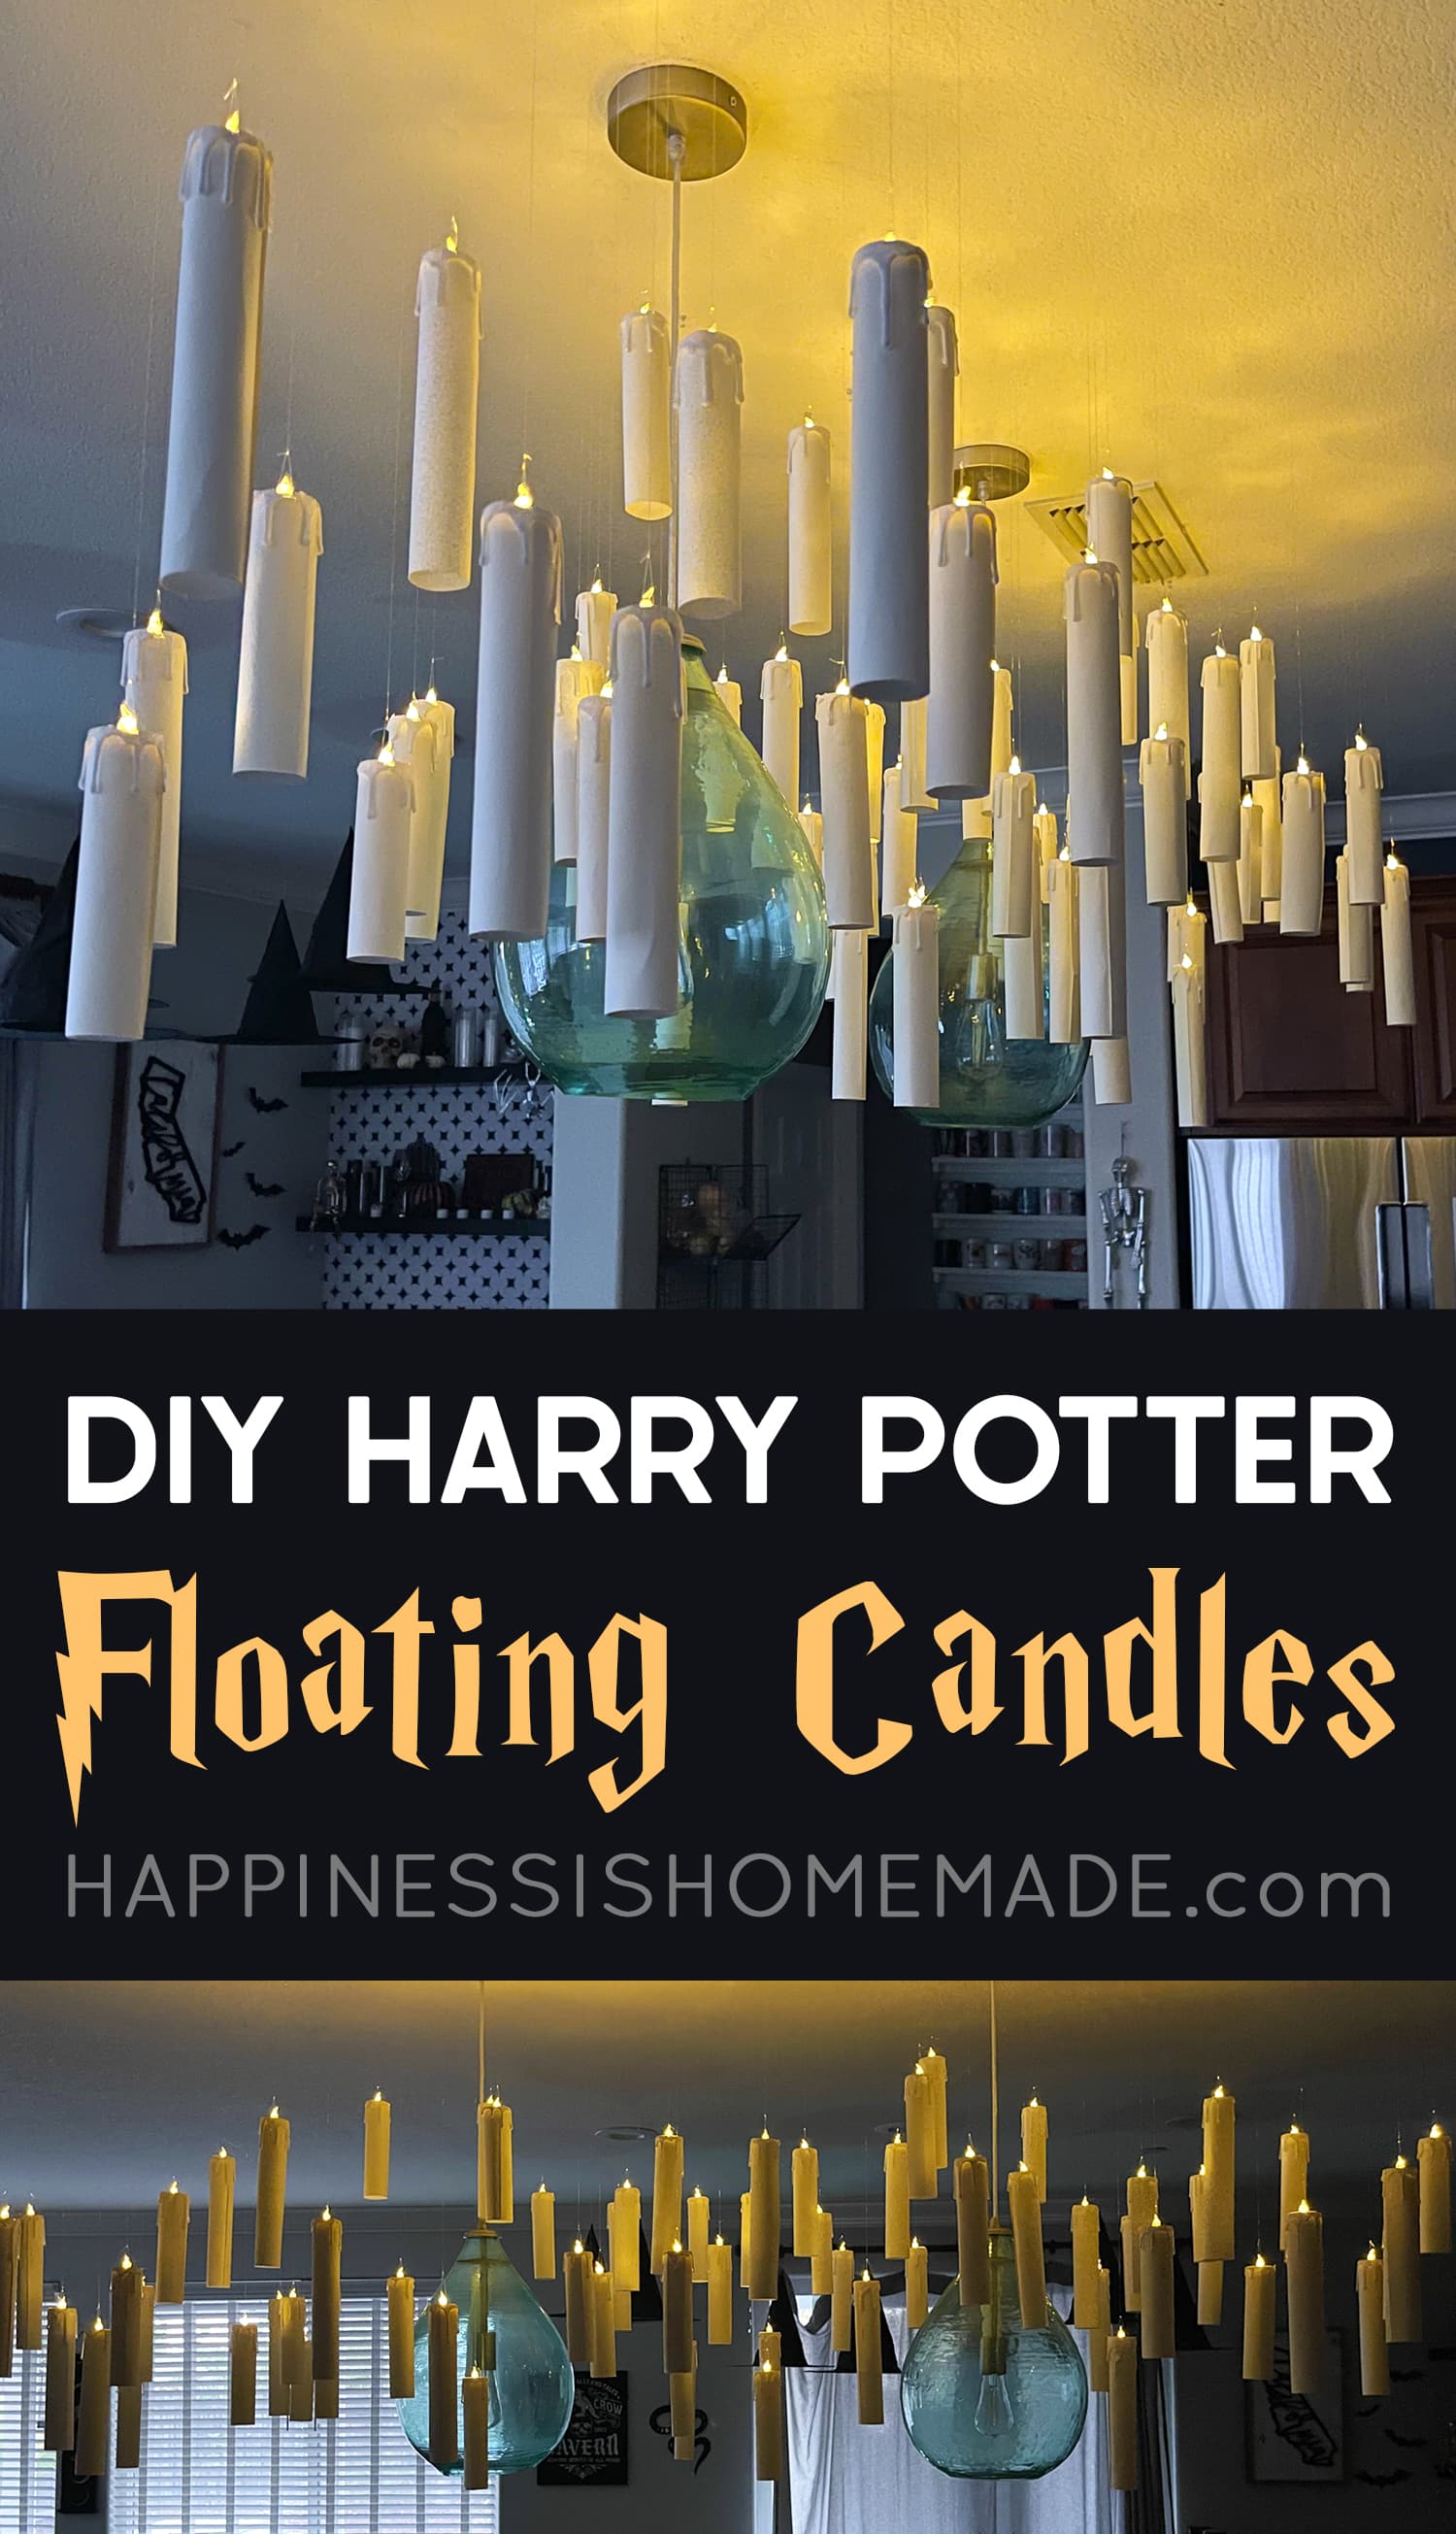
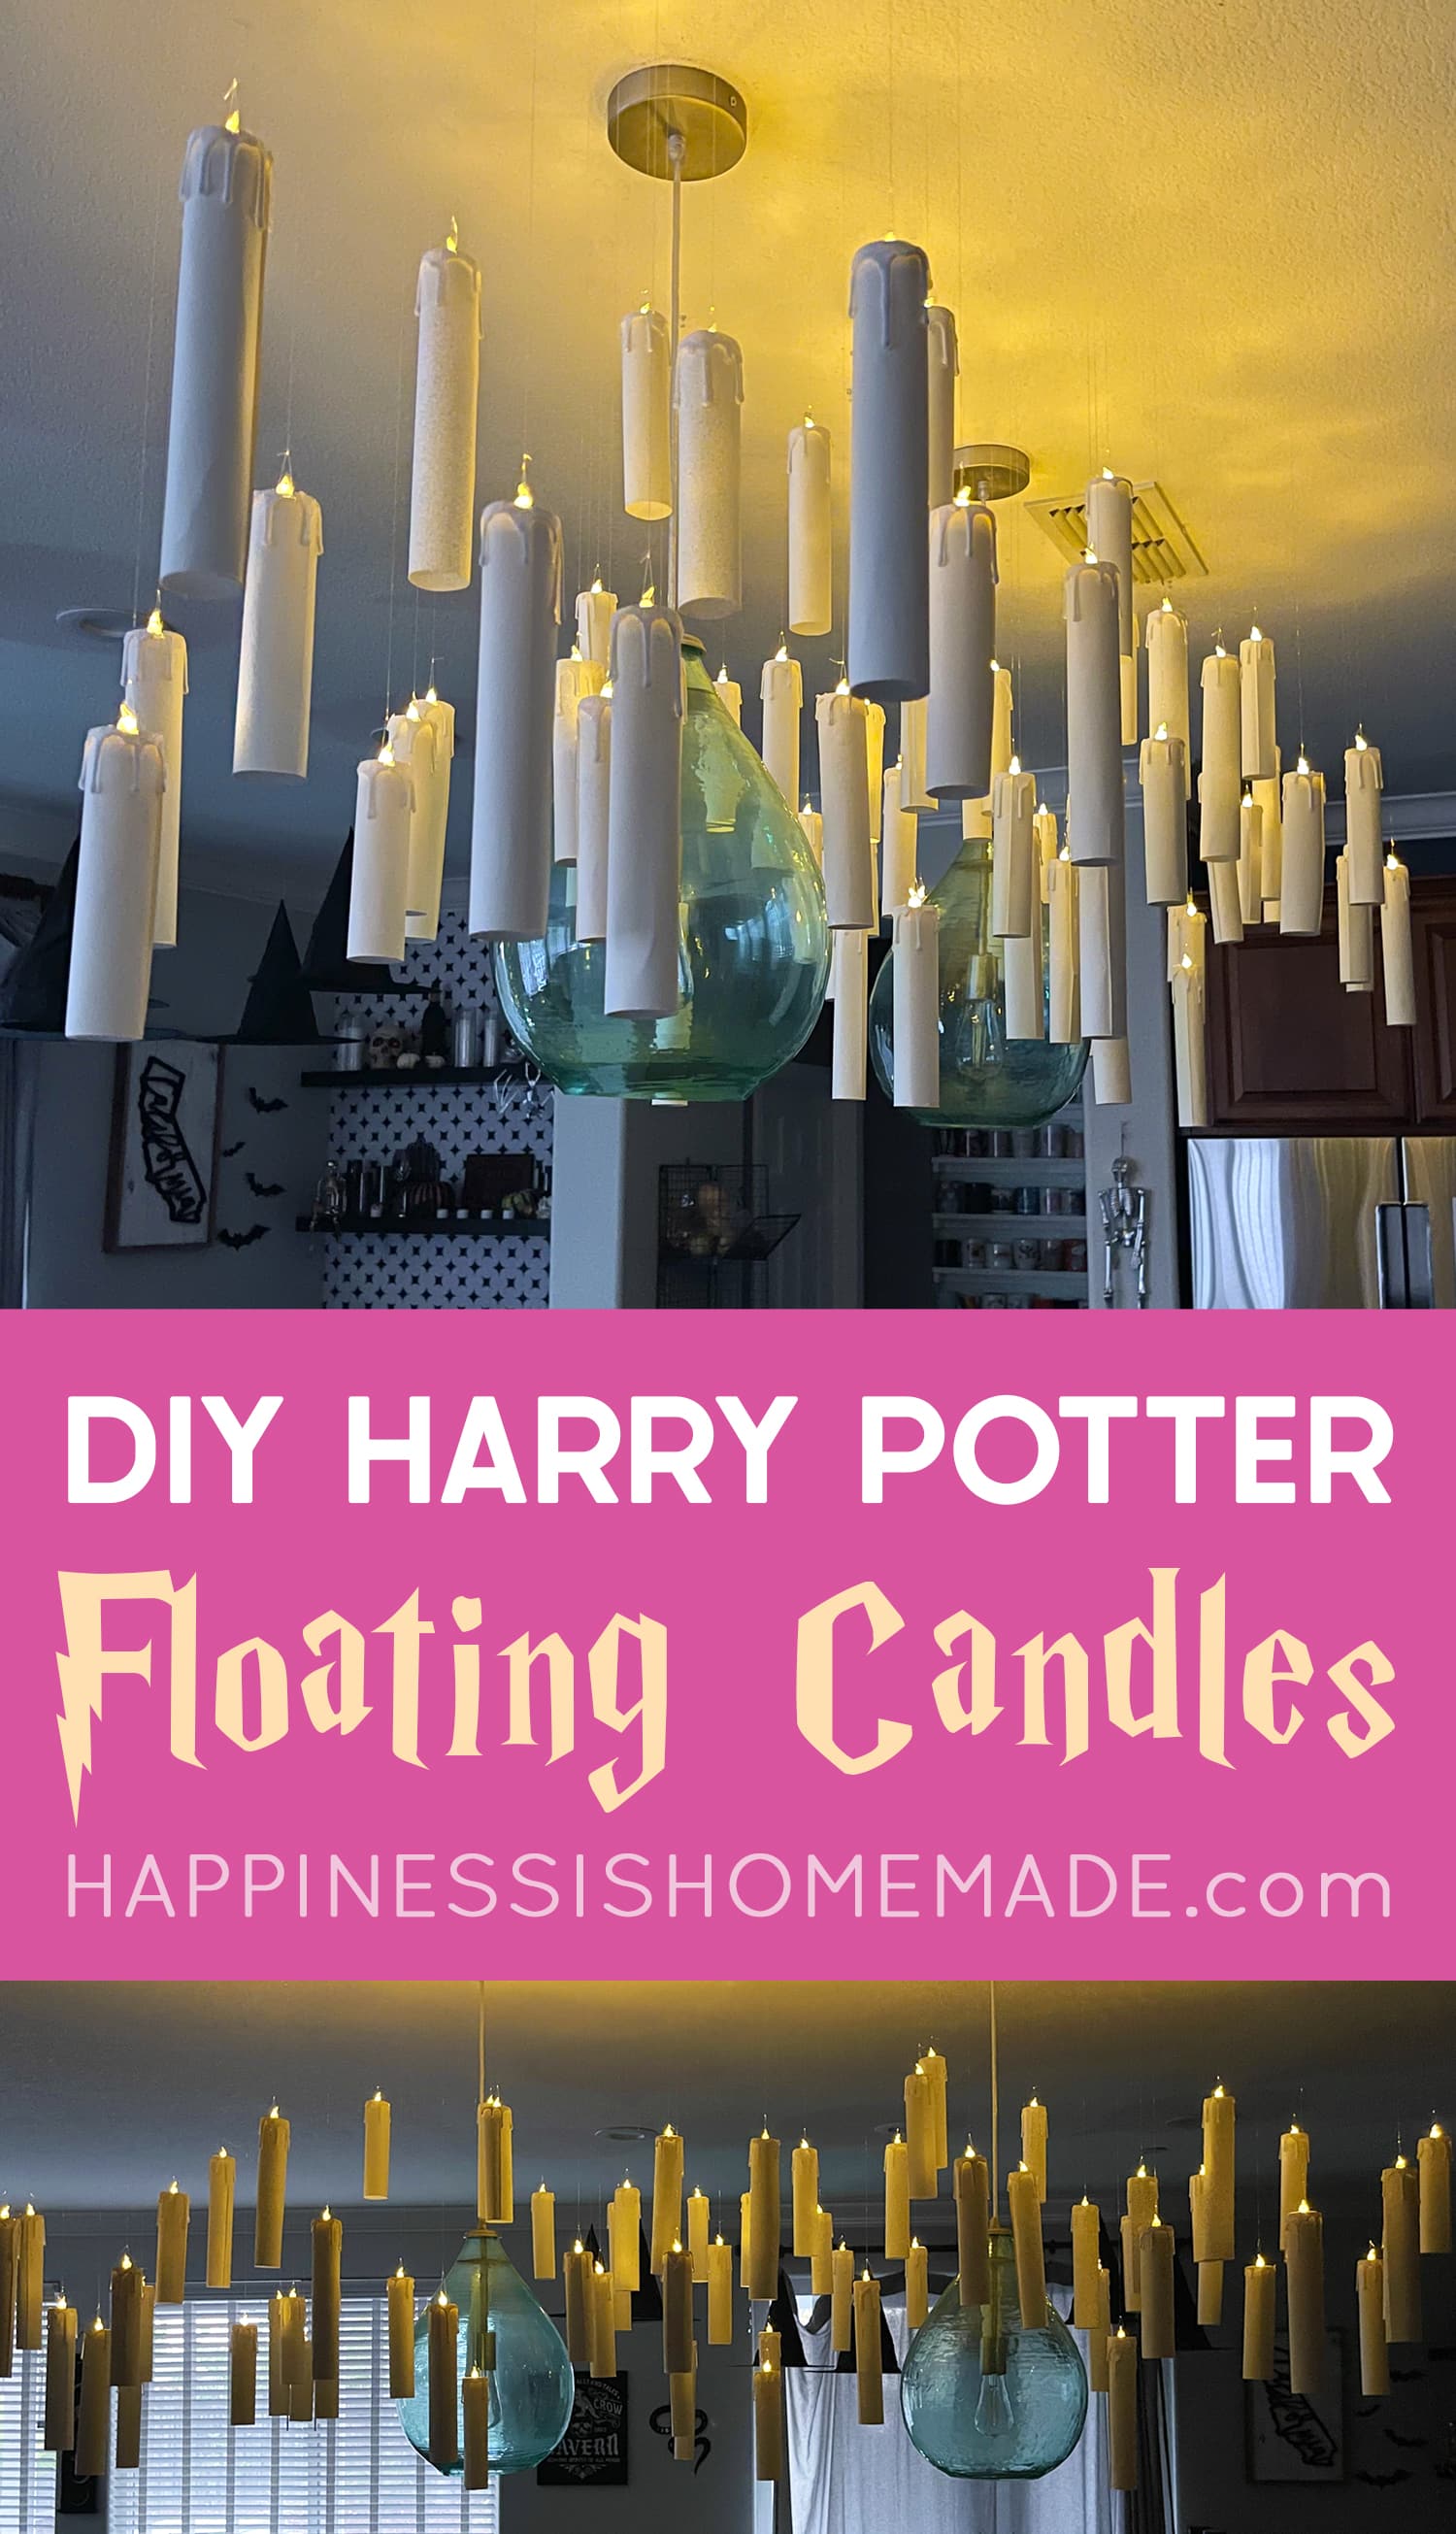

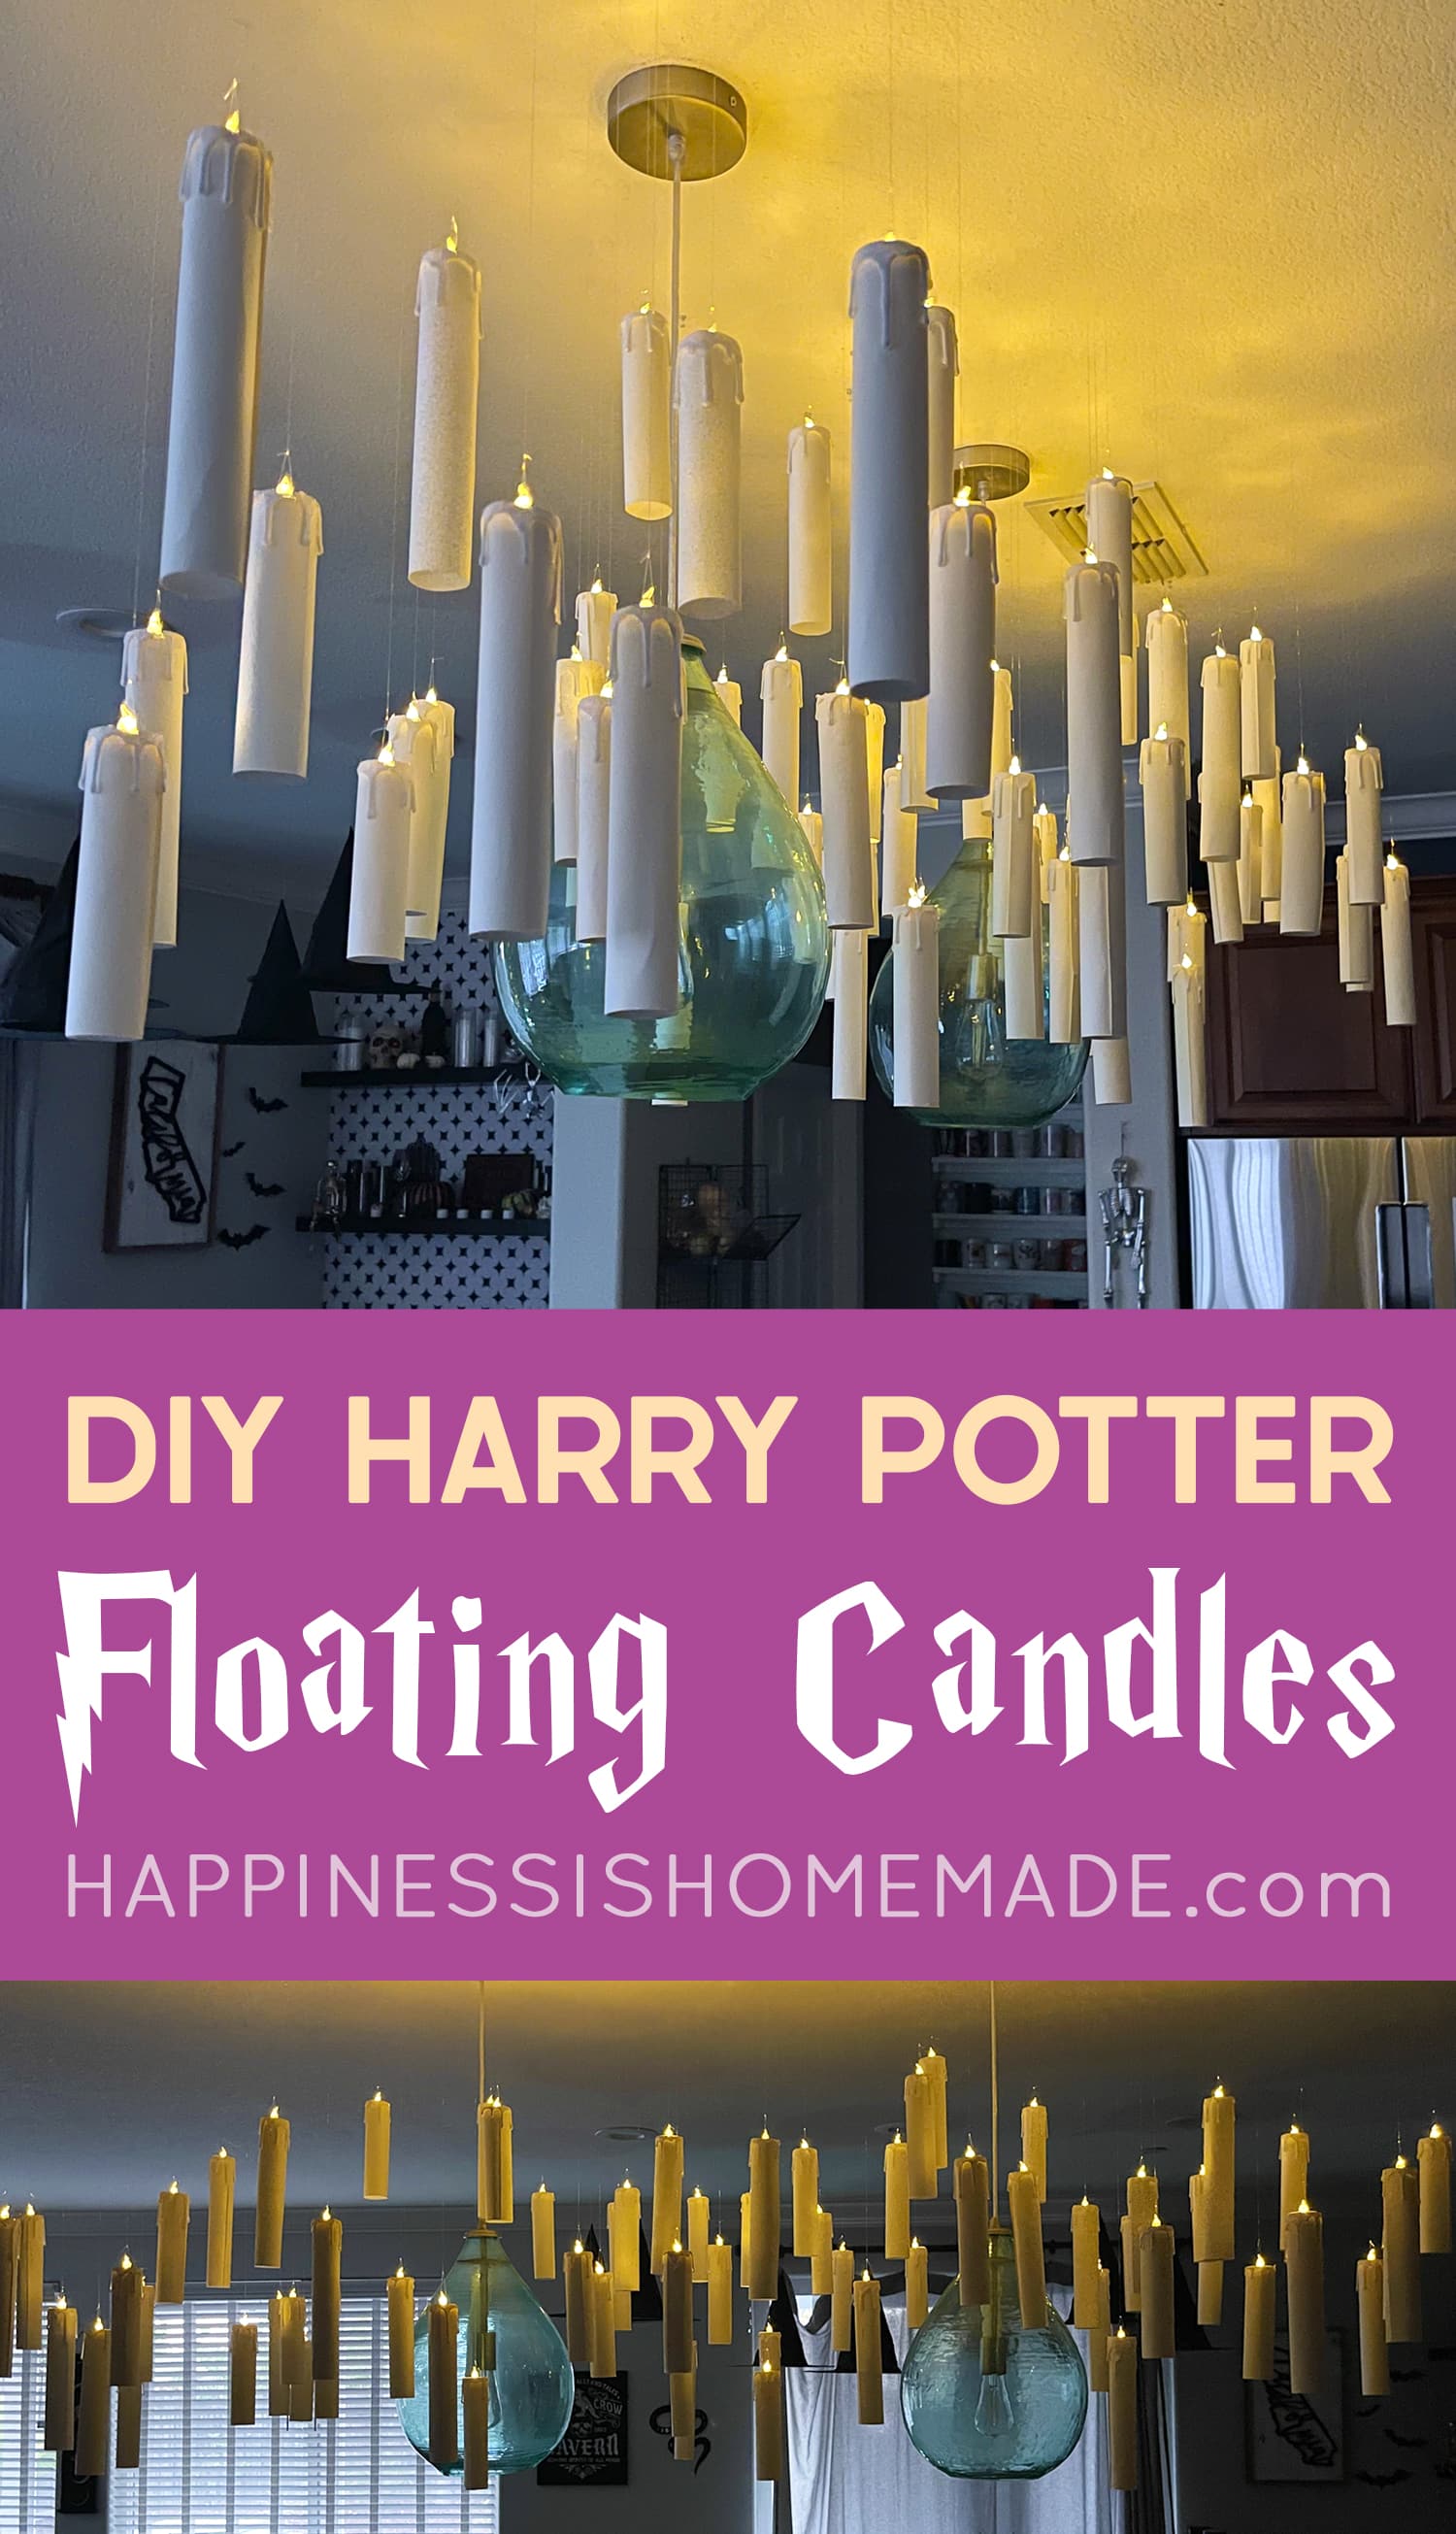
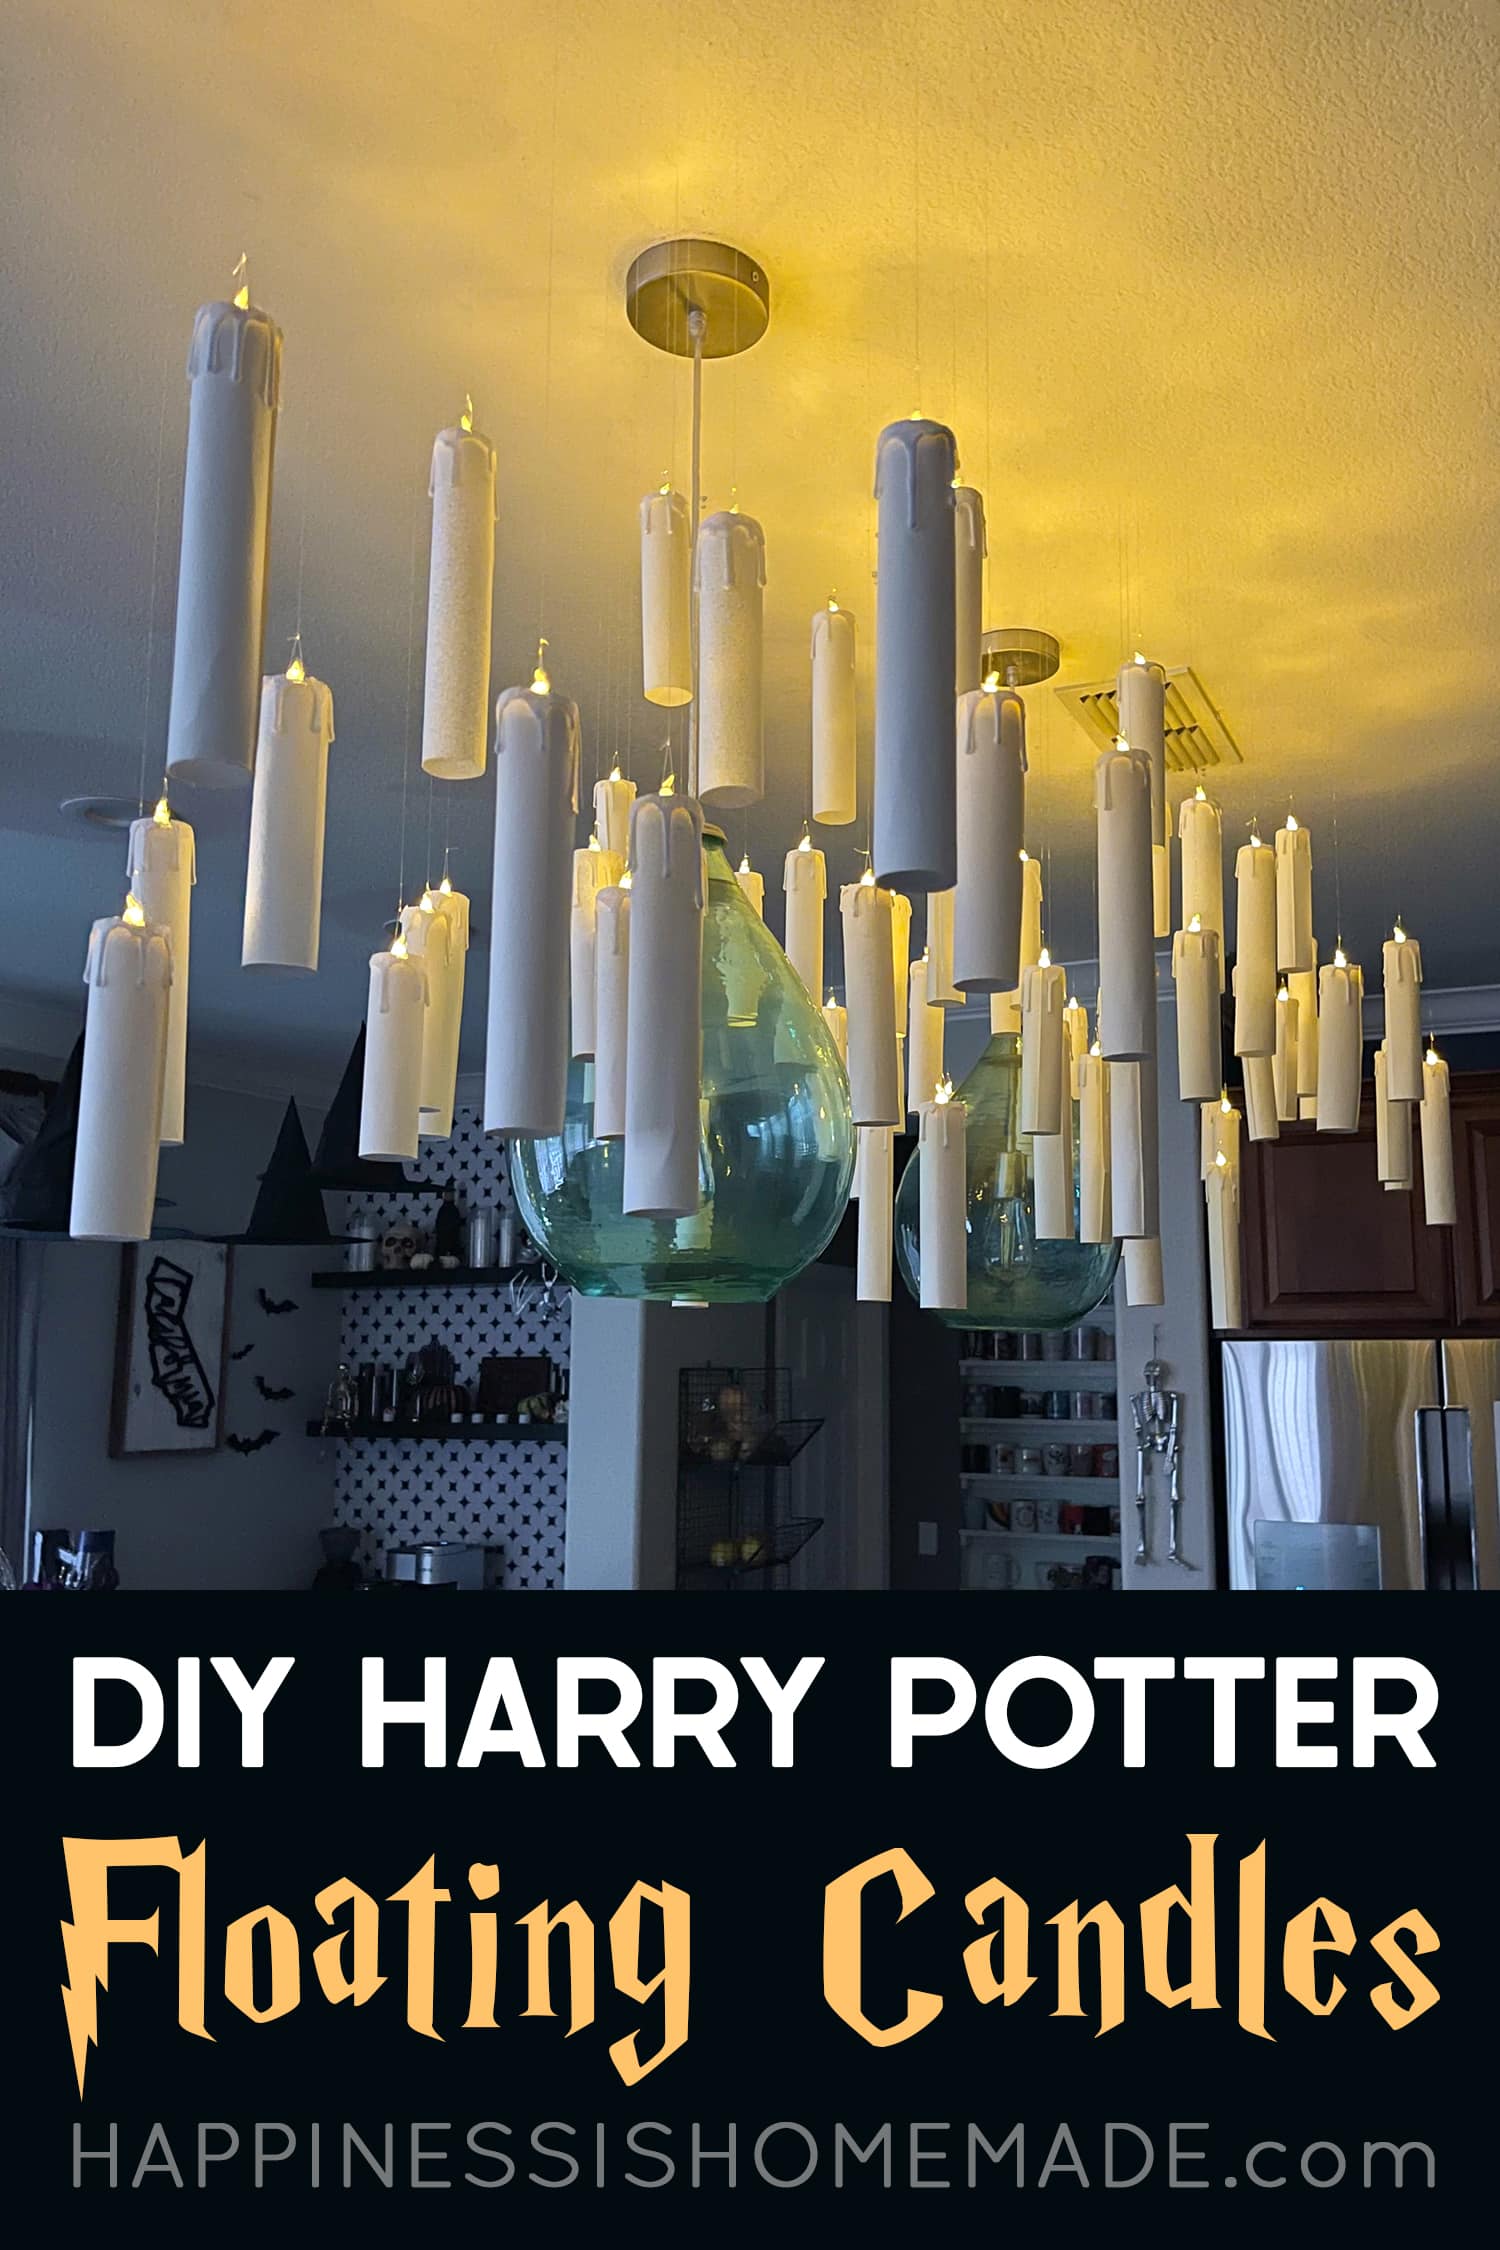
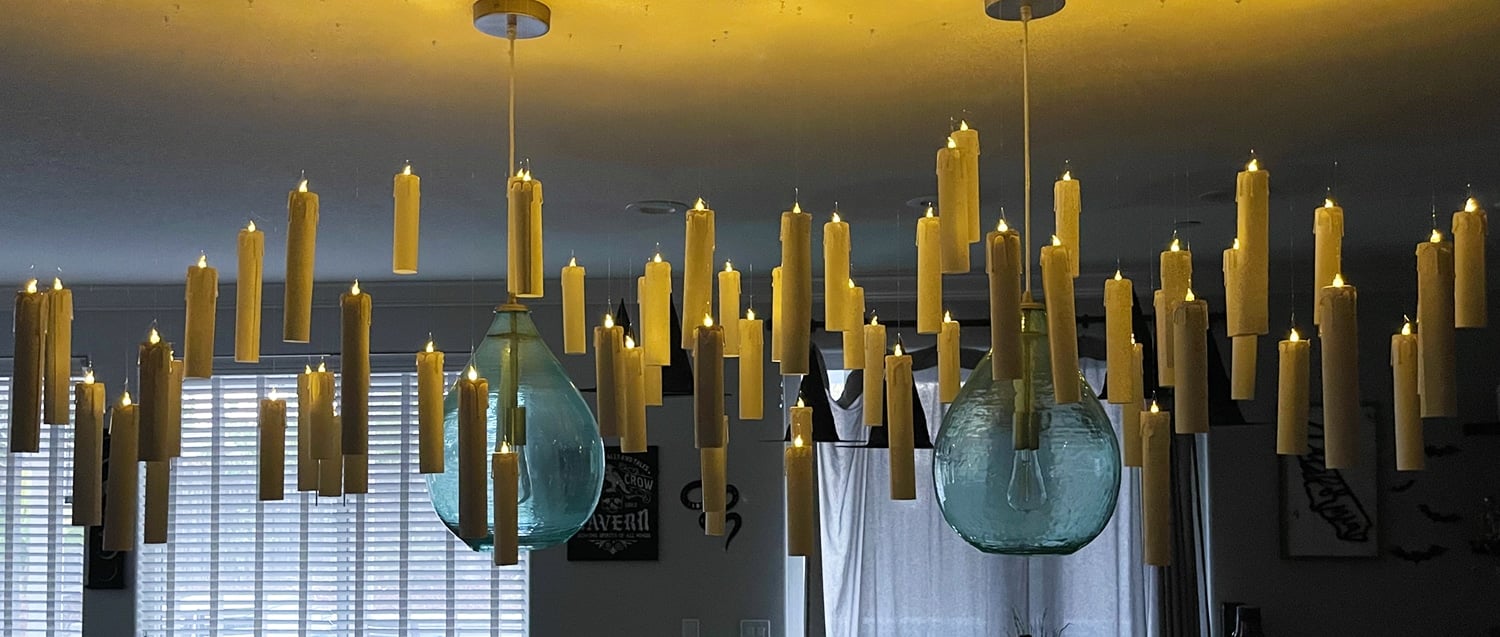
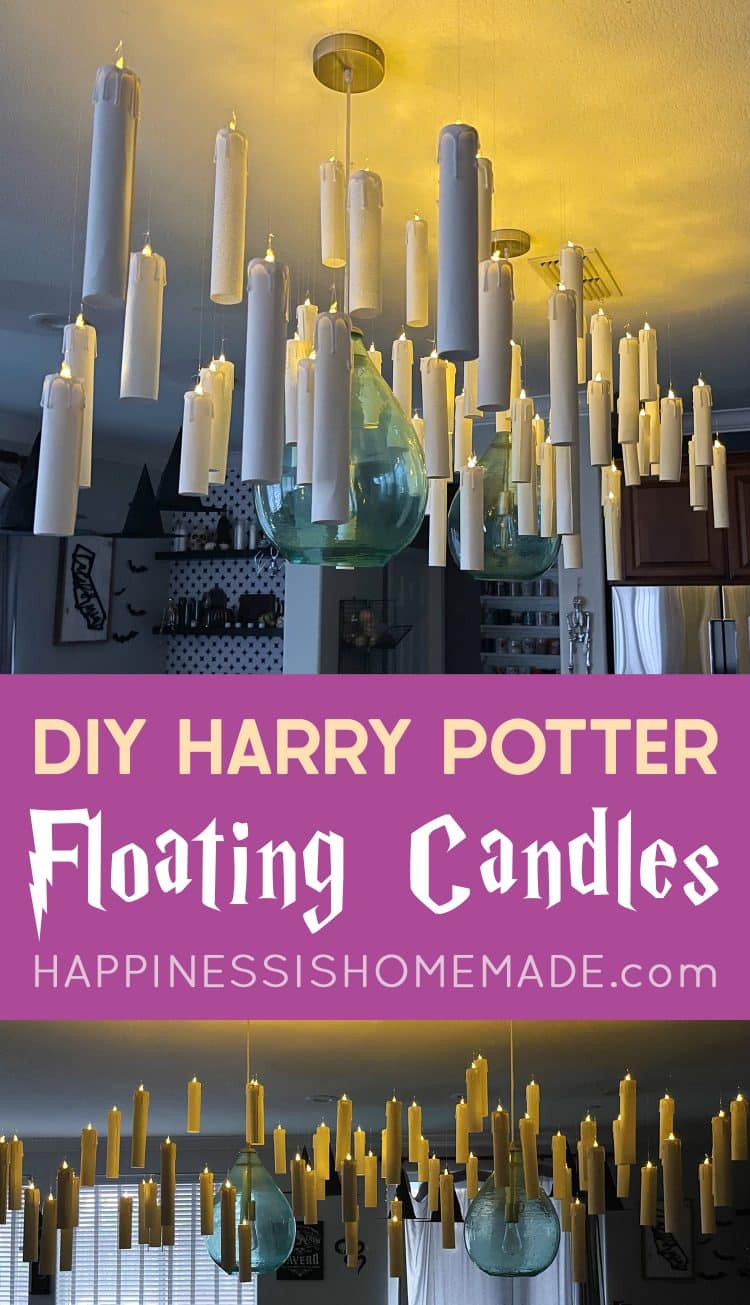
These DIY Harry Potter Floating Candles will transport you straight to Hogwarts! It’s amazing how much these Harry Potter hanging candles look like real candles! Perfect for your next Harry Potter party or Halloween decorating!
This post may contain affiliate links. I will receive a small commission from these sales at no additional cost to you!
DIY Harry Potter Floating Candles
Hey there, fellow witches and wizards! Are you a fan of the Harry Potter books and movies (personally, I’m Team Books ALL the way over here!)? If so, you’ve probably always dreamed about making these magical DIY Harry Potter floating candles for your own home! These enchanting floating candles are SO easy to make, and they’re the perfect addition to any Harry Potter-themed room or Harry Potter party, or even just as a unique home décor item!
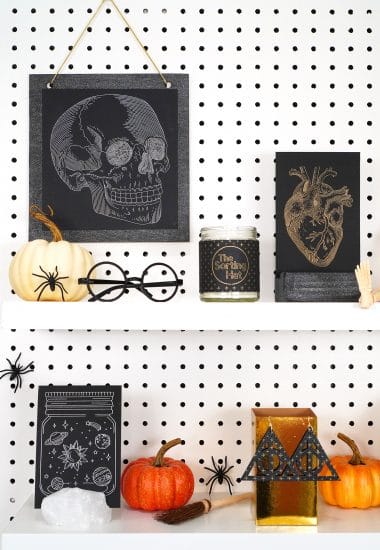
I’m a huge fan of Harry Potter, so I’m always looking for ways to incorporate my love for the series into my everyday life. When we decided to throw a Halloween party to celebrate my sister’s 40th birthday, I knew it was the perfect opportunity to sprinkle in some of that magical Hogwarts castle décor! Halloween, witches, and wizards go hand-in-hand so perfectly, don’t you think?
Today, I’m going to show you just how simple it is to create these awesome Harry Potter floating candles (also known as Harry Potter hanging candles) that will transport you straight to the Great Hall at the Hogwarts School of Witchcraft and Wizardry. So, gather your materials and let’s get started on this magical Harry Potter-inspired craft!
Check Out These Other Fun Harry Potter-Inspired Ideas!
How to Make Harry Potter-Inspired Floating Candles
By following this step-by-step guide on how to make Harry Potter floating candles, you can experience the magic and wonder of Hogwarts in your own home!
Supplies Needed for DIY Floating Candles
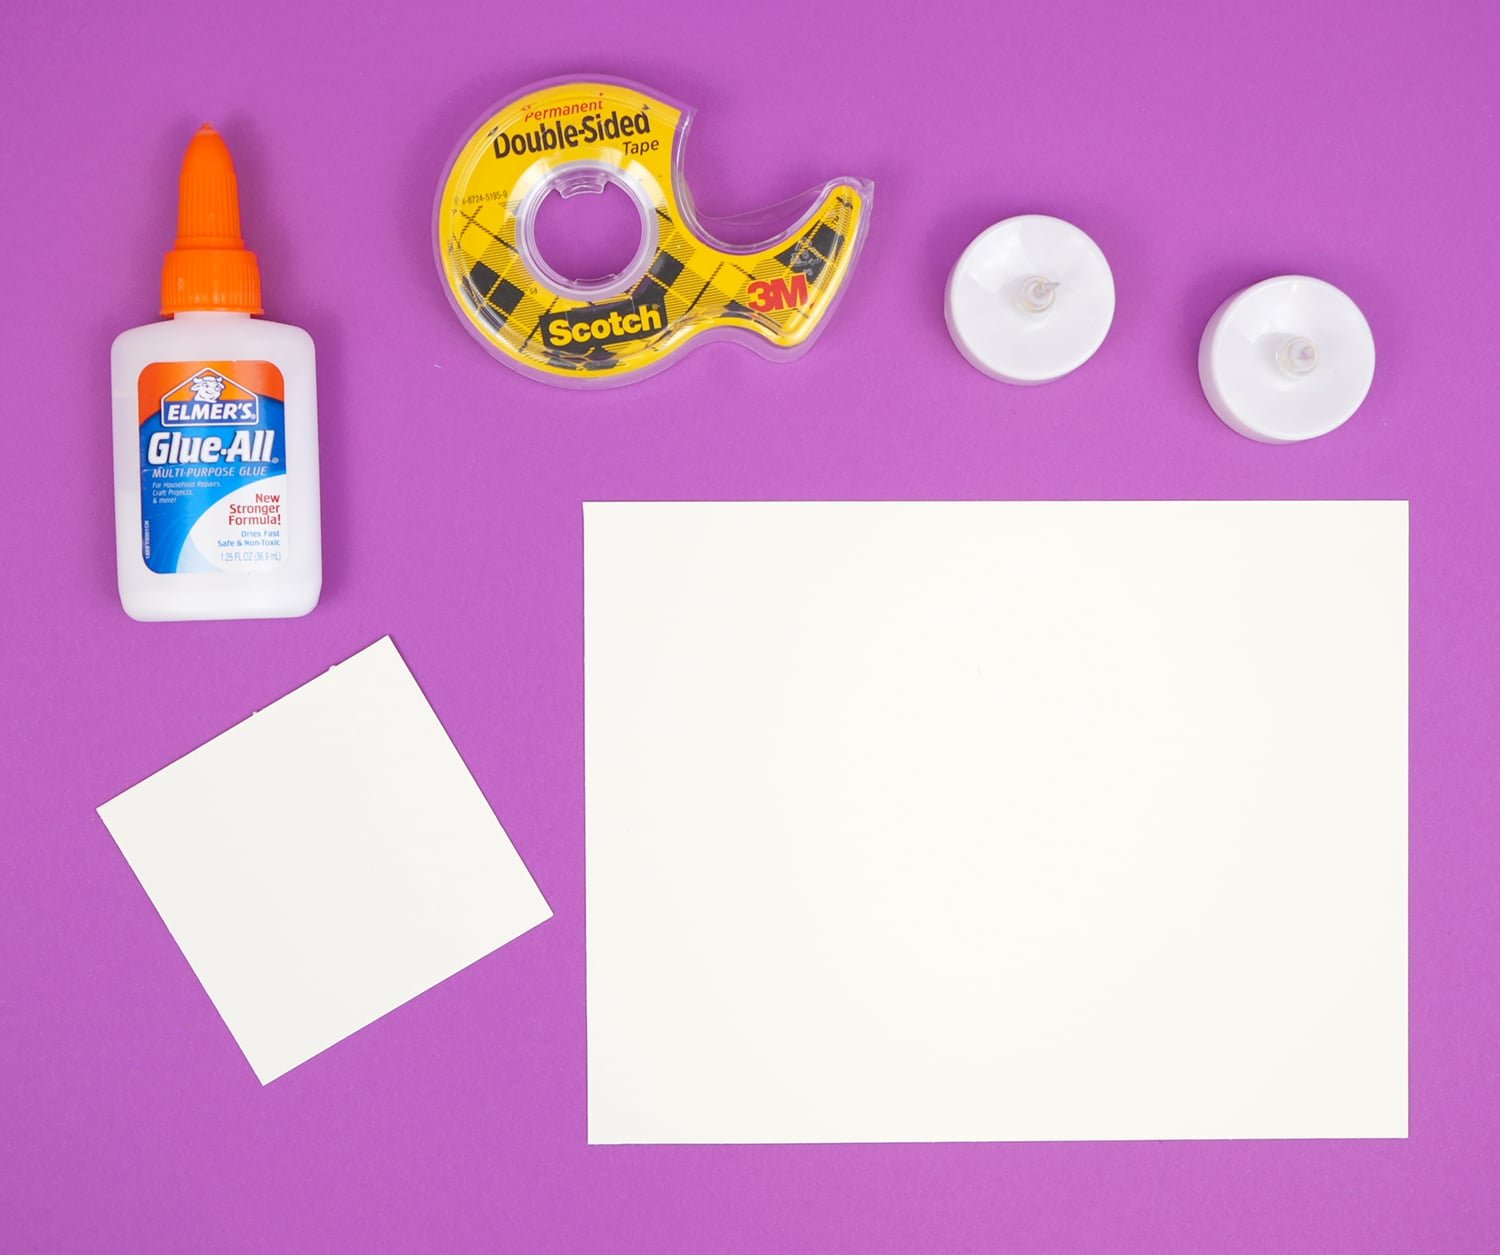
To make your very own Harry Potter floating candles, you will need the following materials:
- Heavy Cardstock (in cream or ivory)
- Flameless Tealight Candles (we used the warm white color)
- Scissors
- Double-Sided Tape
- Glue (we used Elmer’s Glue-All)
- Hot Glue Gun & Glue Sticks
- White or Off-White Acrylic Paint
- Cosmetic Sponge, optional
- Dremel Tool or Cordless Drill with 1/16″ Drill Bit
- Clear Fishing Line or Clear Thread
Instructions for Making Floating Candles
It’s truly incredible how such simple and basic supplies can end up making such a HUGE impact in your décor!
Step 1: Prepare the Cardstock
Cut the sheets of cardstock to size. You will want to cut the cardstock pieces to 5″ wide and then cut varying different lengths to accommodate different candle heights. We used pieces that were between 5″ x 5.5″ and 5″ x 8.5″ tall. Then, cut a 2″ x 2″ square for each of the candles.
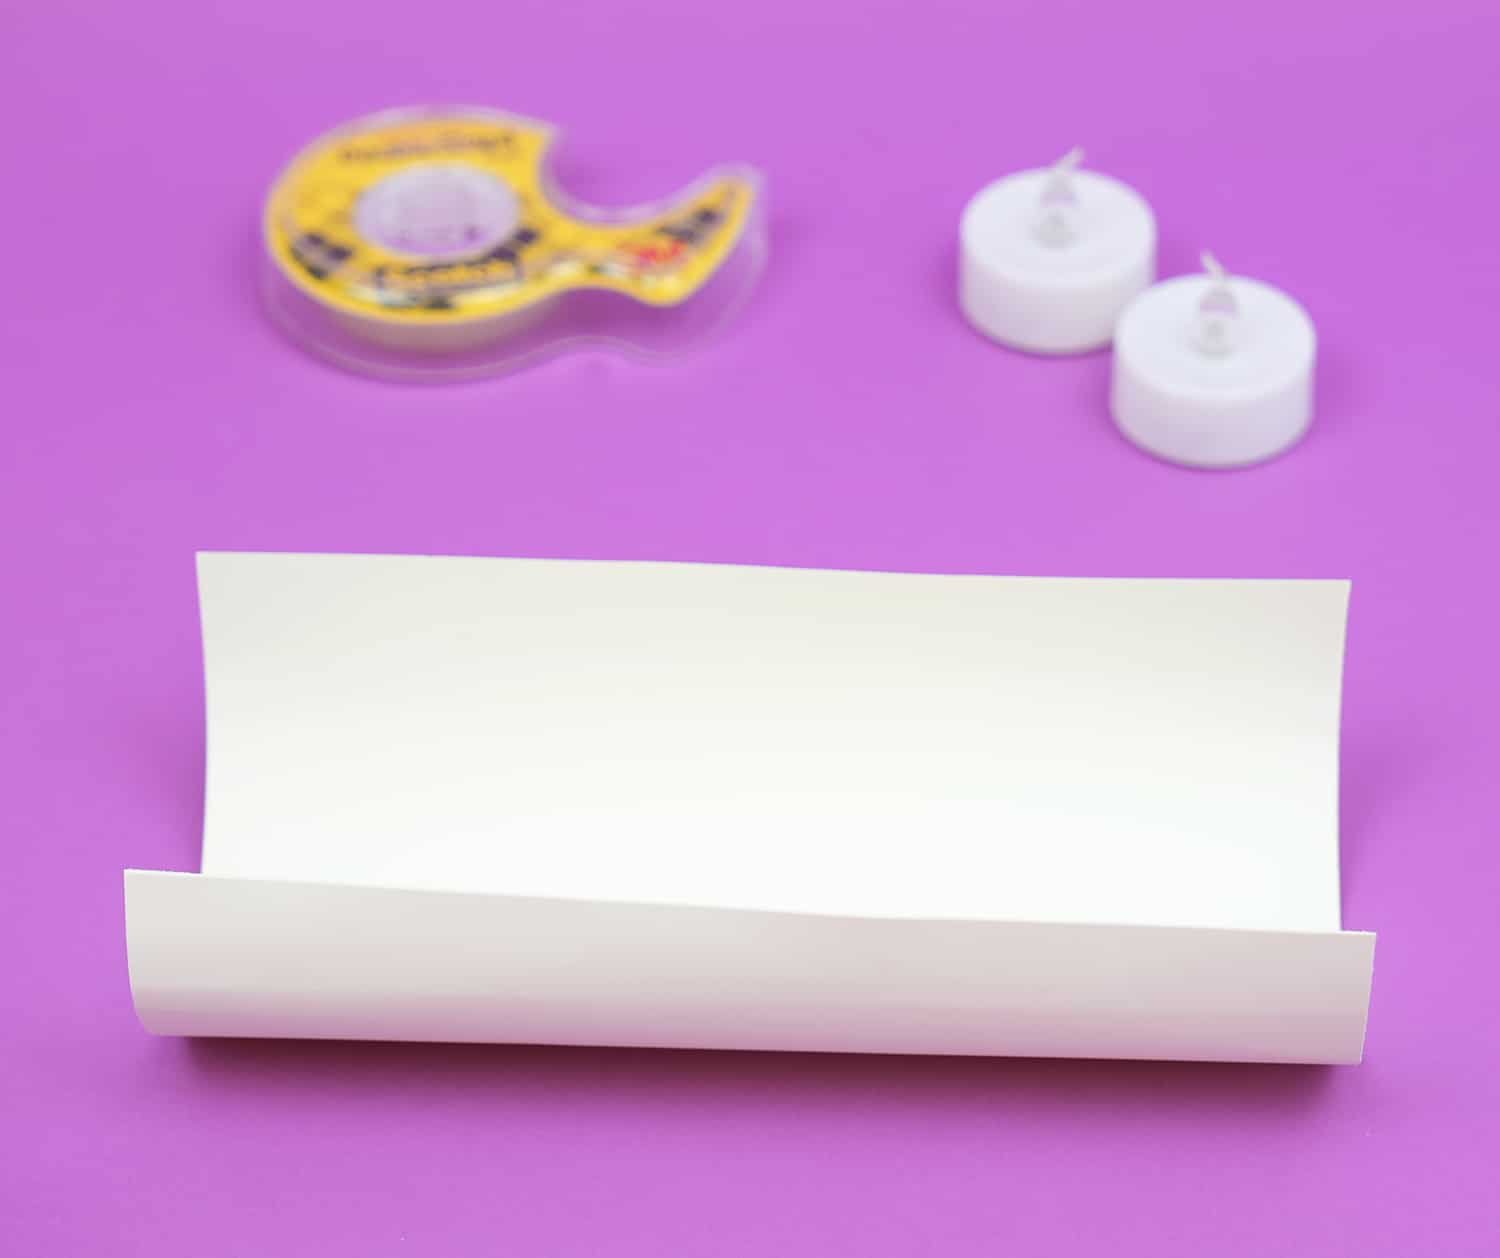
Loosely roll the larger pieces of paper into a tube along the width of the cardstock.
Step 2: Create the Candle Body
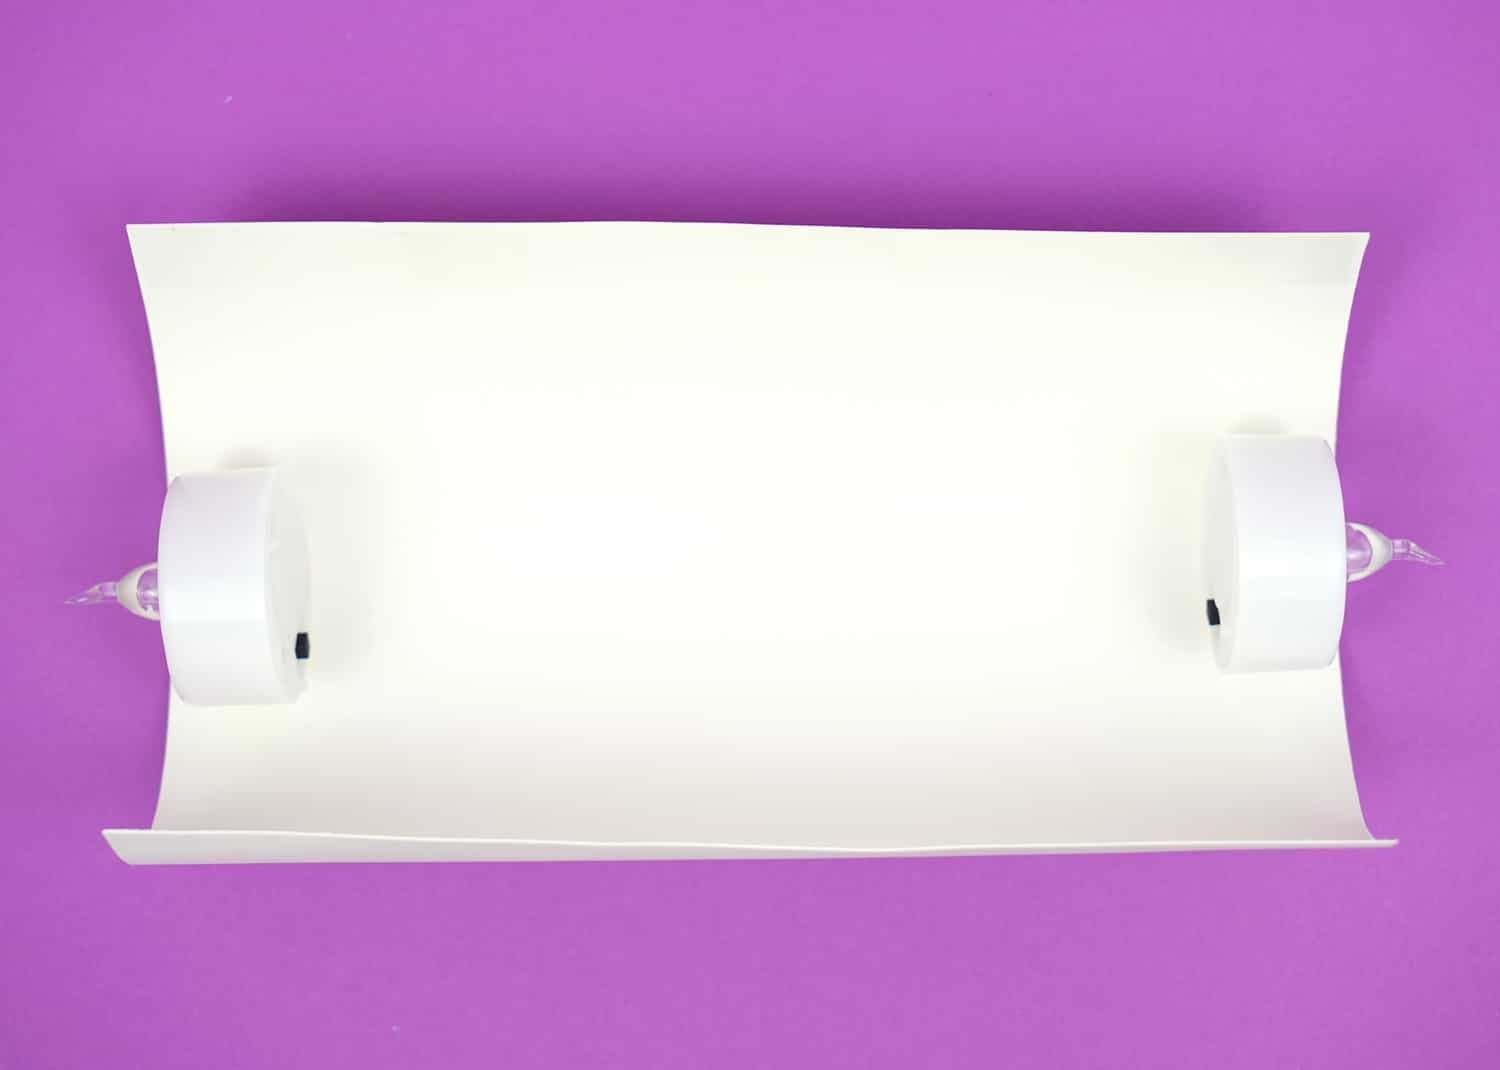
Add a strip of double-stick tape along the length of the cardstock. Place a tealight candle at each opposite end of the cardstock.
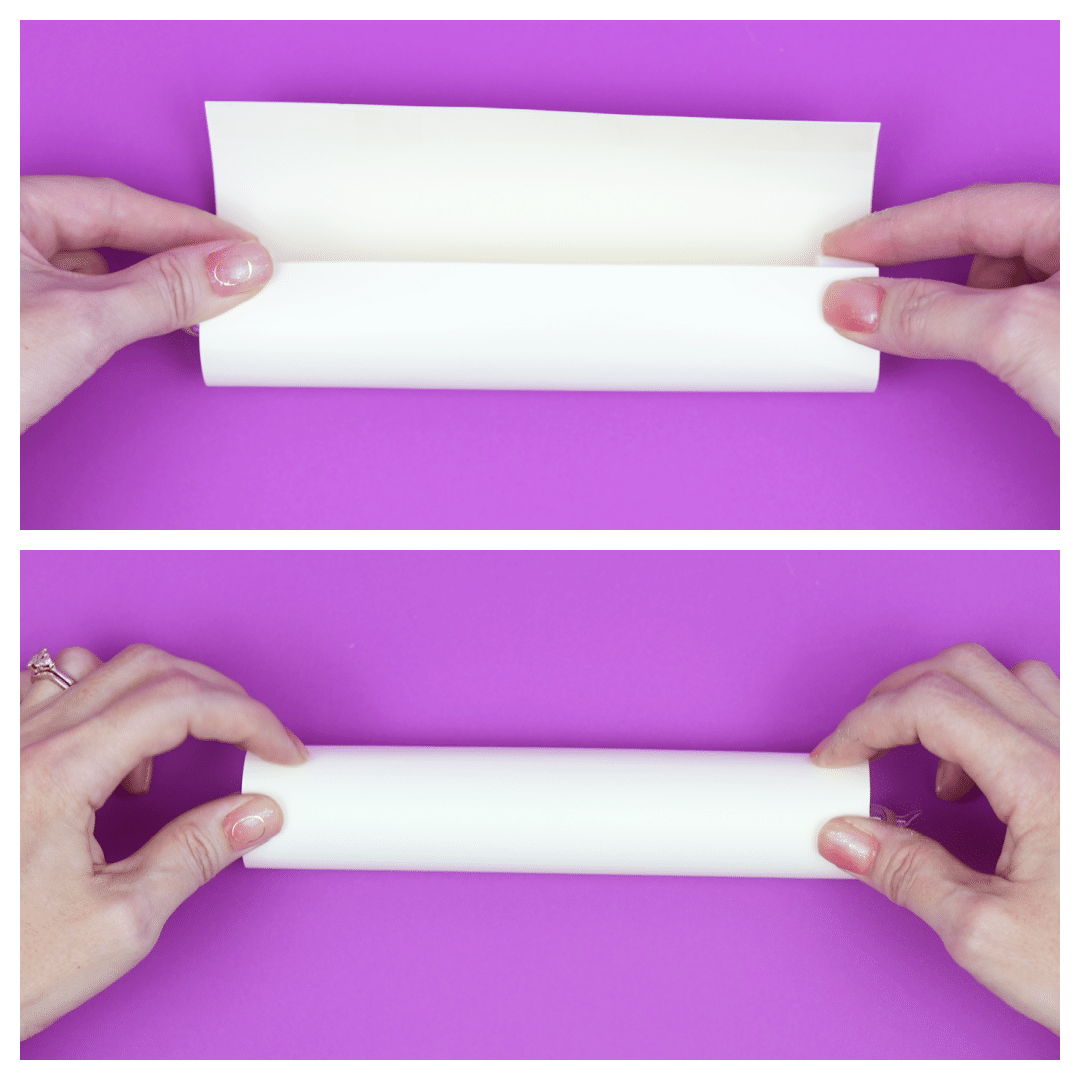
Carefully holding the tealights in place as a sizing guide, tightly roll up the cardboard tube, securing the edges at the double-stick tape. Gently remove the tealight candles from both ends of the tube, and use your fingers inside of the tube to ensure that the taped seam is firmly adhered.
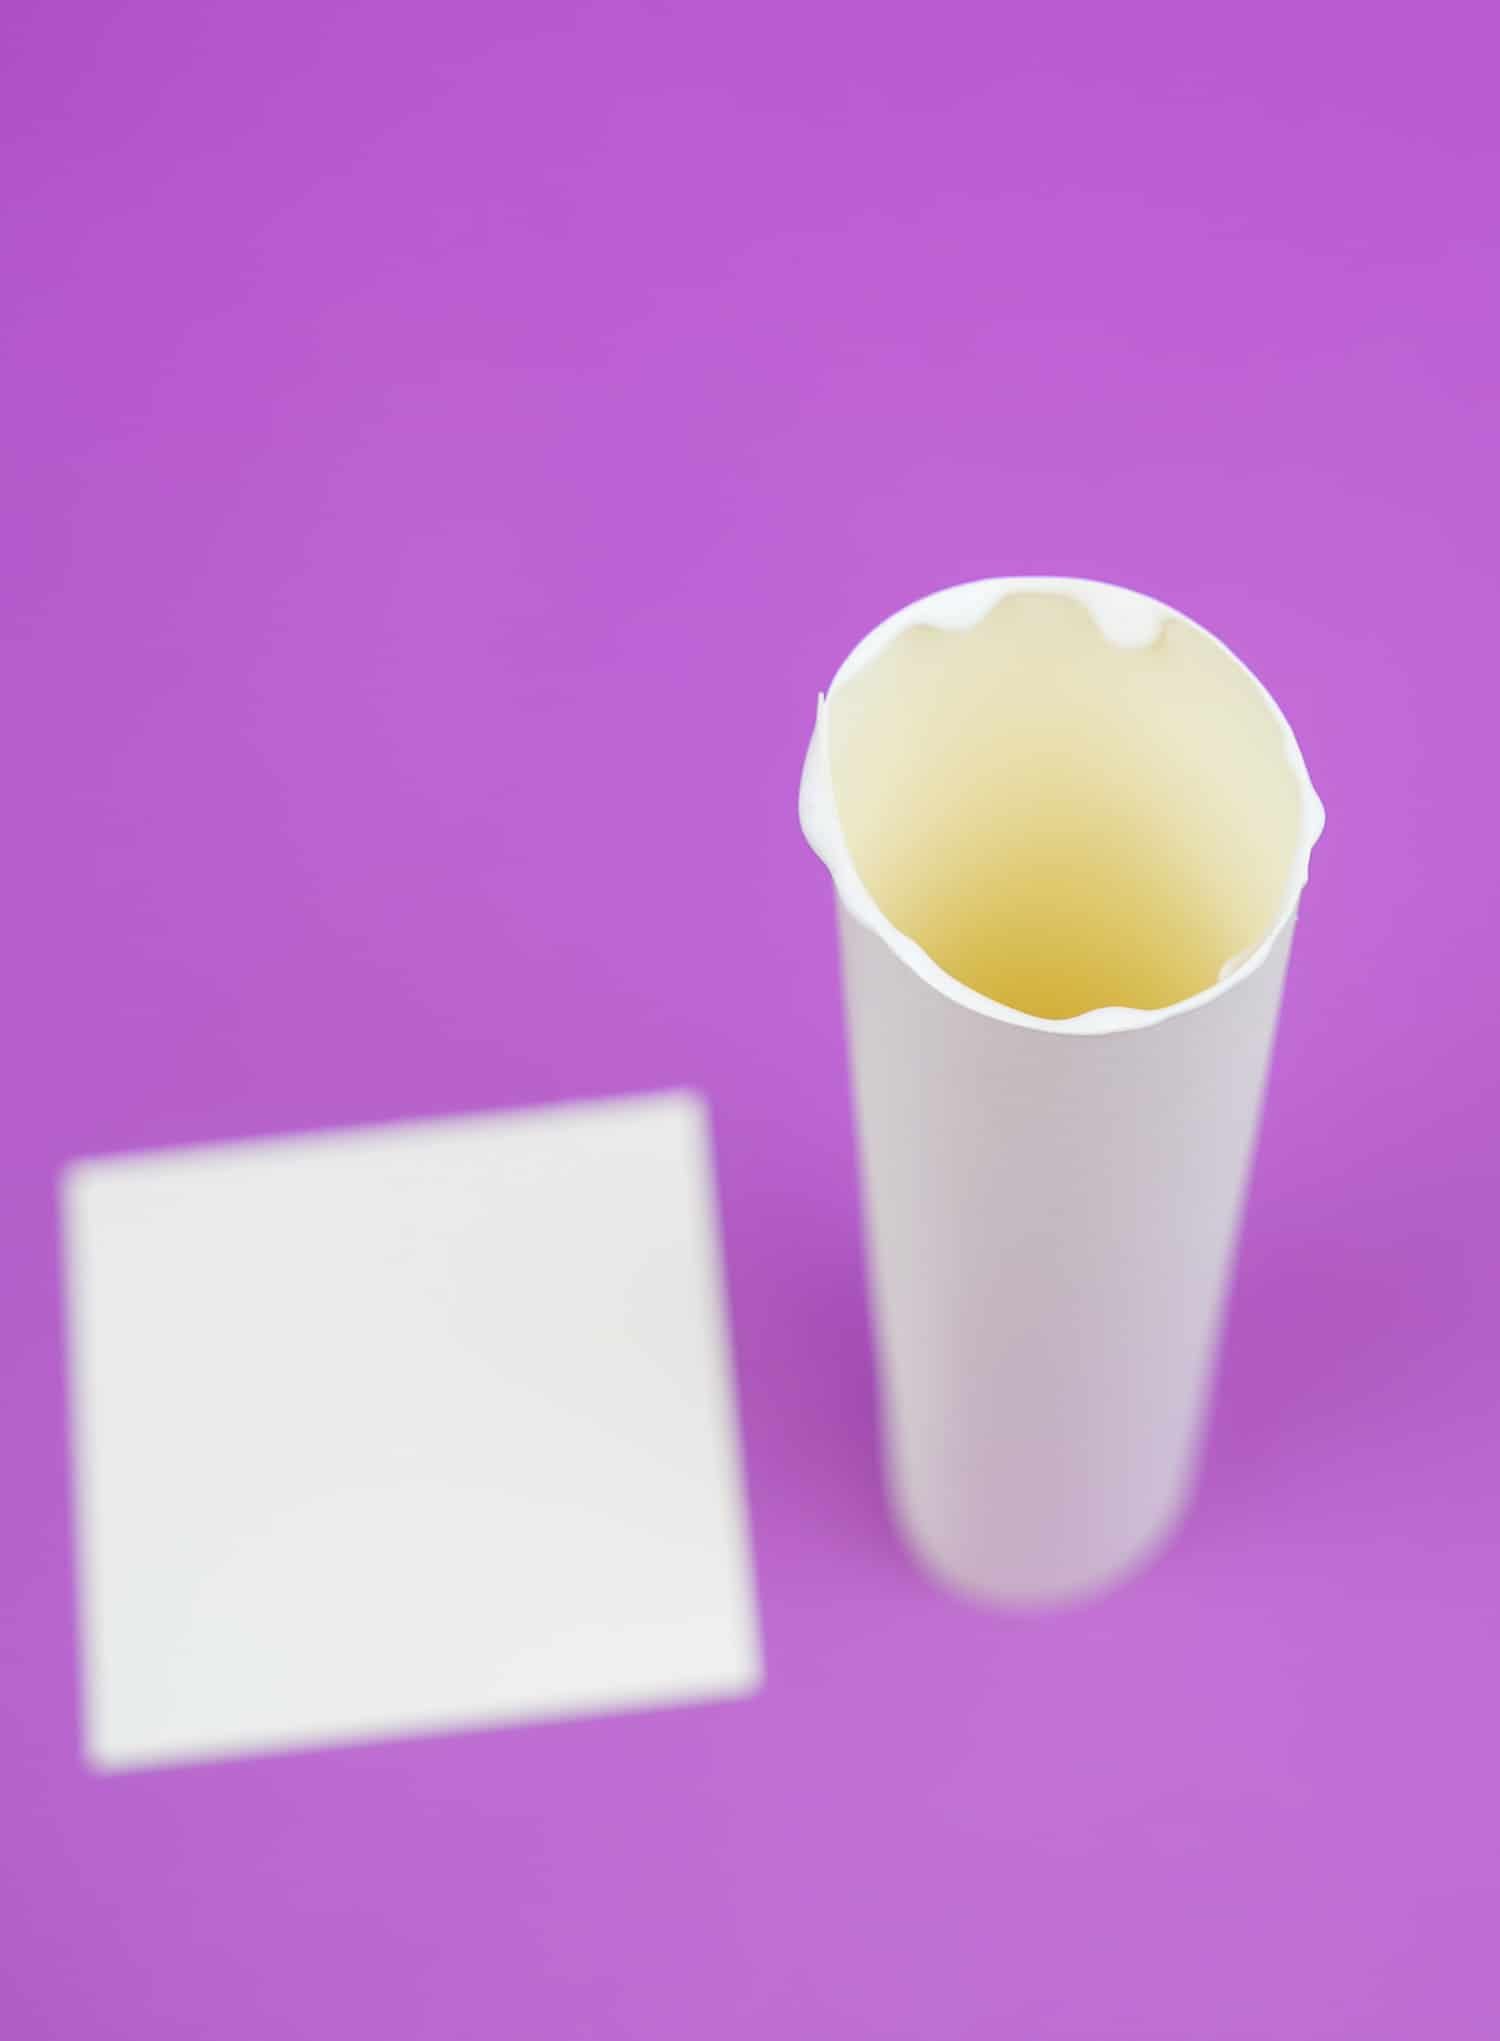
Next, add a generous amount of white glue to the edges at one end of the paper tube.
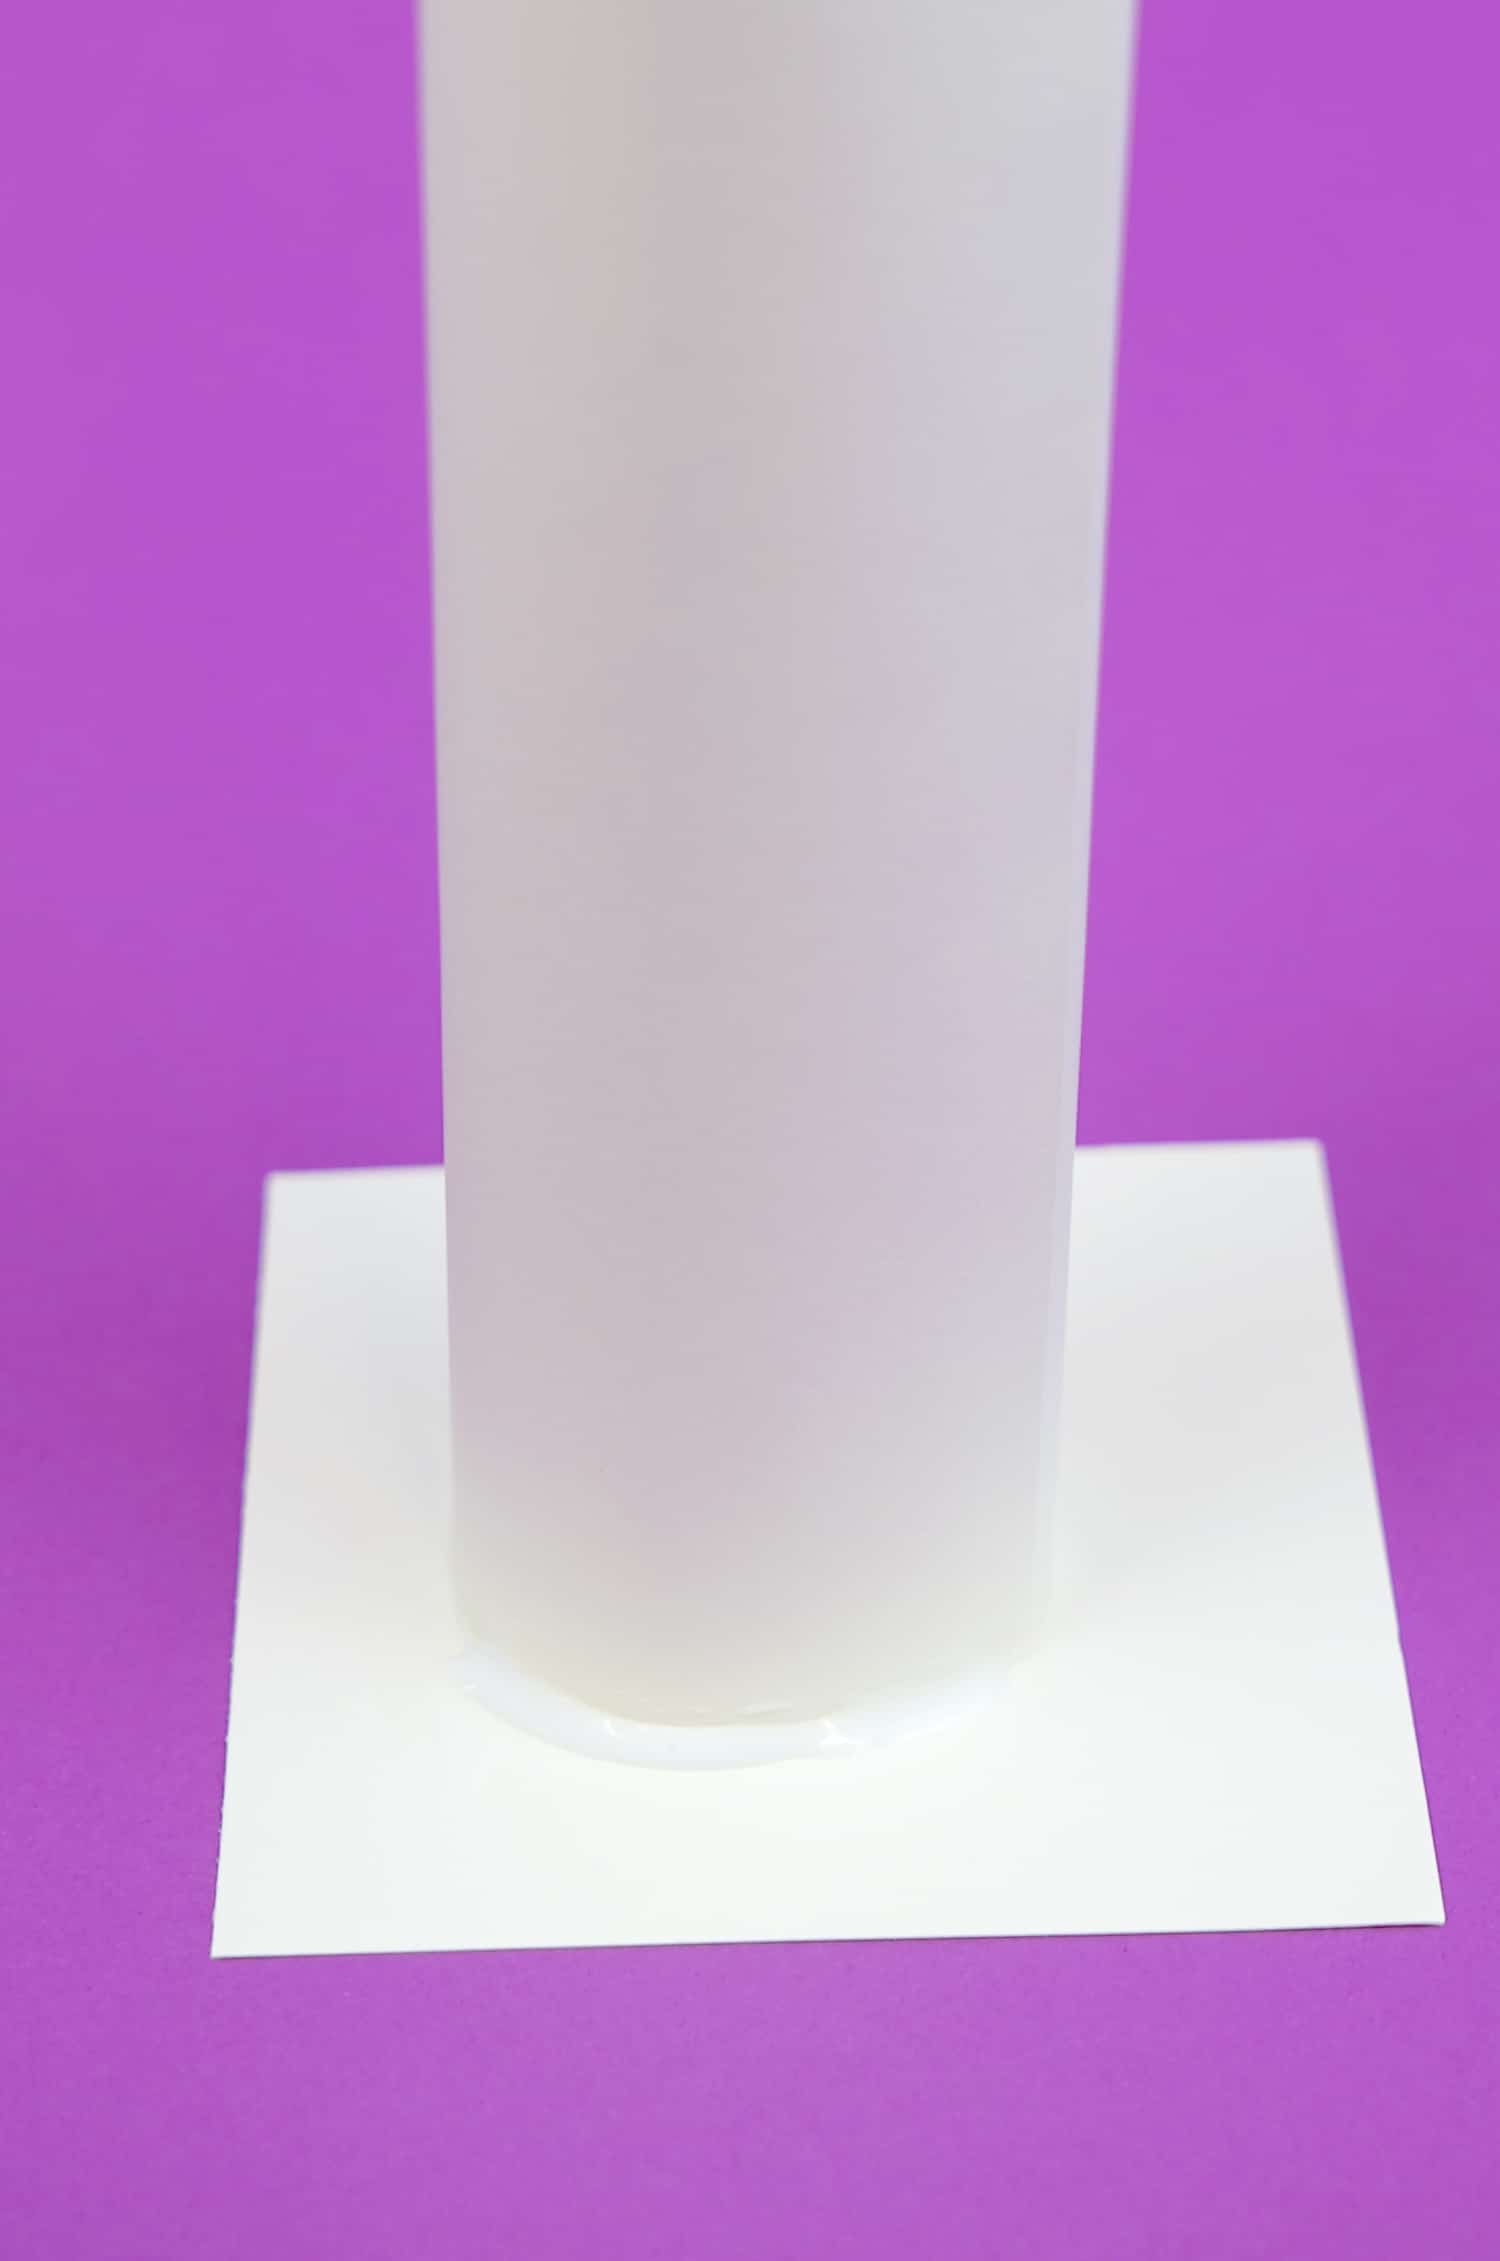
Place the glued paper tube on top of the 2″ square, and use your fingers to smooth the glue (like caulking). Allow to dry.
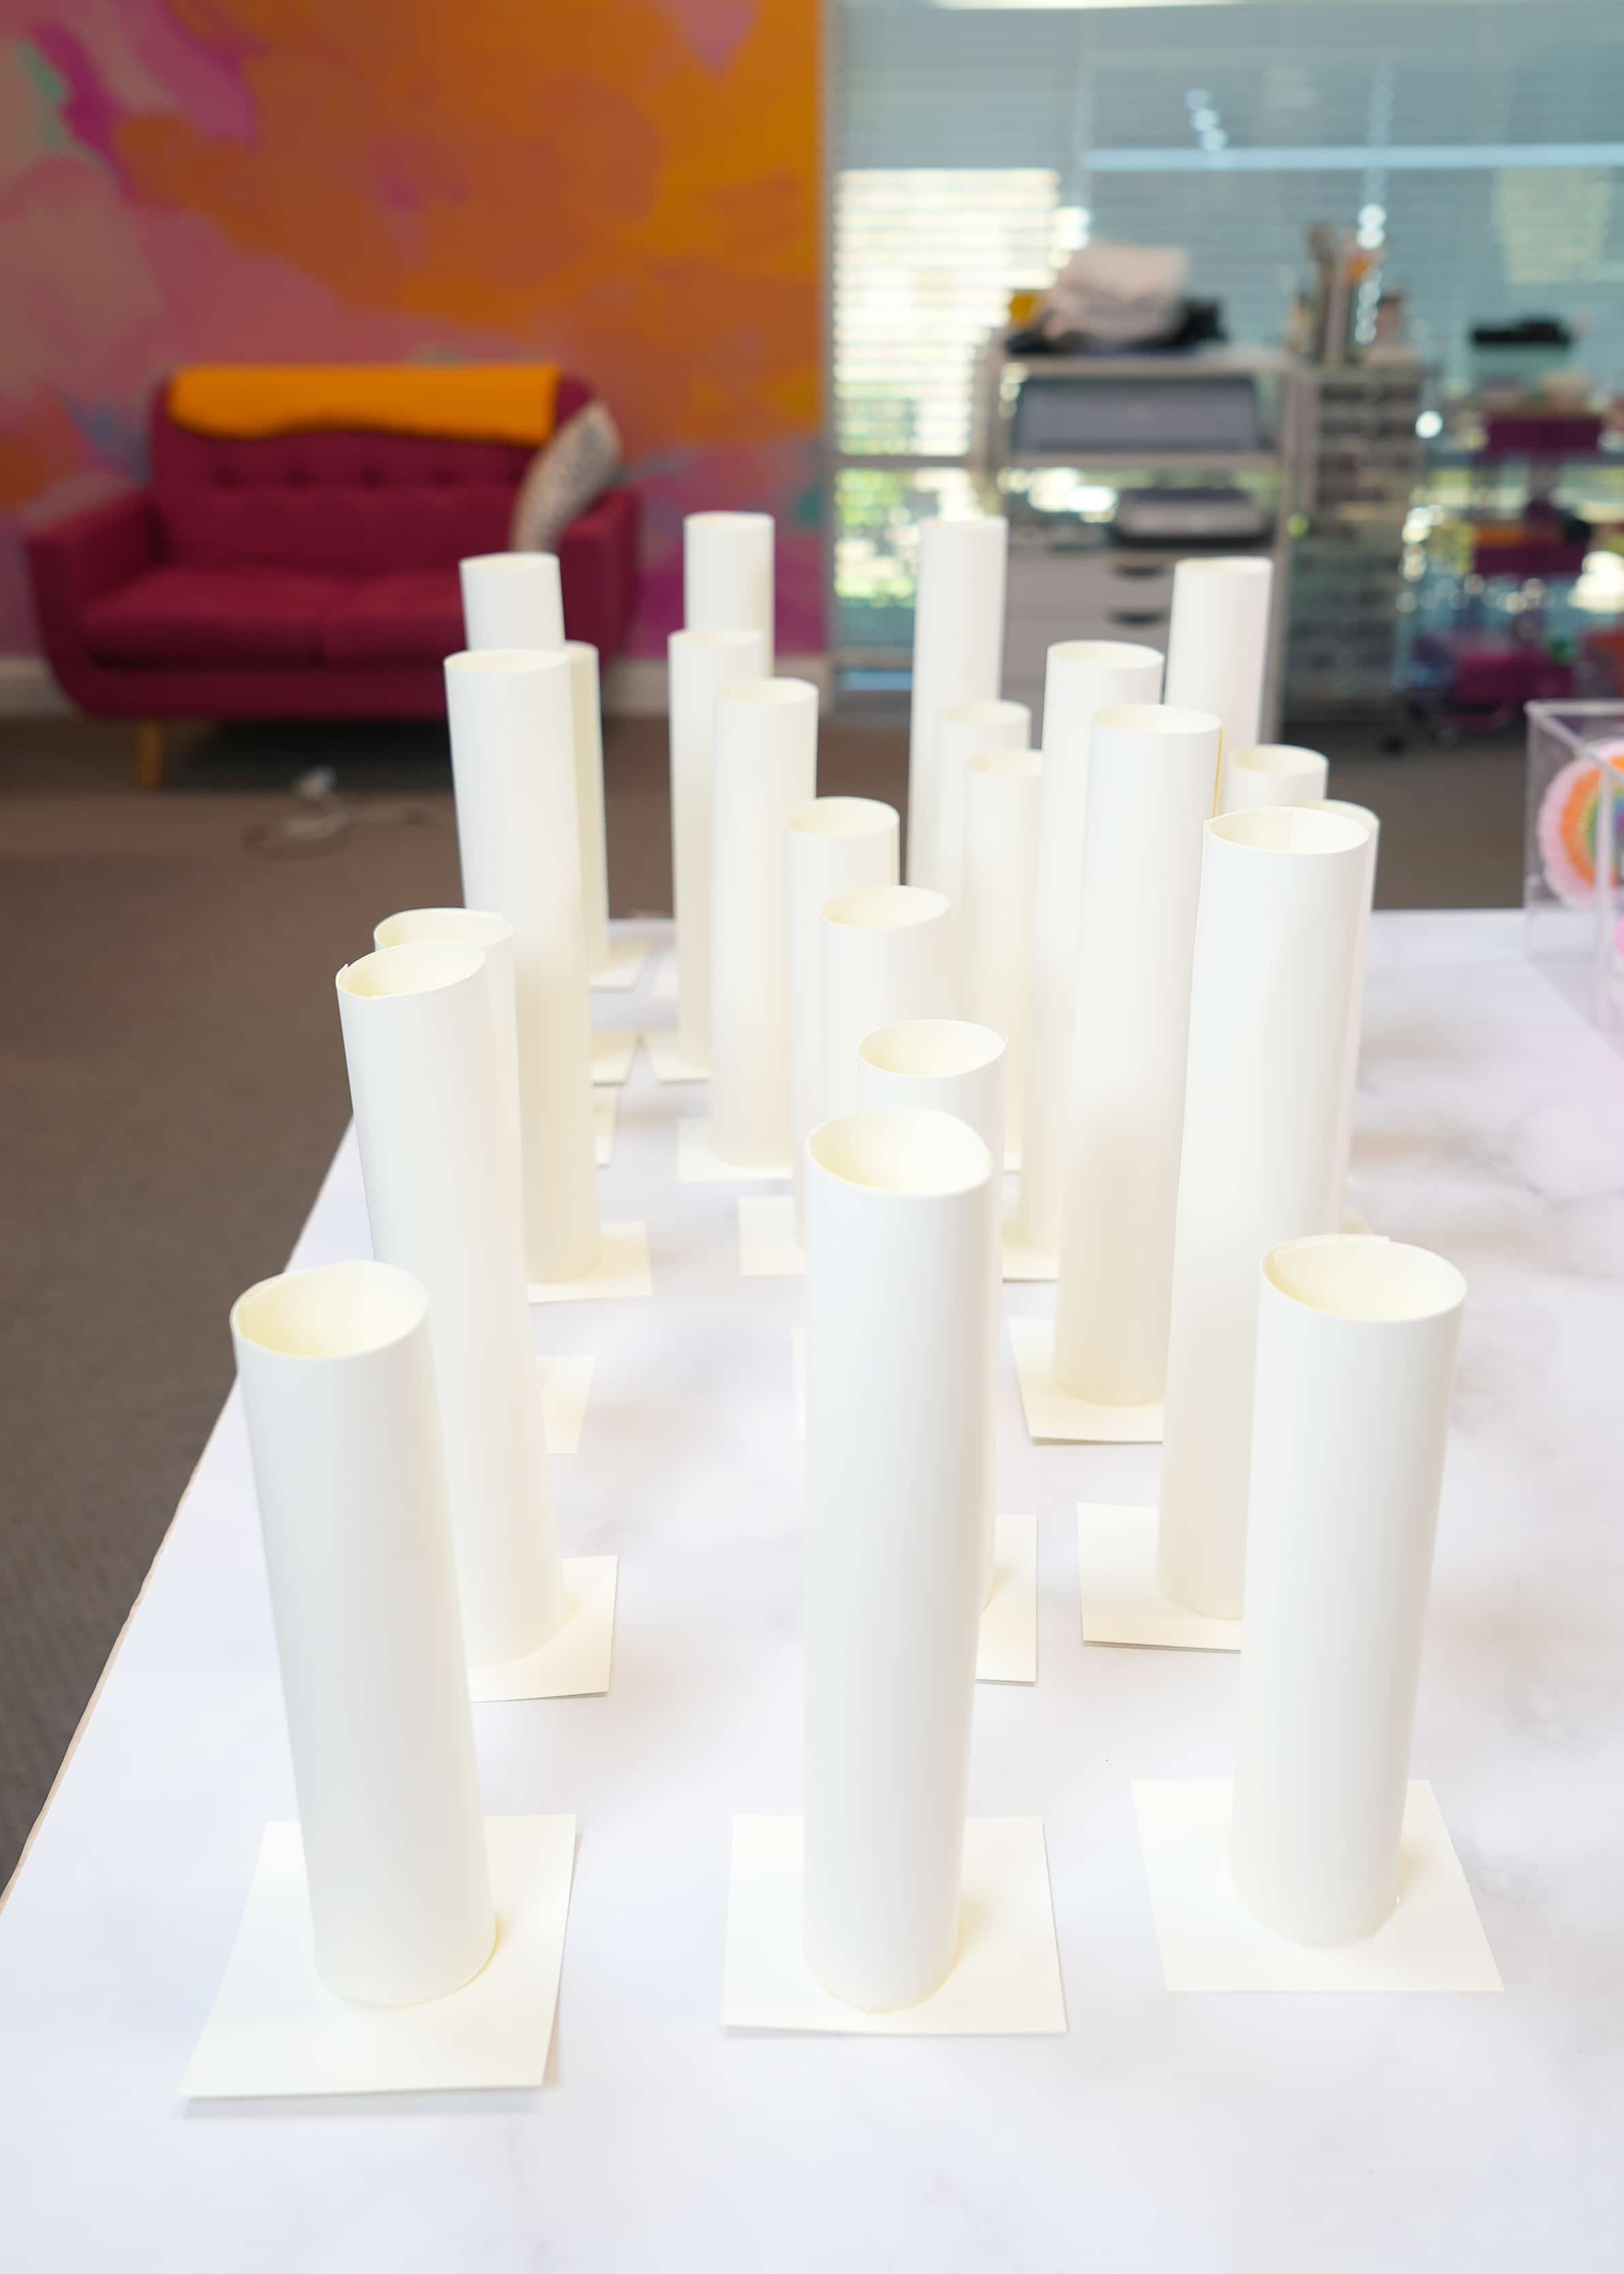
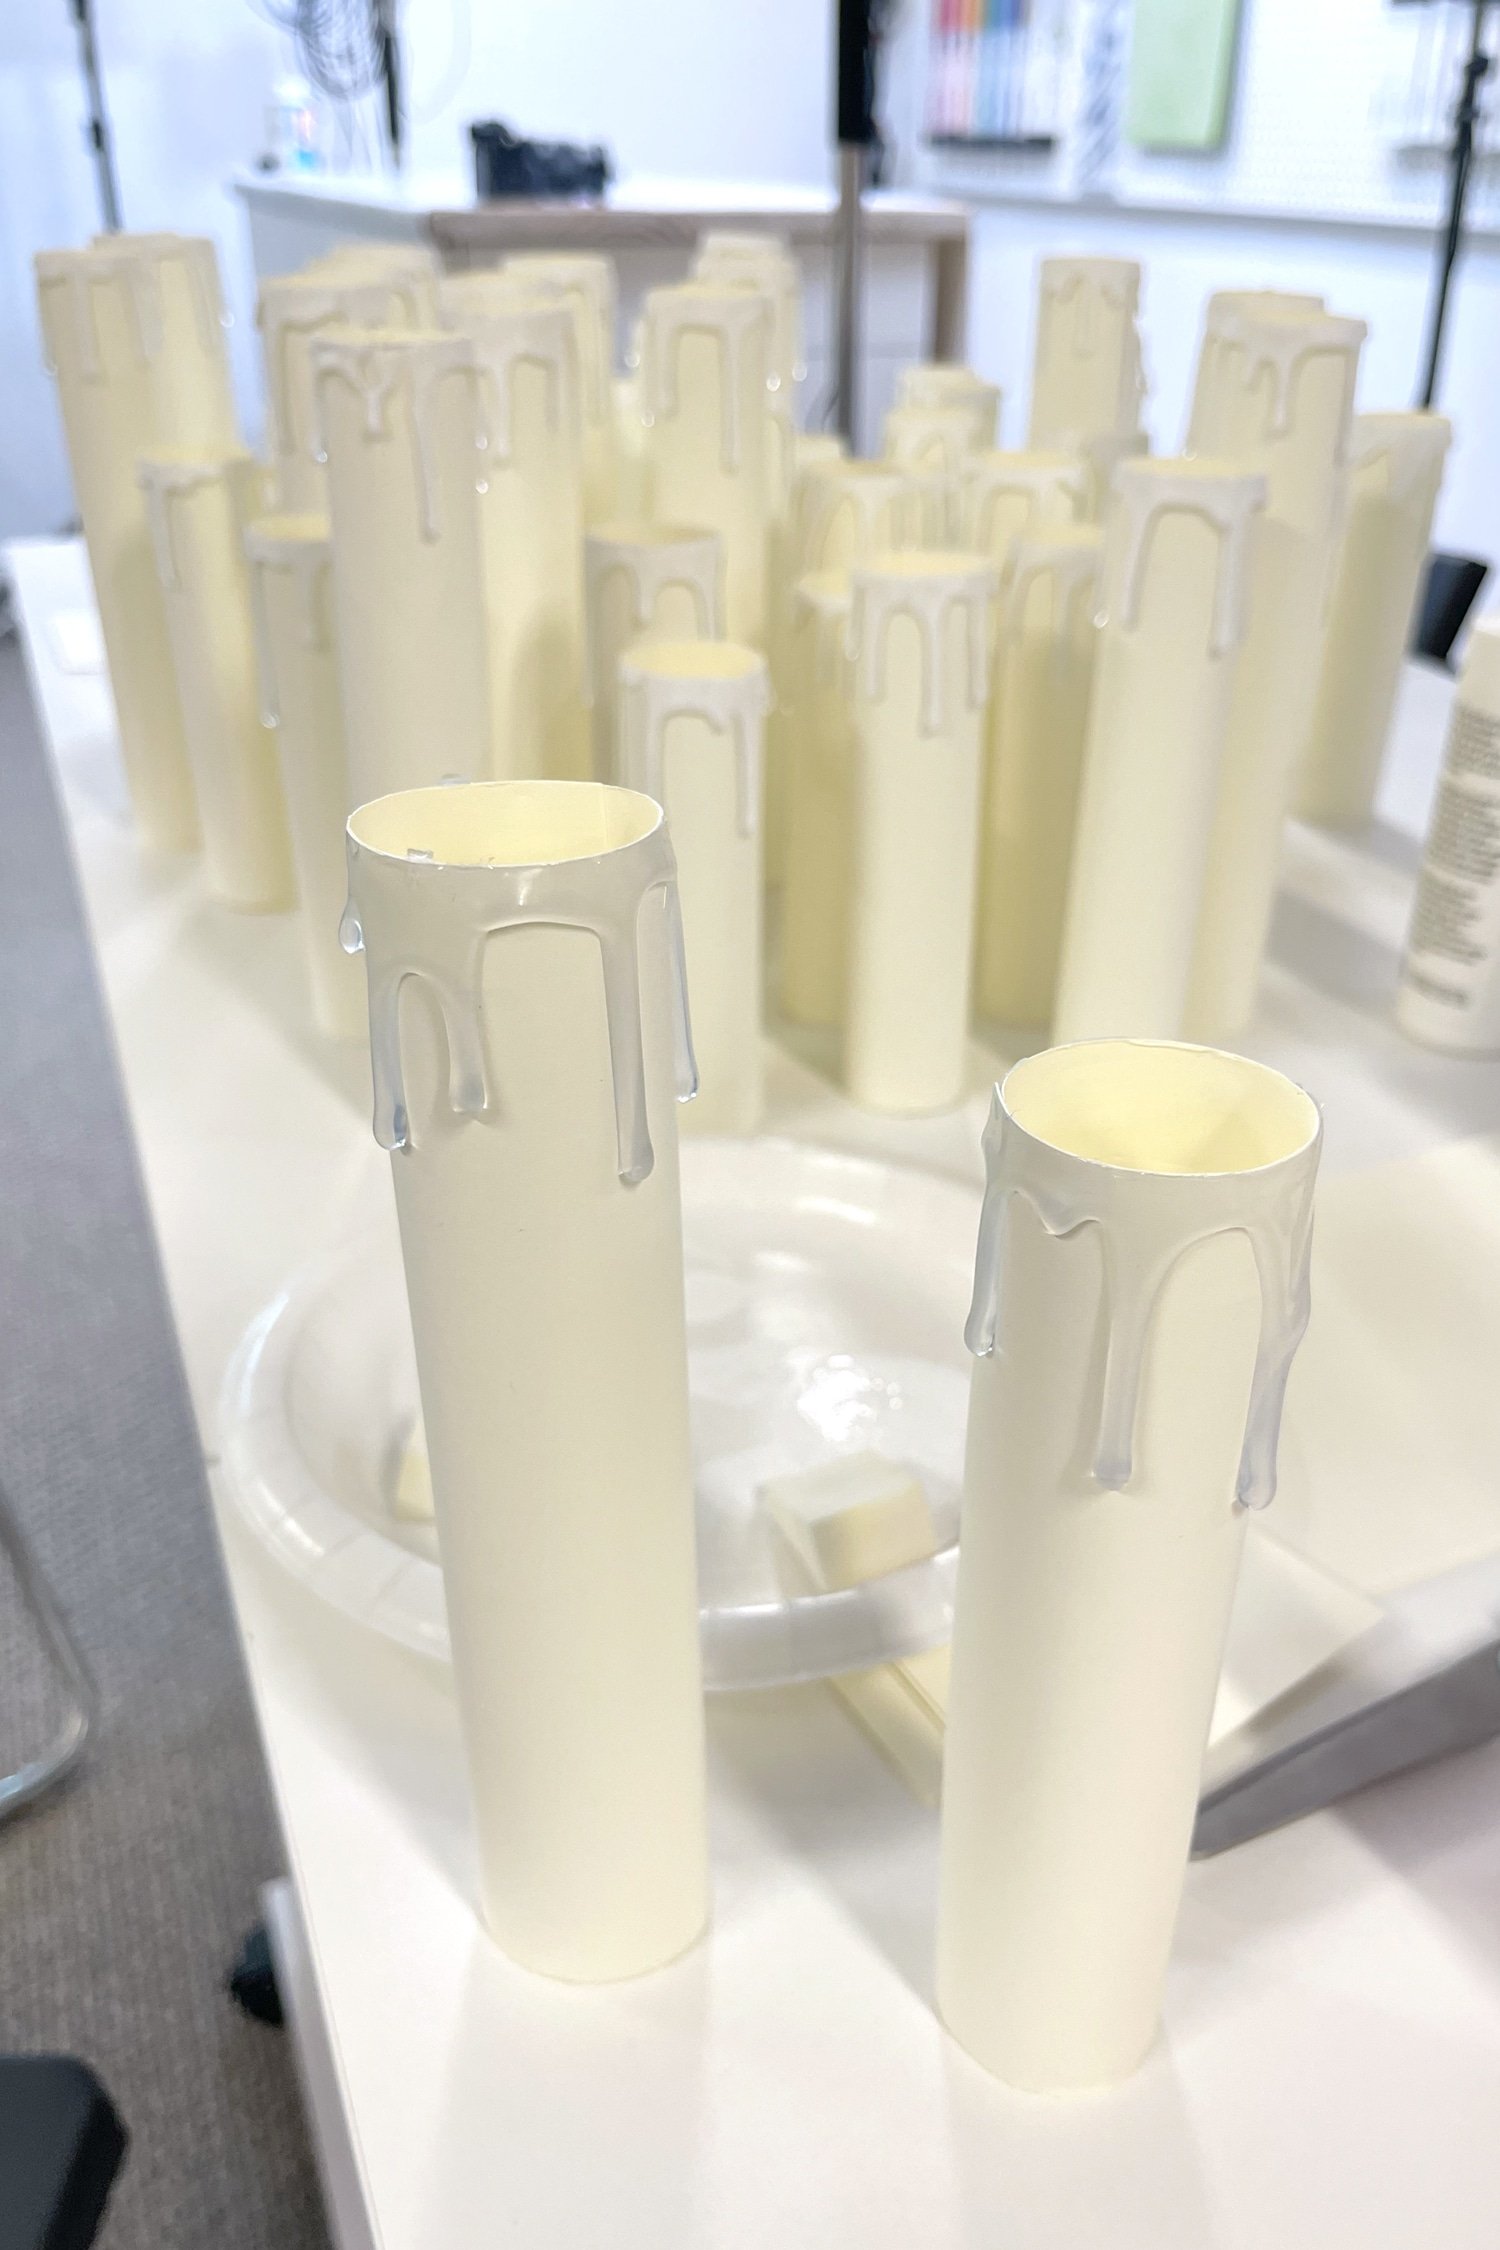
Repeat, repeat, repeat!
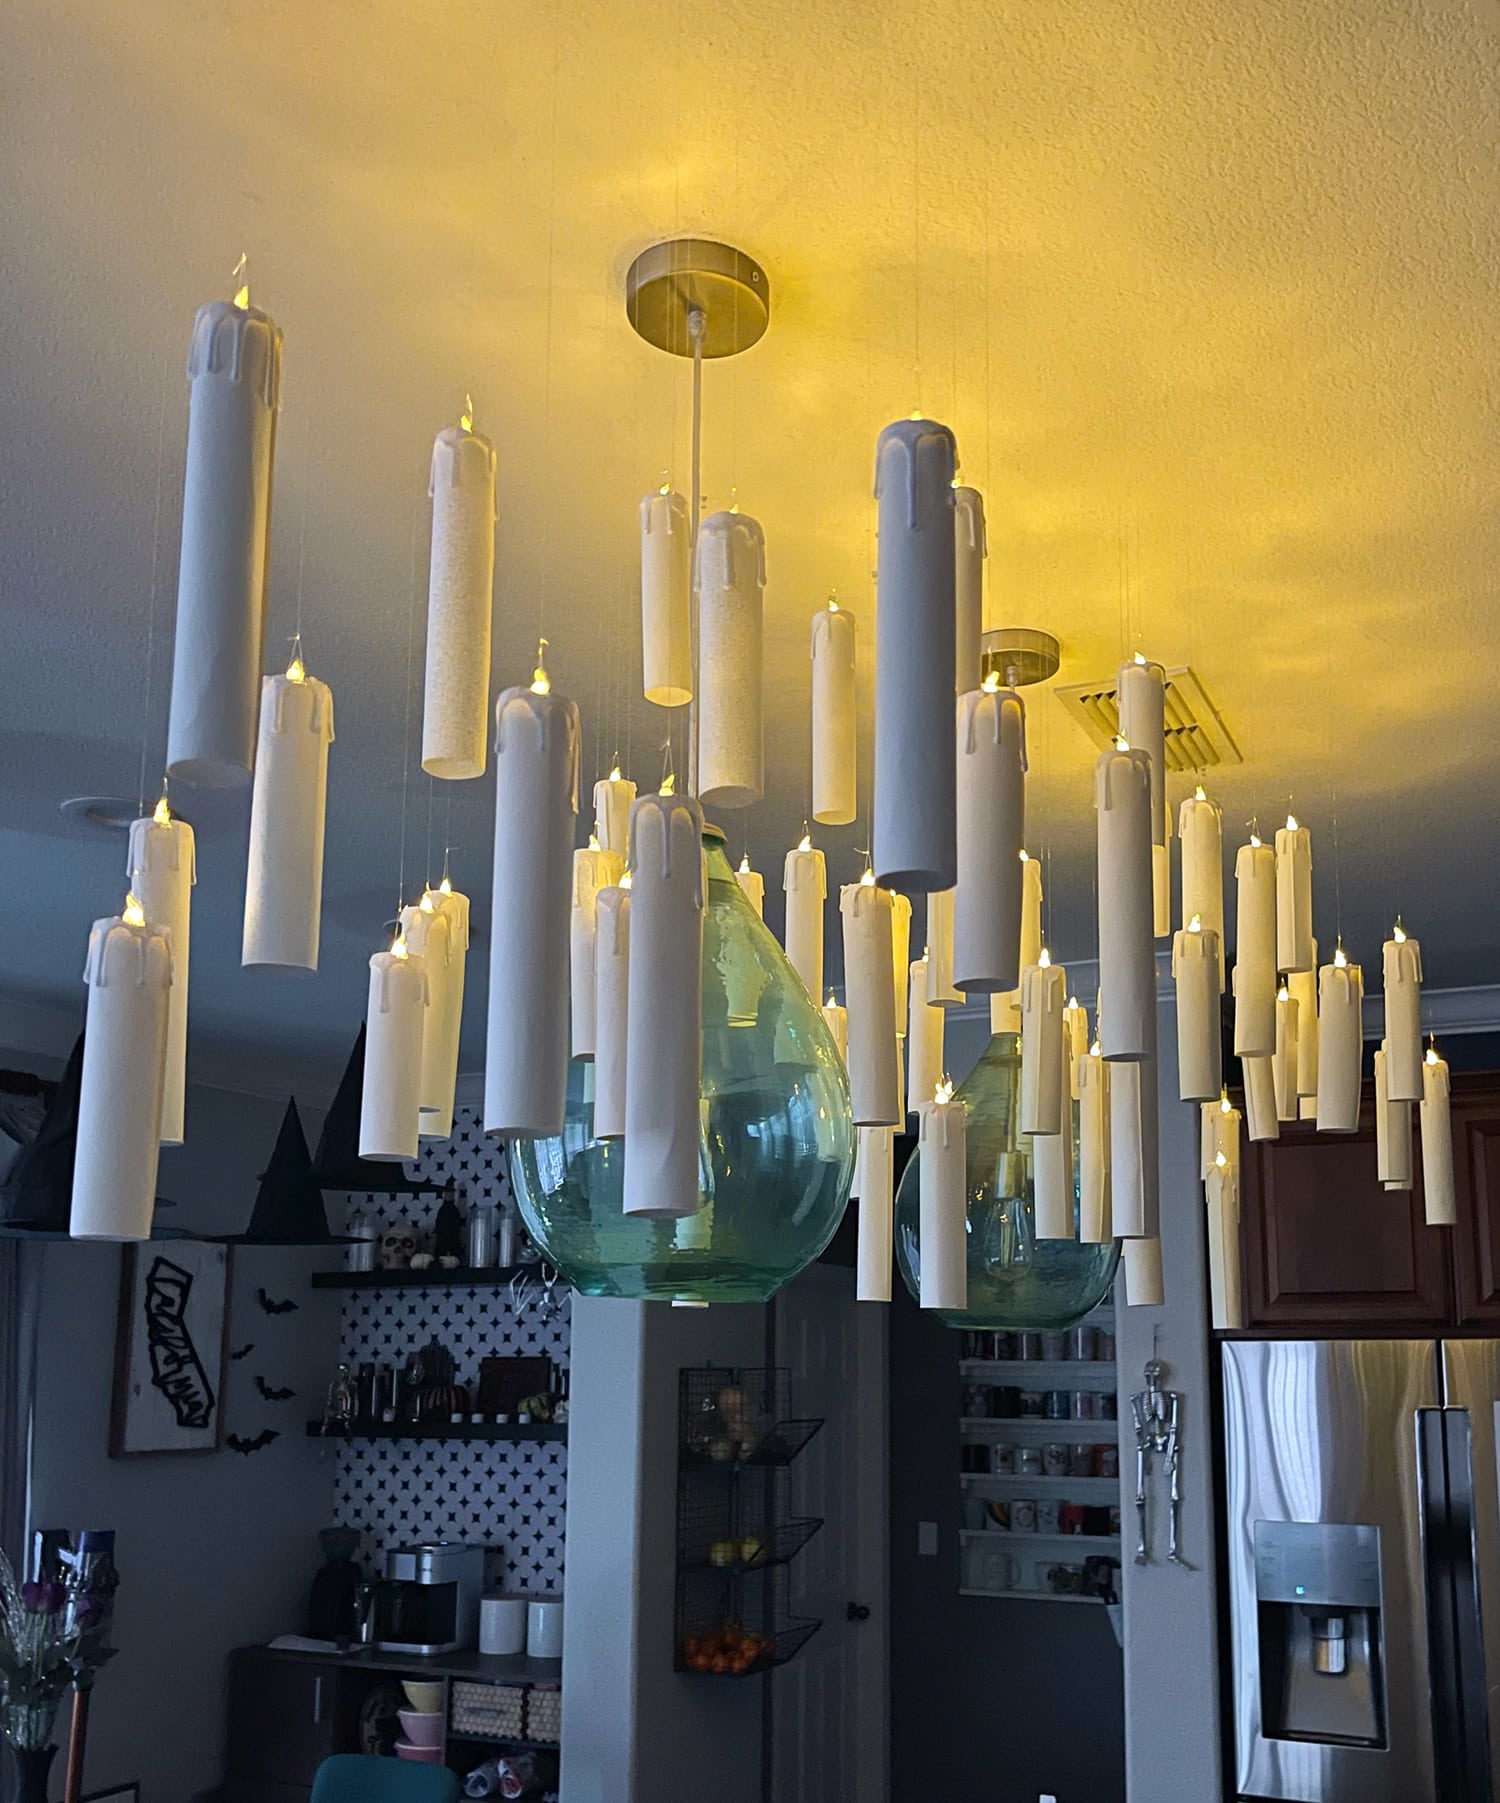
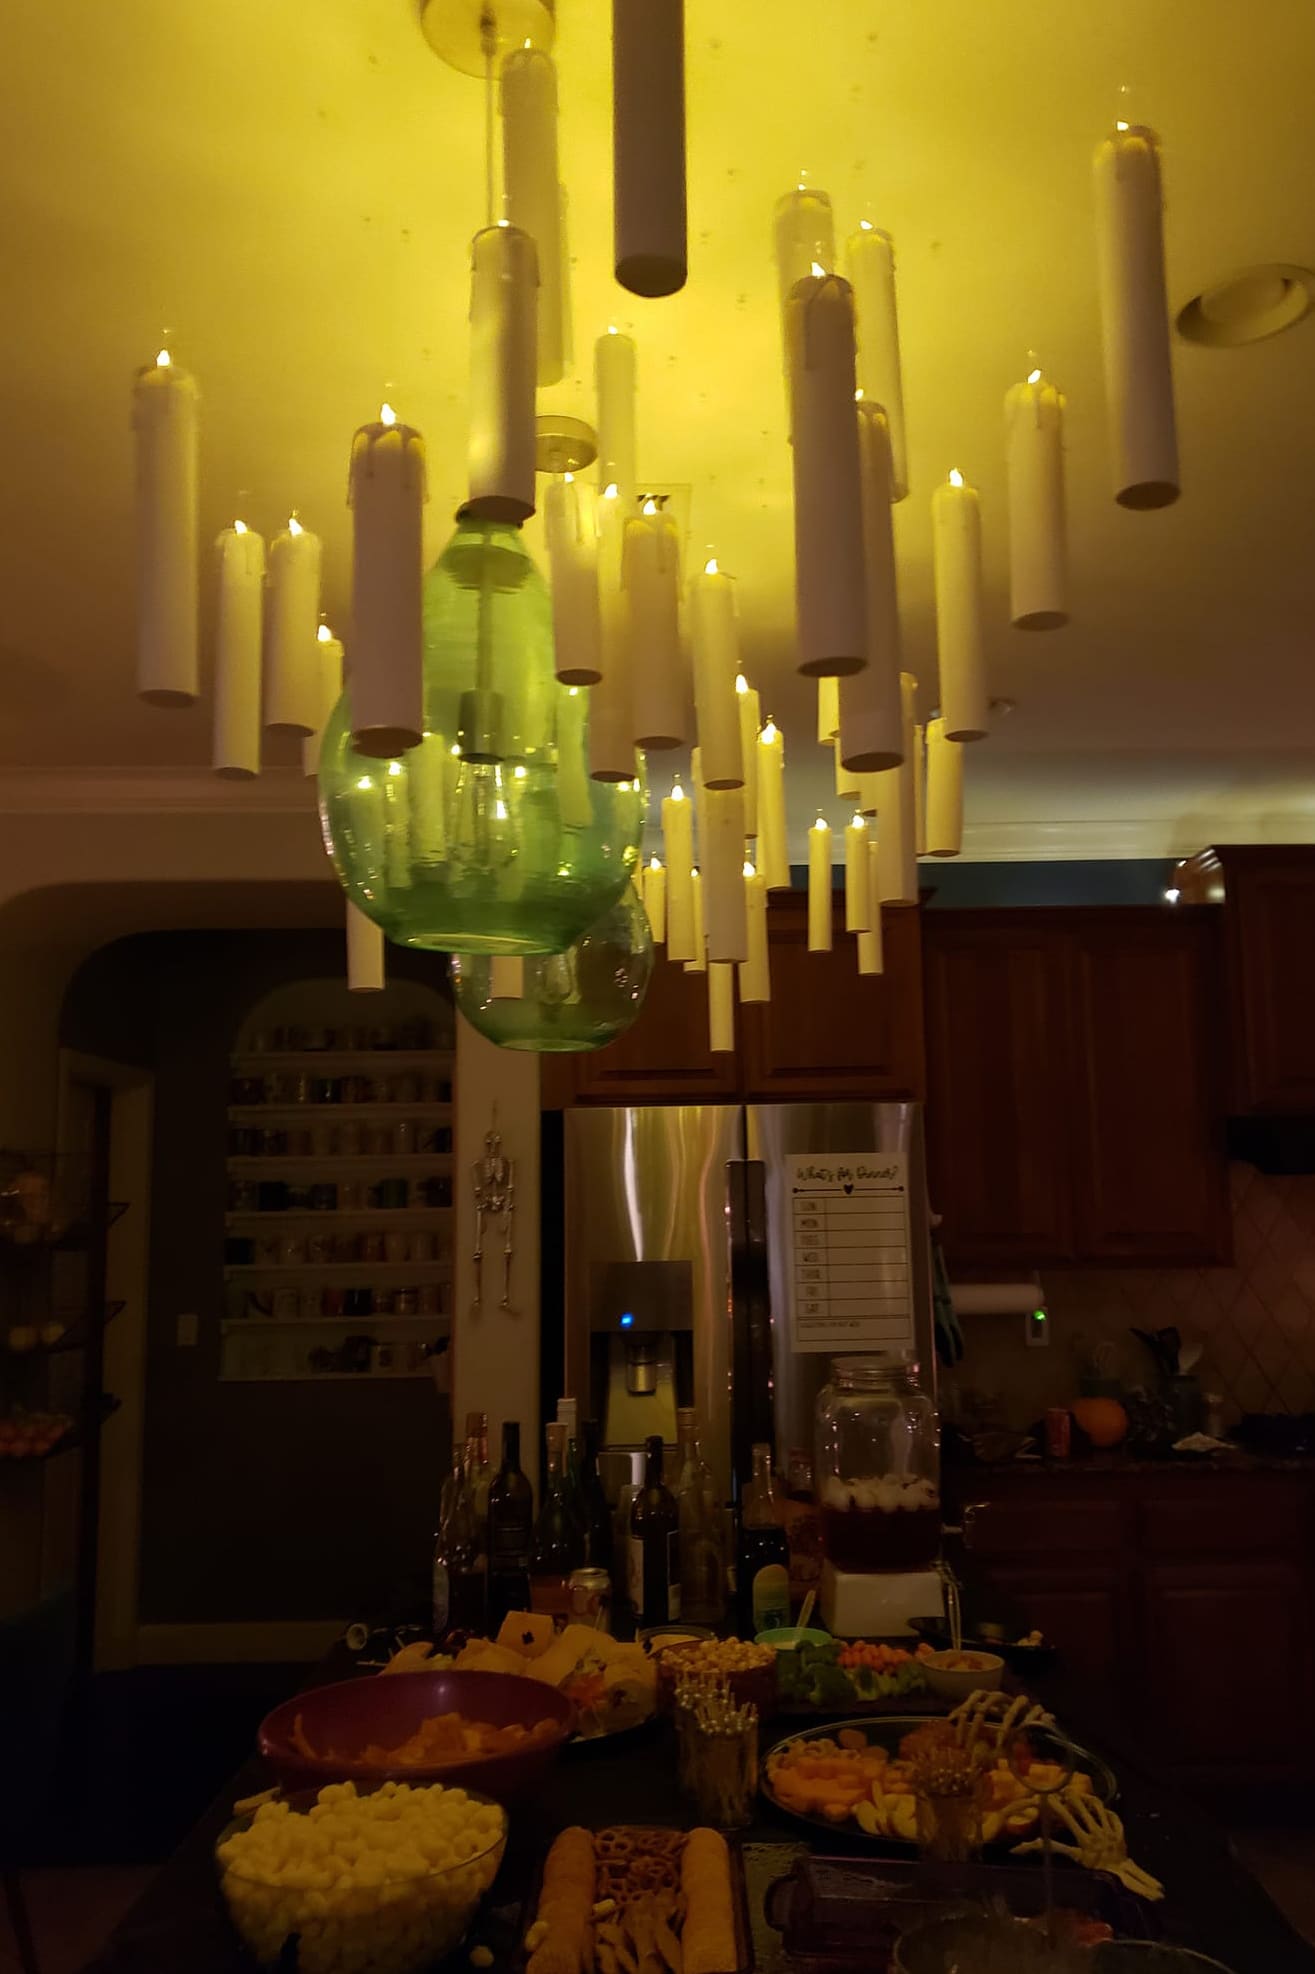
It works best to do the previous steps in batches, so go ahead and repeat these steps for as many candles as you want to make. For our display, we used approximately 70 candles to illuminate the area over our kitchen island which is 3′ x 8′.
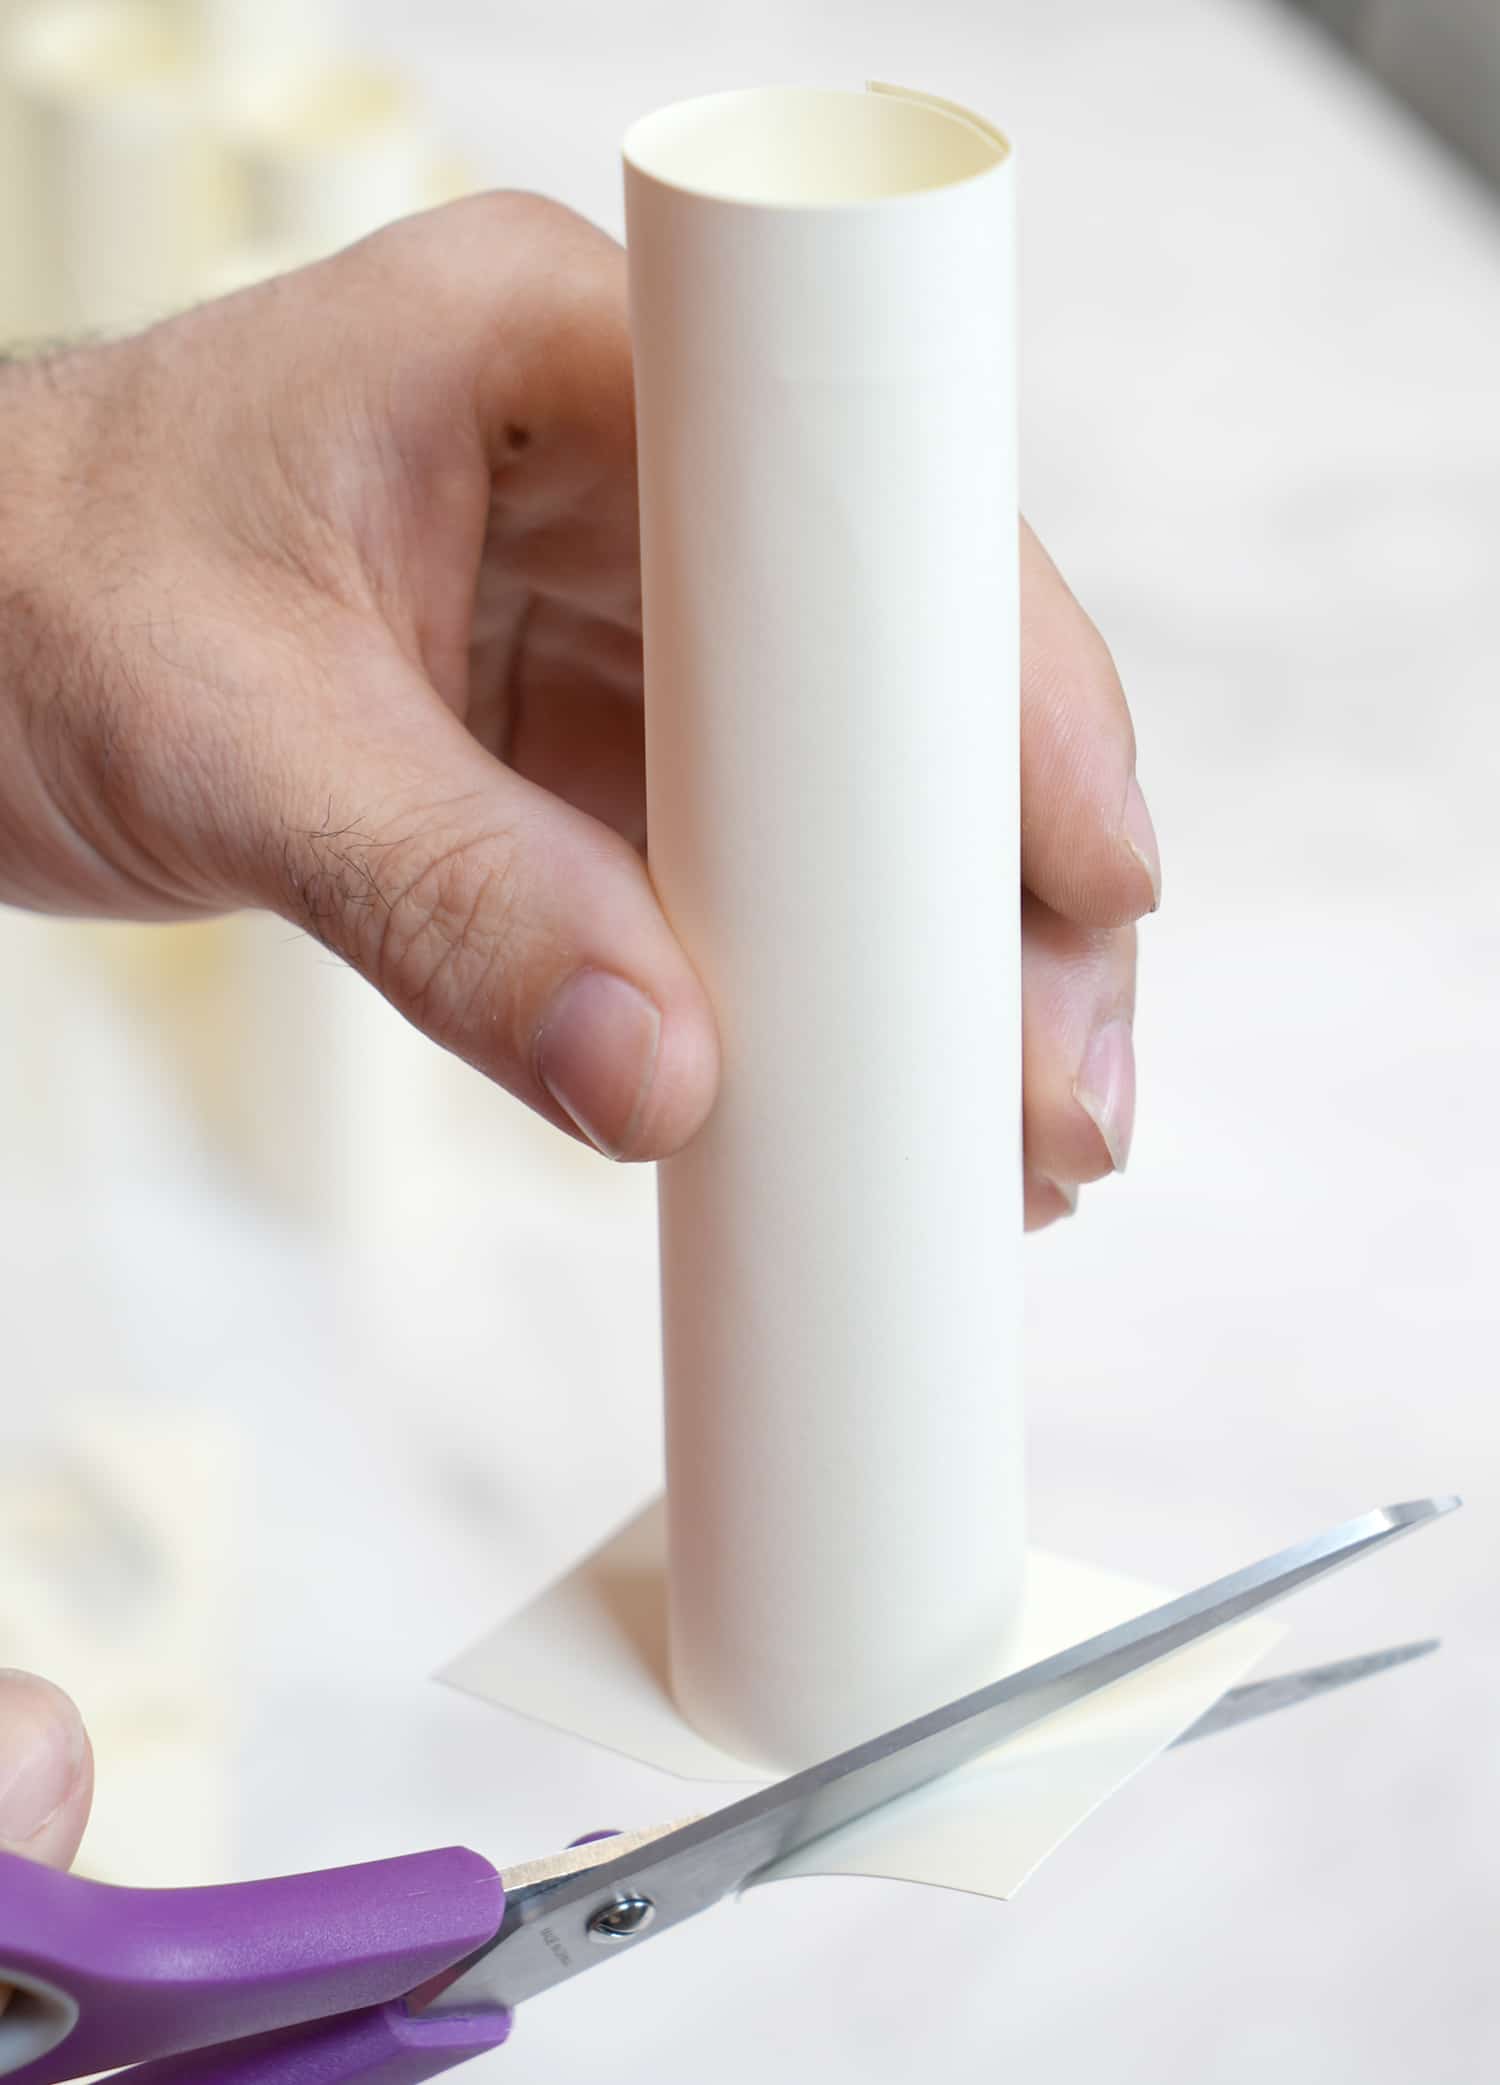
When the glue is dry, use scissors to trim the excess paper from the candle bases.
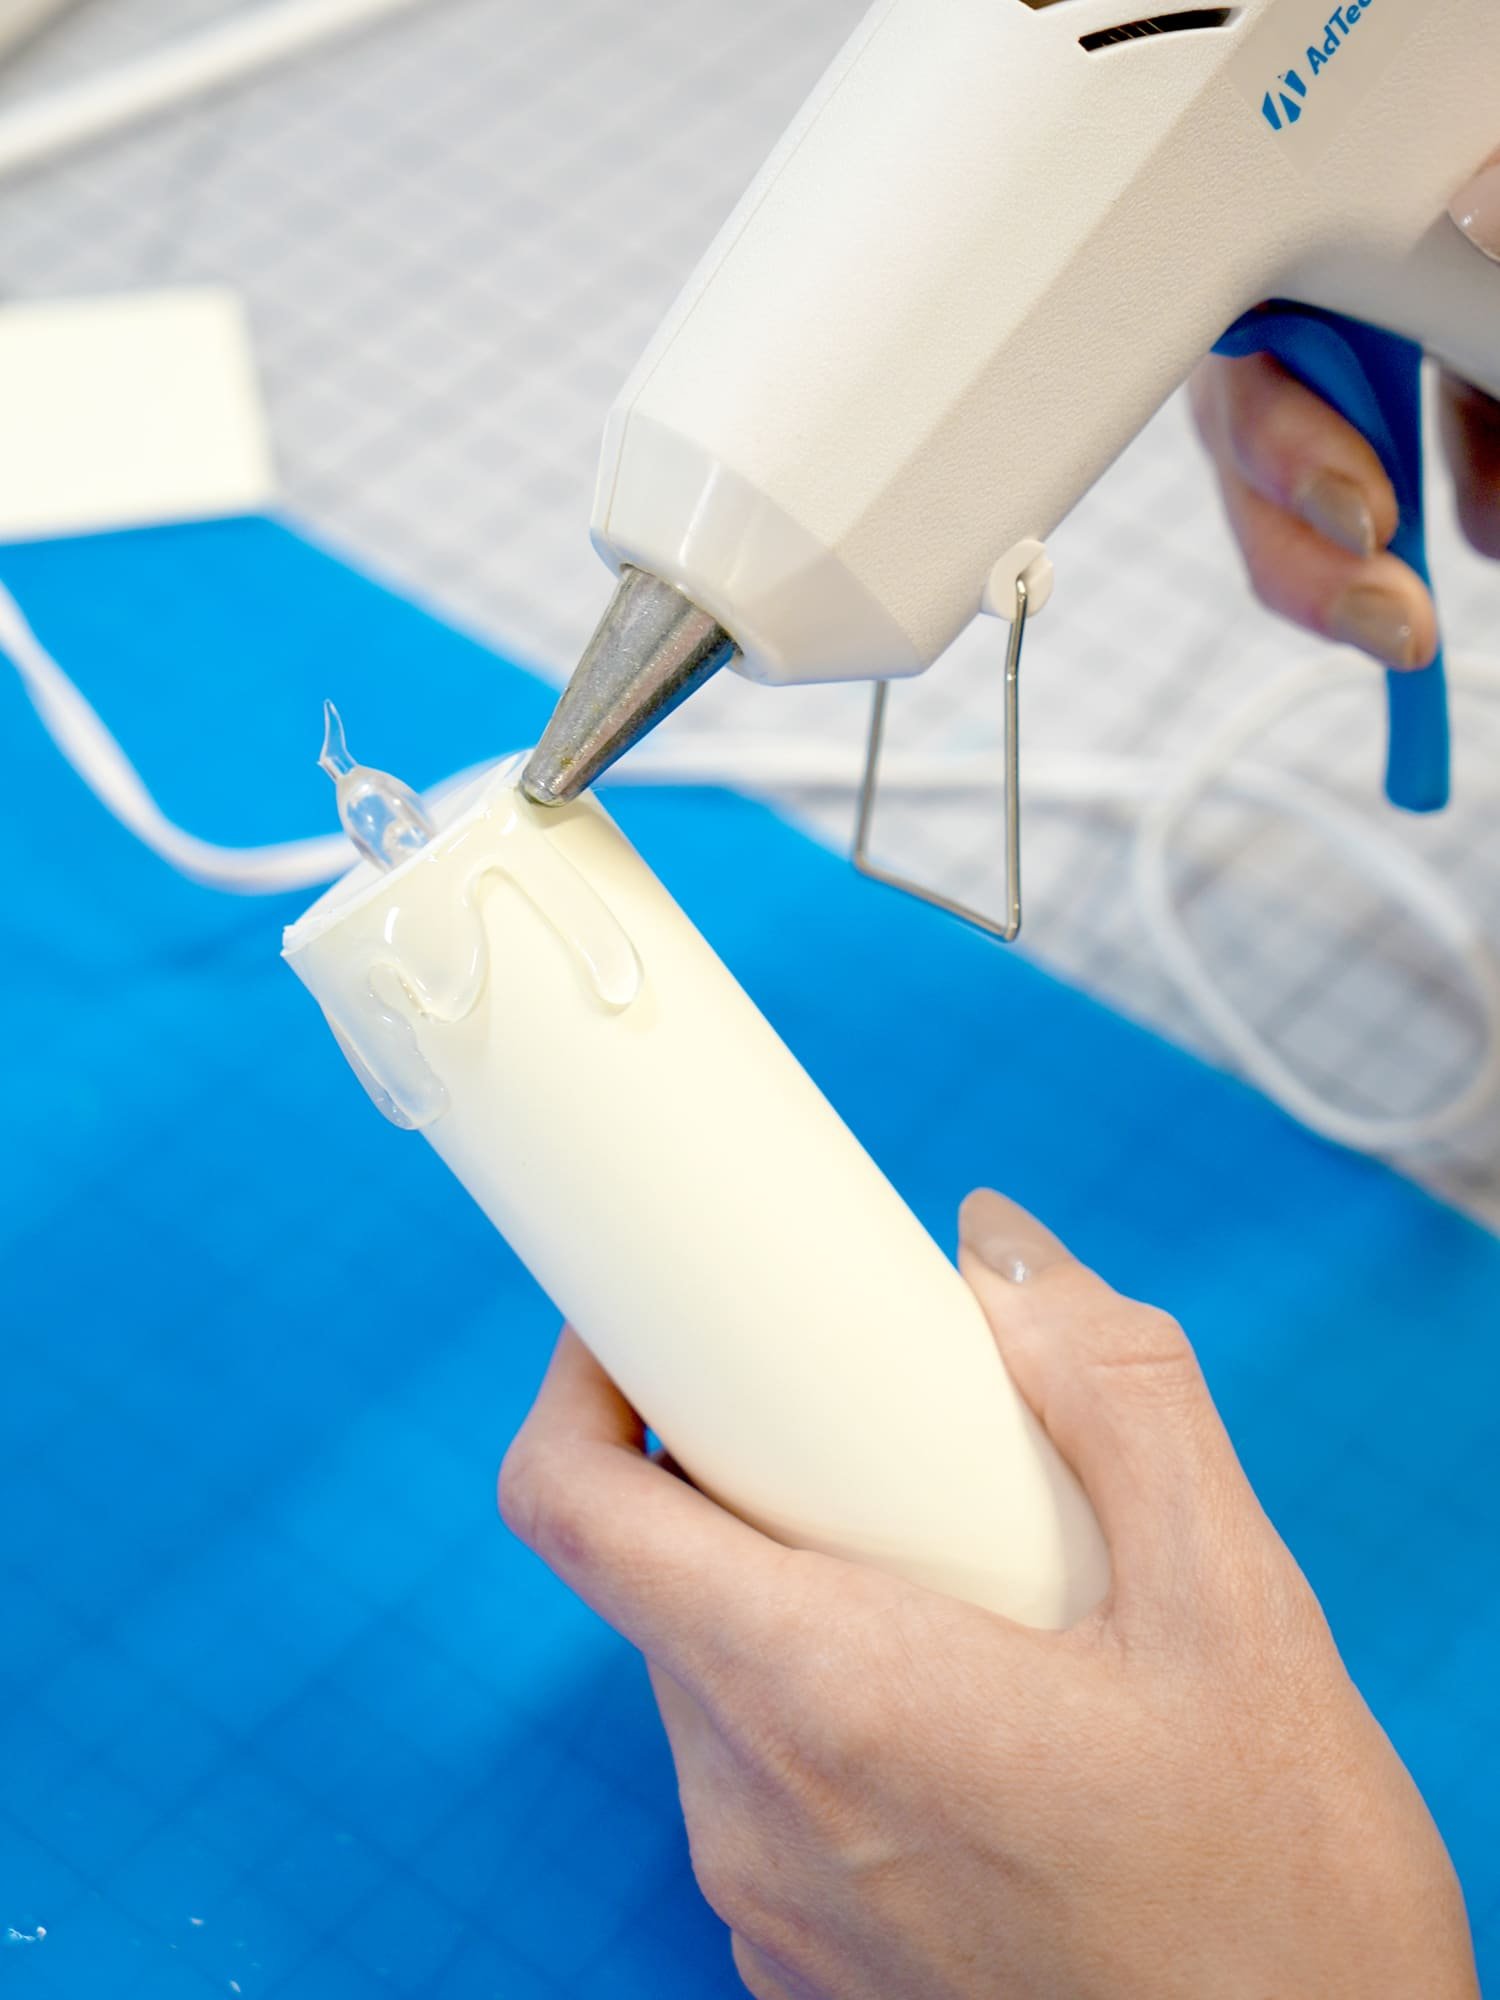
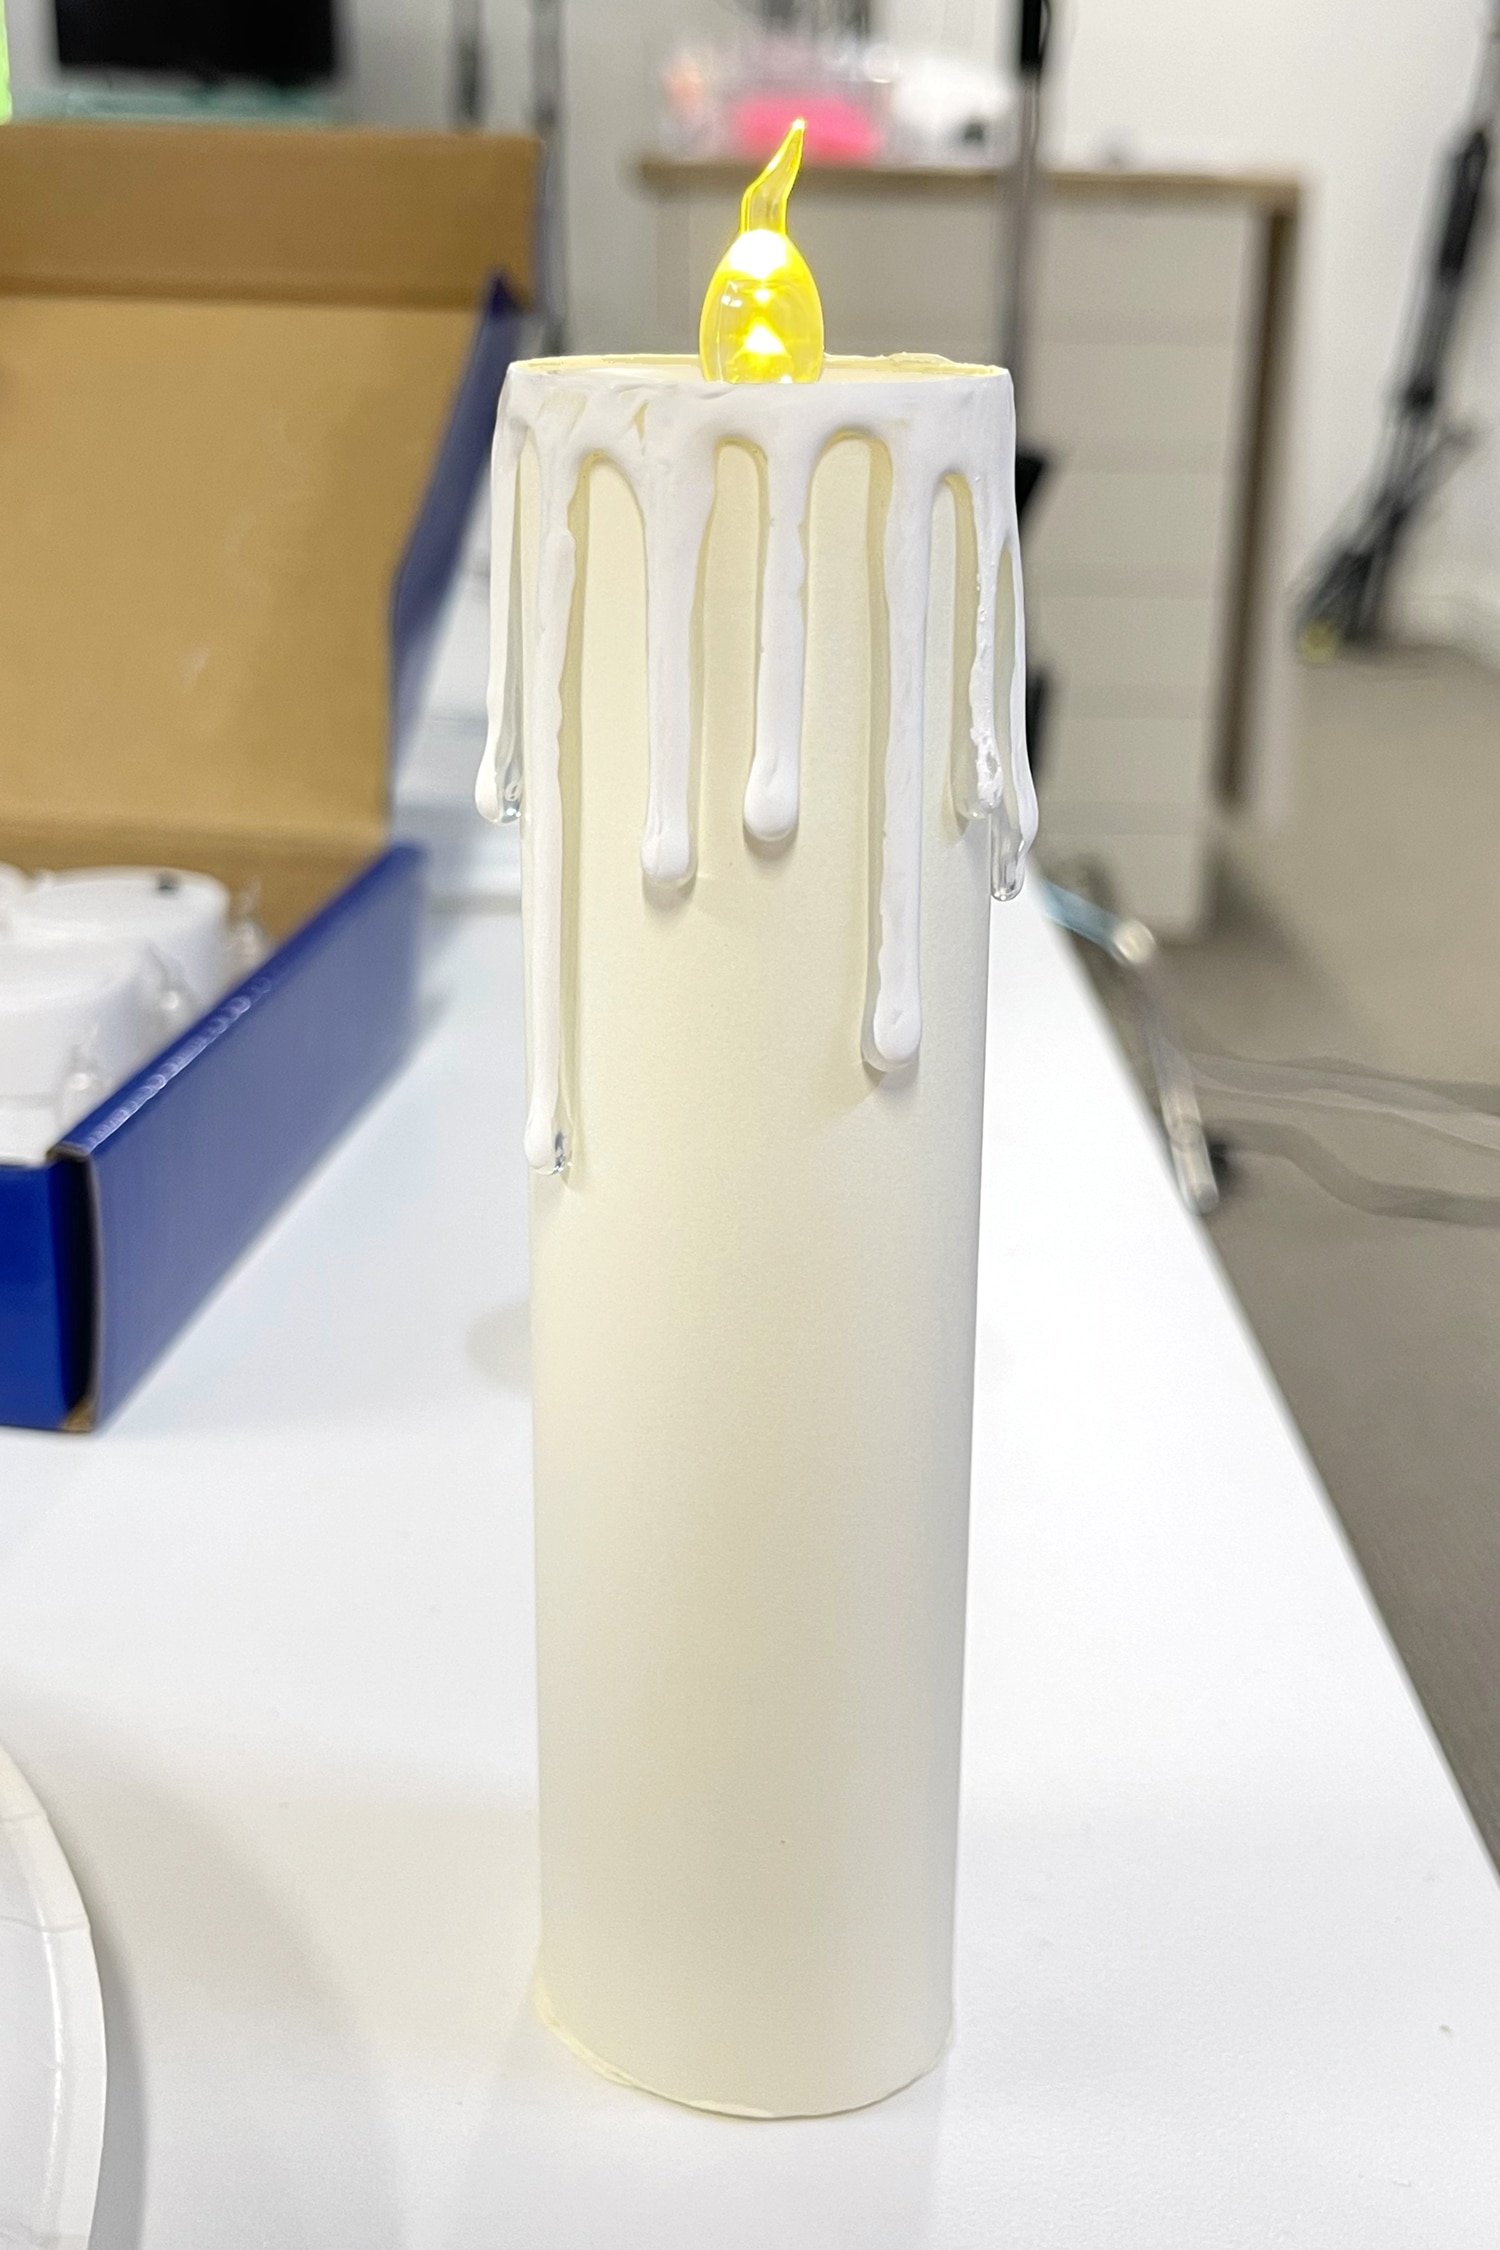
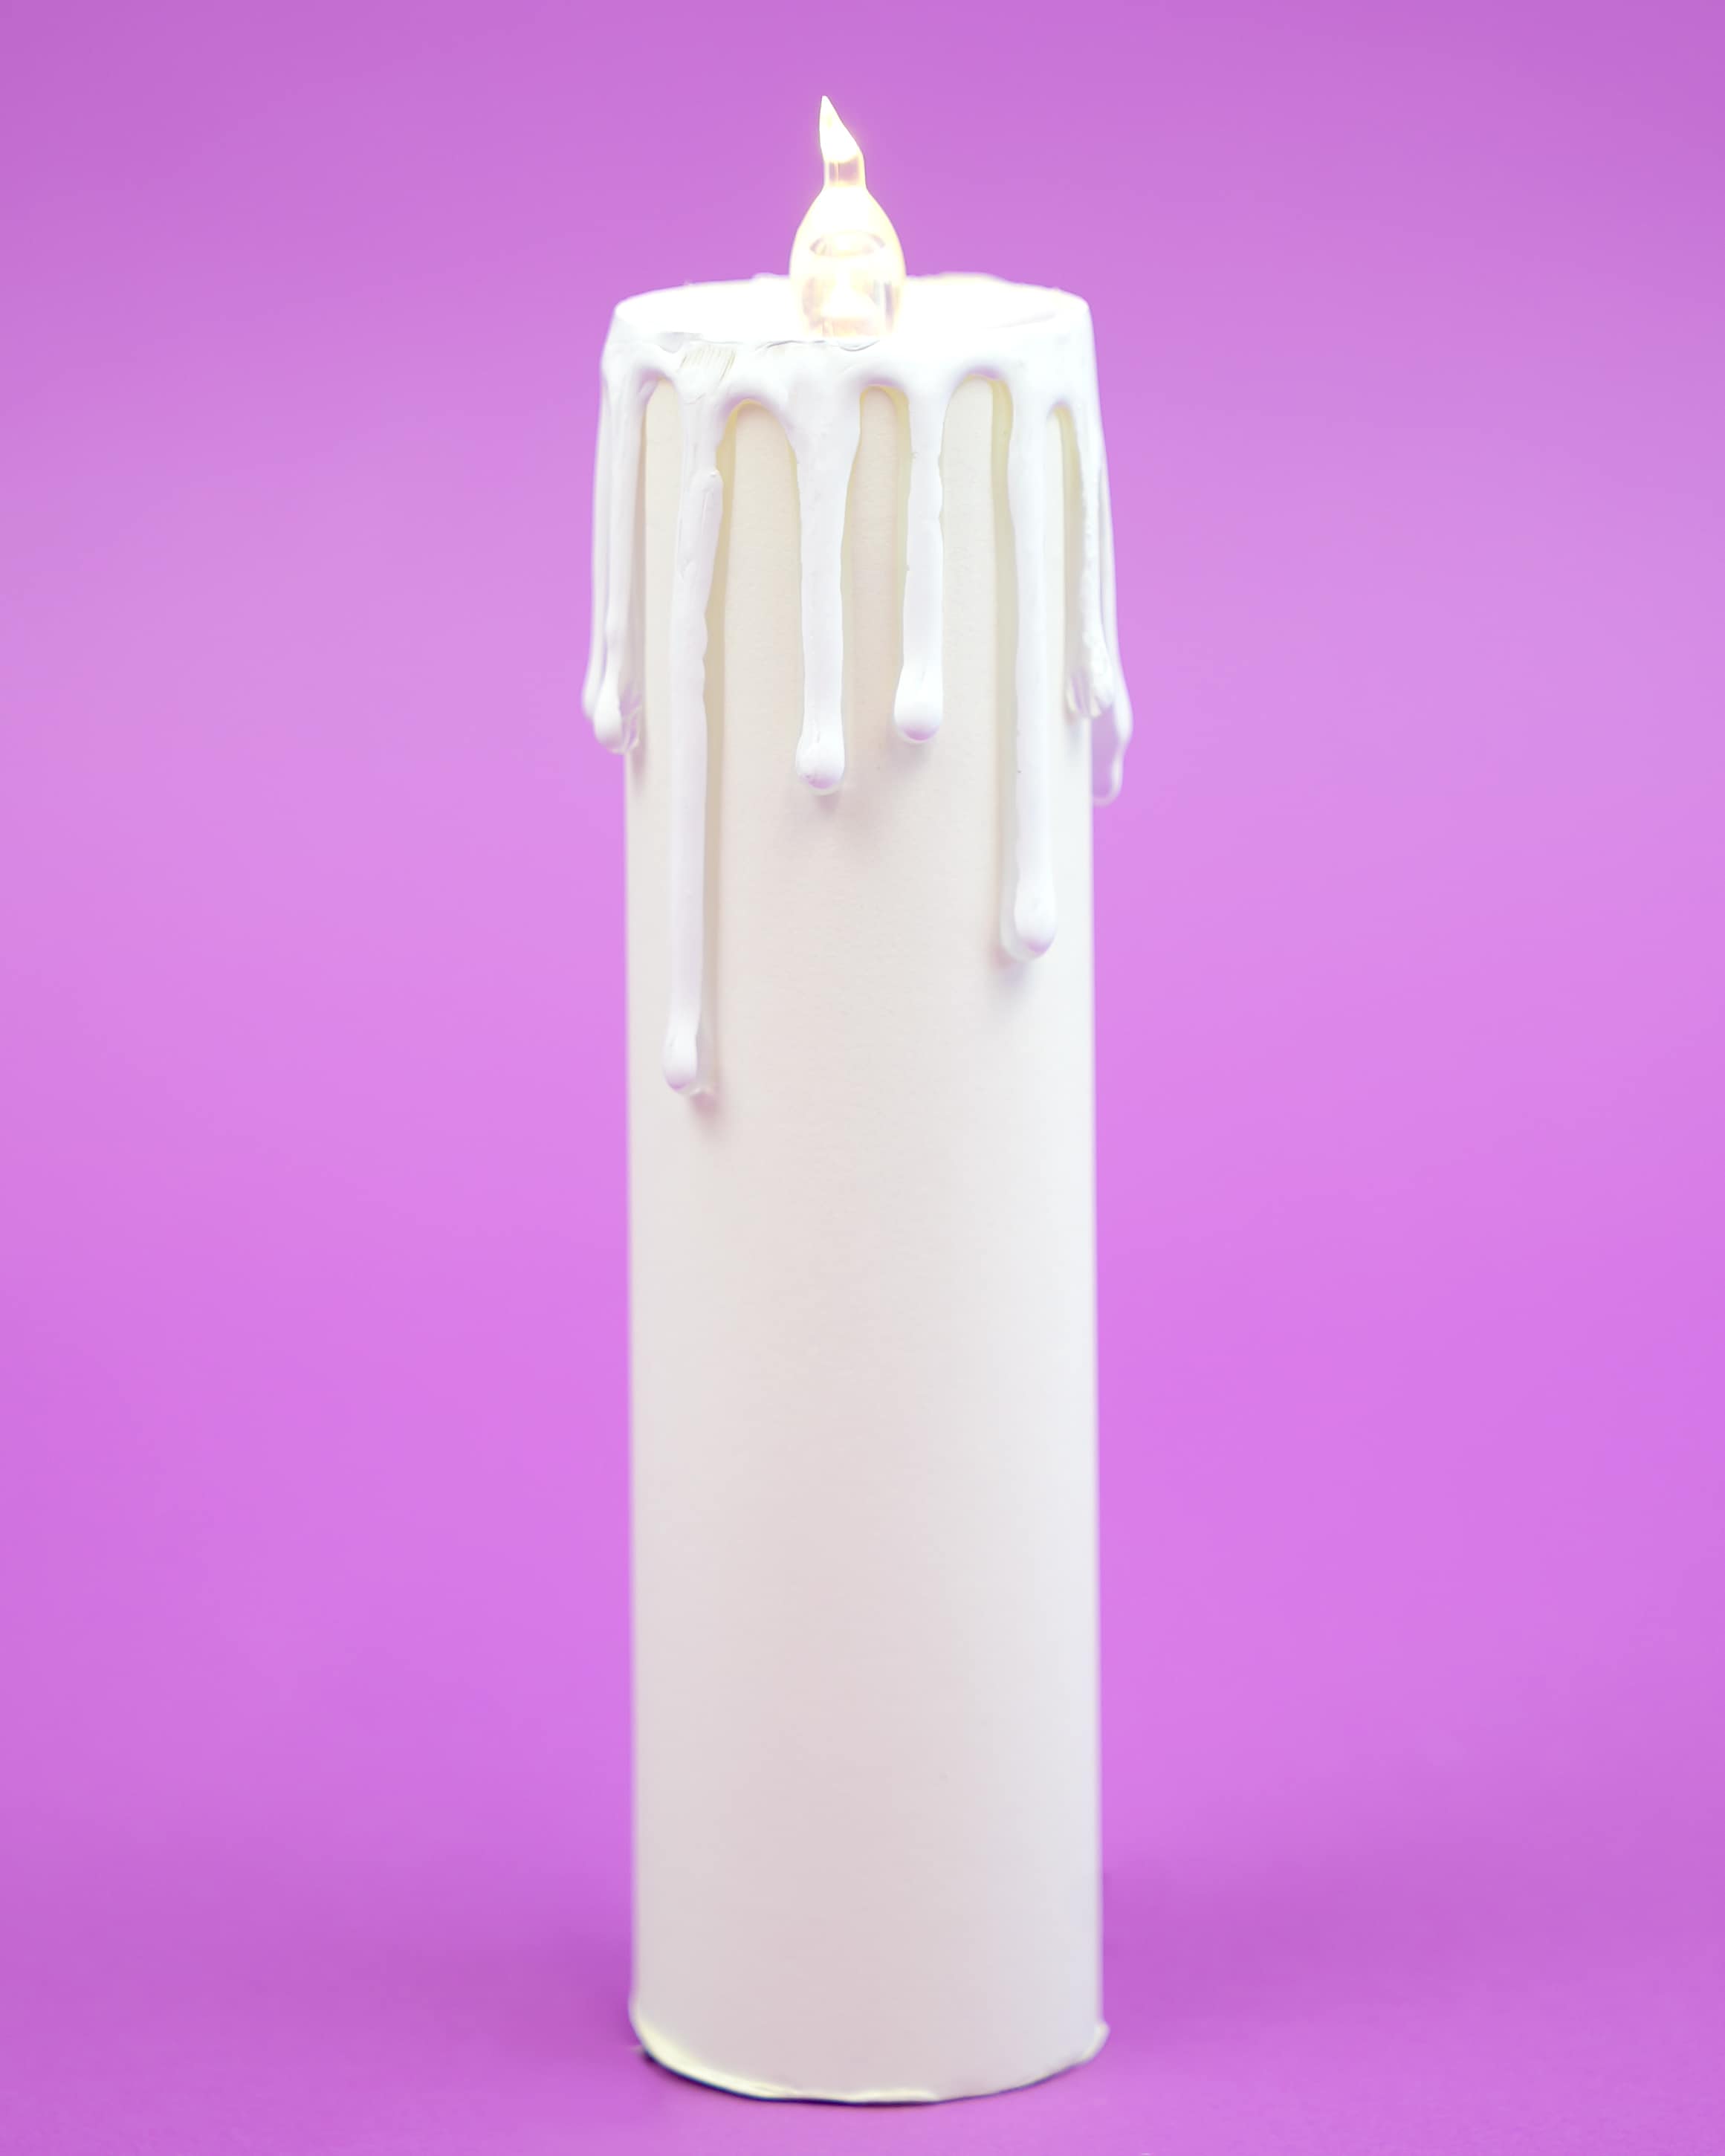
Step 3: Create the “Wax Drips”
To give your Harry Potter floating candles a realistic touch, we’ll create the illusion of melted wax dripping down the sides. Using your hot glue gun, apply a generous amount of glue around the top edge of each candle. Let the glue drip down the sides of the cylinder to create a waxy, melted appearance. Add more glue as needed to create the desired effect. Allow the glue to dry completely.
Helpful Tip!
For this step, it works best to reinsert the candle into the end while you are creating the hot glue drips. This effectively works to ensure that you don’t get any hot glue drips inside of the paper tube (which makes it MUCH harder to insert the candle later on!).
Step 4: Paint the Candles
Once the glue has dried, you’ll want to paint the wax-like drips to match the candles.
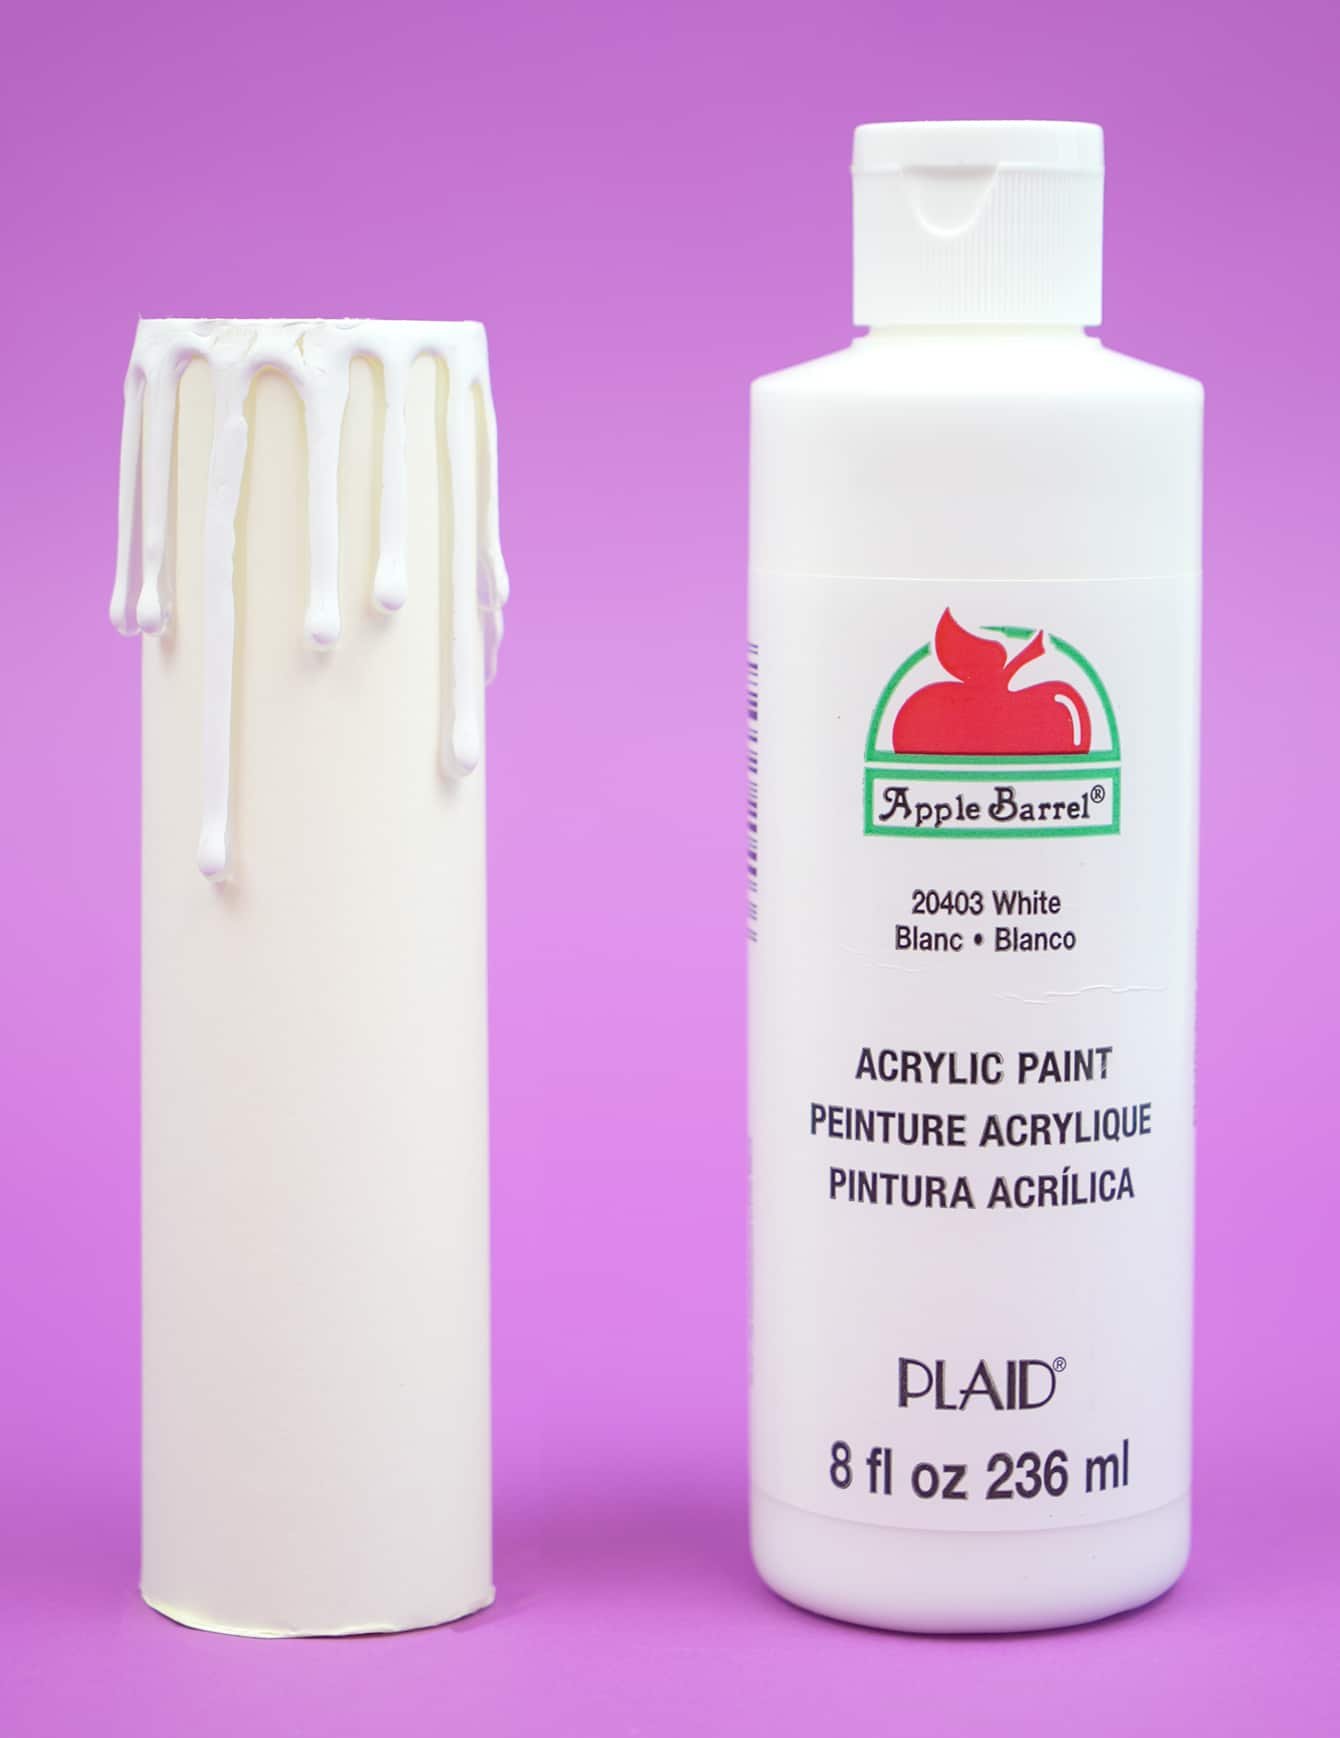
I found that it worked best to paint just the front surface of the glue drips, leaving a little bit of the clear glue exposed at the sides – this will give the drips a bit of a wet “glistening” effect when the candles are lit.
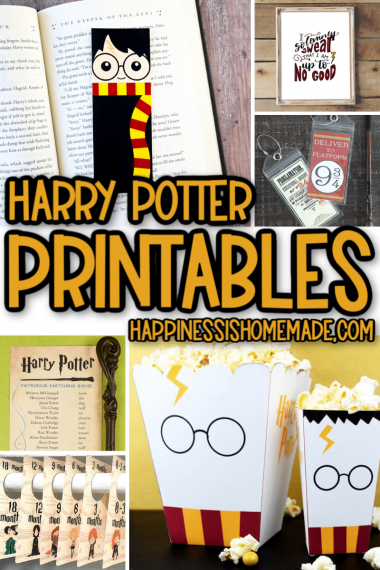
RELATED: 25+ FREE Harry Potter Printables
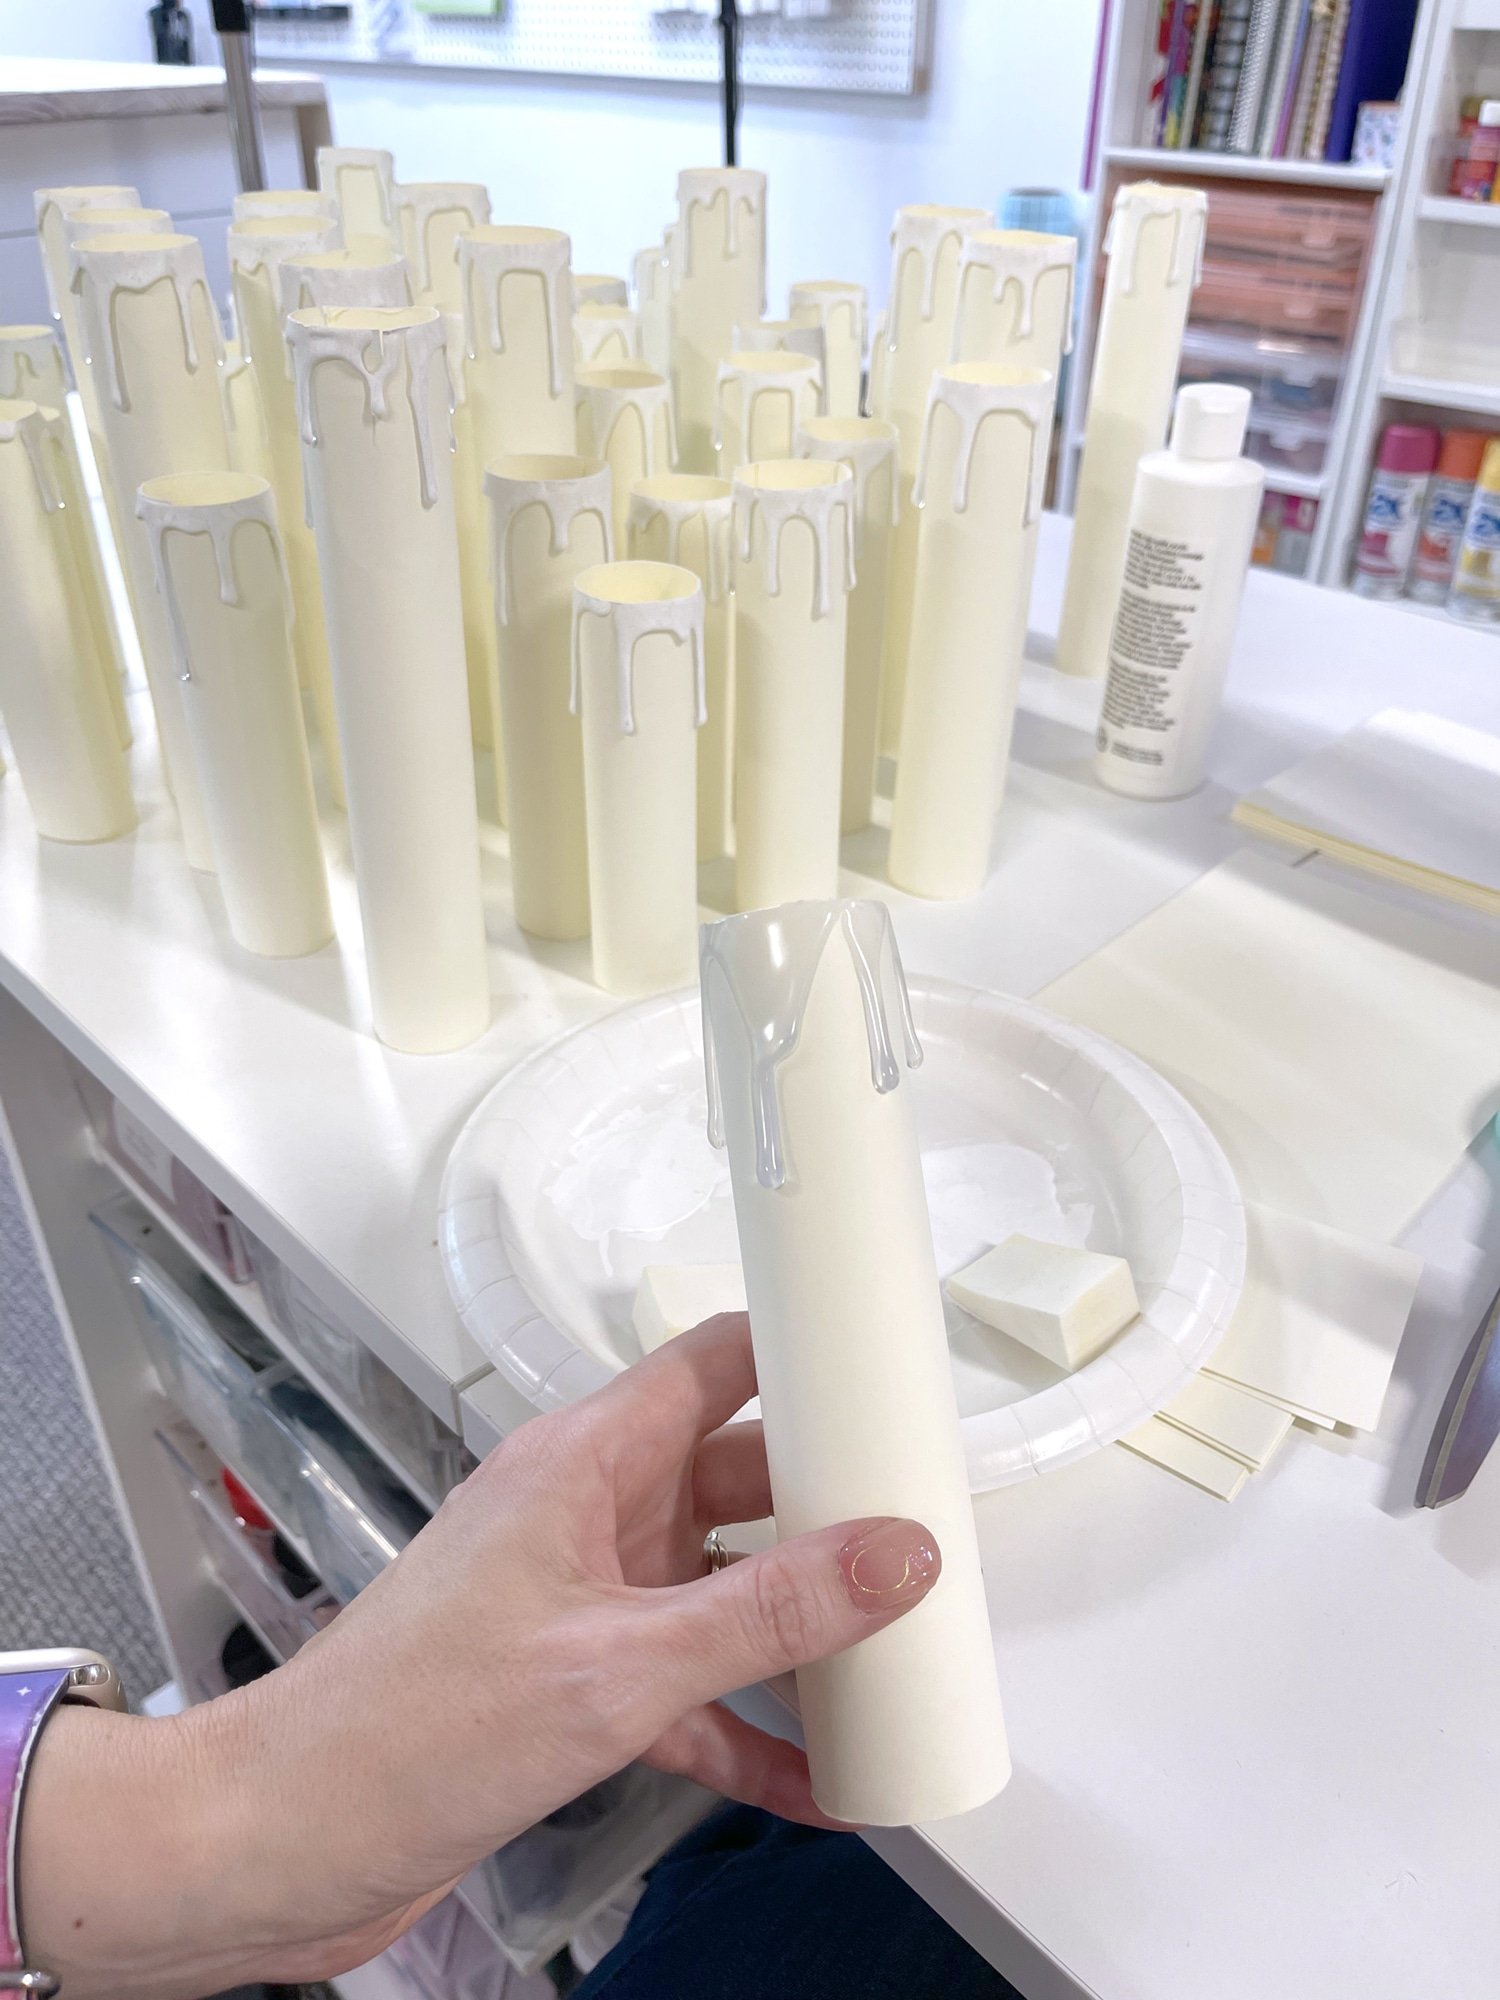
Using a cosmetic sponge made super quick work of dabbing the paint on the drips to create the desired effect. Allow the paint to dry completely.
When the paint is dry, turn on your tealight, and put it back in place to see how cool everything is looking so far! (VERY cool!)
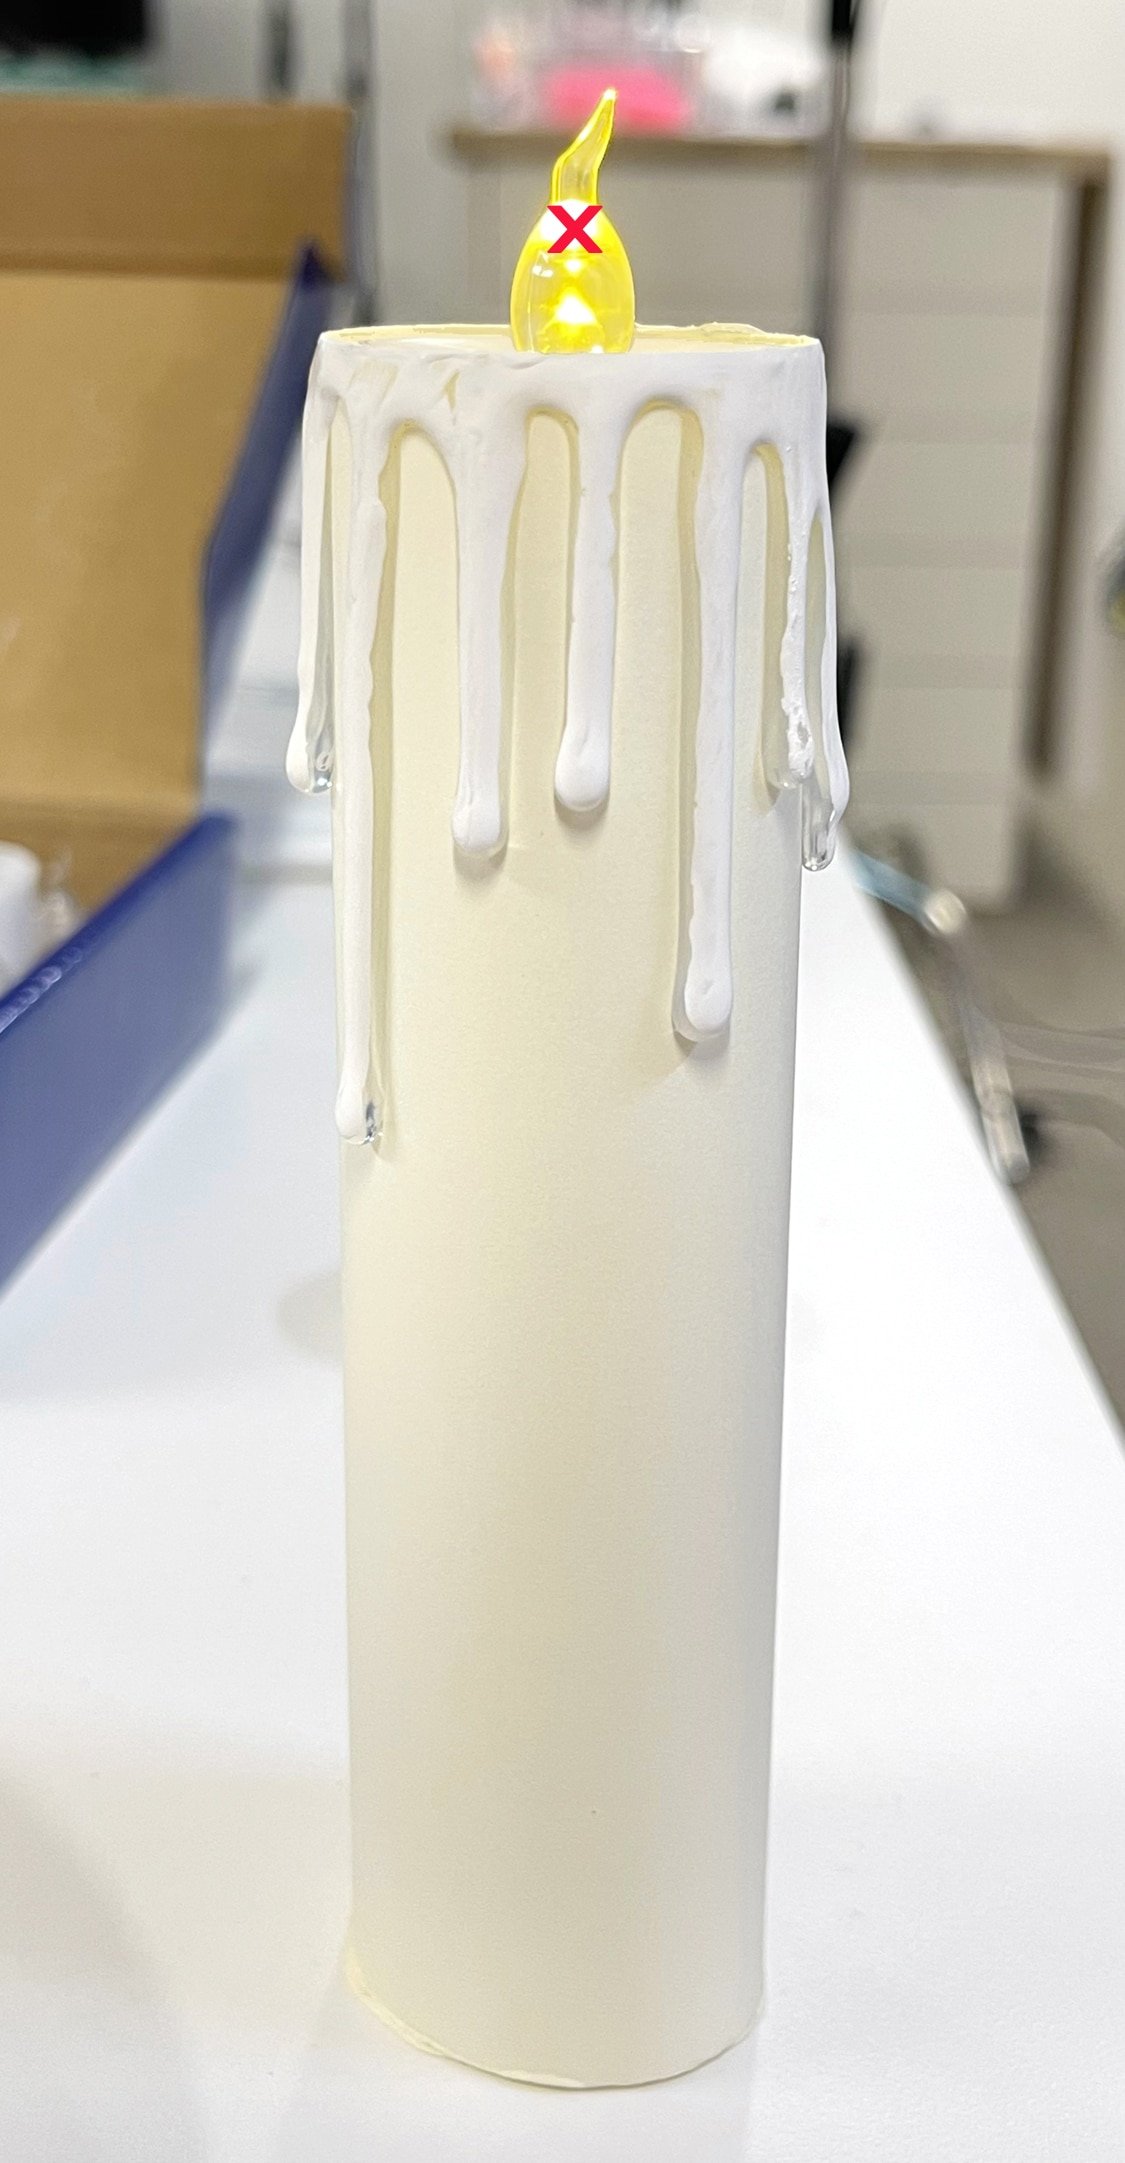
Step 5: Drill a Hole in the Flameless Tealight Candles
Now, it’s time to prepare the flameless tealight candles. Use a drill or a Dremel tool with a 1/16″ bit to carefully drill a hole in the center of the tip of each tealight candle (in the center of the red X marked in the photo above). Note that this works best if the tealight is NOT in the cardboard candle tube during this process.
Be cautious and take your time during this step, as you don’t want to damage the candle’s functionality!
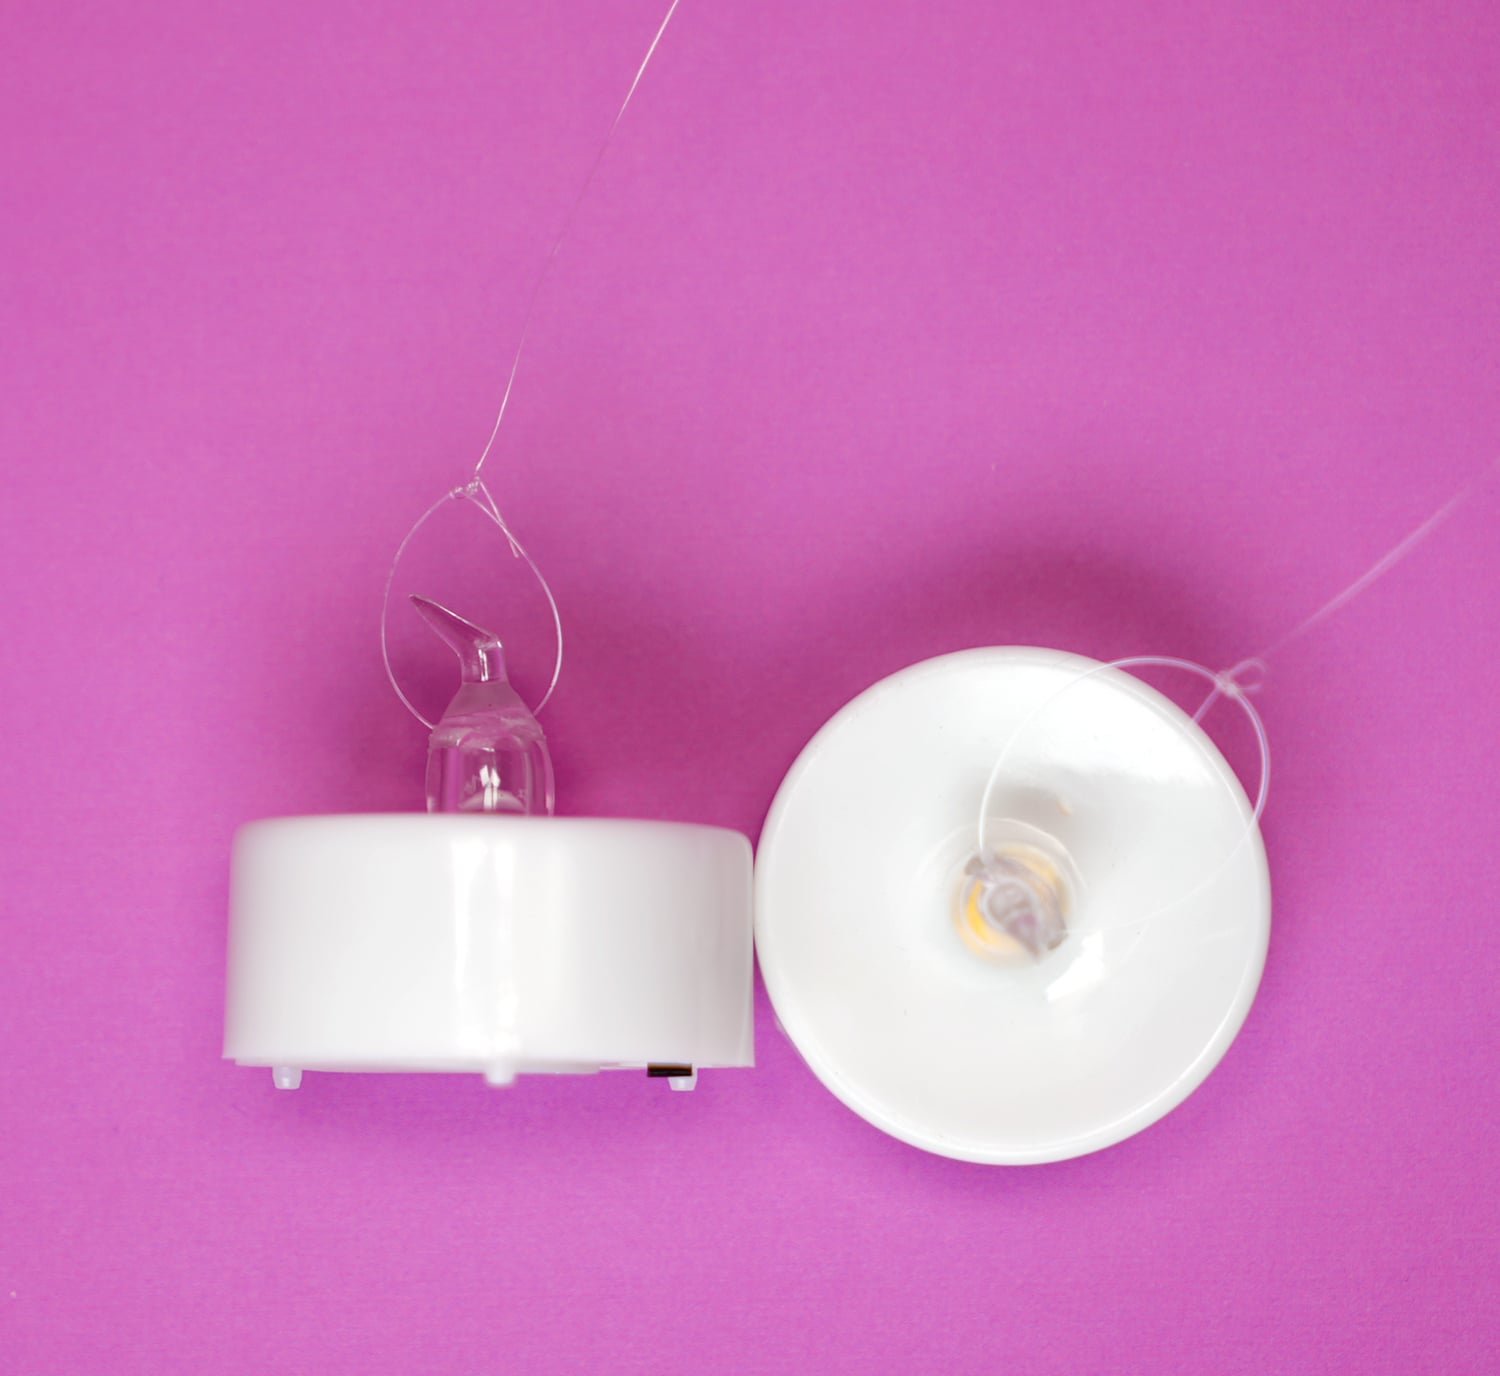
Step 6: Thread the Fishing Line
To hang your Harry Potter floating candles, cut a length of fishing line or clear thread to the desired hanging height. Thread the line through the hole in the tip of the flameless candle, and tie a secure knot to hold it in place. Make sure that the knot is tied slightly higher up on the fishing line so that the tip of the candle doesn’t hit the knot – this will ensure that your candles hang straighter and look nicer!
Once the fishing line is in position, place the tealight candle back inside the top of the cardstock candle tube.
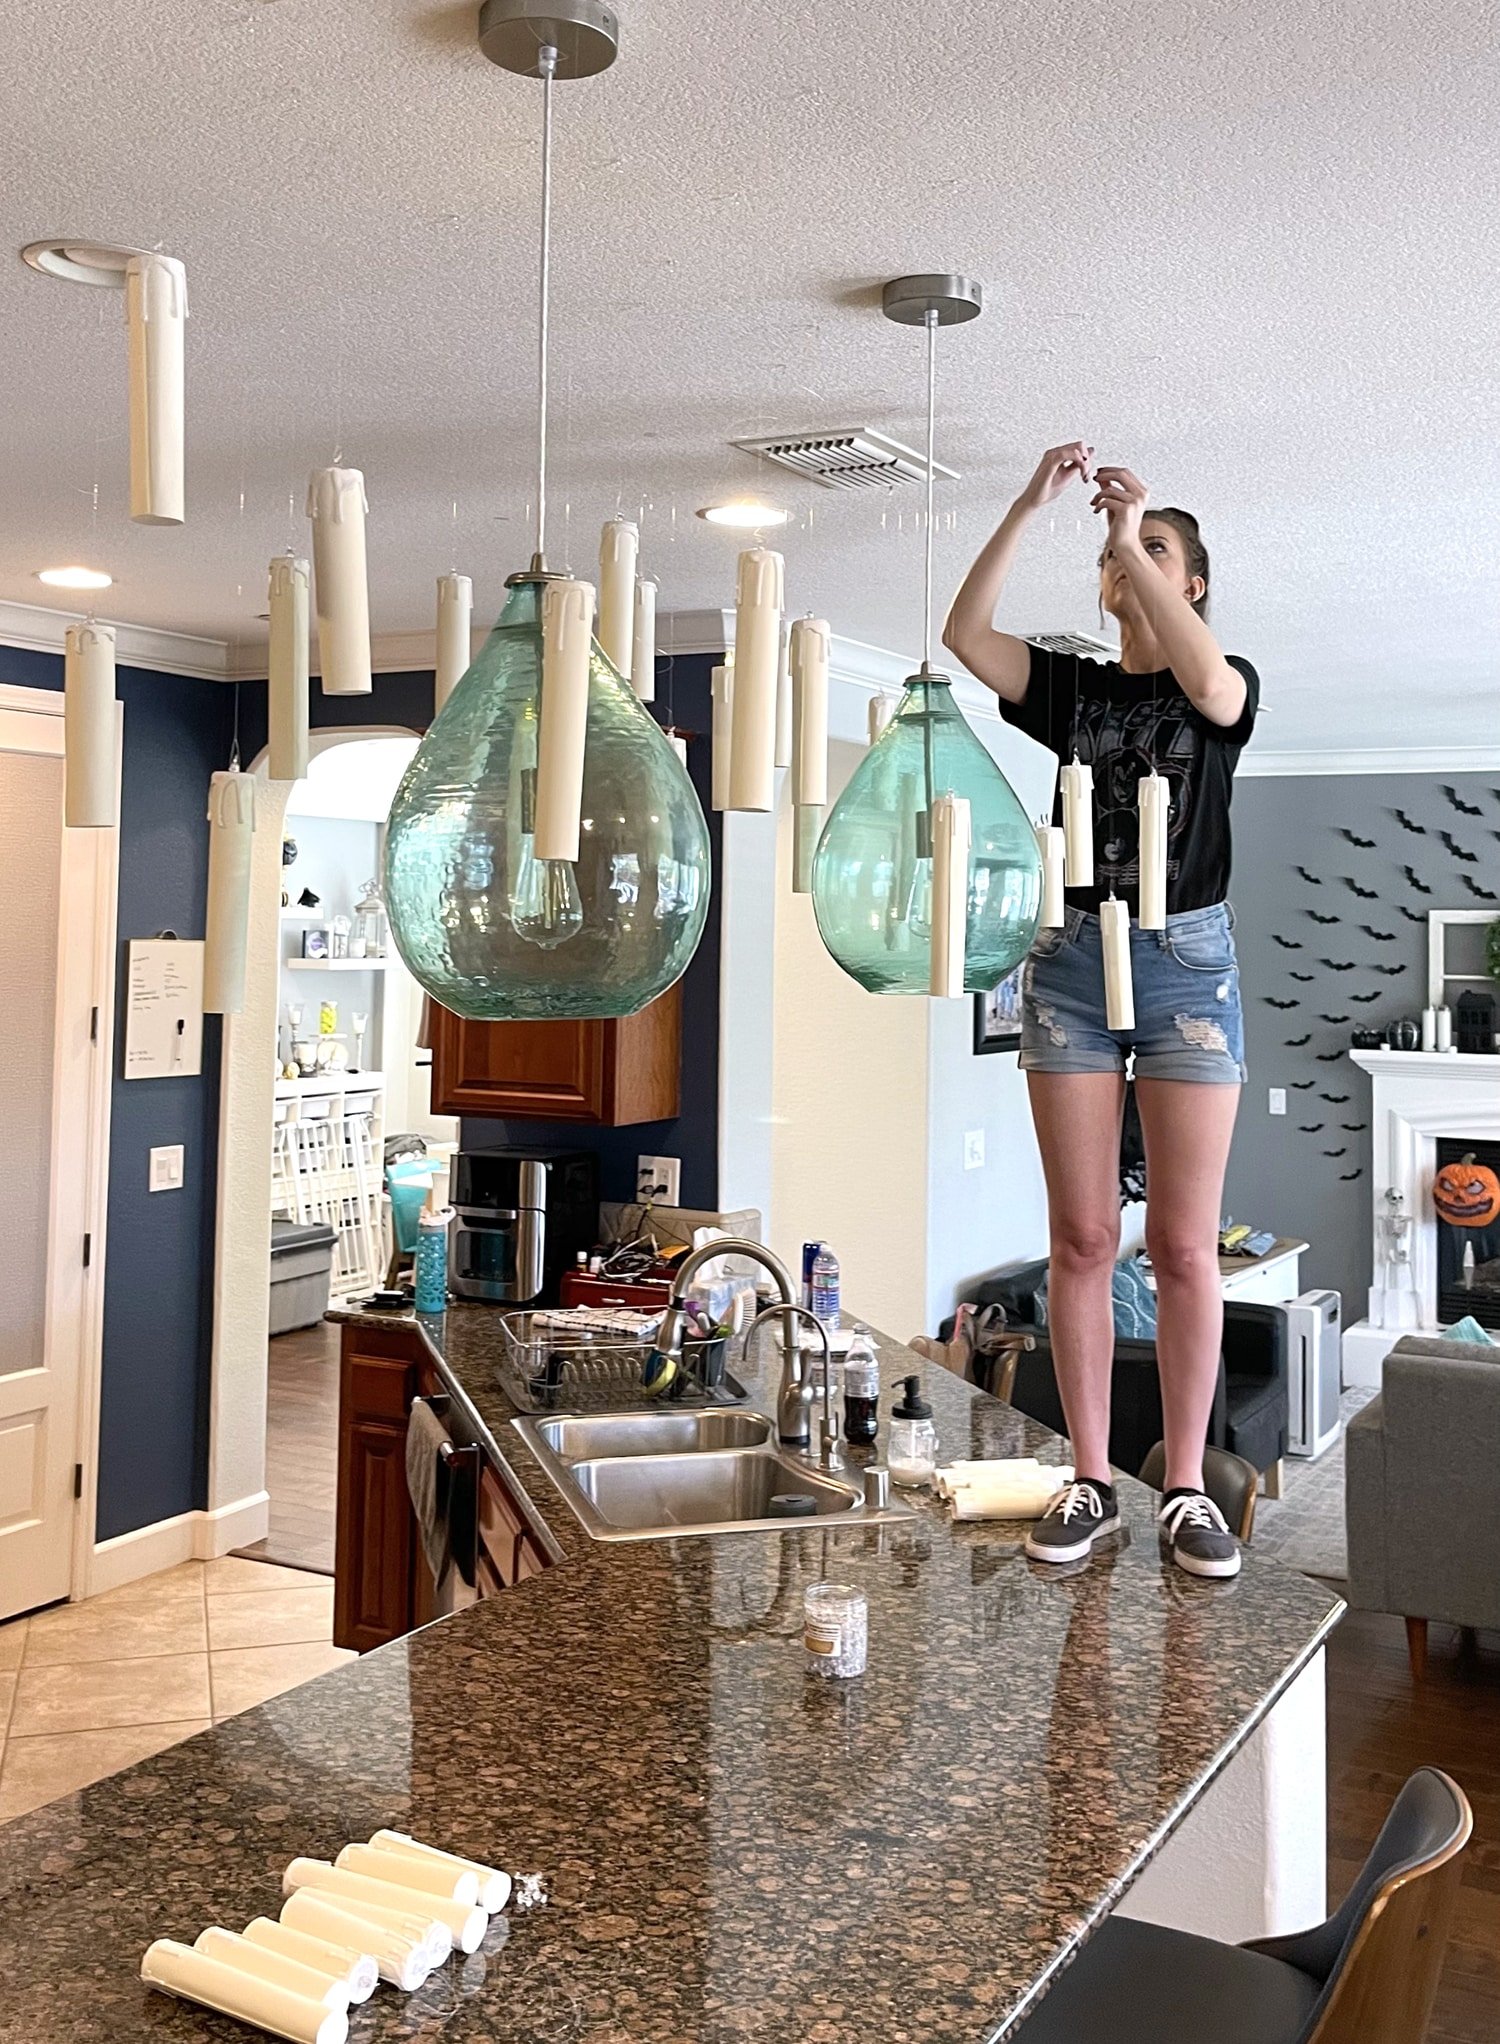
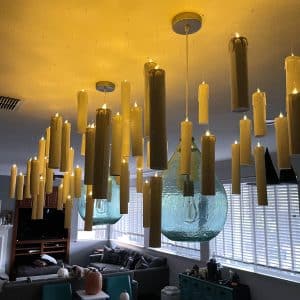
Step 7: Hanging Your Harry Potter Floating Candles
Finally, it’s time to hang your magical Harry Potter hanging candles!
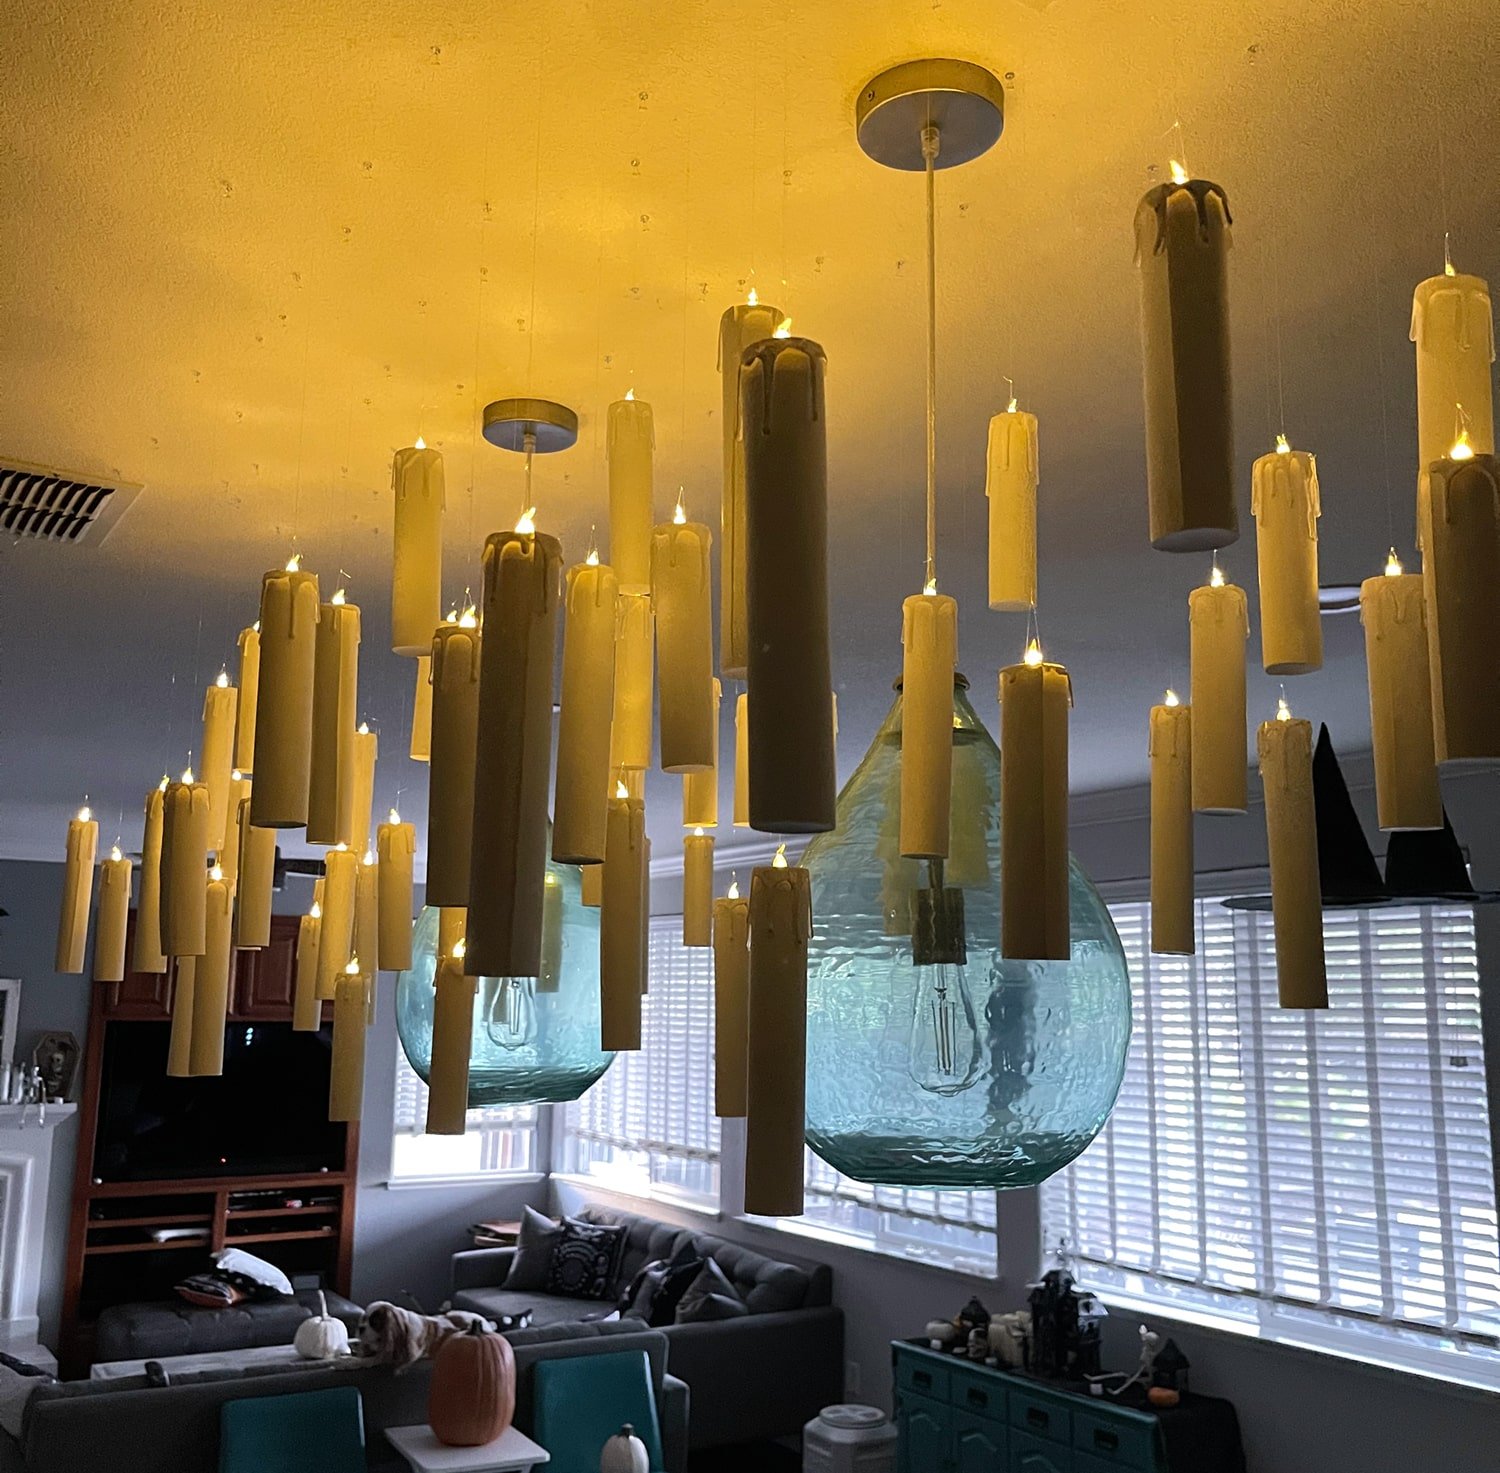
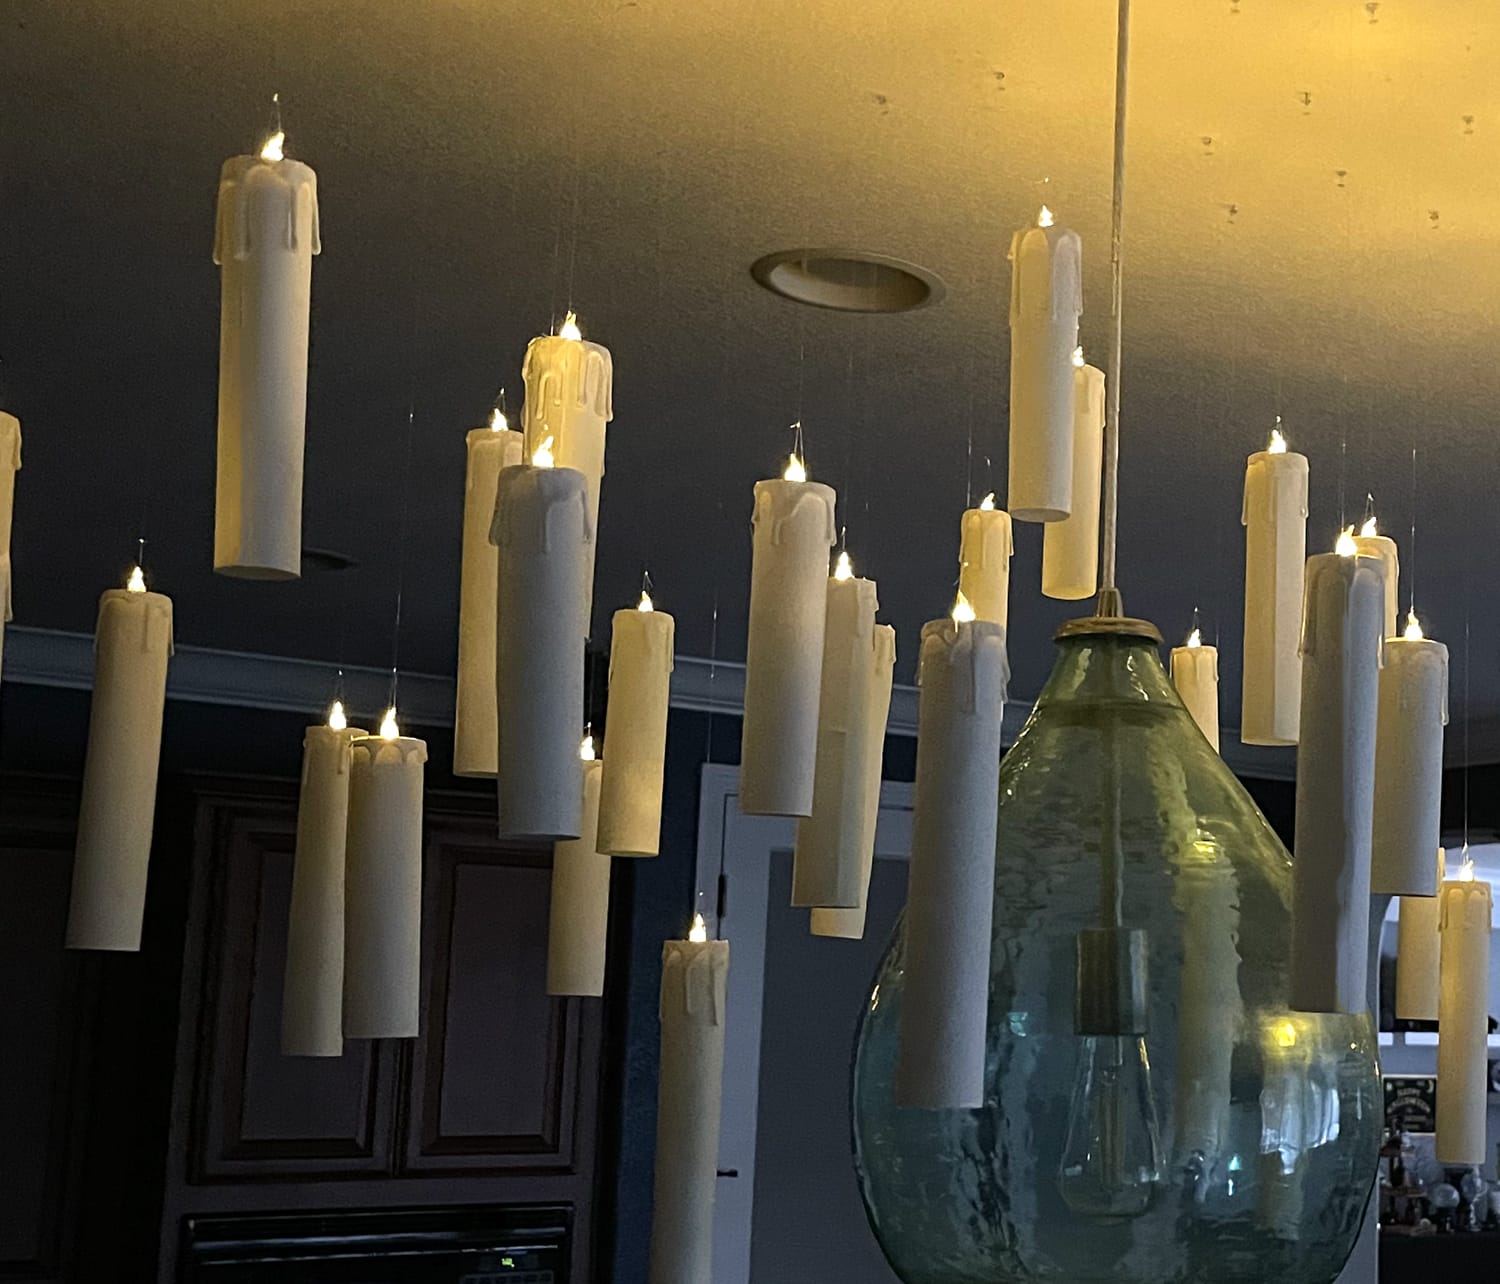
Find a suitable location, such as above your dining table, over a bookshelf, or even outdoors for a magical garden party. We hung our candles over our kitchen island that was used as the food buffet during our Halloween party.
Use Command hooks, thumbtacks, or other suitable hanging methods (we used clear push pins) to secure the fishing line to the ceiling or other overhead structure. Adjust the length of the fishing line as needed to create a staggered, whimsical appearance.
And there you have it – your very own Harry Potter floating candles, ready to add a touch of magic to any space!
RELATED: 35+ Magical Harry Potter Crafts
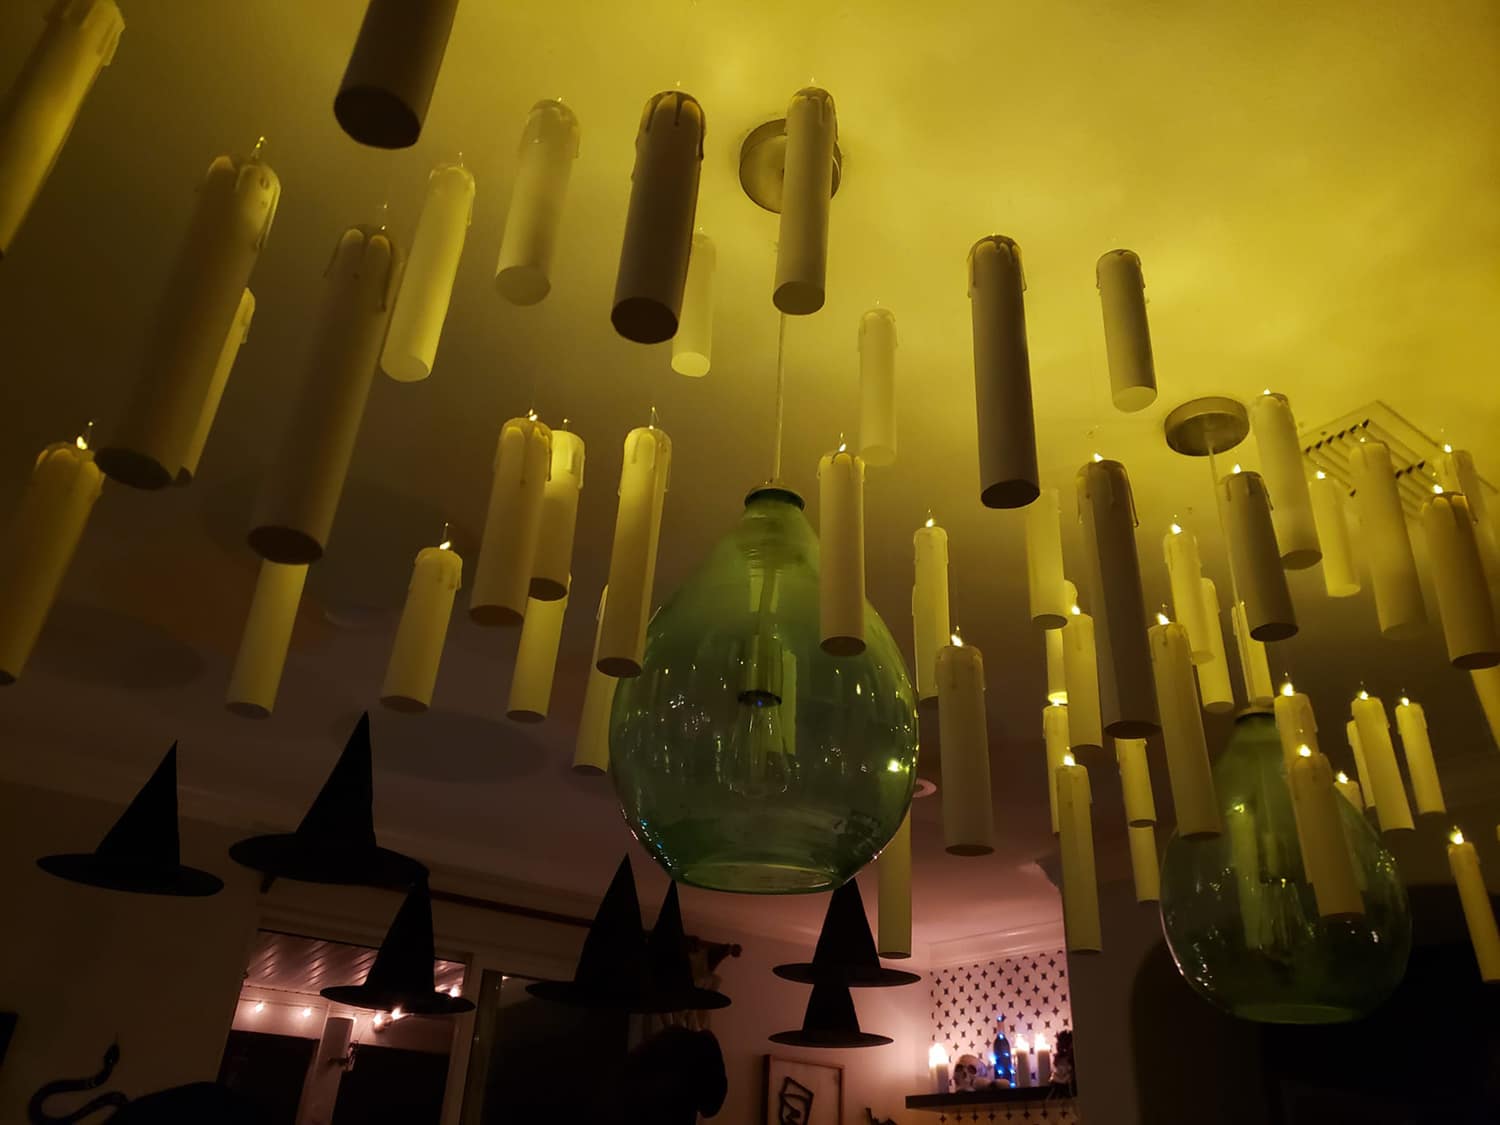
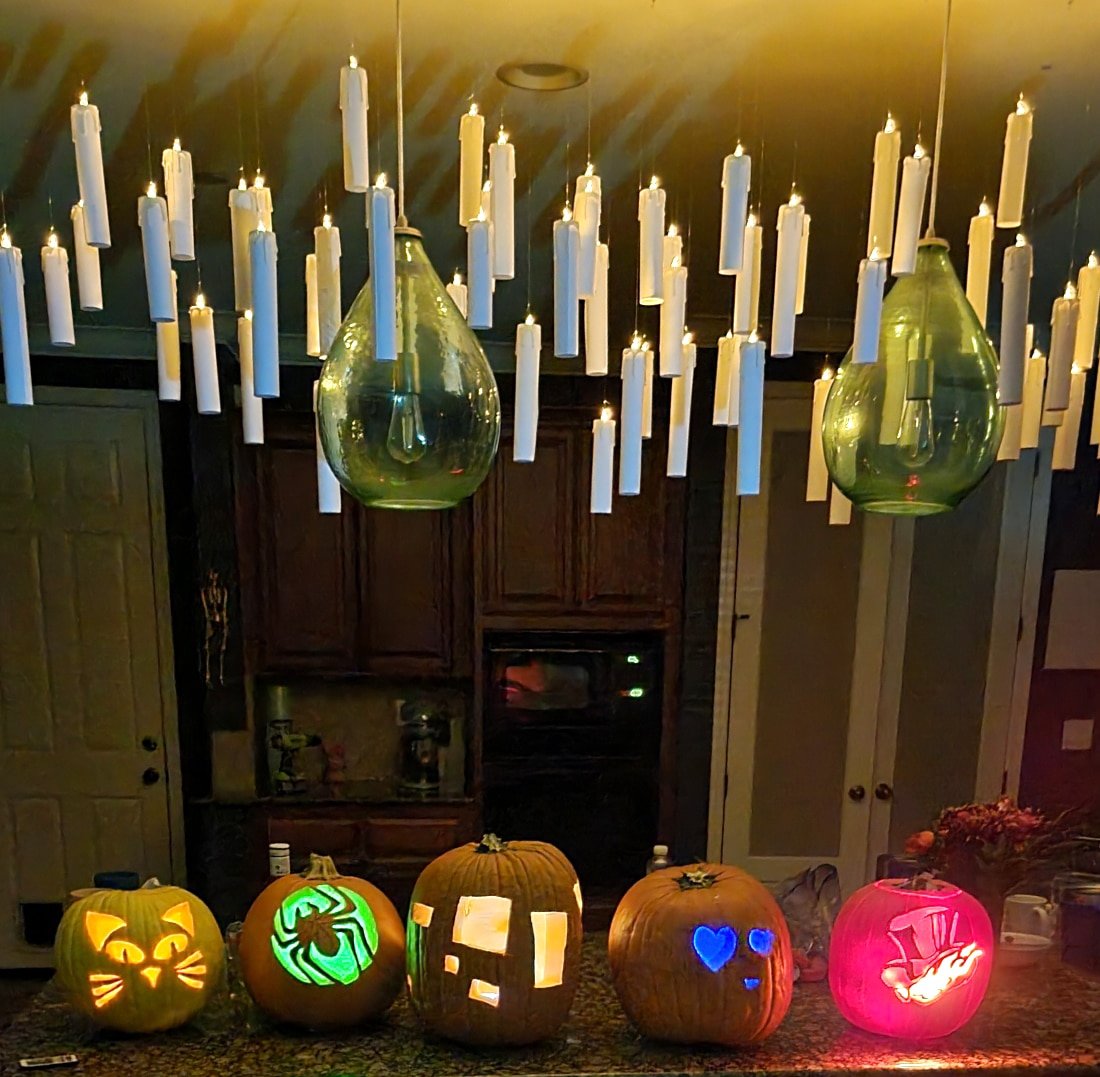
These hanging candles created an incredible ambiance, and they were a HUGE hit at our Halloween party!
Harry Potter floating candles are a must-have for fans of the series! They bring an element of the wizarding world right into your home and create a captivating and enchanting atmosphere that will delight your family and friends at your next party!
Frequently Asked Questions
Get the answers to some of the most frequently asked reader inquiries here!
How Many Floating Candles Will I Need?
We found that it’s a good rule of thumb to allow for about 3-4 floating candles for each square foot of space you’re trying to cover. For our 8′ long kitchen island, we used around 70 candles.
How Long Will the Harry Potter Floating Candles Stay Lit?
If you use the same flameless tea light candles that we did, the answer is “practically forever!” As a test of the longevity of the tealights, we left all 70+ of our floating candles lit after our party, and we were SUPER impressed! Take a peek at the video above!
After 48 hours, all of the tealights were still at full, maximum strength and brightness. In fact, we didn’t notice ANY dimming whatsoever until around the 8th FULL day of the candles being lit around the clock!
After two weeks, the tea lights had noticeably dimmed, but the majority of the candles were still lit and flickering. At three weeks, half of the candles remained lit. At ONE MONTH post-party, the candles had dimmed considerably, but nearly half of the candles still remained dimly lit and flickering!
It took a full 8 weeks for all of the candles to lose their light! So, if you’re worried that you might turn these on too early and have them fade out during your party or event, no need to worry! You can rest assured that these floating candles will stay lit and looking fabulous!
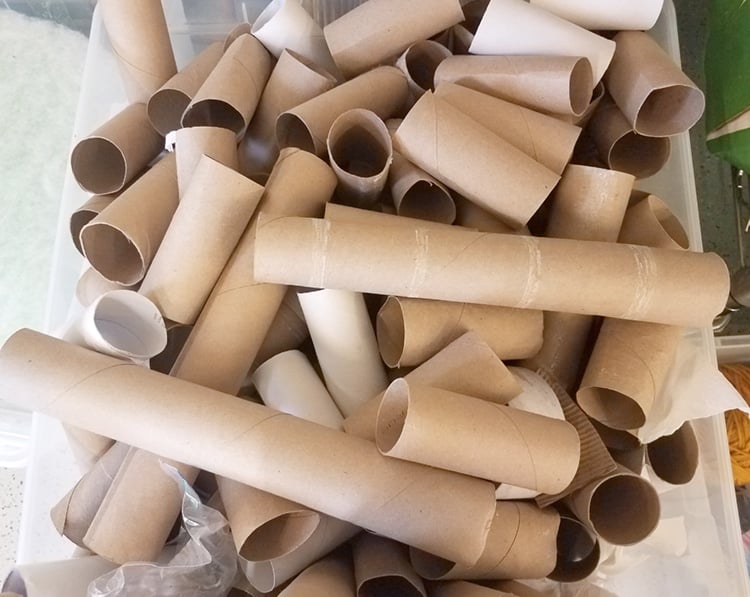
Can I Use Paper Towel Rolls or Toilet Paper Rolls?
You can definitely opt to use paper towel rolls or TP tubes to create your own DIY Harry Potter candles, however, they’re not my first choice of materials.
The tealight candles do not fit as snugly inside of the rolls, so they will need to be glued into place at the time of hanging (and this will need to be done close to the time of your event). If you choose to use cardboard tubes, you will need to first turn on the tealight candles, glue them into position (which will make the on/off switch inaccessible), and then continue with the rest of the hanging process.

Where Can I Purchase Harry Potter Floating Candles?
If you’re not the DIY type, you’re in luck, because a lot of stores now carry pre-made Harry Potter-inspired hanging candles. You can find the ones shown above (clockwise from top left) at:
- Etsy carries lots of Harry Potter Floating Candles! These ones are from Attic Angel Creations.
- Amazon
- Walmart
- Pottery Barn
Printable Directions for Making Harry Potter Hanging Candles
DIY Harry Potter Floating Candles
Equipment:
- Dremel Tool or Drill with 1/16" Bit
- Hot Glue Gun
What You’ll Need:
- Heavy Cardstock, cut into 5" x 5.5" – 5" x 8.5" pieces and 2" squares (one of each per candle)
- Flameless Tealight Candles
- Scissors
- Double-Sided Tape
- Glue
- Hot Glue Gun & Glue Sticks
- White or Cream Acrylic Paint
- Clear Fishing Line or Thread
Instructions:
- Add a strip of double-sided tape to the length edge of the larger piece of cardstock. Place a tealight at each width end of the cardstock, and carefully holding them in place, roll up the cardboard into a tube, securing the edges at the double-stick tape. Remove the tealights.
- Add a generous amount of glue to one end of the paper cylinder, and place it on top of the 2" cardstock square. Use your fingers to smooth the glue (like caulking). Allow the glue to dry completely and then trim excess paper at the base.
- Using the hot glue gun, create "wax drips" down the cylinder to create the appearance of a dripping candle. Allow the glue to cool completely, and then paint the drips with acrylic paint.
- Drill a hole in the tip of each flameless tealight candle. Take your time and be cautious so that you don't damage the candle's functionality.
- Thread a length of fishing line through the hole and tie a secure knot to hold it in place. You will want to create different lengths of fishing line so that the candles will hang staggered from the ceiling. Once the fishing line is in position, place the tealight candles back in the paper candle tubes.
- Use hooks, push pins, thumb tacks, etc. to hang your candles from the ceiling or other overhead structure.
Floating candles are a must-have for Harry Potter fans who are looking to add a bit of that magical whimsy and enchantment to their next party or event!

Check Out These Other Harry Potter Crafts & Ideas!
 DIY Gryffindor Bracelet Set
 35+ Magical Harry Potter Crafts
 How to Make Harry Potter Floating Candles
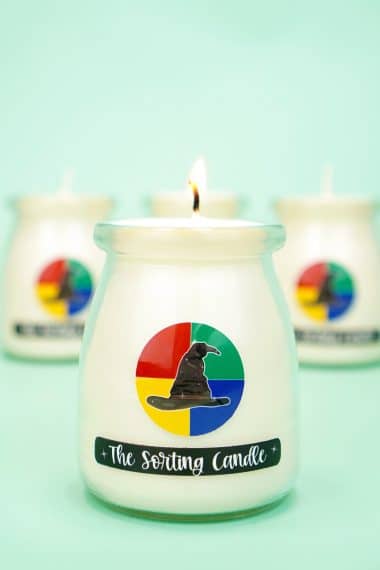
- Harry Potter Sorting Hat Candles
 DIY Foil Art Prints with the Cricut Foil Transfer System
- 25+ Free Harry Potter Printables
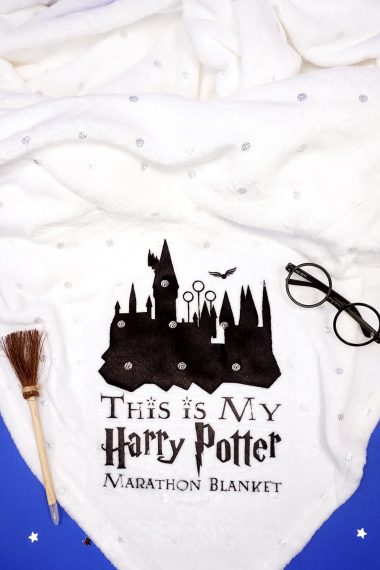
- Free Harry Potter SVG + Marathon Blanket
- Harry Potter Brunch Shirt: “It’s MimOsa Not MimosA” + SVG


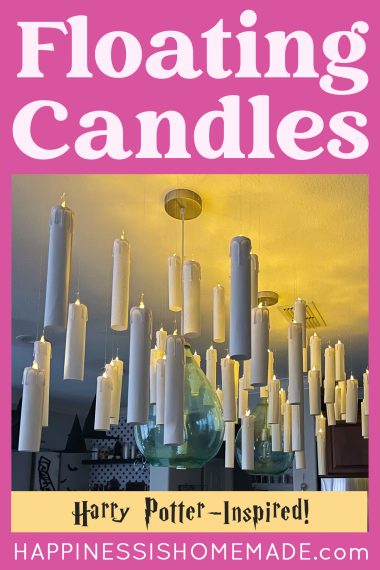

Pin These Harry Potter Floating Candles for Later!


Heidi Kundin has captivated the hearts of millions with her colorful and inspiring approach to crafting, celebrations, and family fun. With over 15 years of experience, Happiness is Homemade has become a must-visit destination for those seeking quick and easy creative ideas and last-minute solutions. Heidi’s warm personality shines through her posts, inviting readers to join her on a creative journey that’s fun, rewarding, and achievable. Heidi is also the author of Homemade Bath Bombs & More and DIY Tie-Dye.