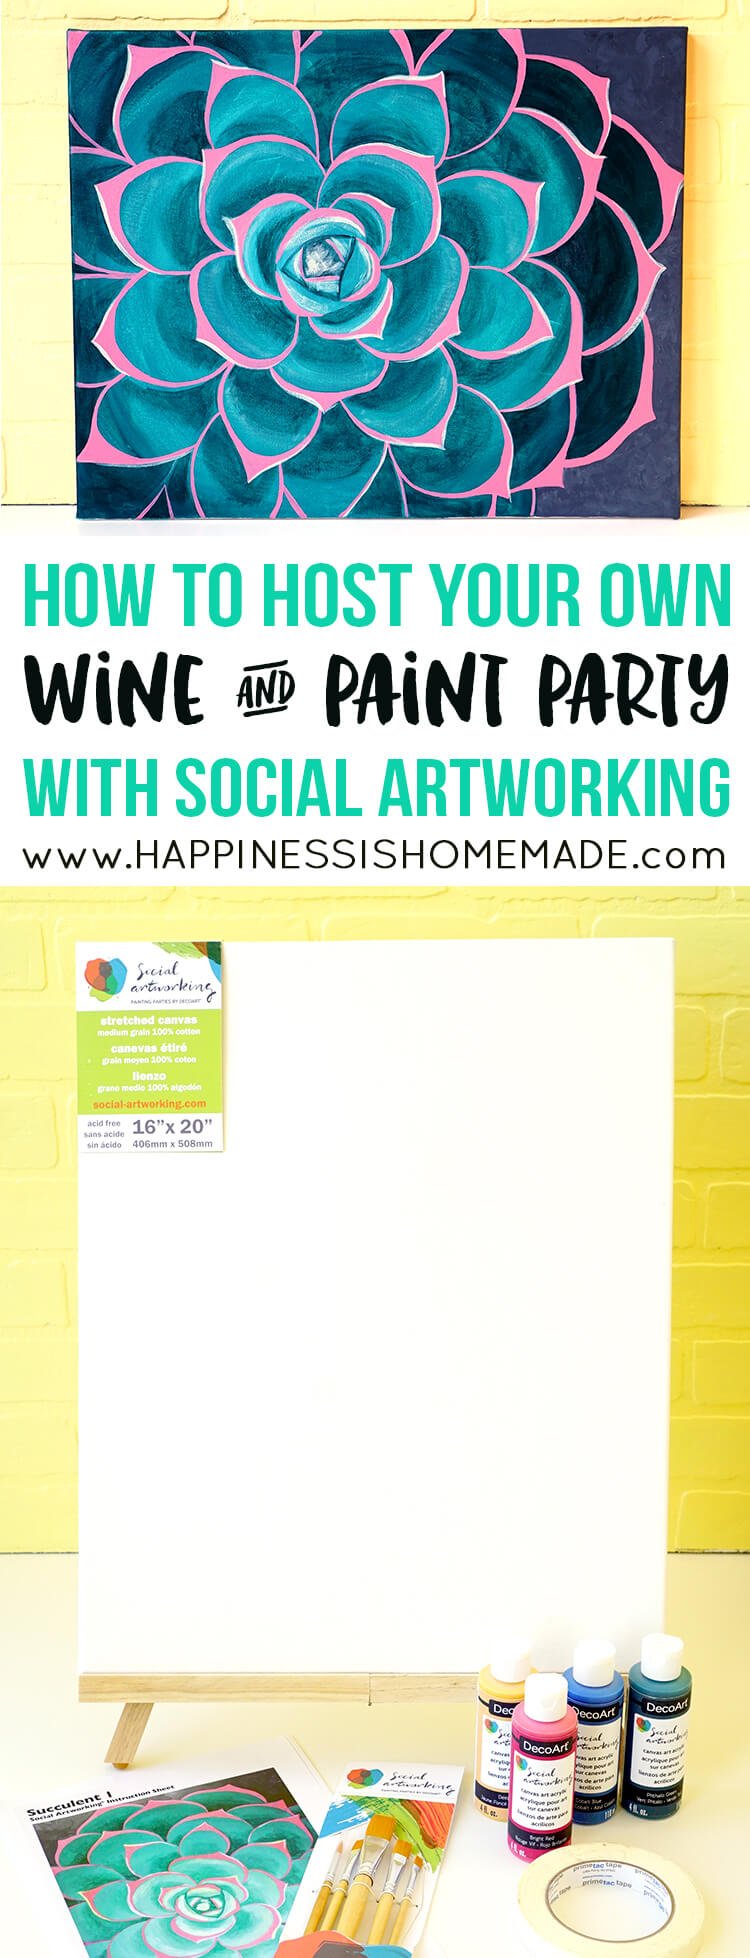
It’s so much fun (and SO easy!) to host your own wine and painting party with Social Artworking! Anyone can paint with these easy to follow steps!
Wine and paint parties are all the rage these days, but more often than not, I don’t love the design of the paintings that are being offered. It can be difficult to make a reservation if there’s a large number of people in my party, and sometimes there are just TOO many people in the class, and I’d prefer a more intimate and quiet setting.
That’s where Social Artworking comes into play! With Social Artworking, you can host your own wine and paint party in the comfort of your own home (or any location) at any time with any number of people! Throw a painting birthday party for your kids, host a fun Mom’s Night Out, or gather a few of your favorite people for a relaxing afternoon of painting like I did!
Tips for Hosting a Wine and Paint Party:
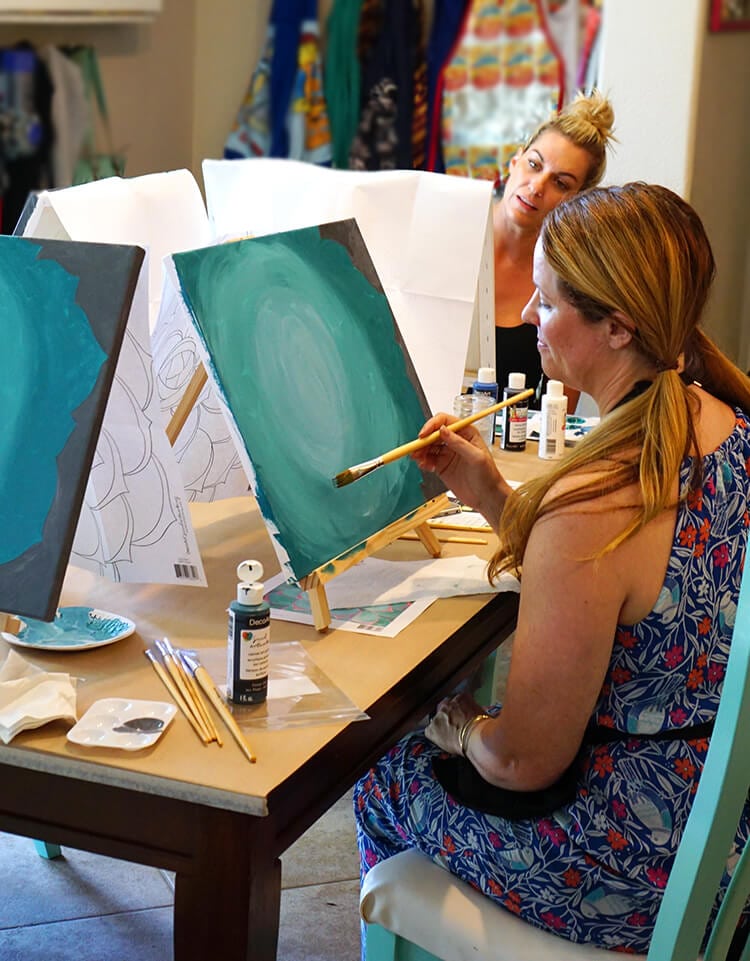
- Cover the work table with large sheets of paper, and supply each work station with a water cup, mixing tray and/or small paper plates, and paper towels.
- If your friends are wine drinkers, have lots of wine on hand. I usually purchase two bottles of wine for every three guests, which generally works out well as some guests may bring their own drinks.
- Make sure you have plenty of water and non-alcoholic beverages as well!
- Encourage each guest to bring an appetizer to share, and there will be plenty to snack on while you’re painting your masterpiece.
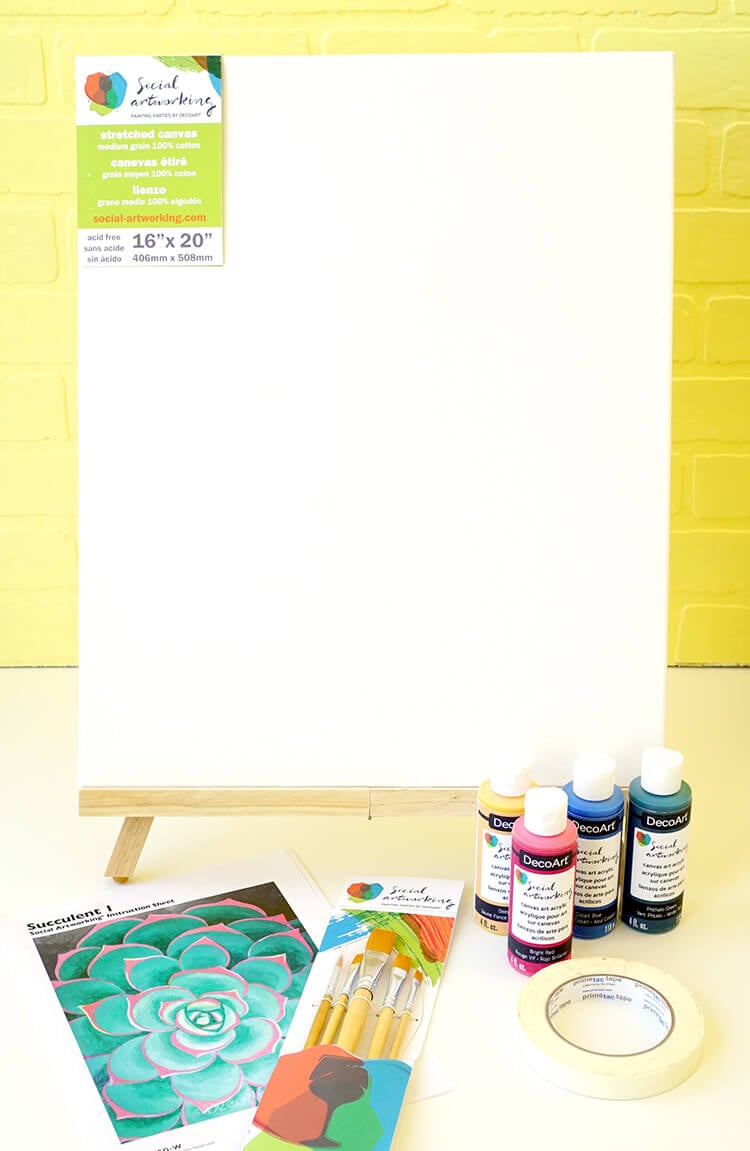
- Use ready-to-go supplies from Social Artworking for easy planning and set-up! For our party, each work station included a tabletop easel, a 16×20 canvas, a set of paint brushes, paint, a reusable pattern, and tracing paper. Step-by-step printed instructions, tips, and color mixing guides were also included!
Want to see just how easy the Social Artworking party was? I’ll take you step-by-step through our recent painting experience:
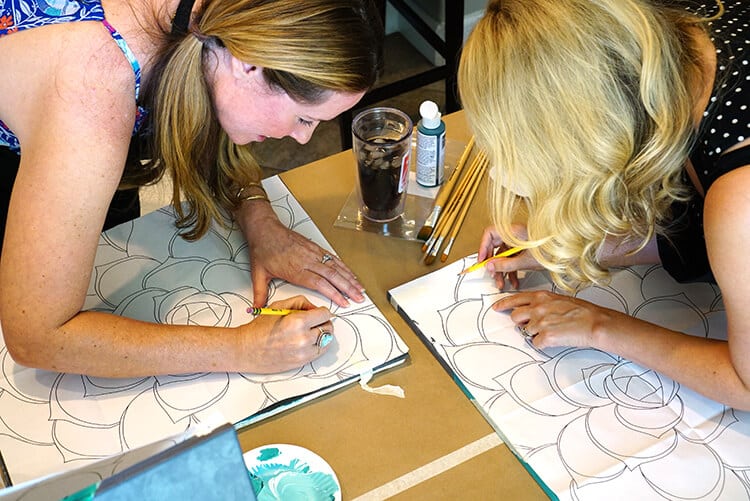
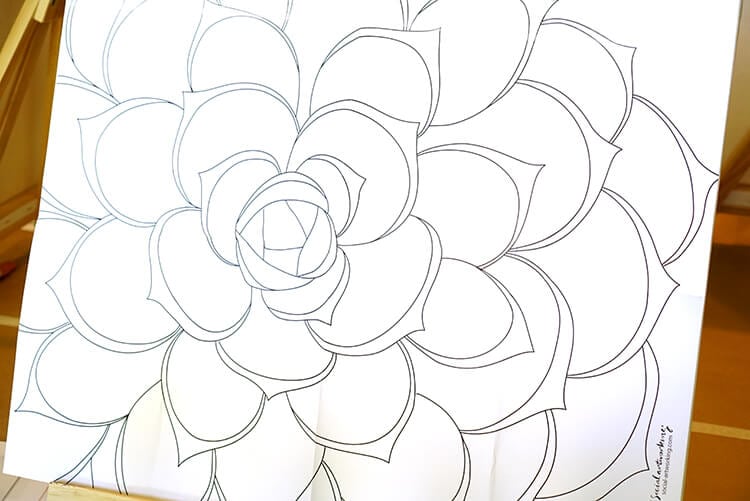 For our party, we painted the Succulent I design from Social Artworking. The first step was to trace the edge of the succulent pattern onto the canvases. Social Artworking provided us with patterns as well as carbon paper transfer sheets, so it was simply a matter of taping down the edge of the pattern, slipping the transfer paper underneath, and using a pencil to trace the edge of the pattern. The carbon paper transfers the pencil lines onto the canvas – easy peasy!
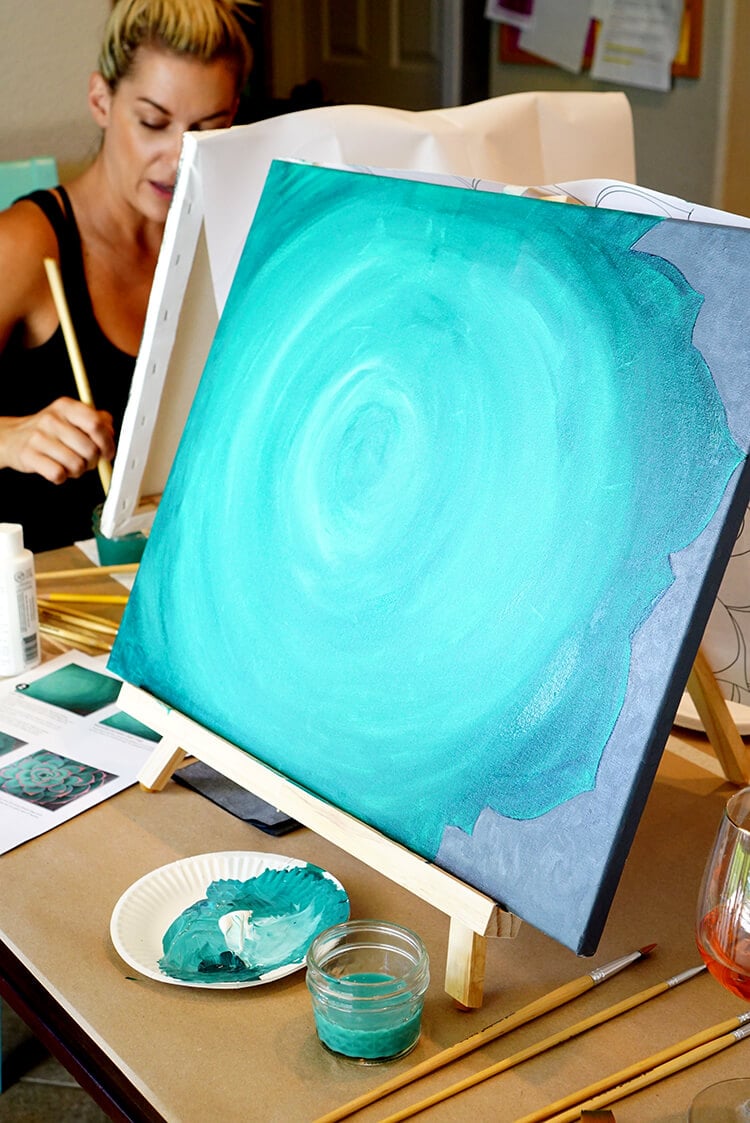
Next, we painted the right edge of the canvas with a mix of grey tones, leaving visible brush strokes.
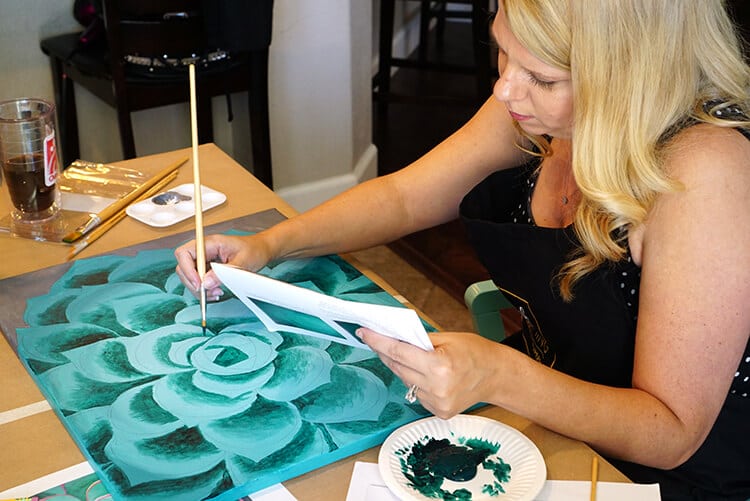
Step 2 was to paint the base of the succulent body with varying tints of green. We started with a mixture of green and blue and slowly added white to the mix to achieve all of the different variations in color.
After the green layer of paint was dry (a hair dryer can help to speed up the process!), Step 3 involved tracing the rest of the pattern on top of the green paint.
See how easy that was? Now it’s just like one big paint by number!
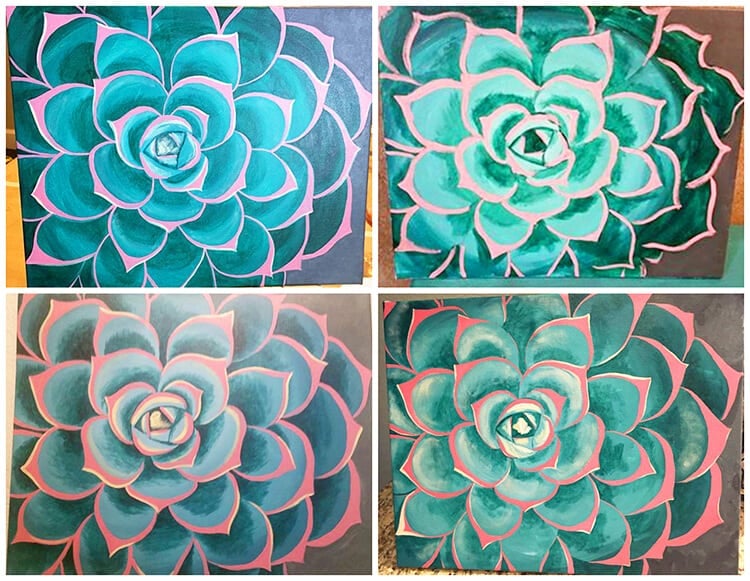
We used dark green to add shadowing and shading to each of the succulent leaves to finish up Step 3. At this point, everyone’s individual style of painting really started to shine through! Some of the paintings used big bold strokes of deep color, and some were much more muted and heavily blended.
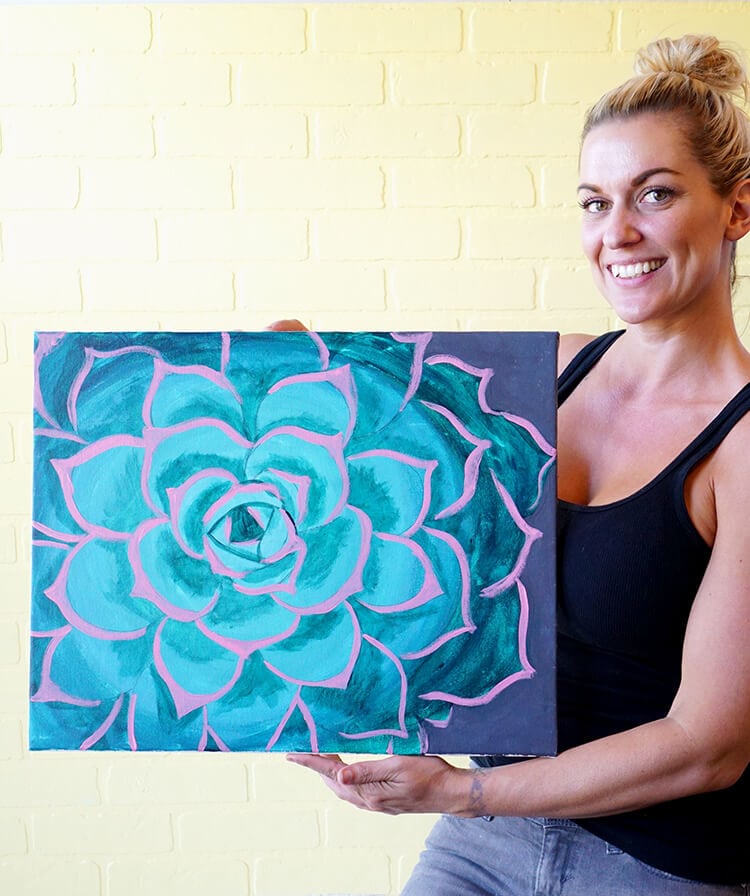 For Step 4, we added pink edging to each of the petals.
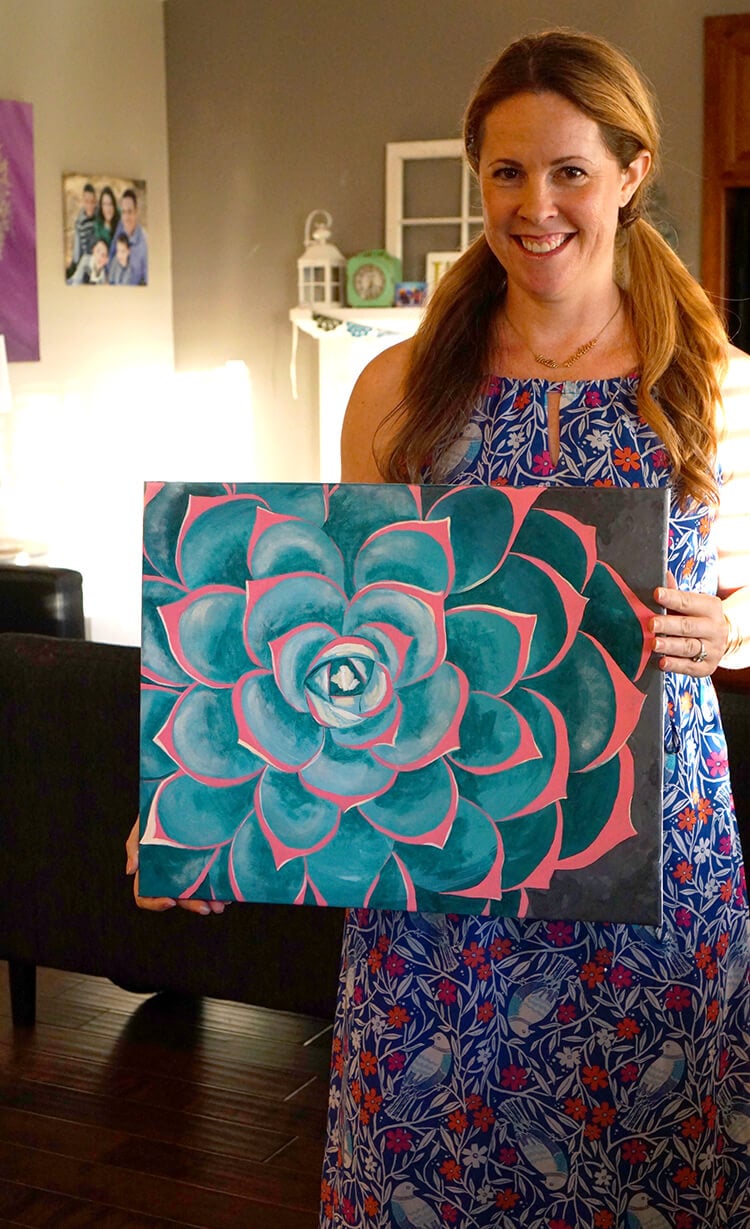
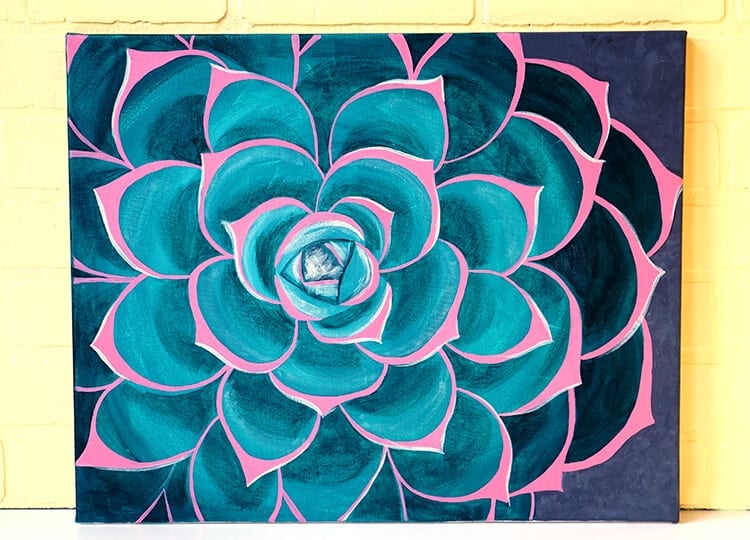 Step 5 (the final step!) was adding pale yellow highlights to the petals. It really finished off the paintings nicely and made all of the colors pop!
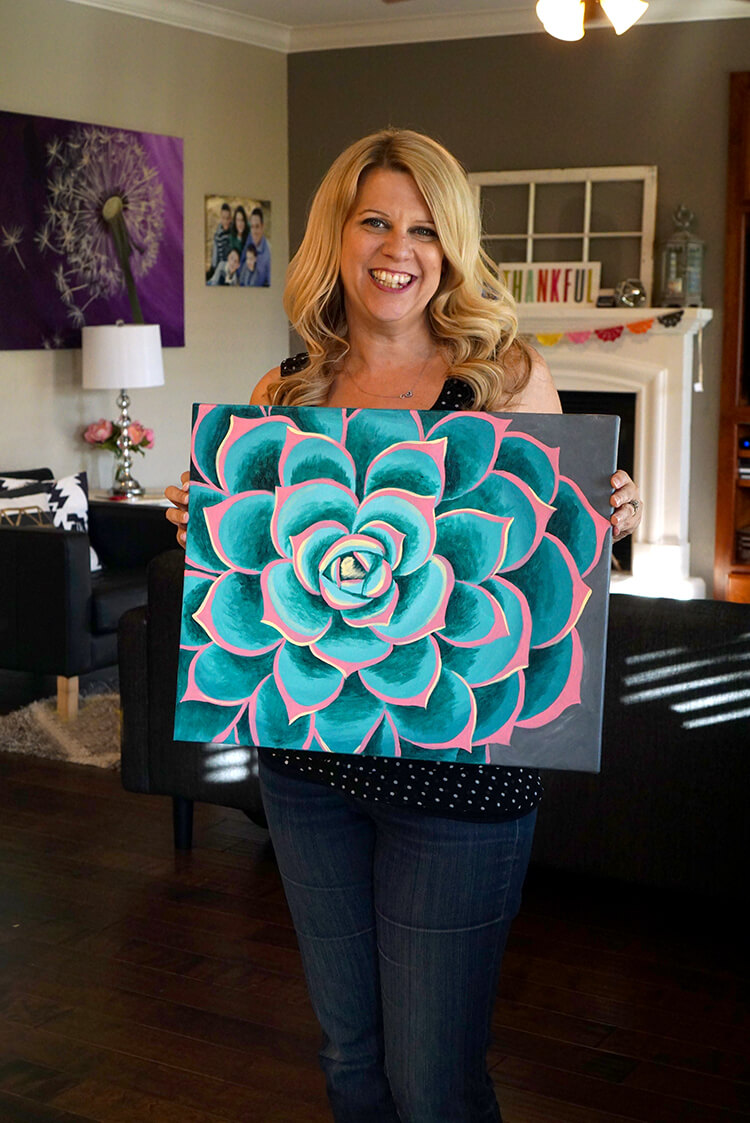 My sister, Kari, is an amazing painter, so naturally her finished painting was super awesome (side note: see that pretty purple dandelion painting hanging in the background? She painted that for me a few years ago, too!)!
We had so much fun spending the afternoon chatting, laughing, sipping, and painting!
I loved the fact that all of the paintings were totally different and unique even though we all followed the same pattern and used the same materials. It was so much fun seeing everyone’s different style! This succulent painting was estimated to take 2.5 hours to paint, and we discovered that painting times will vary a LOT. Maybe we were just having too much fun, but it took our group anywhere from 2.5 hours to 6 hours to paint!
It was so much fun to host my own wine and paint party, and now that I have one session under my belt, I can see a lot more of these parties in my future!
If you like this idea, don’t forget to pin it!

Heidi Kundin has captivated the hearts of millions with her colorful and inspiring approach to crafting, celebrations, and family fun. With over 15 years of experience, Happiness is Homemade has become a must-visit destination for those seeking quick and easy creative ideas and last-minute solutions. Heidi’s warm personality shines through her posts, inviting readers to join her on a creative journey that’s fun, rewarding, and achievable. Heidi is also the author of Homemade Bath Bombs & More and DIY Tie-Dye.

