Learn how to convert an Epson EcoTank printer into a sublimation printer! It’s an easy and economical way to get started with sublimation!
This post may contain affiliate links. I will receive a small commission from these sales at no additional cost to you! This post is written in partnership with Hiipoo Ink who provided me with supplies for this post.
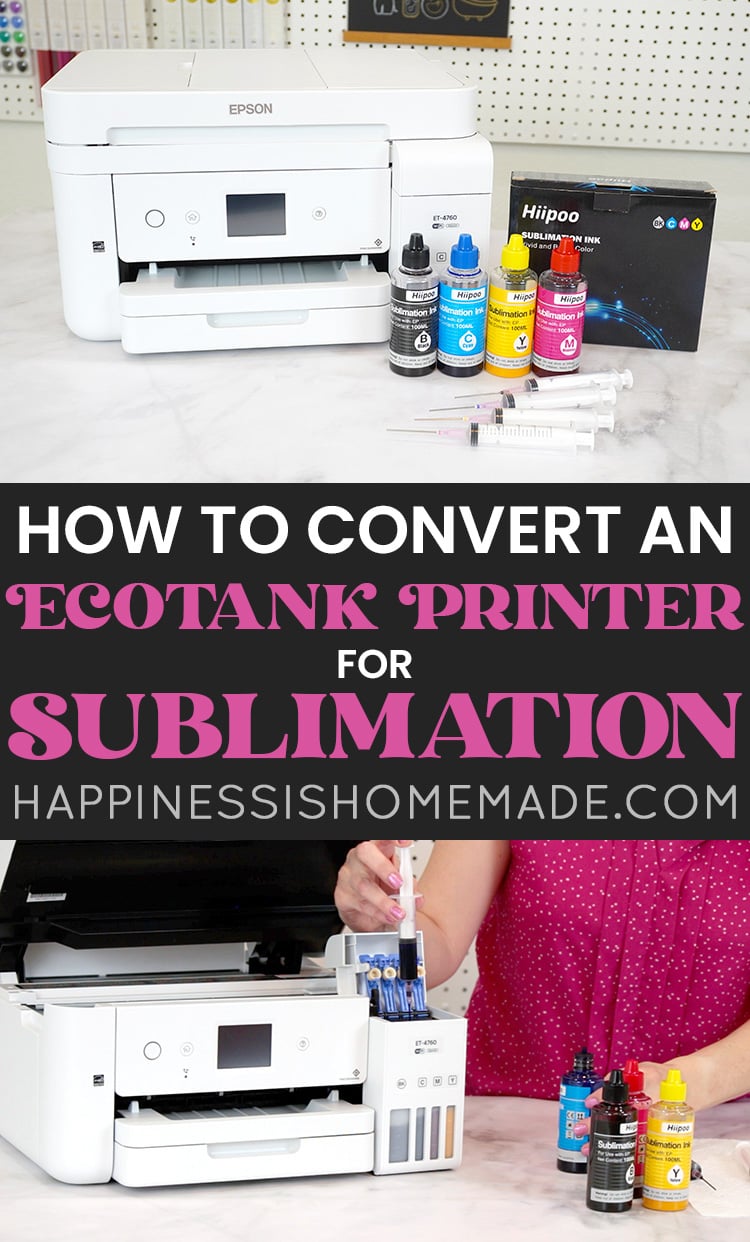
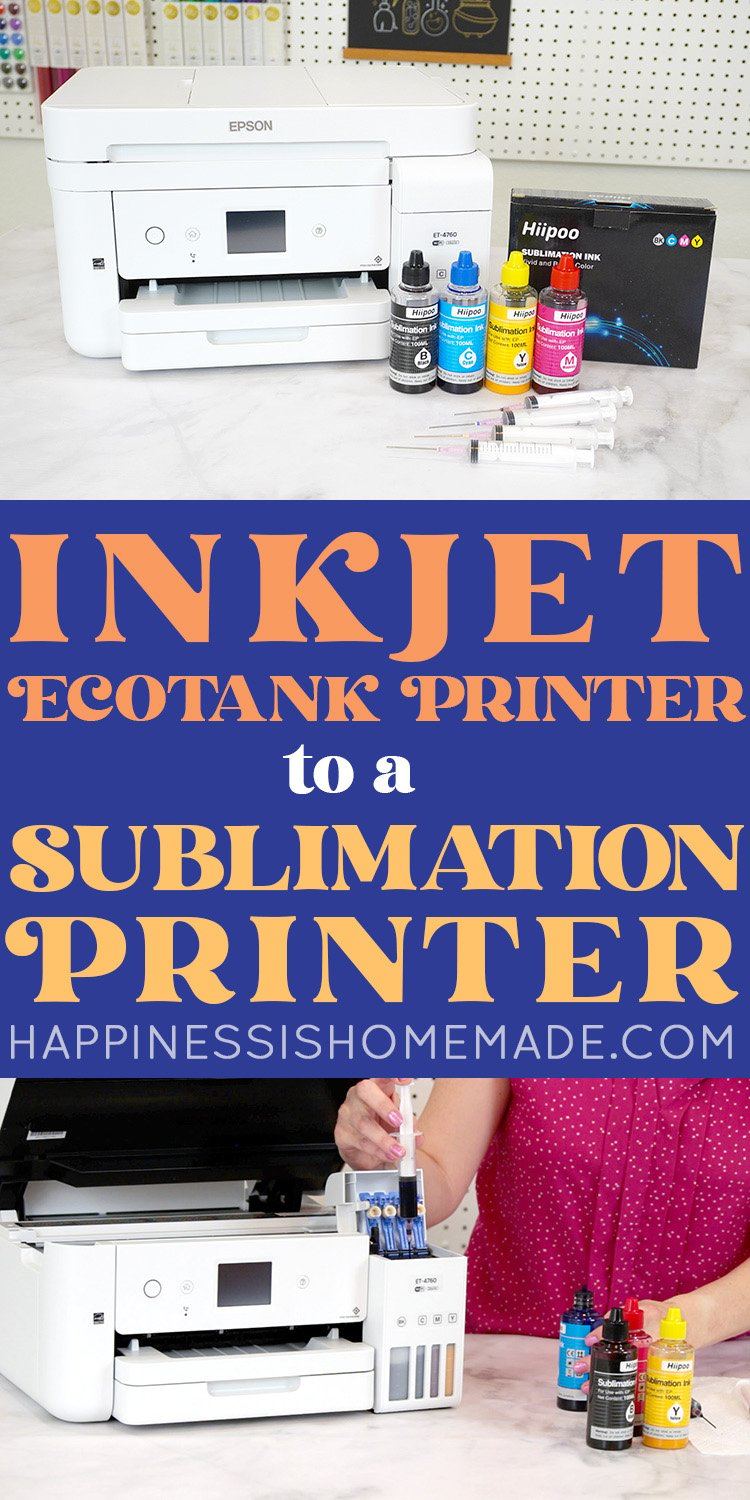
Convert an Epson EcoTank printer into a Epson sublimation printer and get started with sublimation easier than ever!
Have you been hearing a lot about sublimation lately? It’s one of the hottest trends in crafting, and for good reason! Sublimation is an easy crafting technique that uses minimal equipment and produces professional-quality results, so it’s no surprise that it’s gaining popularity quickly!
Sublimation printers can be quite pricey, but with the introduction of new supplies like Epson EcoTank printers (which use fillable ink tanks vs traditional cartridges) and sublimation ink refill kits, sublimation is now easier and less expensive than ever!
In fact, you could even start your own business! Sublimation is one of the easiest at-home crafting businesses to get started, and now, with these supplies, it’s even EASIER and less expensive than ever!

What is Sublimation?
So, first off…what IS sublimation? Sublimation is the process in which a substance goes directly from a solid state to a gas state, skipping the liquid state entirely.
So, what does that mean in terms of crafting? It means that special sublimation inks can be printed (in a solid state) and then, with the application of heat, will move into a gaseous state where it is able to permanently fuse and bond with polyester coated substrates.
In plain English, that means that you’ll be able to print from your Eco-Tank printer using sublimation ink, and take those images (photos, artwork, etc.) and permanently transfer them to things like shirts, mugs, etc. using heat and pressure.
If you have ever purchased photo gifts for relatives for the holidays – mugs, photo shirts, ornaments, mouse pads, tumblers, blankets, phone cases, etc., they were all created using sublimation…and now, with this printer and ink, you’ll be able to easily (and less expensively!) create those same types of projects at home.
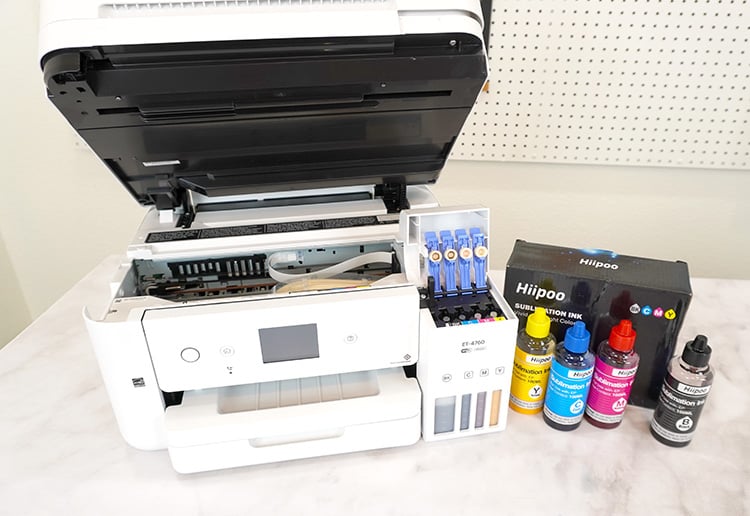
How to Convert an EcoTank Printer for Sublimation
Supplies Needed:
- Epson EcoTank Printer (We used an EcoTank 4760, but ANY Model of EcoTank printer will work!)
- Hiipoo Sublimation Ink Kit
- Printer Paper (for alignment testing)
Where to Buy an Epson EcoTank Printer:
Converting Epson EcoTank printers into sublimation printers has become incredibly popular lately, so EcoTank printers are a little harder to come by, and retailers often only have one or two models in stock at a time. If an item is showing as out of stock, be sure to check back often as stock changes frequently.
You can find Epson EcoTank printers at these retailers:
IMPORTANT NOTES!
When converting an EcoTank printer to a sublimation printer, you want to start with a NEW printer that has empty ink tanks!
(Note: some of my photos show ink already in the tank, however, that’s because I videoed the initial filling of the tanks for you and then went back and took still photos of the process!)
It is possible to flush out the system of a printer that has previously been filled with ink, however, it’s a messy and complicated process, and there is no guarantee that it will work correctly even after flushing. For best results, use a new EcoTank printer that has never been filled with ink.
DO NOT TURN ON THE PRINTER UNTIL AFTER IT IS FILLED WITH INK!
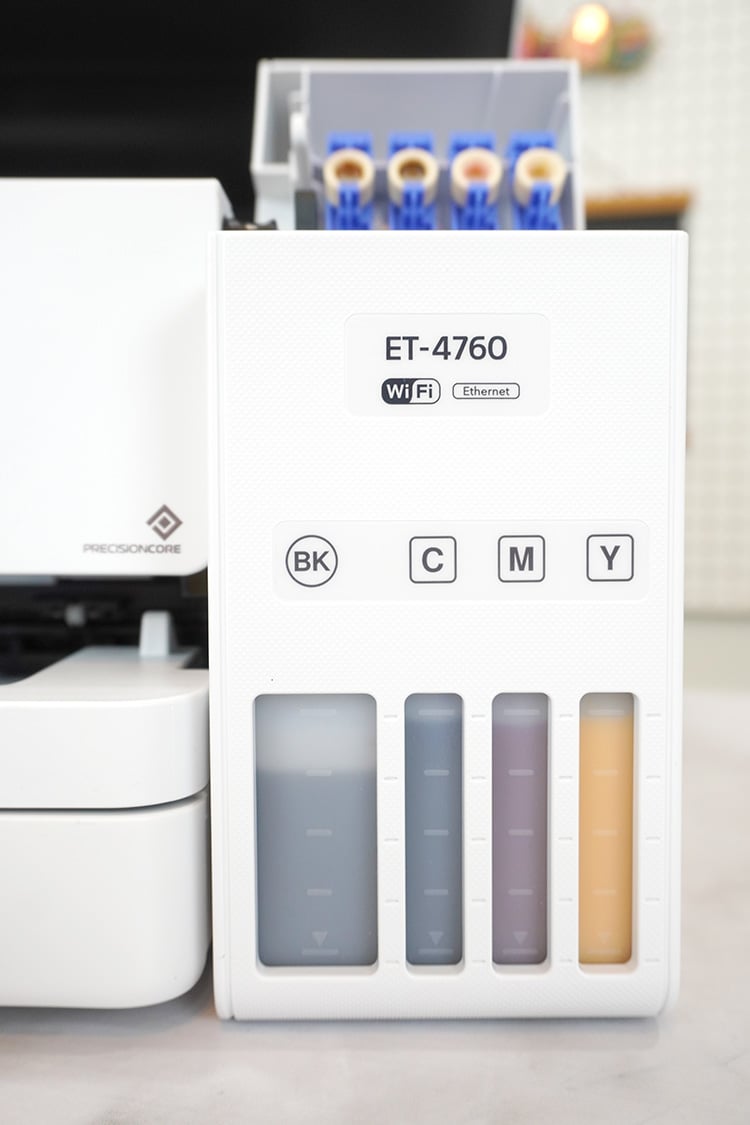
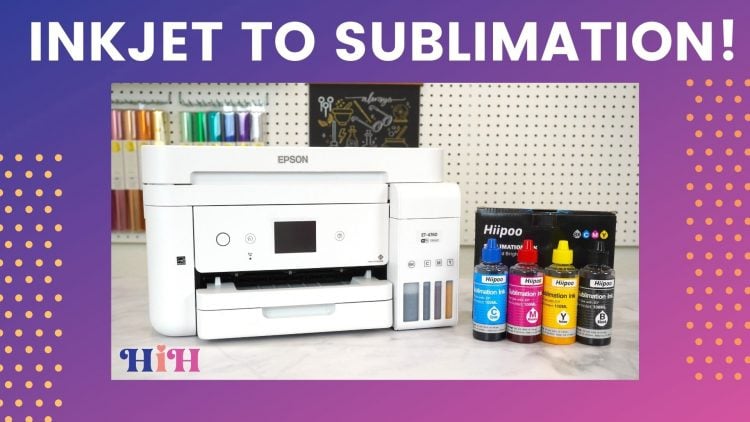
The printer that I will be using is an Epson Eco-Tank 4760, and as you can see, instead of using traditional ink cartridges, this printer has individual tanks for each of the different colors of ink. The EcoTank printer comes with four bottles of ink, but we will NOT be using those. You can sell or donate the ink if you don’t have another printer that will be able to use it.
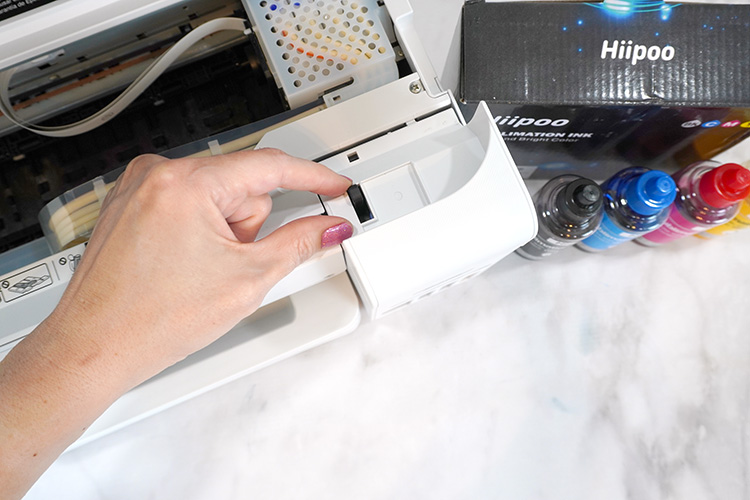
To access the ink tanks, raise the top of the printer (if necessary on your EcoTank model), then press the lever to release and open the tank cover.
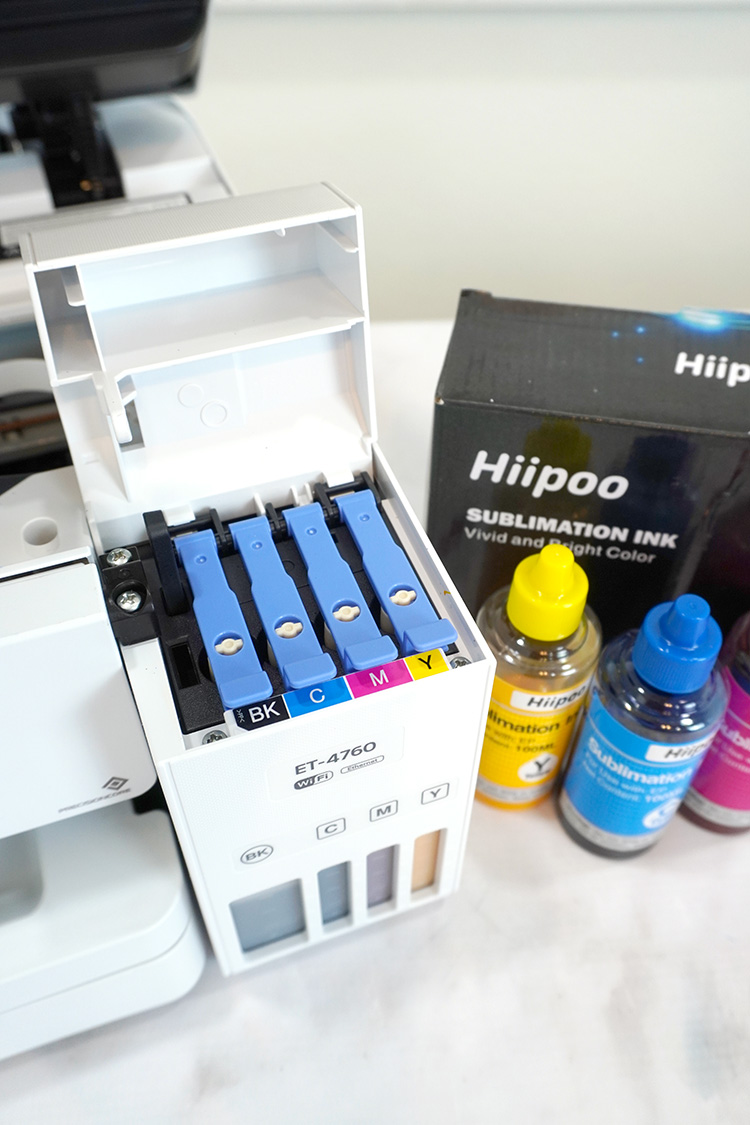
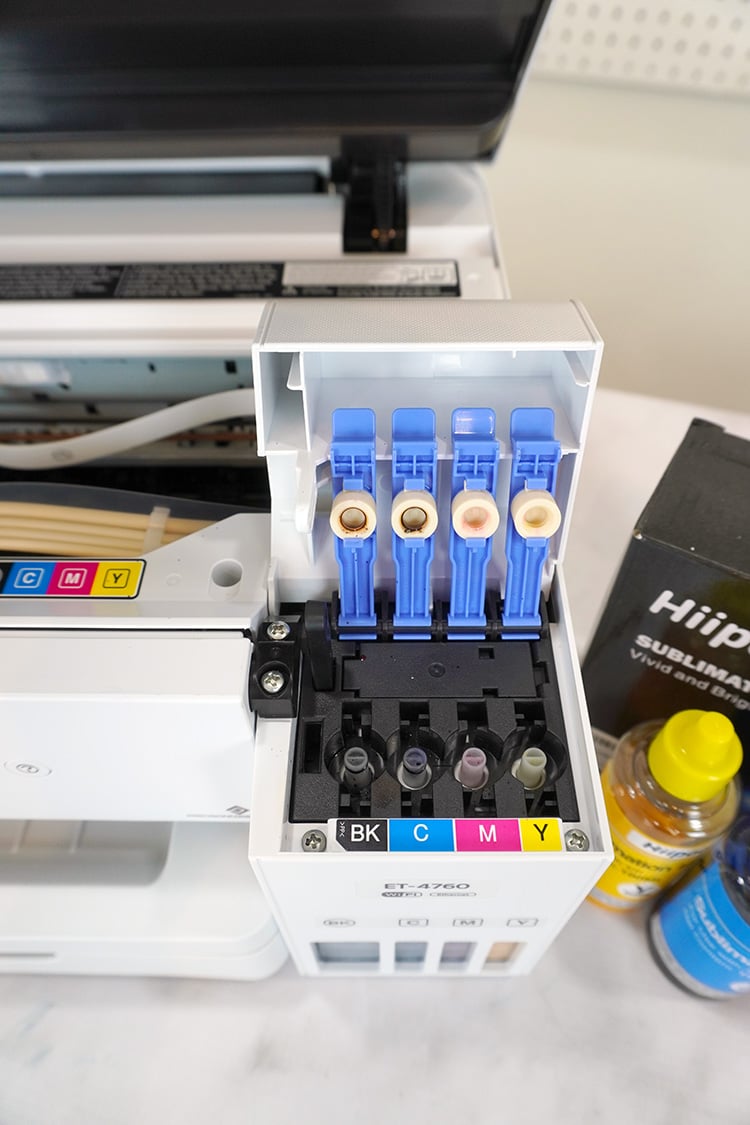
Then, lift the lids to each of the ink tank wells.
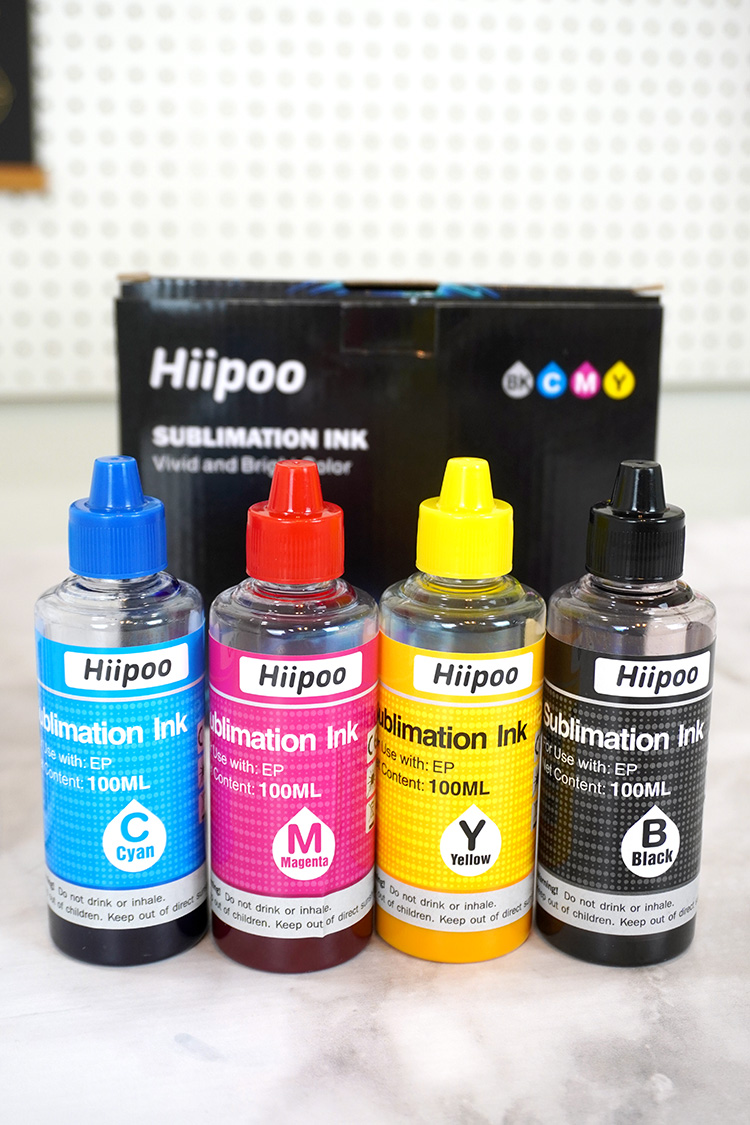
Once you fill your printer with sublimation ink, you will want to keep refilling it with that same brand of ink. Not all sublimation inks are the same, and not all inks will be compatible with each other, so you don’t want to refill the tanks with something different than you started with.
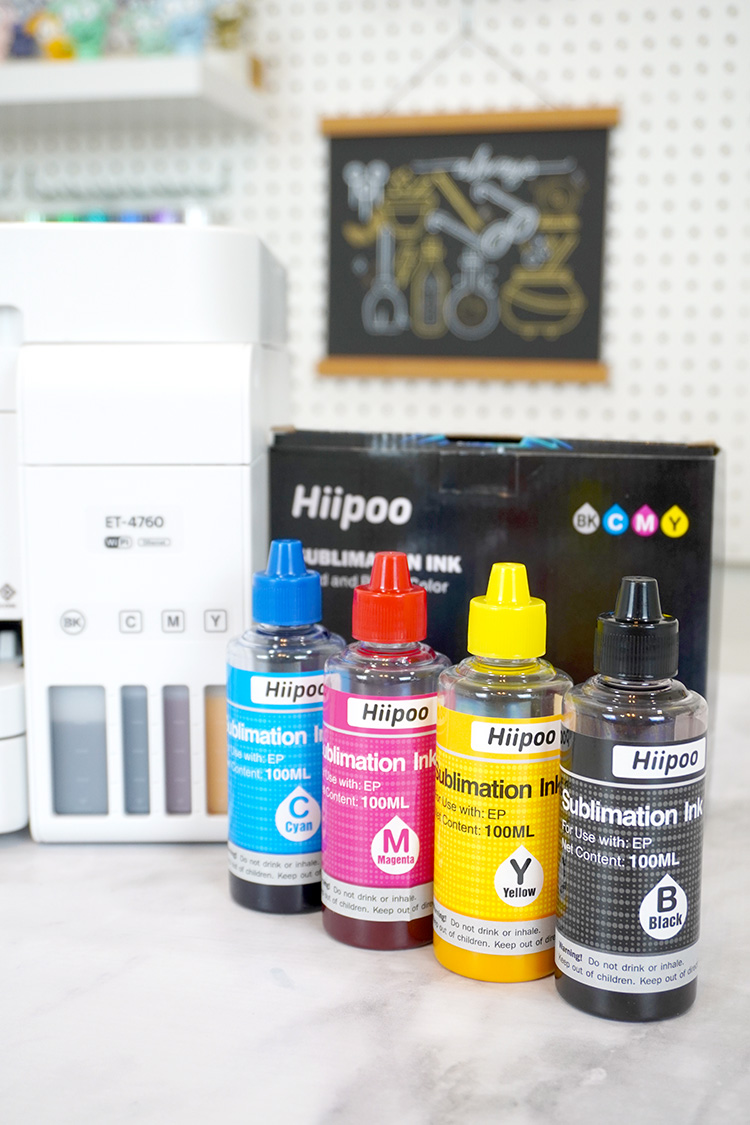
I am using high-quality Hiipoo sublimation ink in my EcoTank printer because Hiipoo has a really great reputation for being super reliable and producing consistent results. Hiipoo ink is also known for producing really vivid colors and crisp, even prints at an excellent price point, so using their ink was an easy decision to make!
Using high quality materials is always important, and it becomes even more crucial if you are planning on selling items that you create with your sublimation printer. When selling items, it is essential to choose a high-quality ink so that you can produce high-quality products.
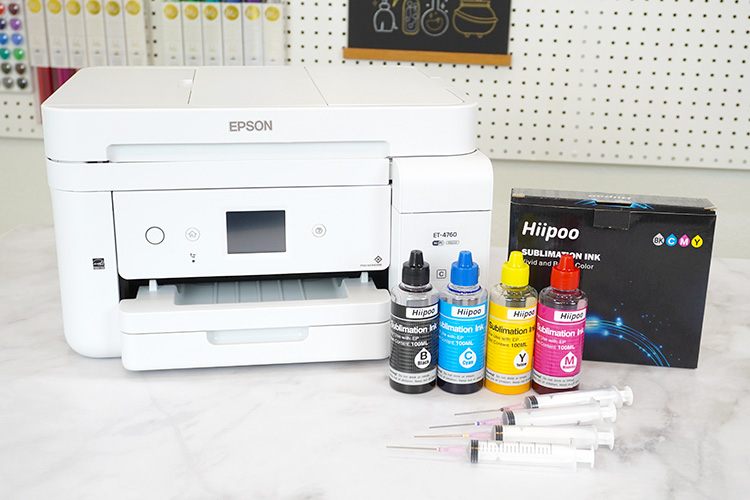
The Hiippo sublimation ink kit comes with four different colors of ink in black, cyan, magenta, and yellow colors that coordinate with the printer tanks. The Hiipoo kit also comes with four syringes and blunt-tipped needles for transferring the ink as well as a pair of plastic gloves.
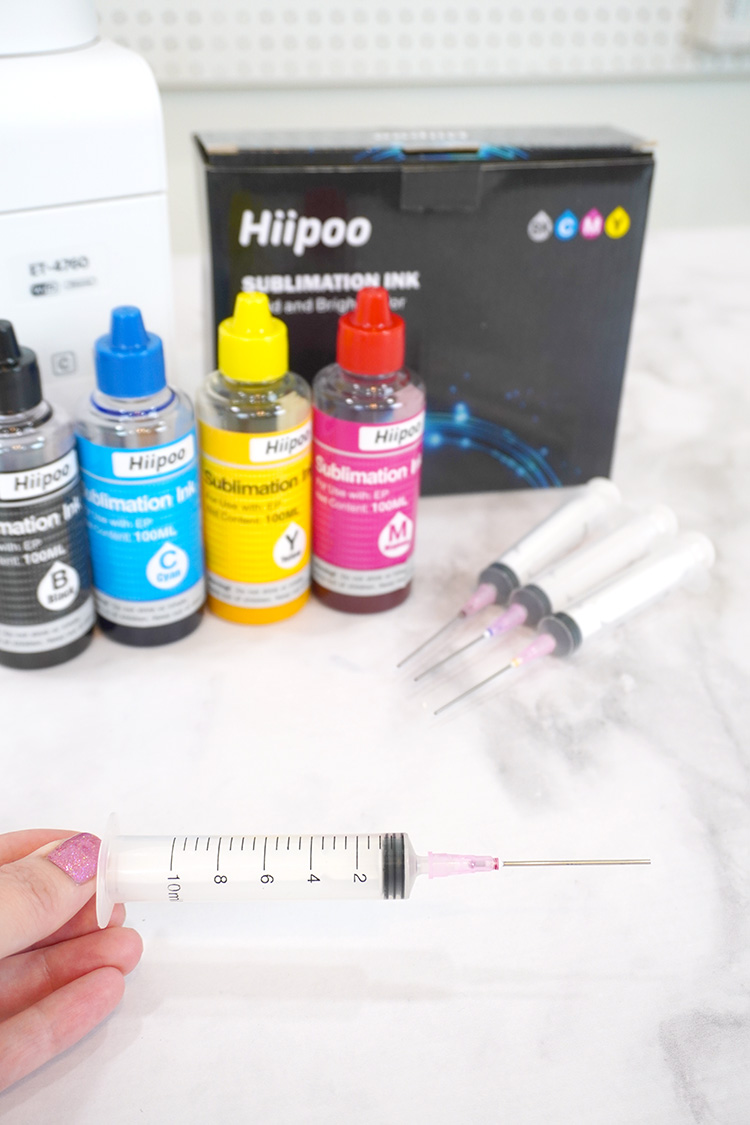
Place the needle tips securely on the plastic syringes, and open the bottles of Hiipoo sublimation ink.
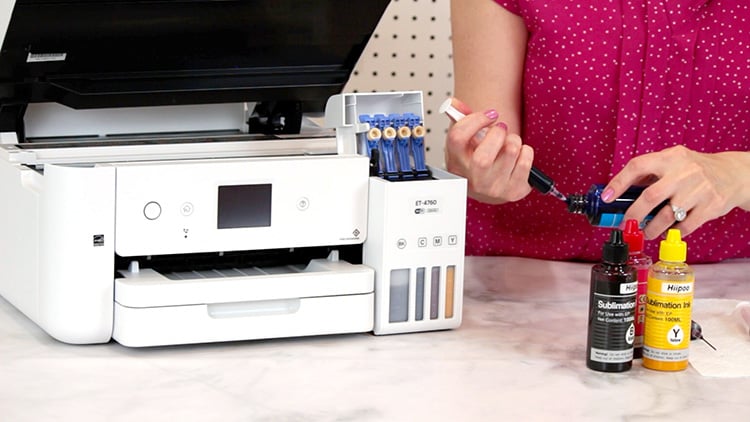
Insert the needle deeply into the bottle of sublimation ink, creating a tight seal between the needle and the bottle. You want to suck up the ink without getting any air into the syringe. Turn the bottle on its side (or even upside down as the ink levels get lower) with the needle still inserted, and gently pull back on the plunger to fill the syringe with ink.
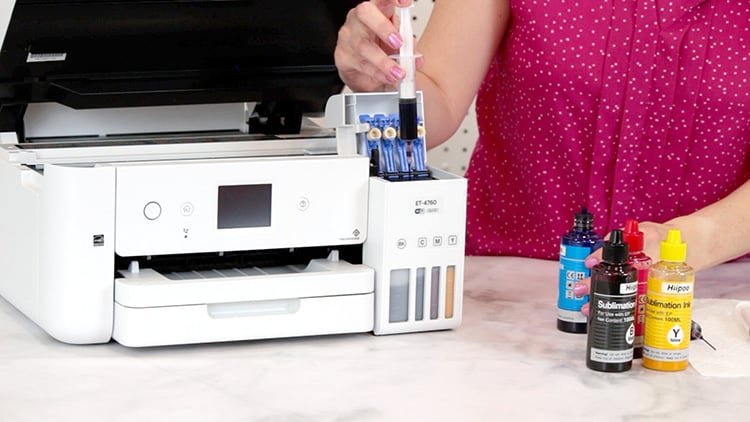
Place the needle into the ink tank of the printer (it will not go all the way in) and slowly depress the plunger to release the ink into the tank. Continue adding syringes of ink until the ink level in the tank reaches the top line.
Repeat the process with the additional colors of ink until all of the tanks are full.
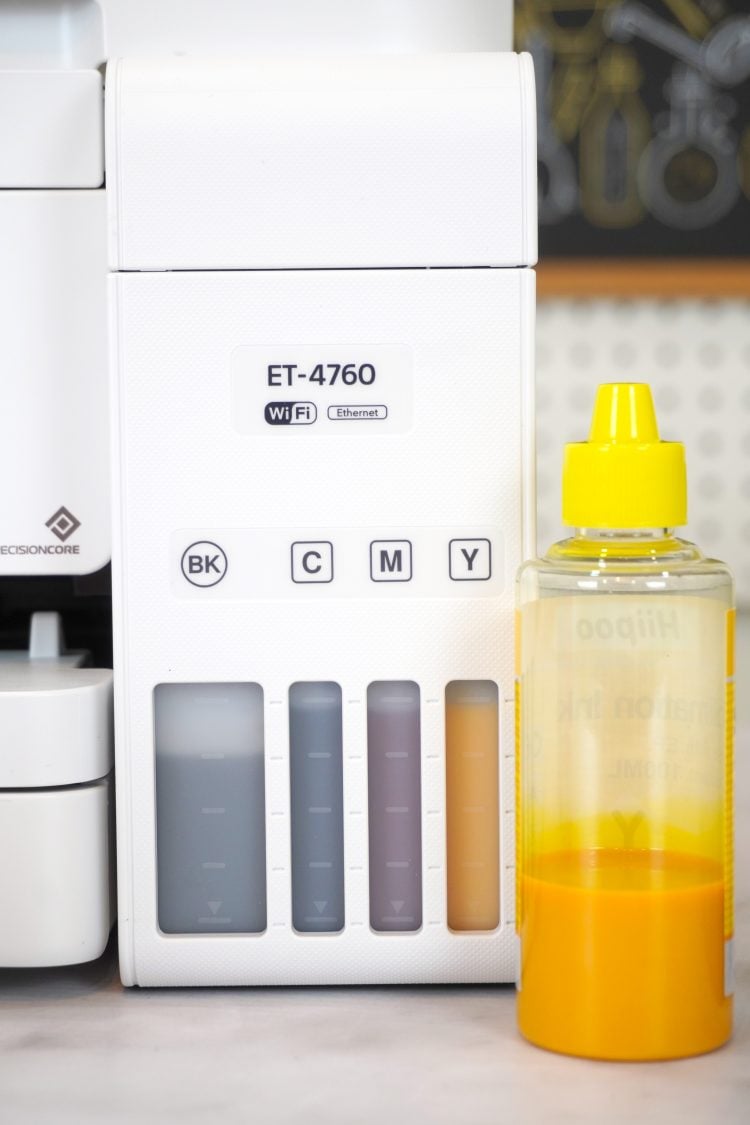
For the Epson EcoTank 4760, I used around 2/3 of the bottle of the cyan, yellow, and magenta sublimation inks, and I used the entire bottle of black ink.
When you’re finished filling the tanks, set the syringes and bottles of ink aside, but do not put them away yet. You’ll likely want to top off the ink after you run the printer’s alignment test in the next step since it uses a fair amount of ink in the process.
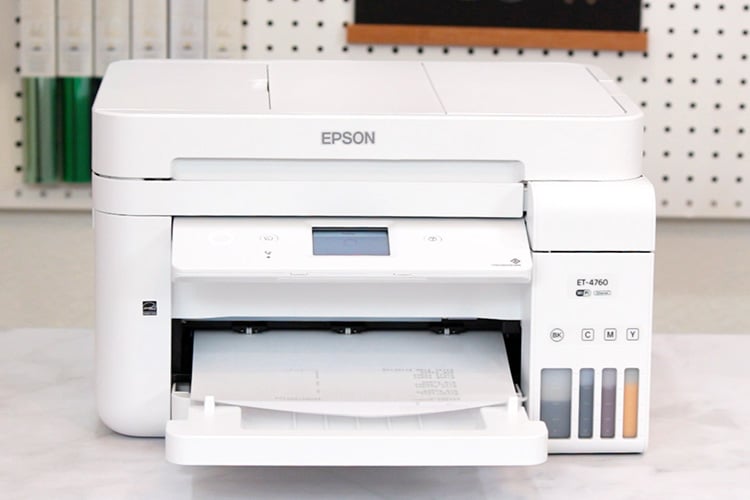
Power on the printer and follow the prompts on the screen to walk you through the alignment process. Use the instructions that came with the printer to connect the printer to your computer.
I recommend going into the printer settings on your computer and setting the default settings to mirror your images and to print on “Premium Presentation Paper Matte.” You will also have the option to select these settings each time you print, but it’s nice to not have to update it each time!

Now, it’s time to make our first project! Learn How to Make a Sublimation Puzzle here!

You can watch me convert an Epson EcoTank printer into a sublimation printer and create a sublimation puzzle in this video here. We have lots of fun sublimation videos planned, so be sure to subscribe to our YouTube channel!
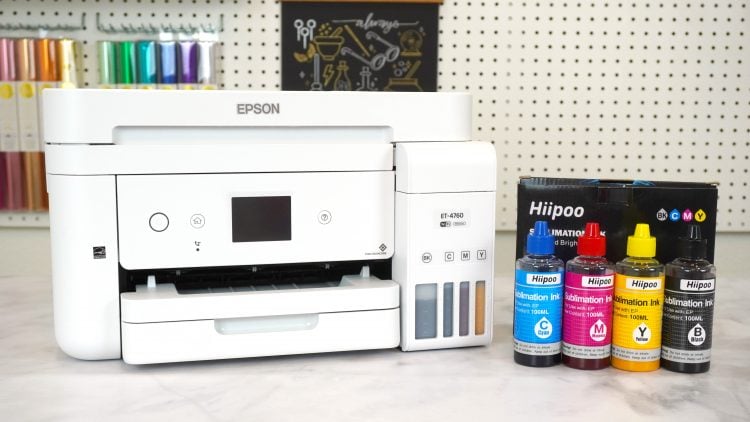
Sublimation is a TON of fun, and it’s easier than ever to get started with it thanks to EcoTank printers and Hiipoo sublimation ink!

Check Out These Other Sublimation Posts!
 HTVRONT Manual Heat Press Review & Setup
 Taylor Swift Lyrics DTF Shirt Design
 HTVRONT Auto Tumbler Press Review
 HTVRONT Auto Heat Press Review + Setup
 The Best Shirts for Sublimation – That Aren’t 100% Polyester!
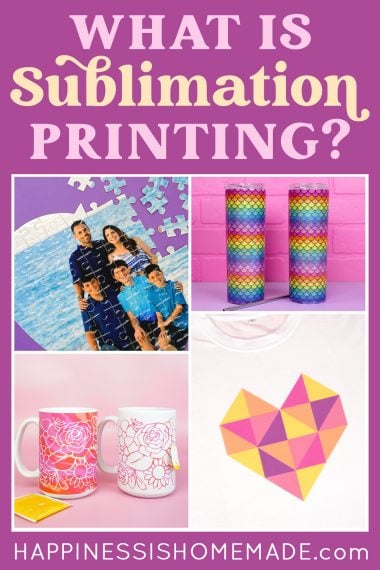
 What is Sublimation Printing?
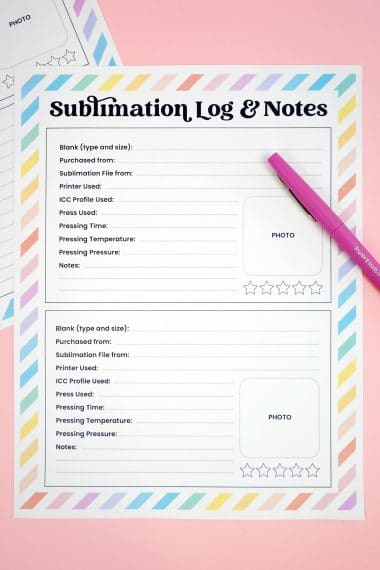
 Free Printable Sublimation Log & Notes Record
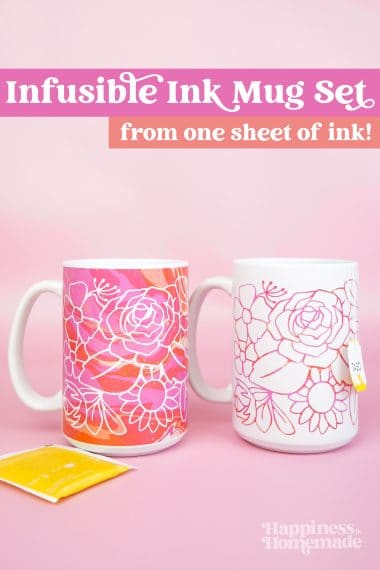
 Infusible Ink Mugs with the Cricut Mug Press
Don’t Forget to Pin This Post for Later!

Heidi Kundin has captivated the hearts of millions with her colorful and inspiring approach to crafting, celebrations, and family fun. With over 15 years of experience, Happiness is Homemade has become a must-visit destination for those seeking quick and easy creative ideas and last-minute solutions. Heidi’s warm personality shines through her posts, inviting readers to join her on a creative journey that’s fun, rewarding, and achievable. Heidi is also the author of Homemade Bath Bombs & More and DIY Tie-Dye.

