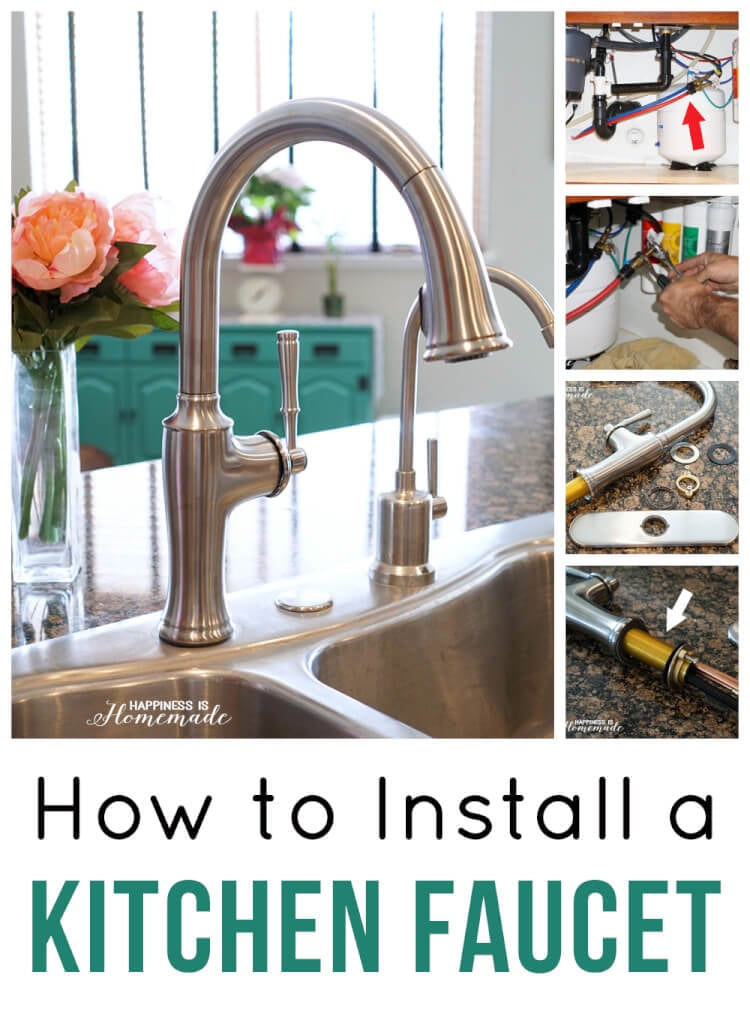
Learn how to install a kitchen faucet in under an hour to update the entire look of your space! Step-by-step photo tutorial makes this a great quick & easy DIY project for beginners!
We recently updated our kitchen faucet, and I was worried that installing a kitchen faucet was going to be a massive DIY undertaking, but in reality, it was SO simple! Installing a kitchen faucet is a quick and easy DIY project that’s perfect for beginners because it doesn’t take much time, and it only requires two basic tools (a wrench and a screwdriver).
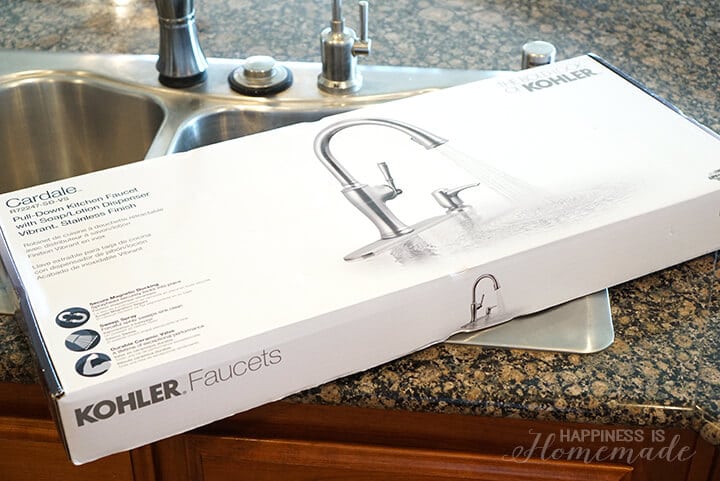 We chose to install the Kohler Cardale Kitchen Faucet (available exclusively at Lowes) because we liked the sleek design of the vibrant stainless steel, and it meets CalGreen requirements to help save water. We’ve been living under extreme drought conditions here in California for the past several years, so anything that my family can do to help conserve our resources earns HUGE bonus points with me!
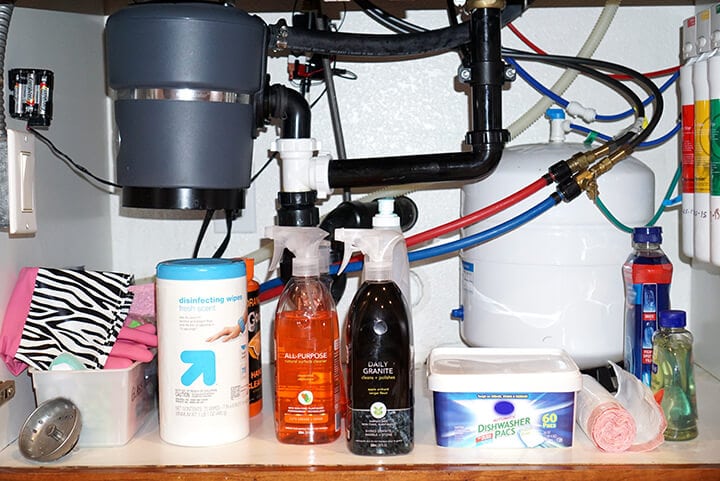 First things first, you’ll need to clean out all of the junk under the sink so that you can access the pipes! Next, shut off the water so that you don’t make a gigantic mess of things, and grab a few small towels as well. Even though you’re turning off the water, there will still be some water remaining in the pipes, and it does drip when you disconnect the water lines.
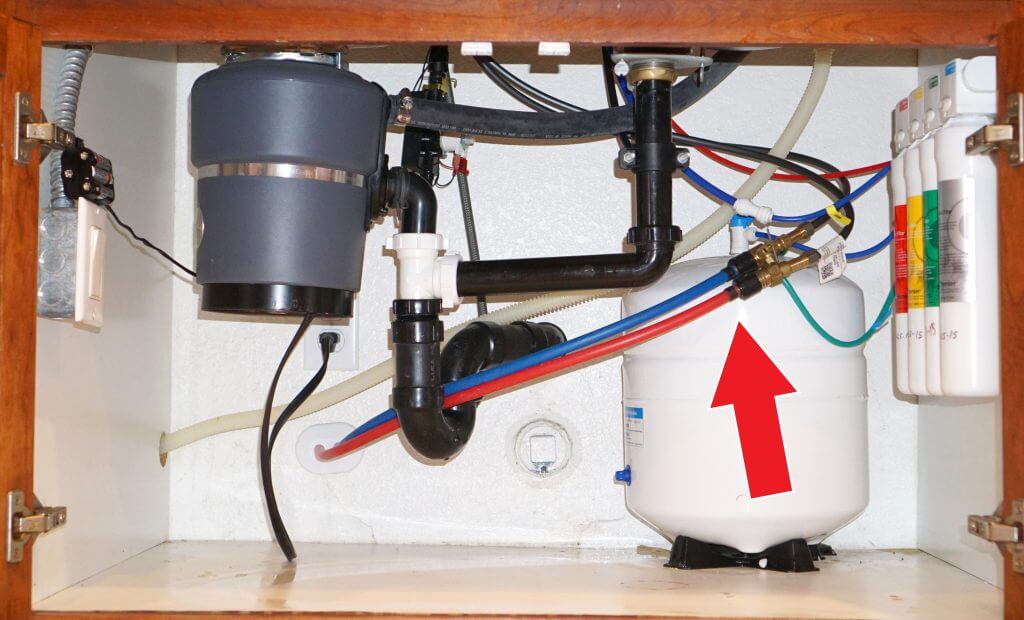 Once everything is cleared out, you’ll want to locate your two water lines (in our case, they are red and blue as shown). The lines may enter in through the back of the cabinet like ours do, or they may be attached to the wall via a water shutoff valve. If your water lines are still attached to the old faucet, you’ll need to disconnect them to remove the old faucet.
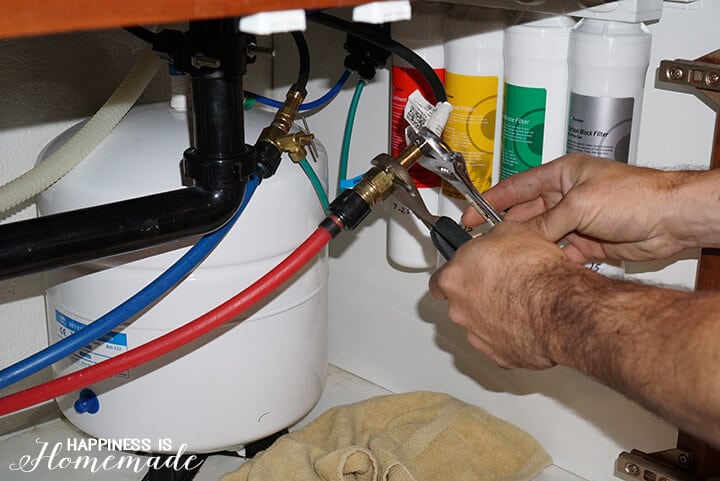 To disconnect the water lines, simply use a wrench or two to unscrew the lines from the faucet (this is where the towels will come in handy!). Once the old faucet is disconnected, it is easy to remove by lifting the faucet and pulling any attached lines up through the hole in the top of the sink.
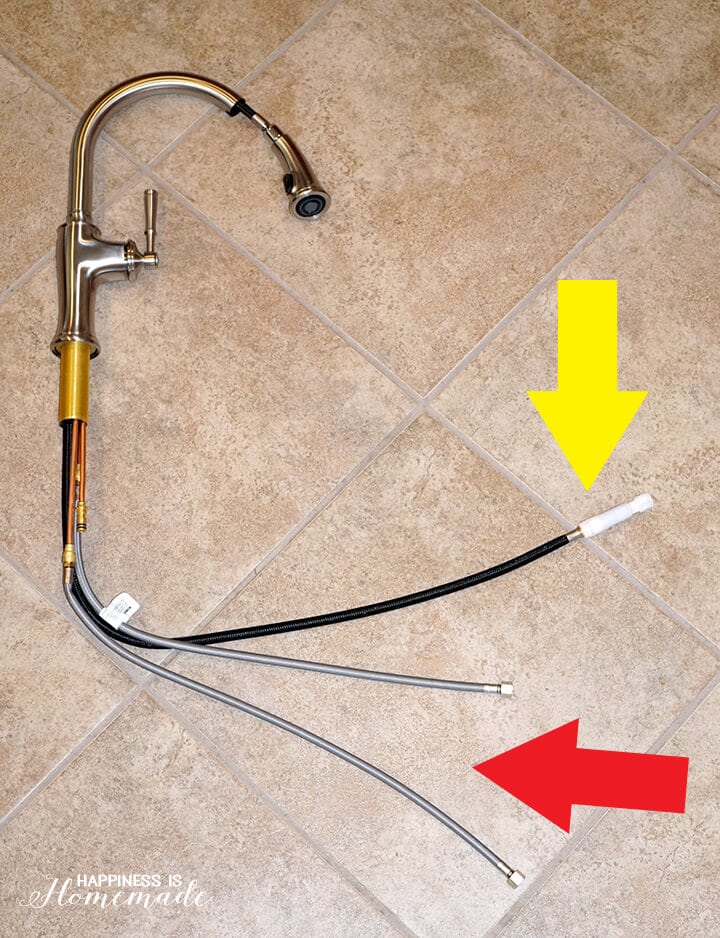 The Cardale Kitchen Faucet comes with new water lines already attached (the two grey lines indicated by the red arrow above), so installation is easy peasy! The yellow arrow above indicates the spray hose.
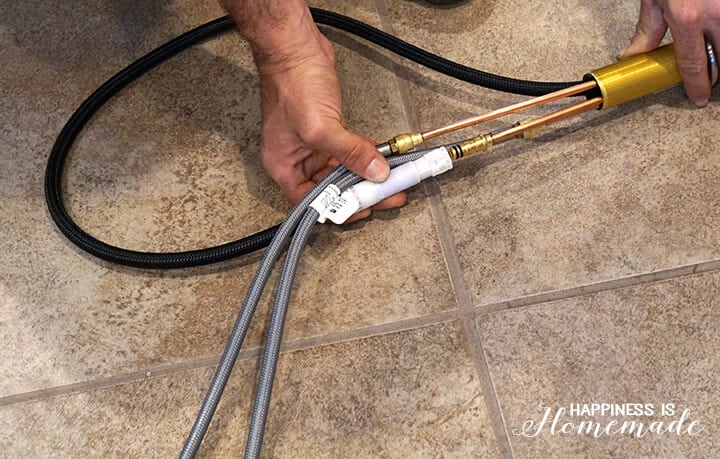 After installing the faucet, the spray hose simply makes a loop and plugs right back into a clip on the faucet (follow the directions included with the faucet to properly tighten the weight on the spray hose).
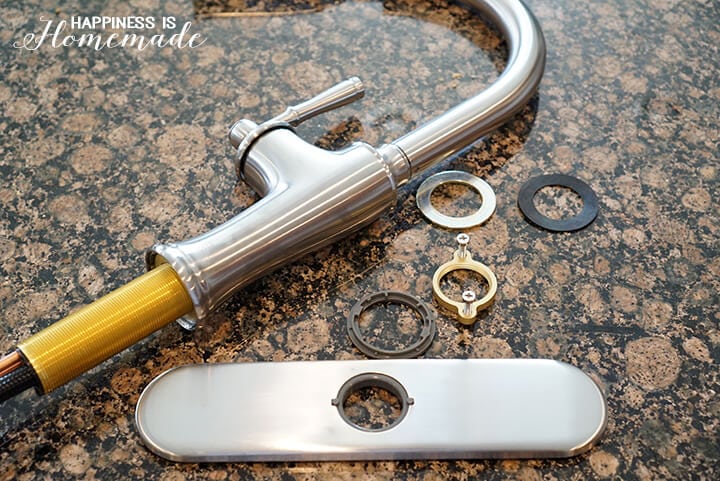 The faucet comes with all of the washers and hardware that is required for installation. We don’t use the base plate with our sink model, but it is included if you want/need it.
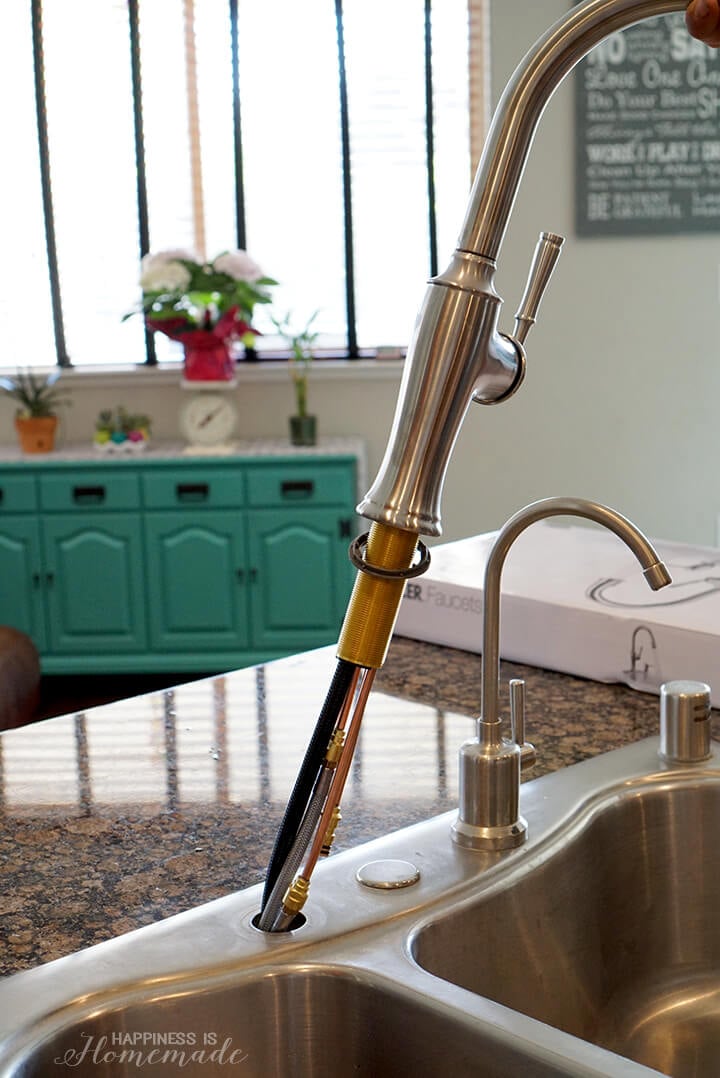 Place the grey plastic washer over the attached lines and housing, and drop them down into the sink opening.
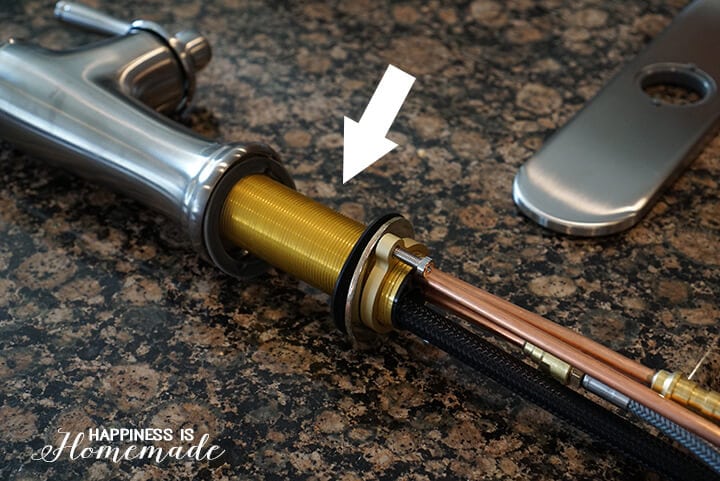 The remaining hardware goes on the under side of the sink as shown – the white arrow indicates where the countertop space will be (remember: the grey washer goes on top of the sink/countertop, and the remaining hardware goes underneath the sink). Use the screws to tighten the faucet in place.
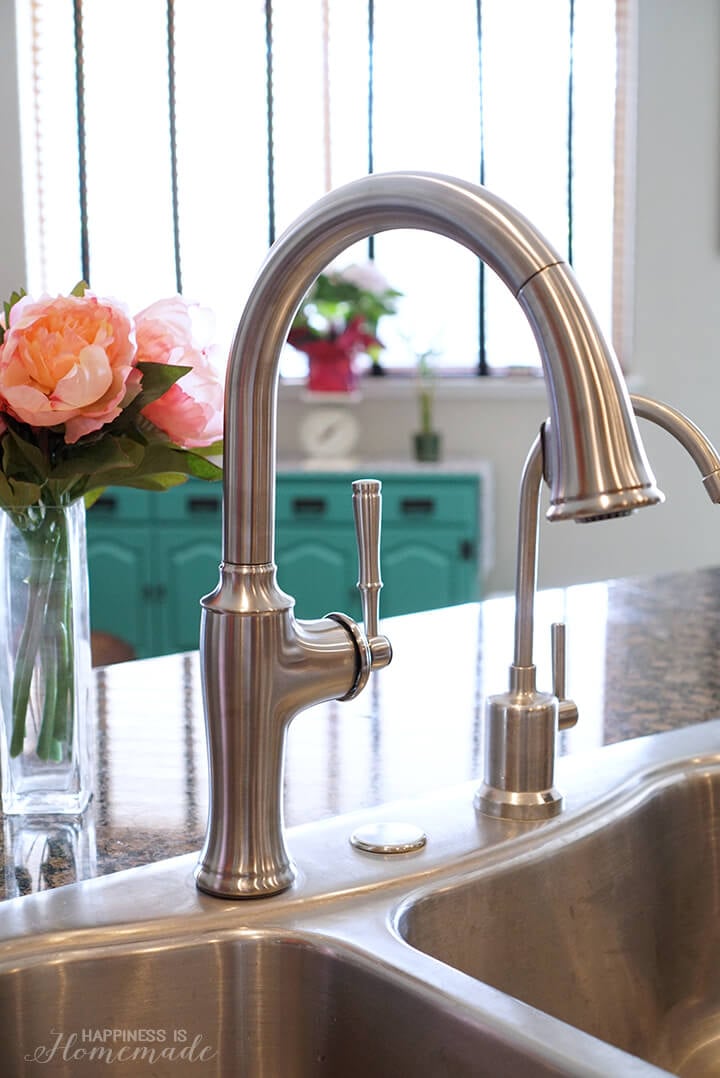 Reattach the water lines under the sink, and attach the spray hose to the clip. Turn the water back on, and run the faucet to test for leaks. That’s it!
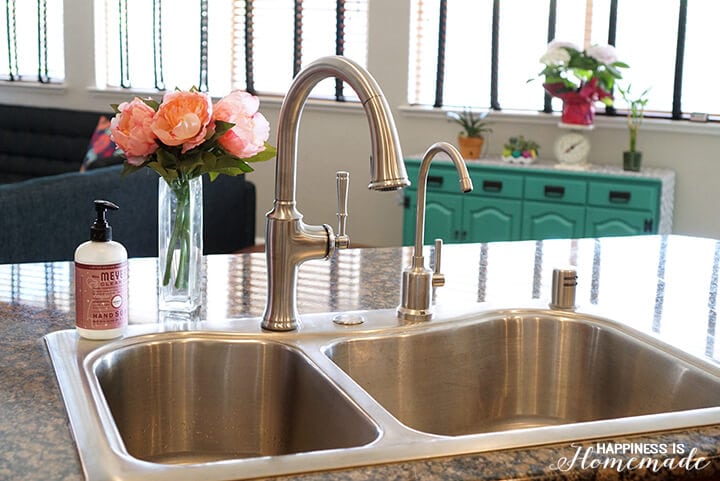 I love how the Kohler Cardale Kitchen Faucet looks in my kitchen! Installing a new faucet can change the entire aesthetic of your kitchen, and only takes about an hour!
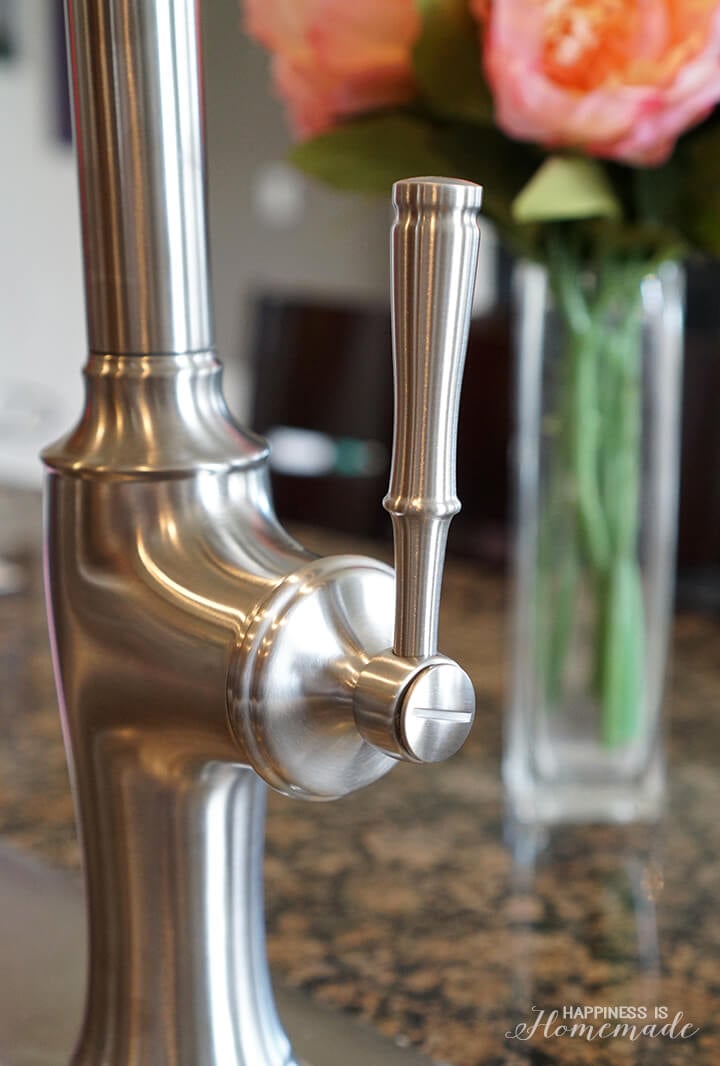 I’m totally keen on the curves and lines of the faucet, and I love the shape of the handle – substantial and dainty at the same time. (Note: the handle can be installed on the right or left side to suit your needs!)
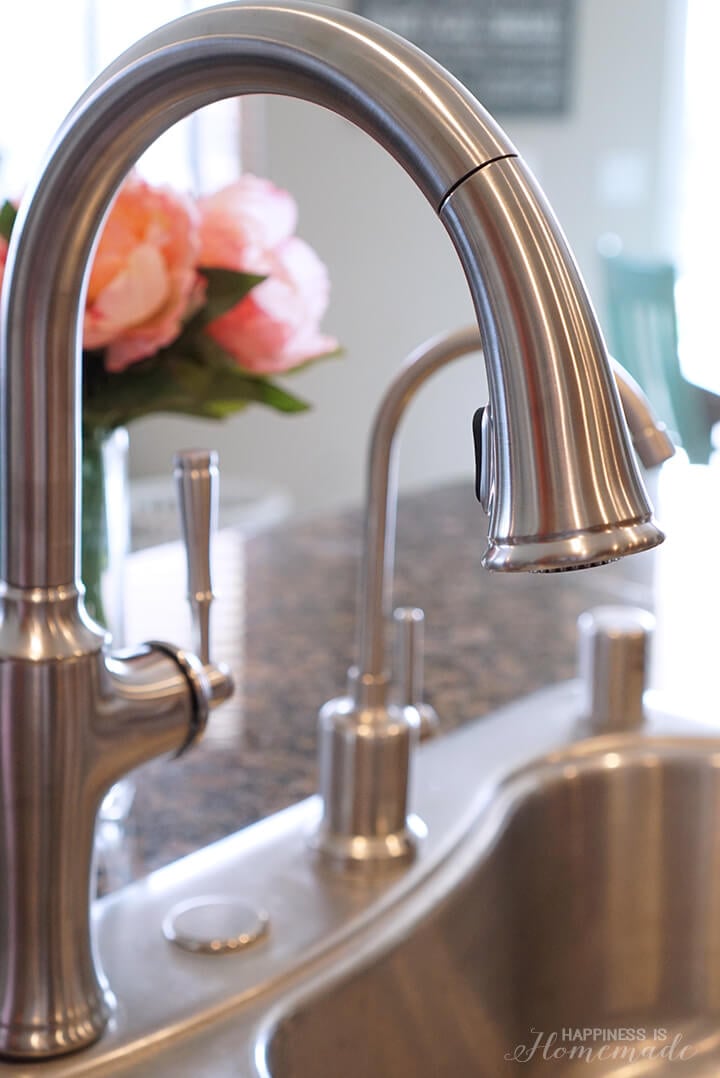 This slender head doesn’t just spray water – it actually uses a special Sweep Spray ™ pattern that creates a forceful blade of water specifically designed to sweep away stuck-on food from your dishes. It’s pretty awesome!
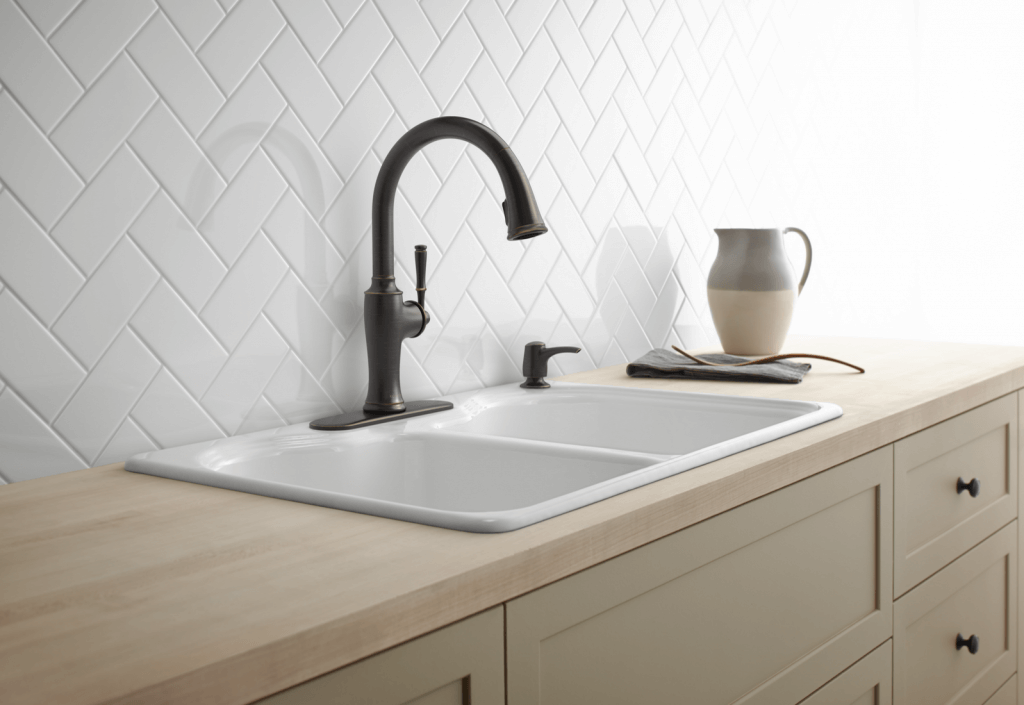 The Cardale Kitchen Faucet is also available in an oil-rubbed bronze finish that’s equally stylish if stainless steel doesn’t match your decor.
No matter which one of these beauties you choose, installing it yourself is a great beginner DIY project that will instantly update the look of your kitchen!


Heidi Kundin has captivated the hearts of millions with her colorful and inspiring approach to crafting, celebrations, and family fun. With over 15 years of experience, Happiness is Homemade has become a must-visit destination for those seeking quick and easy creative ideas and last-minute solutions. Heidi’s warm personality shines through her posts, inviting readers to join her on a creative journey that’s fun, rewarding, and achievable. Heidi is also the author of Homemade Bath Bombs & More and DIY Tie-Dye.

