
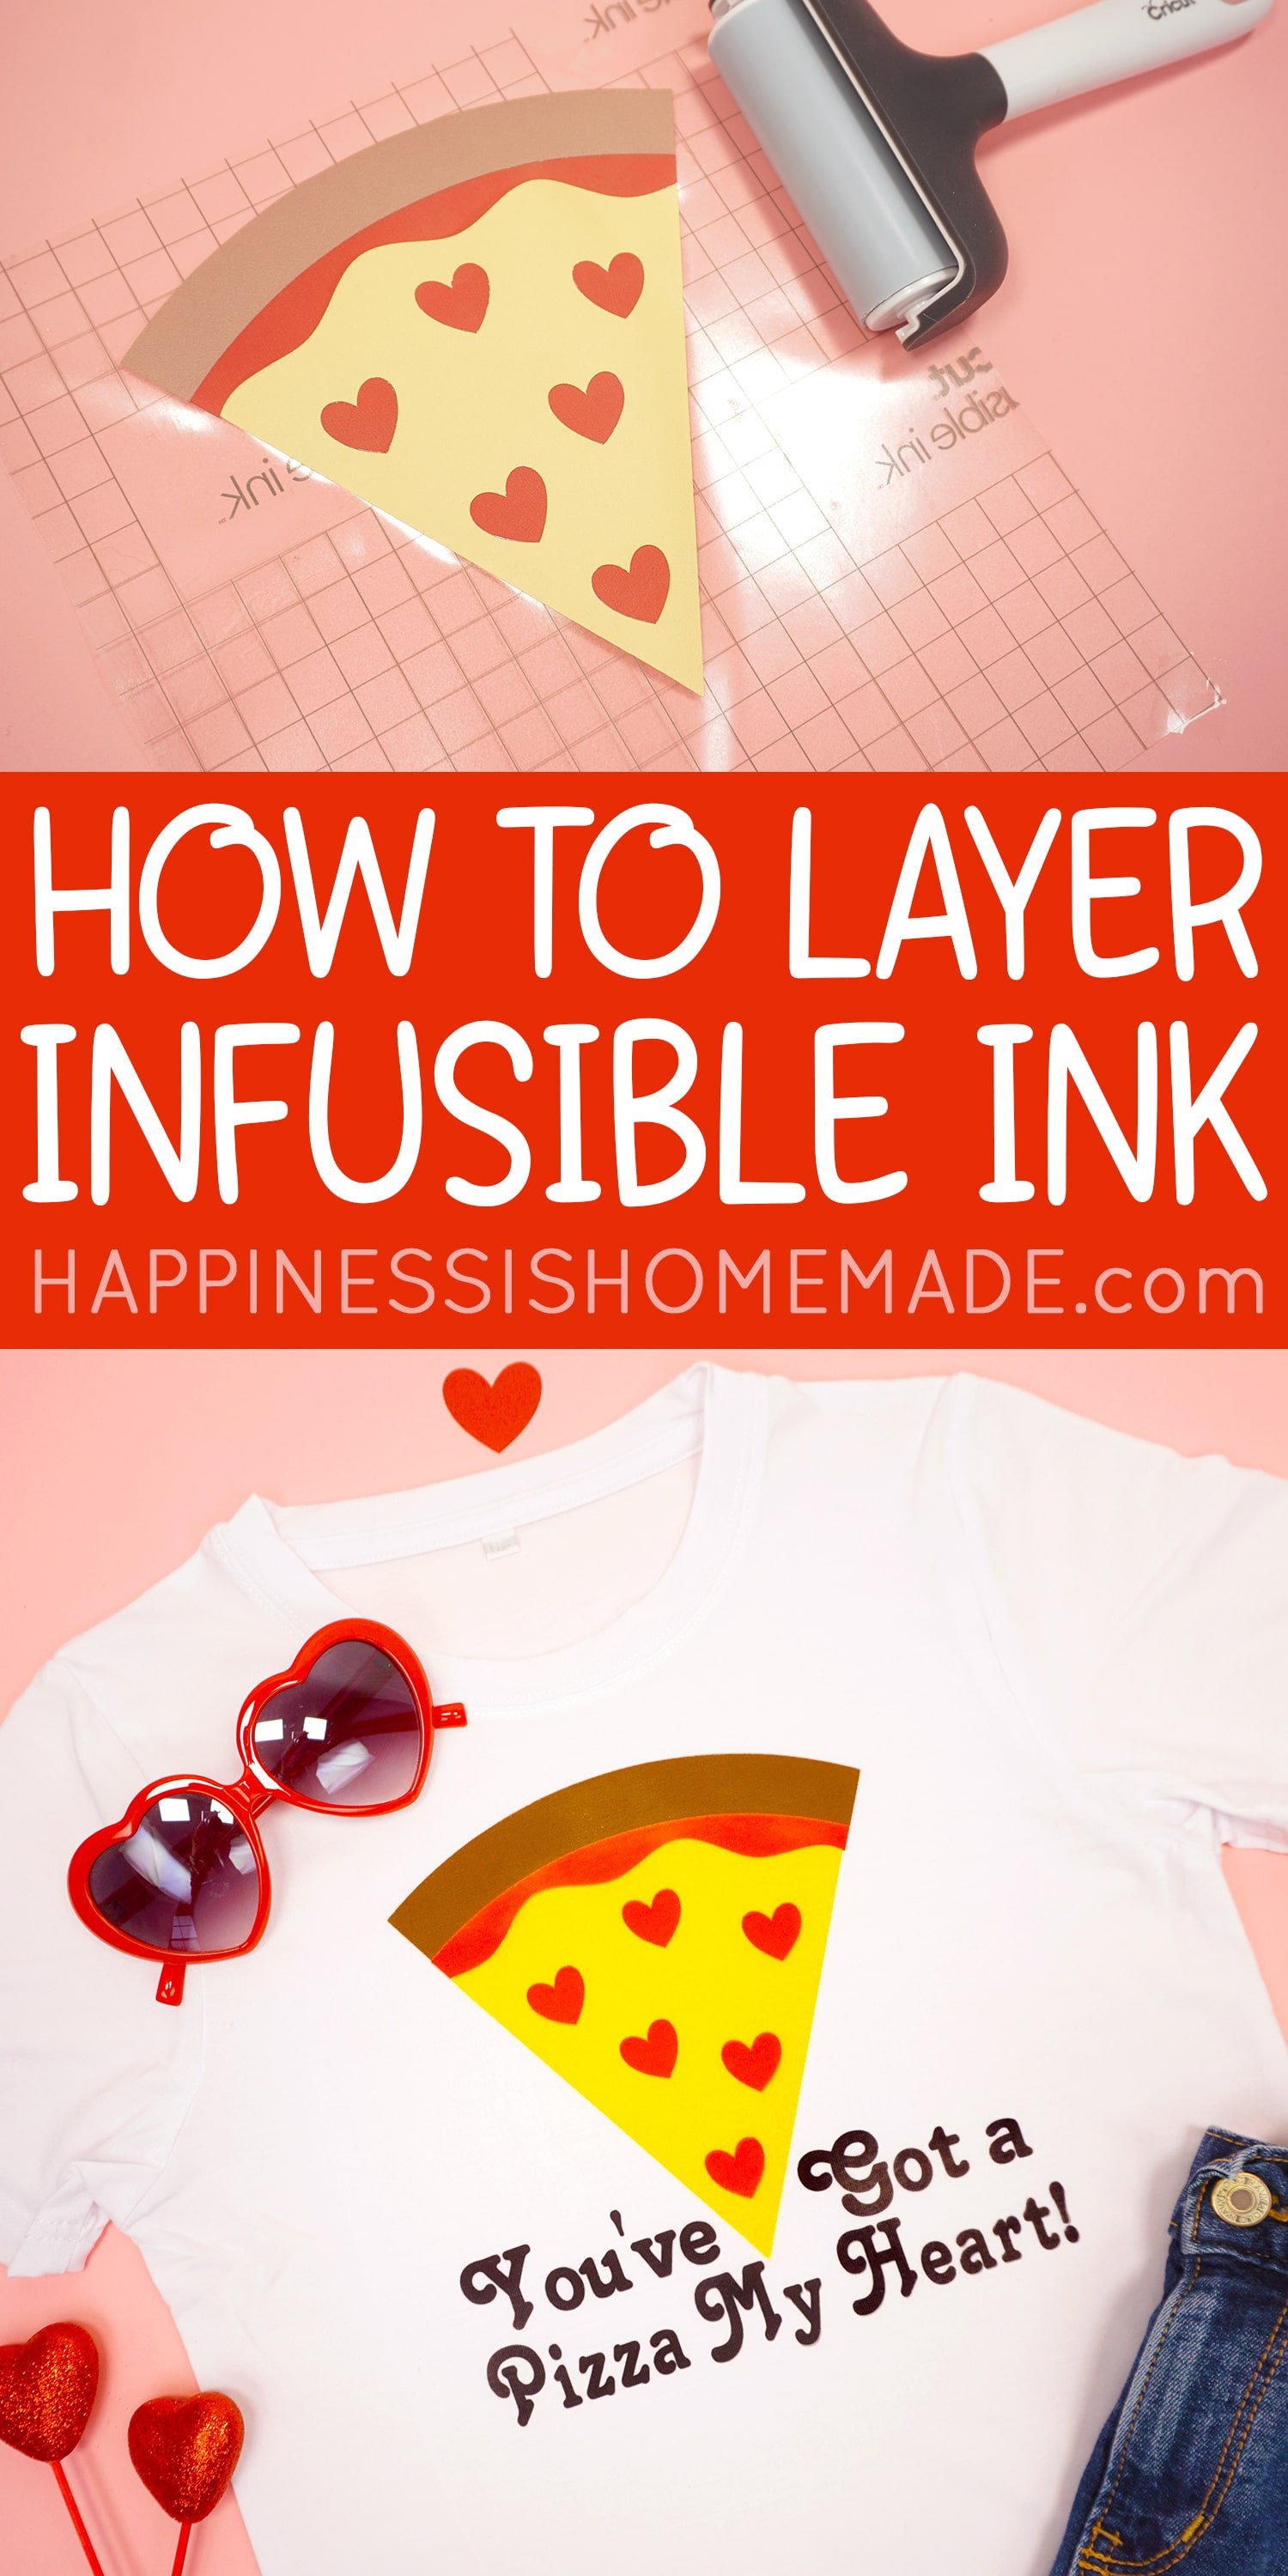
Learn how to layer Cricut Infusible Ink using the Slice and Set Method! Discover how to layer Infusible Ink seamlessly with this easy-to-learn method!

This post may contain affiliate links. I will receive a small commission from these sales at no additional cost to you! This is a sponsored conversation written by me on behalf of Cricut. The opinions and text are all mine.
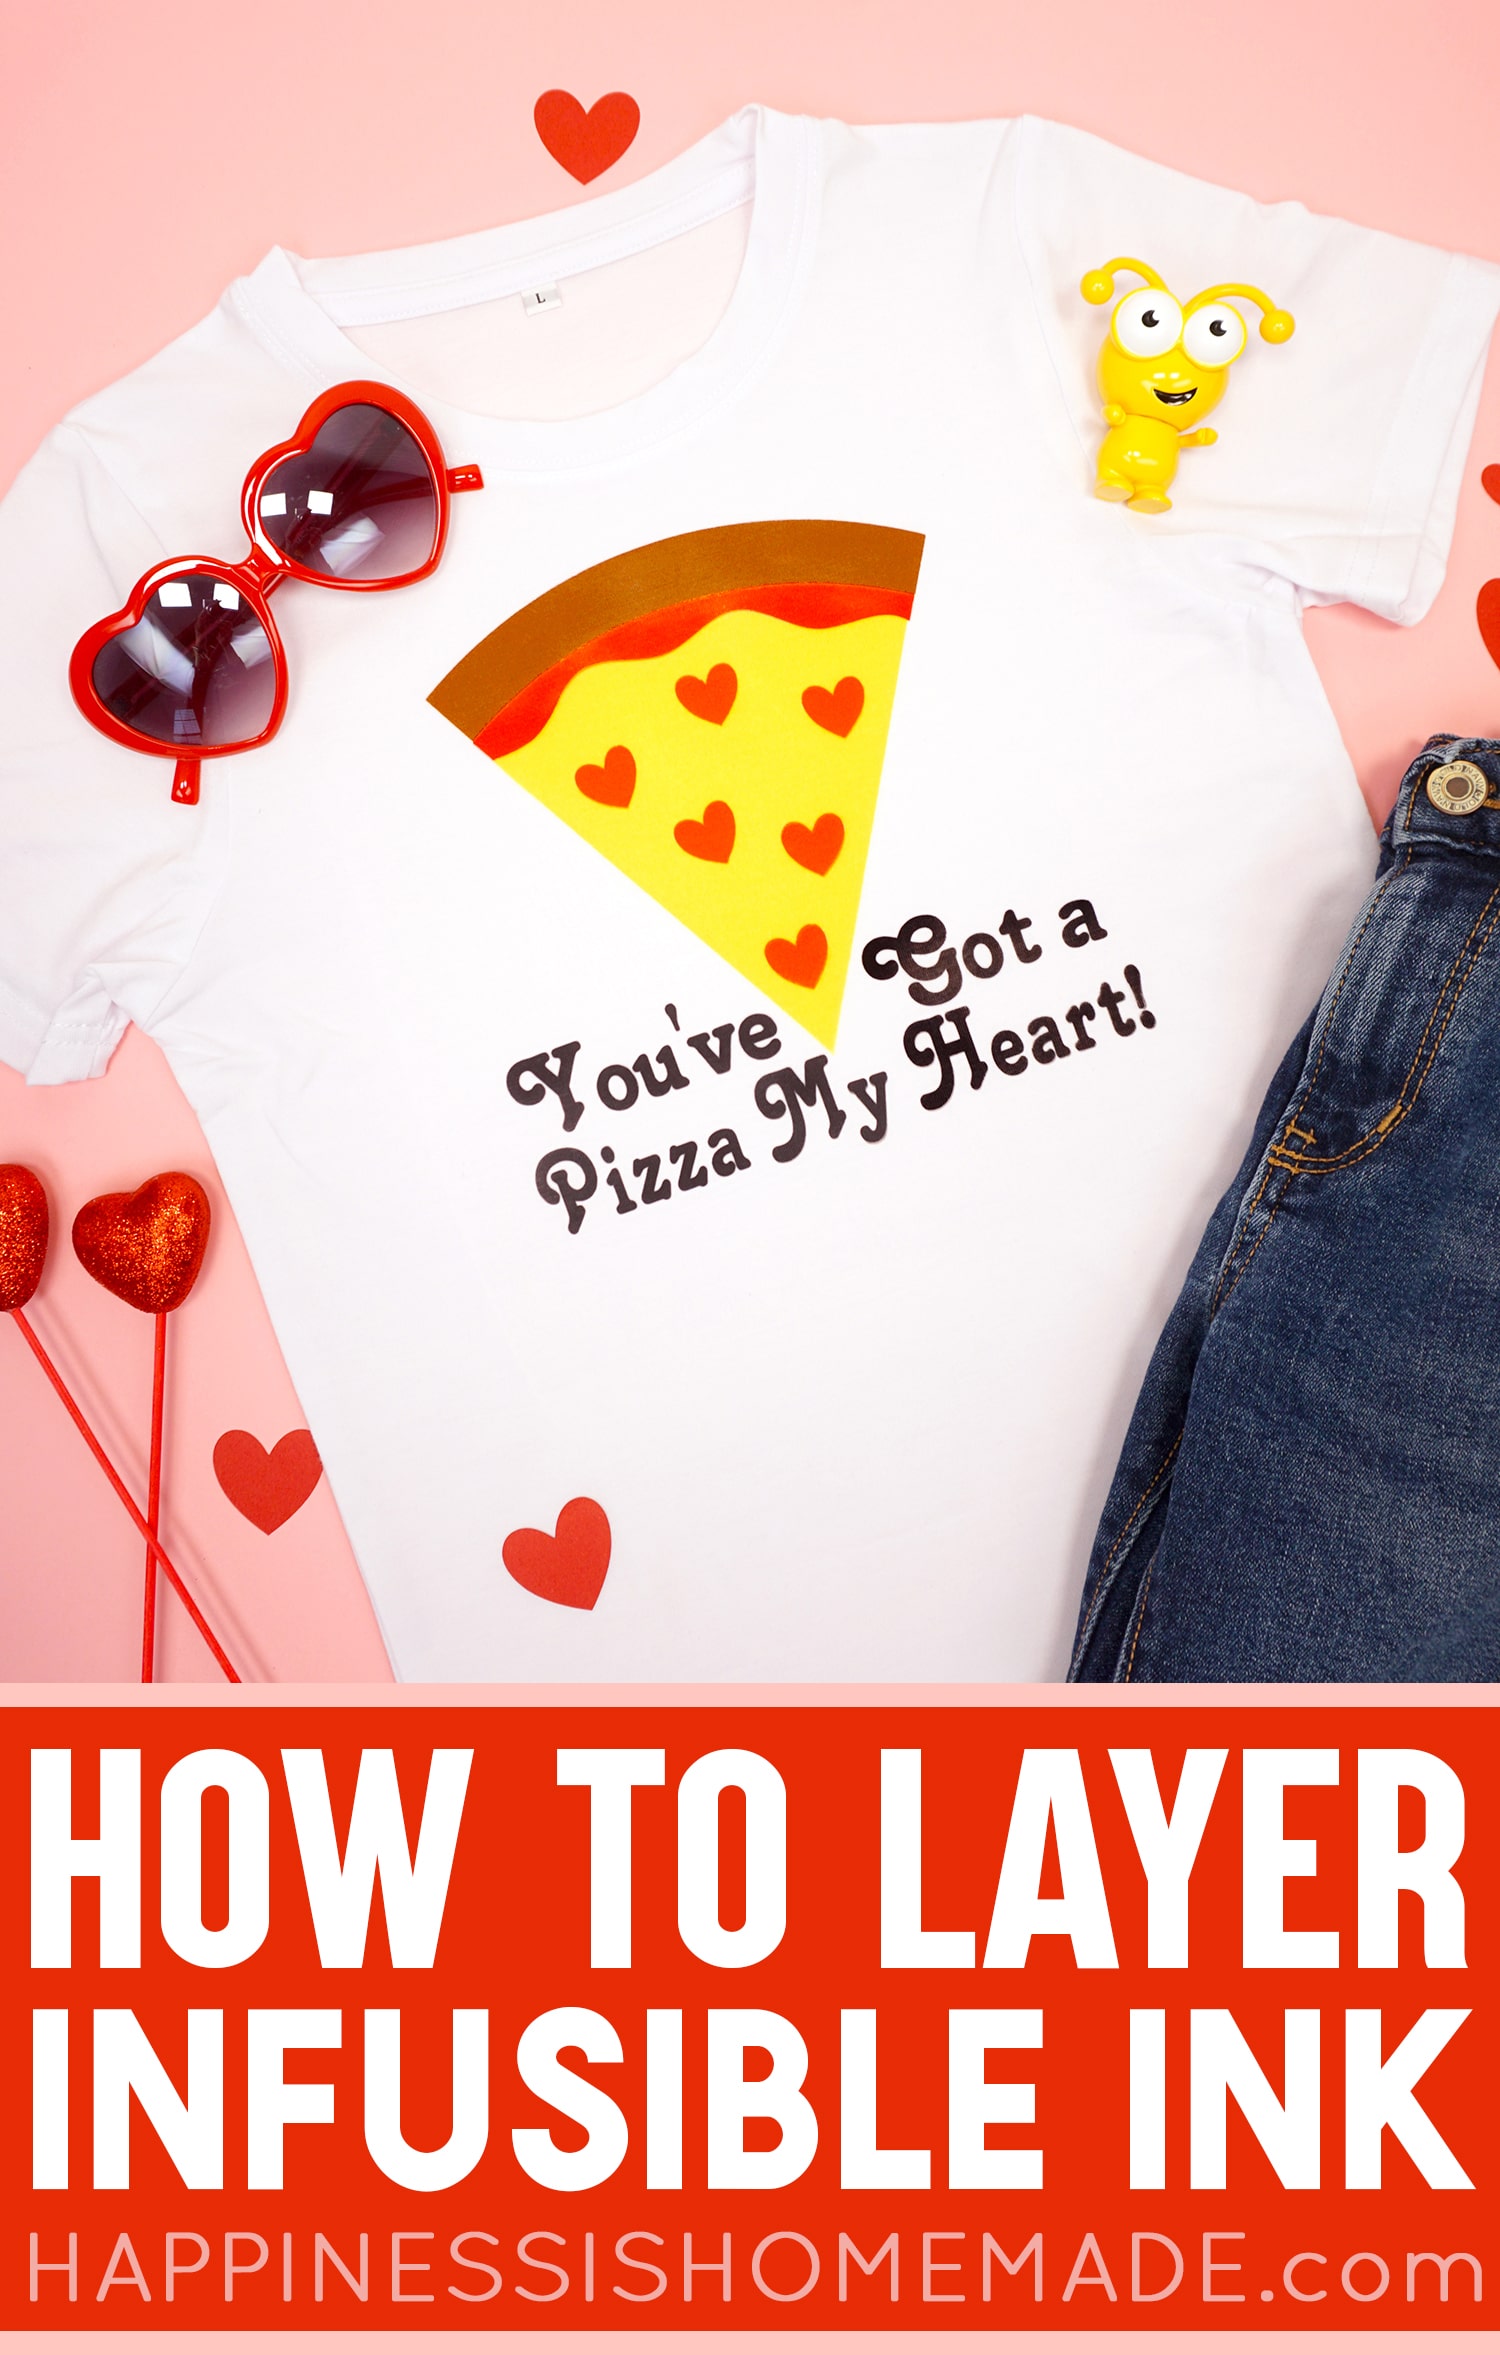
Valentine’s Day will be here before you know it, so we whipped up this SUPER adorable “You’ve Got a Pizza My Heart” Valentine’s Day shirt using Cricut Infusible Ink to celebrate the occasion! Get all the details here on how to create this adorable shirt PLUS a full step-by-step tutorial that will teach you how to layer Infusible Ink.
Cricut Infusible Ink doesn’t layer like other materials do since the layers of ink can blend together and become muddied, so there’s a couple of different techniques that you can use to layer your colors. In this tutorial, we will be using the Slice and Set method to seamlessly layer the colors in this cute Valentine pizza shirt. Follow along below to learn how!
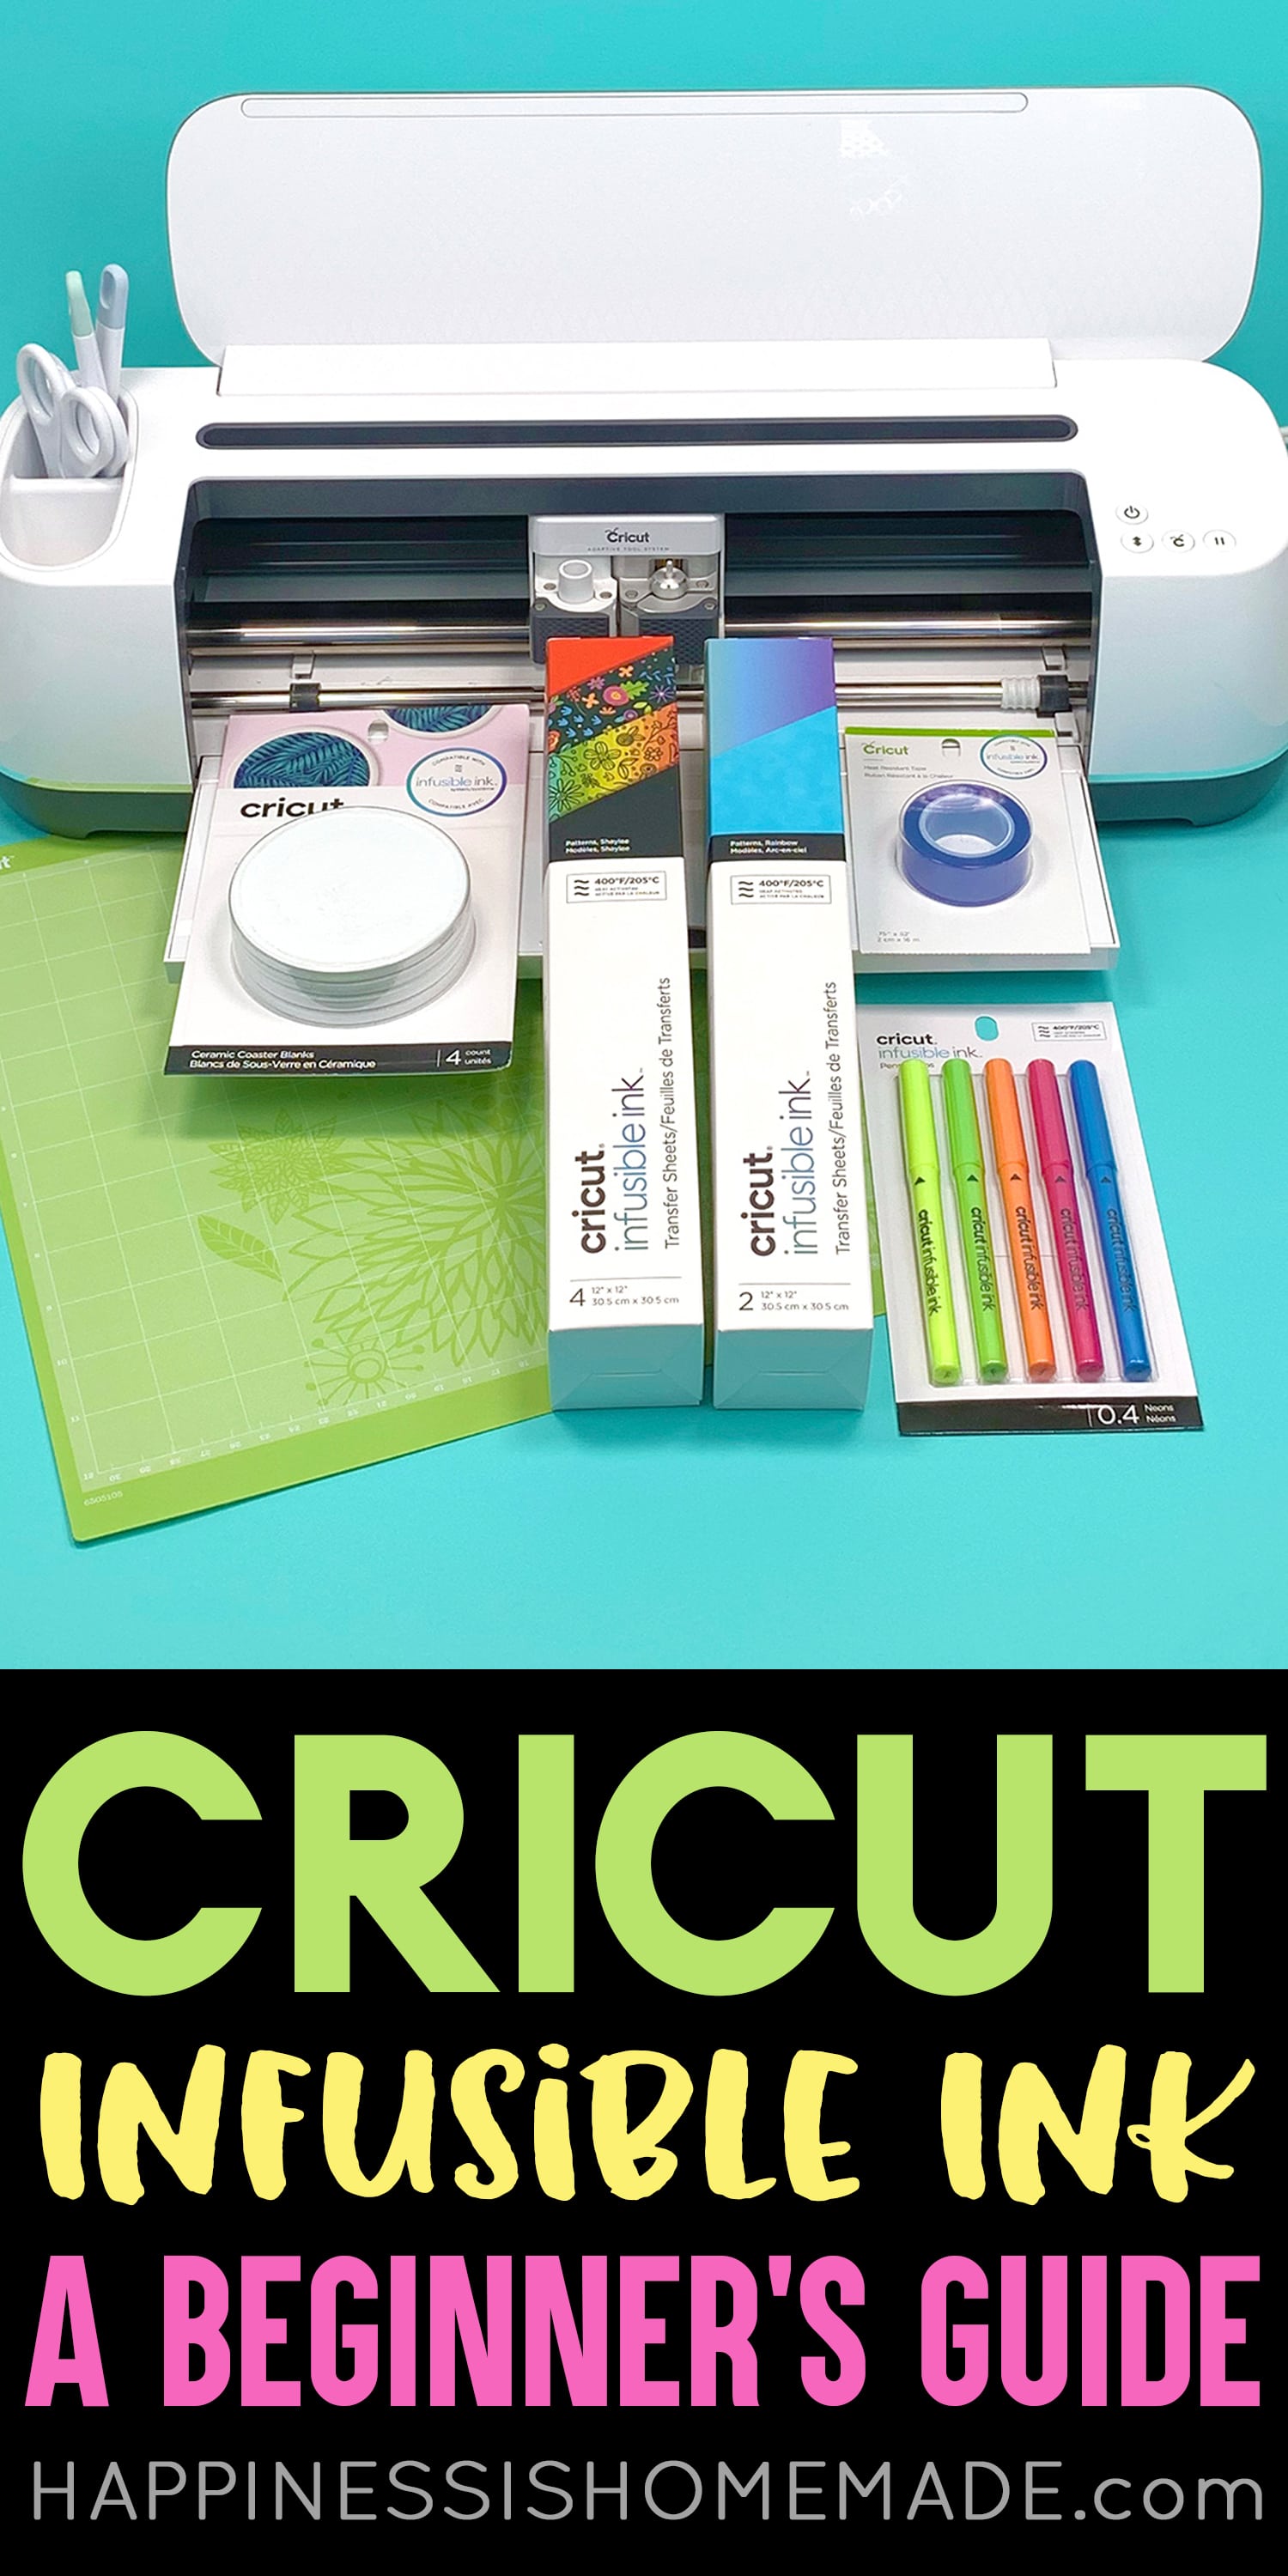
If you’ve never used Infusible Ink before, make sure to read our Cricut Infusible Ink Beginner’s Guide first for lots of instructions, tips, and tricks to ensure your success!
How to Layer Cricut Infusible Ink
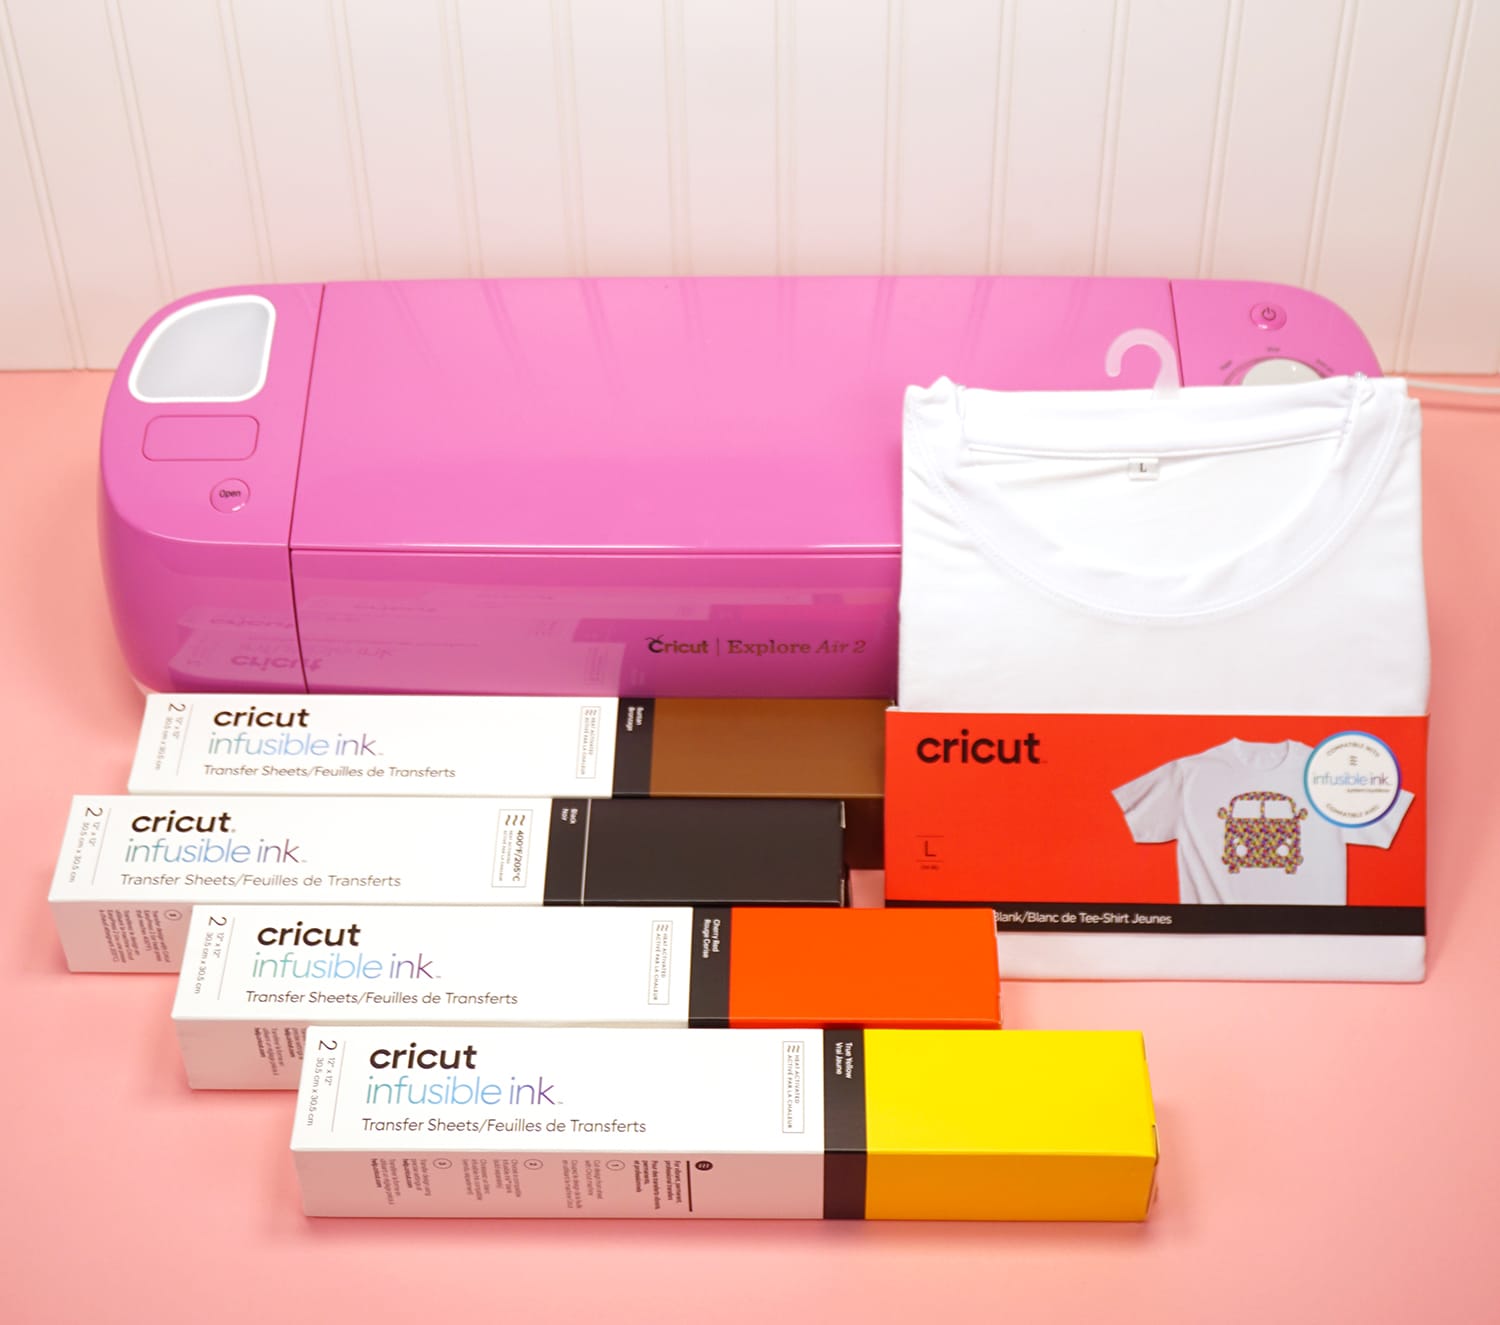
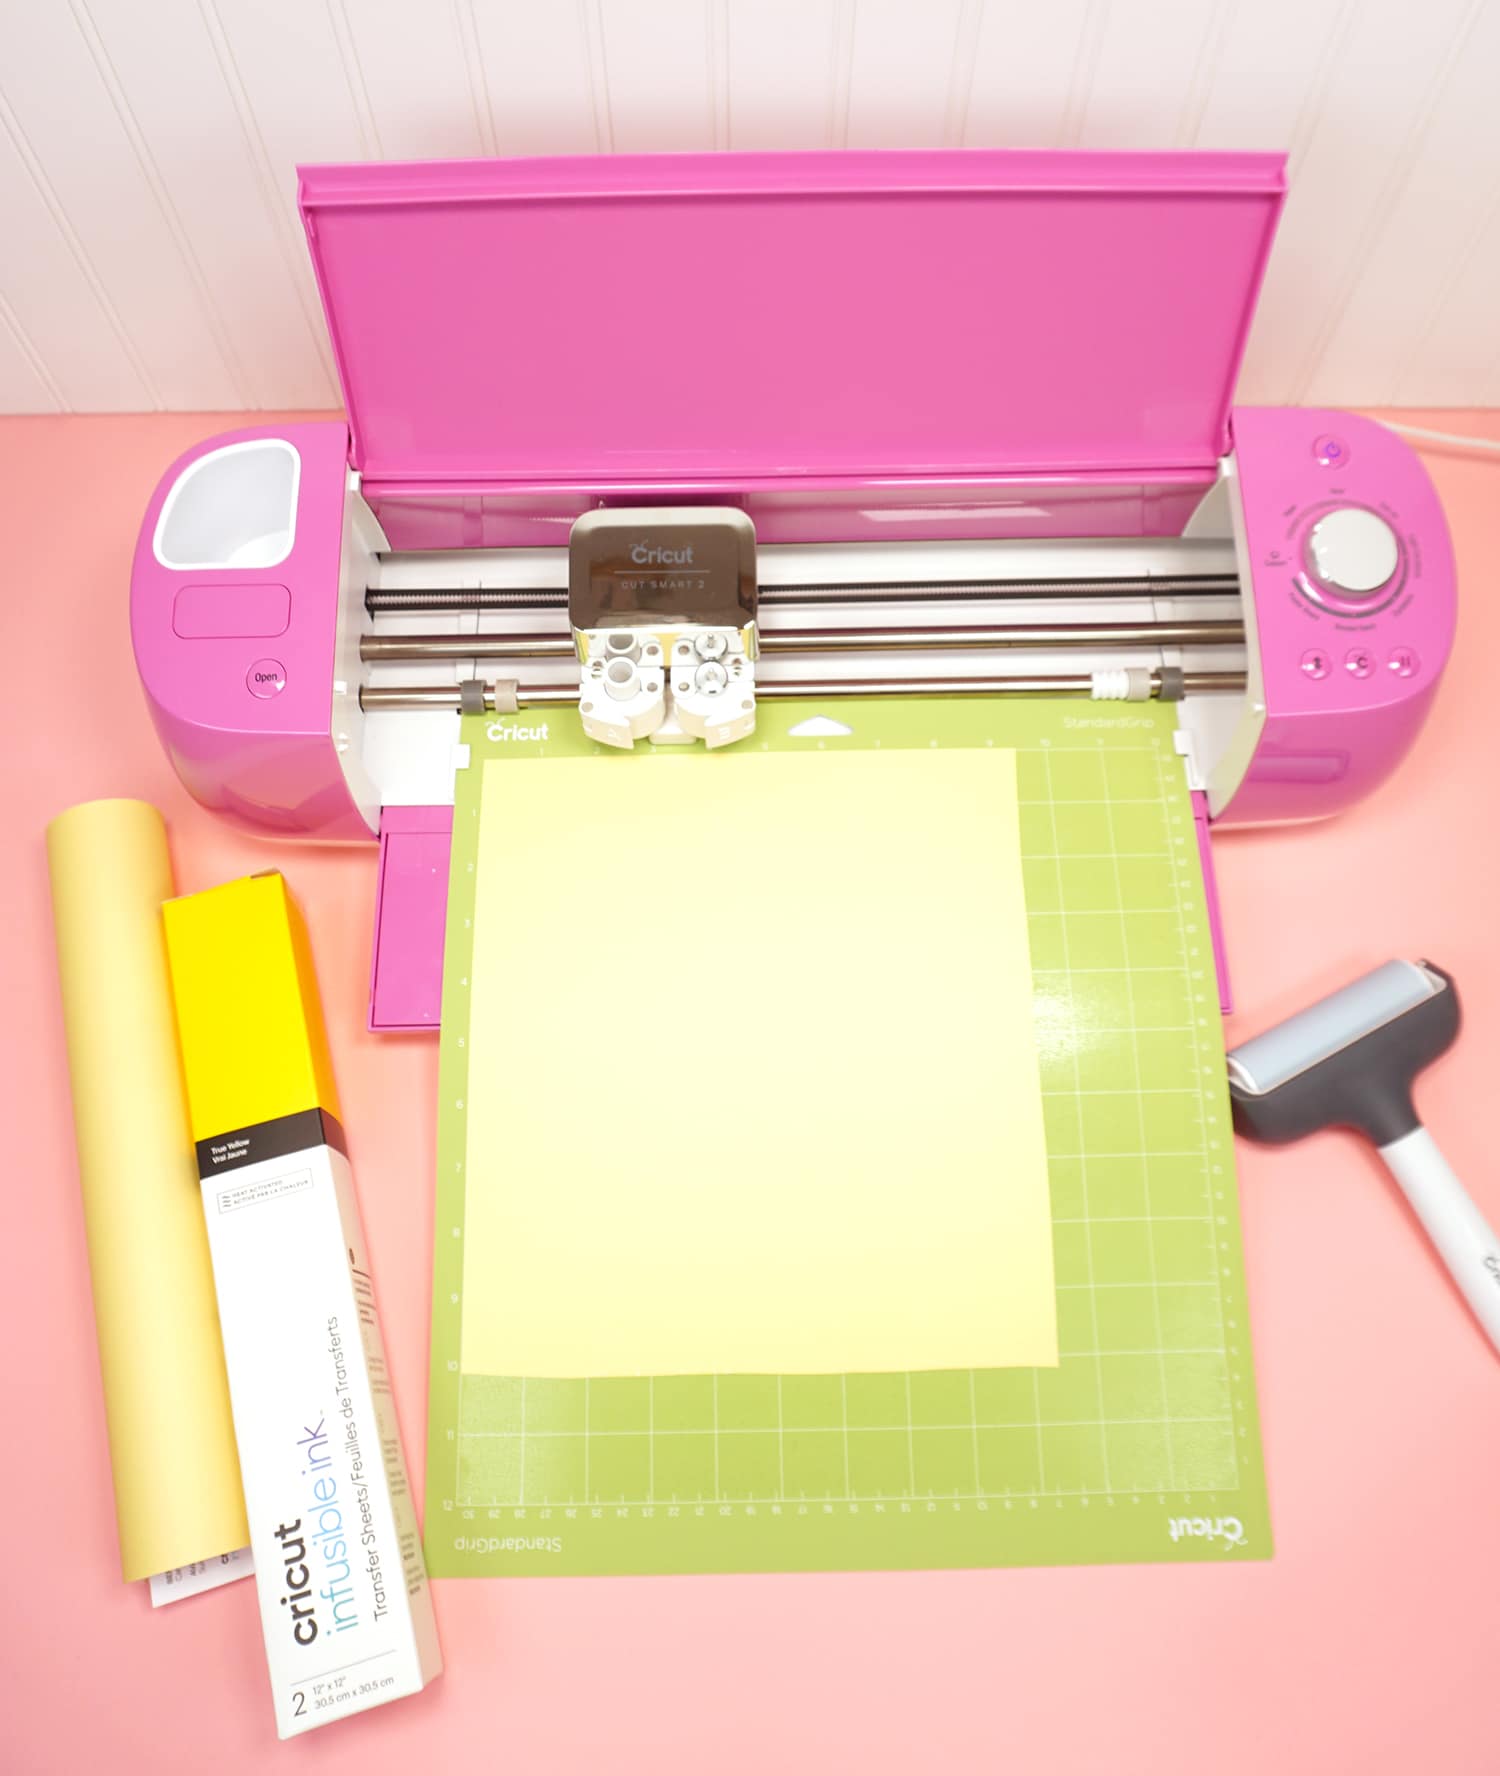
Supplies Used:
- Cricut Infusible Ink T-Shirt Blank
- Cricut Infusible Ink Transfer Sheets (in Cherry, Suntan, Black, and True Yellow)
- Cricut Explore Air 2 Machine (can also use Cricut Maker)
- Cricut EasyPress 2, and Mat
- White Cardstock
- Butcher Paper (included with Infusible Ink Transfer Sheets)
- Lint Roller
- Heat Resistant Tape (optional)
How to Use the Slice and Set Method
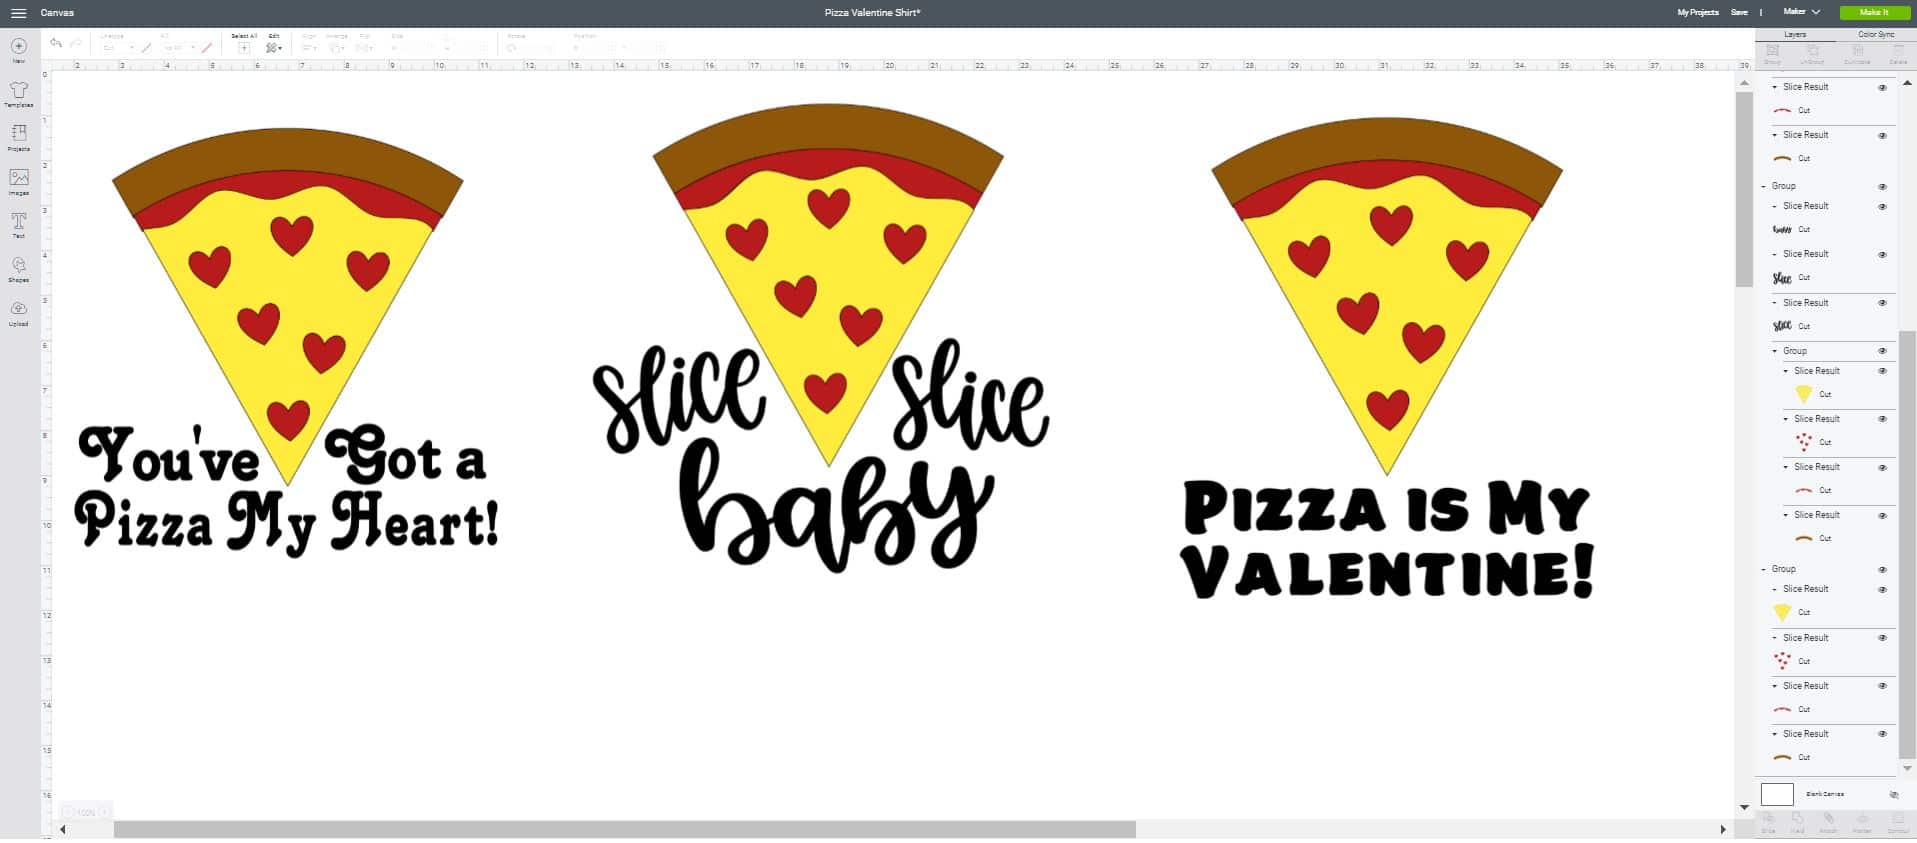
Note: if you’d prefer to skip over the Slice and Set tutorial and get right to creating, you can open this file in Cricut Design Space which includes THREE different text versions of our Pizza Valentine Shirt, ready to cut.
How cute is that “Slice, Slice, Baby” version? 😍
To learn how to layer Cricut Infusible Ink using the Slice and Set method, open this Cricut Design Space file and follow along with the tutorial ahead: Pizza Valentine Shirt.
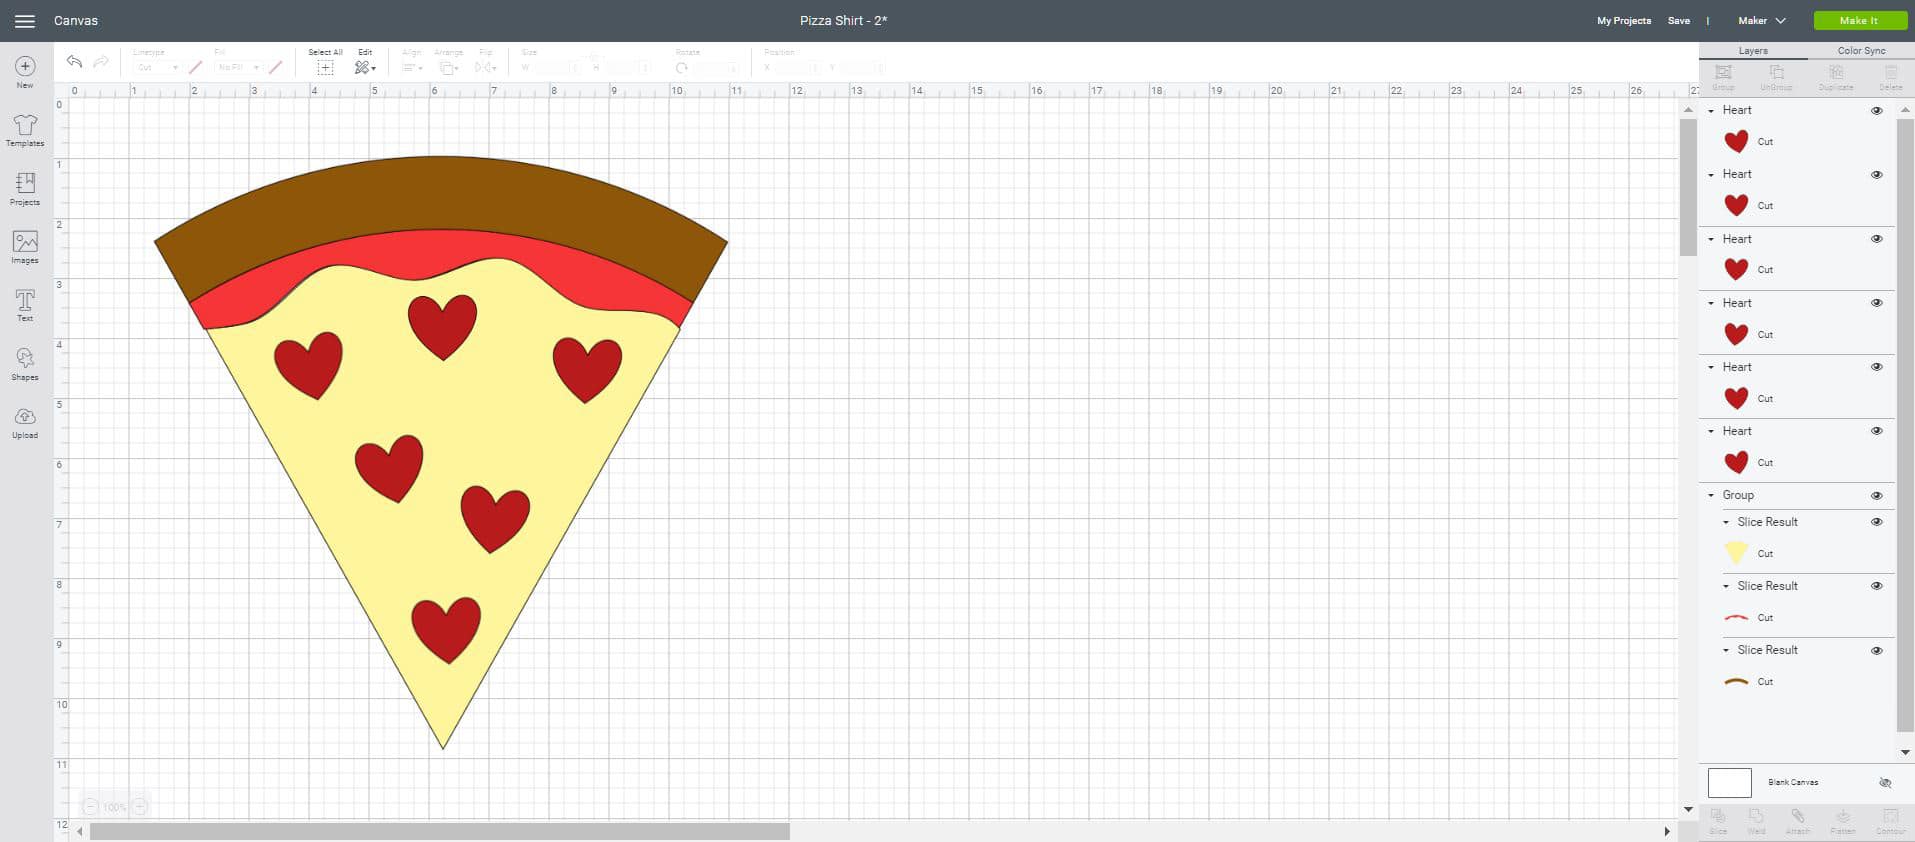
You will see that each of the individual objects has its own layer, as shown in the layers panel on the right hand side of the screen.

Begin by selecting all of the individual hearts (hold down the Shift key as you click to select multiple layers) and welding them together to create a single layer using the Weld tool in the lower right hand side of the screen.
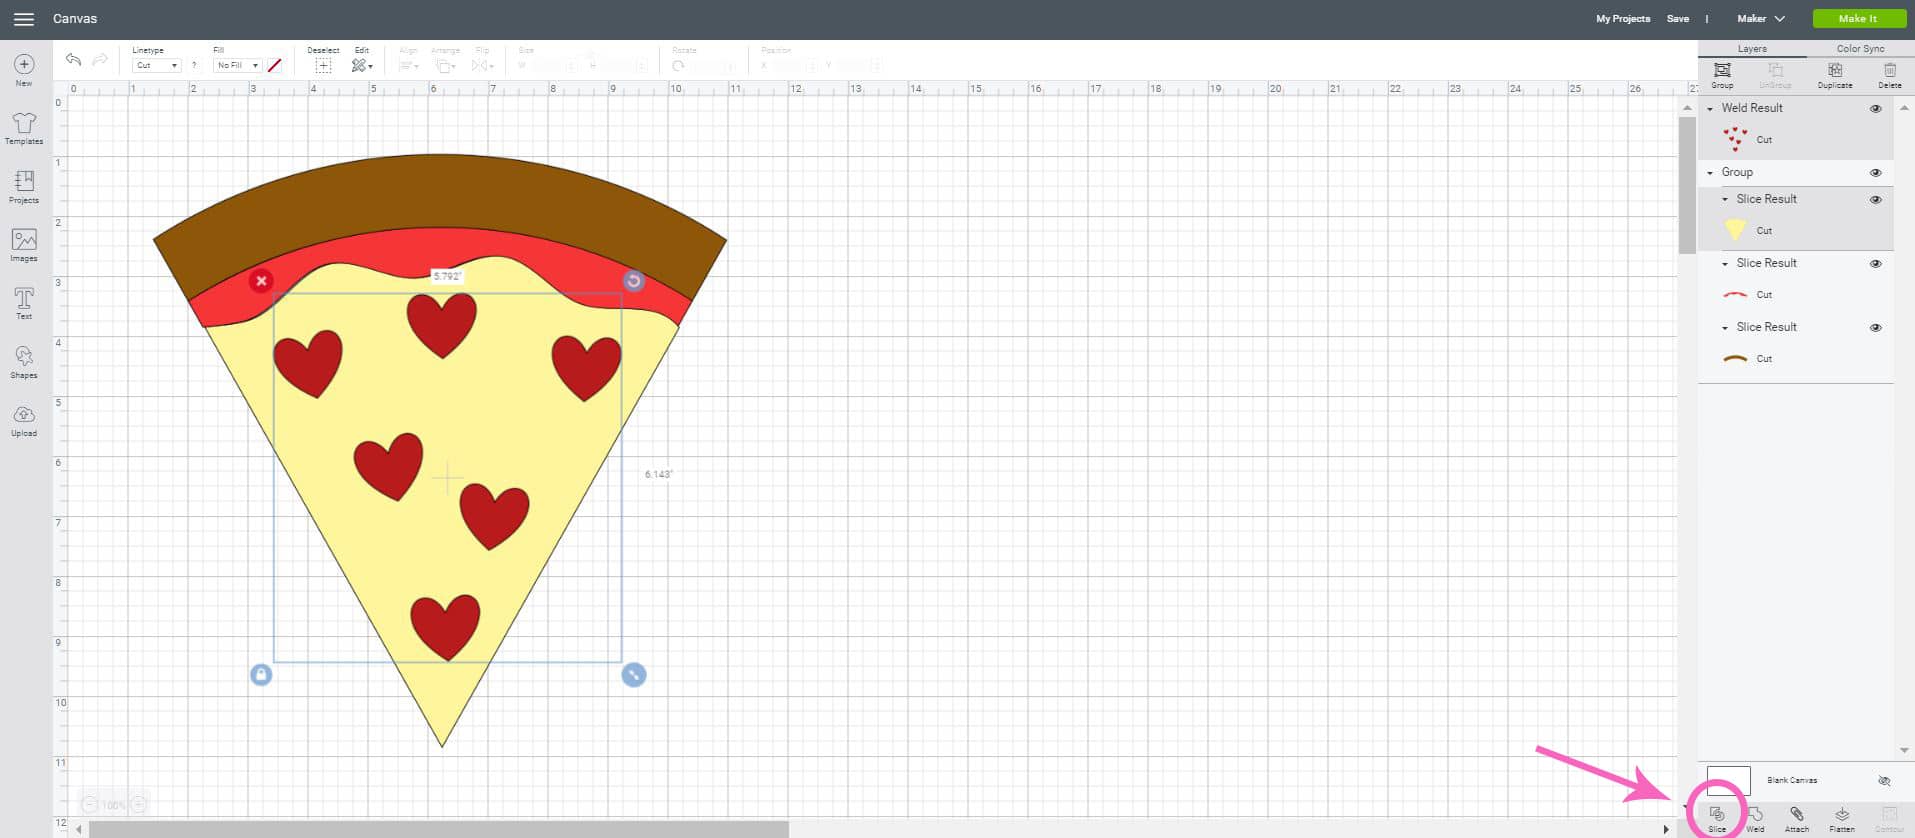
Select the welded heart layer and the yellow layer, and click the Slice tool.

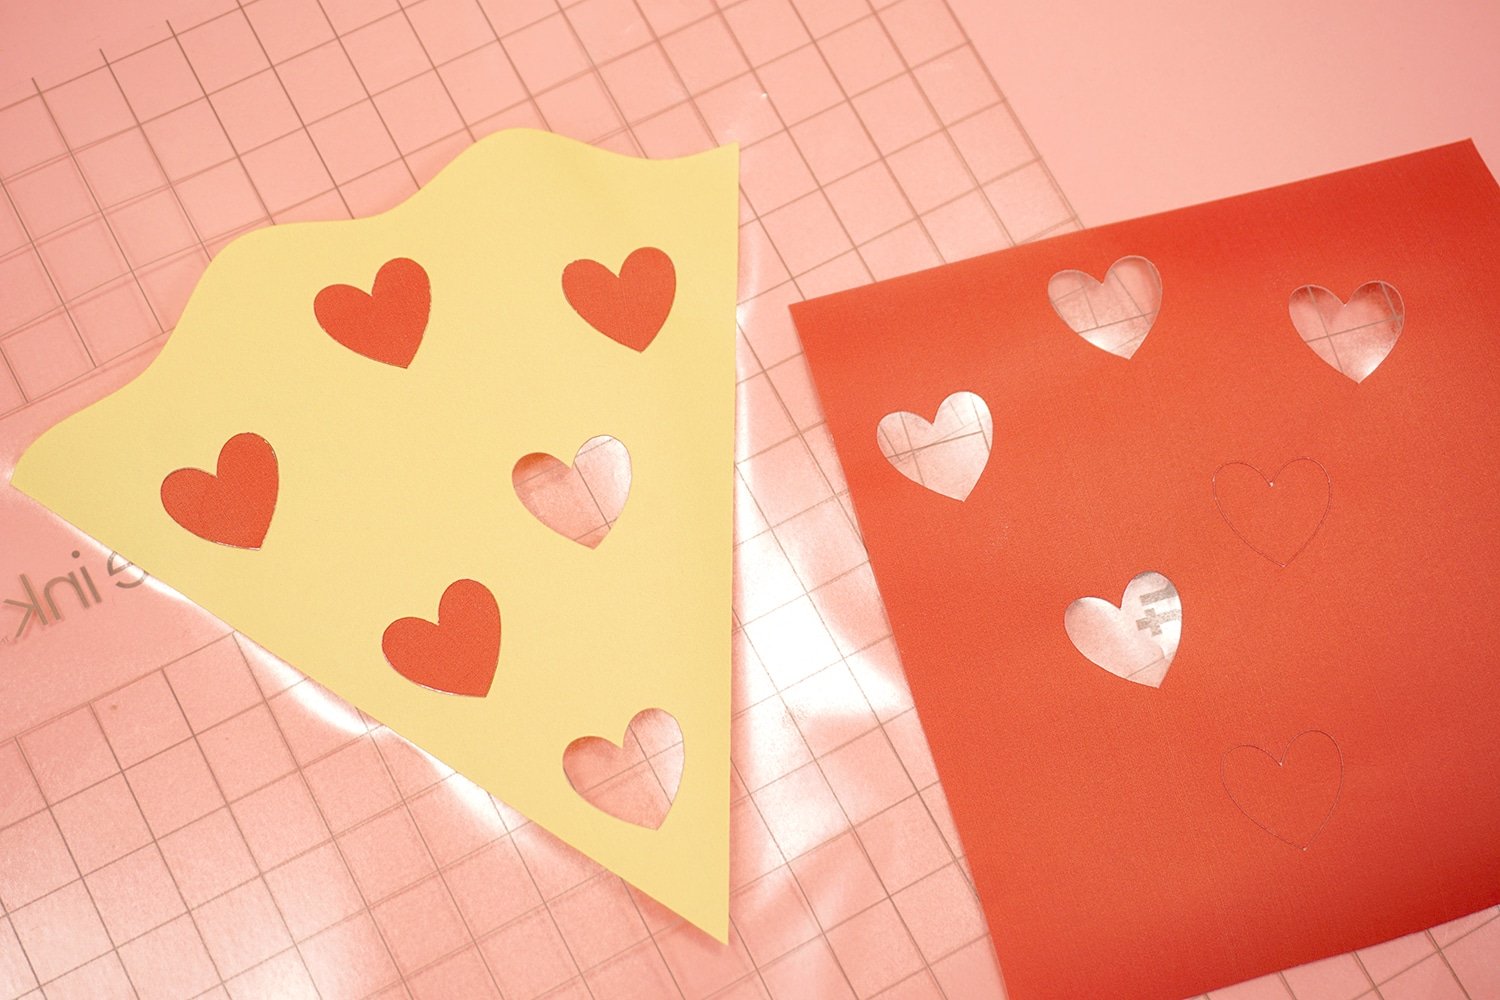
The Slice tool will split the two overlapping layers into different parts, resulting in three new layers – yellow base layer, red hearts, and yellow hearts.
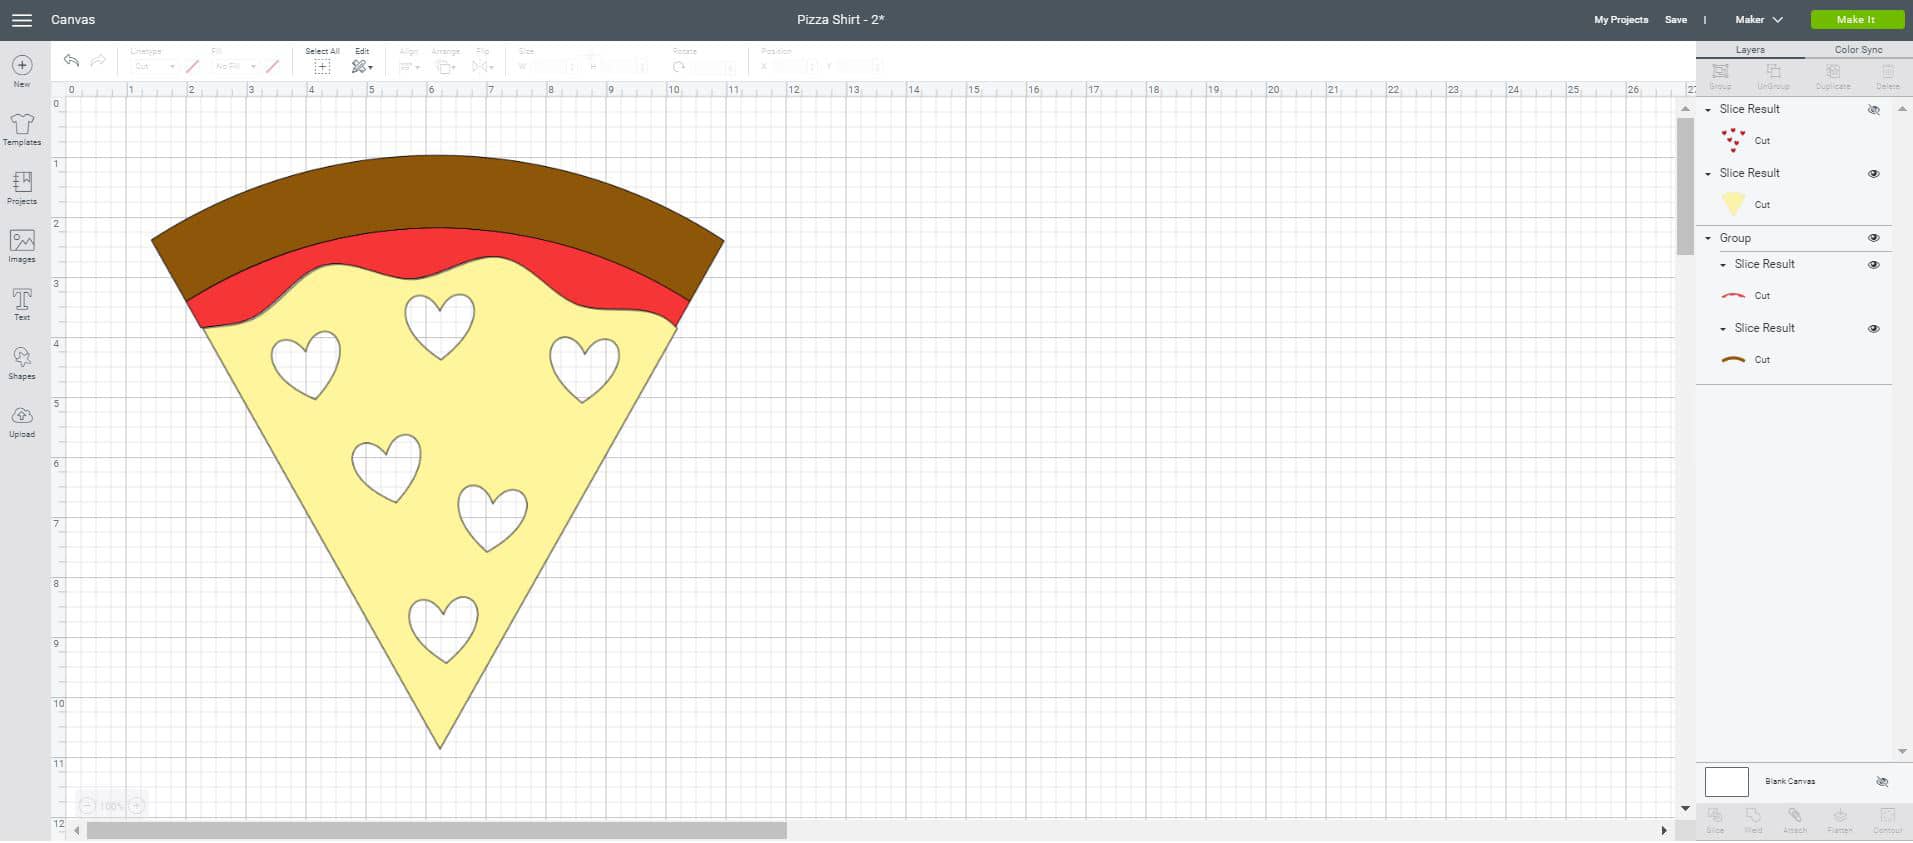
[Note that I turned off the visibility of the red heart layer (by clicking on the eyeball on the right side of the column) so that I could better illustrate this step.]
Delete the yellow hearts layer, and you can see that you’re left with a yellow base layer that’s filled with heart-shaped holes.
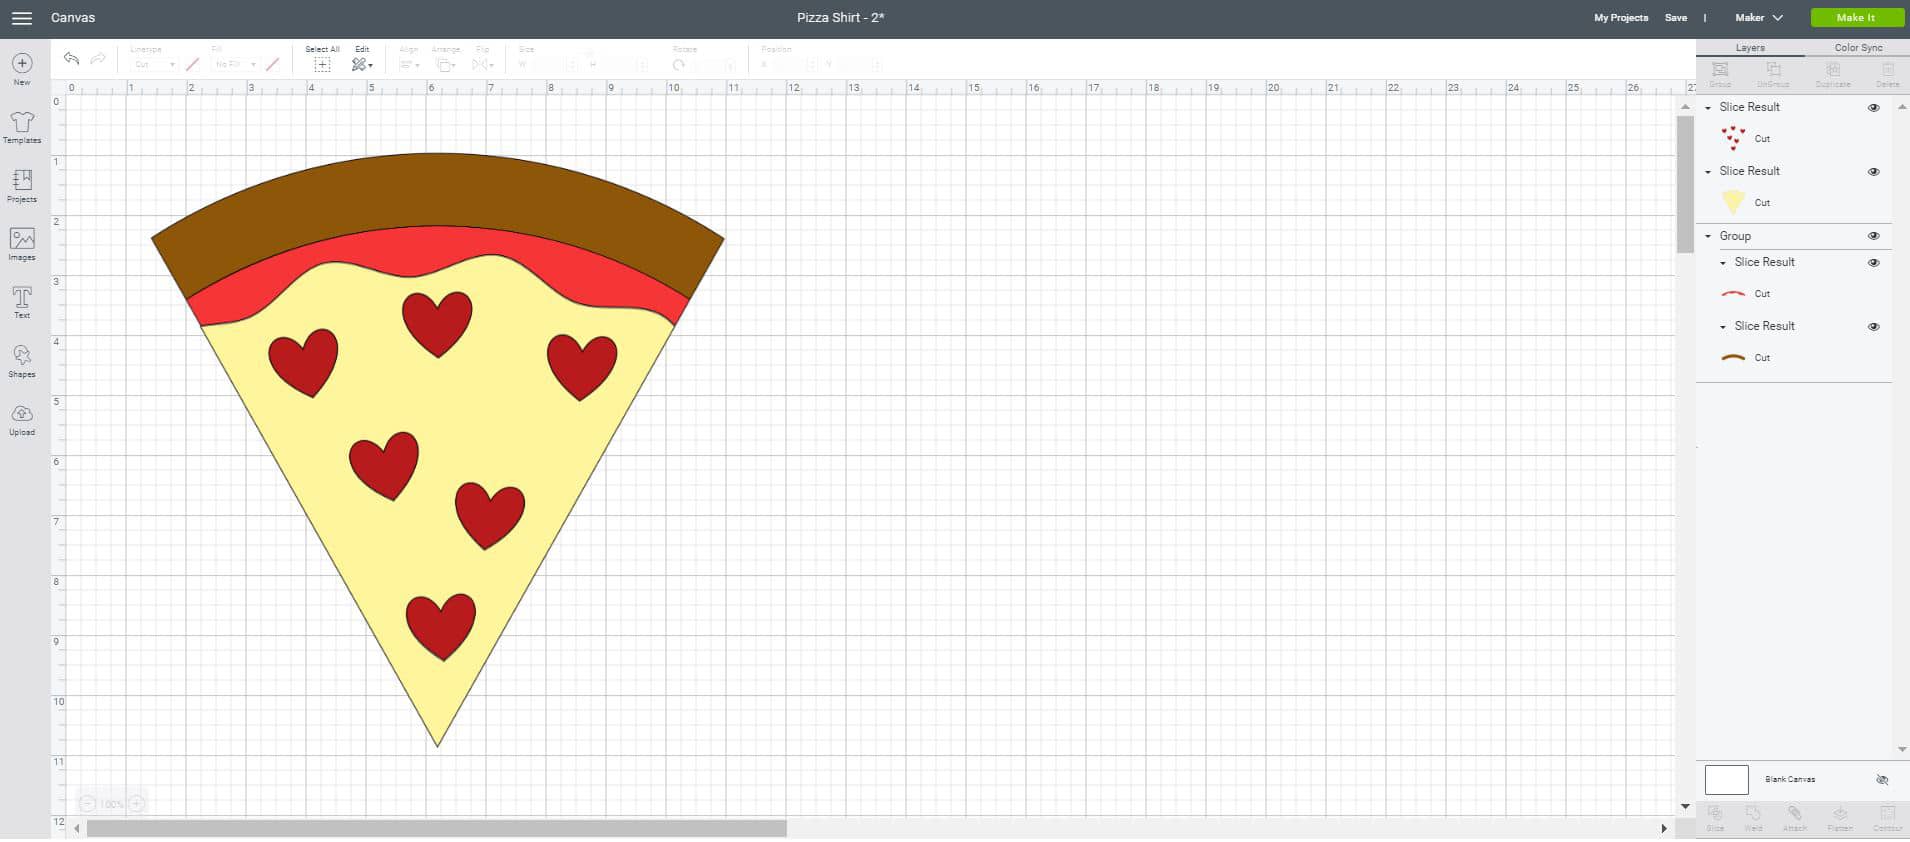
The red hearts now fit perfectly inside the yellow base like puzzle pieces!
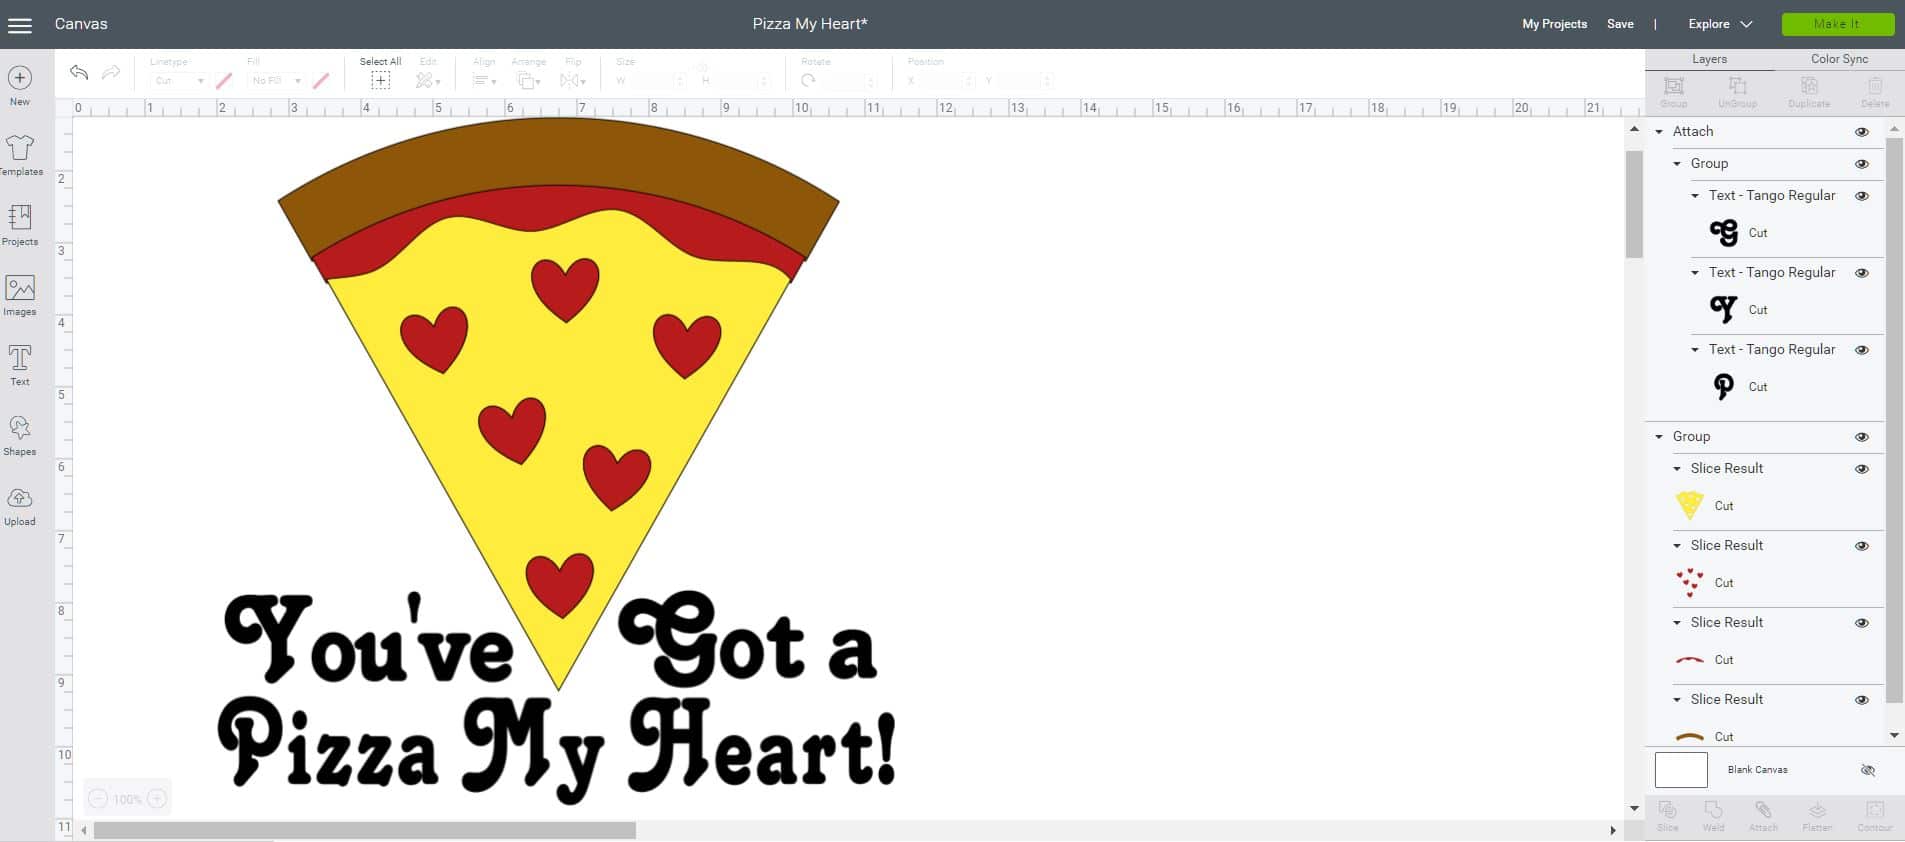
Add your text (I used Tango Regular font for the “You’ve Got a Pizza My Heart” text), and you’re ready to cut!
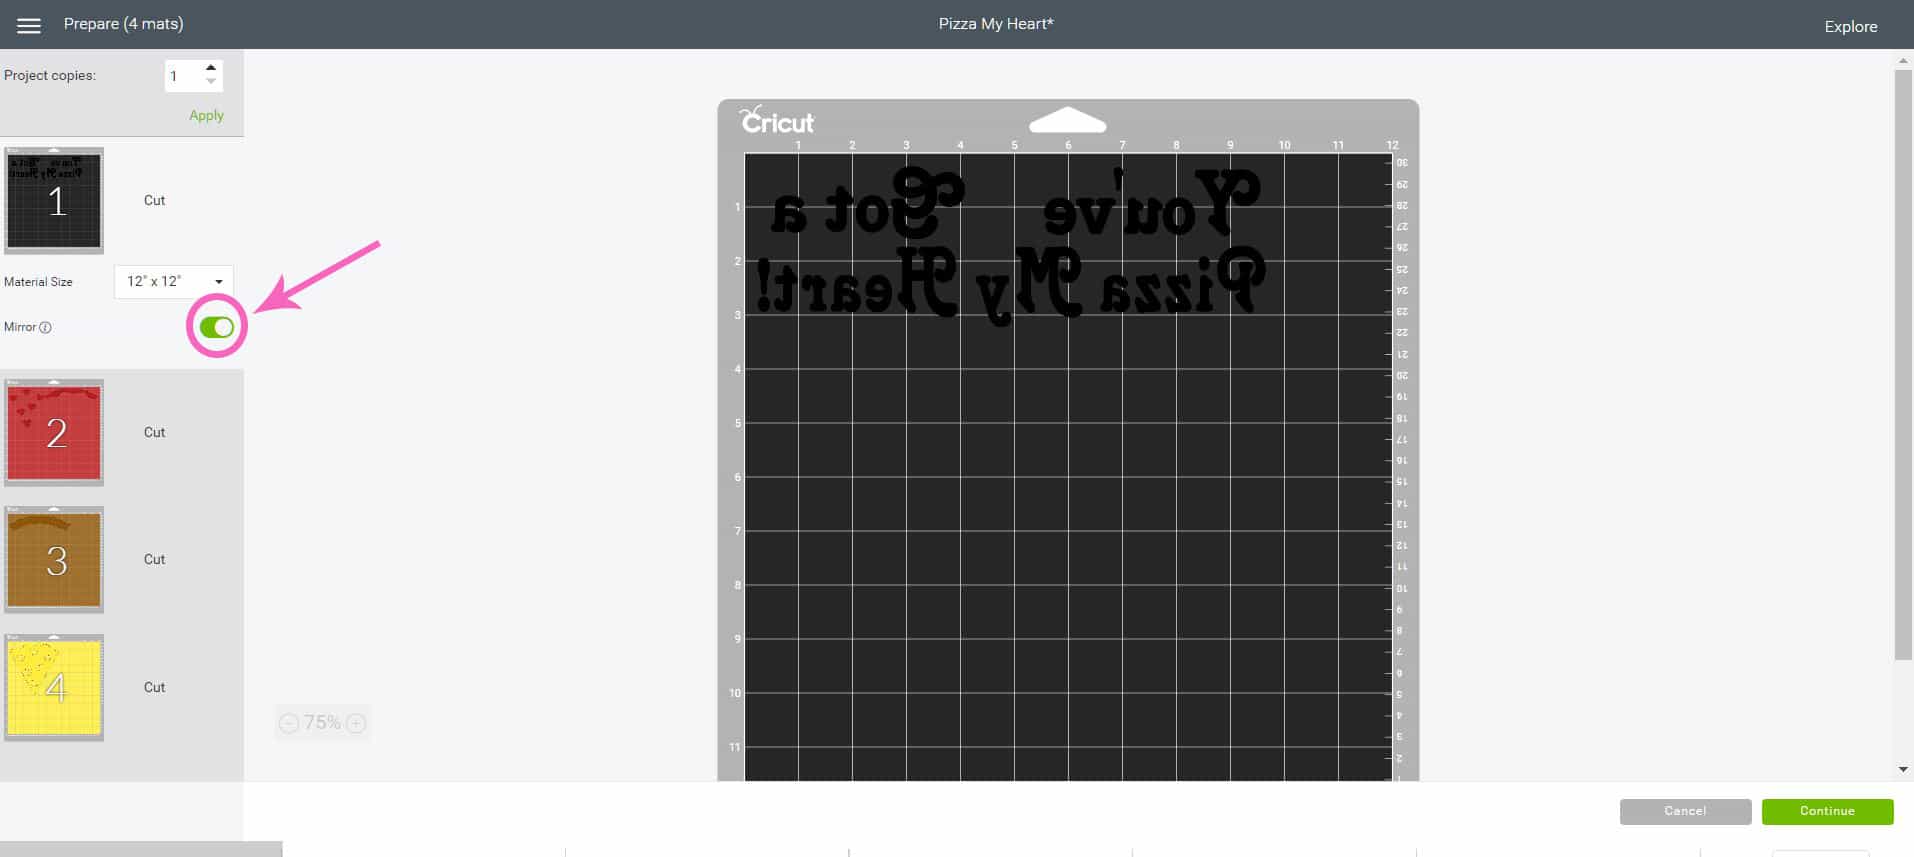
IMPORTANT: Make sure that you mirror each of your mats before cutting!
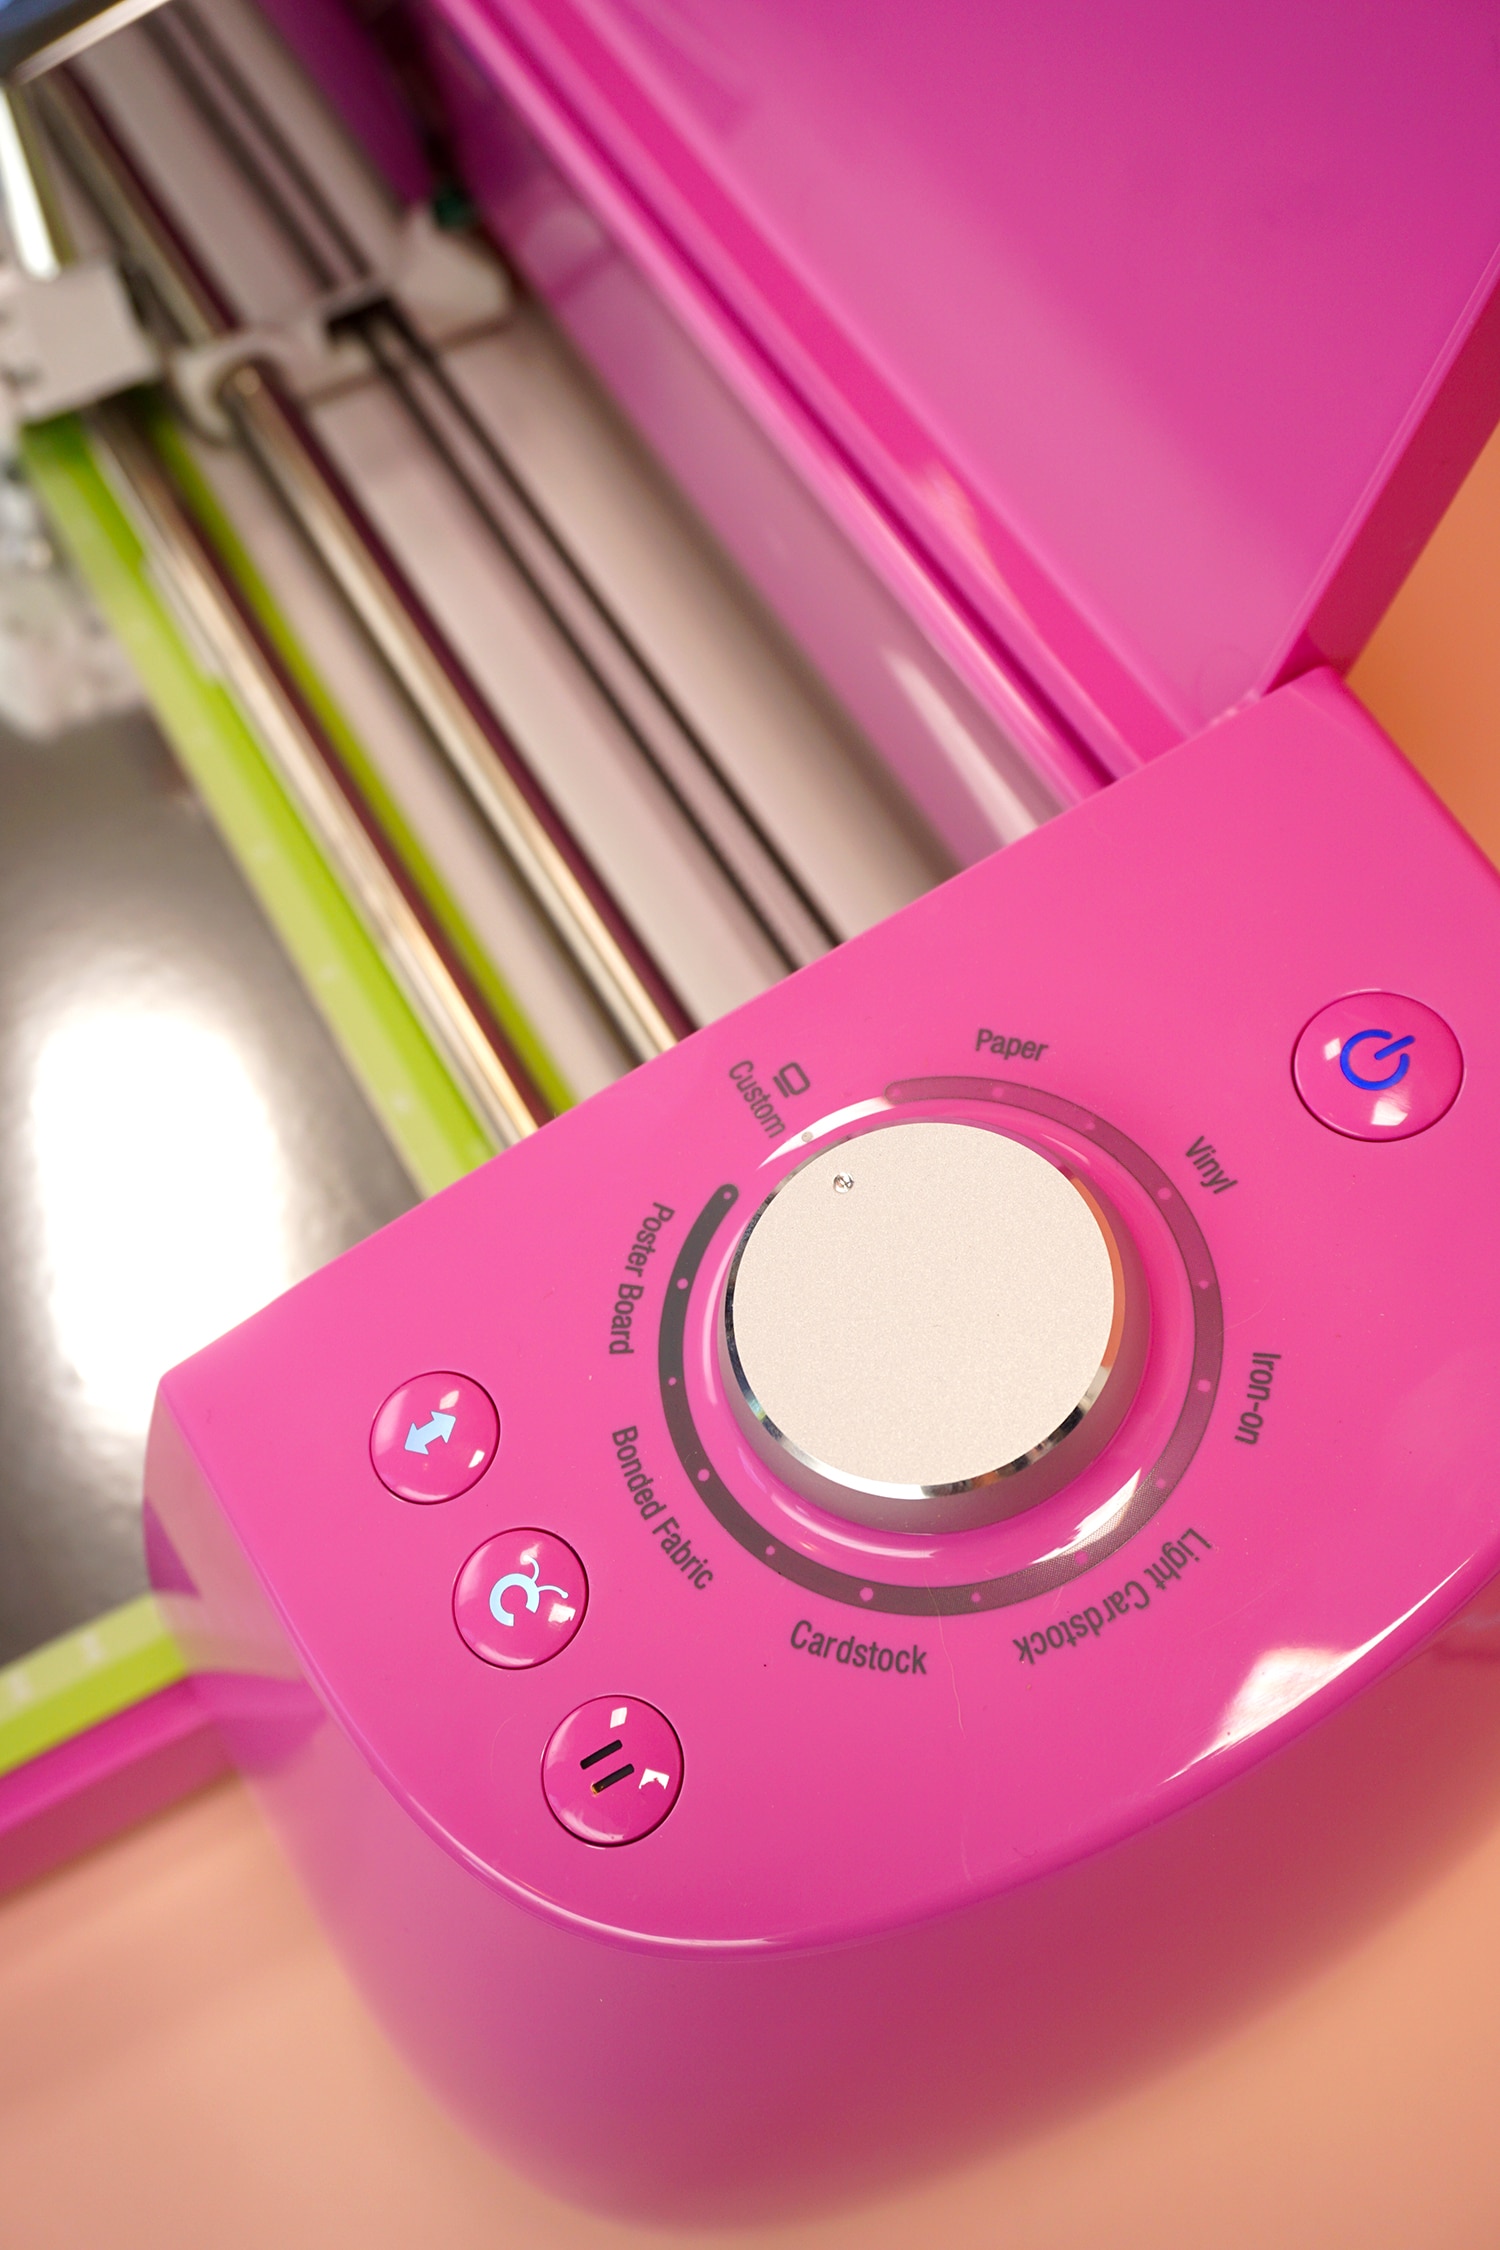
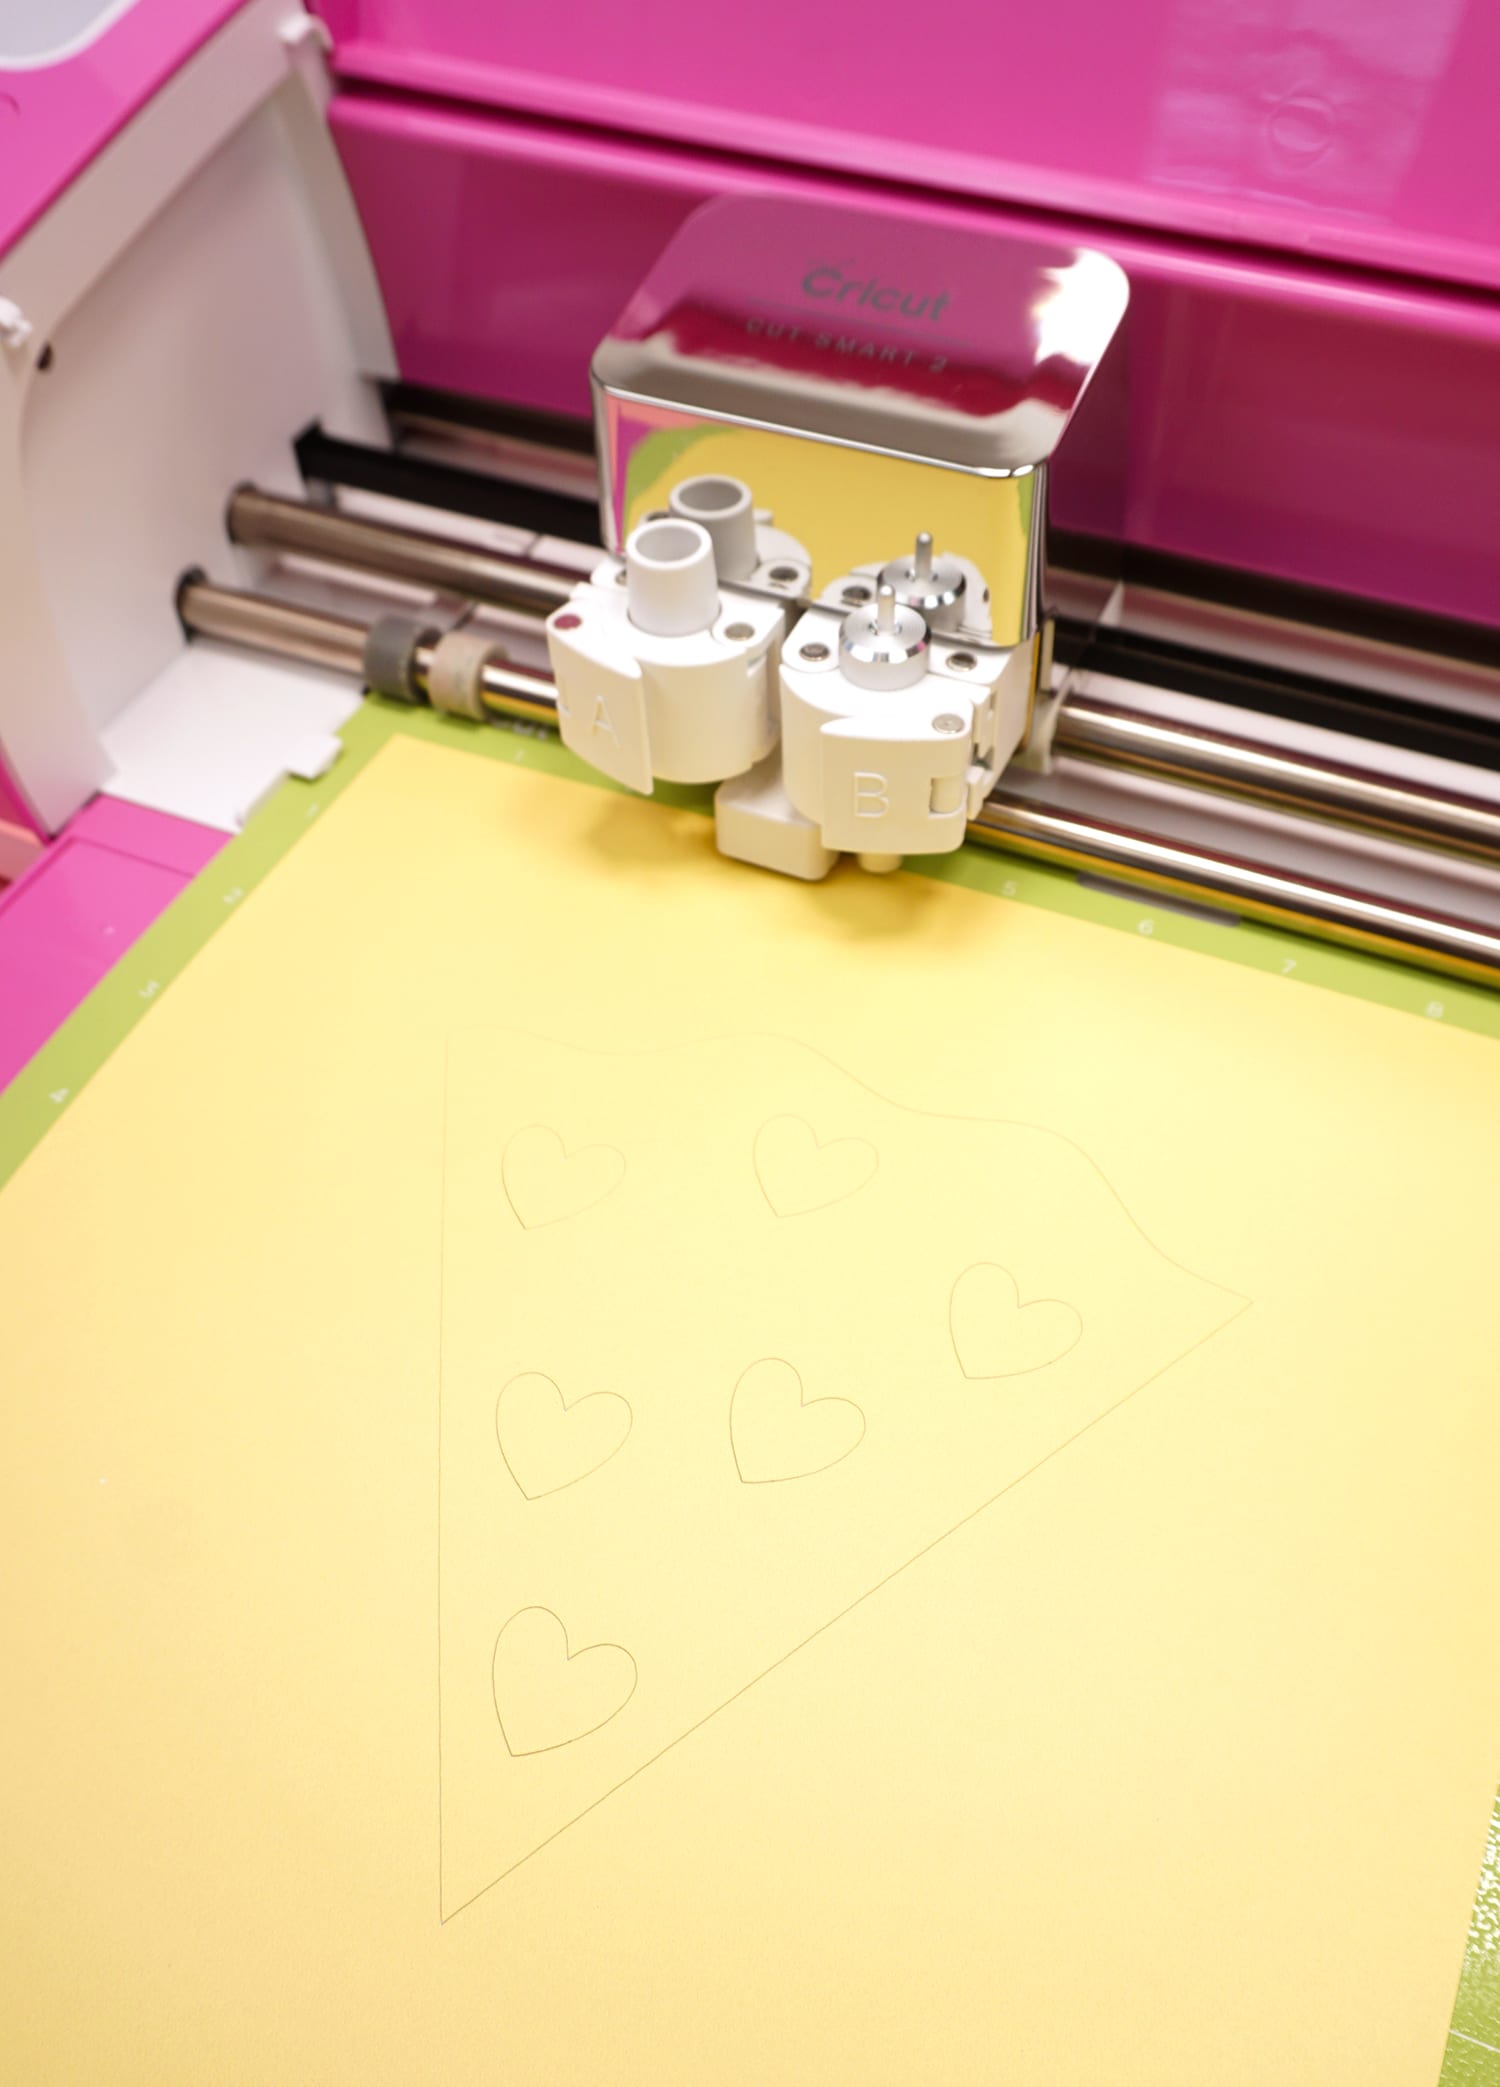
Choose the “Custom” materials setting on your Explore Air 2, and select Infusible Ink Transfer Sheets from the menu in Design Space.
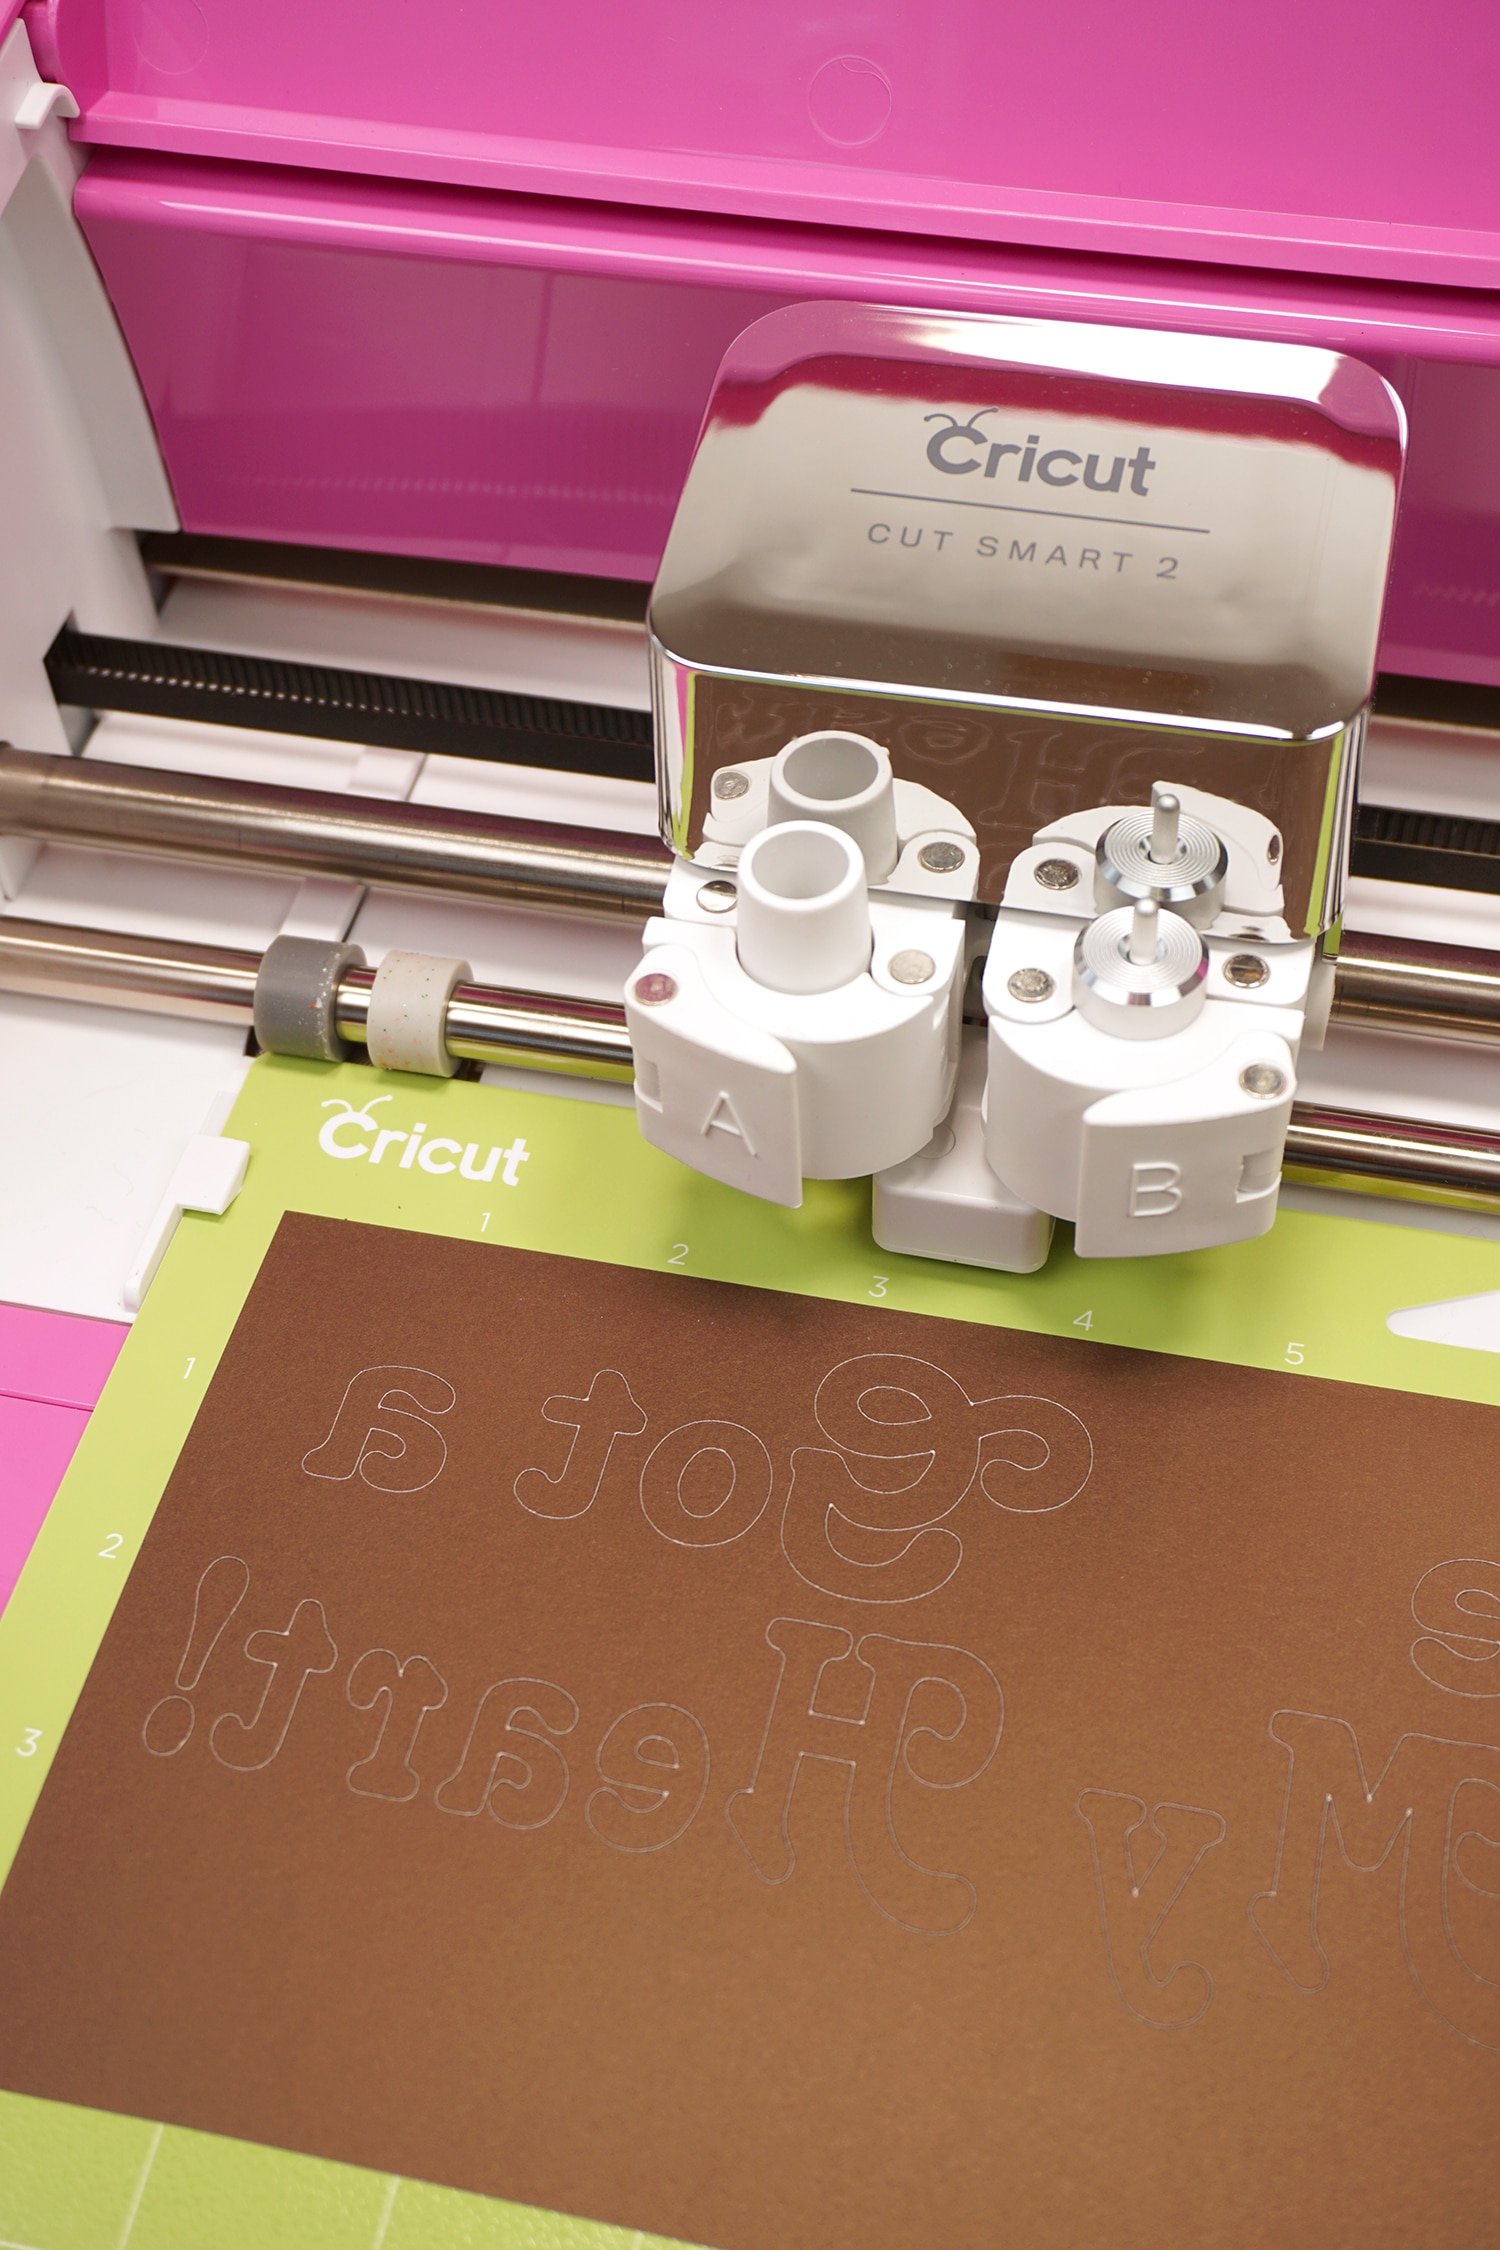
Trim a piece of Black Infusible Ink to size, place it on the mat, and cut with the Explore Air 2.
Repeat for the red and brown layers.
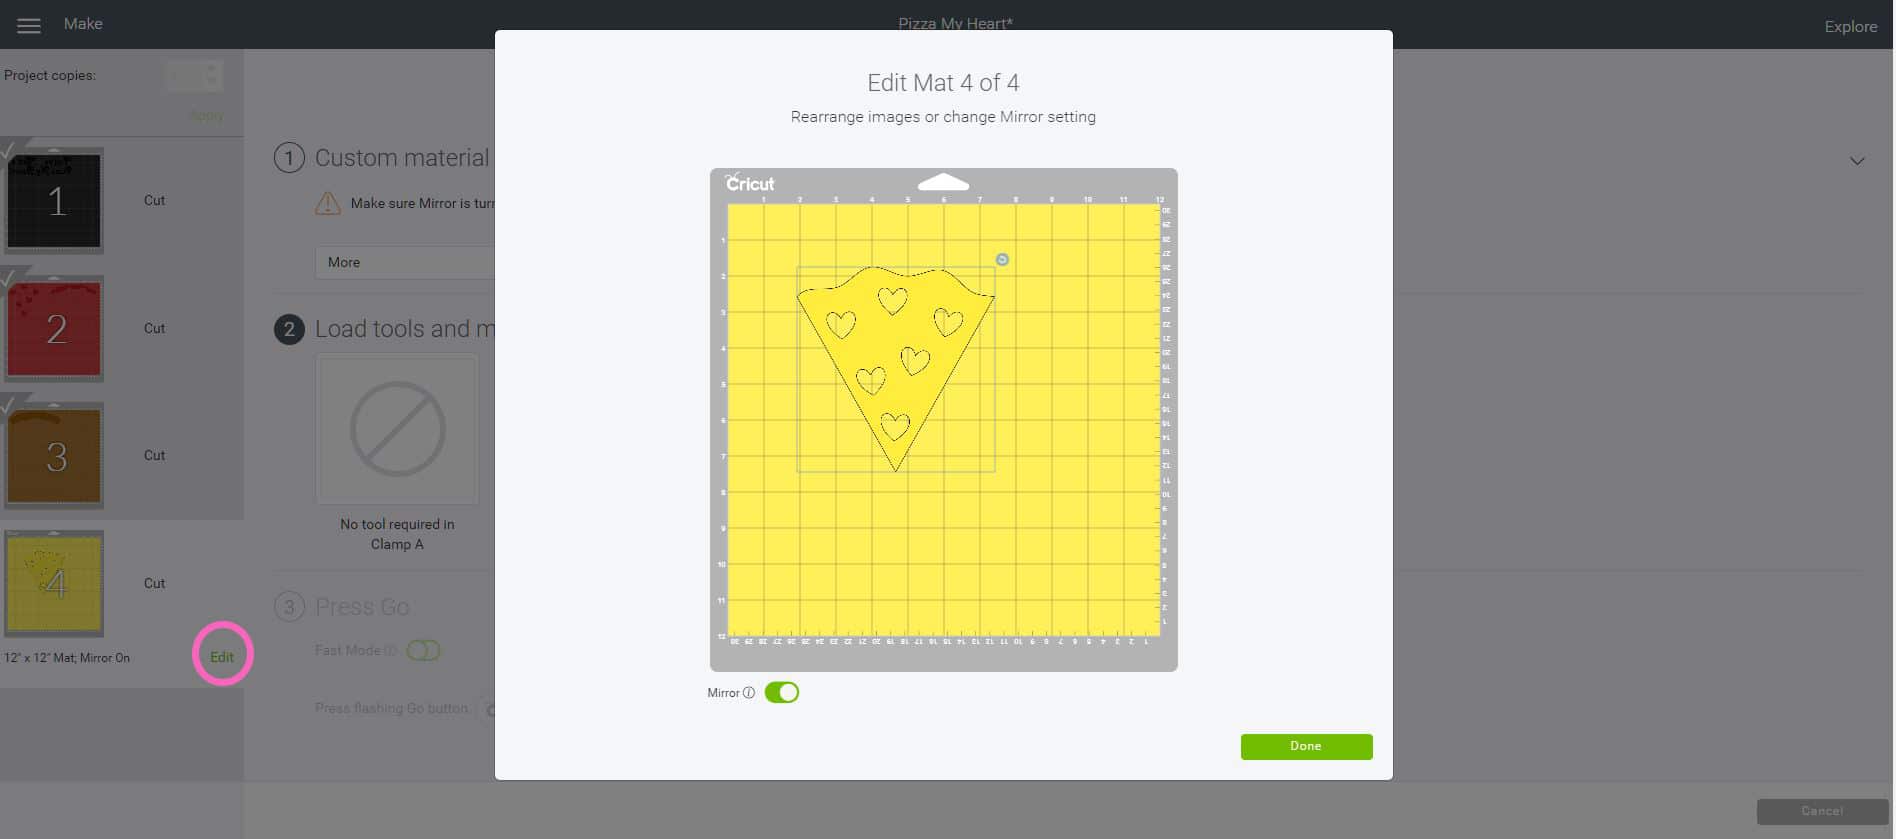
For the yellow layer, we’re going to do something a little bit differently. We are going to use the plastic carrier backing sheet from the yellow Infusible Ink layer to hold ALL of the different colored layers, so we want to add a little more space around the yellow layer for the other layers to fit.
Click “Edit” to edit the layout of your cutting mat, select and move the yellow piece over, and click “Done.”
Cut the yellow layer. You might notice that the color of the Infusible Ink sheet is much lighter than the color indicated on the box. No worries! The Infusible Ink will become MUCH brighter and more vibrant after we infuse it with the fabric!
Layering Cricut Infusible Ink
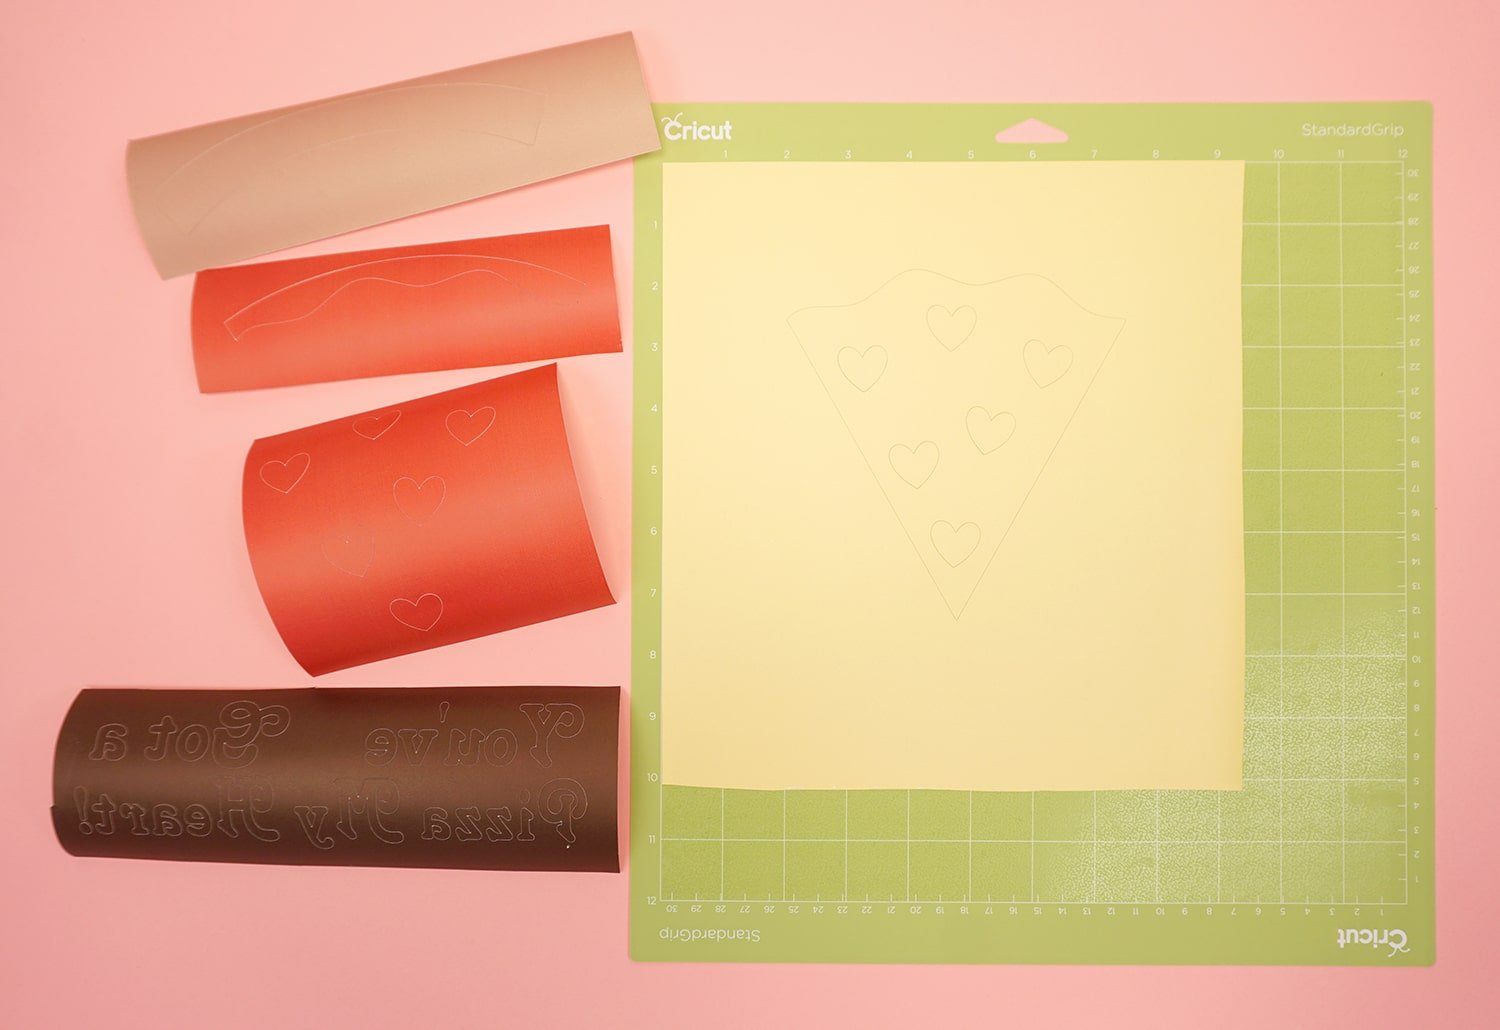
Gather all of your layers in one place, and weed the Infusible Ink. If you haven’t worked with Infusible Ink before, you’ll notice that it is much thicker than vinyl and iron-on and therefore weeds a bit differently. Slightly bend and roll the backing paper until the smaller pieces “crack” away from the other pieces, and use your hands to weed away the excess.
Note: Do NOT use traditional weeding tools to weed Infusible Ink! Doing so may result in small amounts of ink being pressed into the plastic carrier backing, and that ink WILL still transfer to your blank! Always use clean dry hands or tweezers to weed.
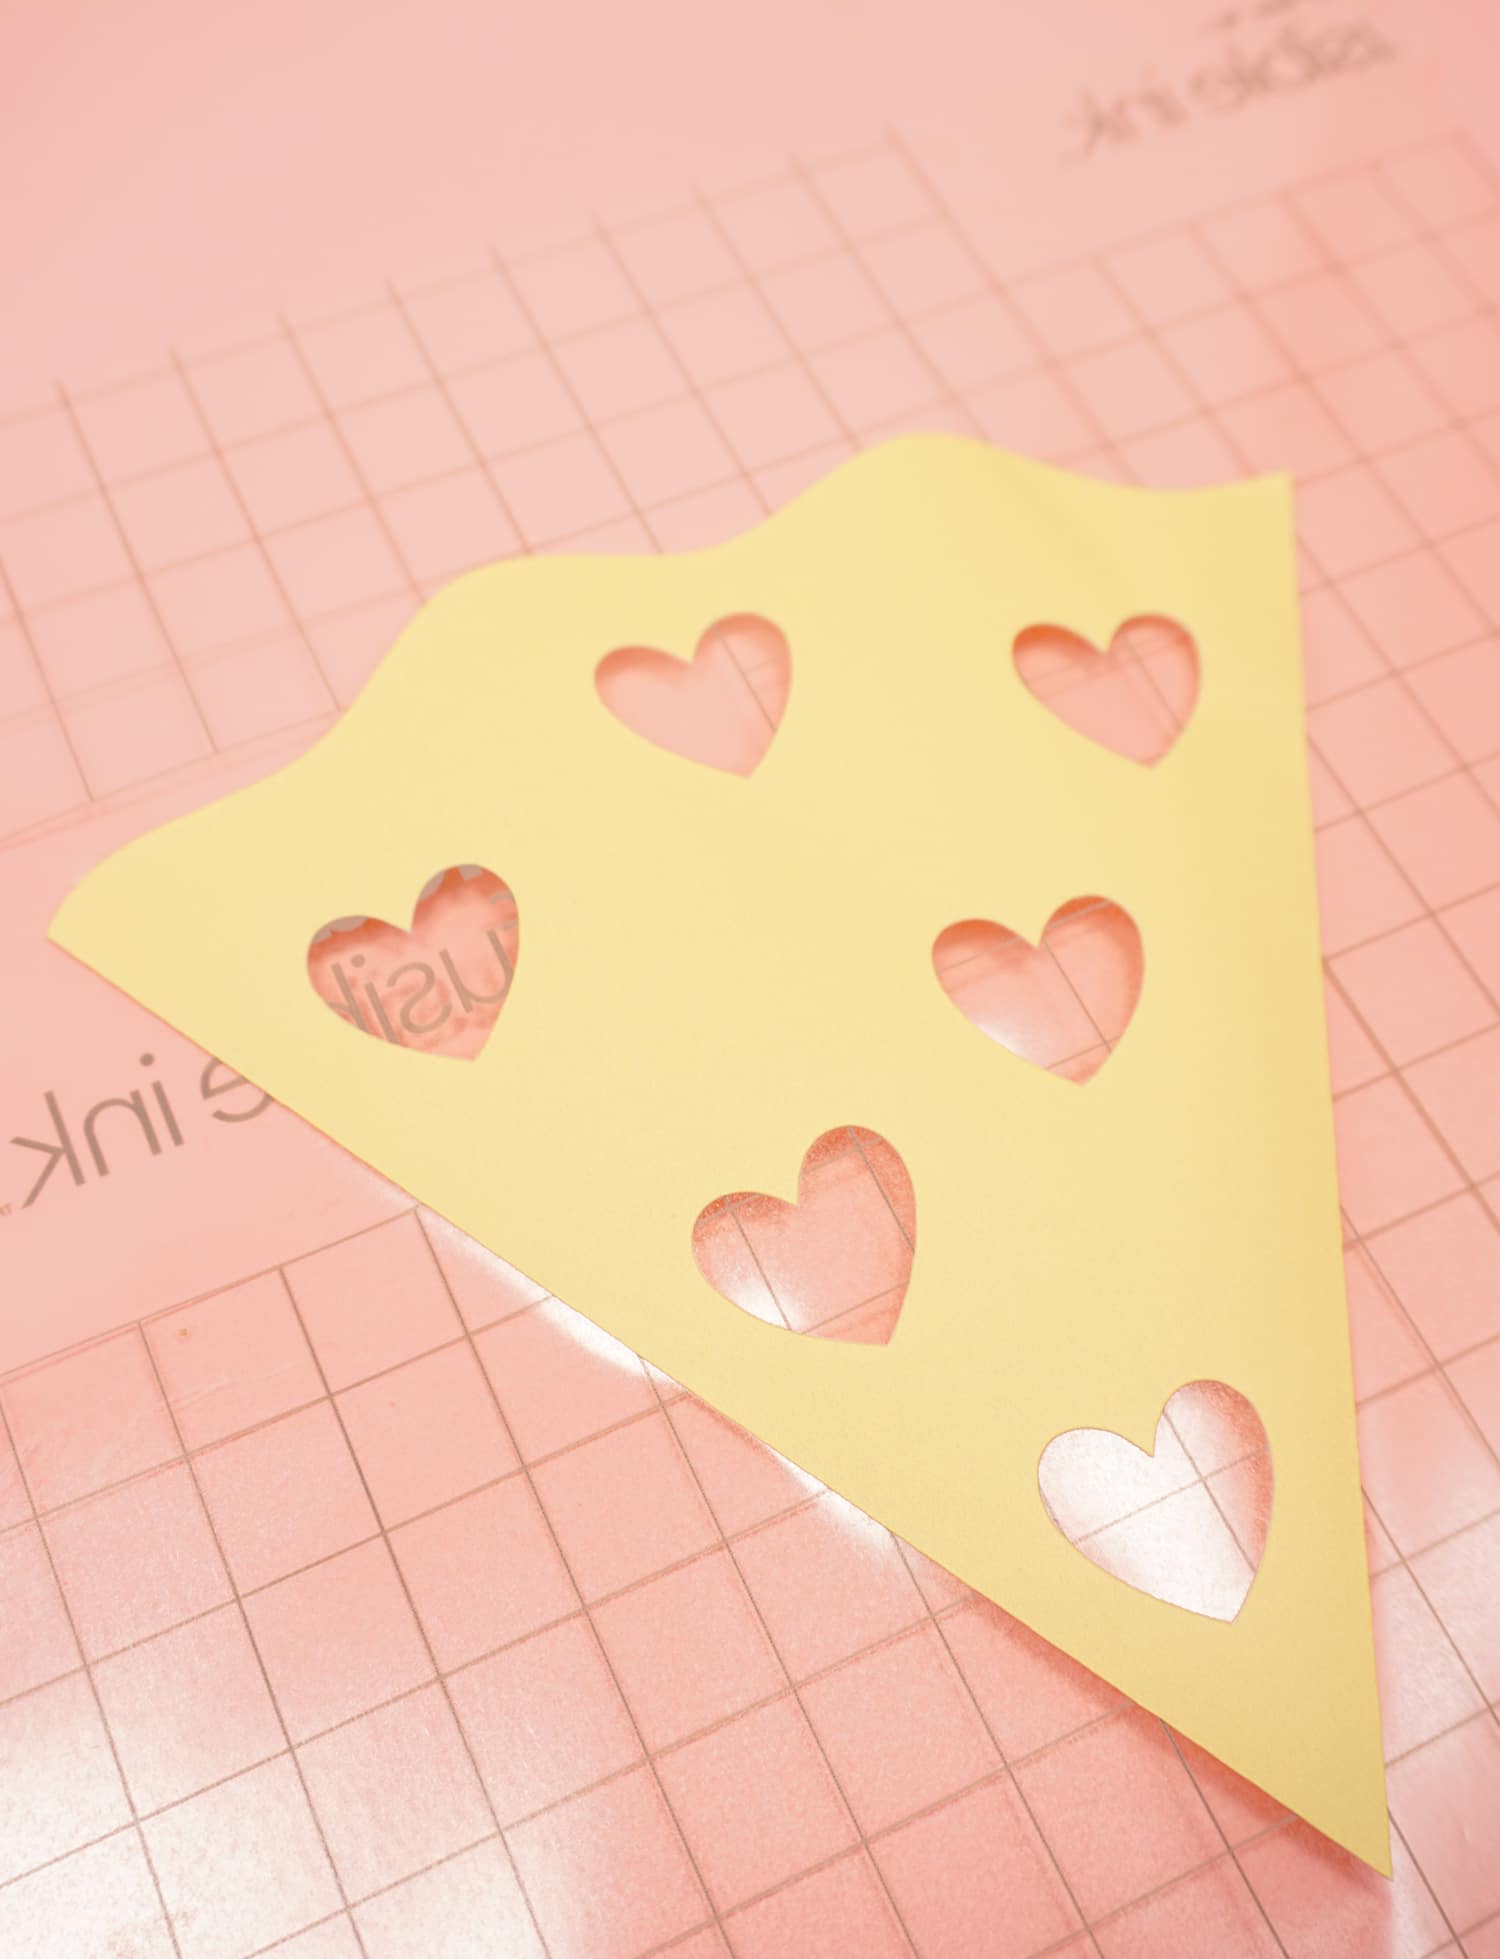
Take the red hearts and place them into the yellow base layer.
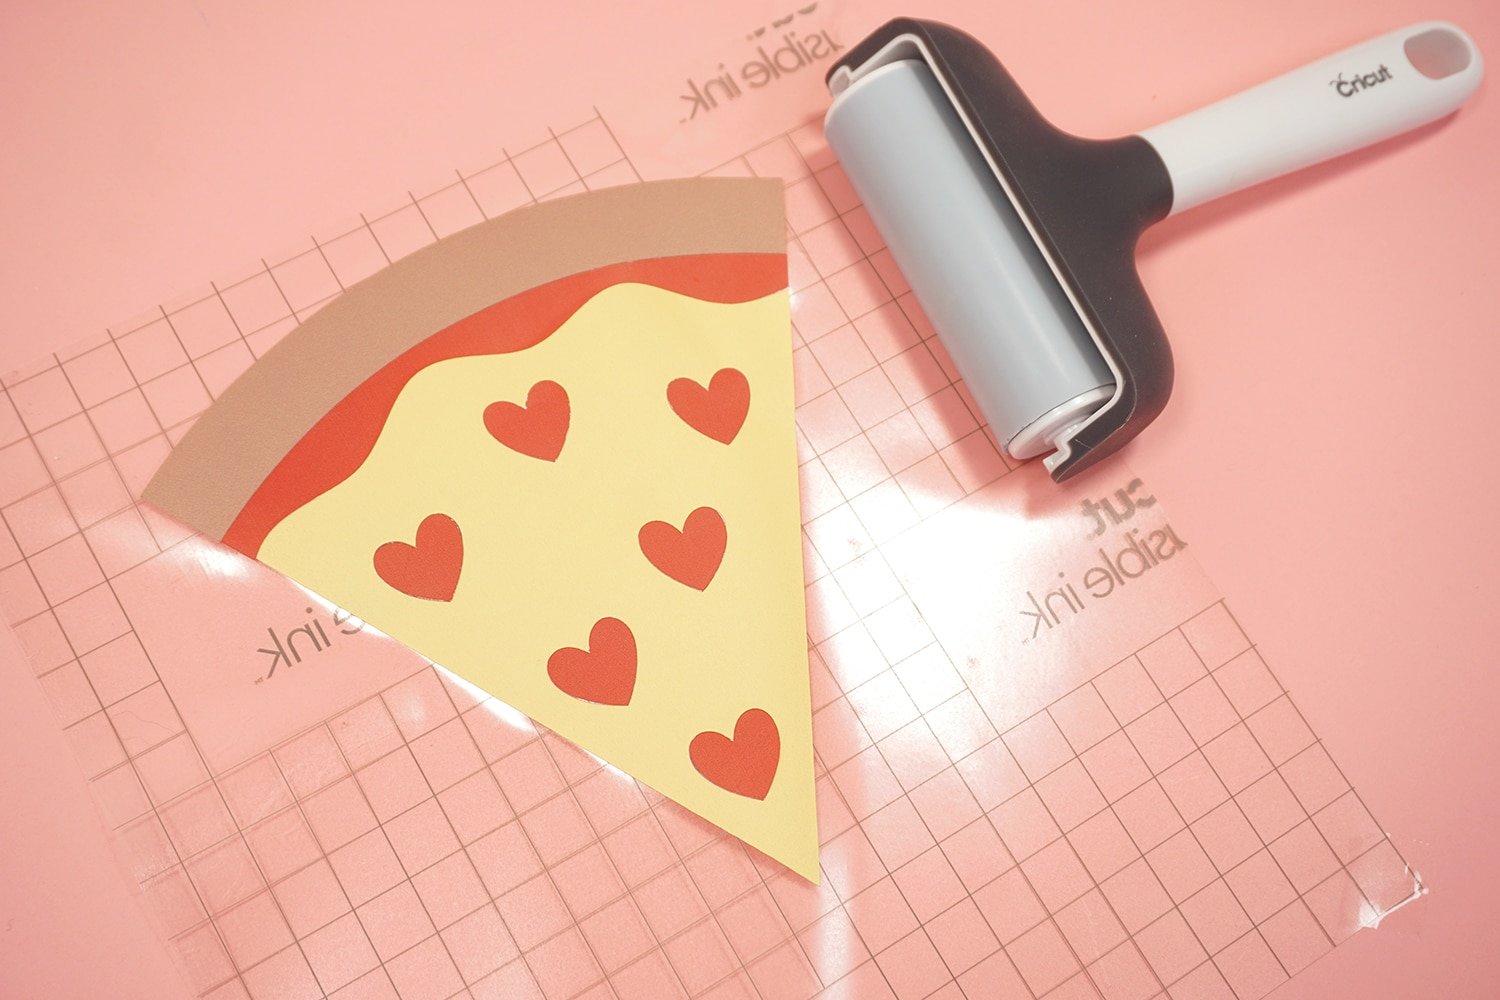
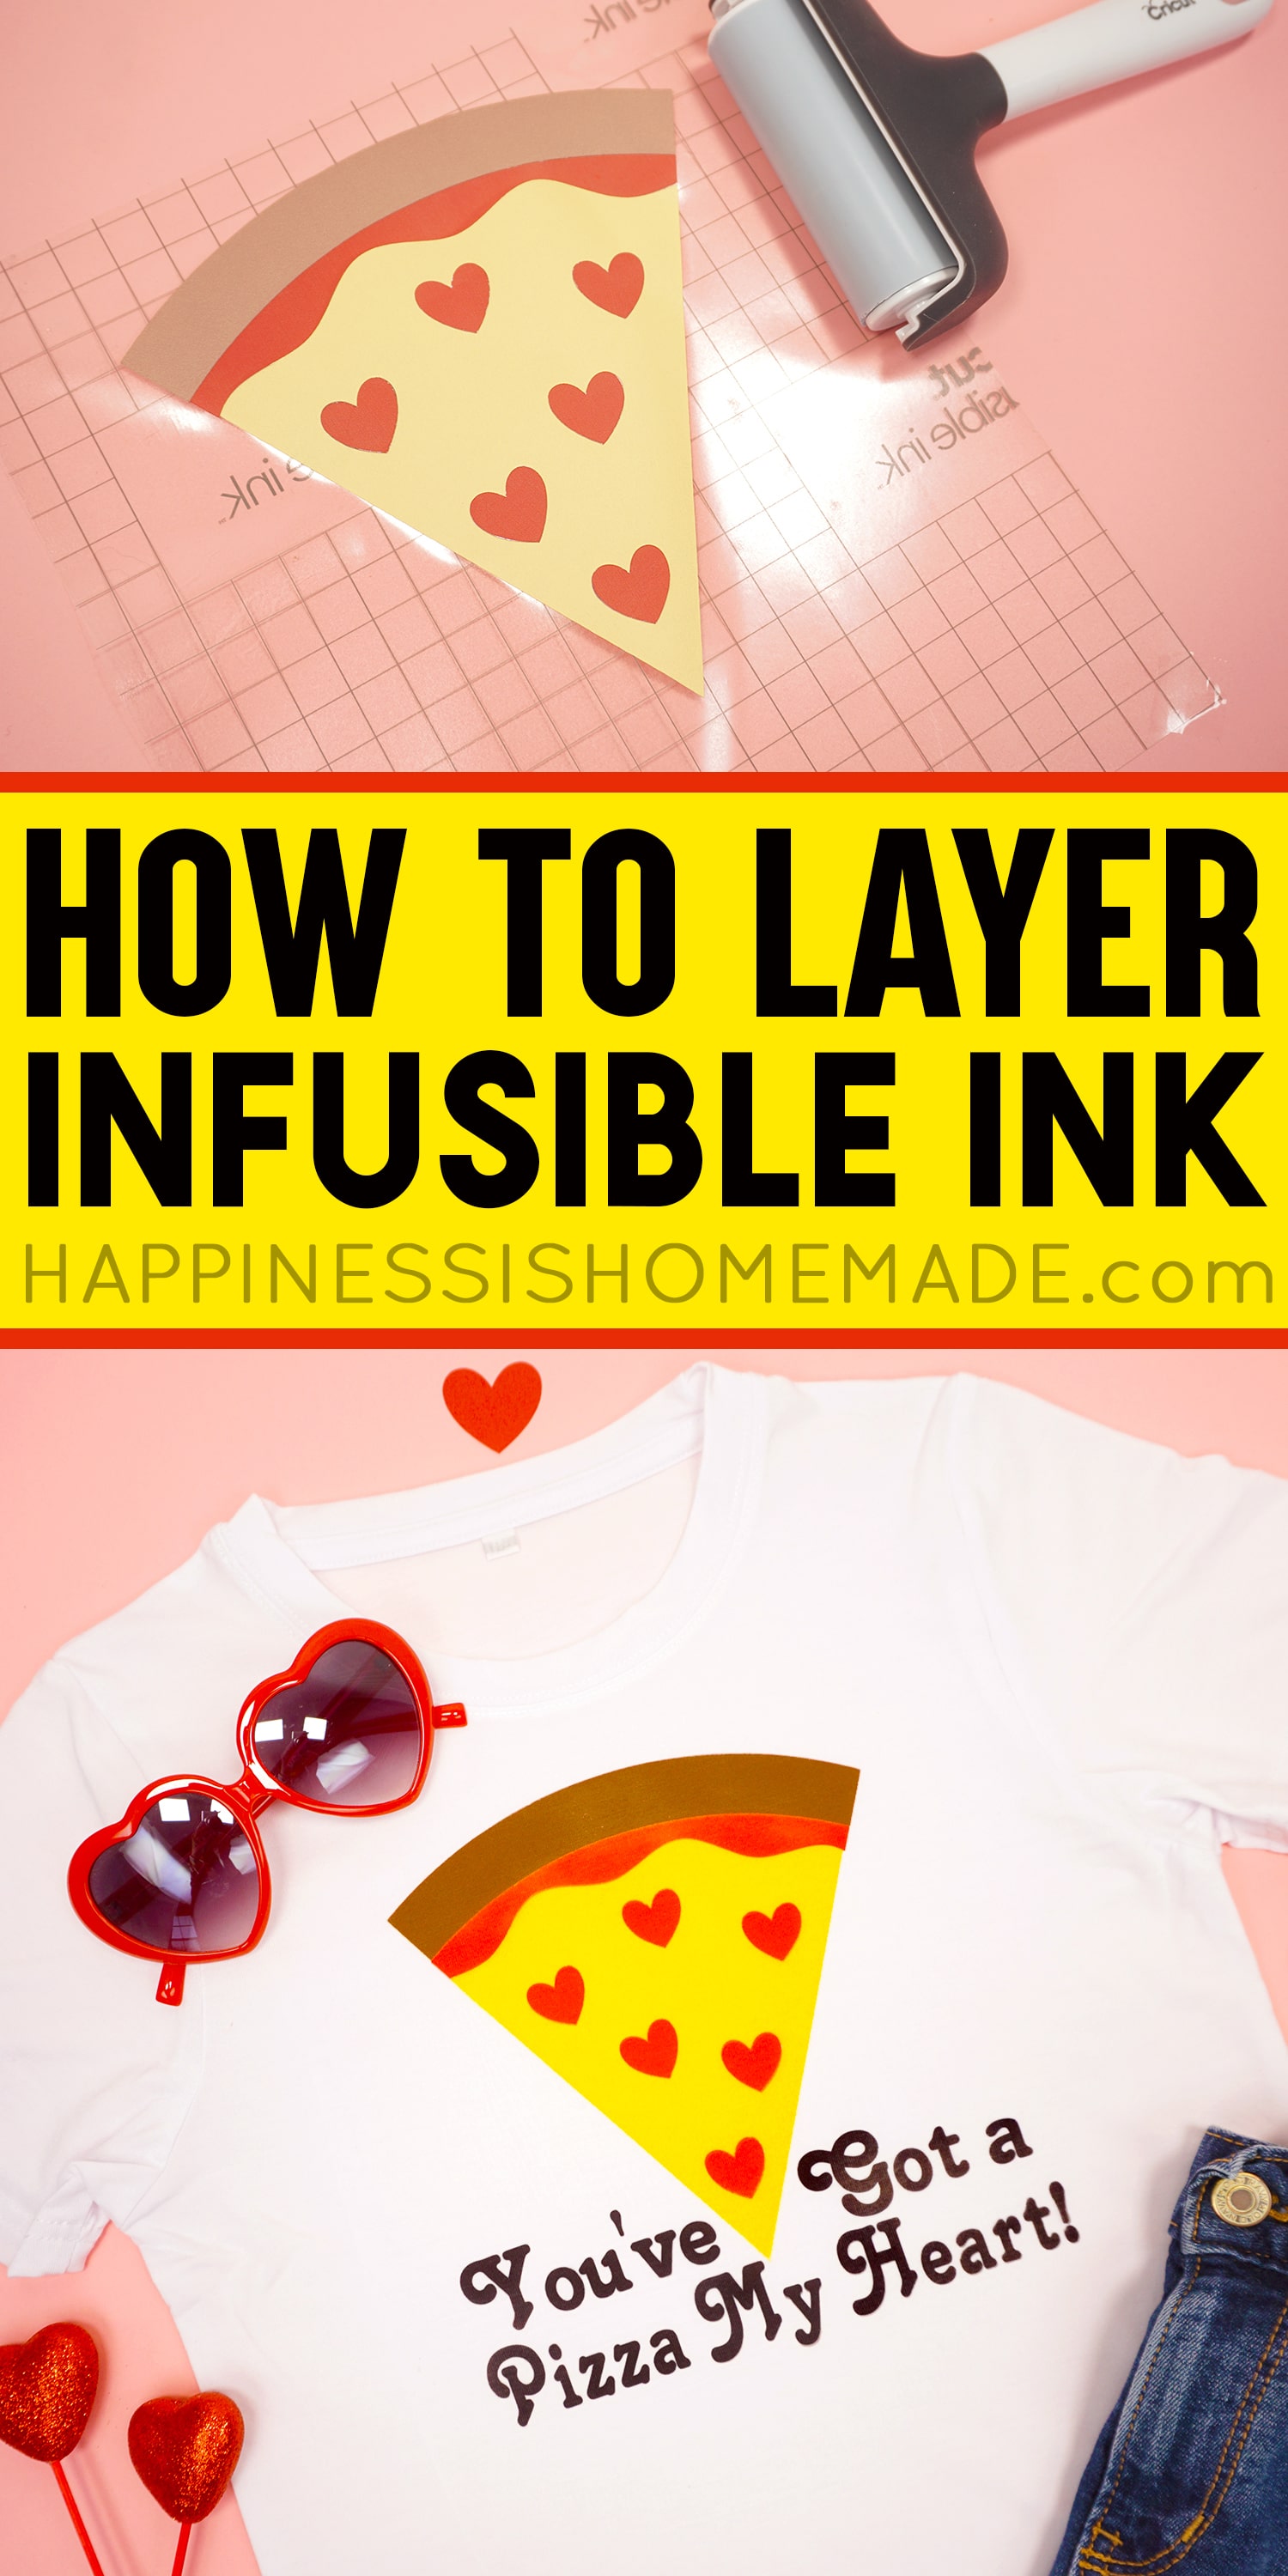
Repeat with the additional red and brown layers, and then gently use a brayer to roll over everything and ensure that all of the pieces are stuck to the carrier backing sheet.

Keep the text on it’s own carrier backing sheet, but cut away the backing in between the words where the pizza will be positioned.

Place the text layer on to the pizza carrier sheet.
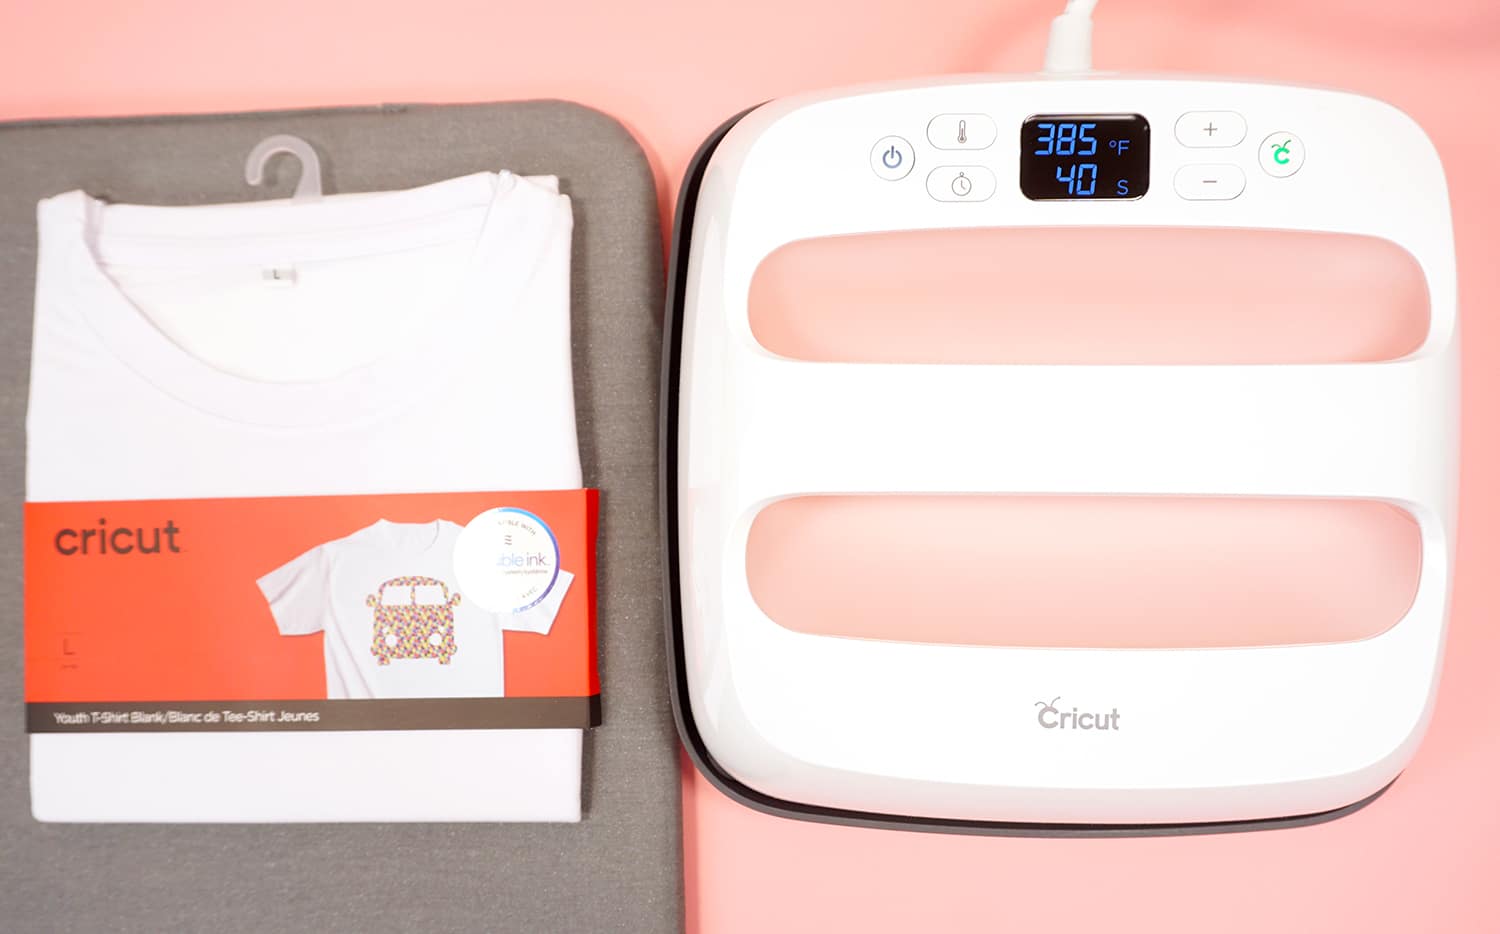
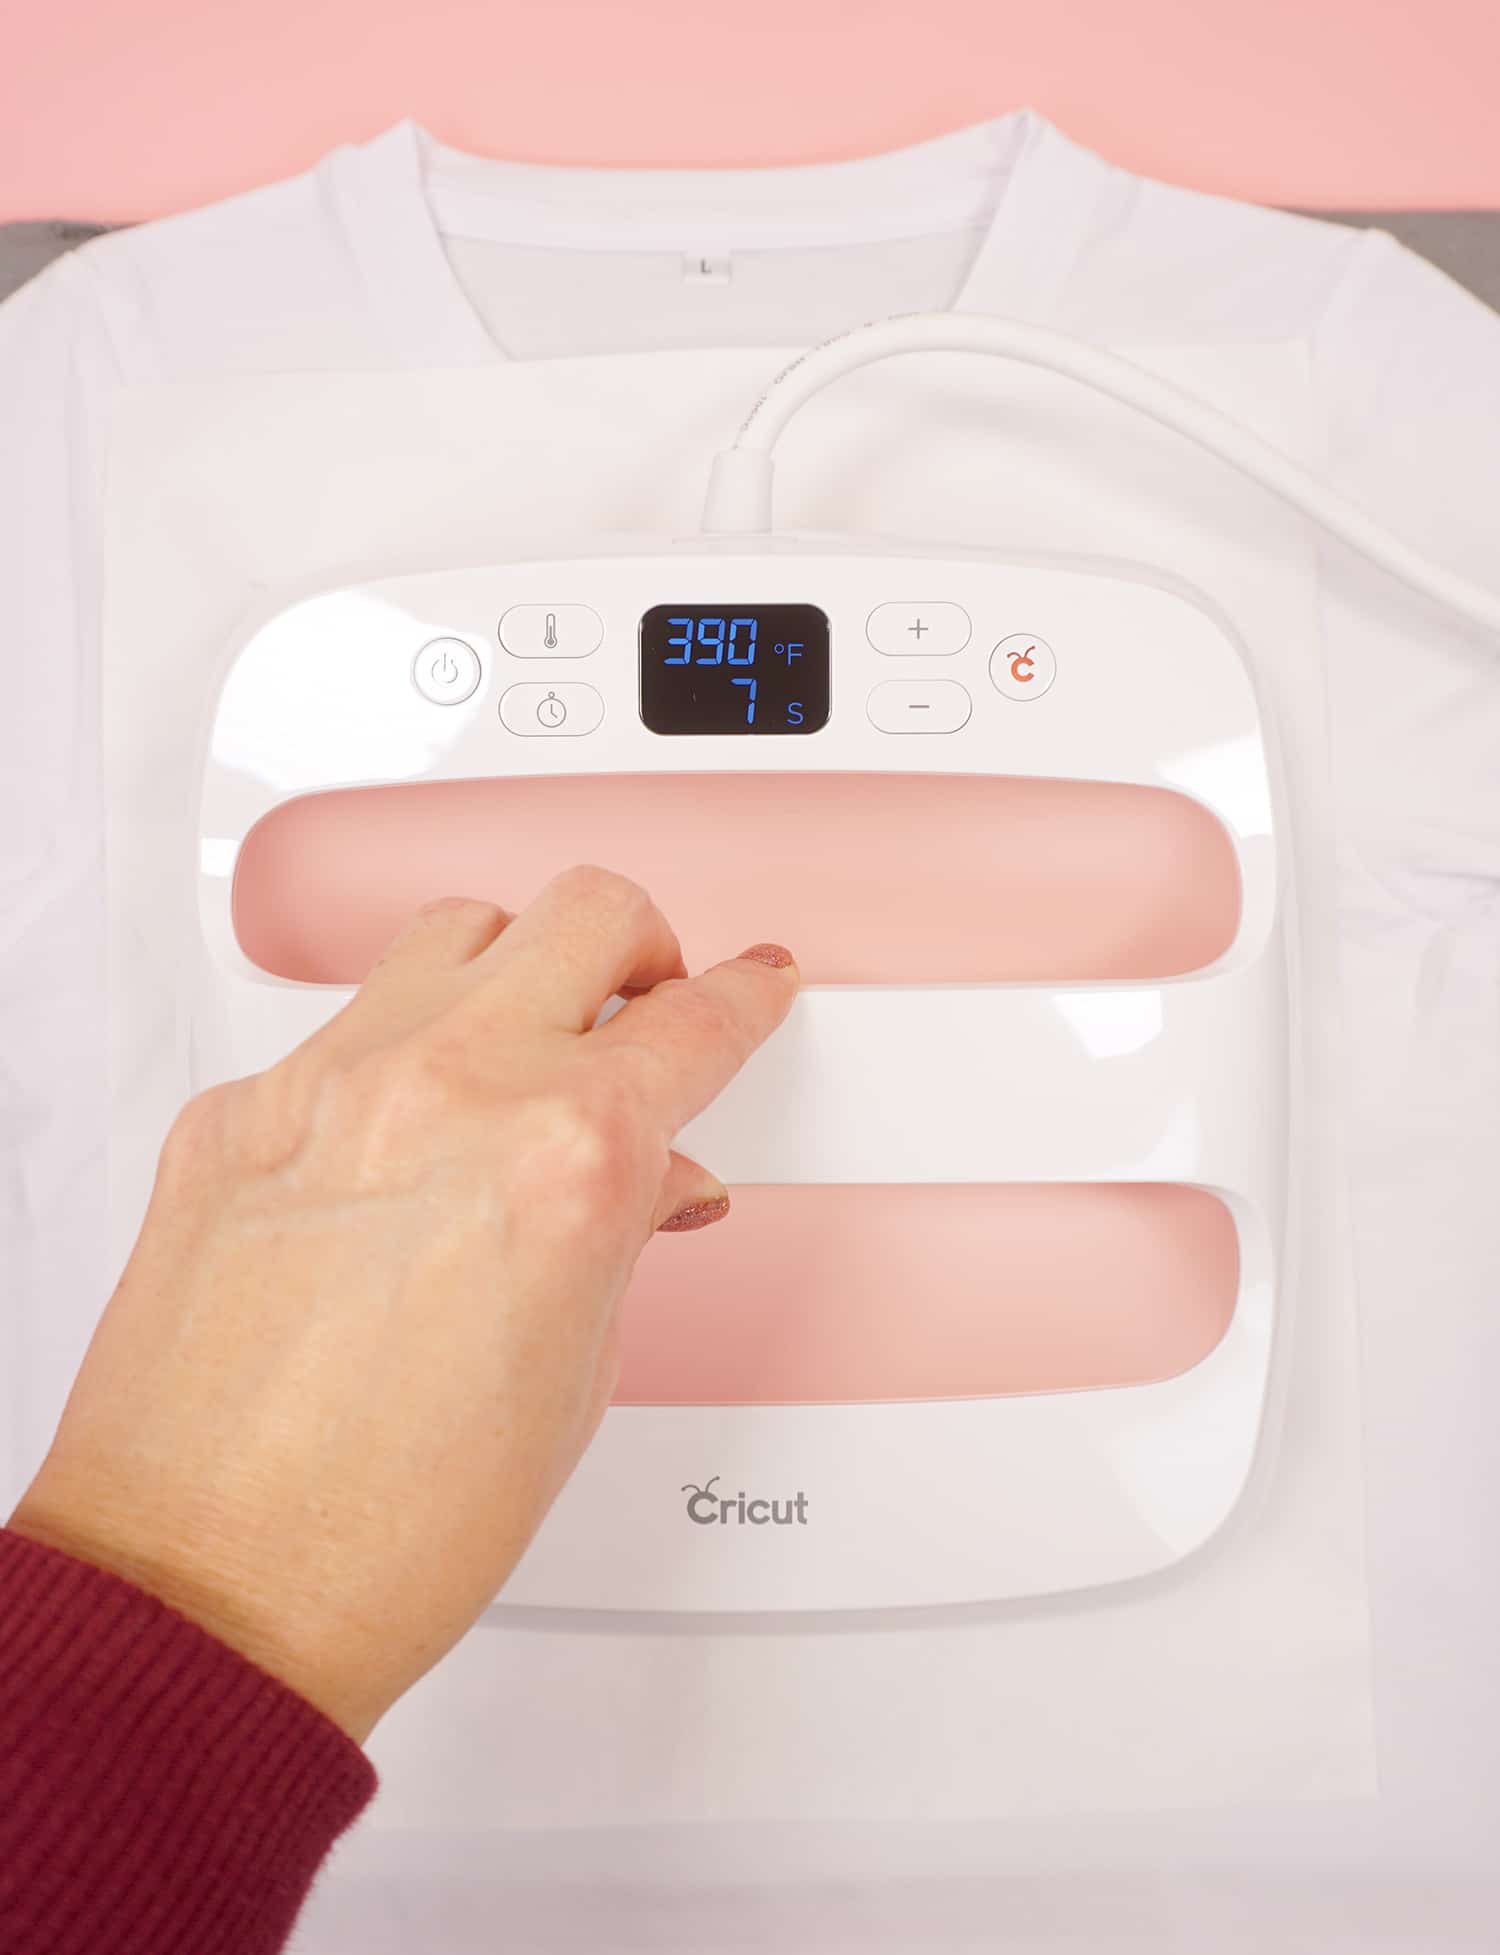
Preheat the EasyPress 2 to 385 degrees and 40 seconds.
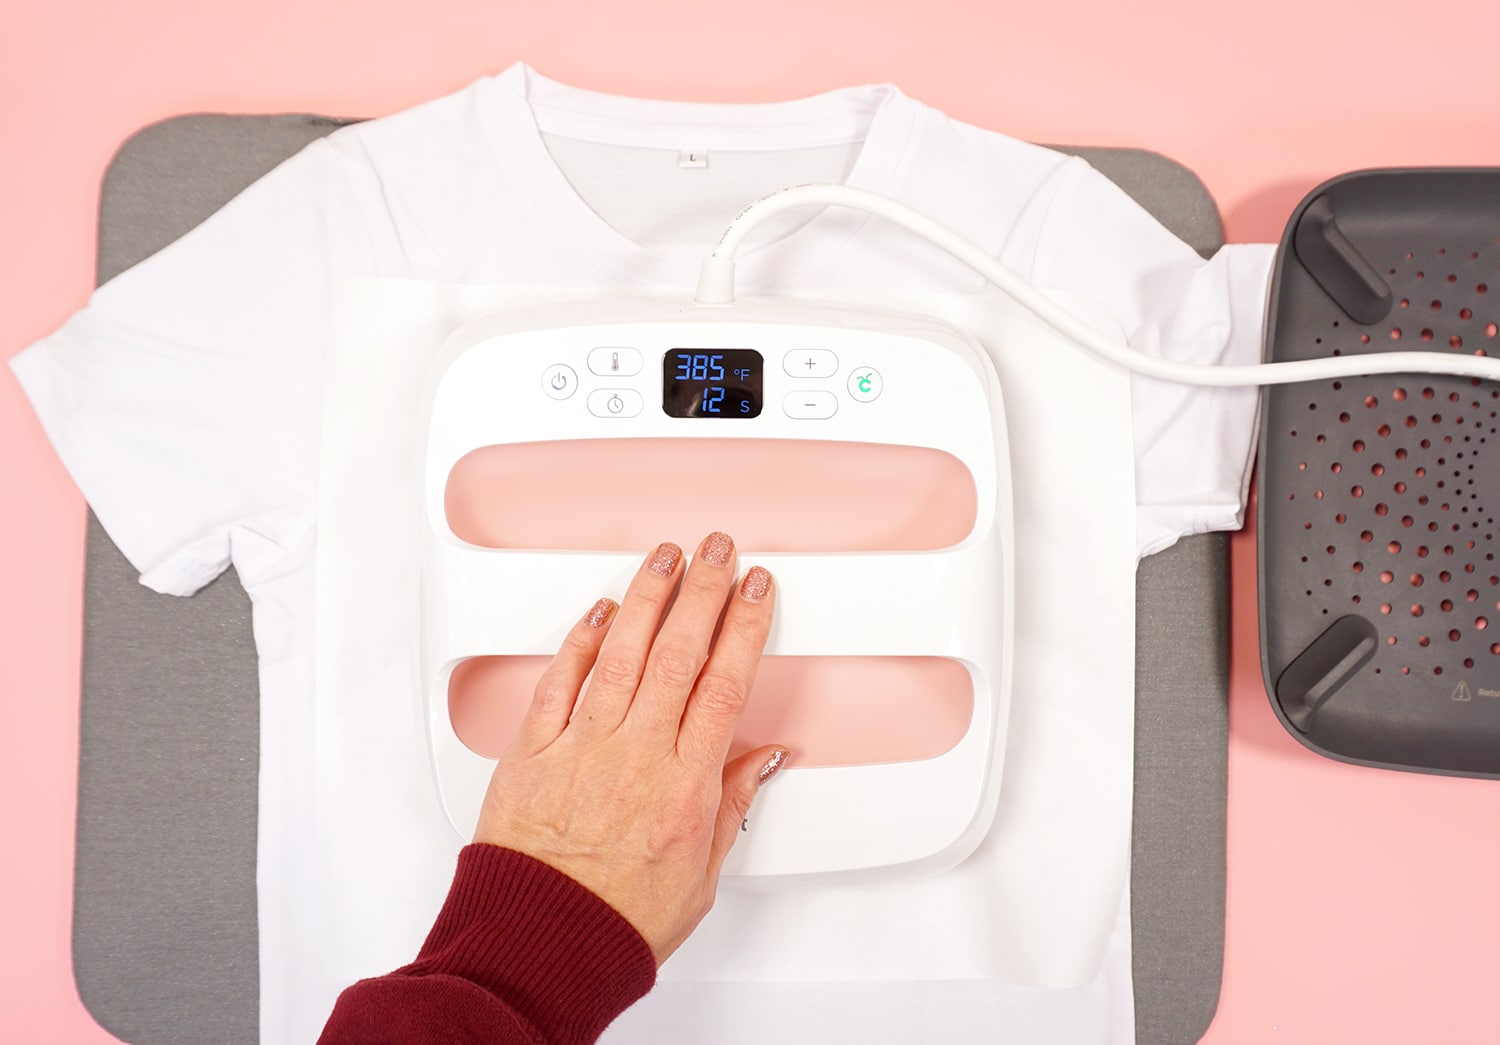
Place a sheet of white cardstock inside the t-shirt, cover the shirt with a sheet of butcher paper (included with the Infusible Ink Transfer Sheets), and heat with the EasyPress 2 for 15 seconds to remove any moisture from the garment. Allow to cool completely.
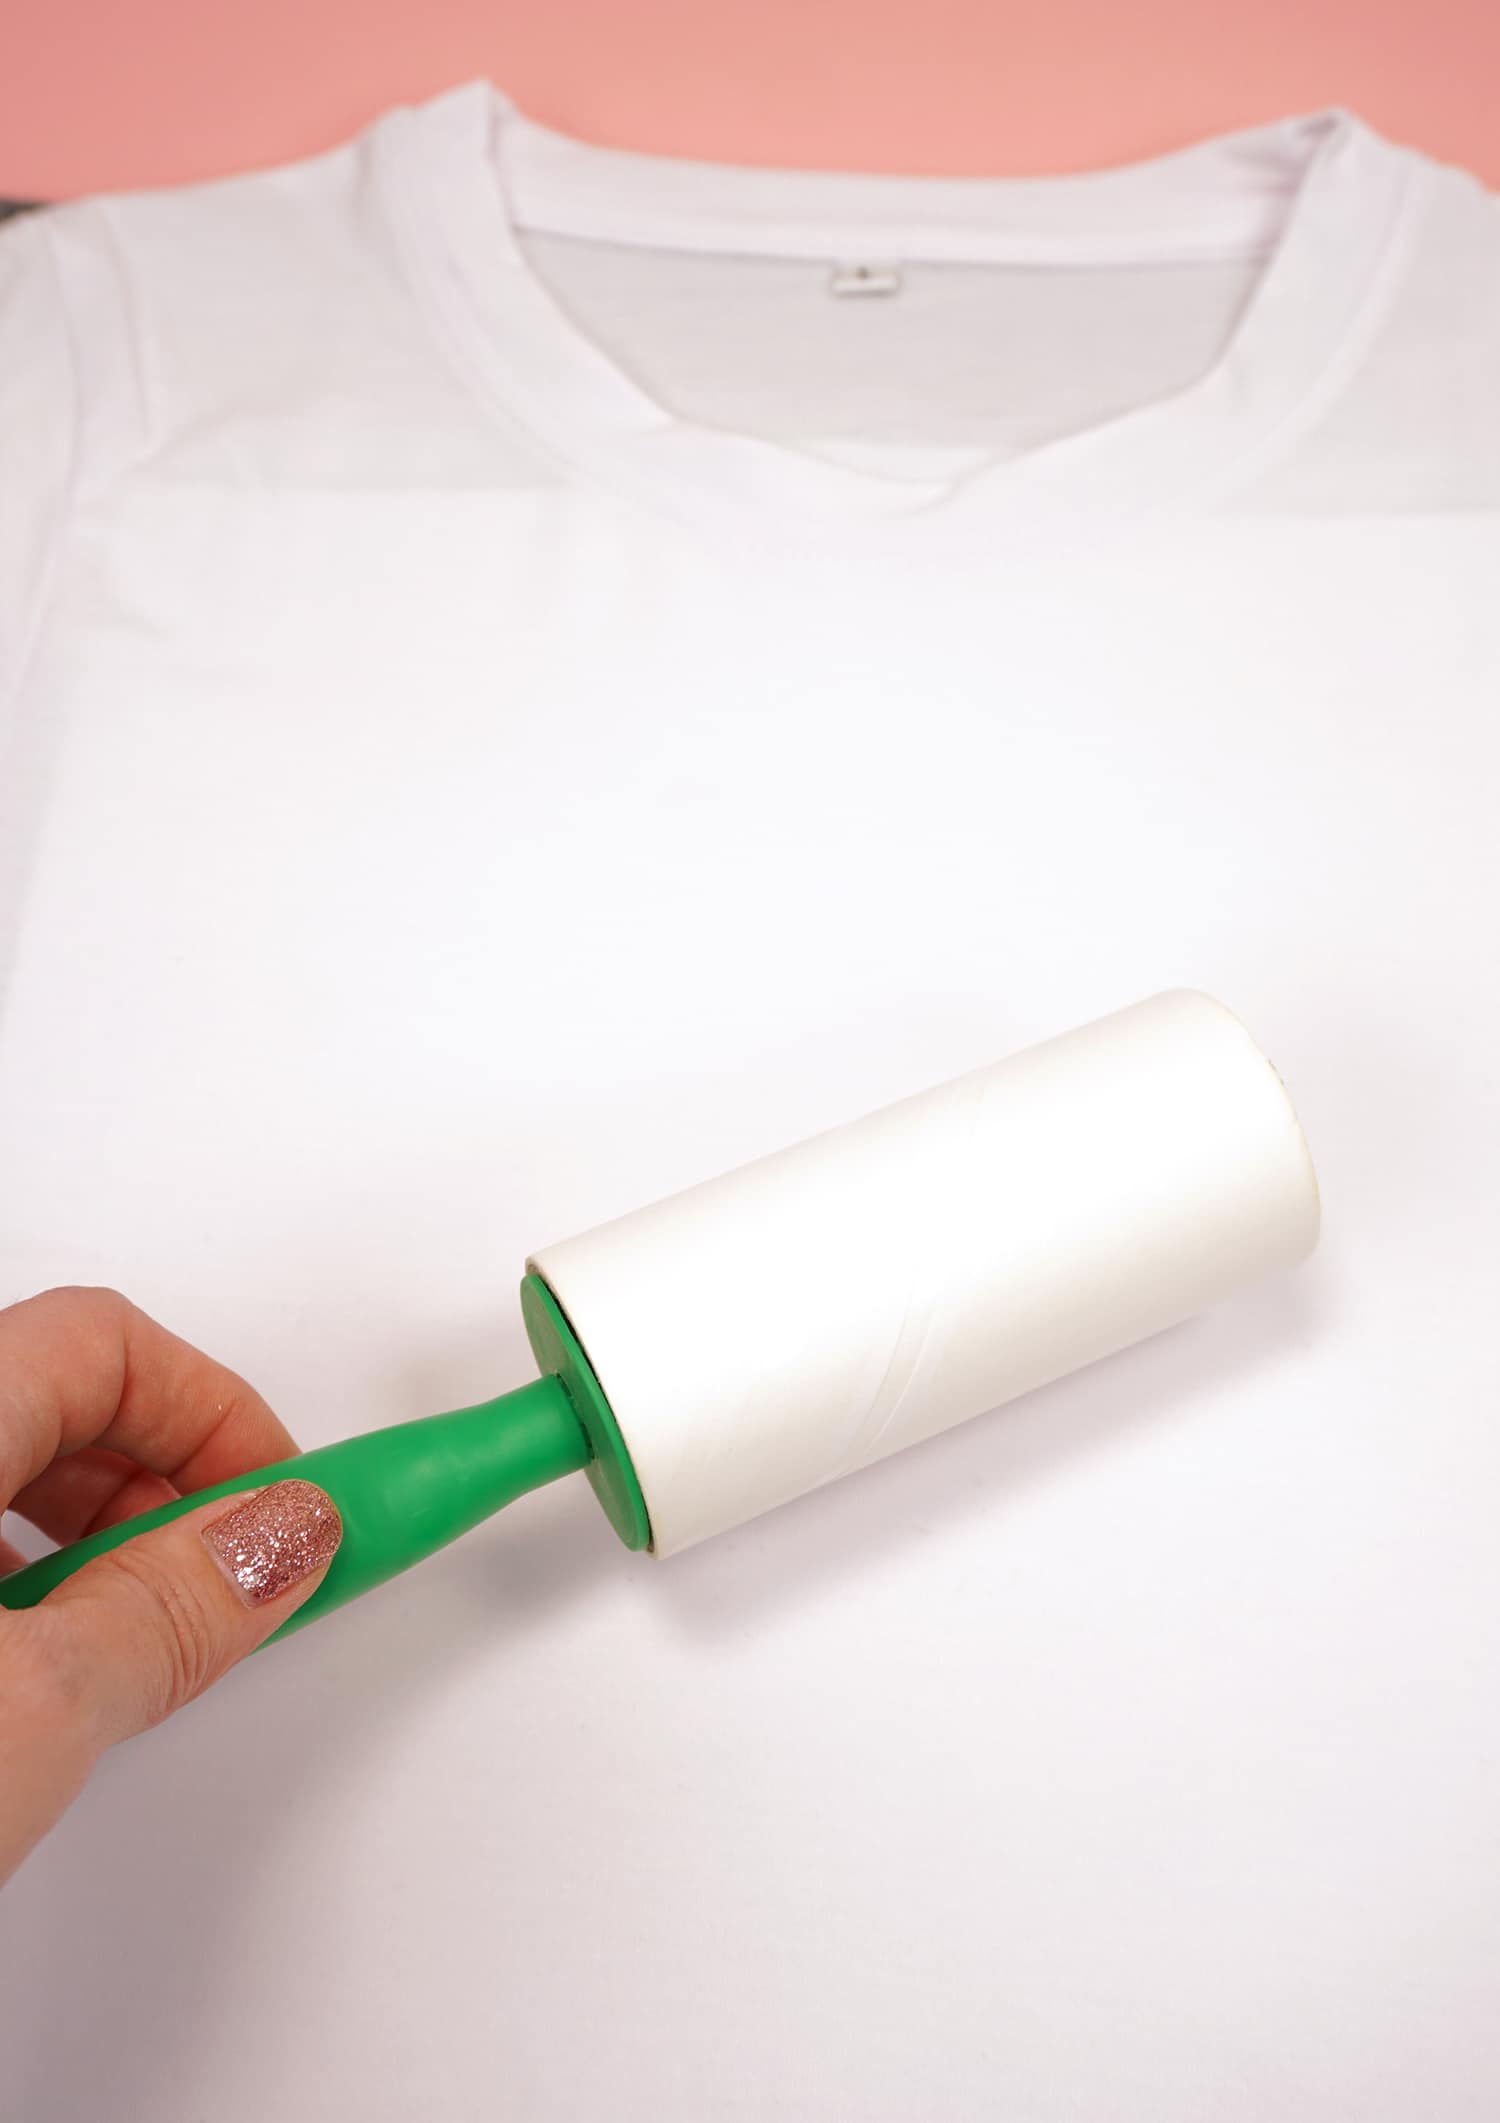
Use a lint roller to remove any lint, fuzz, or debris from the shirt that might cause the ink to transfer improperly.
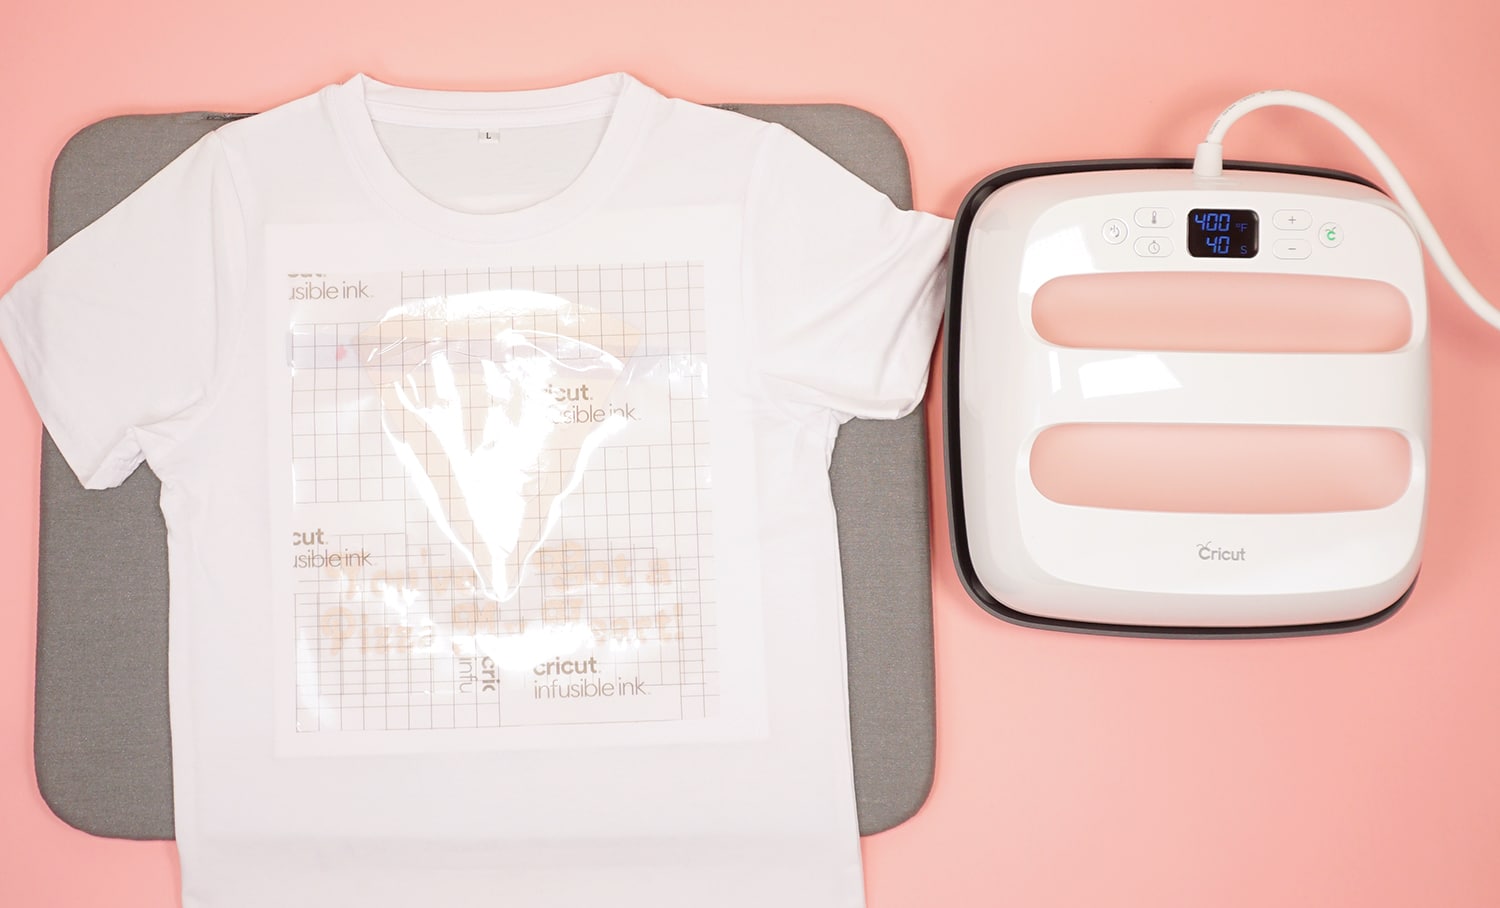
Place your Infusible Ink carrier sheet, ink side down, on top of the shirt.
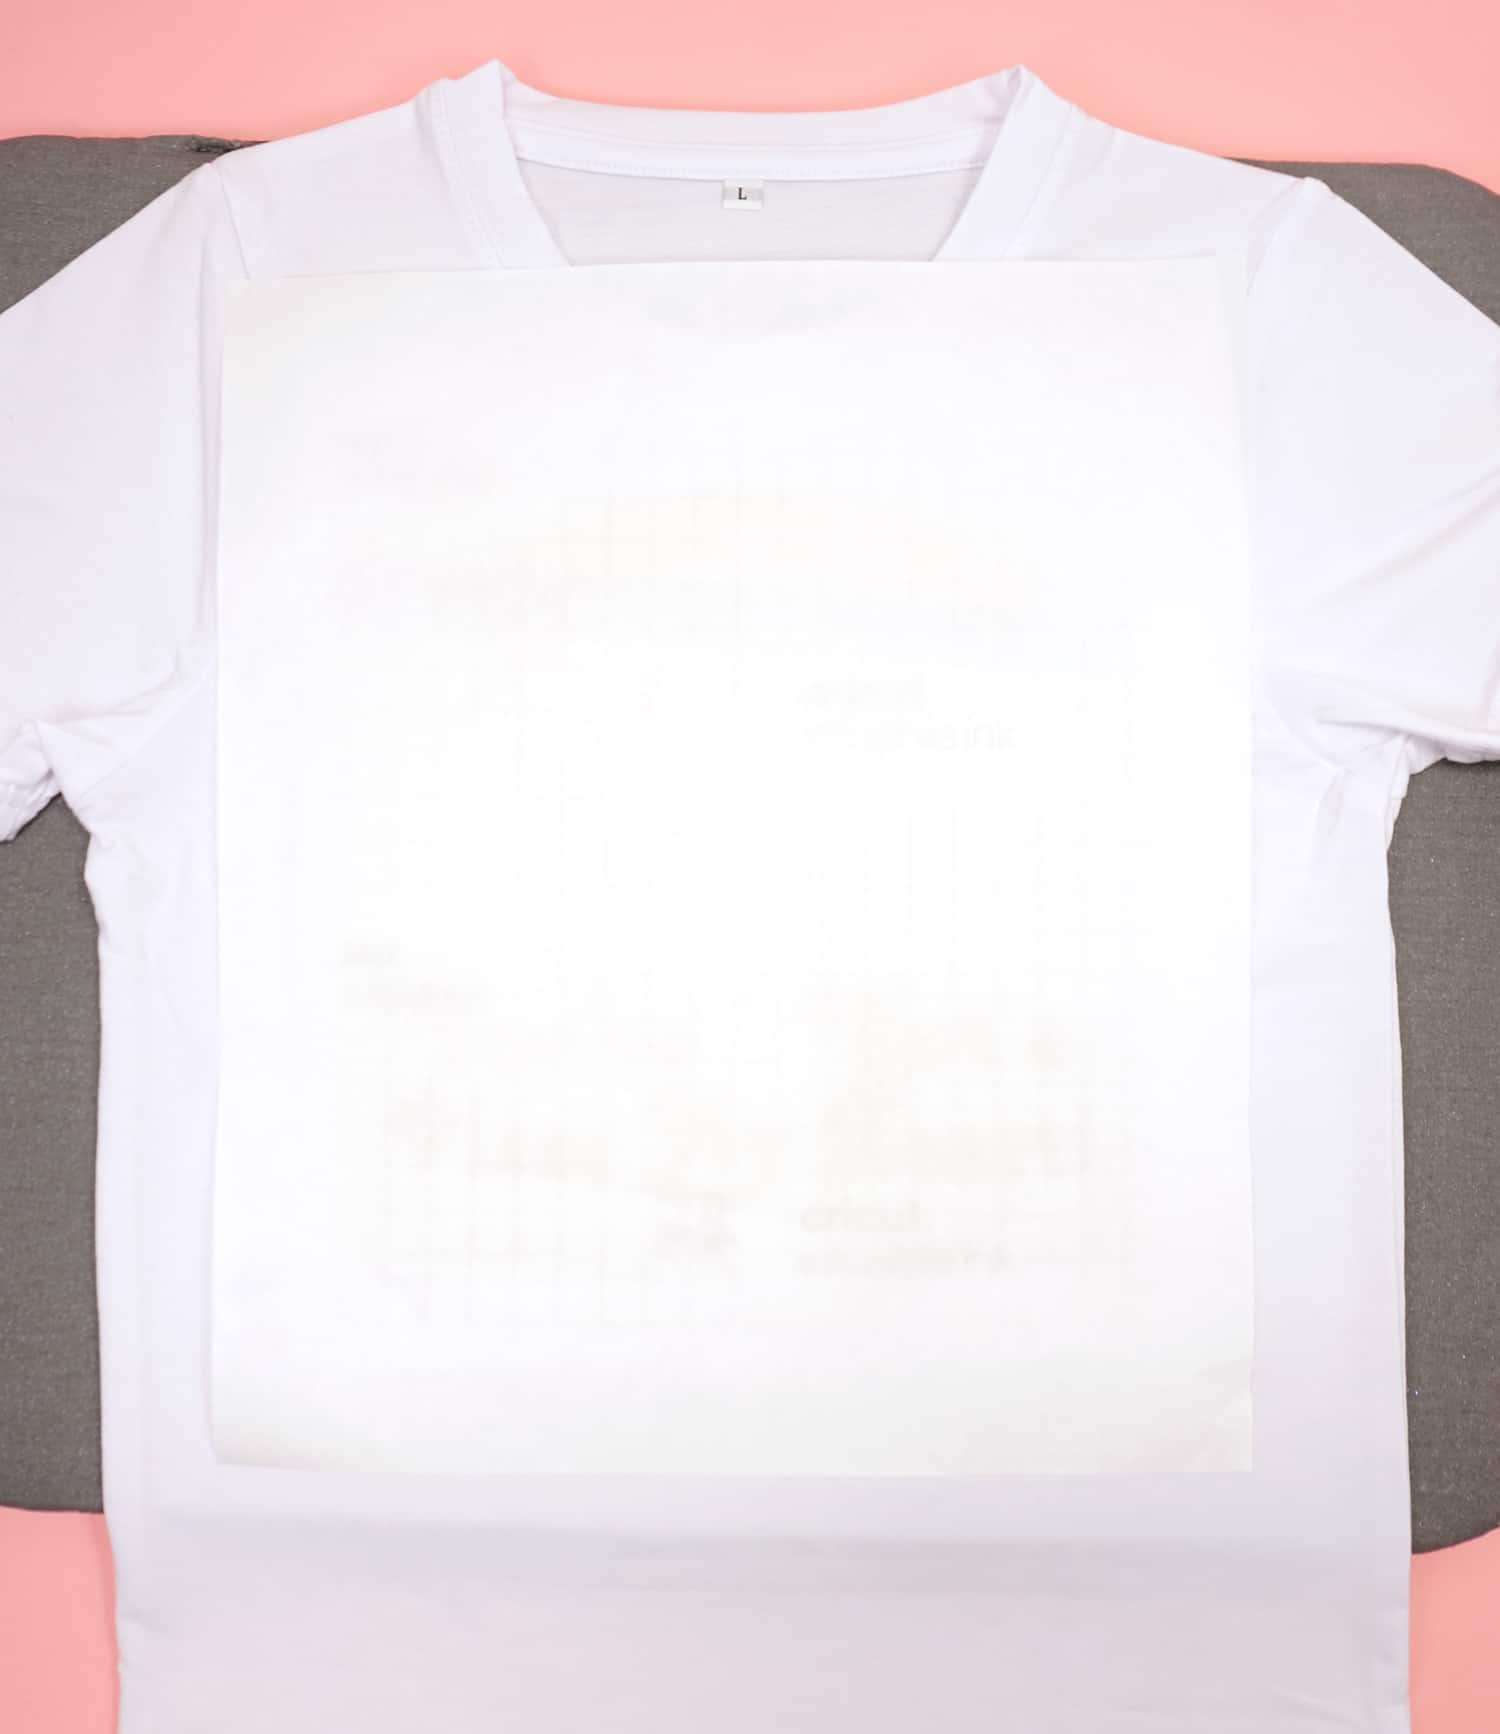
Cover the design with a sheet of butcher paper.
Press with the EasyPress 2 for 40 seconds using light pressure. Allow to cool completely.

Peel back the carrier sheet to reveal the BRIGHT and awesome Infusible Ink design on your shirt! SO cool!

If you look closely, you can see that the Infusible Ink has actually bonded with the fibers of the fabric and become a part of the garment. That means that you’ll never have to worry about it peeling, cracking, or fading! It can even stretch right along with the shirt!

This is going to be one of those holiday shirts that you’ll want to wear long after Valentine’s Day is over!
Infusible Ink is quickly becoming one of my most favorite materials to work with since it has such a nice and clean professional finish, and the results will last a lifetime! Now that you know how to layer Cricut Infusible Ink, the possibilities are endless!

Check Out These Other Infusible Ink Ideas!
 35+ Mother’s Day Cricut Craft Ideas
- Infusible Ink Mugs with the Cricut Mug Press
 How to Use the Cricut Mug Press
- Free Mug Wrap SVG Files
- How to Make an Infusible Ink Mug in the Oven
- Free Harry Potter SVG + Marathon Blanket
- How to Layer Cricut Infusible Ink: Slice & Set Method
- Personalized Christmas Ornaments with Cricut Infusible Ink


Don’t Forget to Pin This Valentine’s Shirt for Later!


Heidi Kundin has captivated the hearts of millions with her colorful and inspiring approach to crafting, celebrations, and family fun. With over 15 years of experience, Happiness is Homemade has become a must-visit destination for those seeking quick and easy creative ideas and last-minute solutions. Heidi’s warm personality shines through her posts, inviting readers to join her on a creative journey that’s fun, rewarding, and achievable. Heidi is also the author of Homemade Bath Bombs & More and DIY Tie-Dye.