Learn how to make bath bombs with our easy-to-follow bath bomb recipe and step-by-step tutorial! DIY bath bombs are a ton of fun to make and are a fantastic homemade gift idea!
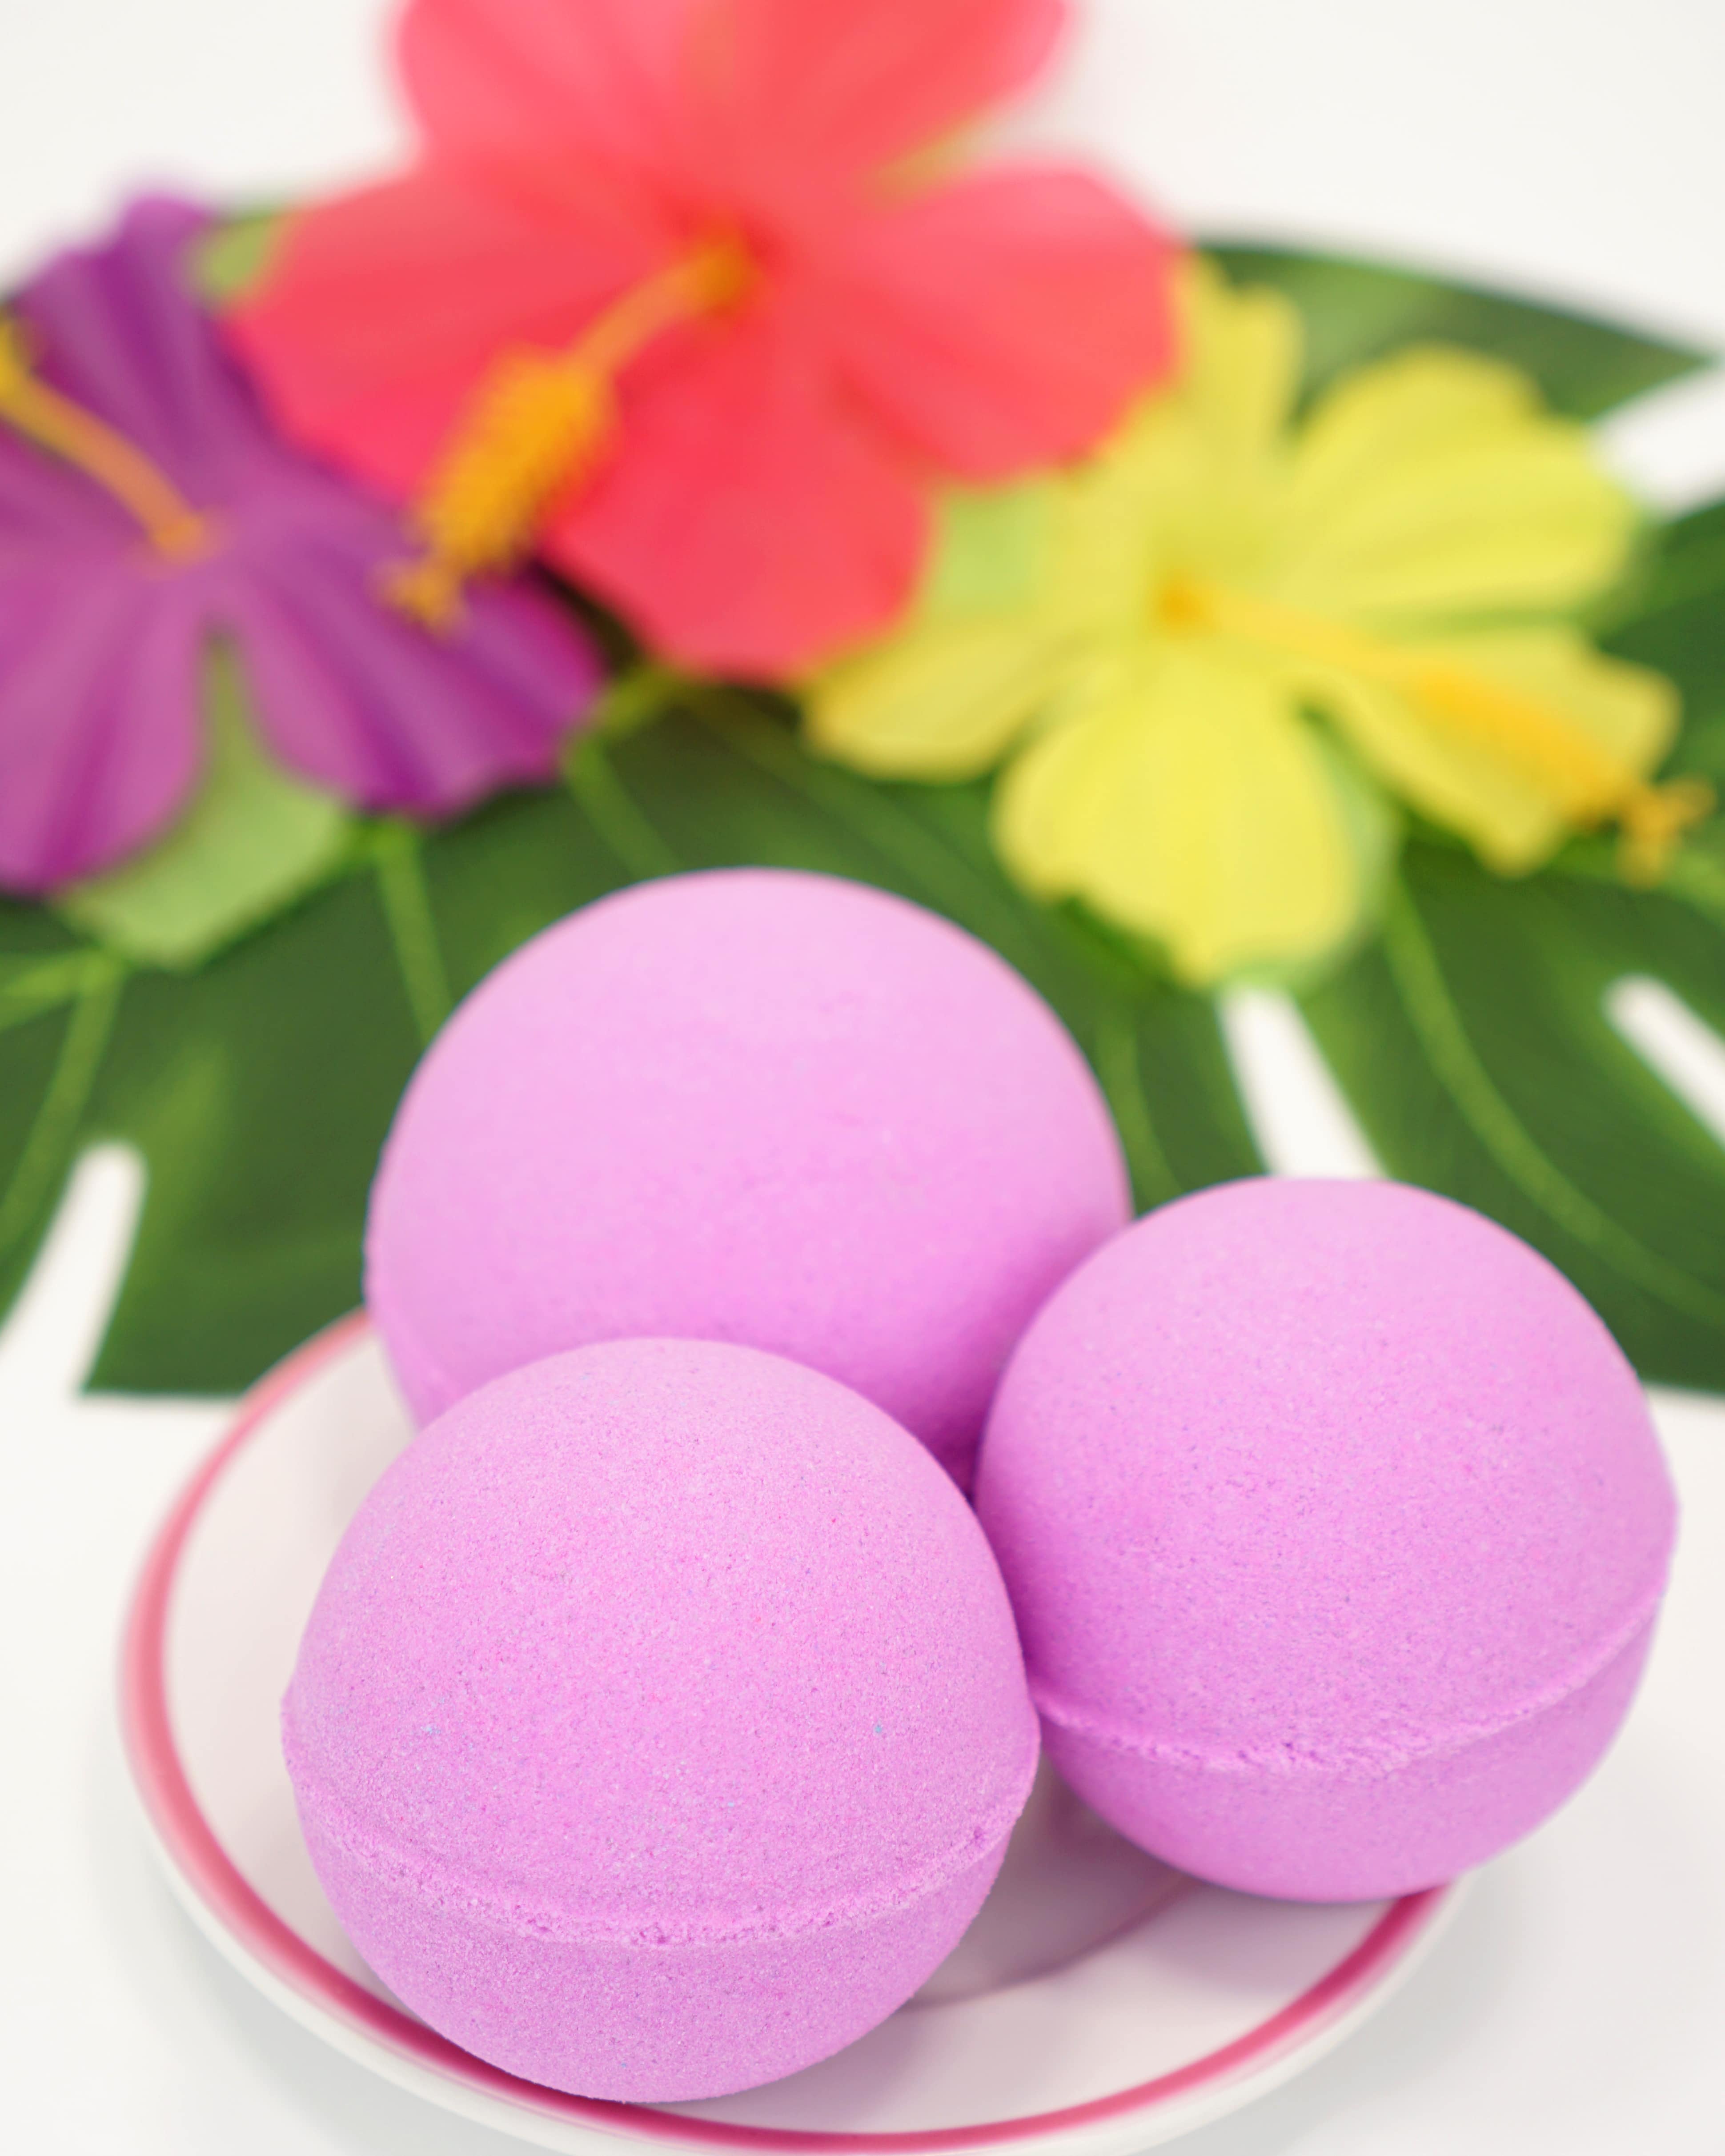
Have you been wanting to learn how to make bath bombs, but feel overwhelmed by all of the different recipes and information out there? We’ve got you covered! Today we’re sharing our most favorite bath bomb recipe along with ALL of the information, tips, and tricks to ensure that your bath bombs will be successful from the start!
We can all enjoy taking a nice relaxing bath and reading a good book to de-stress (when you get the time!). The best part is watching mesmerizing bath bombs fizz around you while inhaling your favorite essential oils and feeling your skin turn into butter as you melt back into the warm water. Top it all off with a nice glass of wine, and my weekend is made!
Bath bombs are easy for the at-home, crafty entrepreneur to make and are a great gift idea for friends, family or anyone! This tutorial will break it down into simple, step-by-step instructions so you can easily craft your own bath bombs.
You May Also Like These Beauty DIYS:
DIY HOMEMADE BATH BOMBS
Use our easy homemade bath bomb recipe and learn how to make DIY bath bombs with our step-by-step tutorial!
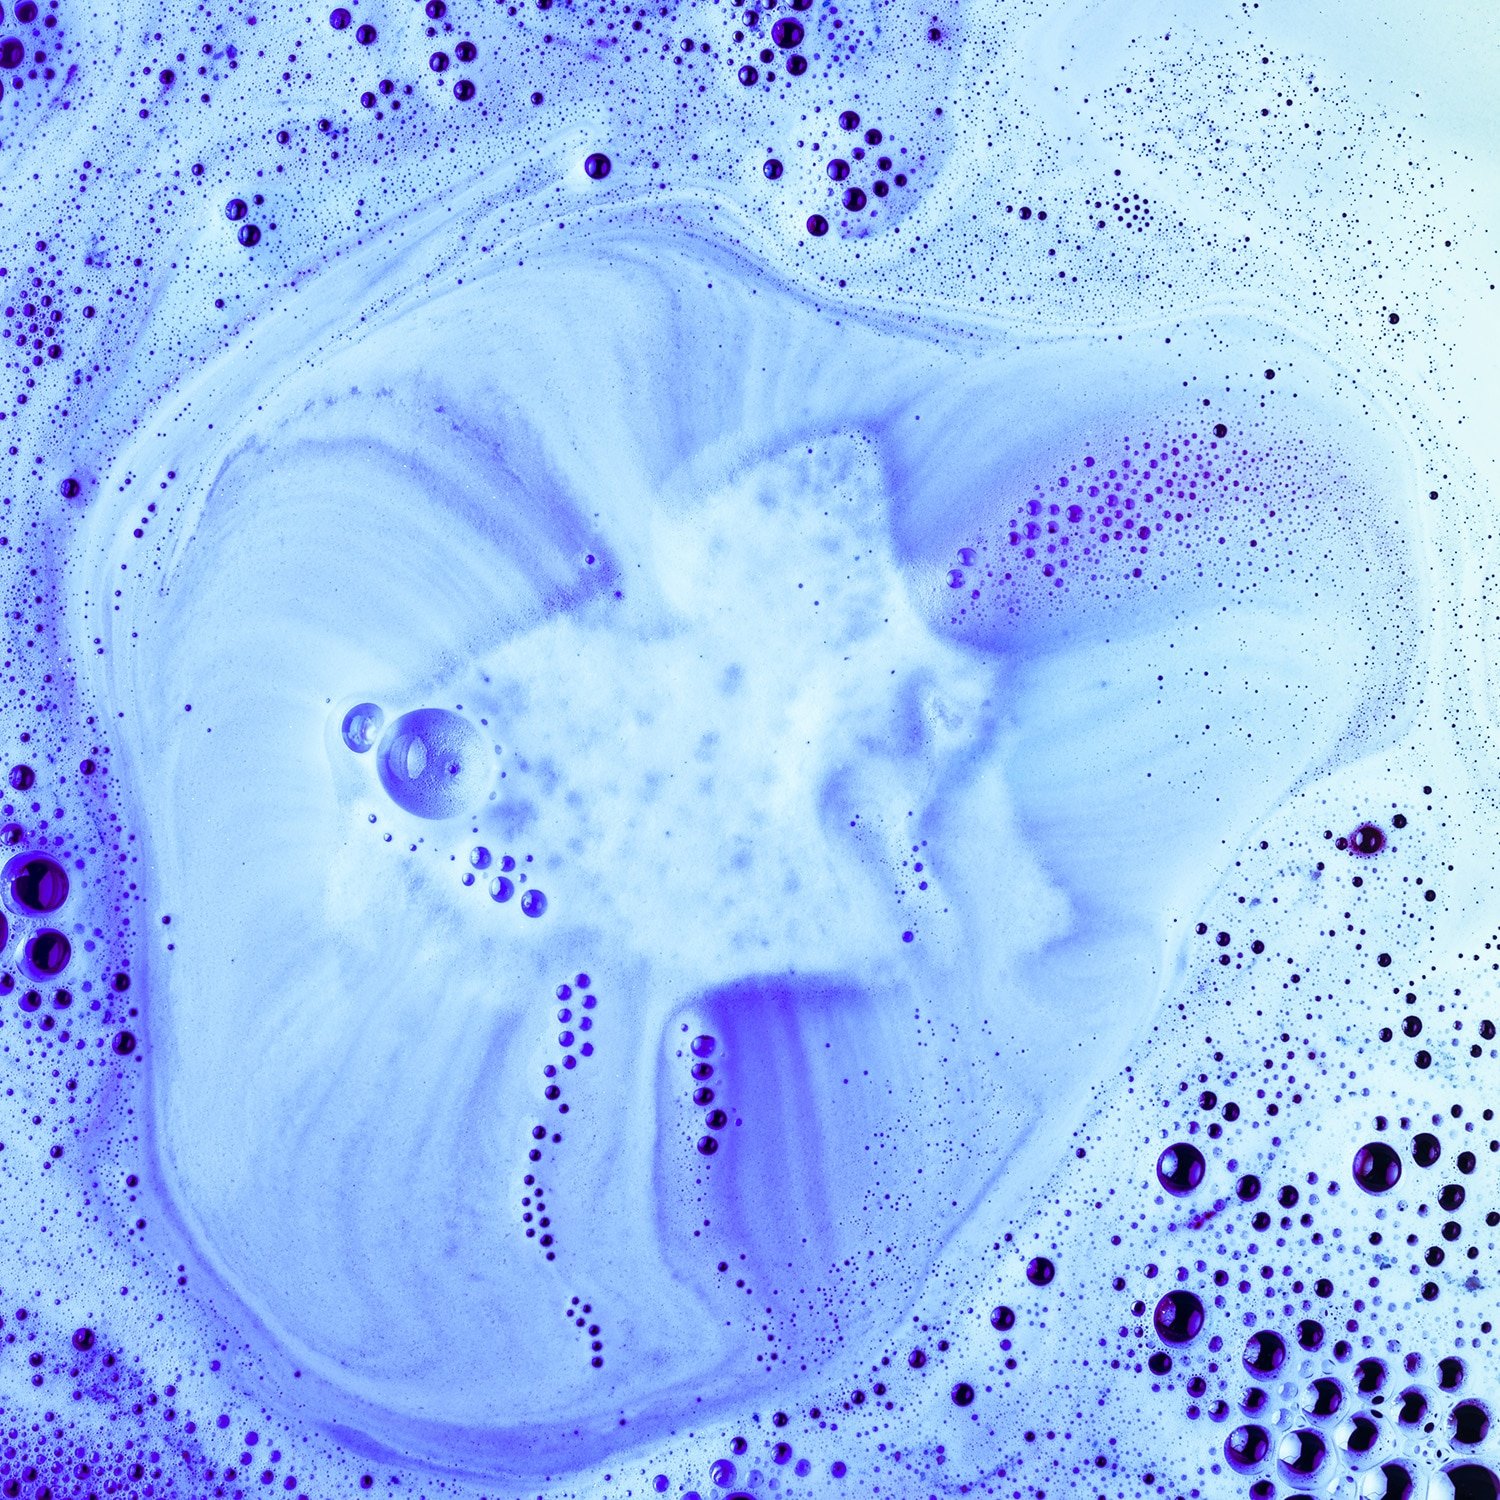
What is a Bath Bomb?
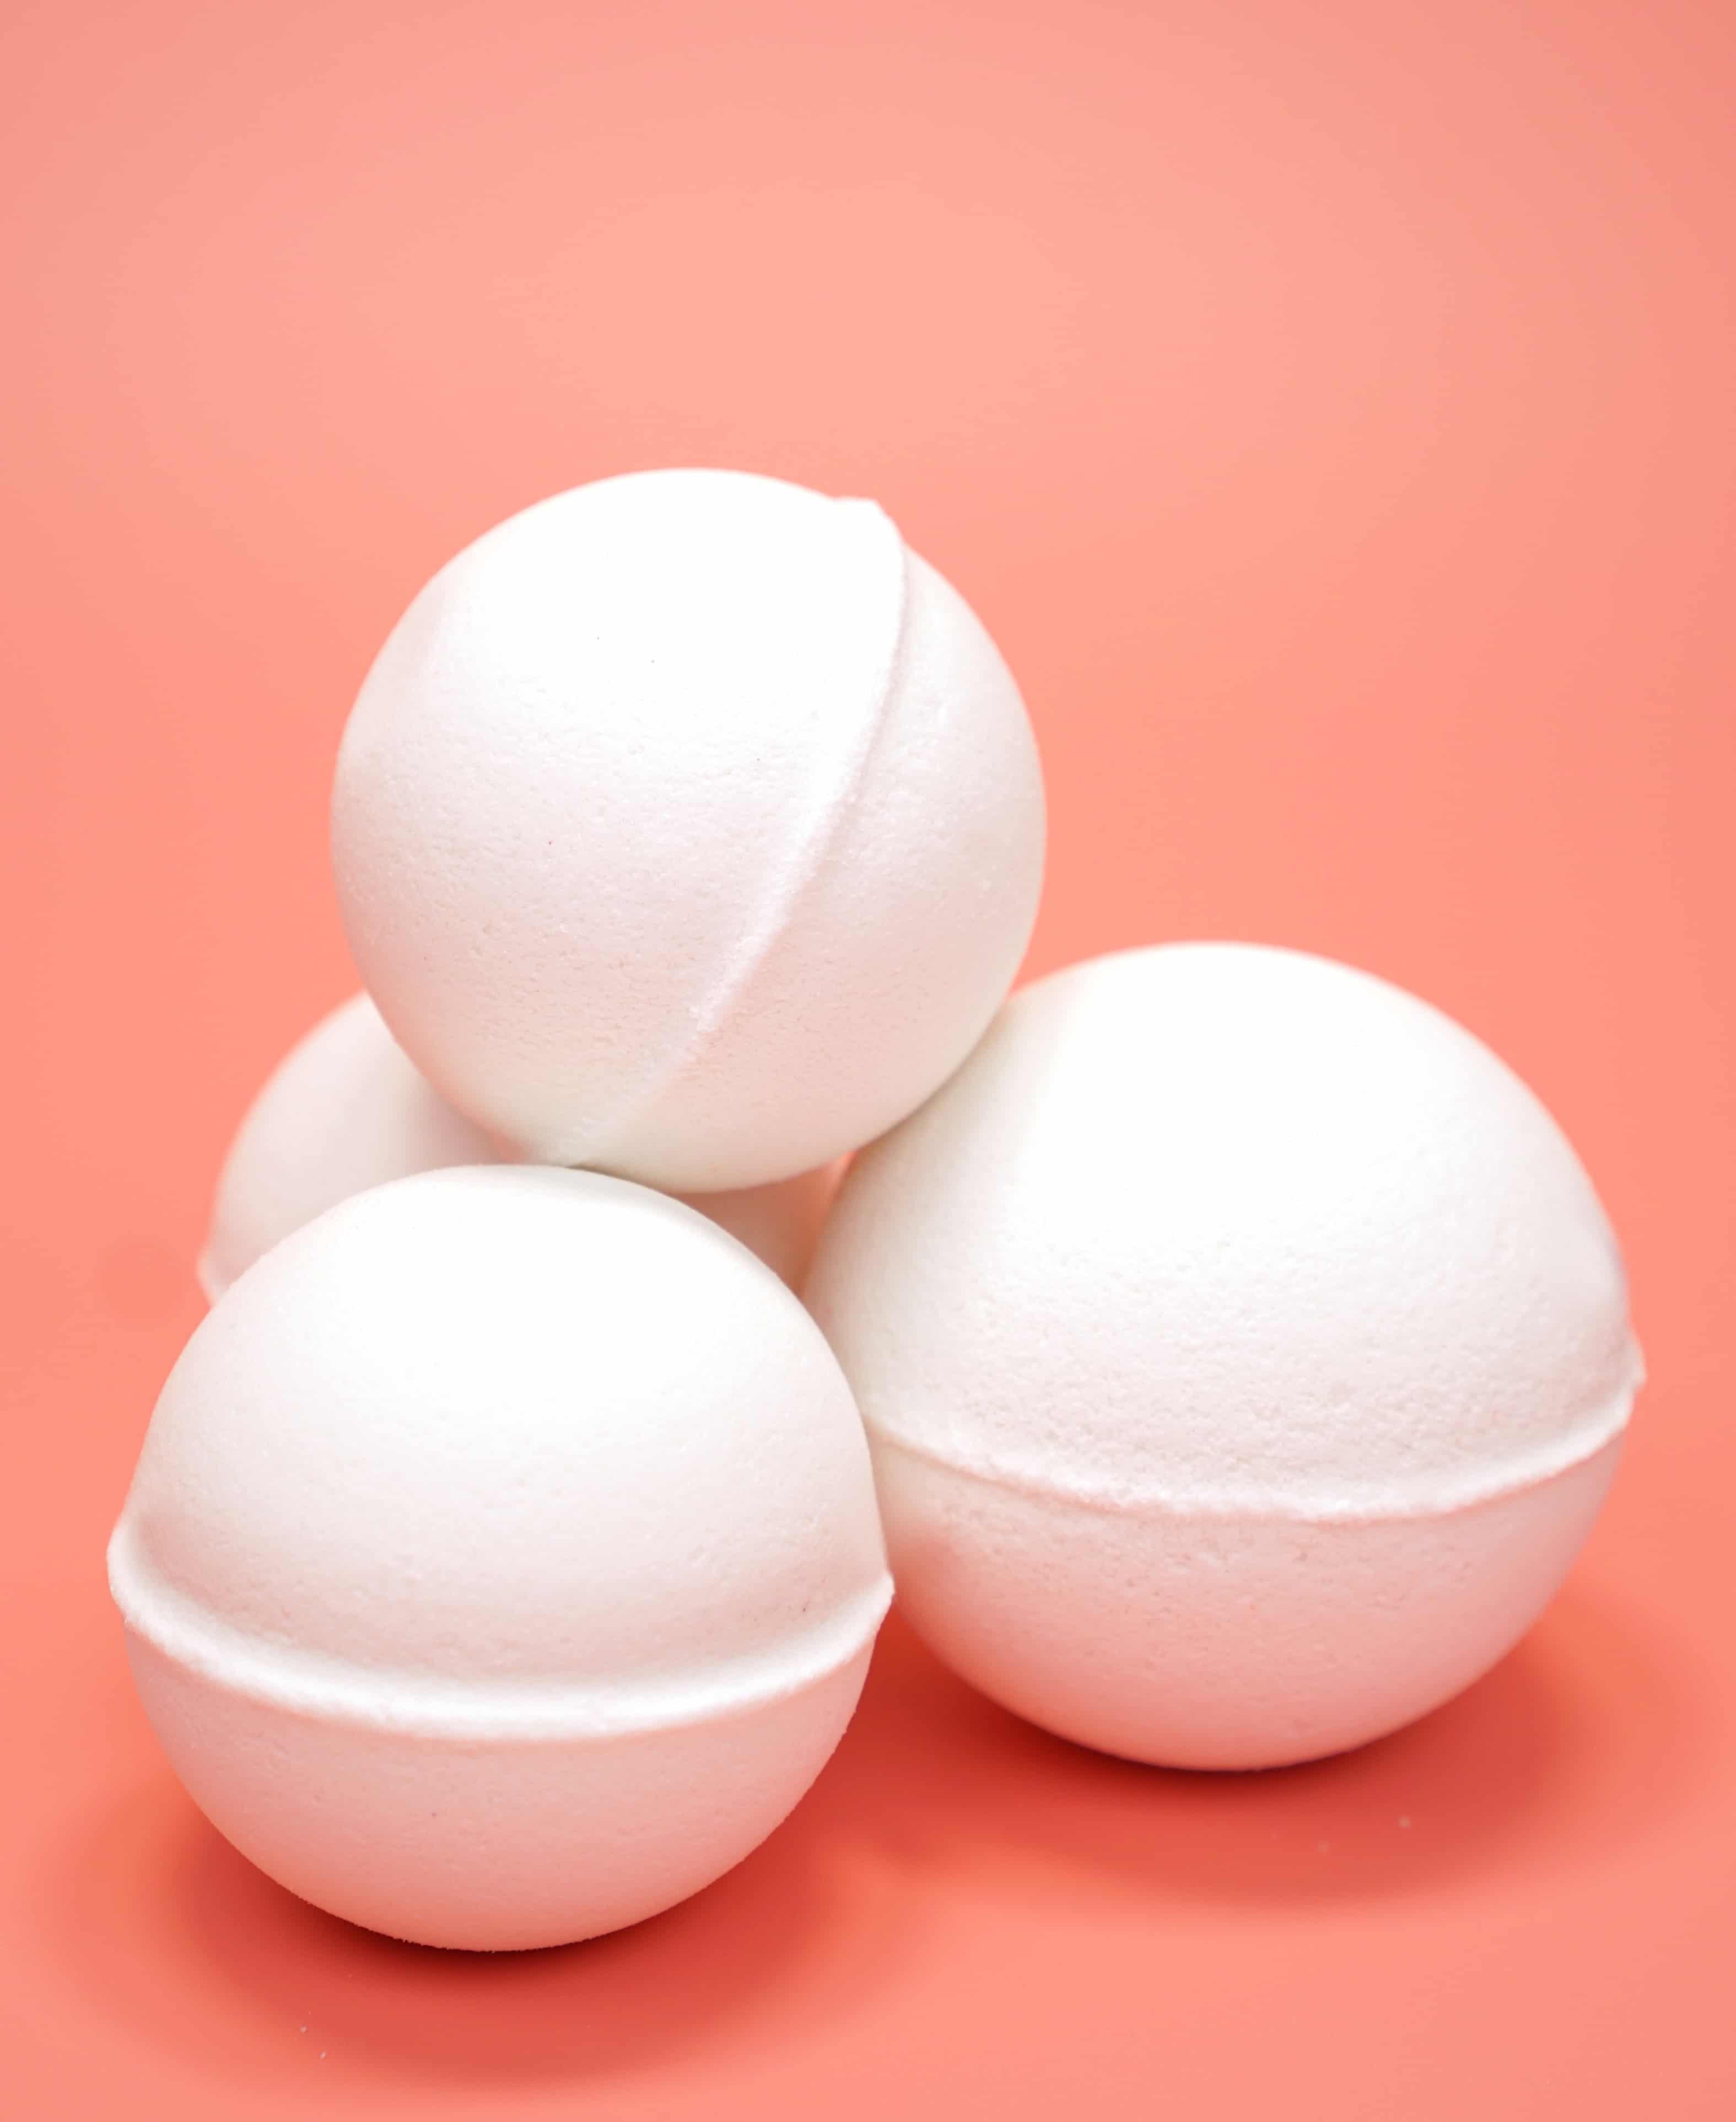
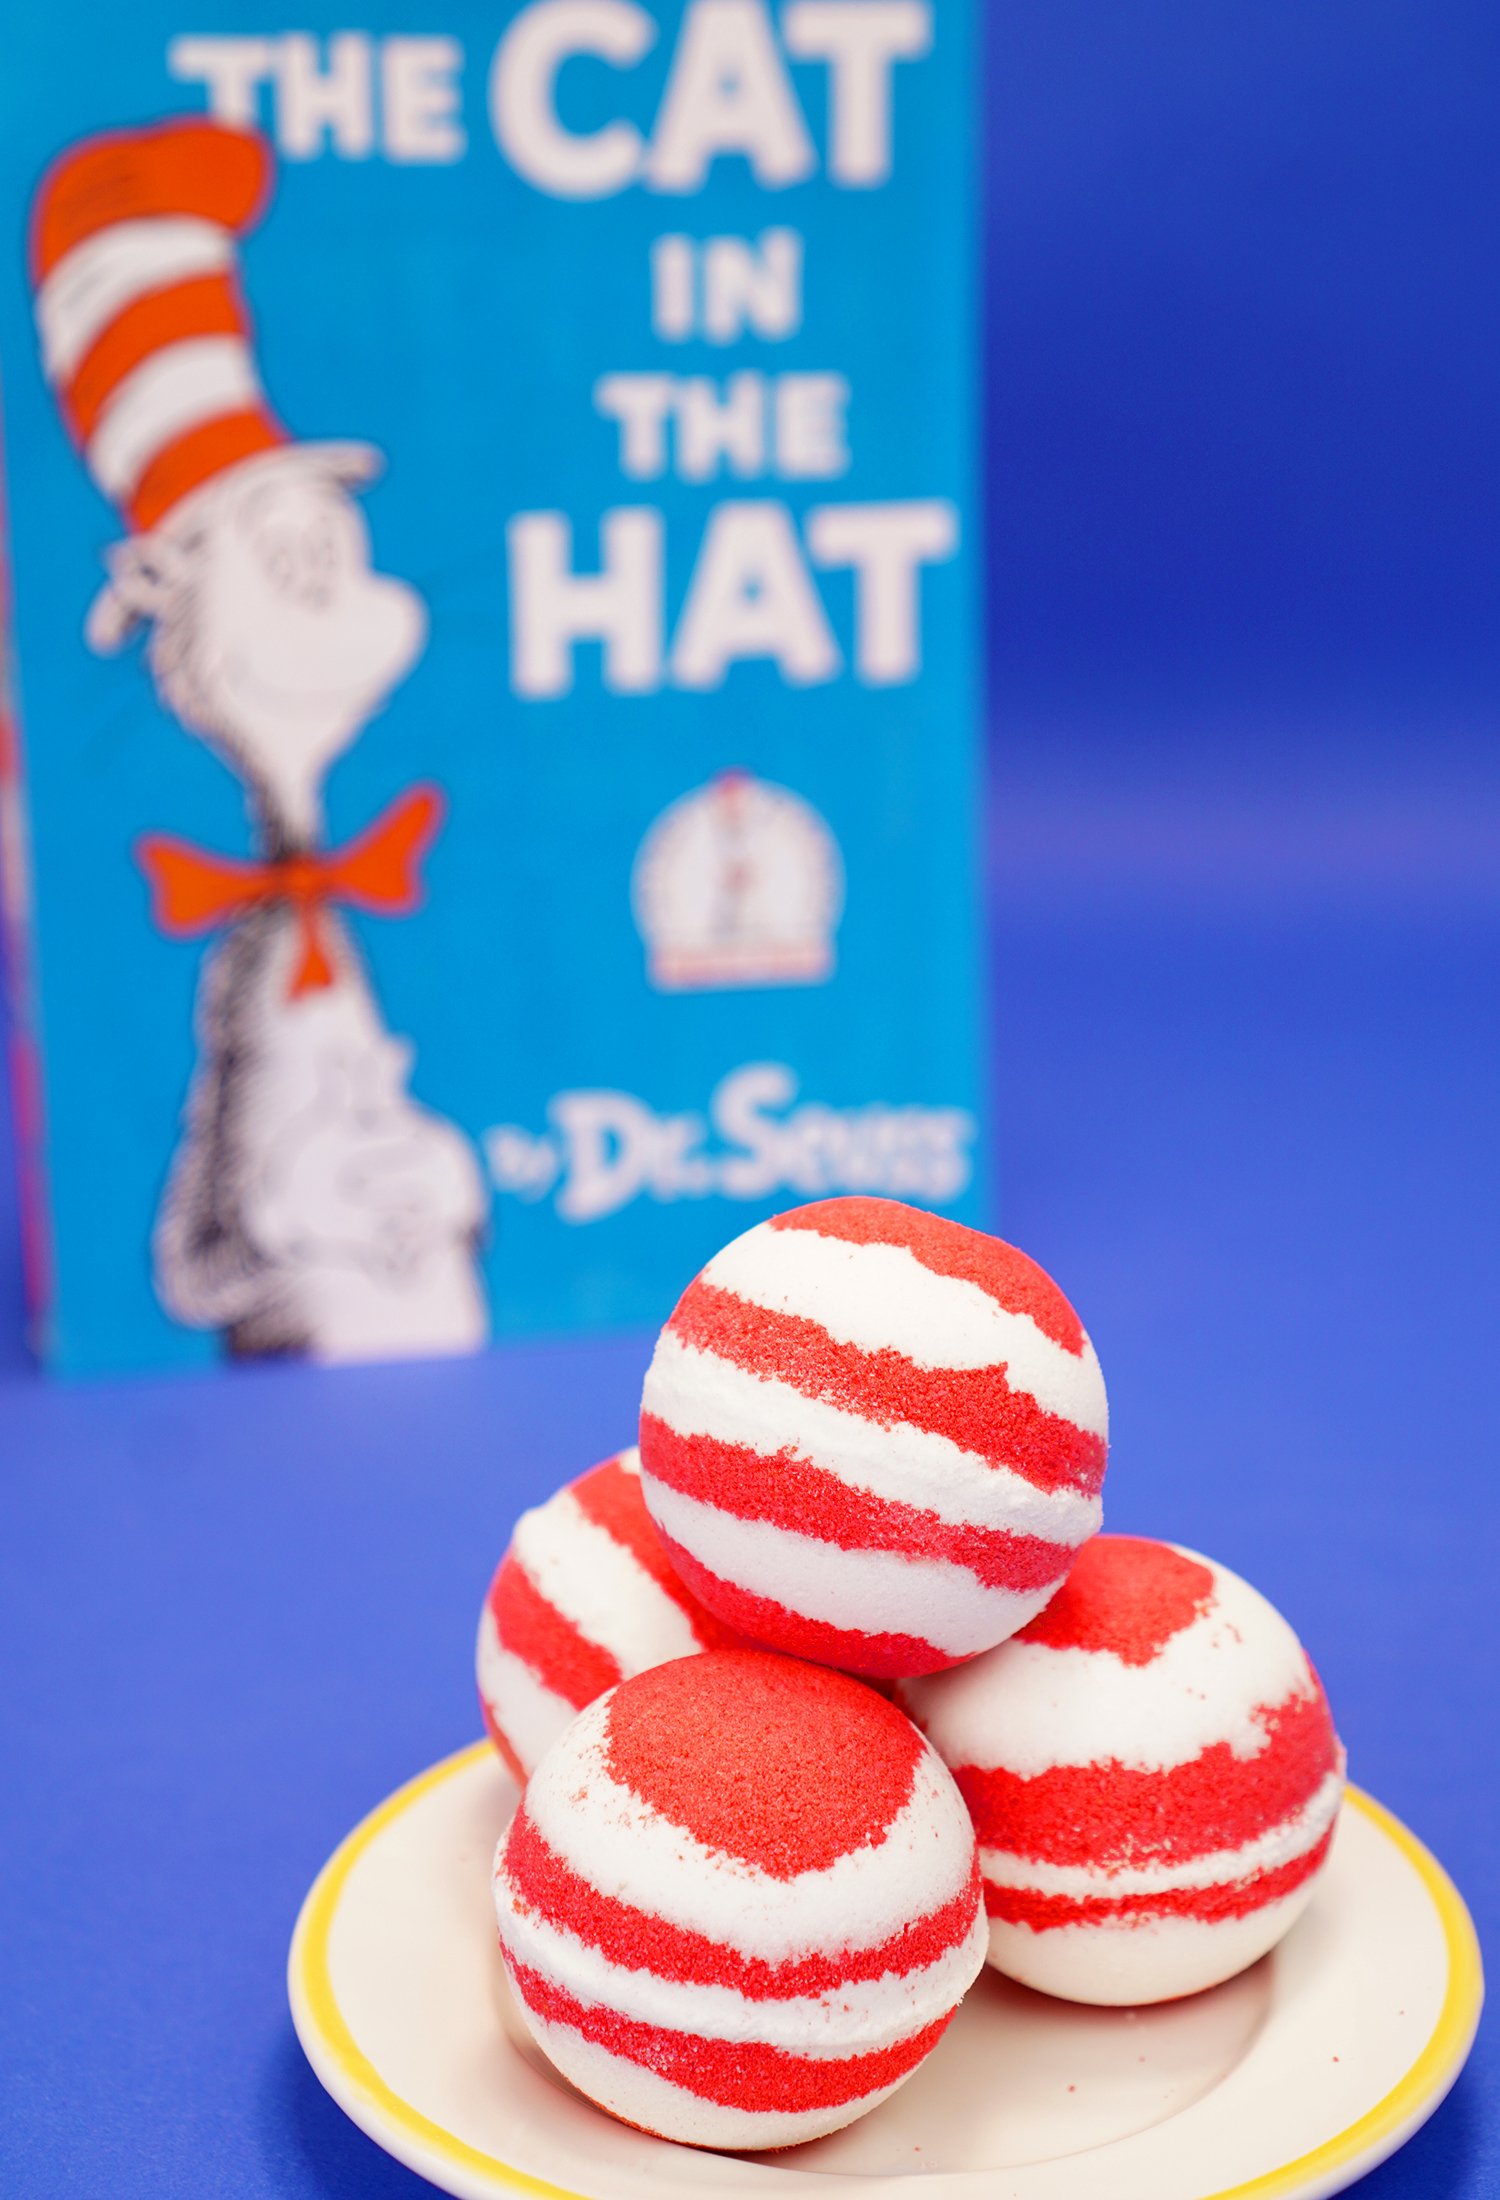
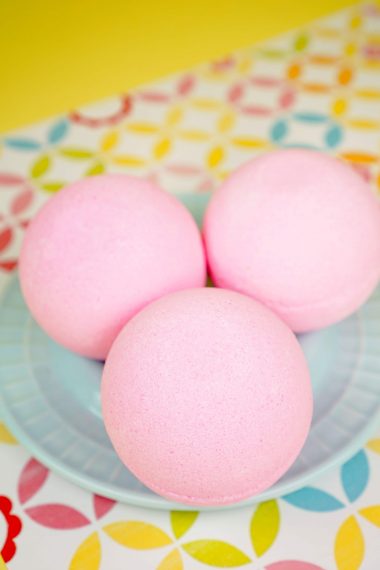
A bath bomb is an effervescent explosion of colorful fun in your bathtub! Used to add color, foam, fizz, and bubbles to your bath time experience, many bath bombs also contain oils and butters that moisturize and nourish the skin.
Essential oils, salts, and clays may also be added to the bath bombs to increase the detoxifying properties and add health benefits. It’s like creating a luxurious spa-like experience in your own home!
How to Make Bath Bombs
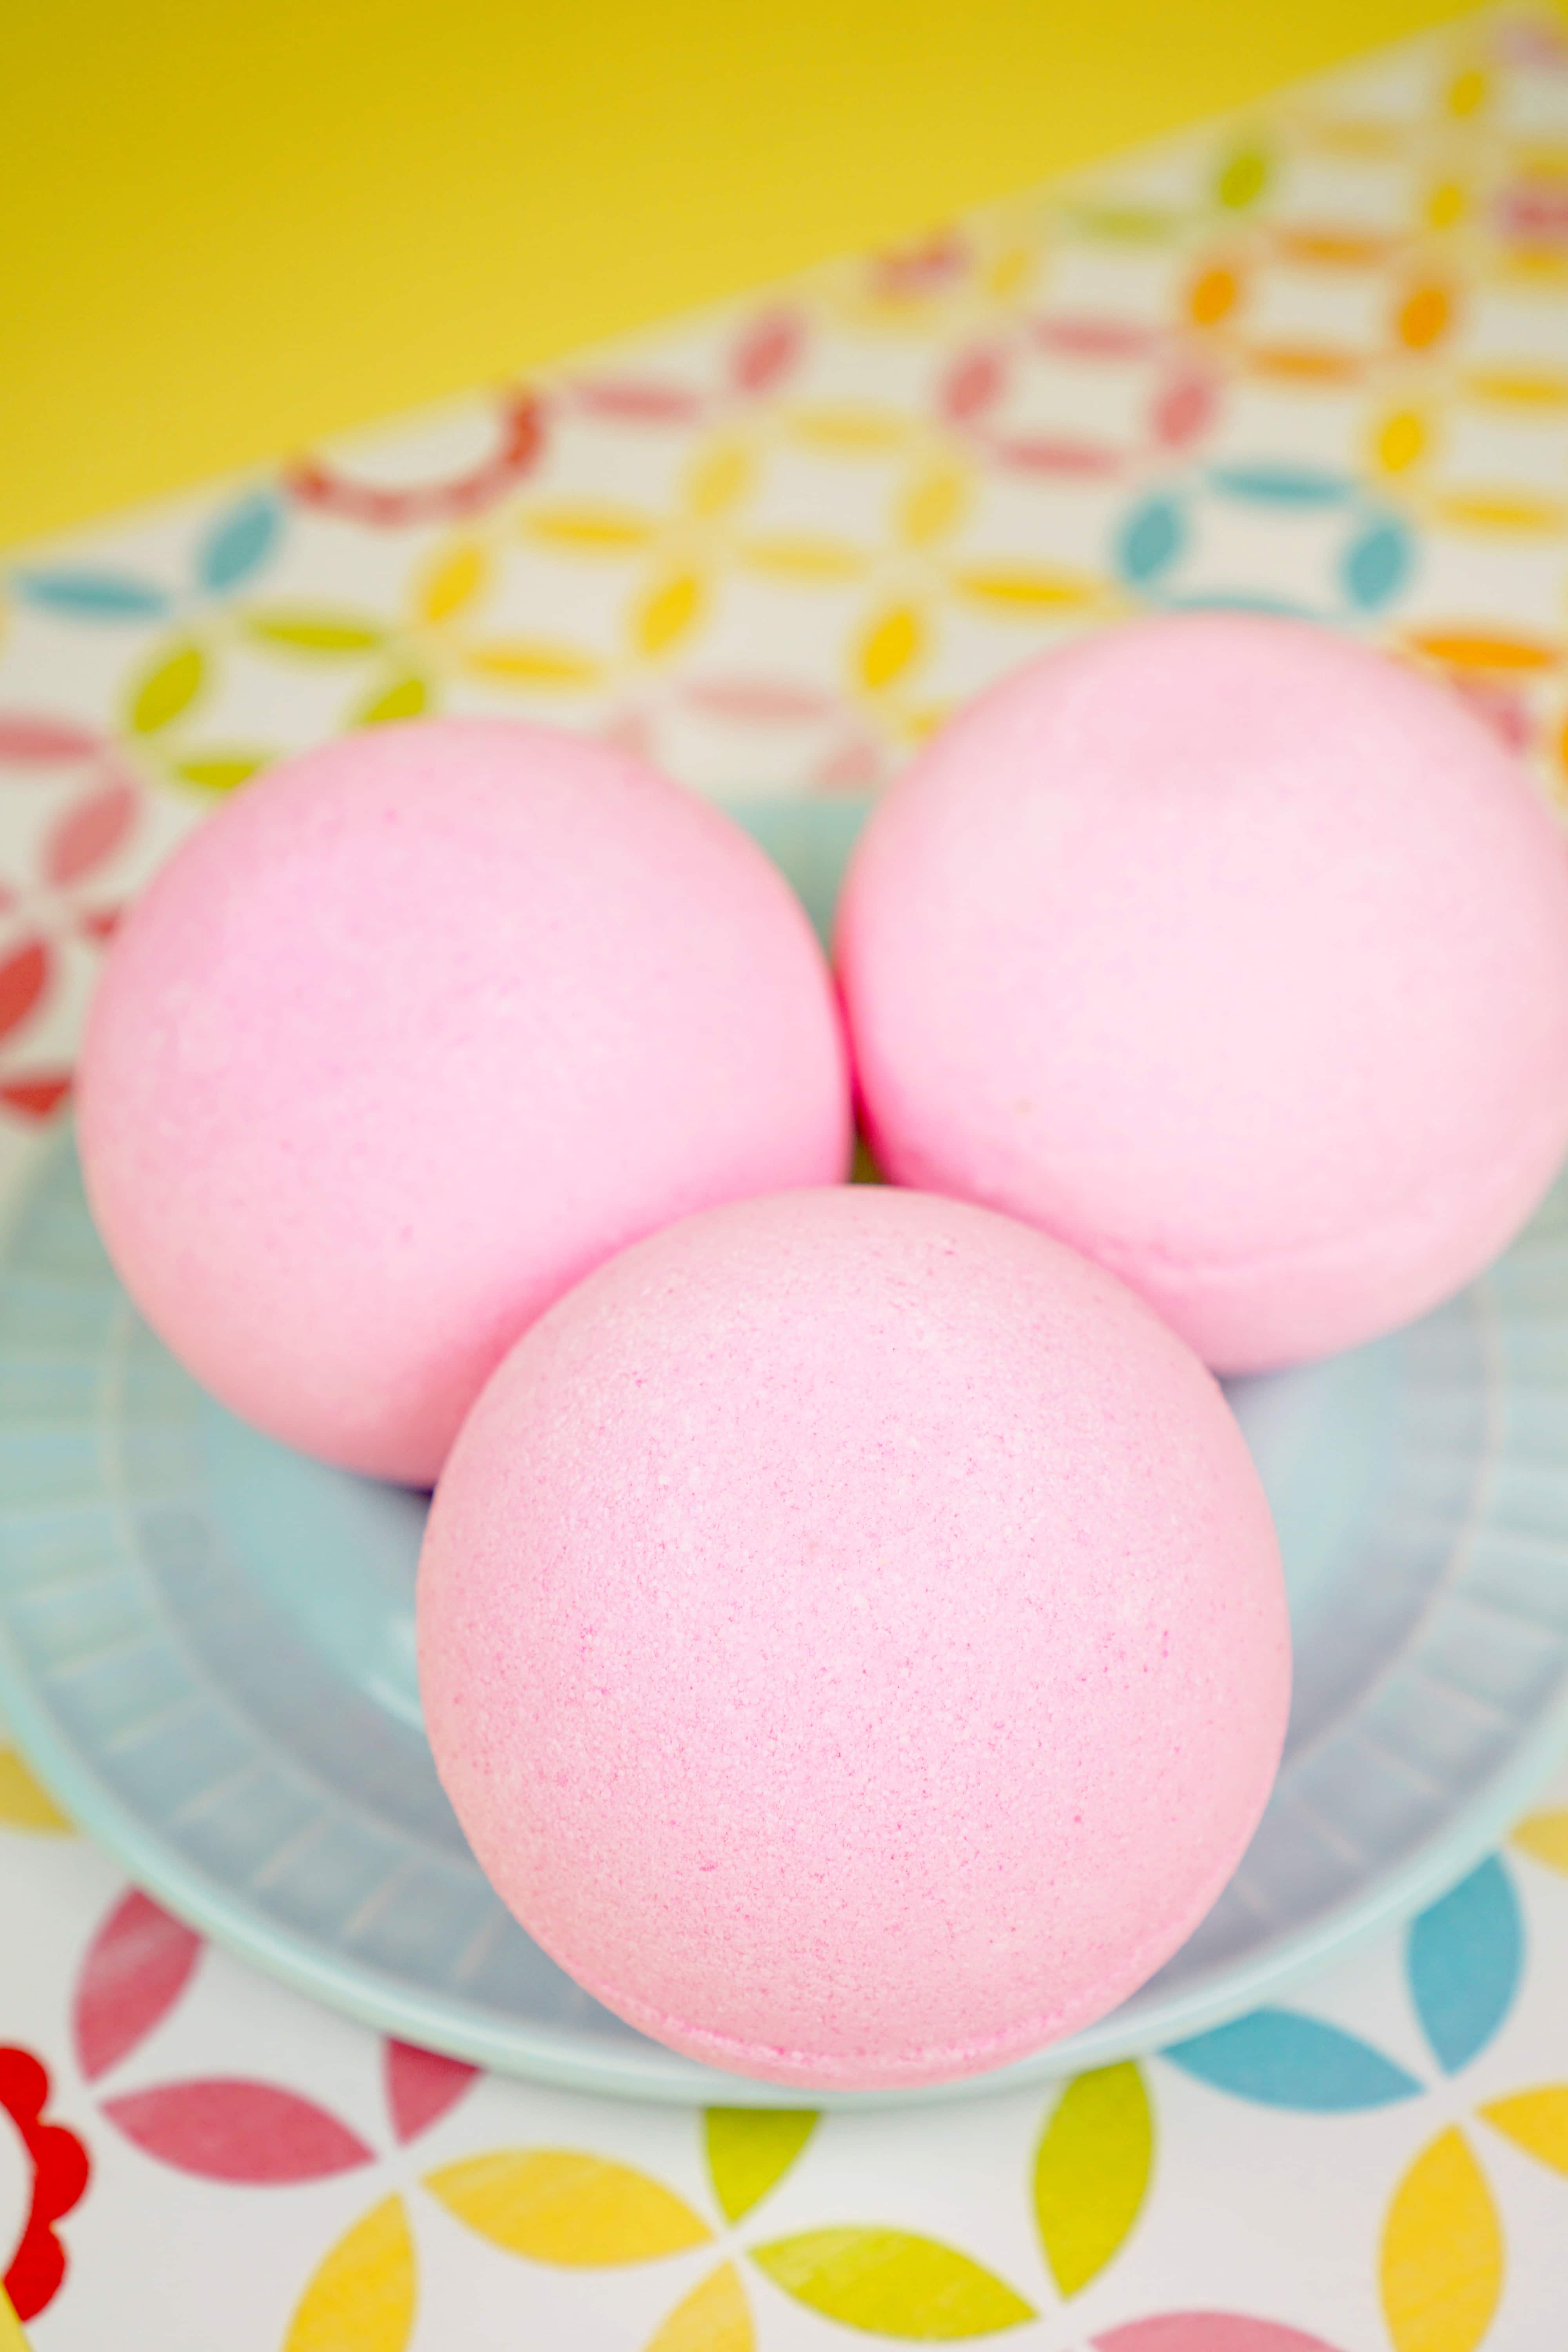
Bath Bomb Ingredients:
Knowing the role that each ingredient plays in your bath bomb recipe is important if you want to be successful. Bath bombs can be a little finicky to make sometimes, but with a little knowledge, you’ll know exactly how to tweak your recipe to suit your climate and environment for foolproof bath bombs every time!
The most basic bath bombs can be made by simply combining baking soda, citric acid, and a binder; however, we’ve found that the BEST bath bombs include a few more ingredients. This list here will help you know which ingredients are irreplaceable and which ones can be omitted if desired.
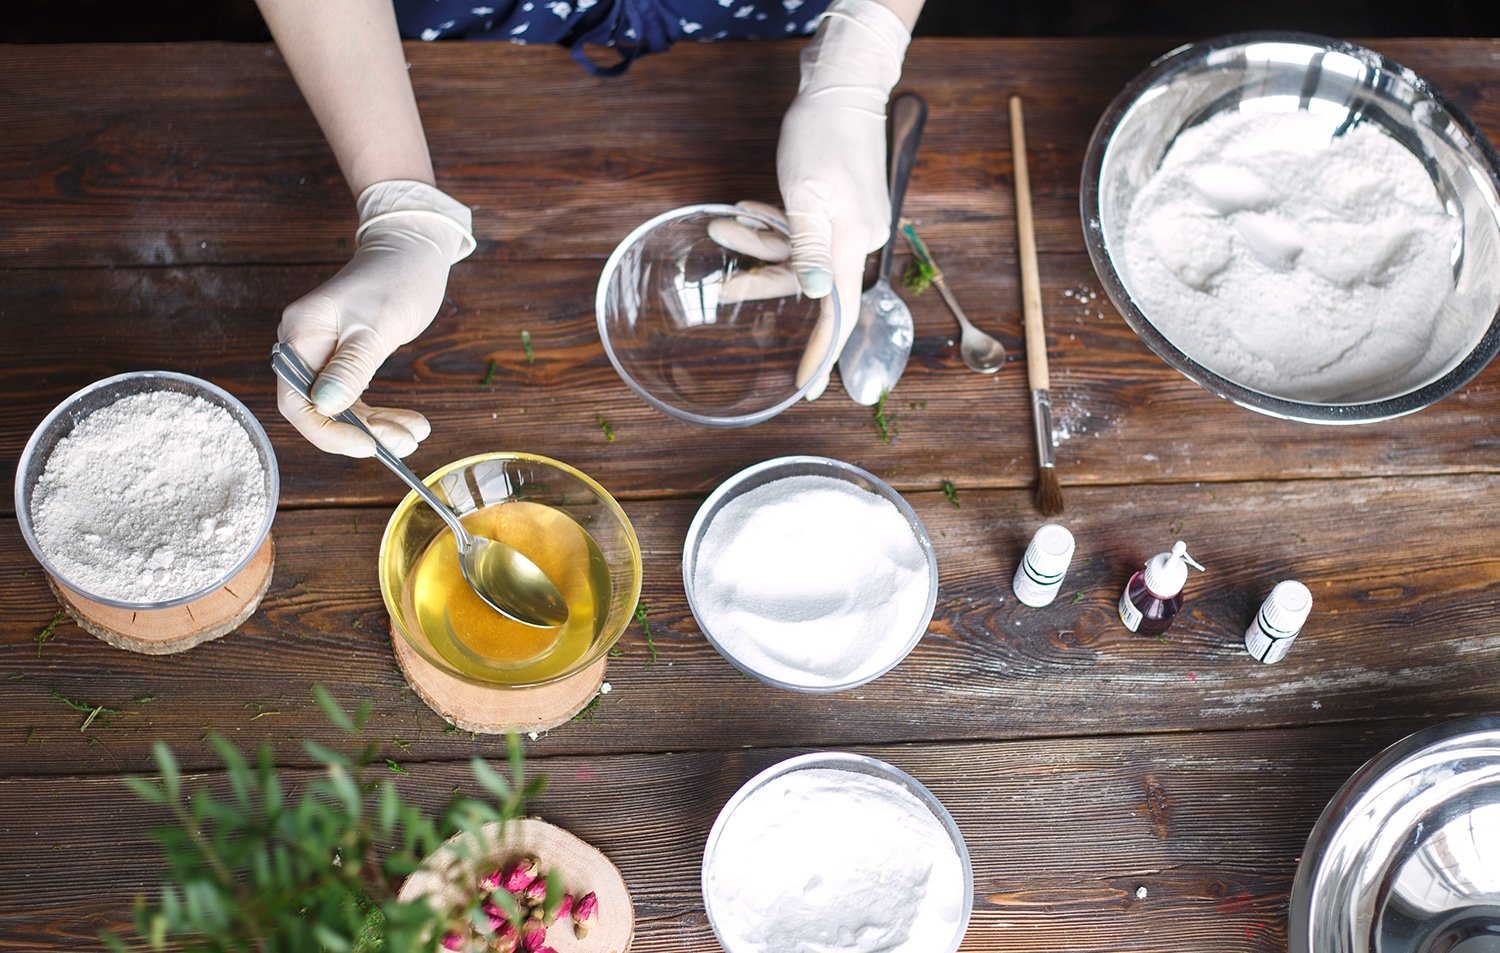
Not all of these ingredients are used in our Best Bath Bomb Recipe below, but for your own future recipe creation, these are all important to know!
BAKING SODA
Sodium bicarbonate, more commonly known as baking soda, is the main ingredient in bath bombs. Scientifically known as a “weak base” which will result in a fizzing acid-base chemical reaction when combined with citric acid. Baking soda softens the bath water and leaves your skin feeling smooth and soft.
CITRIC ACID
Citric acid is the second key ingredient in bath bombs. It is a naturally occurring “weak acid” derived from citrus fruits which promotes the fizzing reaction when combined with baking soda.
CORNSTARCH
Cornstarch is a popular filler ingredient that is often used in bath bombs as a thickening and hardening agent. Too much corn starch can reduce the fizzing action, though, so don’t get too heavy-handed!
CREAM of TARTAR and CLAYS
Cream of tartar and clays are also used to harden bath bombs.
SODIUM LAURYL SULFOACETATE (SLSA)
SLSA is a naturally-derived (from coconut and palm oil) surfactant that creates thick and luxurious foamy bubbles during the fizzing process.
SALTS
Salts are included in bath bomb recipes for their purported health benefits. Epsom salt, reported to soothe sore muscles and increase well-being, is the most commonly used salt, but sea salt and pink Himalayan salt are also frequently used due to their reputed detoxifying properties.
Note: Salts attract water and can occasionally start the fizzing reaction prematurely, so they should be included in minimal to moderate amounts only. Grinding coarse salts to a fine powder will produce the best results and smoothest finish on your bath bombs.
OILS
Oils are used to add moisture to the bath bomb recipe and to bind the mixture together. All oils have moisturizing properties that hydrate and soften skin, and different varieties of oil also lend various additional benefits. The most popular oils to use in bath bombs are sweet almond oil, avocado oil, coconut oil, grapeseed oil, and jojoba oil. Caution: Bath bombs that contain oils may make your bathtub slippery!
BUTTERS
Butters add moisturizing properties to your bath bombs to make skin extra smooth and silky, and some butters may even help harden bath bombs as well. Commonly used butters include avocado, cocoa, coffee, mango, and shea. Caution: Bath bombs that contain butters may make your bathtub slippery!
FRAGRANCE OILS and ESSENTIAL OILS
Essential oils are naturally derived oils that can add both fragrance and reported health benefits to your bath bombs. Fragrance oils are generally synthetically created, cost far less than essential oils, and are available in an HUGE variety of scent options.
COLORANTS
I like to use cosmetic micas to color my bath bombs (Mad Micas carries some super awesome bright colors!), but other colorant options include FDA-approved lakes and dyes which must first be “bloomed” into the baking soda before beginning your recipe. I do NOT recommend using drops of food coloring in your bath bombs as it can stain skin and the bathtub.
POLYSORBATE 80
If you do opt to include colorants, especially micas, adding a bit of Polysorbate 80 to the recipe will help the color disperse more evenly throughout the water and prevent it from leaving a ring around the bathtub.
WITCH HAZEL
Witch hazel is the most commonly used liquid binder for bath bombs, but you can also use a mixture of water and isopropyl alcohol if you prefer (note: using alcohol as a binder may result in drier and more crumbly bath bombs depending on your climate). A scant amount is used to bring the mixture to the proper consistency and help bind the ingredients together.
Bath Bomb Molds
Bath bomb molds will make it easy to shape your creation into a perfect sphere, or any shape you desire! You could also use ice cube trays, muffin tins, or silicone molds of any shape. Just make sure you firmly pack your completed mixture into whatever mold of your choice.
Step-by-Step DIY Bath Bomb Tutorial
Let’s learn how to make bath bombs! This easy-to-follow recipe and tutorial will have you creating professional-looking bath bombs in no time!
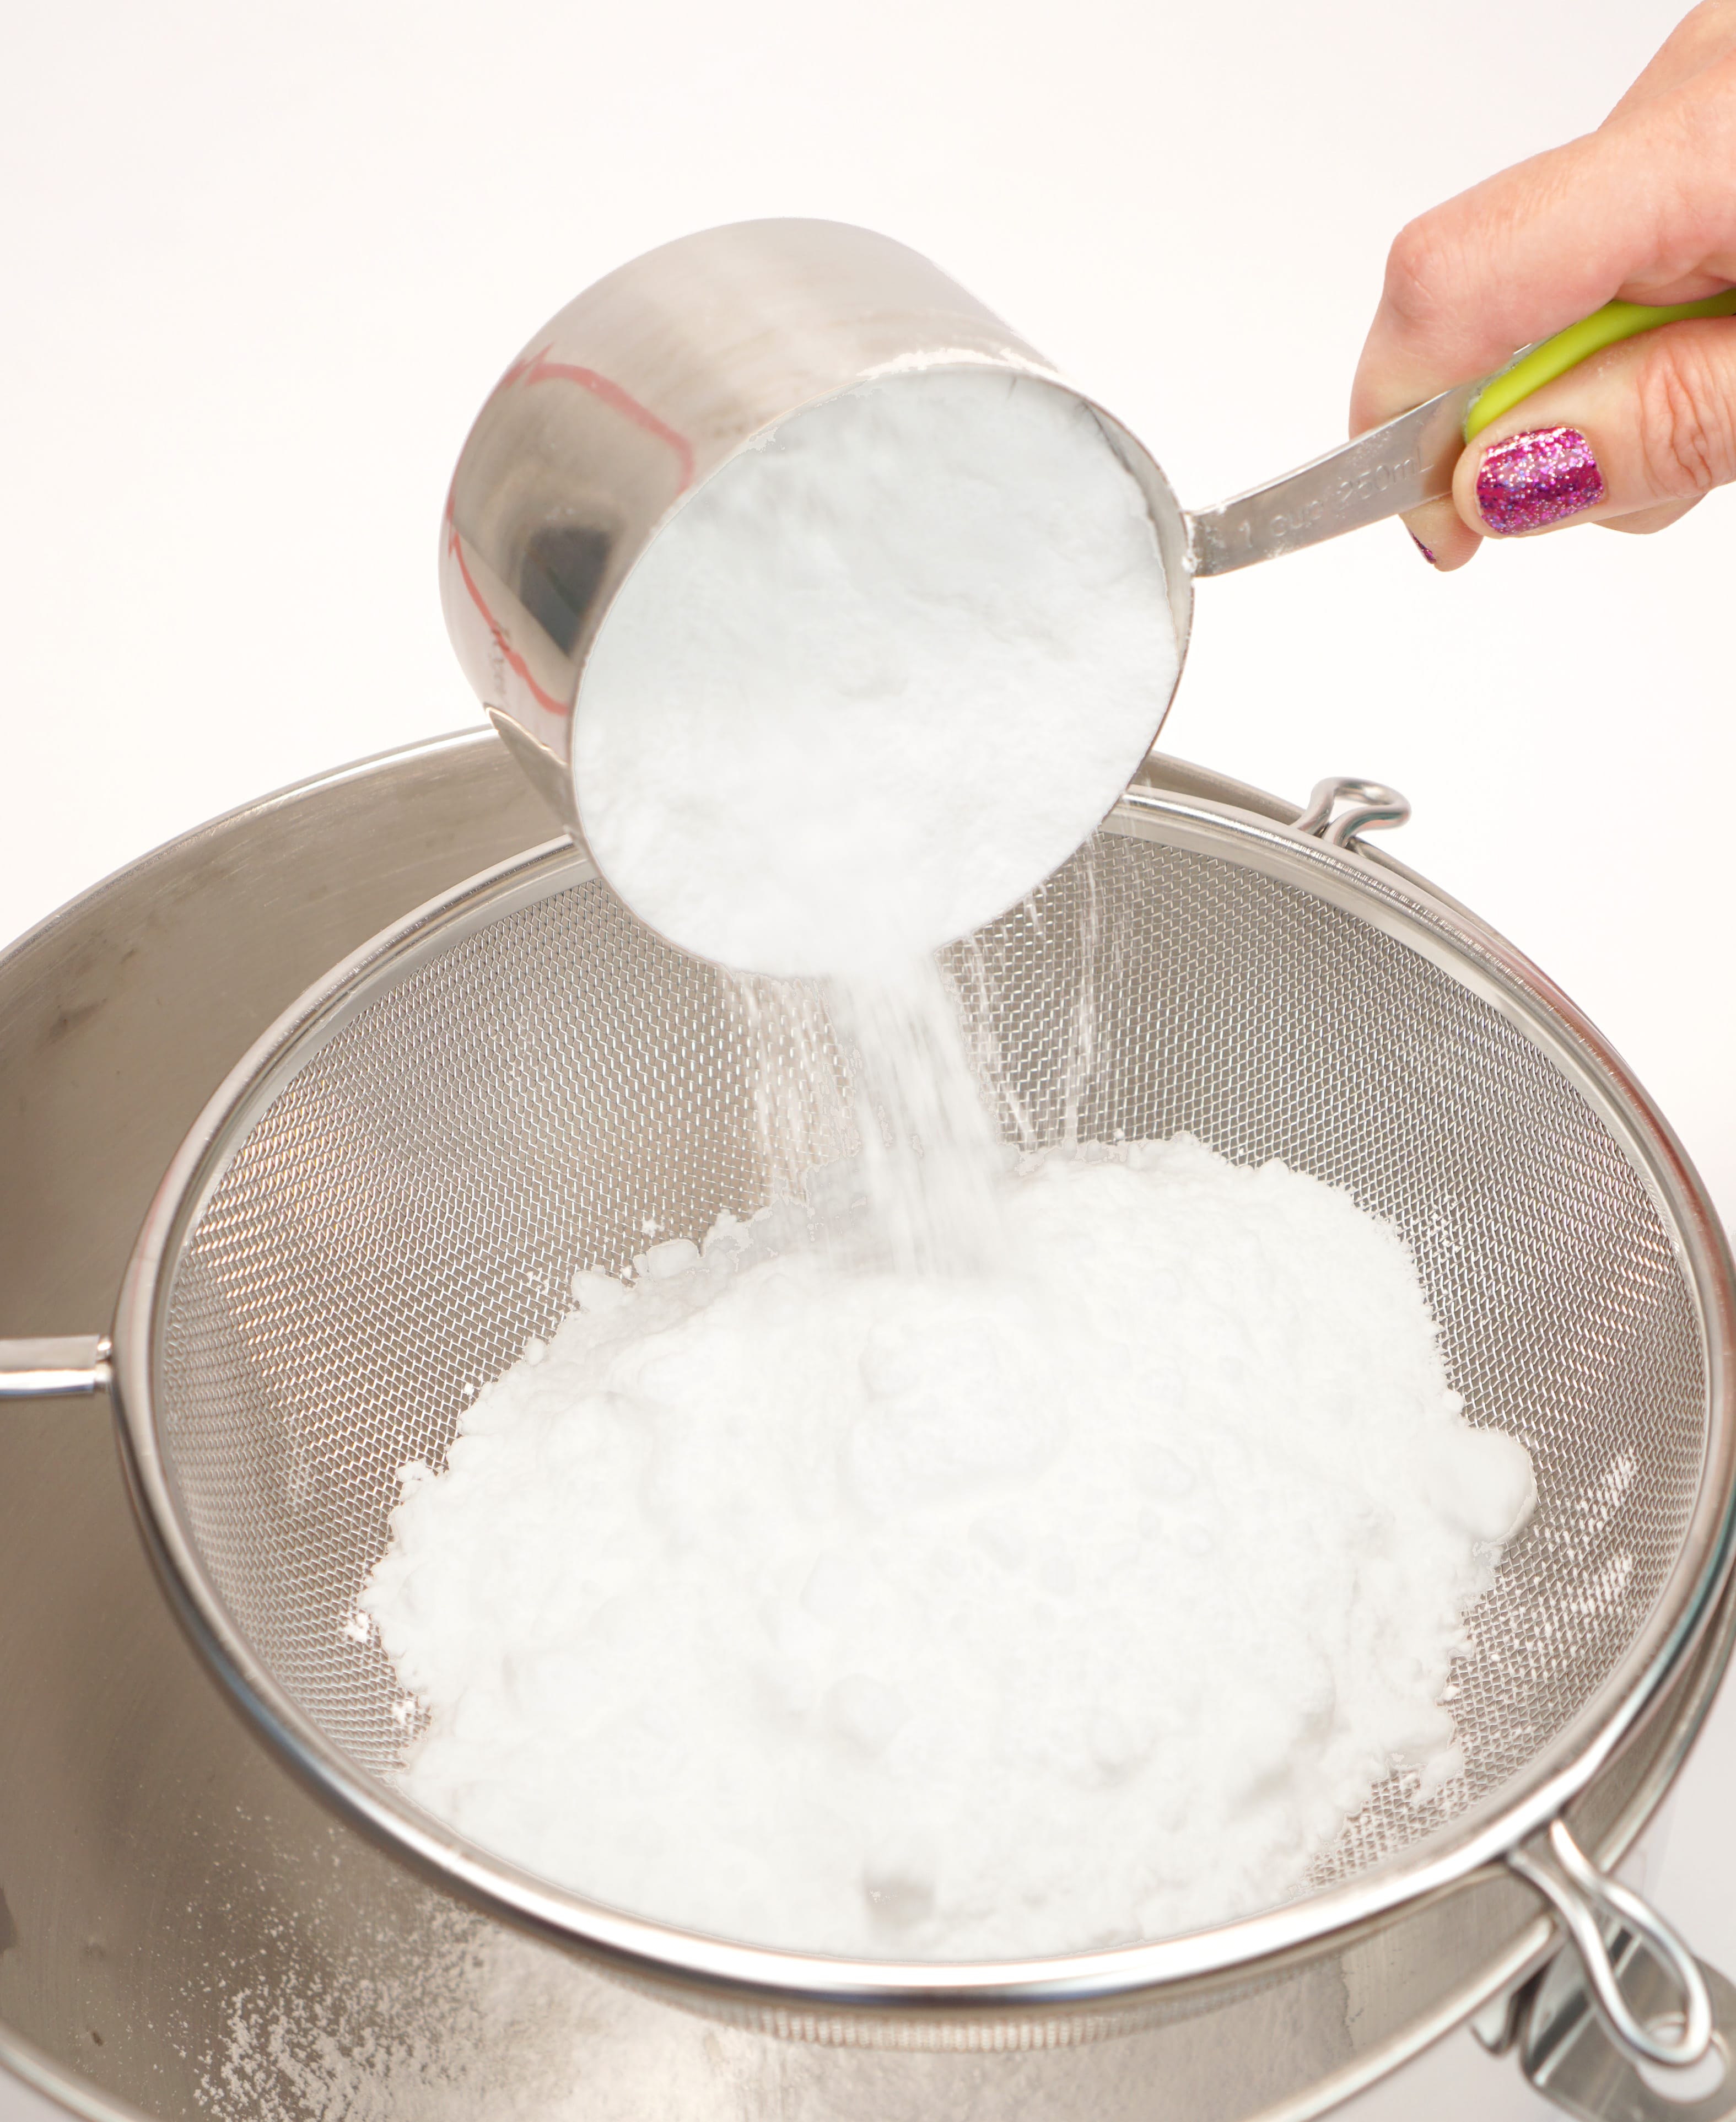
Start by using a large mesh strainer to sift the baking soda into a large mixing bowl and use a spoon to break up any clumps. Sift the citric acid into a second small bowl and set aside for later.
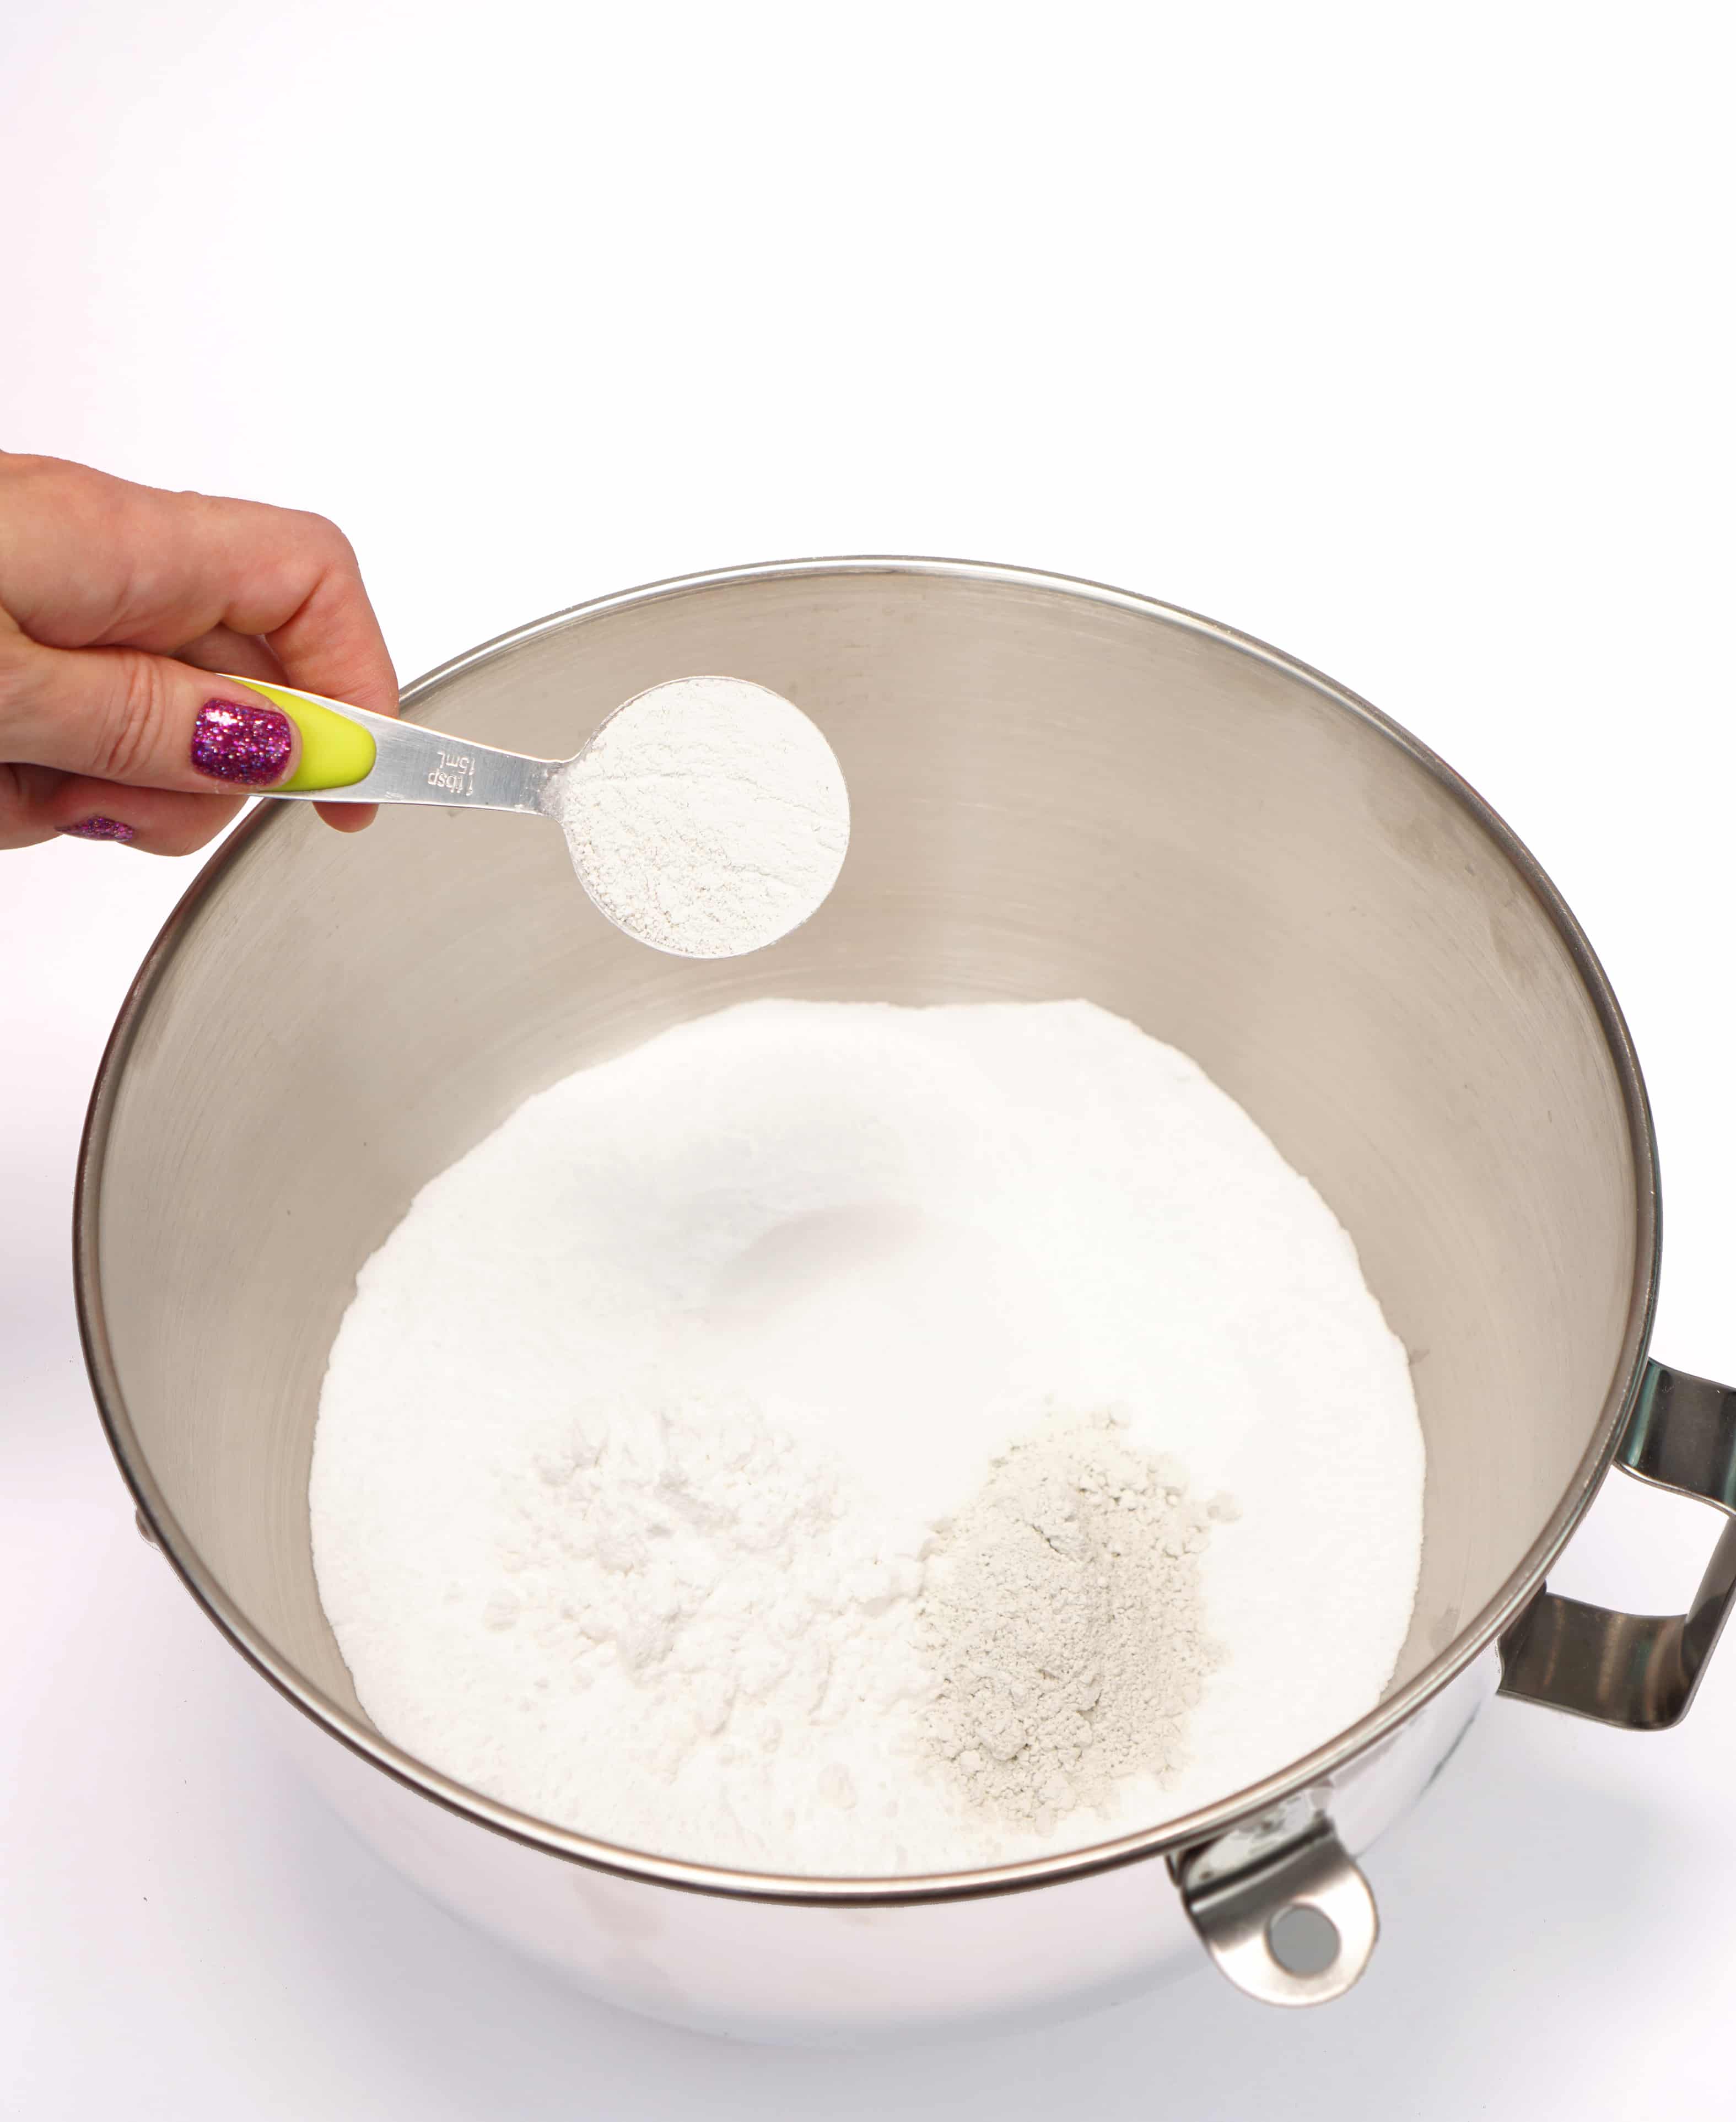
Add the remaining dry ingredients (minus the citric acid) to the baking soda bowl and mix well.
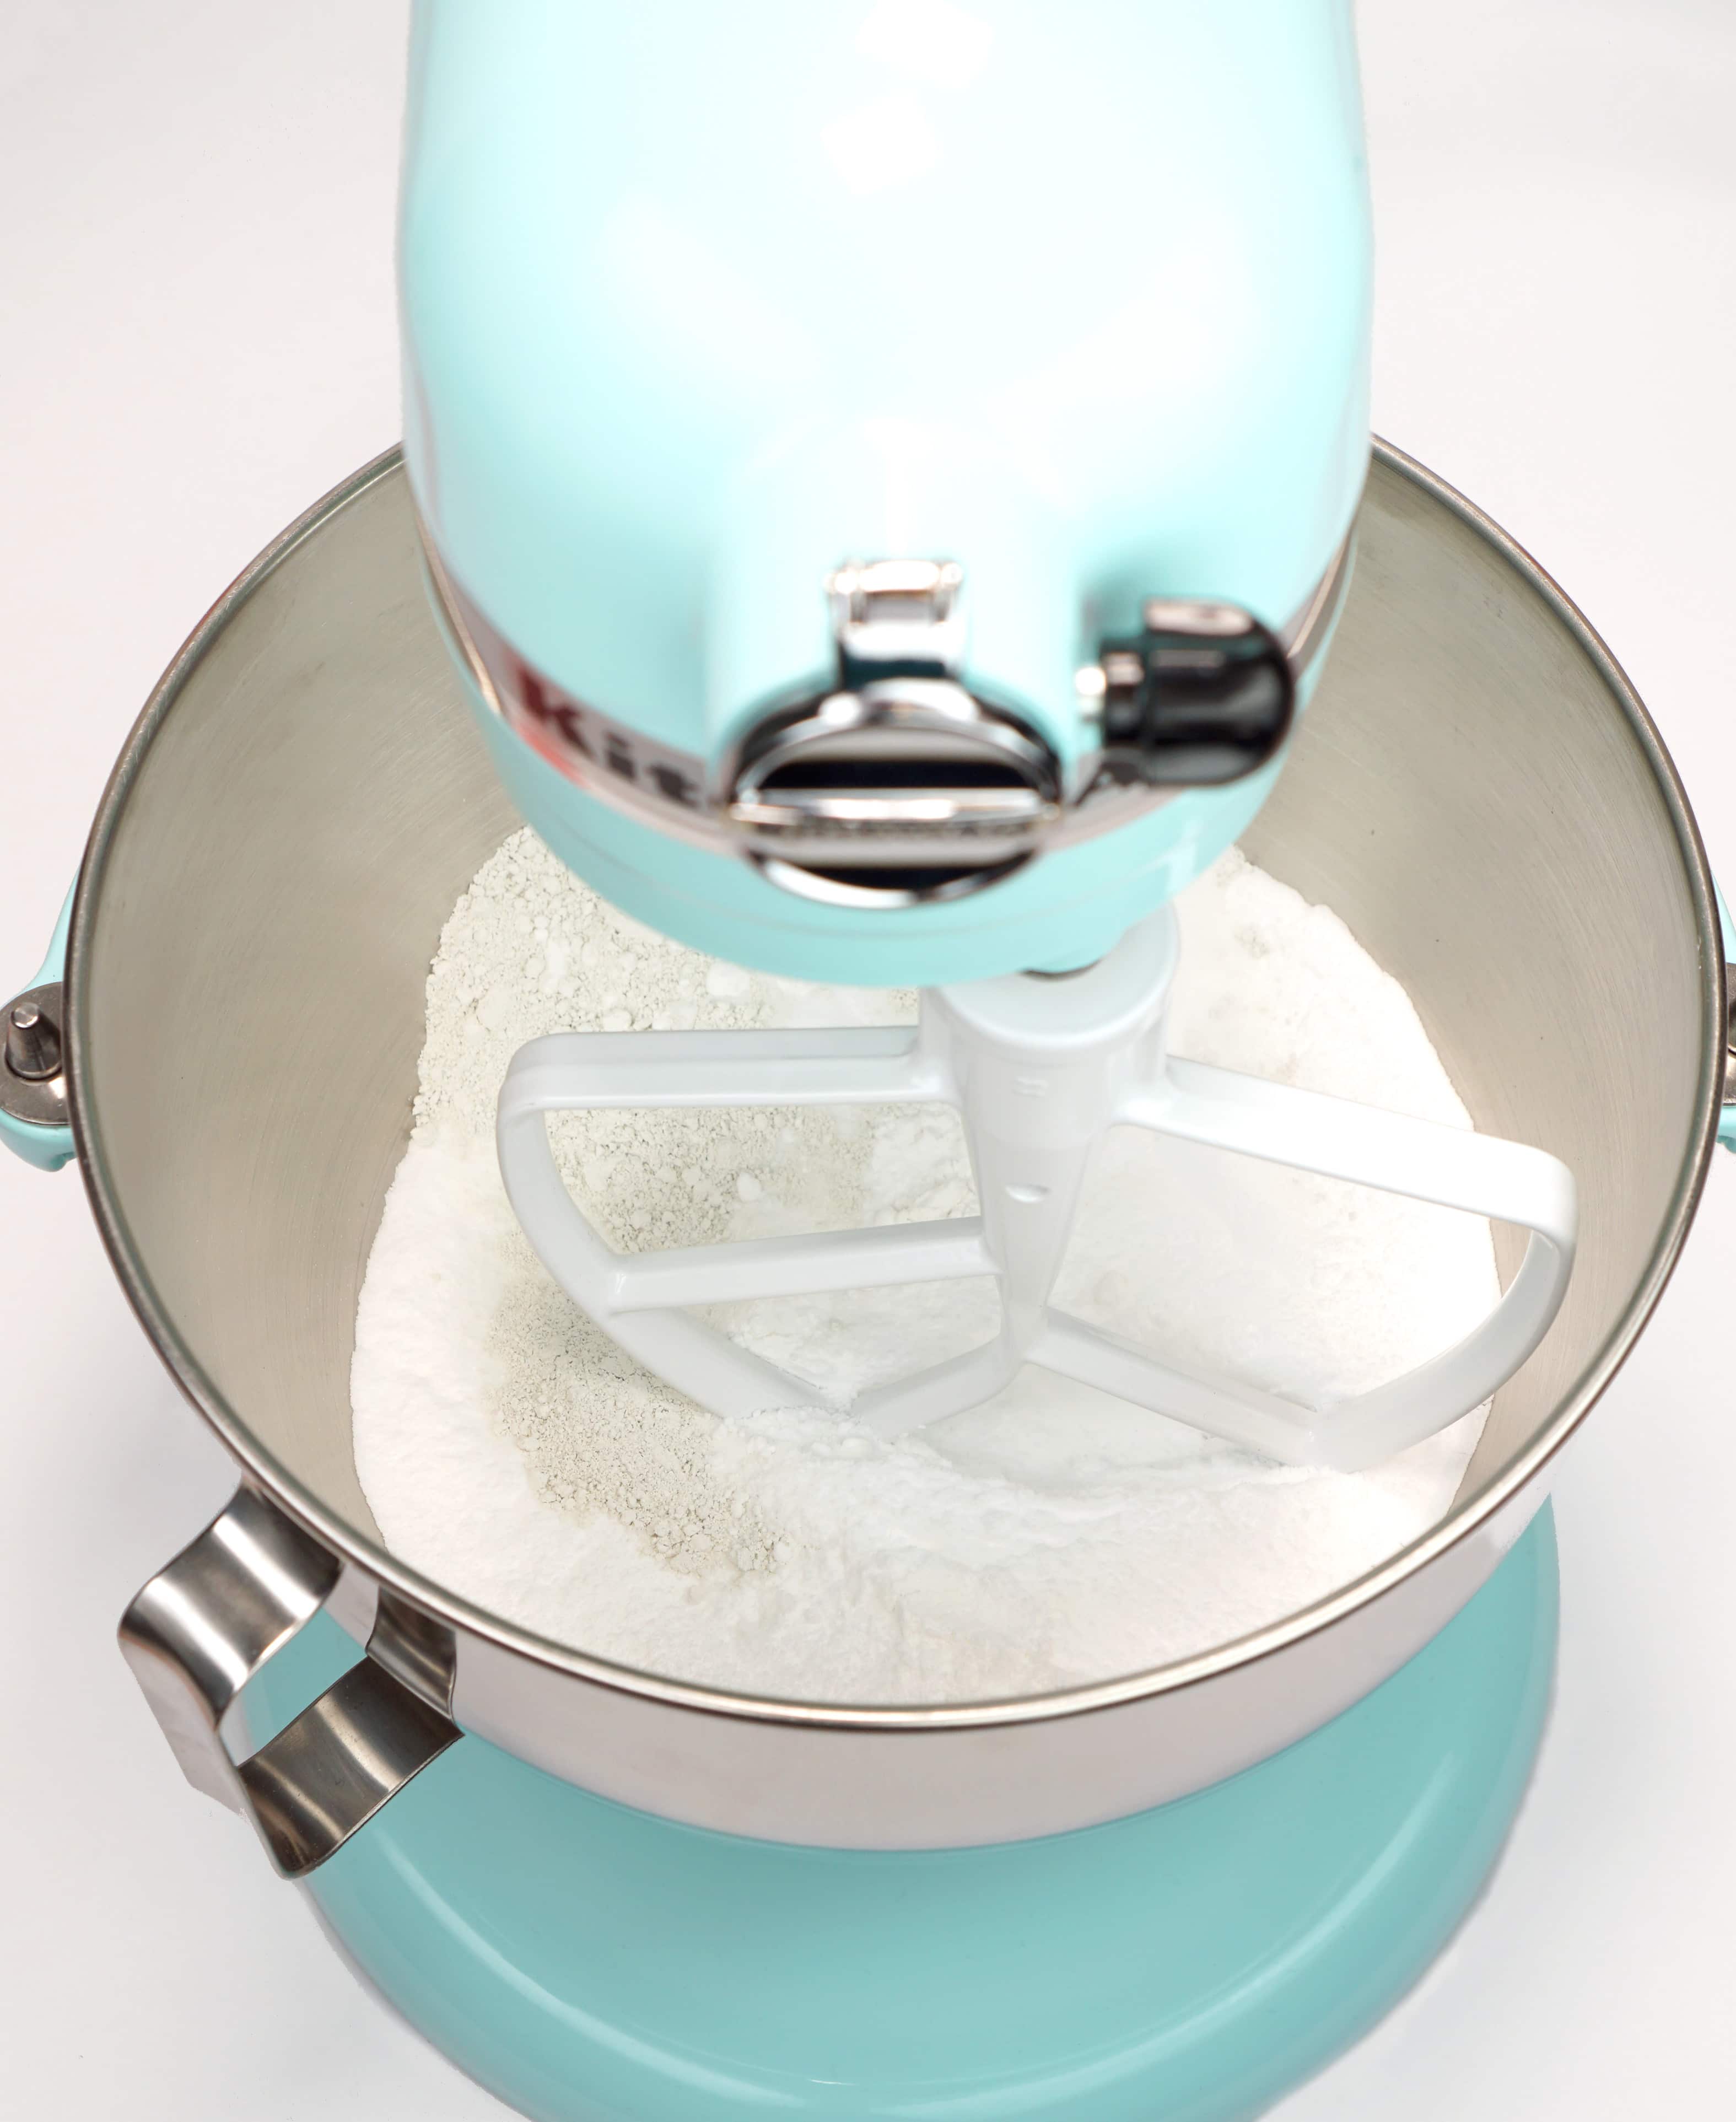
I like to use my mixer to help make sure that all of the ingredients are thoroughly incorporated, but a good old fashioned spoon works just as well (it just takes a little longer!).
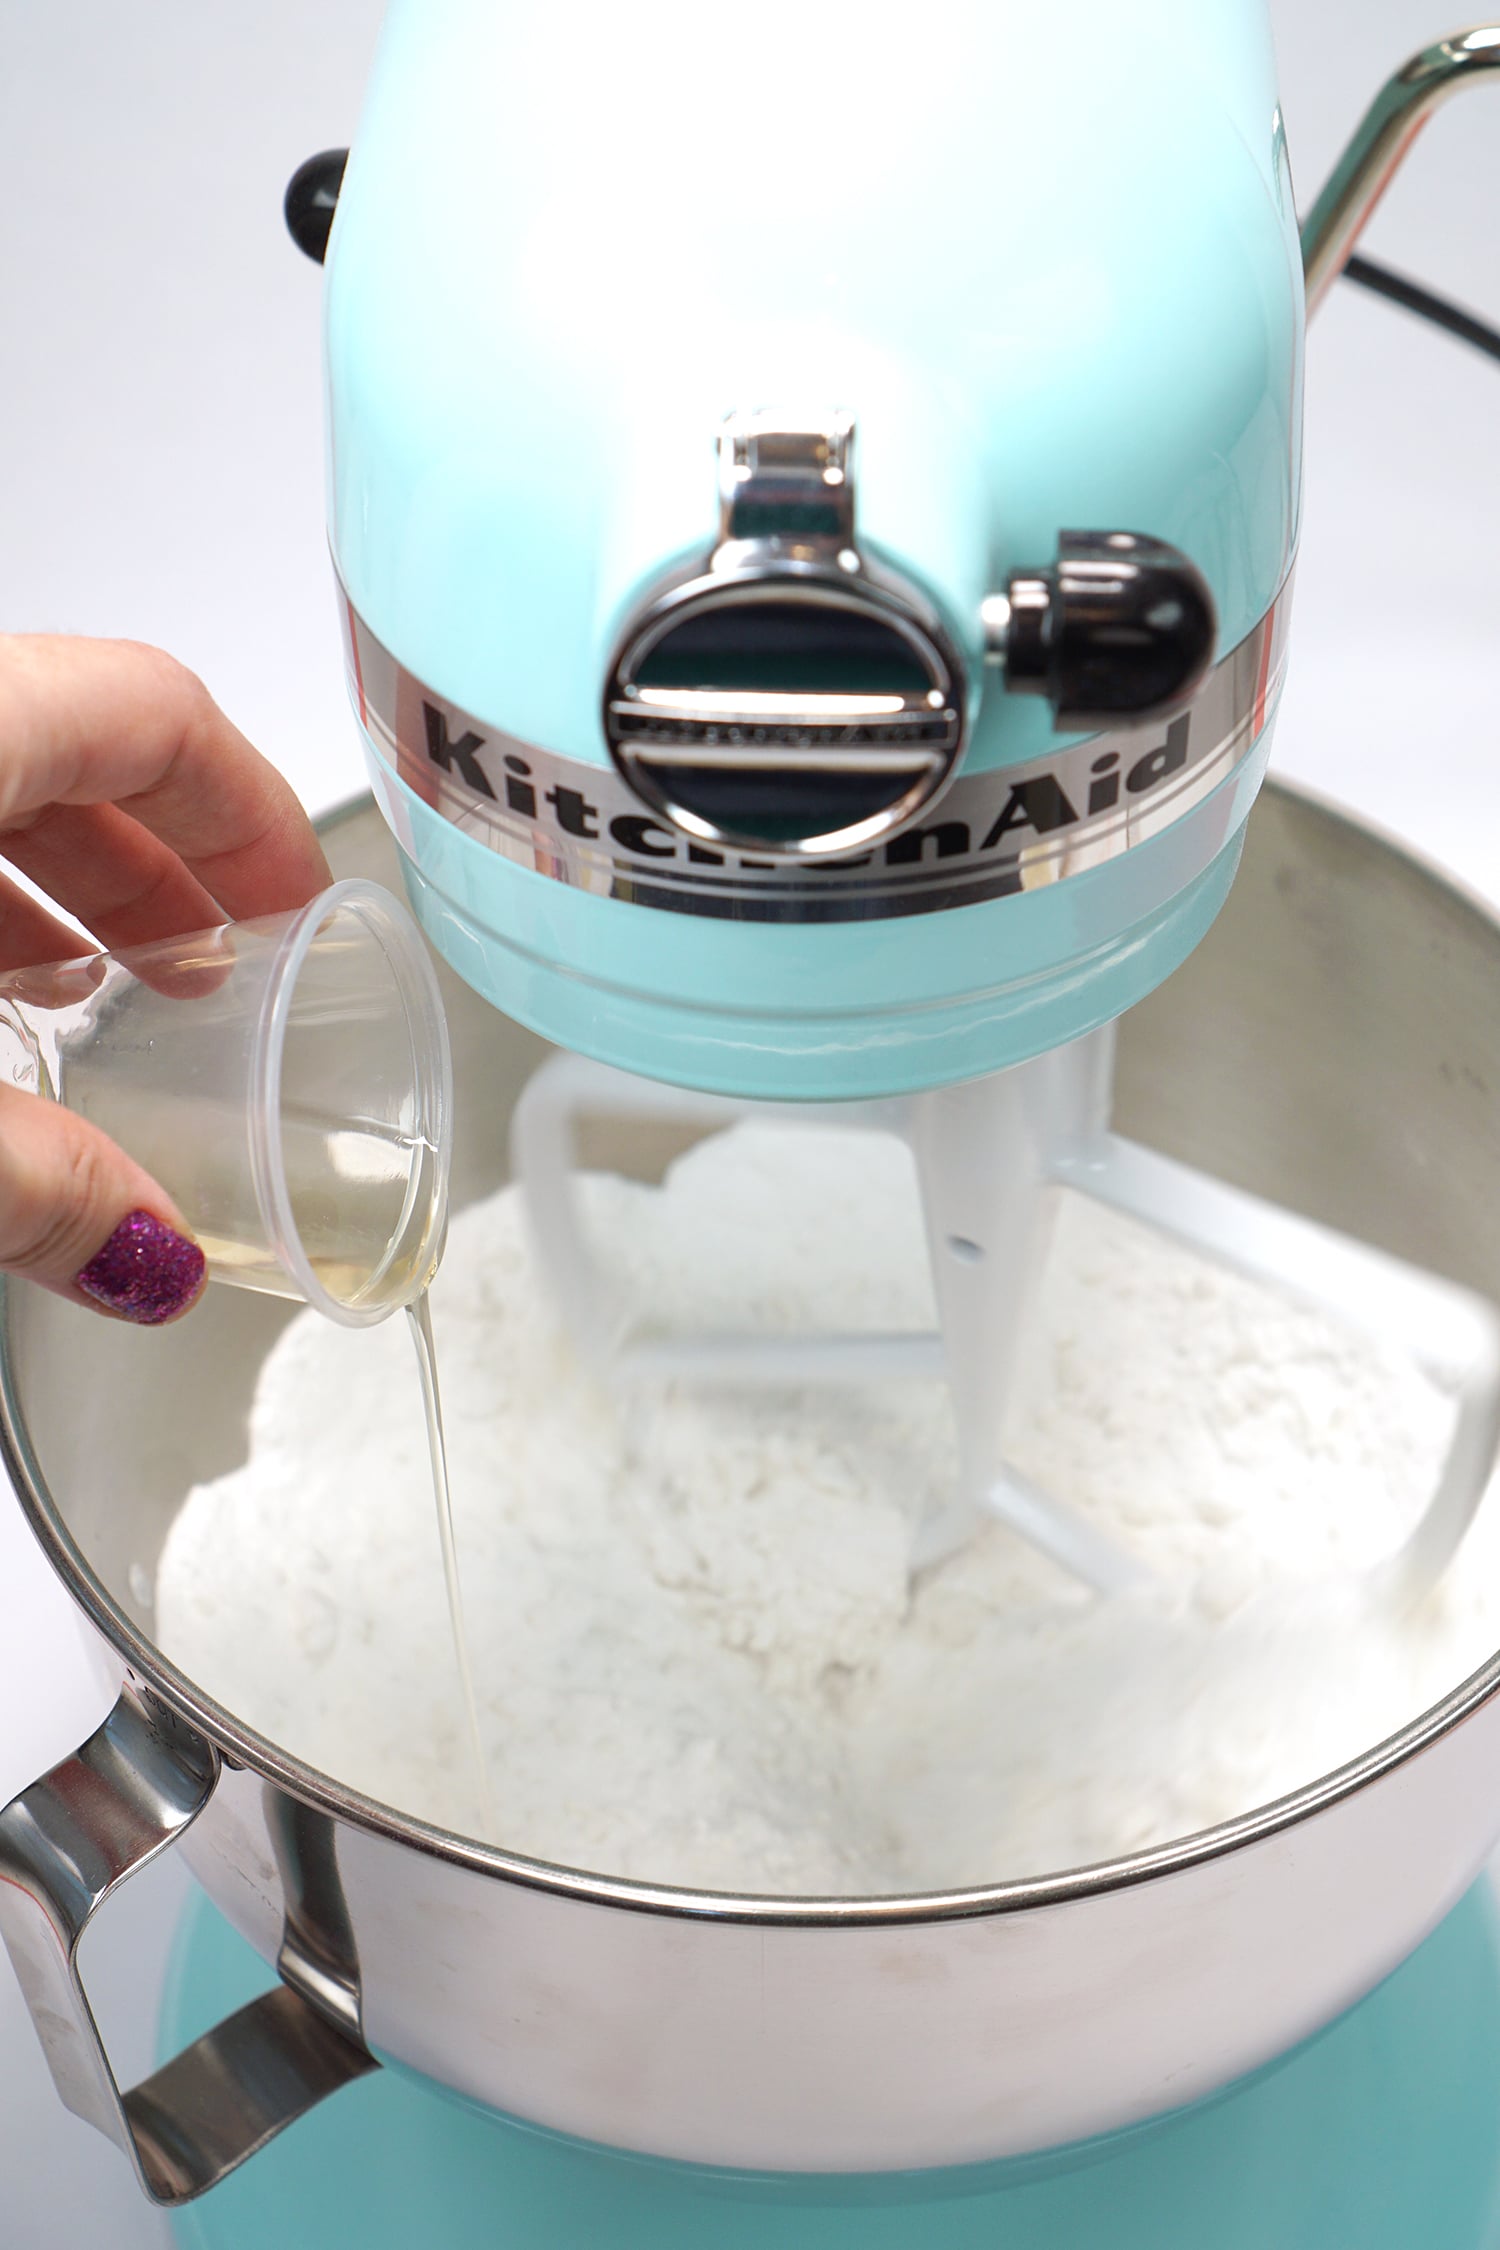
In a small container, mix together all of the liquid ingredients. Stirring constantly, slowly add the wet ingredients into the dry mixture and mix until completely combined. Stir quickly to ensure that the fizzy mixture doesn’t start to activate when you introduce the liquids!
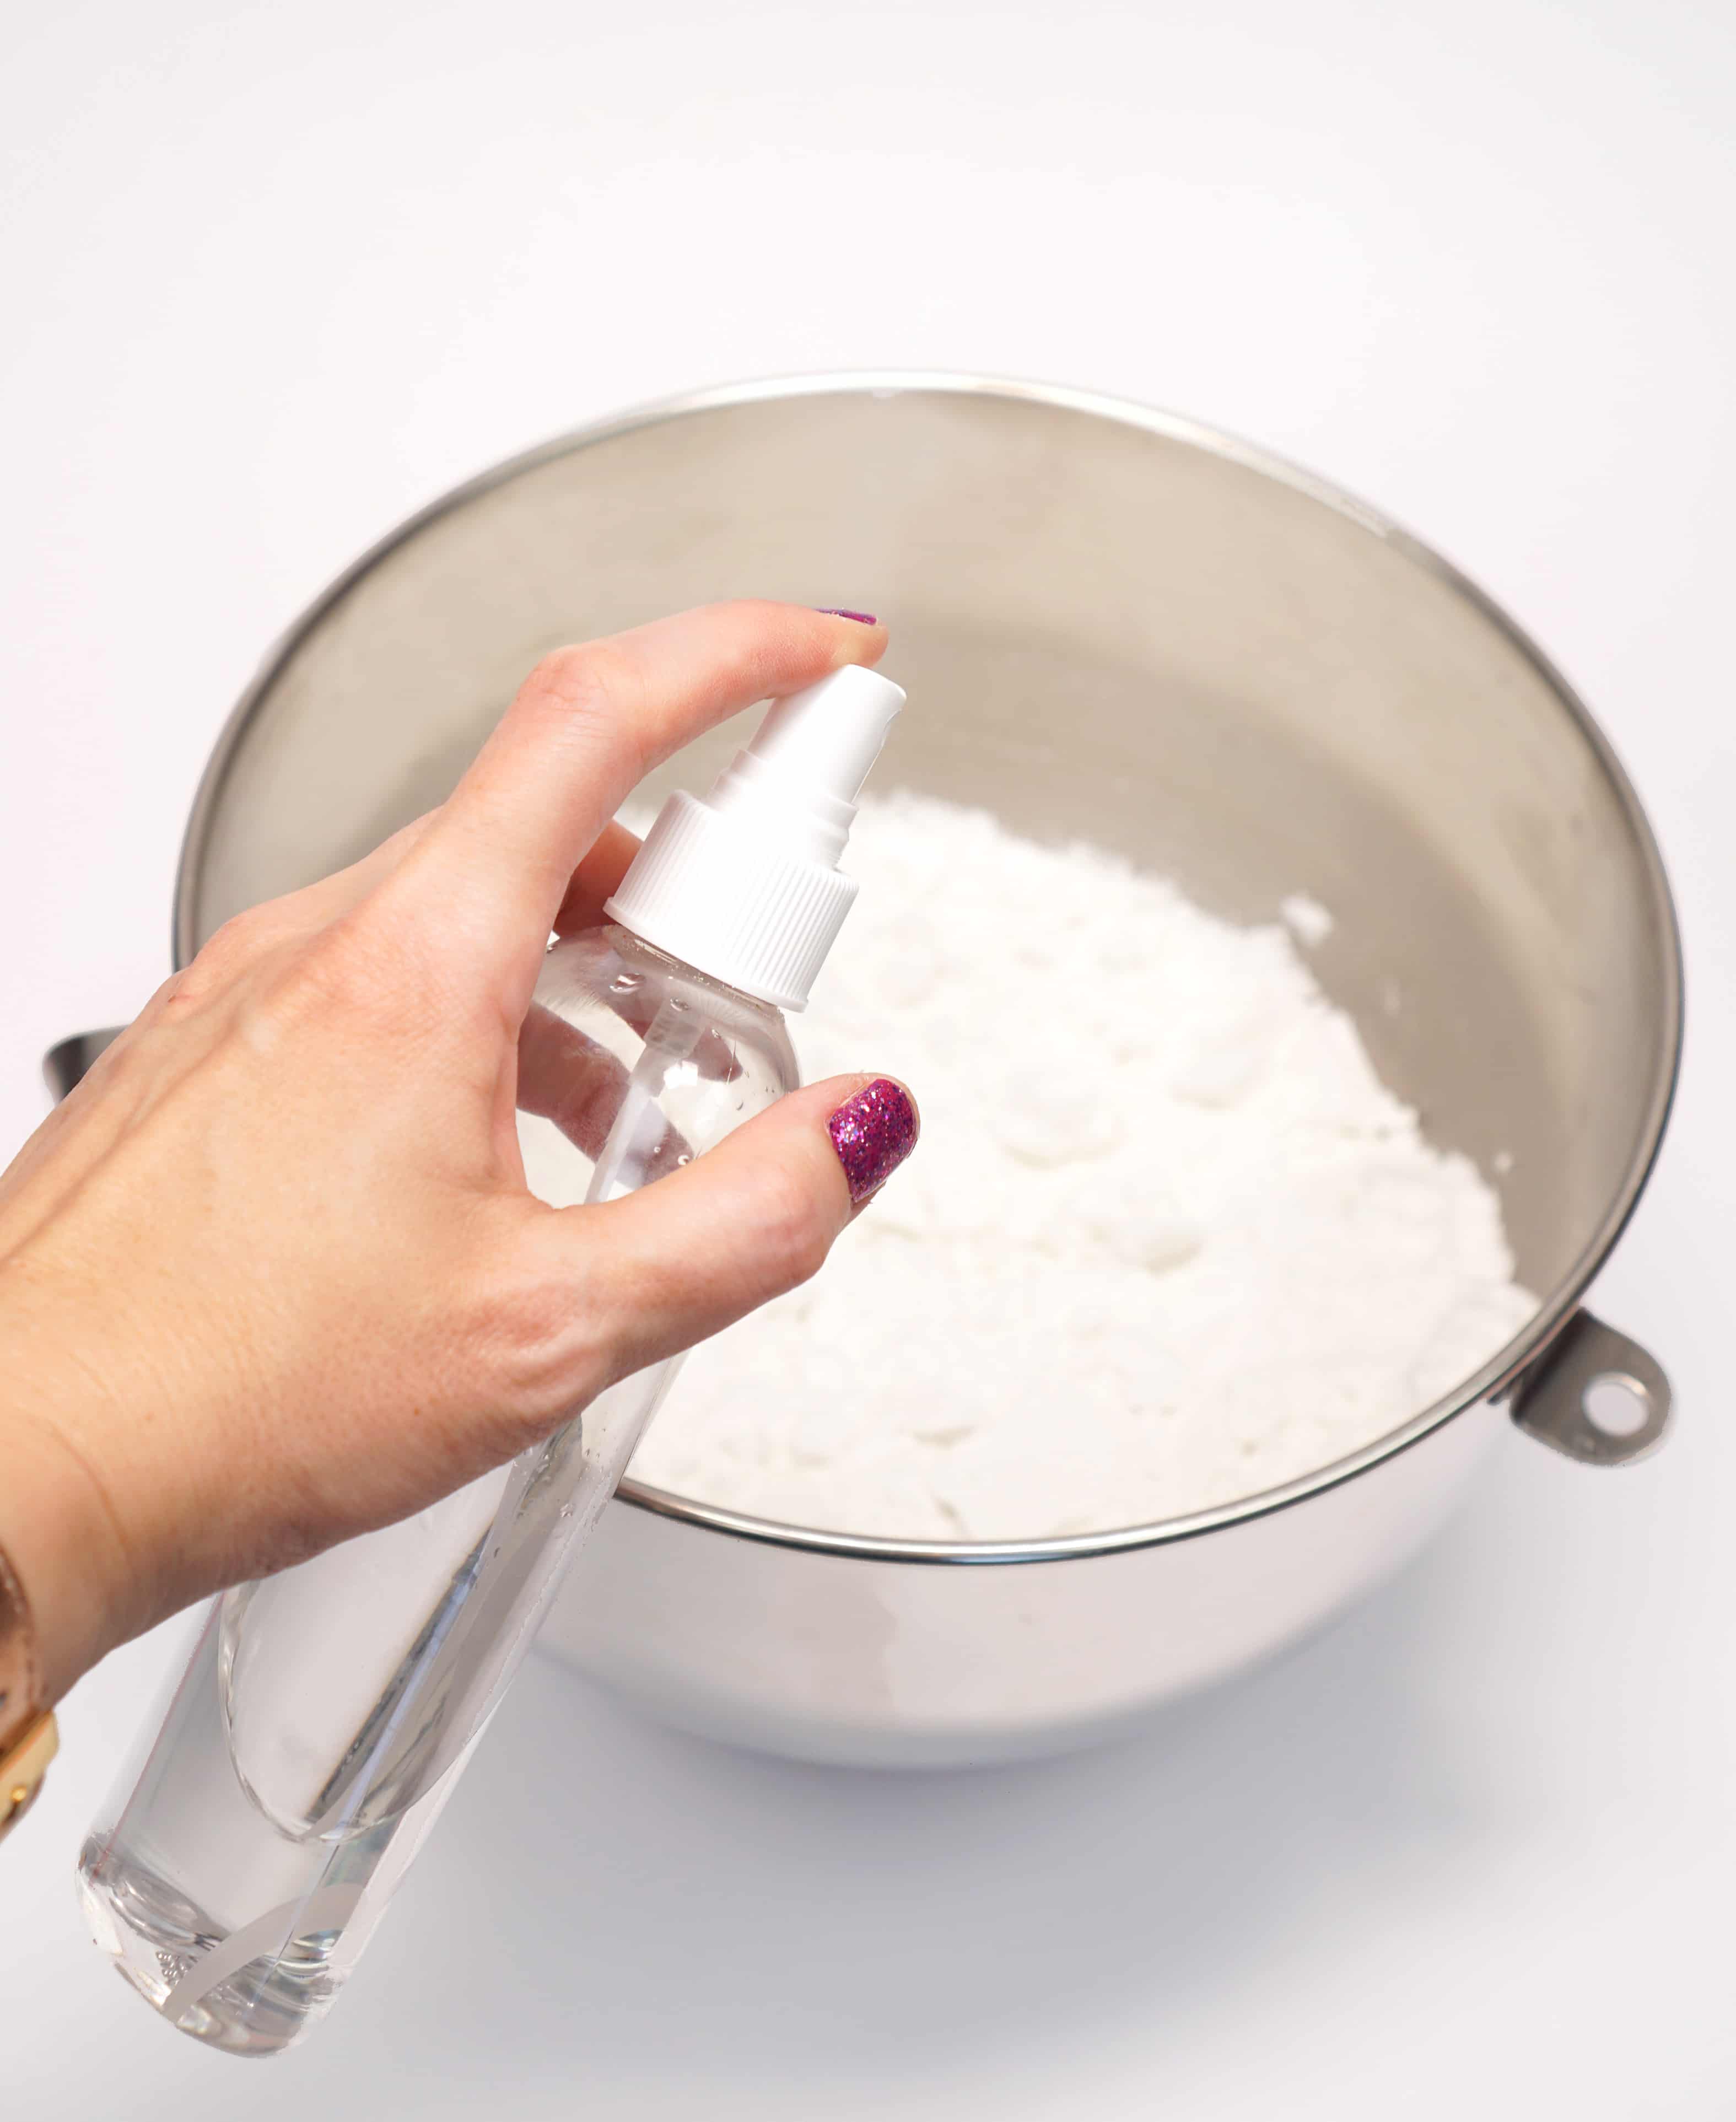
With a spray bottle, lightly spritz the mixture with 2-3 quick sprays of witch hazel (or a mixture of water + isopropyl alcohol) and mix well.
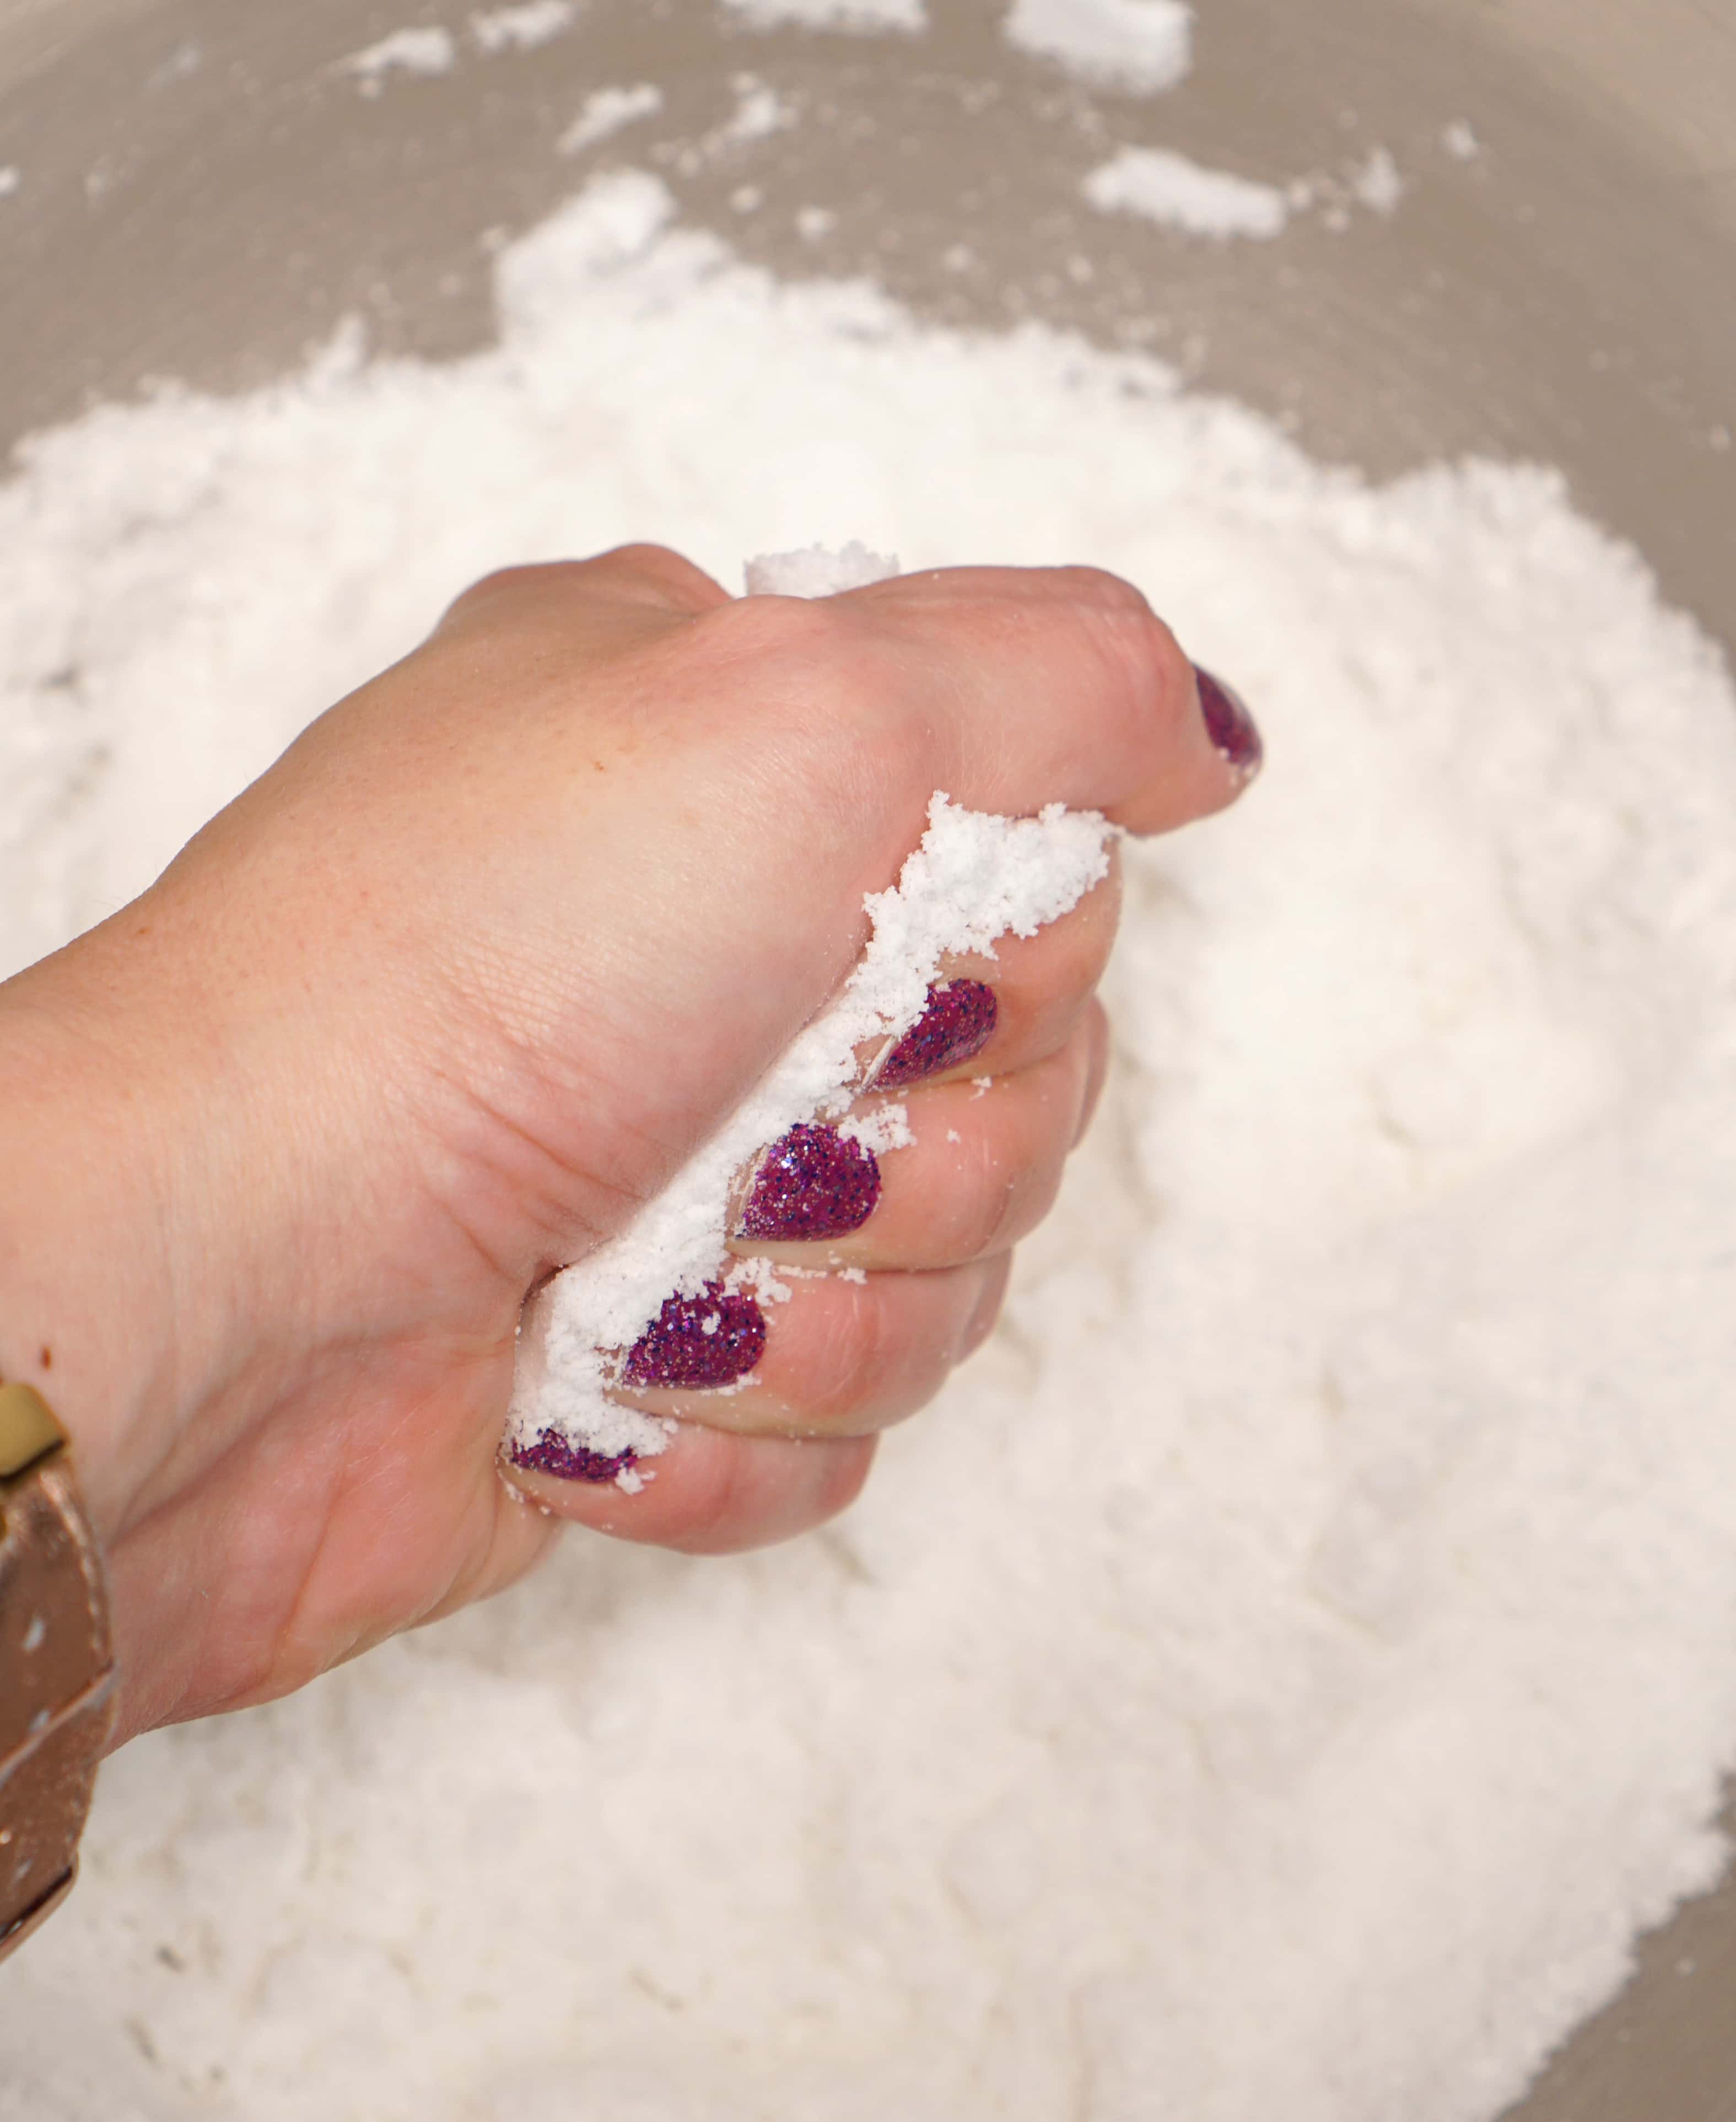
Test to see if the mixture is a moldable consistency – it should feel just very slightly damp and kind of like kinetic sand.
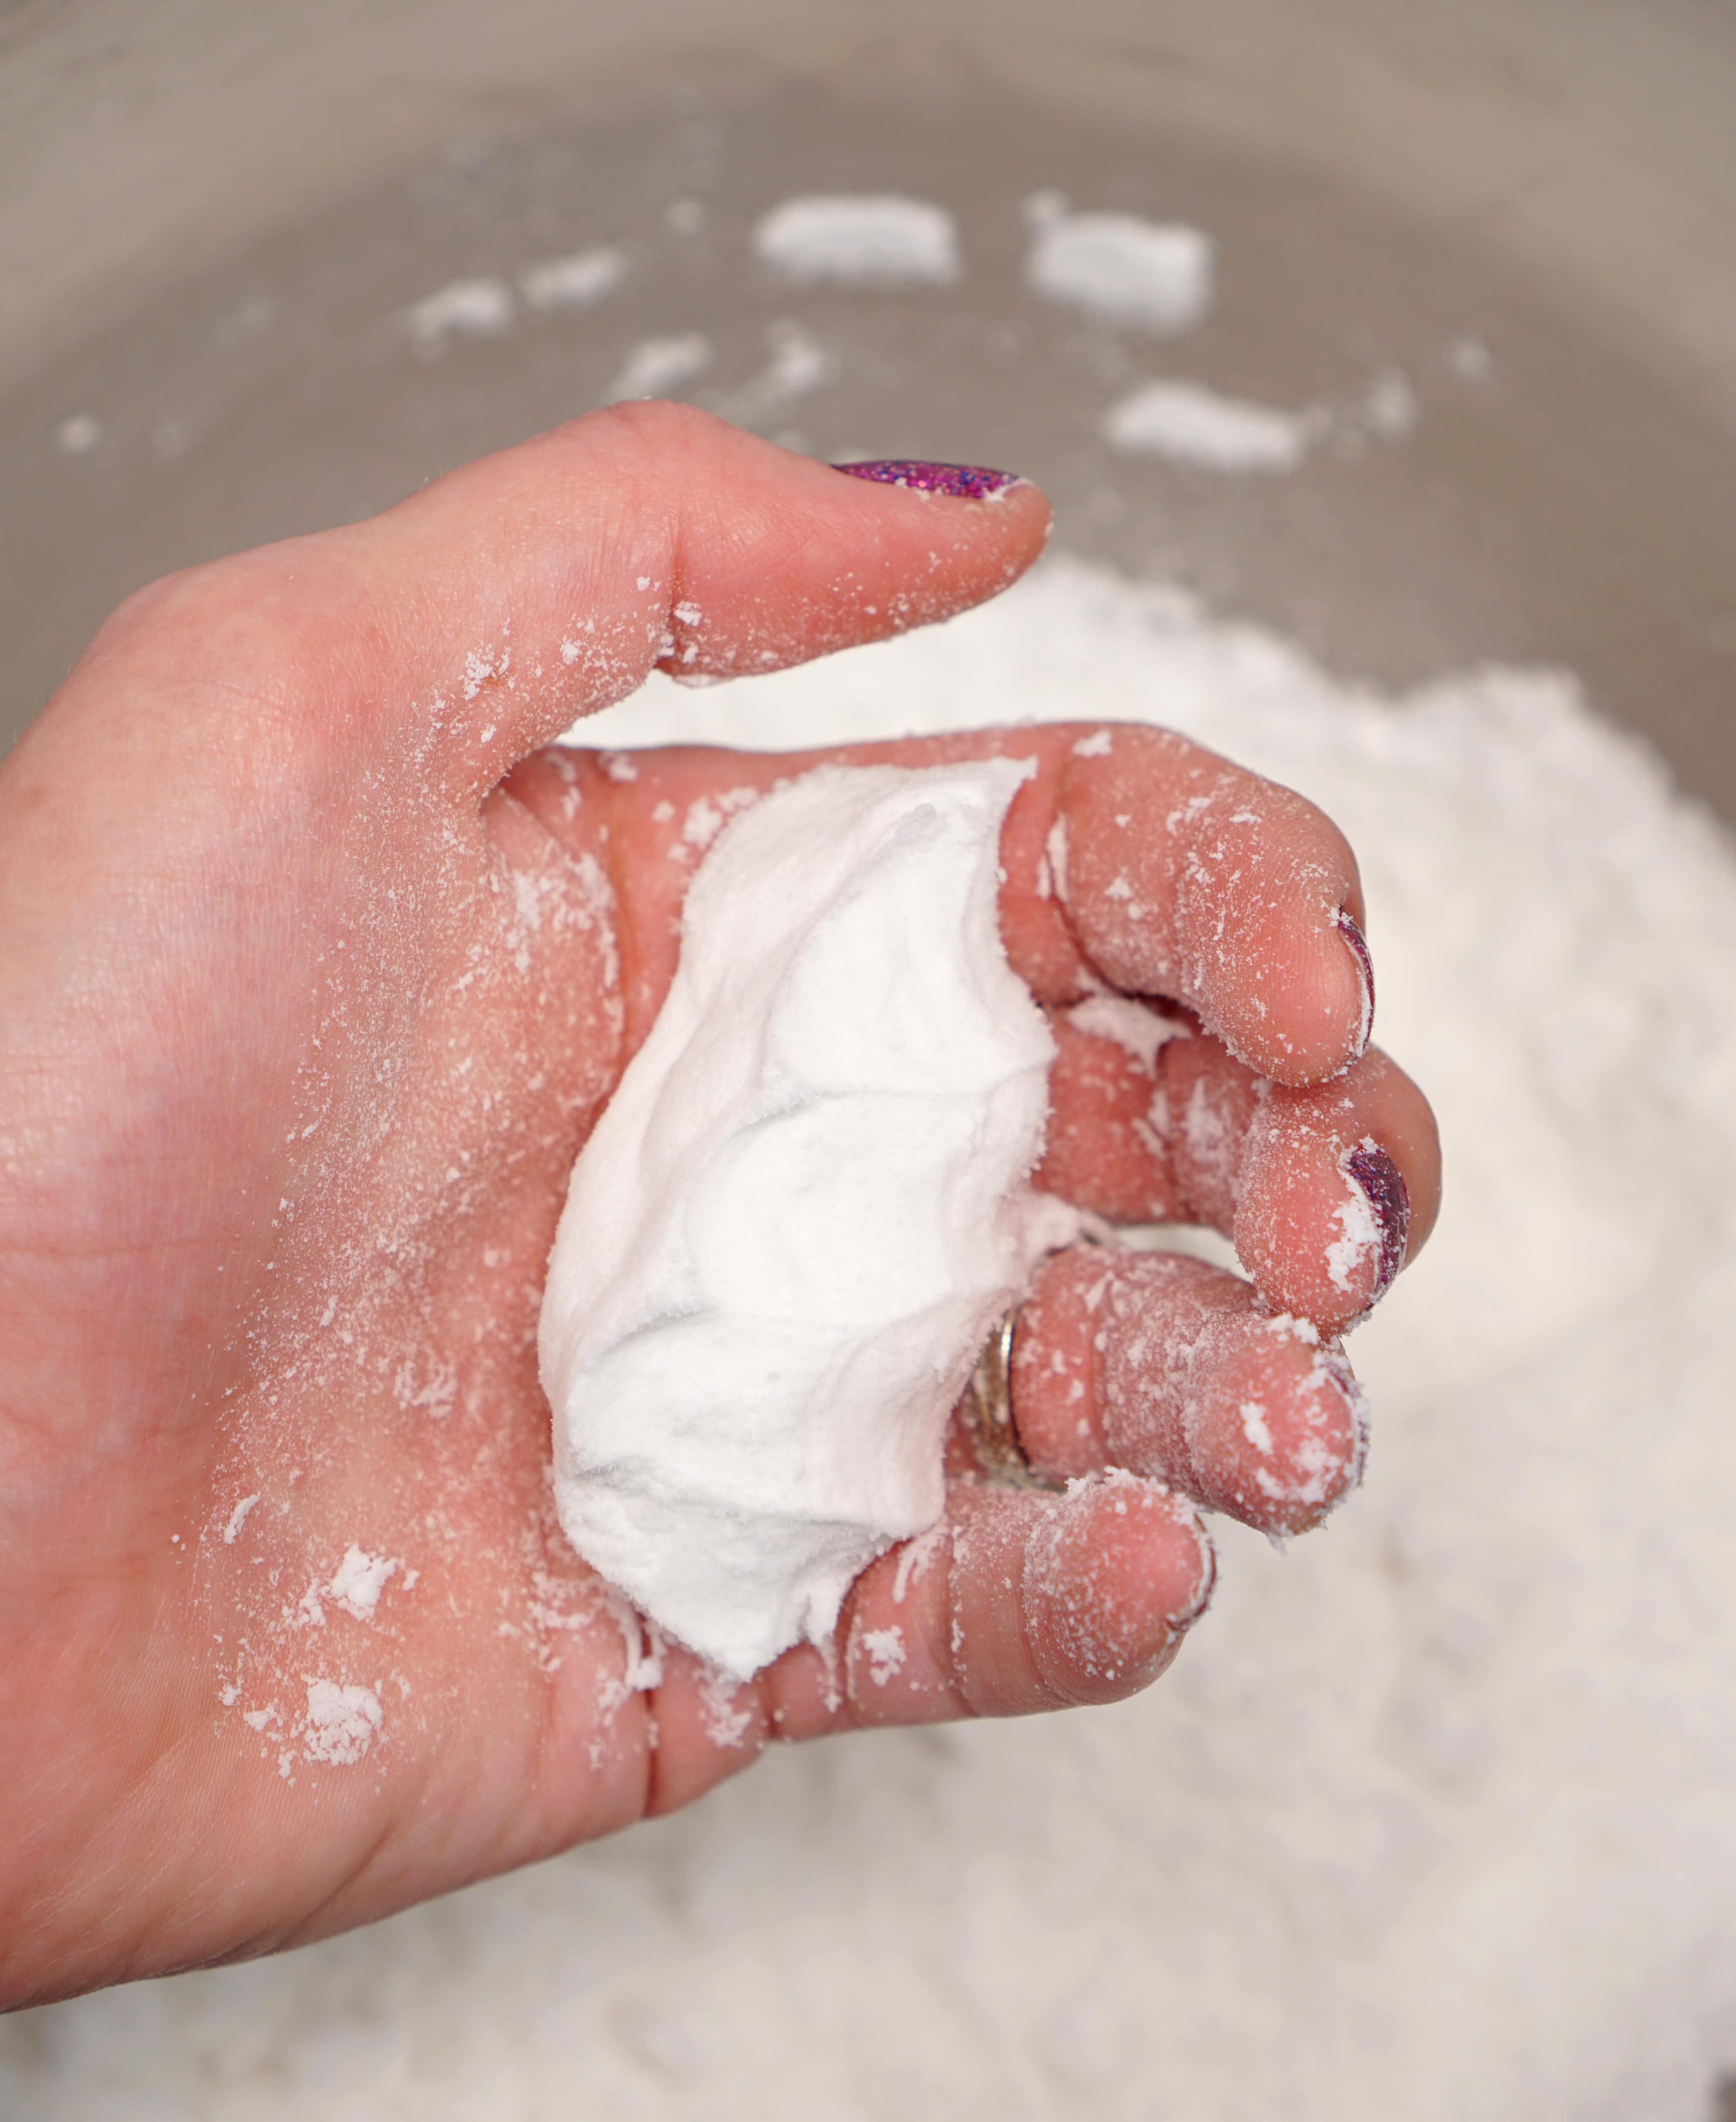
If the mixture holds together after being squeezed and then lightly dropped back into the bowl, it is ready to mold. If the mixture is too dry, spritz with 1-2 more sprays of witch hazel, stir, and repeat as necessary until the mixture reaches the proper consistency.
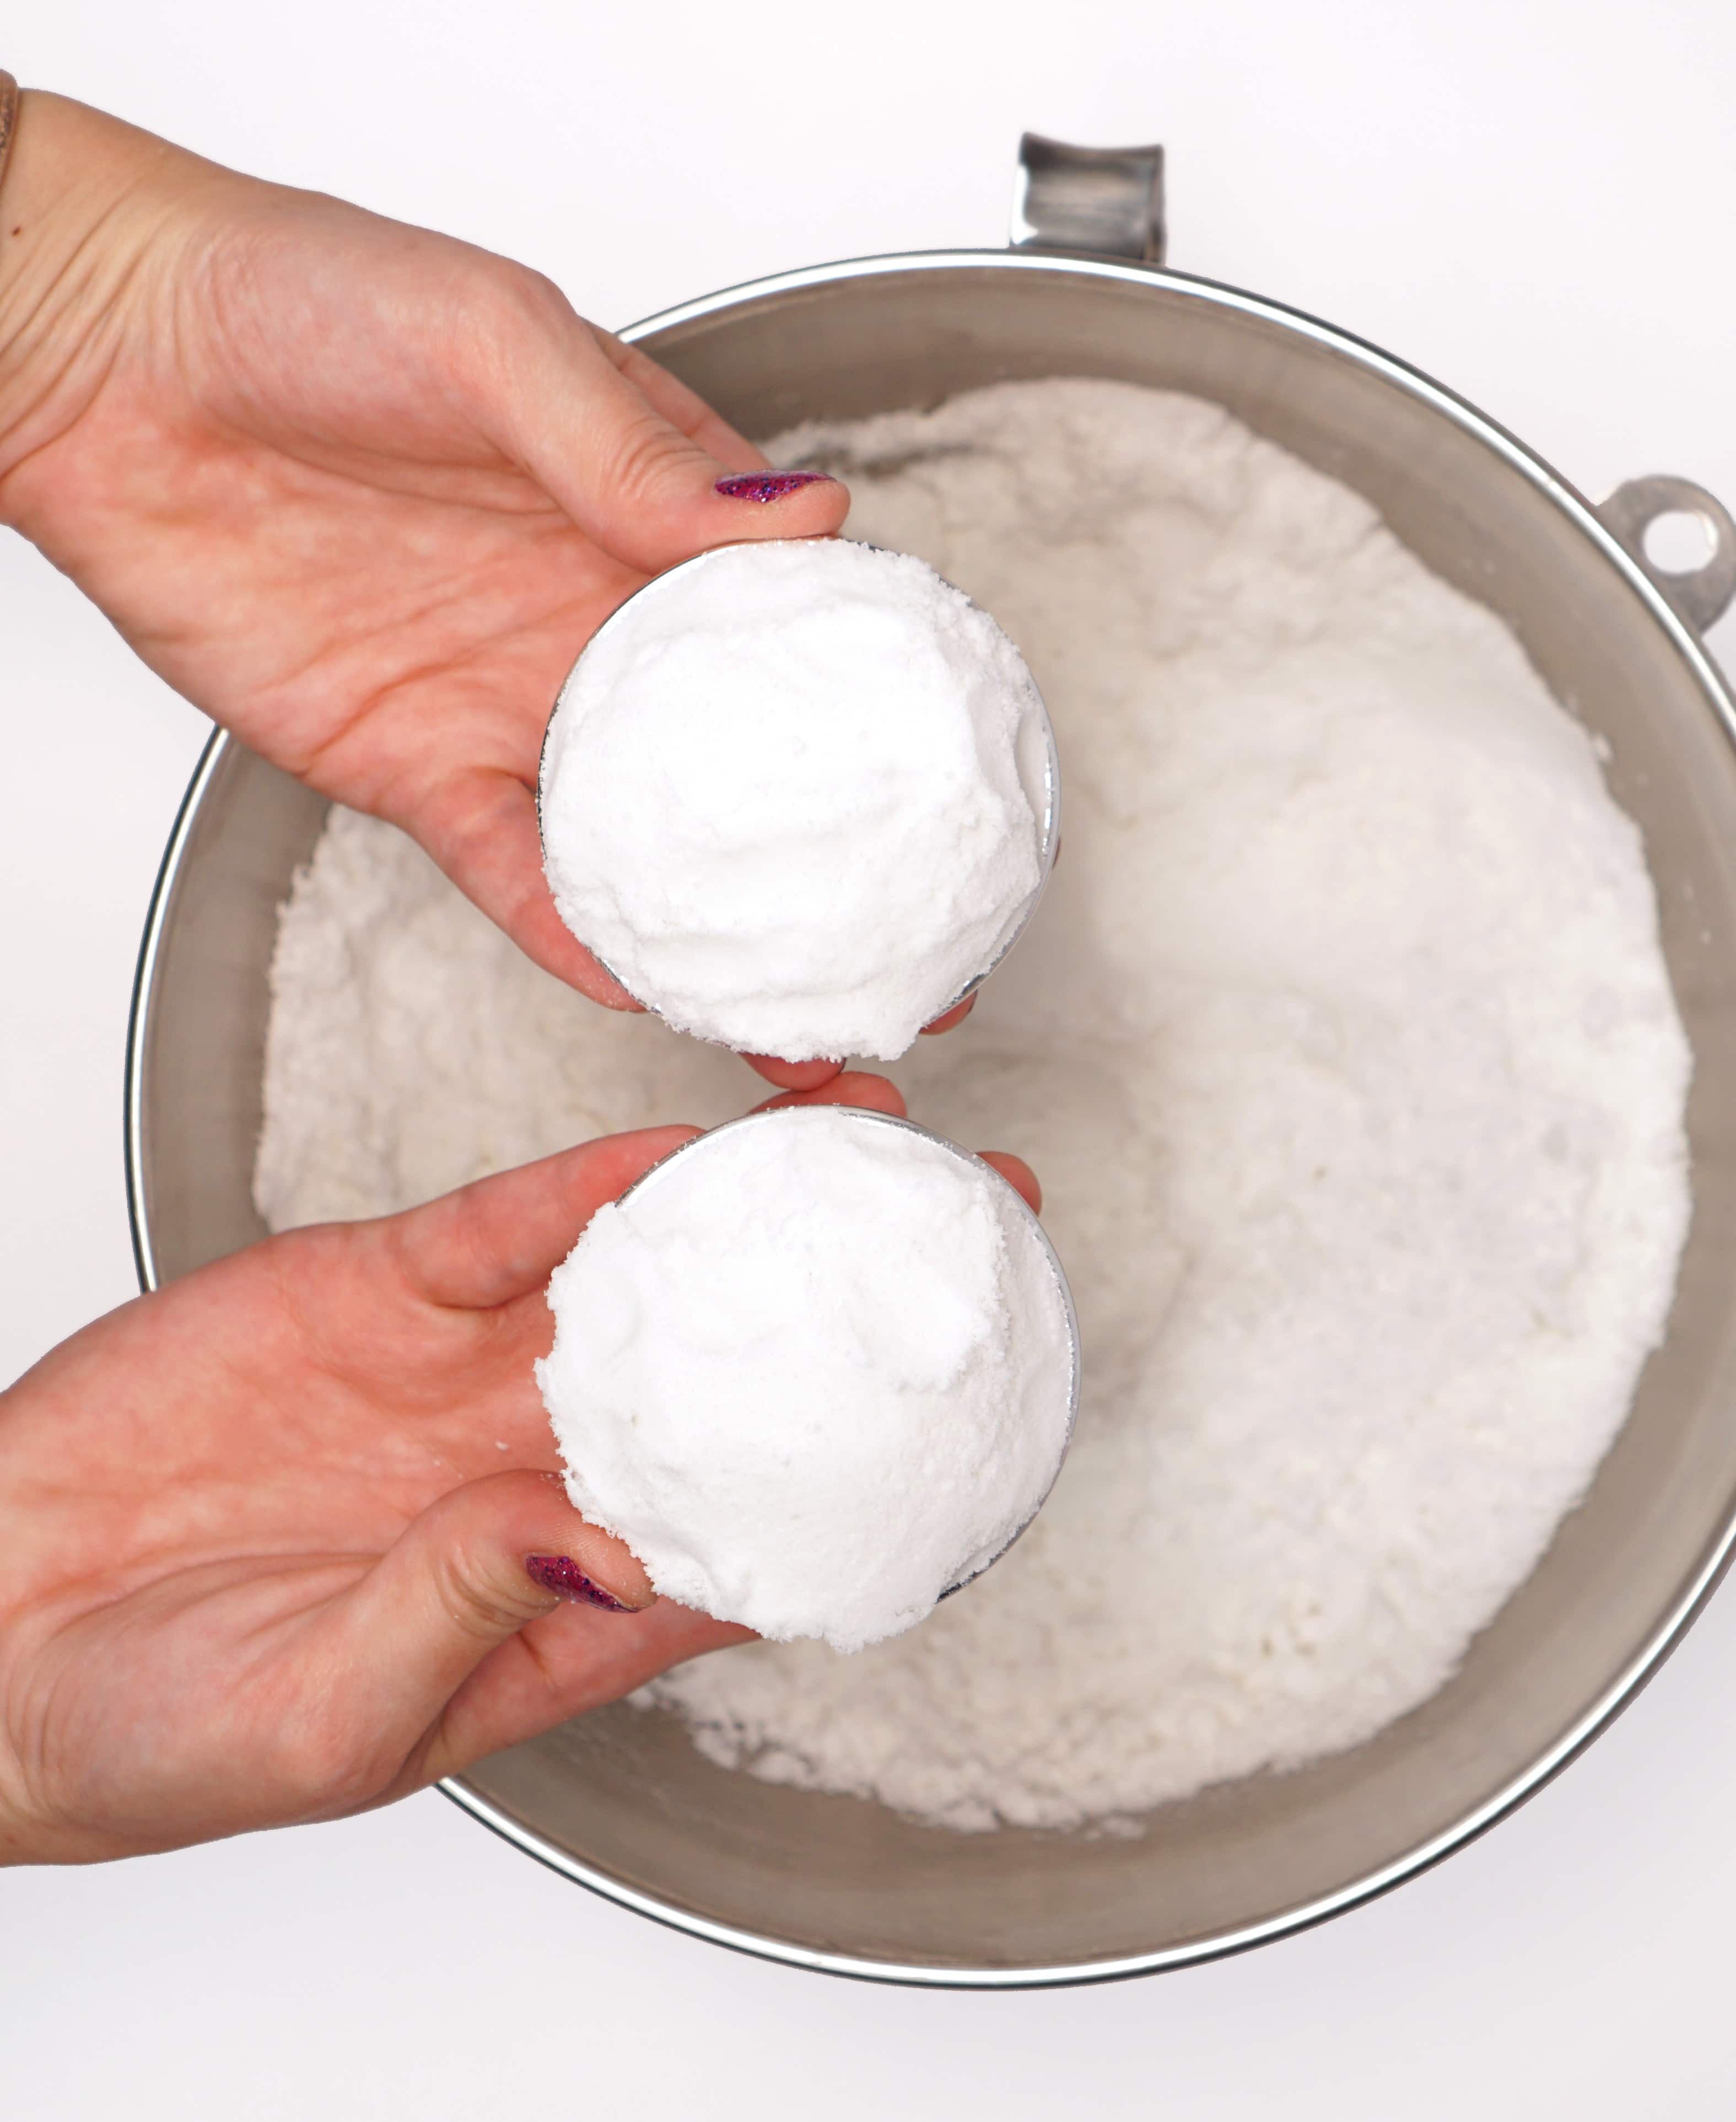
Lightly pack the bath bomb mixture into both halves of the mold and generously overfill each side of the mold.
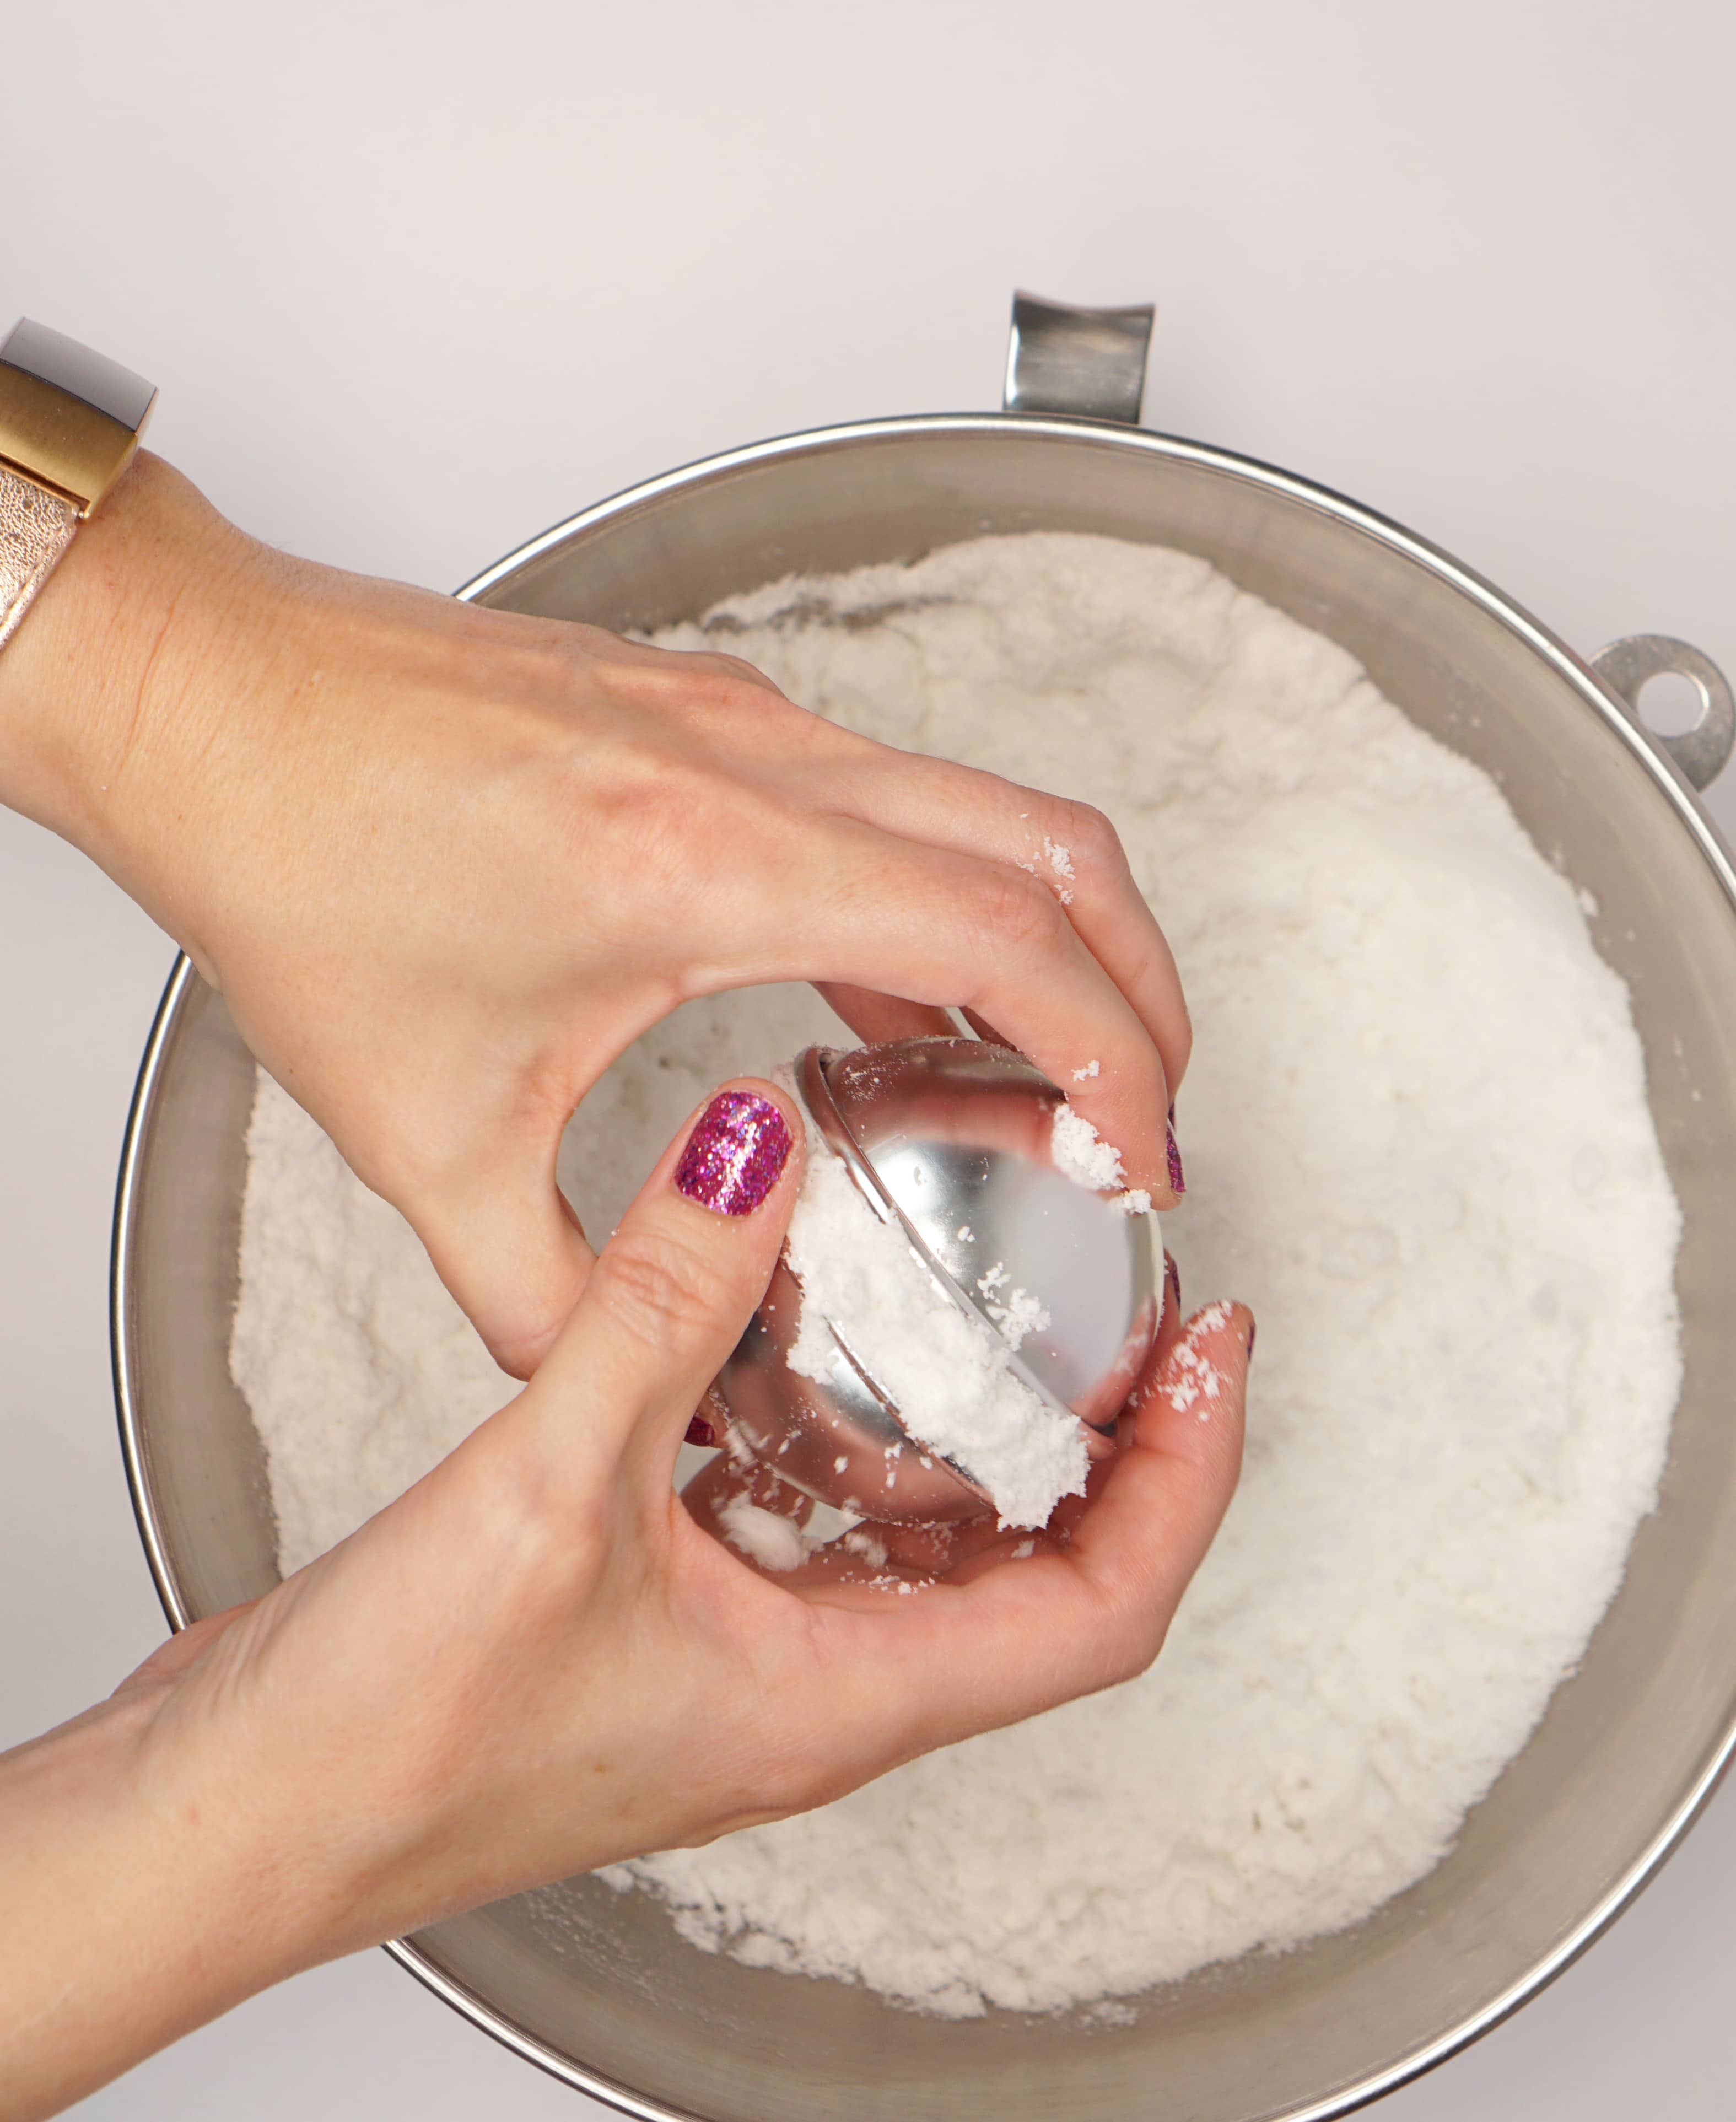
Press the halves firmly together and gently brush away any excess from the sides of the mold.
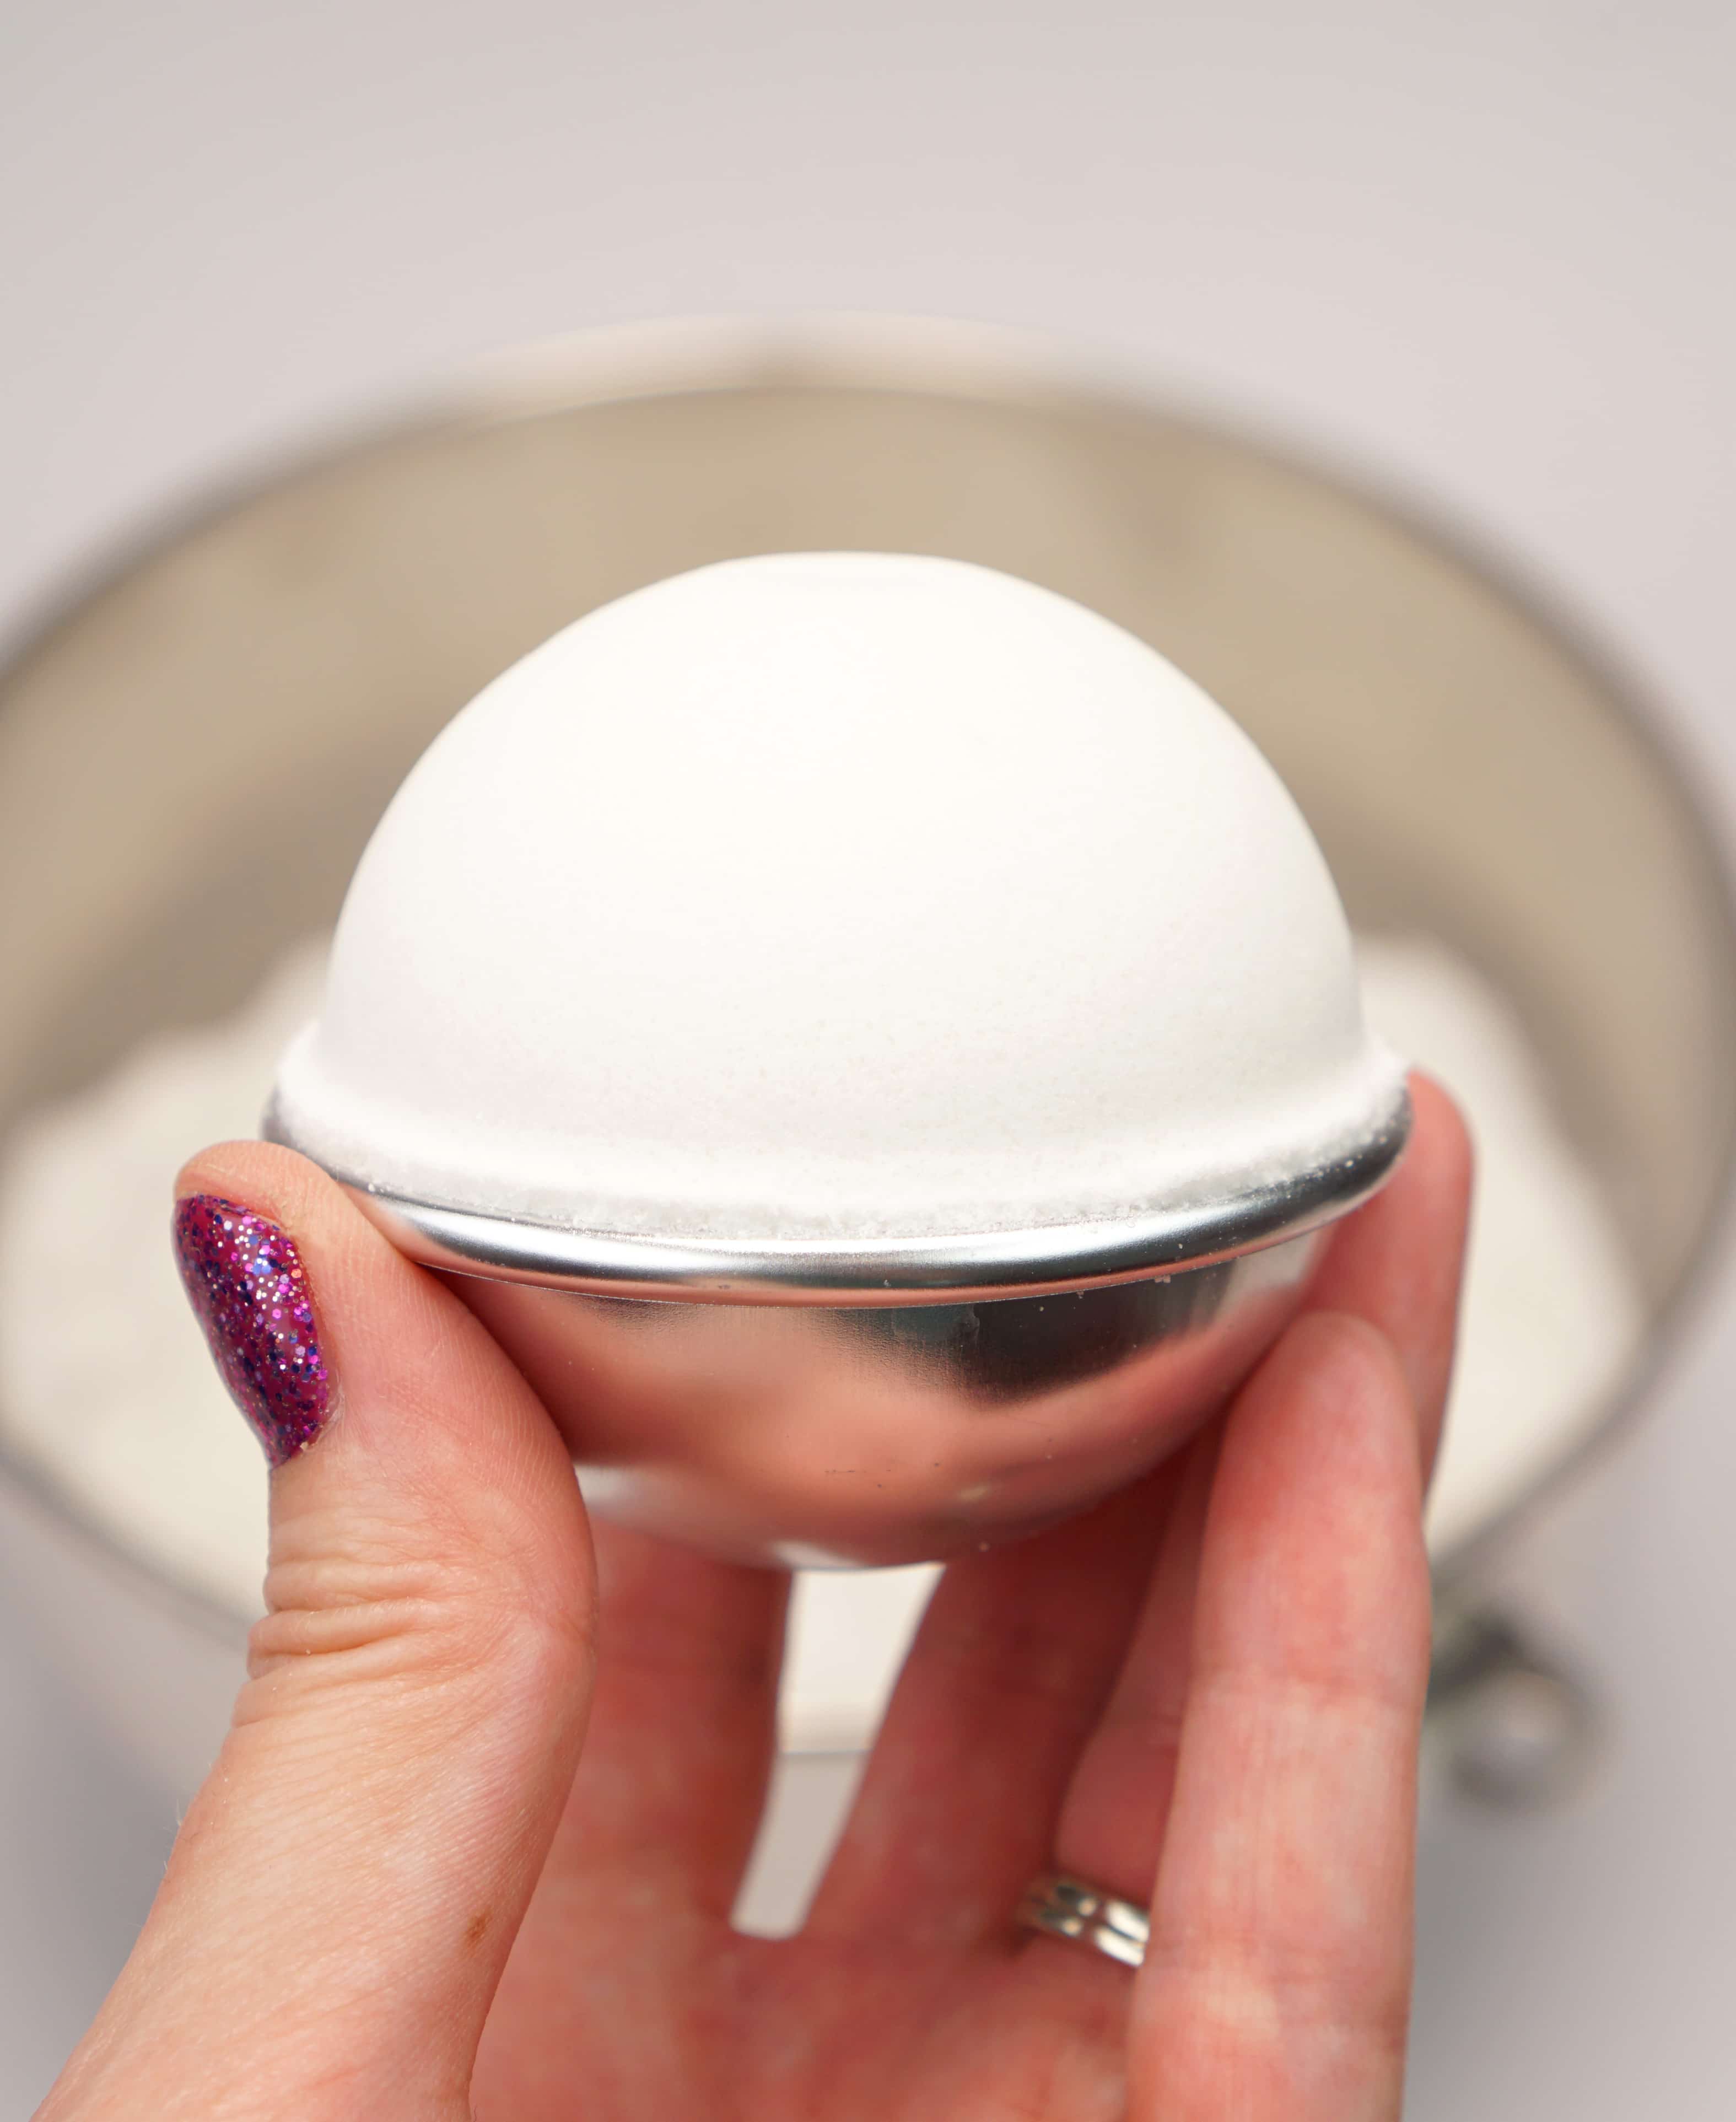
When unmolding round bath bombs, remove half of the mold at a time and allow the bottom half of the bath bomb to rest in the other half of the mold while the top half of the bath bomb dries. This step ensures that the bottoms of your bath bombs stay rounded and don’t flatten out.
Flip the mold to the opposite side of the bath bomb after an hour and then unmold completely after 2 hours. Allow to dry completely for 24–48 hours.
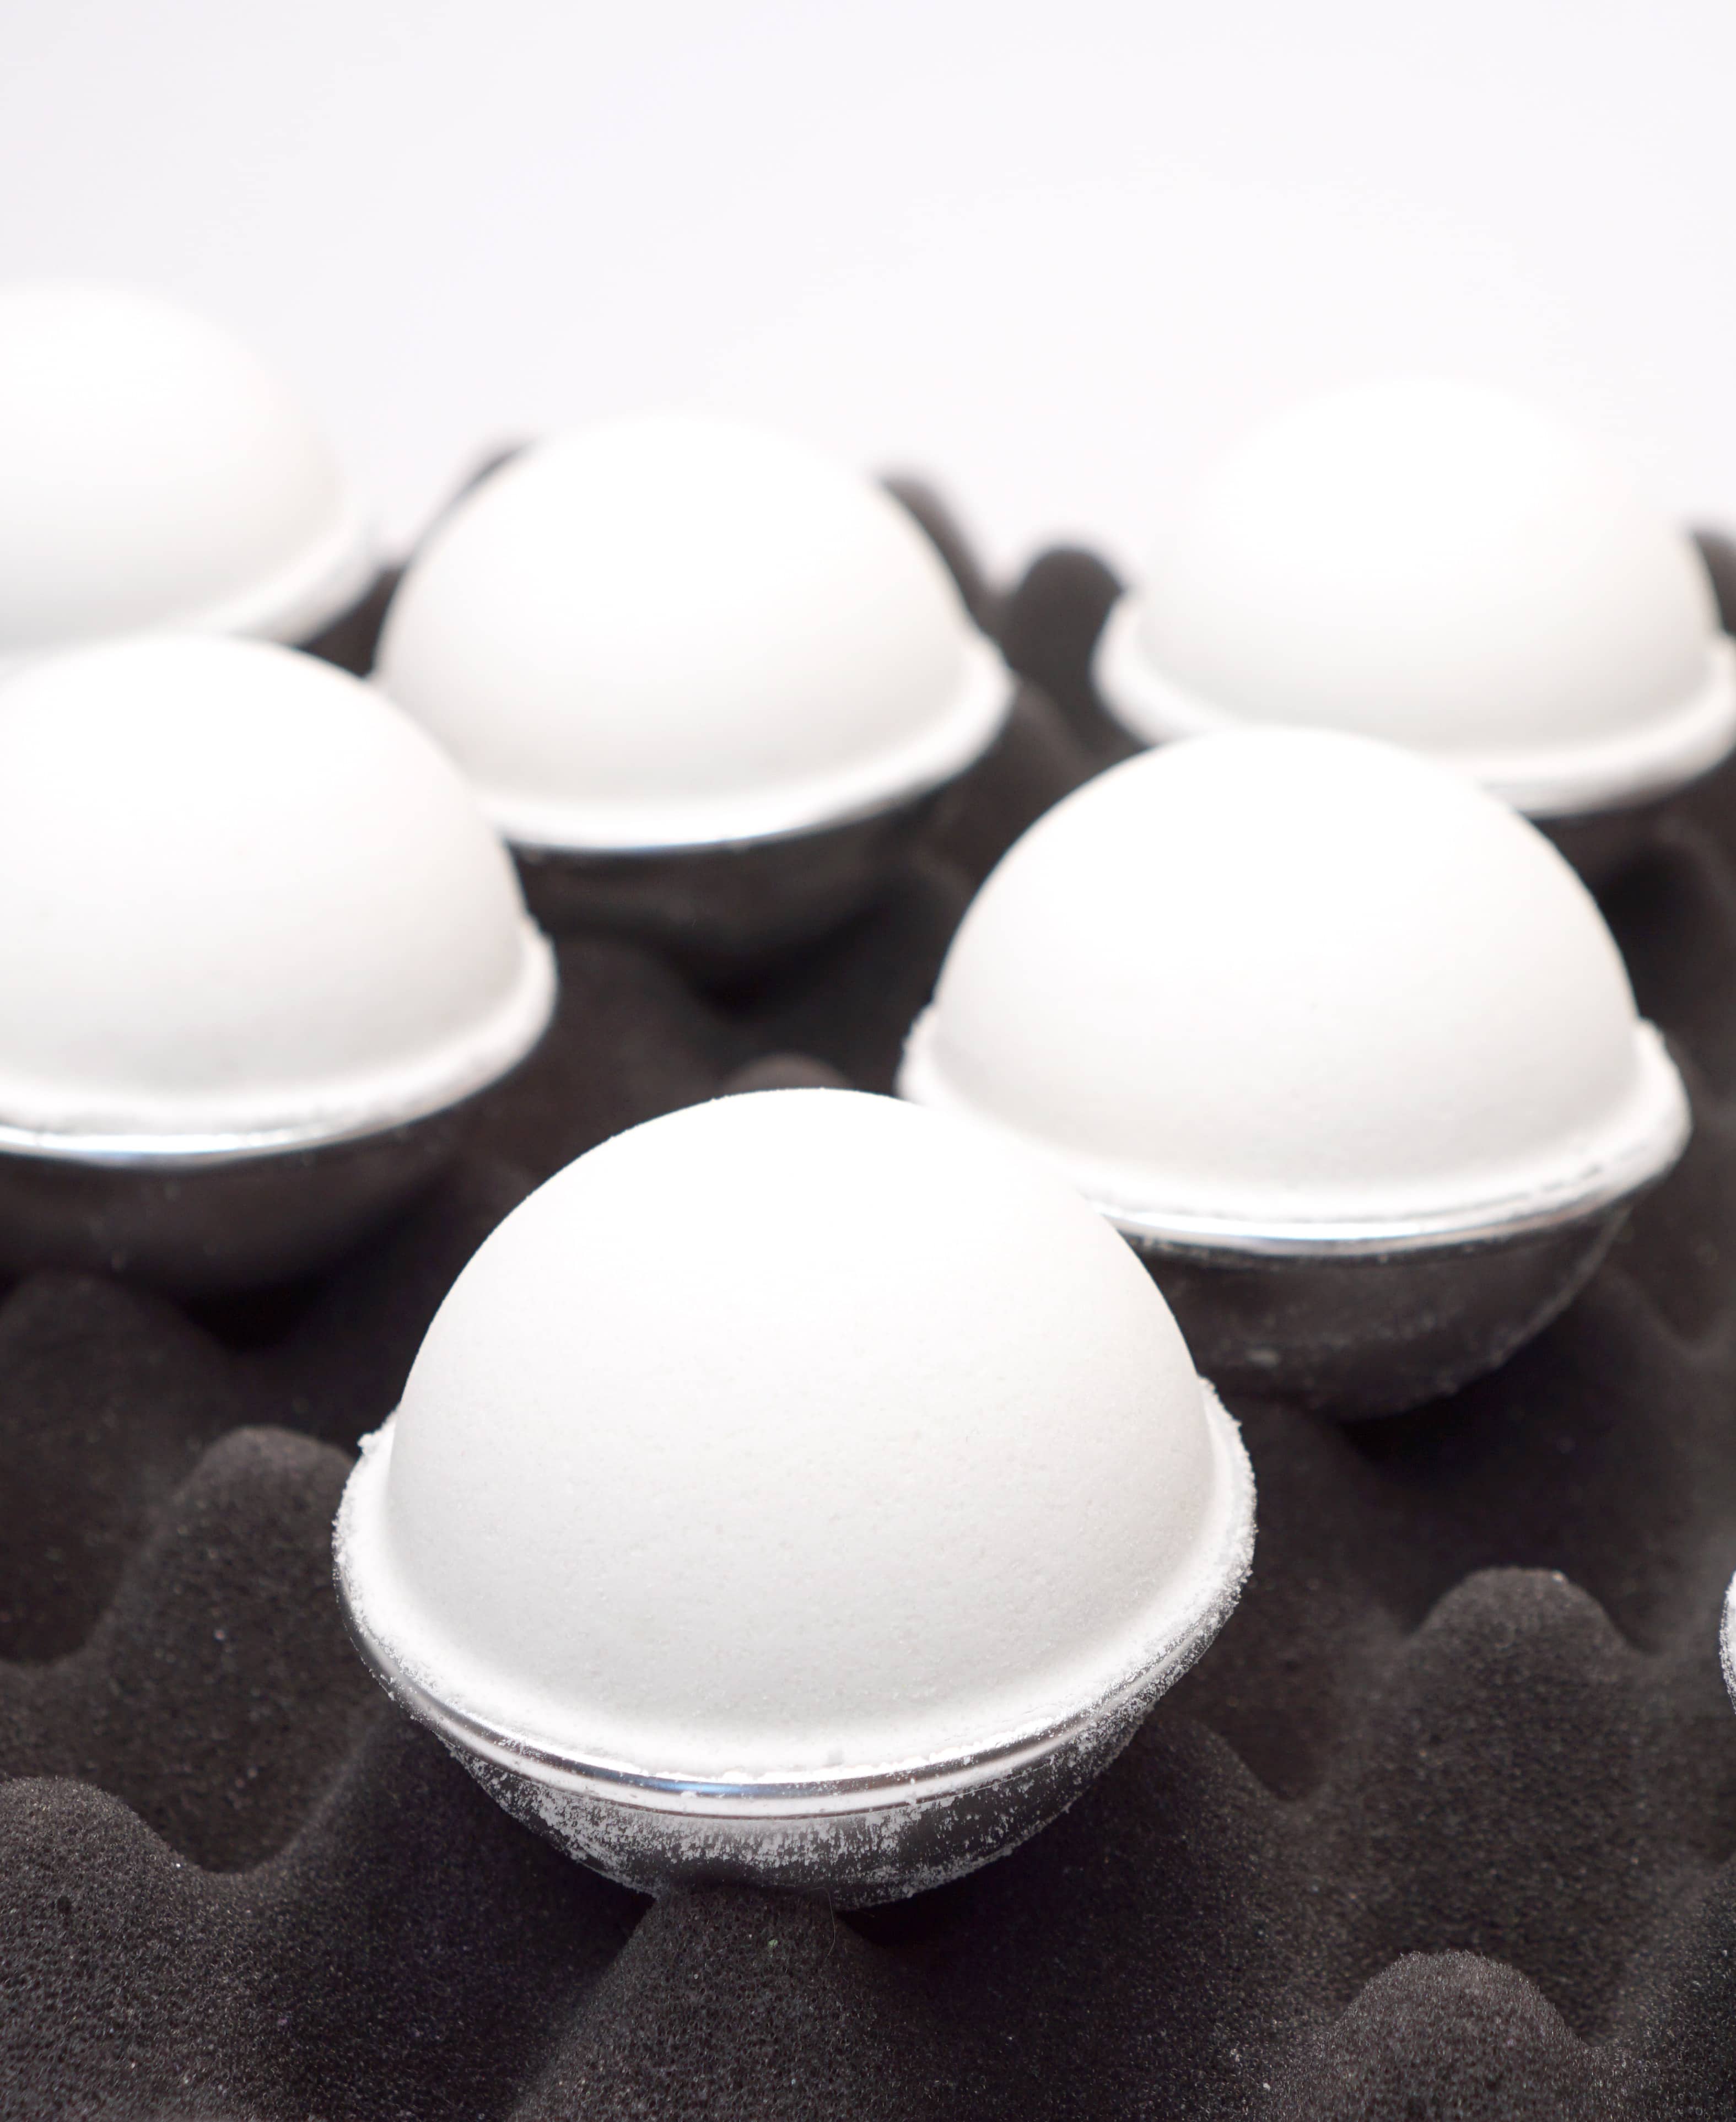
Note: I like to dry my DIY bath bombs on egg crate foam to help keep their rounded shape and to allow air to circulate freely around the bath bomb to help it thoroughly dry. This photo shows halfway unmolded bath bombs, but I also use the egg crate for drying once they have been completely unmolded!
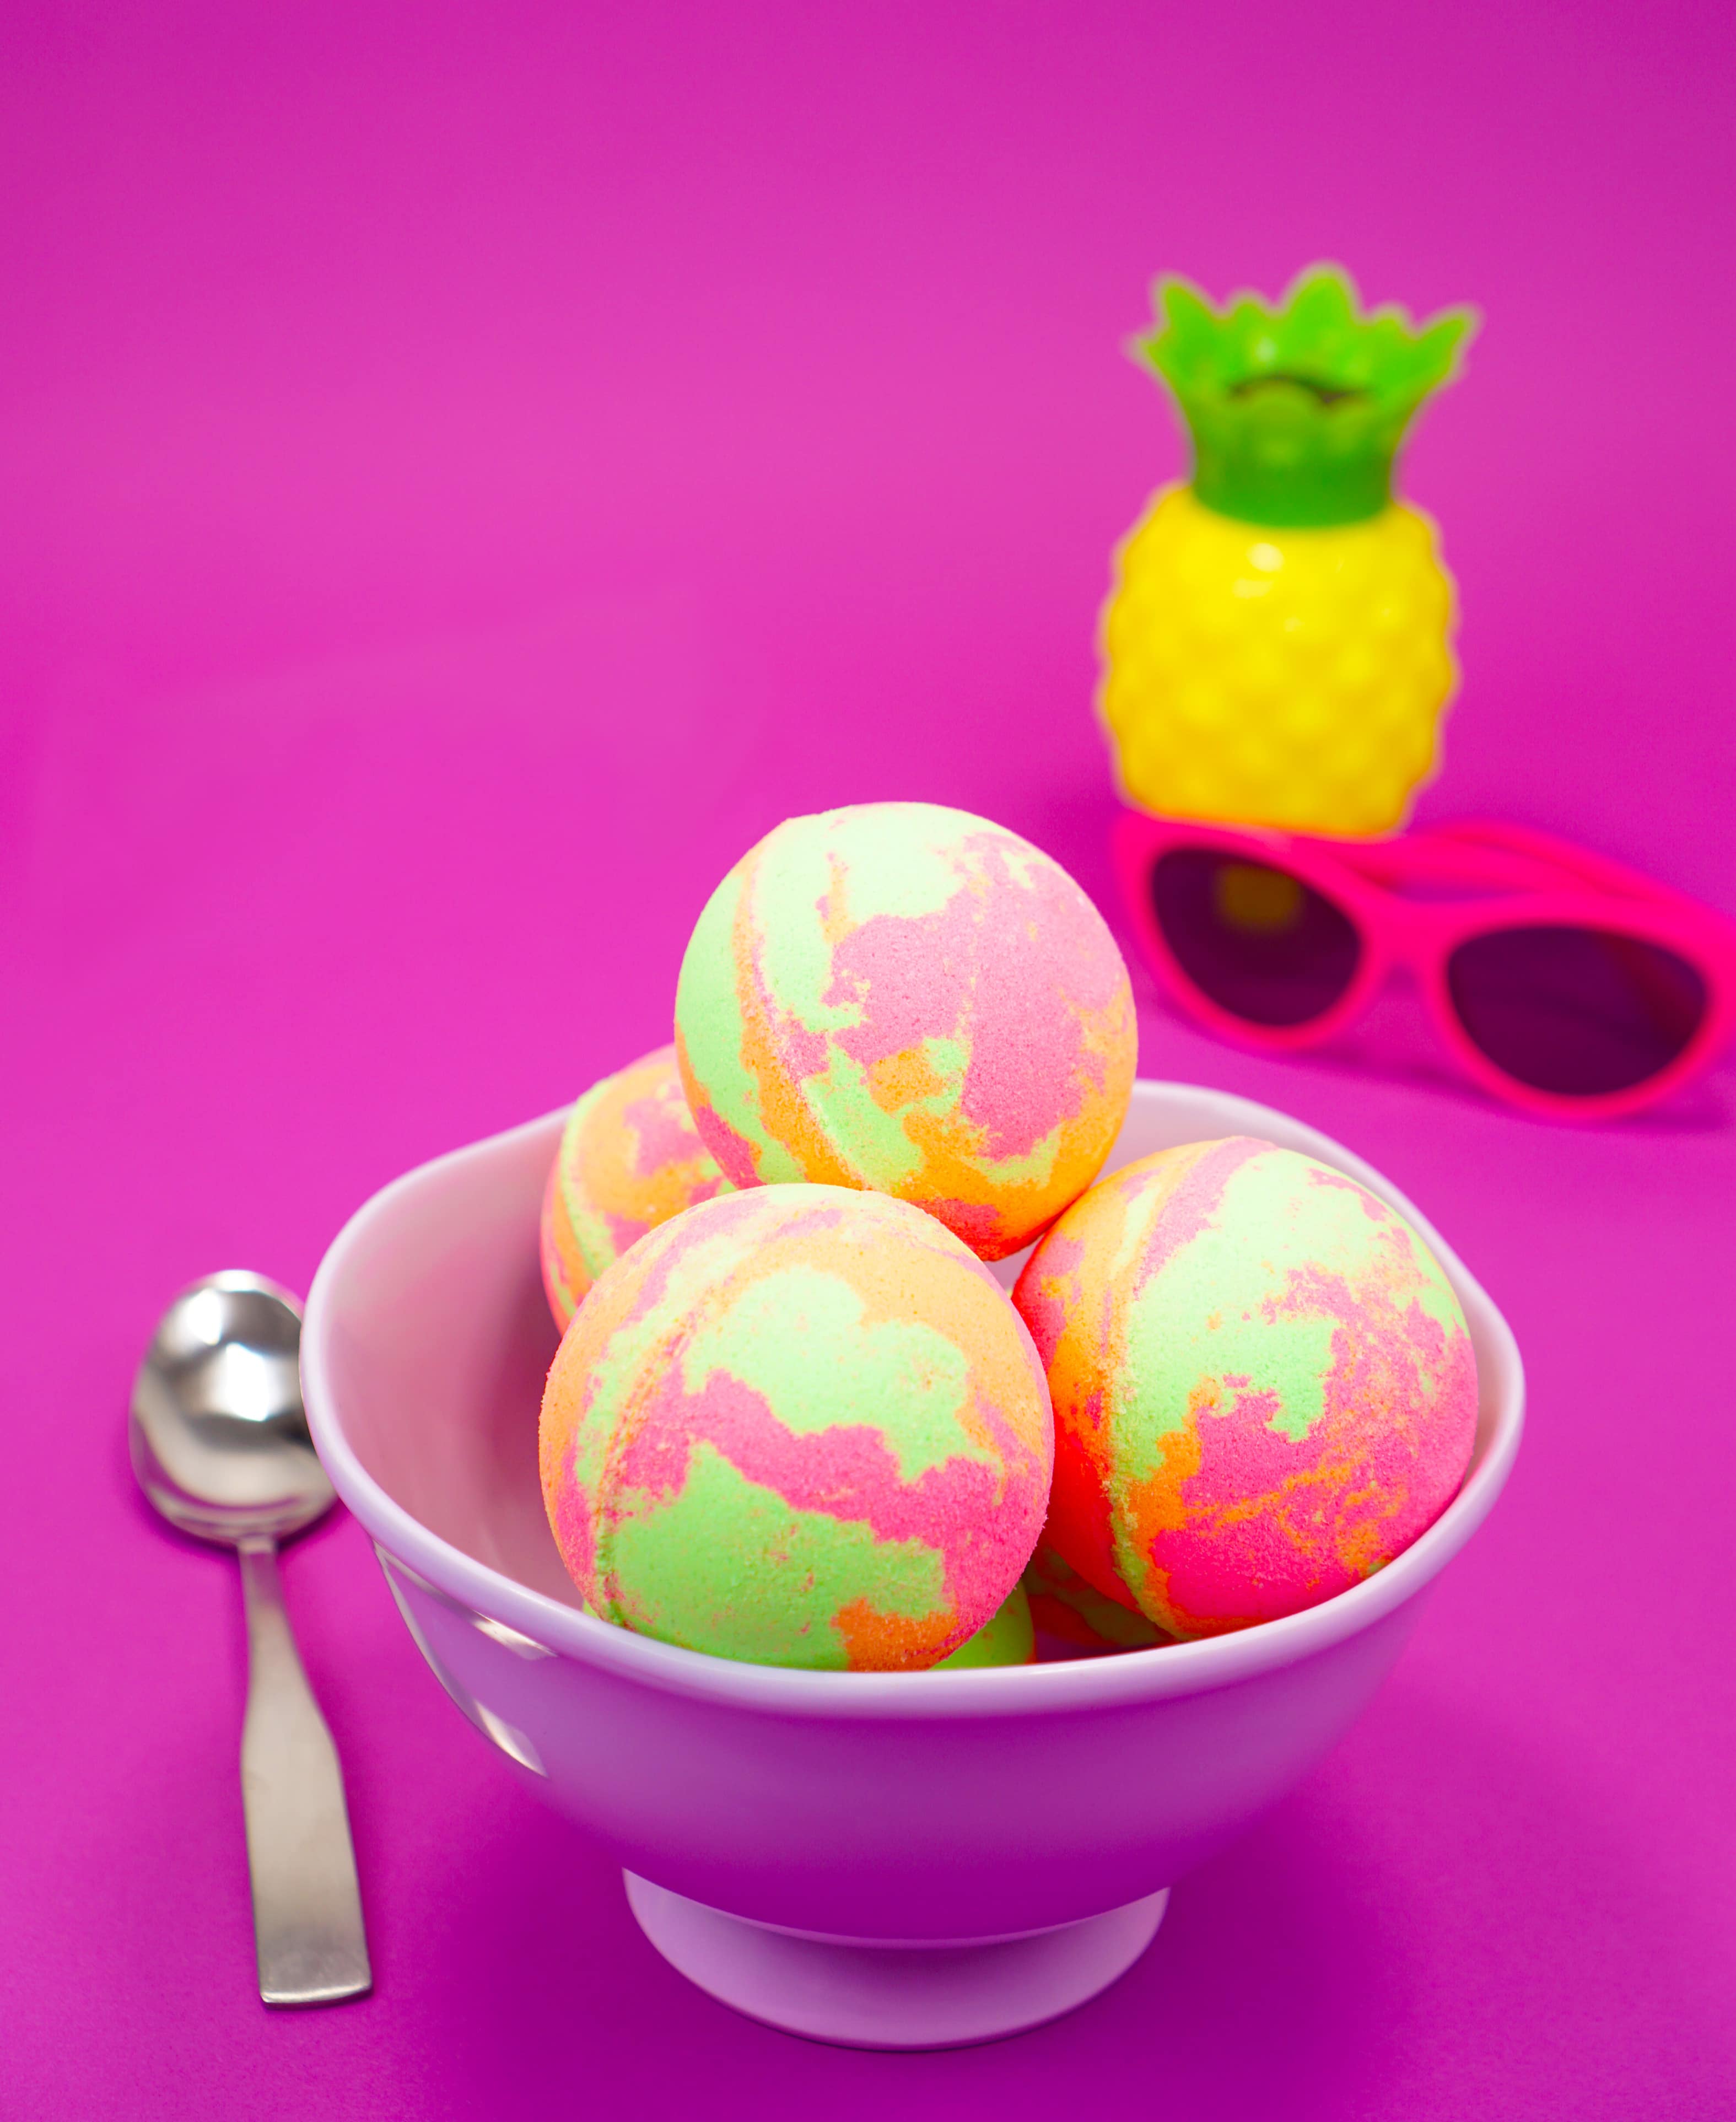
Once you’ve mastered making a single-colored batch of bath bombs, make several batches and experiment with different colors and fragrance combinations! The possibilities are truly endless!
Easy DIY Bath Bomb Recipe
The BEST Bath Bombs
What You’ll Need:
- 3 cups Baking Soda
- 1 1/2 cups Citric Acid
- 2 Tbsp Cream of Tartar or White Kaolin Clay
- 2 Tbsp Sodium Lauryl Sulfoacetate (SLSA)
- 1/2 tsp Cosmetic Mica Colorant, optional
- 2 Tbsp Oil of Choice (we recommend Sweet Almond Oil)
- 1 Tbsp Polysorbate 80, if using colorant
- Fragrance Oil or Essential Oil, optional (see notes)
- Witch Hazel, in a fine-mist spray bottle
- 2 1/2" Round Metal Bath Bomb Molds
Instructions:
- In a large mixing bowl, thoroughly combine the baking soda, cream of tartar (or kaolin clay), SLSA. Stir in mica colorant if desired until completely combined.
- In a small container, combine the oil, fragrance/essential oil, and Polysorbate 80 (if using).
- Stirring constantly, slowly mix the liquids into the dry ingredients until they are completely combined.
- Add citric acid to the mixture and stir until it is fully incorporated.
- Test to see if the mixture is a moldable consistency – it should feel like slightly damp sand and hold together when squeezed in your hand.If the mixture is not quite wet enough to mold, spritz two to three times with a spray bottle of witch hazel and mix well. Repeat as necessary until the proper consistency is reached.
- Fill both halves of the bath bomb mold with the bath bomb mixture, making sure to overfill both sides of the mold just a bit. Press both halves of the mold firmly together.
- Carefully release the bath bomb from the mold (tap the mold lightly with a wooden spoon if needed) and allow it to dry completely for 24-48 hours depending on the temperature and humidity of your location.
Notes:
I hope that after reading all of this “How to Make Bath Bombs” information that you’re feeling super confident and ready to start making your own DIY bath bombs! Happy crafting!
For even MORE bath bomb tips, tricks, and recipes, be sure to check out our book, Homemade Bath Bombs and More!

Pin Our “How to Make Bath Bombs” Tutorial for Later!

Heidi Kundin has captivated the hearts of millions with her colorful and inspiring approach to crafting, celebrations, and family fun. With over 15 years of experience, Happiness is Homemade has become a must-visit destination for those seeking quick and easy creative ideas and last-minute solutions. Heidi’s warm personality shines through her posts, inviting readers to join her on a creative journey that’s fun, rewarding, and achievable. Heidi is also the author of Homemade Bath Bombs & More and DIY Tie-Dye.

