
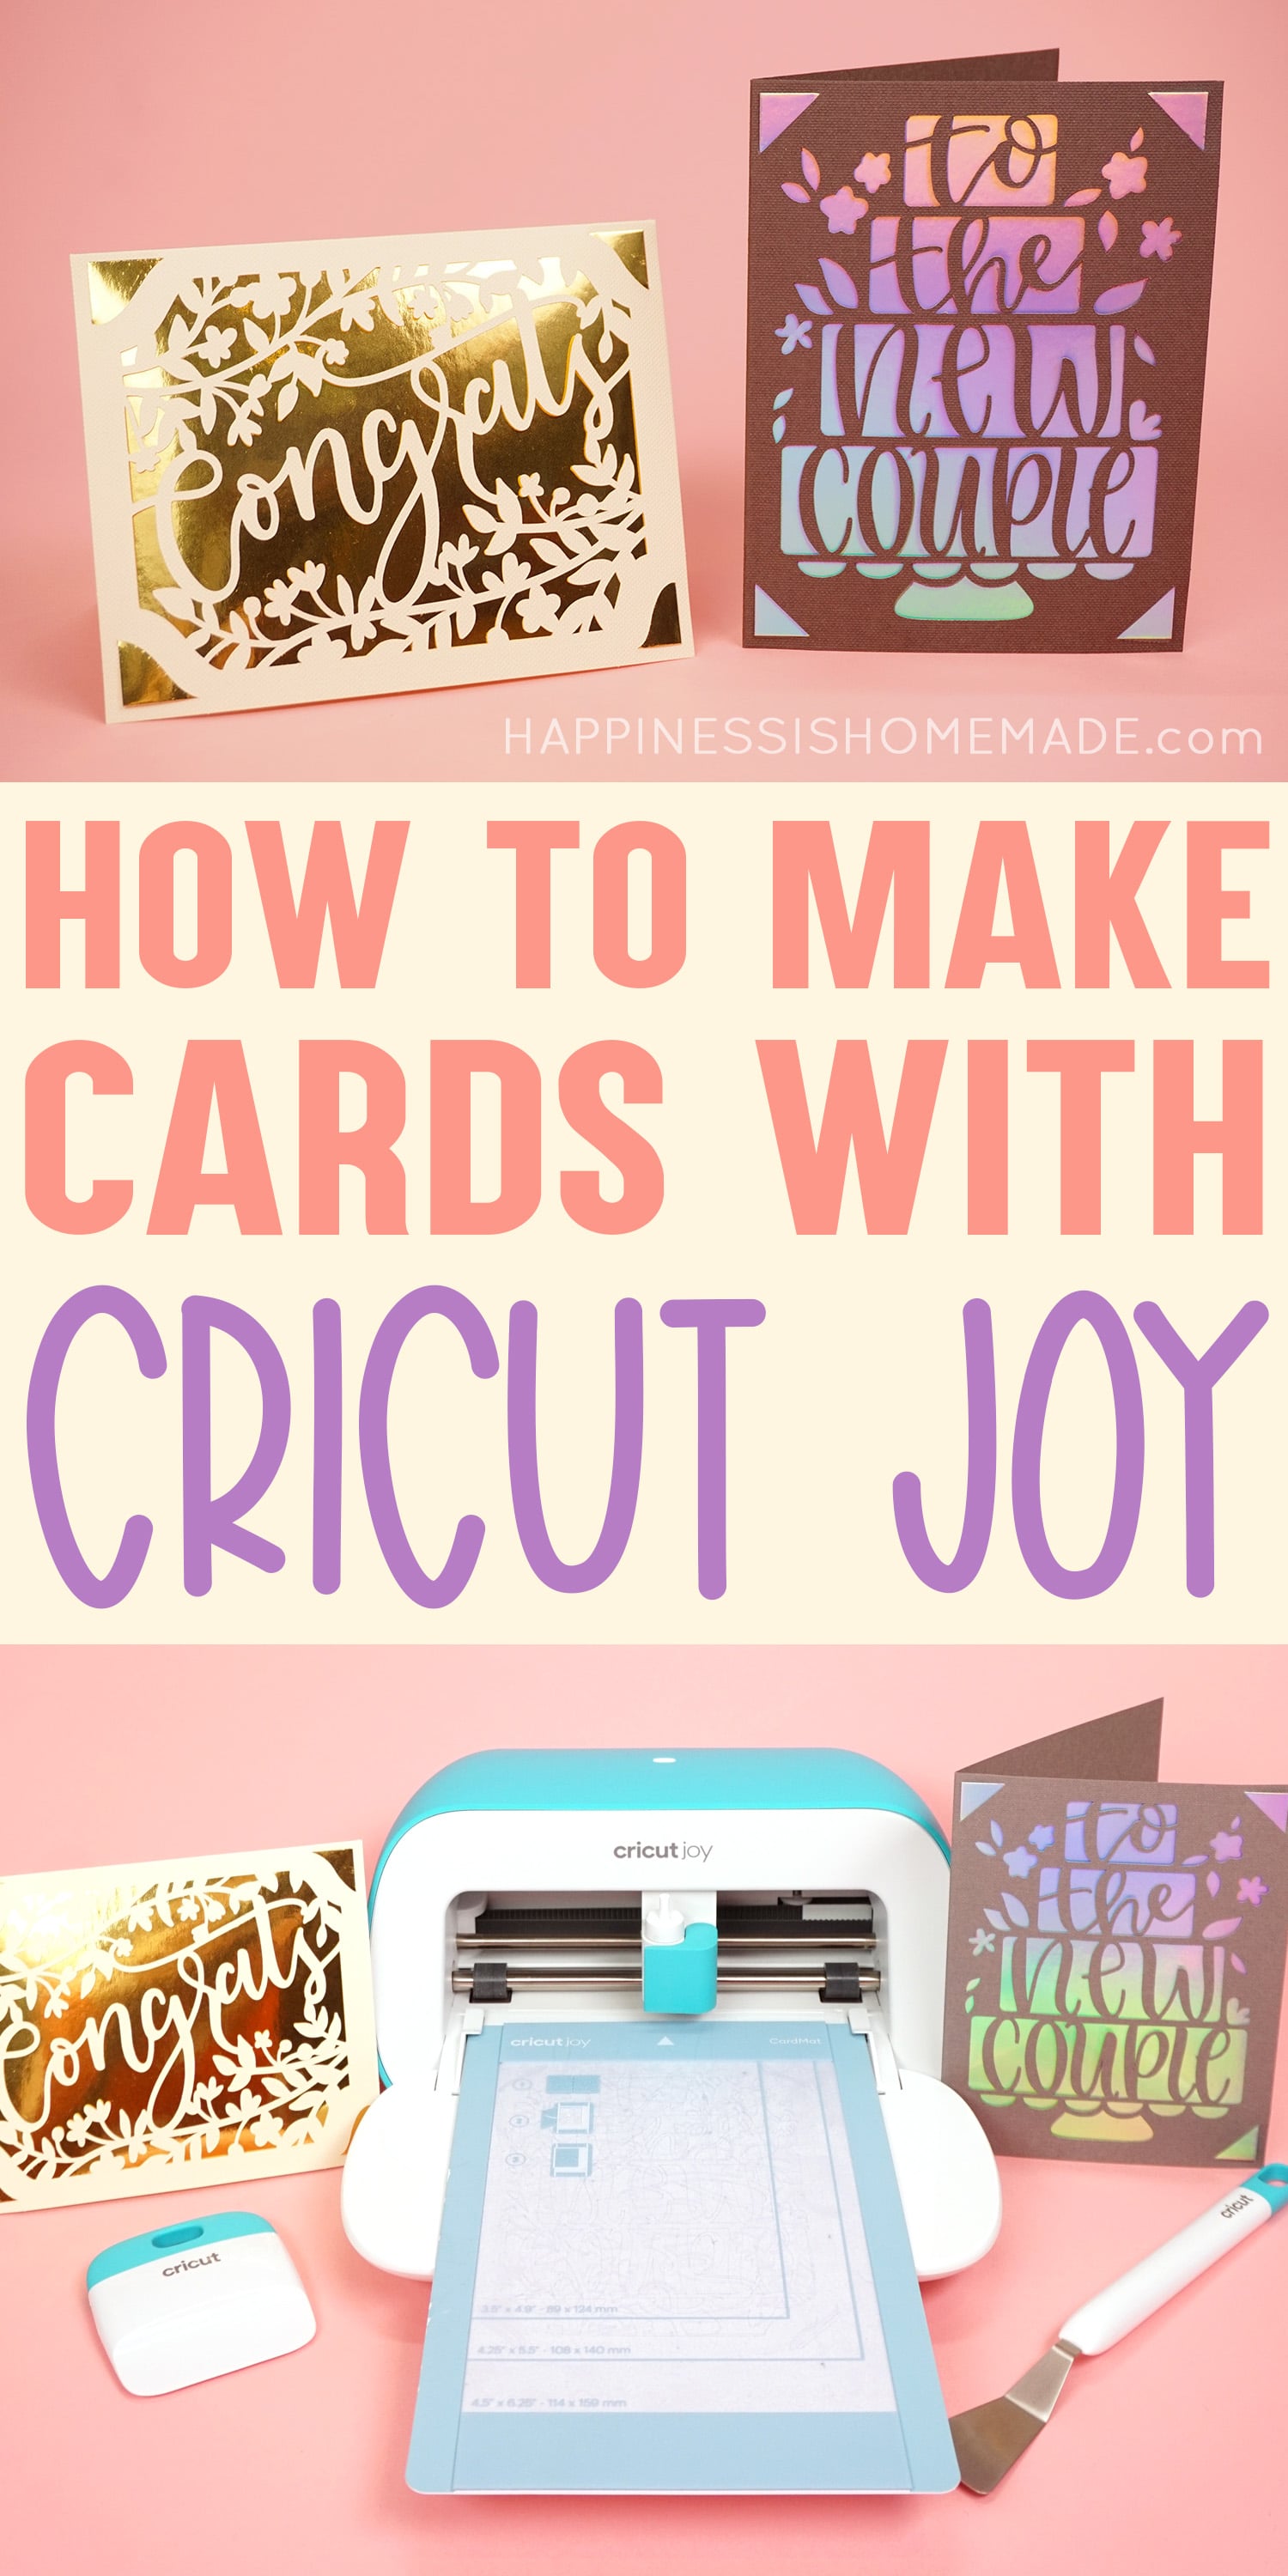
Use the brand-new Cricut Joy Card Mat and Insert Cards to make gorgeous cards for all occasions! Make quick and easy professional-looking cards in minutes! Make cards the easy way!
This post may contain affiliate links. I will receive a small commission from these sales at no additional cost to you!
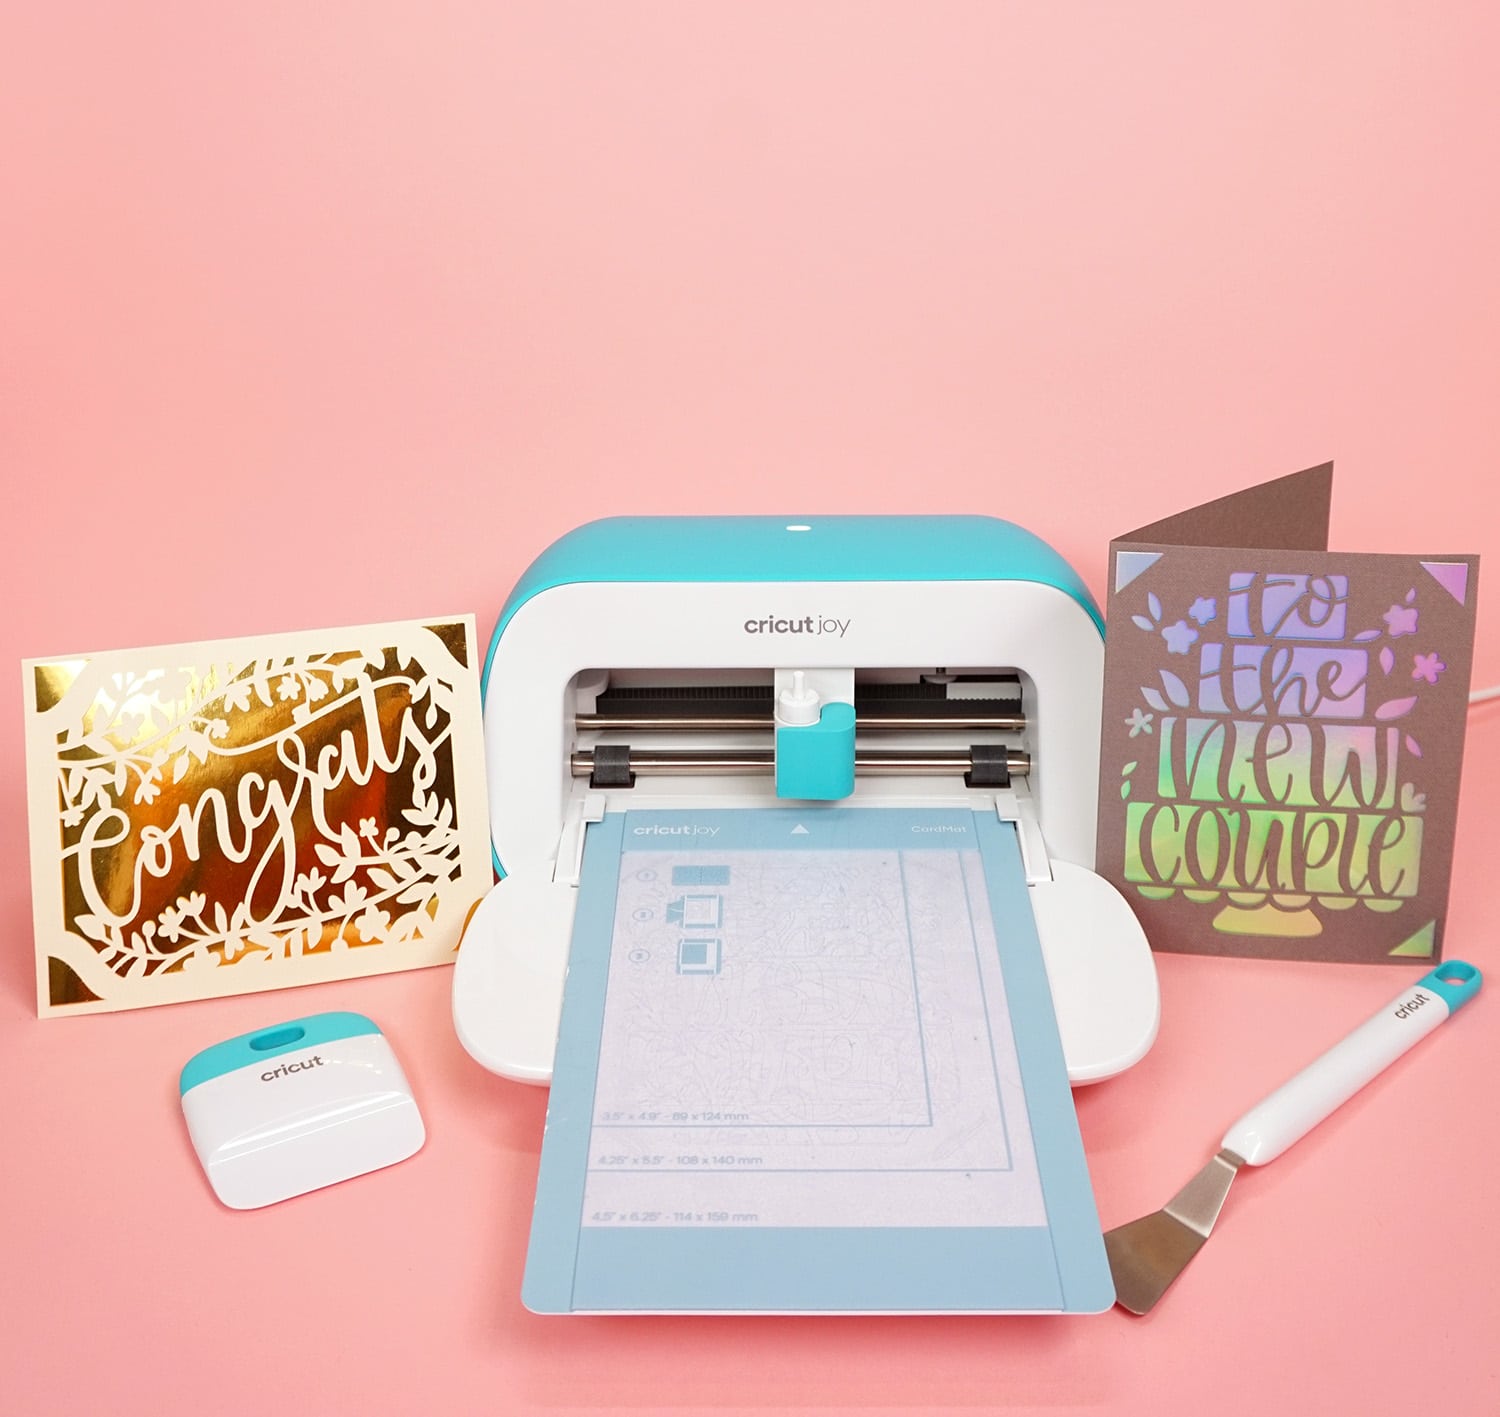
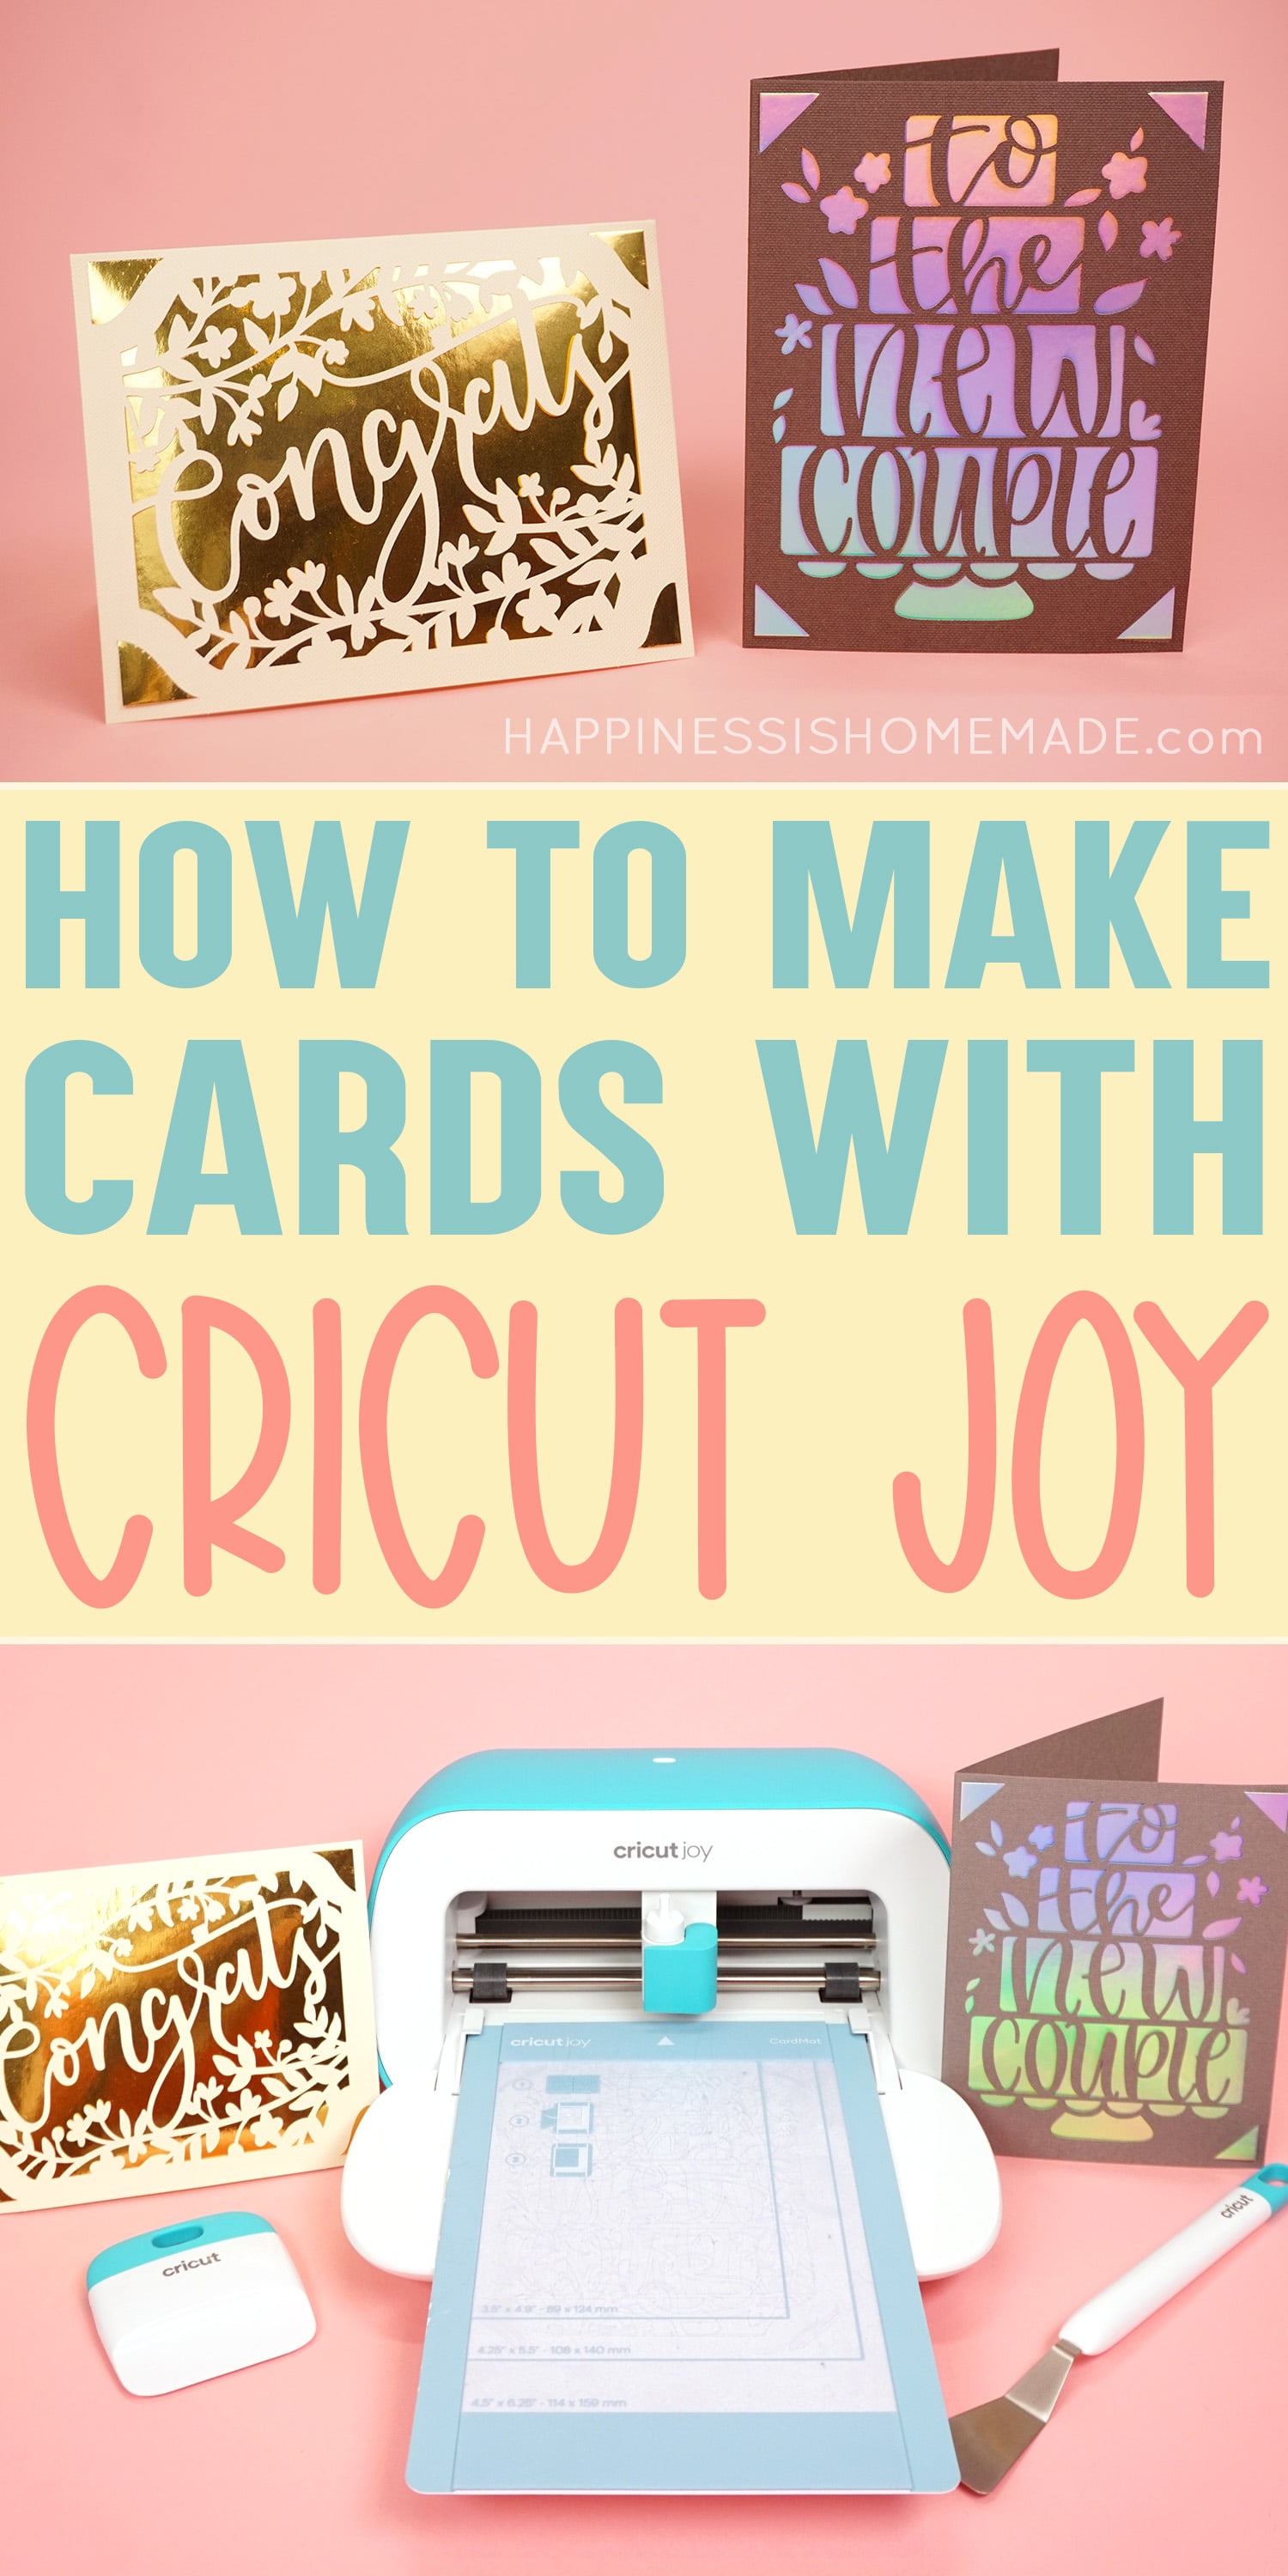
Have you heard the news? Cricut just announced the all-new Cricut Joy, a compact and portable cutting machine with some pretty cool and unique features! One of our favorite features of Cricut Joy is the Cricut Joy Card Mat and Insert Cards sets – they allow you to create professional-looking cards in minutes (perfect for all of those last-minute occasions!)!
All About the Cricut Joy Card Mat & Insert Cards
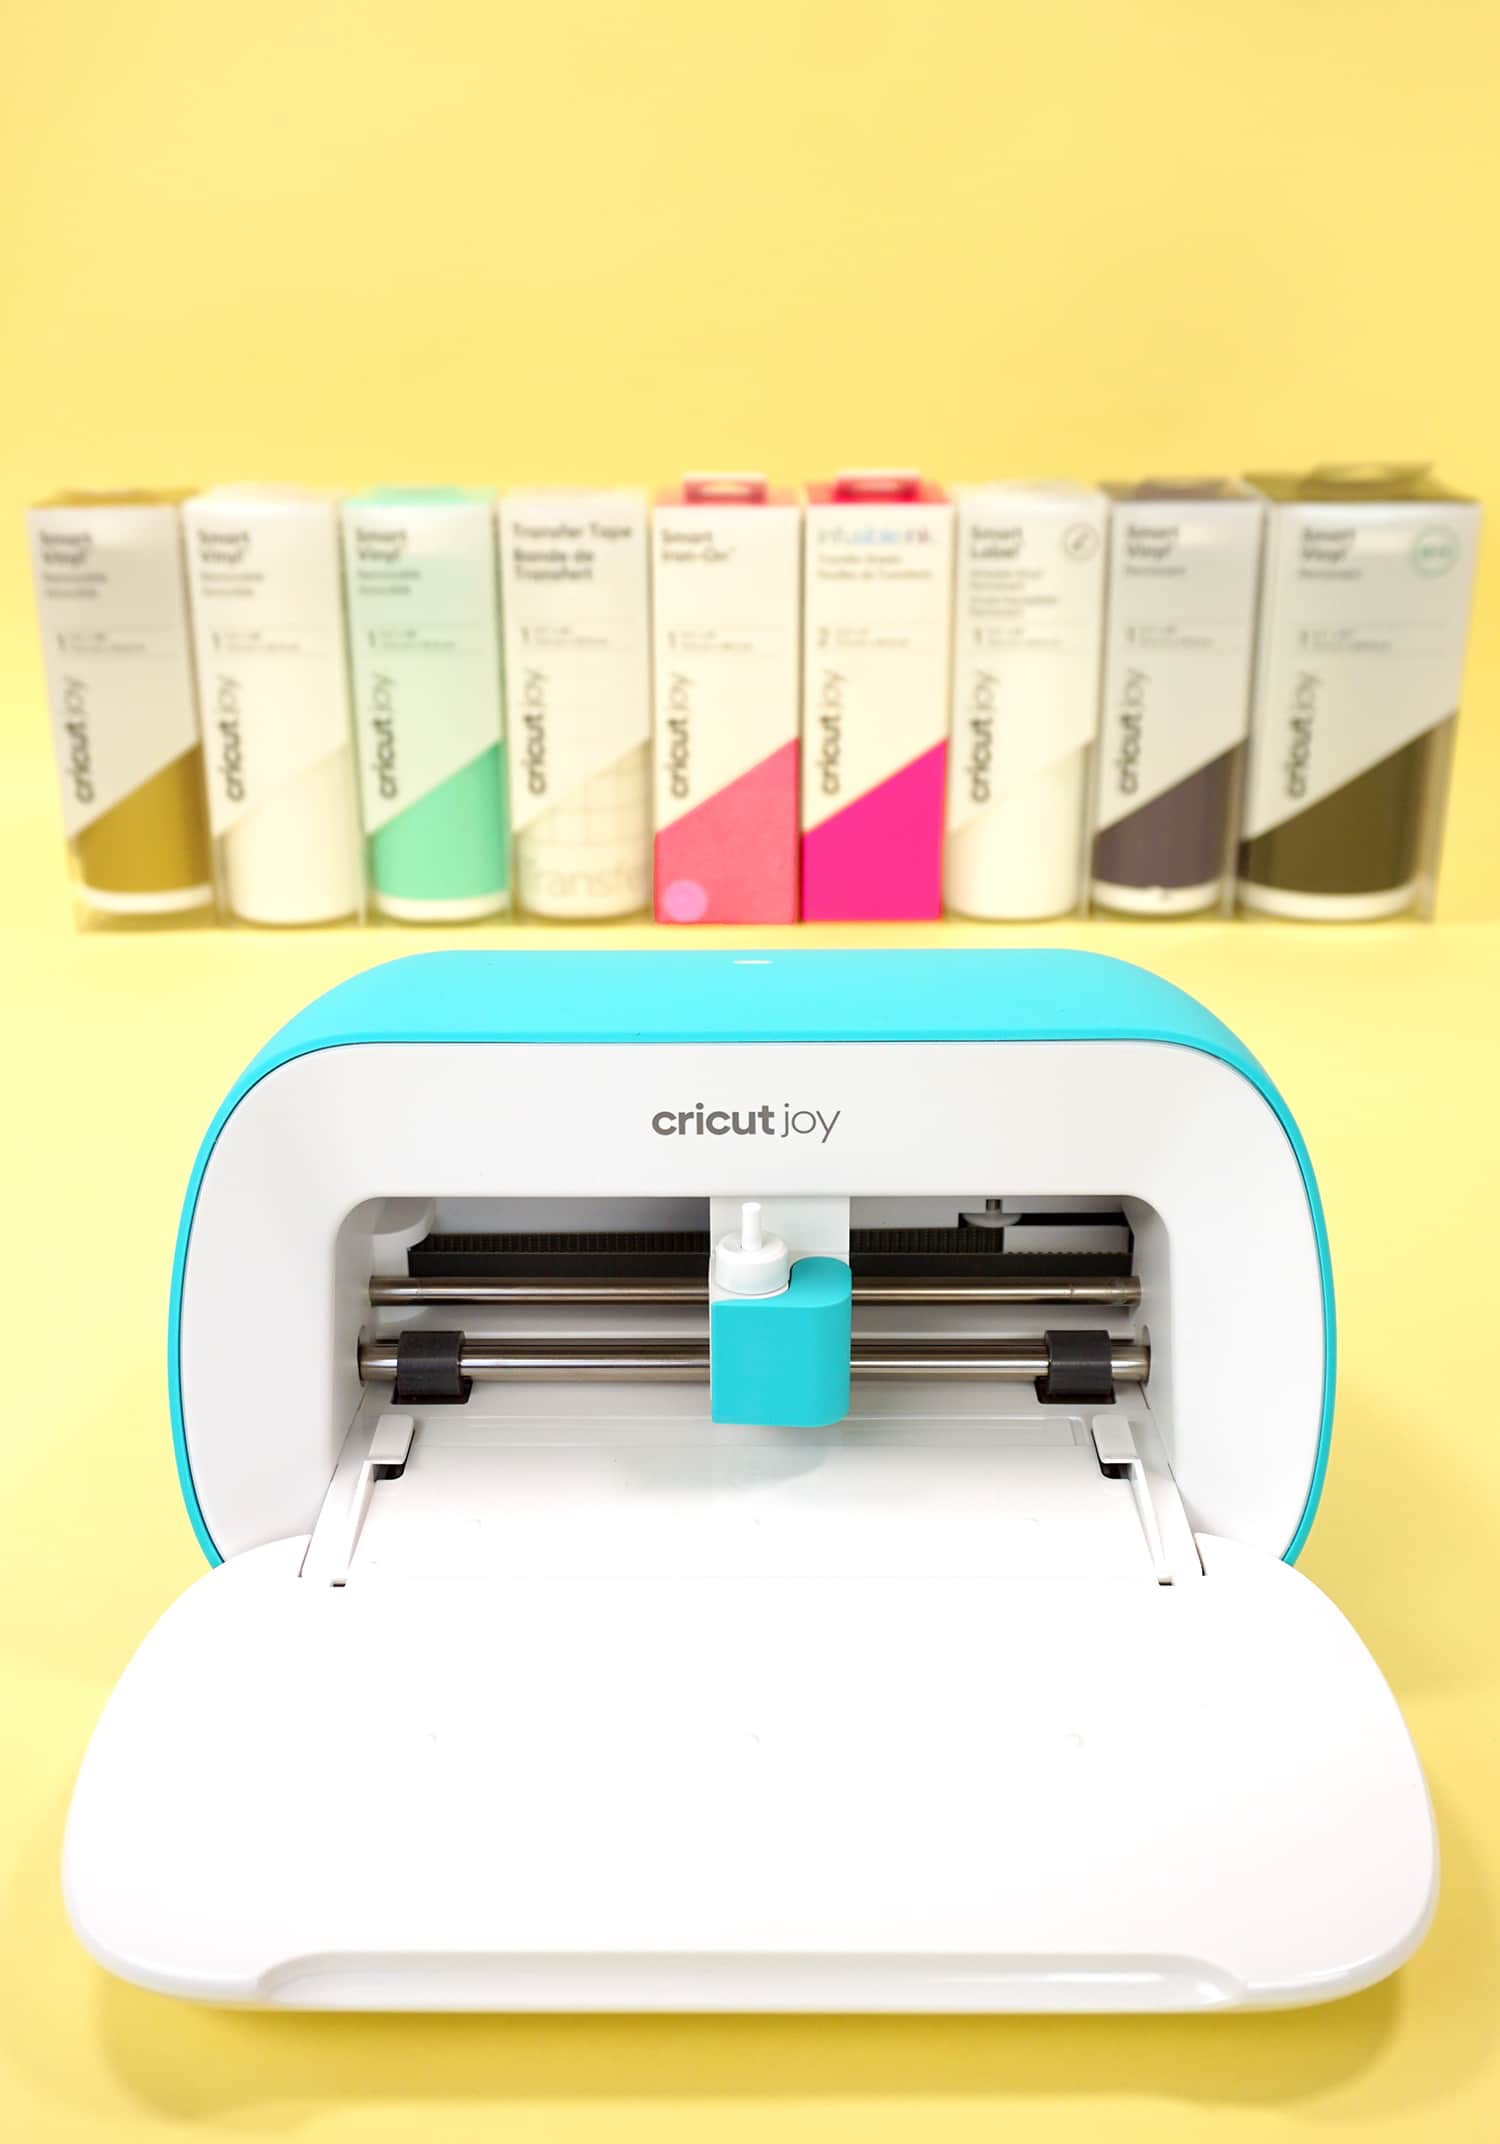
The Cricut Joy Card Mat and Insert Cards sets are unlike any of the other current Cricut tools and products available. Their innovative design means that you can create cards quickly and easily with minimal setup and virtually no mess!
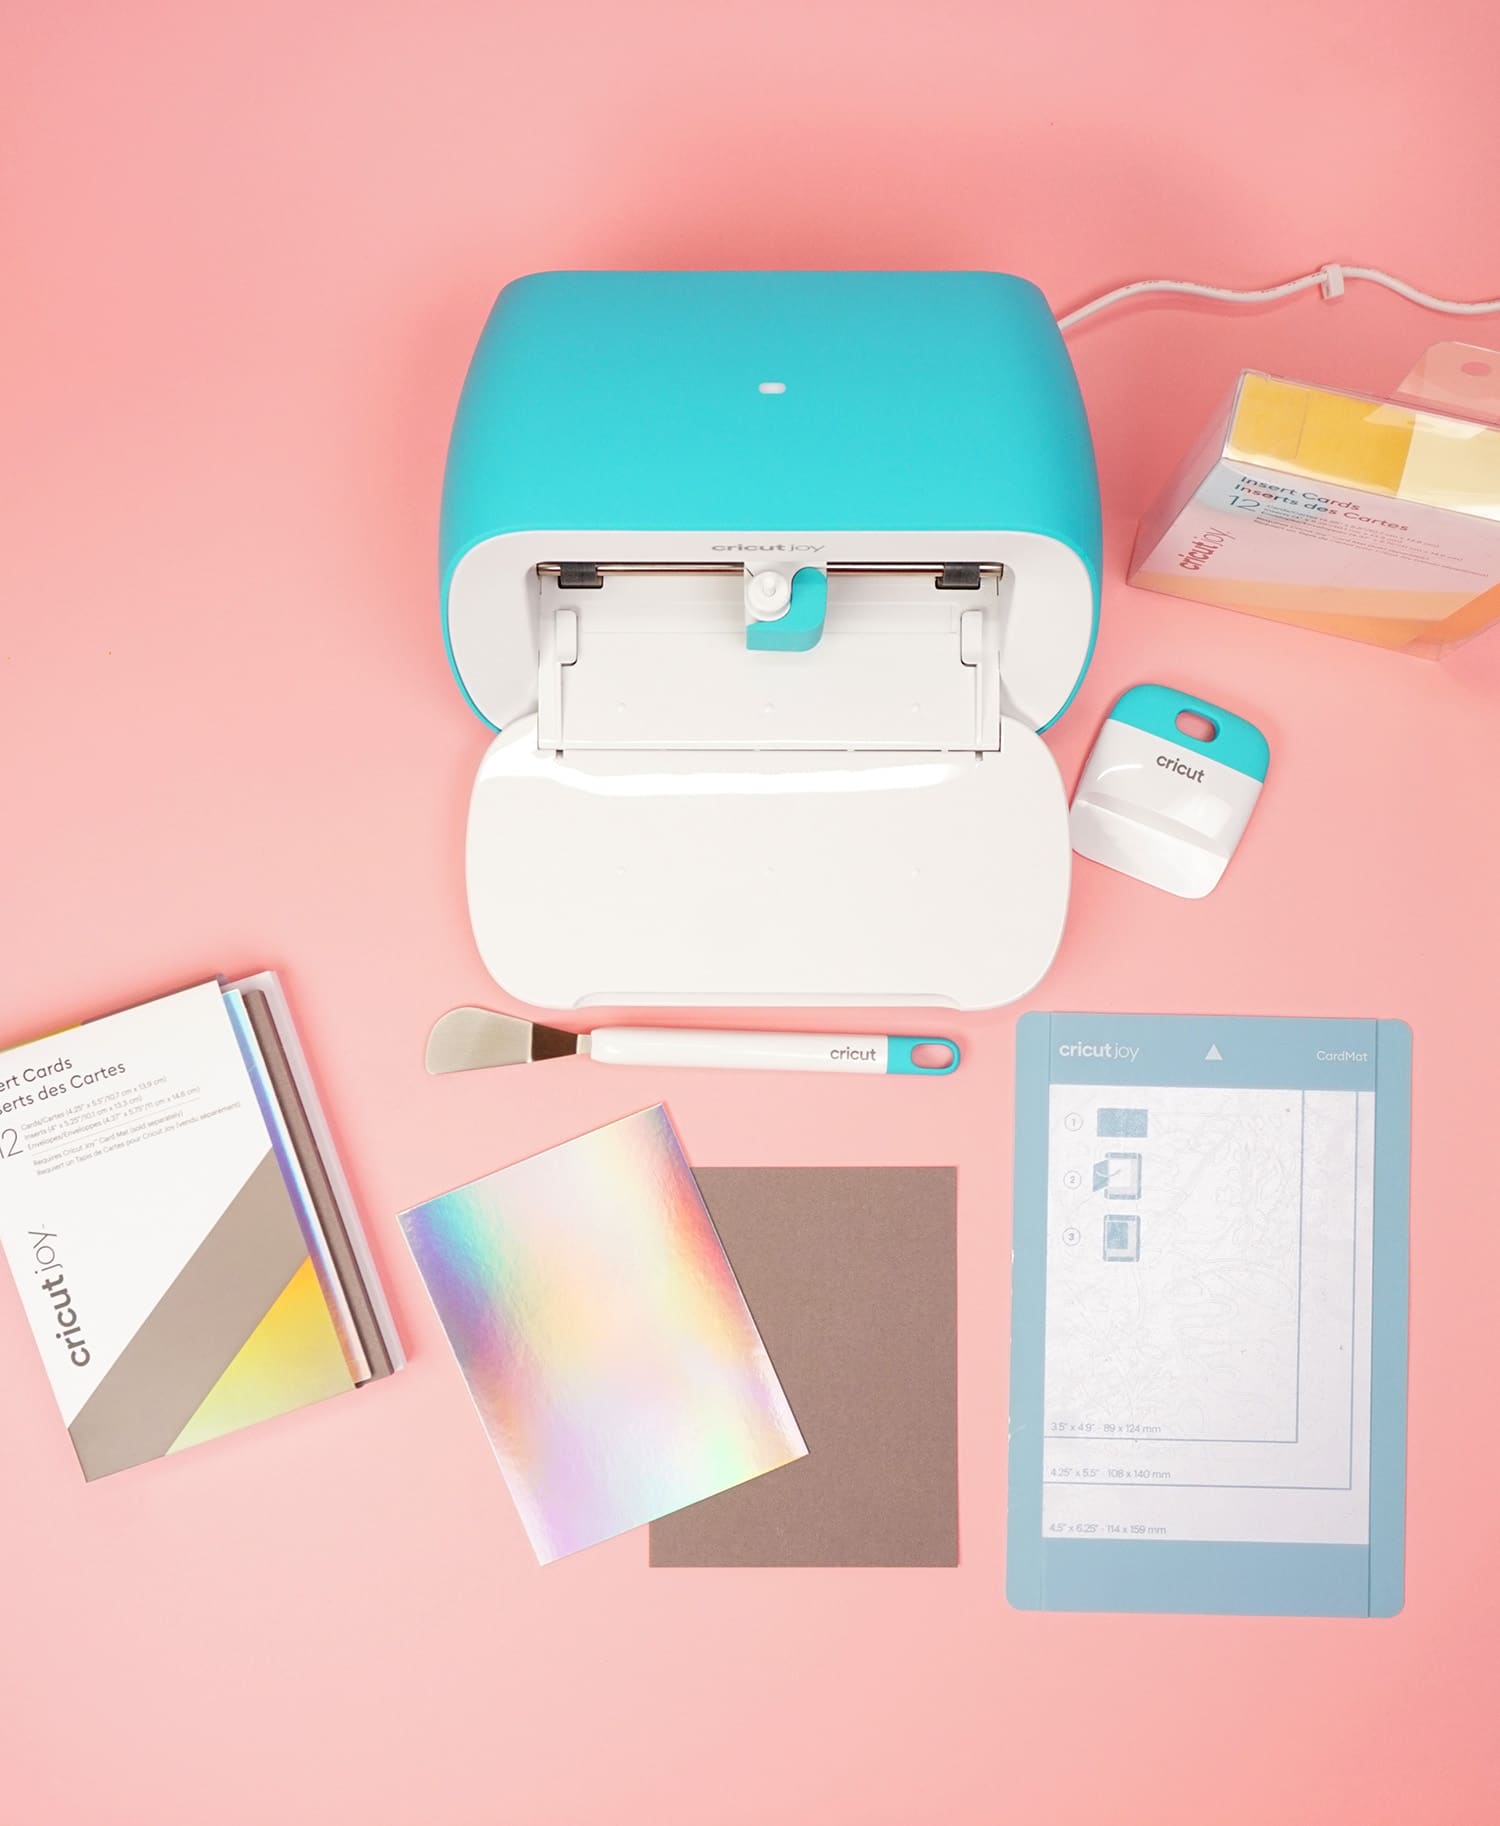
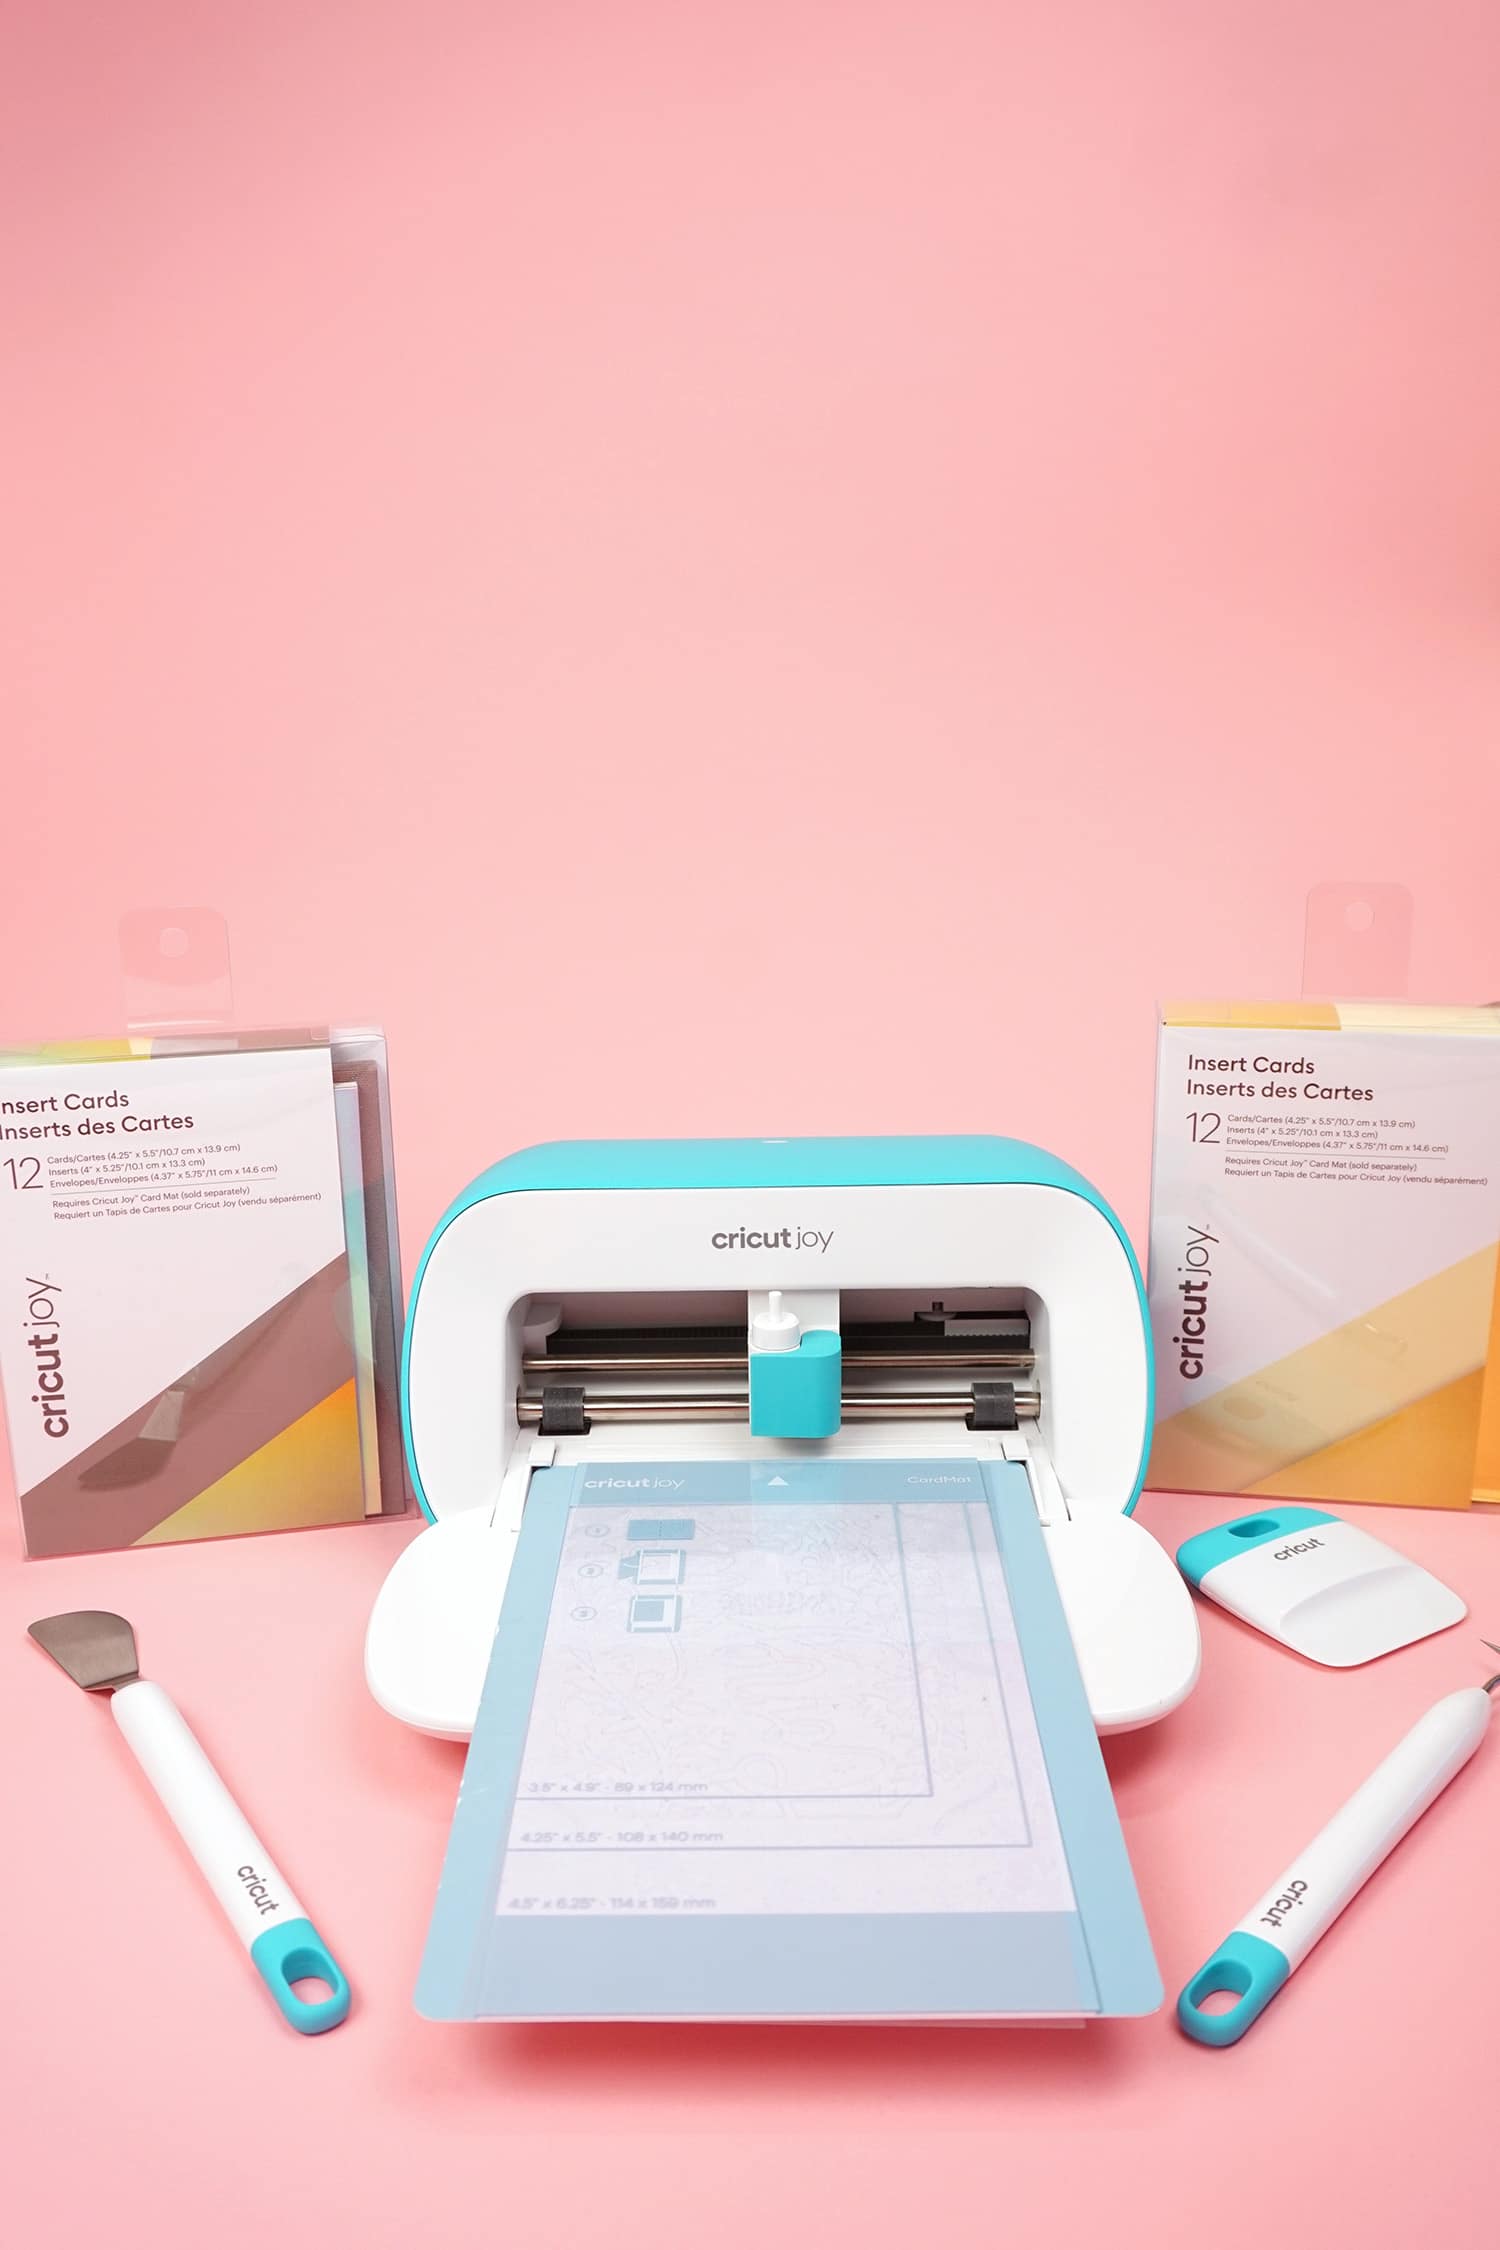
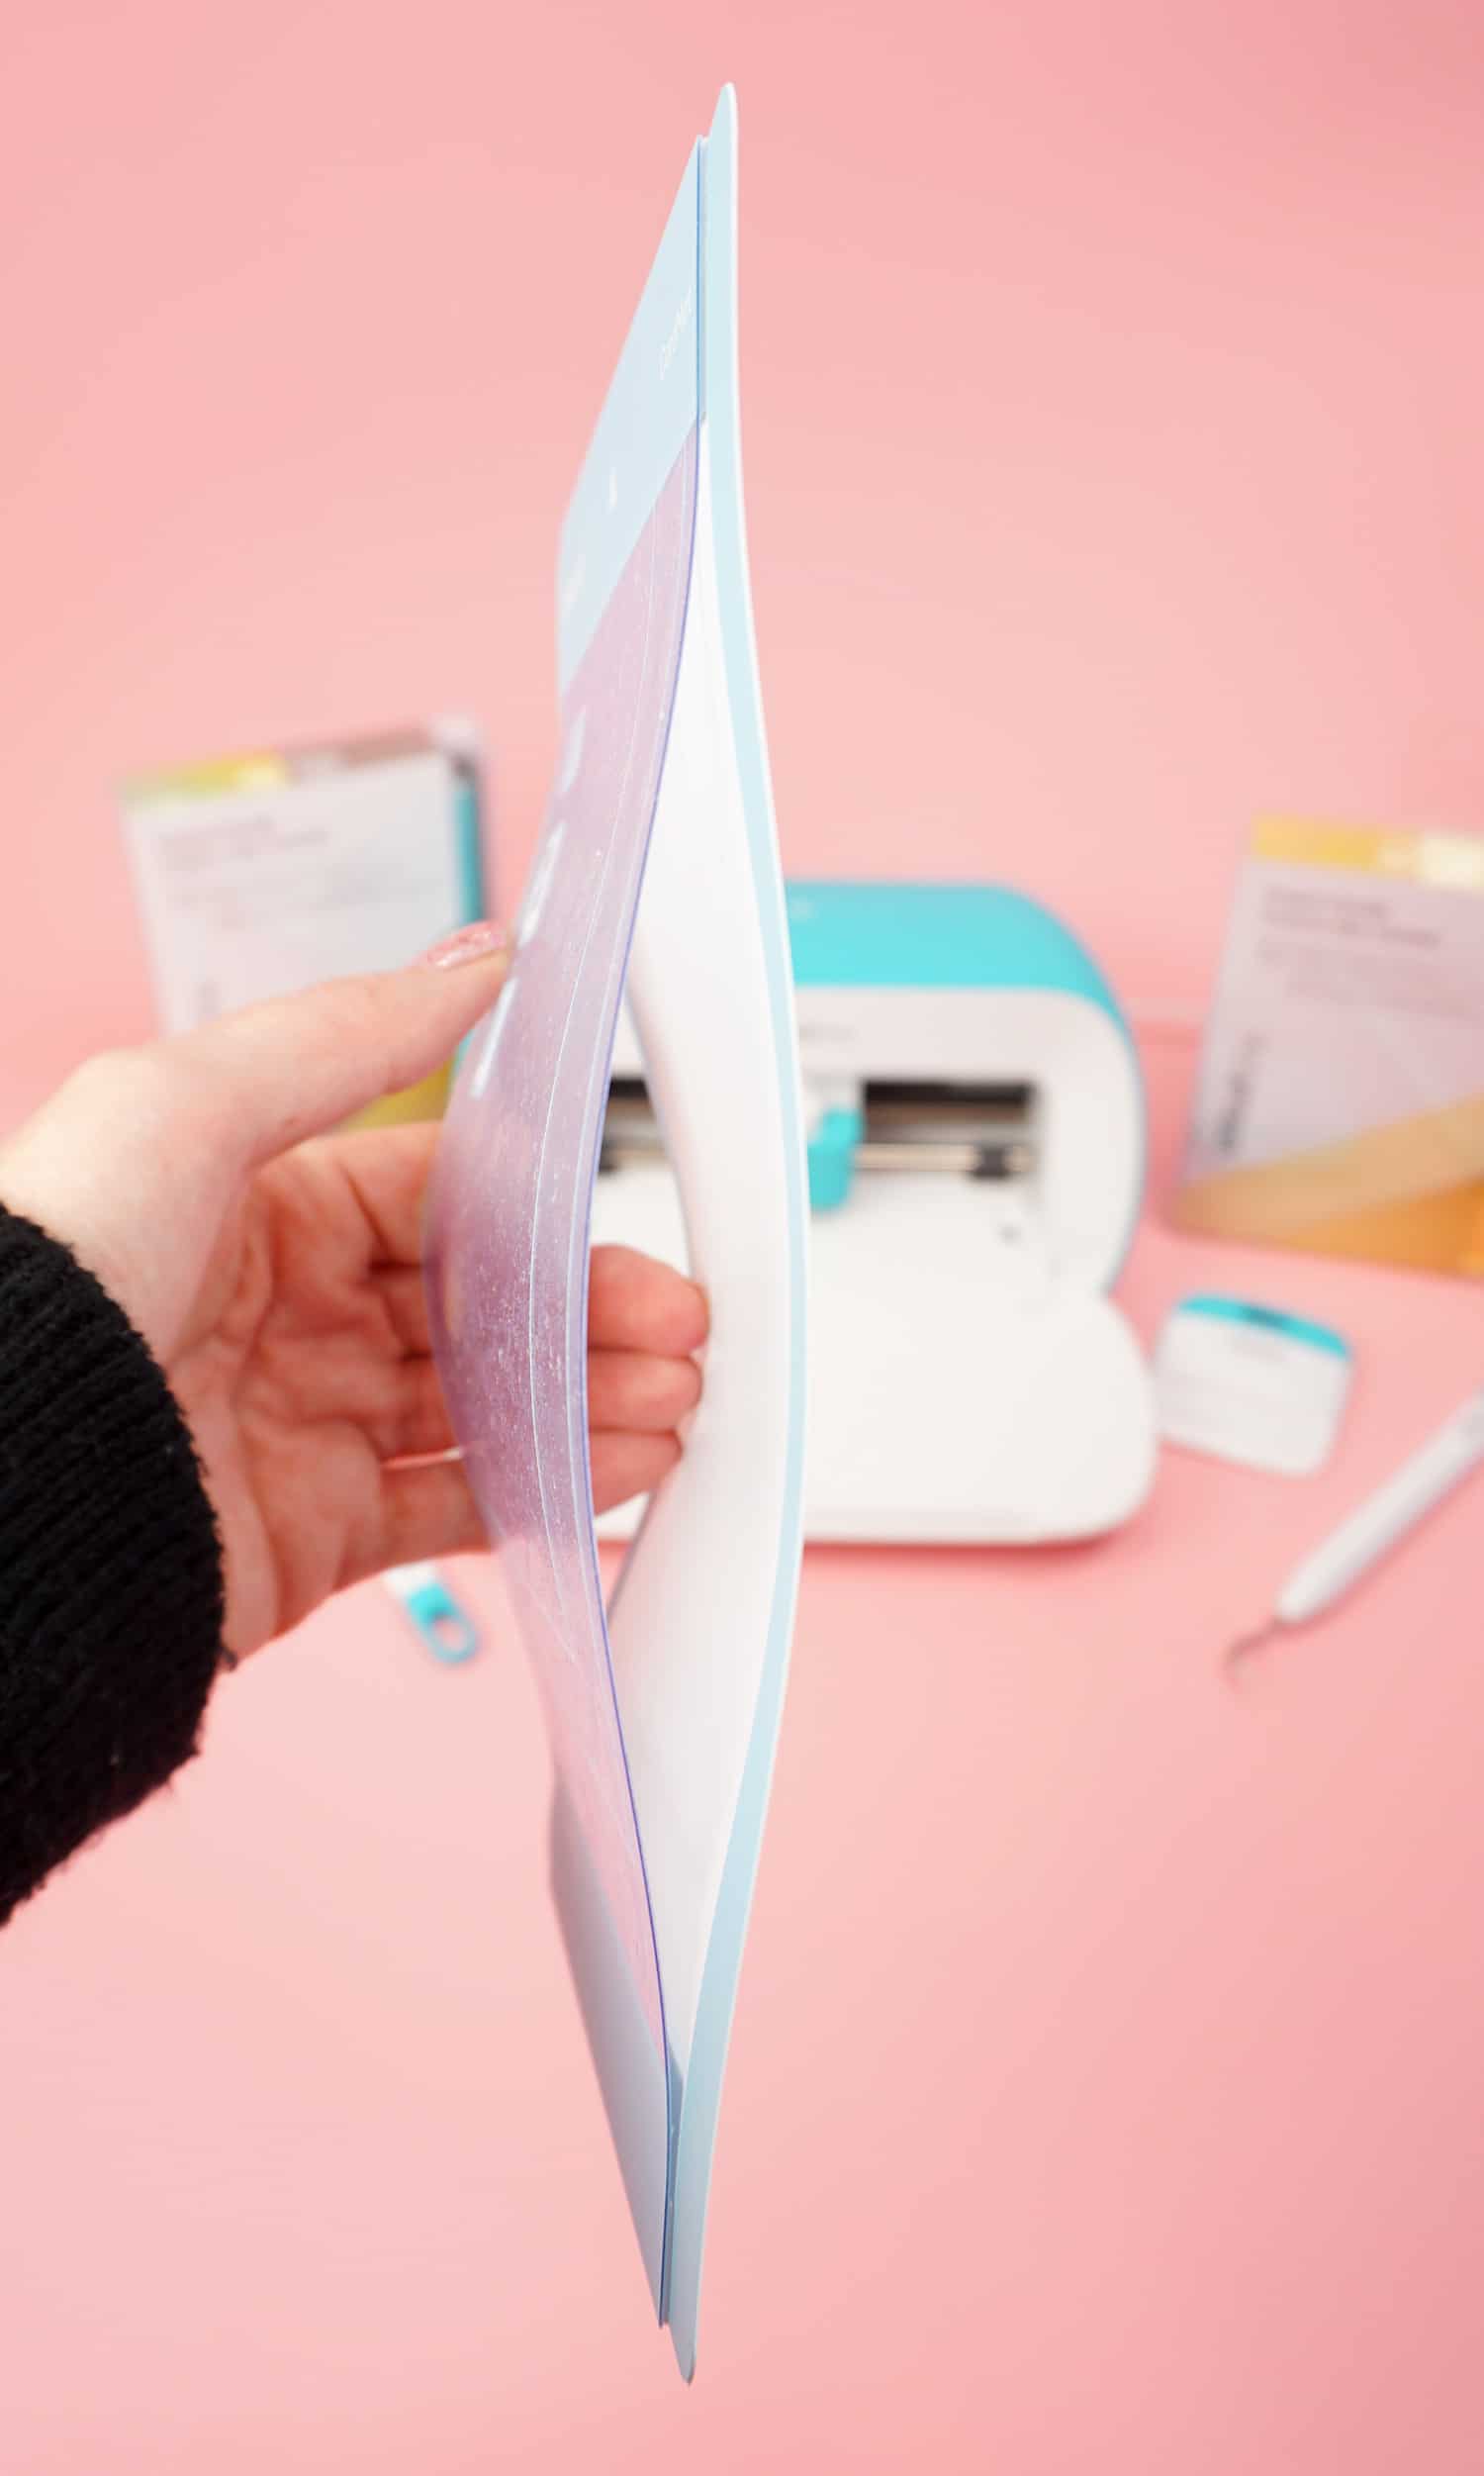
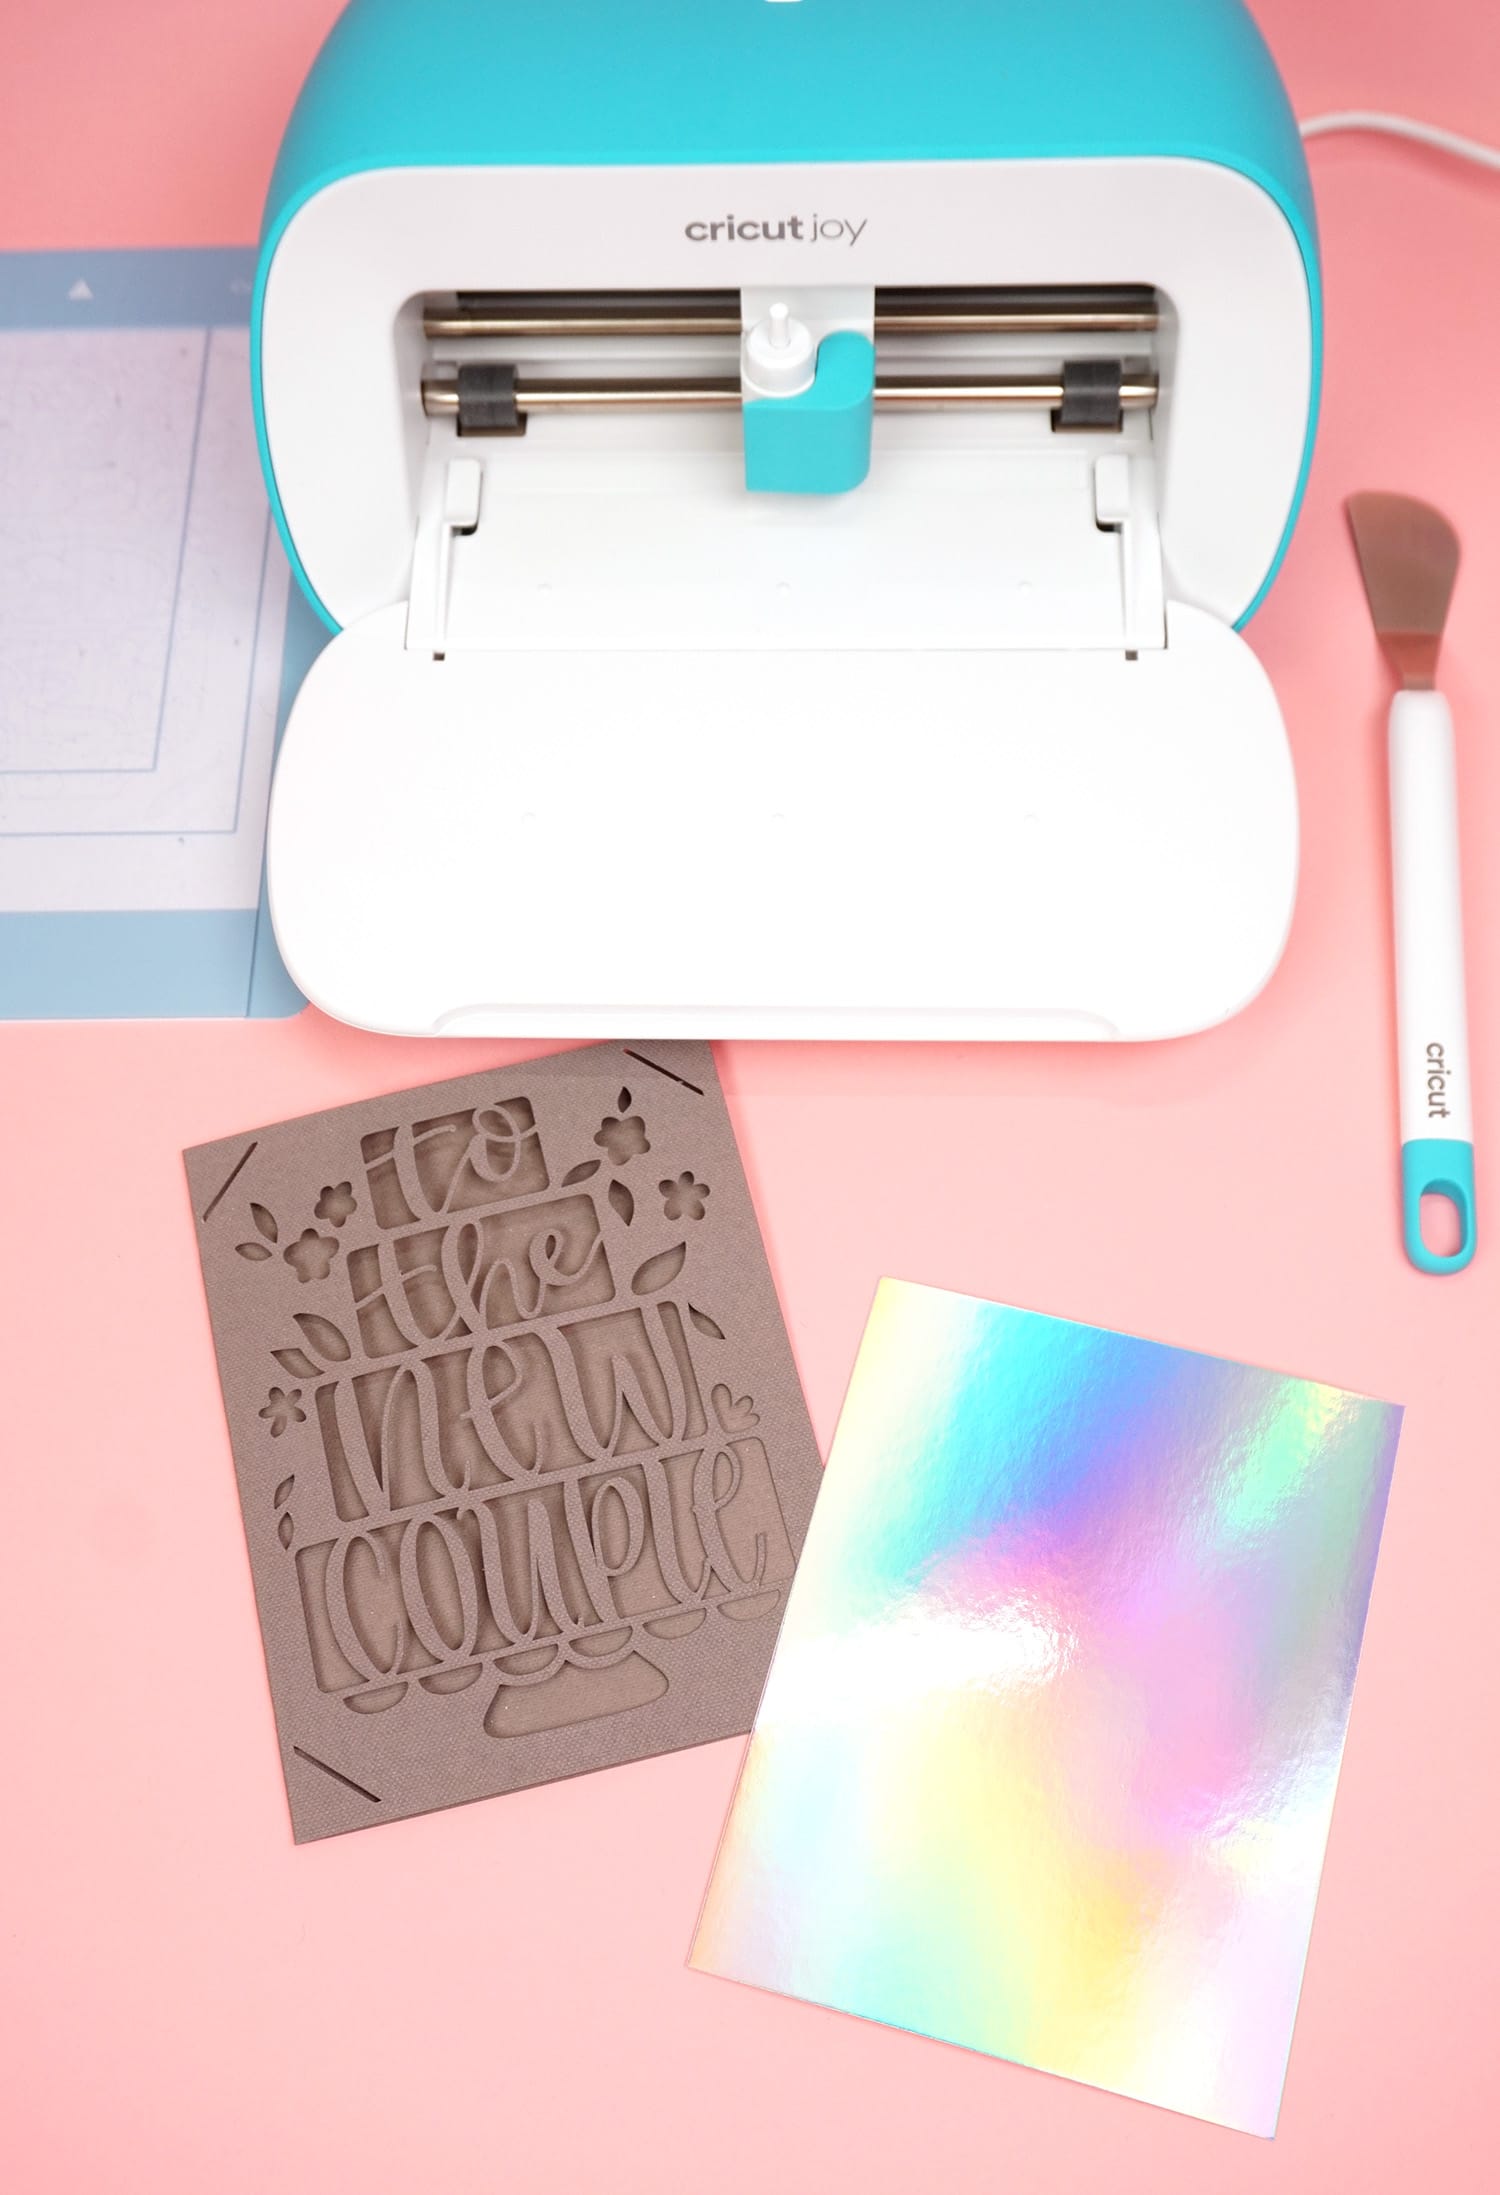
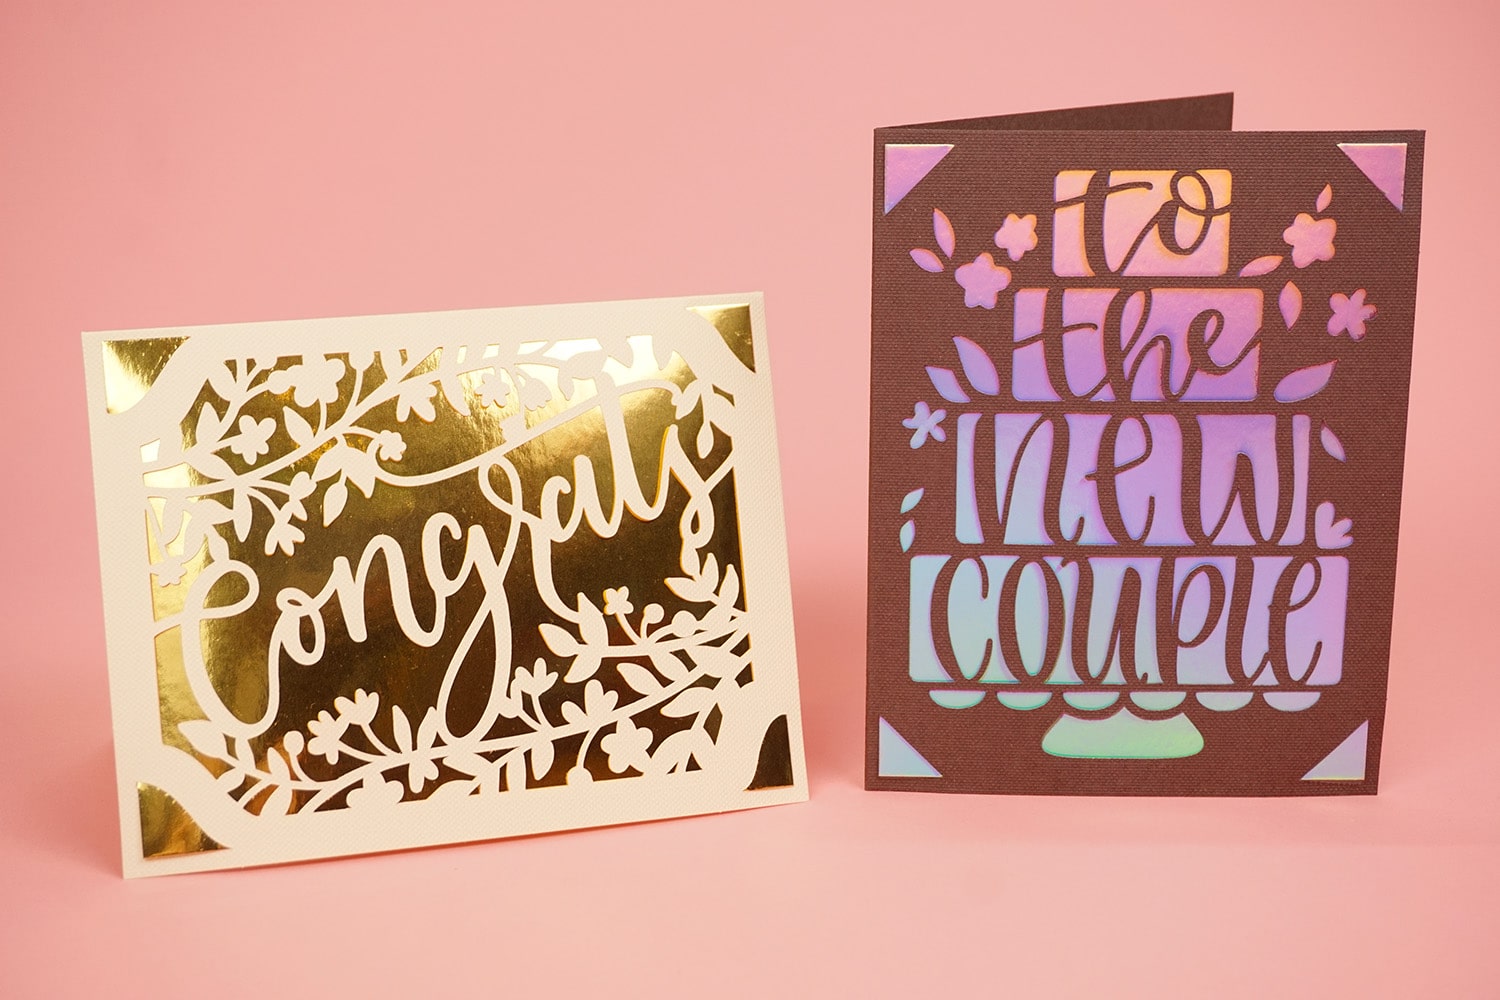
The Cricut Joy Insert Cards sets contain three different components – folded cards, colorful or metallic/holographic flat inserts, and envelopes. There are lots of different card and insert color combinations, but I’m pretty partial to this Holographic Silver/Grey card set because that rainbow holographic shimmer is AMAZING (you can also find the holographic inserts in the Princess Sampler set!)!
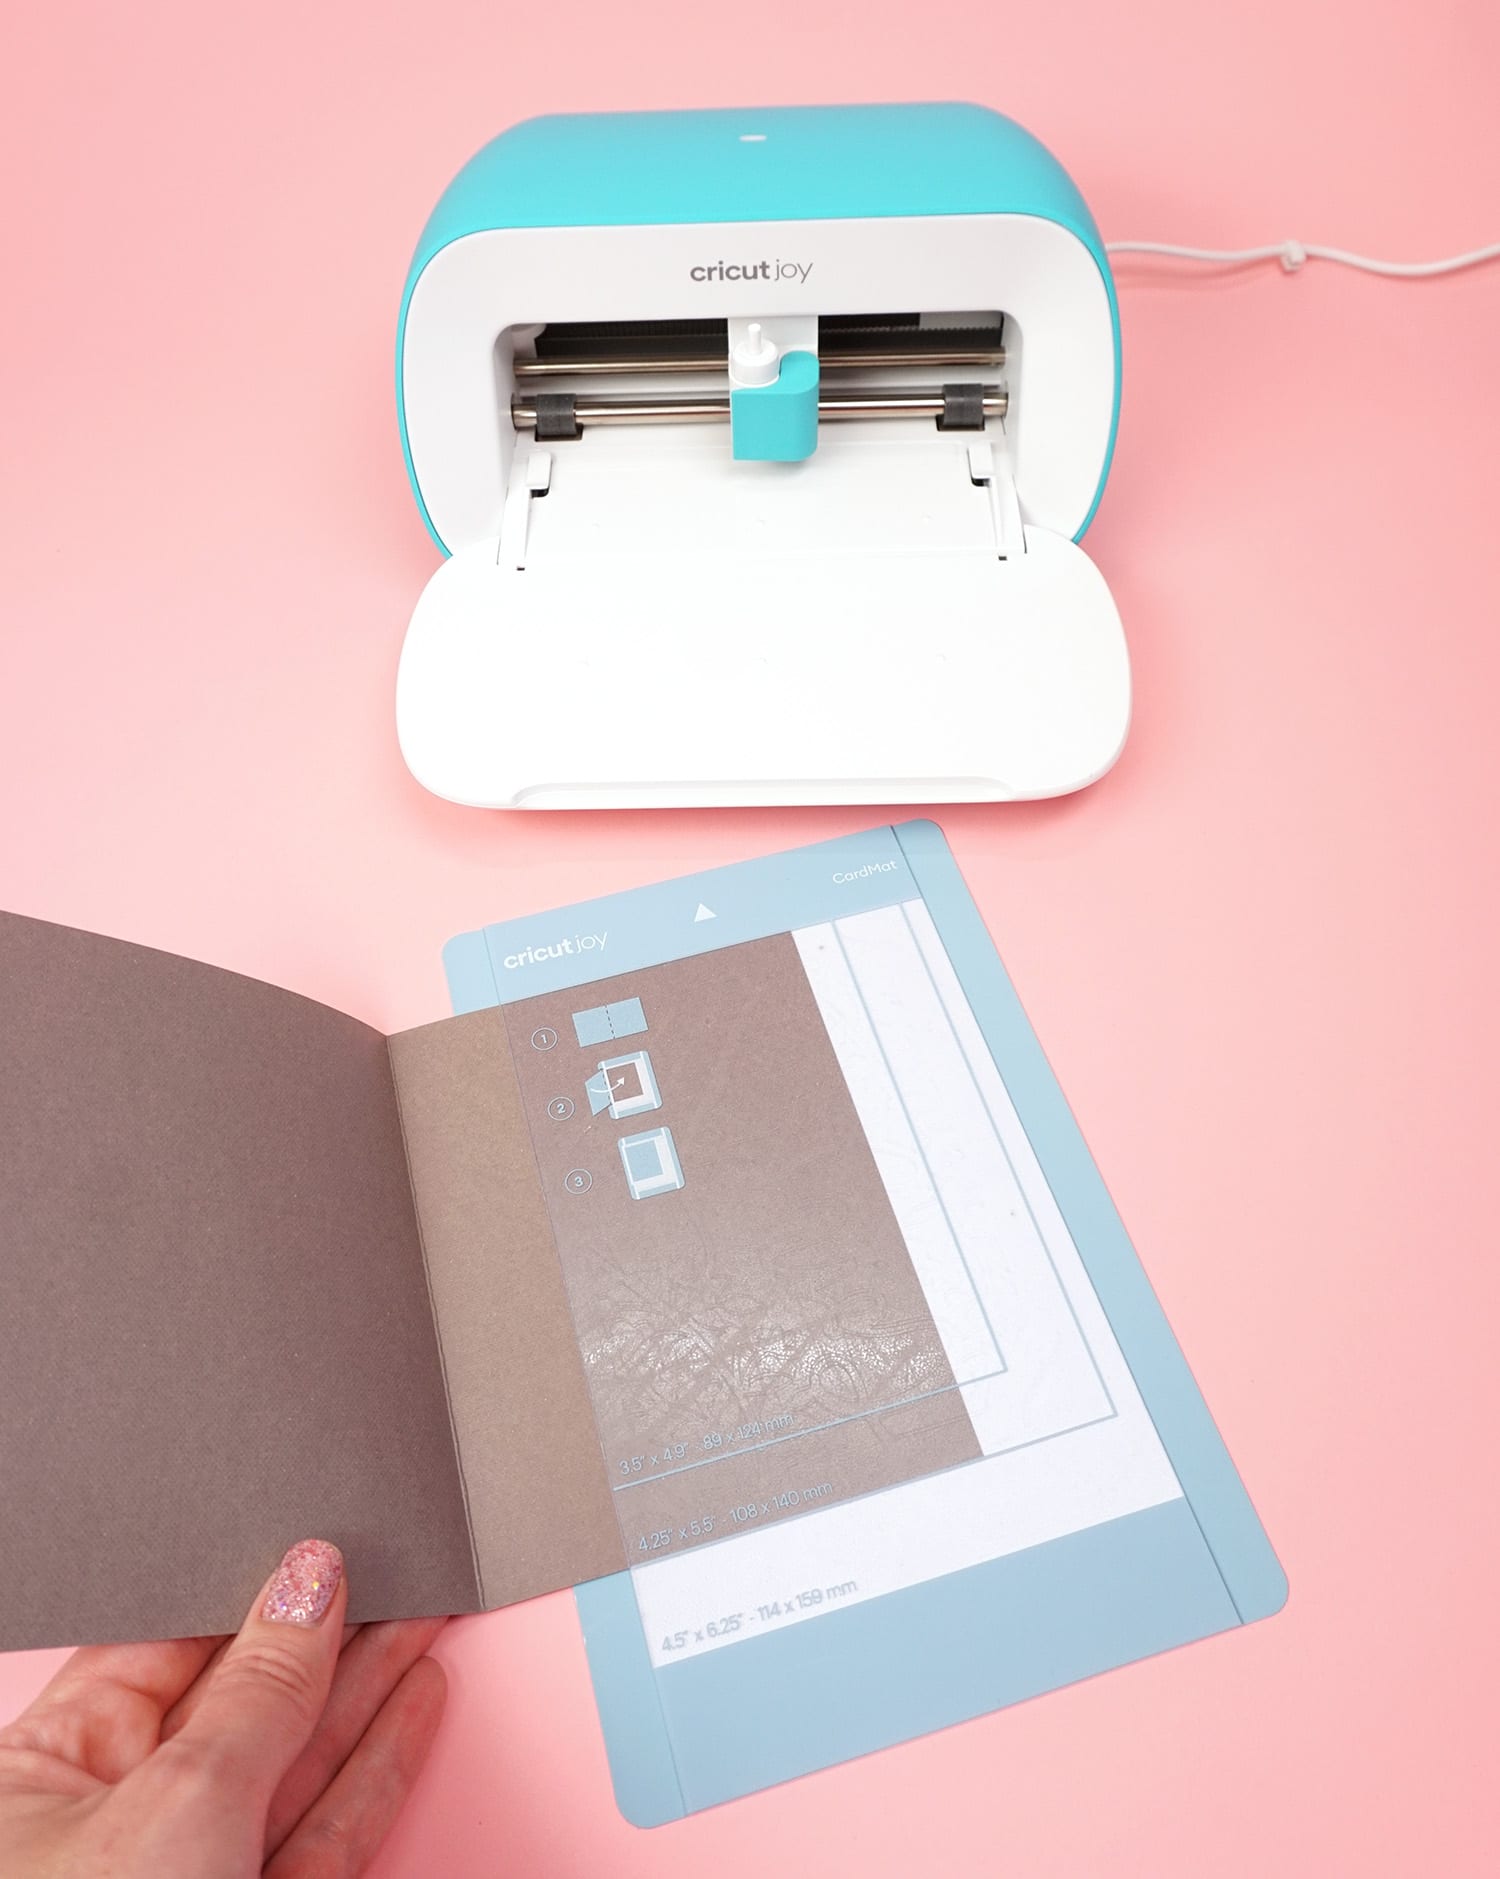
The Cricut Joy Card Mat might look pretty much like an ordinary mat at first glance, but it’s hiding something special…
The top layer of the mat lifts up and is separate from the bottom layer. This allows you to insert your card into AND on top of the mat to cut just one side of the card!
Isn’t that super cool? It’s a really neat feature that makes card-making easy peasy!

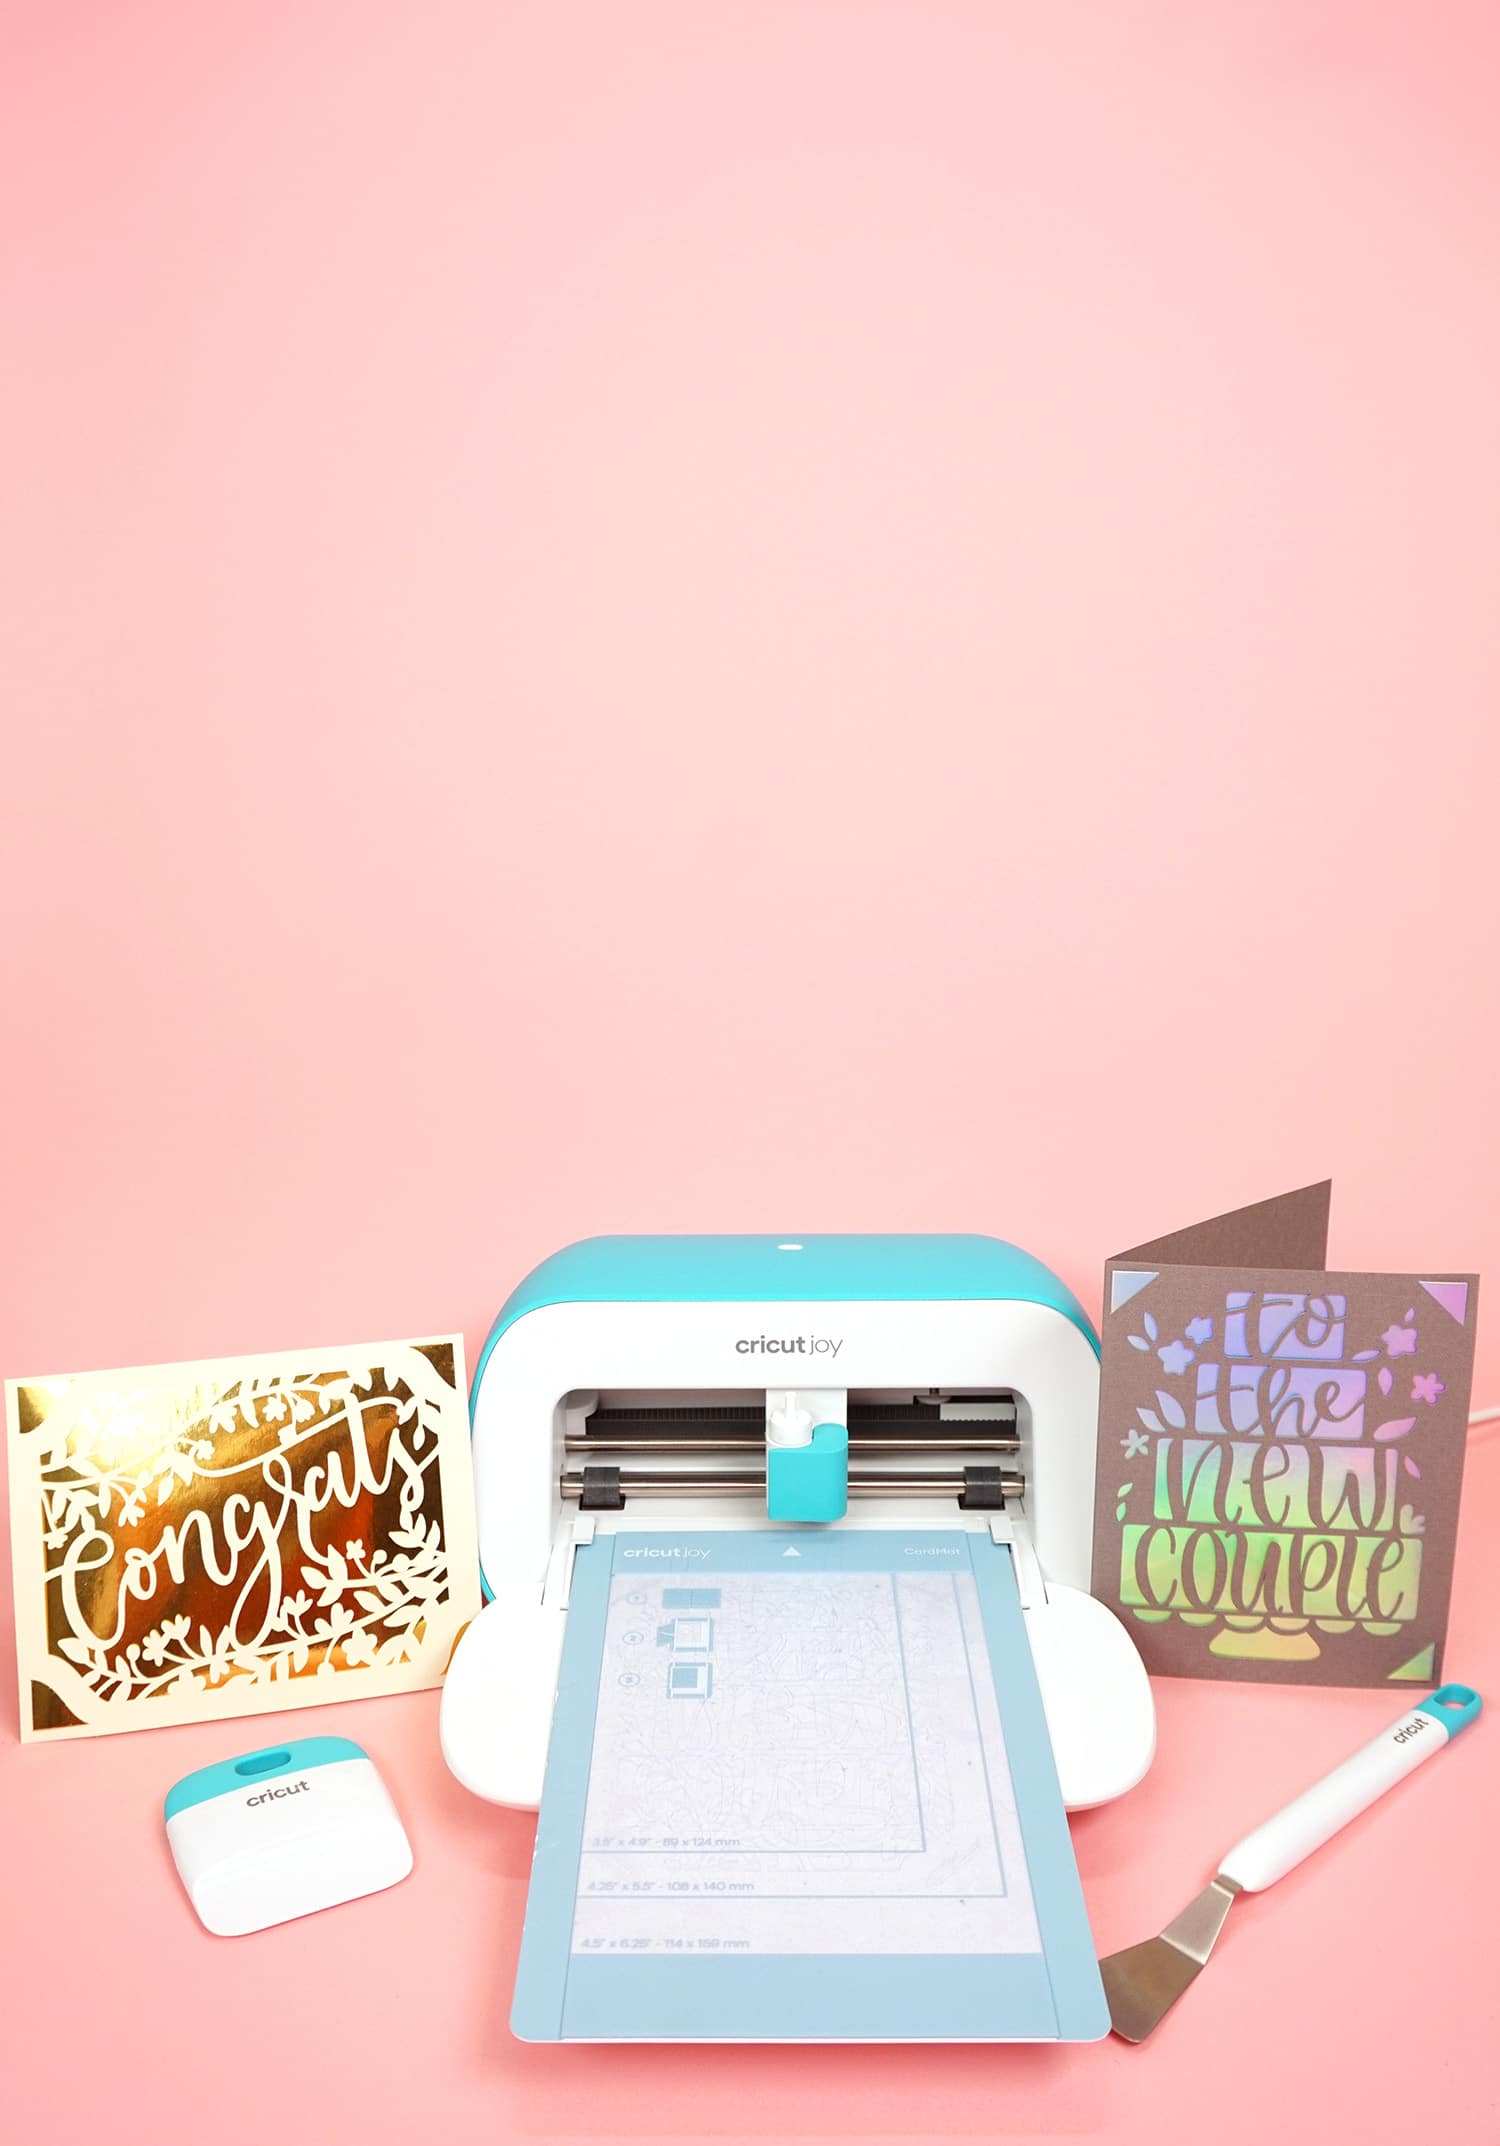
How to Make a Card with the Cricut Joy Card Mat
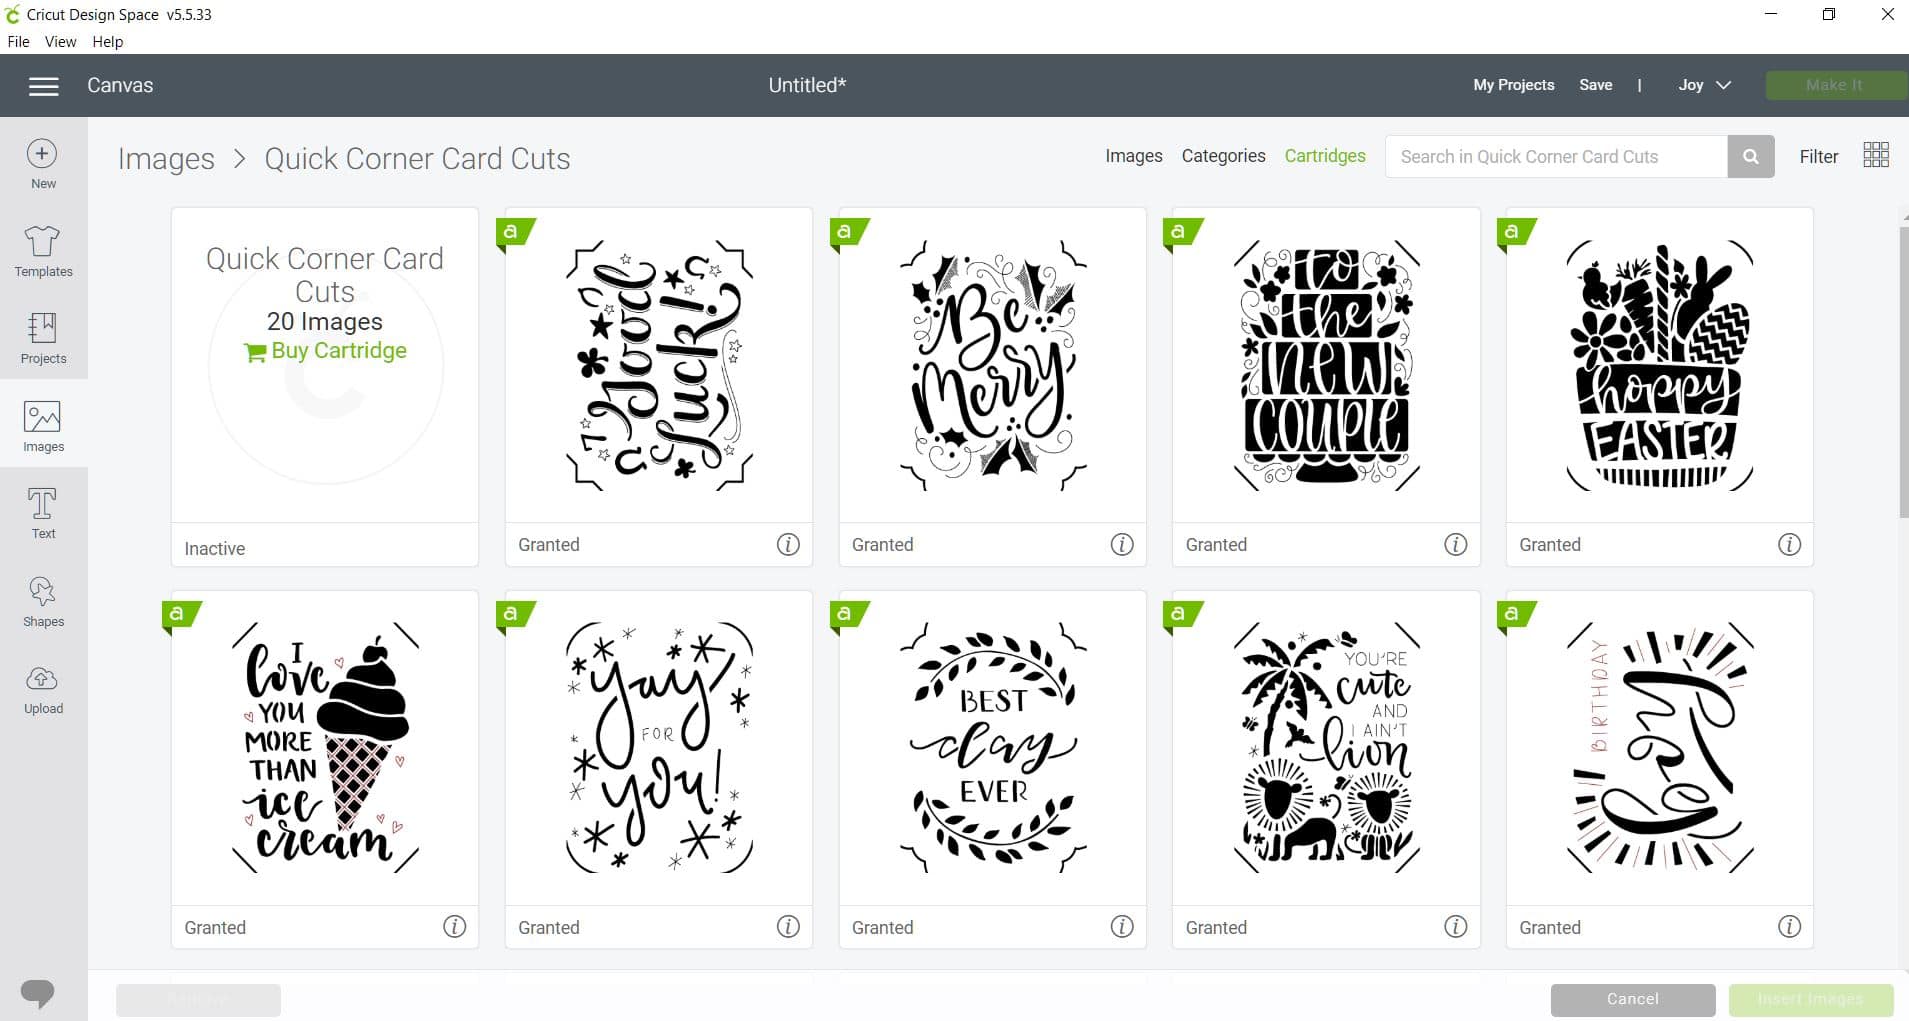
To begin making your card, open up Cricut Design Space. Select “Image” from the left-hand tool bar, and click “Cartridges” next to the search bar, and search for “Quick Corner Card Cuts.” The results will bring up several cartridge options, so make sure that you click on the appropriate one where you will see these designs as shown above. These are the cards that have been specifically designed to work with Cricut Joy and the Insert Card sets.
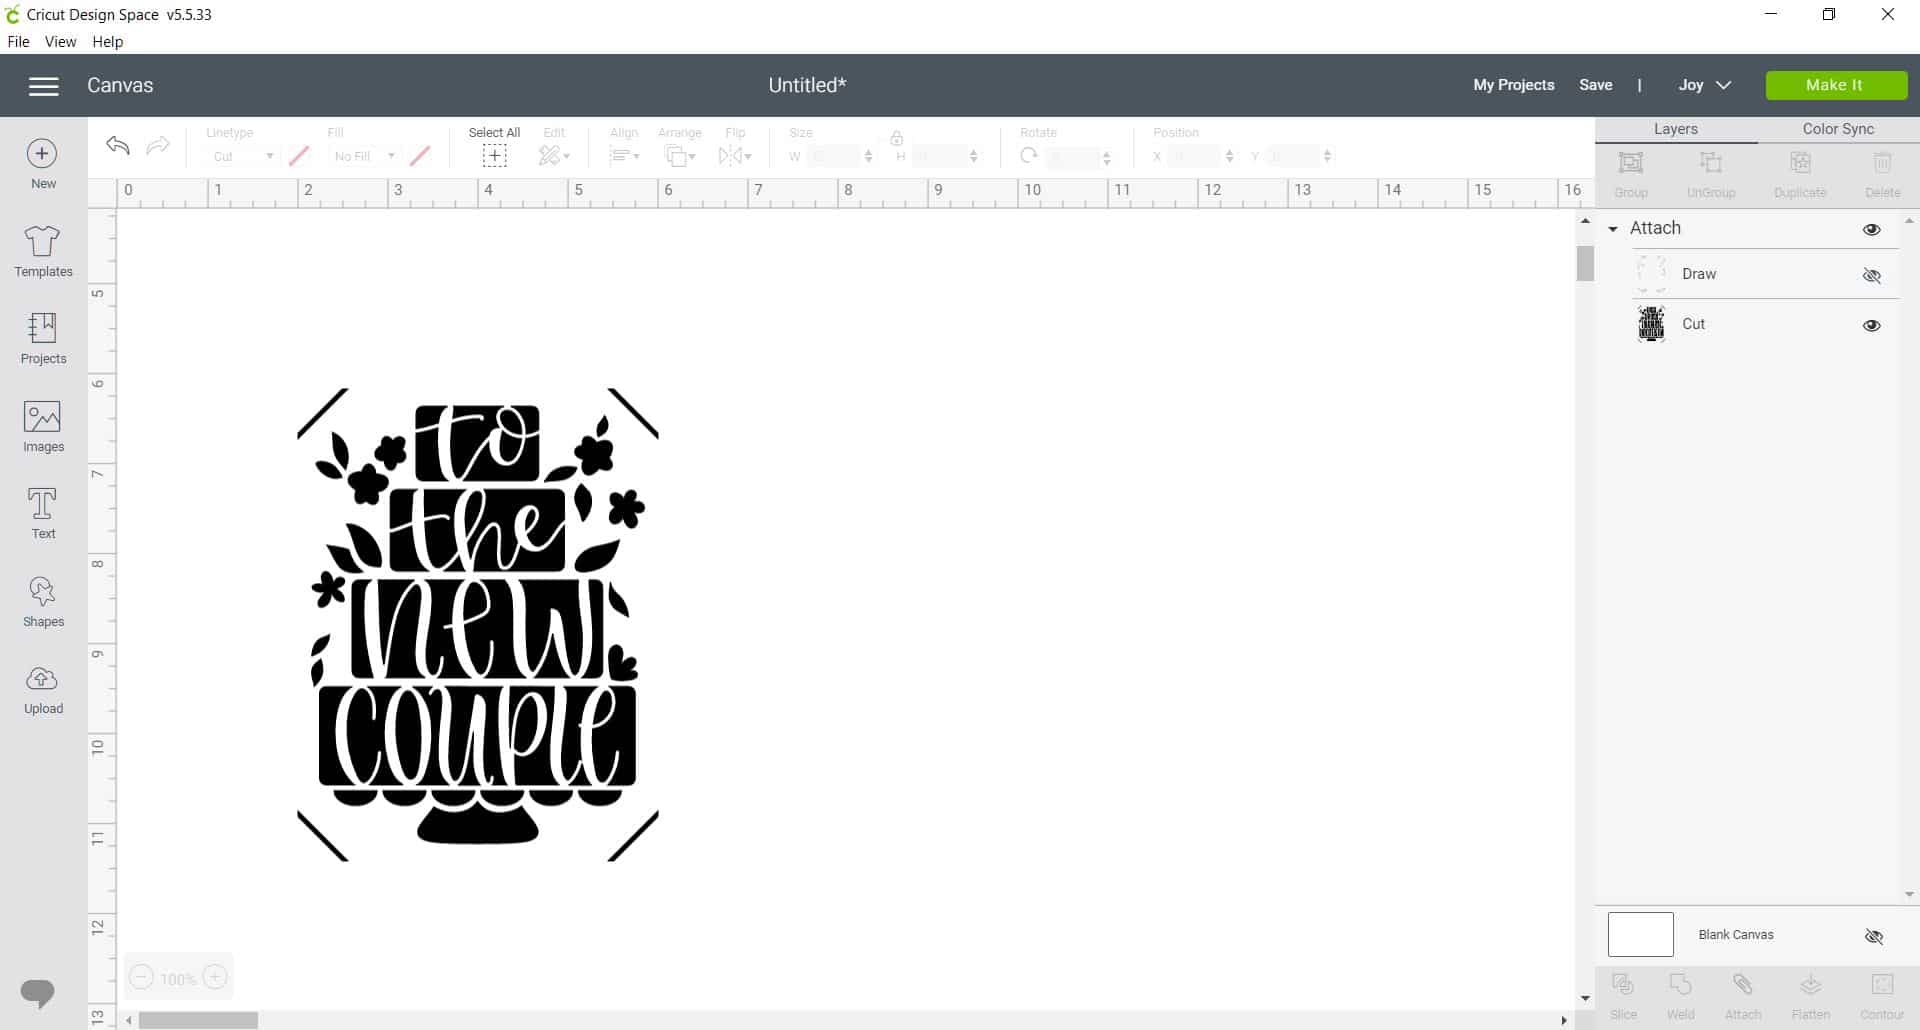
Select a card design, insert it into your Design Space canvas, and then click the green “Make It” button in the upper right corner.
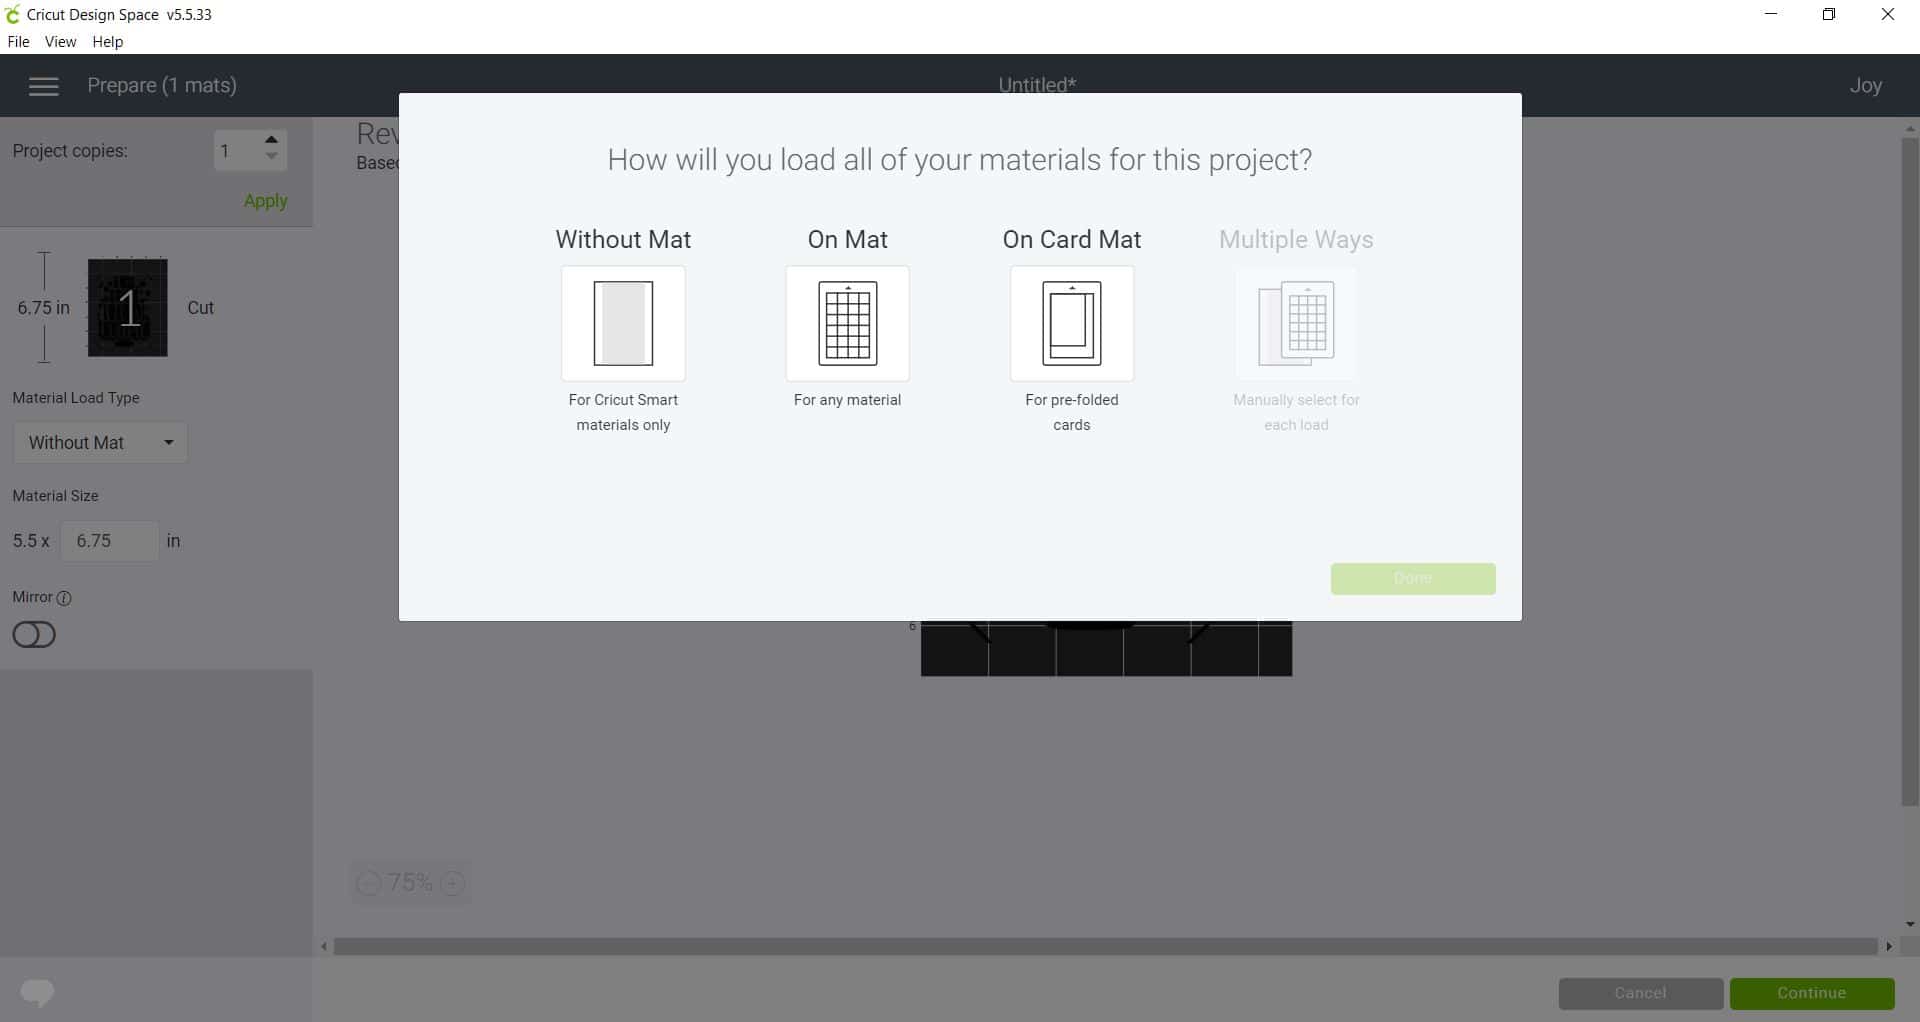
A pop-up window will appear asking you which mat (or no mat!) you will be using with Cricut Joy. Select “On Card Mat” for pre-folded cards.
Click the green “Continue” button.
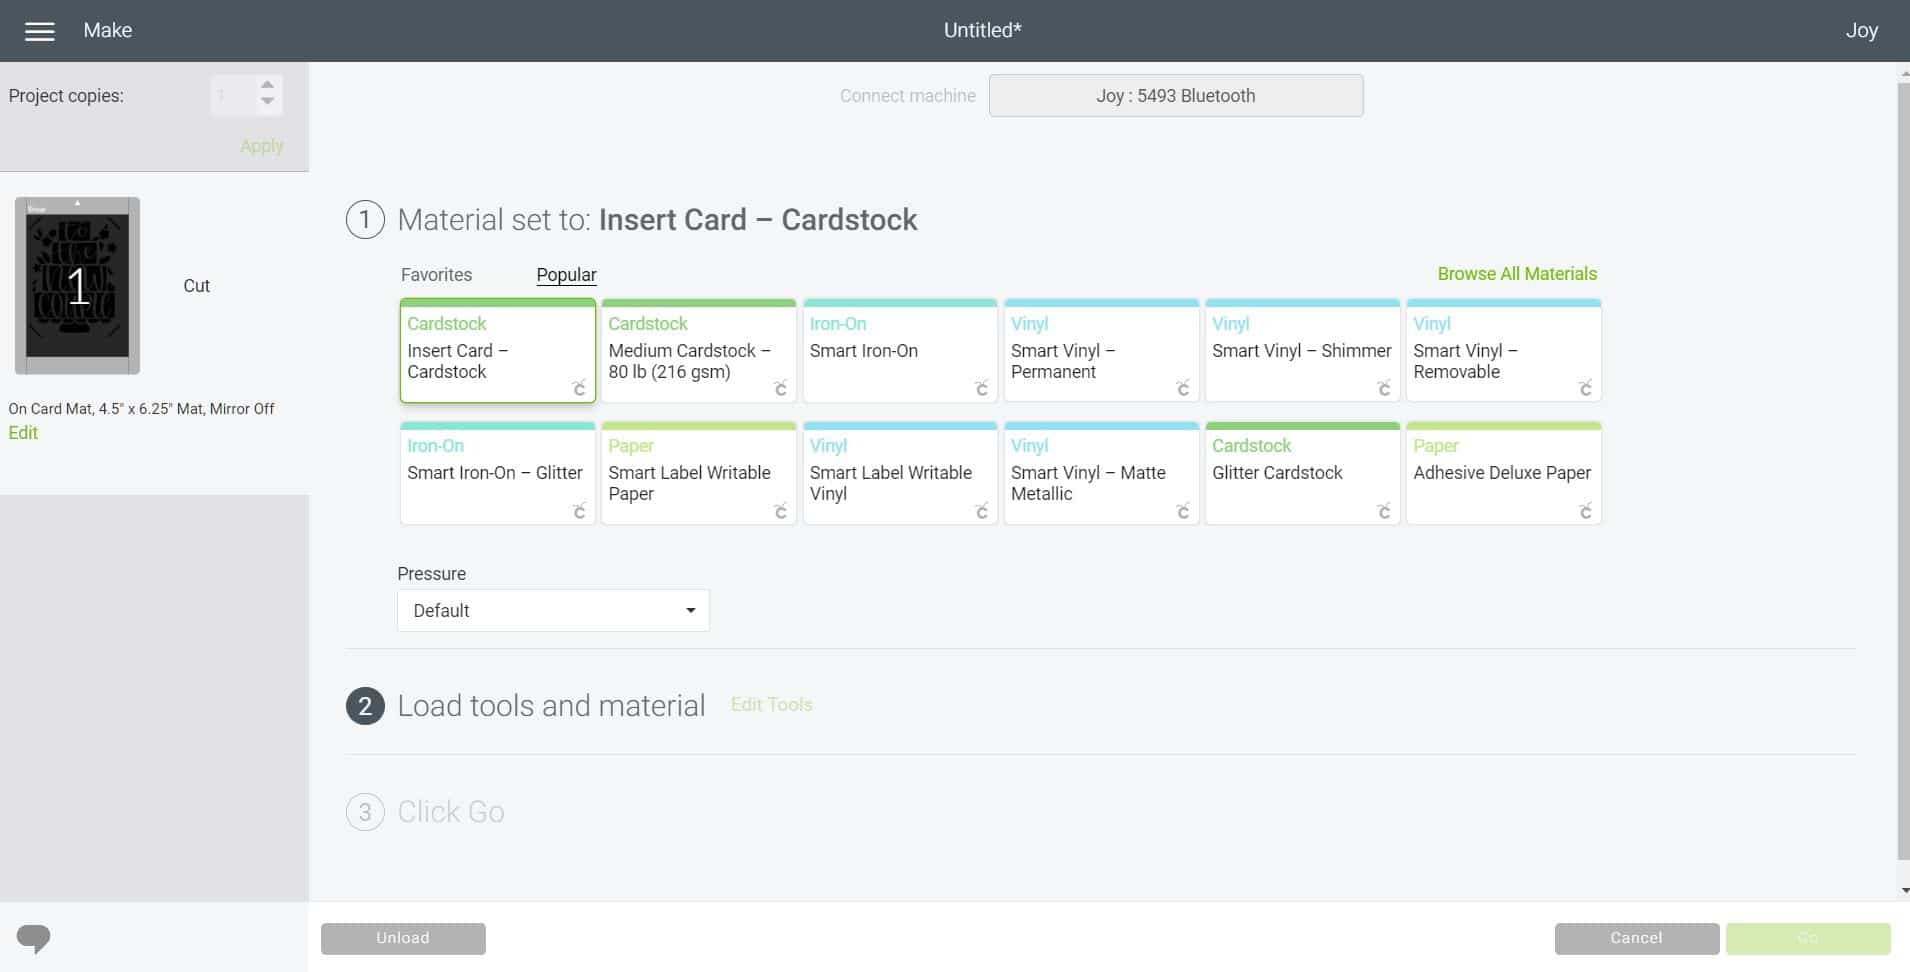
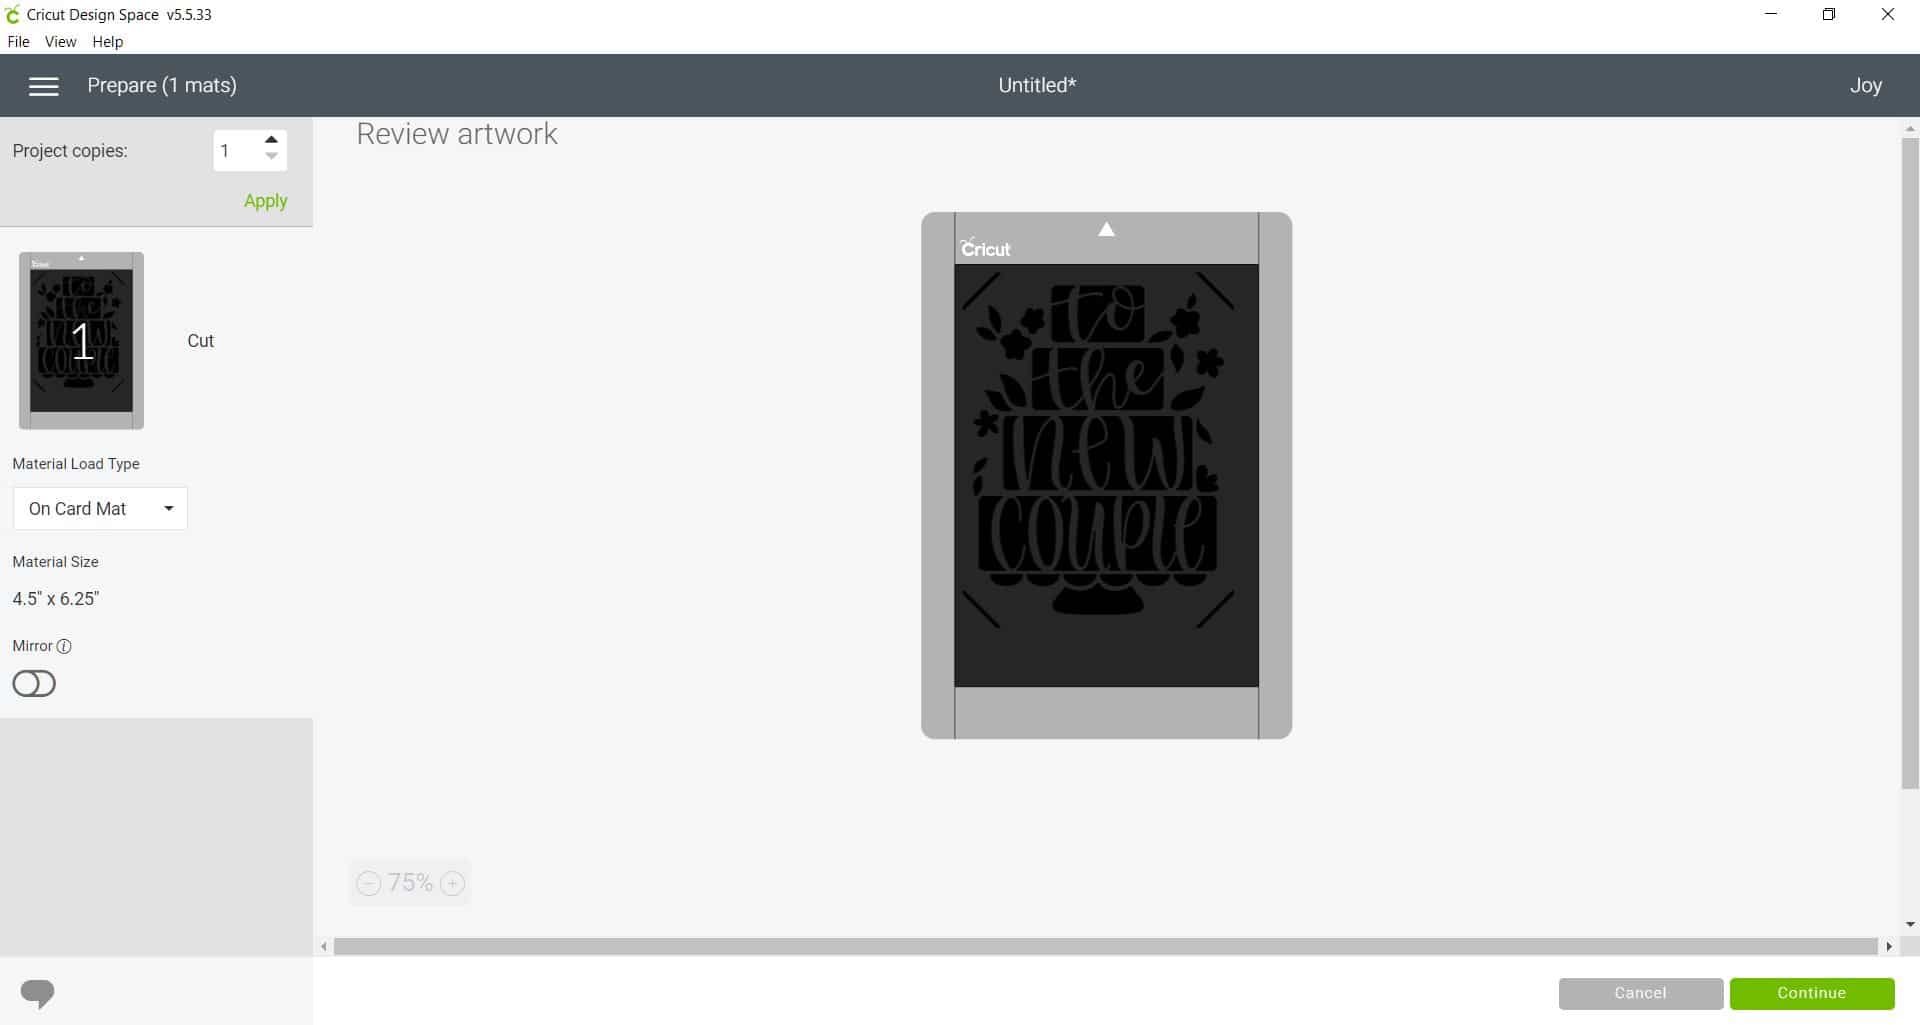
Select your materials – in this case, “Insert Card Cardstock.”
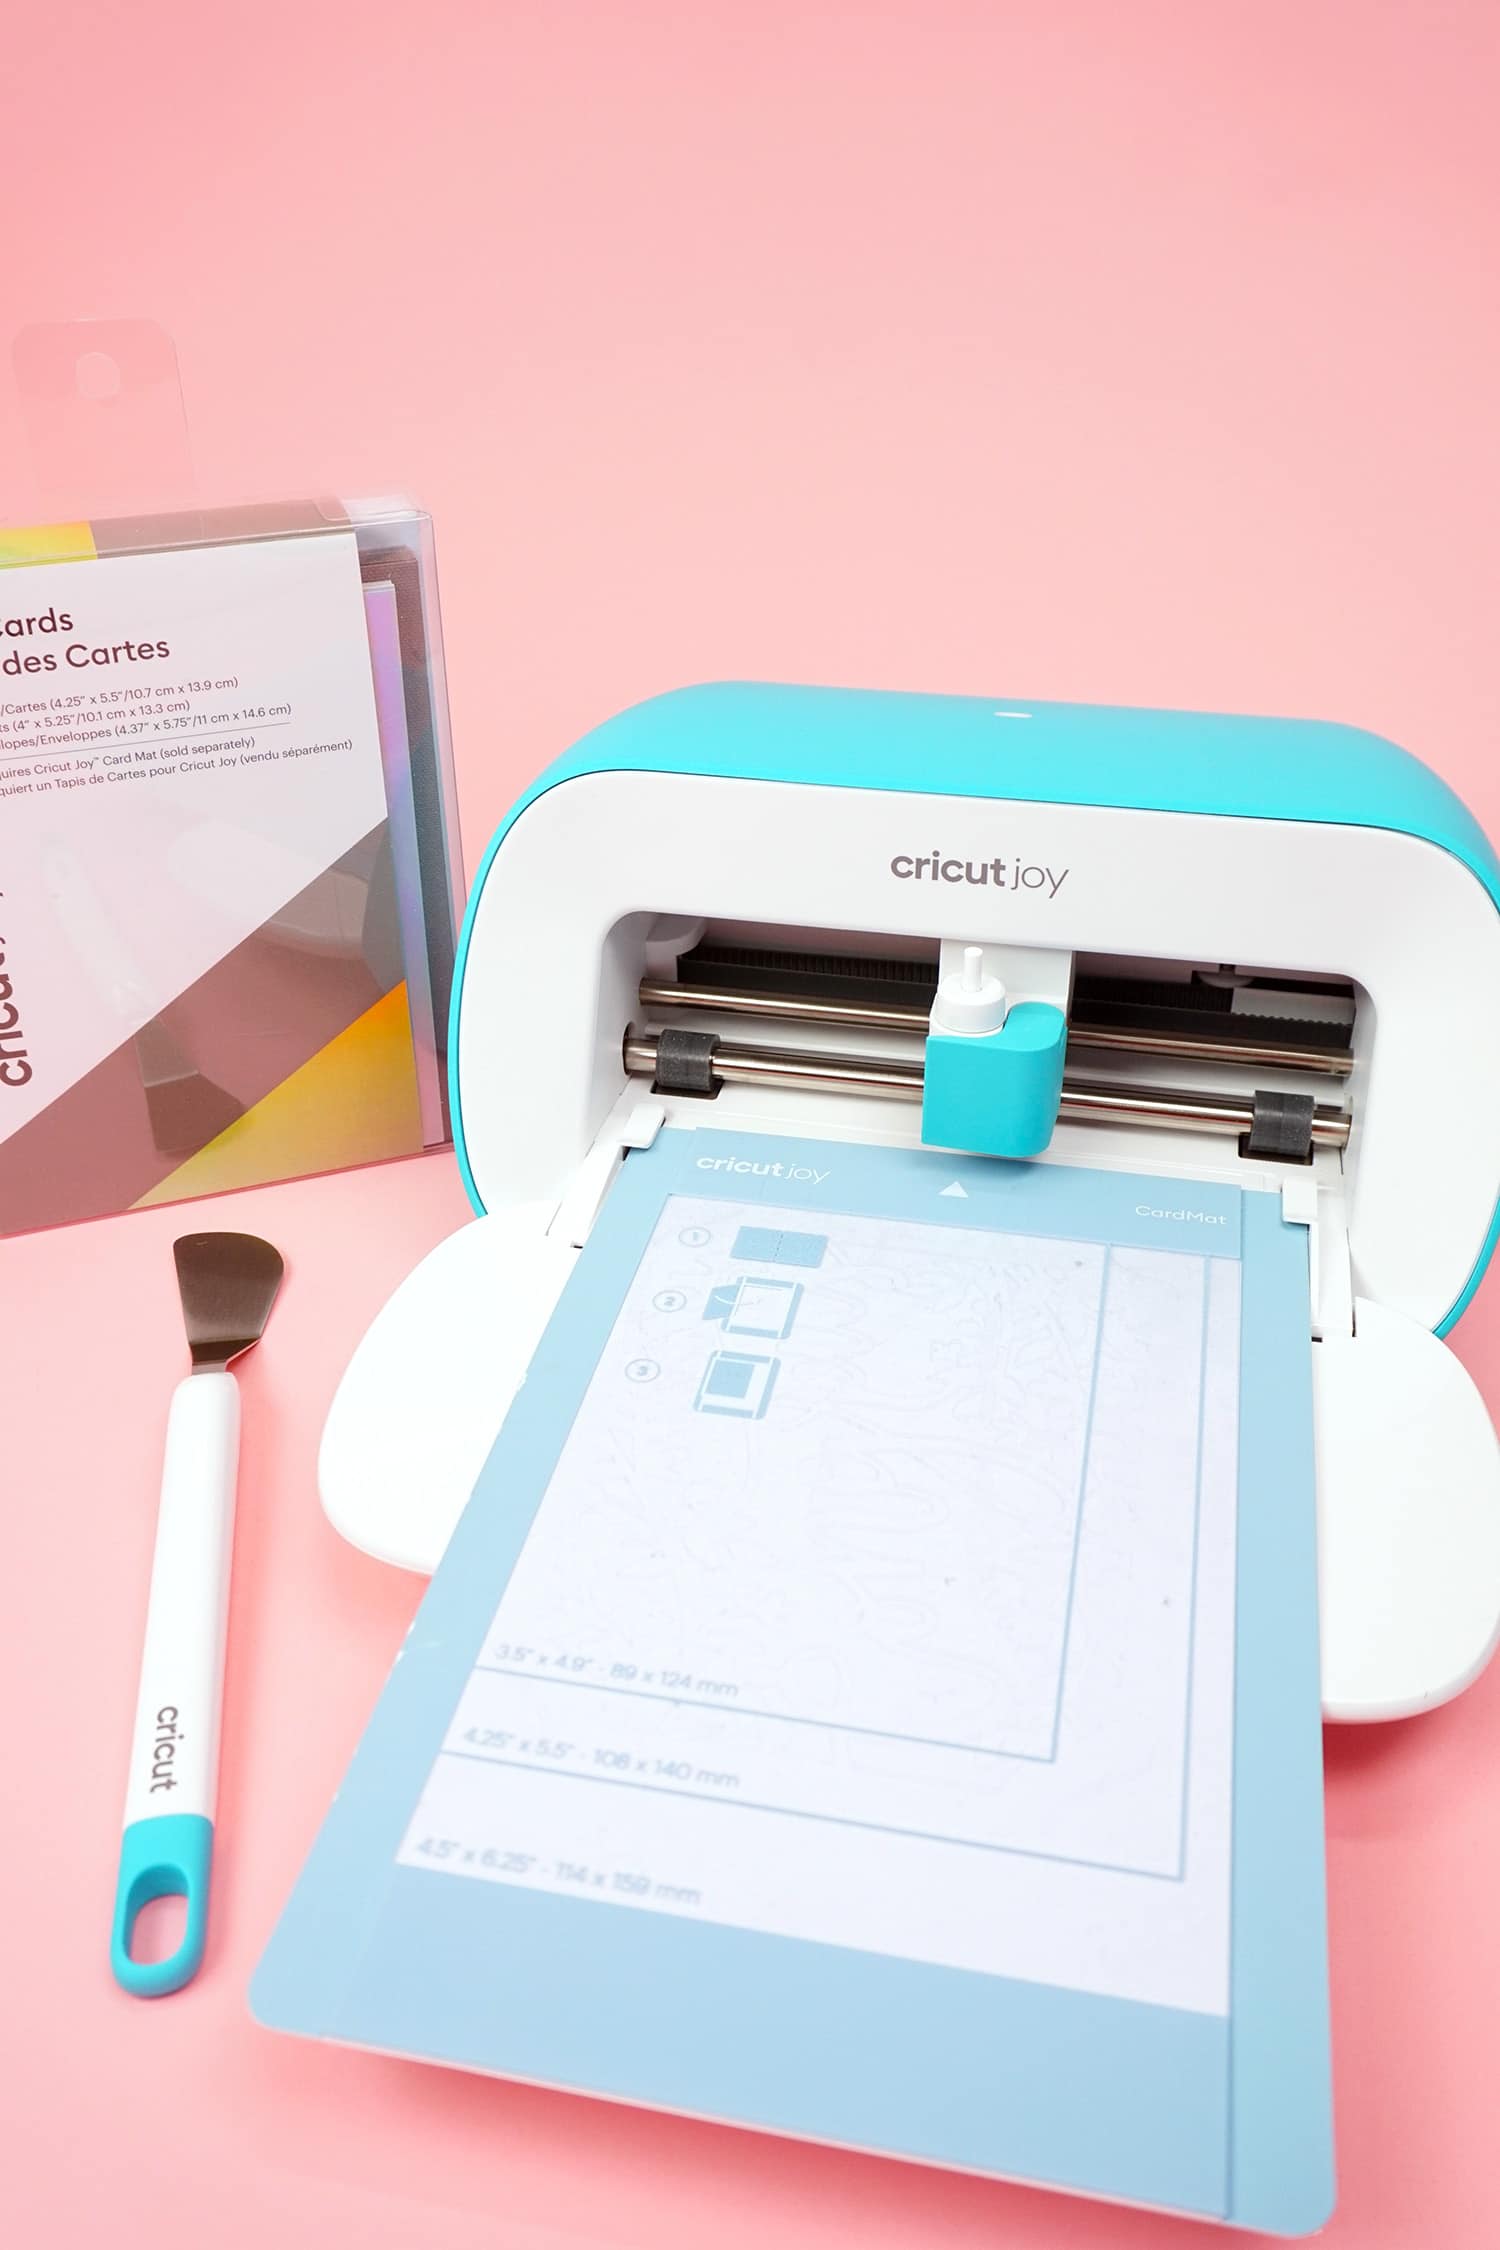
Insert your card into the Cricut Joy Card Mat.
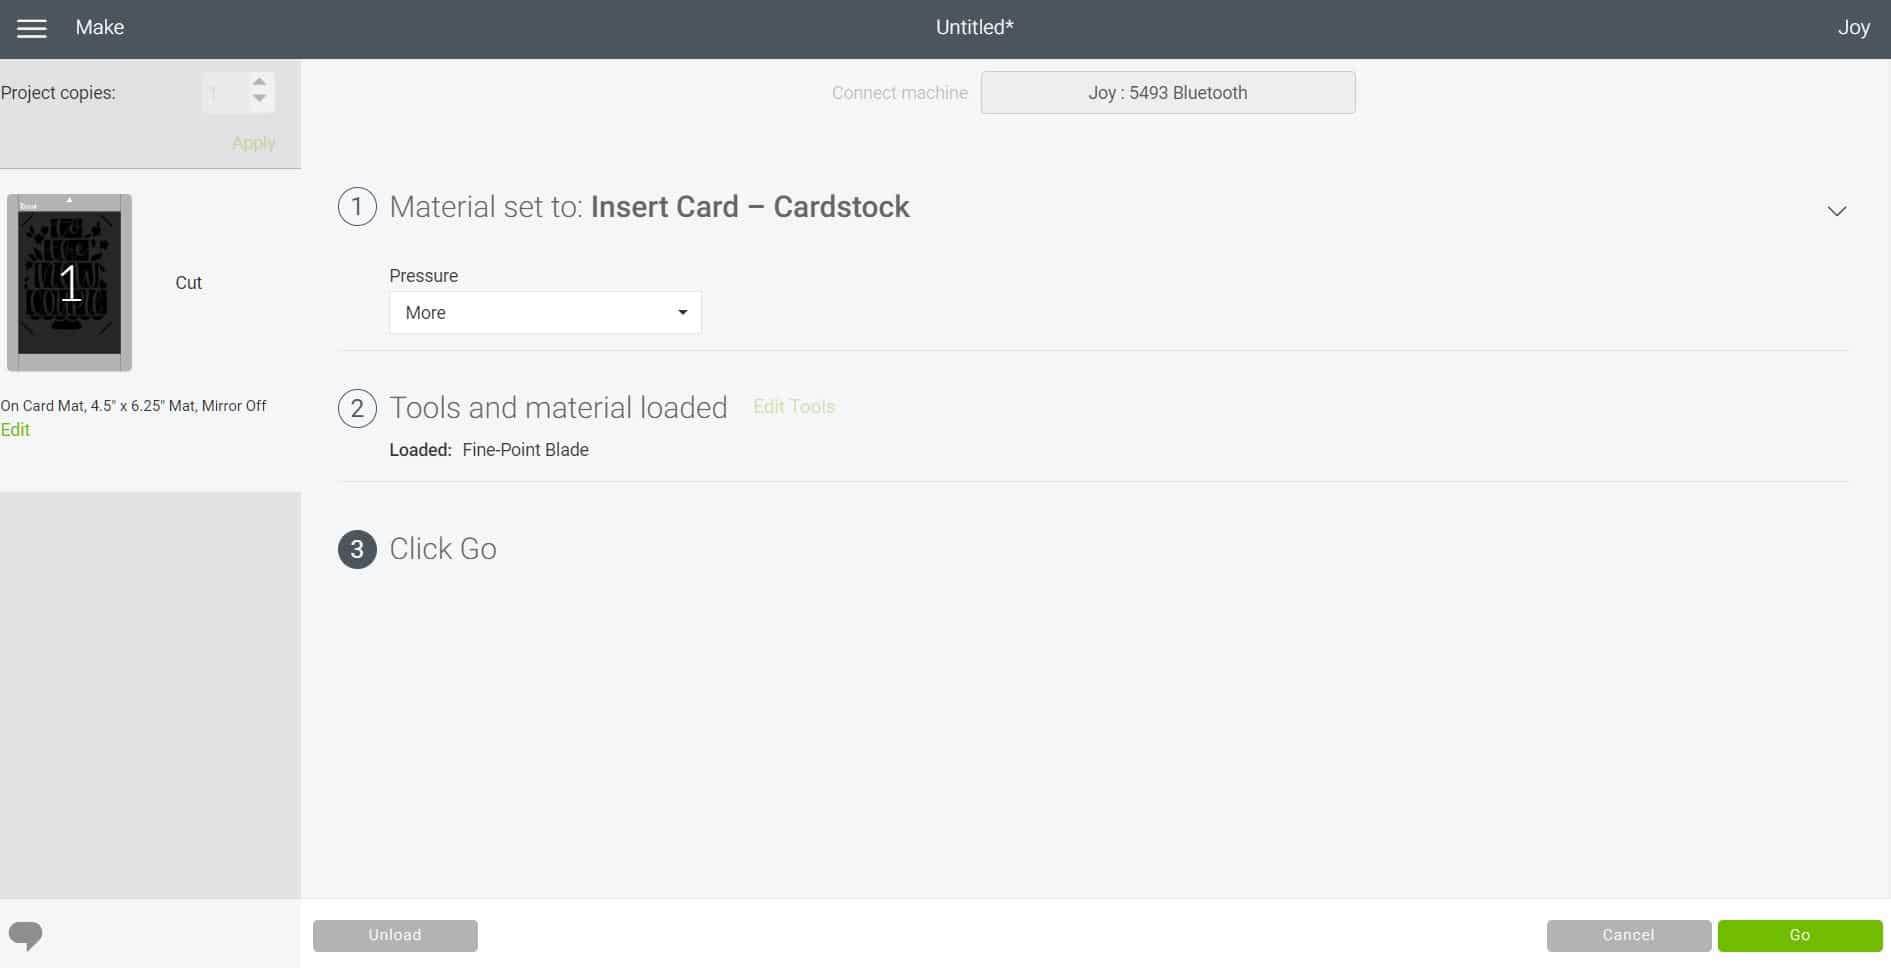
Select the pressure desired (I usually opt to use more pressure for most cuts), and then Design Space will prompt you to load the Cricut Joy Card Mat into the machine.
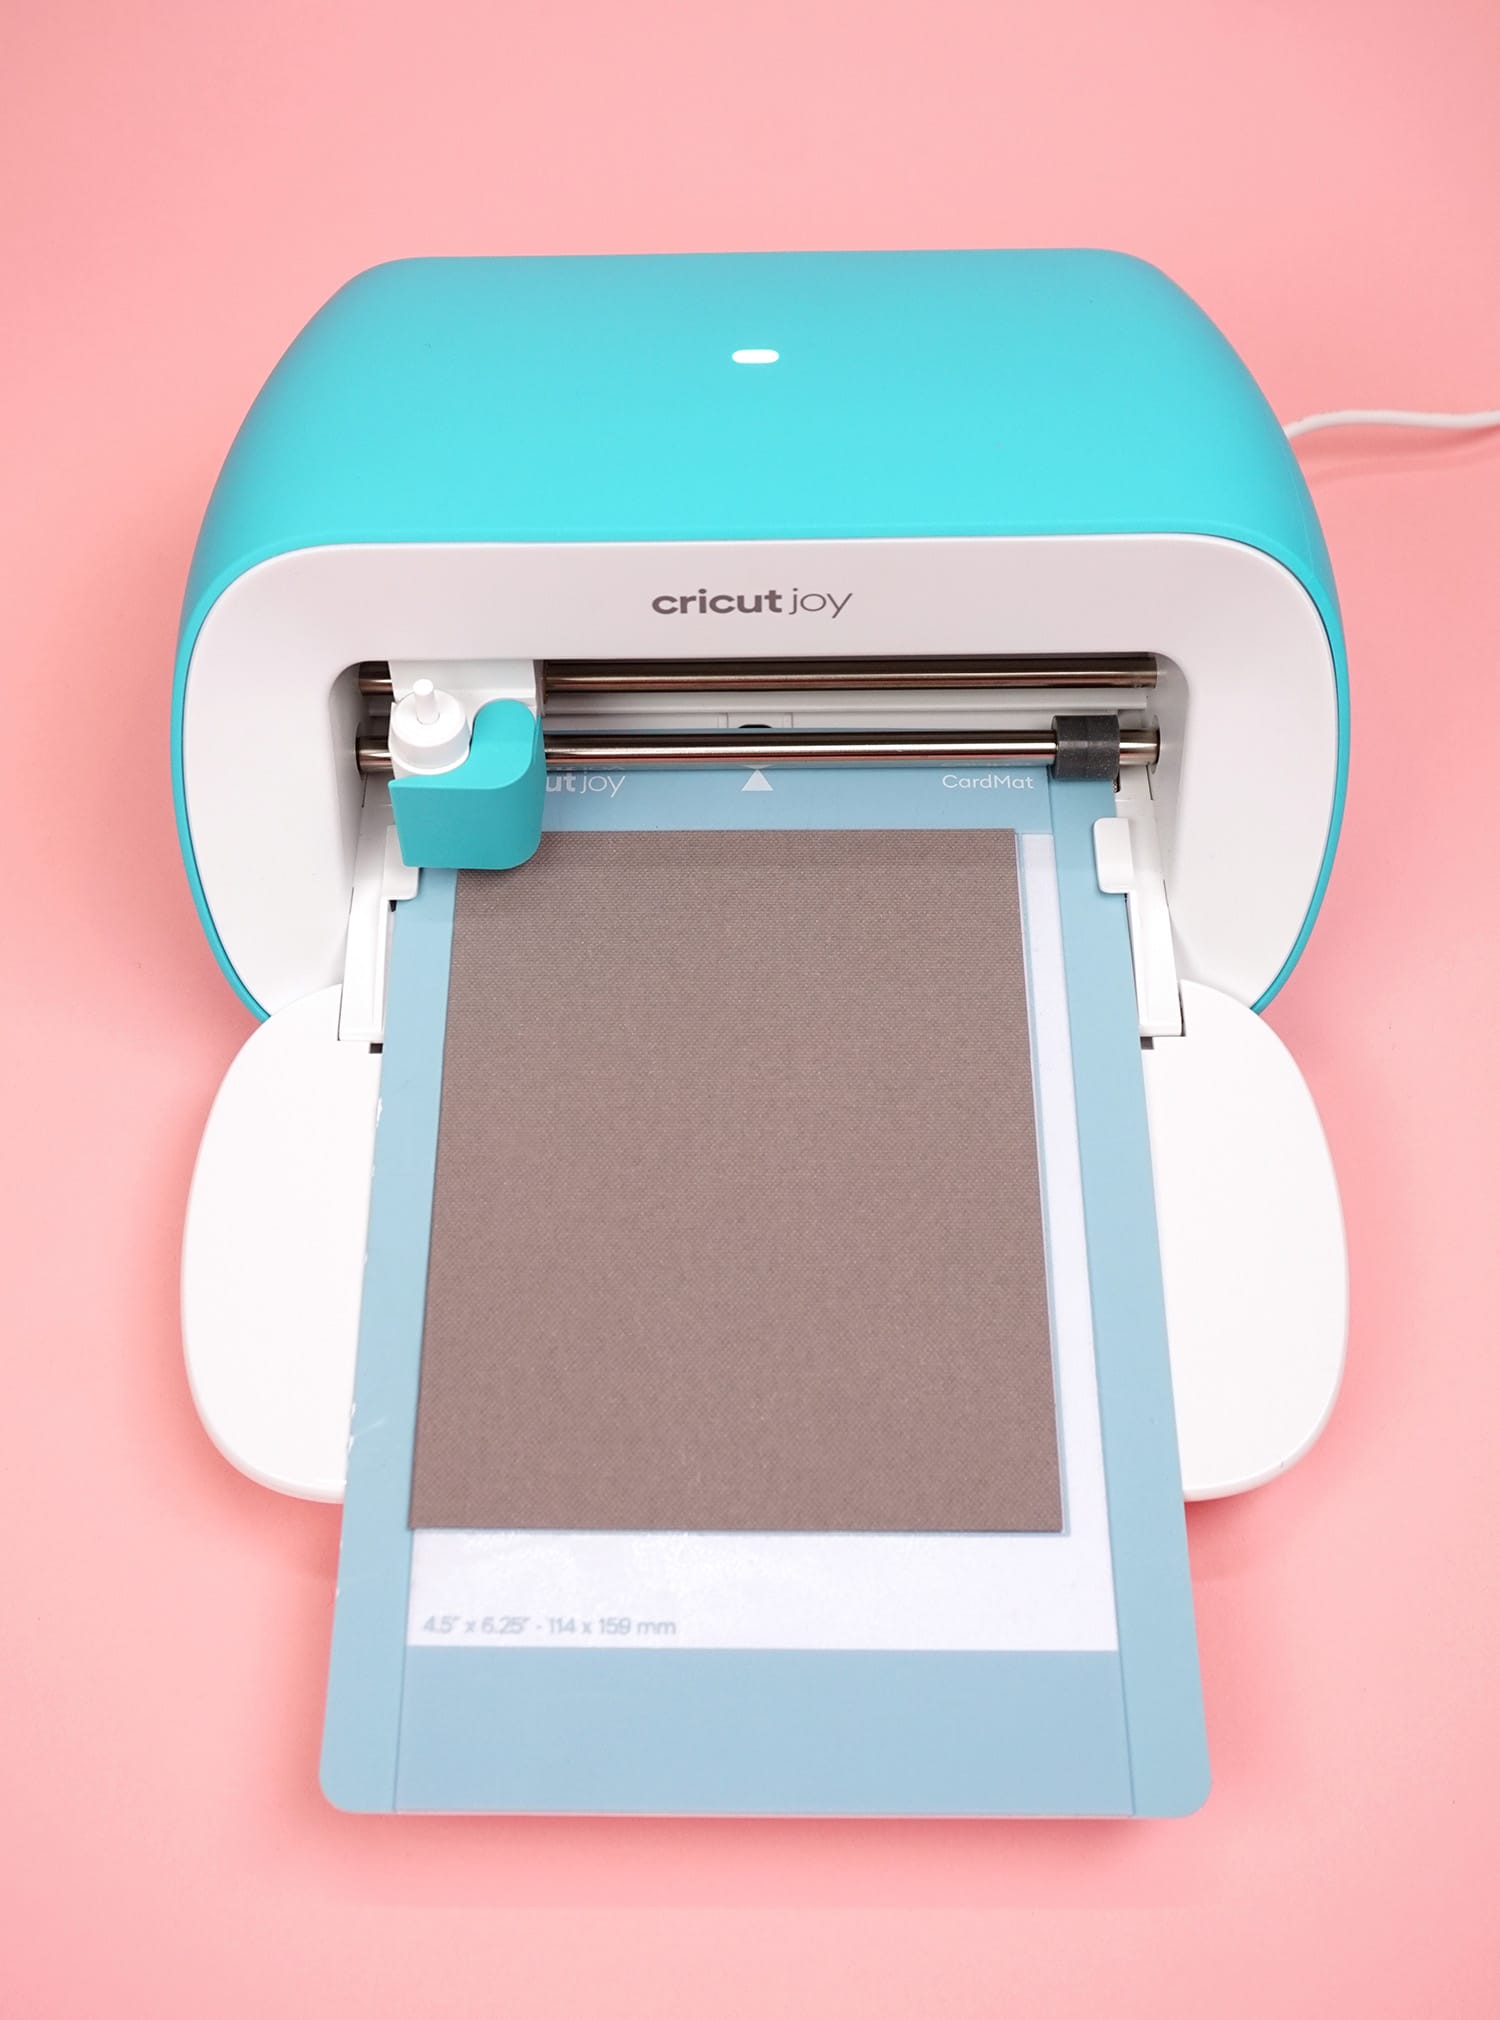
There are no buttons or dials on Cricut Joy, so all of the functions are controlled via Cricut Design Space. When it’s time to load and unload materials, simply insert the mat between the machine’s guides, and the sensors will automatically engage the rollers to pull in the materials.
Once your Cricut Joy Card Mat is loaded, click the “Go” button in the lower right corner of Design Space to begin the cutting process.
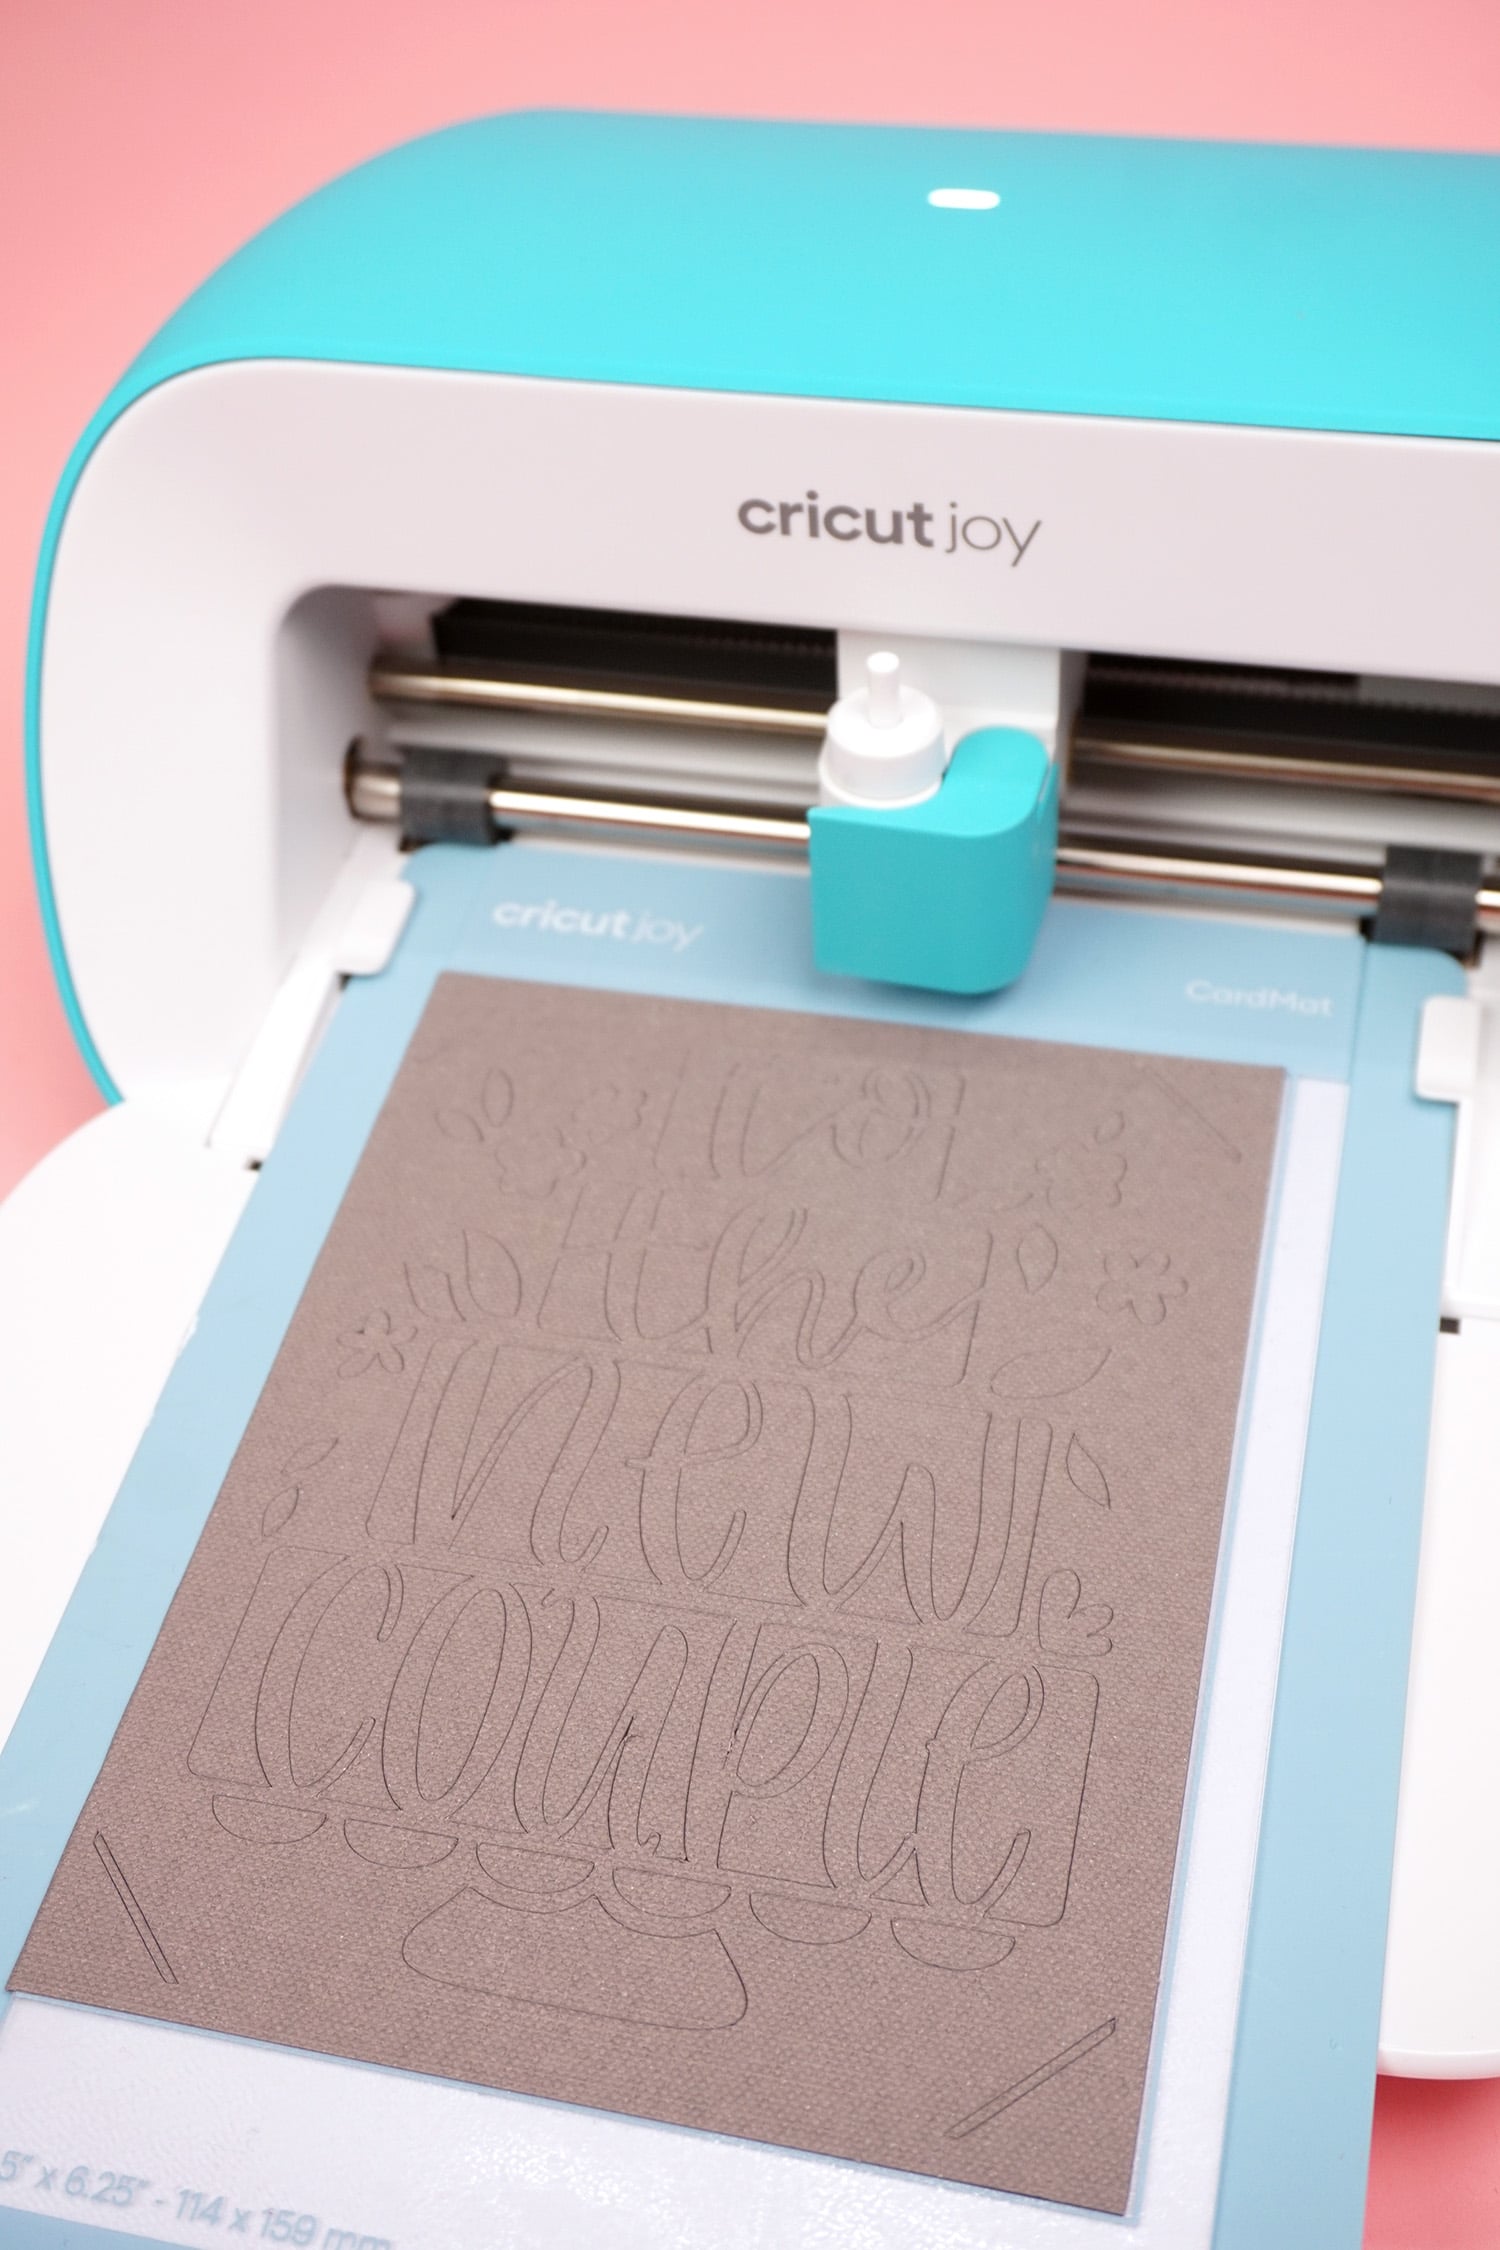
You’ll be surprised at how quickly Cricut Joy cuts cards! It’s perfect for all of those times that you’re rushing out the door and realize that you don’t have a card for the special occasion! Just pull out your Cricut Joy and whip up a card in minutes!
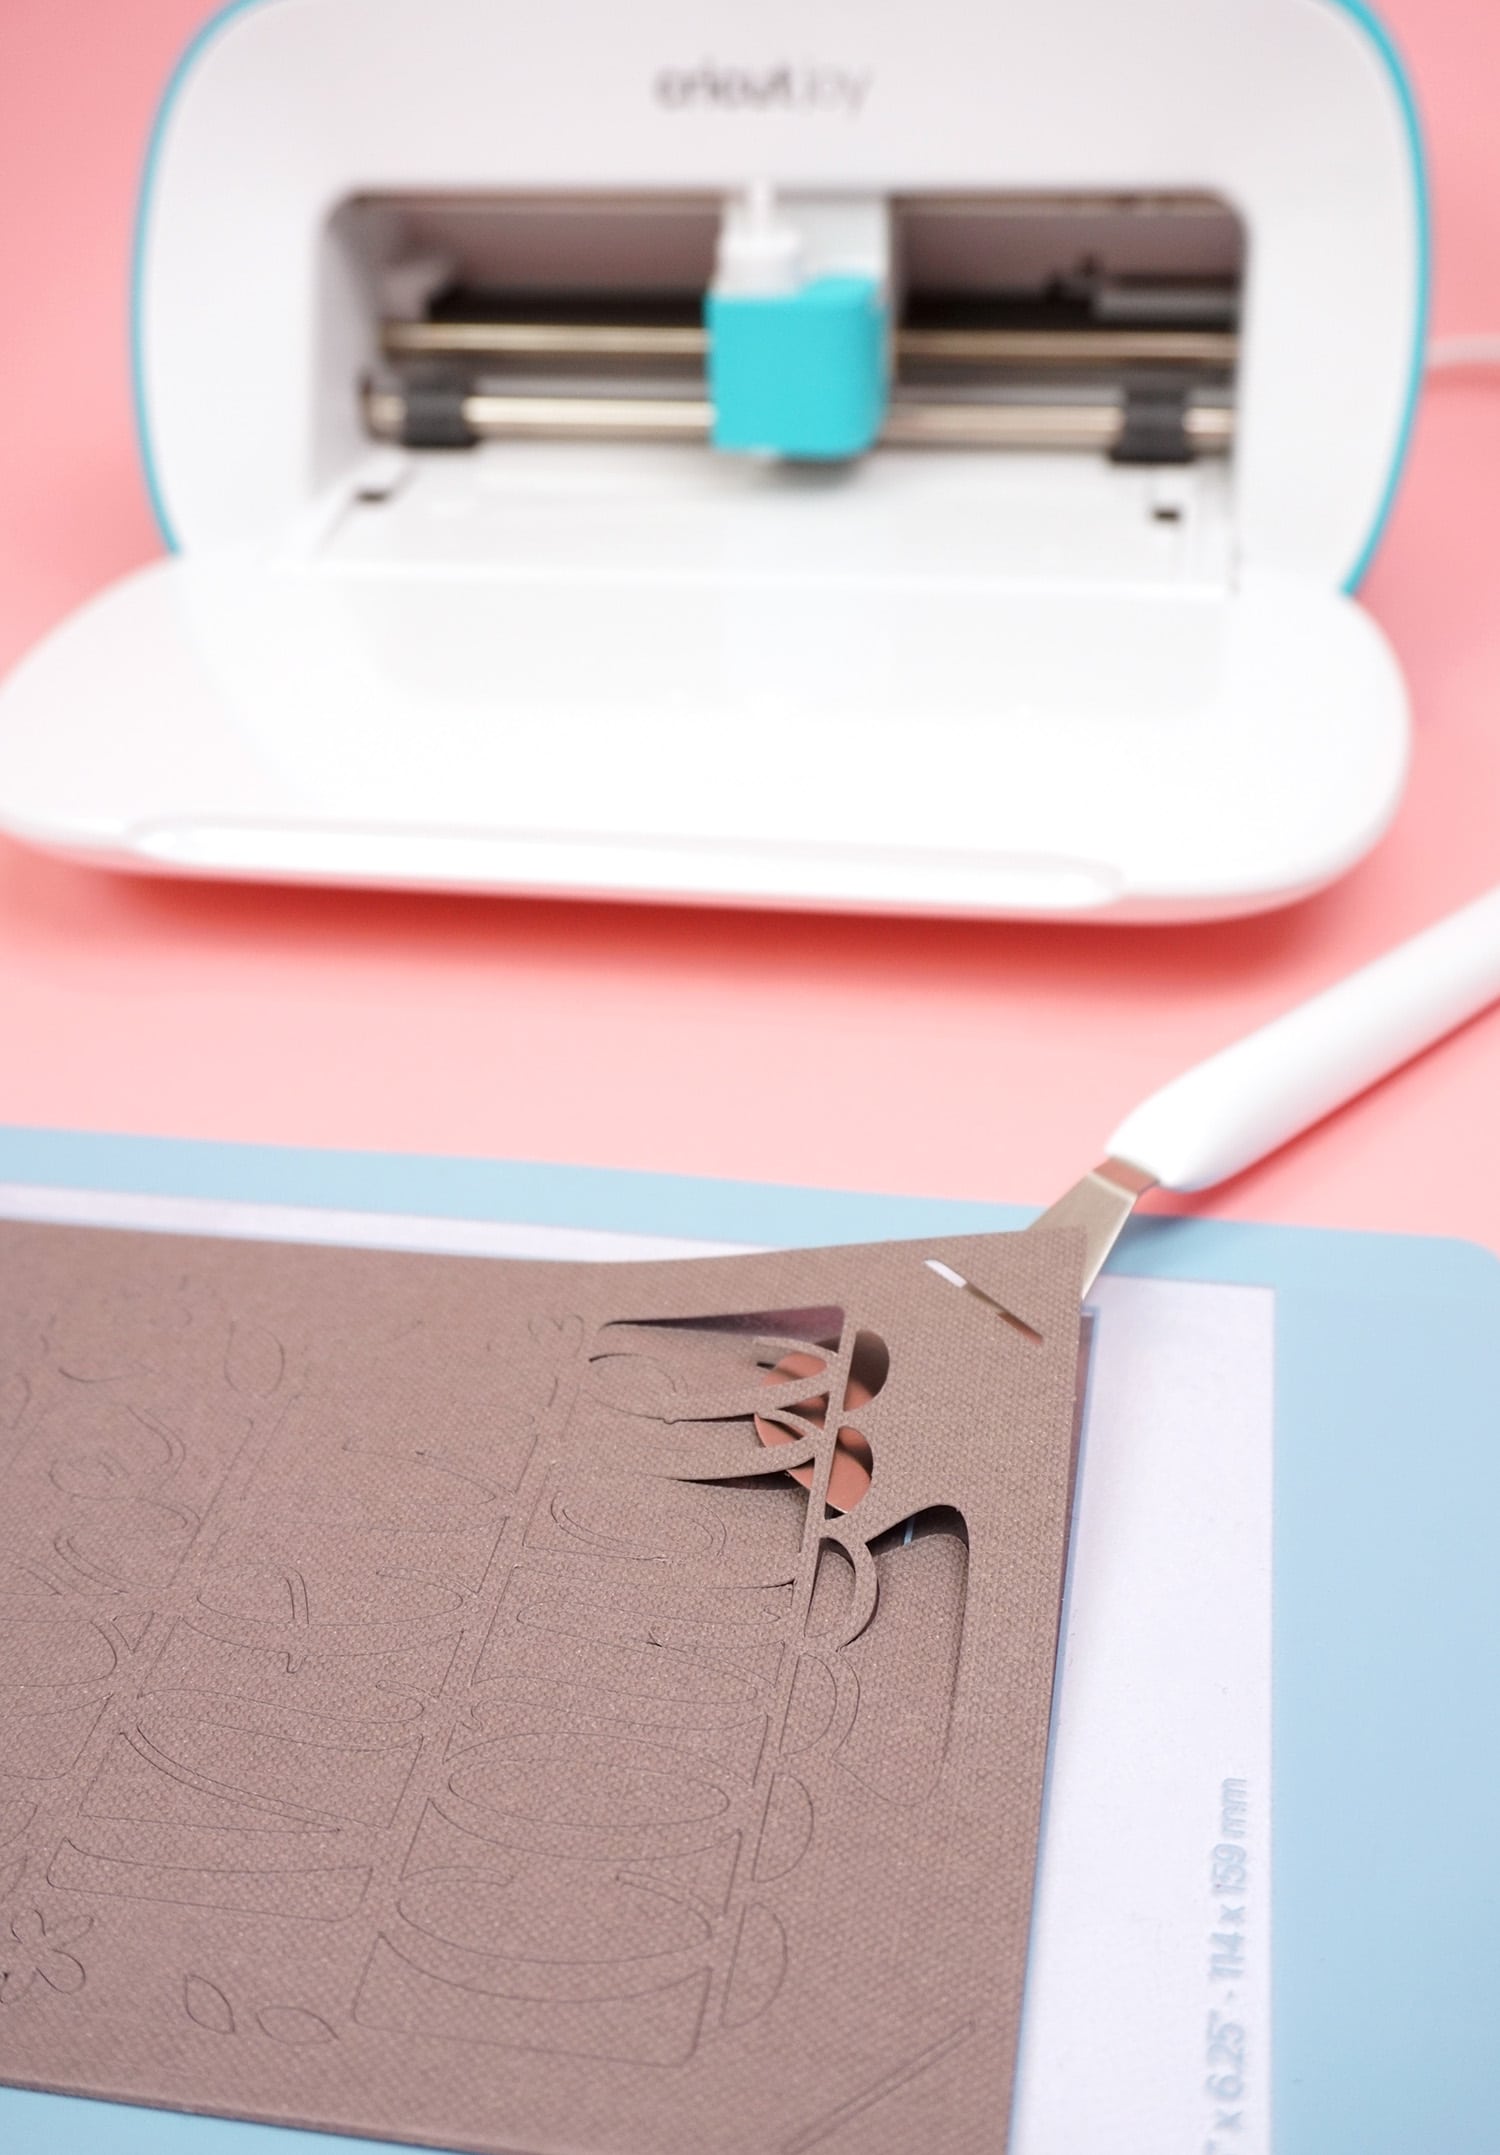
Use a spatula tool to carefully remove the cut layer of the card from the card mat (you can also use your hands, but the spatula is handy for delicate pieces!).
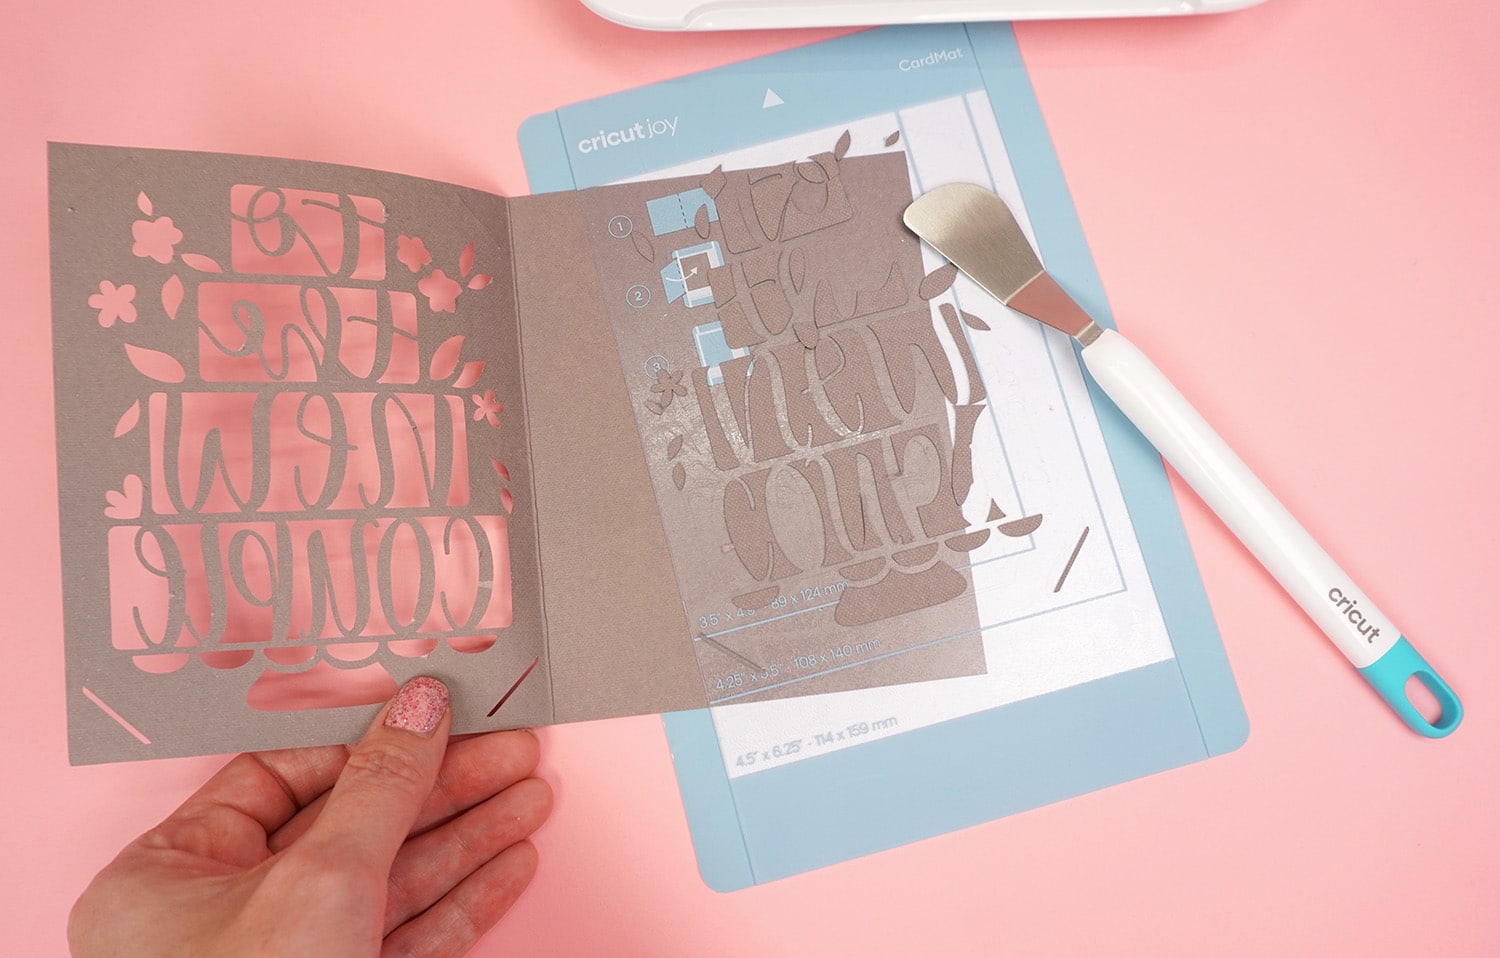
Remove the card from the Cricut Joy Card Mat.
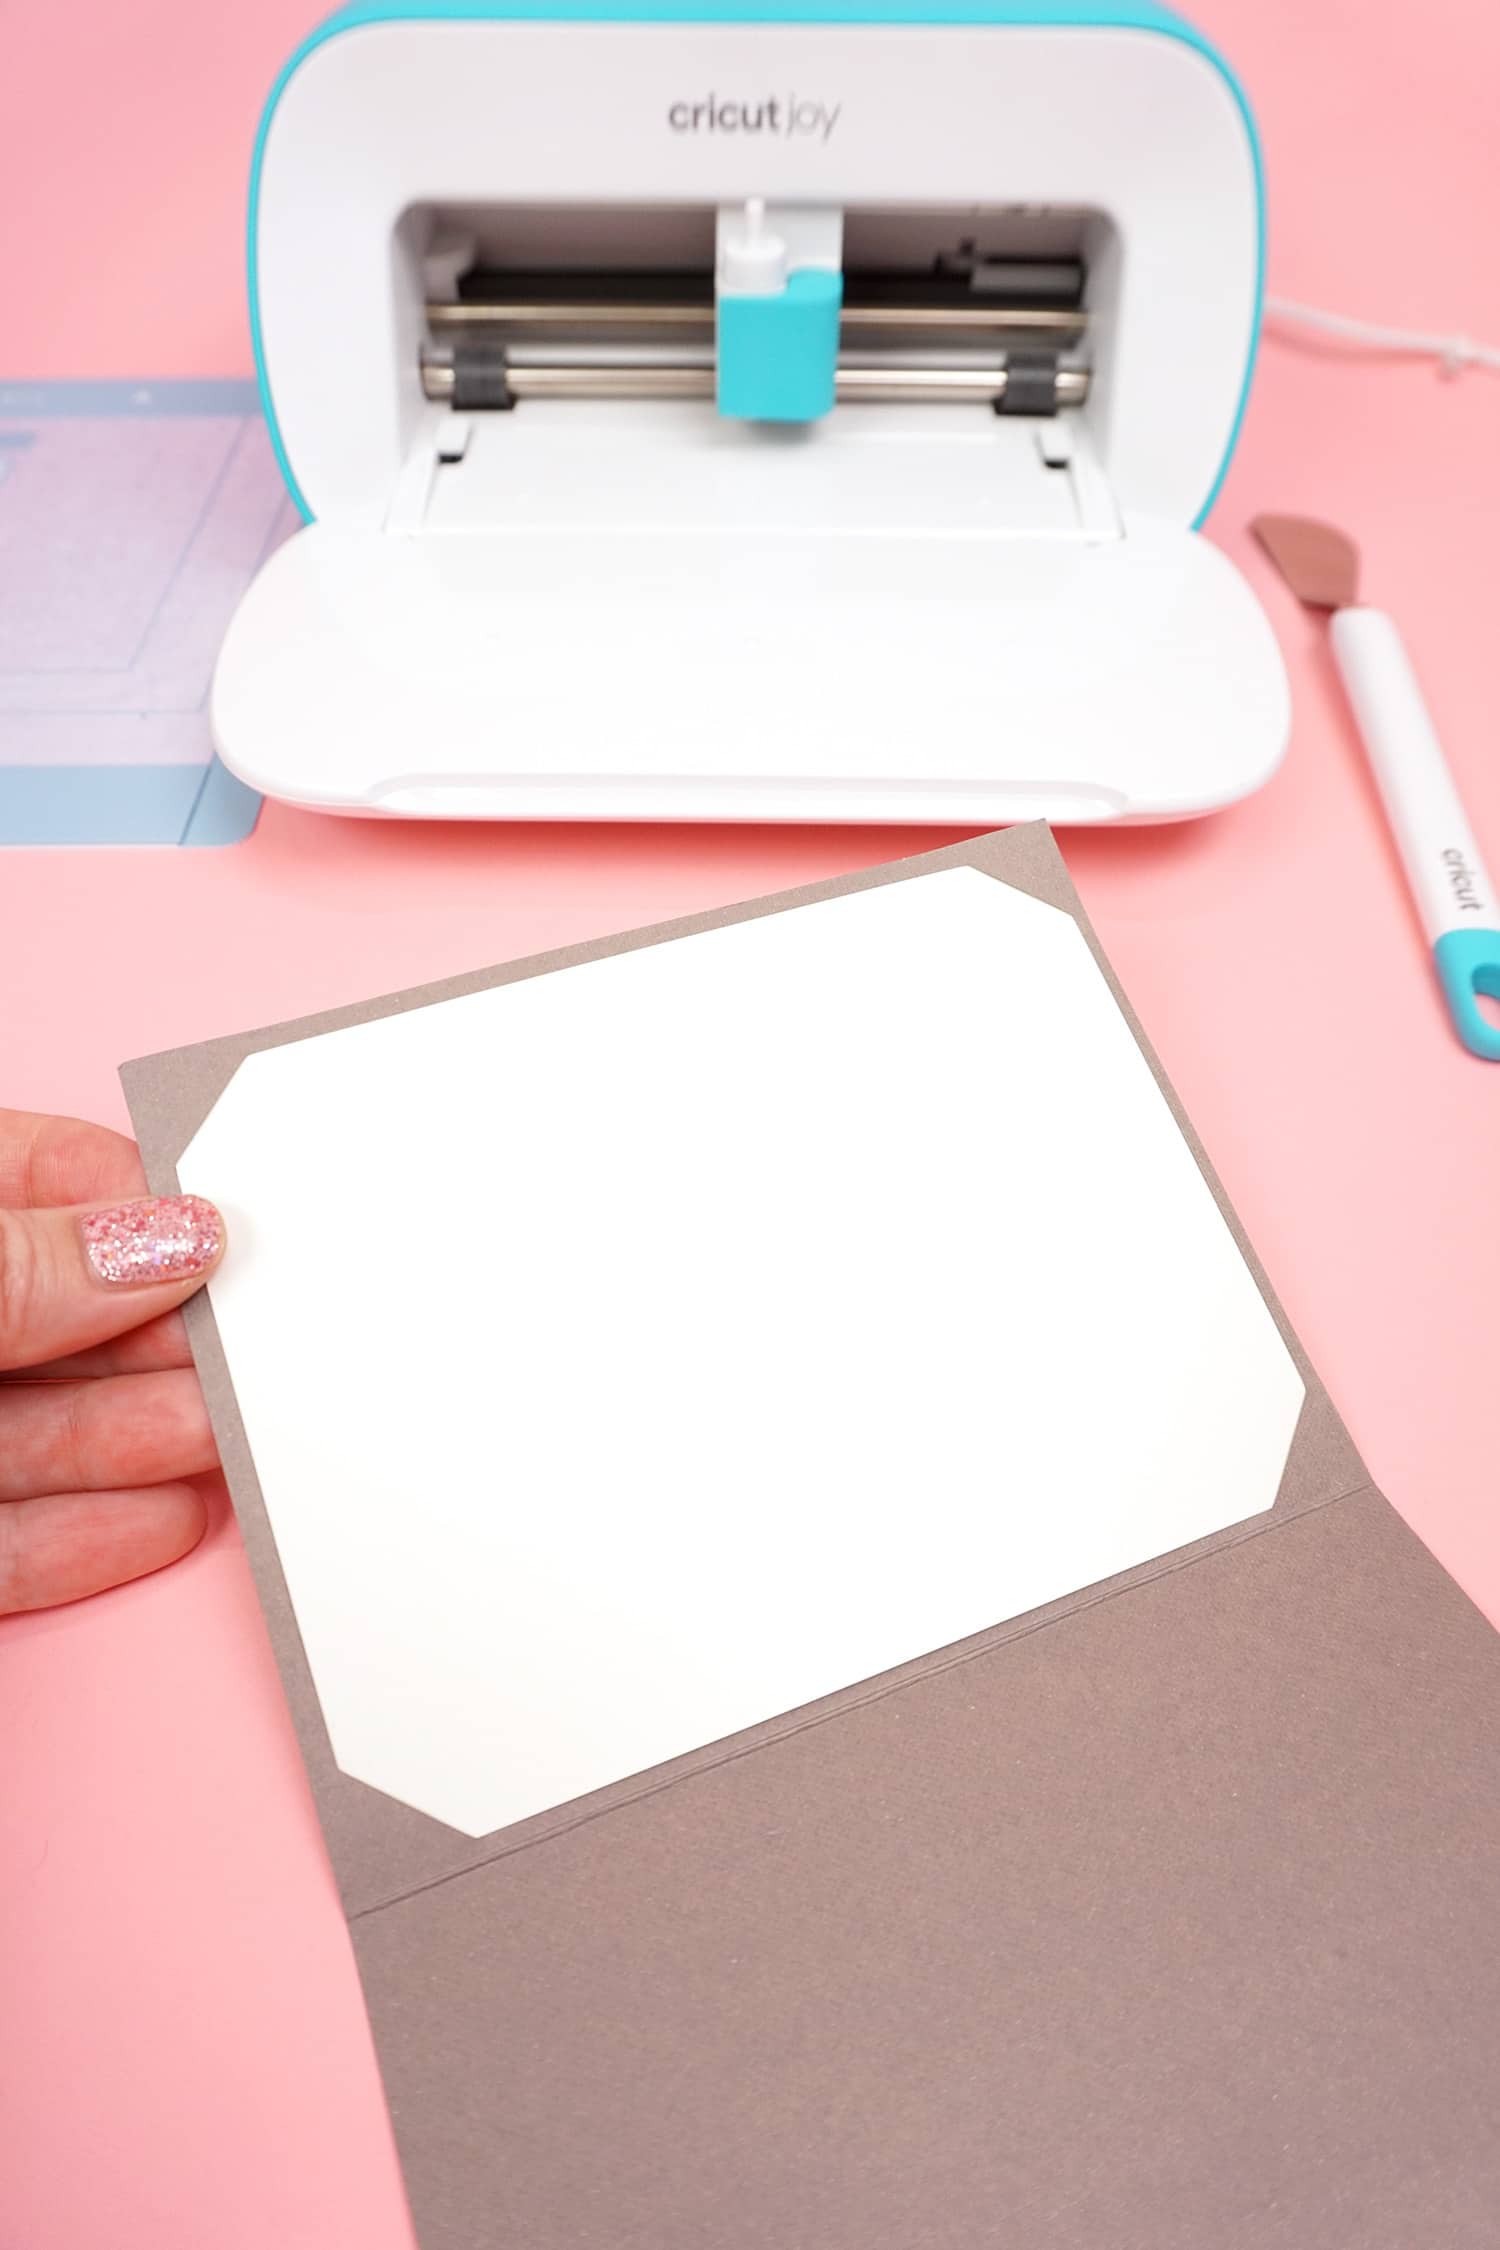
Tuck the corners of the flat Insert Card into the corners of the folded card.
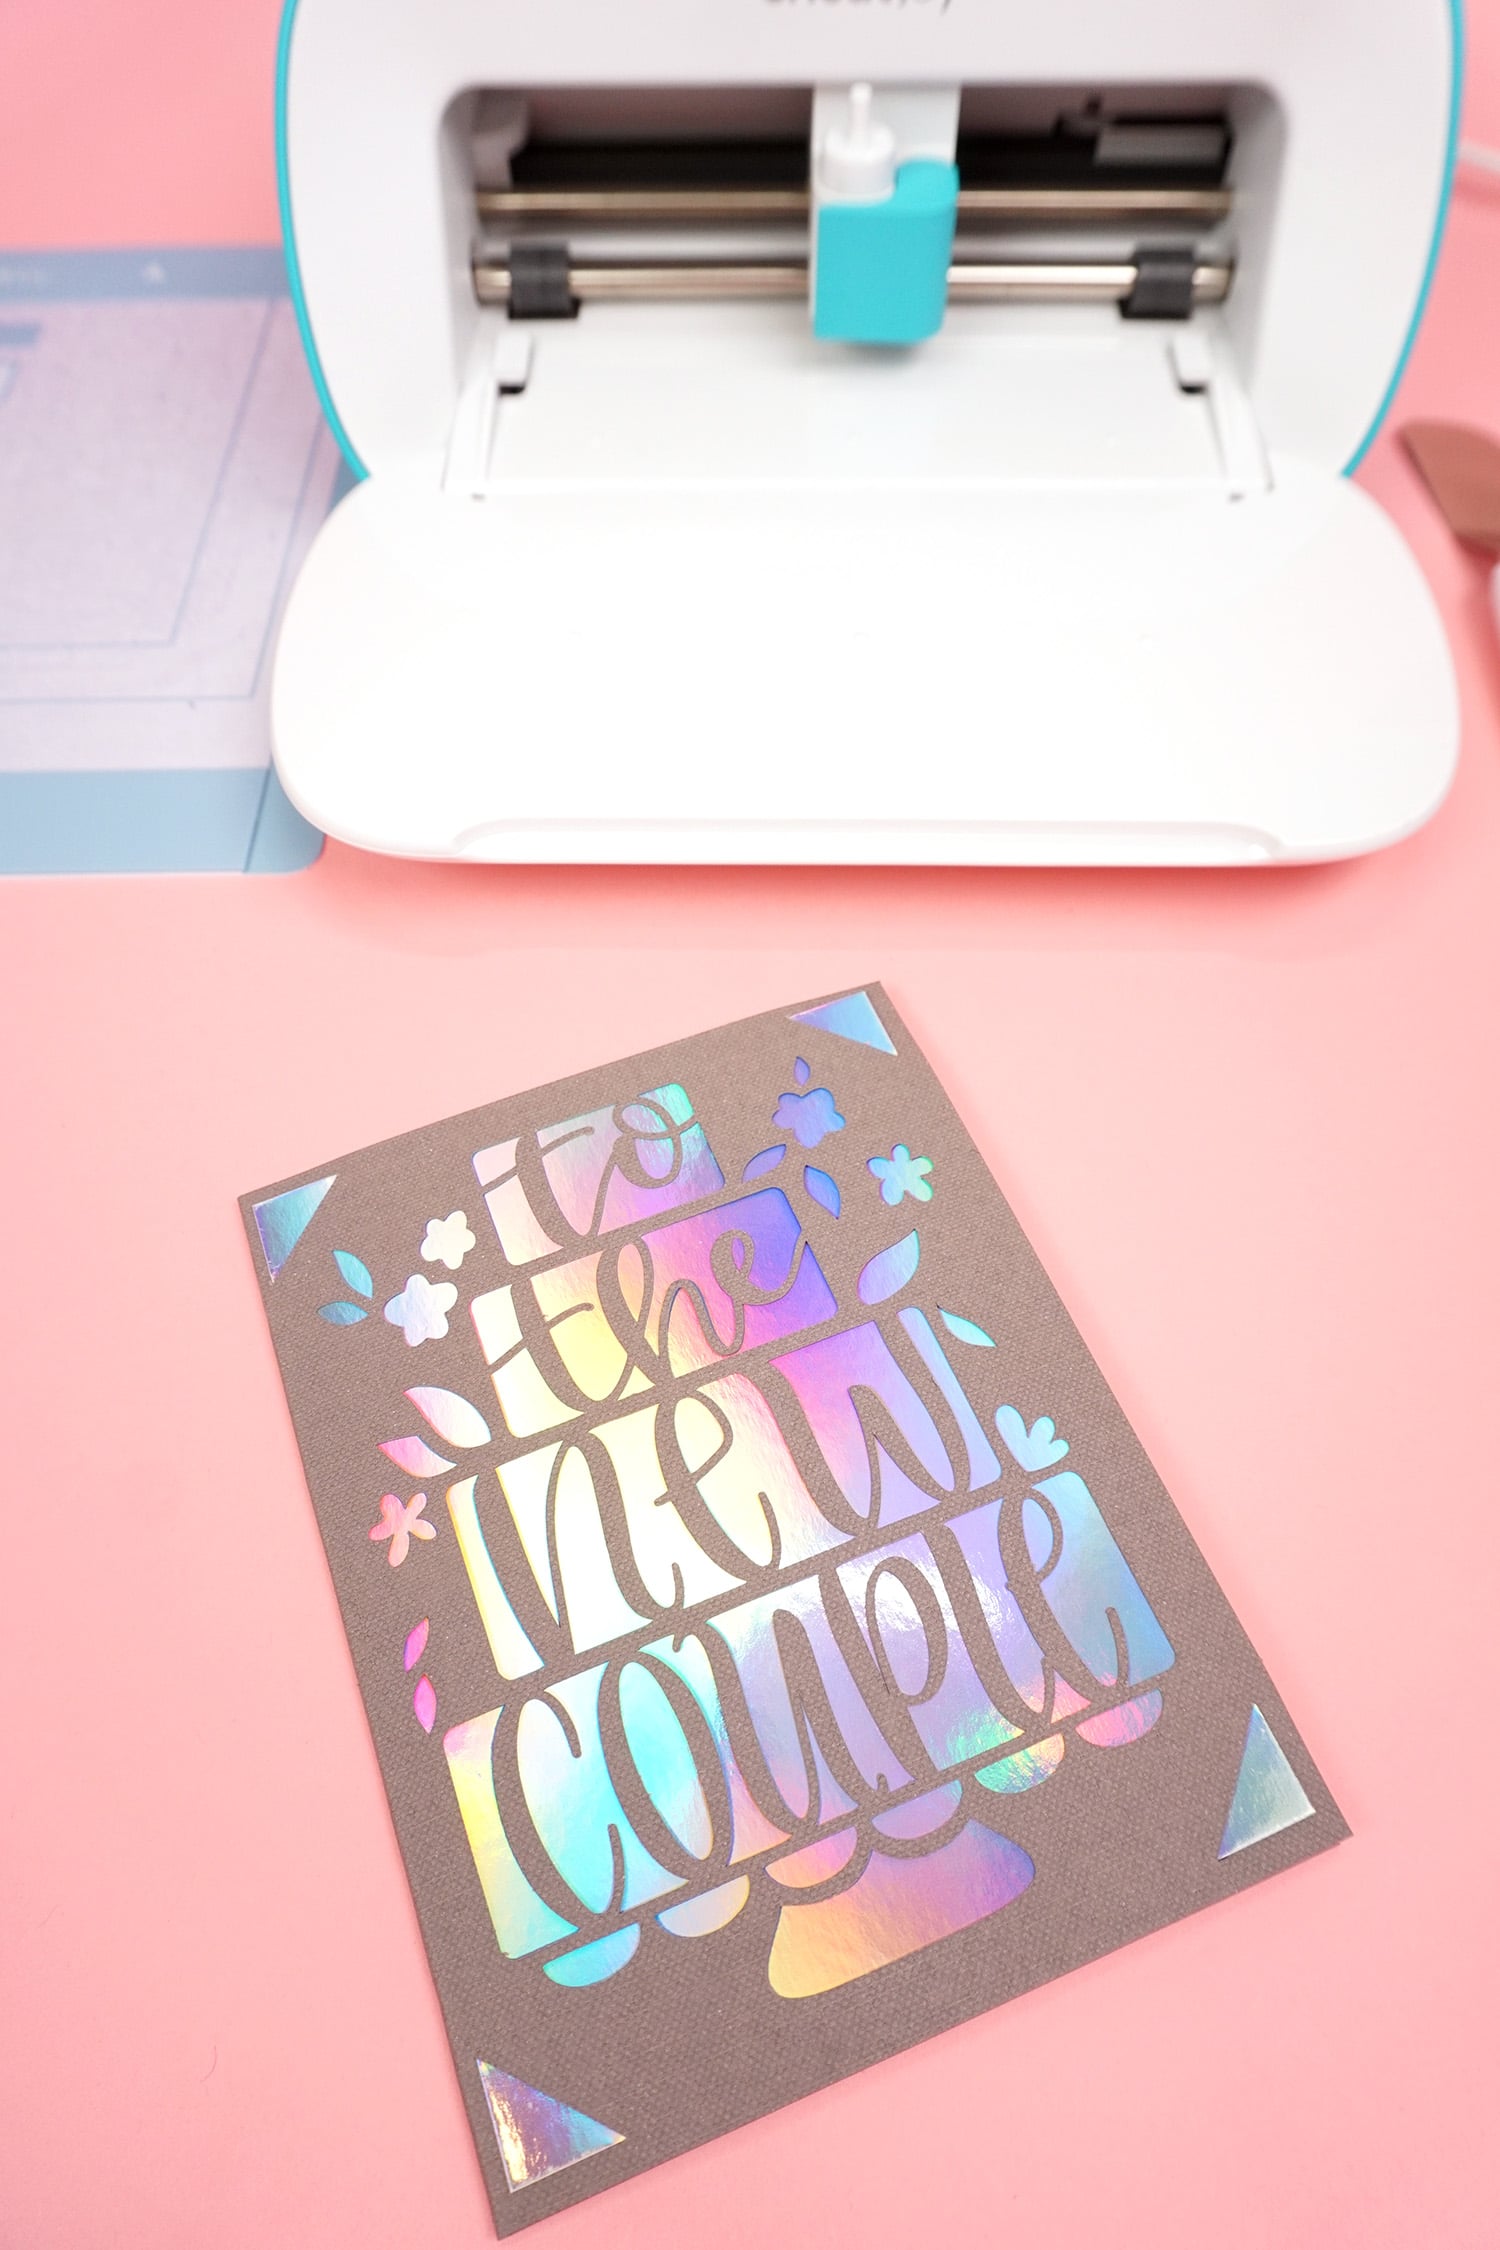
Easy peasy and SO pretty! This entire card only took me about 4 minutes to make!
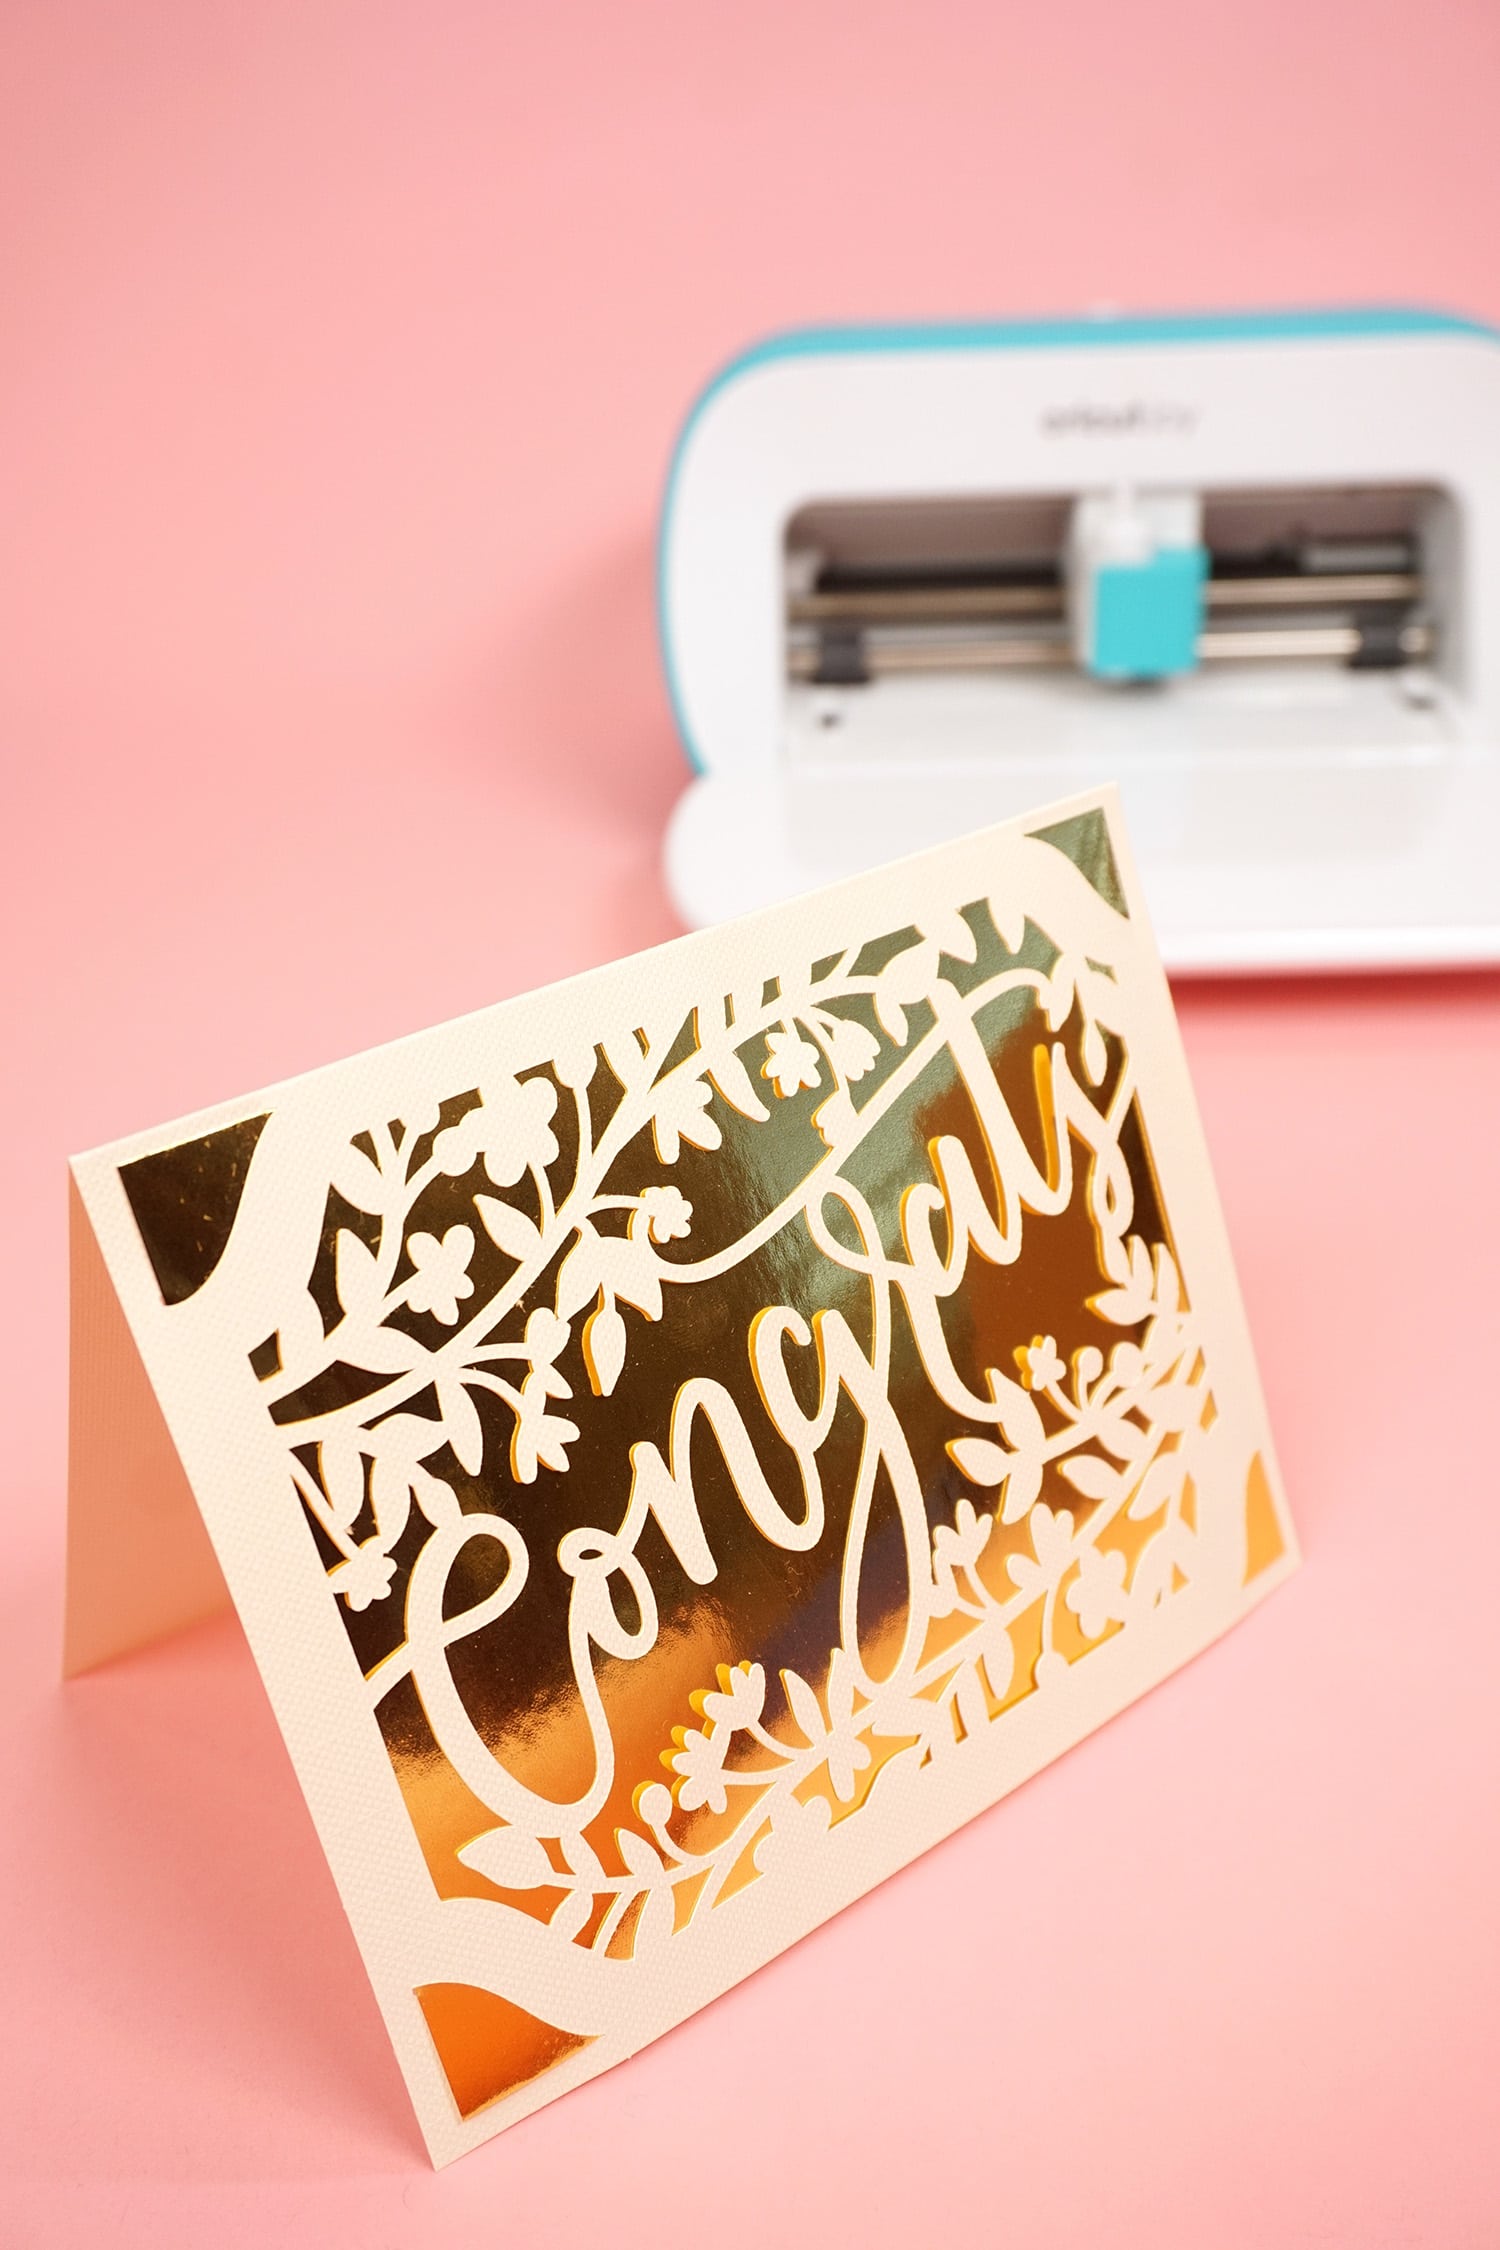
Now you can have pretty cards on-hand for every occasion!

The Insert Card sets are all SO fun! I can’t wait to get my hands on more color combinations!
There are SO many wonderful possibilities with Cricut Joy, the Cricut Joy Card Mat, and the Insert Card sets! I am really looking forward to seeing what everyone creates with these! What do you think you’ll make first?
If you’re new to Cricut Joy, check out these tutorials to learn more!
LEARN ALL ABOUT CRICUT JOY:
- Video: All About Cricut Joy and Mat-Free Long Cuts
- All About Cricut Joy: What’s New & What Can It Do?
- How to Use the Cricut Joy Card Mat & Insert Cards
- How to Use Cricut Smart Vinyl with Cricut Joy
- How to Cut Large Projects on Cricut Joy: DIY Ruler Growth Chart

You May Also Like:
All About Cricut Joy: Everything You Need to Know!
Pin this Cricut Joy Card Mat post for later!

Heidi Kundin has captivated the hearts of millions with her colorful and inspiring approach to crafting, celebrations, and family fun. With over 15 years of experience, Happiness is Homemade has become a must-visit destination for those seeking quick and easy creative ideas and last-minute solutions. Heidi’s warm personality shines through her posts, inviting readers to join her on a creative journey that’s fun, rewarding, and achievable. Heidi is also the author of Homemade Bath Bombs & More and DIY Tie-Dye.