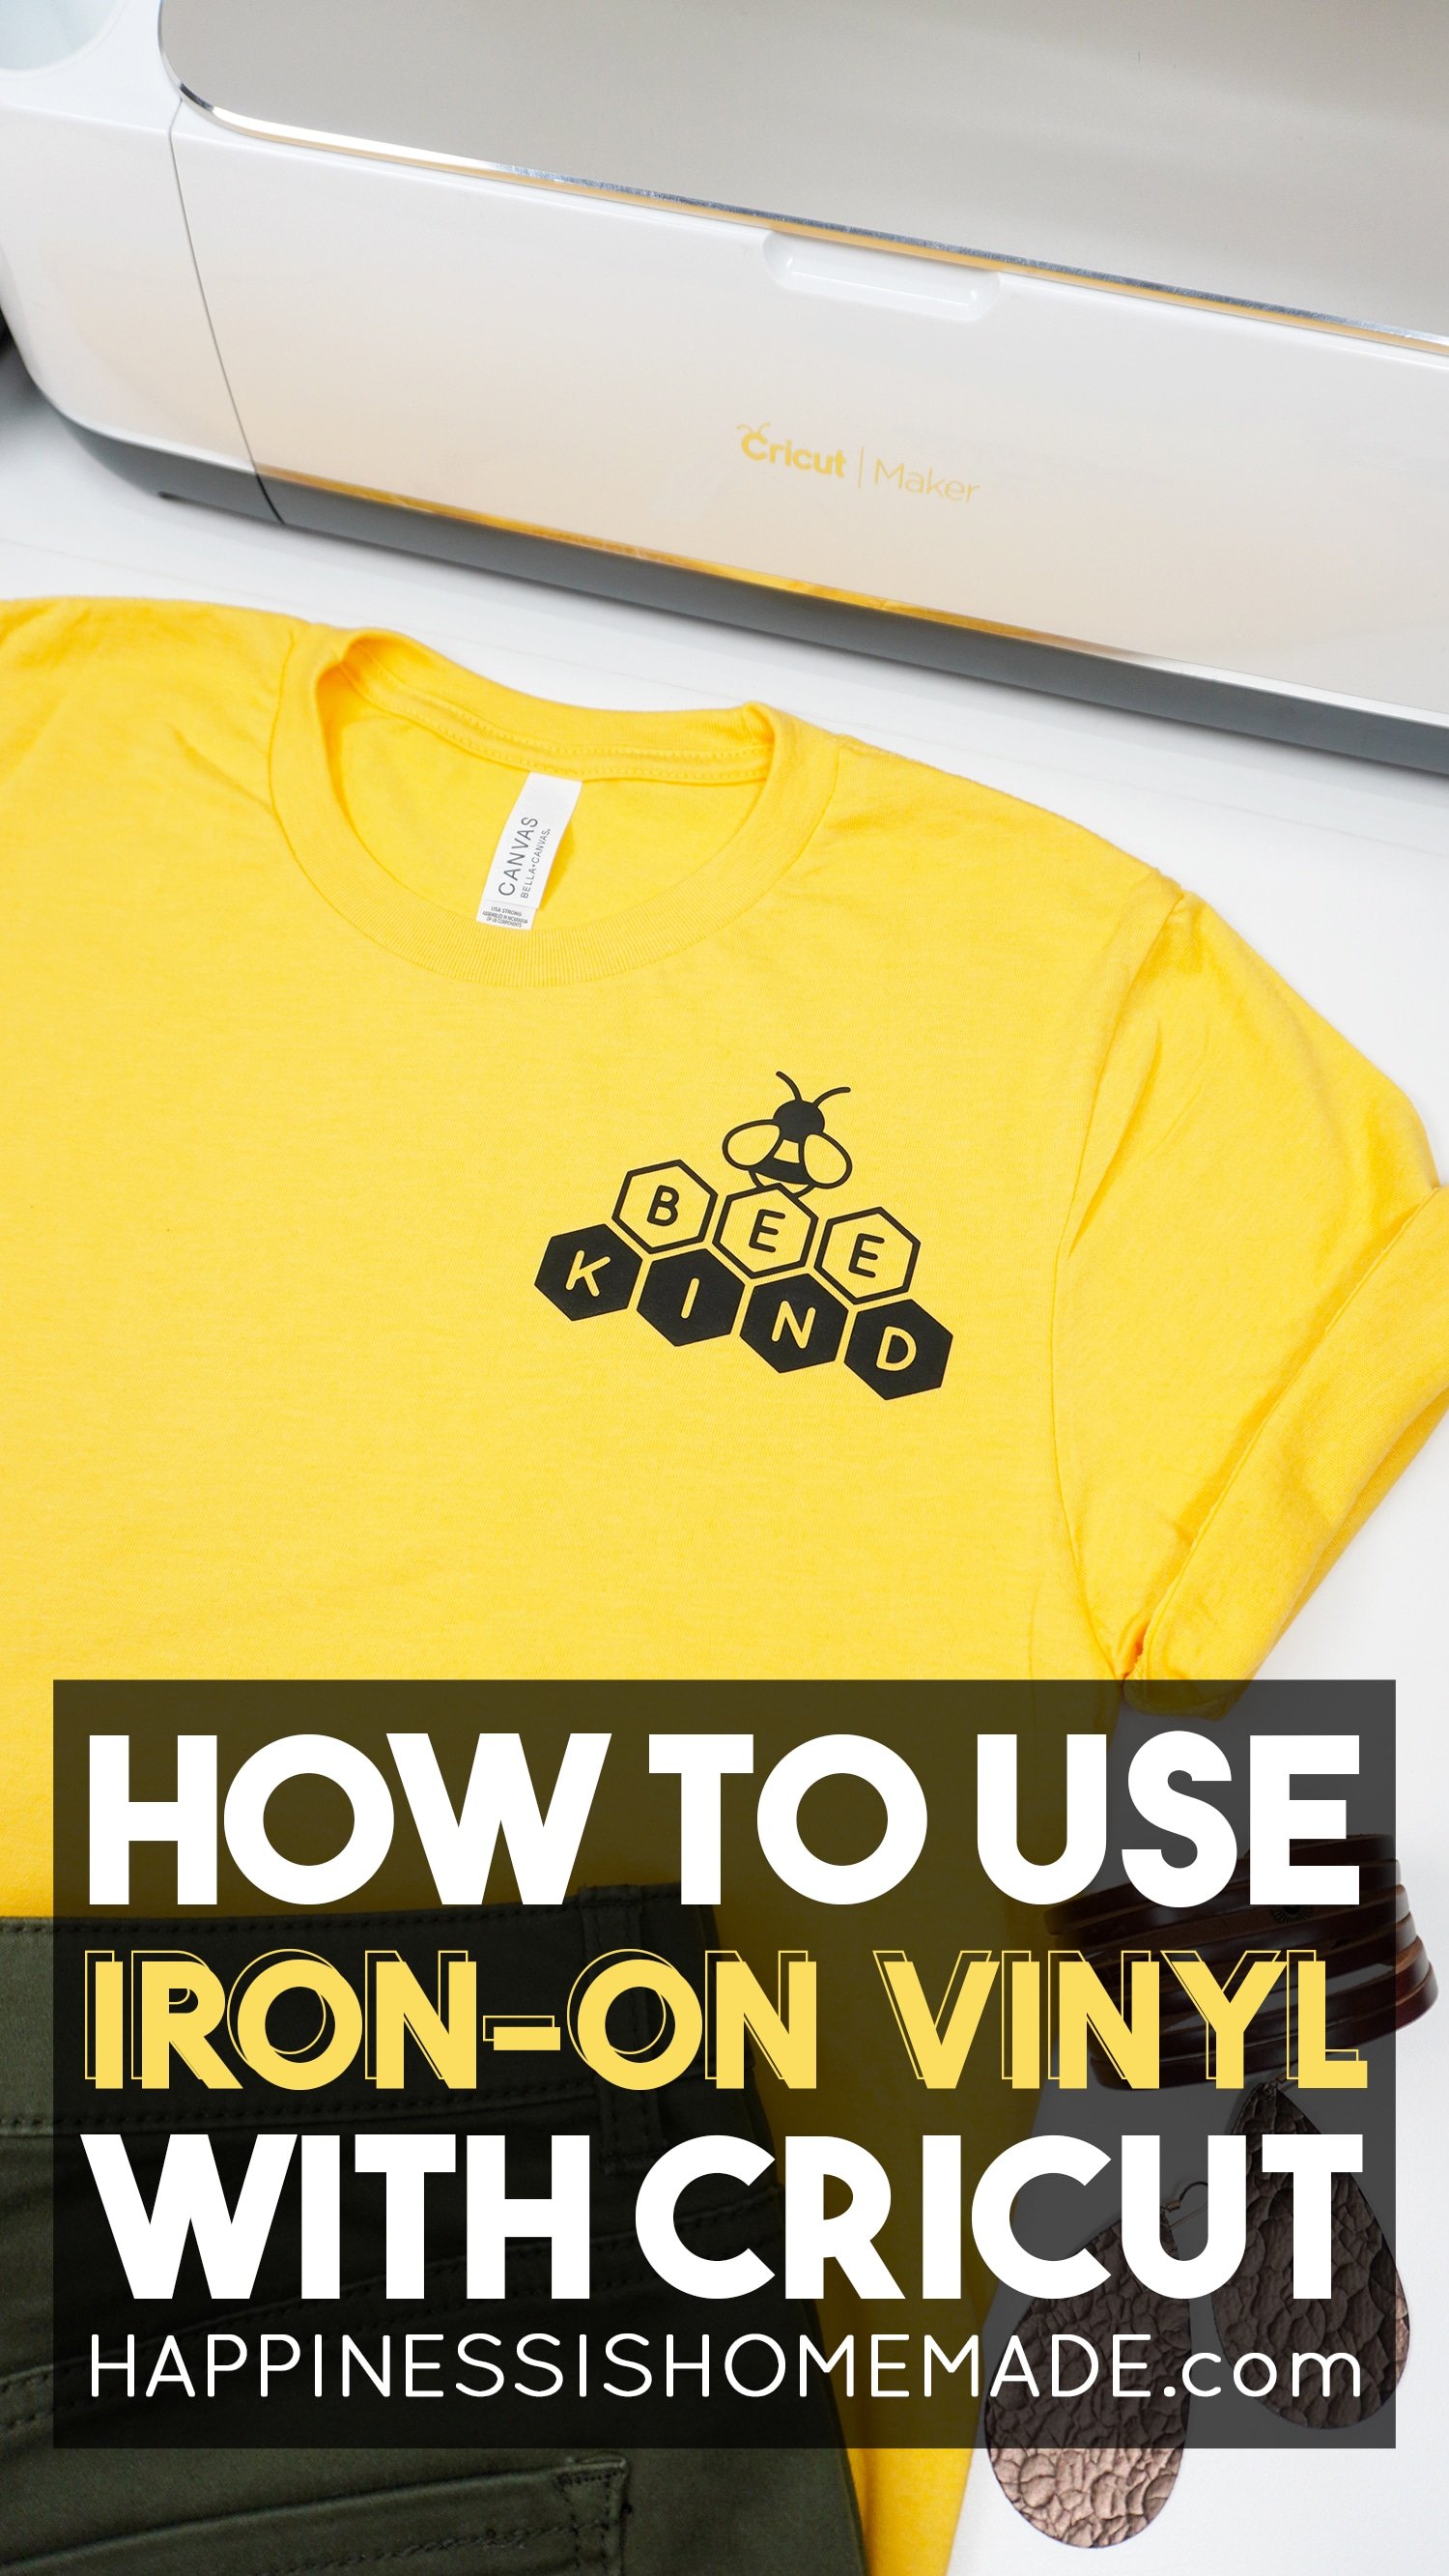
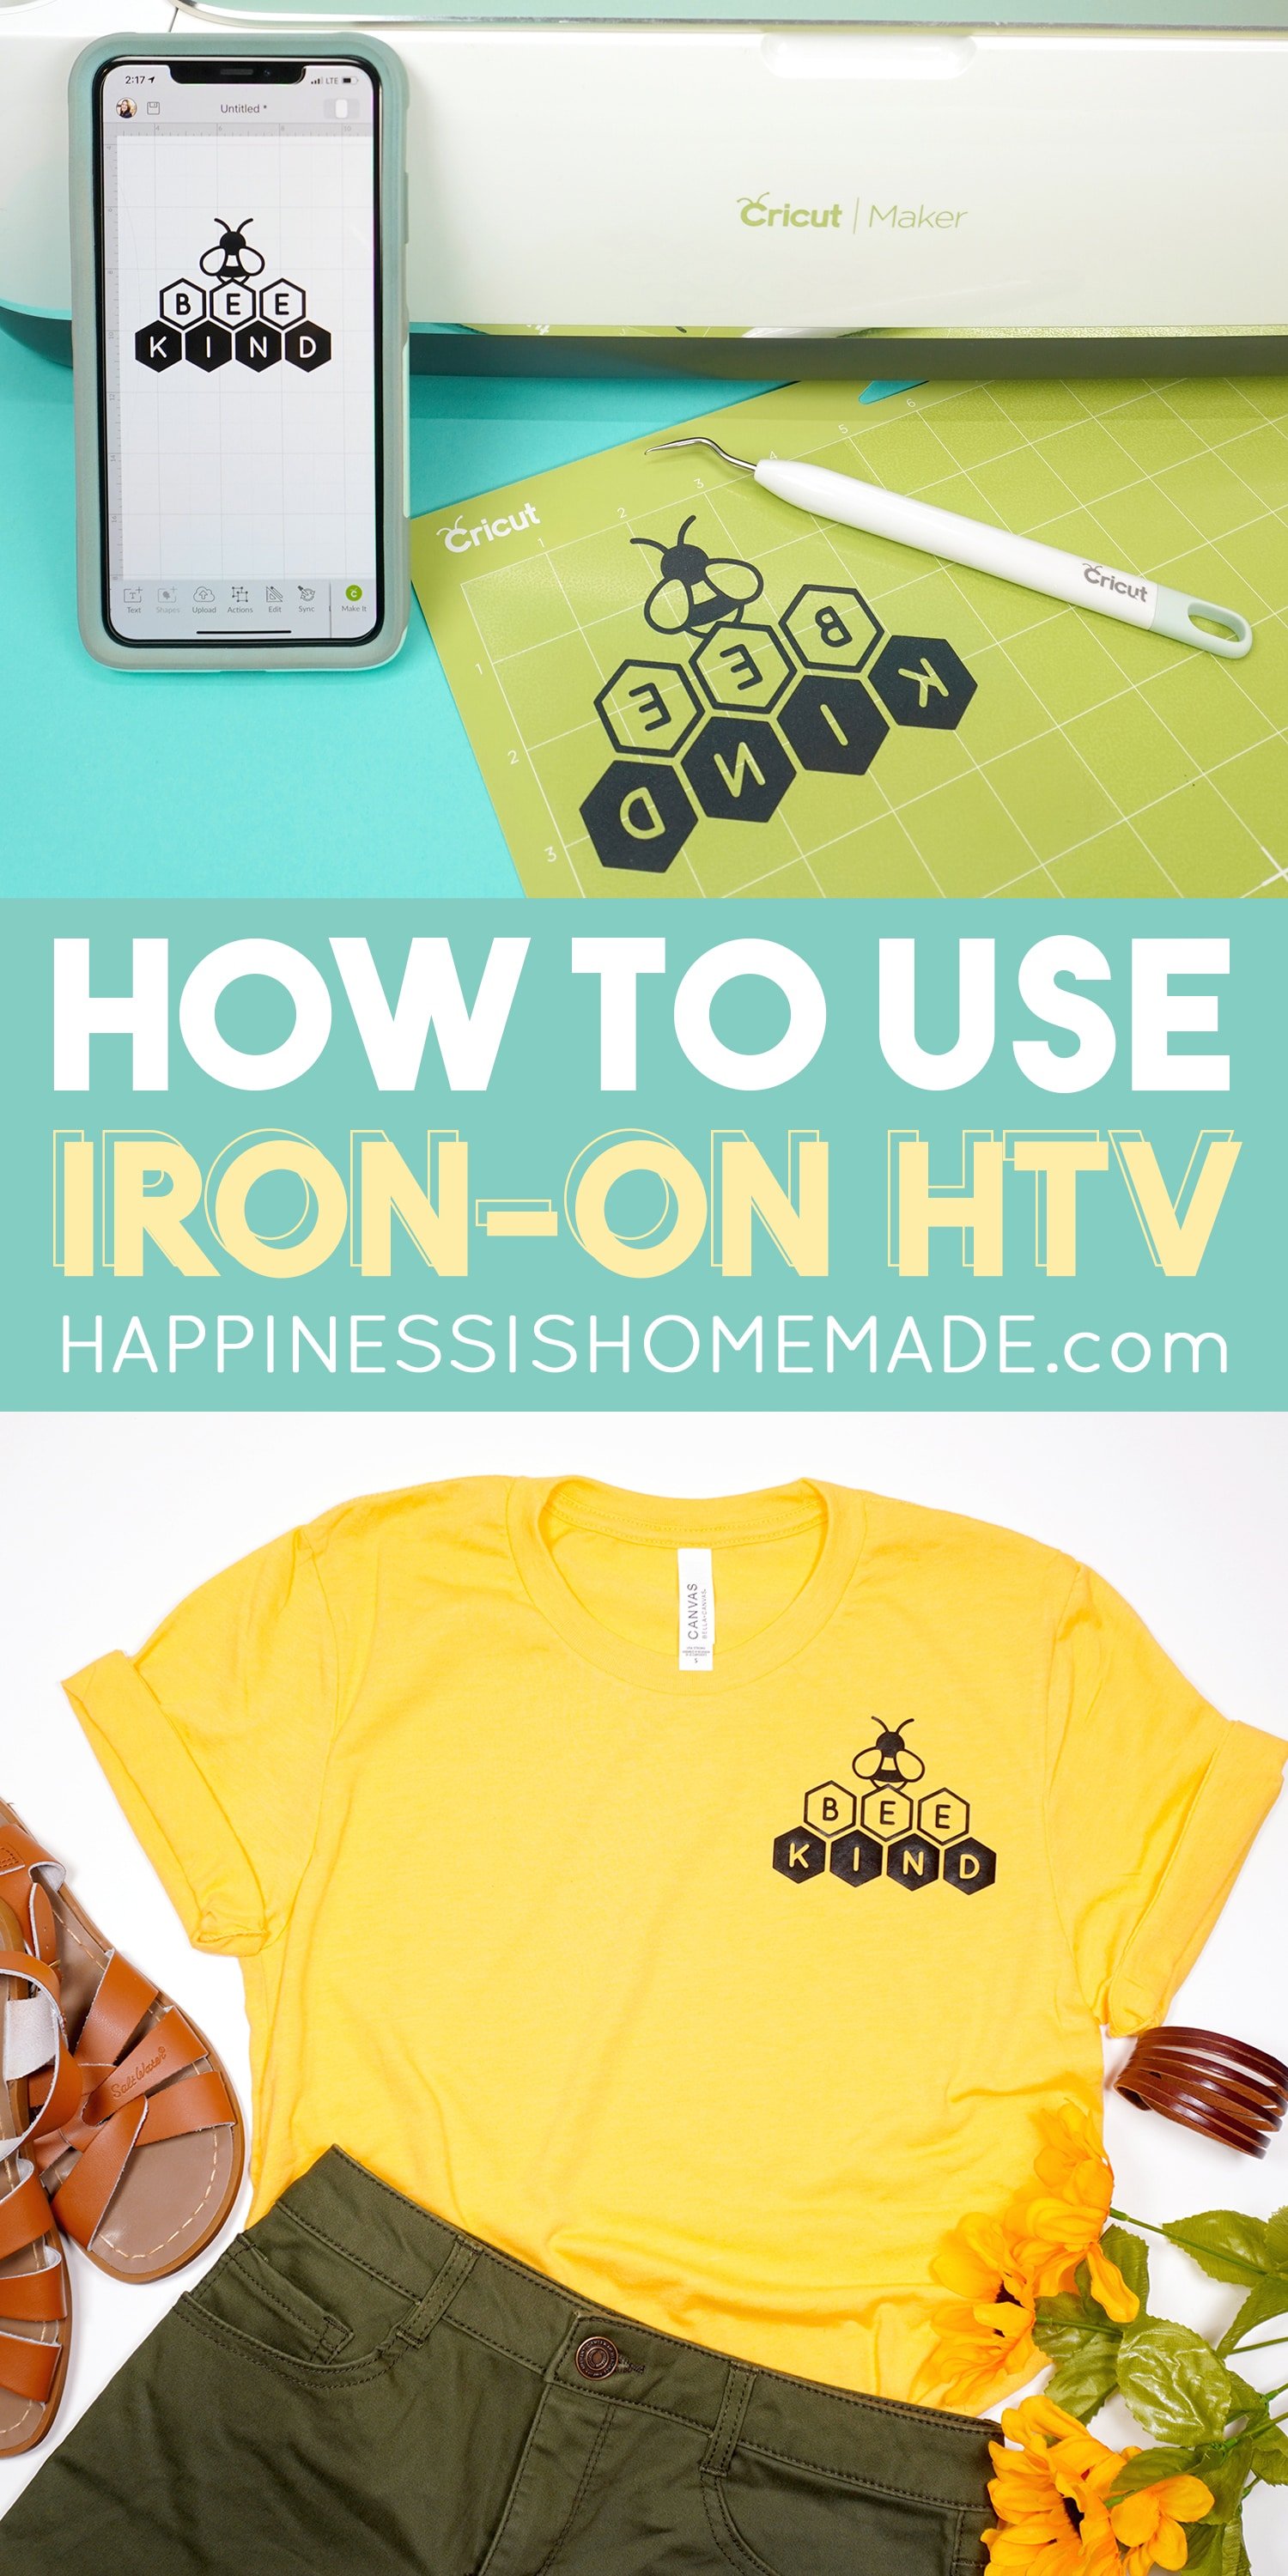
Learn How to Use Iron-On Vinyl (aka Heat Transfer Vinyl) to make shirts and more! Beginners tips and tricks for how to use heat transfer vinyl and Cricut Iron-on vinyl!
How to Use Heat Transfer Vinyl
This post may contain affiliate links. I will receive a small commission from these sales at no additional cost to you!
Learn all about how to use iron-on vinyl (also known as heat transfer vinyl) to make shirts in this easy step-by-step tutorial!
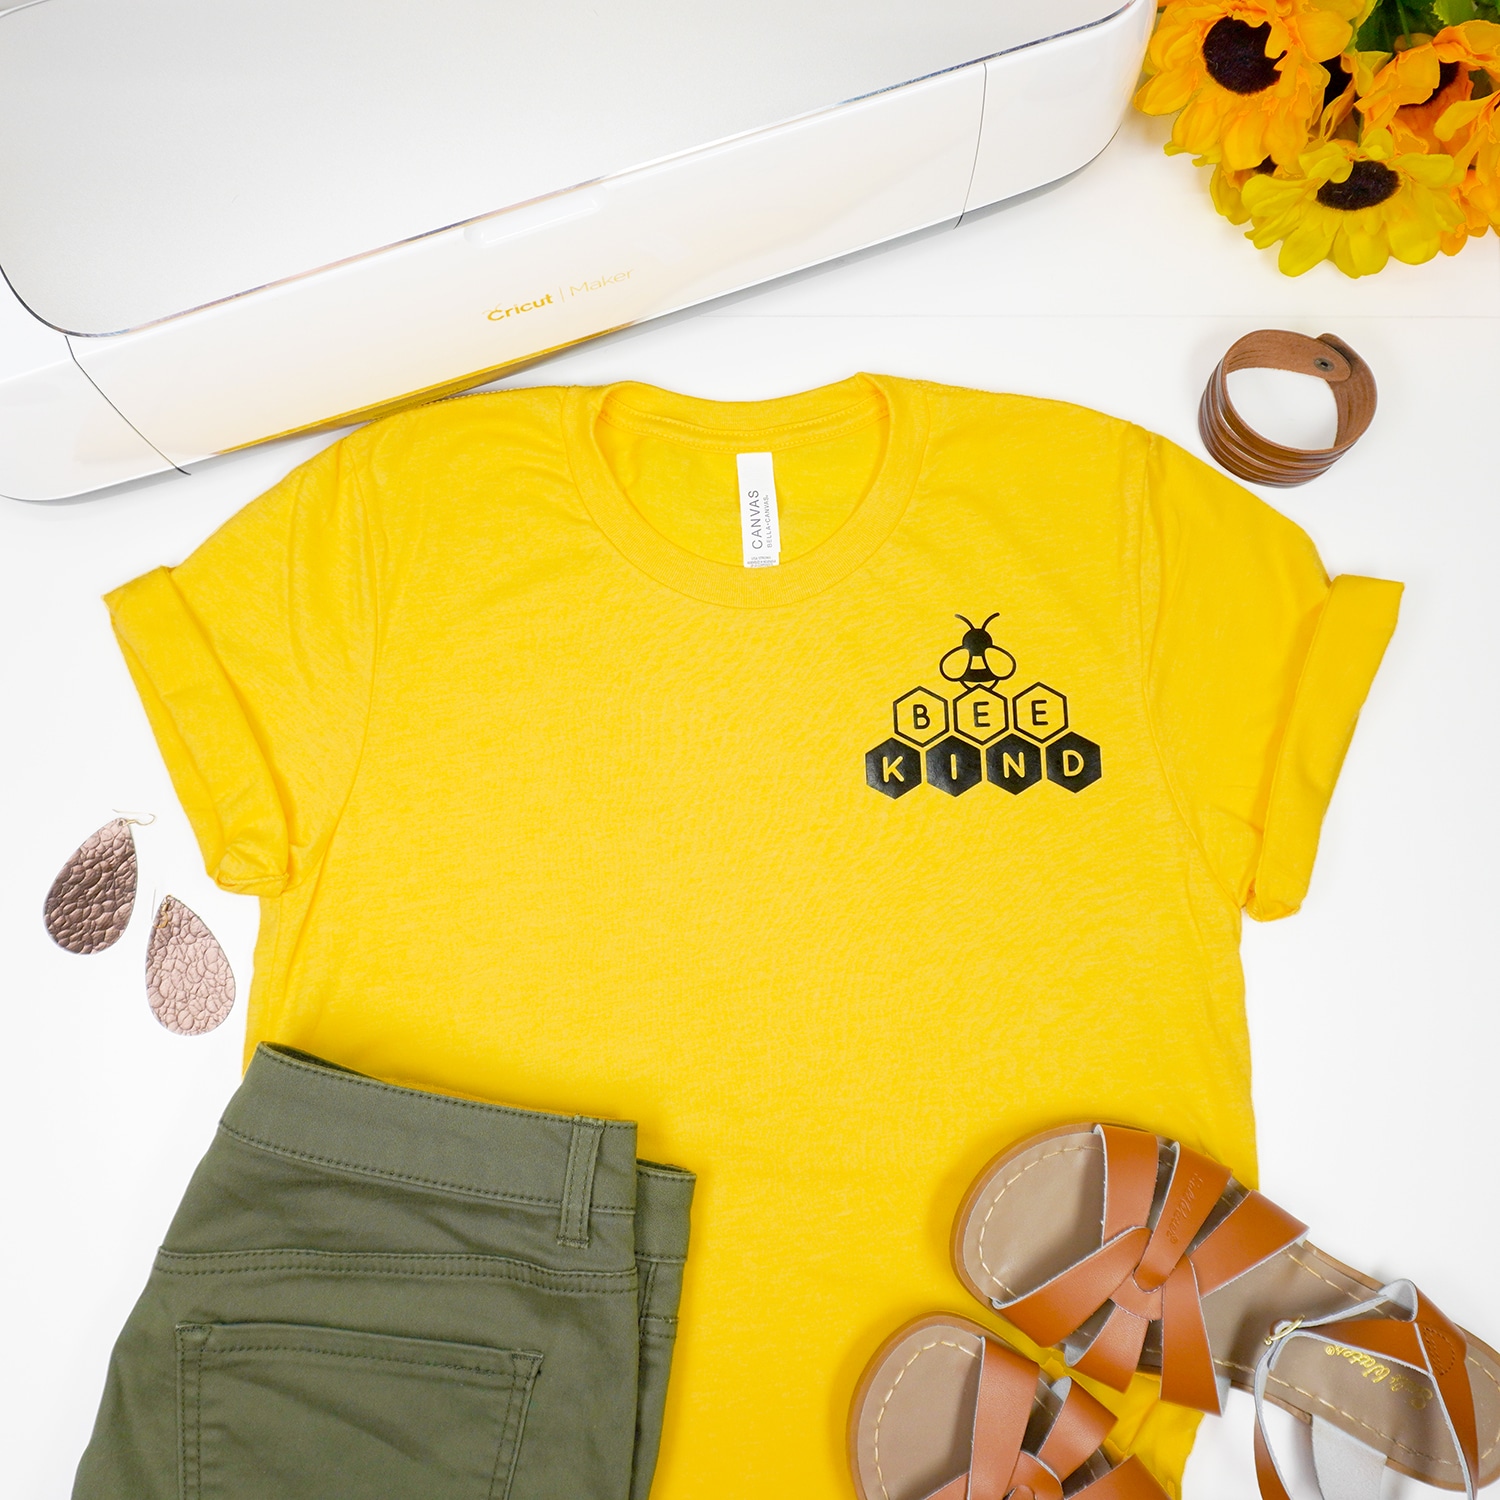
Give me ALL the cute shirts! 😍🐝 Are you a new Cricut Maker or Explore Air 2 owner? Iron-on projects are one of the very best beginner projects because they’re SO quick and easy! Let me show you how it’s done!
If you’re new to Iron-On vinyl (also known as Heat Transfer Vinyl), be sure to check out these other helpful iron-on posts as well:
- How to Use Iron-On on Wood and MDF
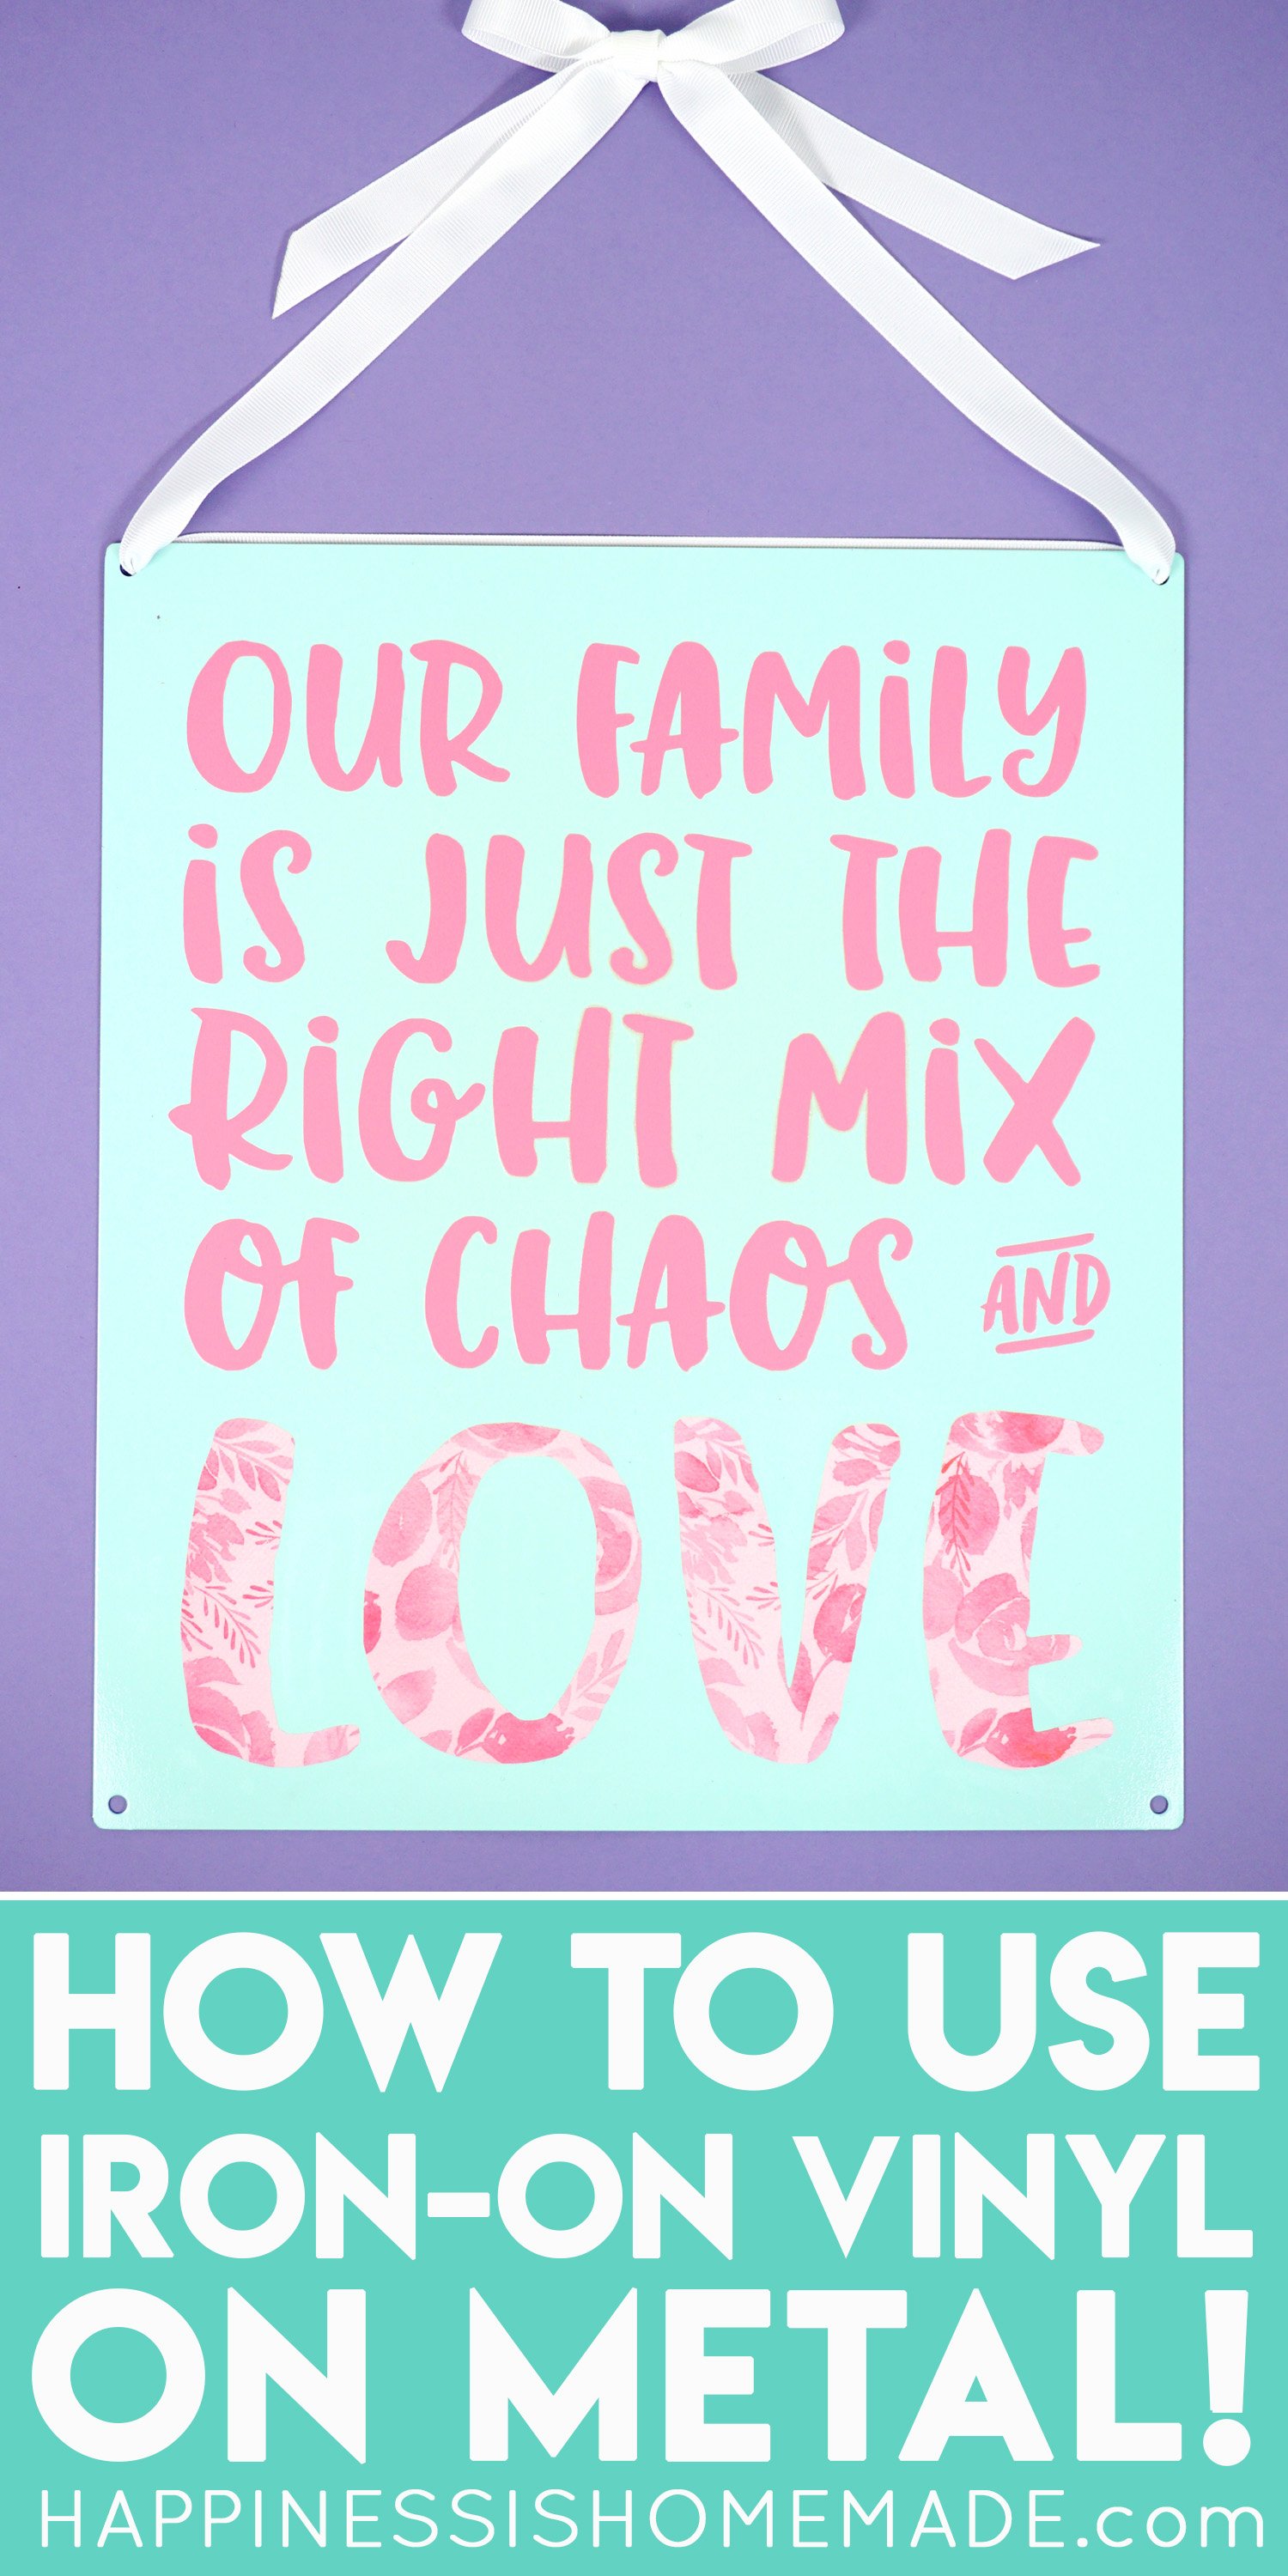
- How to Use Iron-On on Metal
- How to Use Iron-On on Cork
- How to Use Iron-On on Tile
- How to Upload an SVG File to Cricut Design Space
- Cricut EasyPress 2: Everything You Need to Know!
- Visit our SVG Library for LOTS of SVG files for making shirts, hats, home decor, and more!
- You can find even MORE SVG Files in our shop!
CHECK OUT ALL OF OUR IRON-ON PROJECTS HERE!
How to Use Iron-On Vinyl on Shirts
Supplies Needed to Make an Iron-On Shirt:
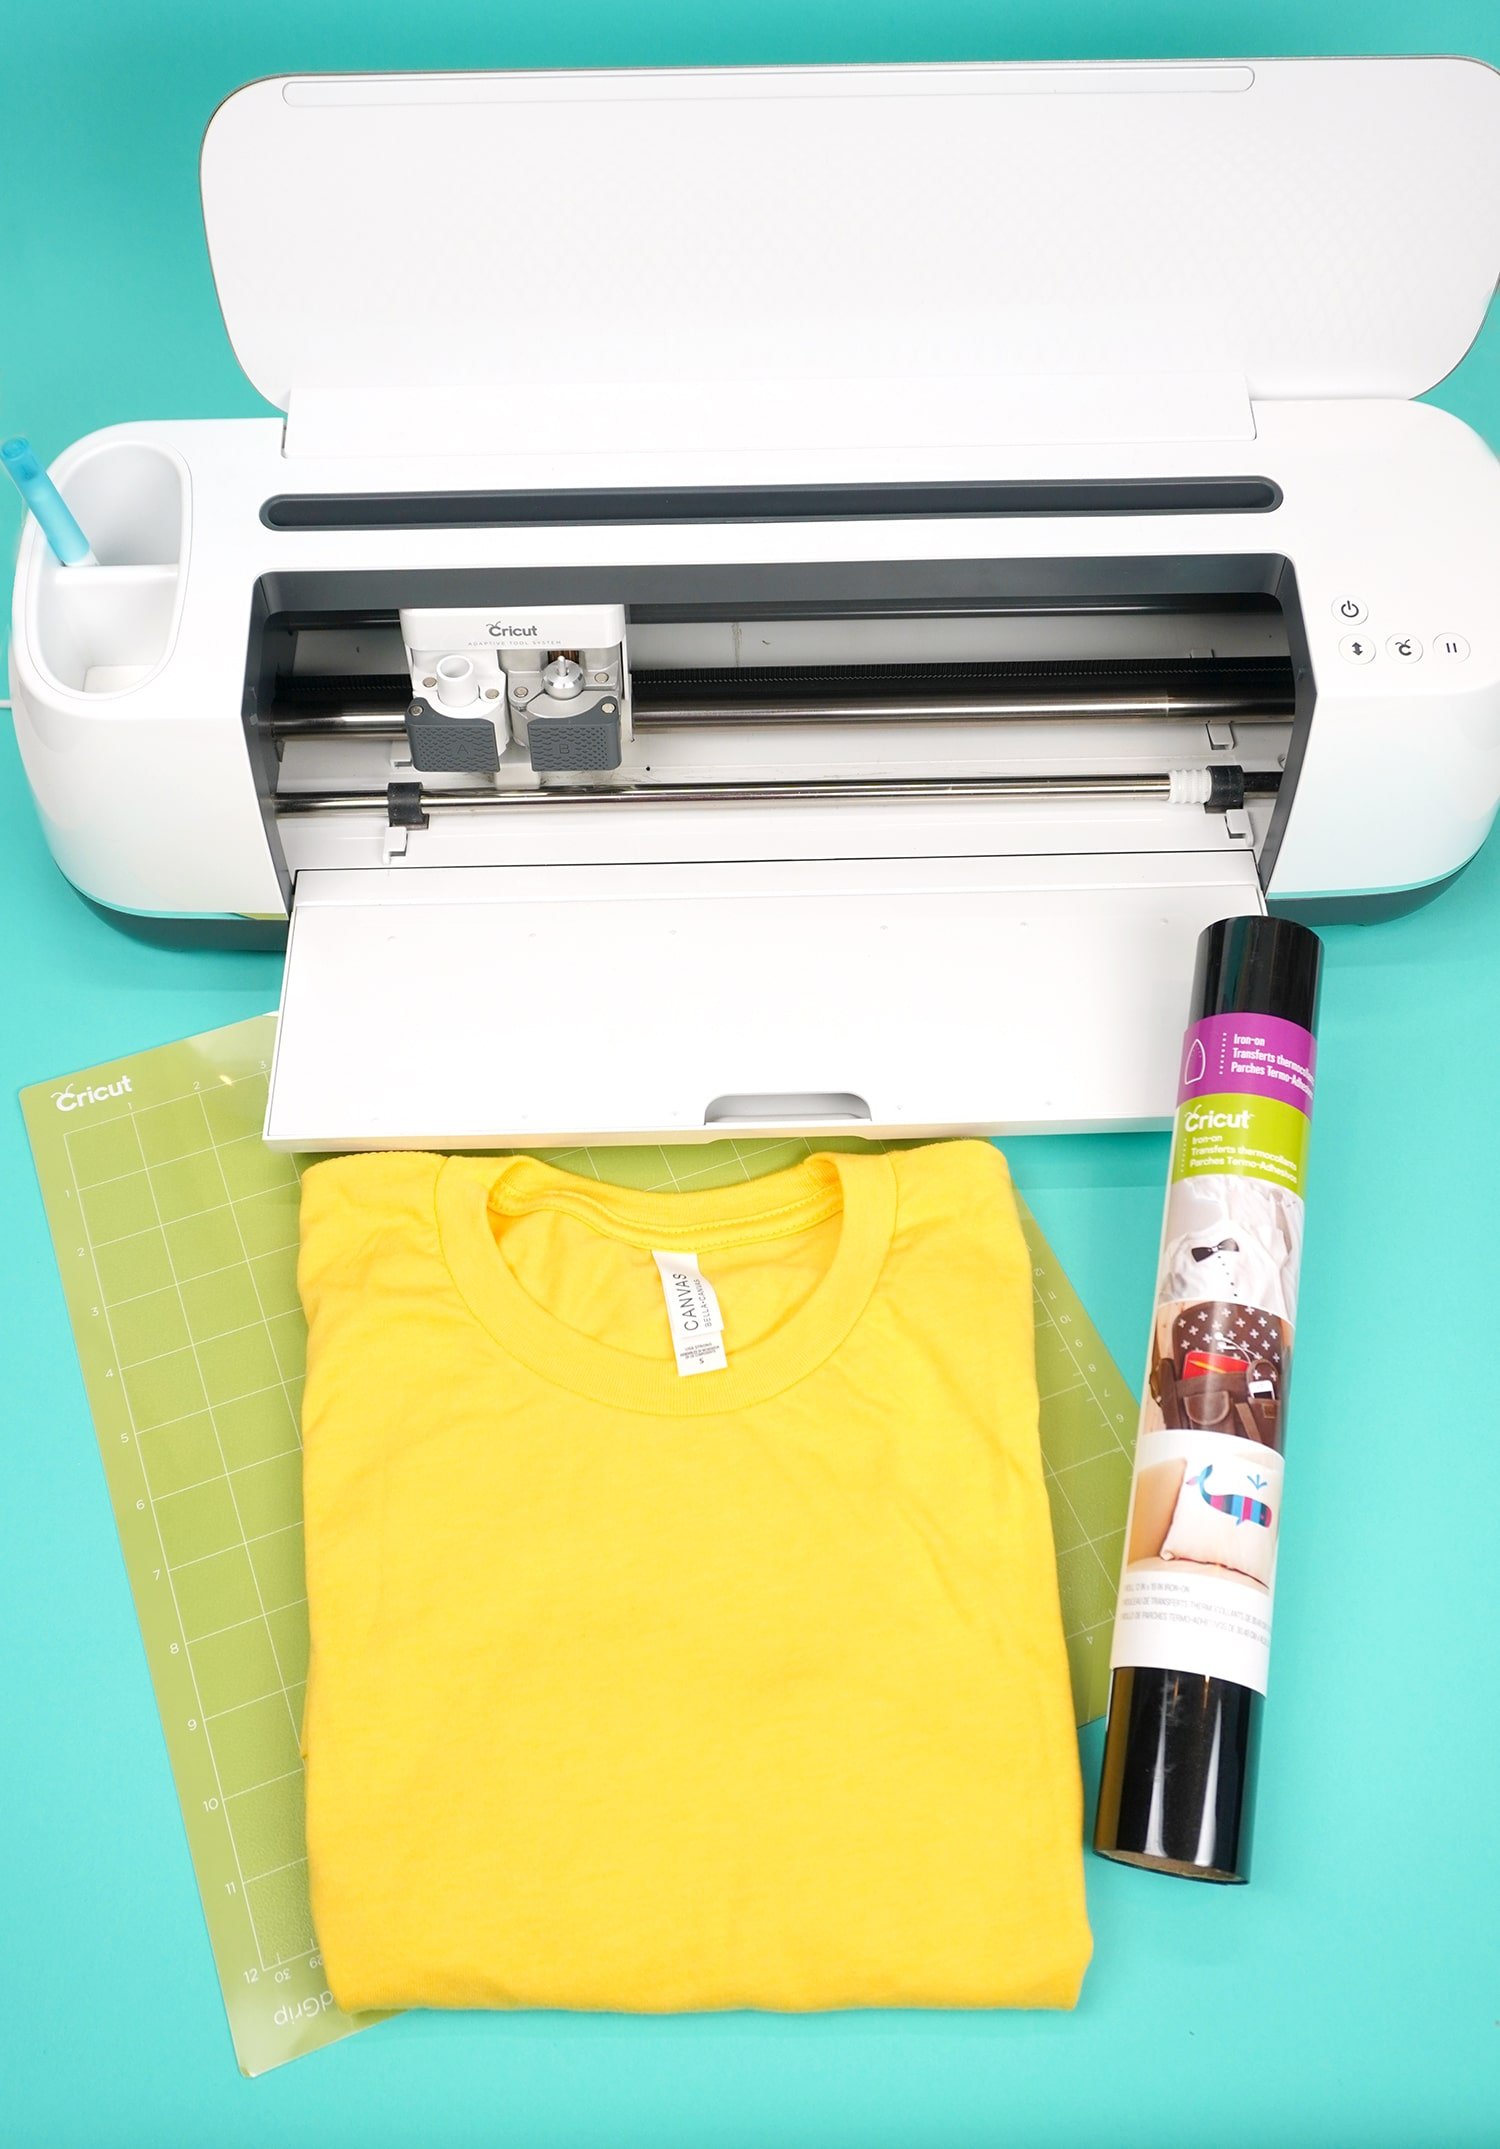
- Your Favorite Blank Shirt (Here are a few of our favorites!)
- Cricut Maker or Explore Air 2 Cutting Machine (or other electronic cutting machine that uses SVG files)
- Iron-On (Heat Transfer Vinyl) in assorted colors (Amazon | Cricut | Expressions Vinyl)
- Standard Grip Cutting Mat
- Weeding Tools (Amazon | Cricut)
- EasyPress 2 and Mat (Amazon | Cricut) (Note: you can also use an iron or a heat press, however, we HIGHLY recommend the EasyPress!)
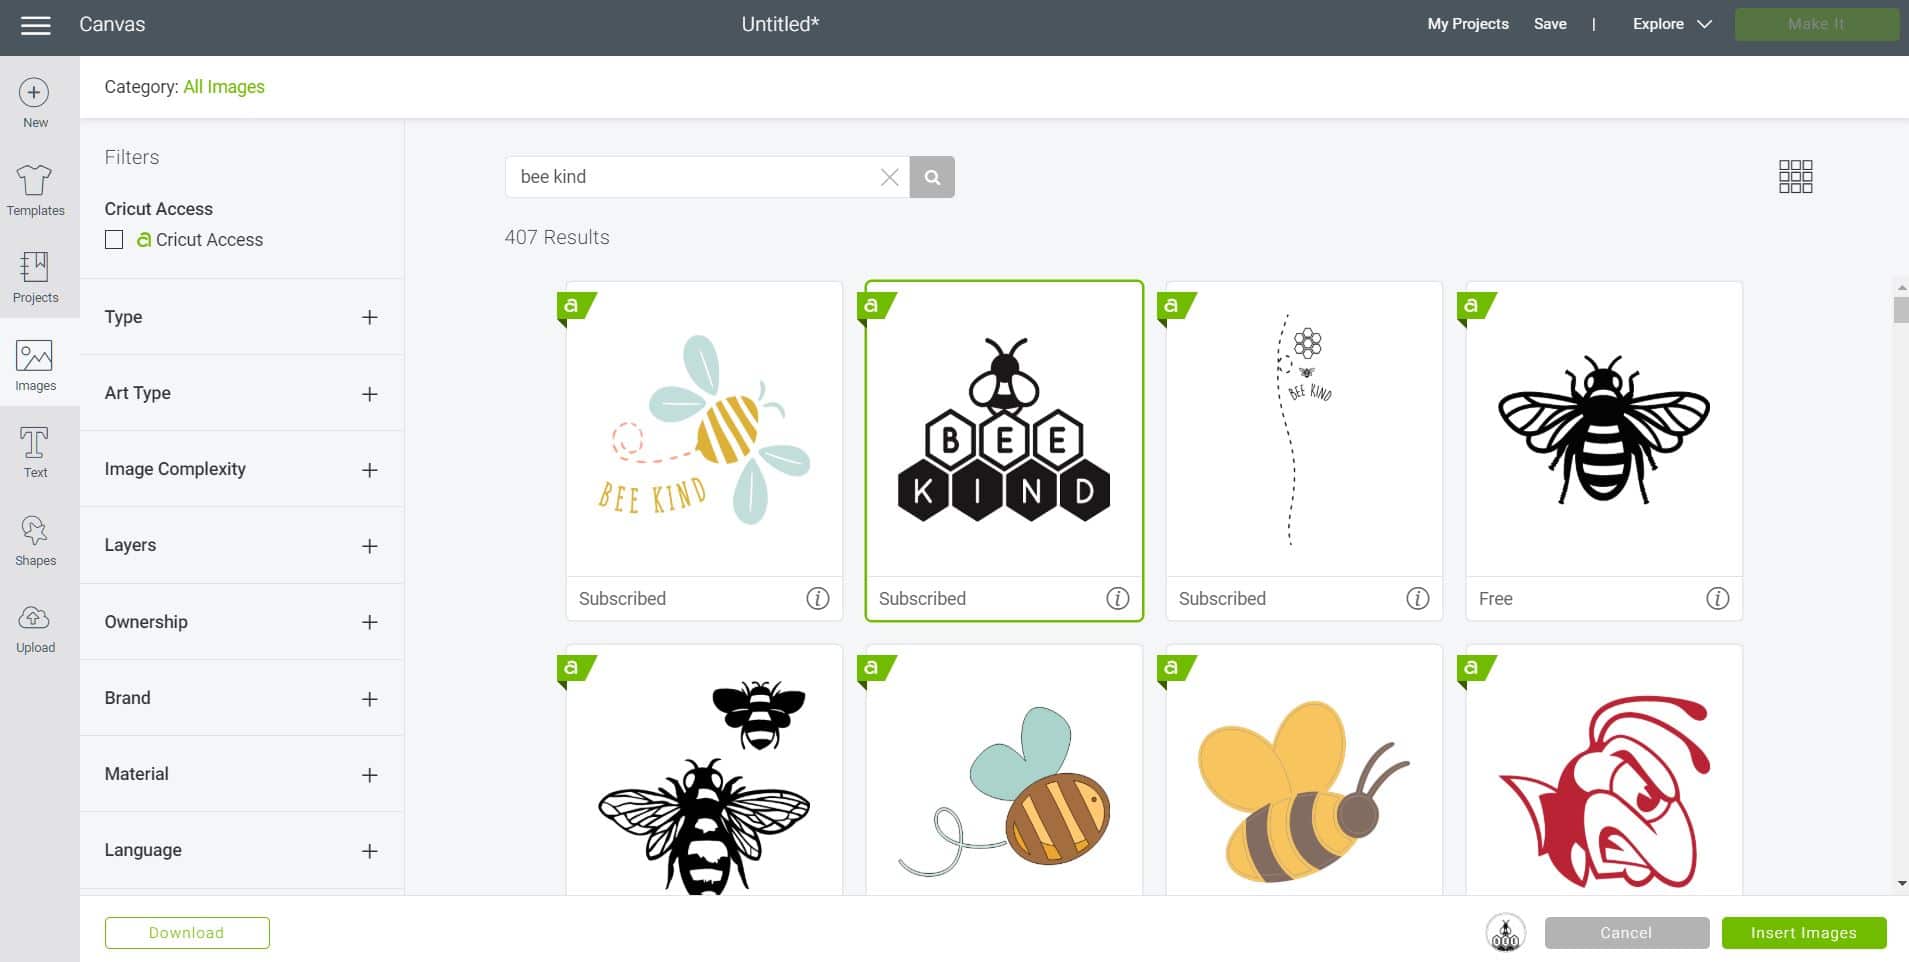
To begin making your iron-on HTV shirt, open up a new canvas in Cricut Design Space. Use the “Image” option to open up the Cricut image library or use the “Upload” option to upload a SVG design of your choosing. If you need help with uploading an SVG, click here to learn How to Upload an SVG File in Cricut Design Space!
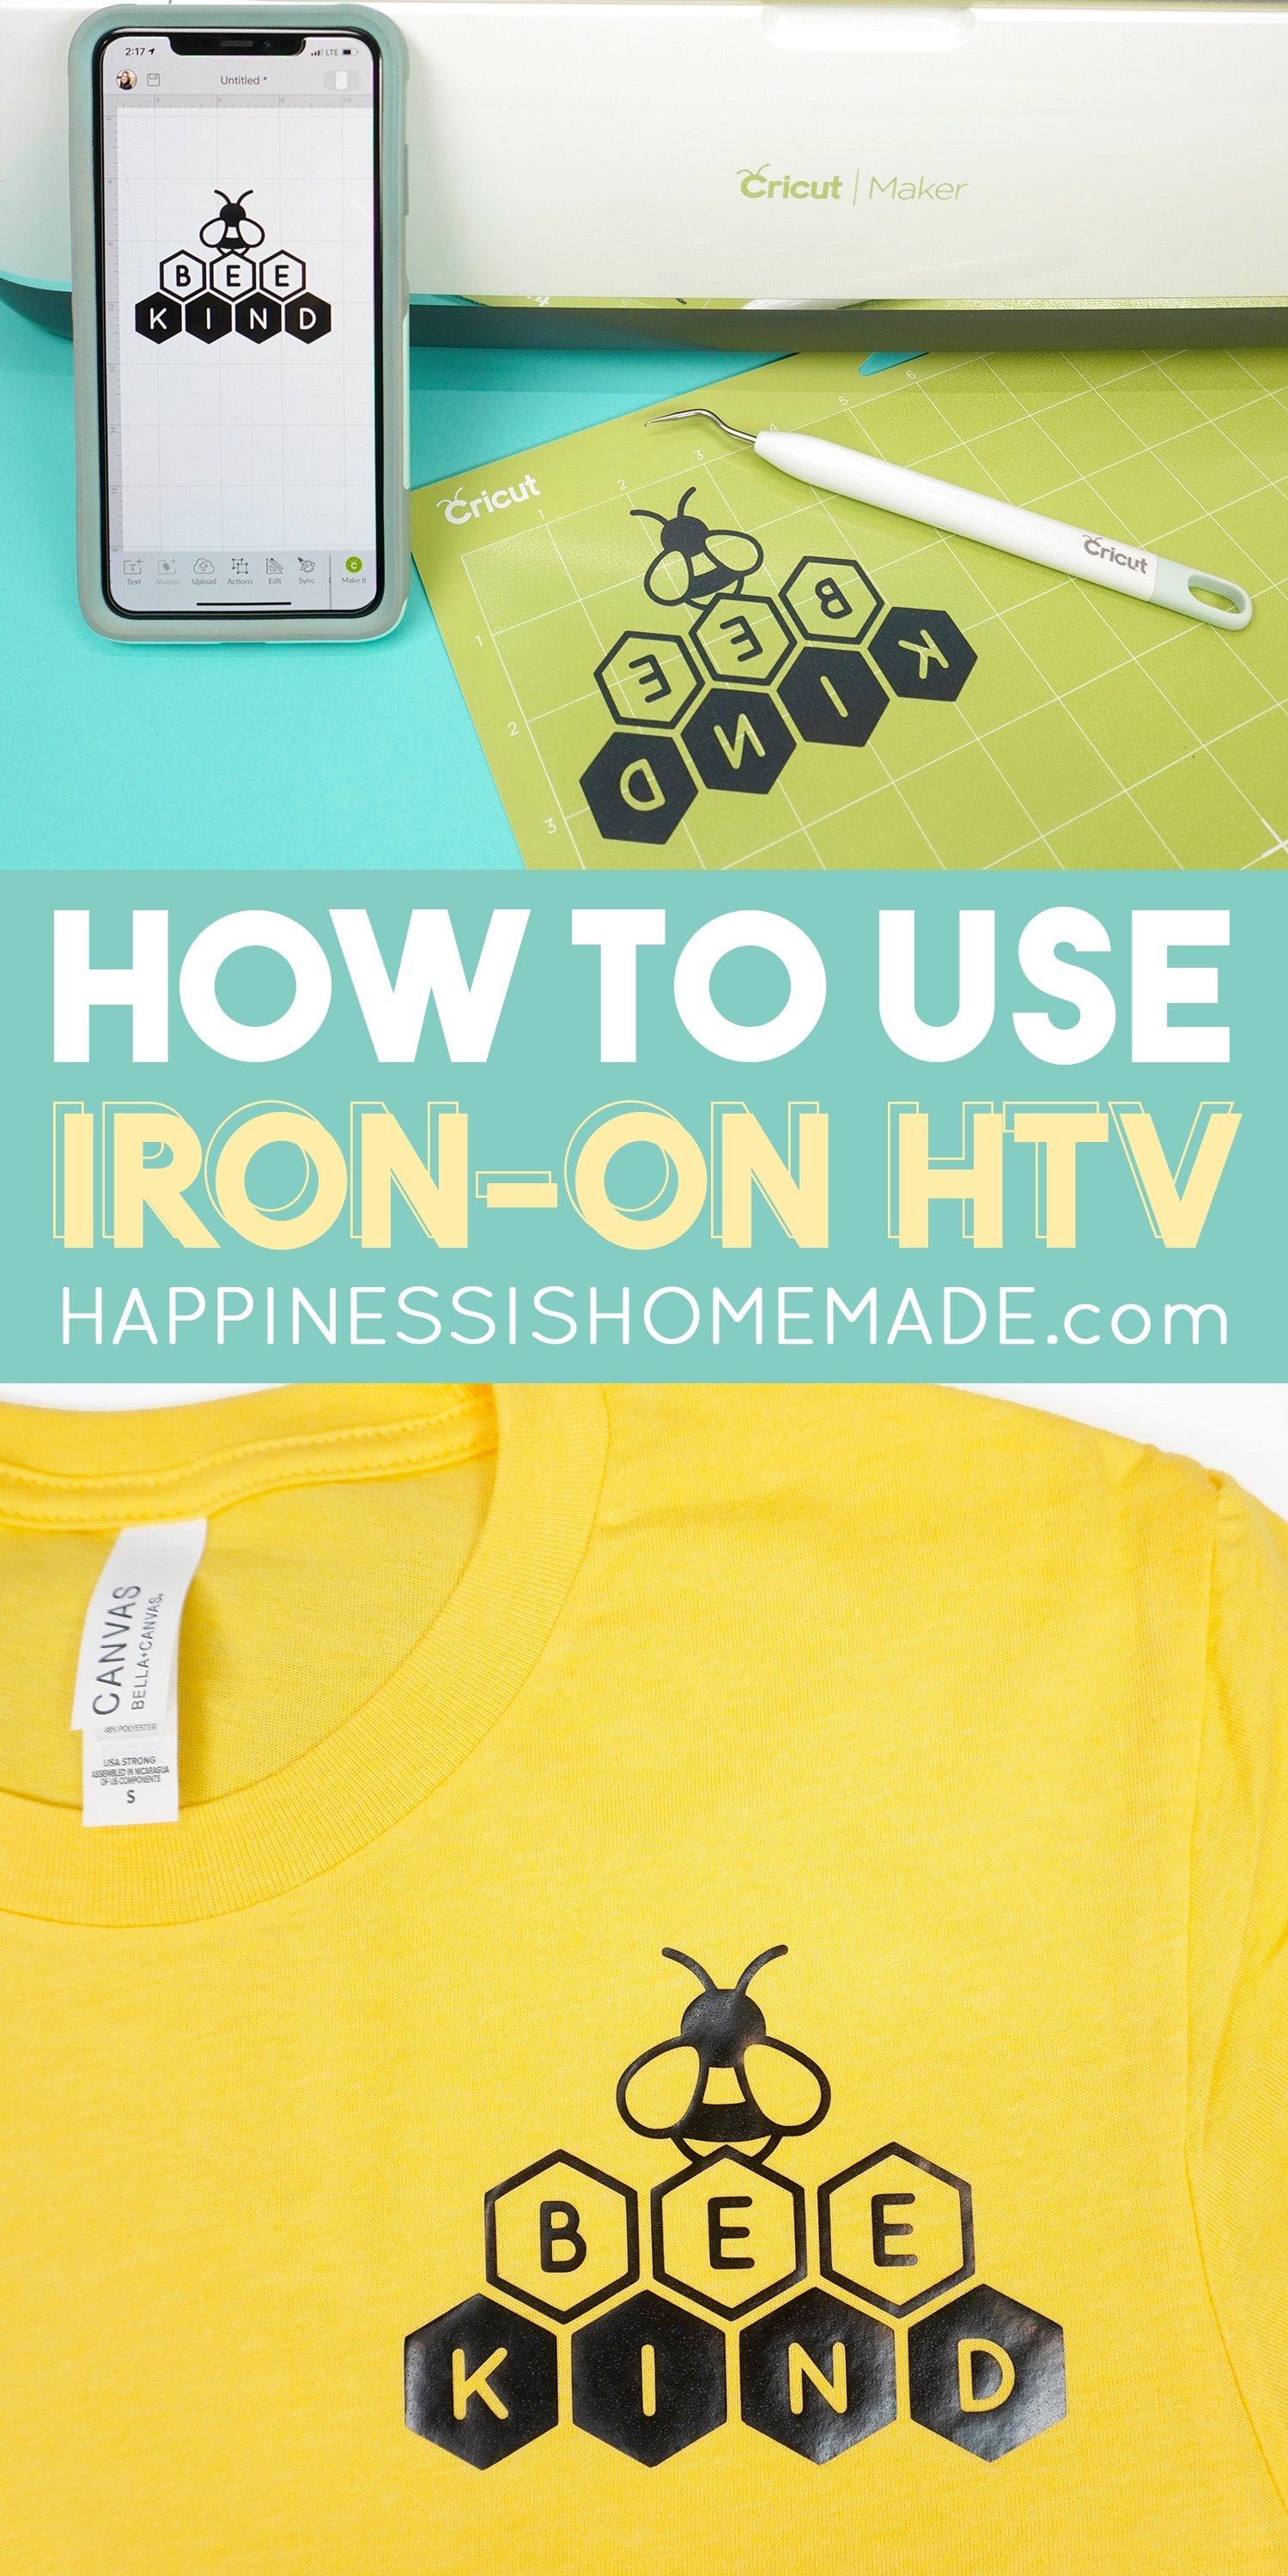
To use this same Bee Kind design that we used for our shirt, simply search the Cricut image library for “bee kind” and select and insert the appropriate image.
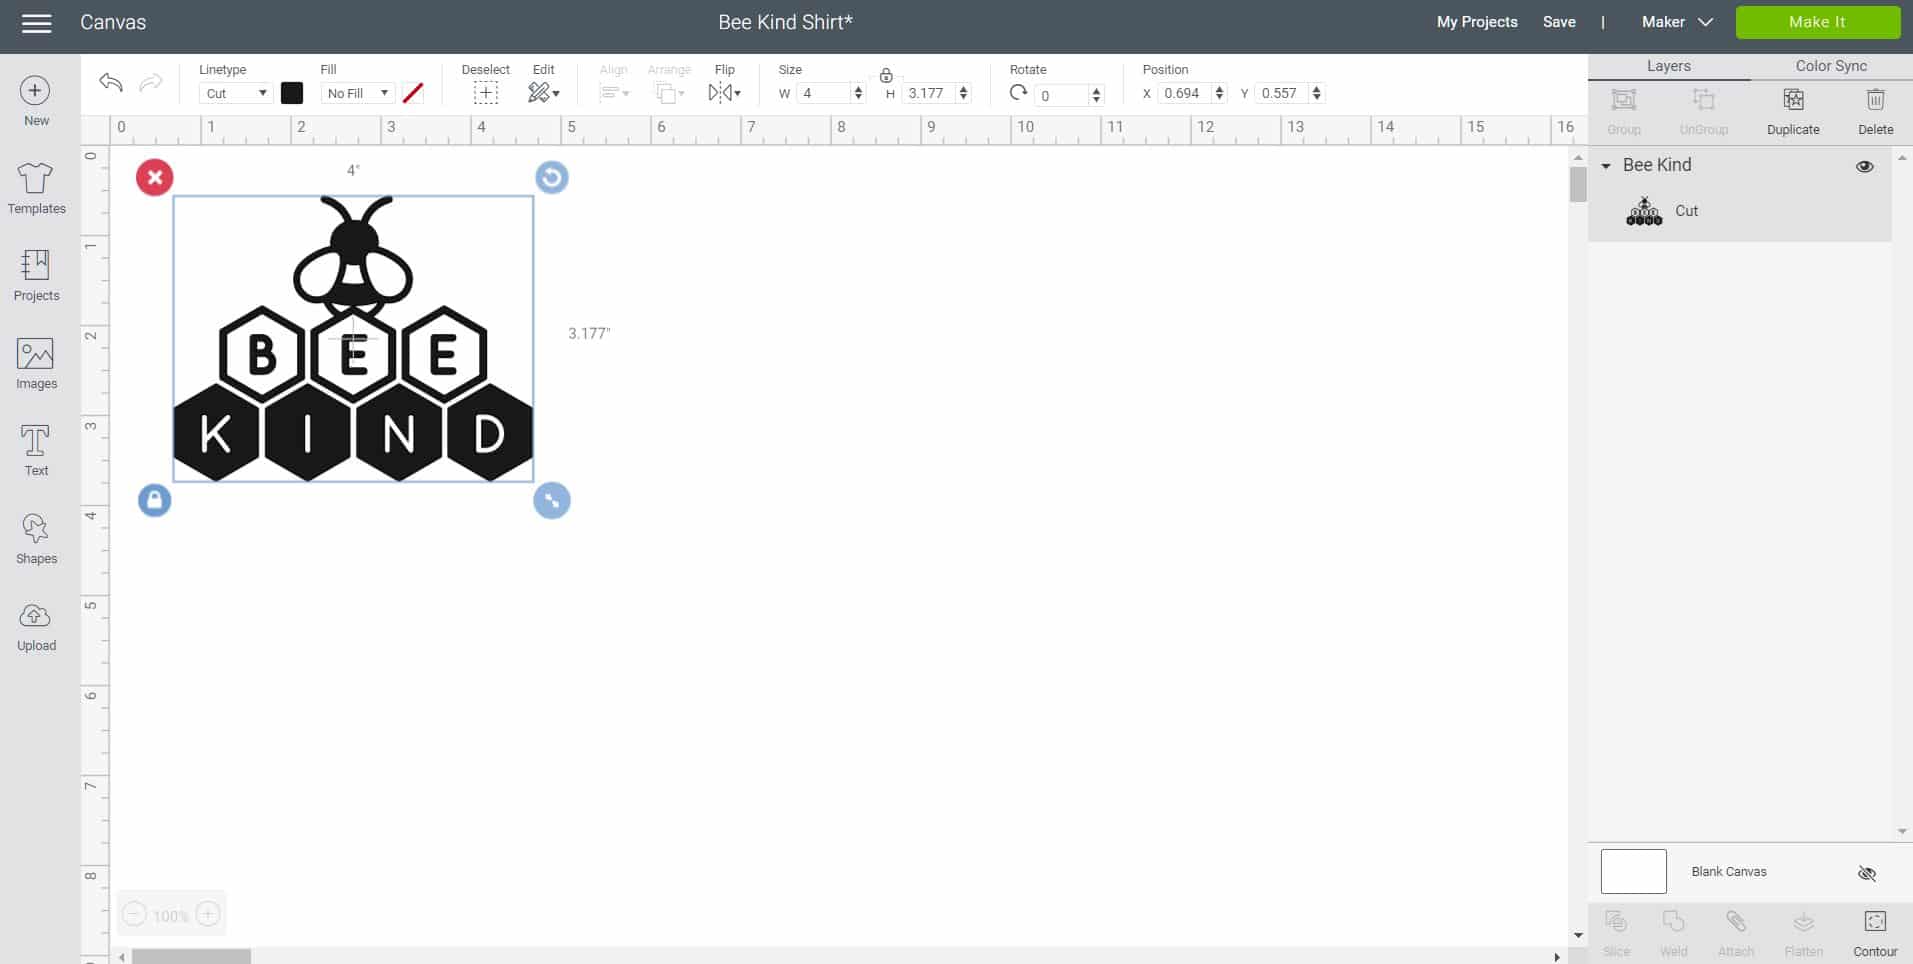
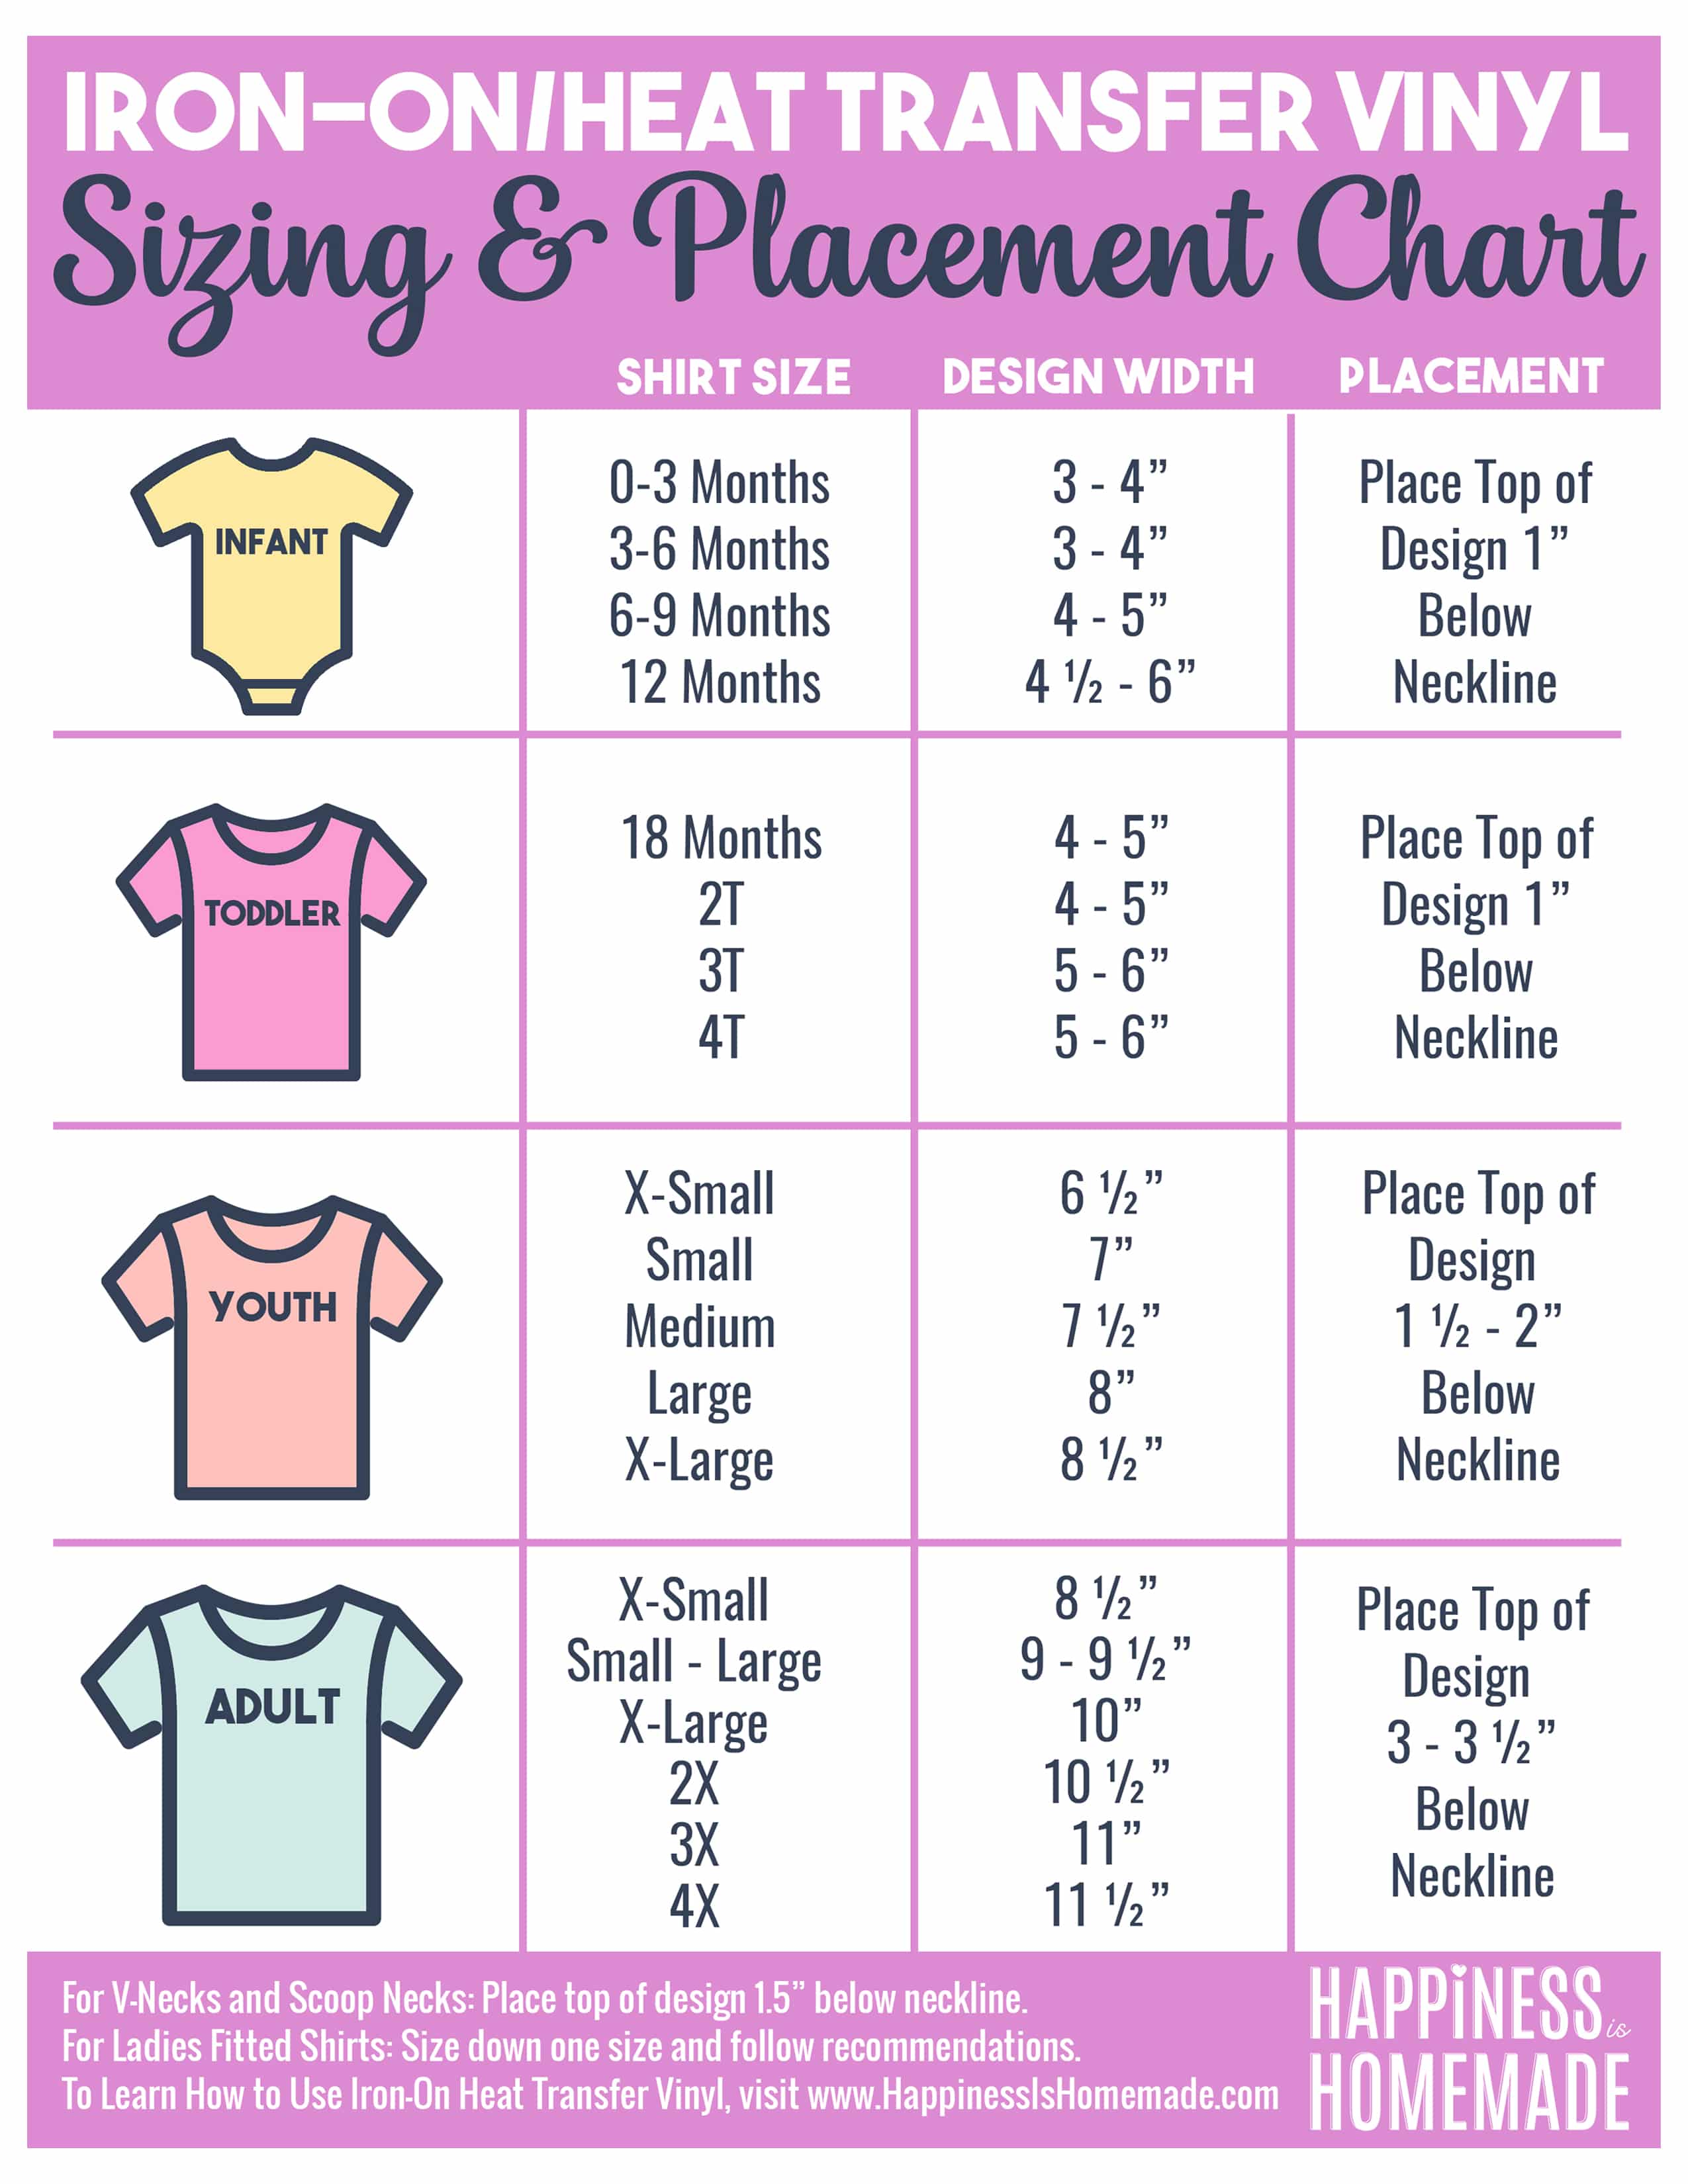
Insert the image into the new canvas and size it to fit your garment. Sizing will depend largely on your own personal preference, however, we have included a standard guideline below to help you get started!
CLICK HERE to DOWNLOAD & PRINT the GUIDE!
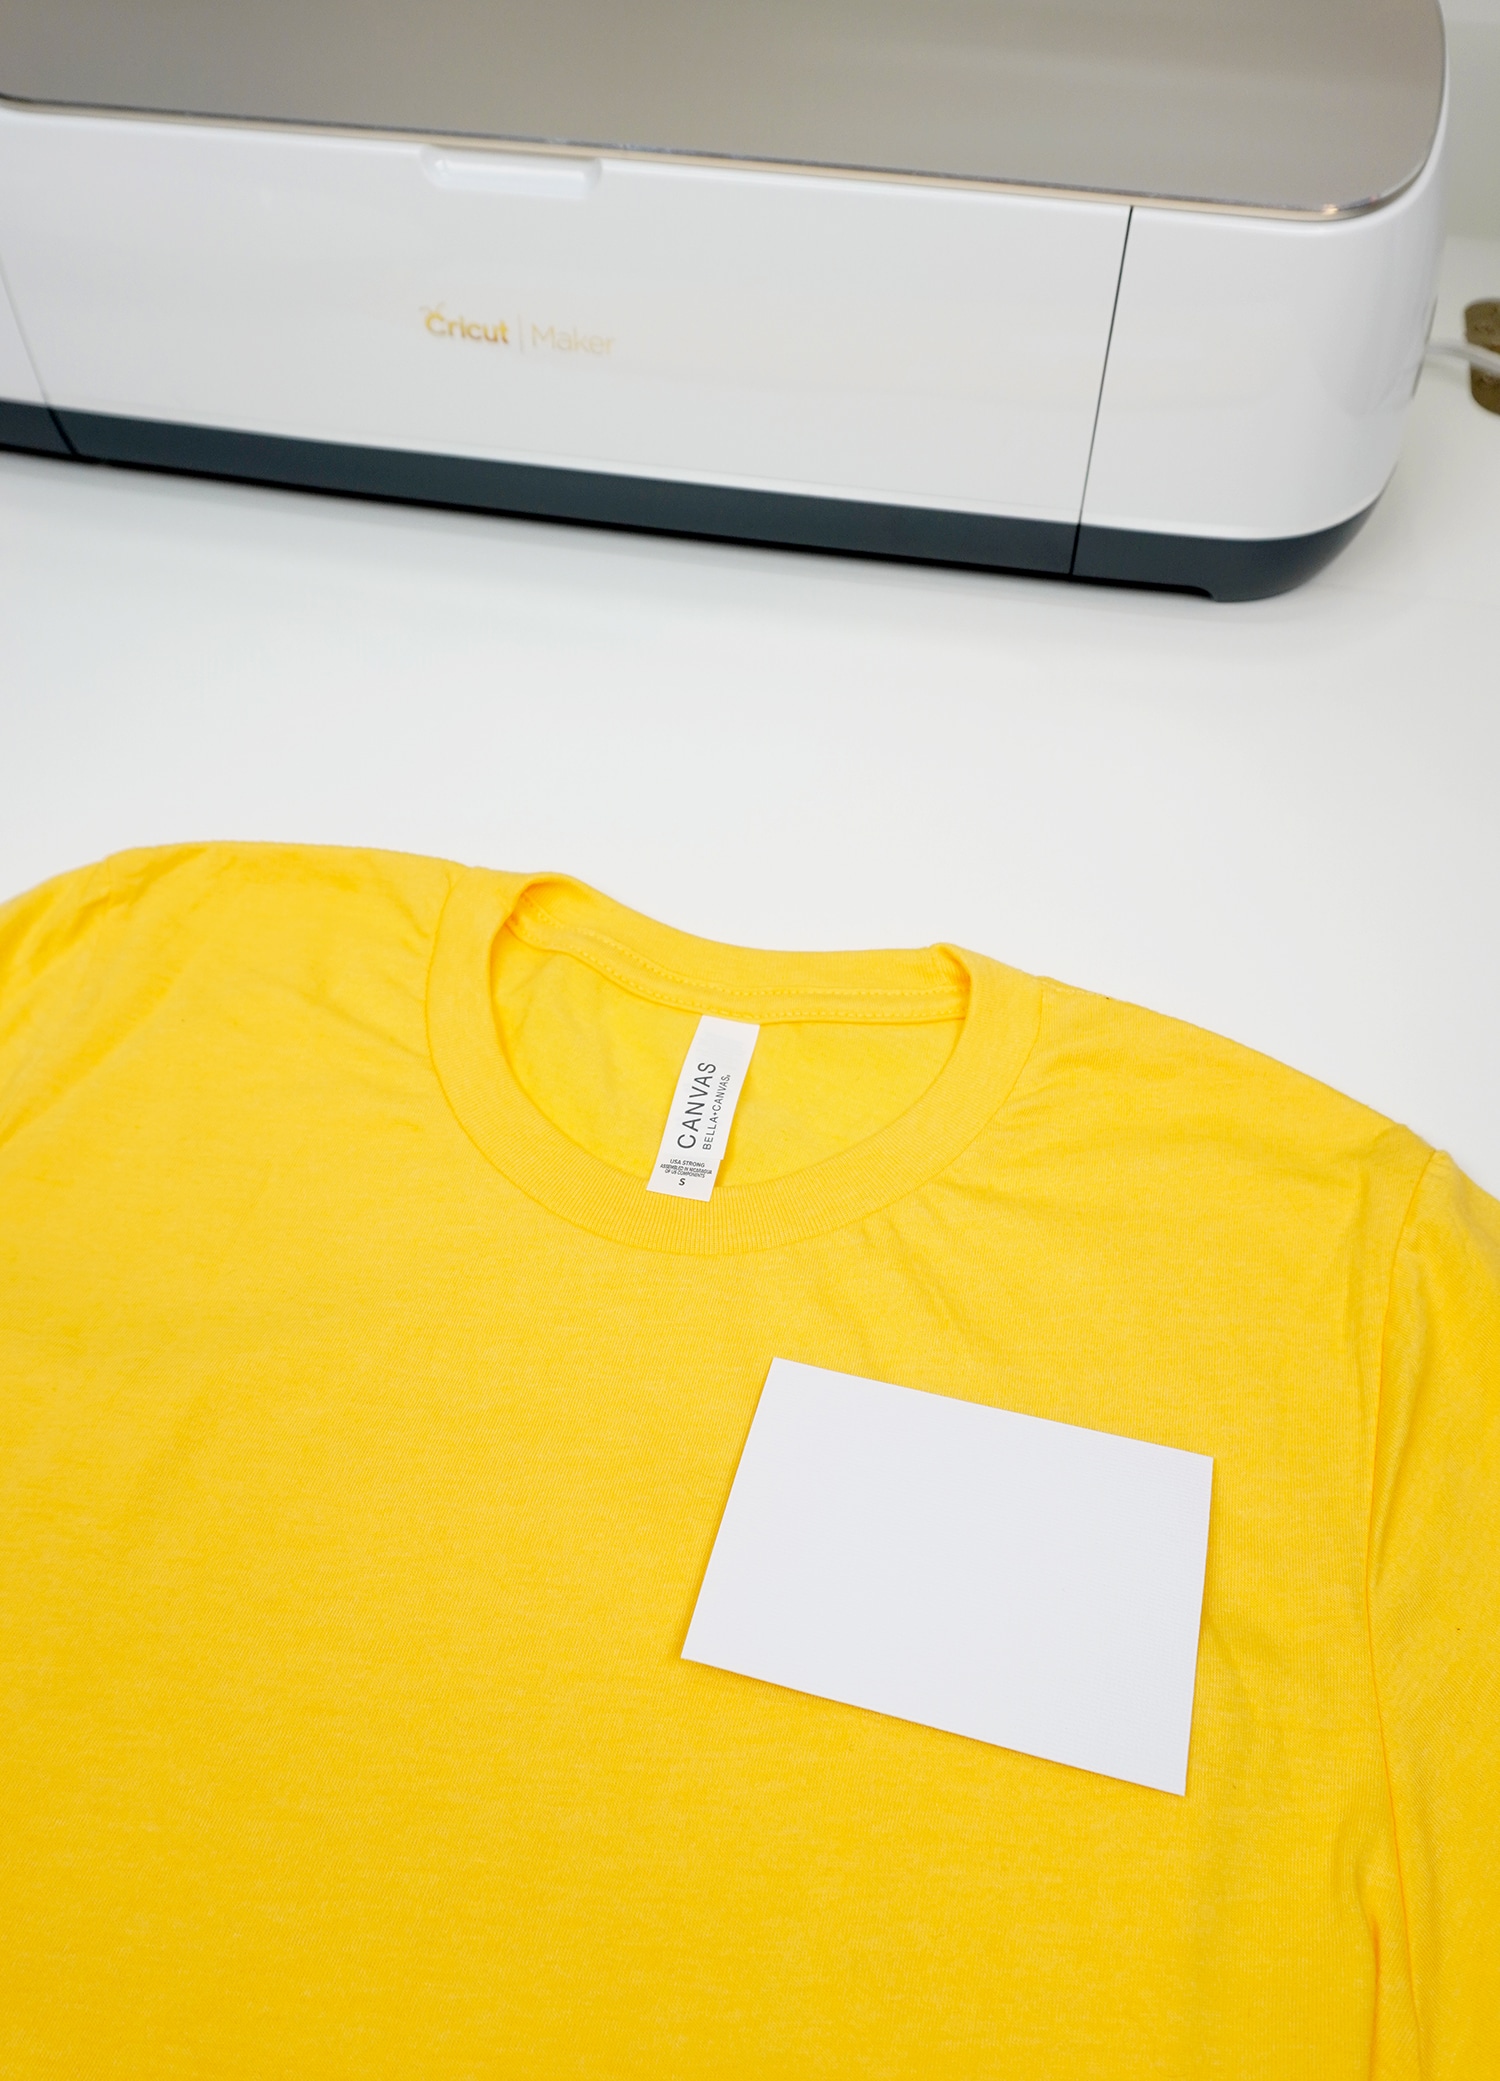
For this Bee Kind shirt, we opted to do a “pocket” graphic on the upper chest instead of a full-sized design. To test the sizing, we cut a piece of scrap paper to size to make sure that it was appropriately sized for our garment. We used a 4″ wide graphic for a unisex size small shirt.
Note: Small pocket-sized designs are a fantastic way to use up old scraps and small pieces of iron-on/heat transfer vinyl!
Once your design is sized, click the green “Make It” button in the upper right corner of the screen.
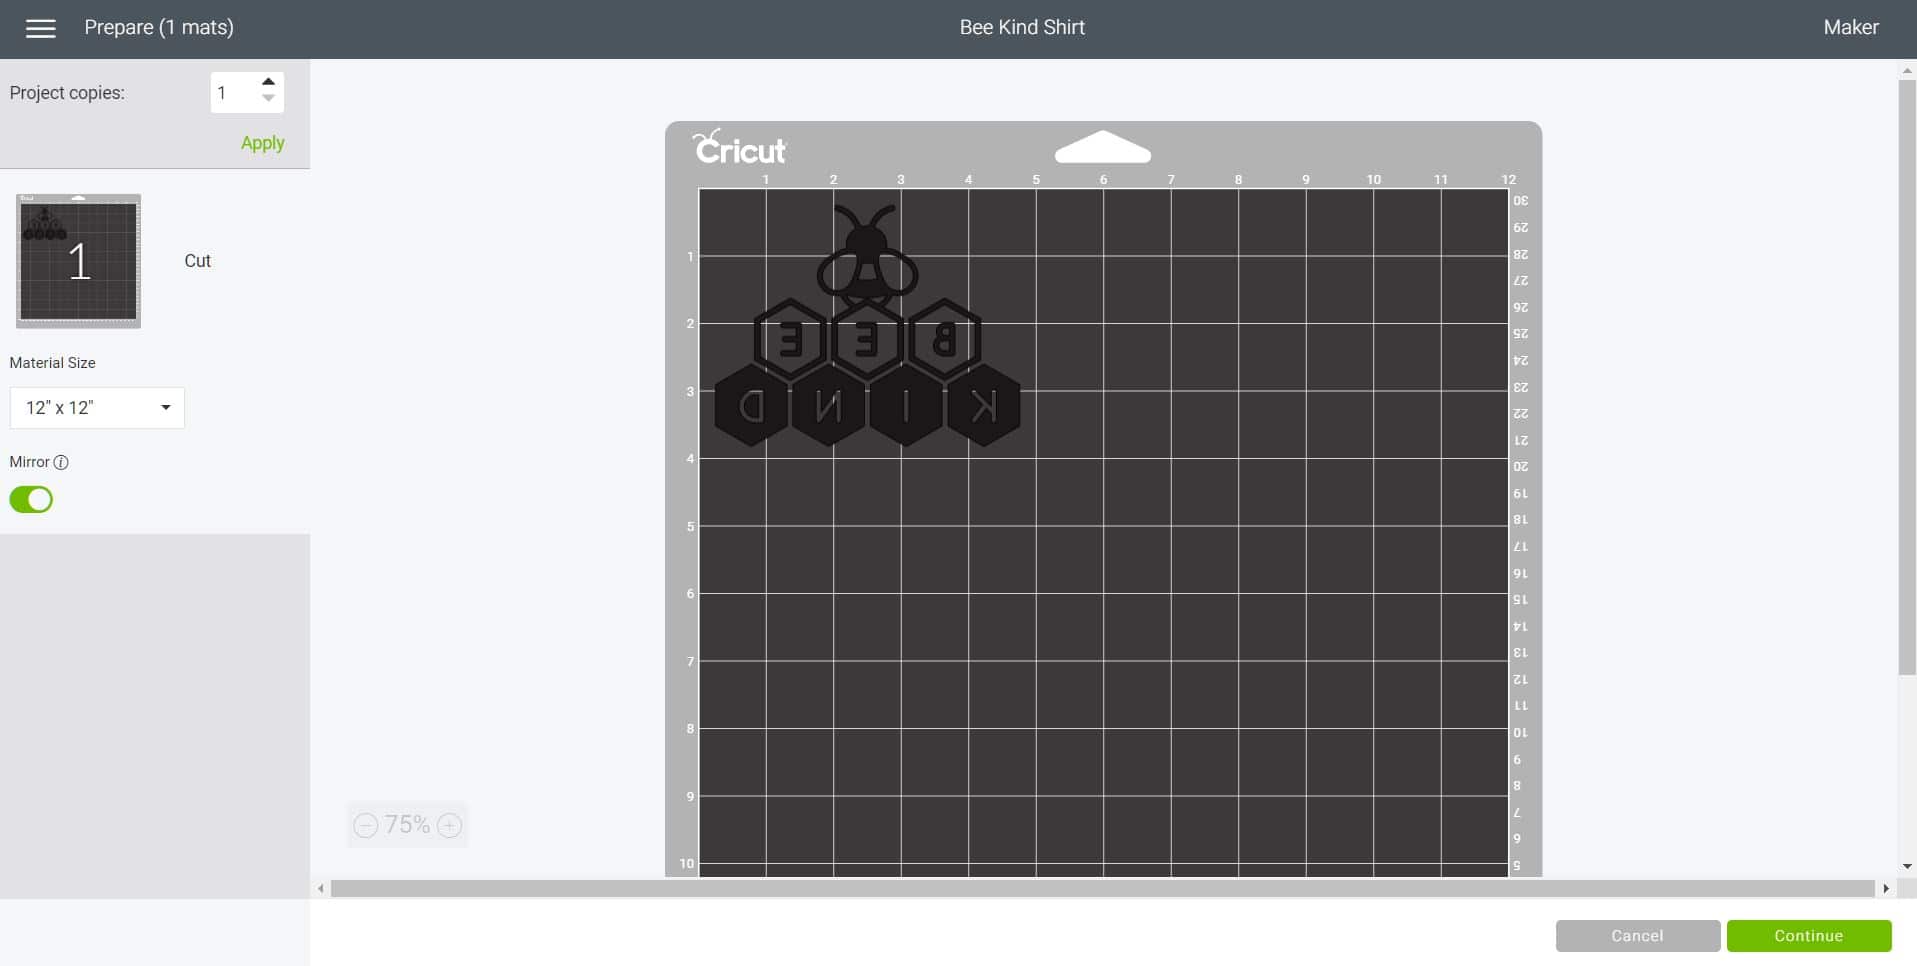
Note: When working with iron-on vinyl, always mirror each mat before cutting!
Iron-on HTV is cut with the adhesive-but-not-sticky side up, so you will need to reverse your image in order for it to appear correctly when we flip it over on to the shirt. Mirror your design by sliding on the green toggle switch, and then click “Continue” in the bottom of the screen.
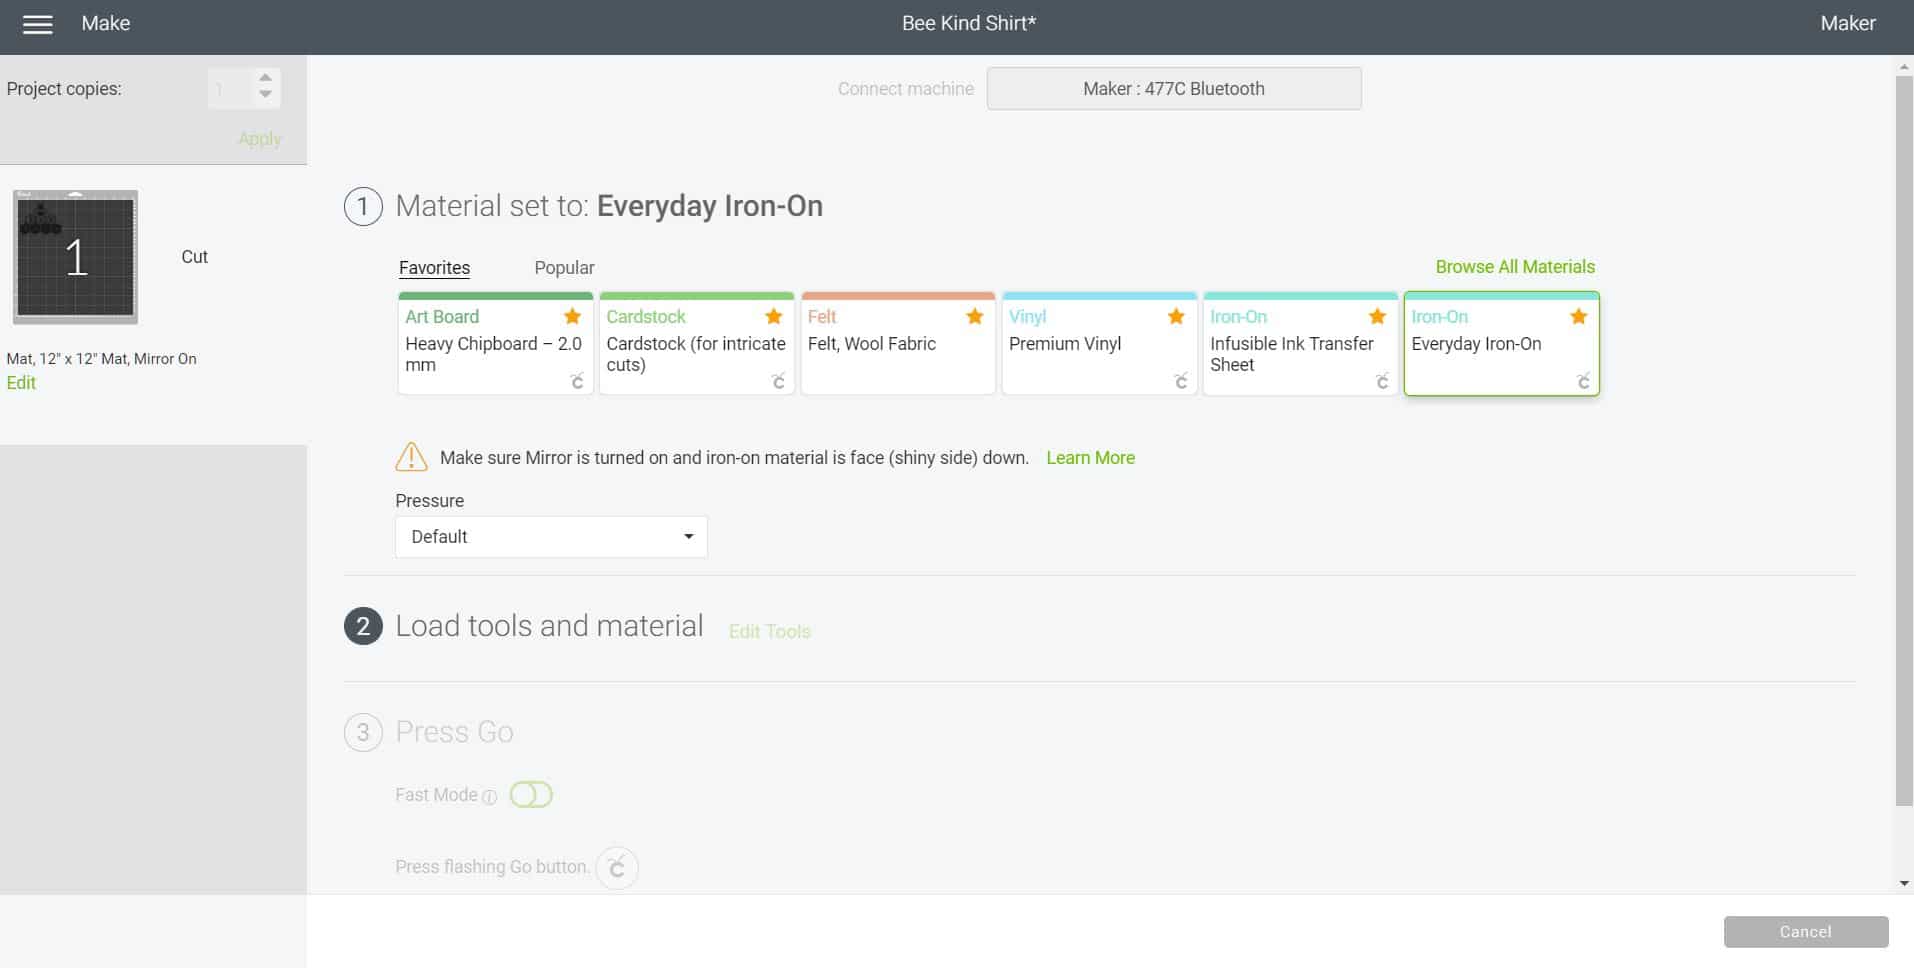
Select the appropriate material from the list – in this case, we used Cricut Everyday Iron-On. Note: if your material doesn’t show up on the list, click “Browse All Materials” for lots more choices!
Iron-On vinyl has two noticeably different sides – a shiny plastic coated side and a matte side.
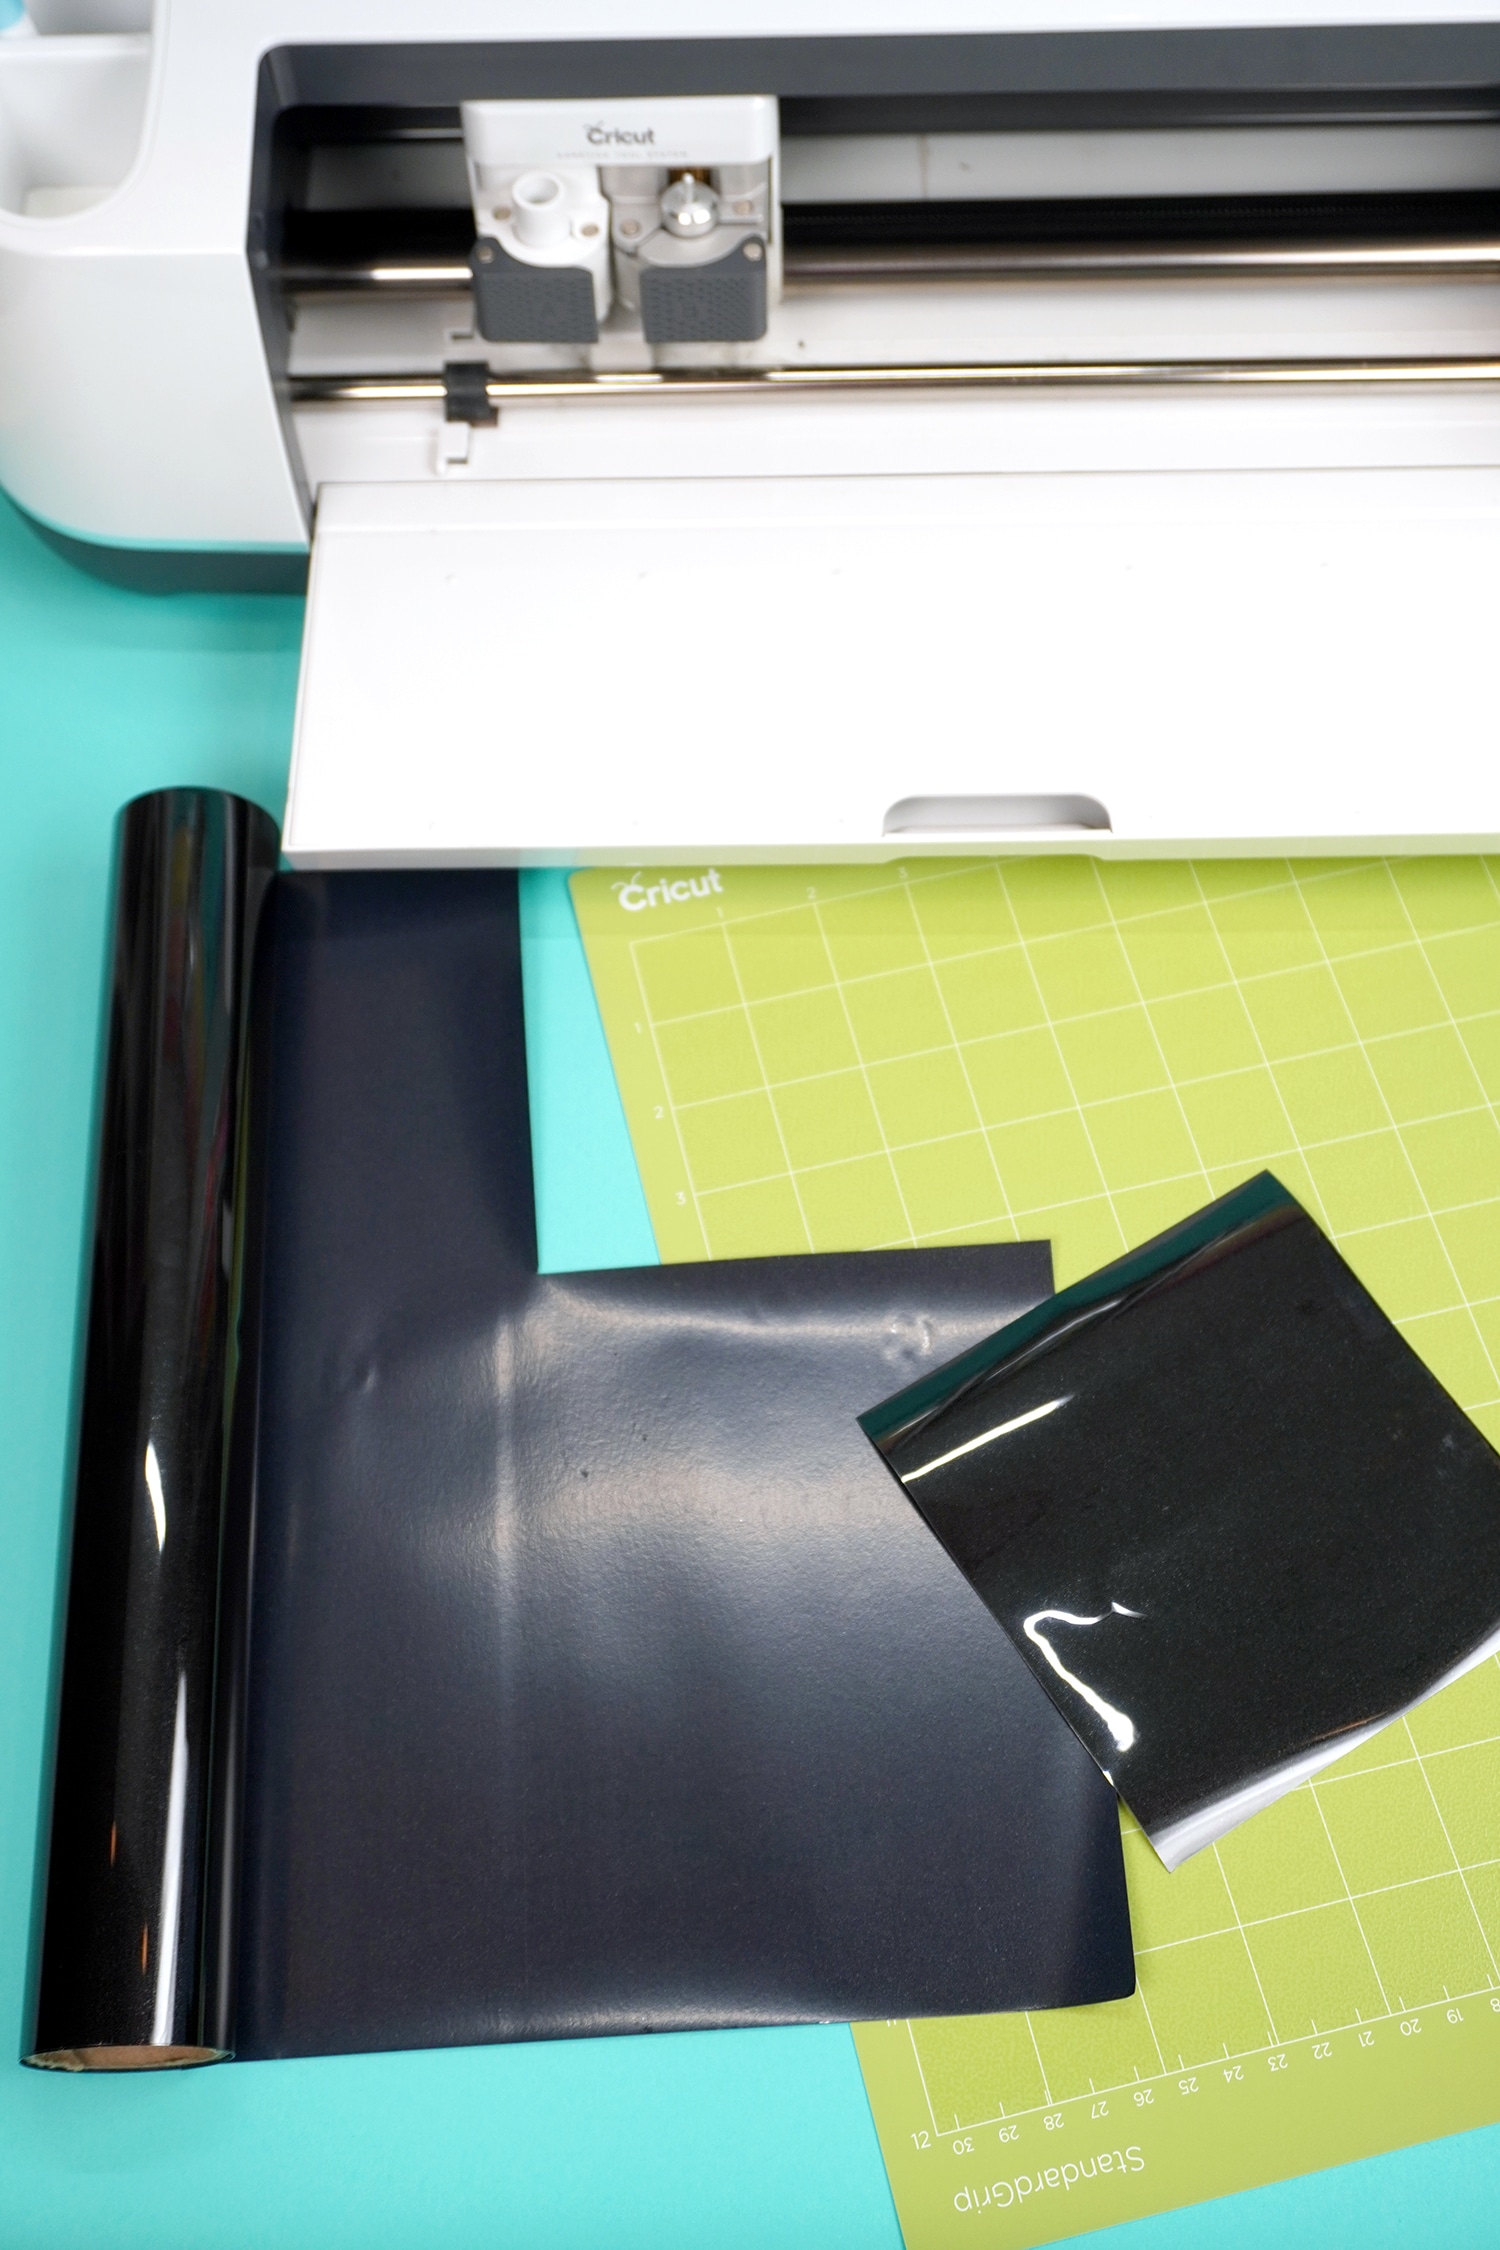
The matte side is the heat-sensitive adhesive side of the iron-on, however, it does not become sticky until we apply the heat from the iron or EasyPress. The plastic side is the carrier sheet that will hold all of the pieces of iron-on in place while we transfer it to the shirt (or other base material).
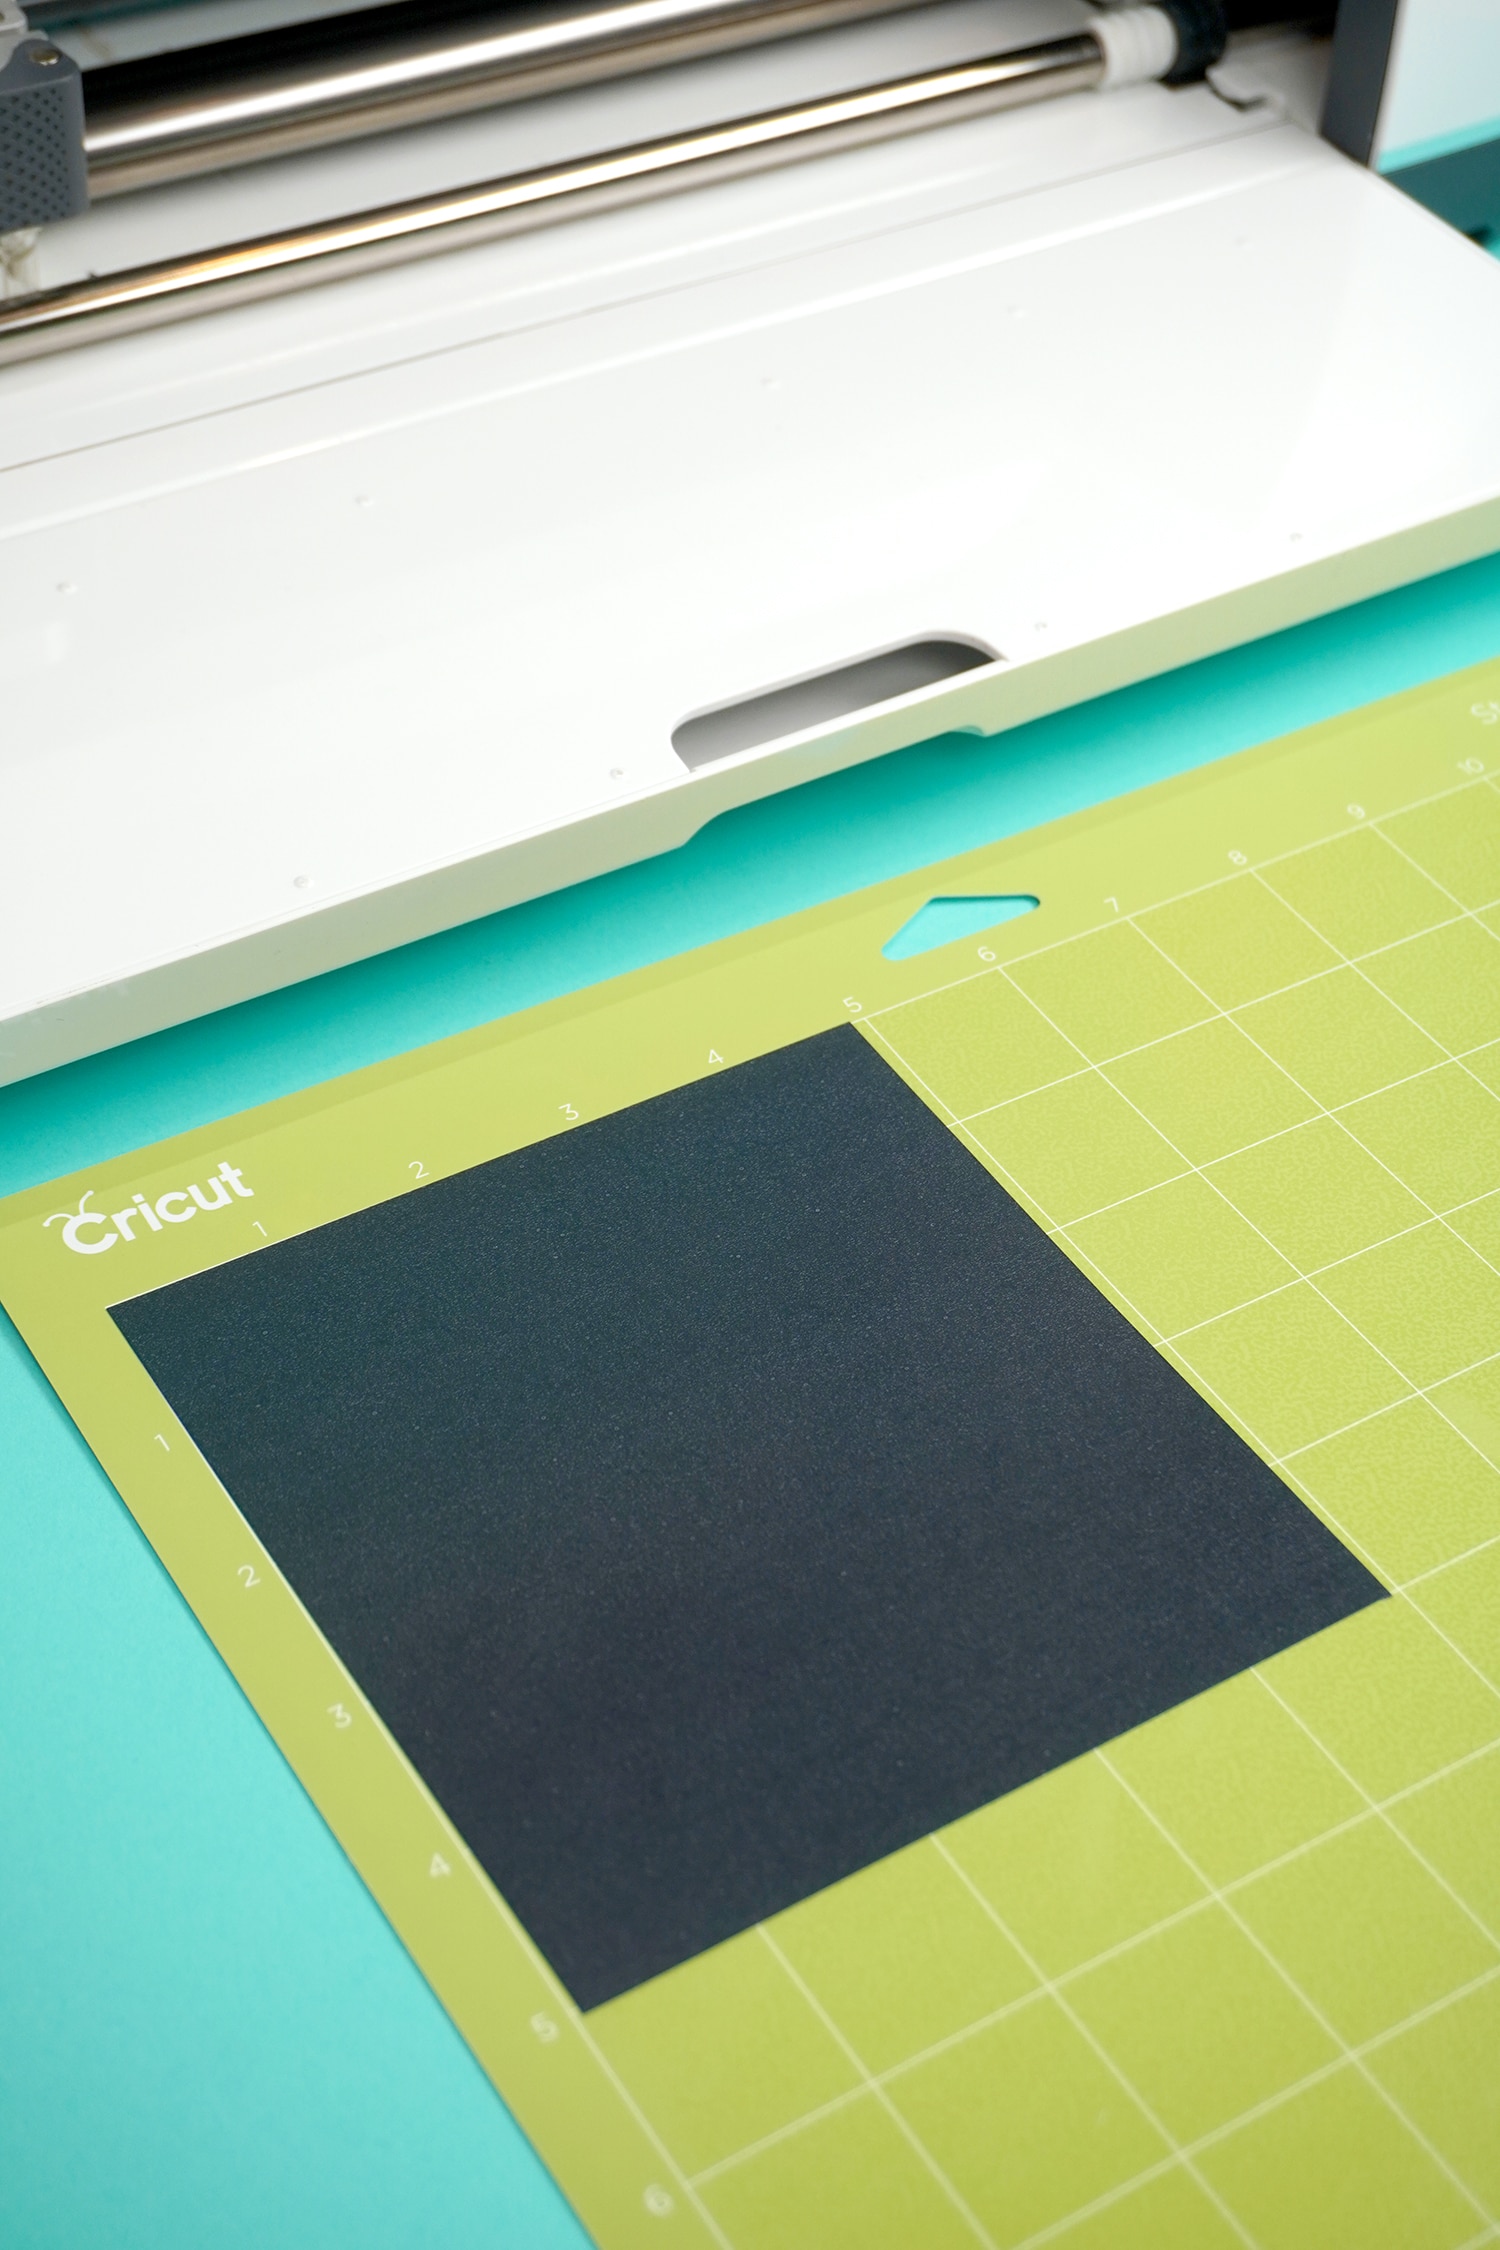
Trim a sheet of Everyday Iron-On to size, and place it on the mat with the shiny plastic-coated side down.
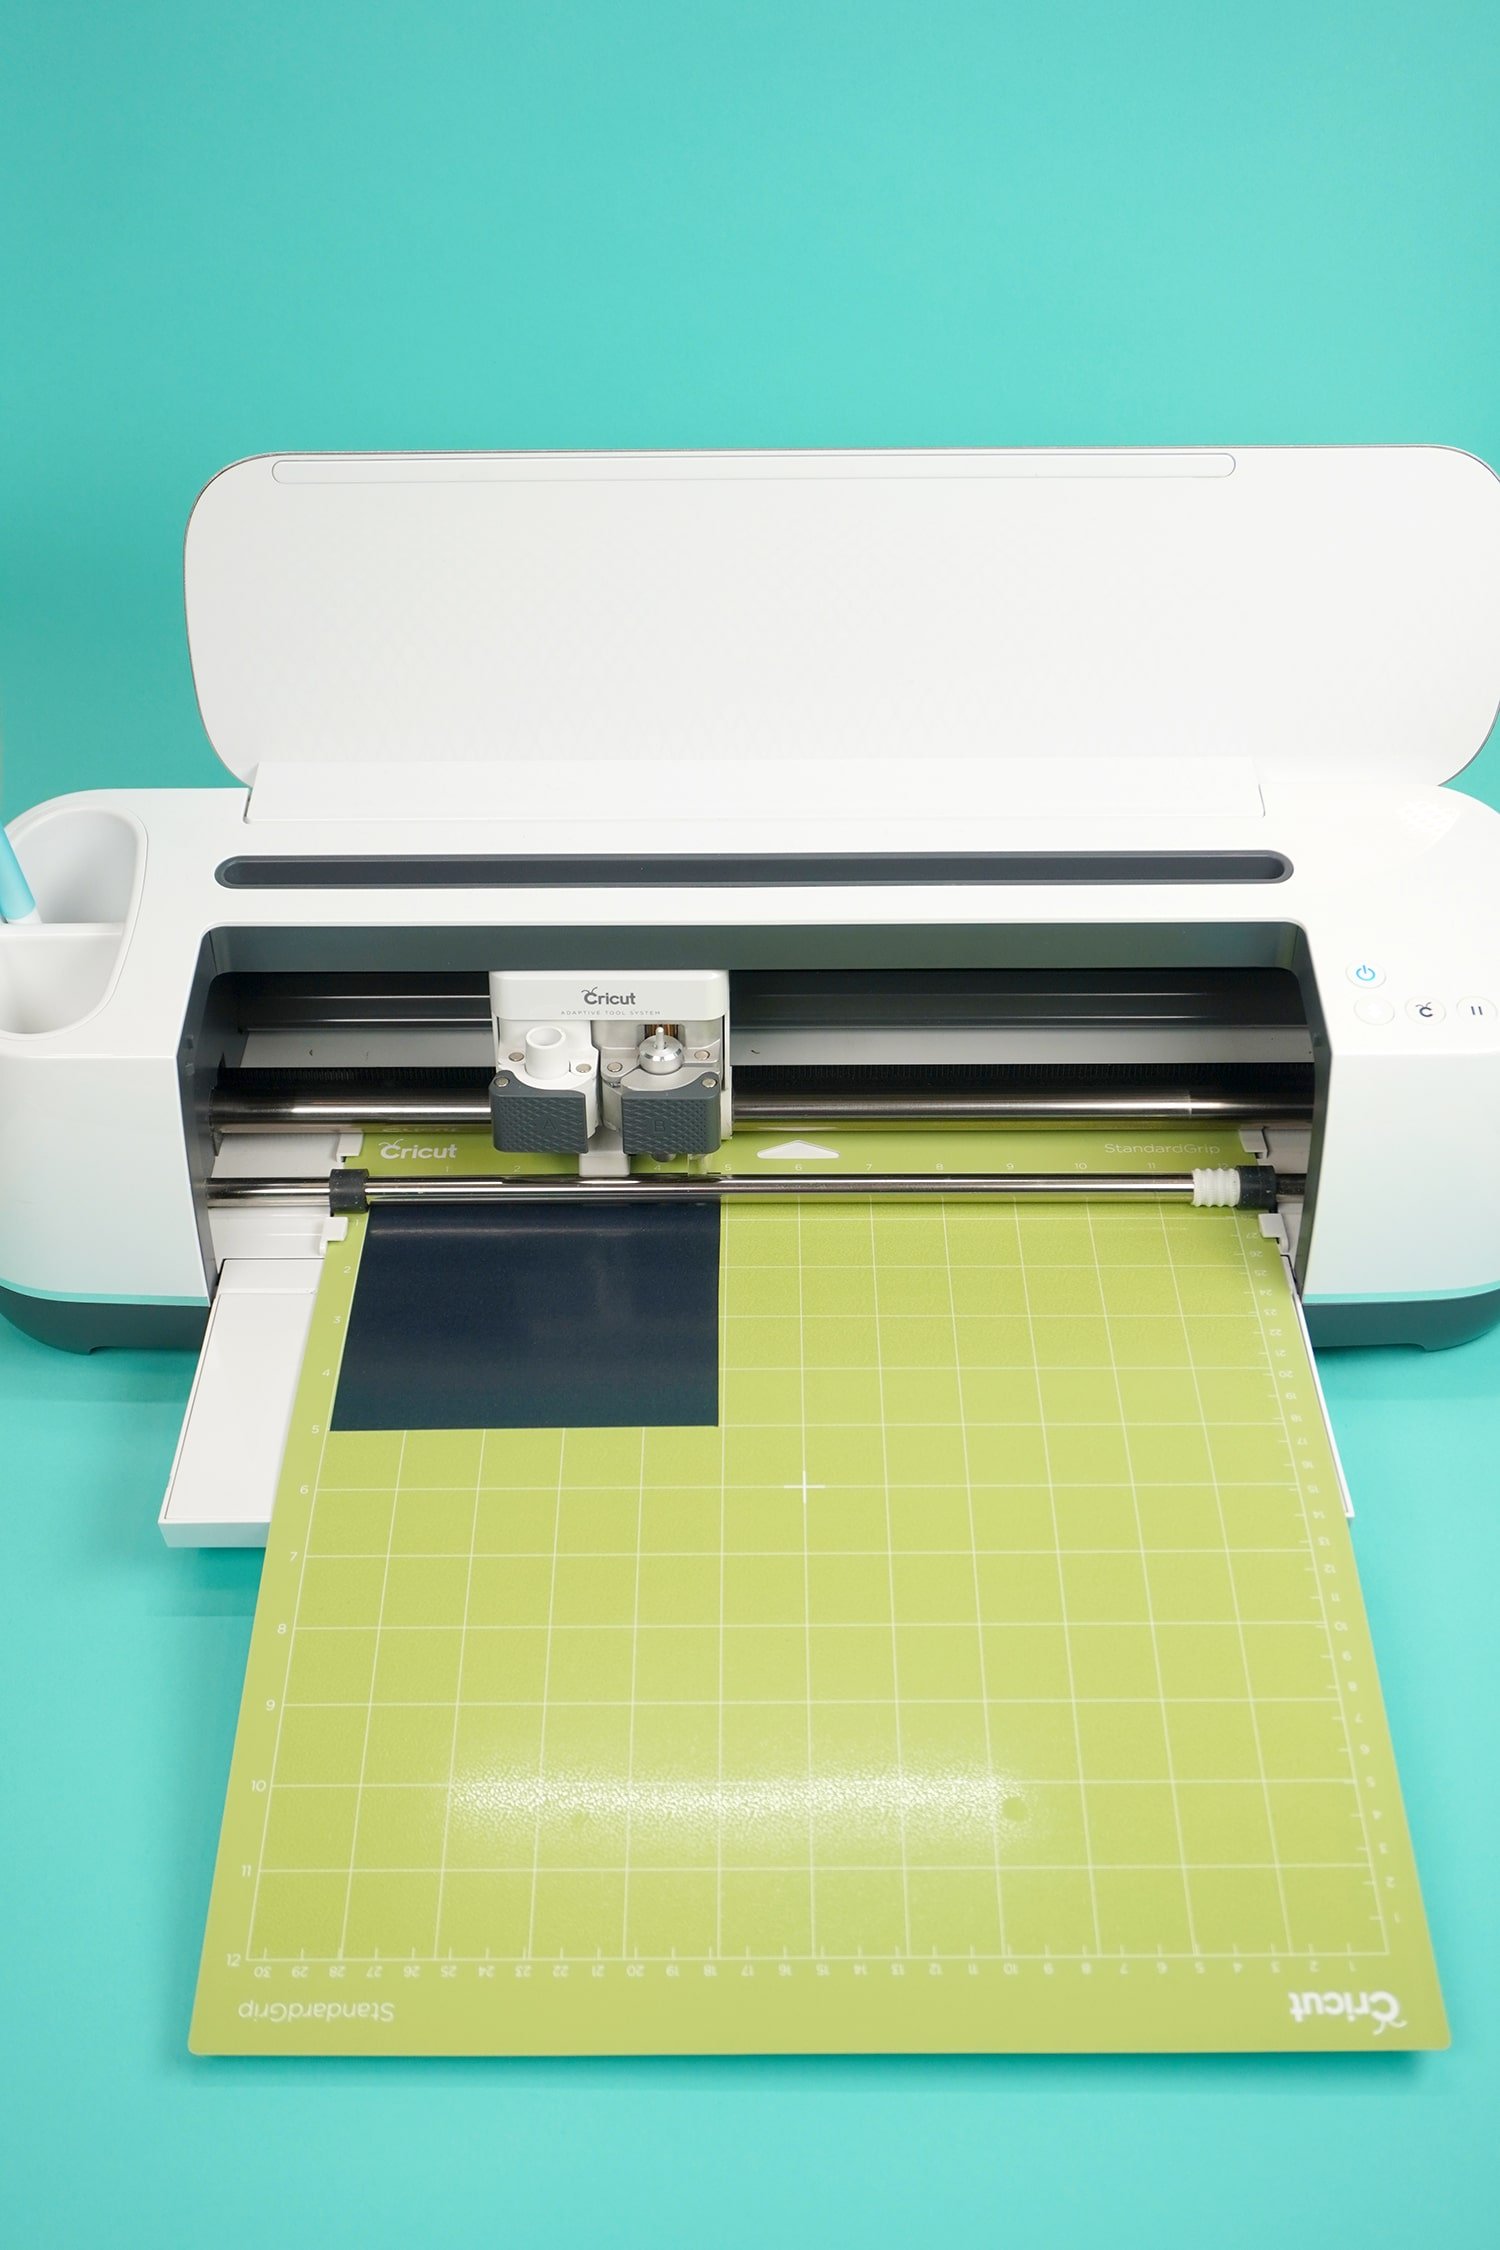
Load the mat into the machine and begin cutting your design.
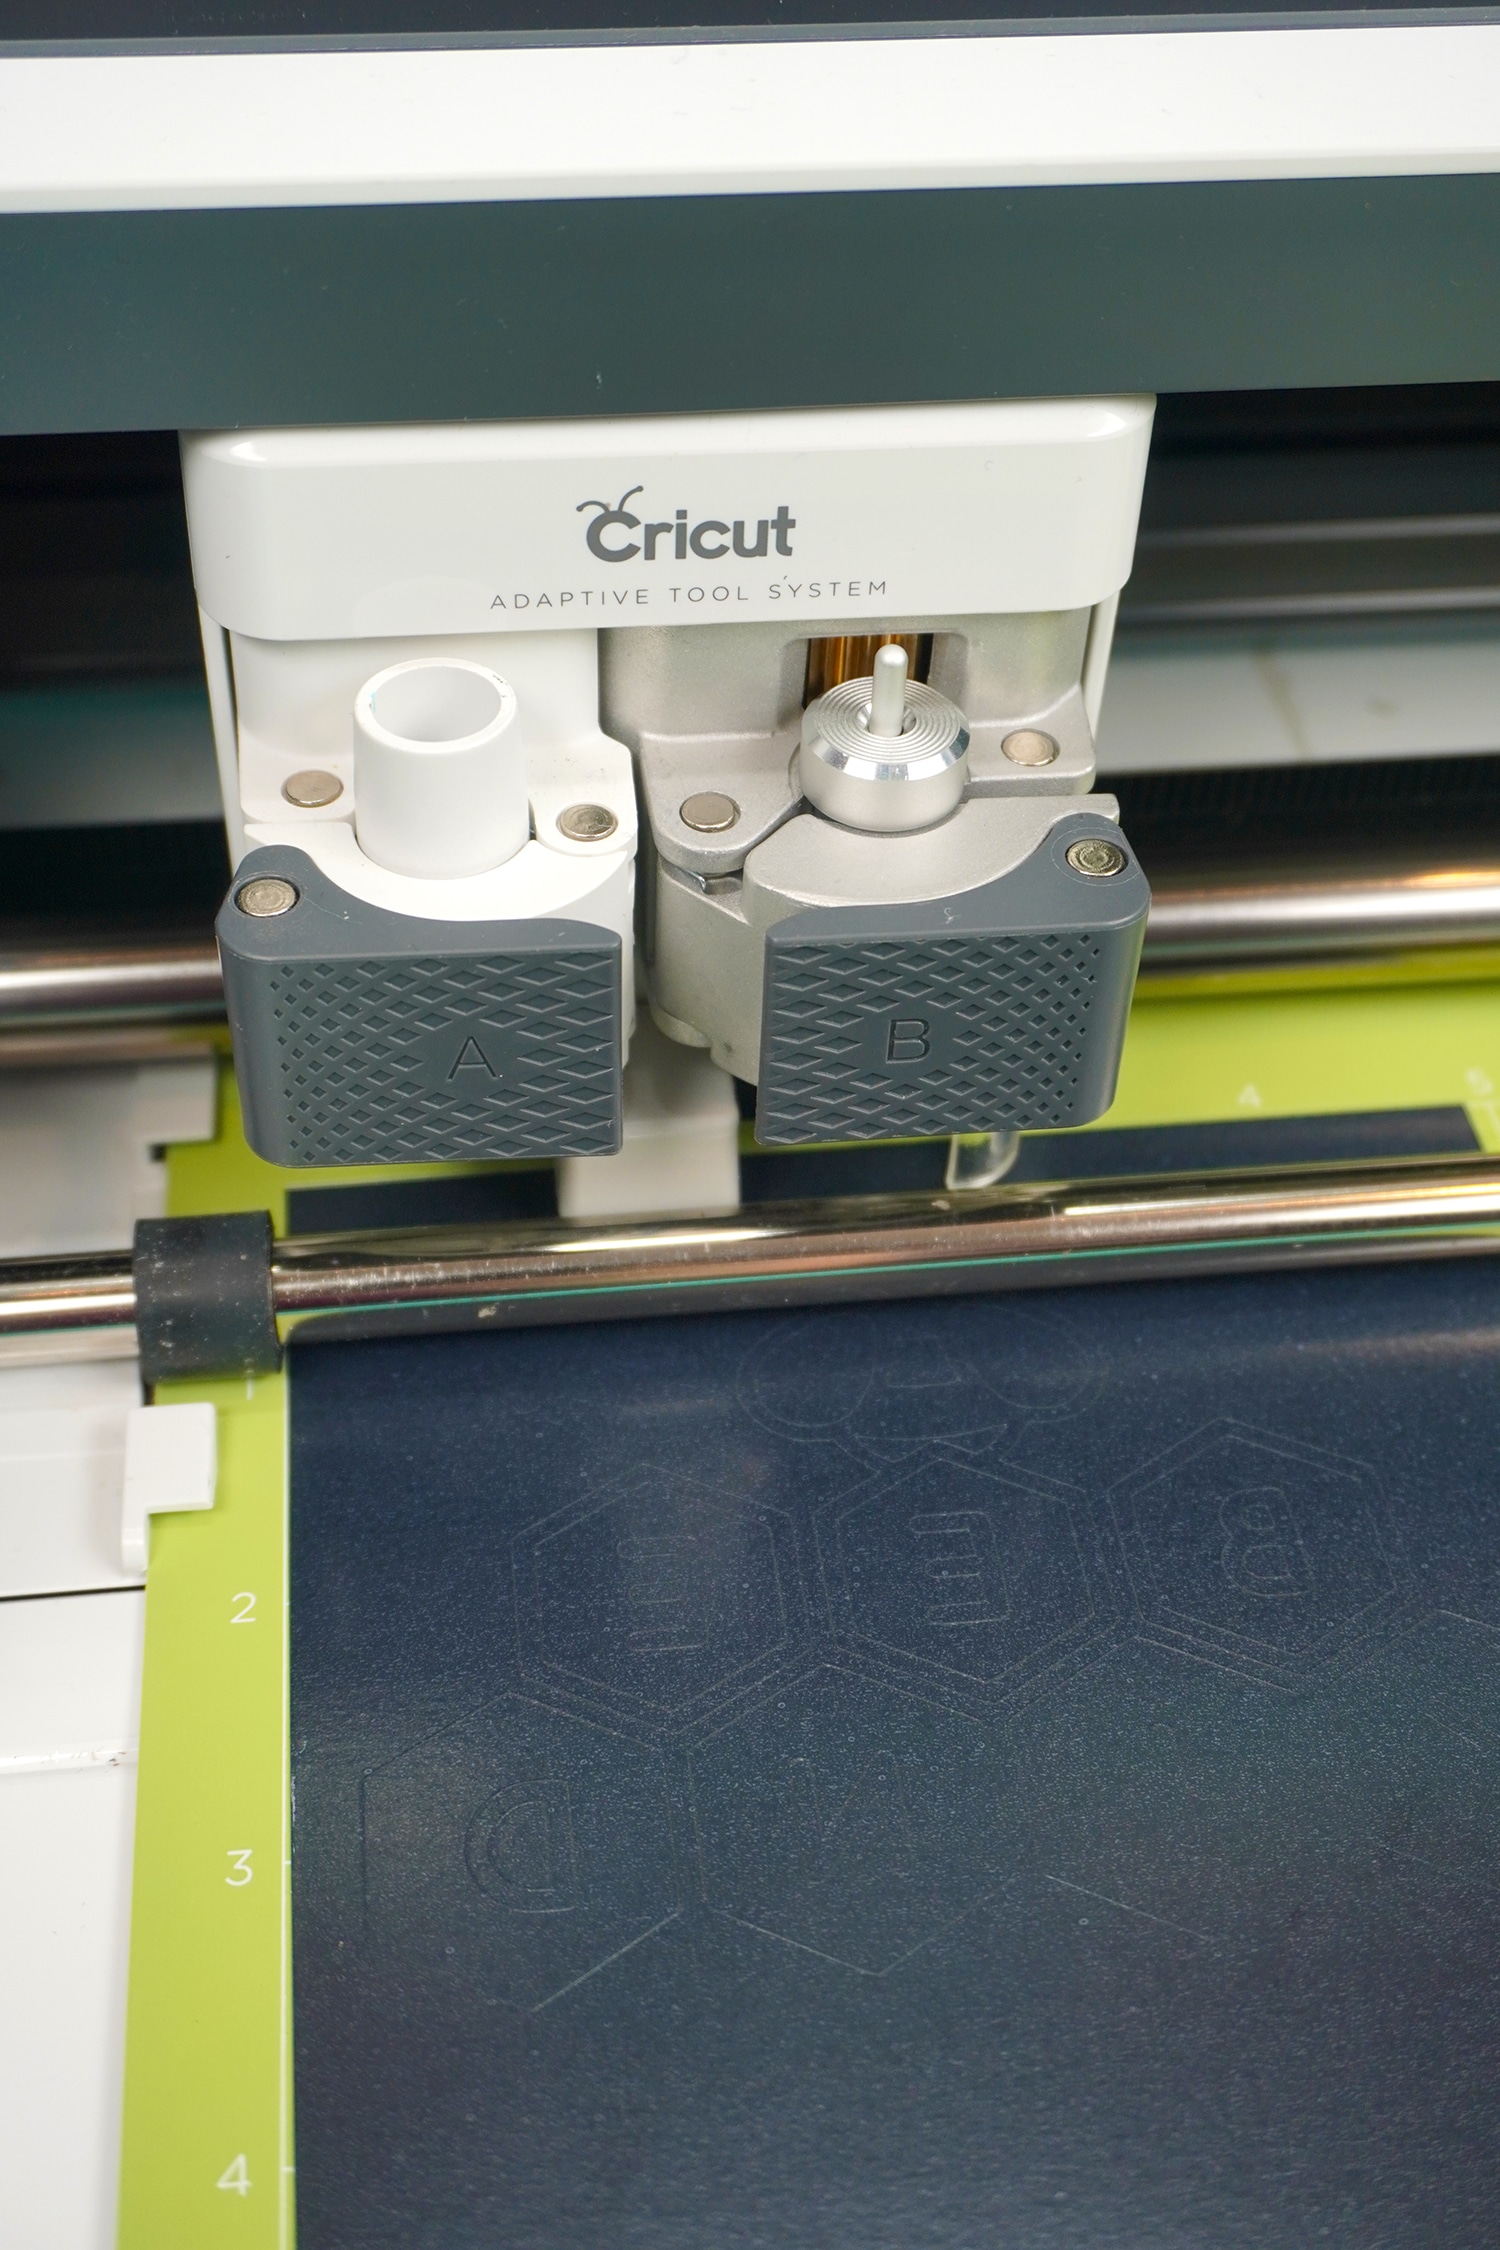
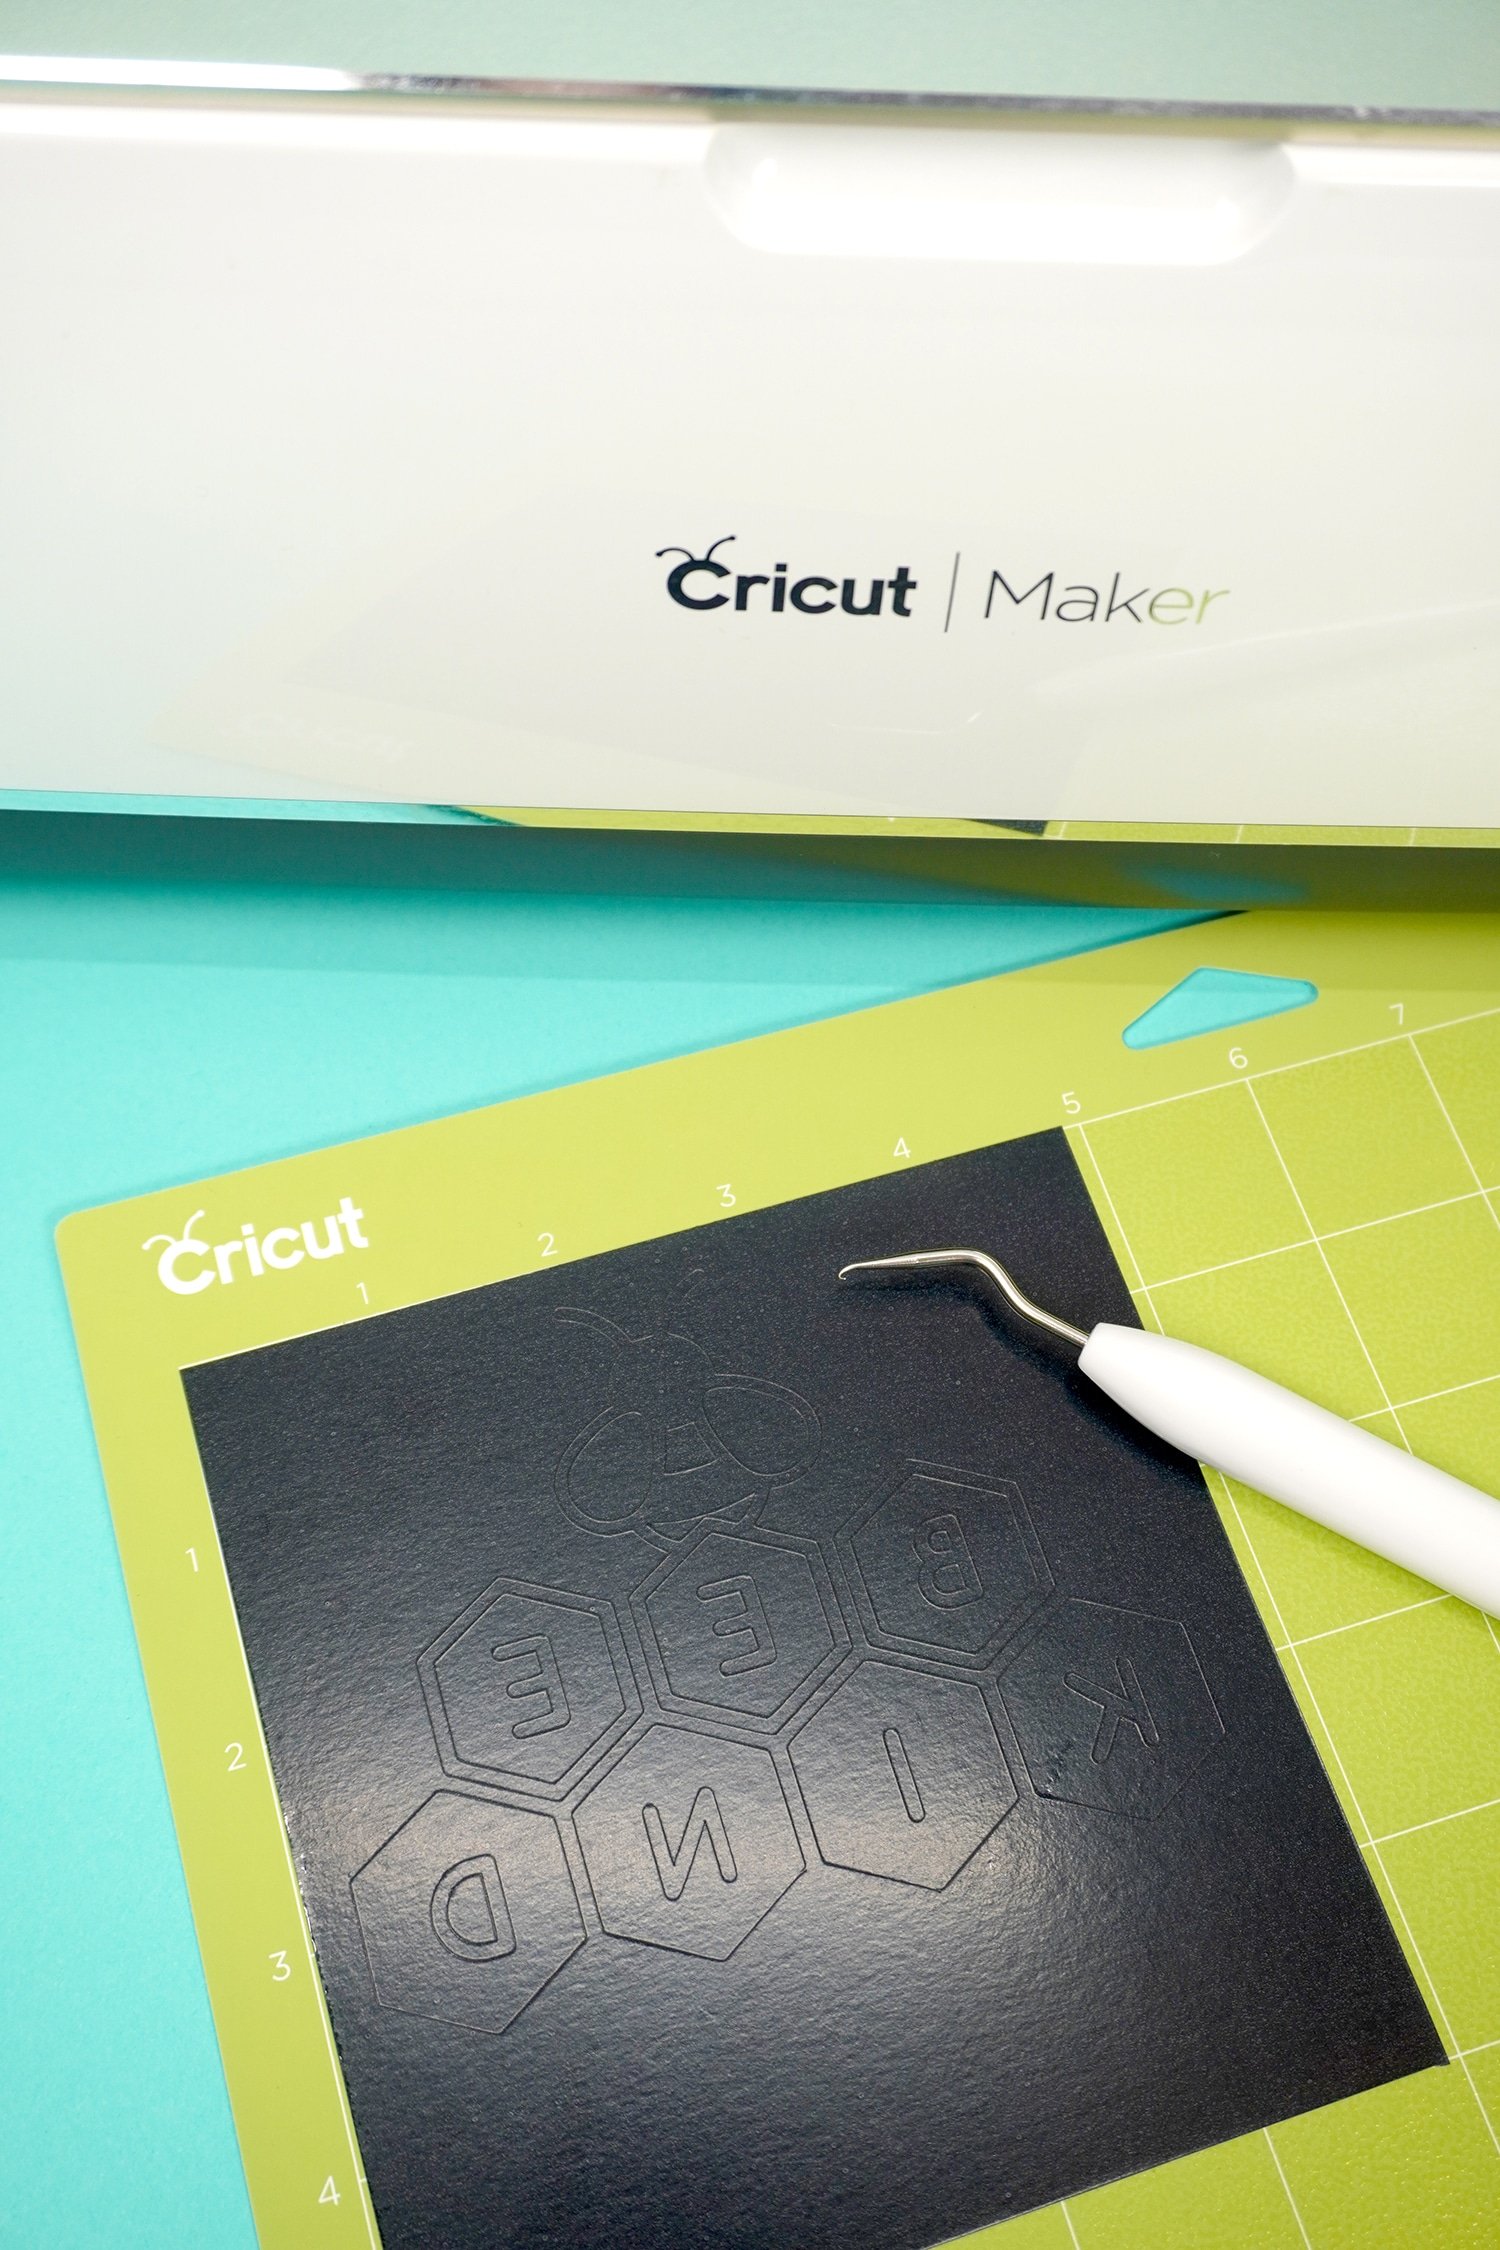
Use your weeding tools to weed the excess iron-on from the carrier sheet. I really LOVE my Hooked Weeding Tool for weeding intricate designs!
Tip: I like to leave my design on the cutting mat until I’m done weeding everything. The mat essentially acts as a second pair of hands and keeps everything flat and in one place while I’m weeding!
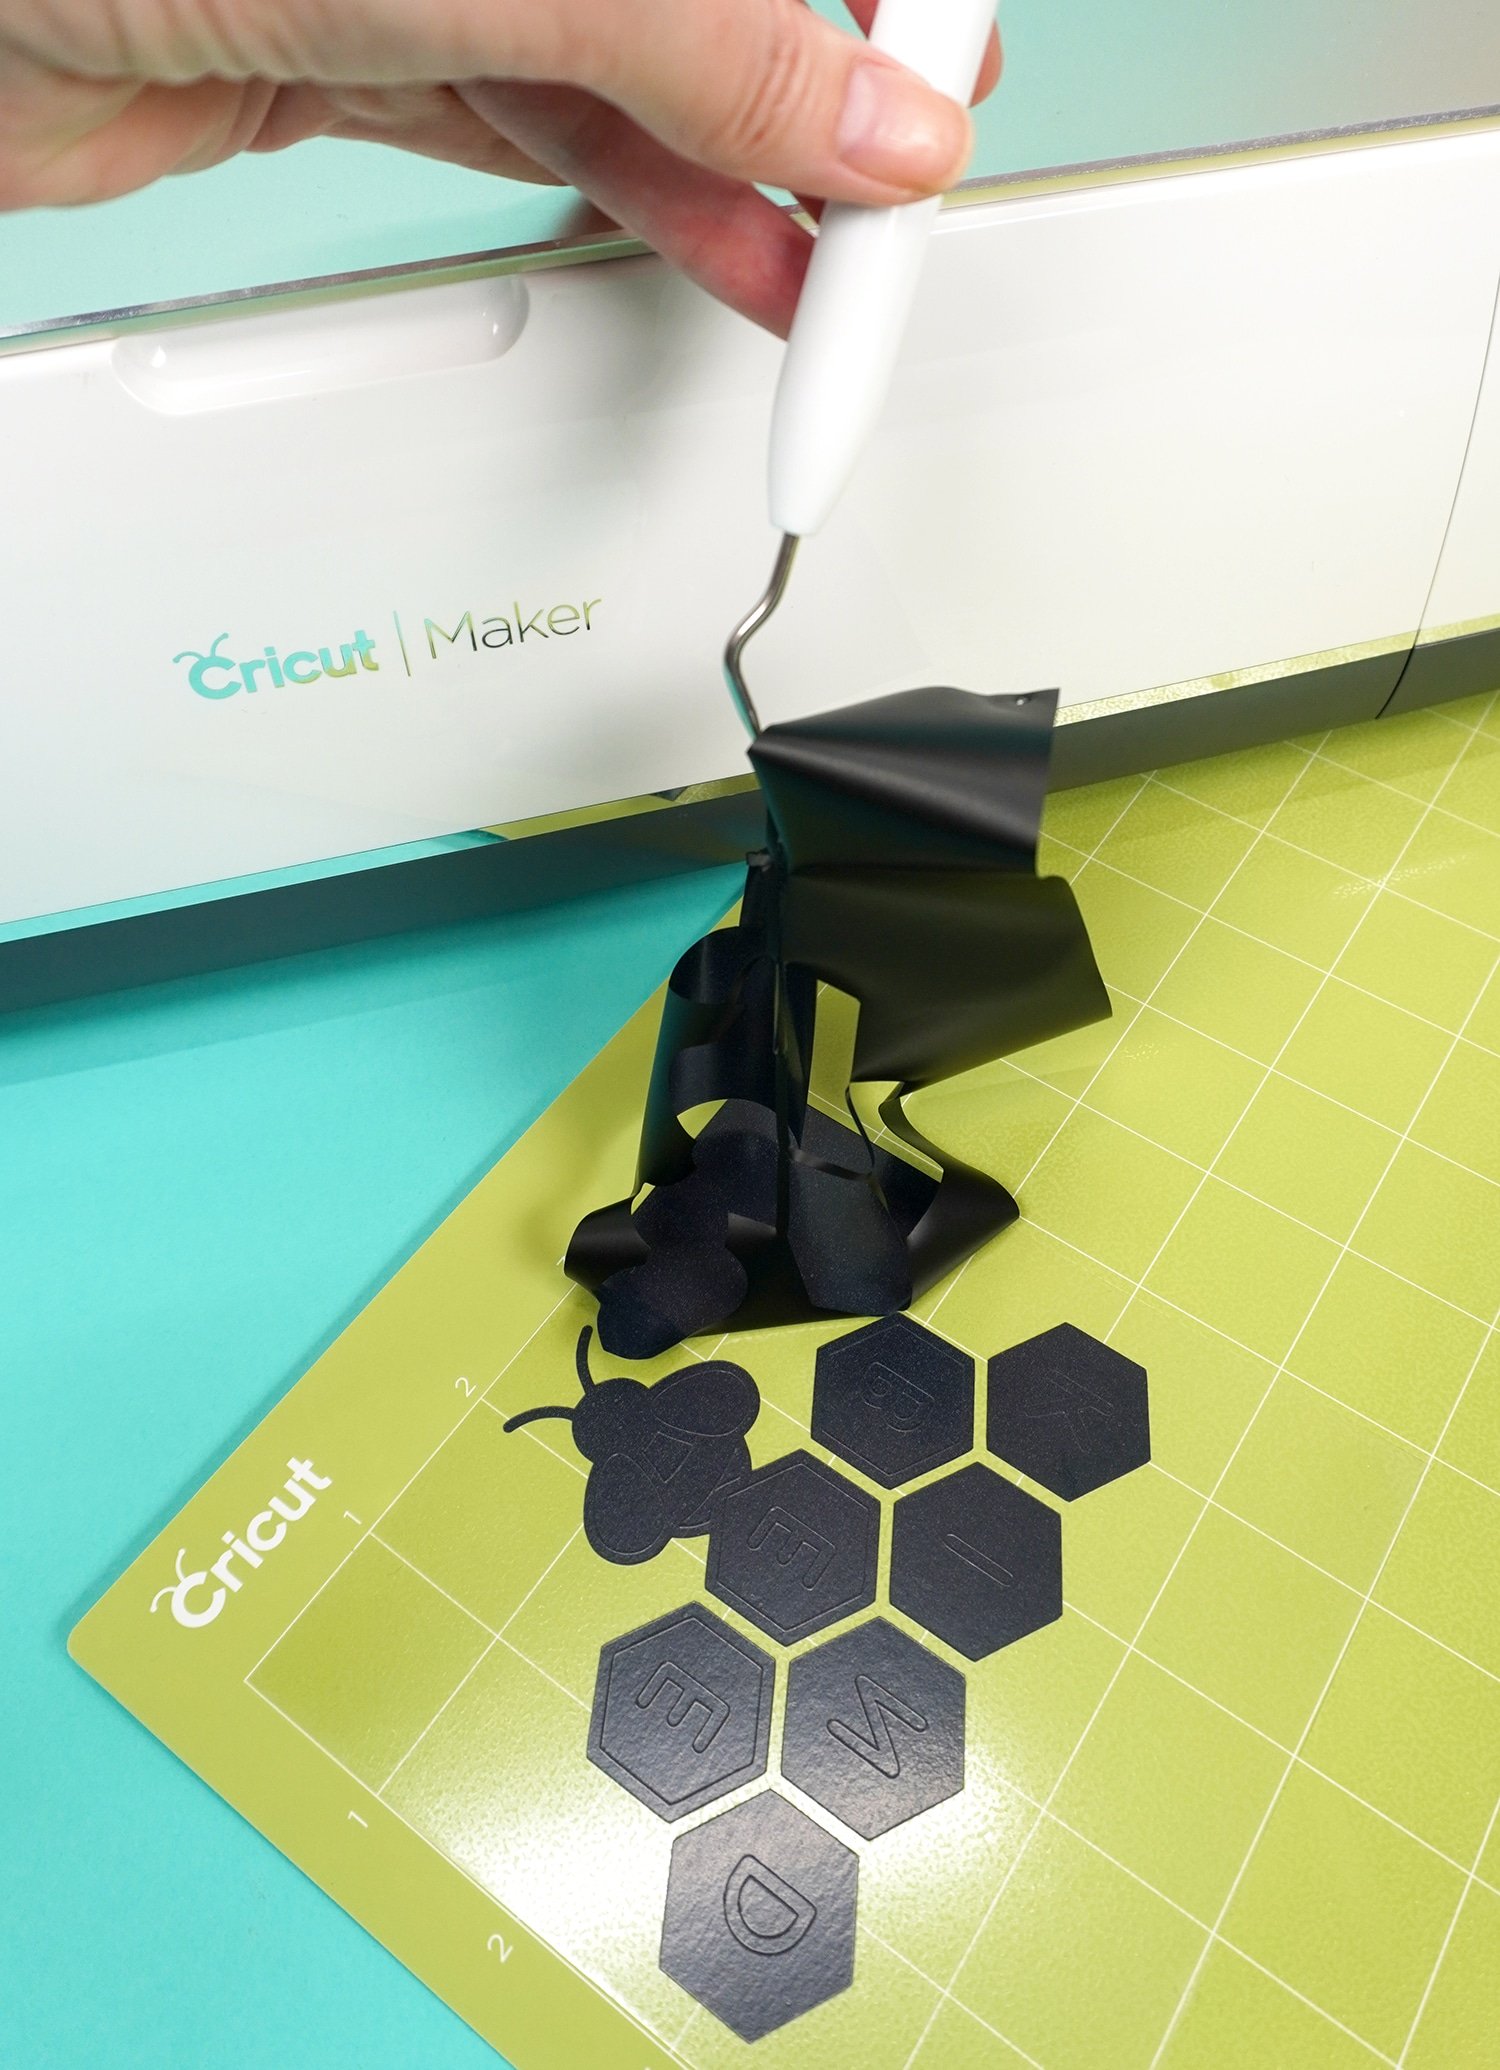
Once you weed the excess iron-on/heat transfer vinyl, you’ll notice that the newly exposed areas of the plastic carrier sheet are sticky. This helps you to easily position the design on to your shirt!
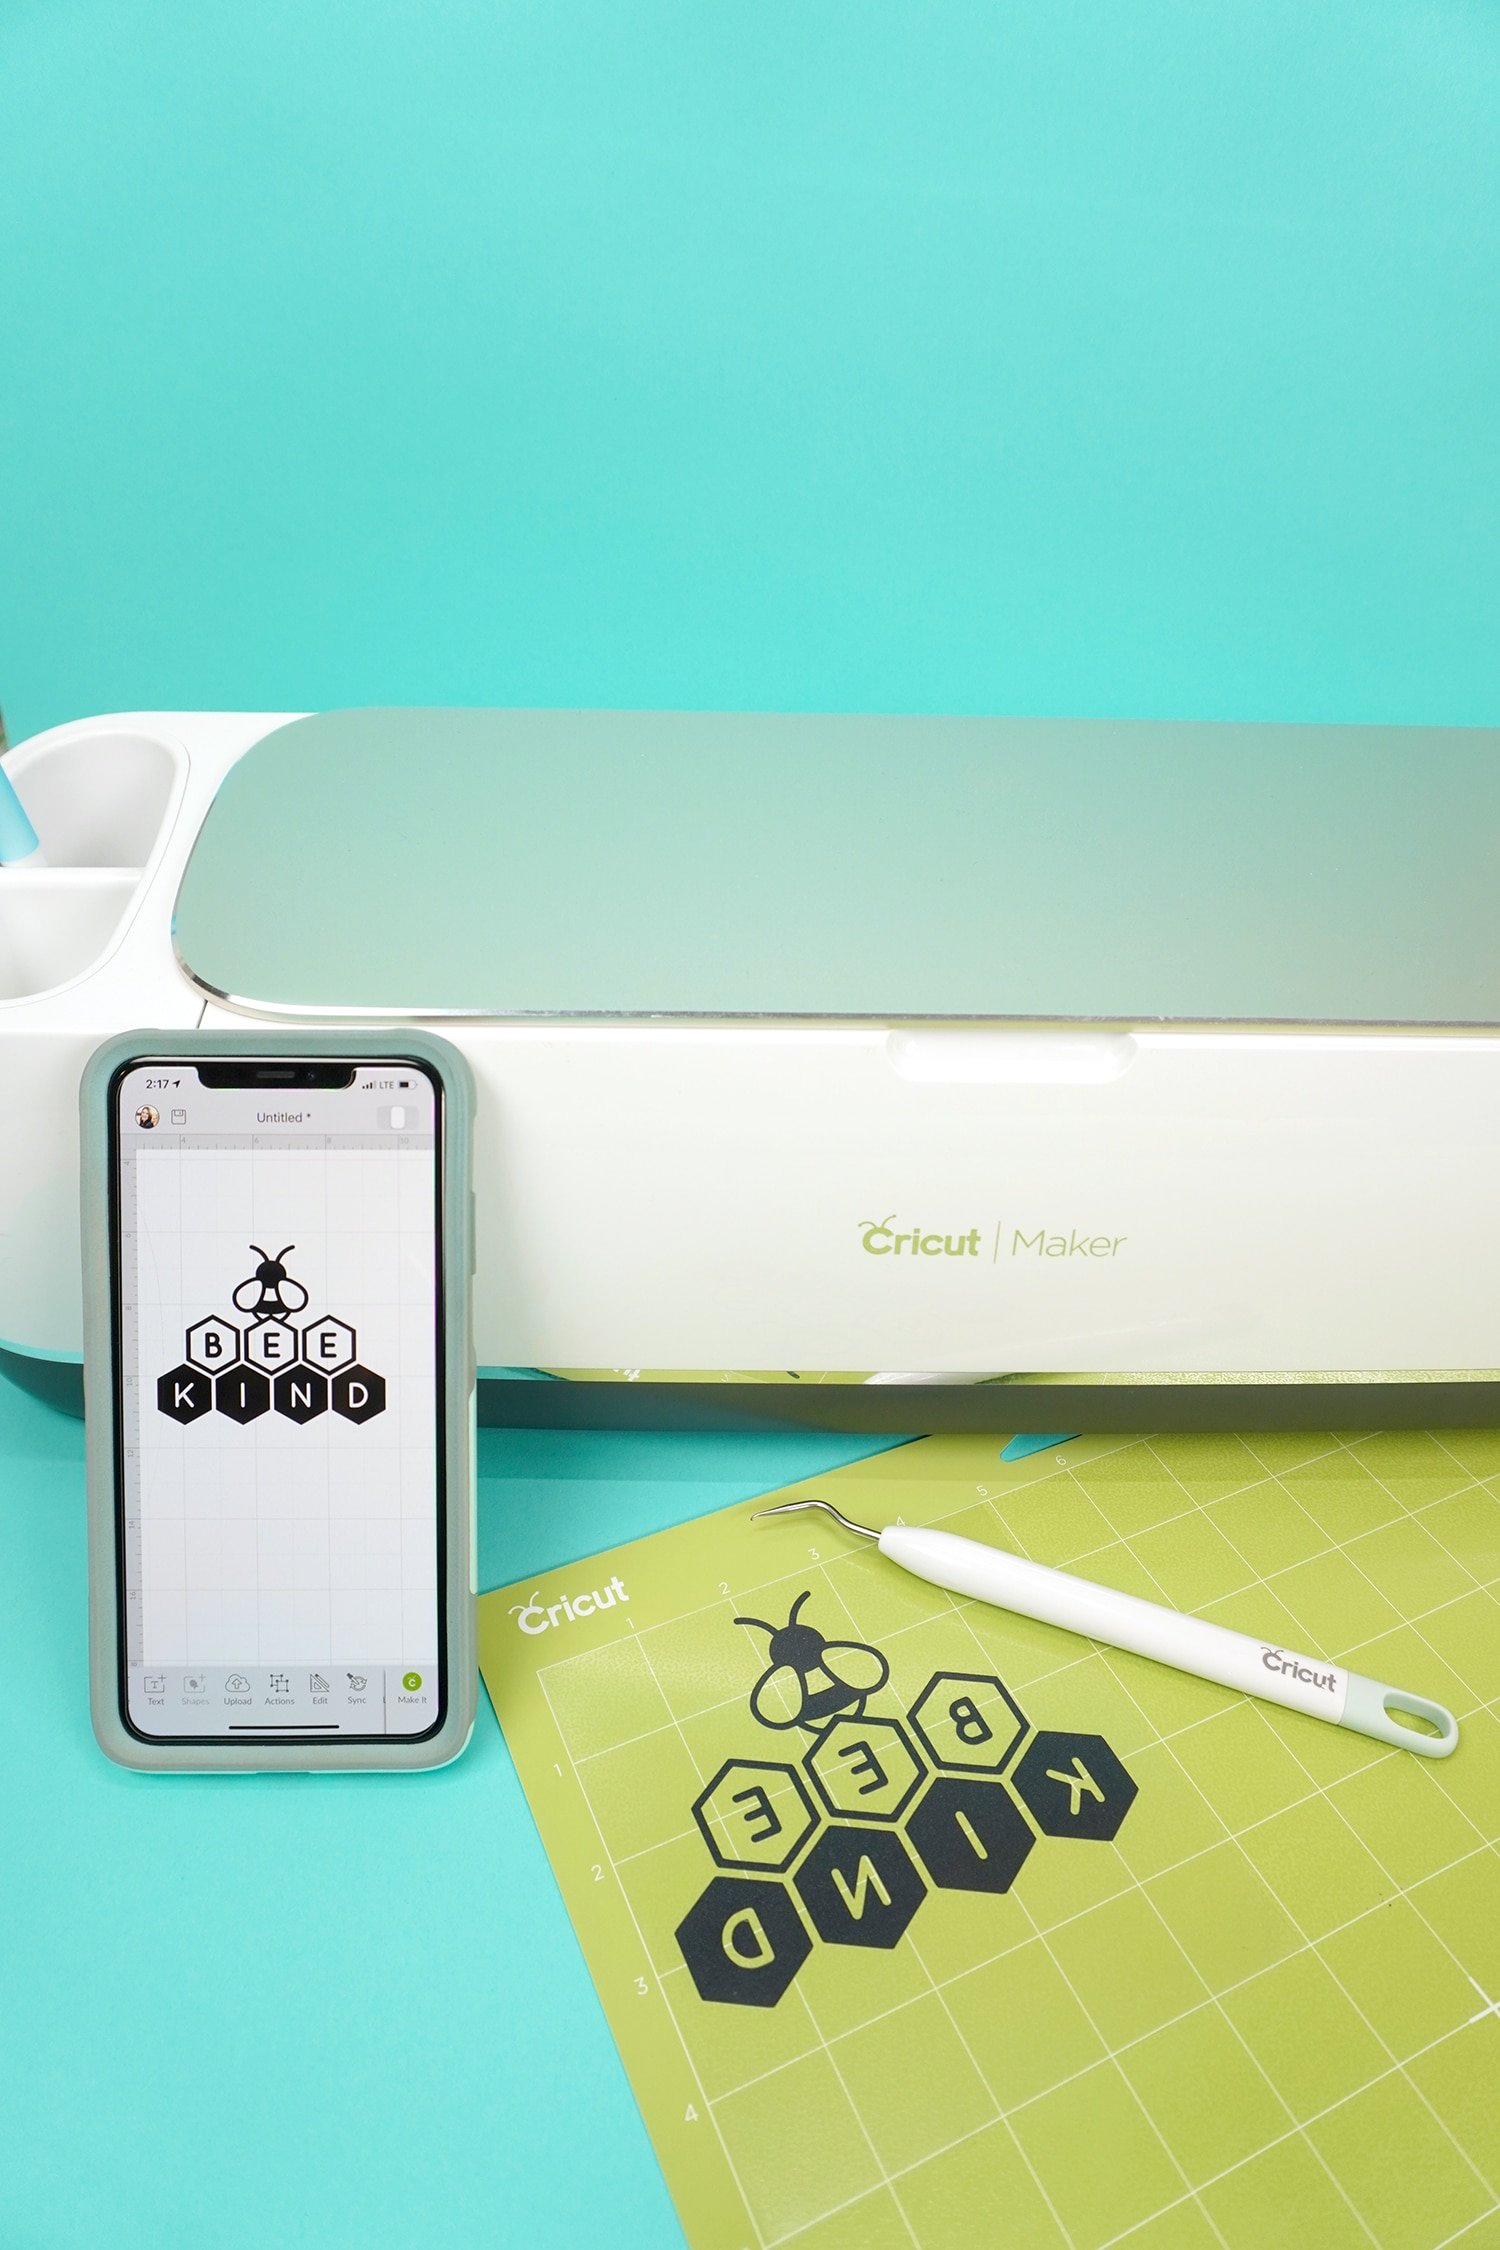
If you’re having trouble remembering which parts and pieces should be weeded and which should remain on the plastic carrier sheet, take another look at the design in Cricut Design Space again – I like to pull it up on my phone app for easy reference!
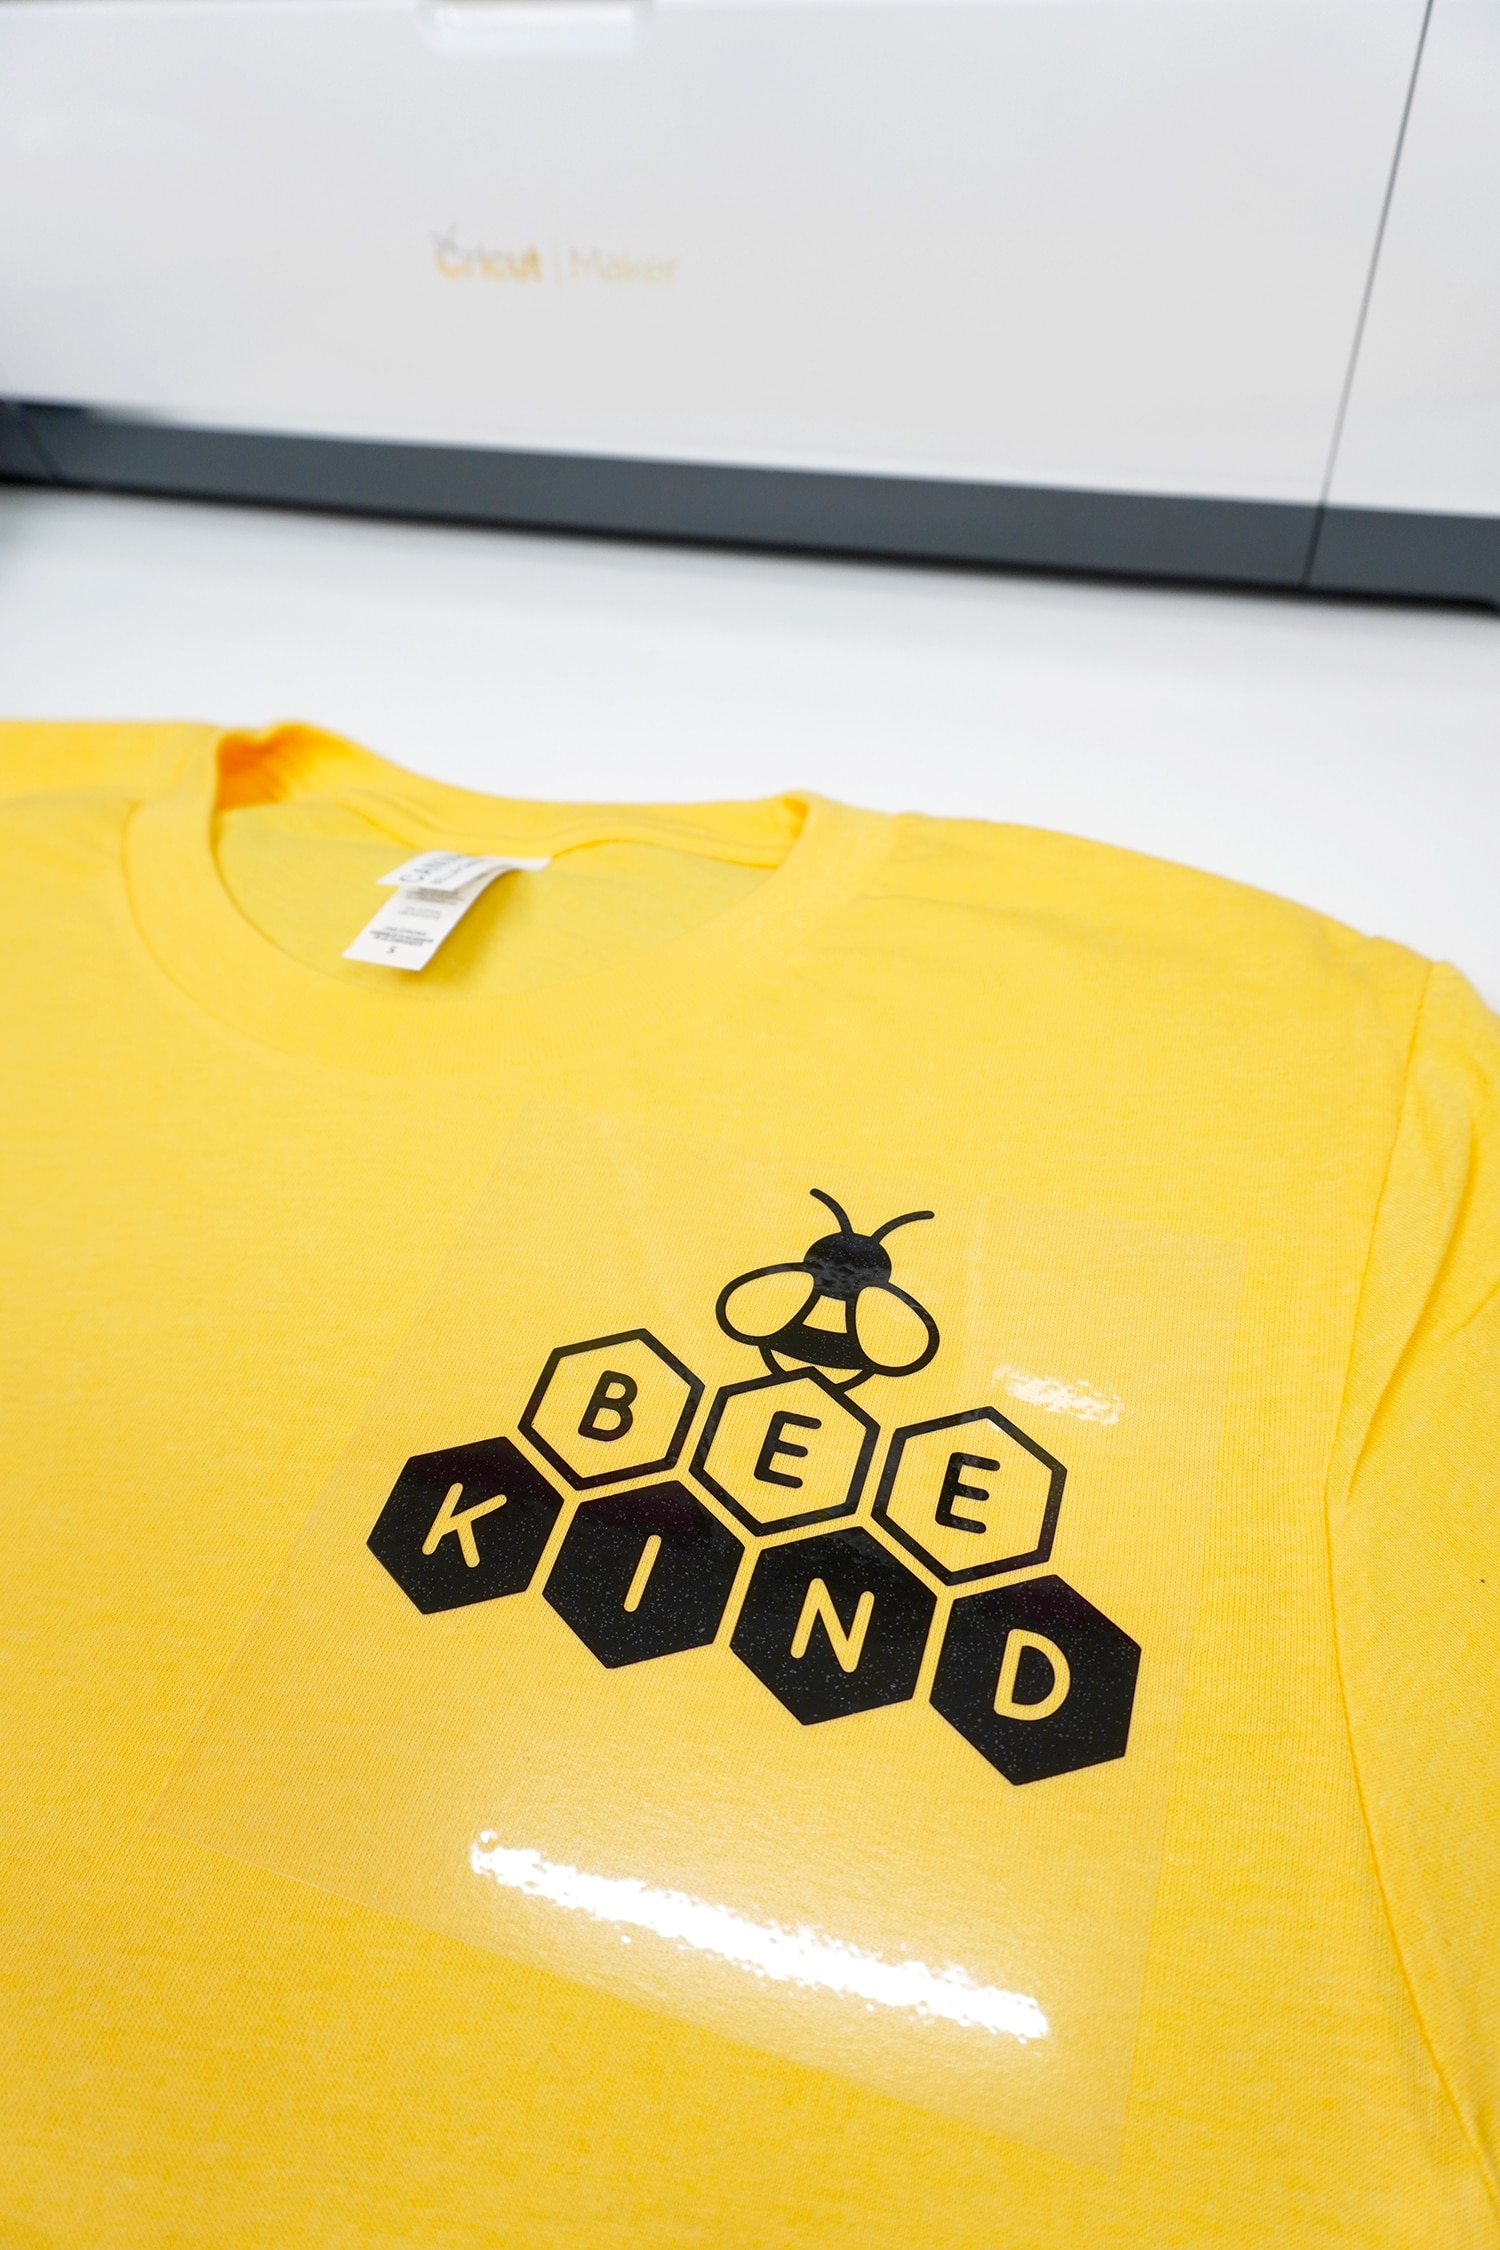
Position the iron-on design on to your shirt. The sticky plastic carrier sheet will help keep everything in place.
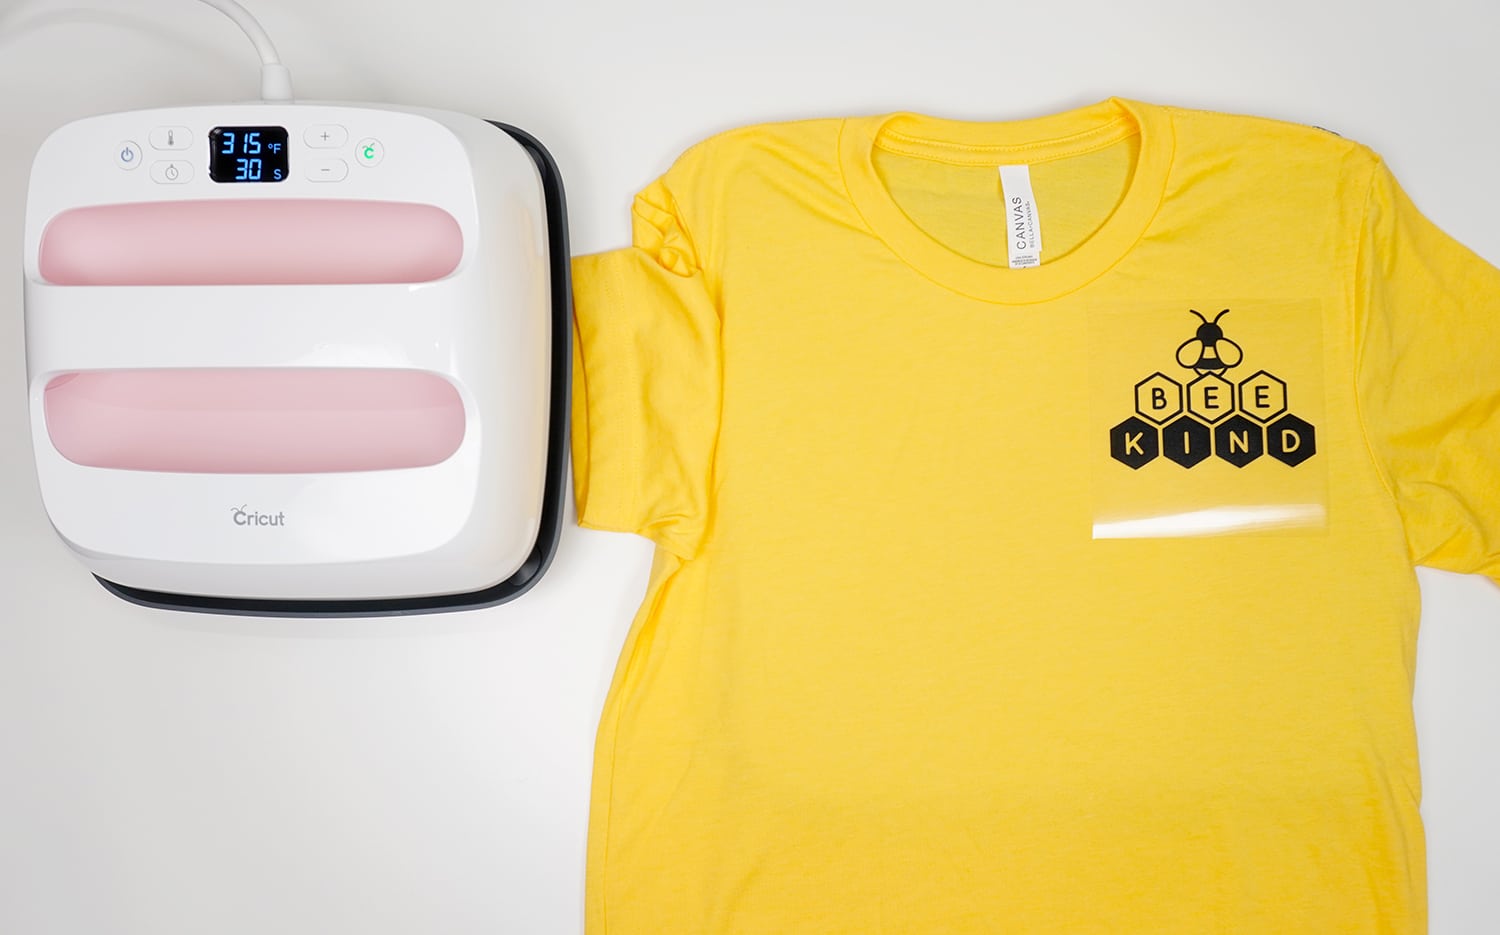
Heat up the EasyPress 2 following the recommended time and temperature settings in the Cricut EasyPress Heat Guide. Place your shirt on top of an EasyPress Mat to protect your work surface from the heat of the EasyPress.
Note: you can also use an iron, however, we HIGHLY recommend using an EasyPress. Read all about Why We Love the EasyPress 2 here!
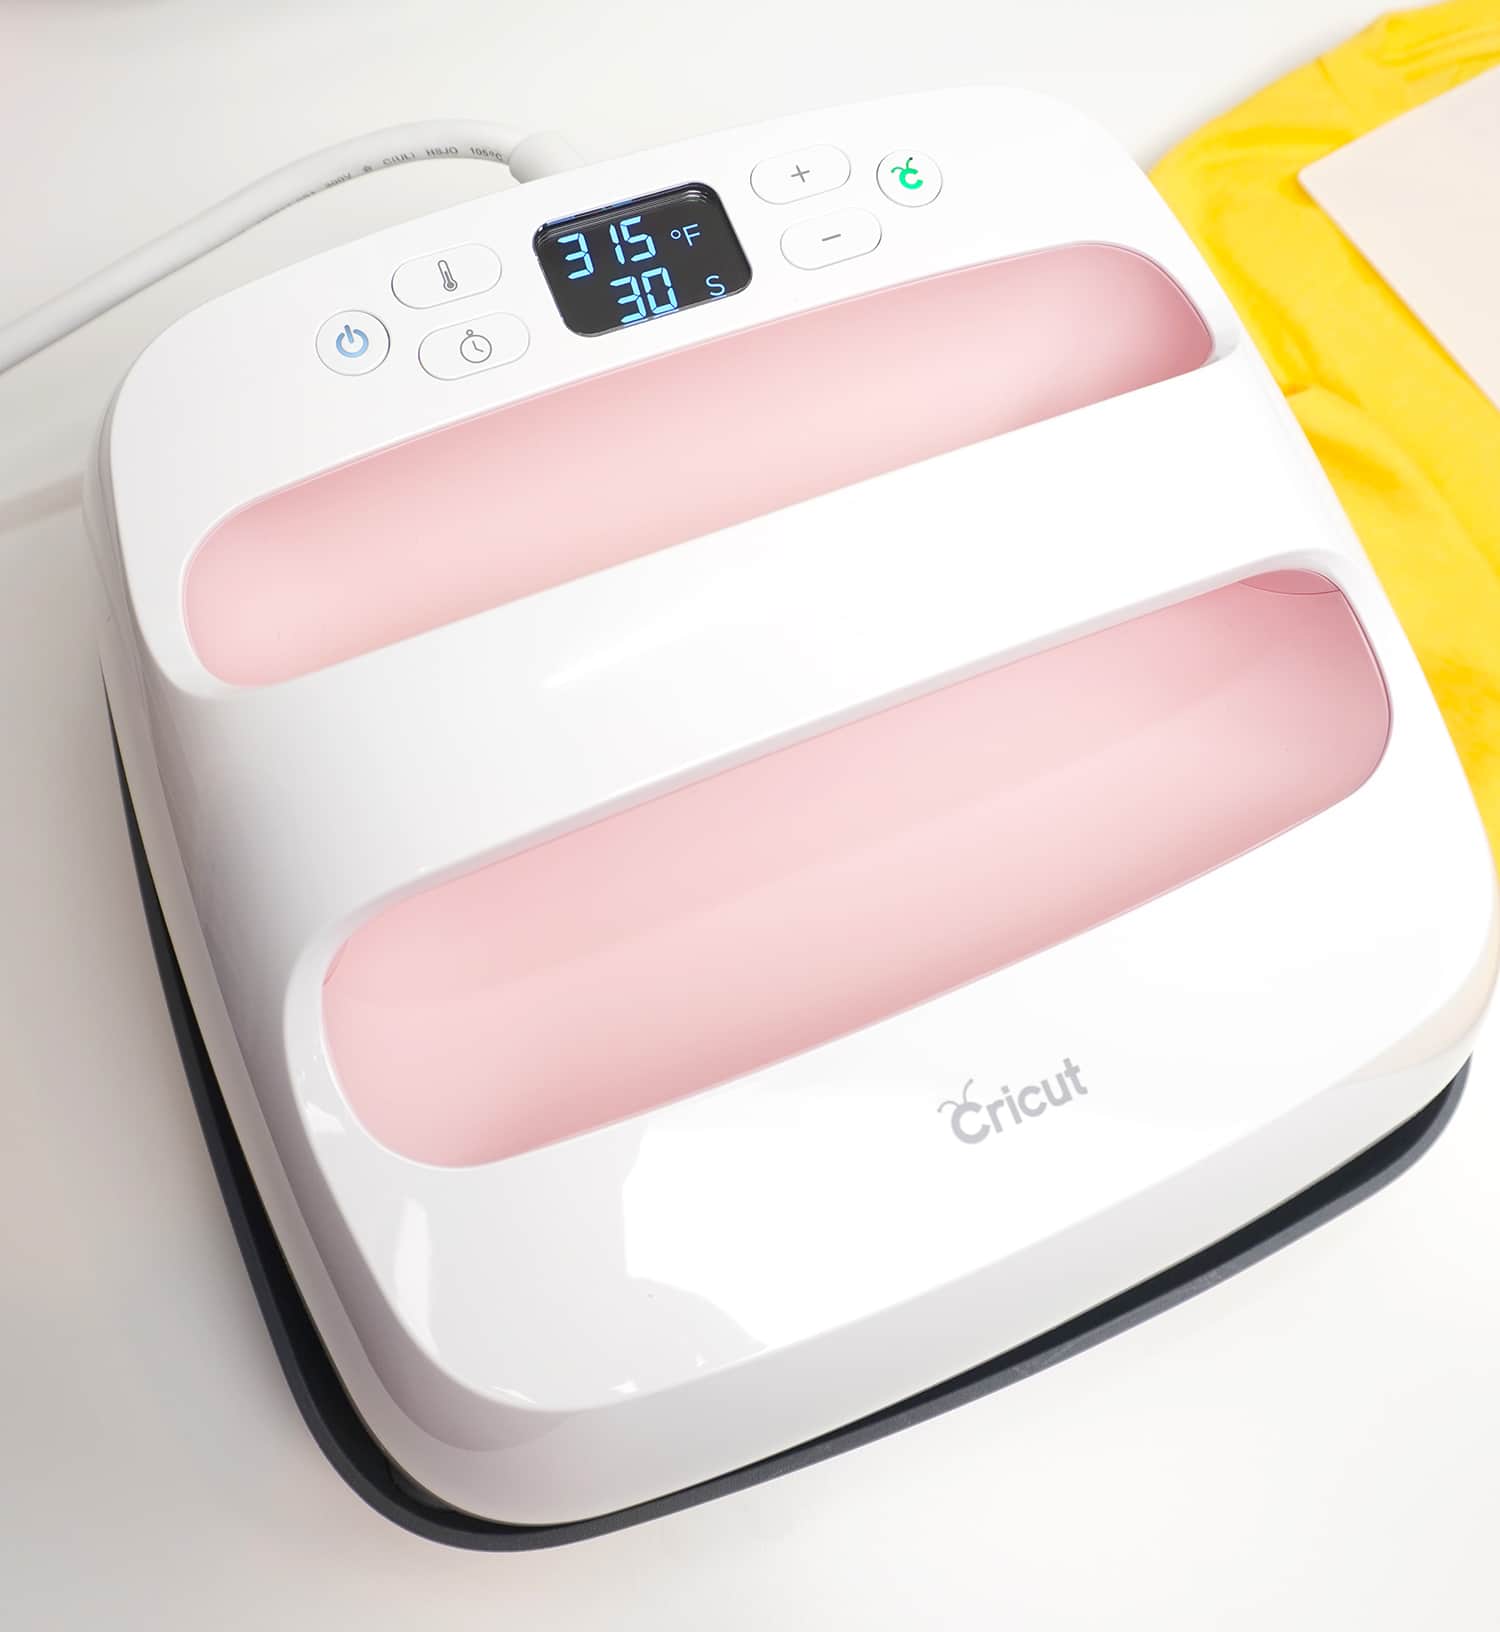
For Everyday Iron-On on a cotton/poly blend shirt, we used a temperature of 315 degrees and a time of 30 seconds.
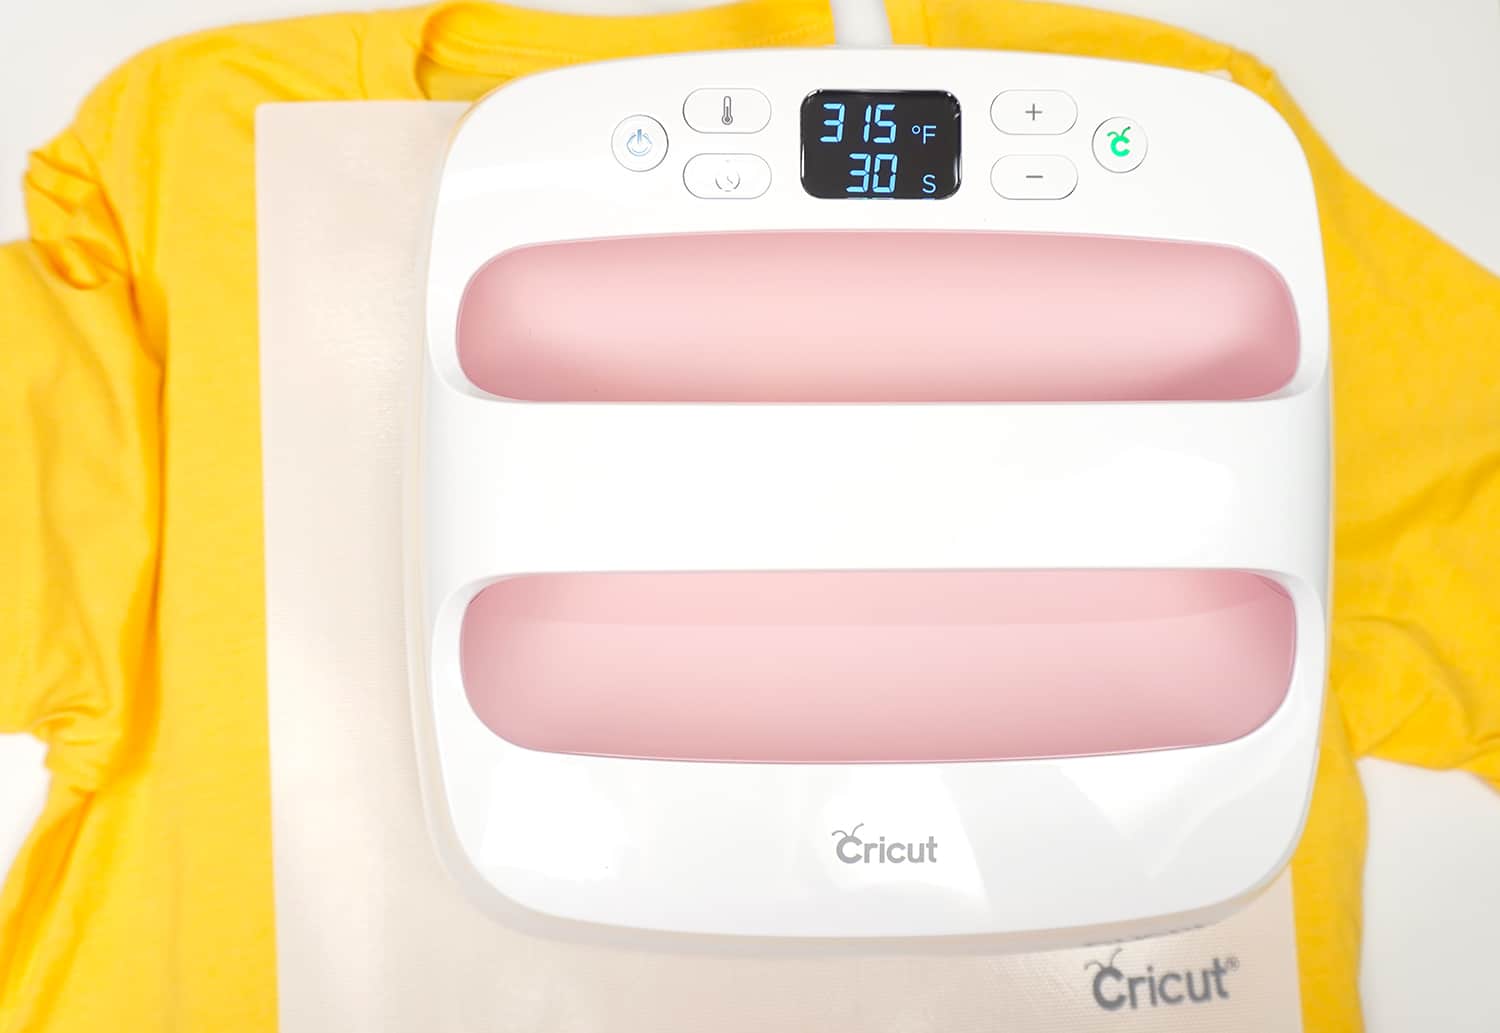
Cover the iron-on with a protective sheet if desired.
Note: the protective sheet is optional, but recommended. I’ve never had issues with my plastic carrier sheet melting, but I’ve heard of it happening to others, particularly when using off-brand supplies!
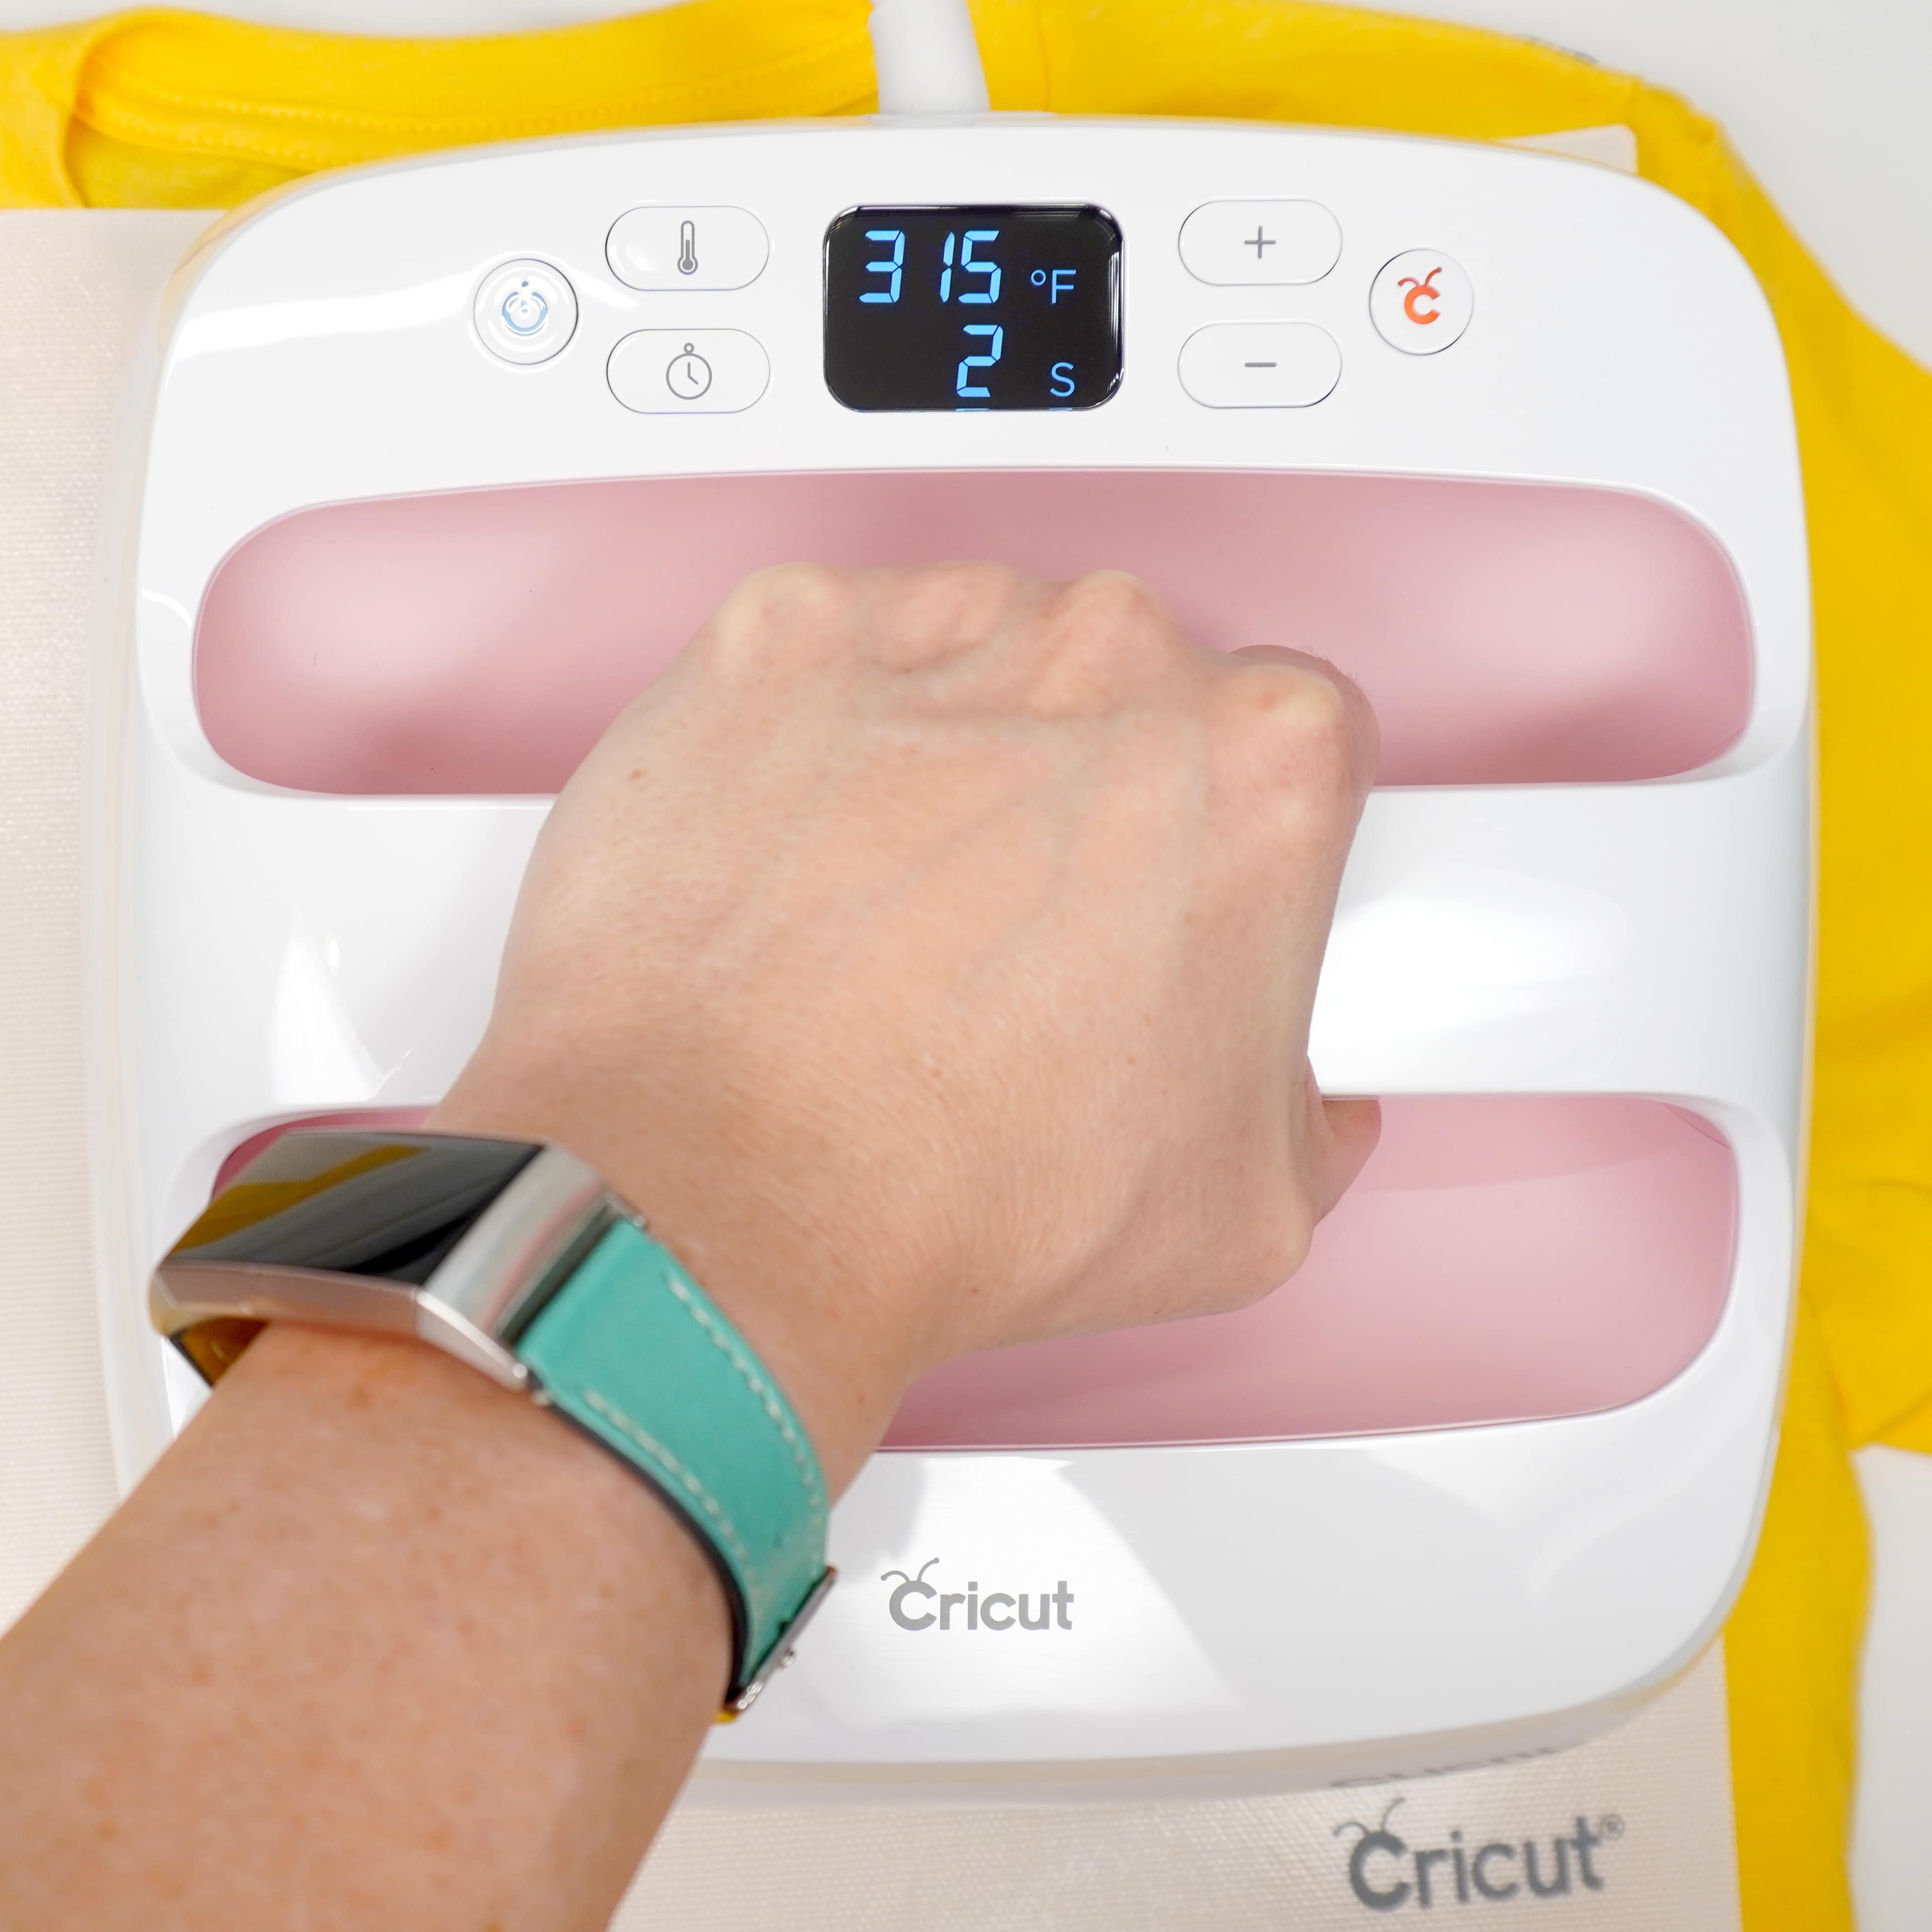
Use gentle pressure to press the iron-on design to your shirt for the recommended time. Cool for a few minutes, then flip the shirt over, and press again for 15 seconds from the back side.
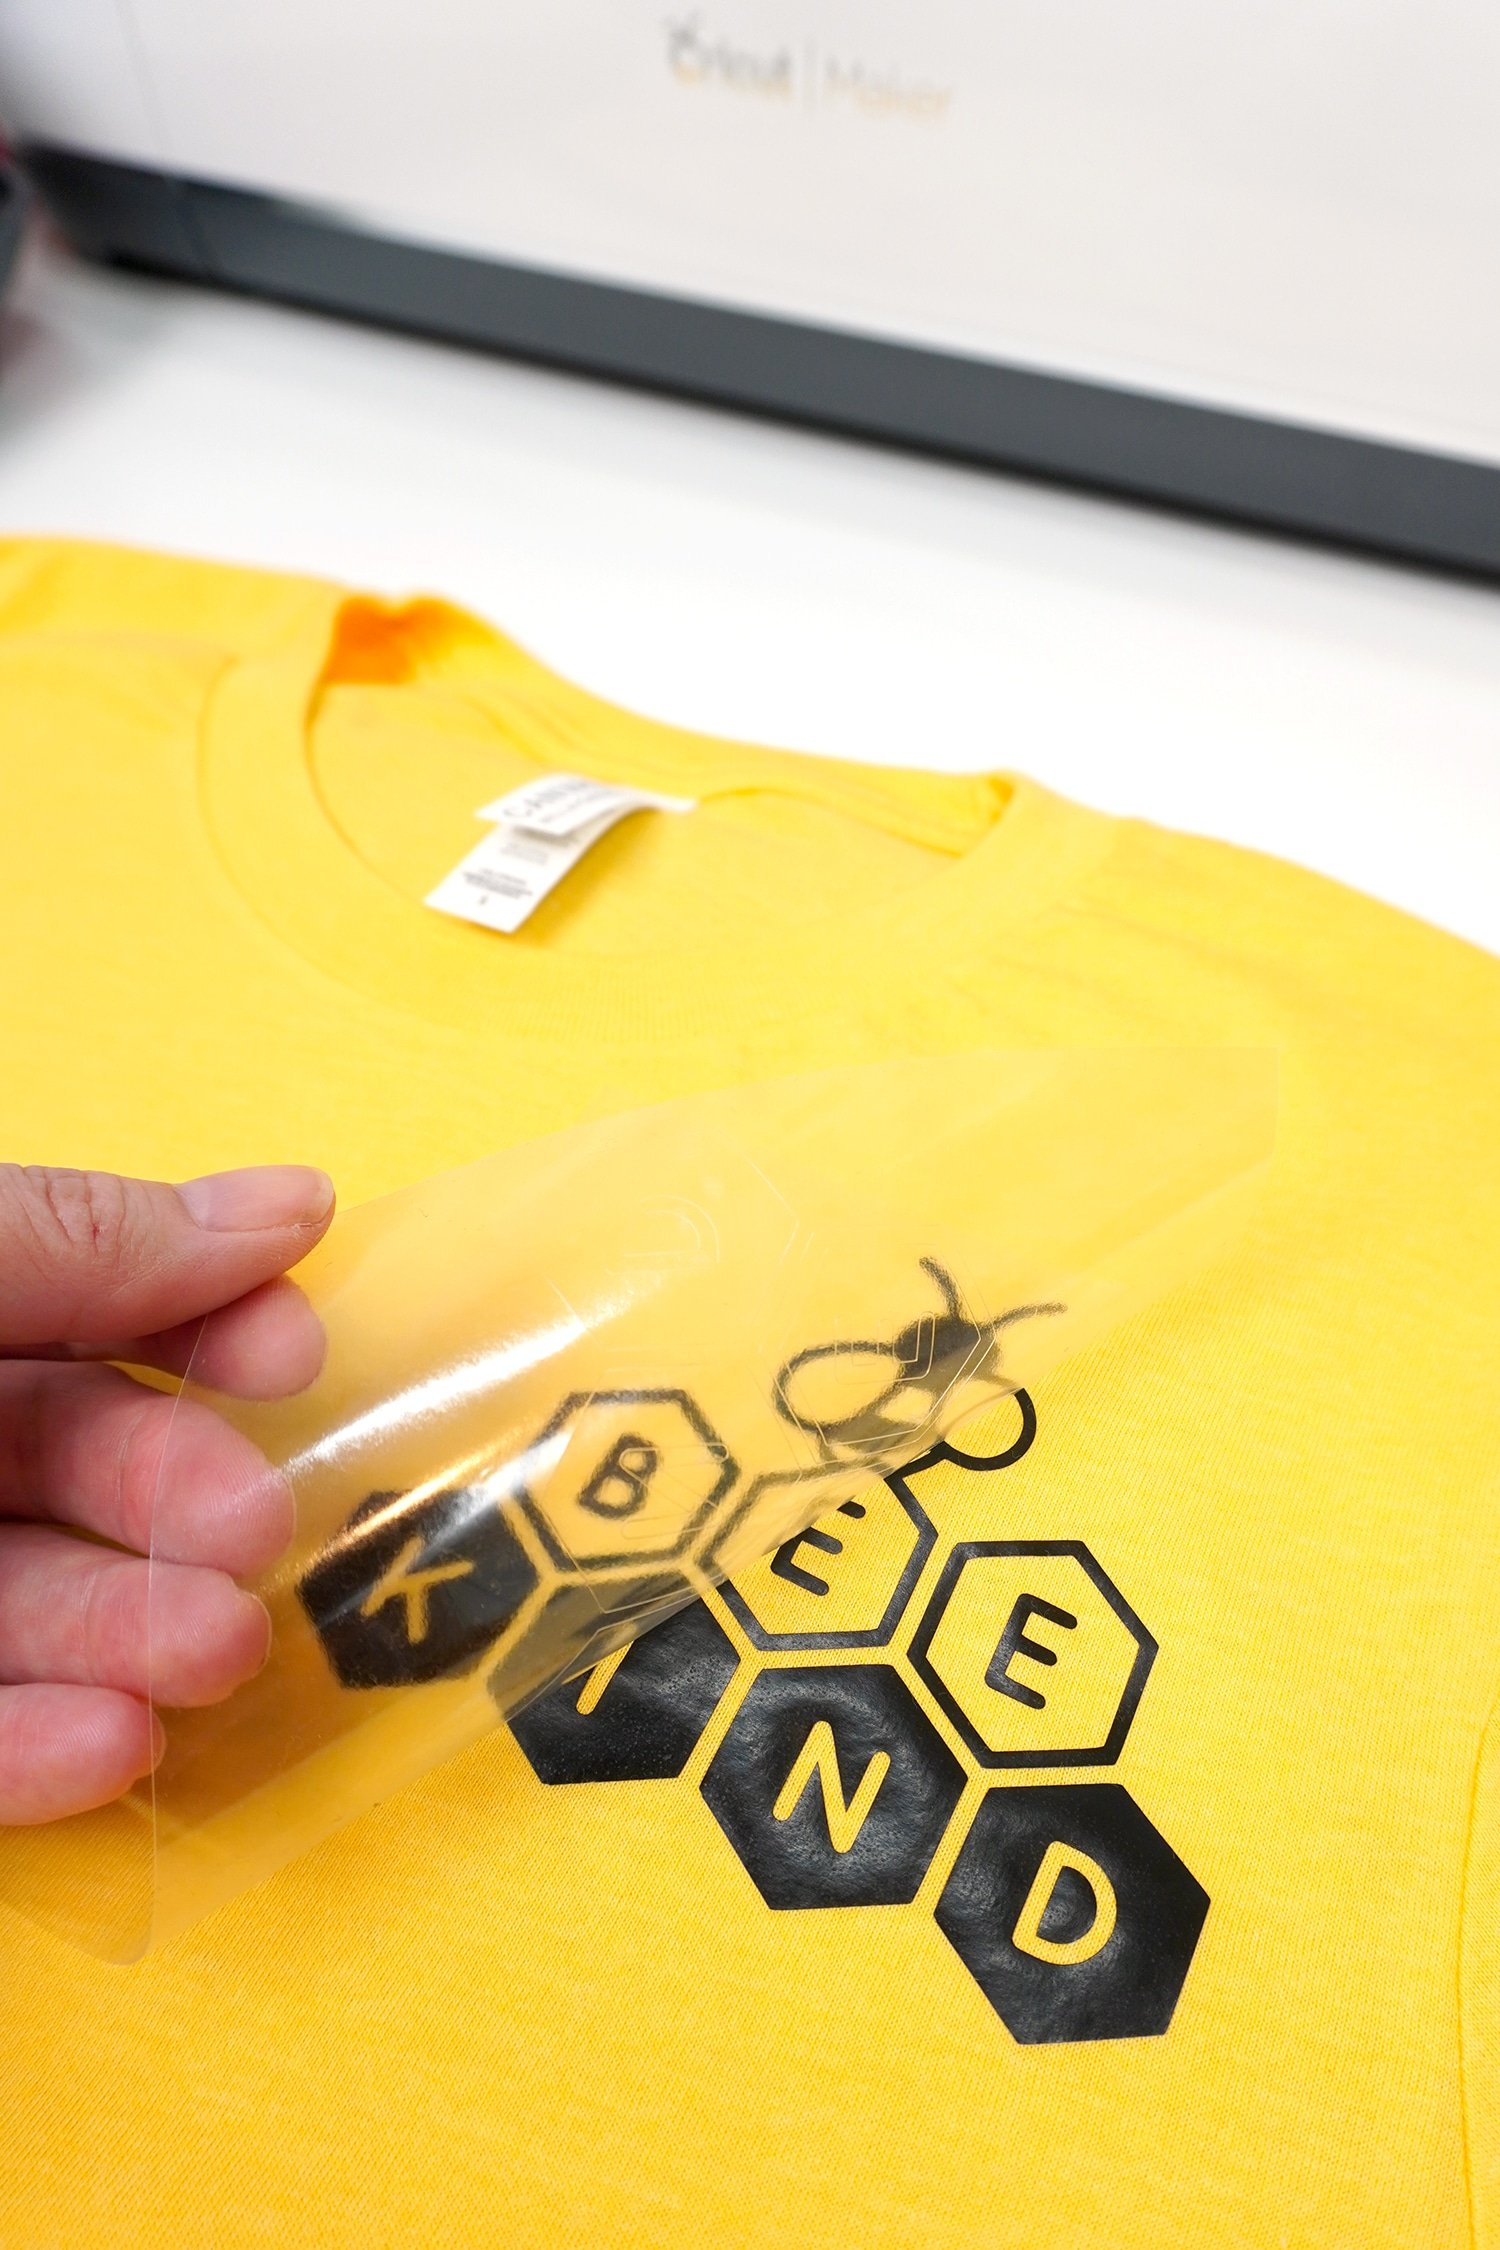
Allow the vinyl to cool before peeling back the plastic carrier sheet.
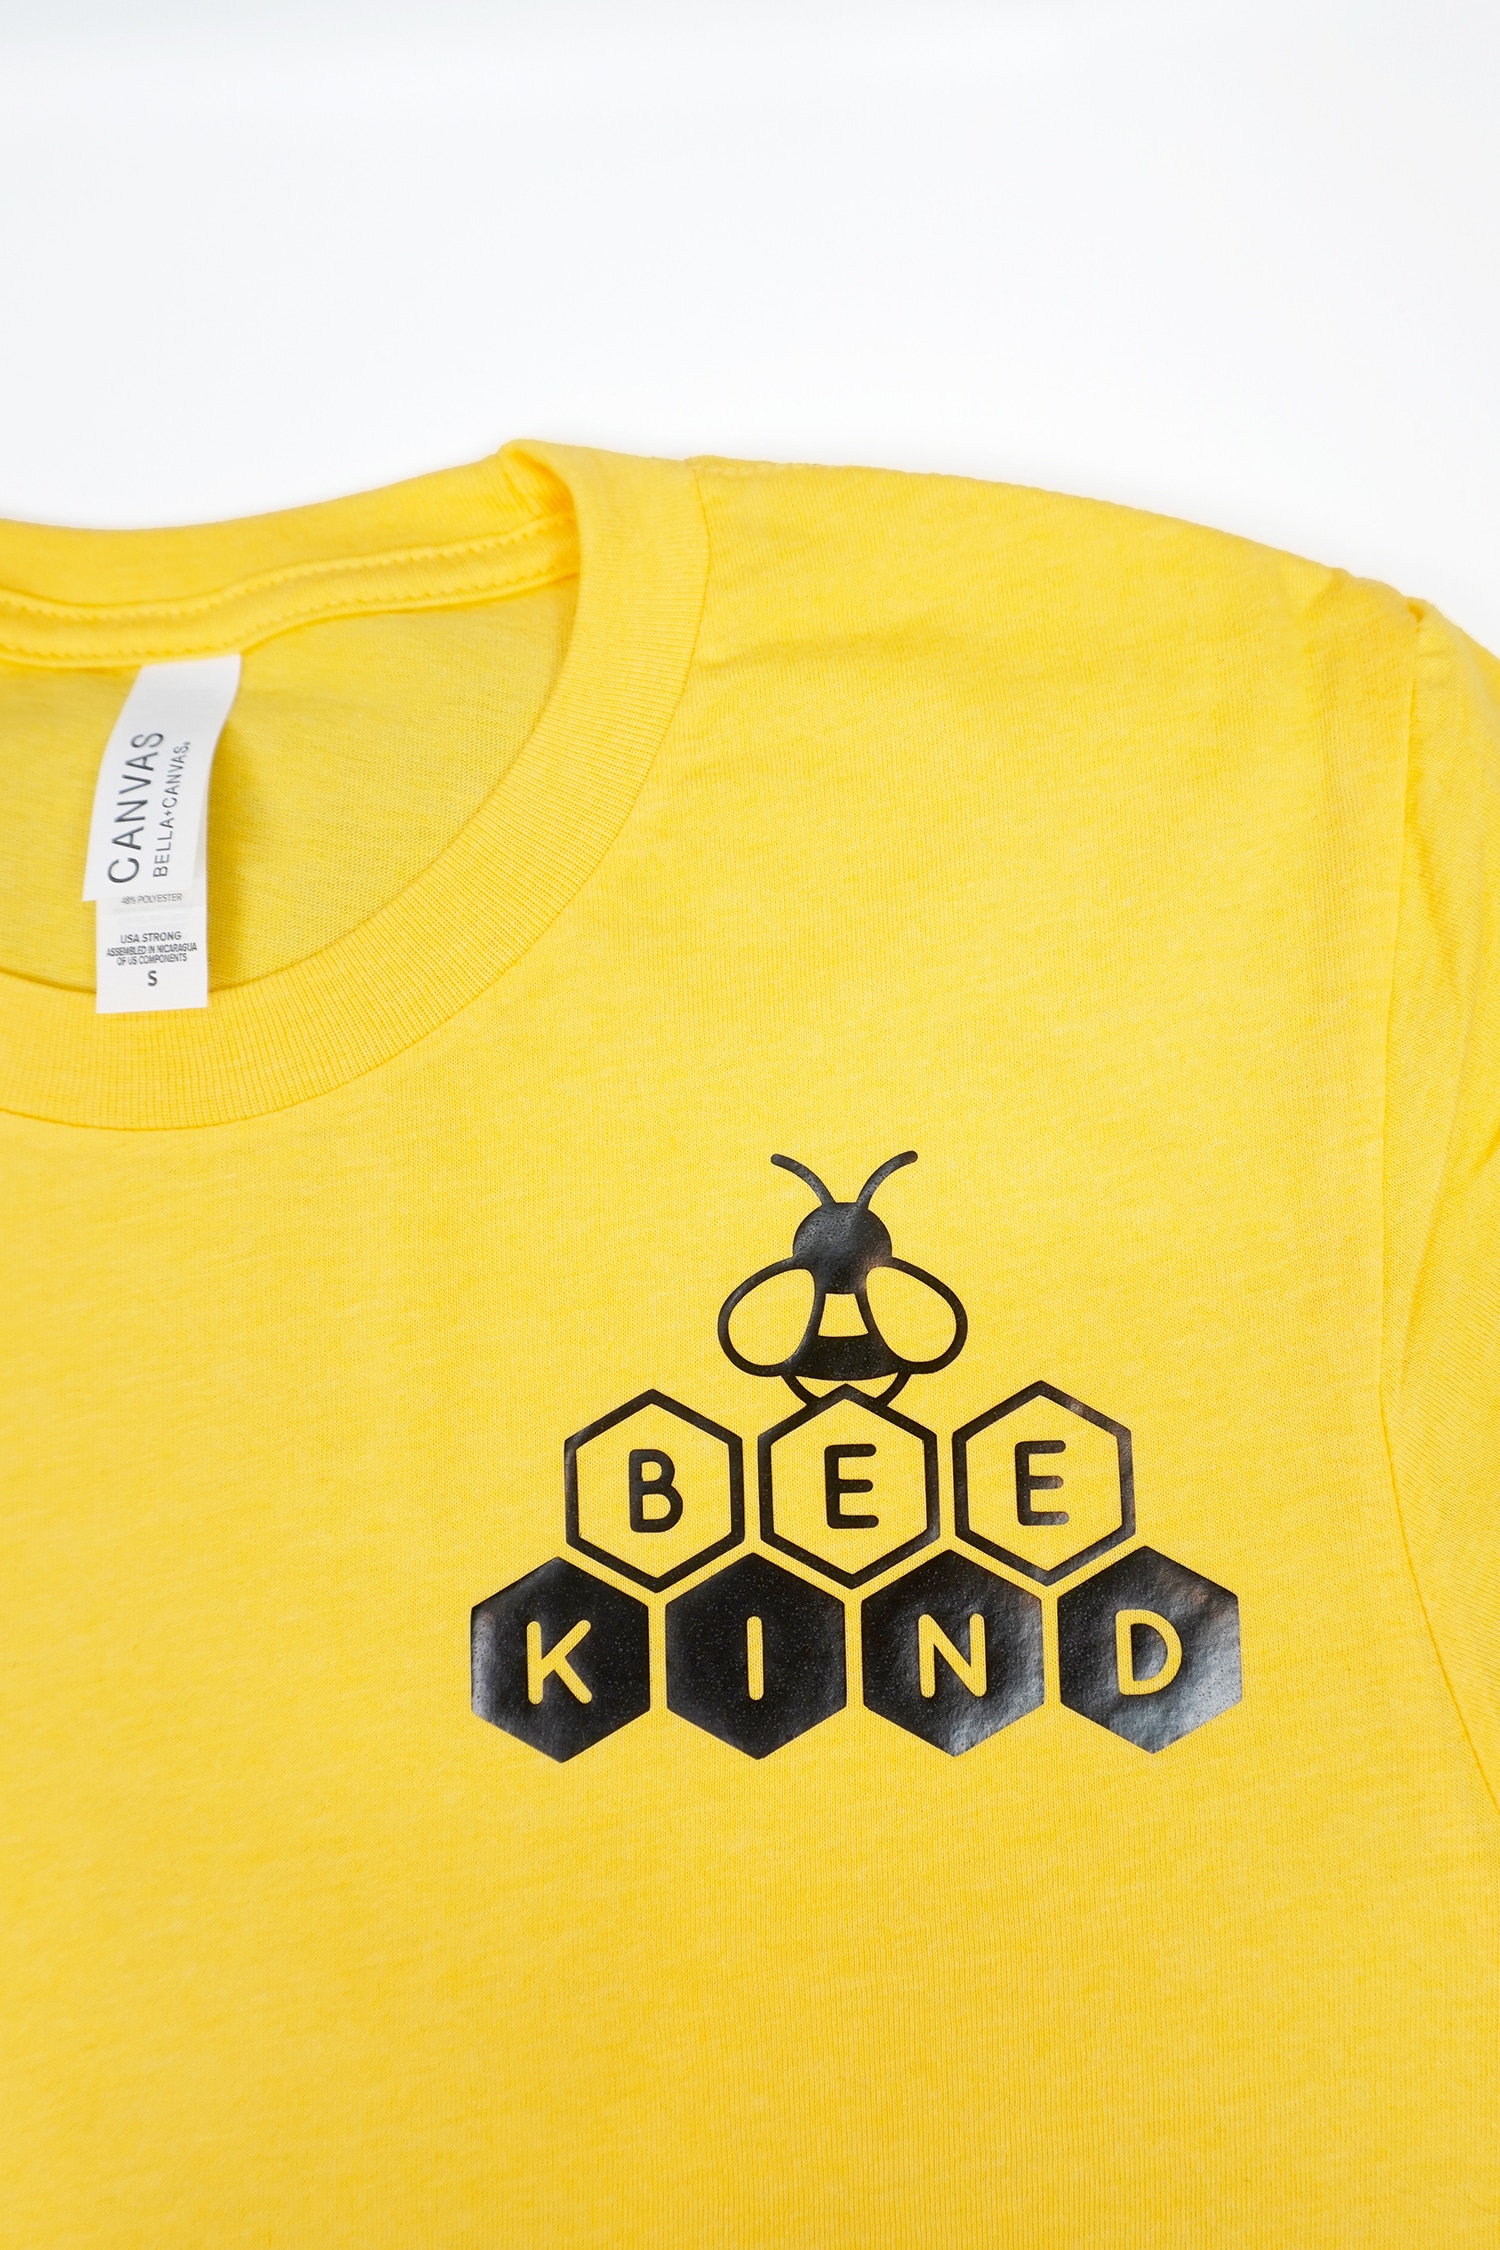
Easy peasy and SUPER cute!
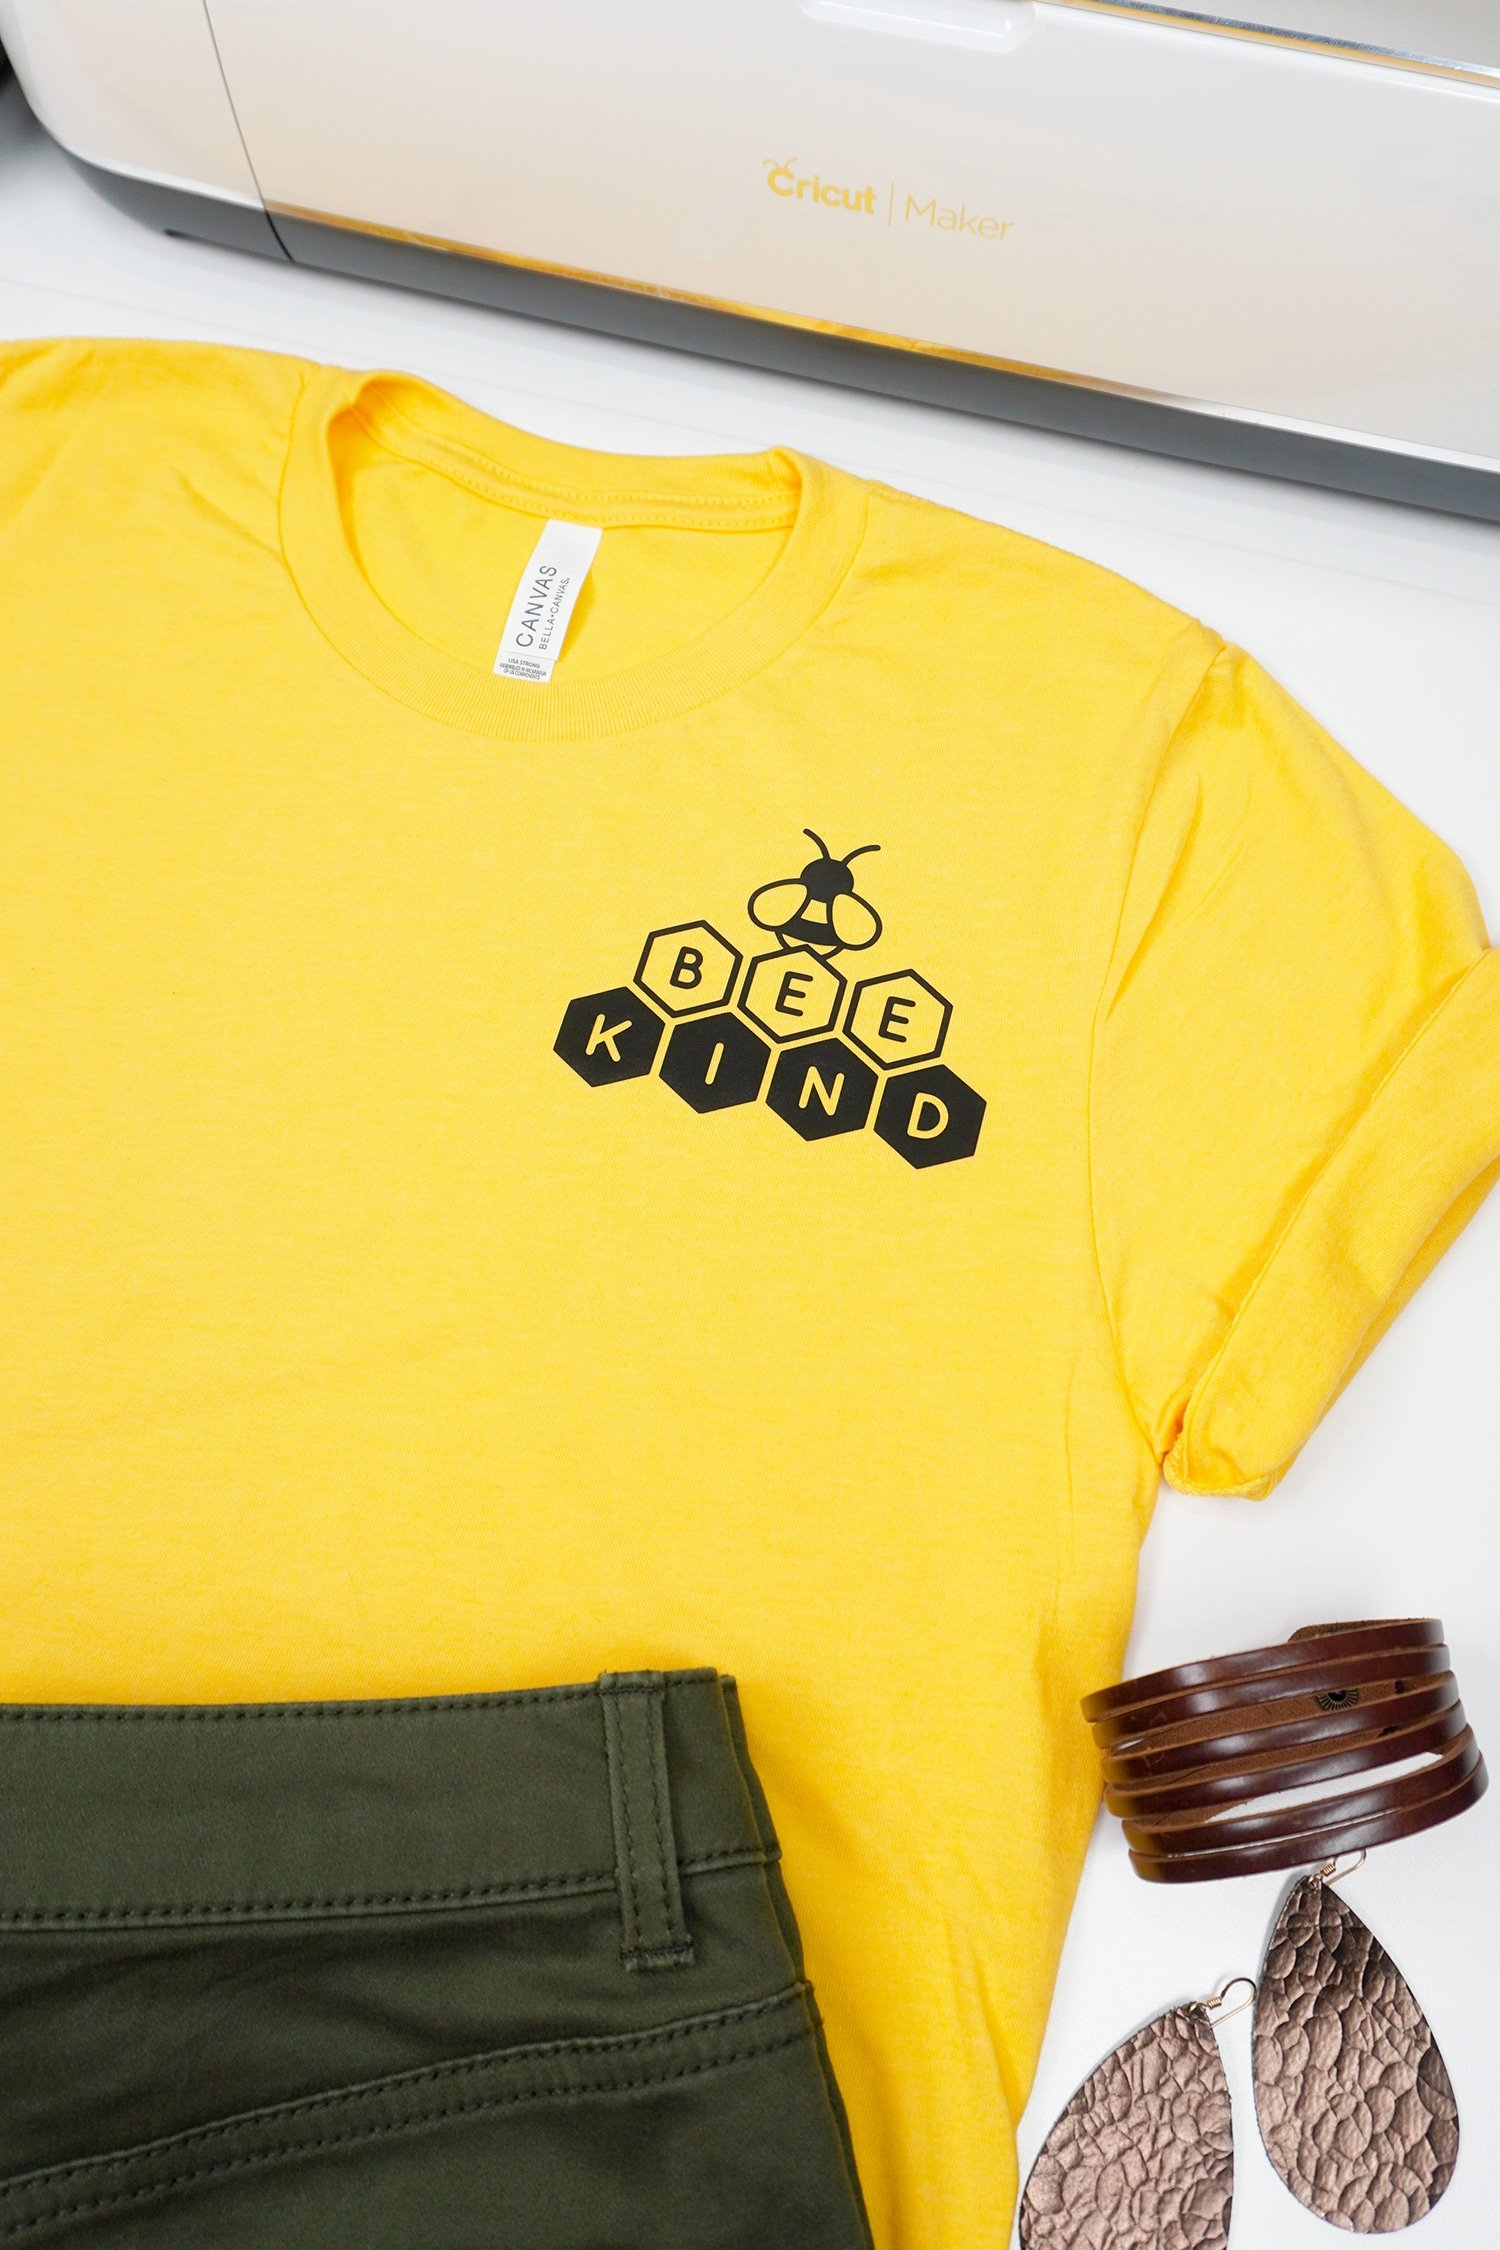
(Psssst…you can make these adorable leather earrings and cuff bracelet with your Cricut Maker as well!)
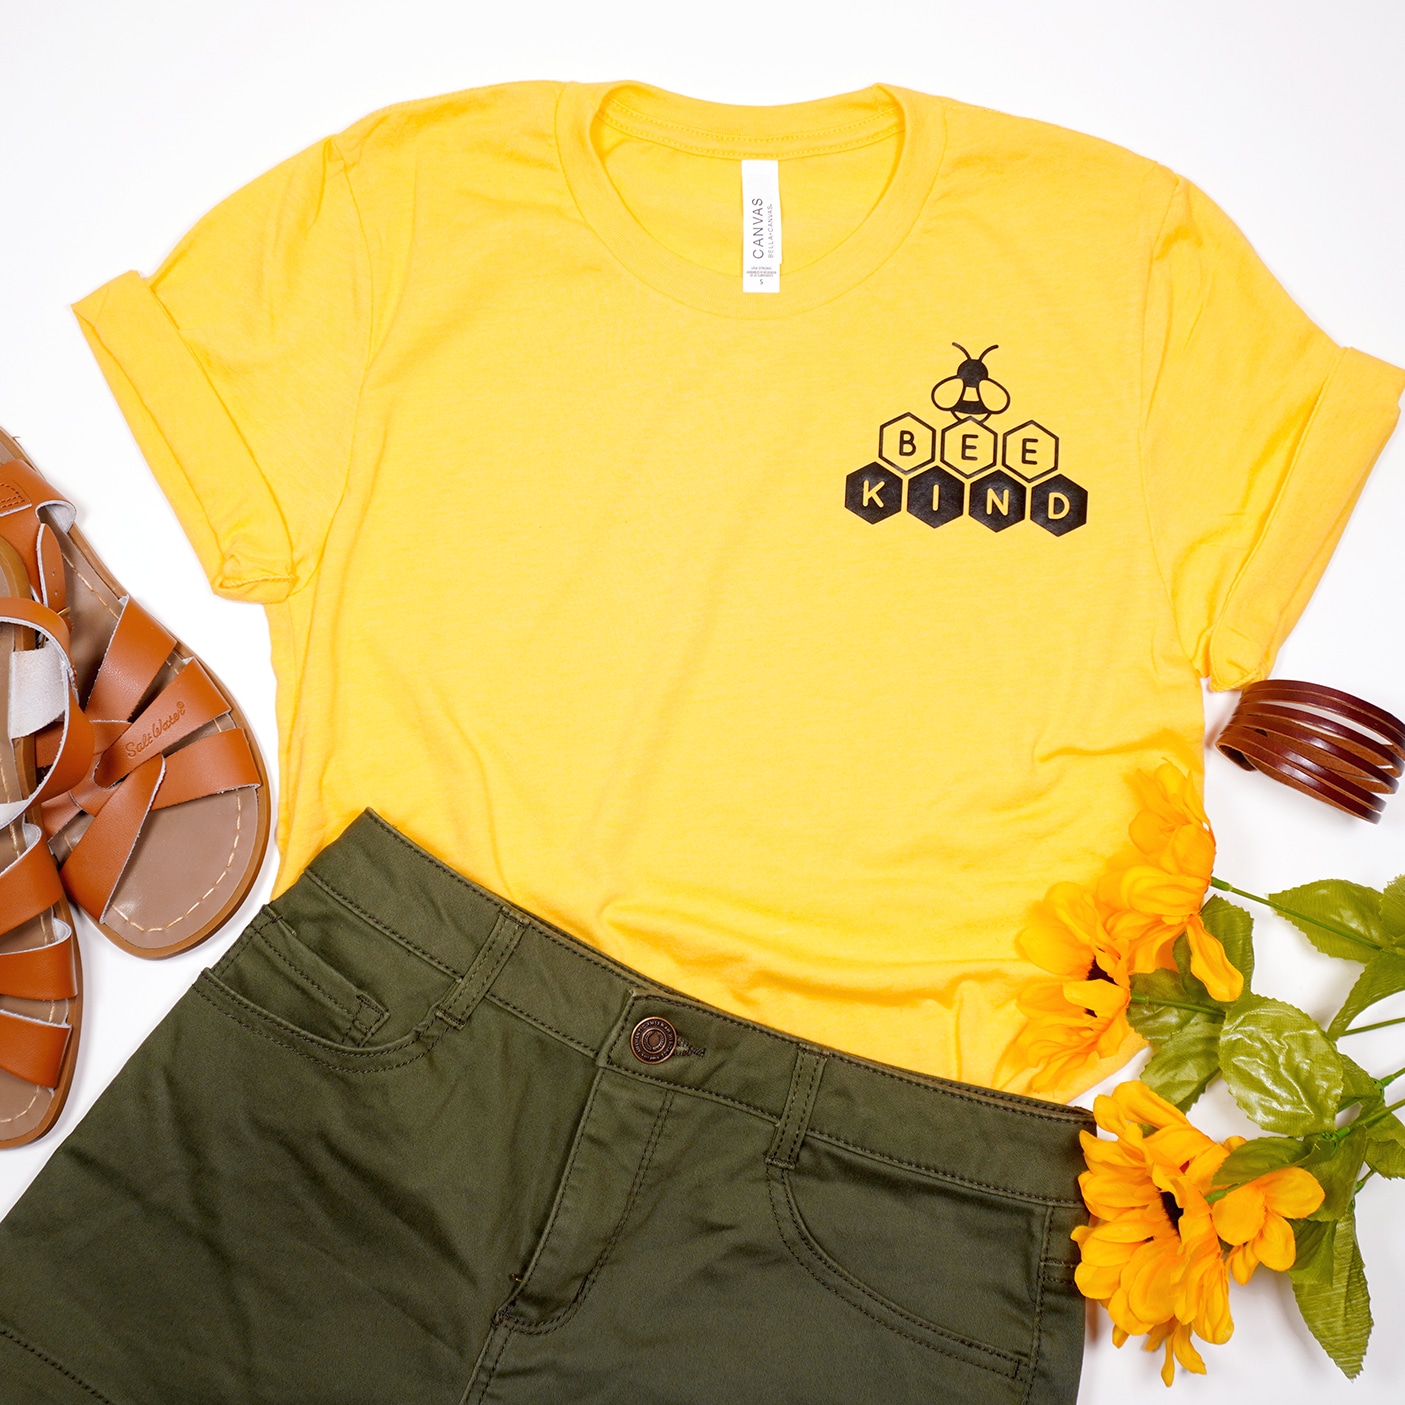
It is SO easy to make your own shirts with your Cricut machine and Iron-On Vinyl! Once you start making your own shirts, you’re going to want to make ALLLLL of them – it’s seriously addictive (and they make great homemade gift ideas for all occasions!)! What are you going to make first?

You May Also Like:
How to Use Iron-On Vinyl on Wood and MDF
How to Use Iron-On Vinyl on Cork
How to Use Iron-On Vinyl on Metal
Don’t Forget to Pin This “How to Use Iron-On HTV” Post for Later!

Heidi Kundin has captivated the hearts of millions with her colorful and inspiring approach to crafting, celebrations, and family fun. With over 15 years of experience, Happiness is Homemade has become a must-visit destination for those seeking quick and easy creative ideas and last-minute solutions. Heidi’s warm personality shines through her posts, inviting readers to join her on a creative journey that’s fun, rewarding, and achievable. Heidi is also the author of Homemade Bath Bombs & More and DIY Tie-Dye.


