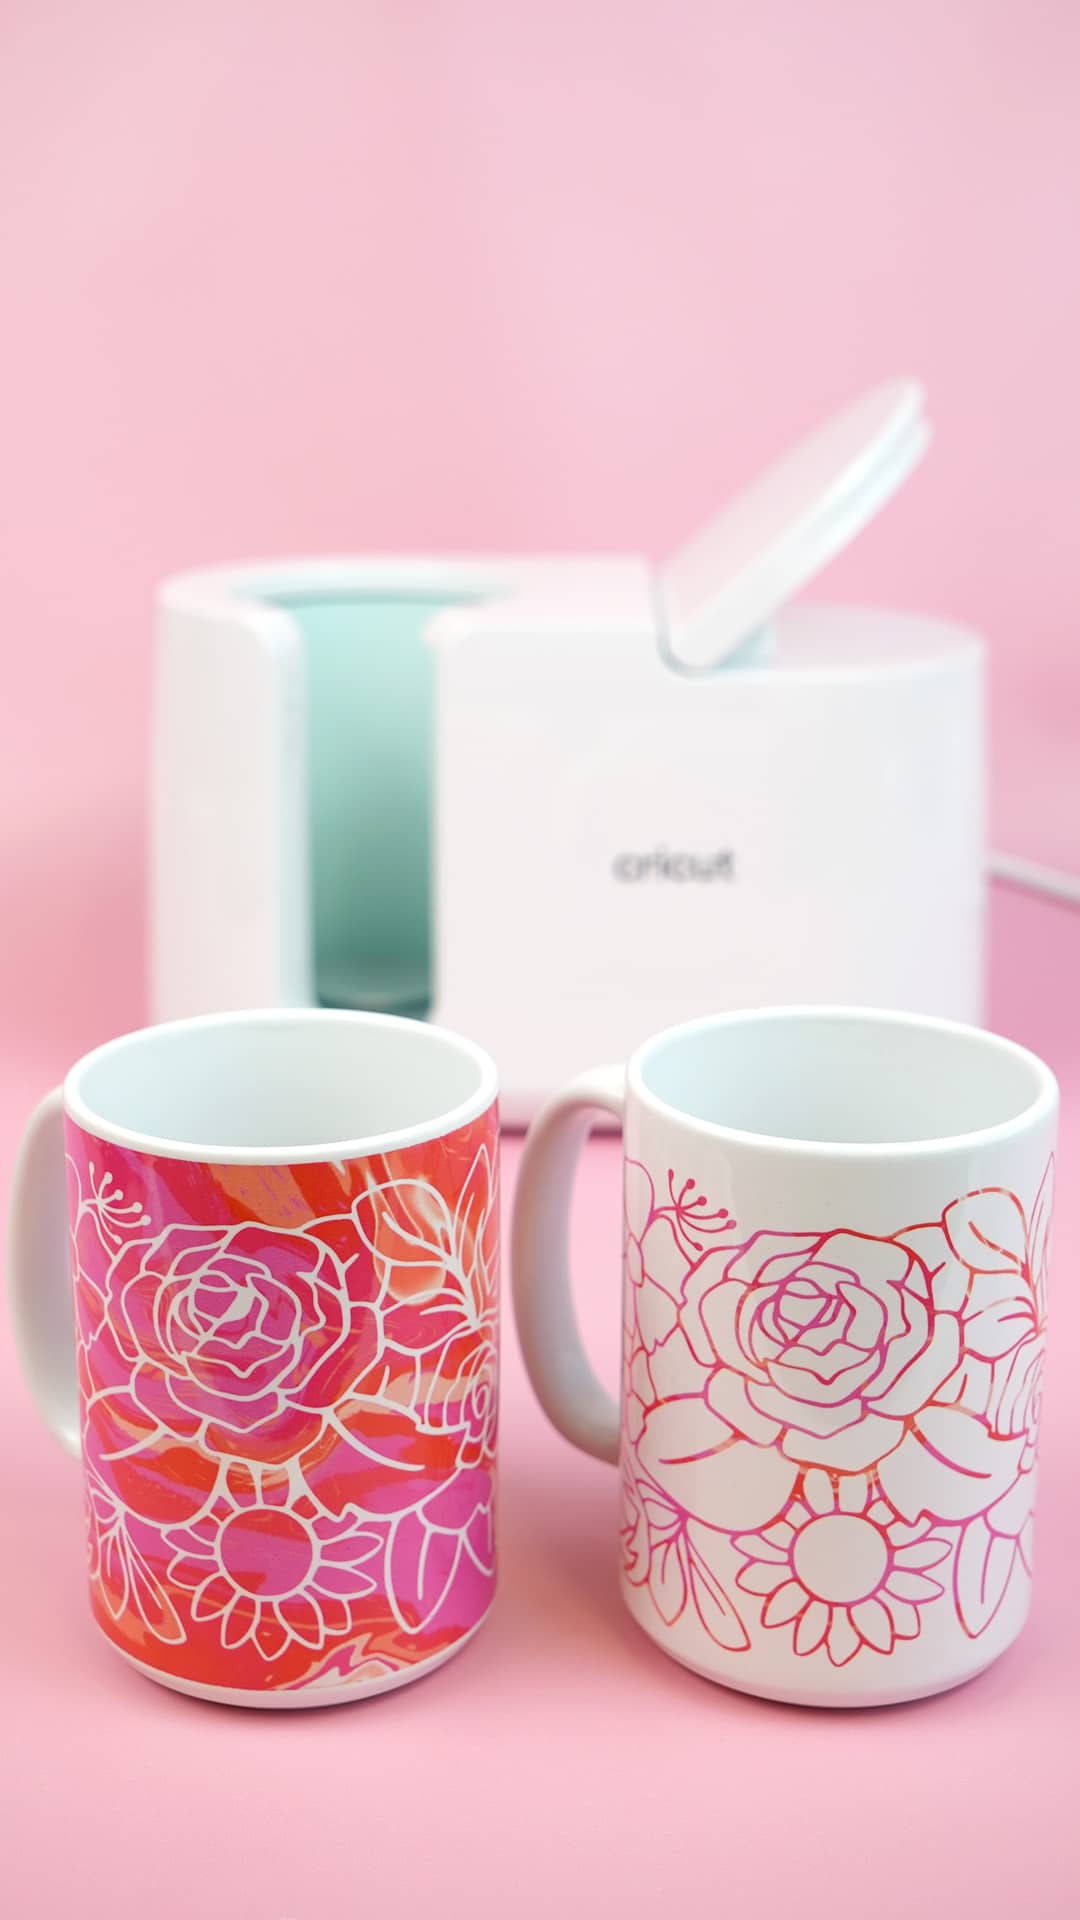
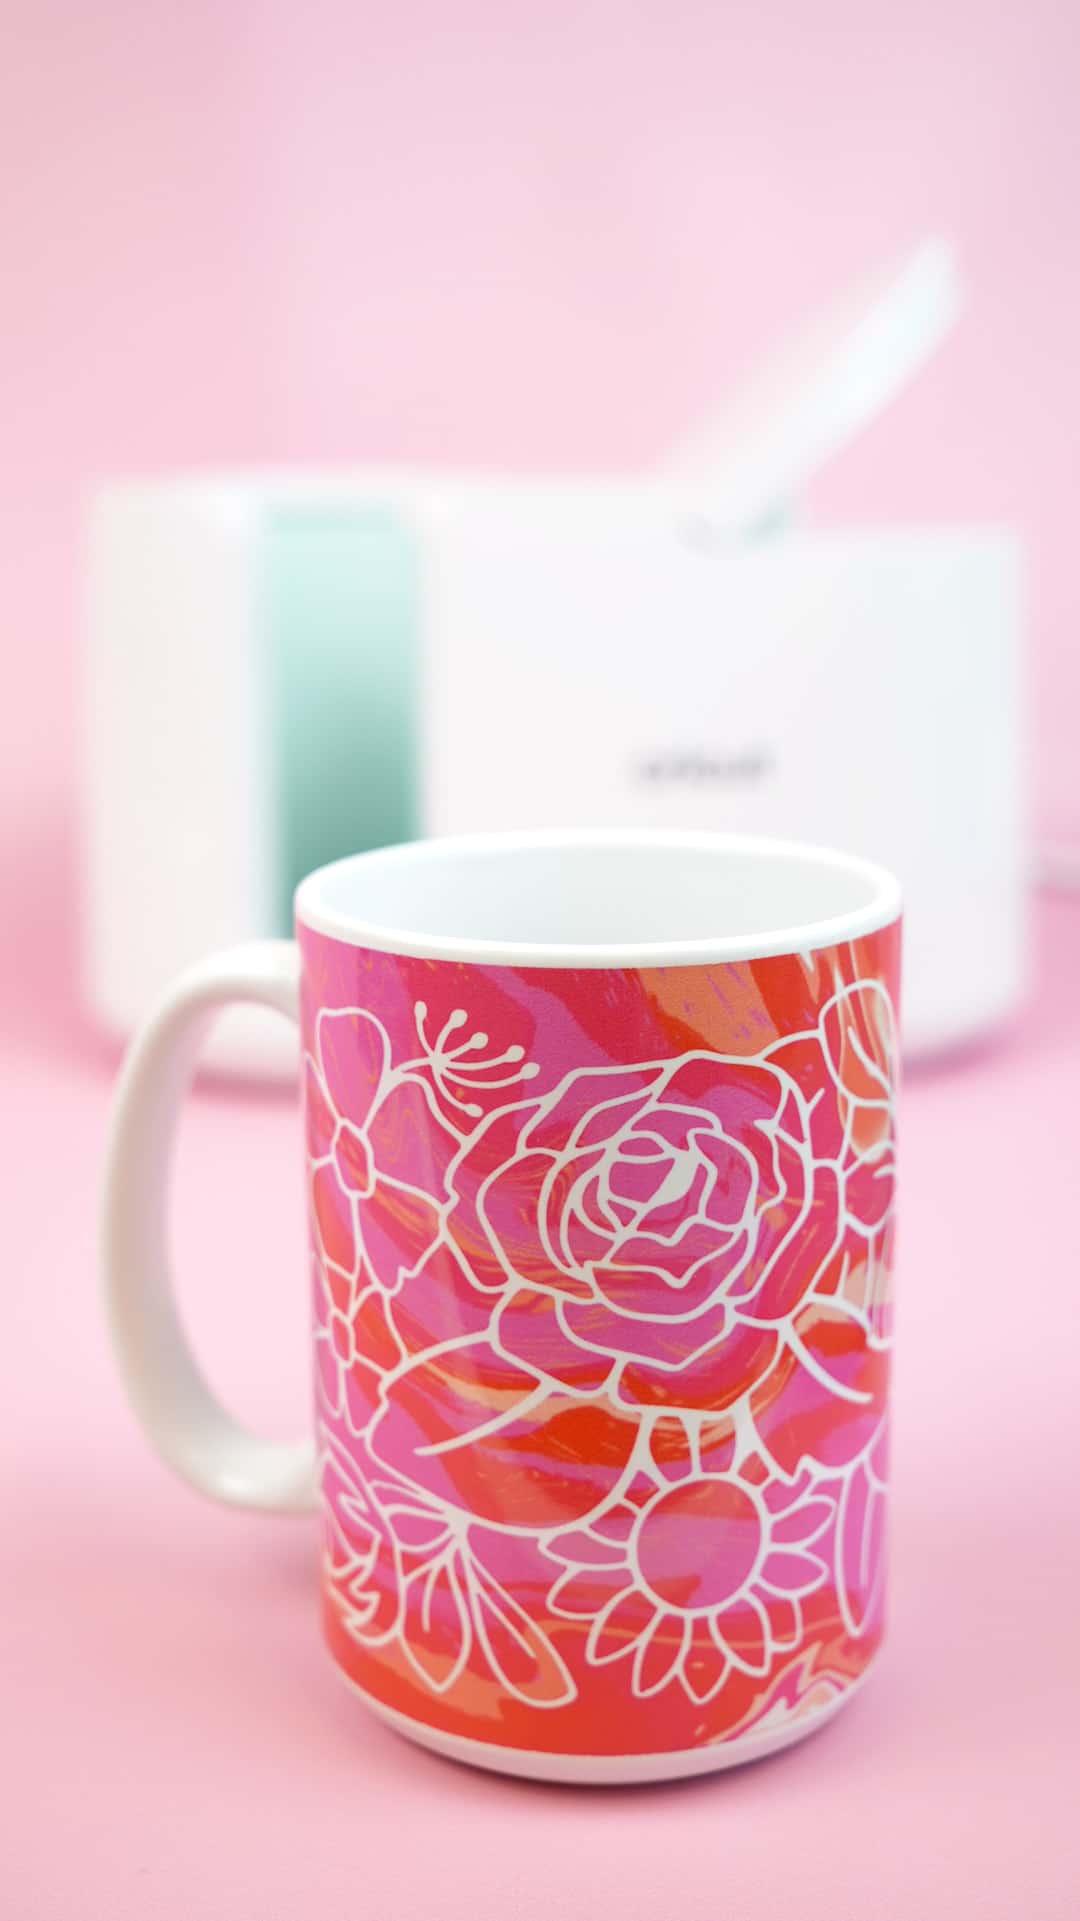
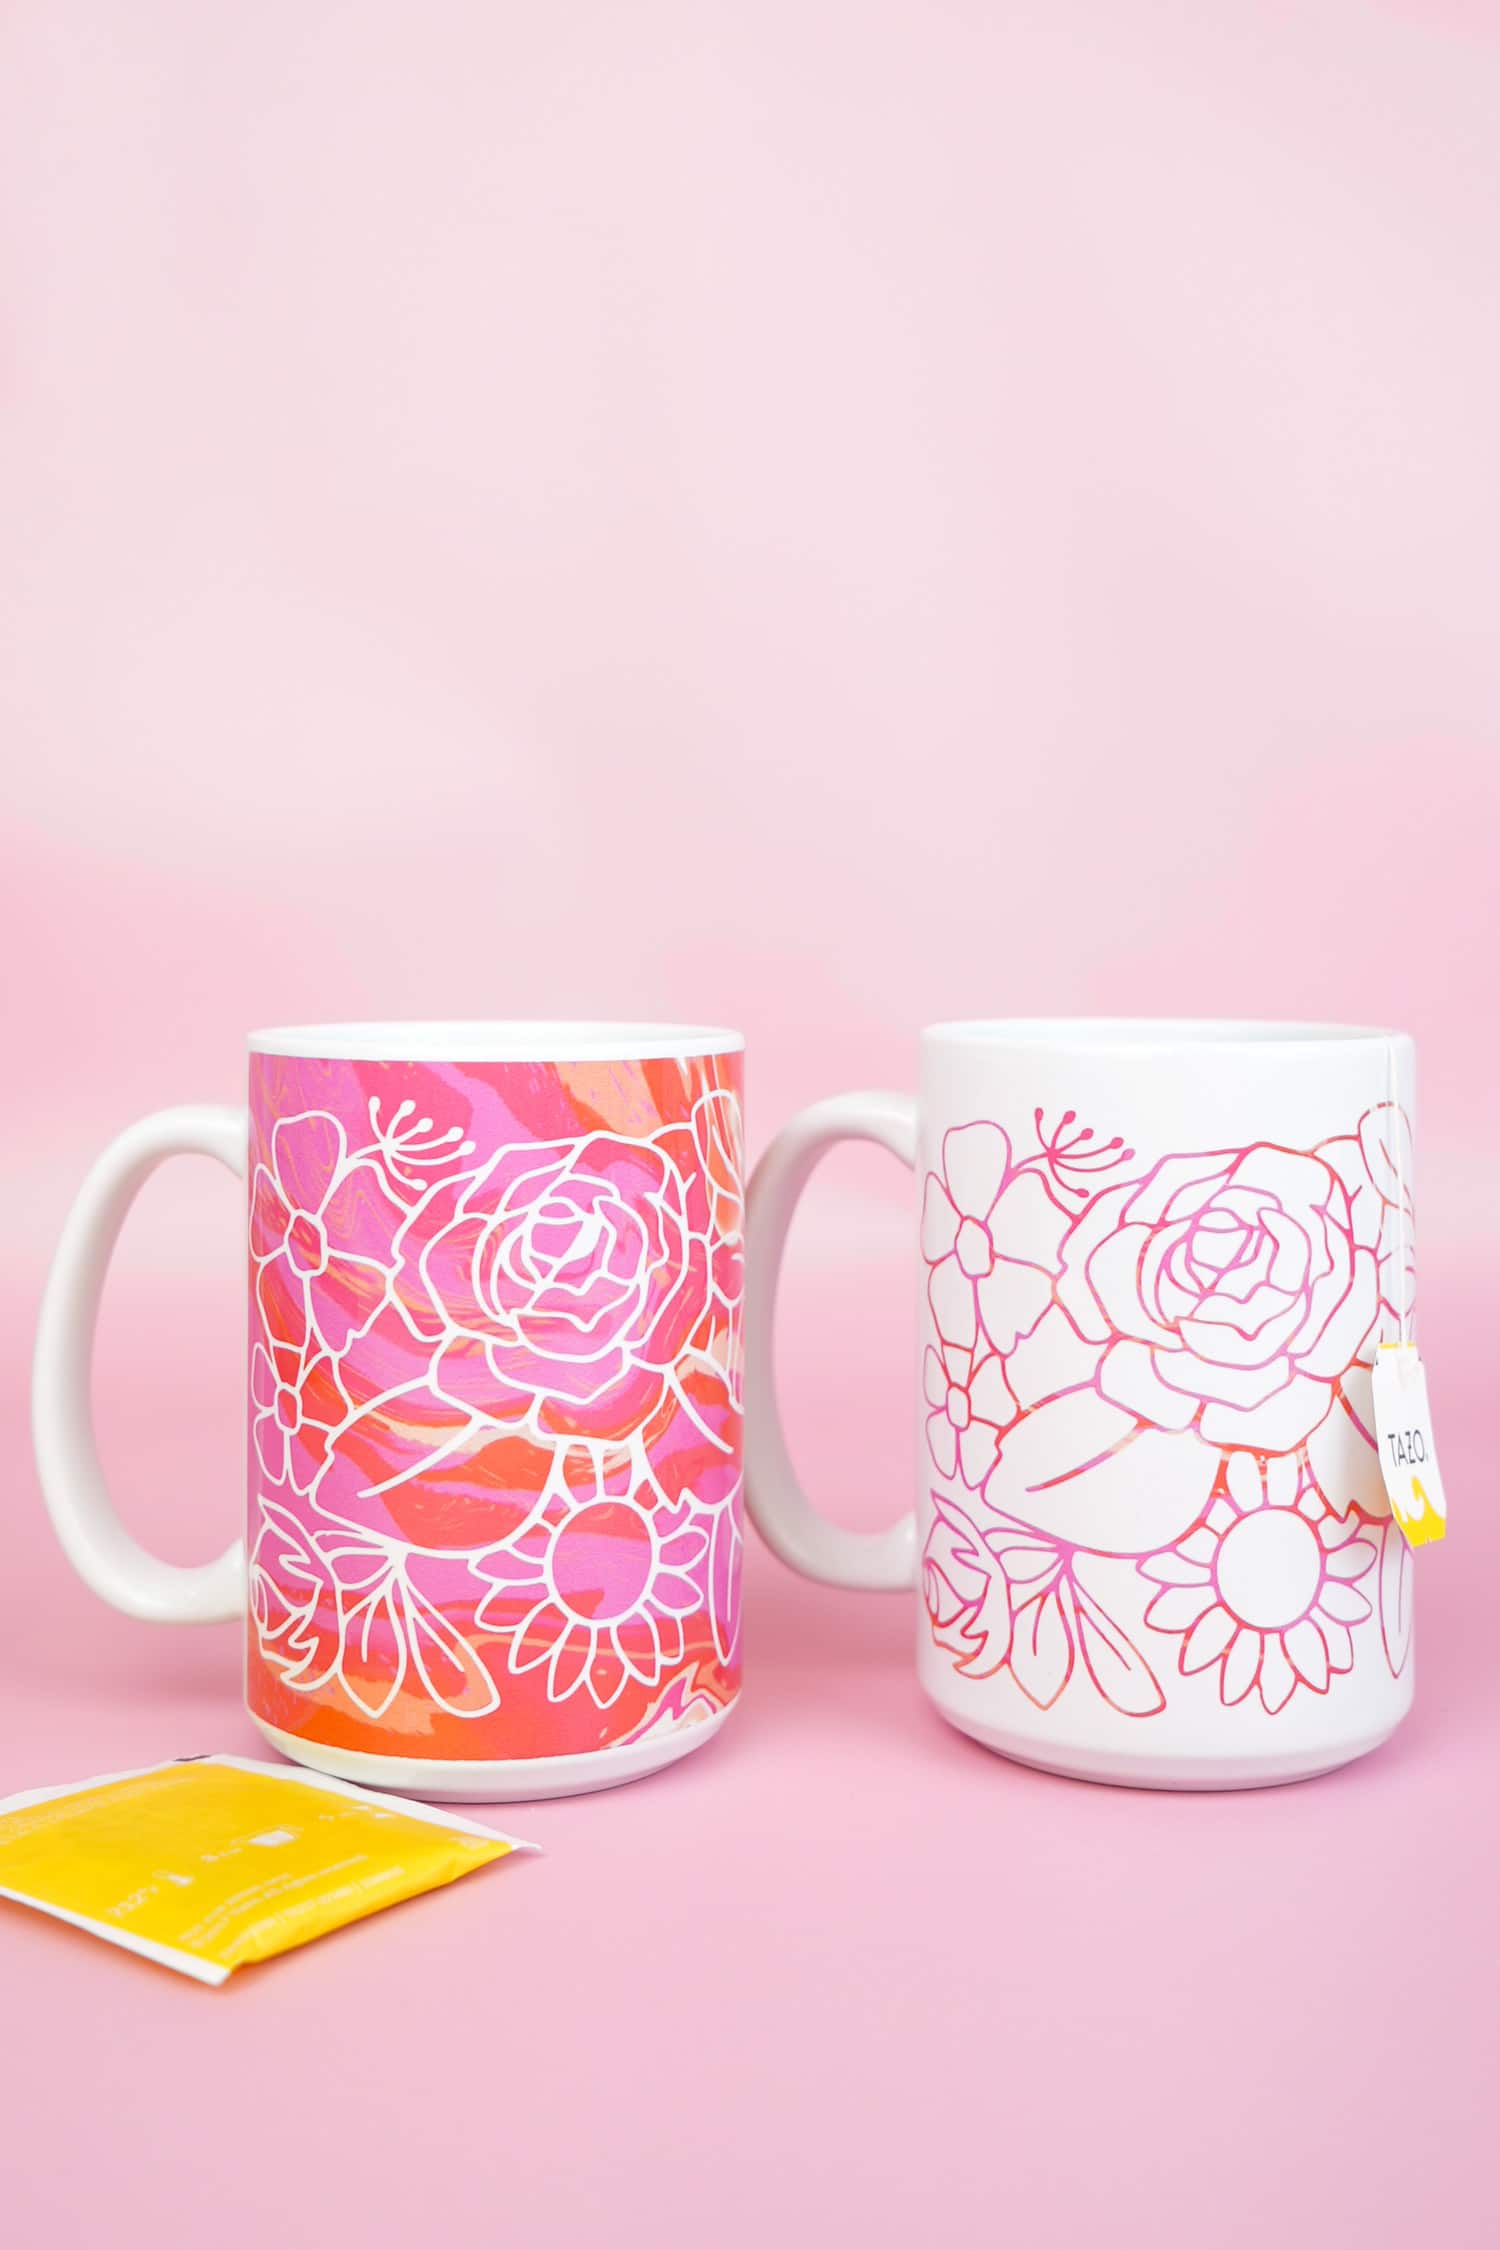
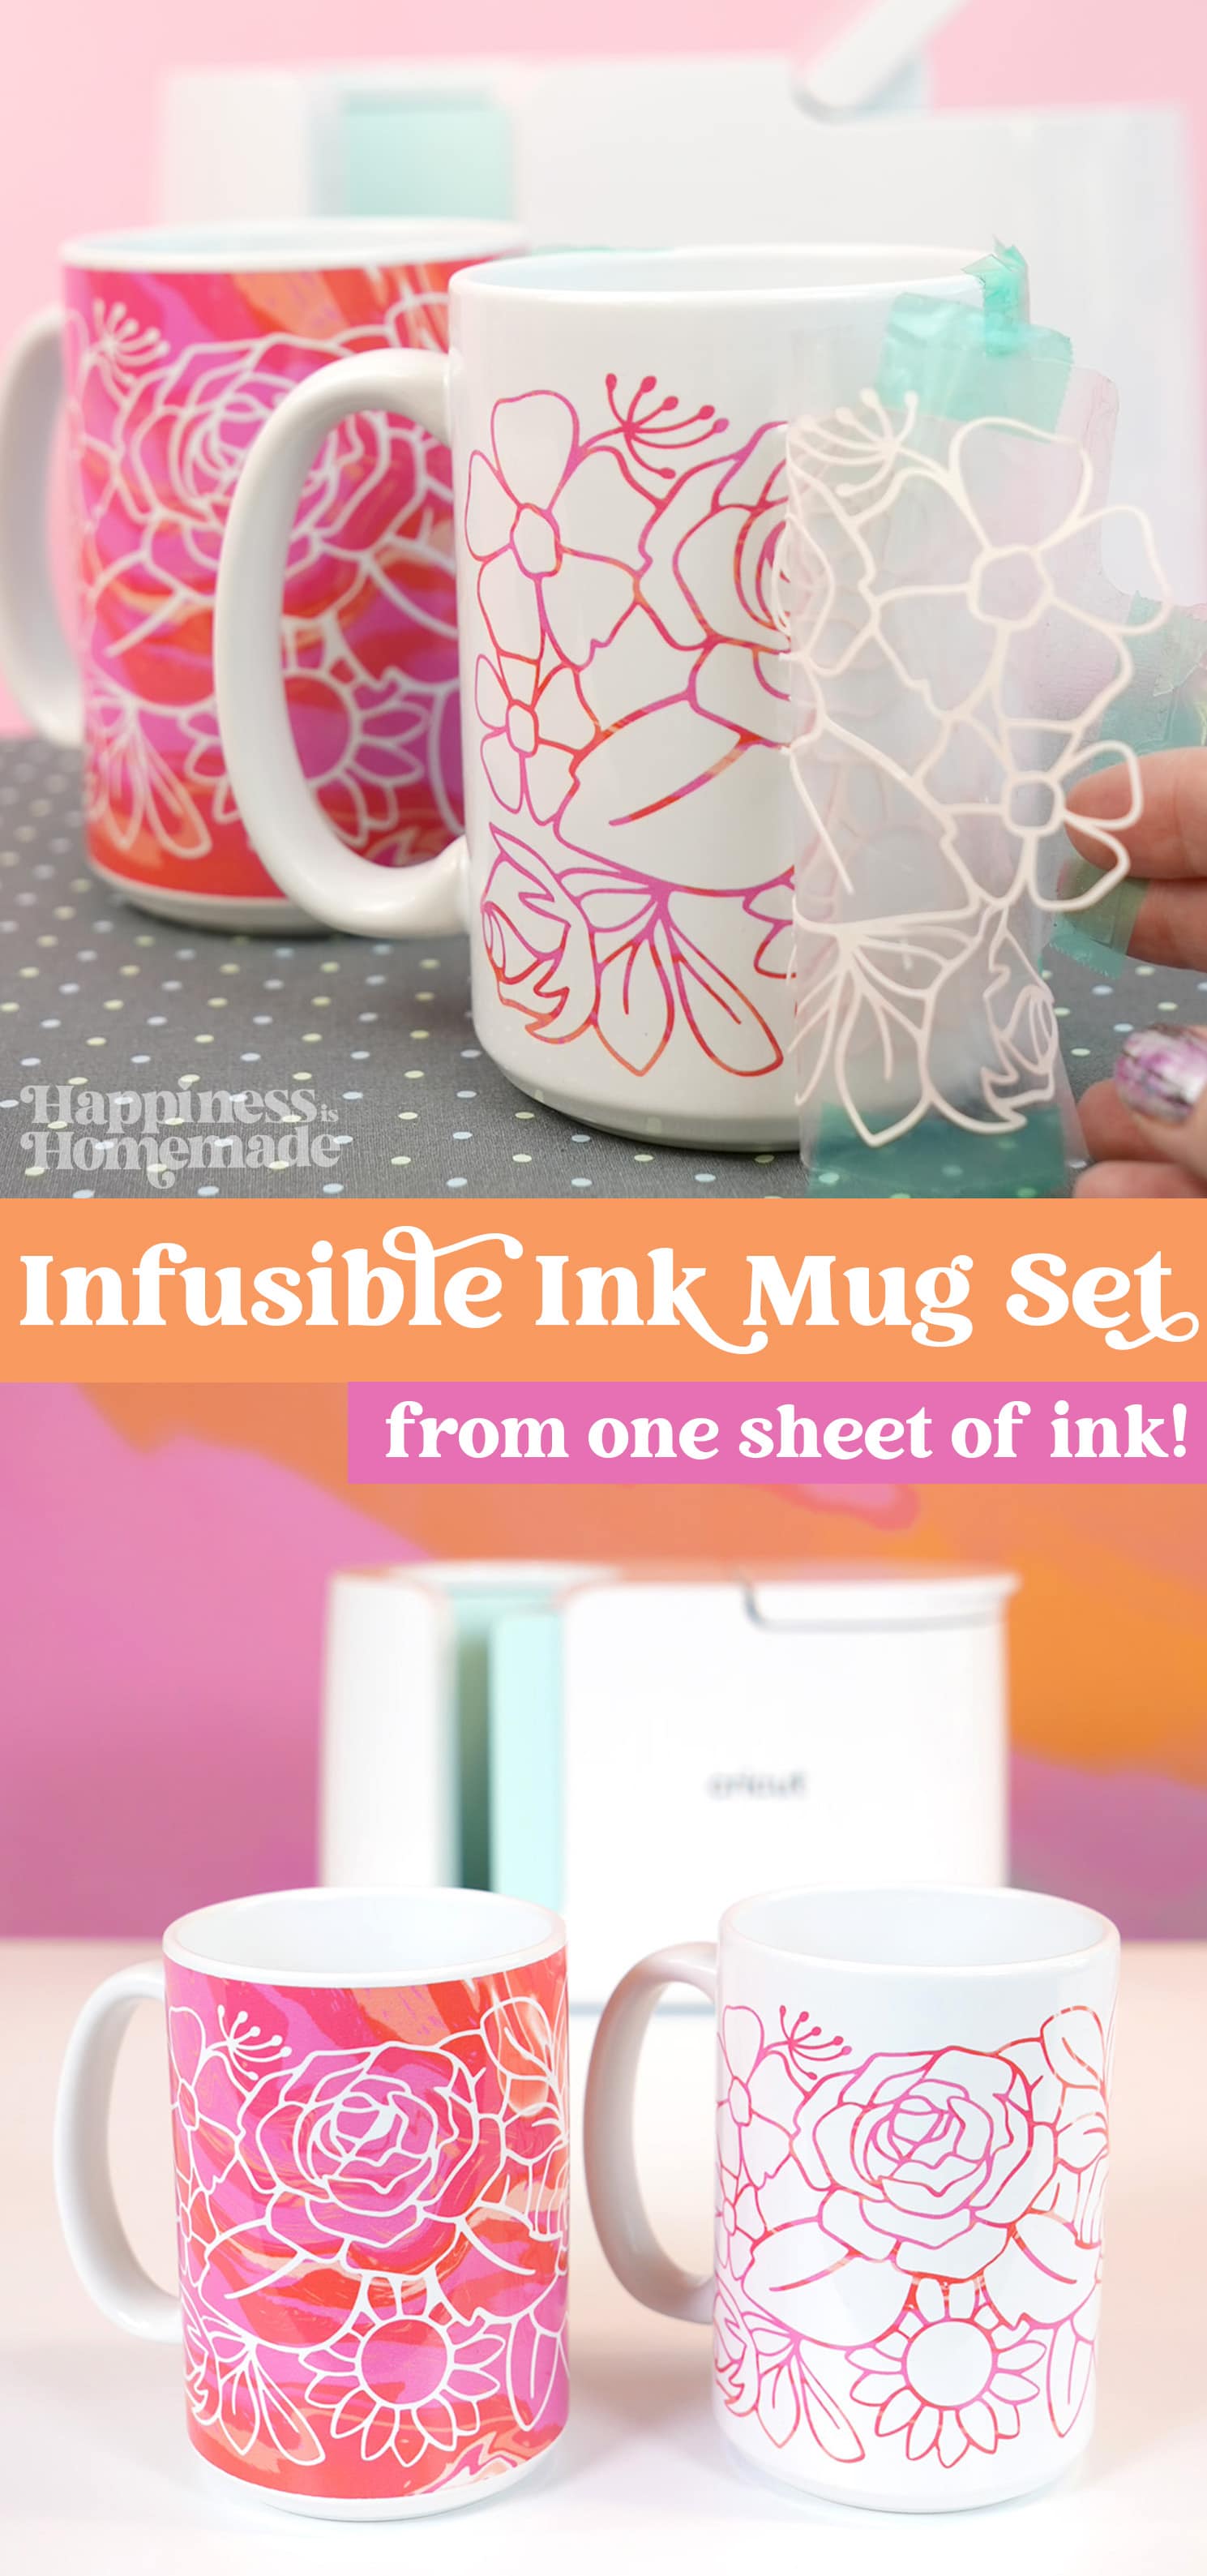
Learn how to make this cute Infusible Ink mug set with the Cricut Mug Press (and just one single sheet of Infusible Ink!). They’re so fun and easy, and they make a great gift idea, too!
This post may contain affiliate links. I will receive a small commission from these sales at no additional cost to you! Thank you to Michaels for providing me with supplies for this post!
If you’re looking for a fun DIY gift idea, look no further than this inverse patterned Infusible Ink mug set!
Whether you’re gifting these to your bestie or your child’s teacher (or even yourself!), they’re sure to be a HUGE hit! With dozens of patterns of Infusible Ink available, the design possibilities for these Infusible Ink mugs are truly limitless!
Learn More About Infusible Ink Here:
How to Make Infusible Ink Mugs with a Cricut Mug Press
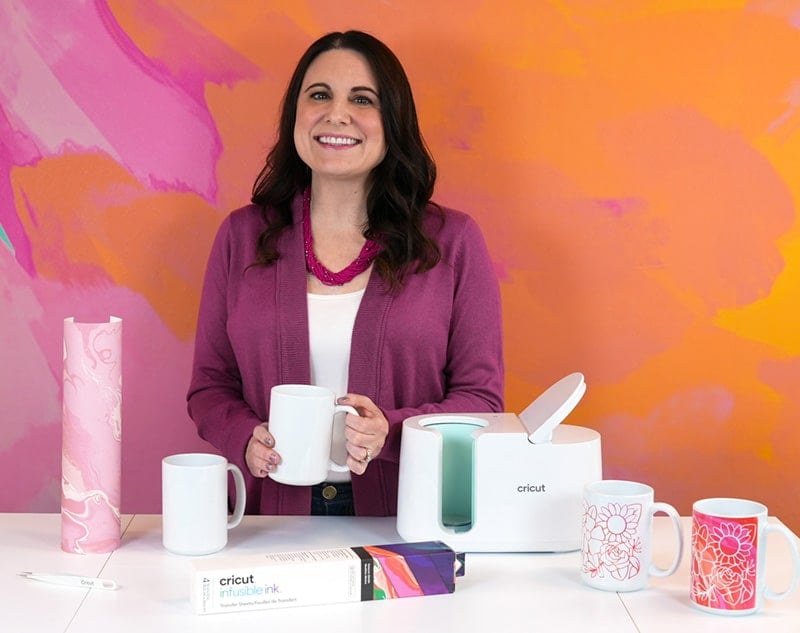
The best part about this DIY project is that you only need ONE small piece of Infusible Ink to make both mugs, so there’s hardly any waste, and you make the most of your materials!
Supplies Needed:
- Cricut Infusible Ink Transfer Sheet (I used the Marble Patterns set)
- Cricut Machine – Maker, Maker 3, Explore Air 2, Explore 3, or Joy will all work!
- Cricut Mug Press
- (2) Sublimation Mug Blanks
- Heat Resistant Tape
- Heat-Resistant Gloves or Pot Holder
- Mat for Cooling
- Butcher Paper (included with Infusible Ink Transfer Sheet)
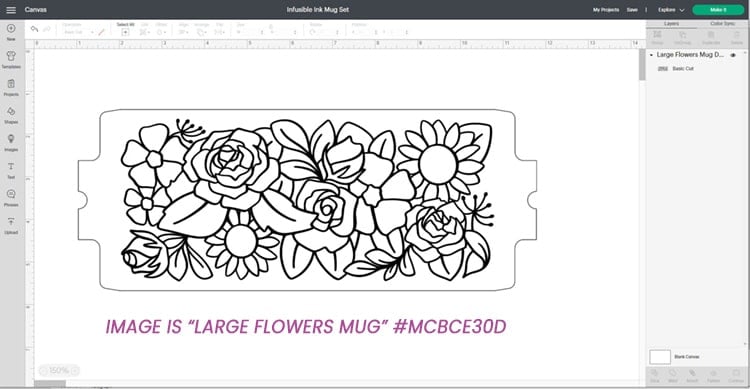
To begin making your Infusible Ink mug set, open up Cricut Design Space and insert your mug design on a new canvas. I used Image #MCBCE30D “Large Flowers Mug” for my mug set here. I chose to use this particular design because the “negative space” image that will be weeded away is all one single connected piece, which will make this whole project quicker and easier!
Once everything is ready, click the green “Make It” button in the upper corner of the screen. Cut a sheet of Infusible Ink just slightly larger than the size of the mug design (I used a 5″ x 11″ sized piece) and place the ink sheet on a cutting mat.
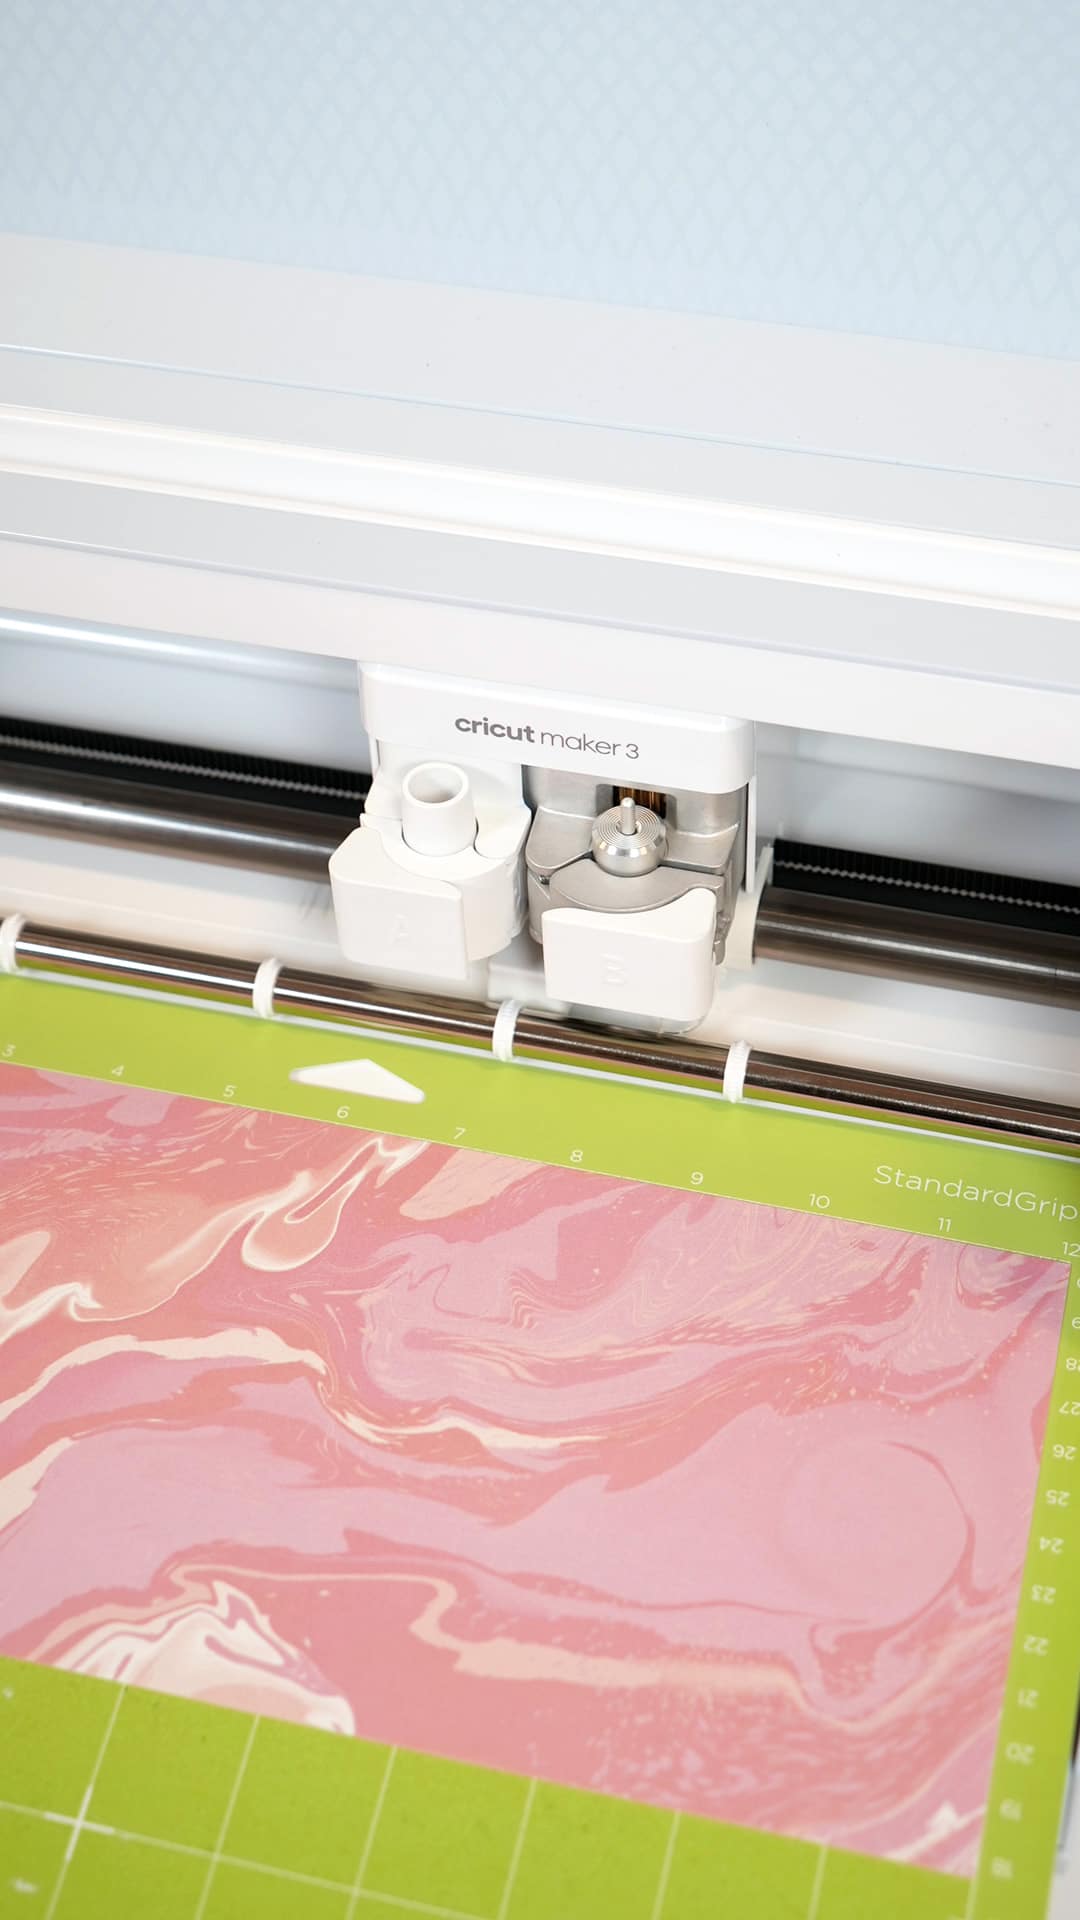
Cut the sheet of Infusible Ink with your Cricut machine – I’m using my Maker 3 here.
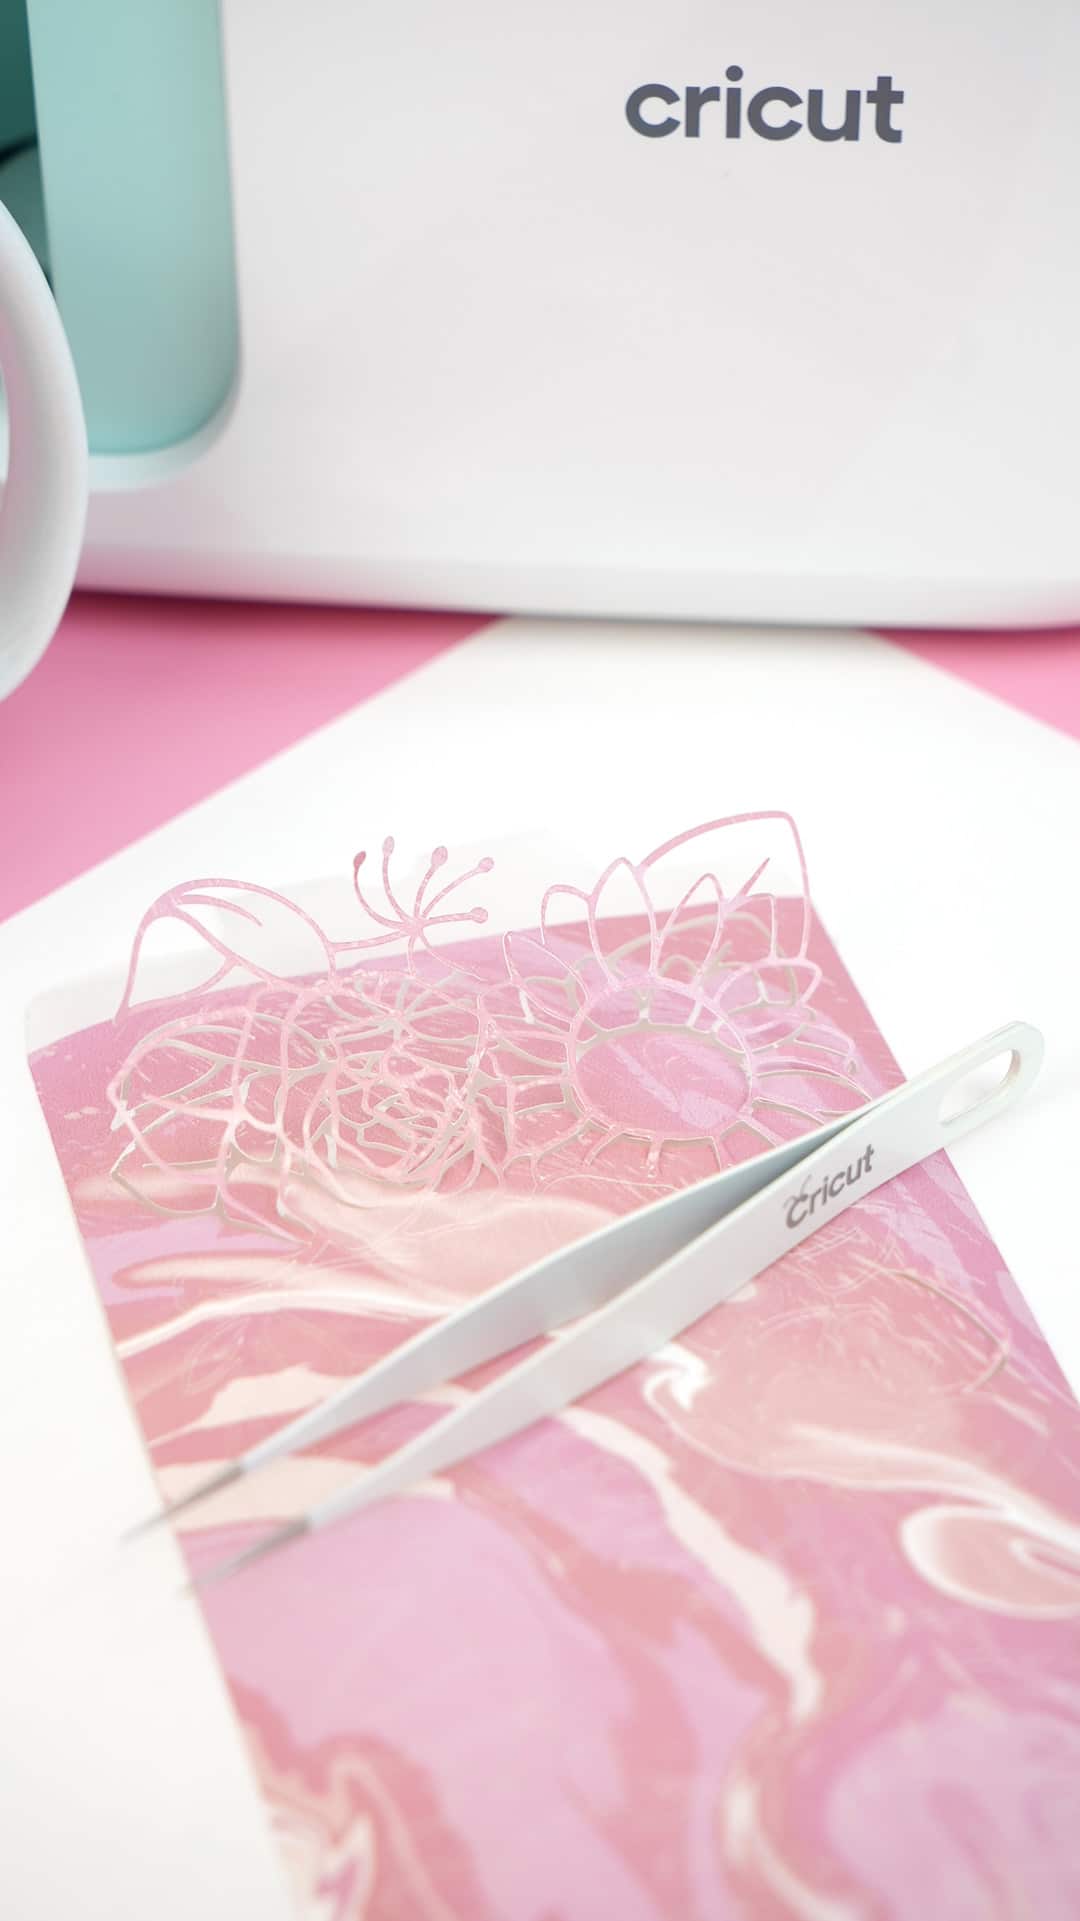
Carefully weed the Infusible Ink sheet using your hands or tweezers.
Note: Do NOT use traditional weeding tools to weed Infusible Ink! Doing so may result in small amounts of ink being pressed into the plastic backing sheet, and that ink WILL transfer to your blank!
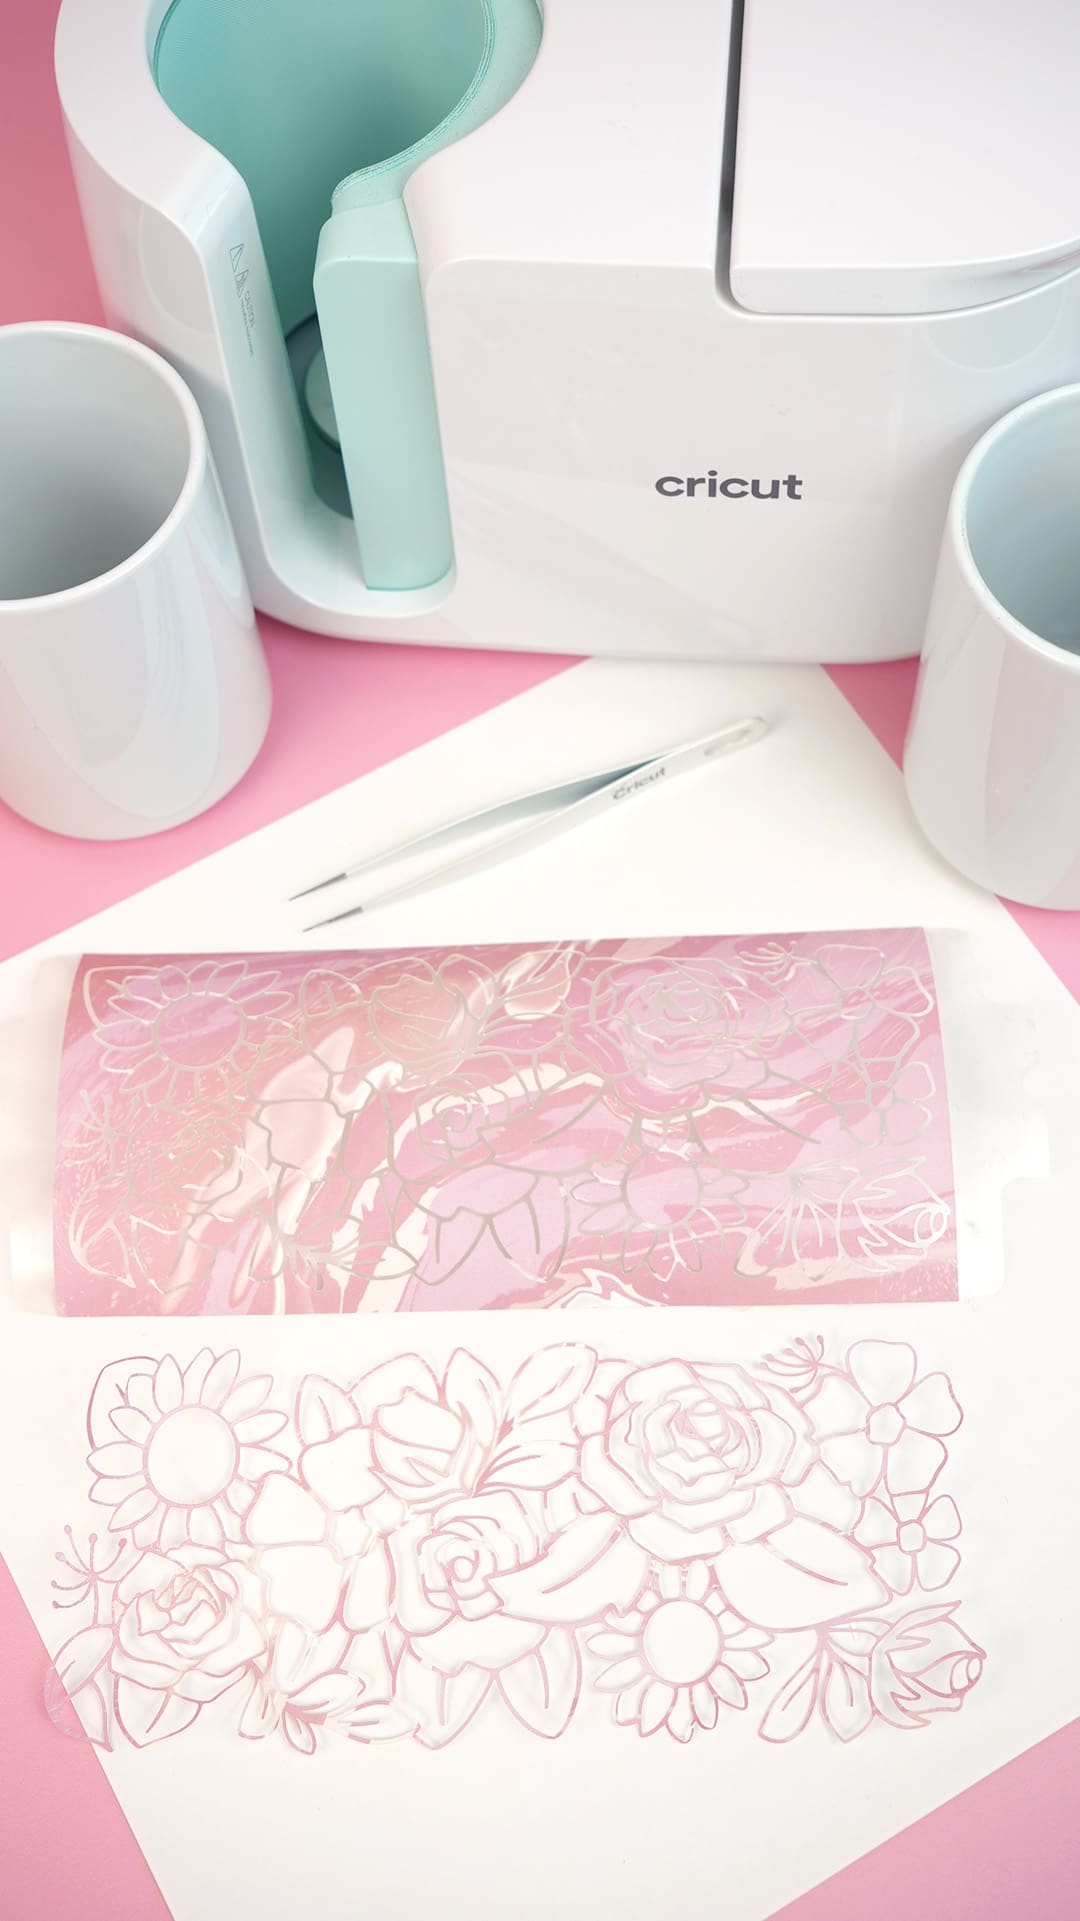
Keep the weeded “negative space” design, and set it off to the side for now.
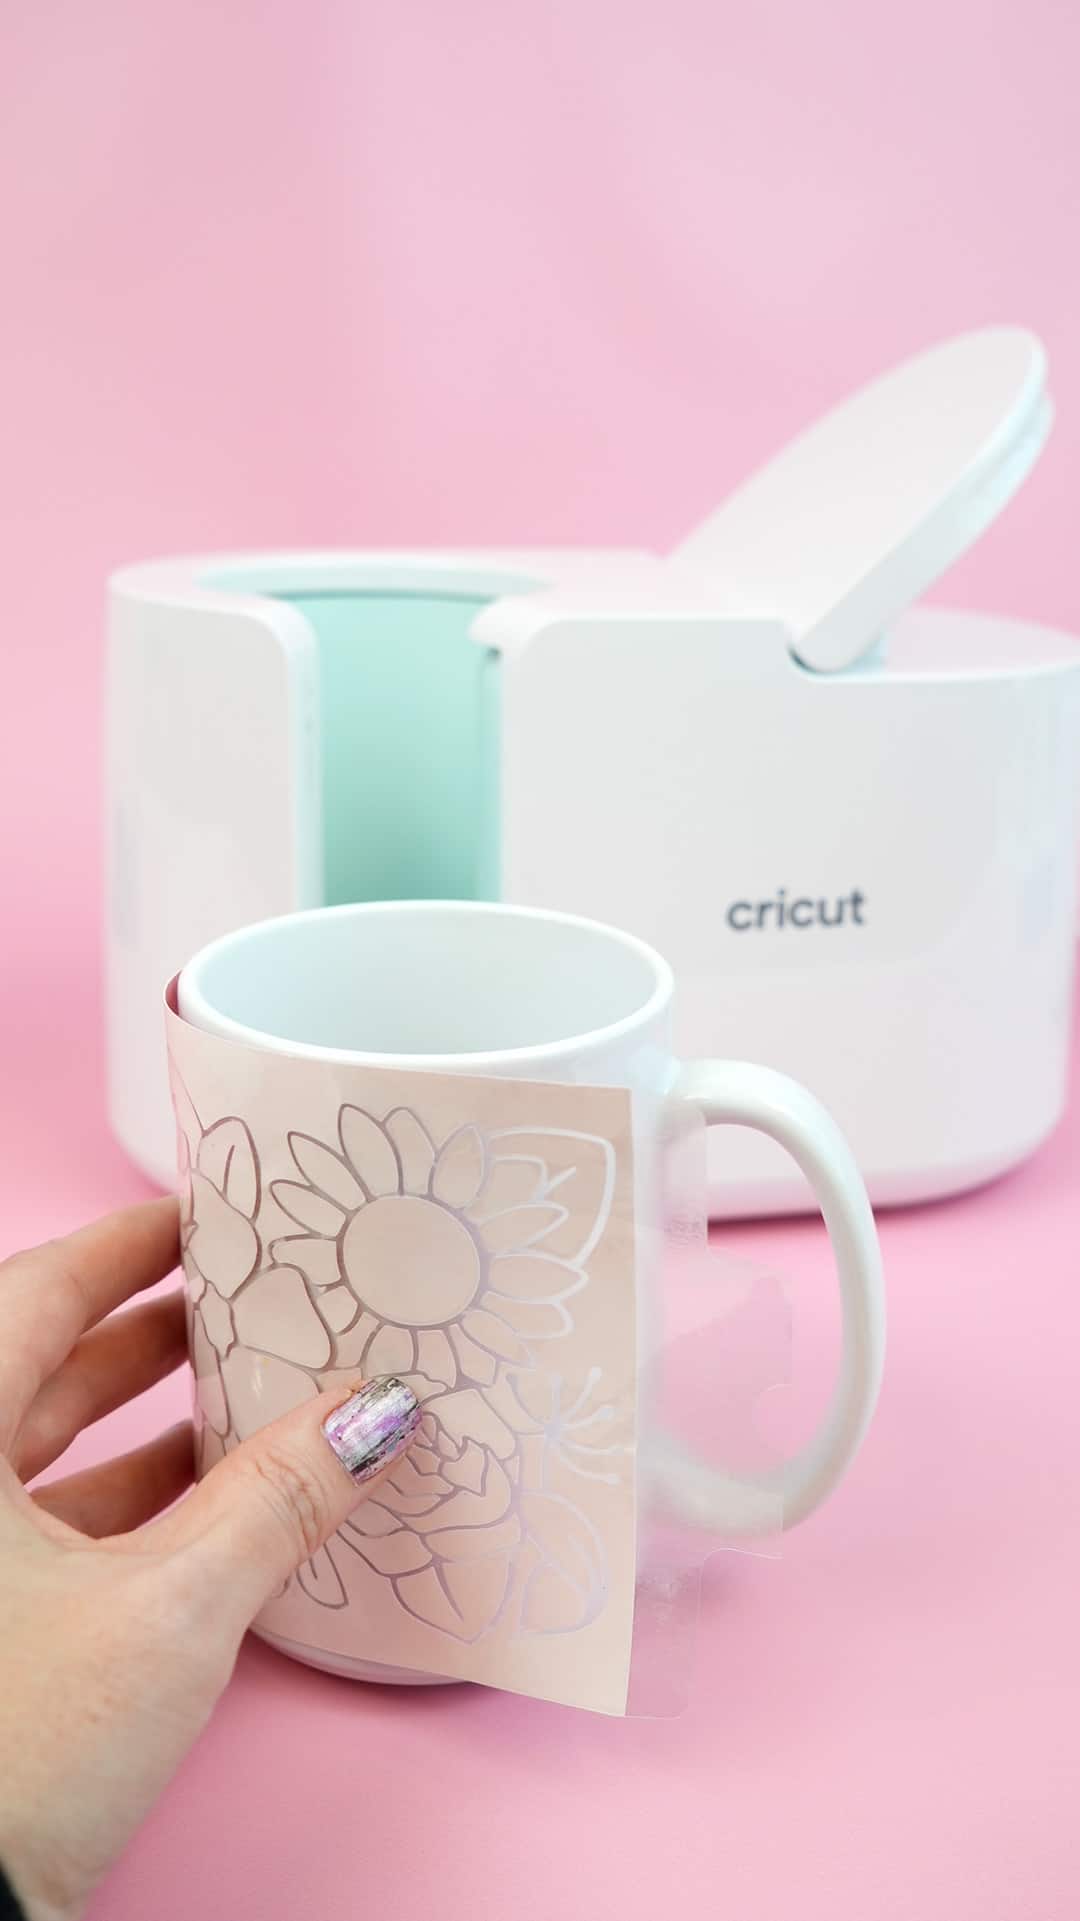
Wrap the Infusible Ink design (on the plastic transfer sheet) around the mug. Use additional heat-resistant tape as needed to secure the design tightly to the mug.
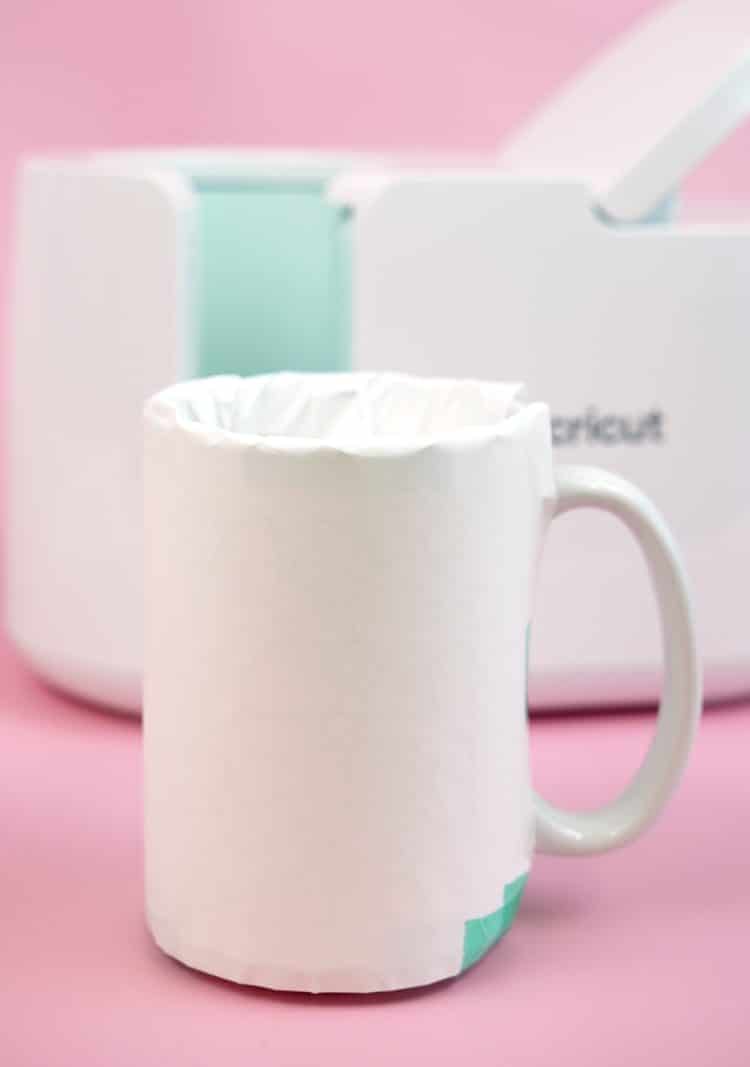
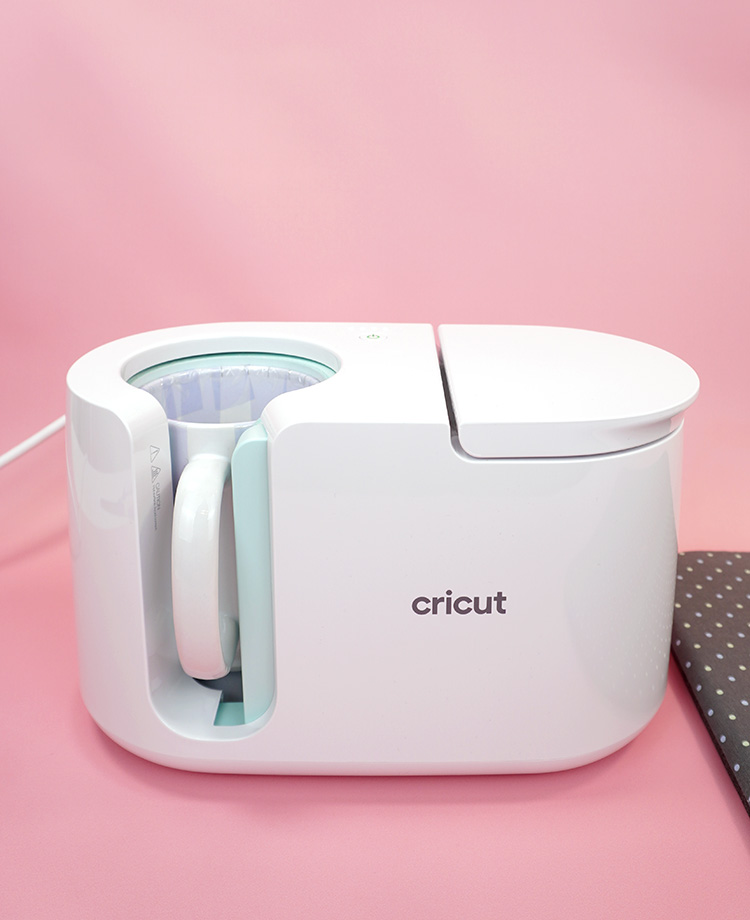
Turn on the Cricut Mug Press to preheat the machine (there are NO heat settings to adjust – you simply plug it in and power it on!), and then wrap the mug in a protective layer of butcher paper.
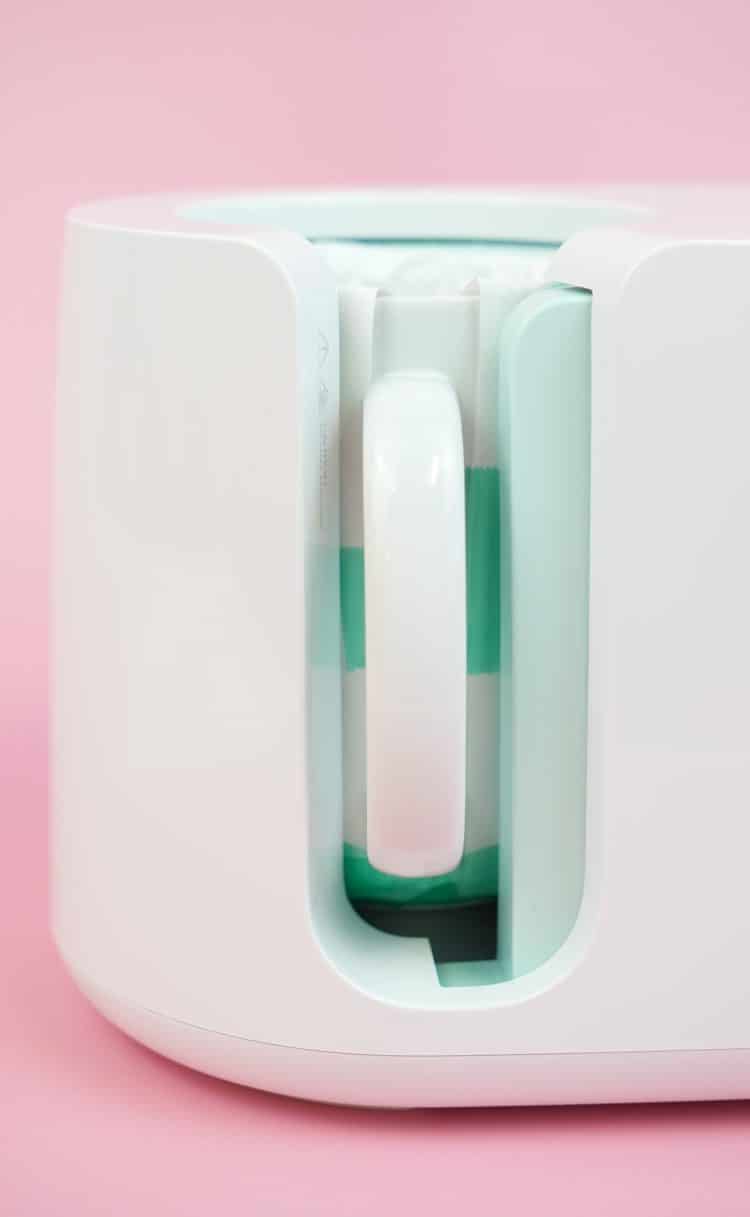
Place the mug inside the Mug Press and press down on the lever to tighten and close the press. Keep the mug handle in the center of the open area and make sure that your entire design is covered by the heating plate.
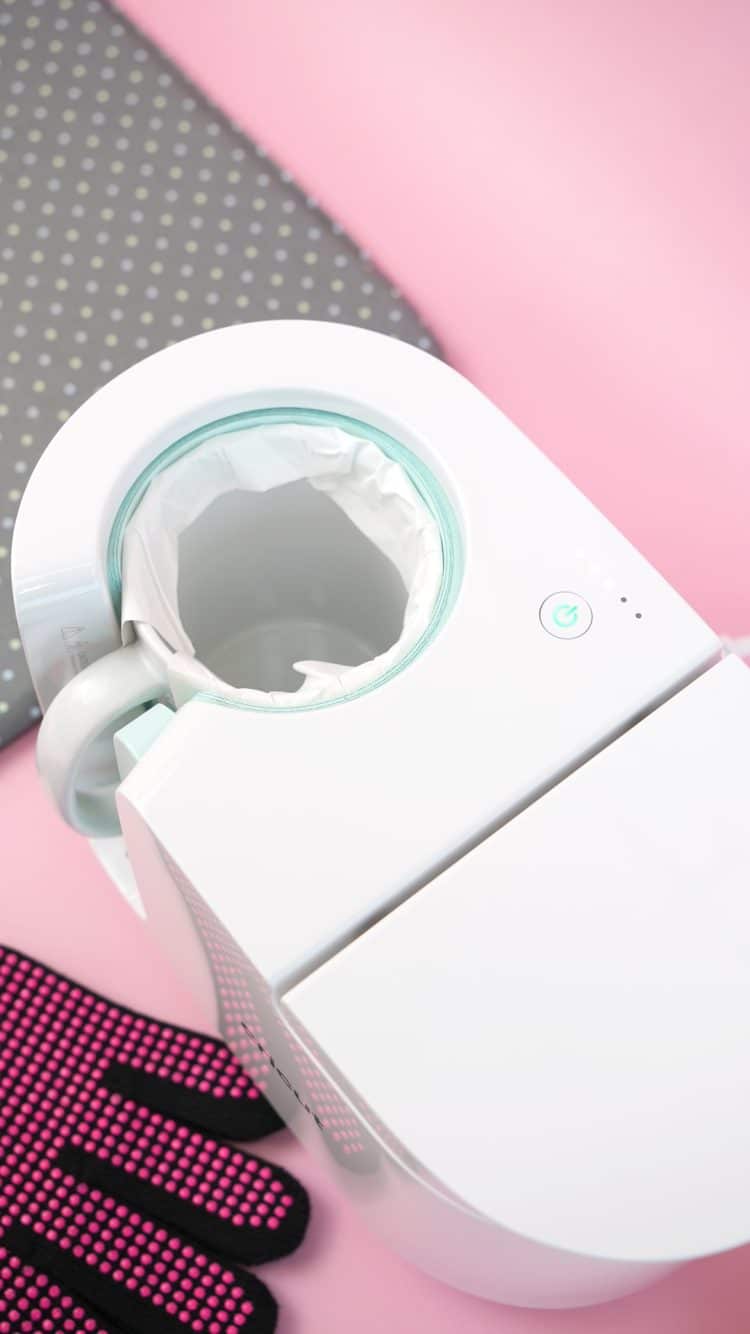
The Cricut Mug Press has a series of five small lights above the power button. These lights act as a progress bar to show you where you are at during the process. The Mug Press automatically adjusts the pressing time depending on several factors including ambient temperature, so actual pressing times will vary, but most mugs take around 6 minutes to press.
When the mug is ready, all five lights in the progress bar will be lit, and the Mug Press will beep to alert you.
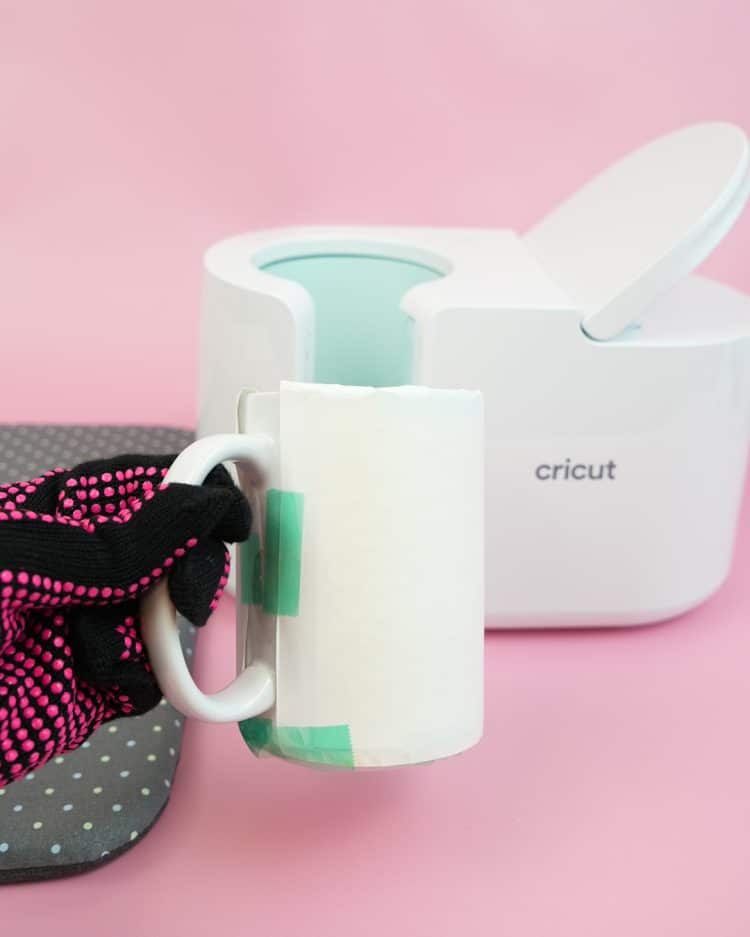
Carefully remove the mug from the Mug Press and place it on a cooling mat. I highly recommend using heat-resistant gloves! The handle does stay cooler than the rest of the mug, but the body of the mug will be VERY HOT!
Allow the mug to cool for at least 15 minutes or until the mug is cool enough to handle.
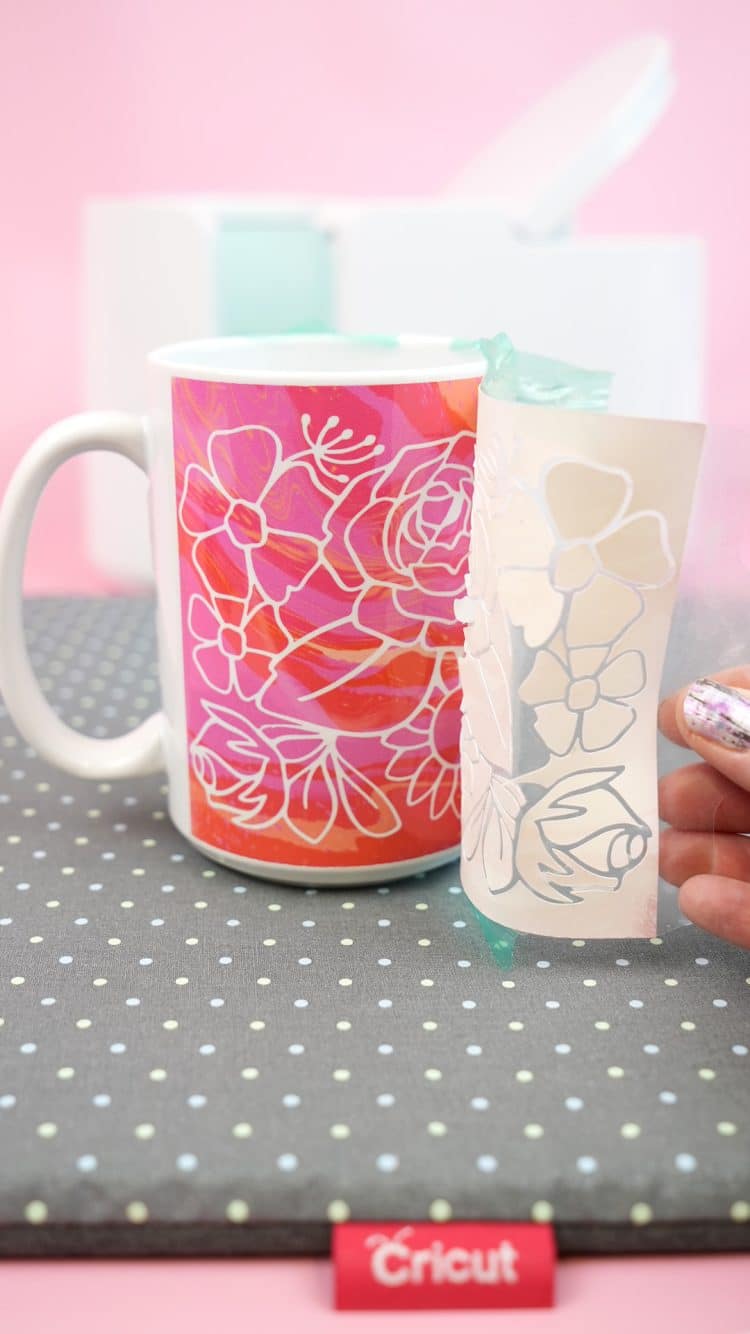
Remove the layer of butcher paper, and peel back the Infusible Ink transfer sheet to reveal the brightly colored design! DO NOT throw away the plastic backing paper!
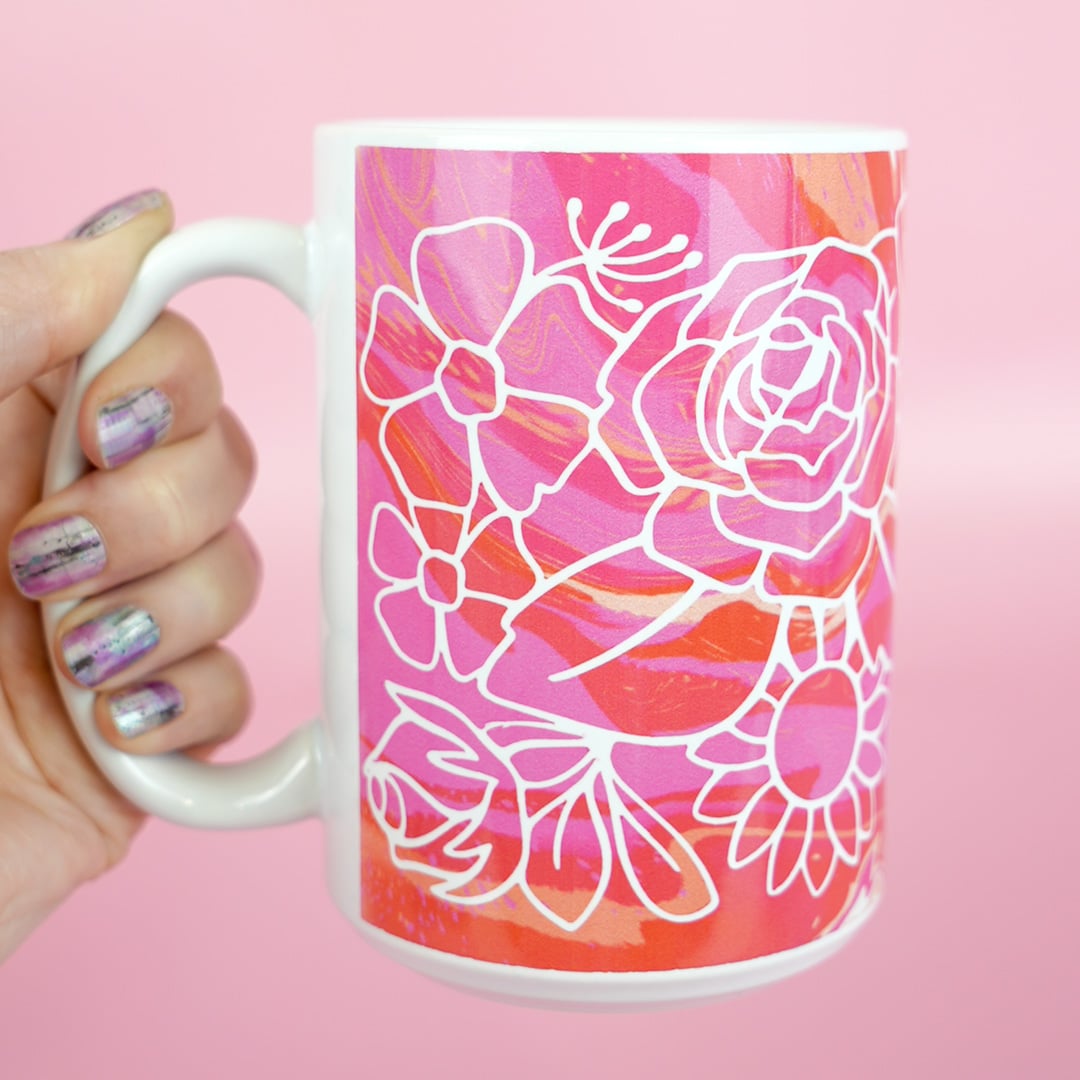
How cool is that? 😍
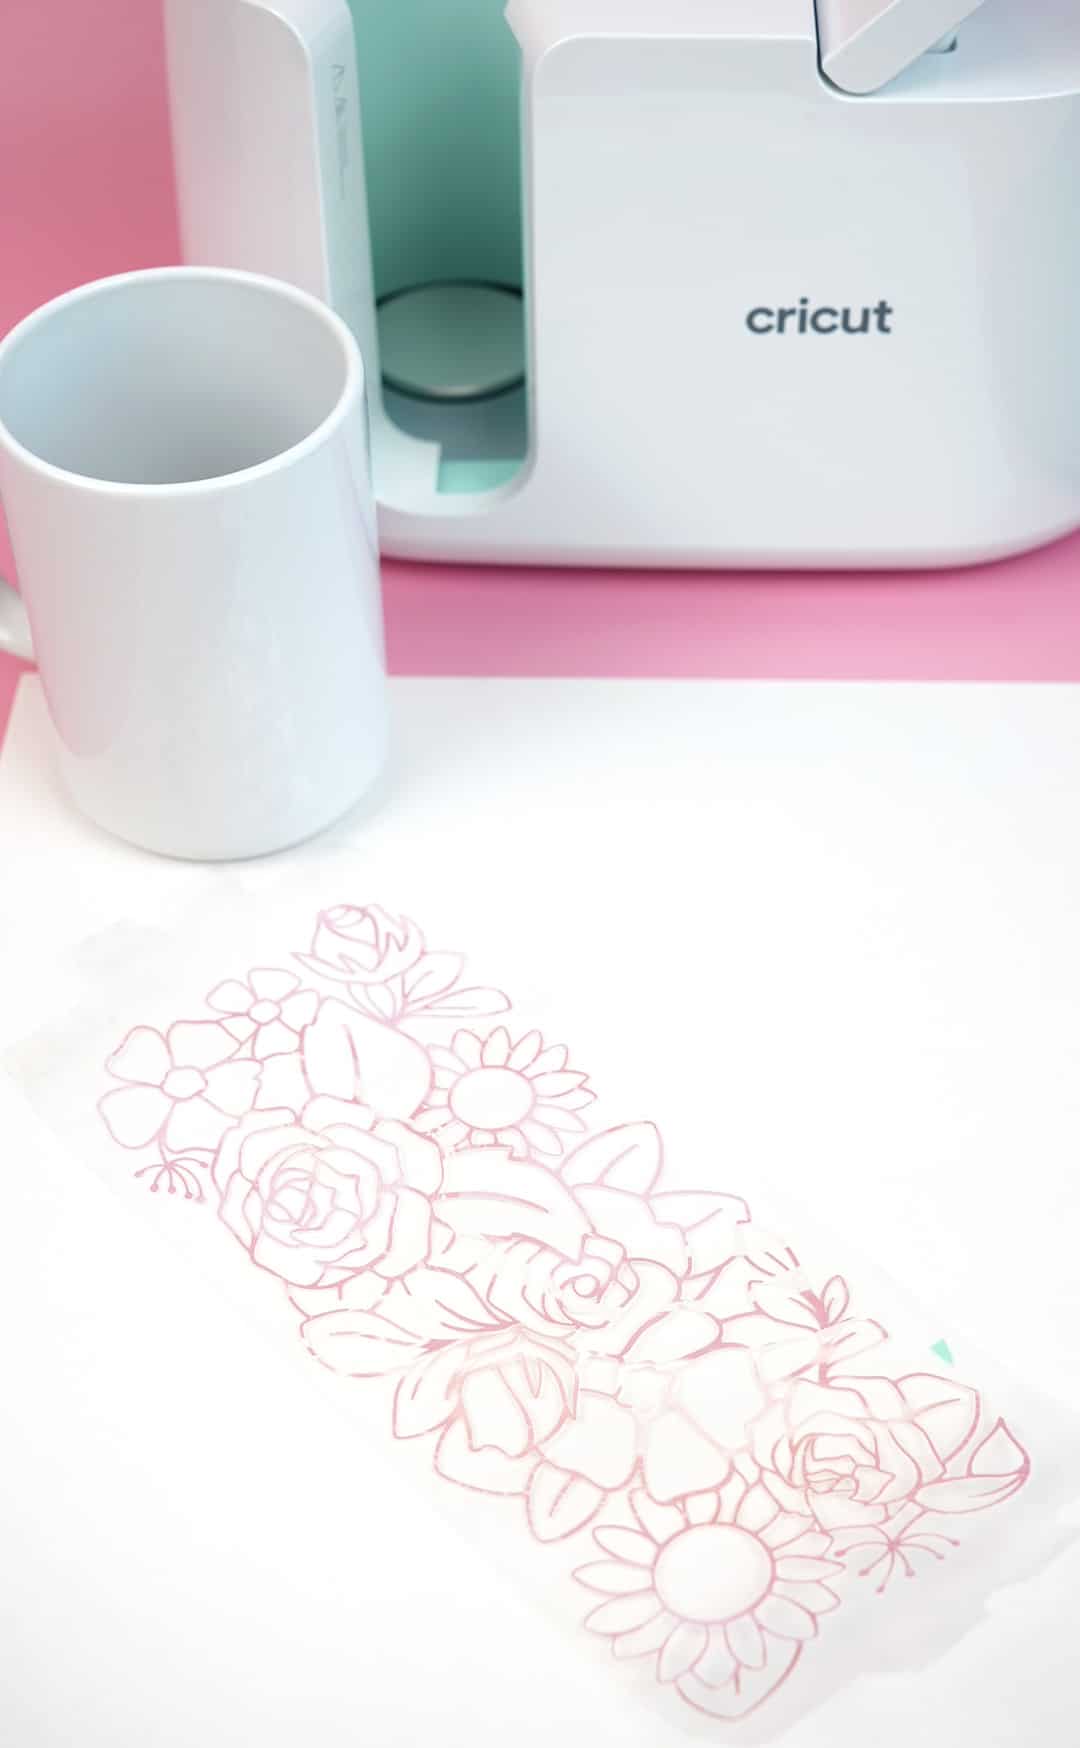
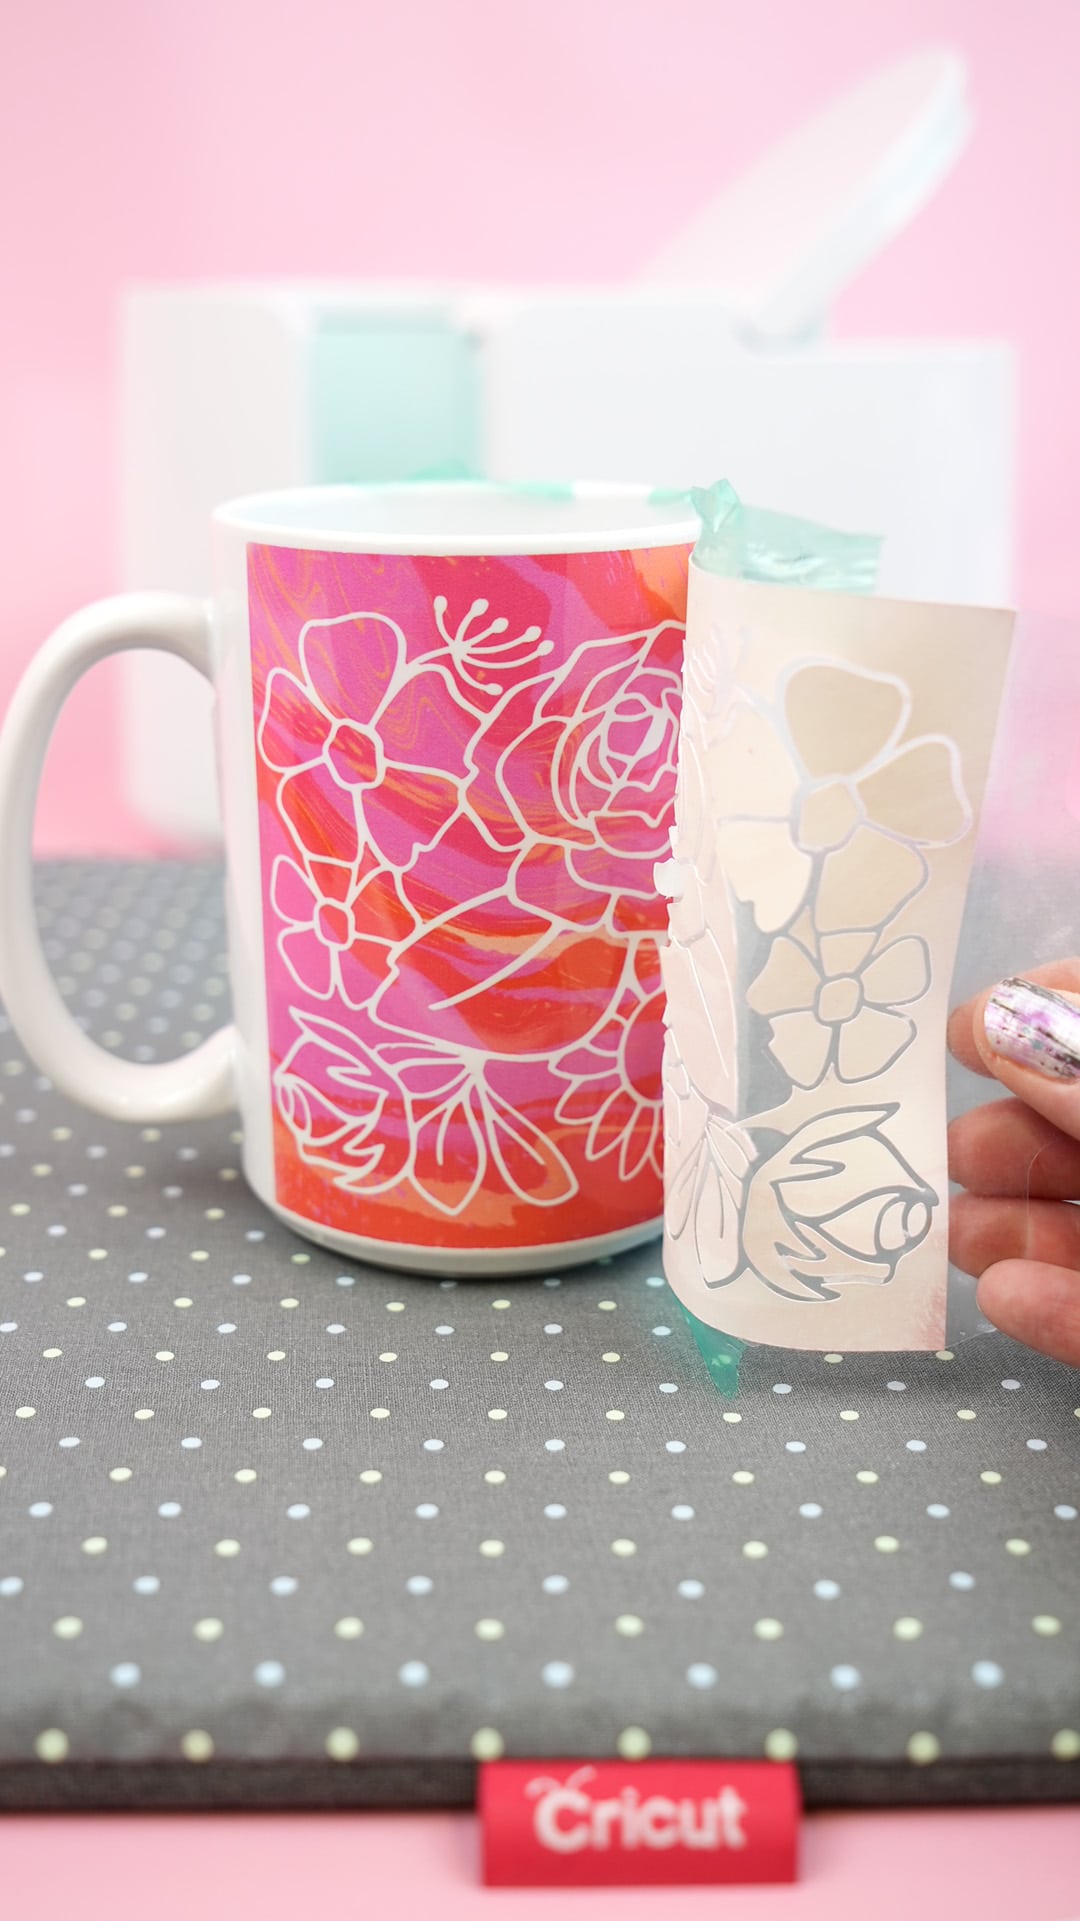
Next, remove the leftover pieces of Infusible Ink paper that remained on the plastic backing from the first mug and throw them away. Position the “negative space” Infusible Ink design into place on the plastic backing sheet. (If you hold the plastic up to the light, you should be able to easily see exactly where to position everything!)
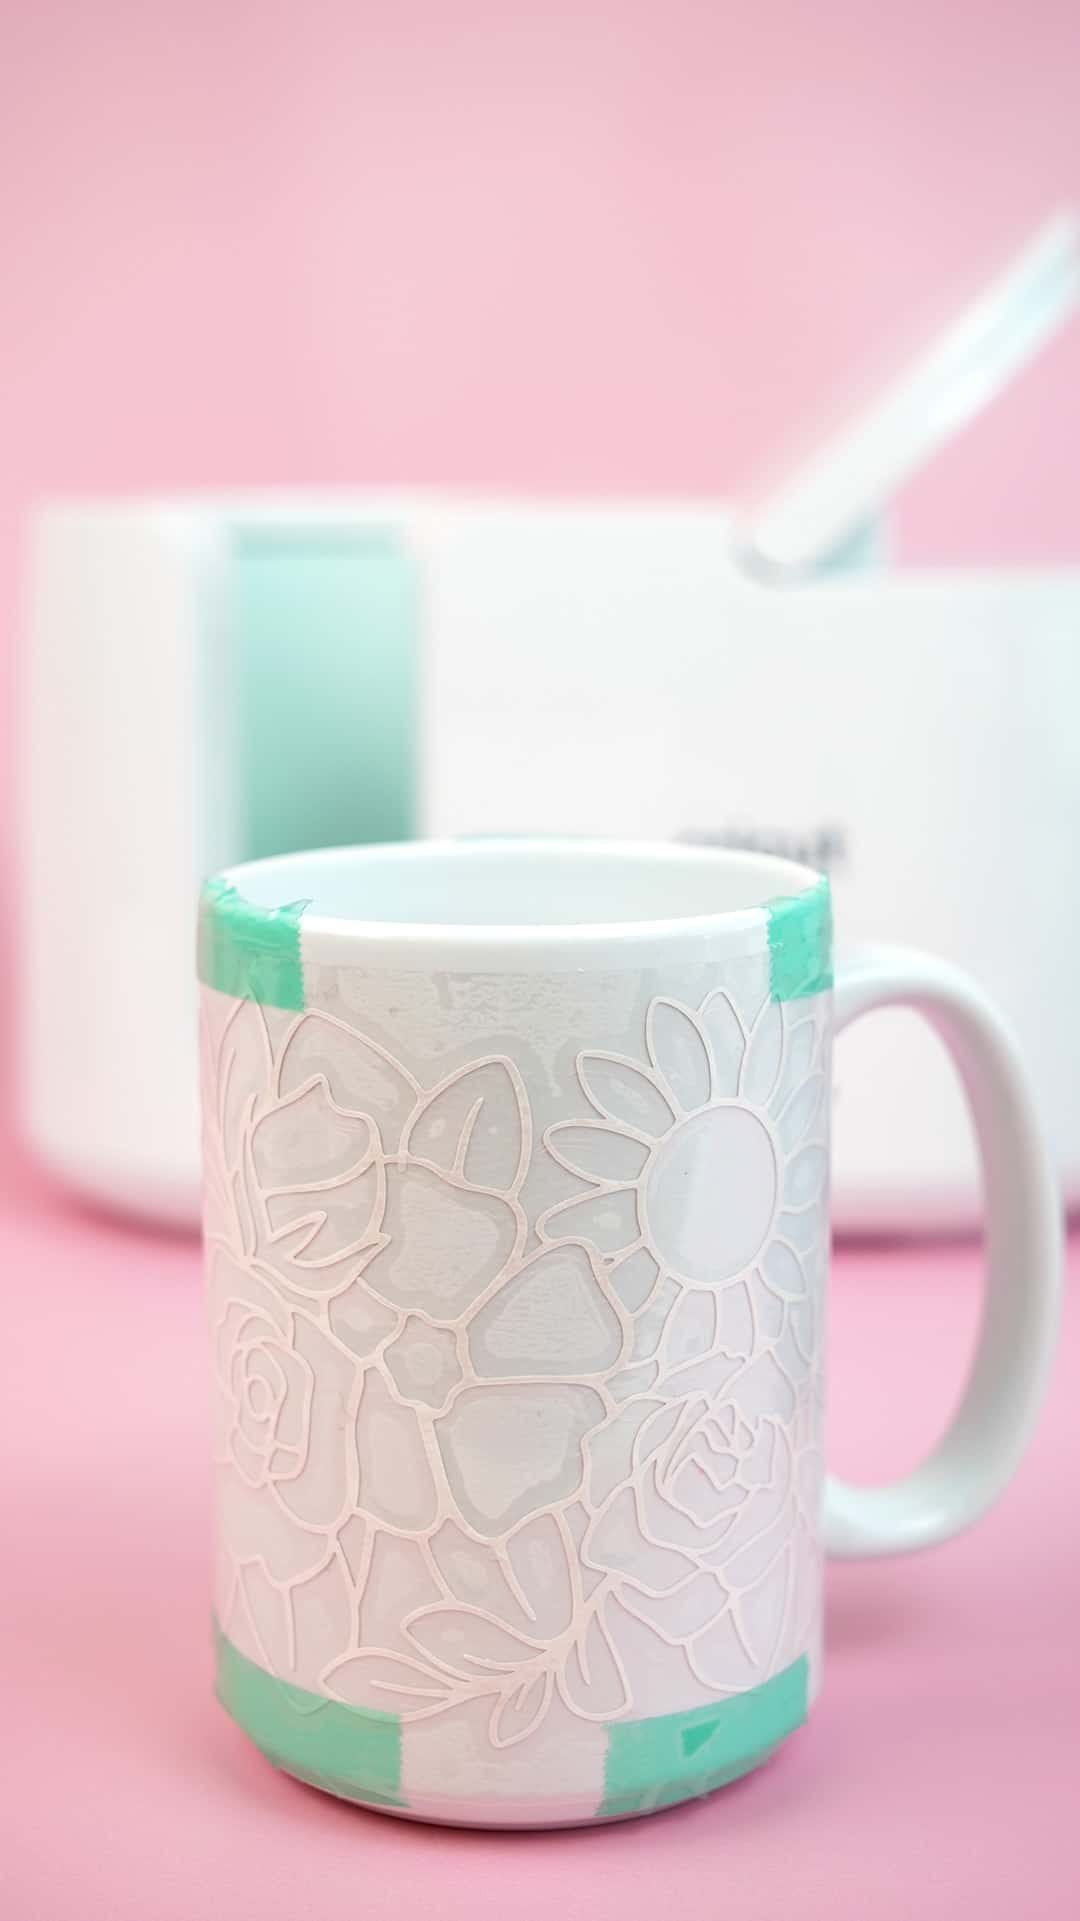
Wrap the Infusible Ink design tightly around the second mug blank and tape into place as needed. Wrap the mug with butcher paper, and repeat the Mug Press process for the second mug.
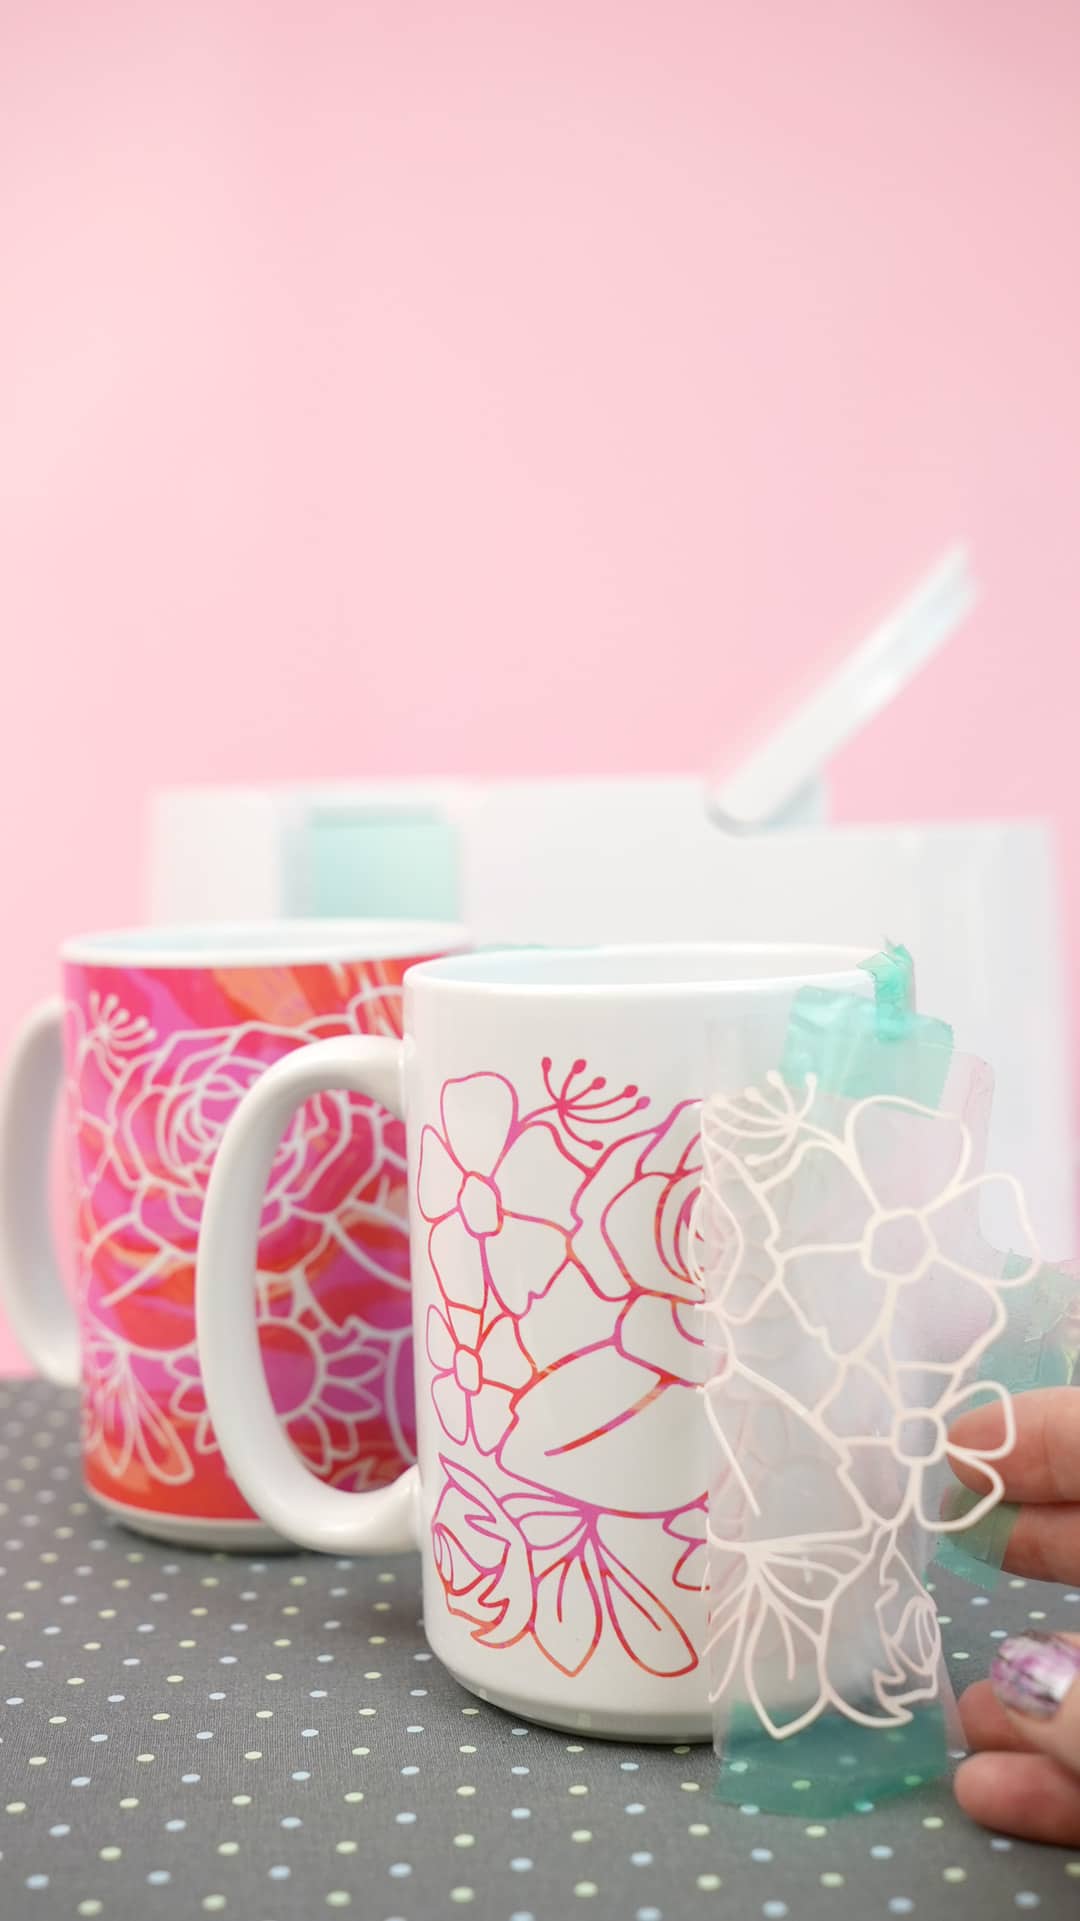
Allow the mug to cool, and then peel to reveal!
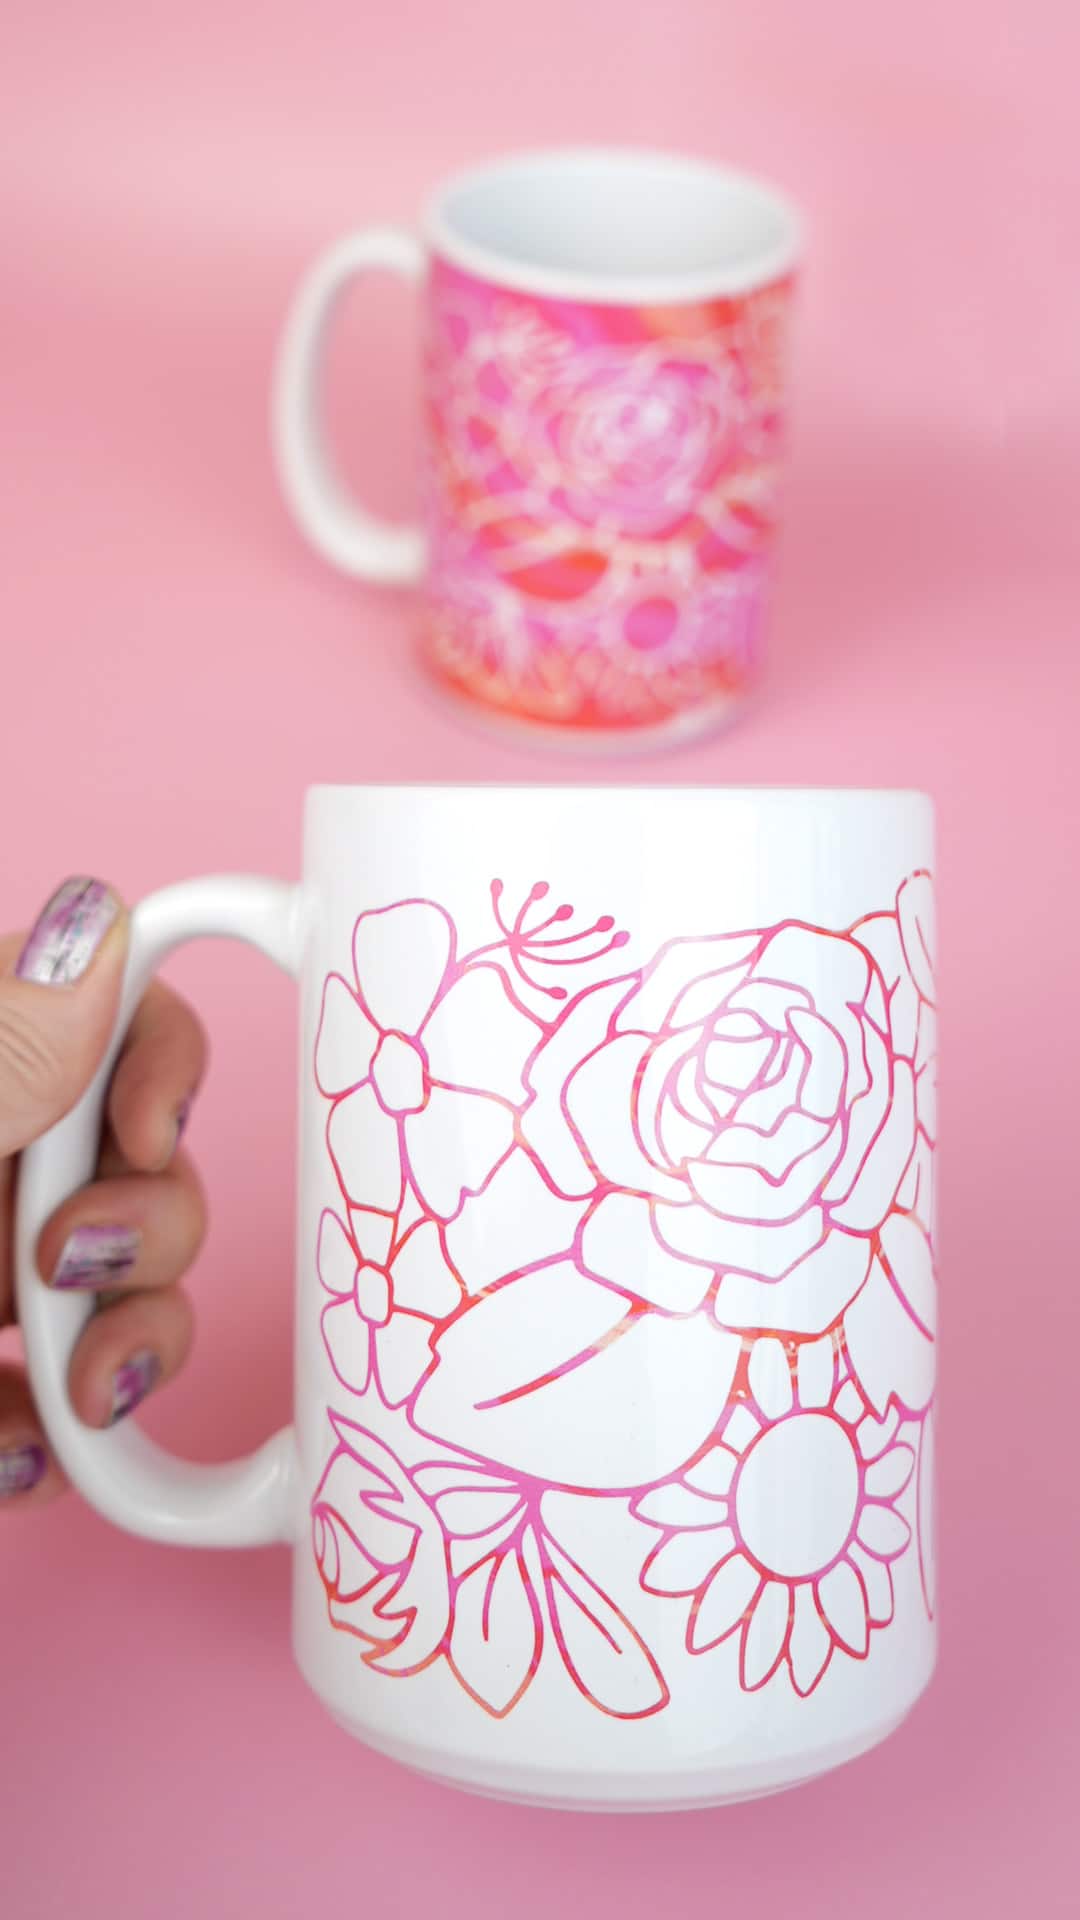
I love the way that this one turned out, too! 😍
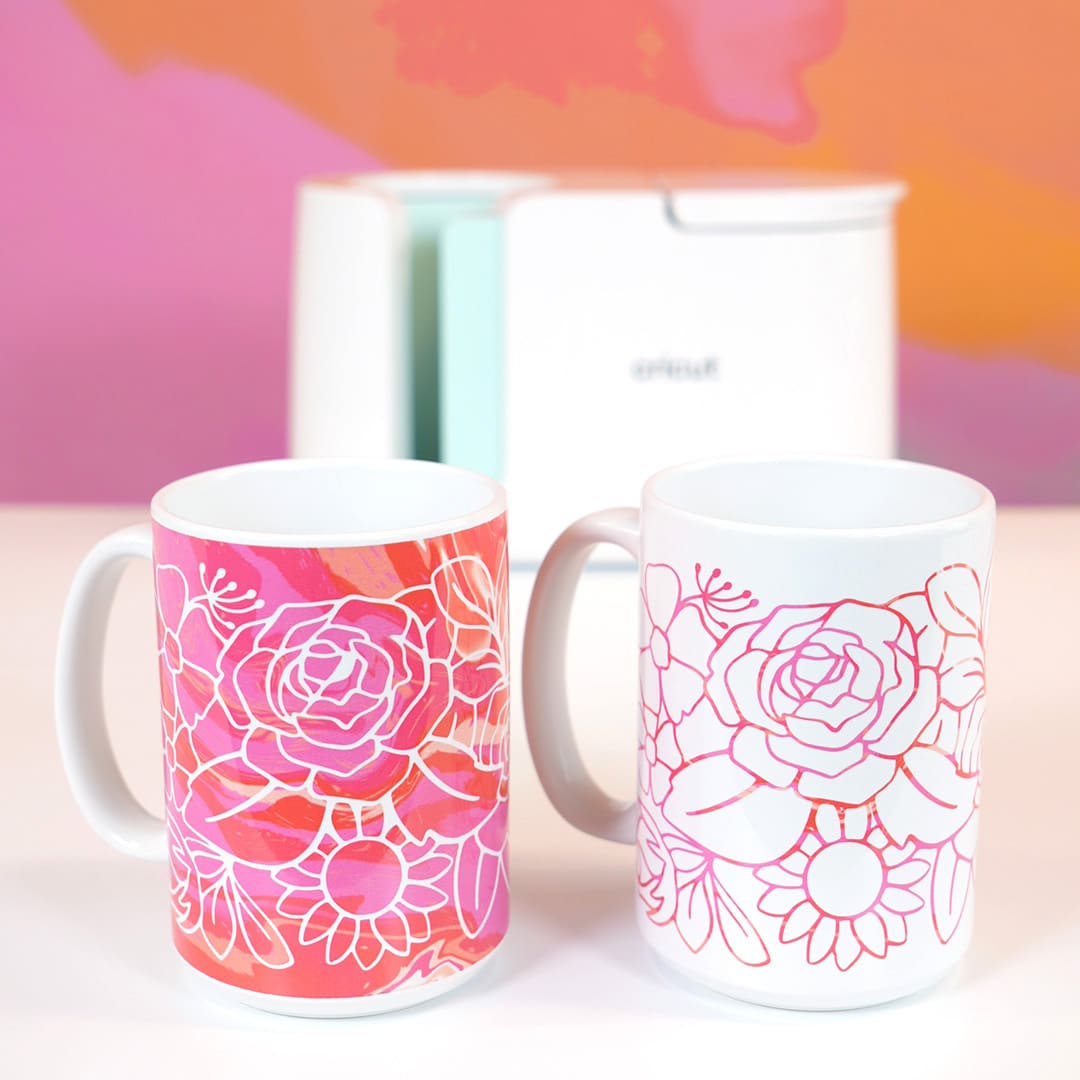
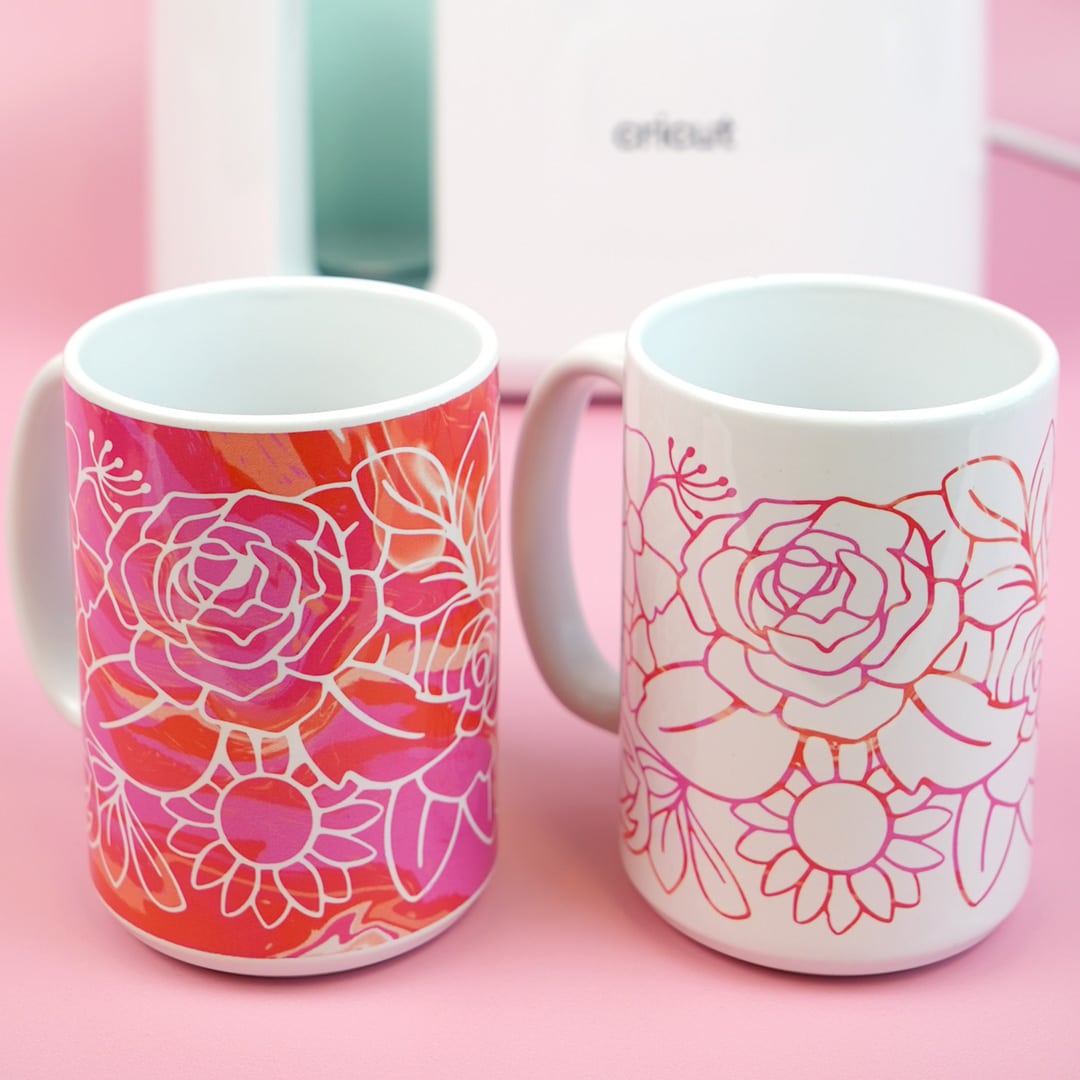
I’m not sure which one of these Infusible Ink mugs I like best! They’re both super cool!
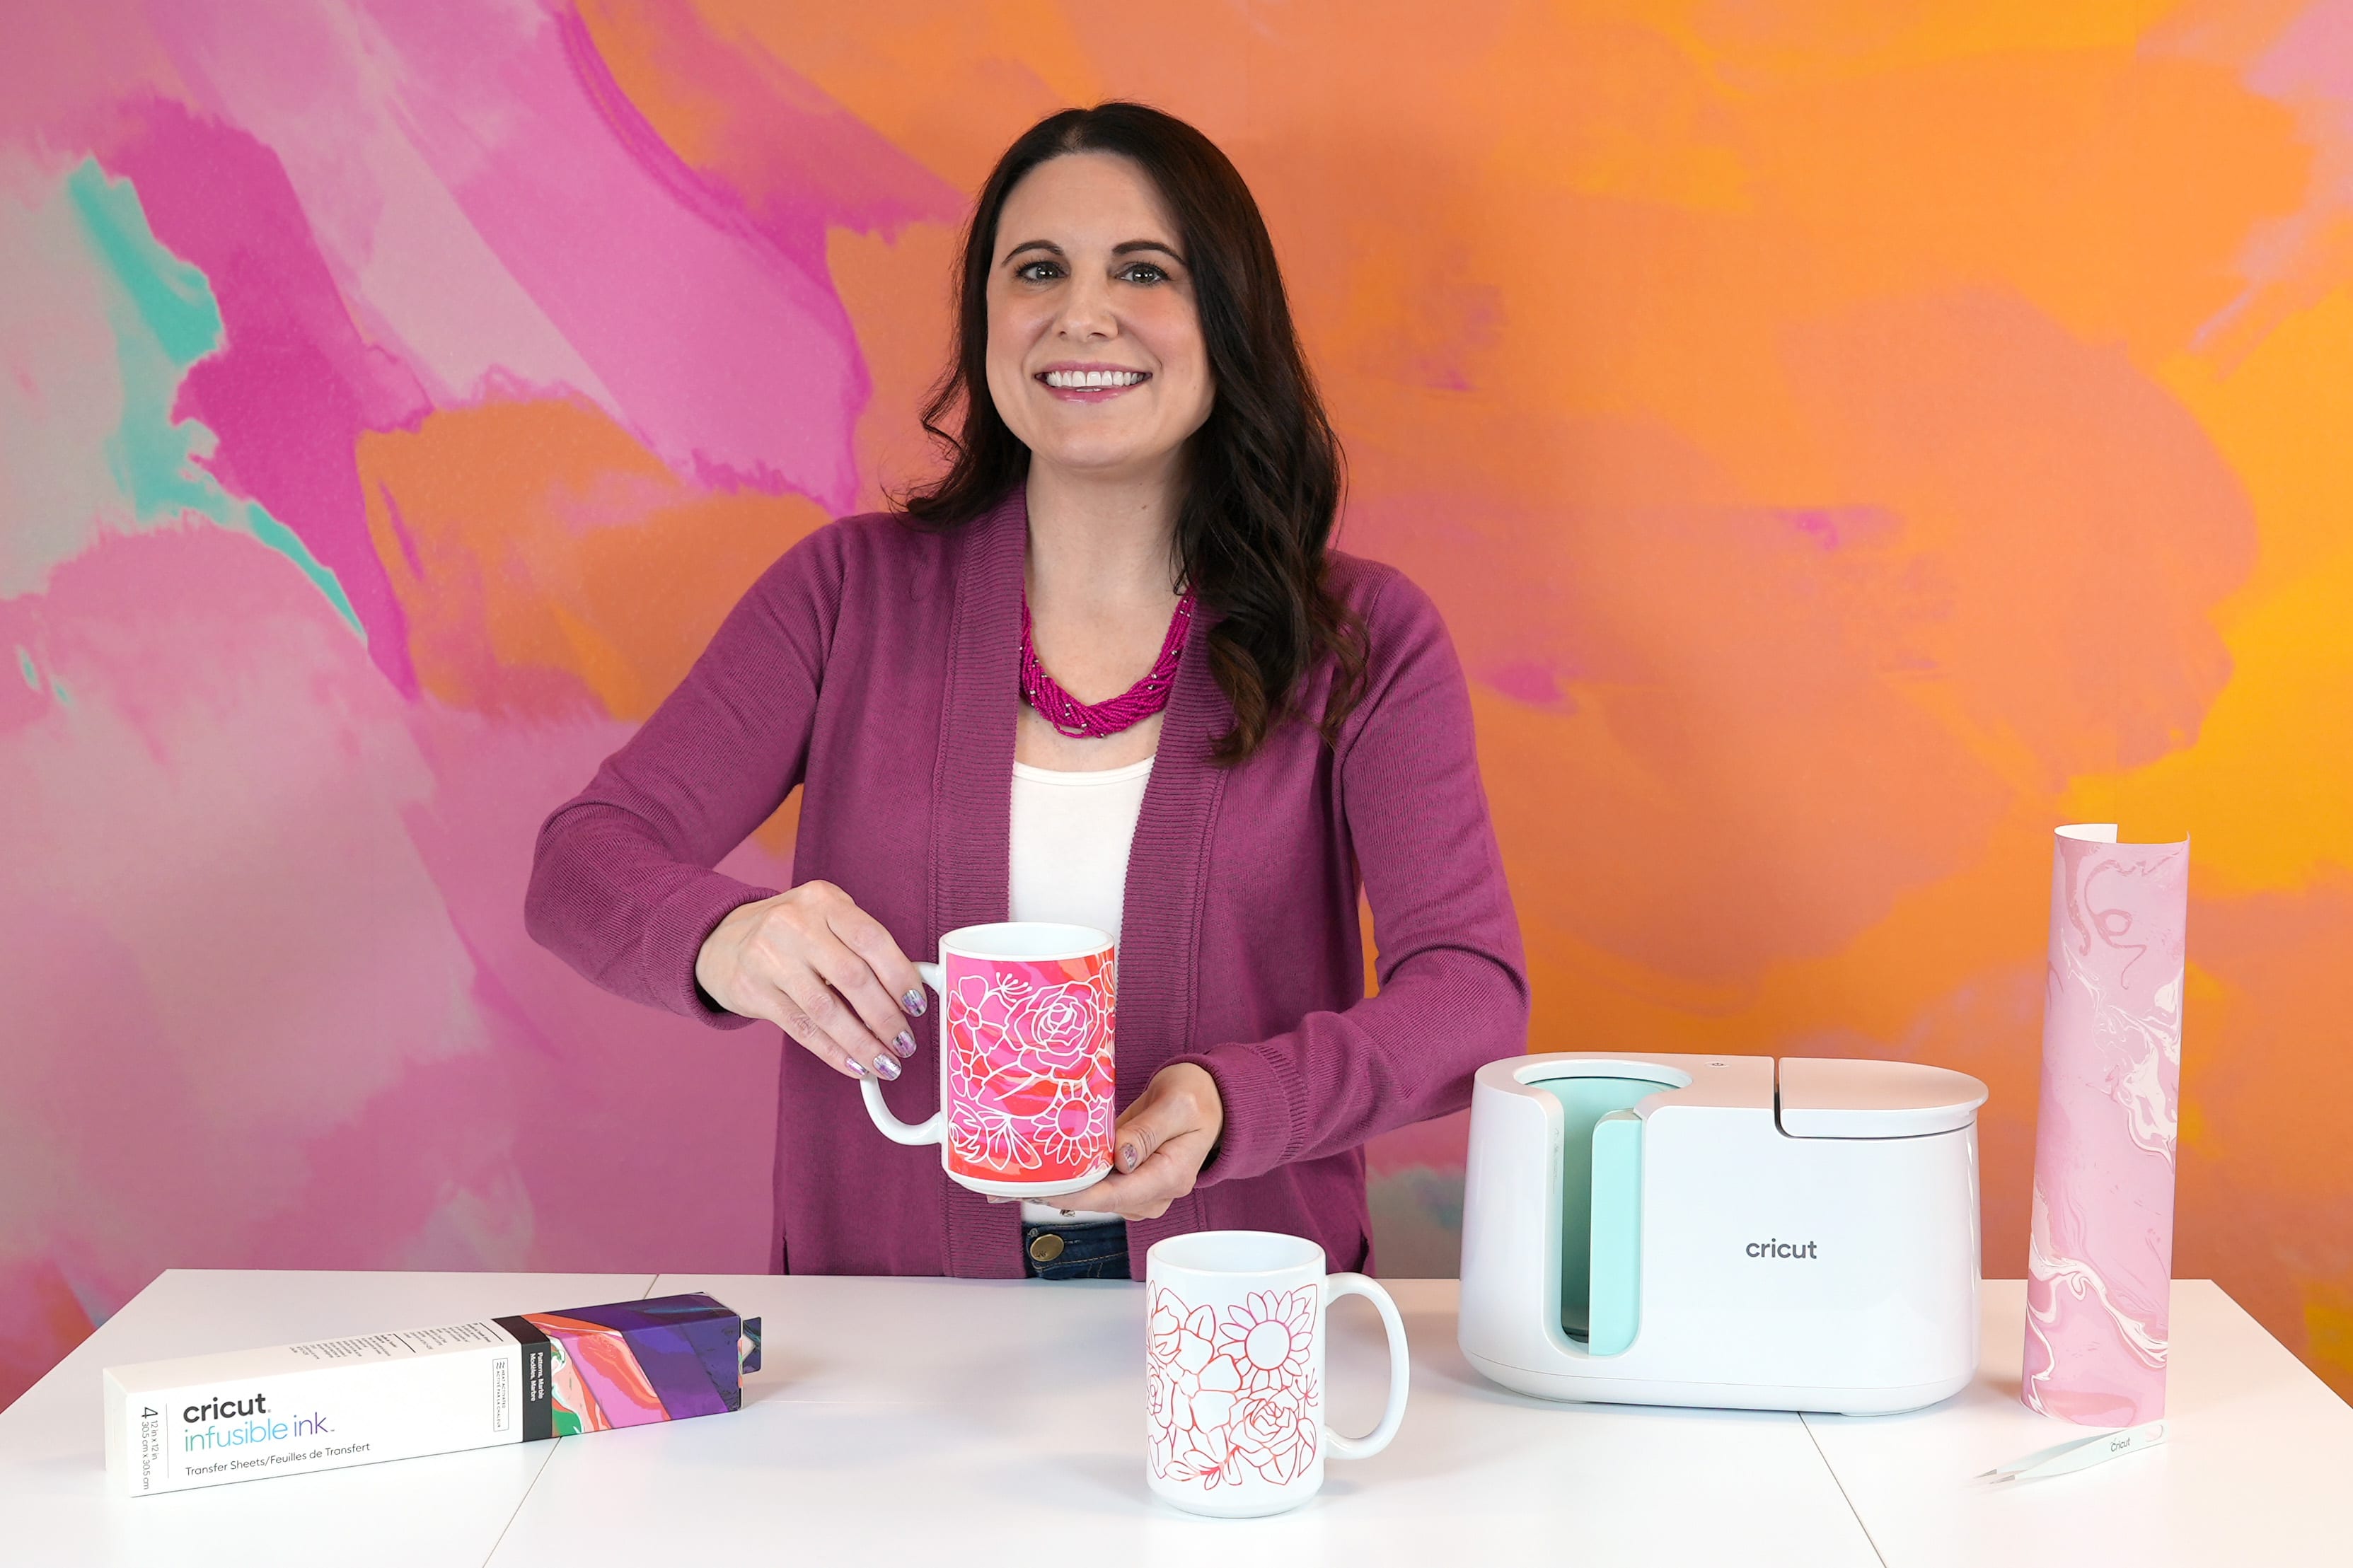
What I love the most, though, is that with this technique and using with both the “positive” and “negative” images, there is VERY little waste involved! I was able to make two mugs with one single 5″ x 11″ piece of Infusible Ink!
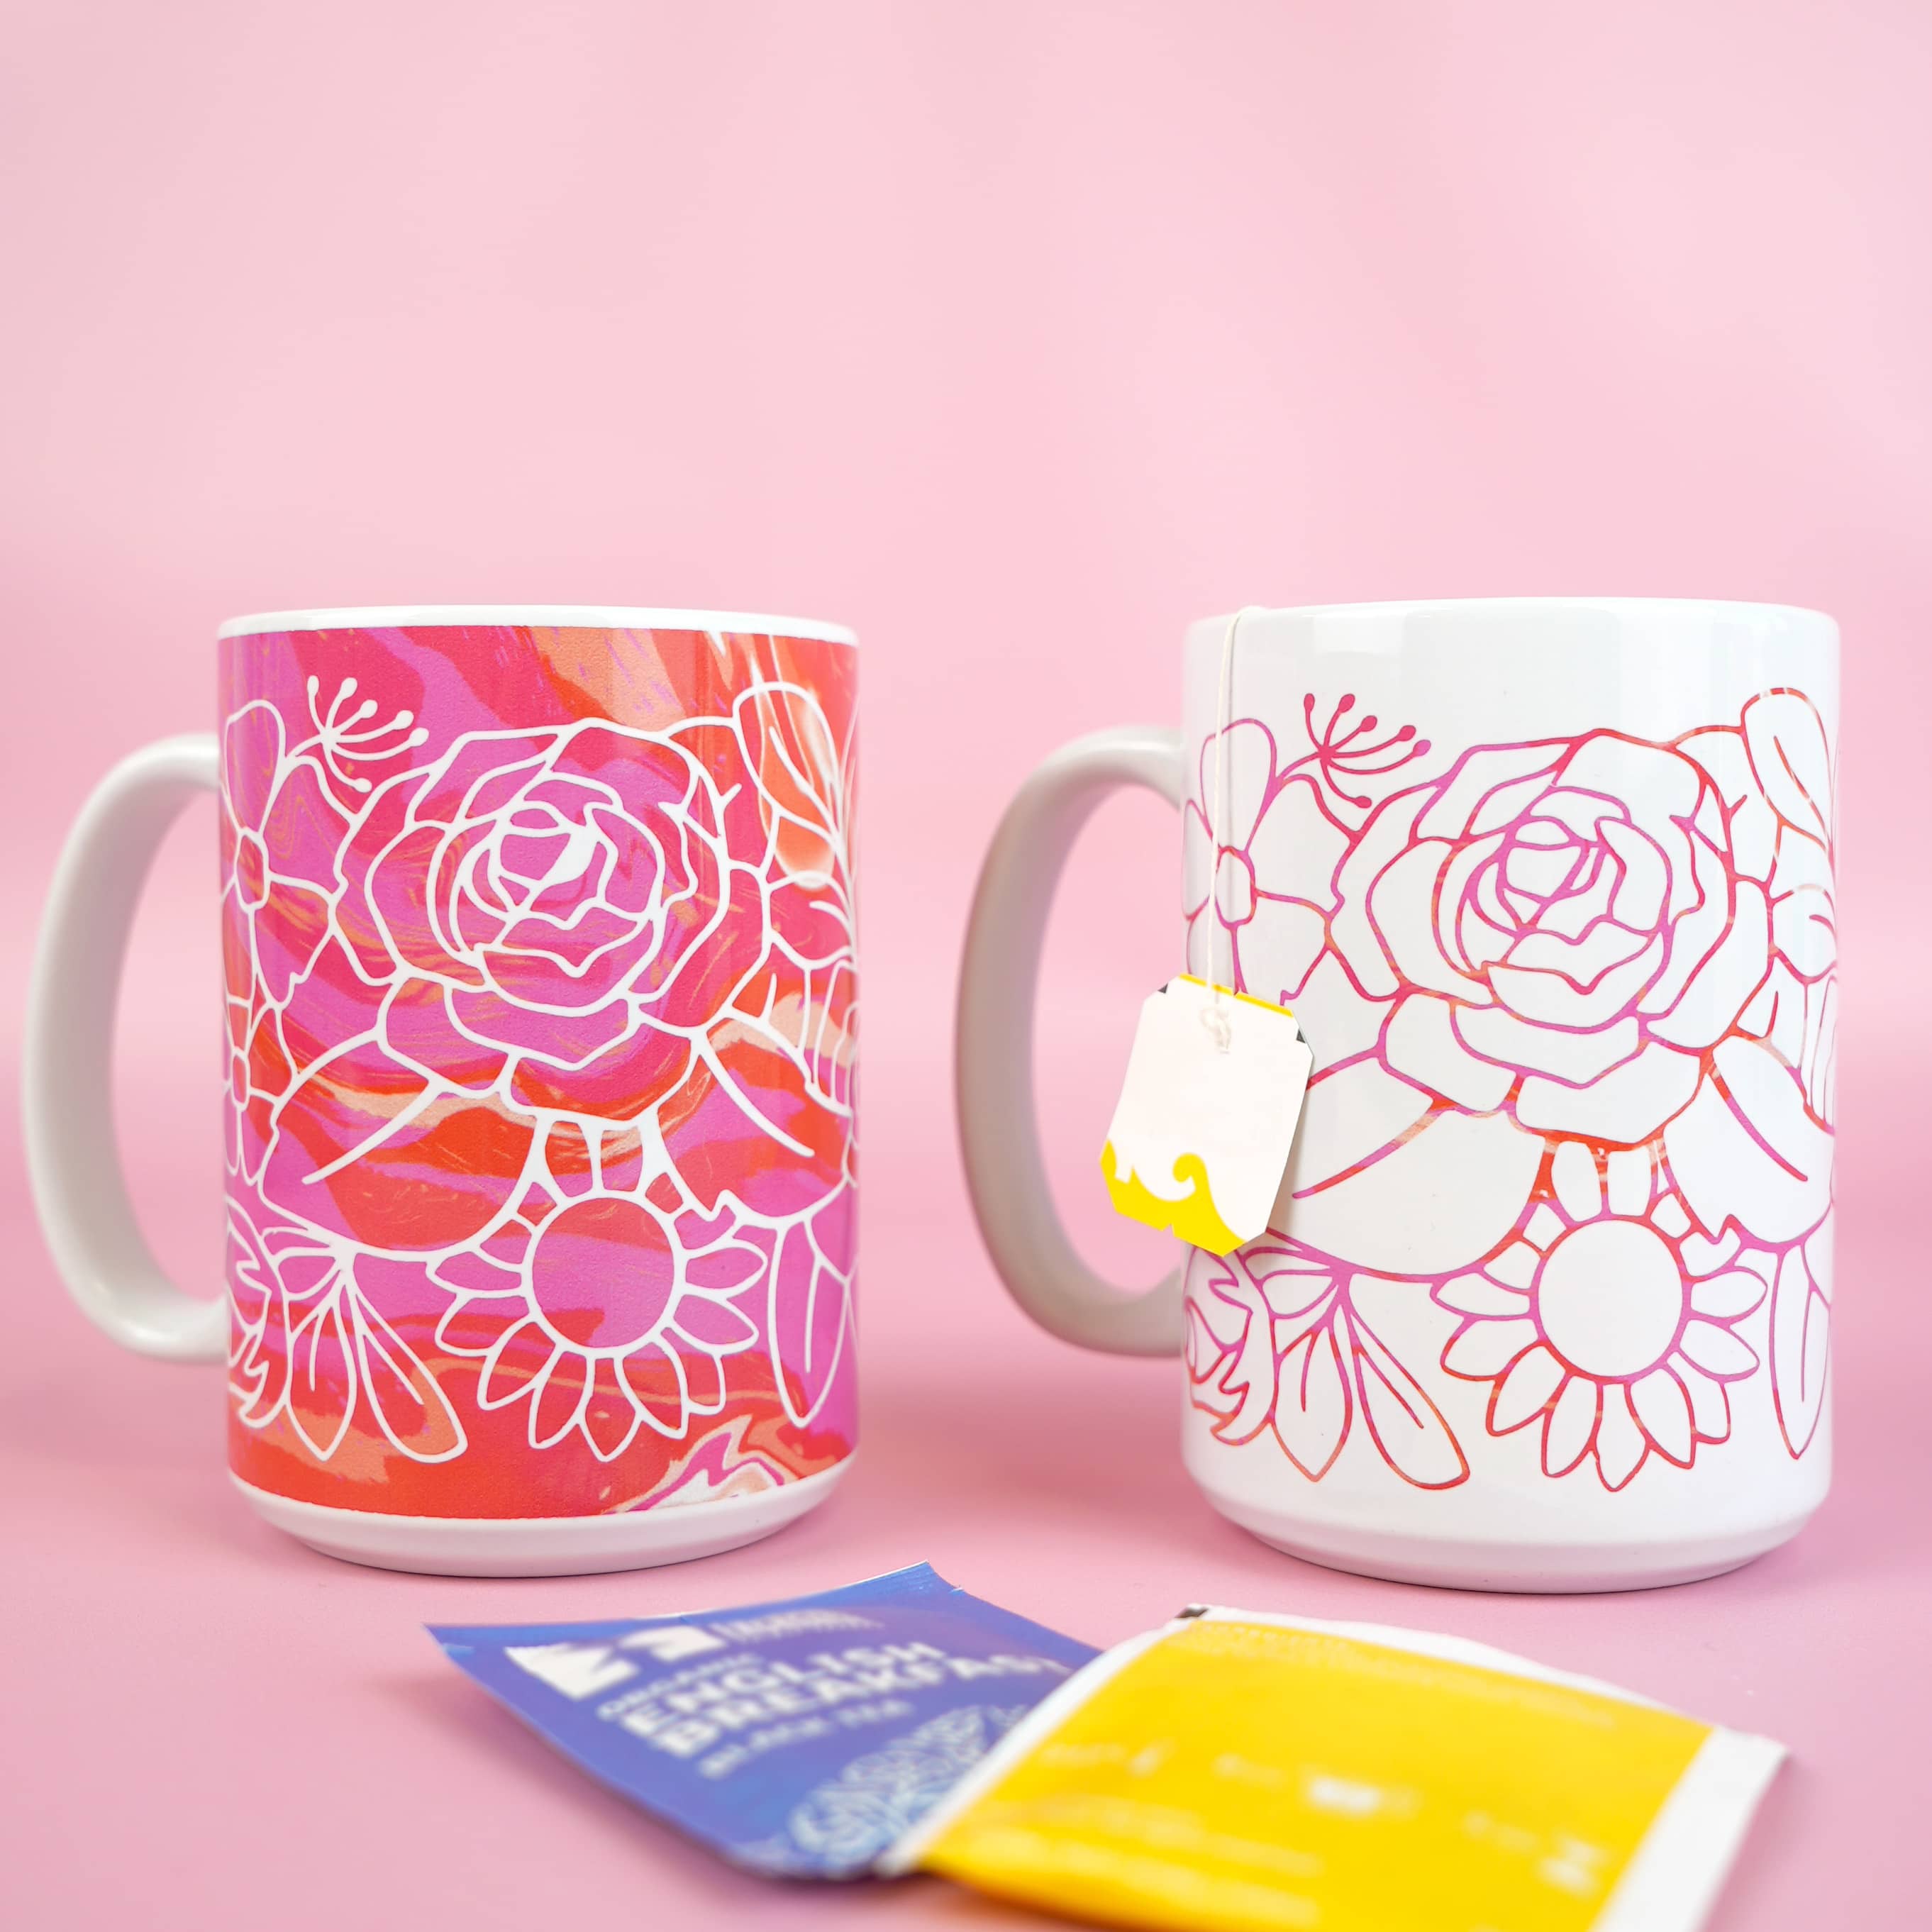
These awesome mugs with inverse designs are a great way to make the most of your Infusible Ink materials!
Infusible Ink Mugs

Equipment:
- Cricut Machine (Maker, Explore, or Joy will all work!)
What You’ll Need:
- 1 Infusible Ink Transfer Sheet (we used the Marble Patterns set)
- 2 Sheets Butcher Paper (included with Infusible Ink sheets)
- 2 Sublimation Mug Blanks
- Heat-Resistant Tape
- Heat-Resistant Gloves
- EasyPress Mat
Instructions:
- Create your mug design in Cricut Design Space and click the green "Make It" button.
- Use your Cricut Machine to cut your design from a sheet of Infusible Ink.
- Carefully weed the Infusible Ink sheet using your hands or tweezers. Save the weeded “negative space” design, and set it off to the side for now.
- Turn on the Cricut Mug Press to preheat the machine.
- Wrap the Infusible Ink design (on the plastic transfer sheet) around the mug. Use additional heat-resistant tape as needed to secure the design tightly to the mug. Wrap the mug with a layer of protective butcher paper.
- Place the mug inside the Mug Press and press down on the lever to tighten and close the press. The Mug Press will beep to alert you when the mug has finished pressing.
- Carefully remove the mug from the Mug Press and place it on a cooling mat. I highly recommend using heat-resistant gloves! The handle does stay cooler than the rest of the mug, but the body of the mug will be VERY HOT!Allow the mug to cool for at least 15 minutes or until the mug is cool enough to handle.
- Remove the layer of butcher paper, and peel back the Infusible Ink transfer sheet to reveal the brightly colored design! DO NOT throw away the plastic backing paper!
- Next, remove the pieces of Infusible Ink paper that remain on the plastic backing and throw them away. Position the “negative space” design into place on the plastic backing sheet.
- Wrap the Infusible Ink design tightly around the second mug blank and tape into place as needed. Wrap the mug with butcher paper, and repeat the Mug Press process for the second mug.
- Allow the second mug to cool, and then peel to reveal the design.
Notes:

Check Out These Other Infusible Ink Ideas!
 35+ Mother’s Day Cricut Craft Ideas
 Infusible Ink Mugs with the Cricut Mug Press
 How to Use the Cricut Mug Press
 Free Mug Wrap SVG Files
 How to Make an Infusible Ink Mug in the Oven
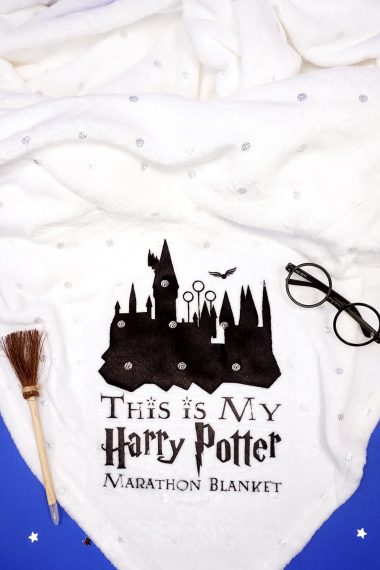
 Free Harry Potter SVG + Marathon Blanket
 How to Layer Cricut Infusible Ink: Slice & Set Method
 Personalized Christmas Ornaments with Cricut Infusible Ink
Don’t Forget to Pin These Infusible Ink Mugs for Later!

Heidi Kundin has captivated the hearts of millions with her colorful and inspiring approach to crafting, celebrations, and family fun. With over 15 years of experience, Happiness is Homemade has become a must-visit destination for those seeking quick and easy creative ideas and last-minute solutions. Heidi’s warm personality shines through her posts, inviting readers to join her on a creative journey that’s fun, rewarding, and achievable. Heidi is also the author of Homemade Bath Bombs & More and DIY Tie-Dye.

