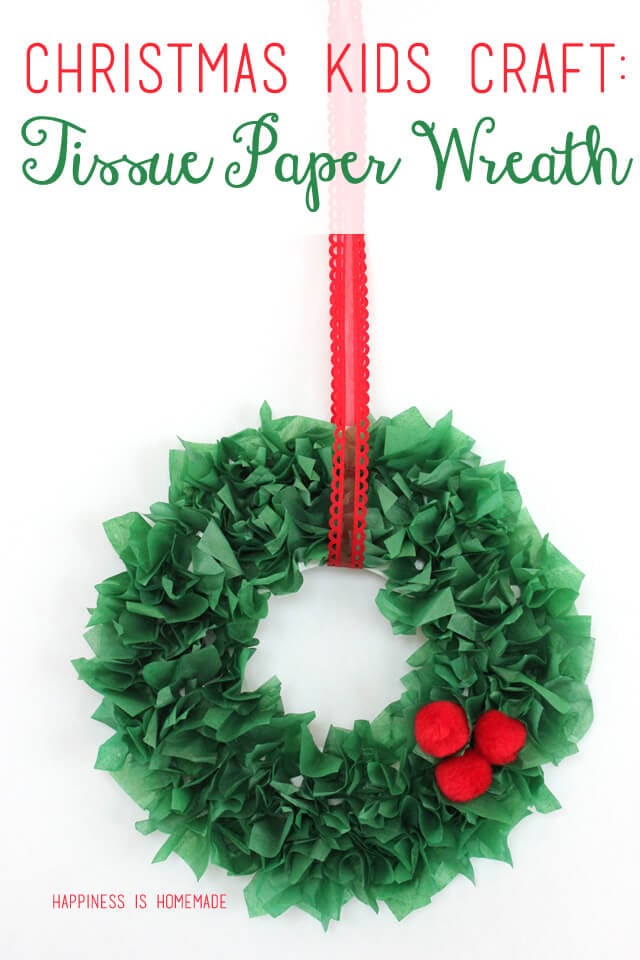
 The whole family will want to get in on the fun when it comes time to make these simple tissue paper wreaths! All it takes are a few basic supplies and a little bit of patience to create your own personalized Christmas wreath – add pom poms, sequins or glitter for a festive finishing touch! These wreaths are easy and inexpensive to make, and they make great homemade holiday gifts for the kids to give to Grandma!
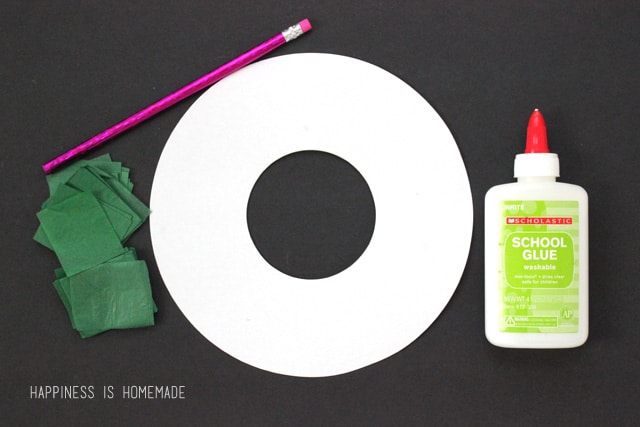
You will need:
- Circular wreath form – cut from recycled cereal box or a paper plate
- Lots and LOTS of green tissue paper squares
- White glue
- Paint brush
- Pencil with eraser
- Embellishments – pom poms, sequins, etc. (optional)
- Ribbon or string for hanging
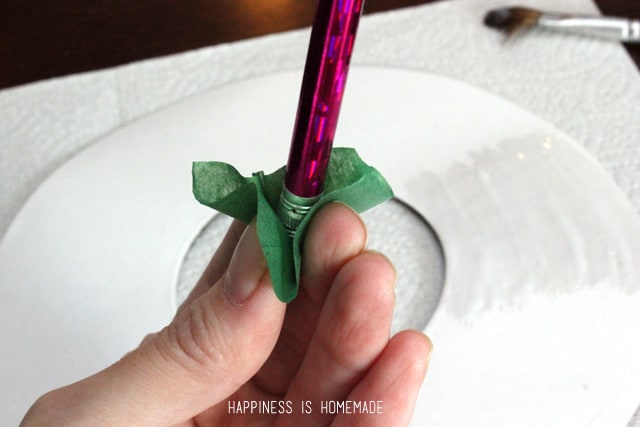
Use the paintbrush to spread a small amount of white glue on to a section of the wreath (work on about 1/6 of the wreath at a time). Use the eraser end of the pencil to shape each square of tissue paper as shown.
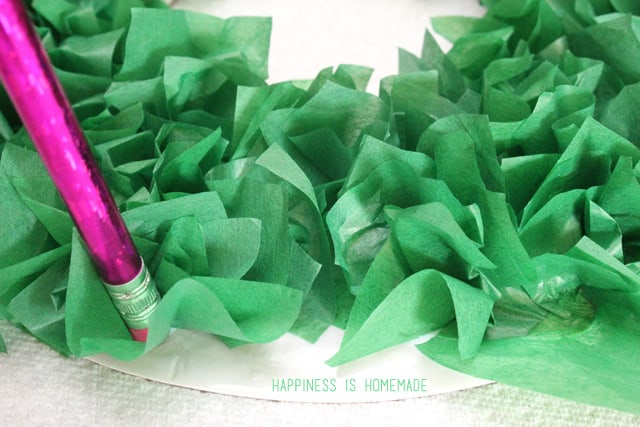
Use the eraser to help you place your tissue paper squares on to the wreath form, and continue to work section by section until the entire wreath form is full and covered.
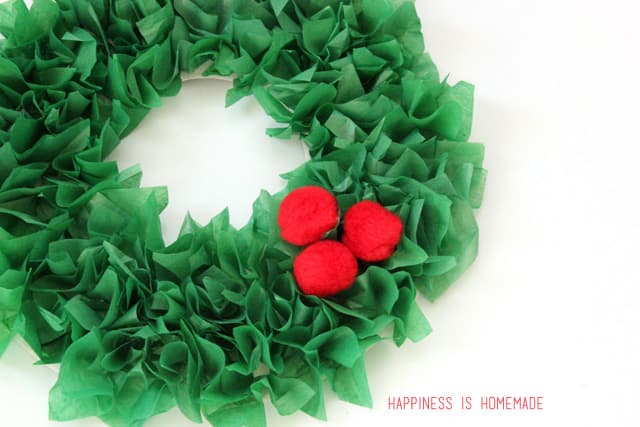
Add optional embellishments – pom poms make great holly berries, sequins and glitter add sparkle, and large buttons make nice “ornaments.”
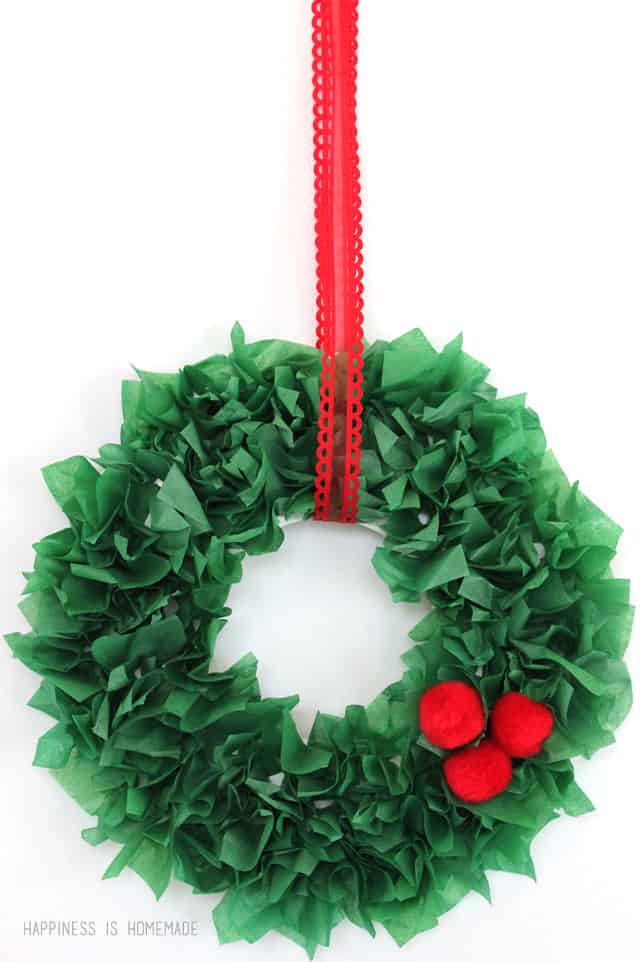
Add a ribbon for hanging, and the wreath is ready to be displayed or gifted!


Heidi Kundin has captivated the hearts of millions with her colorful and inspiring approach to crafting, celebrations, and family fun. With over 15 years of experience, Happiness is Homemade has become a must-visit destination for those seeking quick and easy creative ideas and last-minute solutions. Heidi’s warm personality shines through her posts, inviting readers to join her on a creative journey that’s fun, rewarding, and achievable. Heidi is also the author of Homemade Bath Bombs & More and DIY Tie-Dye.
