
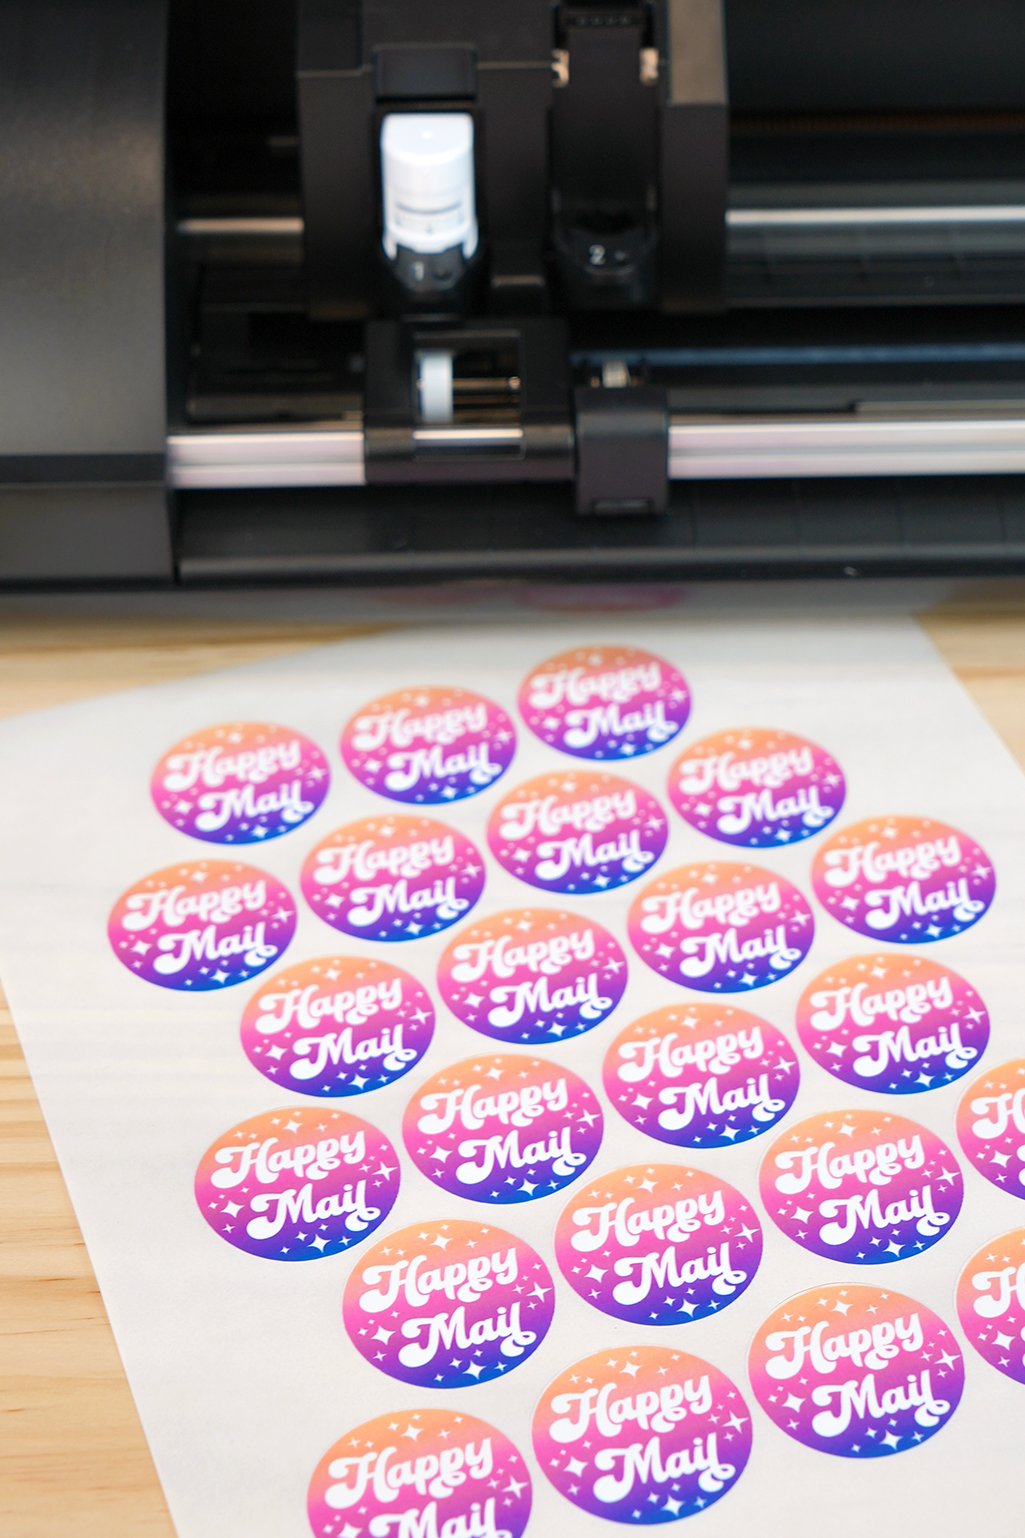
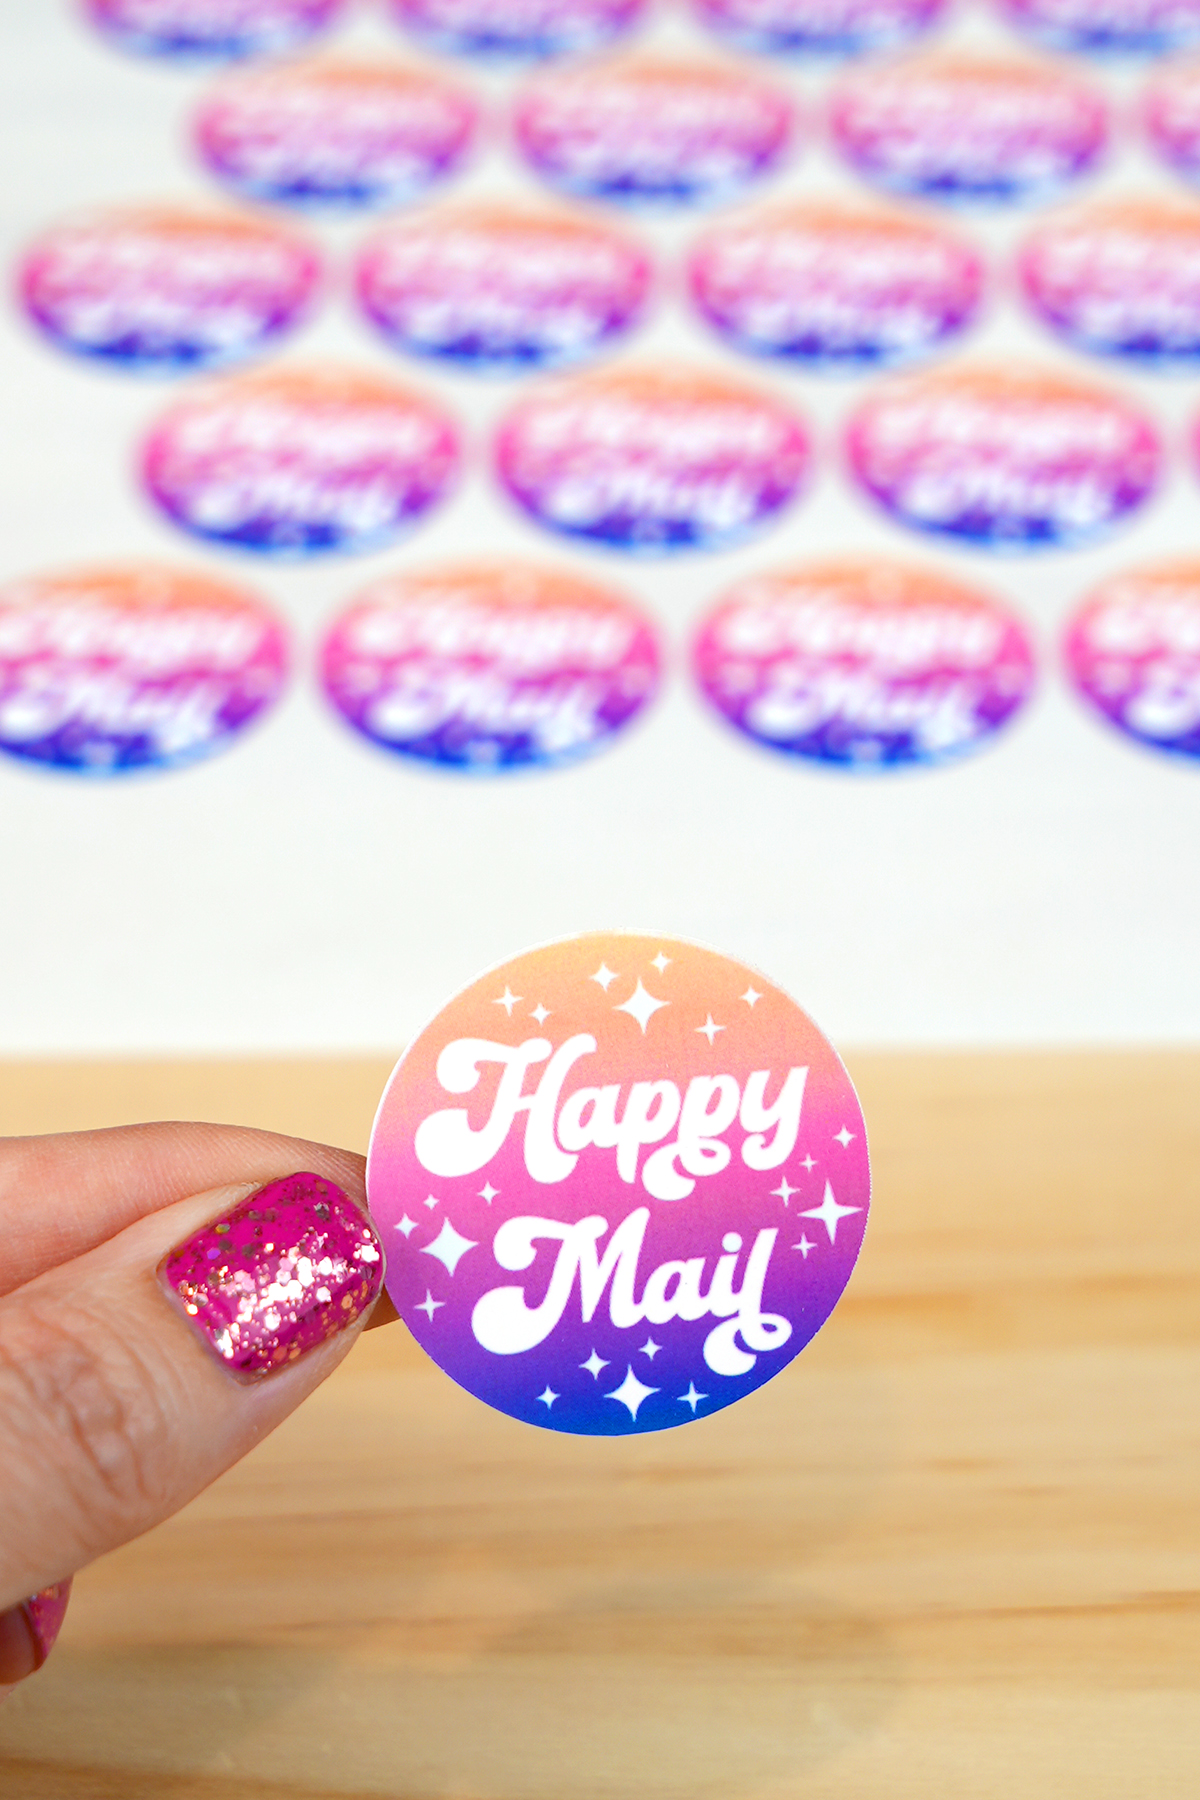
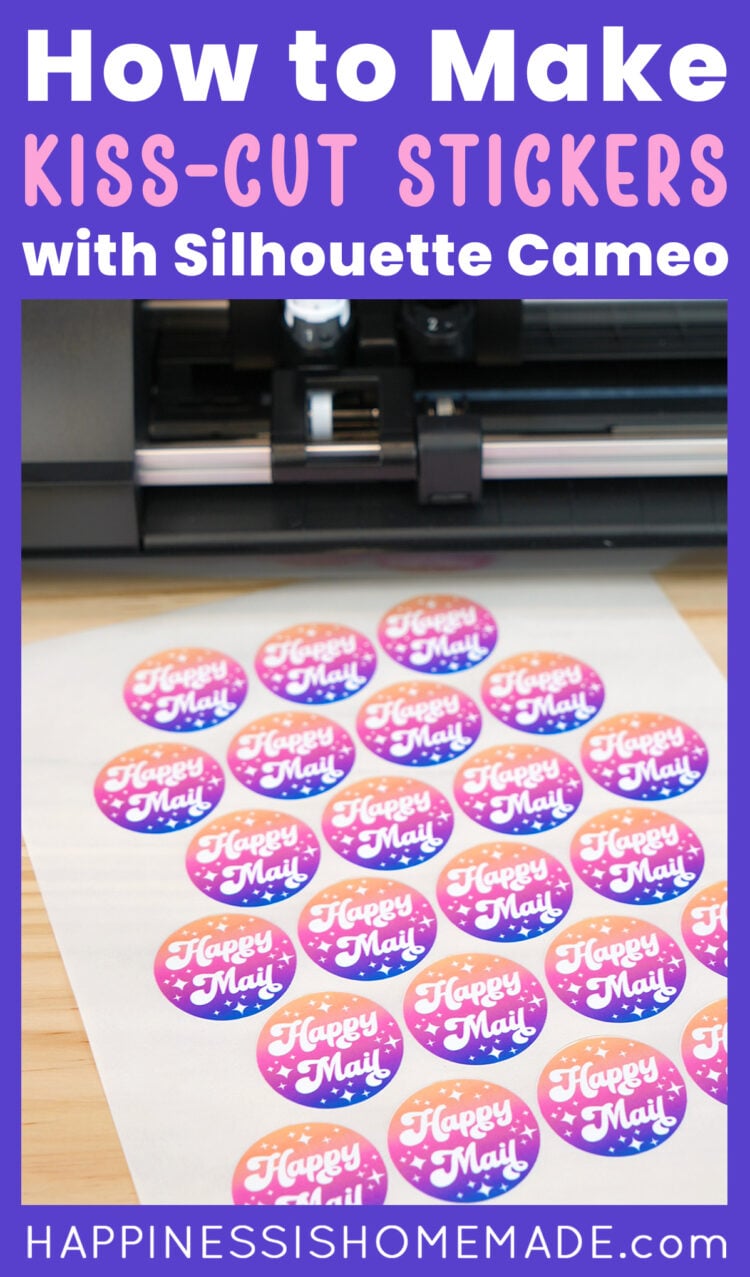
Learn how to make kiss-cut sticker sheets with a Silhouette Cameo cutting machine! Just follow this easy Silhouette Print & Cut sticker tutorial!
Skill Level: Beginner to Intermediate – Cutting custom stickers with your Silhouette Cameo is an easy beginner project; however, working with sticker paper and home printers can sometimes be a bit finicky. This may require some trial and error that is better suited for intermediate crafters.
Making custom kiss-cut stickers with your Silhouette Cameo is a fun and creative way to bring your designs to life! Whether you want to create stickers for personal use or as part of your small business, your Silhouette Cameo is a great at-home solution for making your own sticker sheets.
What is a kiss cut sticker? Kiss-cutting refers to cutting through only the top layer of the sticker material while leaving the backing sheet intact. This technique allows you to create sheets of stickers that can easily be peeled off – perfect for organizing planners, decorating notebooks, or adding a personal touch to any project.
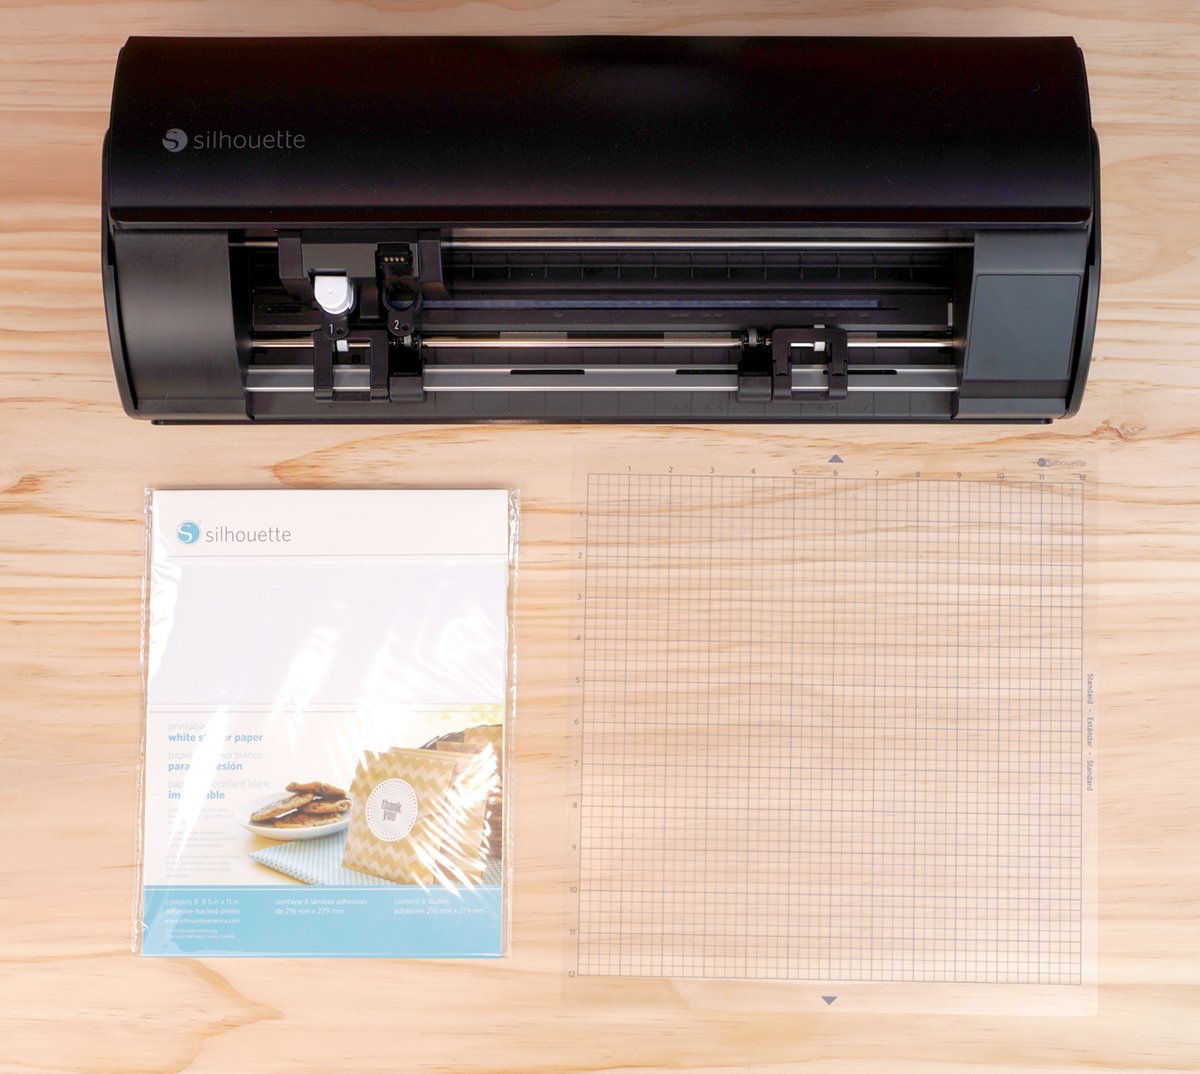
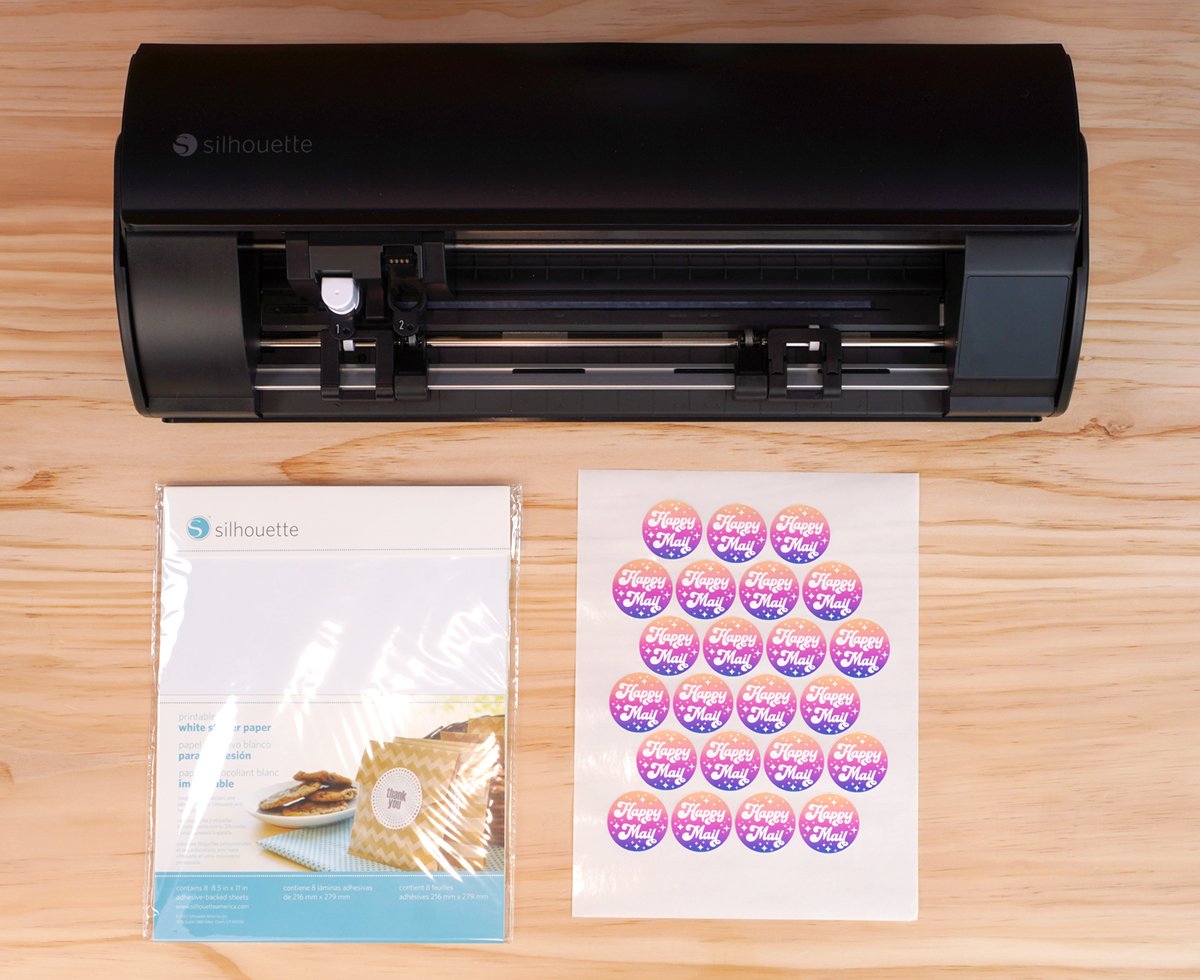
Supplies for Making Custom Stickers
* I am using my Silhouette Cameo 5 for this demonstration
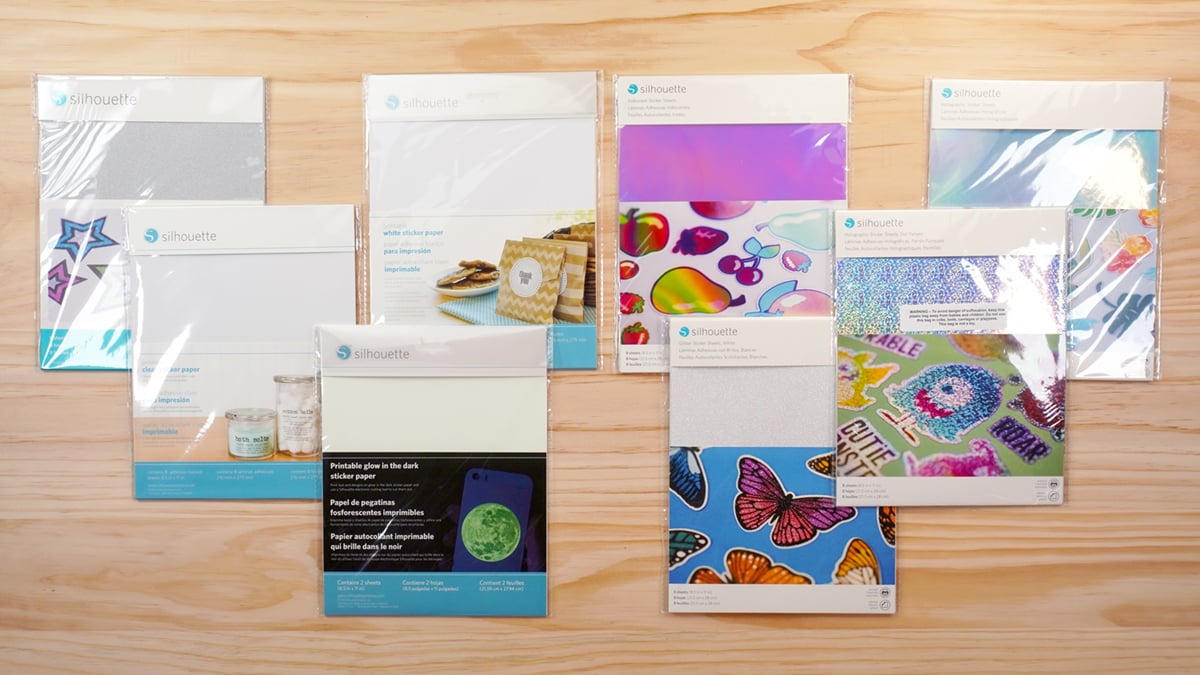
A Note About Sticker Paper
There are TONS of different types of sticker paper on the market, but my favorites are the Silhouette brand sticker papers. These sticker papers are super thick and high-quality (which is especially great if you’re looking to sell your stickers!), and are available in a whole bunch of fun styles and finishes including glitter, holographic, iridescent, glow-in-the-dark, and more!
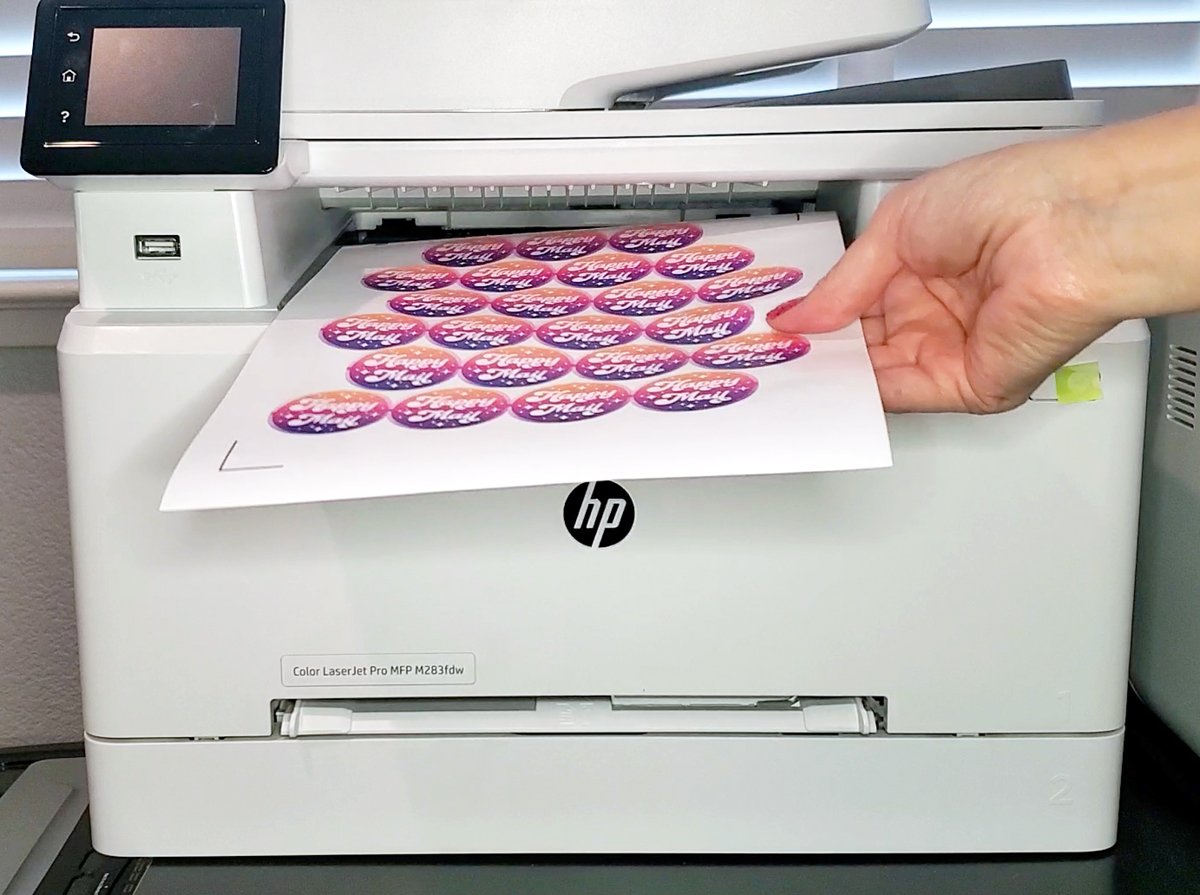
Unfortunately, because of its thickness, Silhouette sticker paper doesn’t play very nicely with either of my laser printers, and I find myself getting paper jams more often than not 😭 – just a heads up so that you are aware of that potential risk.
Other brands of sticker paper that I have used that work well are from HTVRONT, J&J Packaging (these are a little thinner, but work great), RBHK, and Online Labels.
Finding your perfect sticker paper may require some trial and error, but there are lots and lots of fun options to test out and play around with!
Kiss-Cut Silhouette Cameo Stickers:
Video Tutorial
If you prefer to watch video tutorials, click the video above to learn how to make stickers with your Silhouette Cameo cutting machine. Or keep scrolling to read all about it!
How to Make Kiss-Cut Sticker Sheets
For this tutorial, I am going to walk you step-by-step through the process of designing, laying out, and cutting stickers using your Silhouette Cameo. I will be creating a sheet of stickers using a single image; however, you can also use this same technique to create sticker sheets with multiple images as well.

Designing Your Sticker Sheet
First, open up a new project in the Silhouette Studio Software. Open up the Page Setup panel and select your machine type and paper size.
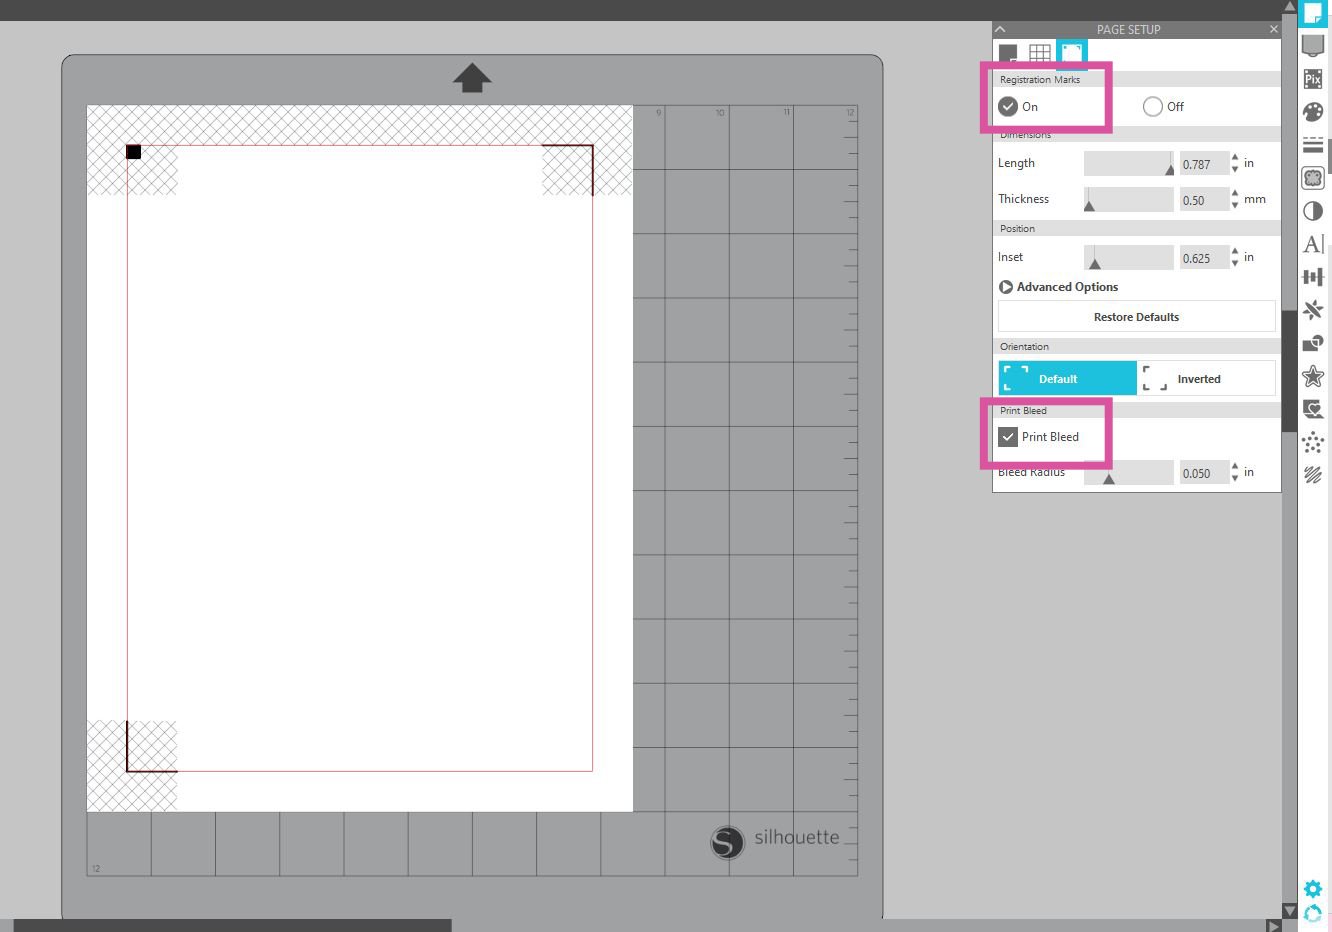
Toggle over in the Page Setup panel and turn on Registration Marks and Print Bleed.
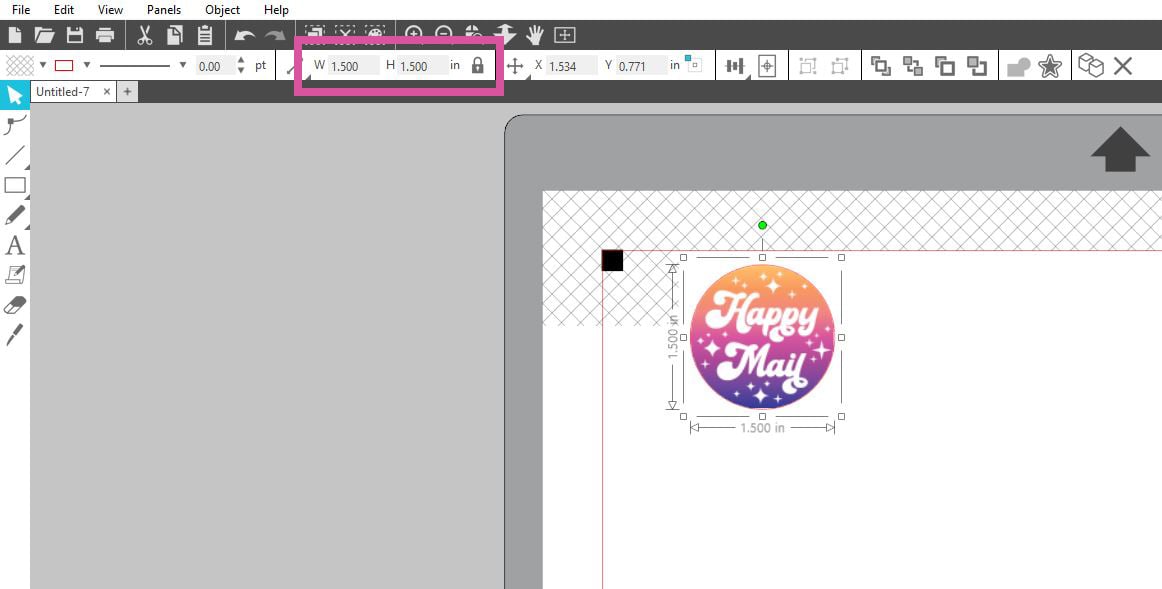
Next, go to File>Merge to insert your sticker design (preferably in PNG format). If necessary, resize your file to suit your needs – I’m making my stickers 1.5″ round.
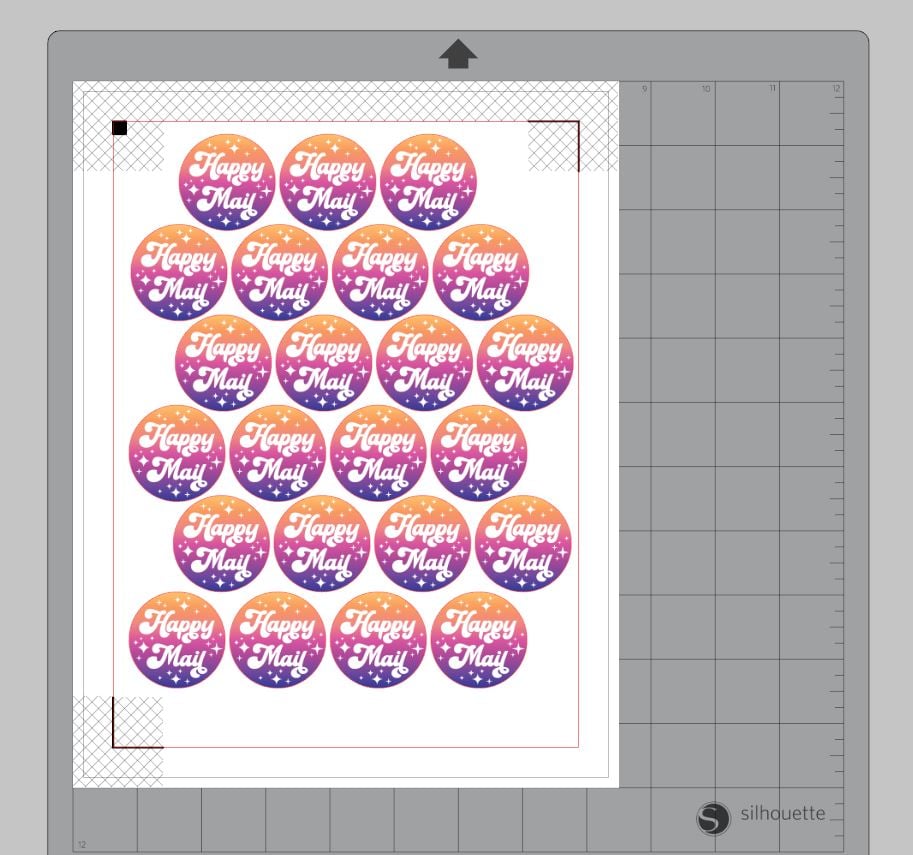
Use the copy/paste function to duplicate your sticker design, and then arrange the images in a grid or pattern that allows you to fit the most possible on a single sheet.
Note that you can NOT have any printed material extend beyond the red border or into the registration mark area (denoted by hash marks) or your Cameo will not be able to cut your stickers properly.
Printing Your Sticker Sheet
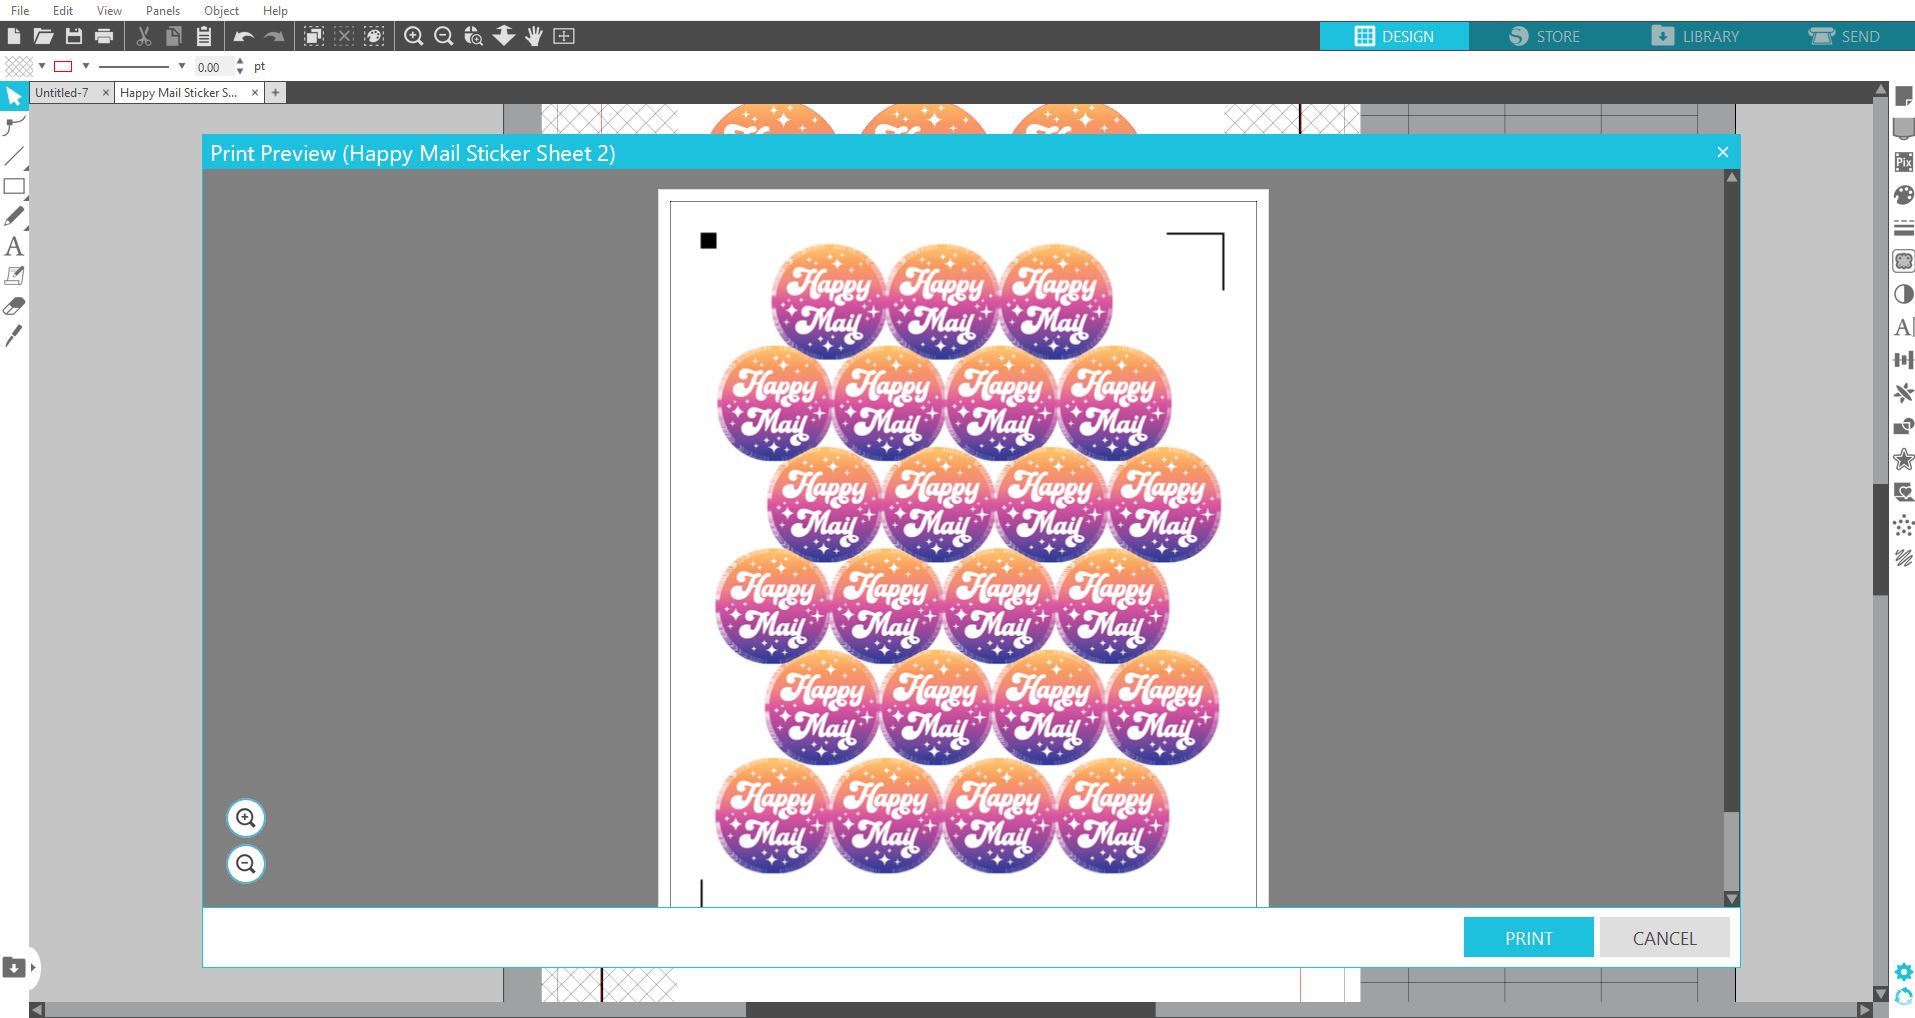
Once you have your sticker sheet arranged, it is time to print them out. Click on the Print icon in the upper toolbar, and your Print Preview box will appear. You will notice the added print bleed around the edges of each sticker. This allows the Cameo to cut all the way to the very edge of the design with no white space.
Click the blue Print button, and set your Printer Settings. I recommend printing at the highest quality and selecting Heavy Glossy or Premium Presentation Paper from the paper settings.
Cutting Your Sticker Sheet
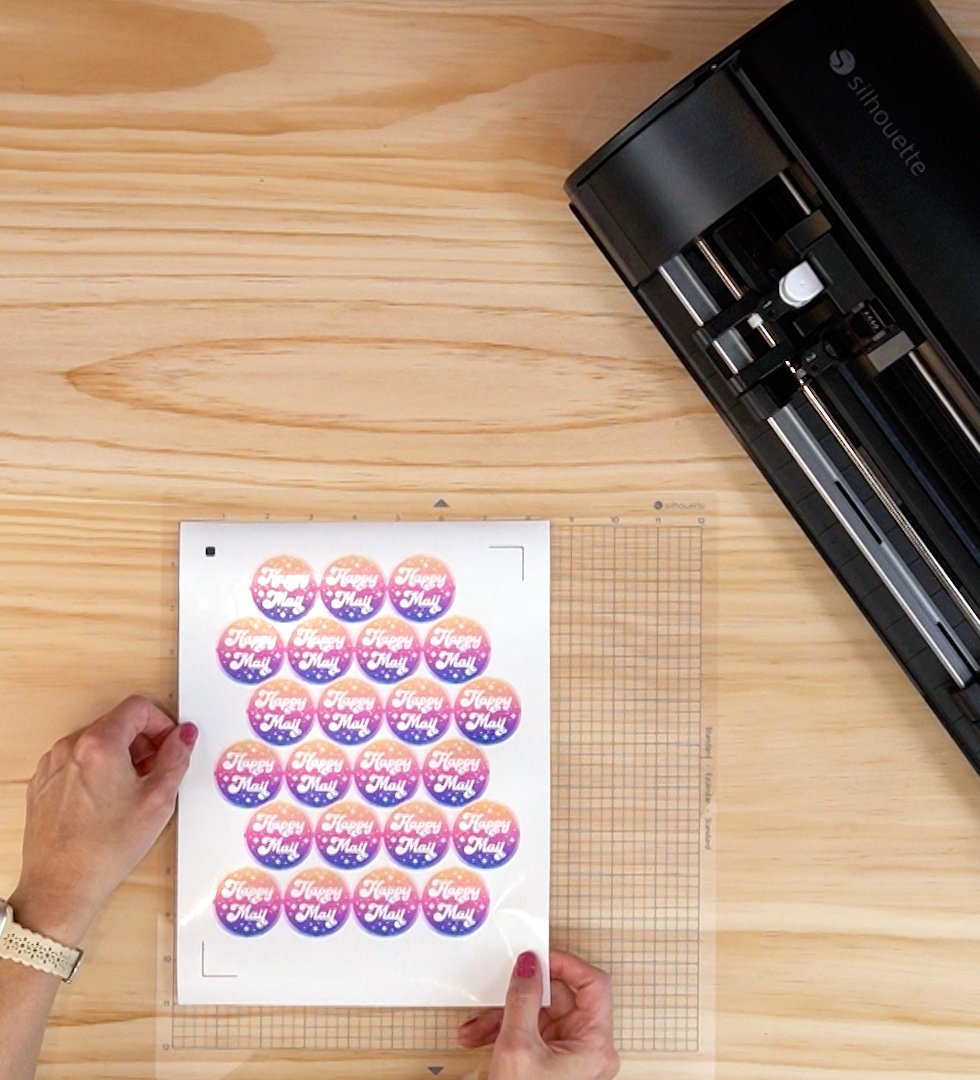
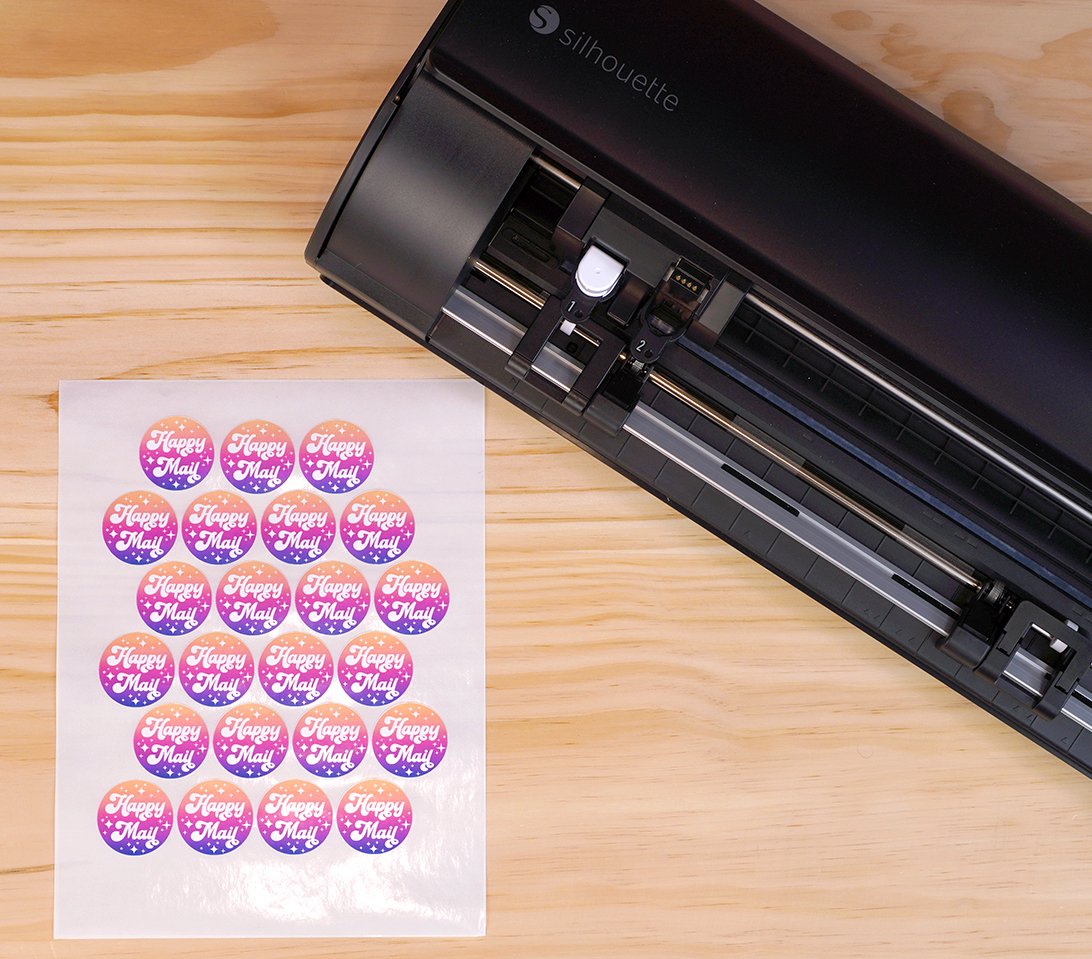
Take your printed sticker sheet and place it in the upper left corner of the Silhouette Cutting Mat.
Load the cutting mat into your Silhouette Cameo.
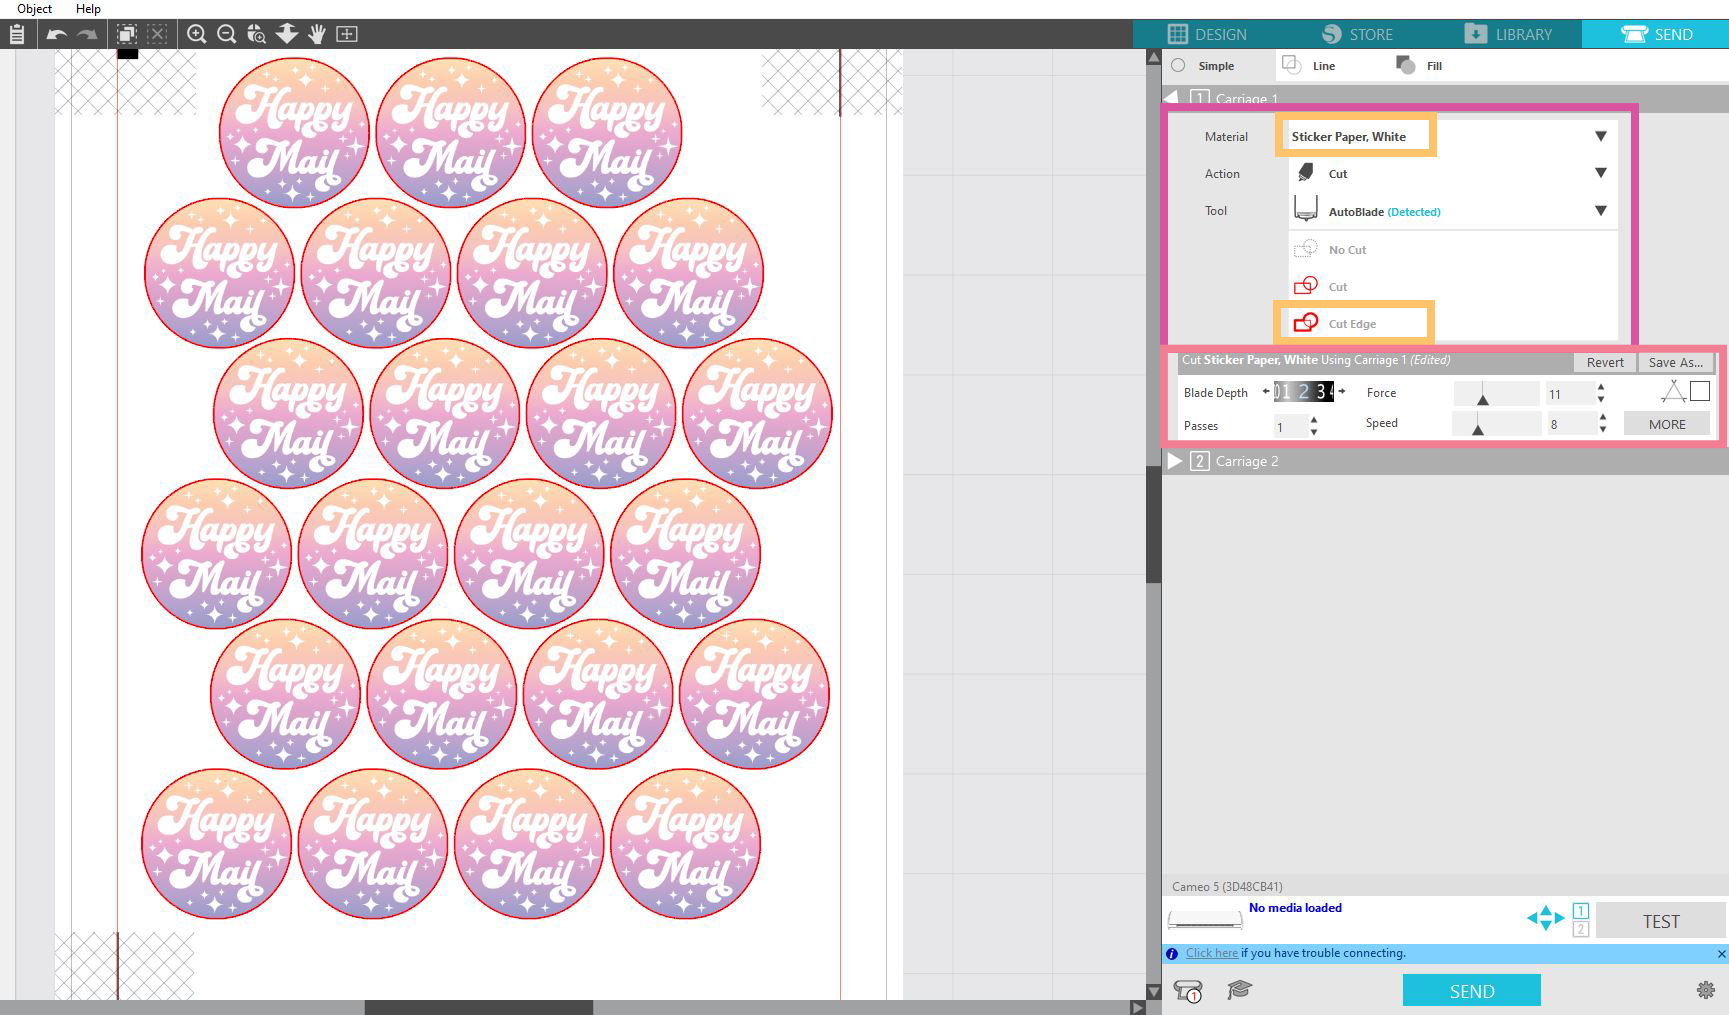
Go back into the Silhouette Studio software, and open the Send panel. Set the following settings:
- Set the Materials – I am using Sticker Paper, White
- Set the Action to Cut
- Choose which Tool and Tool Carriage you will be using – I am using an Autoblade in Carriage 1
- Select all of the stickers on the page, and then make sure it is set to Cut Edge only. This ensures that none of the interior portions of your design will be cut.
Finally, choose your Blade Settings. You want the blade to cut through the sticker paper without cutting through the backing paper.
This may require some trial and error to perfect with your particular brand of sticker paper. The settings shown below are what I use with J&J Packaging Sticker Paper and may not be the same for you; however, these settings are usually a good starting point for your testing.
- Blade Depth: 2
- Passes: 1
- Force: 11
- Speed: 8
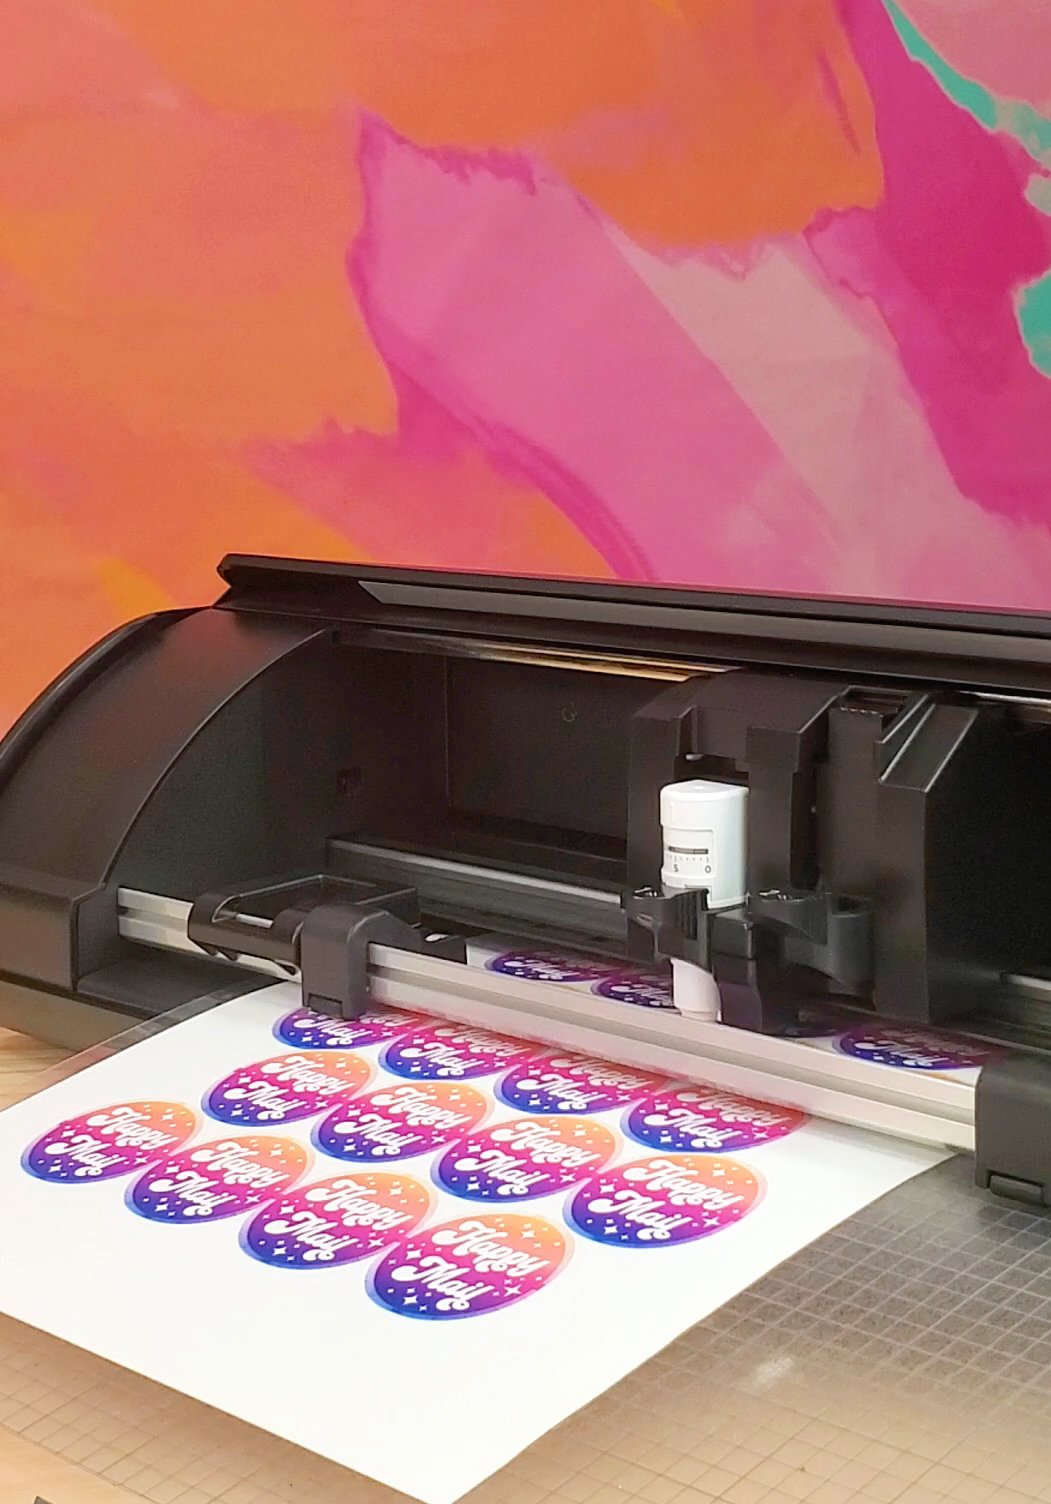
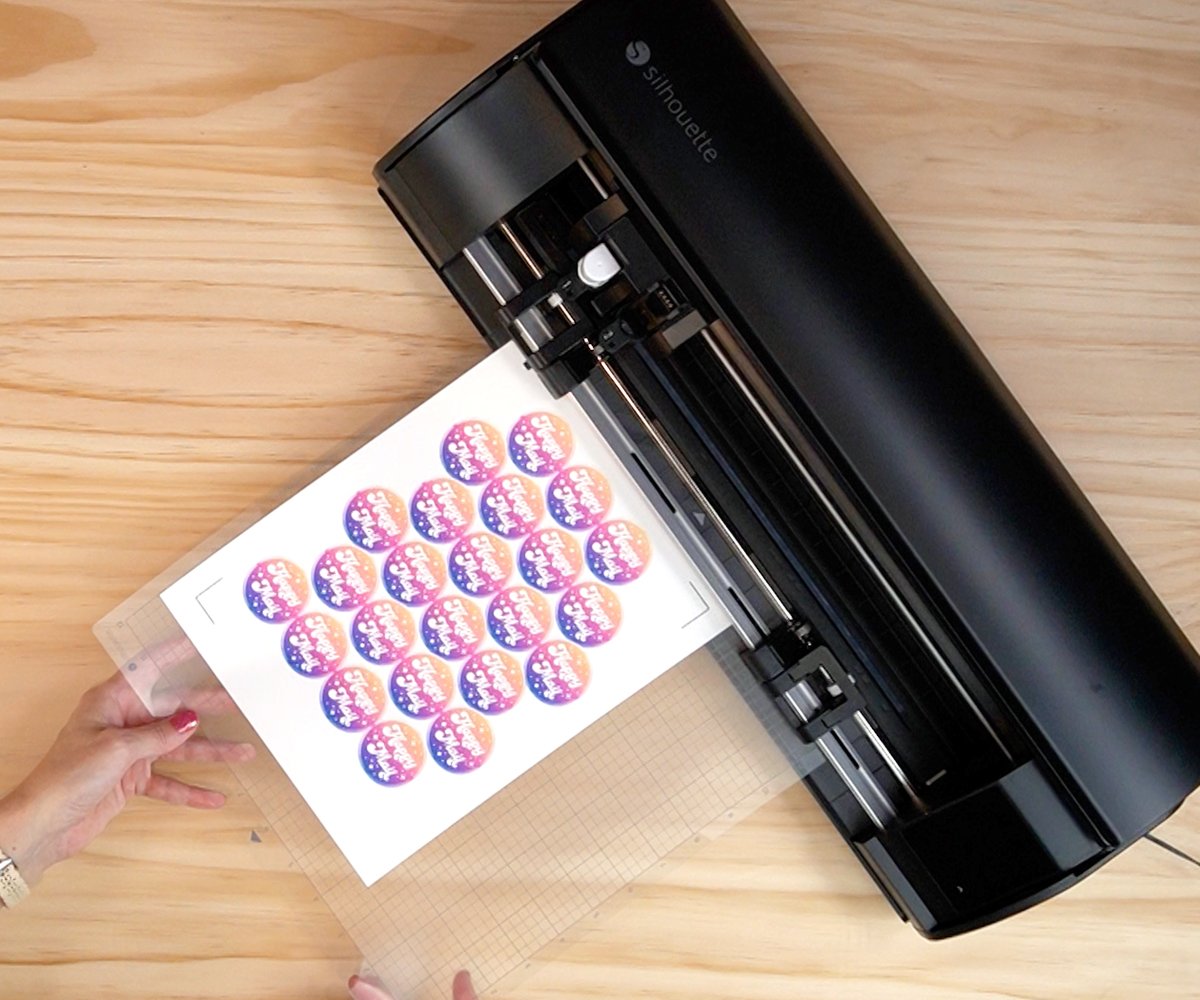
When everything is correctly set up, click the final blue Send button in Silhouette Studio to send the cut job to your machine. First, the Cameo will scan the mat for the registration marks, and then it will begin cutting.
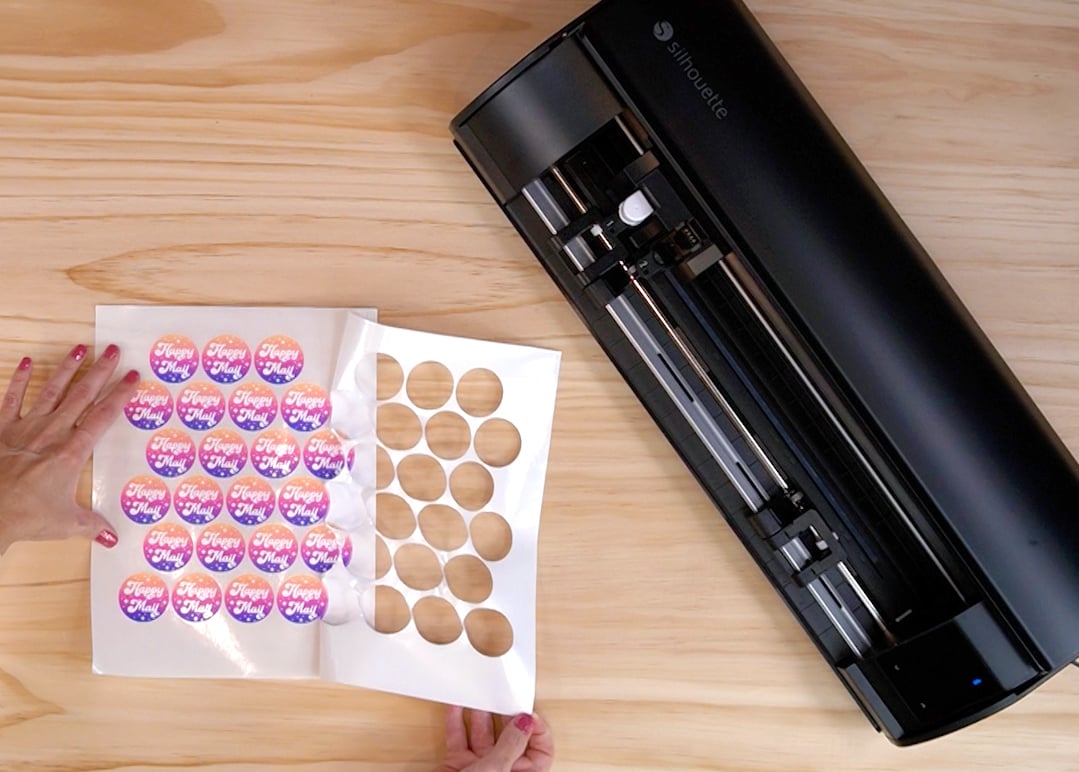
When the cut is complete, unload the cutting mat from the Cameo, and remove the sticker sheet from the mat.
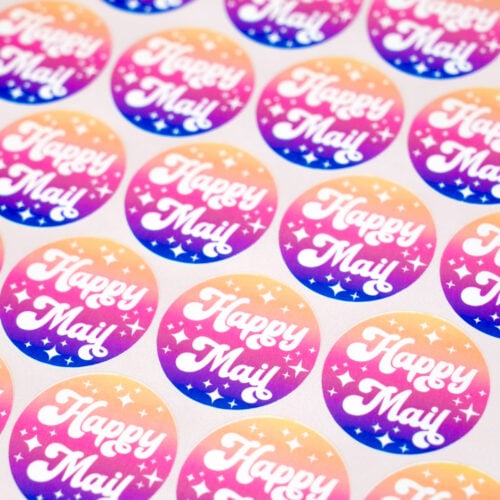
Remove the excess sticker material, leaving your stickers cleanly on the backing sheet.
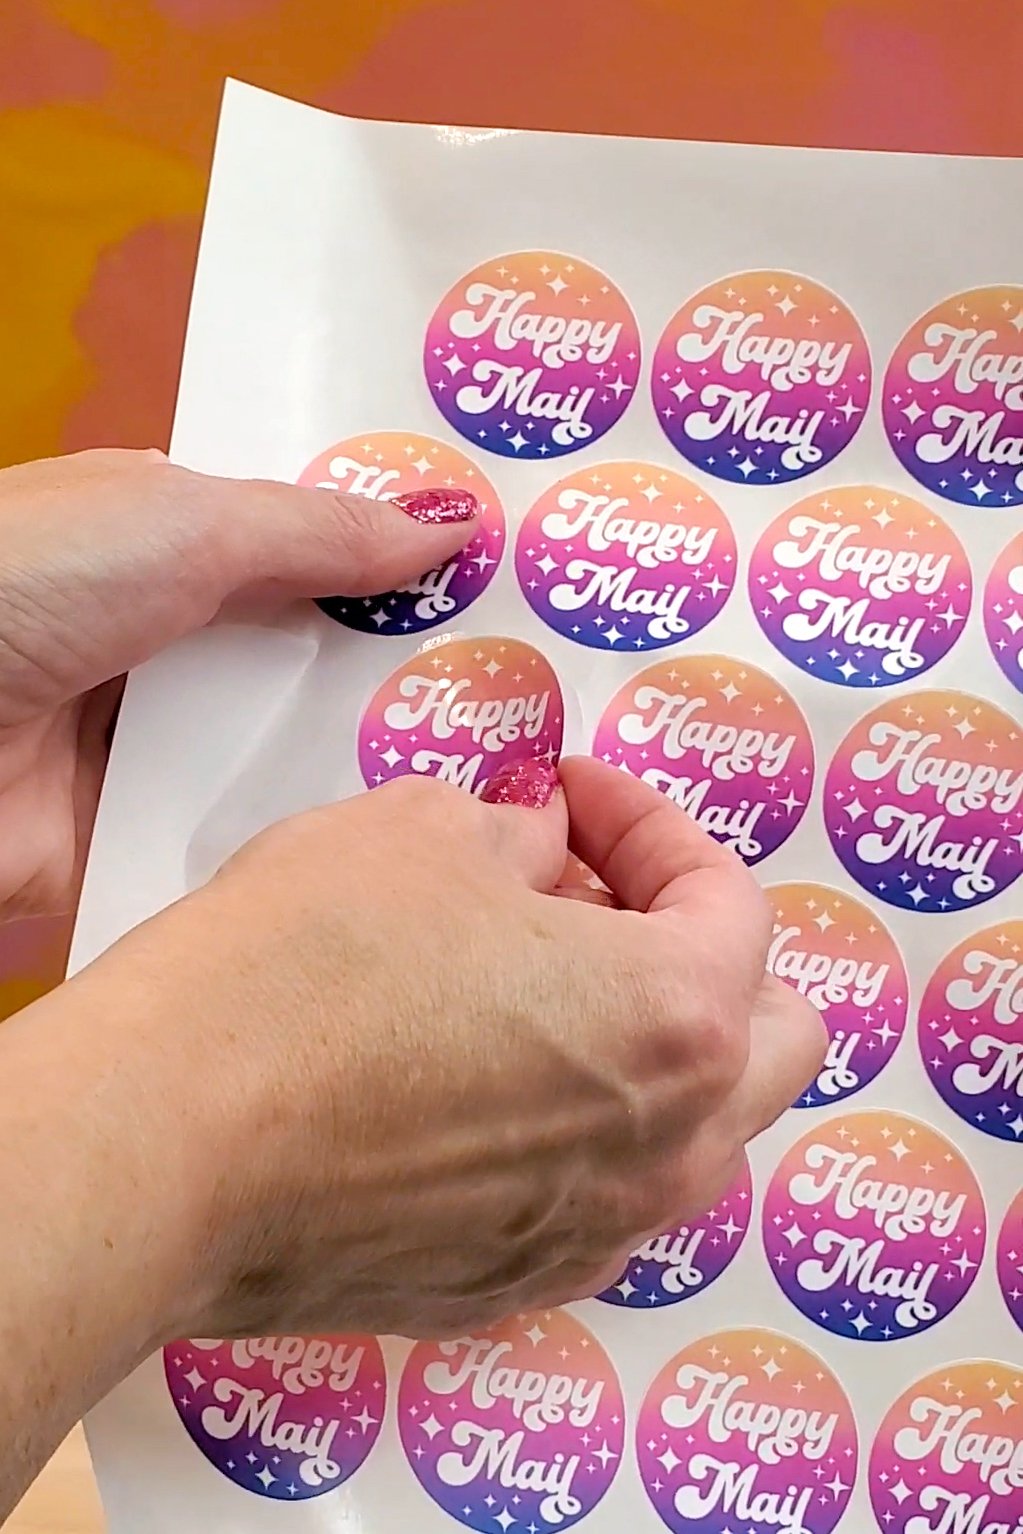
Now, you can easily peel and remove each of the individual stickers from the larger sticker sheet.
FAQs
How to Make Kiss-Cut Stickers with Silhouette Cameo
Equipment:
- Silhouette Cameo Cutting Machine
- Printer, inkjet or laser
What You’ll Need:
- Silhouette Studio Software
- Sticker Paper
- Silhouette Cutting Mat
Instructions:
- Open a new project in the Silhouette Studio Software. Open the Page Setup panel and select your machine type and paper size. Toggle over in the Page Setup panel and turn on Registration Marks and Print Bleed.
- Next, go to File>Merge to insert your sticker design (preferably in PNG format). If necessary, resize your file to suit your needs.
- Use the copy/paste function to duplicate your sticker design, and then arrange the images in a grid or pattern that allows you to fit the most possible on a single sheet.Note that you can NOT have any printed material extend beyond the red border or into the registration mark area (denoted by hash marks) or your Cameo will not be able to cut your stickers properly.
- Print your stickers onto sticker paper, and then place the printed sticker sheet onto the Silhouette cutting mat. Load the cutting mat into the Silhouette Cameo.
- Go back into the Silhouette Studio software, and open the Send panel. Set the following settings: Materials, Action, Tool, Cut, and Blade Settings.
- Click the blue Send button in Silhouette Studio to send the cut job to your machine. First, the Cameo will scan the mat for the registration marks, and then it will begin cutting.
- When the cut is complete, unload the cutting mat from the Cameo, and remove the sticker sheet from the mat. Remove the excess sticker material, leaving your stickers cleanly on the backing sheet.
More RELATED POSTS

Heidi Kundin has captivated the hearts of millions with her colorful and inspiring approach to crafting, celebrations, and family fun. With over 15 years of experience, Happiness is Homemade has become a must-visit destination for those seeking quick and easy creative ideas and last-minute solutions. Heidi’s warm personality shines through her posts, inviting readers to join her on a creative journey that’s fun, rewarding, and achievable. Heidi is also the author of Homemade Bath Bombs & More and DIY Tie-Dye.