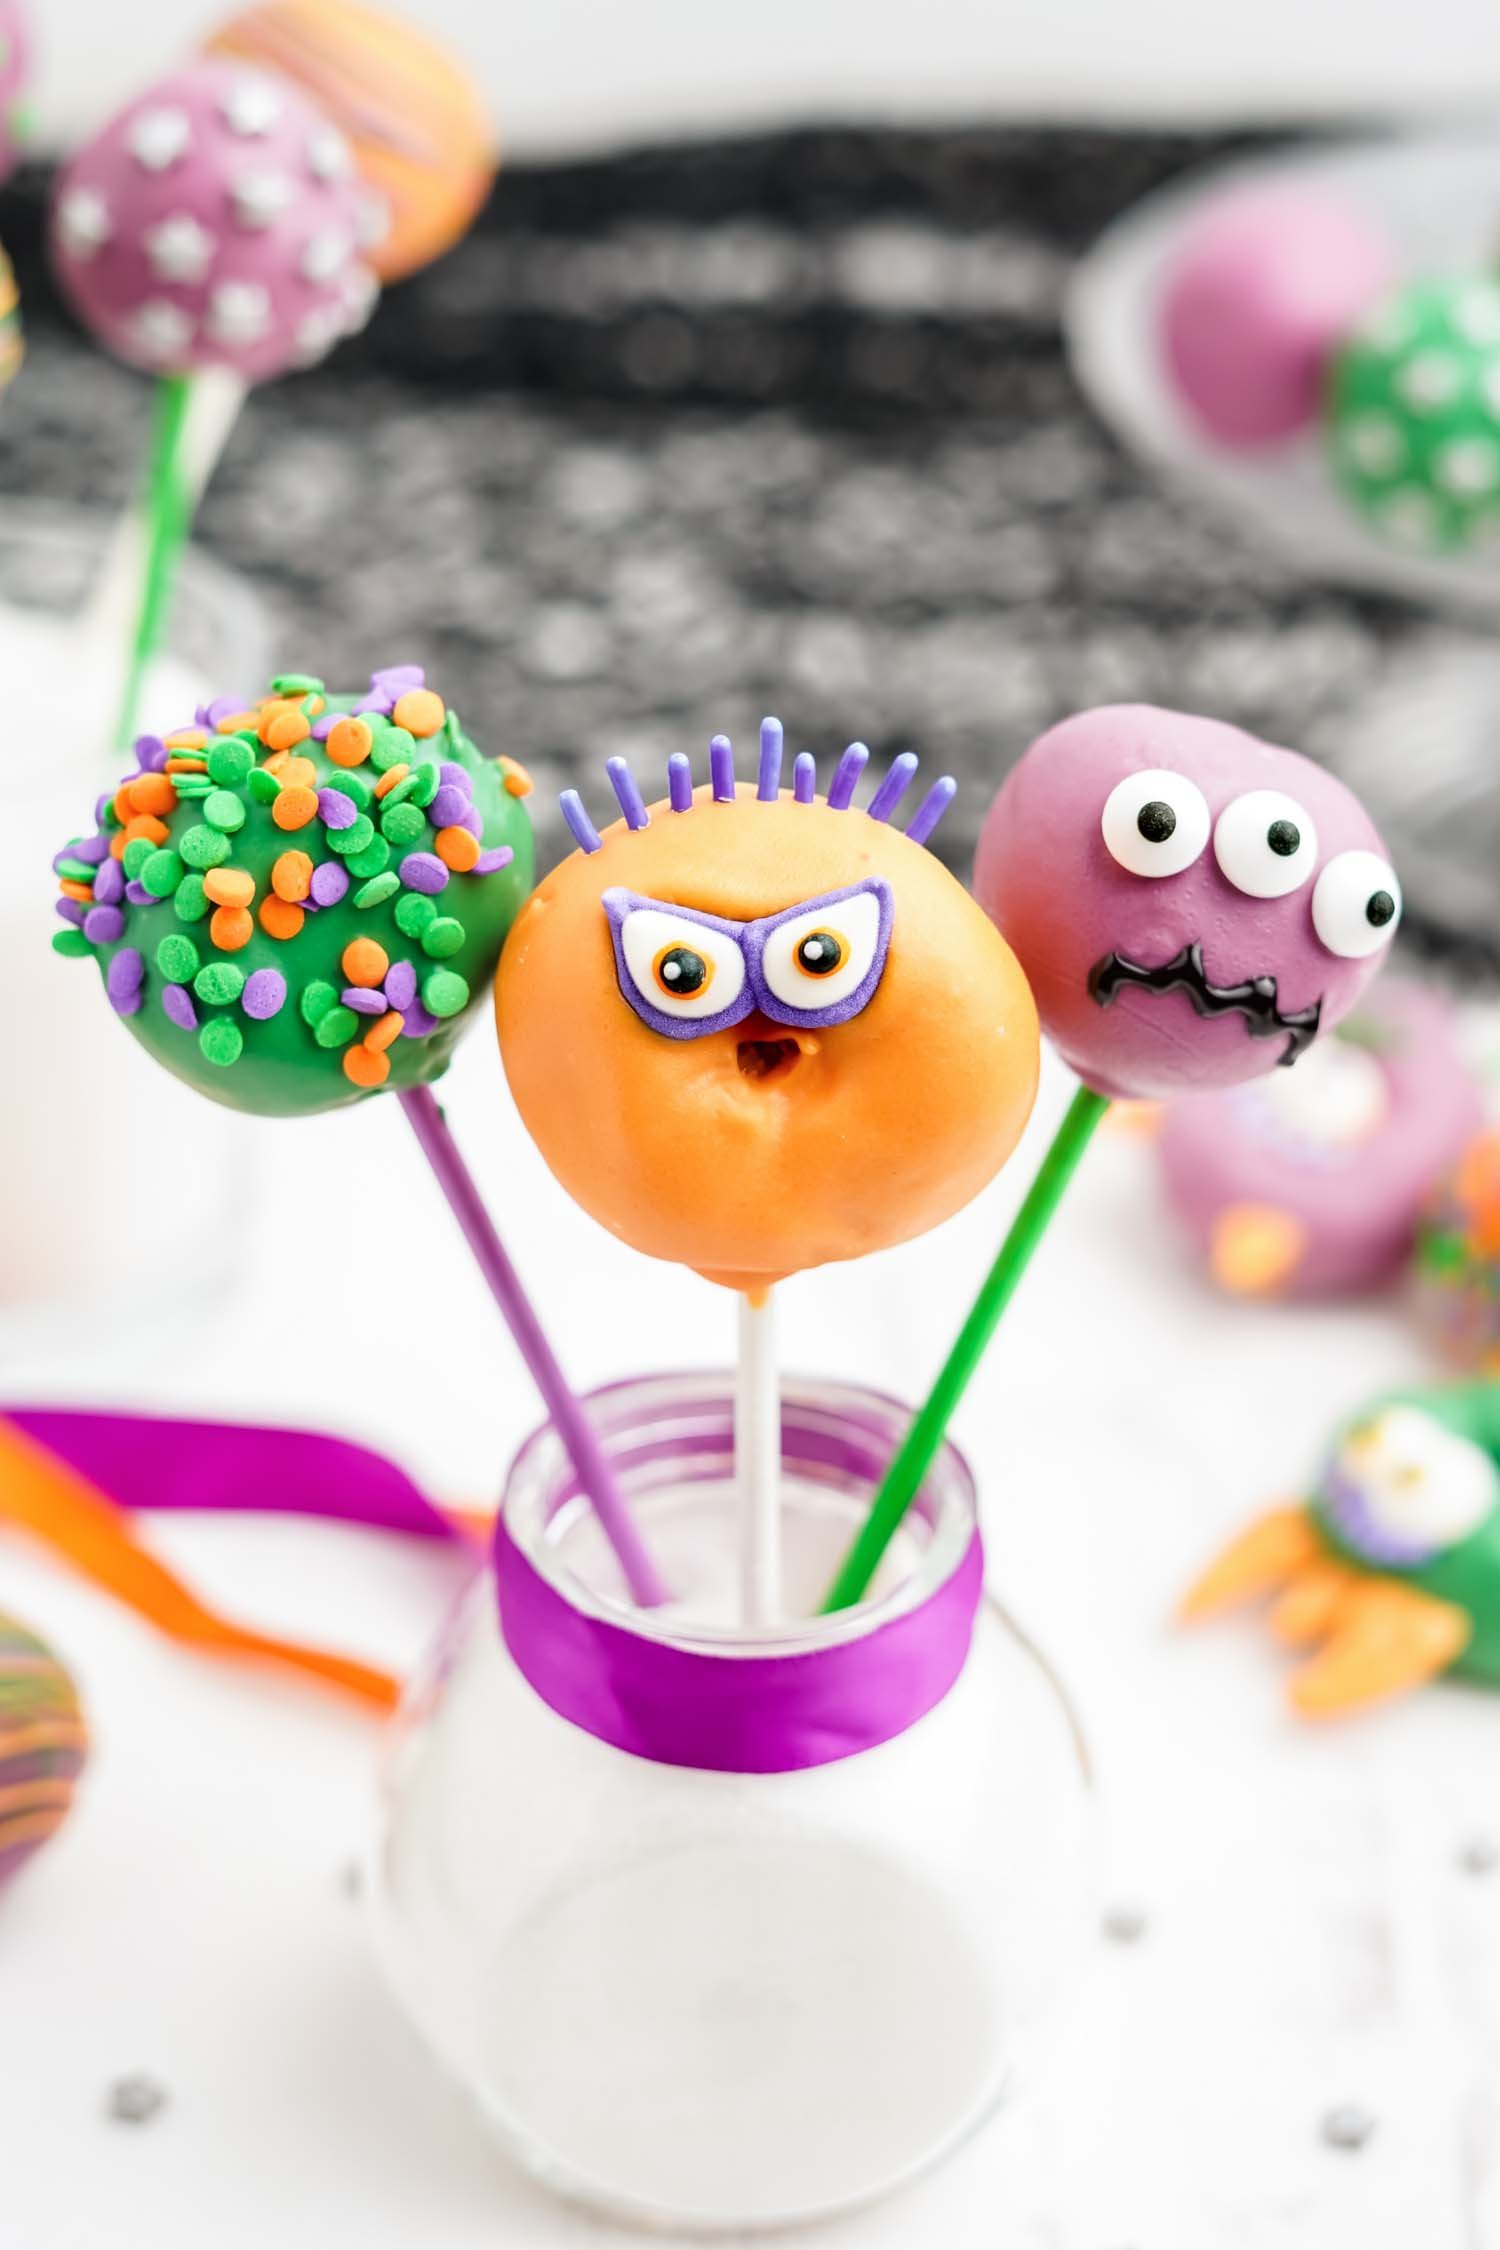
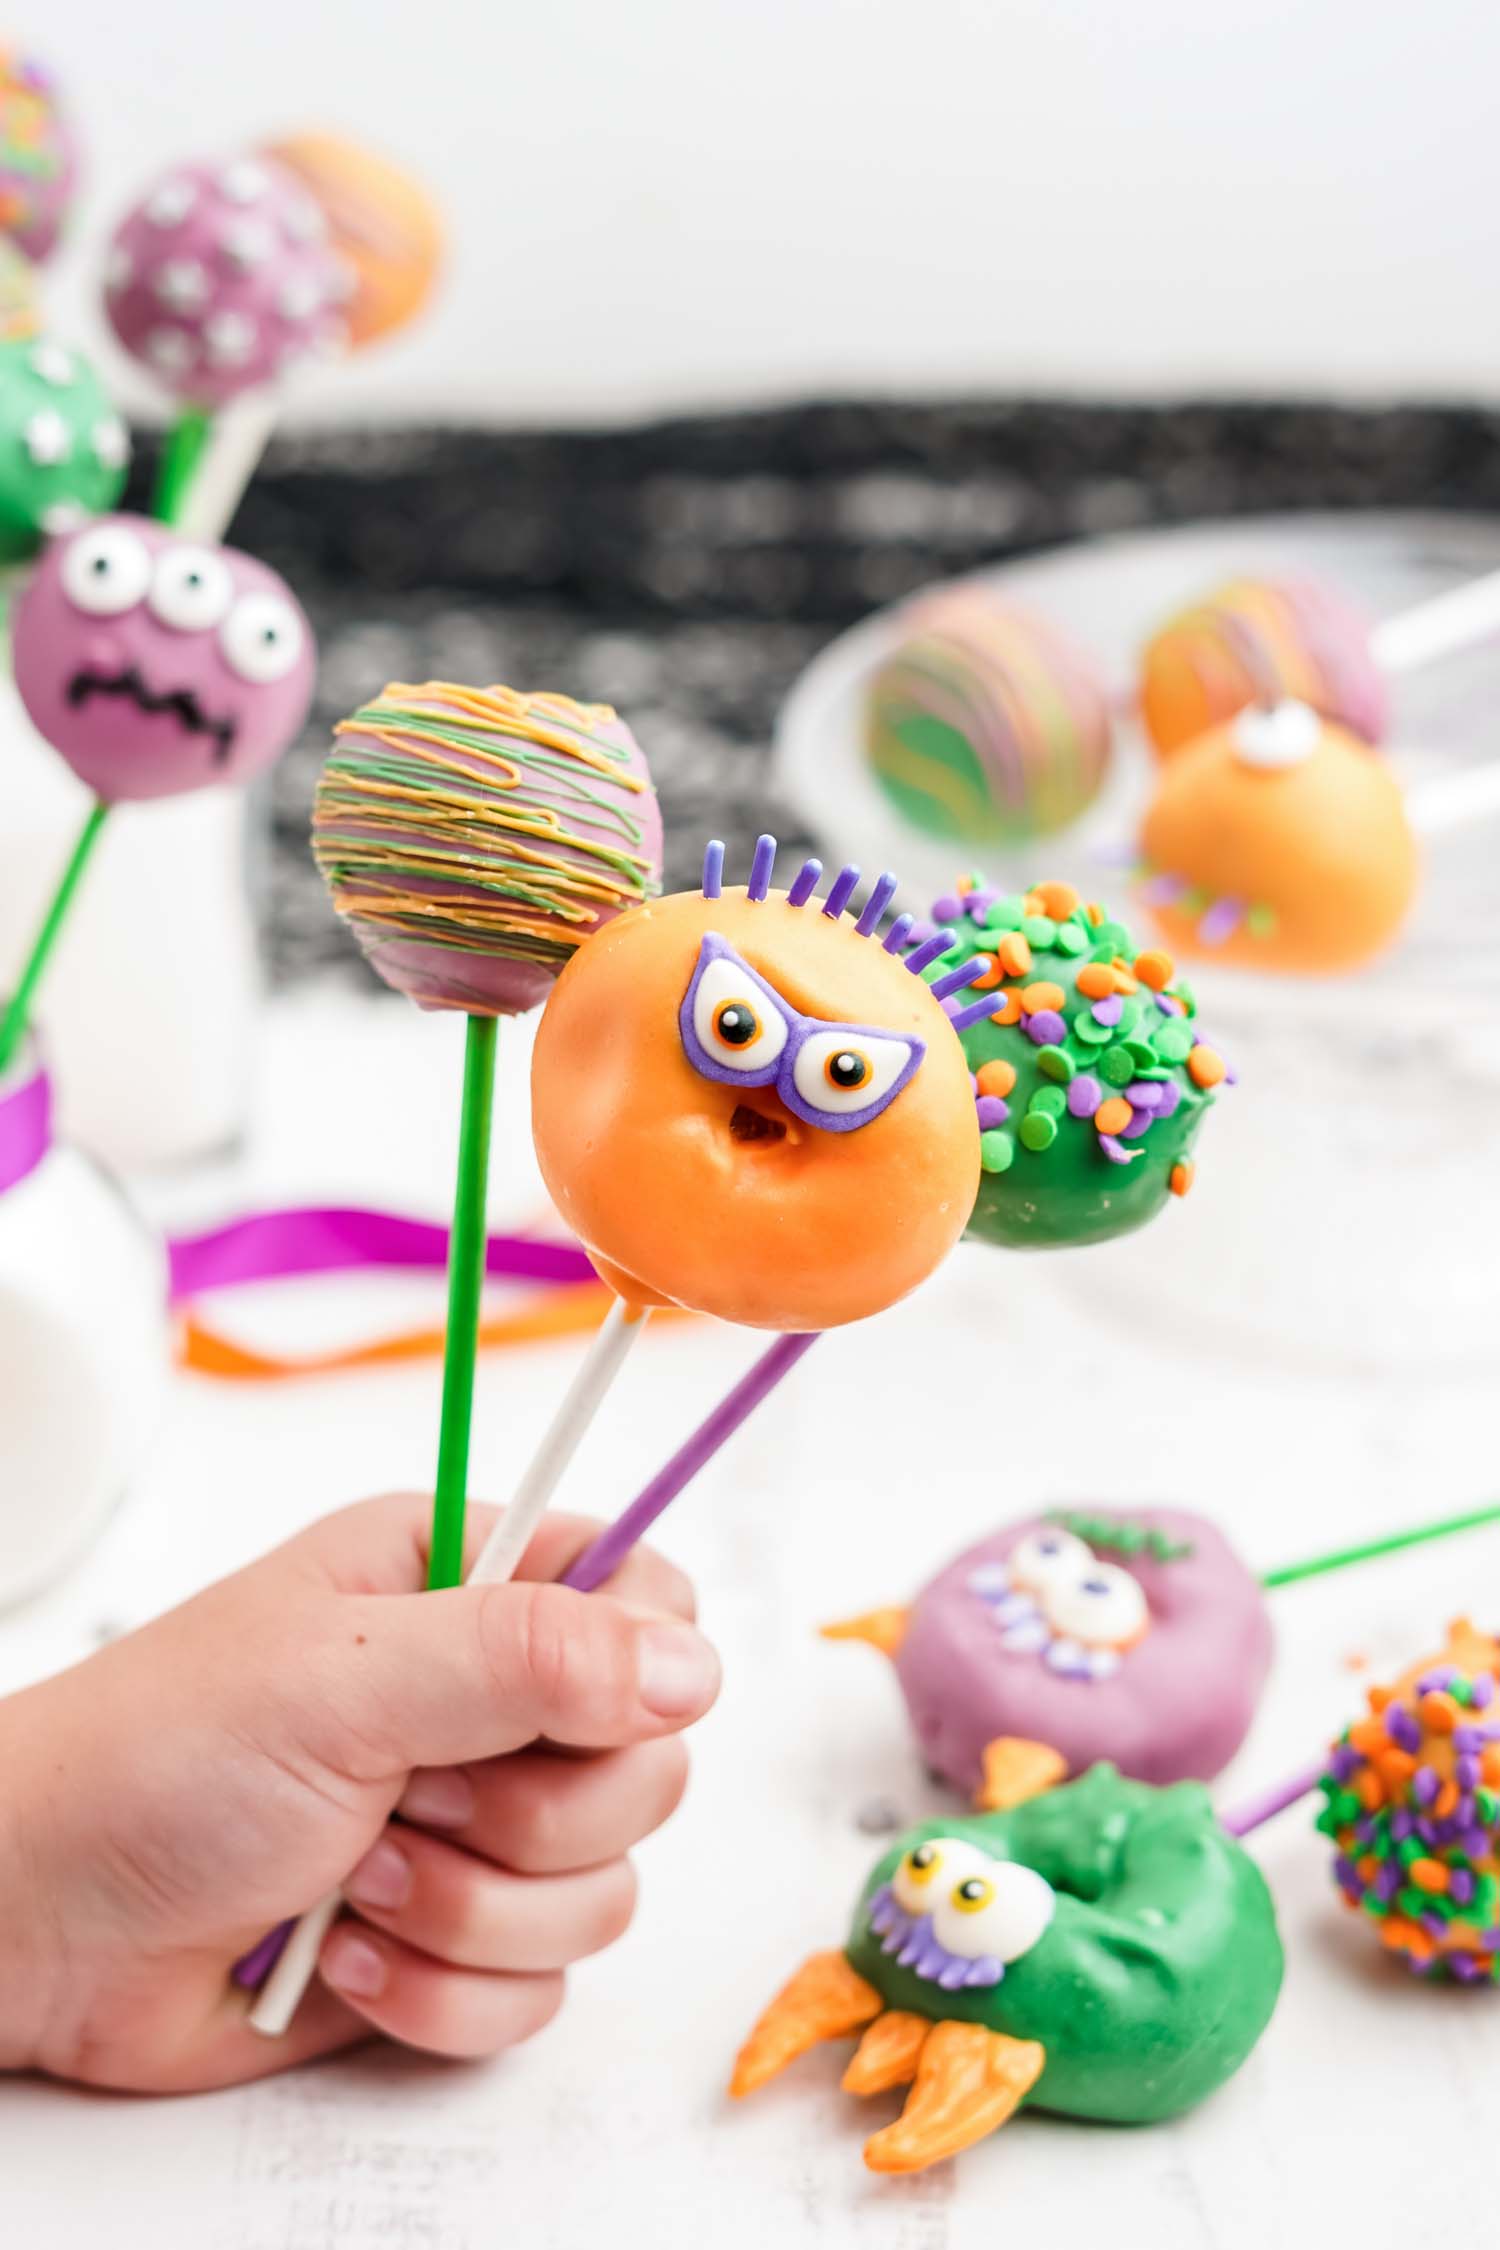
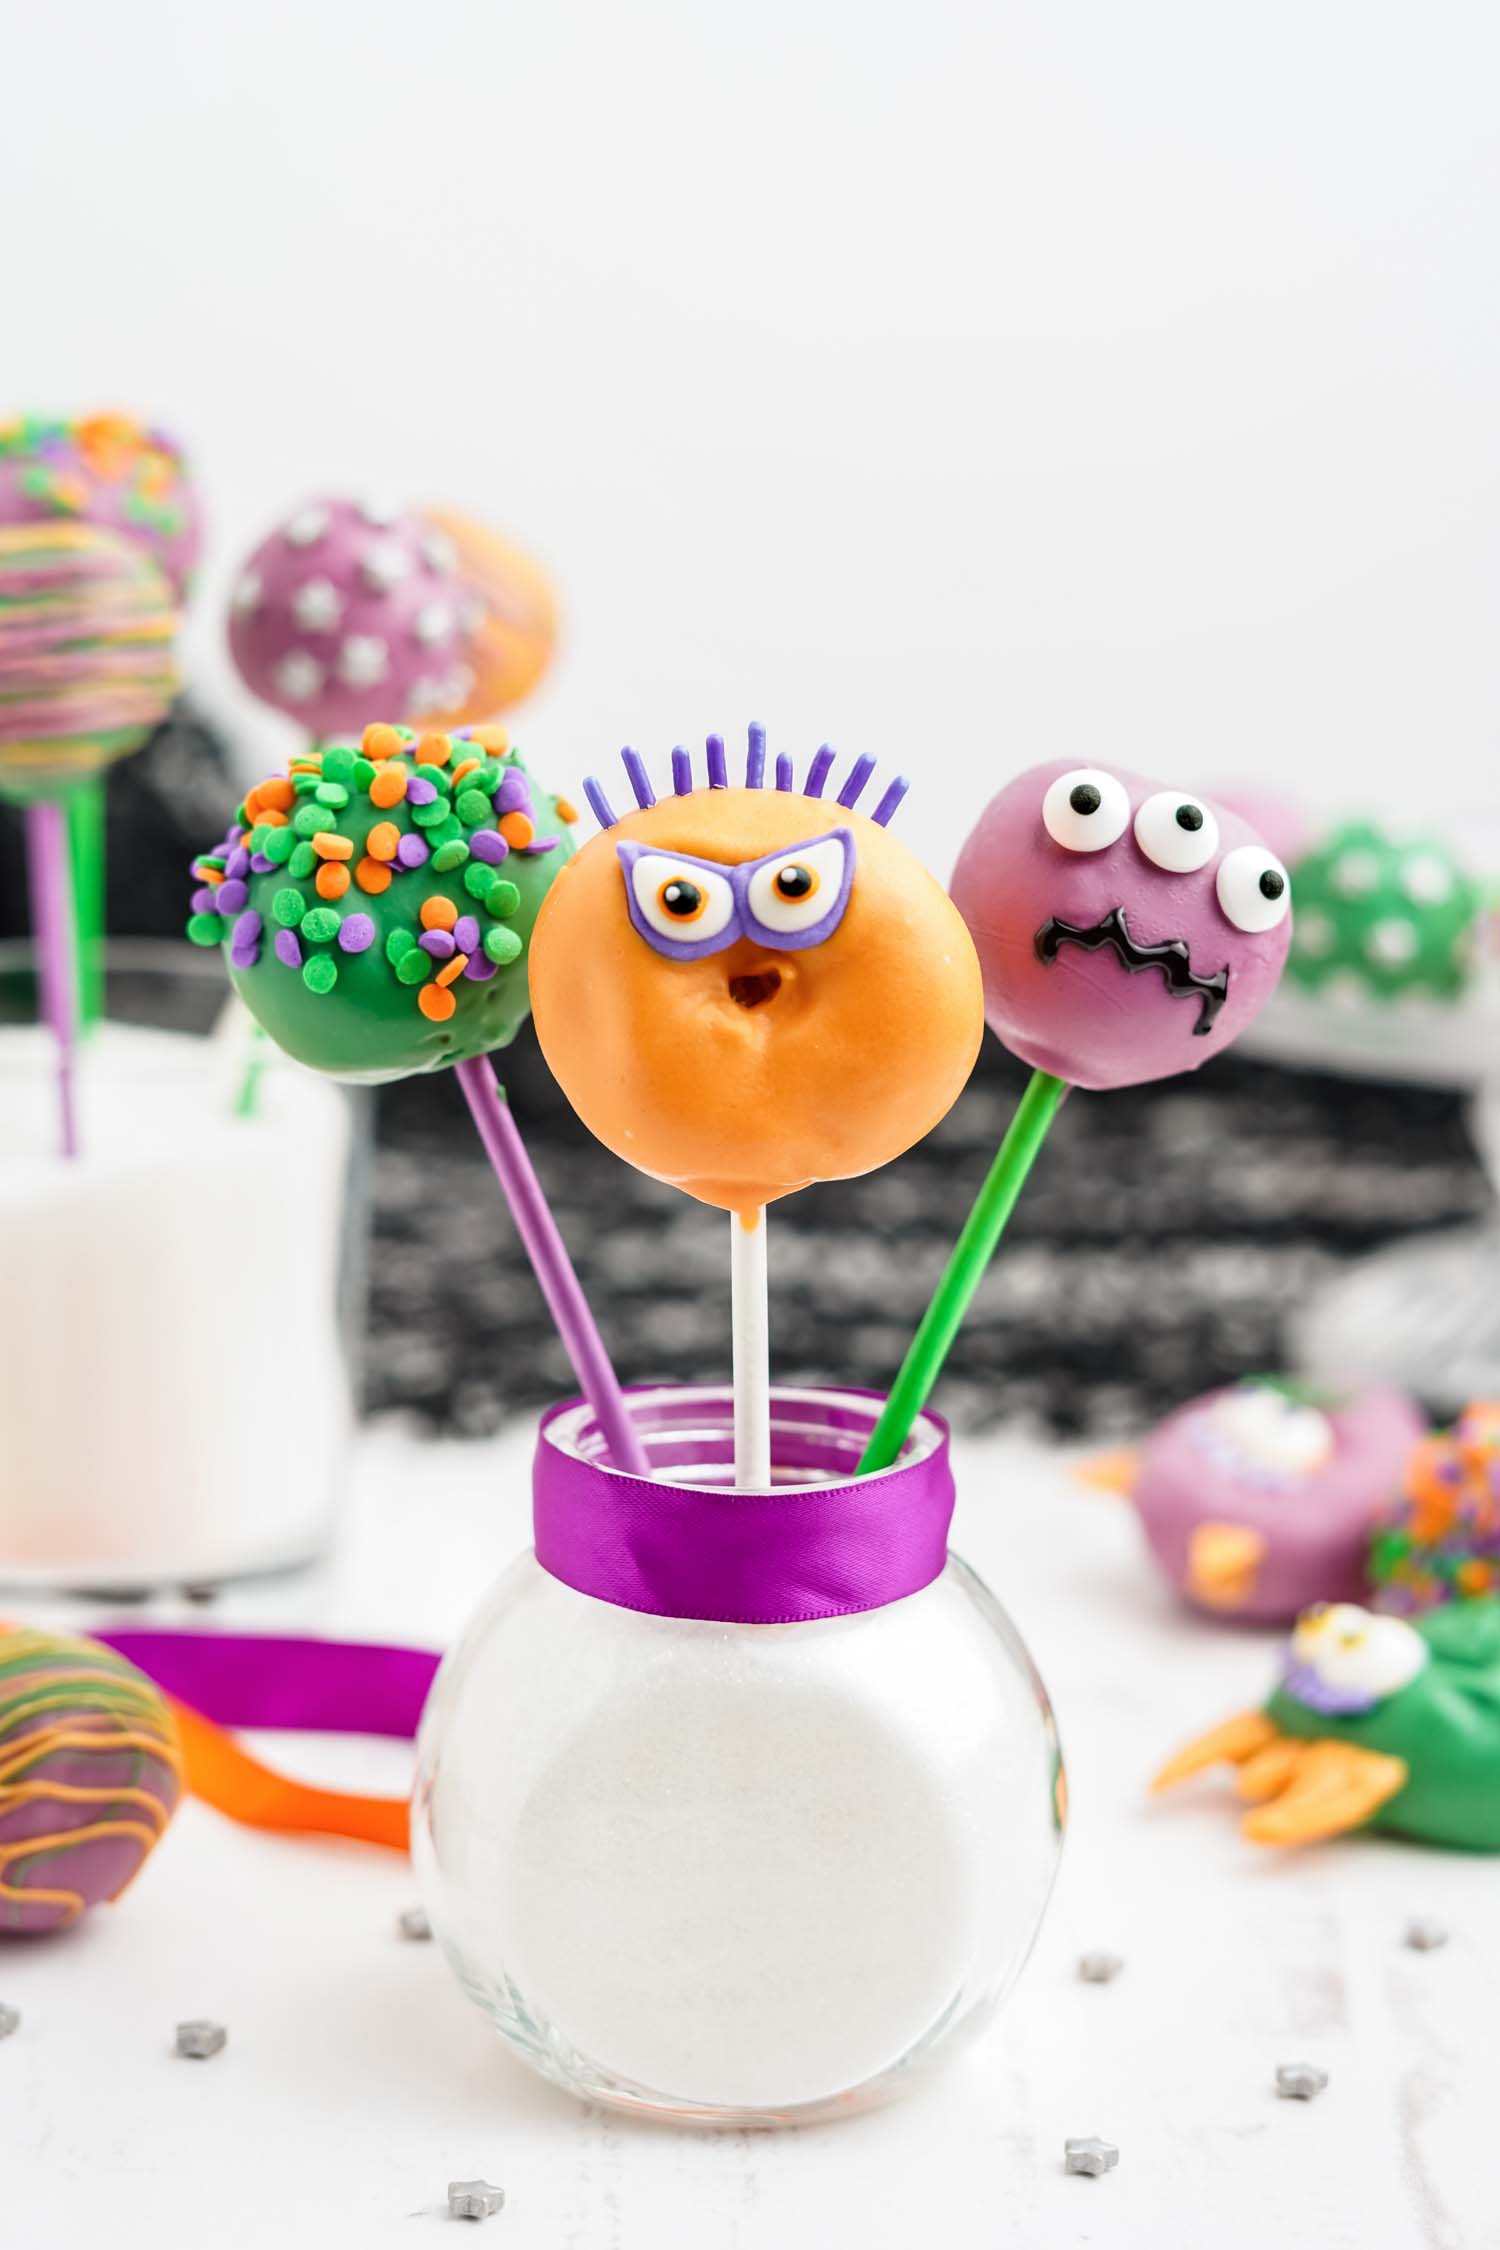
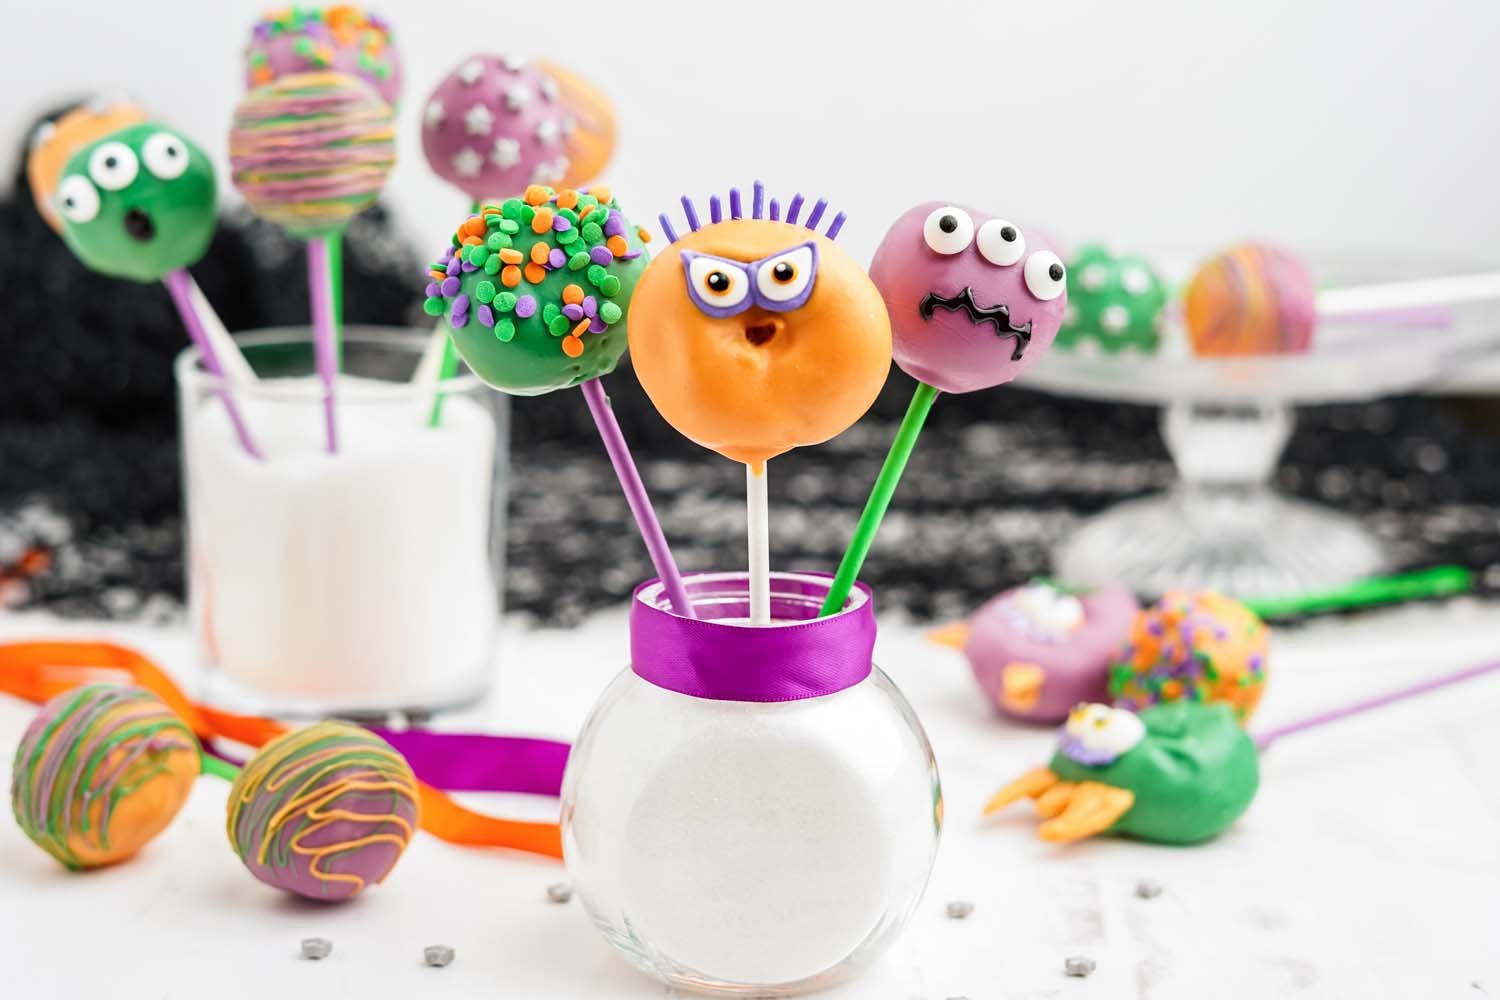
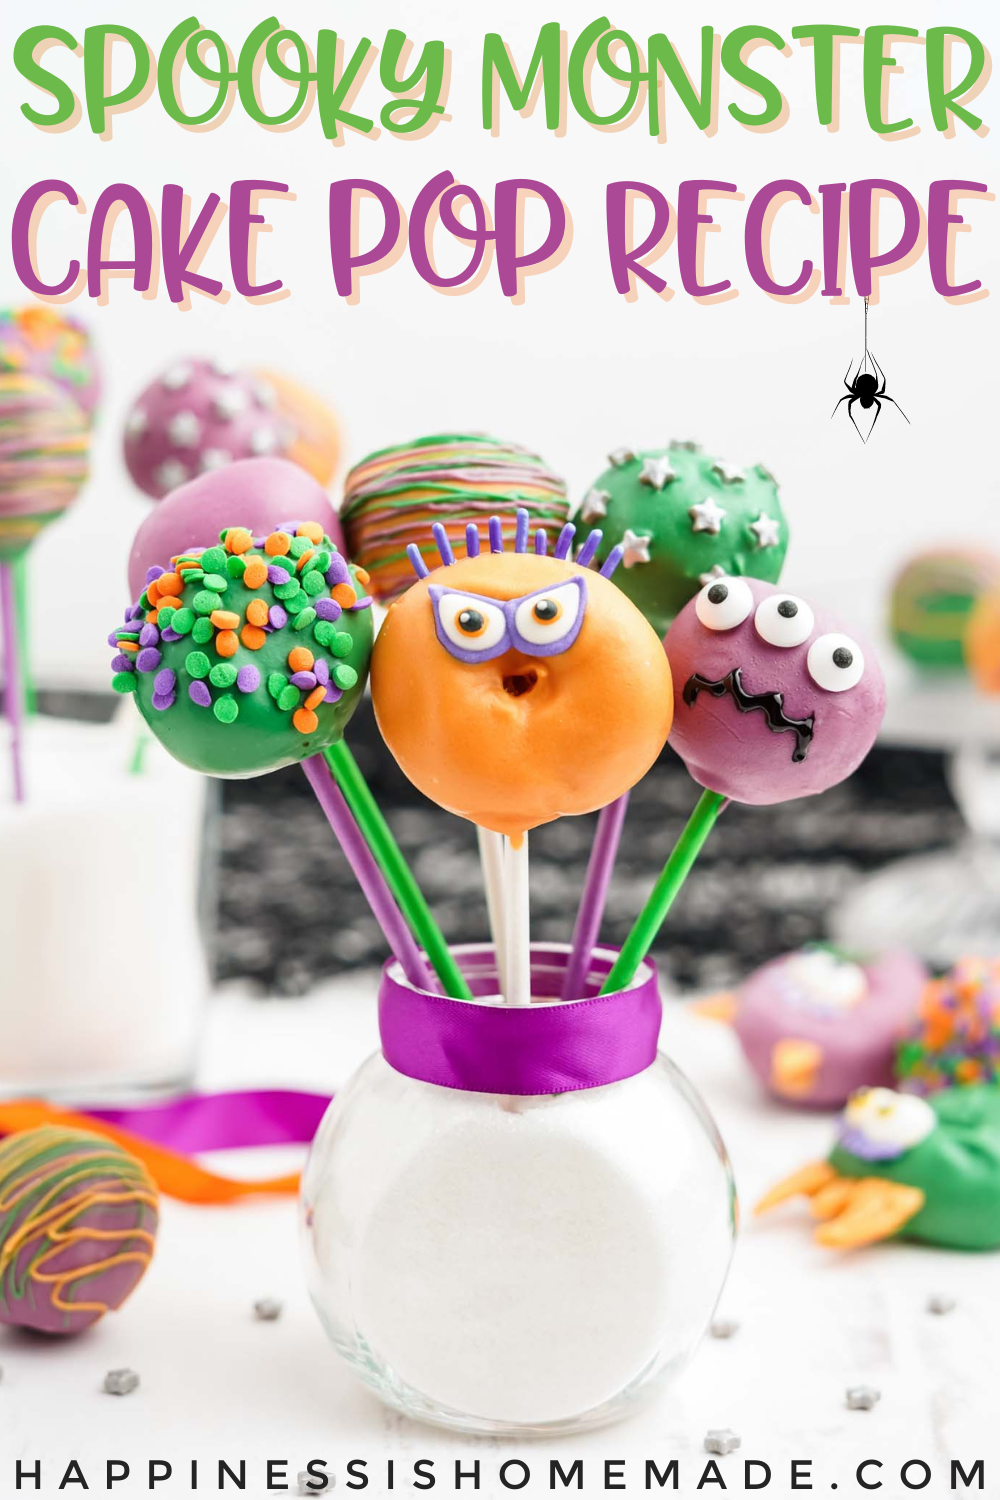
These Monster Cake Pops make a great last-minute treat for a Halloween party, birthday party, or any occasion!
This post may contain affiliate links. I will receive a small commission from these sales at no additional cost to you!
We ❤ spooky treats, here at Happiness is Homemade, and this fun recipe comes together in no time at all!
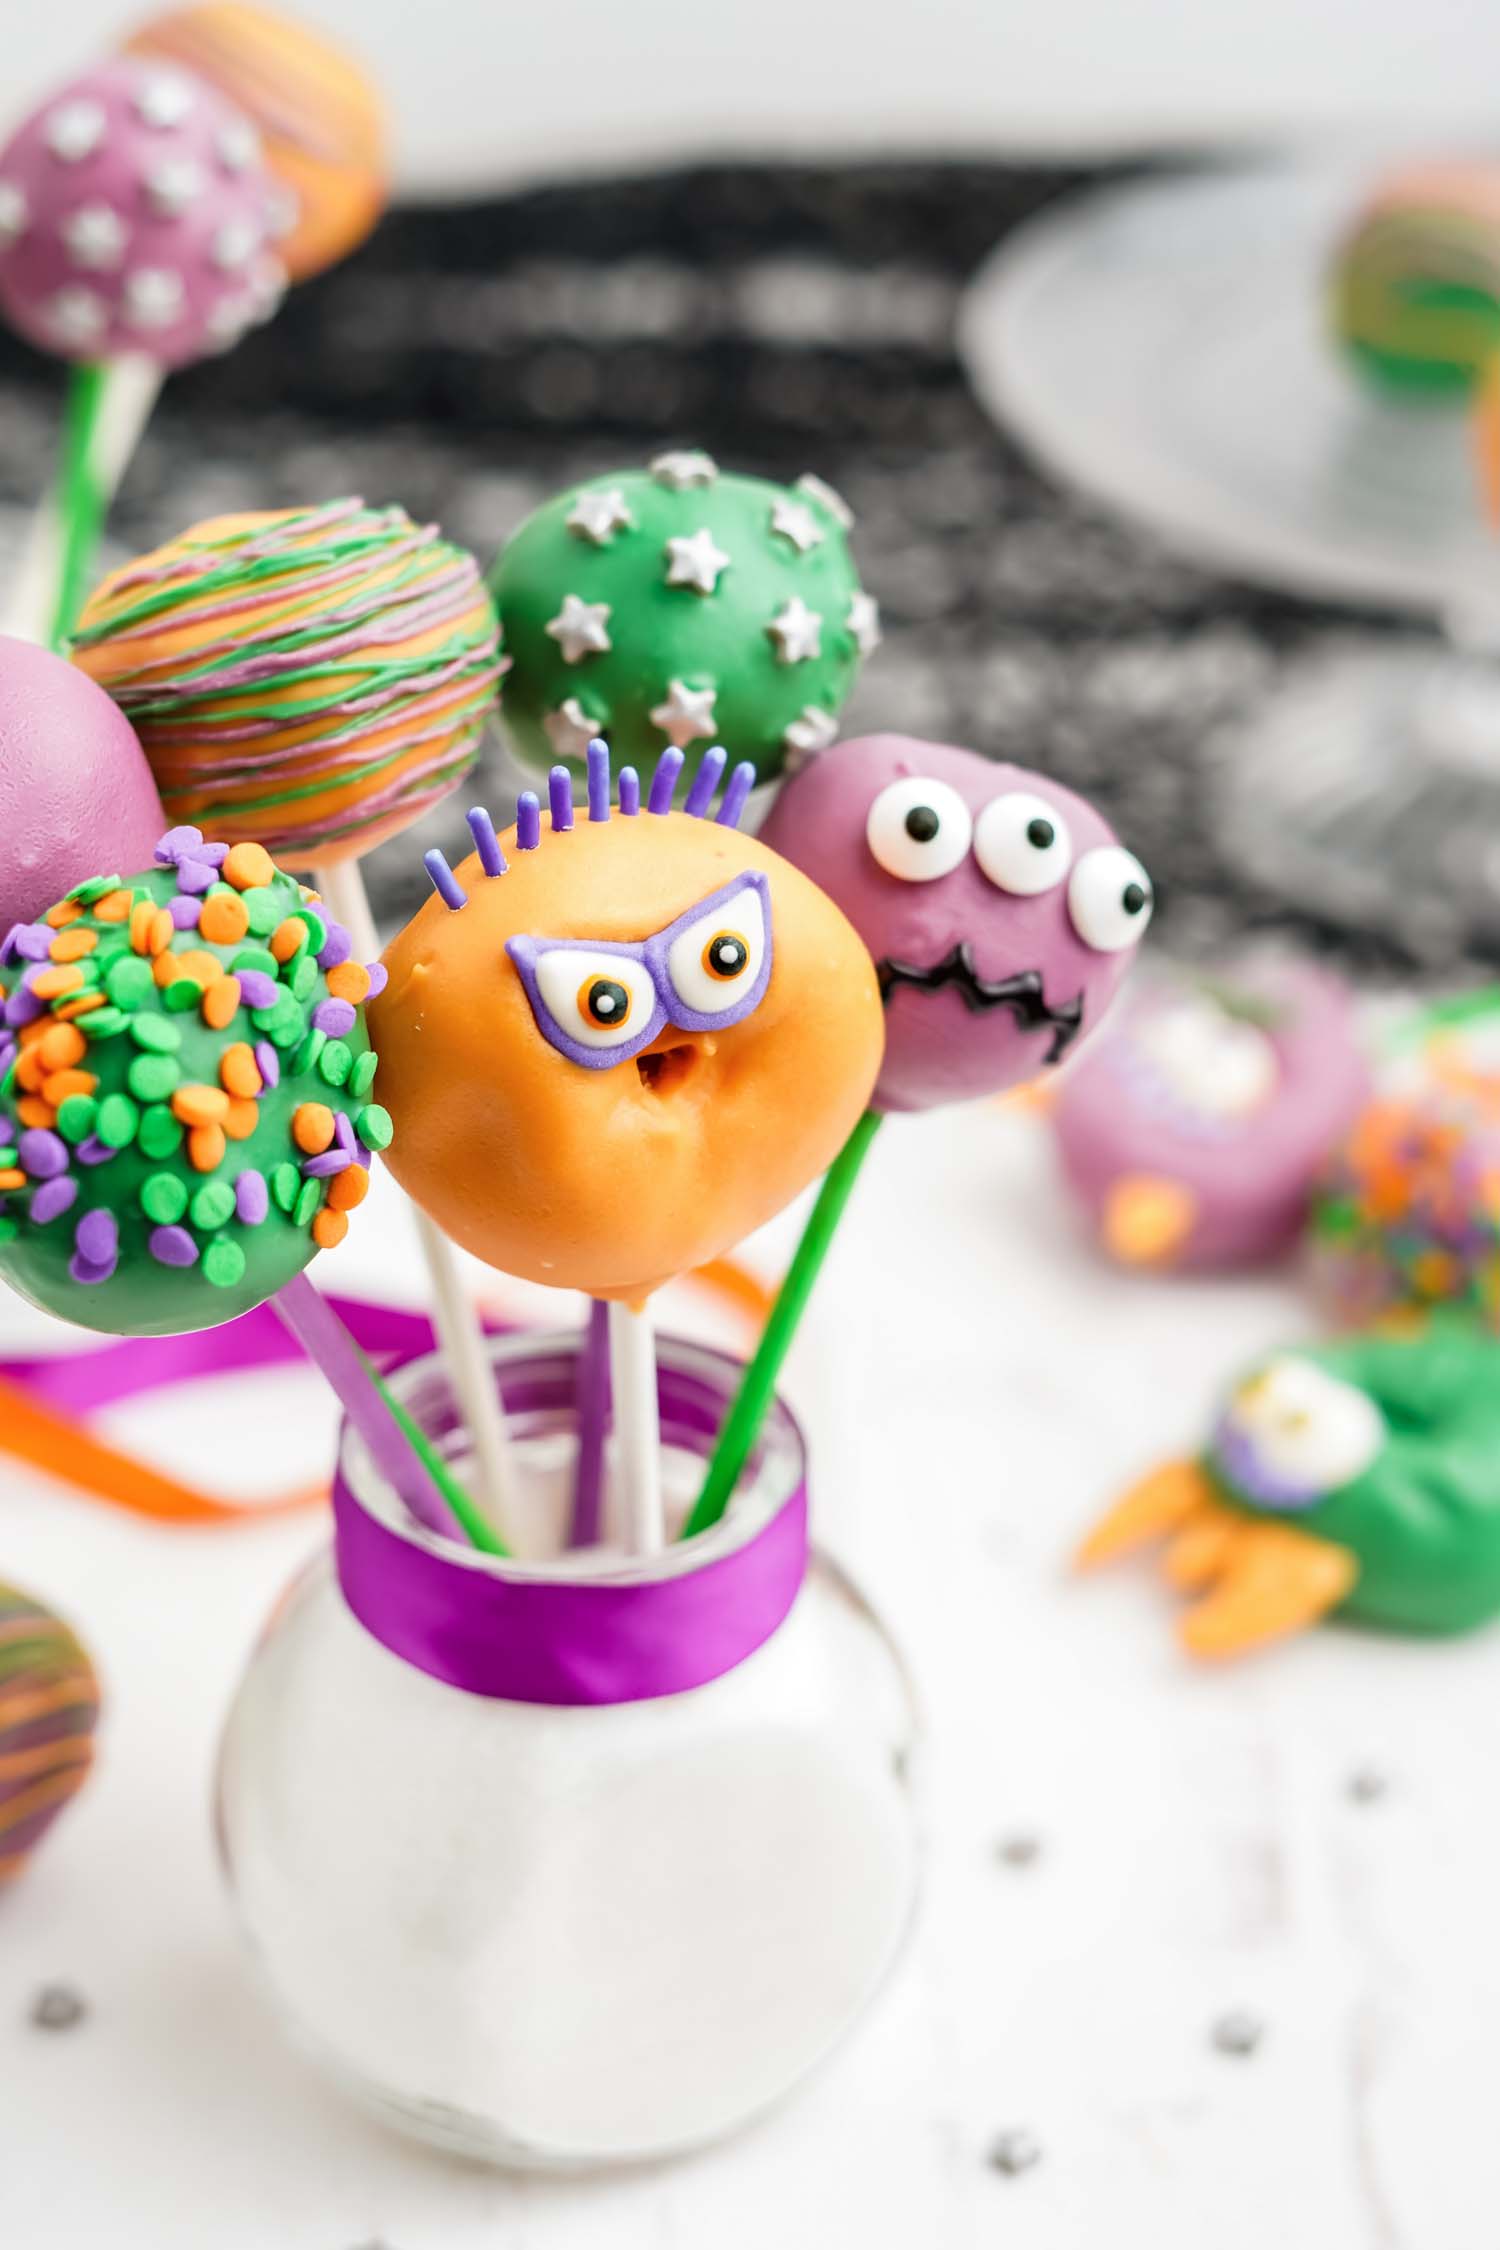
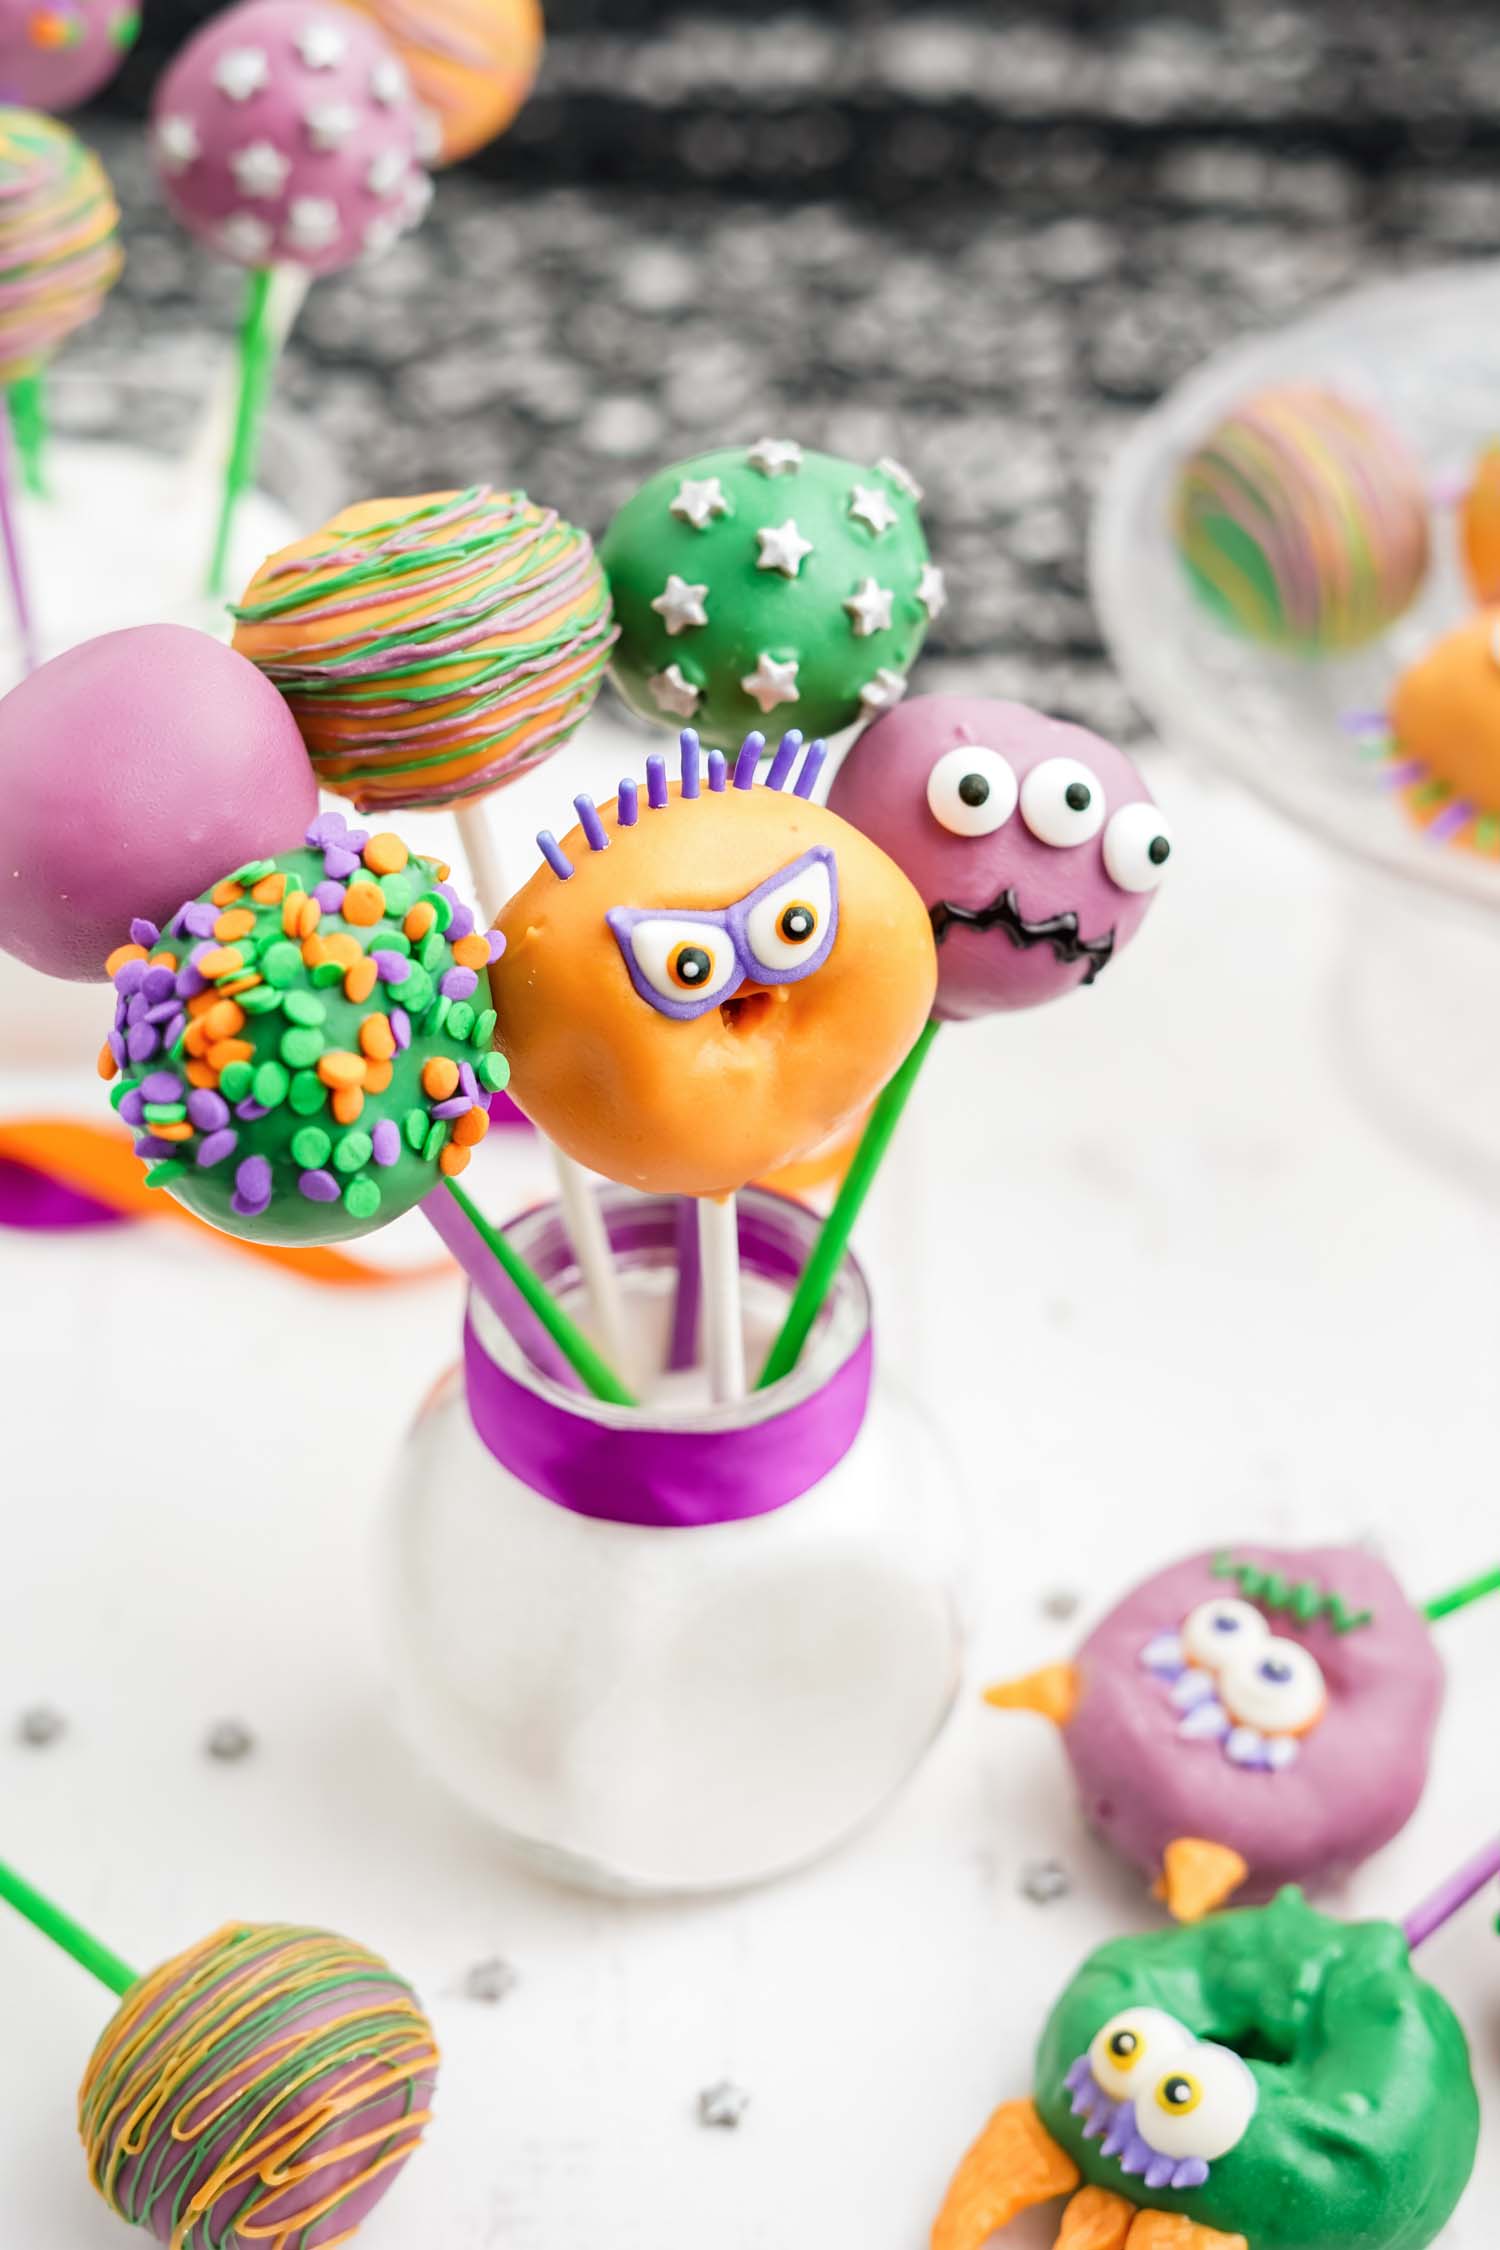
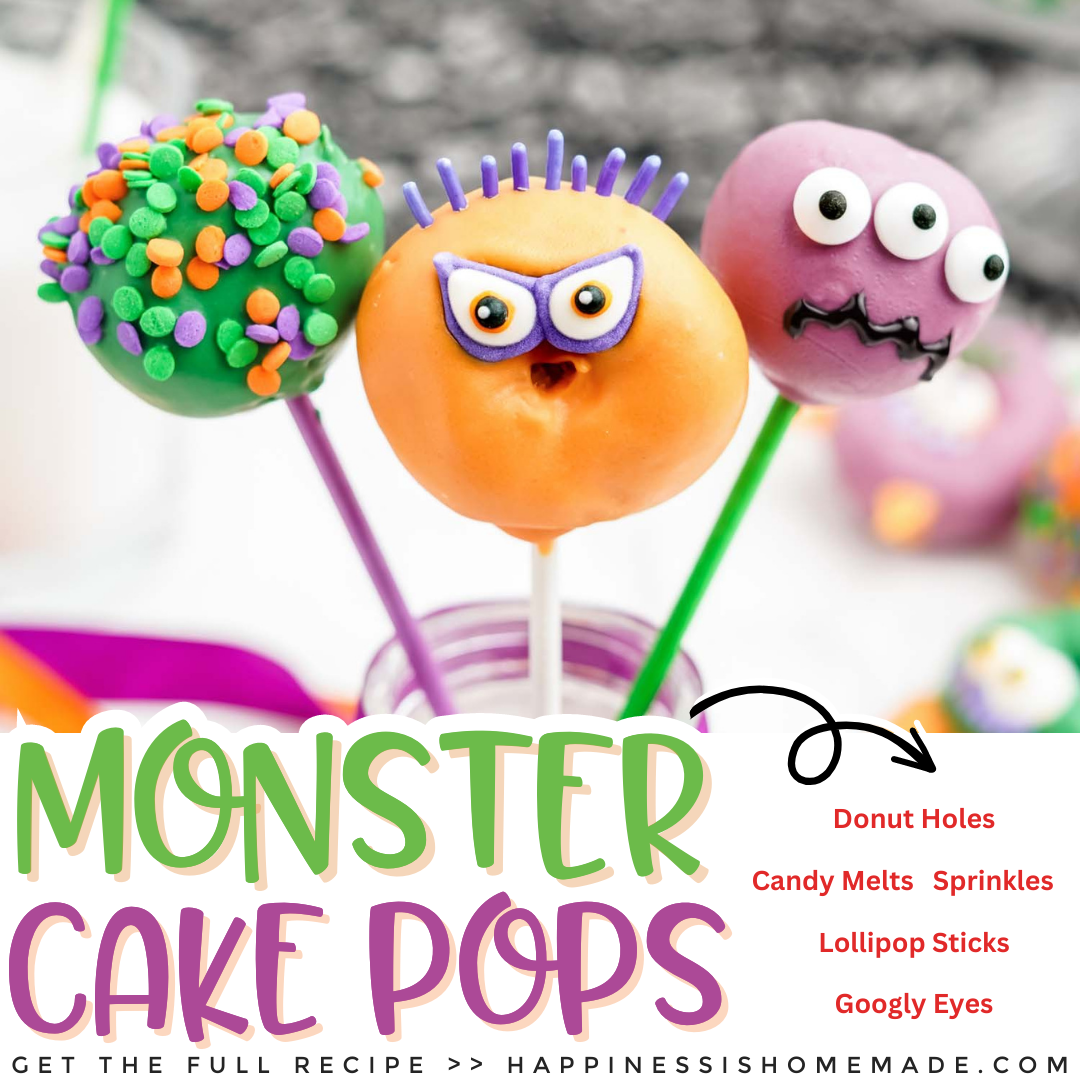
Make these fun, no-bake Monster pops in just 30 minutes by using candy melts and premade donut holes for a super simple recipe that even kids can help put together. Decorate them however you please, with adorable, googly eyes and funny sprinkled hairdos. The possibilities are endless (and too cute!).
These fun donut hole cake pops will look darling decorating your Halloween party food table! Package up a few for trick-or-treaters, boo buckets, or to hand out in the classroom. They’d even be a great addition to a Monster-themed birthday party, too. We made ours, along with our Monster Munch Halloween Snack Mix, for a spooktacular fun Monster movie night!
Now, let’s get ready to have a scary good time making these monster-iffic treats!
You May Also Like These Other Halloween Recipes & Ideas:
Halloween Cake Pops
In just a little bit of time, you’ll have an eerie-sistible treat that everyone will love!
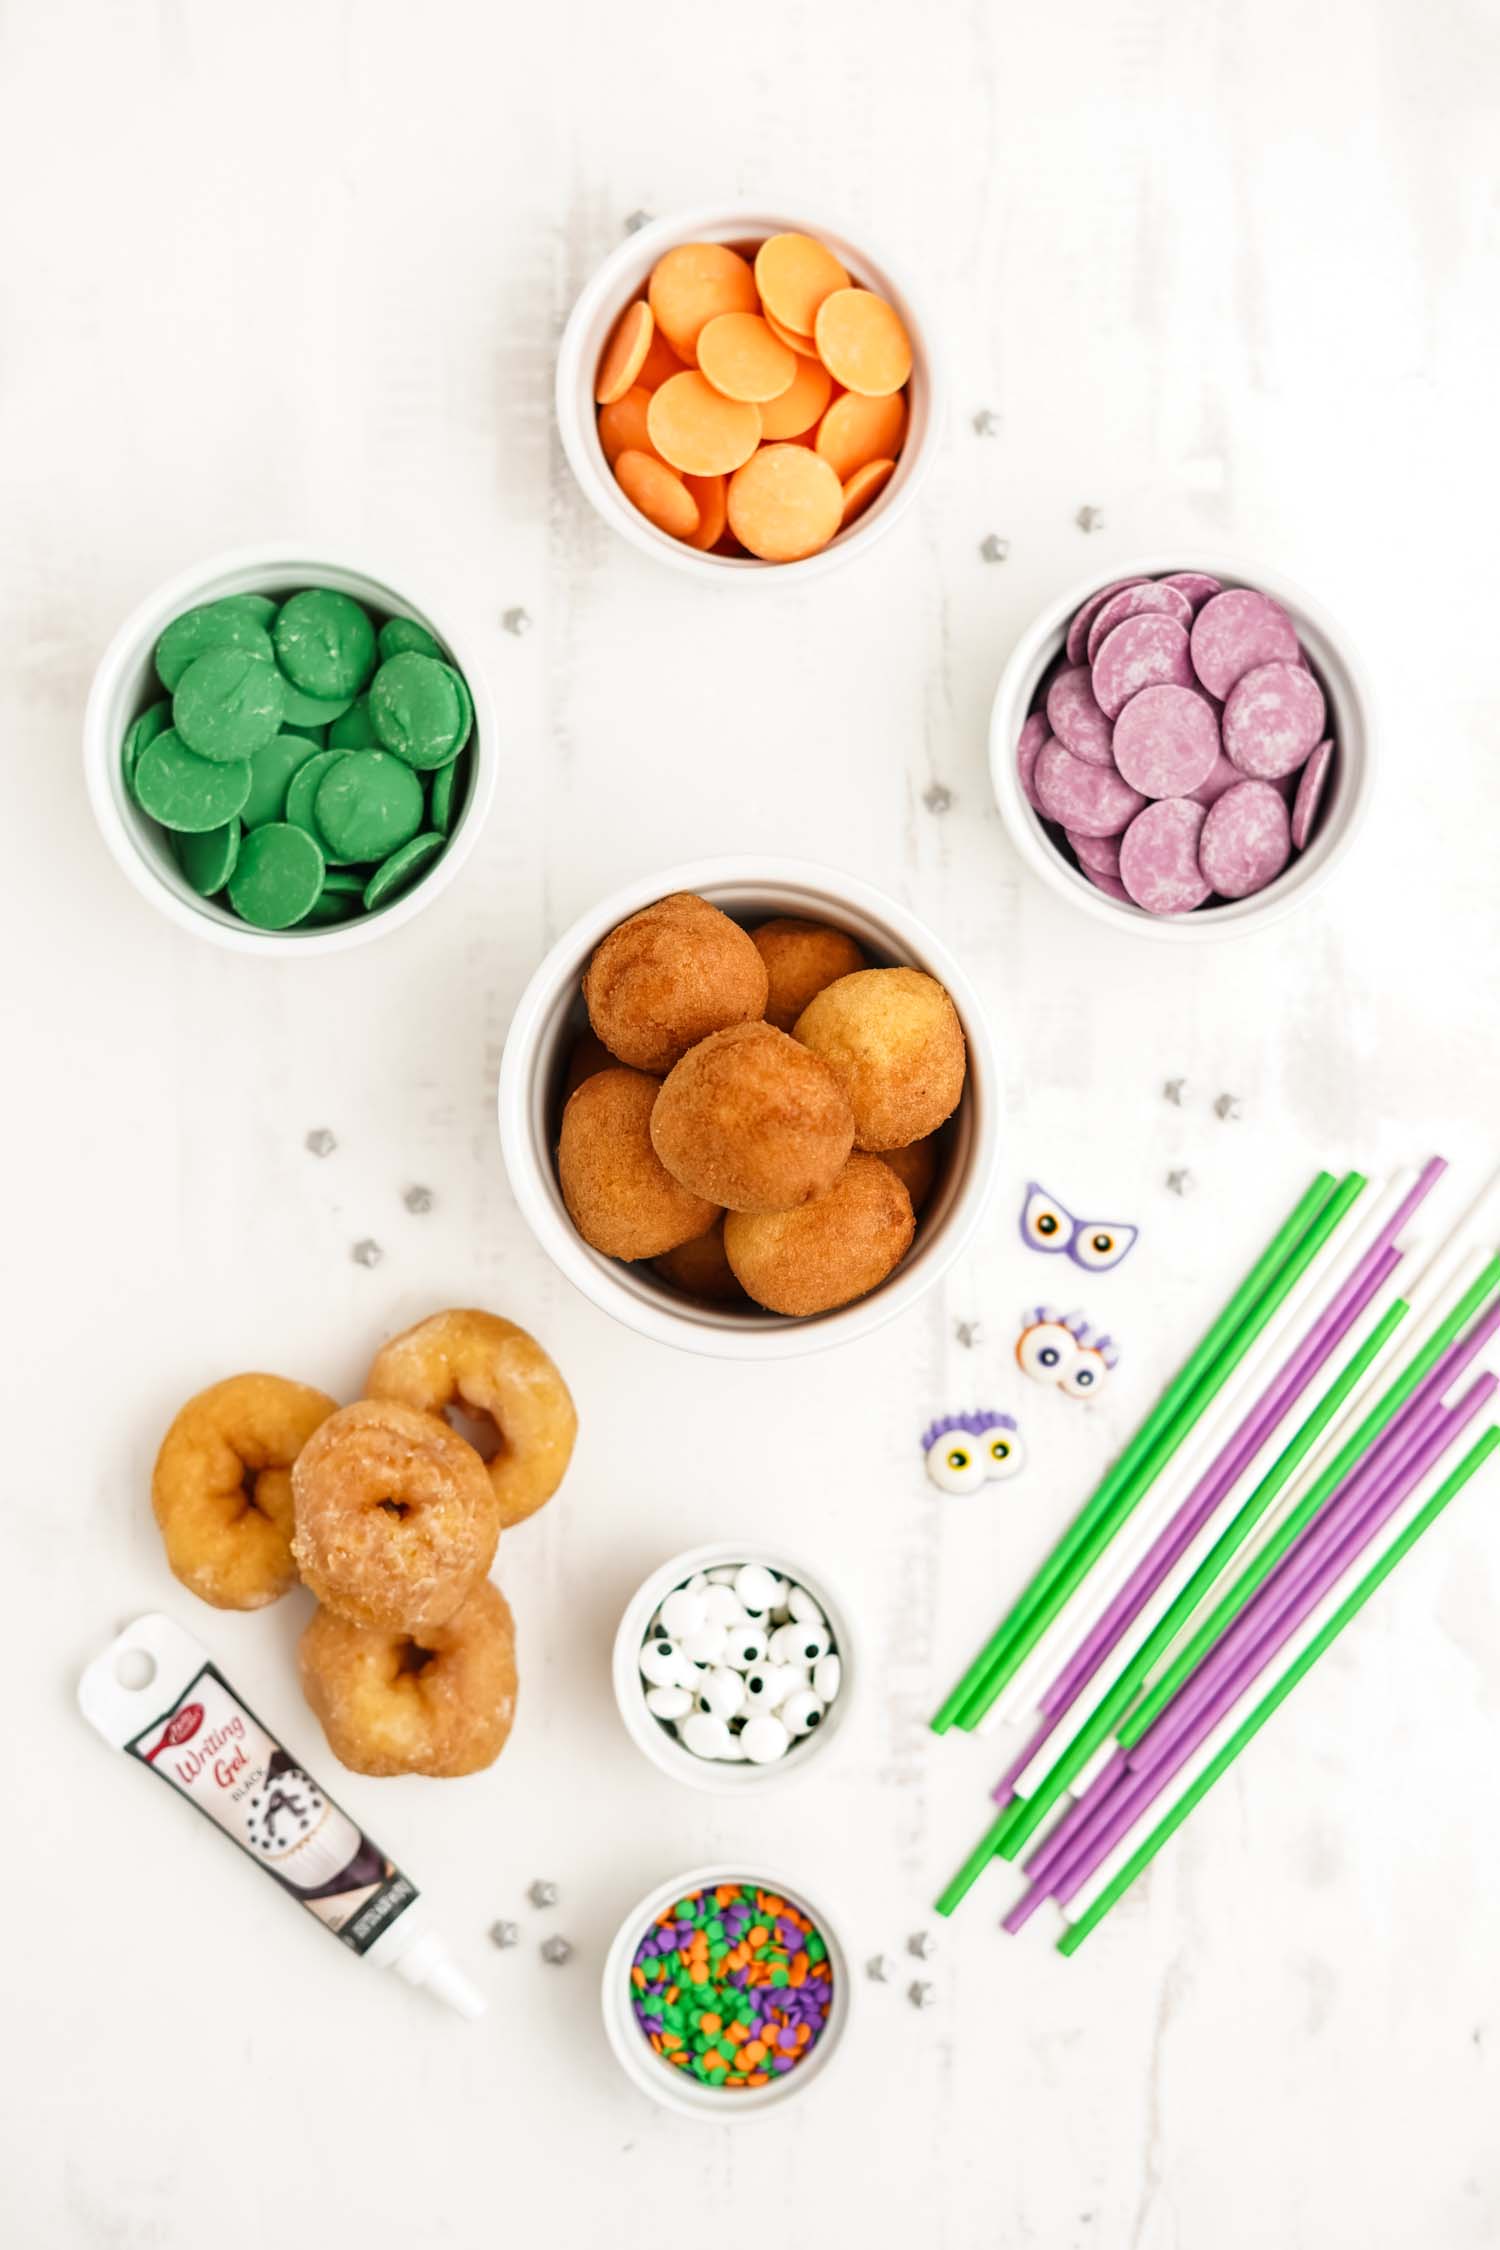
Supplies Needed for Halloween Monster Cake Pops:
- Plain Donut Holes
- Plain Mini Donuts
- Candy Melts
- Candy Eyeballs
- Star Sprinkles
- Assorted Sprinkles
- Black Writing Gel
- Cake Pop Sticks
- Piping Bag
- Parchment Paper
NOTE: If you don’t have a piping bag handy, you can use a pair of scissors to cut a very small opening off of the corner of a Ziploc bag instead.
Additionally, if you’d like to use homemade donuts for this recipe, try one of our delicious, easy donut recipes!
How to Make Your Own Monster Cake Pops:
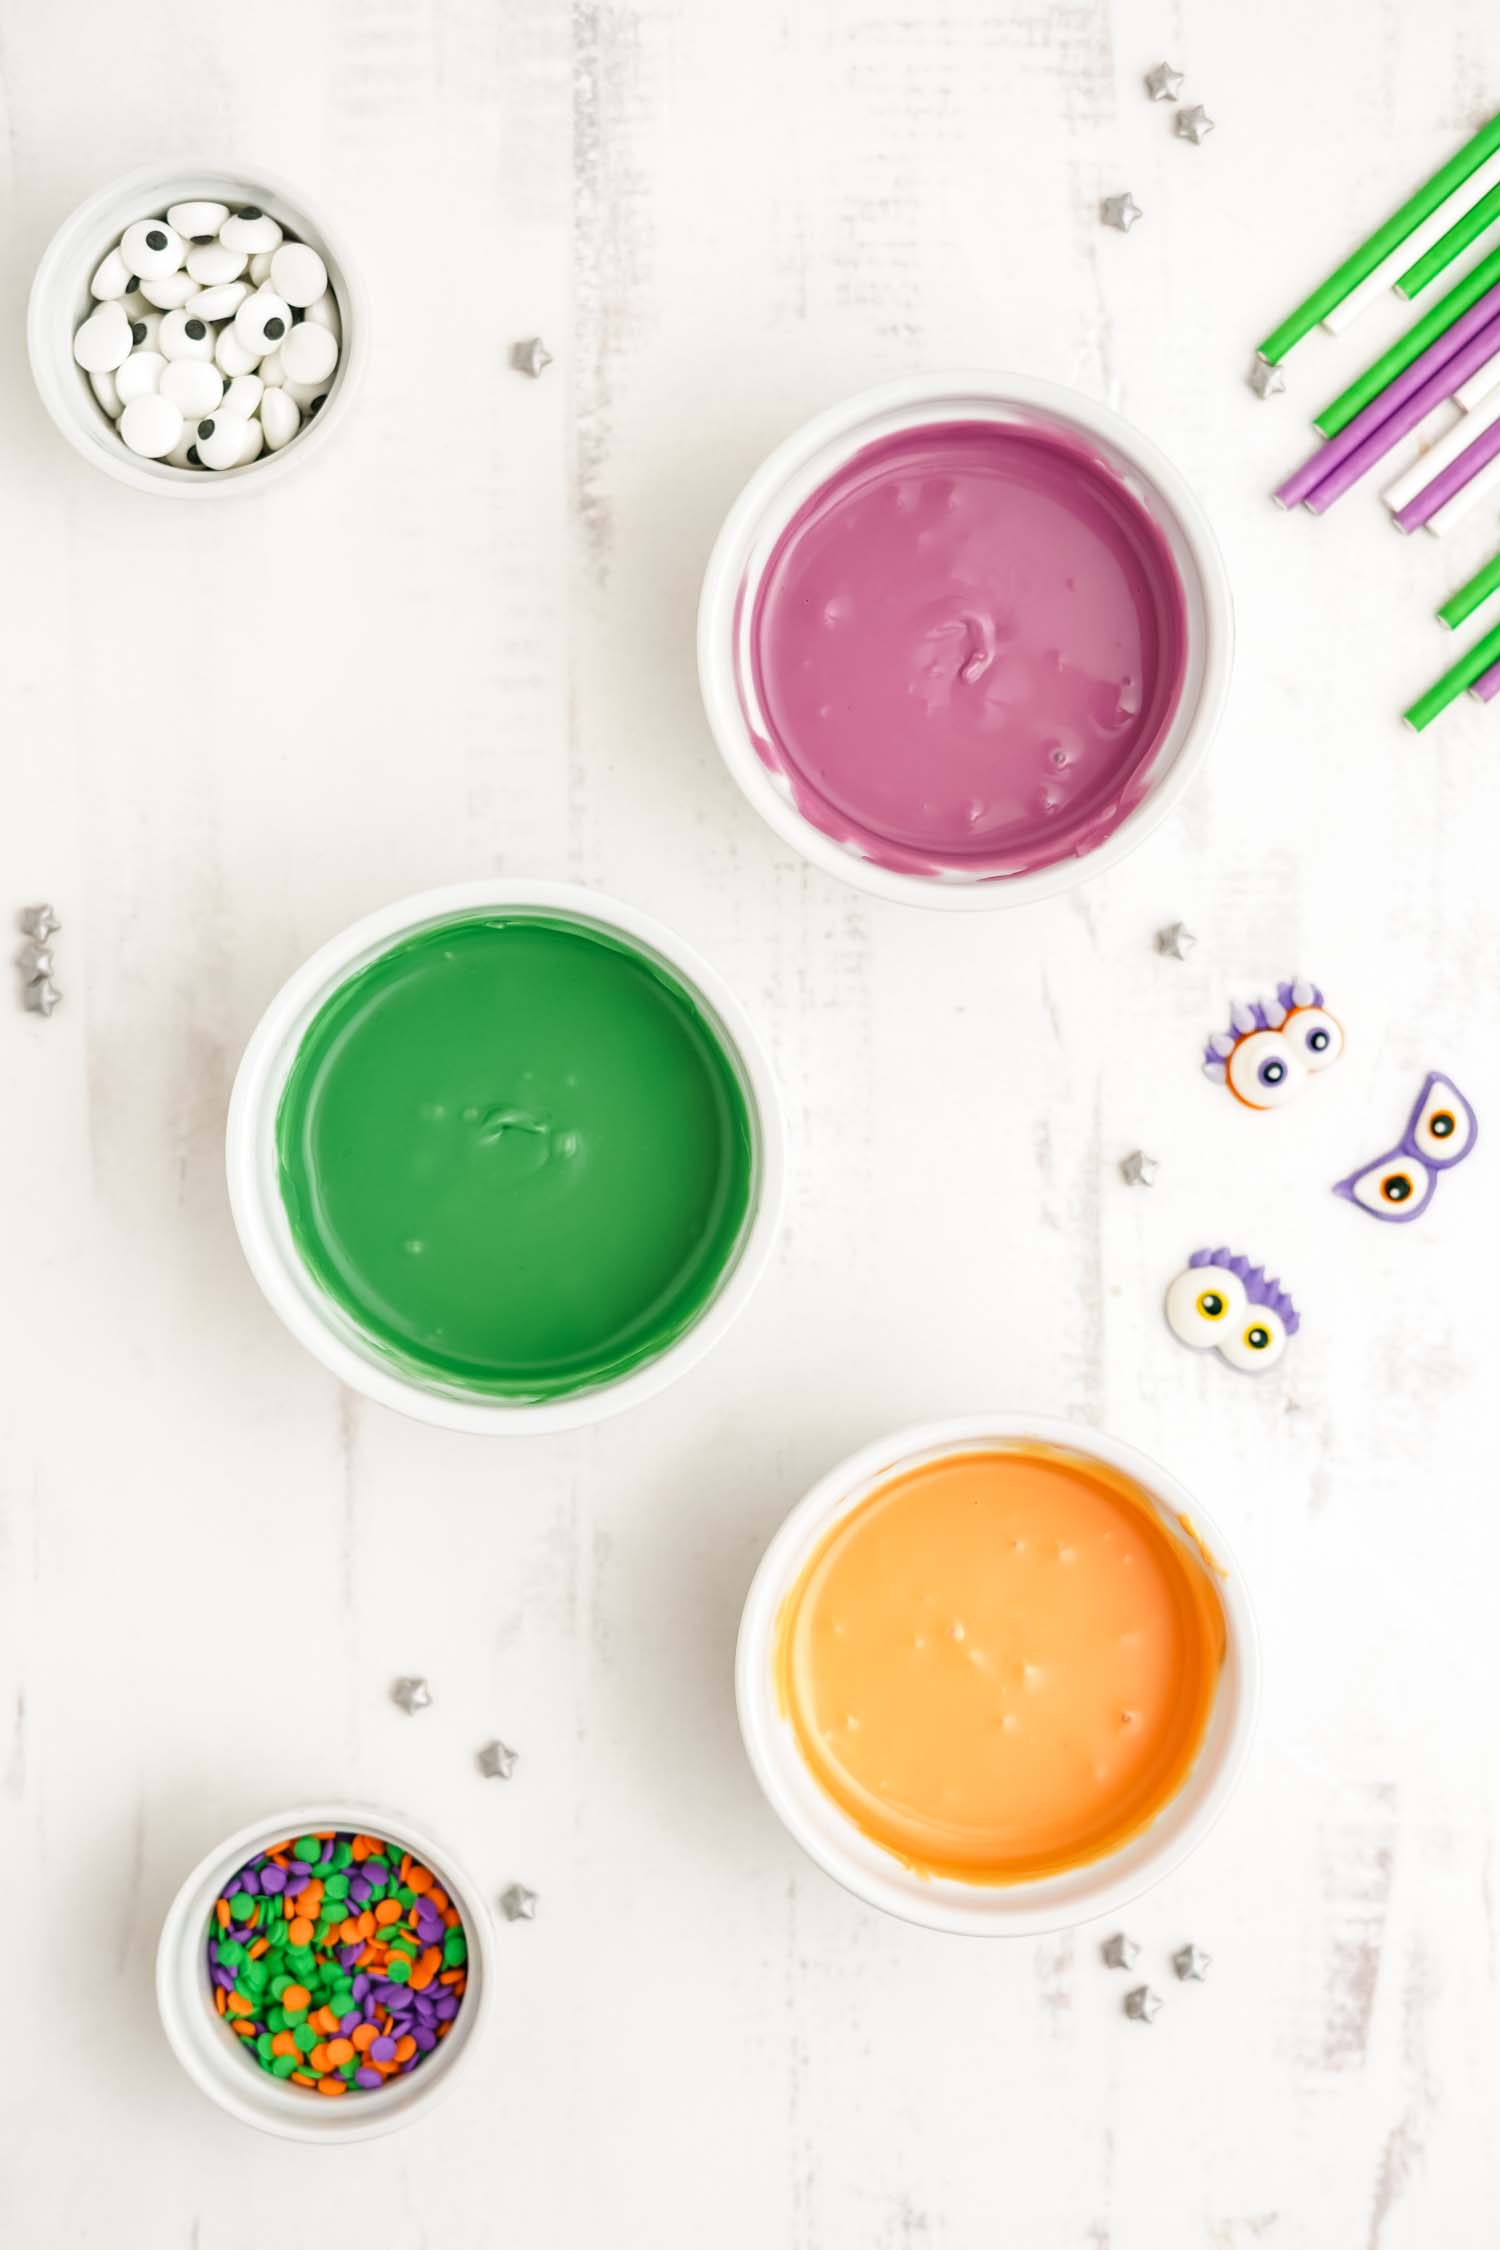
Prepare the donut holes for dipping by giving them a quick roll between your palms and determining where you will place your stick. I like to make sure the smoothest rounded side is at the top of each cake pop.
Then, melt the candy melts according to package directions.
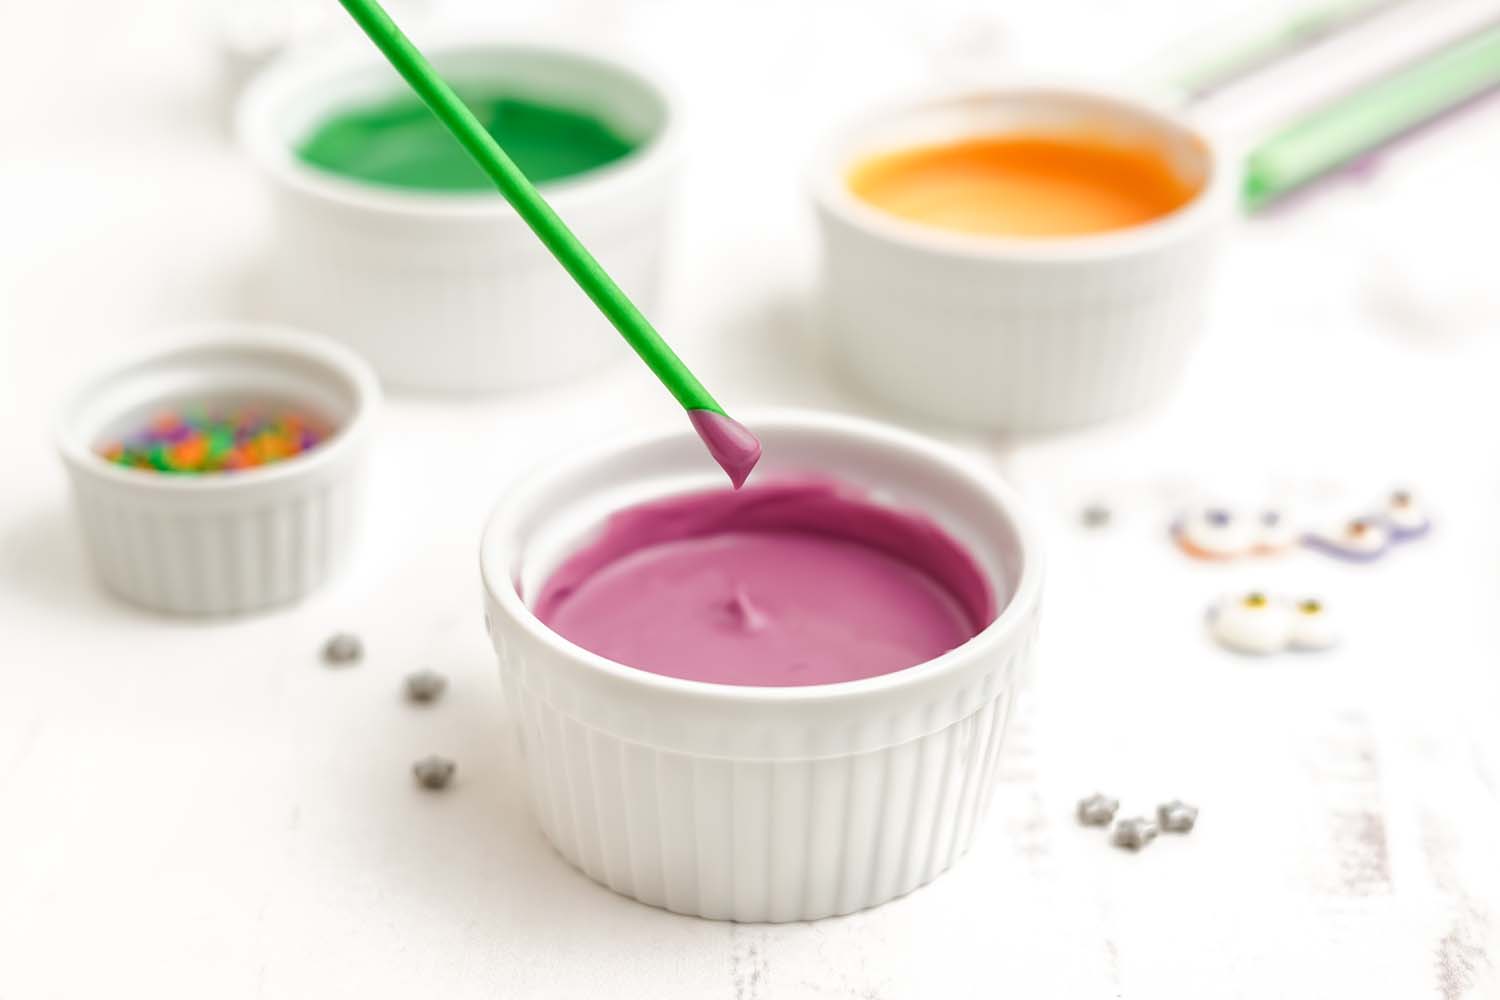
Carefully dip the end of a lollipop stick into the candy melts and stick into the cake pop. Allow these to cool upside down.
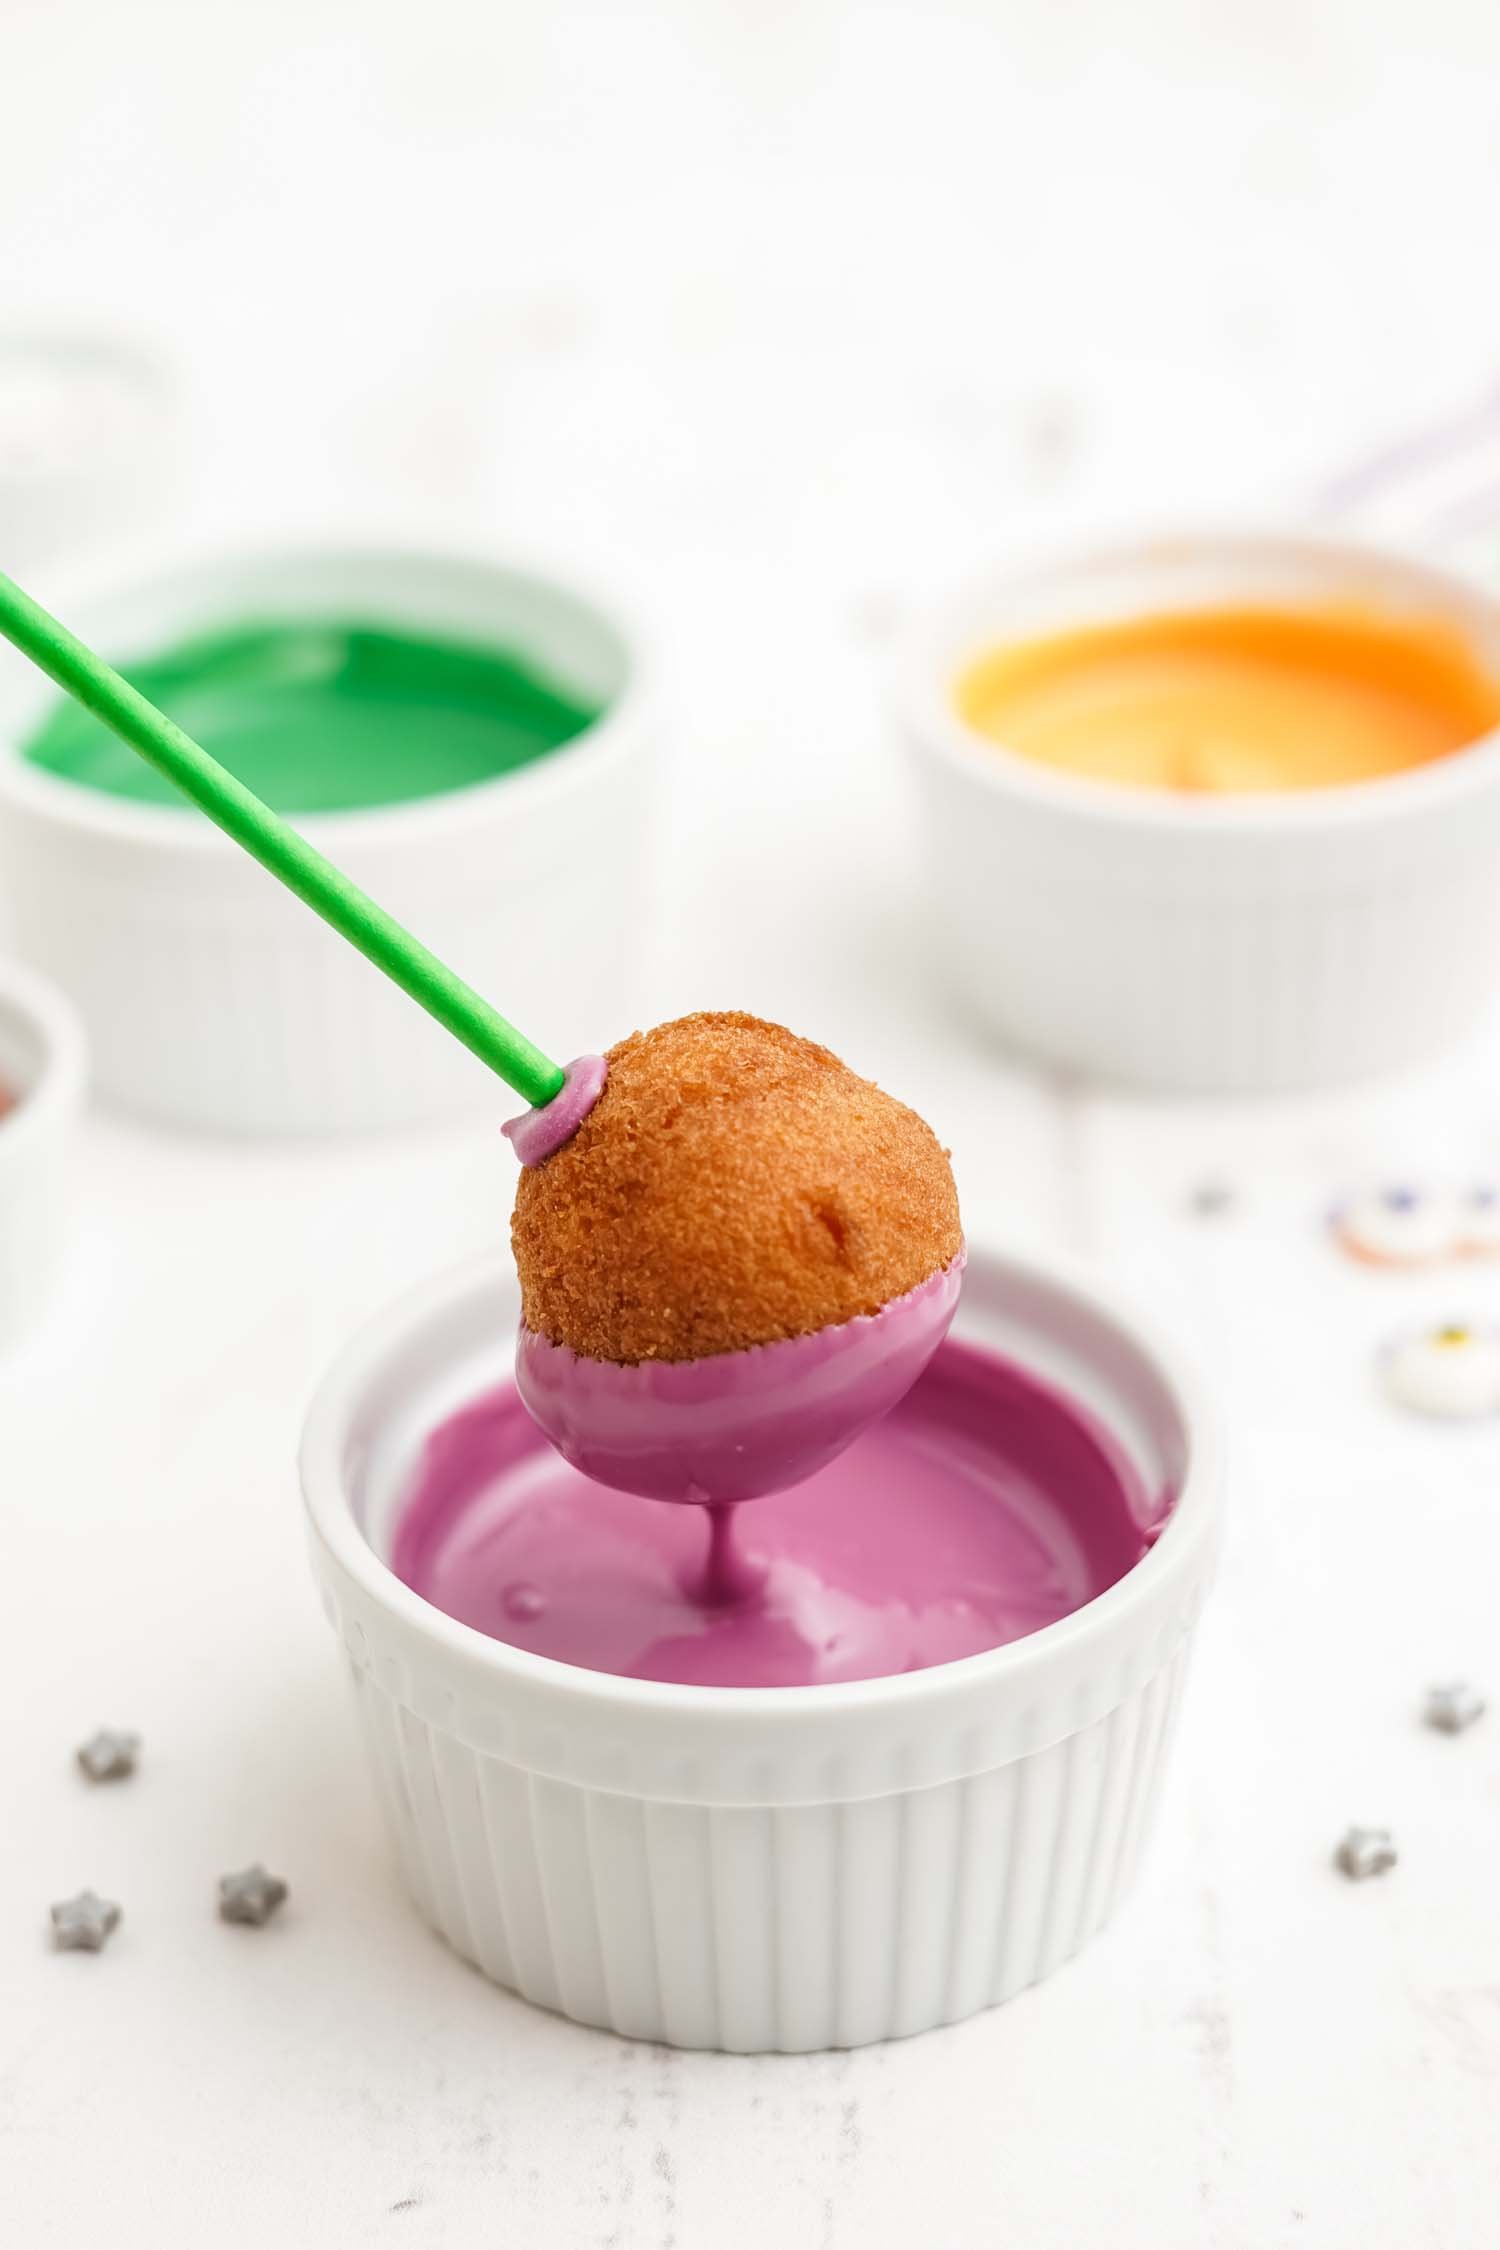
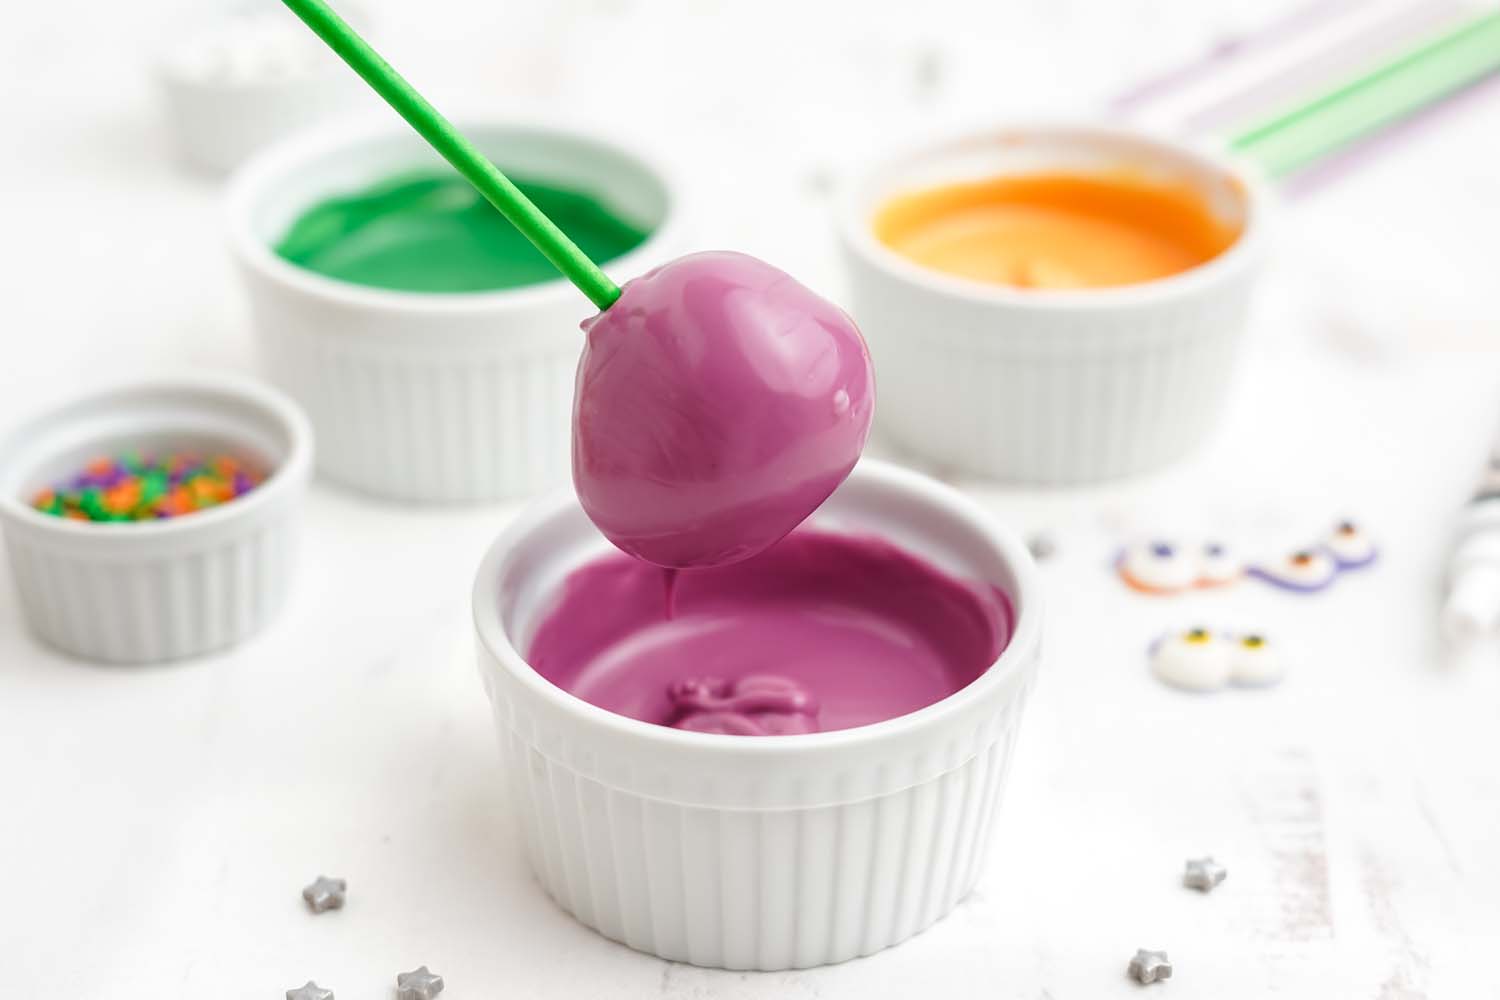
When the melted chocolate has cooled, carefully dip each cake pop in the remaining melted candy melts rotating until fully coated.
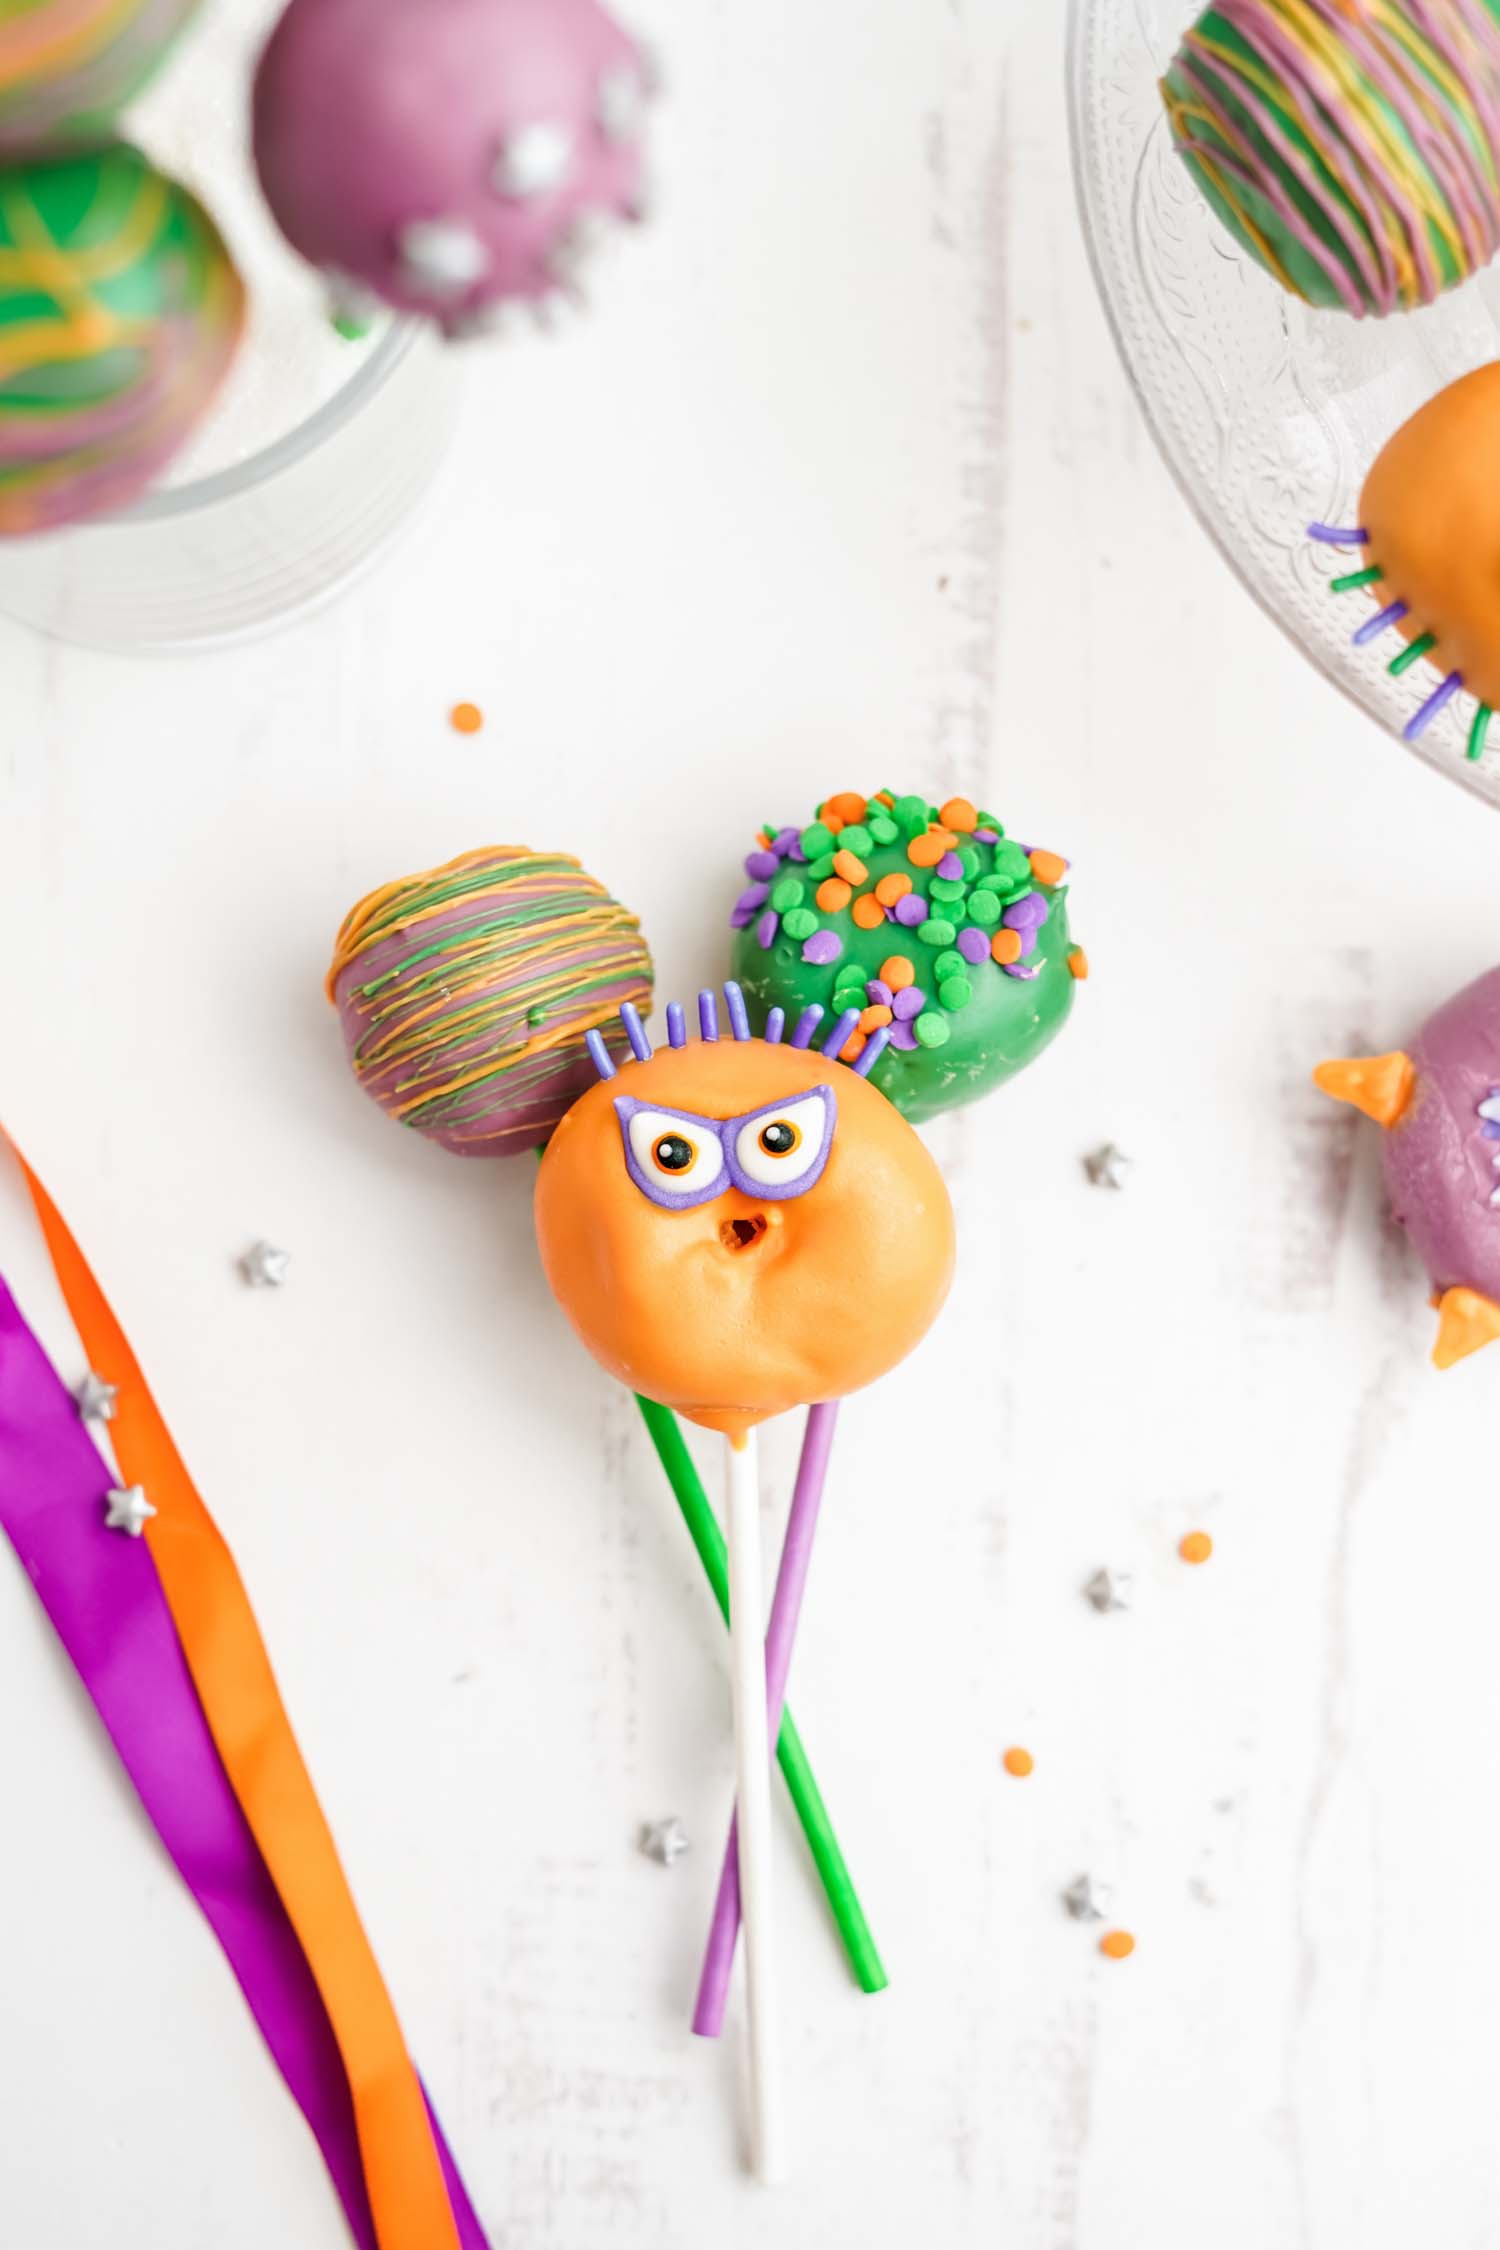
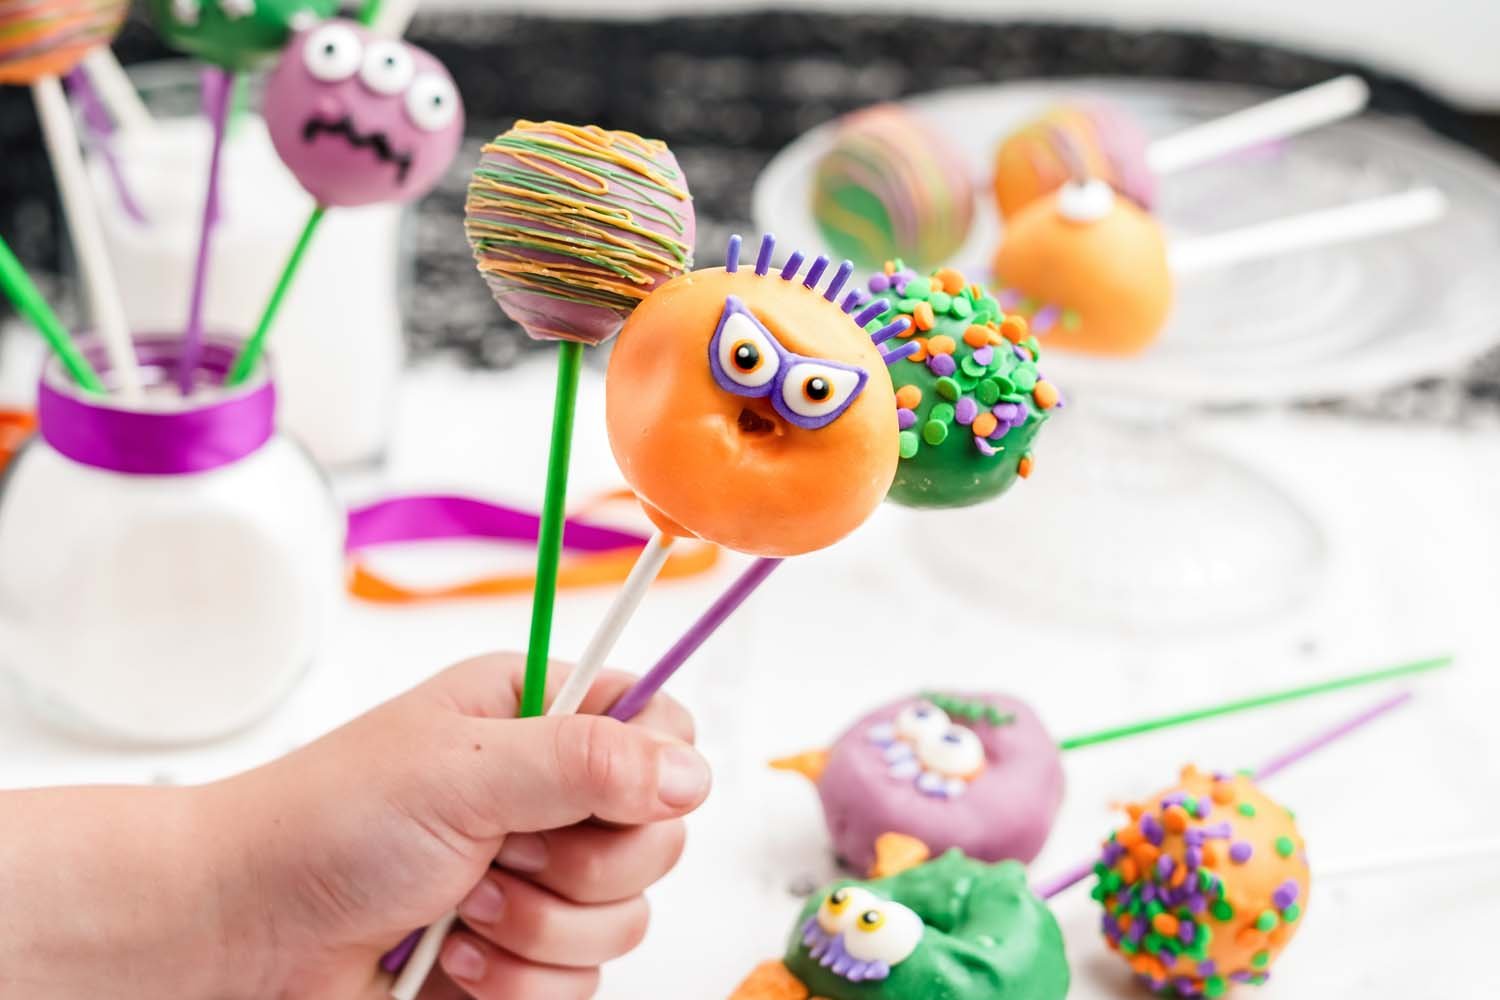
Use the candy eyes, sprinkles and black writing gel to decorate cake pops as desired and serve once the candy melts have set.
Decorating Tips & Tricks
Utilize these super easy decorating tips & recommendations to get terrifyingly cute Monster donut pops of all varieties!
Monster Pops:
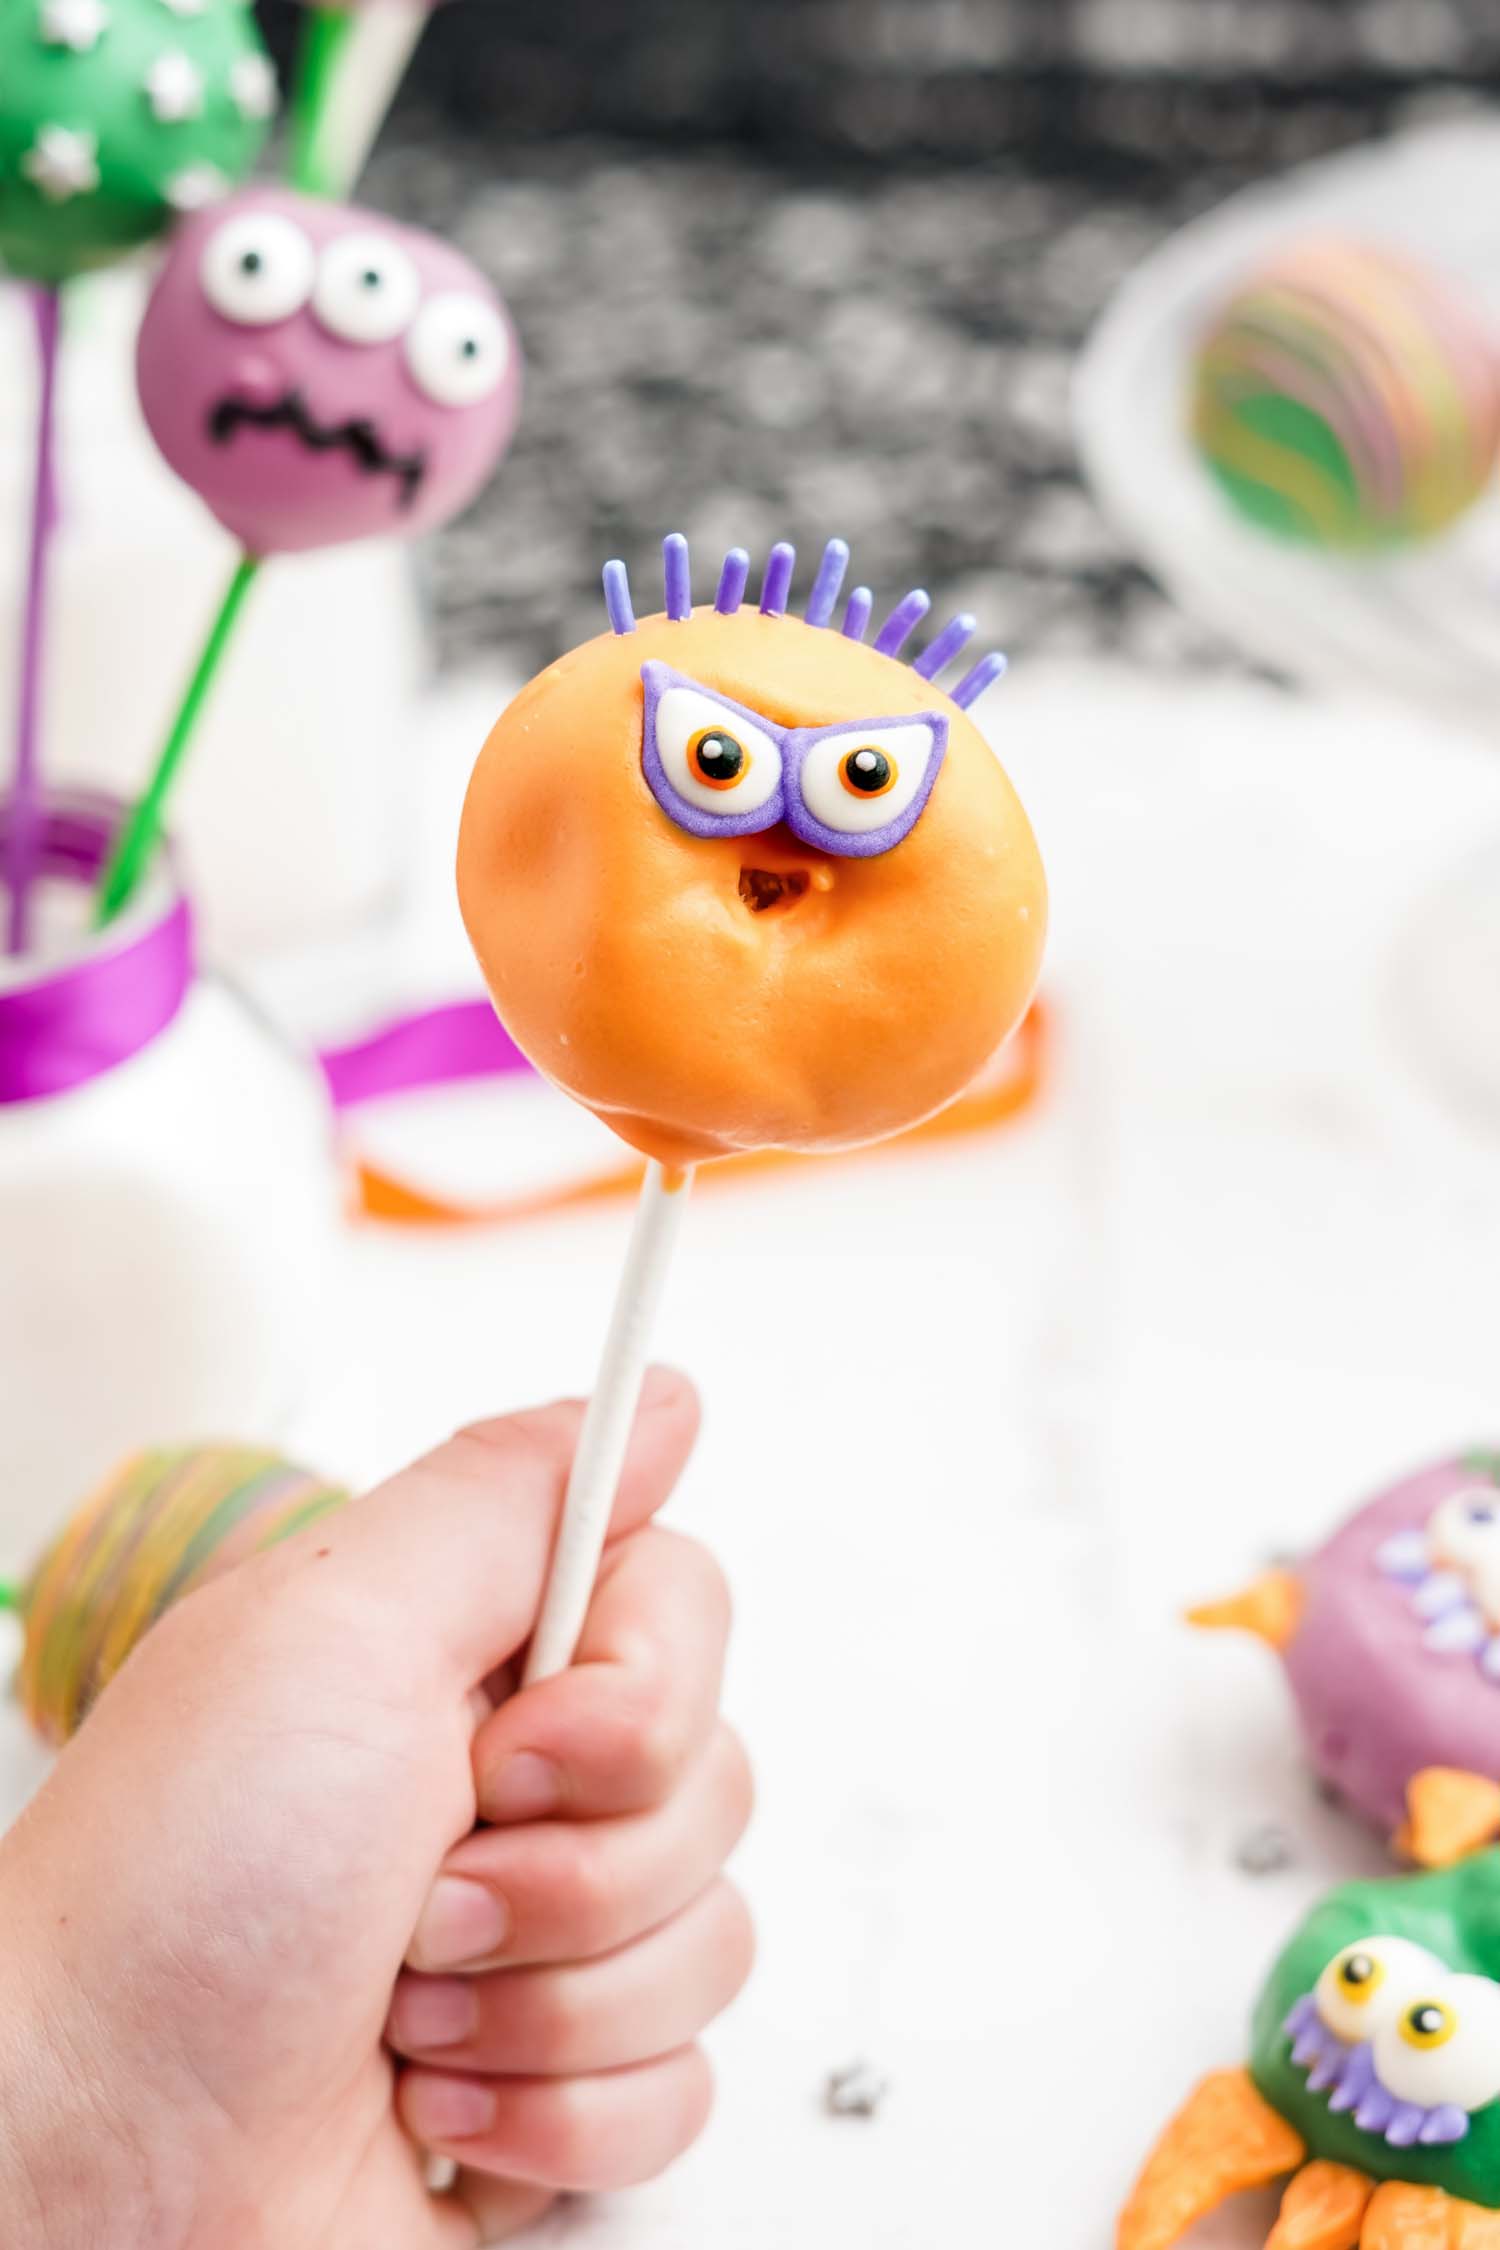
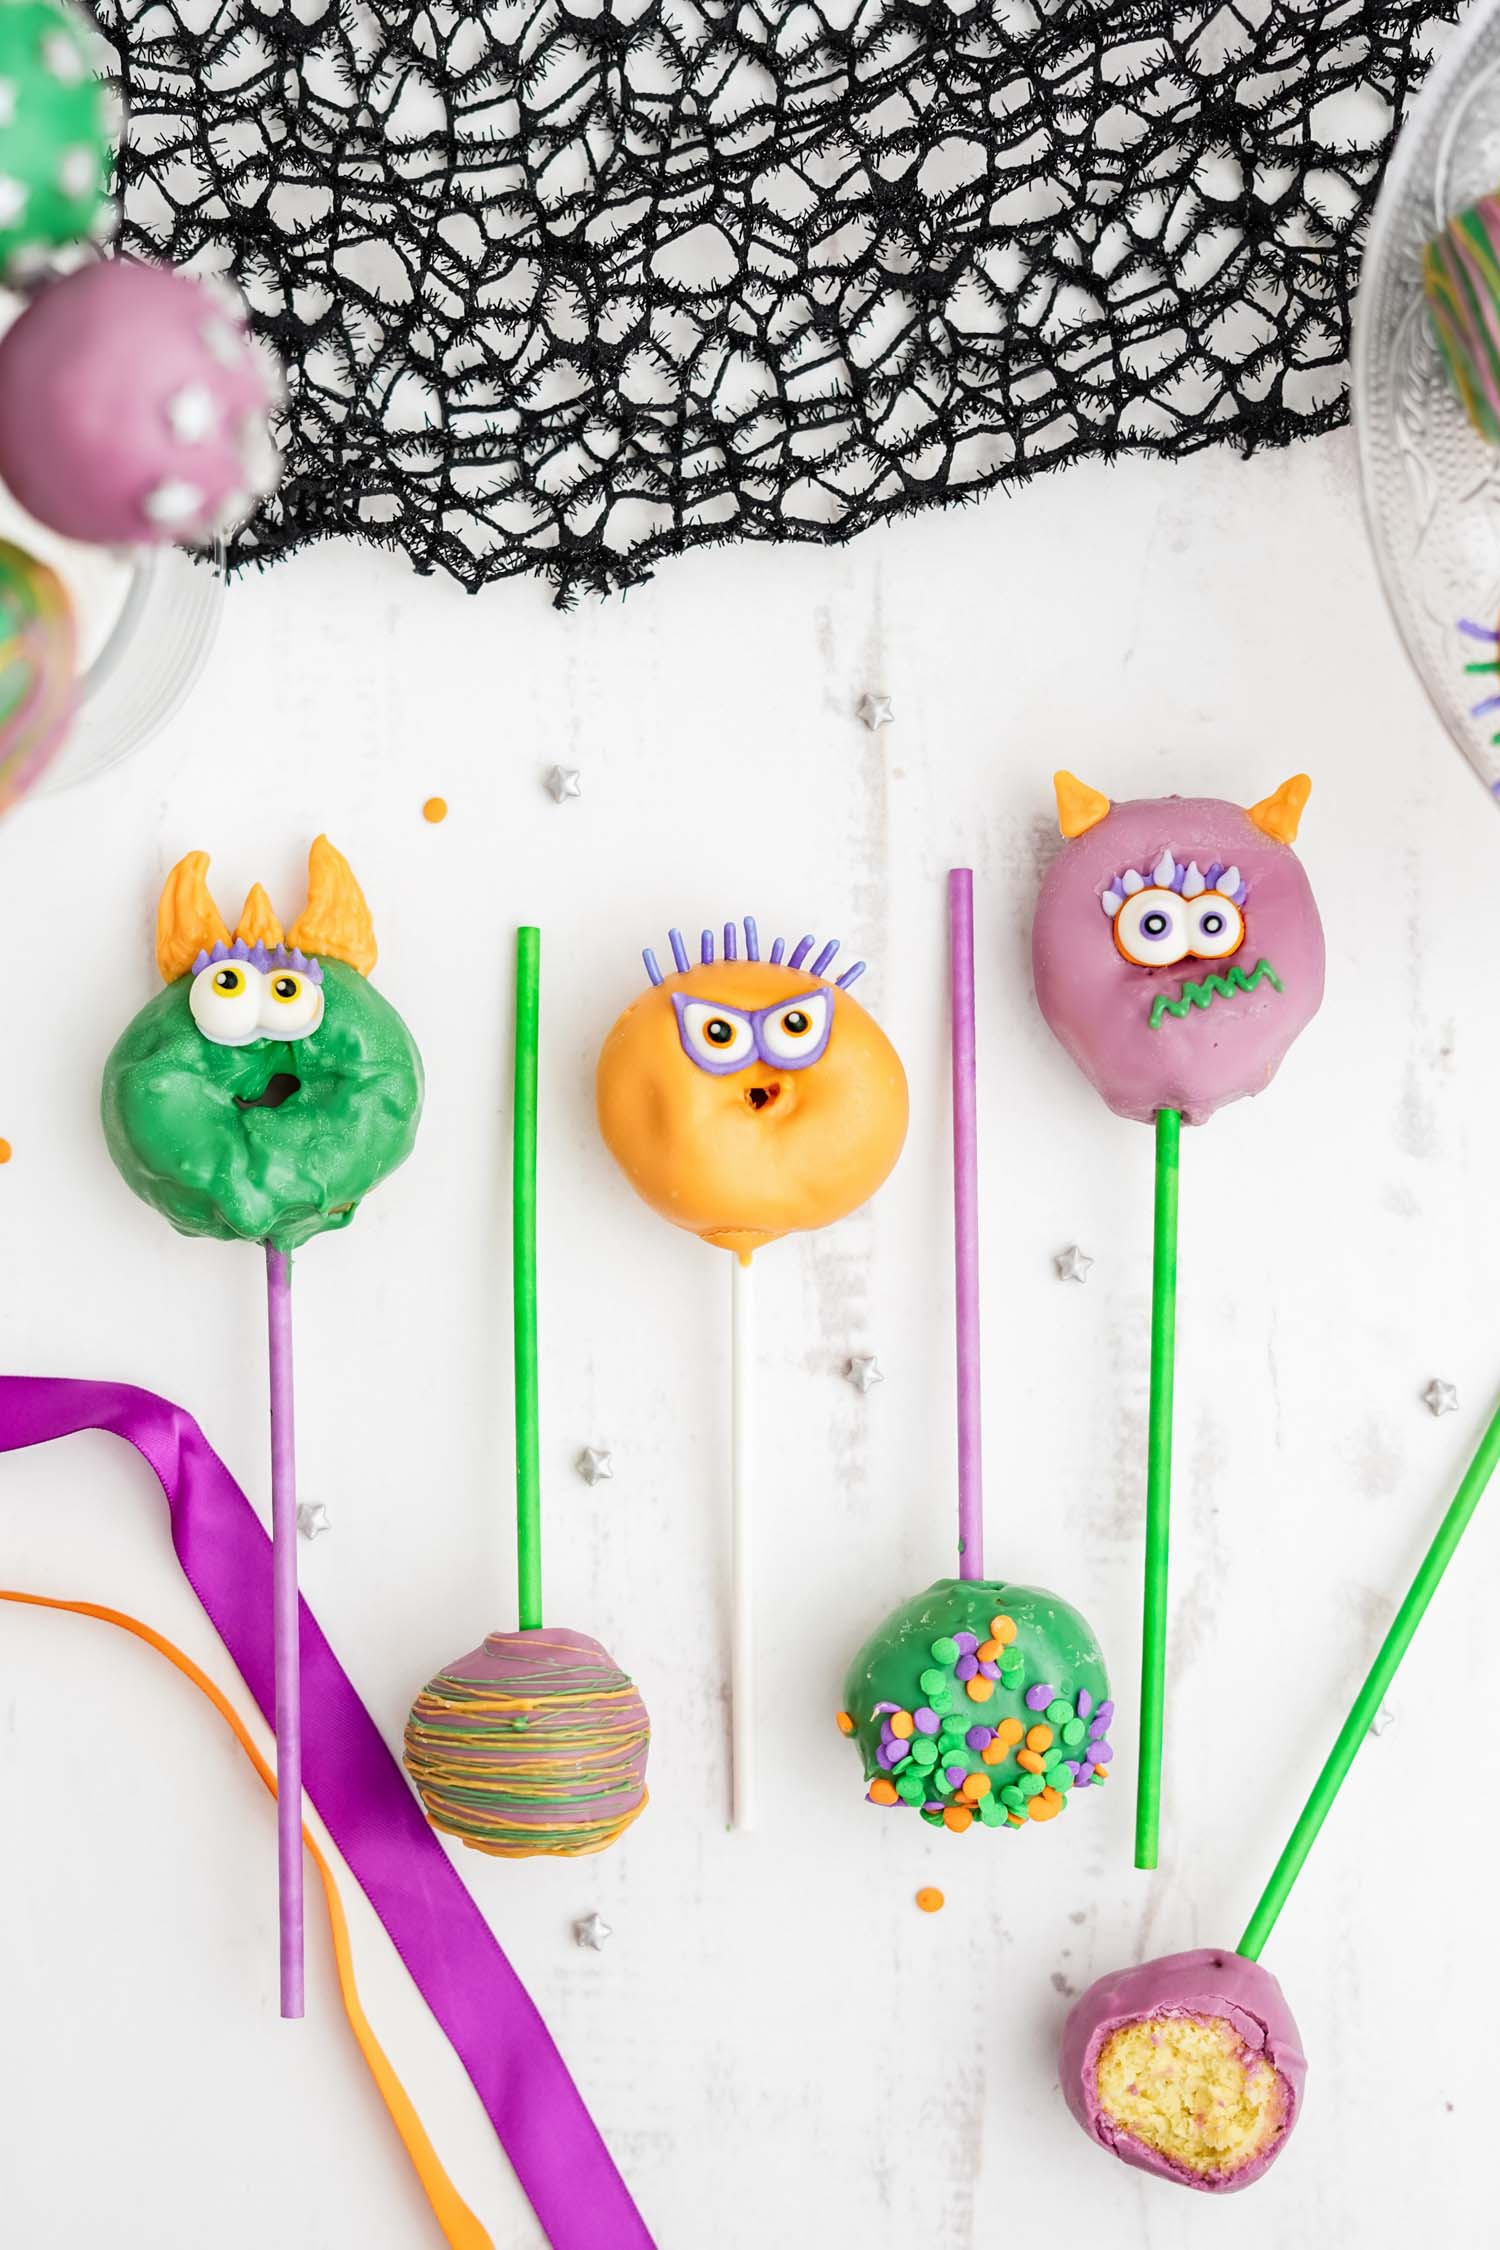
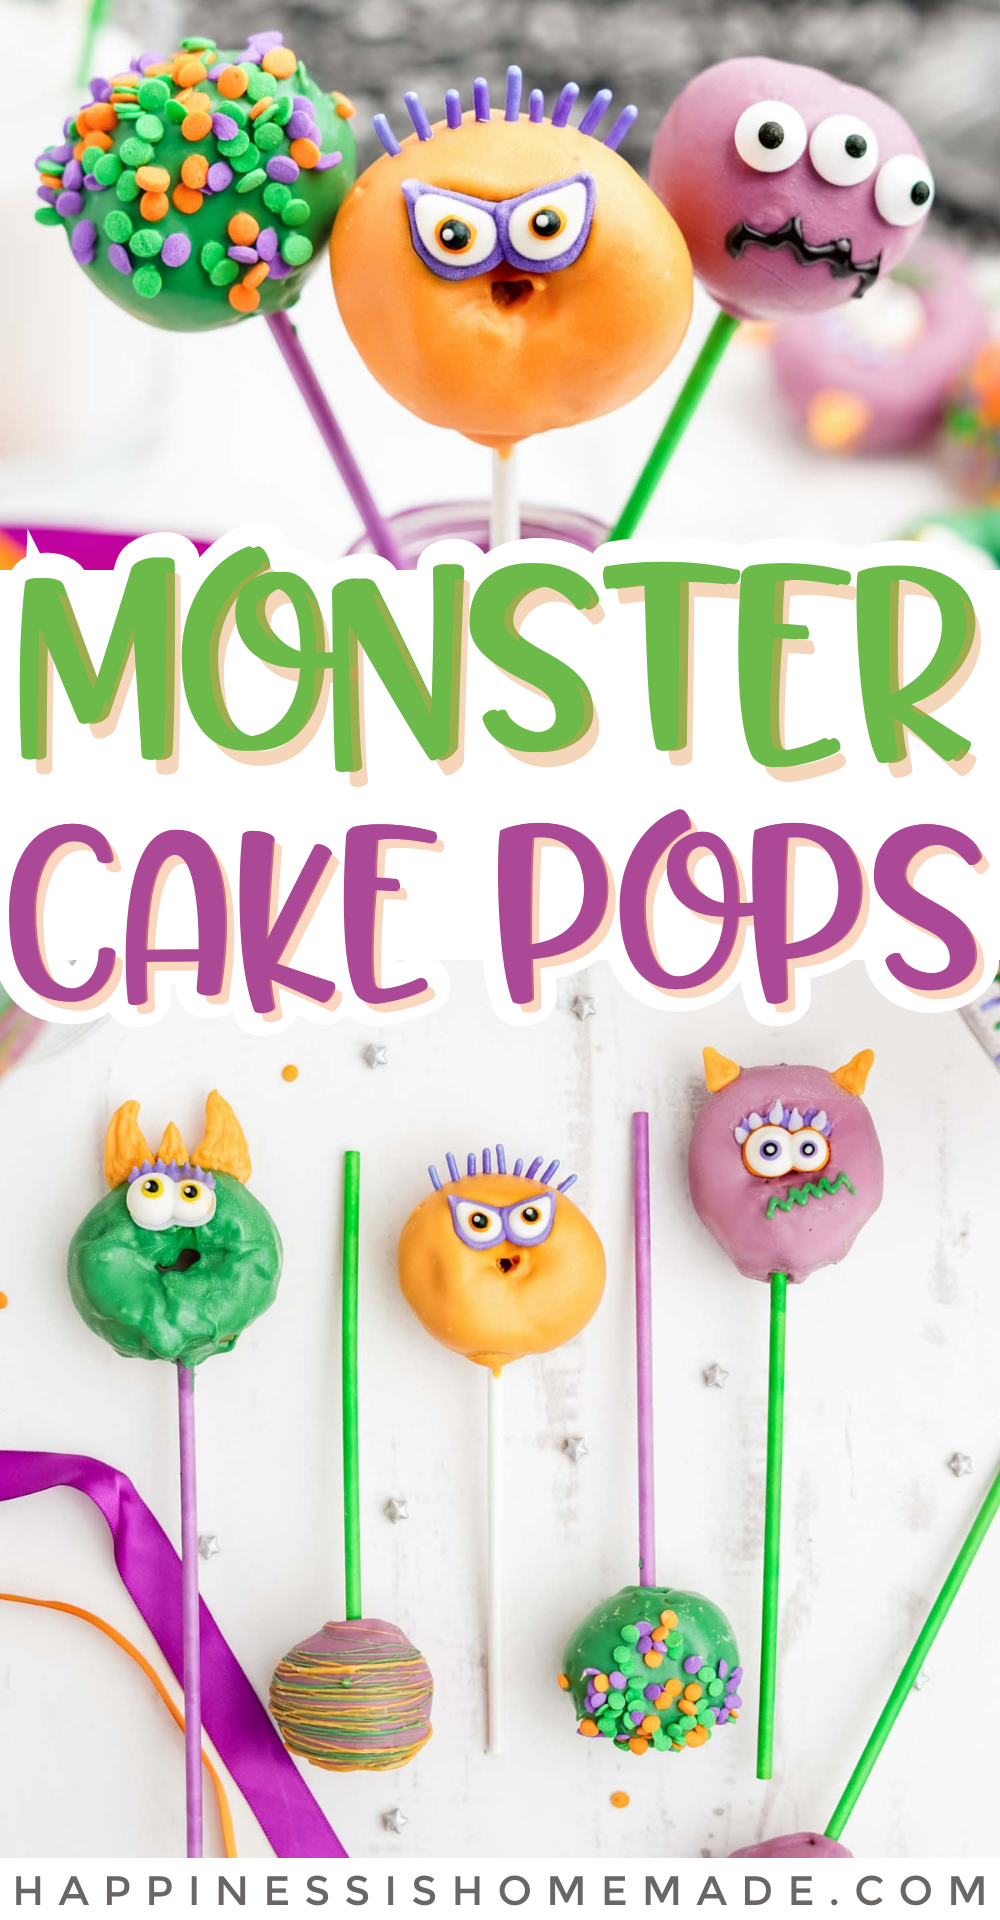
For monster pops, allow the first layer of candy melt to dry before decorating. Use additional melted candy melt coating to stick the eyes to the cake pops and decorate with sprinkles and black writing gel as desired.
Monster Horns:
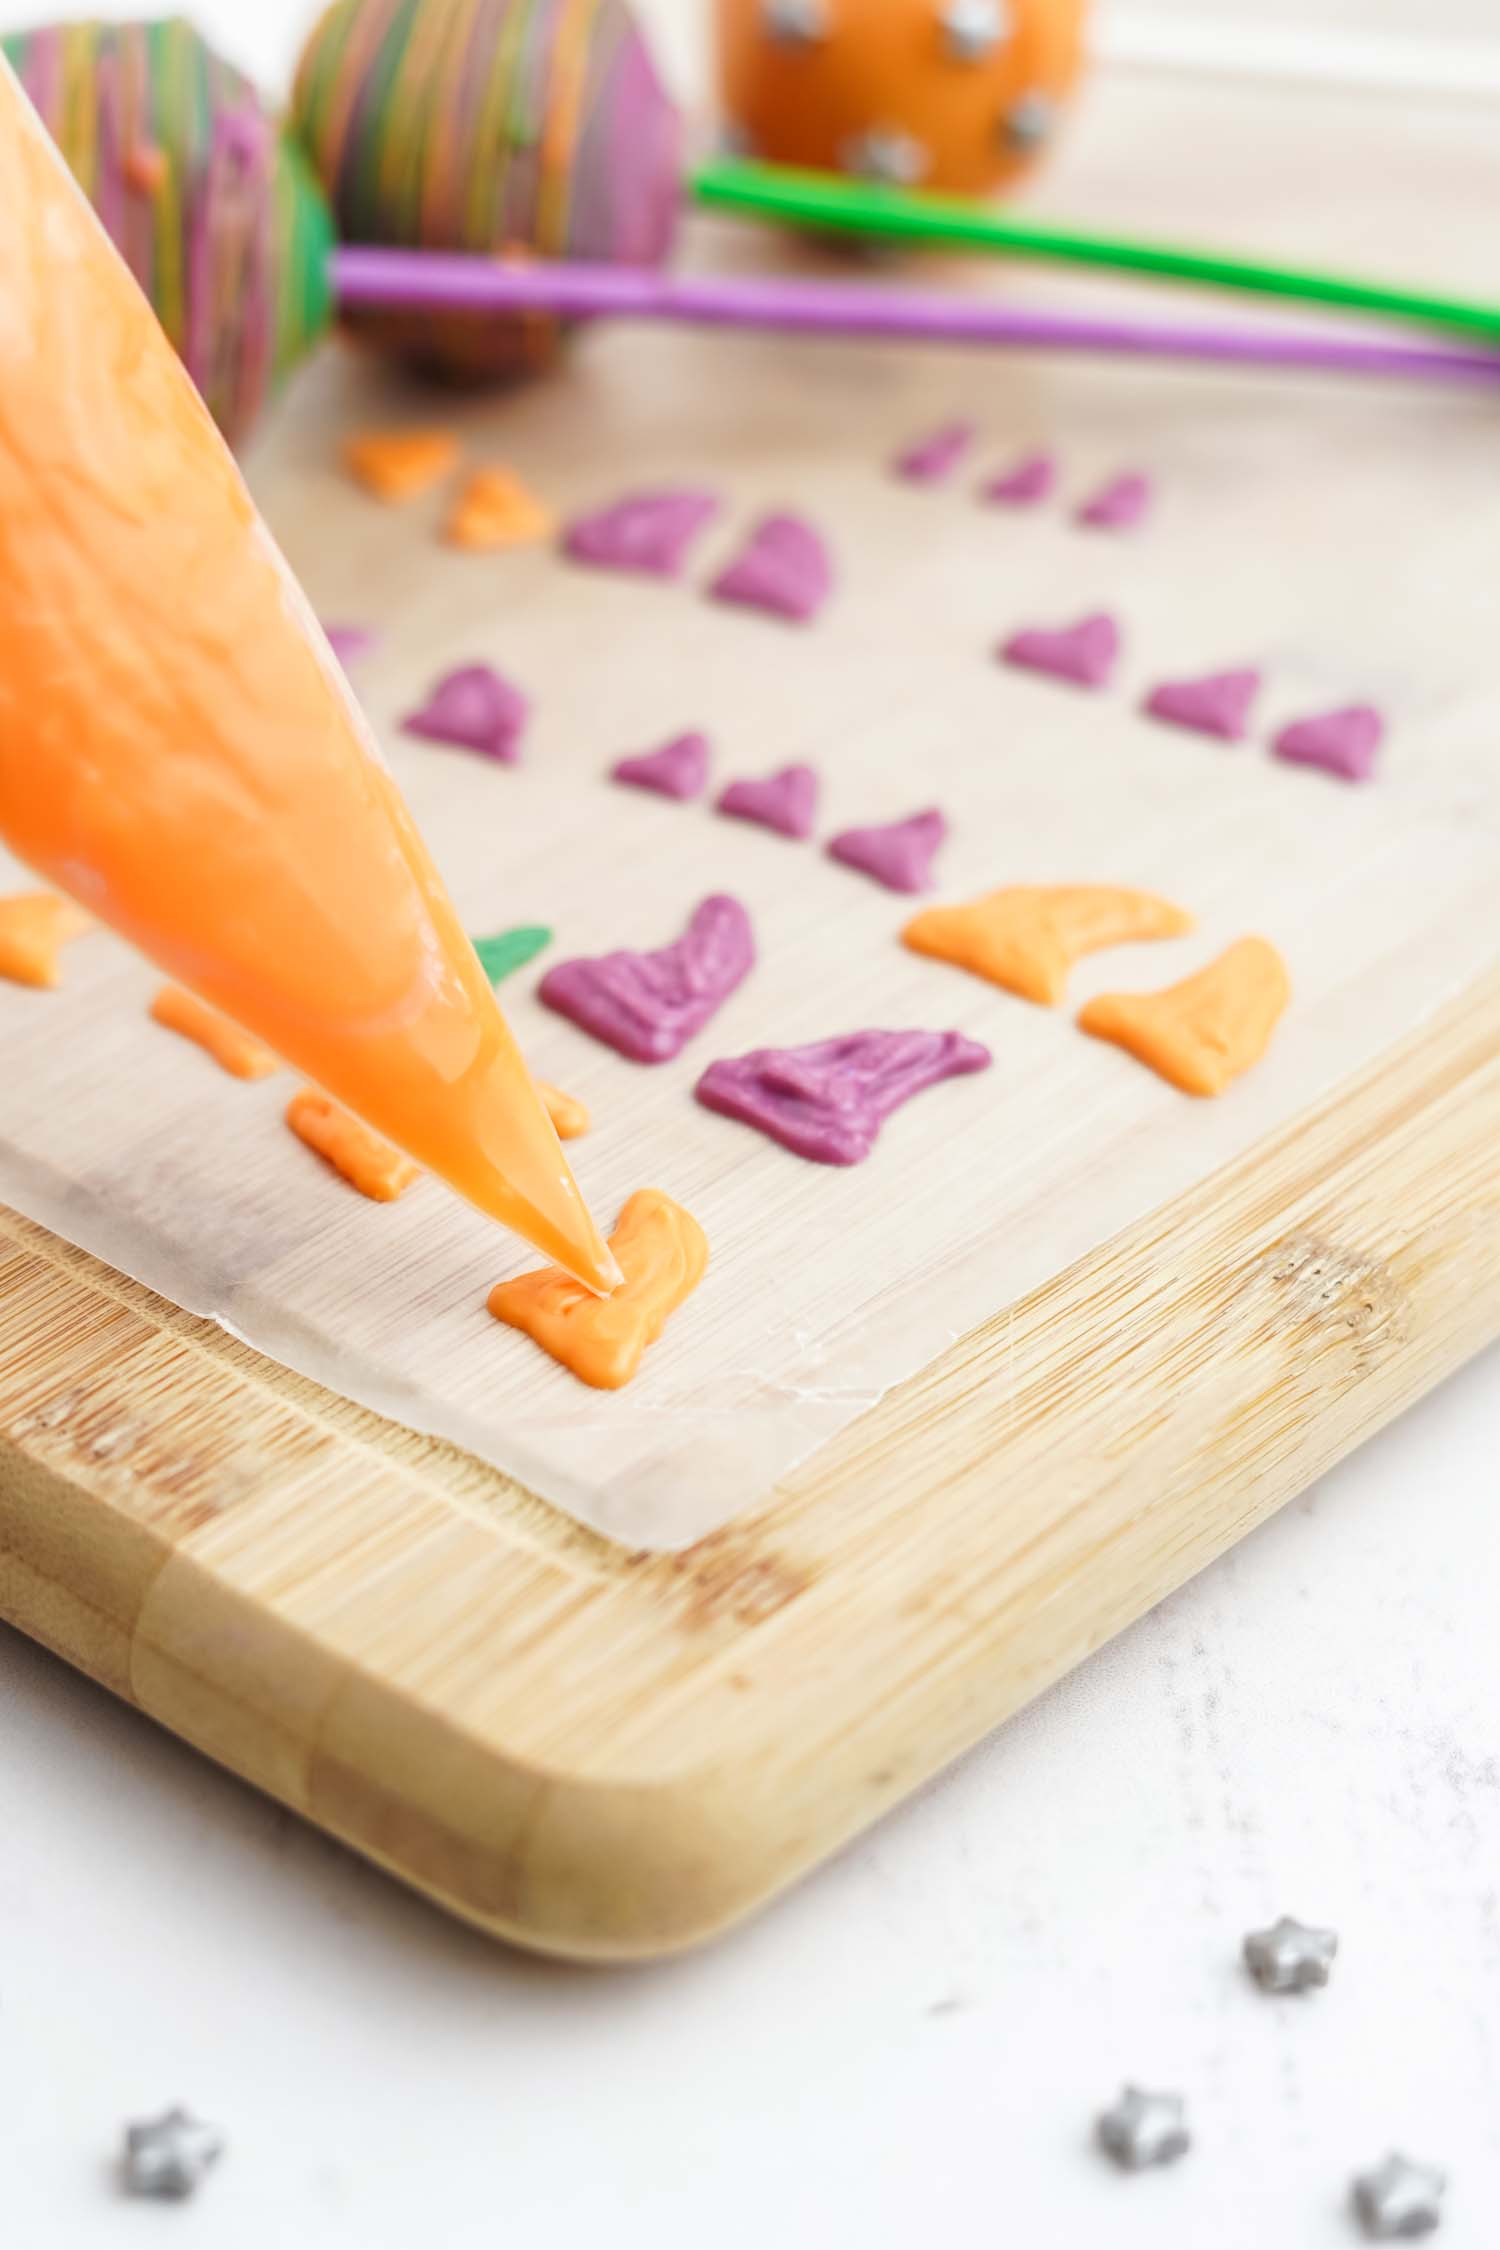
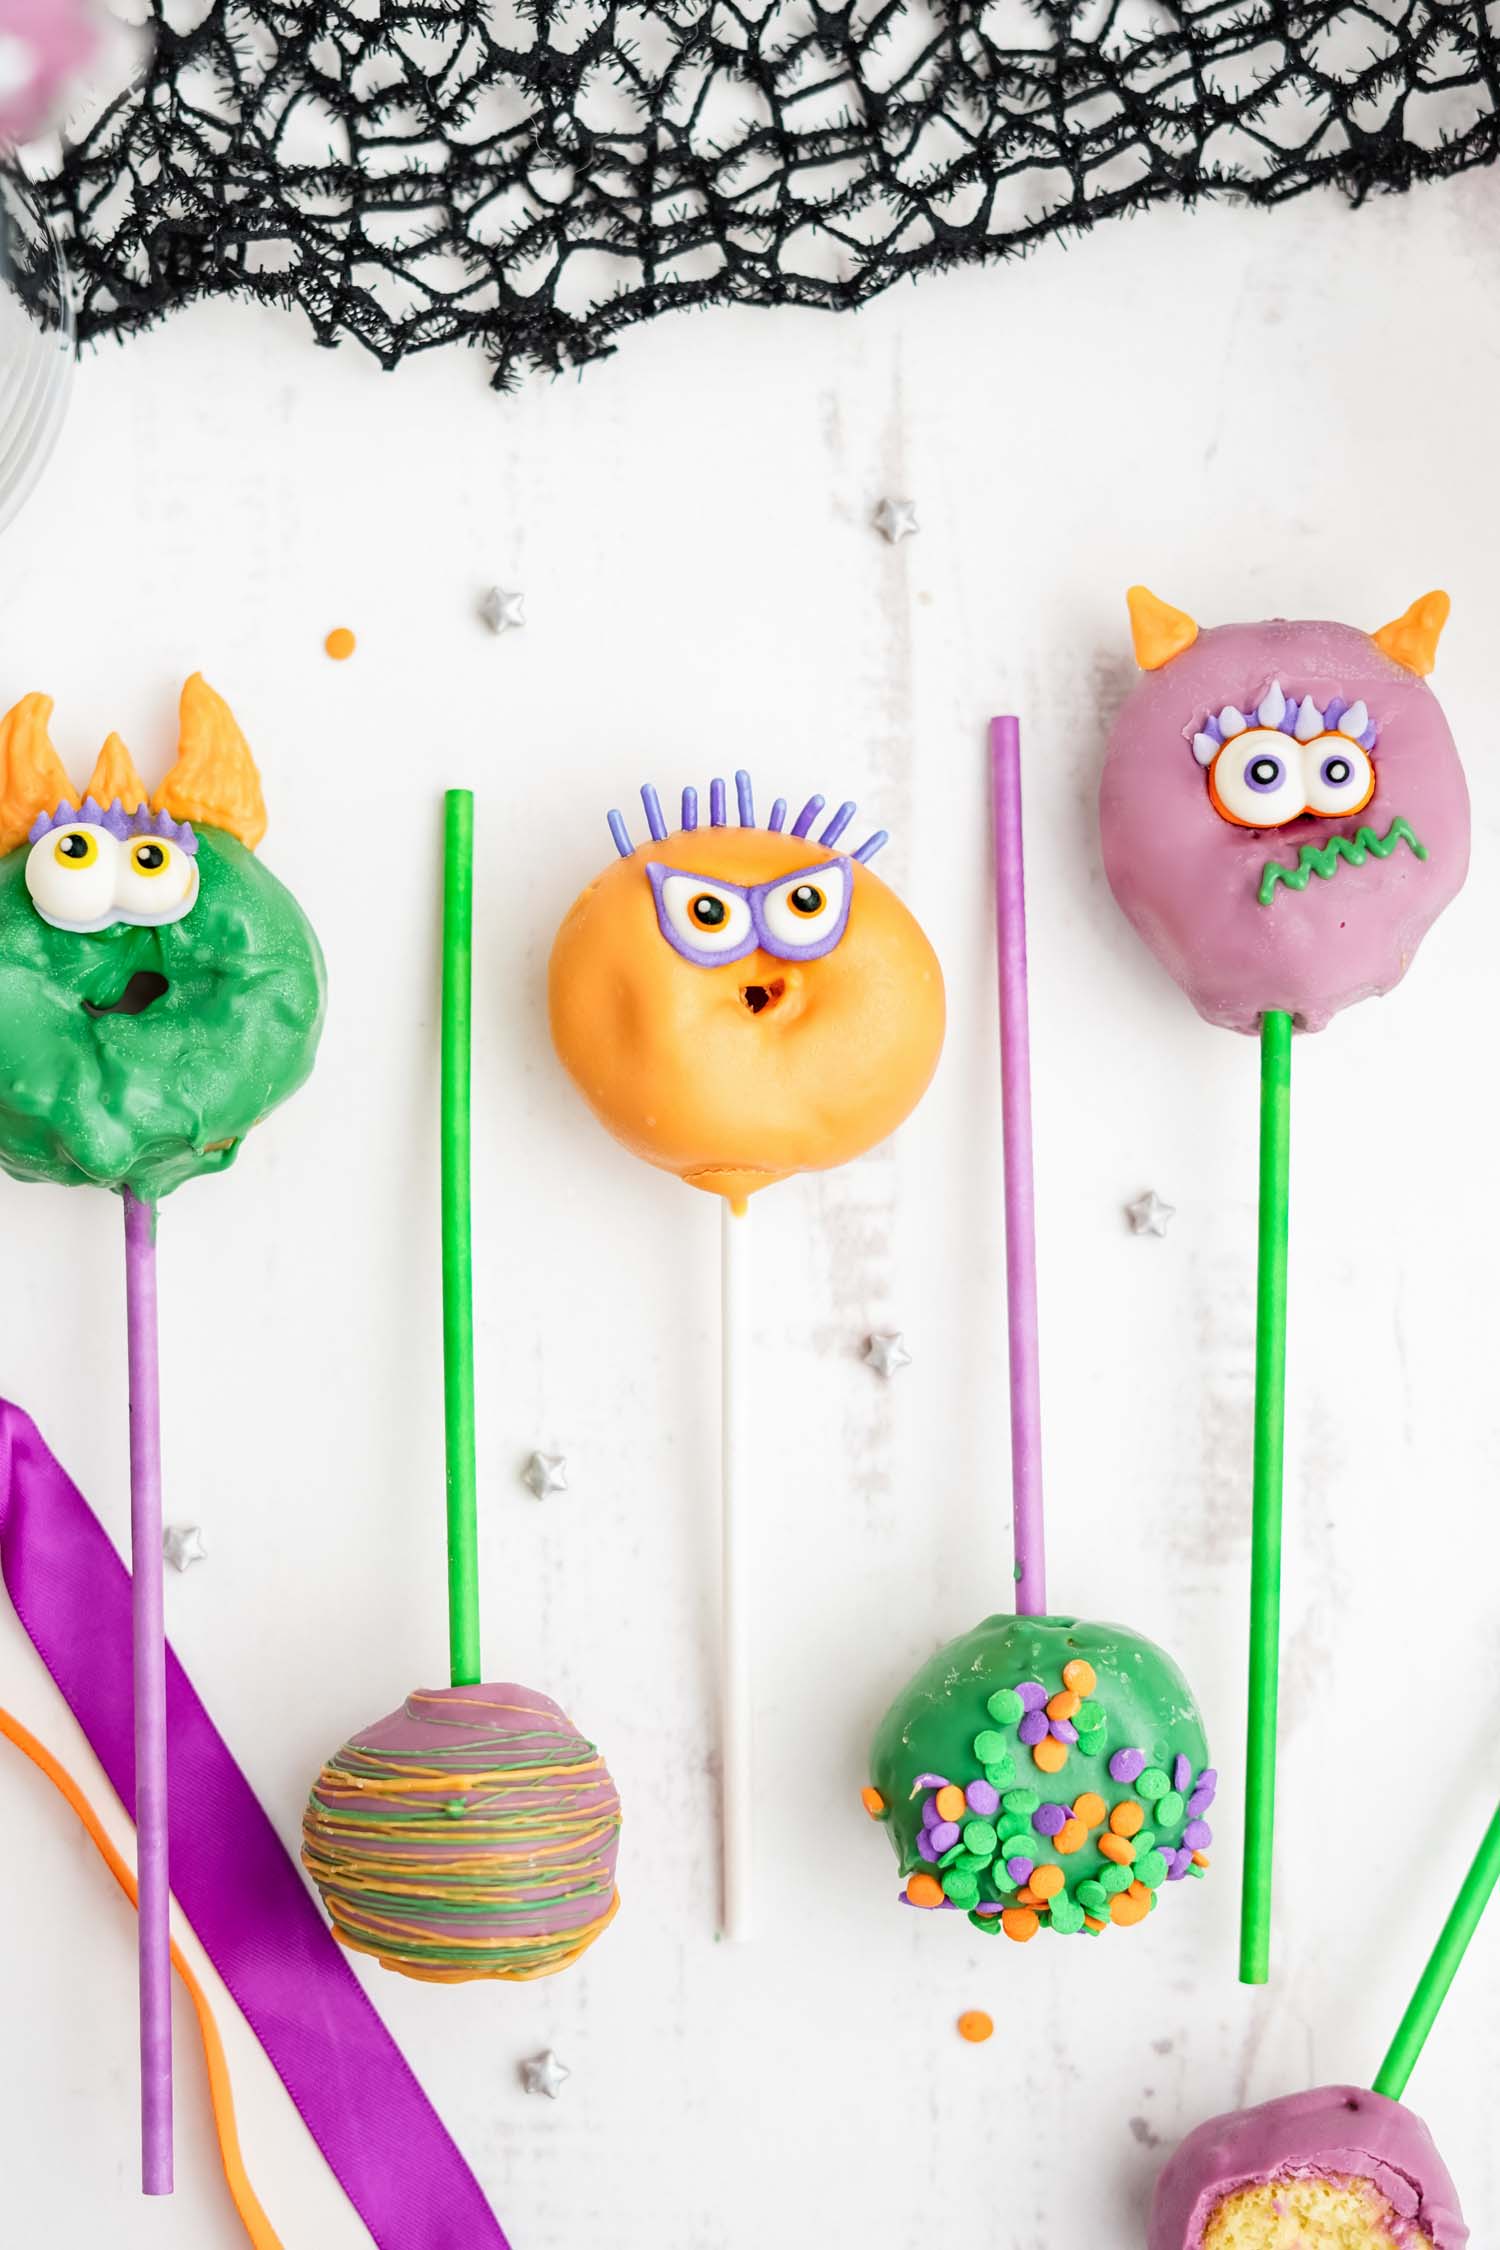
To make monster horns, pipe horn shapes onto a piece of wax paper and attach to the monster cake balls using an additional batch of candy melts. For larger horns, I like to stick a sprinkle in the head for extra support/backing.
Star Pops:
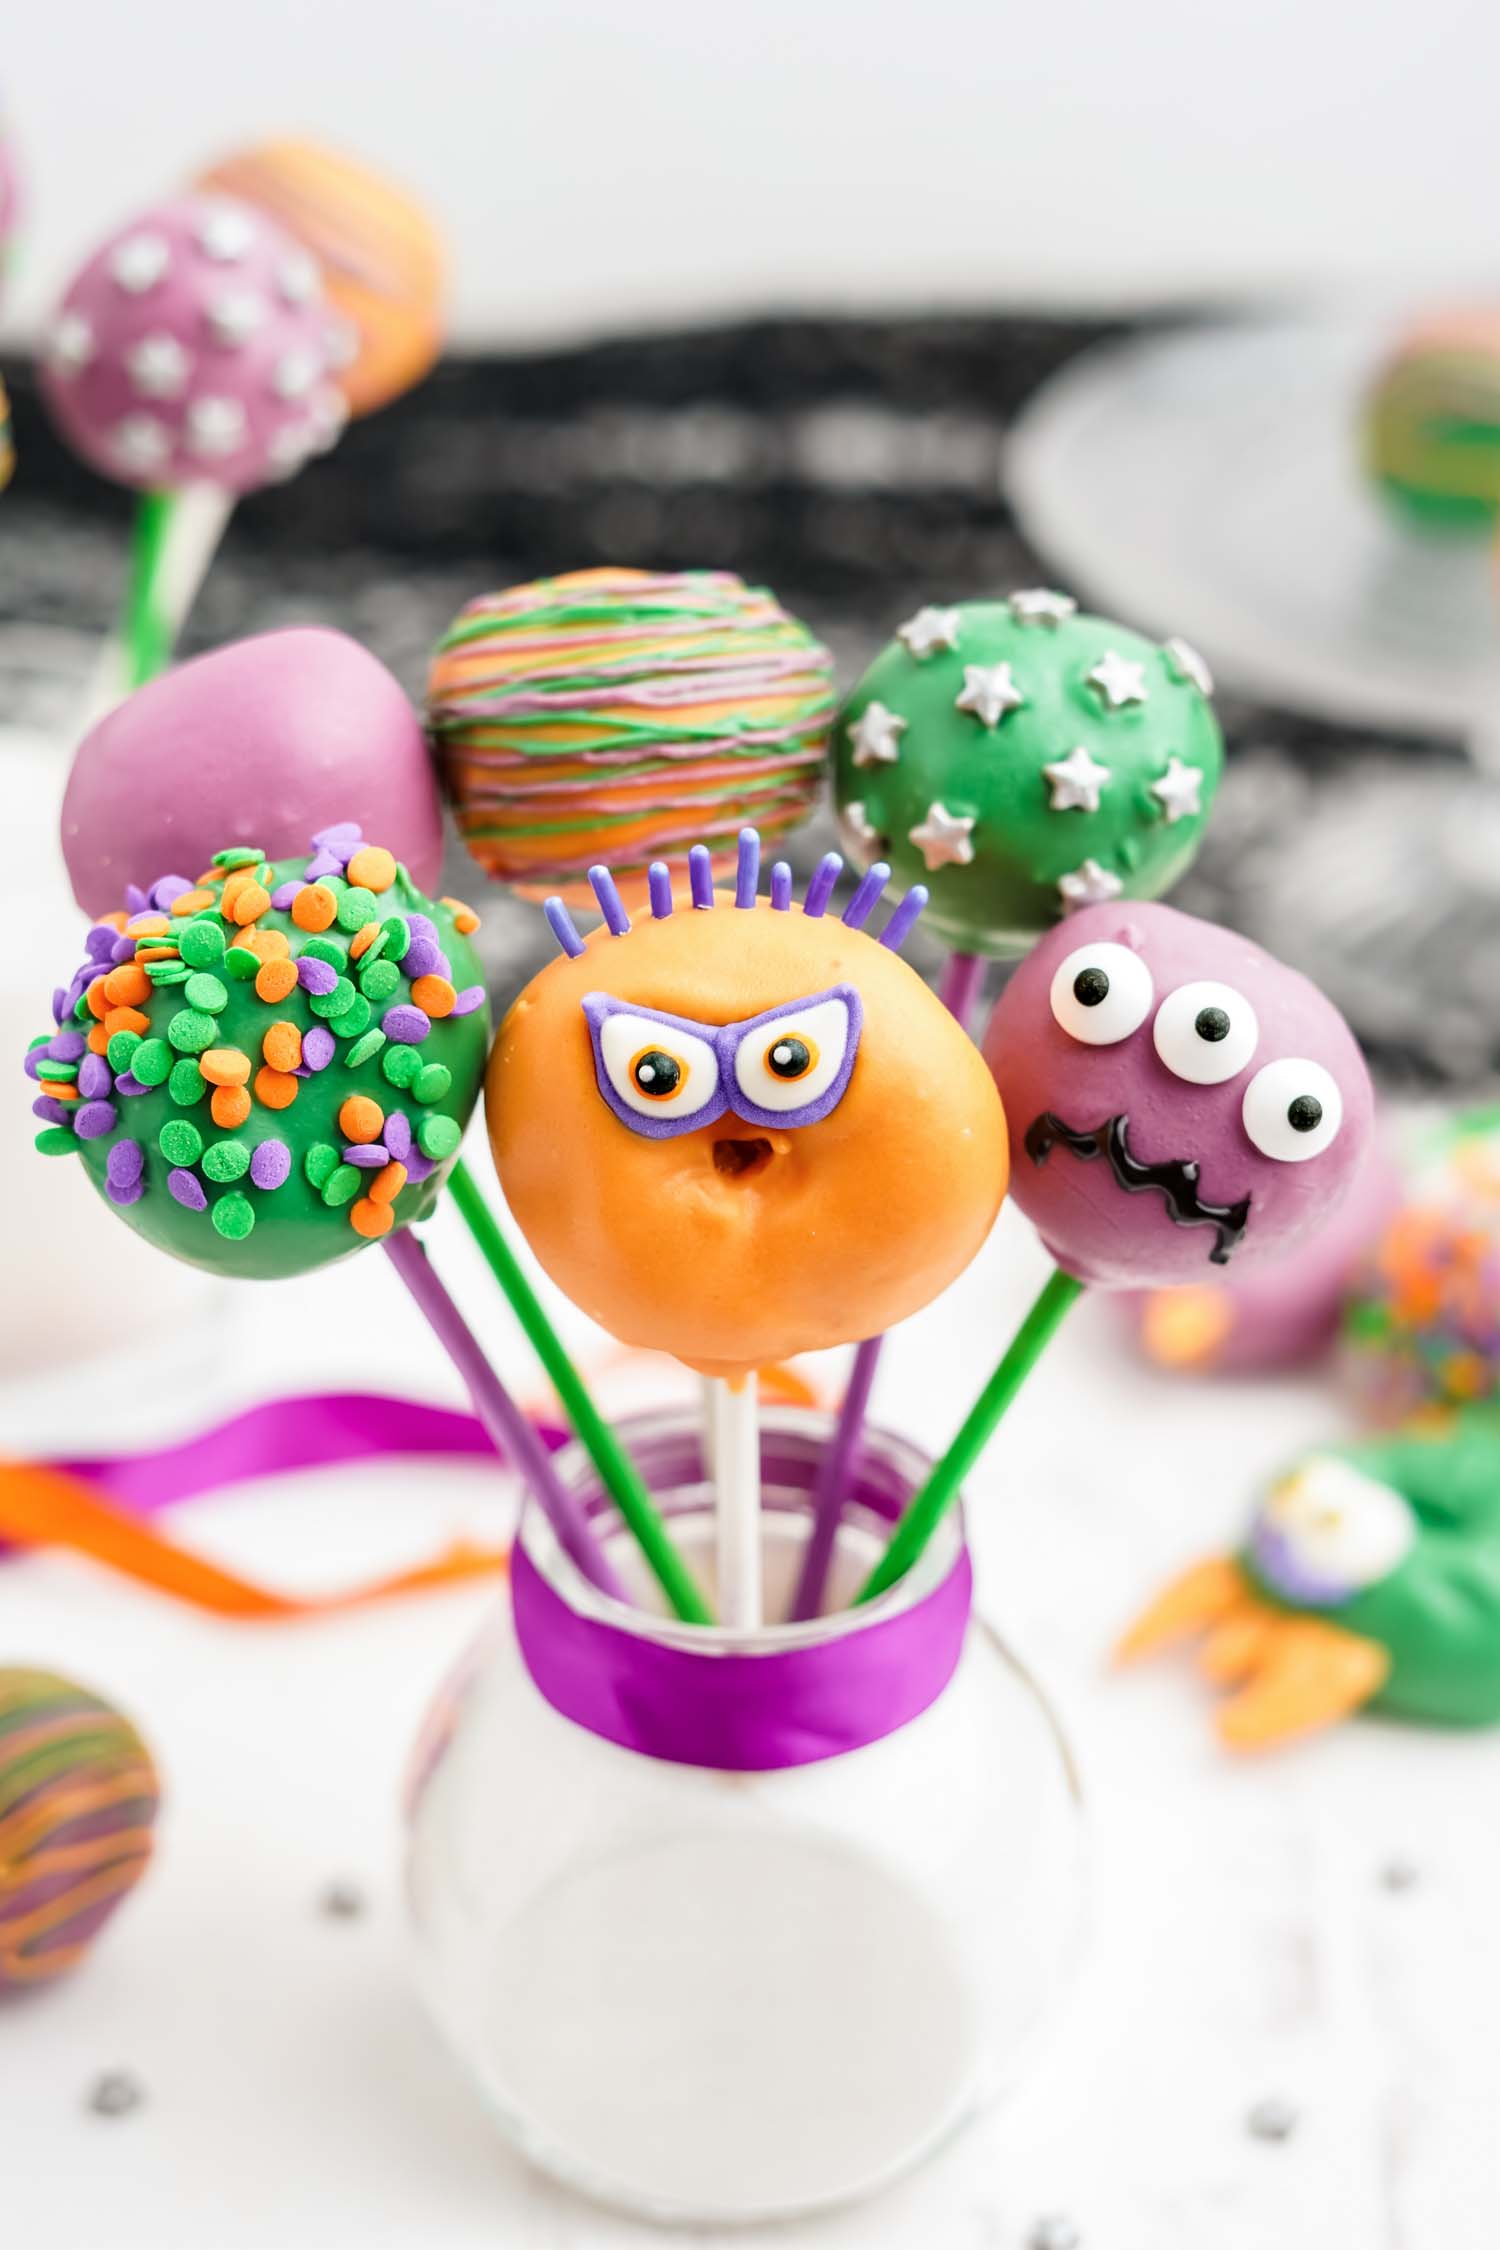
For star pops, allow the dipped cake pops a few minutes to set before pressing the stars into the cake pops.
Sprinkle Topped Pops:
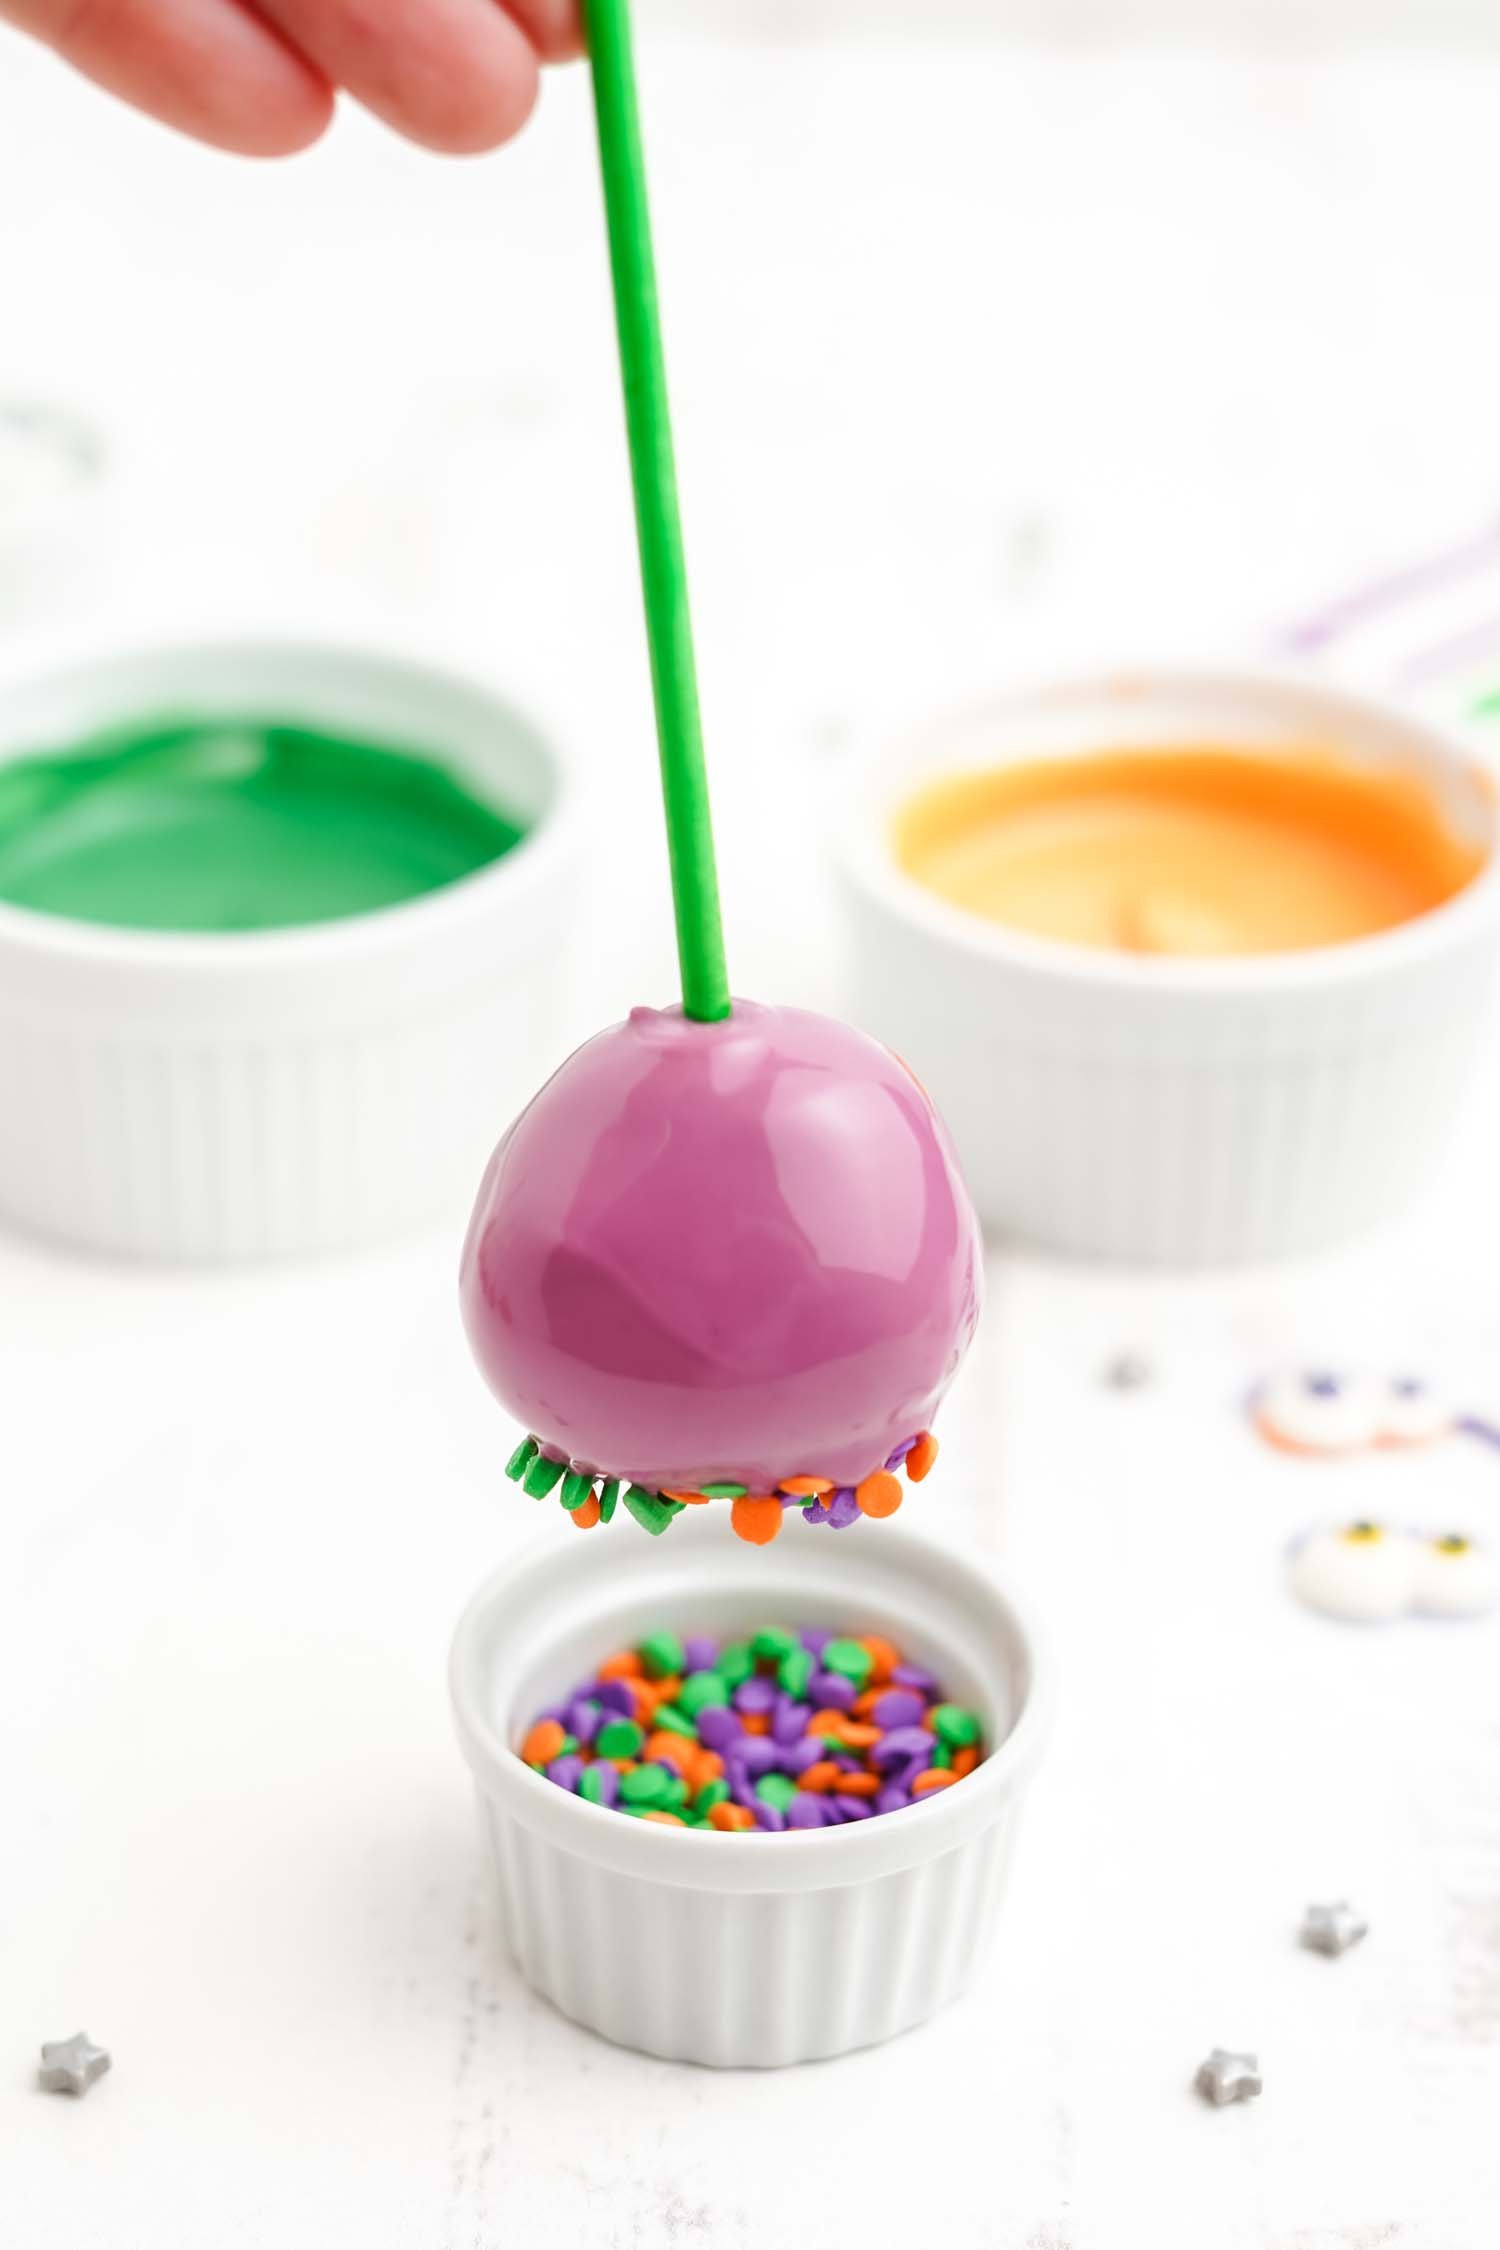
For sprinkled topped pops, allow the candy melts to set for 3 minutes before dipping the top part in sprinkles of your choice.
Drizzled Cake Pops:
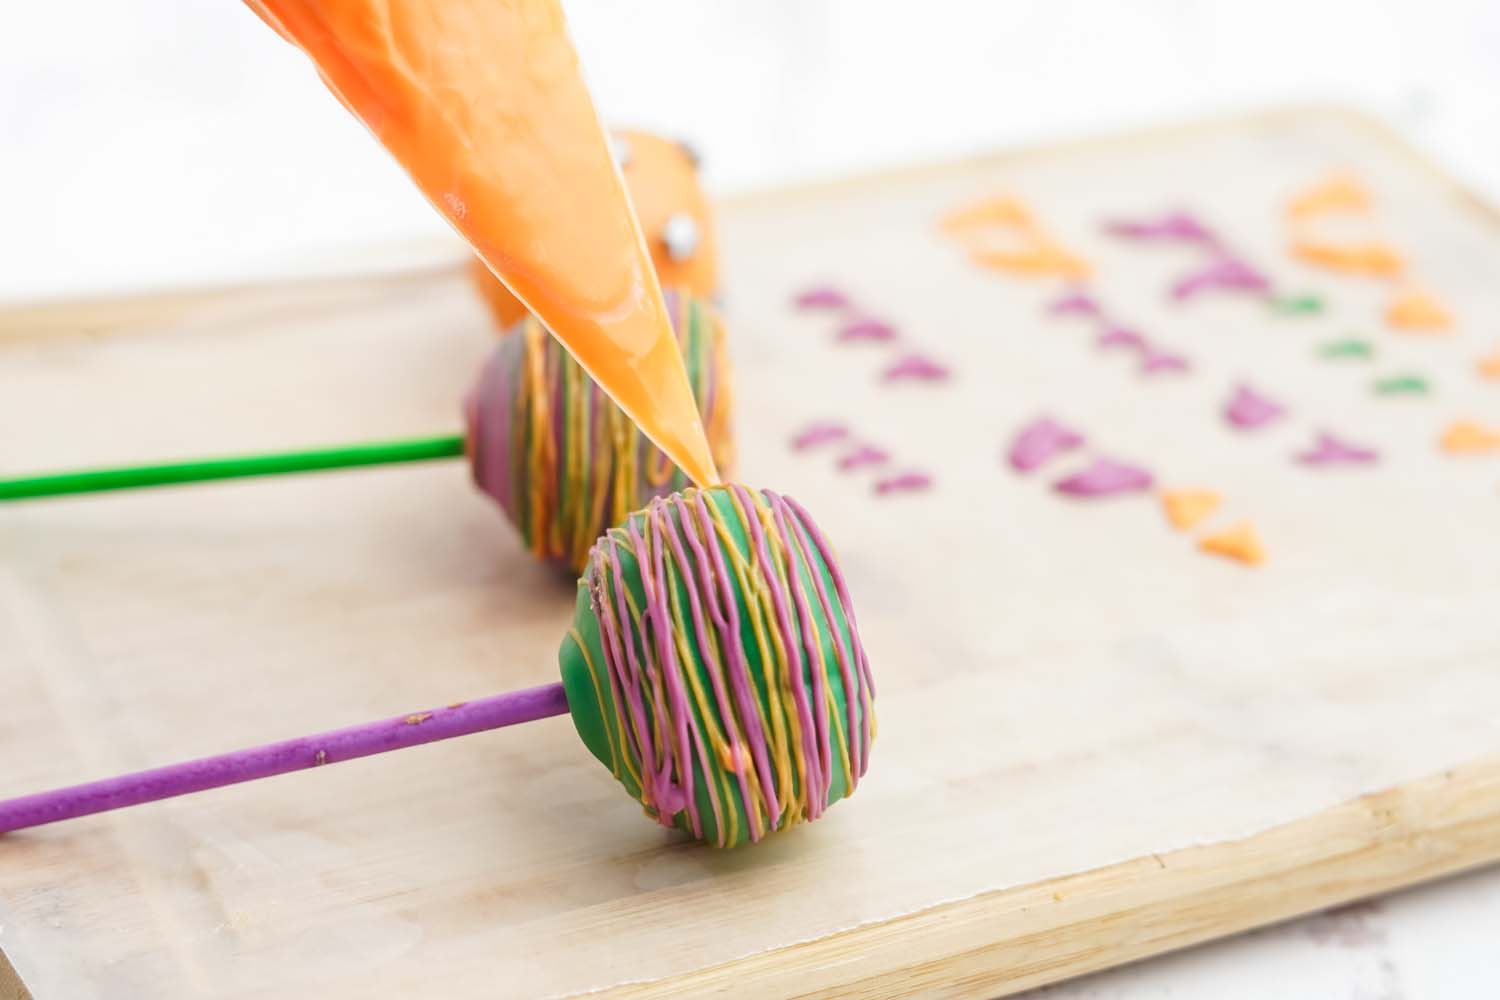
For drizzled pops, allow the first layer of candy melt to almost set completely before drizzling on the second layer. Alternate colors and layer as much as desired.
Frequently Asked Questions
Which Candy Melts Work Best For This Recipe?
For best results, try to avoid candy melts that have a white film on them. Most brands will have a little viewing window on the package, so be sure to check there first. If you choose a brand that has a white film, your final result will likely also have a white film. I have found that both the candy melts from Hobby Lobby, and Wilton, both work great!
What If My Candy Melts Become Too Thick Or Lumpy?
When melting the candies, I put them in the microwave in 15-second intervals. You can also use a stovetop or double boiler to melt your candies. In between melting intervals, make sure to stir the melts for a full minute before melting again to help dissolve and break up lumps.
If your candy melt mixture is still too thick, you can mix in a 1/2 teaspoon of oil at a time to thin it out. (Coconut oil or vegetable oil will work well.)

How Do I Layer Candy Melts?
If adding another layer of melted candy coating, make sure the candy melt temperature is close to room temperature to ensure the existing layers won’t crack or separate.
What If My Donut Holes Are Lumpy?
Don’t sweat it! Use the lumpy donut holes to fully coat in sprinkles. It will help hide the flaws! You can also give the donut hole a quick shaping between your palms before placing it on the sucker stick.
What’s The Best Method For Storing These Monster Pops?
For optimal taste, these cake pops are best served the day that they are made! But, you can make them 24 hours in advance. Just avoid storing them in the fridge or freezer, as the candy melts may sweat when brought back to room temperature(this can cause cracking, mold or sprinkles to bleed!). If storing overnight, store the remaining cake pops at room temperature in either an airtight container or cover them with plastic wrap.
No-Bake Cake Pops Recipe Card
Monster Cake Pops
What You’ll Need:
Instructions:
- Prepare the donut holes for dipping by giving them a quick roll between your palms and determining where you will place your stick. I like to make sure the smoothest rounded side is at the top of each cake pop.
- Then, melt the candy melts according to package directions.
- Carefully dip the end of a lollipop stick into the candy melts and stick into the cake pop. Allow these to cool upside down.
- When the melted chocolate has cooled, carefully dip each cake pop in the remaining melted candy melts rotating until fully coated.
- Use the candy eyes, sprinkles and black writing gel to decorate cake pops as desired and serve once the candy melts have set.
Notes:
This is one great Halloween recipe your little monsters will surely gobble up! Don’t forget to pin this easy Halloween recipe for later! If you need even more great Halloween party inspiration – check out our fun Halloween crafts, recipes, and more!

Check Out These Other FUN Halloween Ideas!
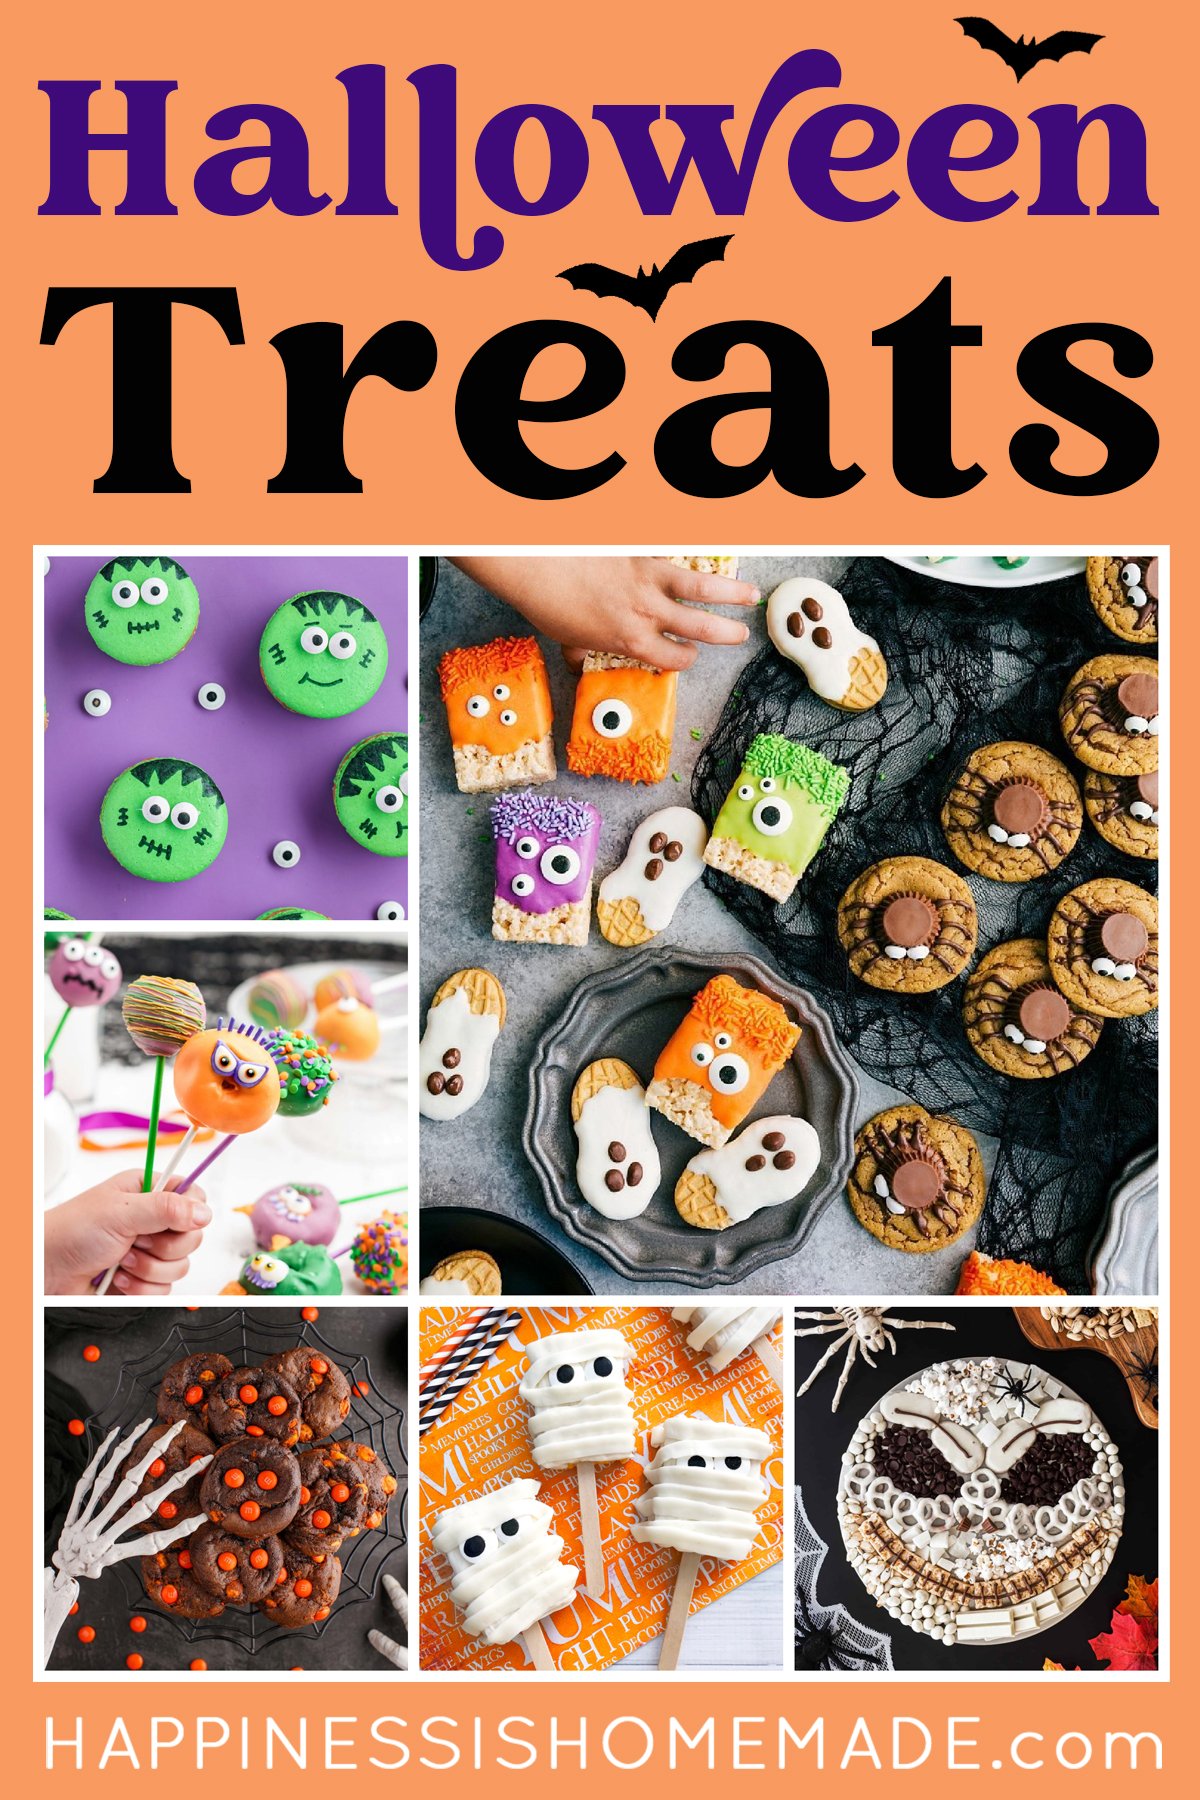
Don’t Forget to Pin These Fun Halloween Treats for Later!

Heidi Kundin has captivated the hearts of millions with her colorful and inspiring approach to crafting, celebrations, and family fun. With over 15 years of experience, Happiness is Homemade has become a must-visit destination for those seeking quick and easy creative ideas and last-minute solutions. Heidi’s warm personality shines through her posts, inviting readers to join her on a creative journey that’s fun, rewarding, and achievable. Heidi is also the author of Homemade Bath Bombs & More and DIY Tie-Dye.

