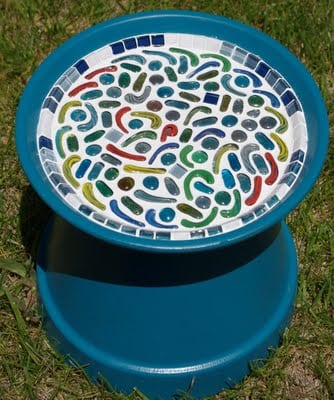
Looking for a fun and easy DIY project? Check out this Mosaic birdbath you can make easily that will look great in your yard!
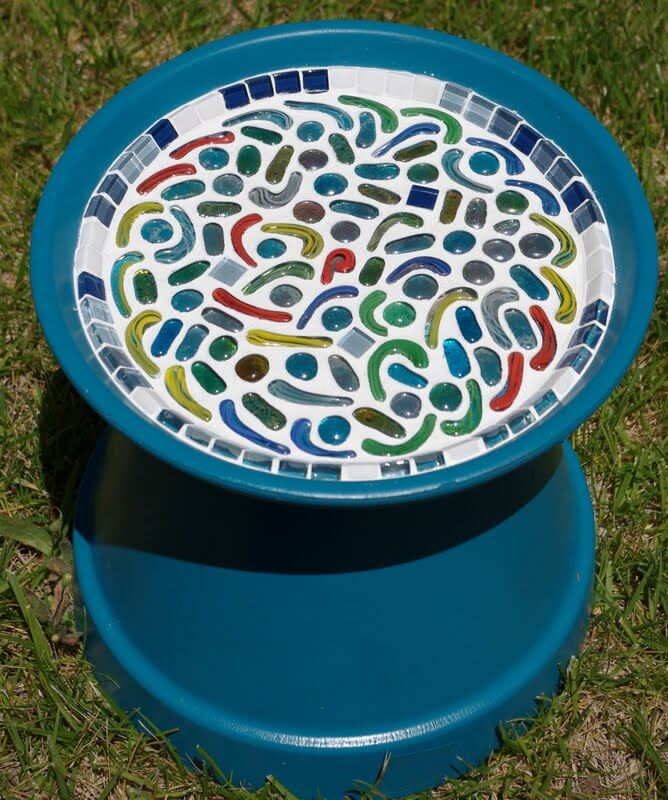
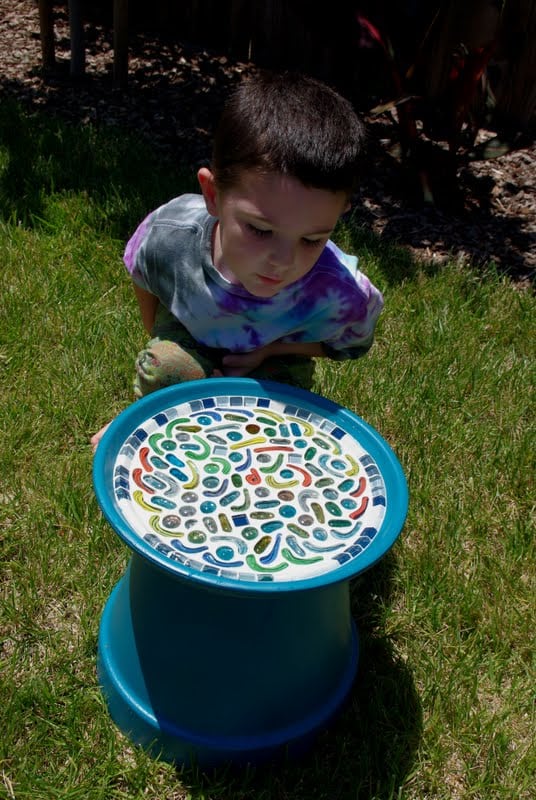
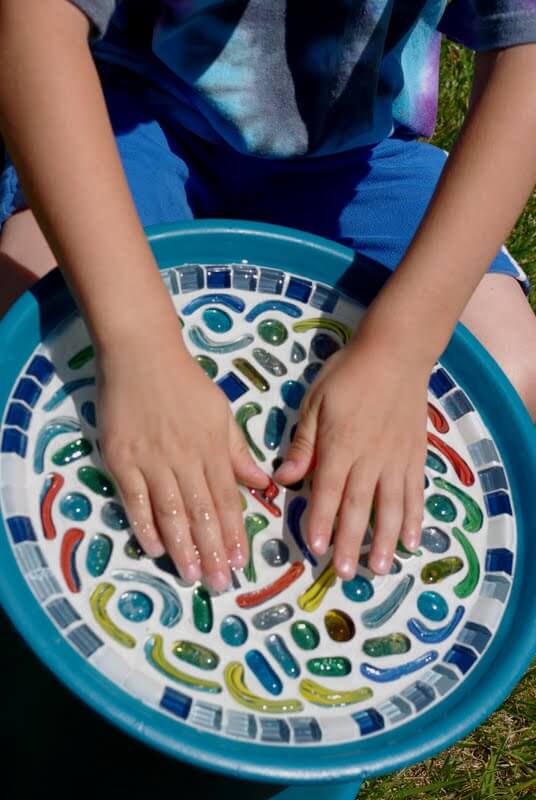
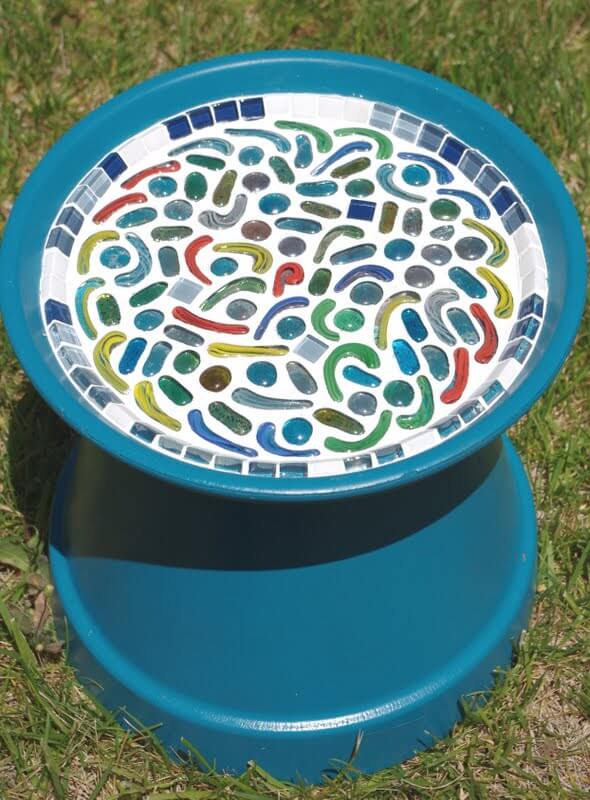
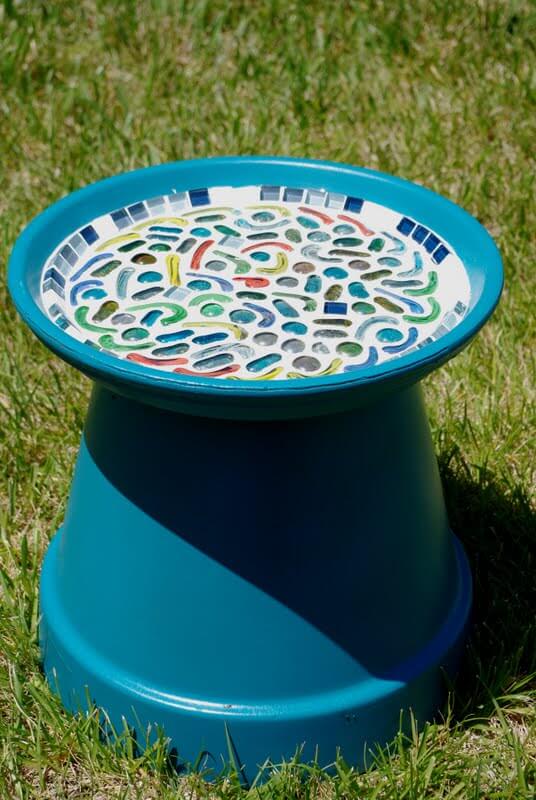
Check out this awesome project that the boys made their Granddad for Father’s Day this year – a {beautiful} kid-created mosaic birdbath! We saw the idea in a magazine a couple of months ago and knew that it would make a perfect gift for him. I am so pleased with the way it came out!
Mosaic Birdbath Tutorial
This birdbath project is simple and inexpensive, though there are some messy parts that will require adult assistance. You will need:
- a terracotta pot and large saucer,
- spray paint (if desired),
- tiles/glass gems (we found ours in bags at Dollar Tree),
- strong glue such as Marine Goop! or E-6000,
- white grout
- sponges.
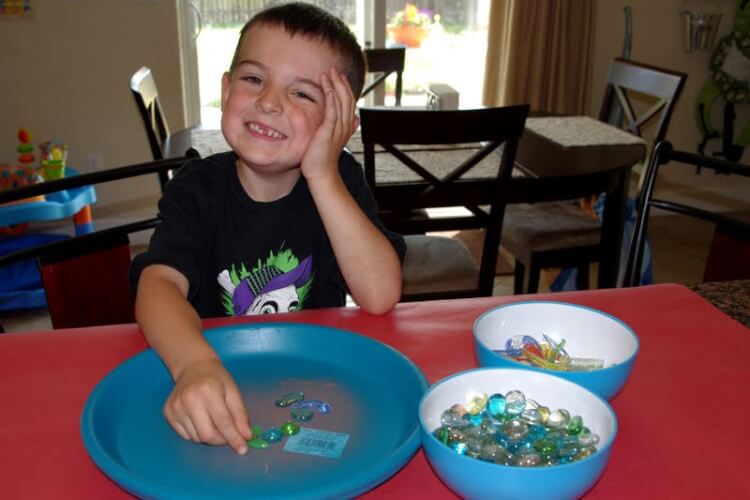
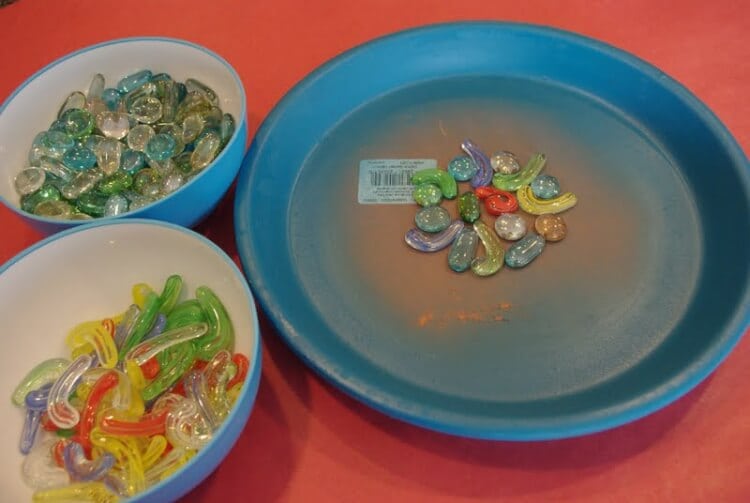
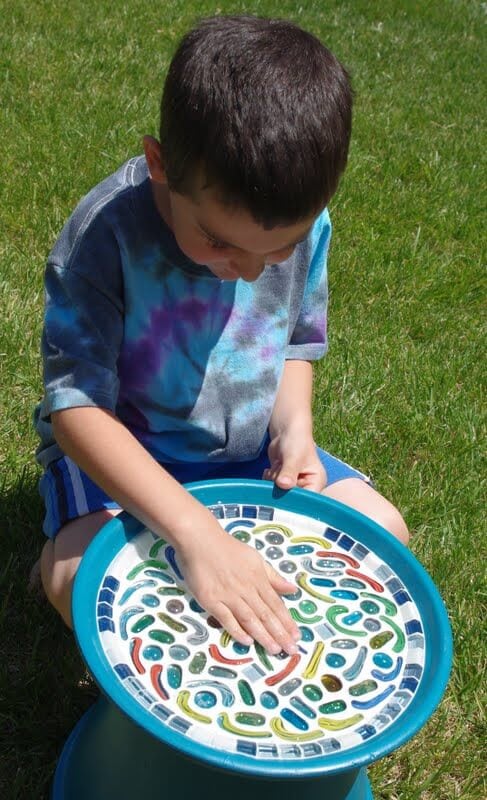
After painting our pot and saucer with a couple of coats of spray paint, we used our strong adhesive to glue the glass mosaic pieces to the inside of the saucer. I put a puddle of Goop! and a chopstick on a paper plate and supervised while my boys took turns creating their mosaic design (make sure you open the windows and get adequate ventilation!).
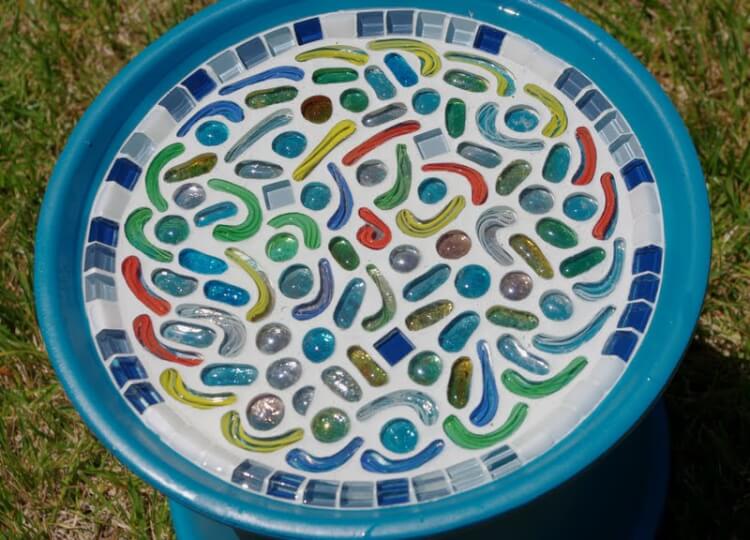
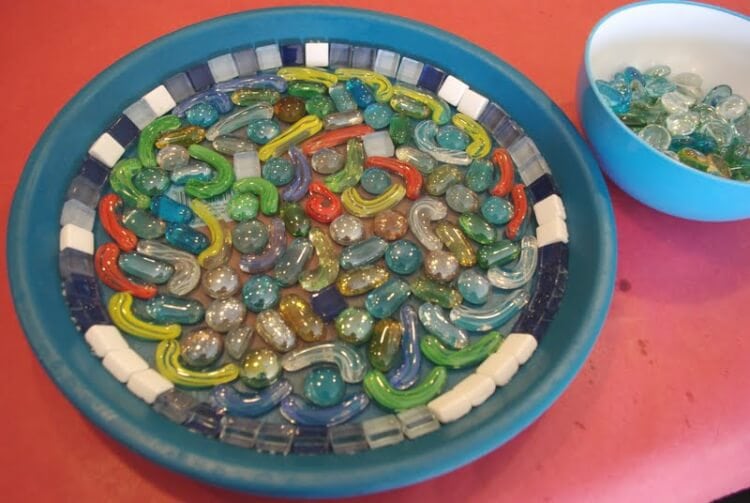
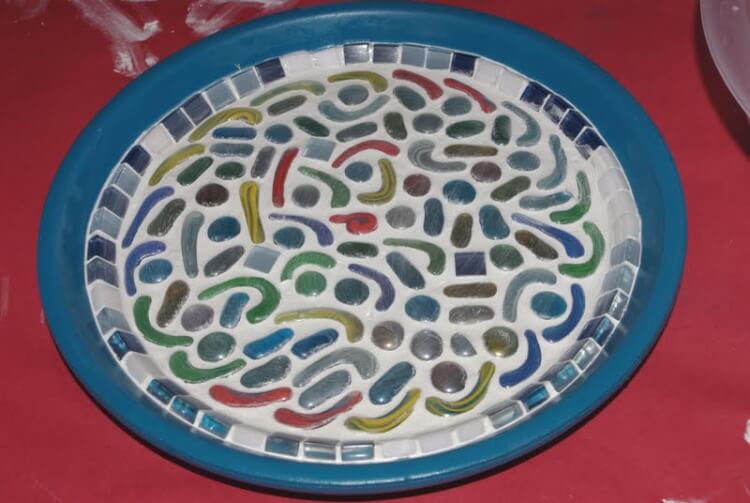
The boys started with a random assortment of glass shapes in the center, and then we rimmed the saucer with small square tiles to clean up the edges of their design. (See how I didn’t peel off the price sticker on the saucer there? Don’t follow my example here – in the end we could still faintly see parts of the sticker through the clear glass gems – oops!)
Then the boys filled in the rest of the space with assorted glass gems. Sawyer said that the curved “petal” looking ring of glass is “sunflower petals to remind Granddad that he should plant some sunflowers in his garden.” It was fun seeing his little mind create unique patterns and designs without any parental intervention!
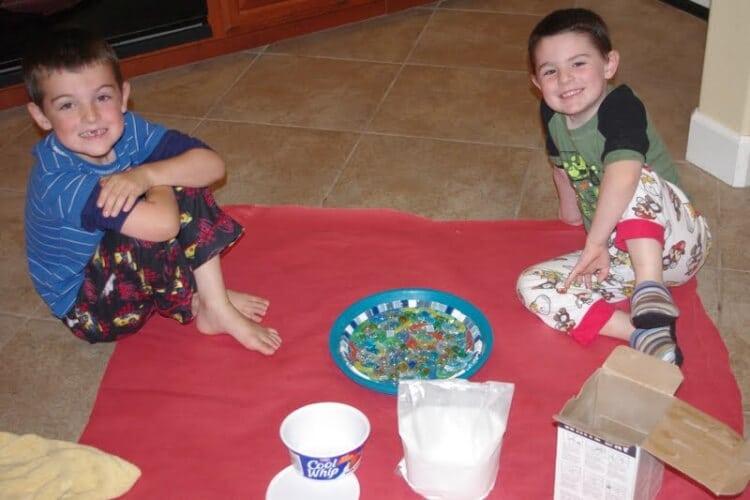
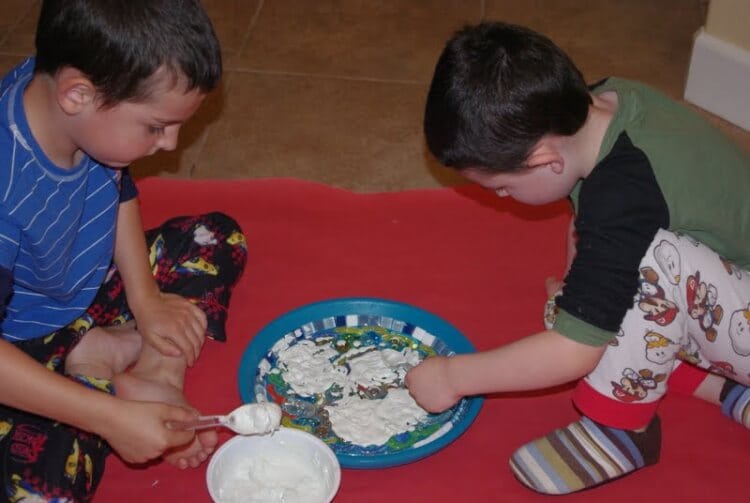
Yay, time for grout! Despite the “Are you crazy!? Grouting with preschoolers? In the kitchen?” setup, we actually didn’t encounter any difficulties or messes in this step – AMAZING! I mixed dry grout with water in a recycled container, and the boys spread it on with plastic spoons. (Note: The pre-mixed grout at our local store was not recommended for standing water applications, so be sure to read the labels unless you want to go back to the hardware store again. Ask me how I know.)
The boys applied the grout and made sure that it filled in all of the cracks between the tiles and gems. When the entire saucer was sufficiently covered they took turns wiping off the excess, and when it was almost done I finished it up for them. The boys applied the grout and made sure that it filled in all of the cracks between the tiles and gems. When the entire saucer was sufficiently covered they took turns wiping off the excess, and when it was almost done I finished it up for them.
Check Out These Other Kids Crafts!

Heidi Kundin has captivated the hearts of millions with her colorful and inspiring approach to crafting, celebrations, and family fun. With over 15 years of experience, Happiness is Homemade has become a must-visit destination for those seeking quick and easy creative ideas and last-minute solutions. Heidi’s warm personality shines through her posts, inviting readers to join her on a creative journey that’s fun, rewarding, and achievable. Heidi is also the author of Homemade Bath Bombs & More and DIY Tie-Dye.

