DIY My Little Pony: The Movie shrink plastic jewelry is a fun and easy craft for kids of all ages! Hold on tight, everypony! My Little Pony: The Movie is blasting to theaters on October 6, and we’re making colorful jewelry to accessorize your movie premiere outfit!
![]()
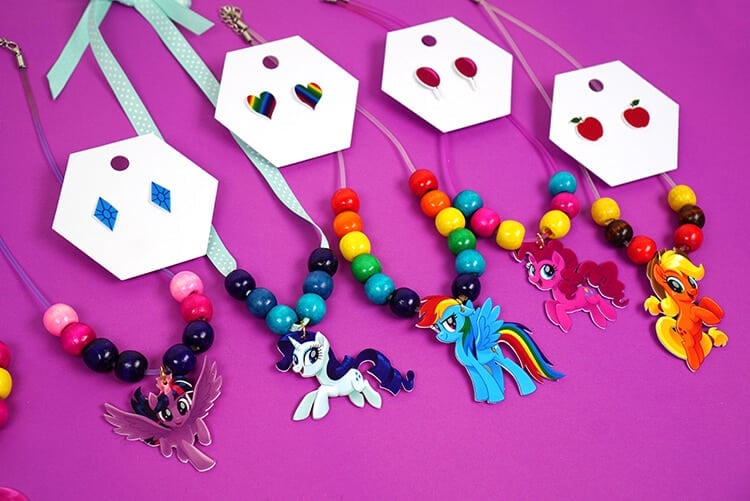
My three sisters and I were huge fans of My Little Pony as we were growing up, and it’s really fun to witness a new generation of children (including OUR children!) falling in love with My Little Pony all over again! My nieces are super excited for the premiere of My Little Pony: The Movie on October 6th, so I crafted some super cool DIY shrink plastic jewelry to accessorize their movie premiere outfits. I can’t wait to see the movie with them and to give them this cute jewelry!
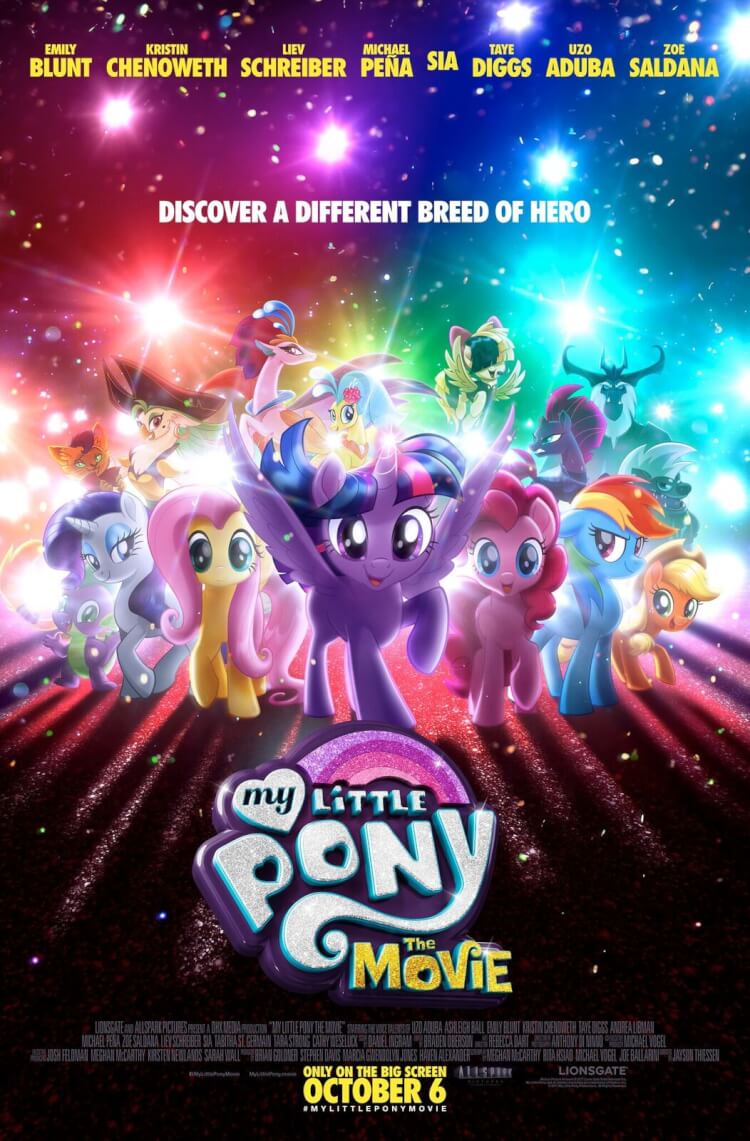
On October 6th, friendship is magic! A dark force threatens Ponyville, and the Mane 6 – Twilight Sparkle, Applejack, Rainbow Dash, Pinkie Pie, Fluttershy, and Rarity – embark on an unforgettable journey beyond Equestria where they meet new friends and exciting challenges on a quest to use the magic of friendship to save their home.
Check out the trailer for My Little Pony: The Movie & join the littlest ponies on their big screen adventure:

I love all of the bright and colorful sparkly graphics! My Little Pony: The Movie is sure to be a fun and exciting adventure that the whole family will enjoy! As you can see from the trailer, the film has an all-star voice cast including Emily Blunt, Kristin Chenoweth, Liev Schreiber, Michael Peña, Sia, Taye Diggs, Uzo Aduba and Zoe Saldana and features original music and songs performed by the cast! SO fun!
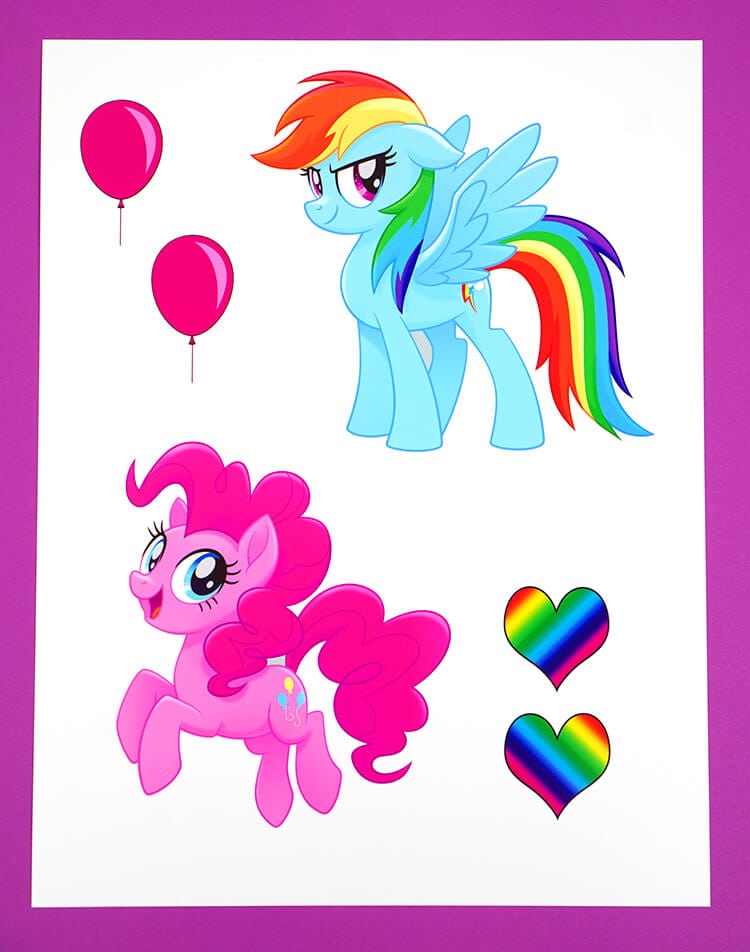
The bright and colorful graphics in the movie trailer immediately inspired me, and I knew right away that I wanted to create some My Little Pony: The Movie jewelry featuring the Mane 6 characters – Twilight Sparkle, Applejack, Rainbow Dash, Pinkie Pie, Fluttershy, and Rarity.
Supplies Needed to Make My Little Pony: The Movie Jewelry:
FOR NECKLACES:
- Inkjet Shrink Plastic Film
- My Little Pony: The Movie Character Printables (CLICK HERE TO DOWNLOAD and PRINT!)
- Scissors and a Hole Punch
- Jump Rings and Jewelry Pliers
- Plastic Necklaces, Ribbon, or Elastic Cord
- Large Colorful Wooden Beads
FOR EARRINGS:
- Inkjet Shrink Plastic Film
- My Little Pony: The Movie Character Printables (CLICK HERE TO DOWNLOAD and PRINT!)
- Scissors
- Earring Posts and Backs
- E-6000 Adhesive
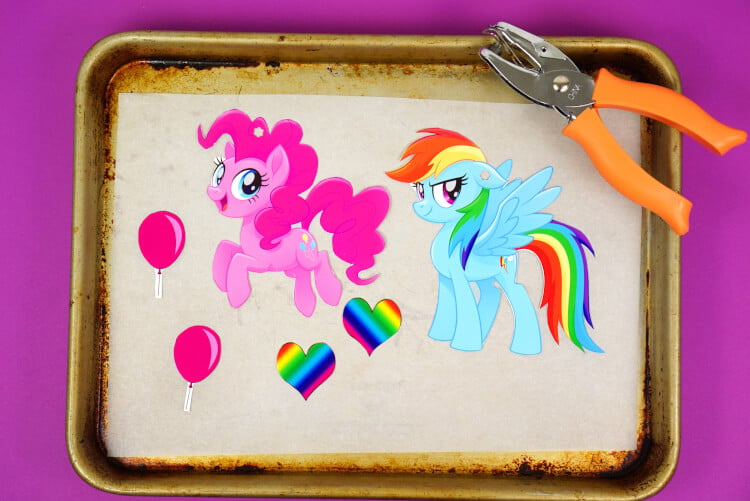 To begin, print out each page of characters onto a sheet of inkjet shrink plastic, and cut out with scissors. For necklace pendants, use a hole punch to create a hole near the top of each character. Place in the oven at 325 degrees for 2-3 minutes and watch the magic happen!
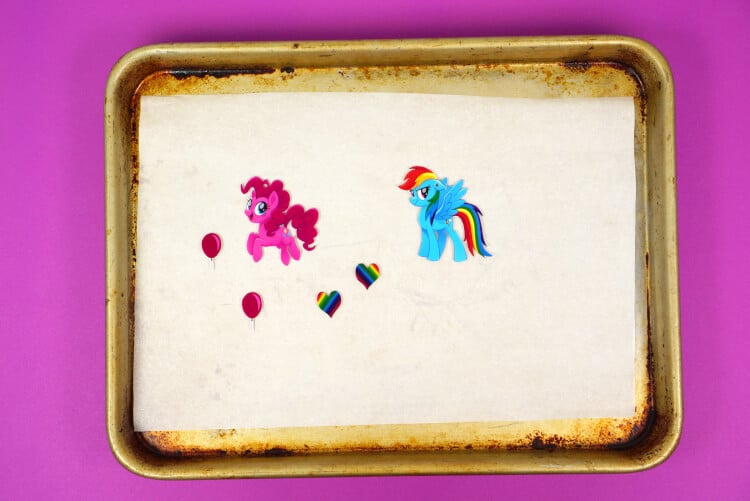
Easy peasy, and super cool! The shrink plastic shrinks to about 40-50% of its original size, and it becomes a thicker, rigid plastic that is perfect for jewelry making! (Note: the colors will intensify during the shrinking process, so if you find that your characters are too overly saturated, reduce the print opacity to around 70% before printing)
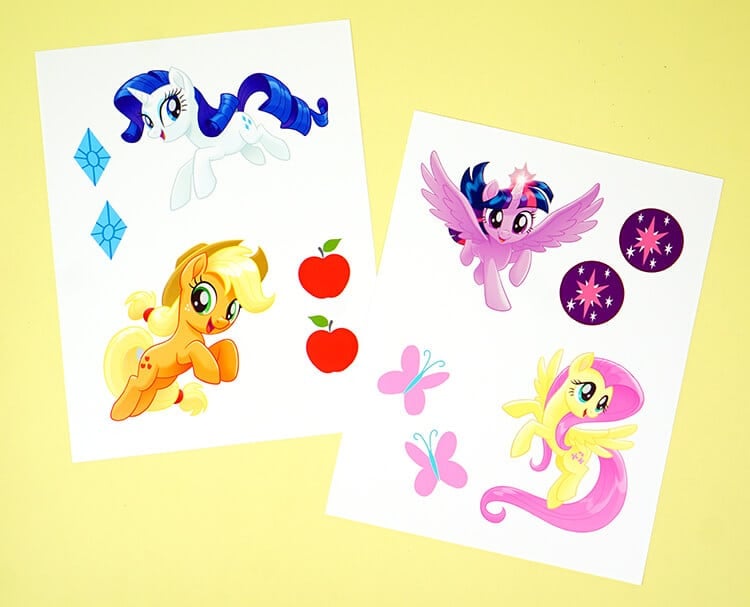
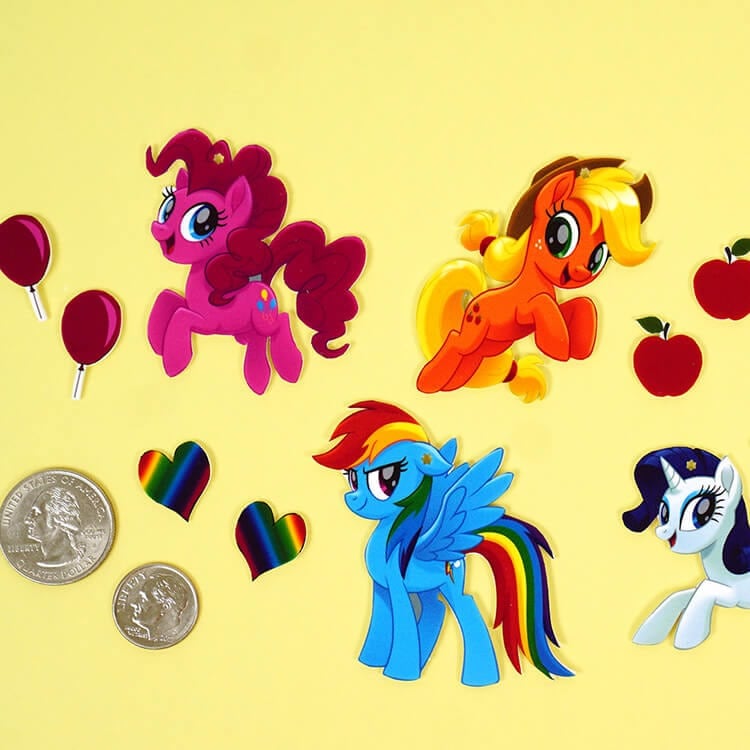
Repeat the process for each of the three sheets of My Little Pony characters. Each sheet contains two of the Mane 6 characters along with a set of graphics that relate to the characters.
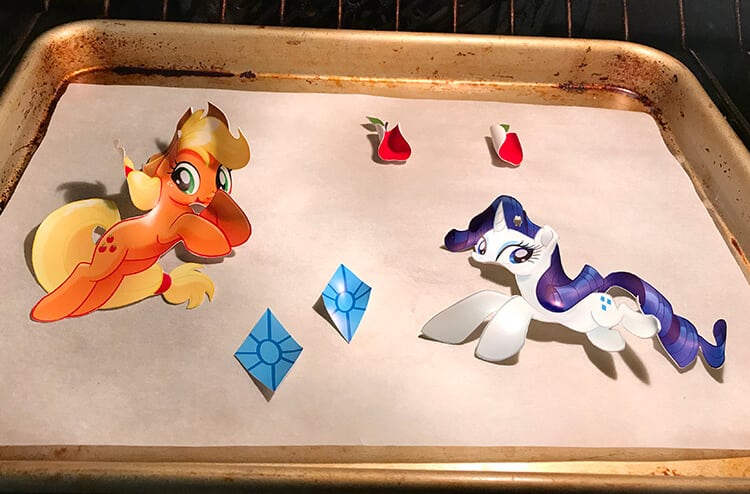
During the shrinking process, it is perfectly normal for the plastic to curl up! The pieces will usually flatten themselves out as the shrinking process continues and finishes; however, it may be necessary to press down on the pieces with a non-stick spatula before removing them from the oven to ensure that they are completely flat. Allow the plastic pieces to cool before removing from the pan.
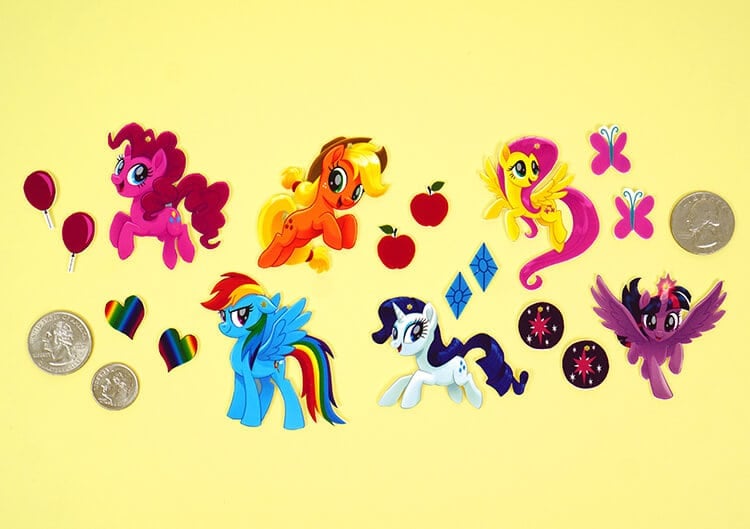
I just love the way these turned out! The finished pendant and earring pieces aren’t much bigger than a quarter and a dime, respectively, but they still retain the same amount of detail and pizzazz as the originals!
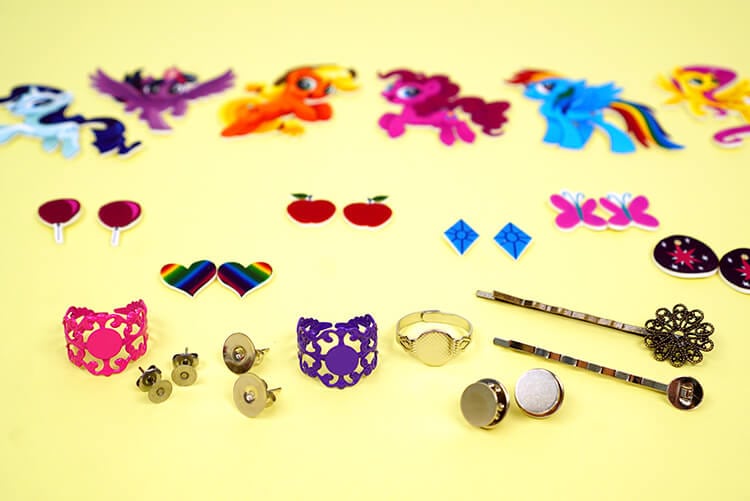
For my nieces, I chose to turn my shrink plastic pieces into necklace pendants and earrings, but there are SO many other things that you could also create! Above is just a small sample of a few of the findings that you can use to create rings, earrings, pins, bobby pins, and more! You could also make hair clips, headbands, zipper pulls, keychains…the possibilities are practically endless!
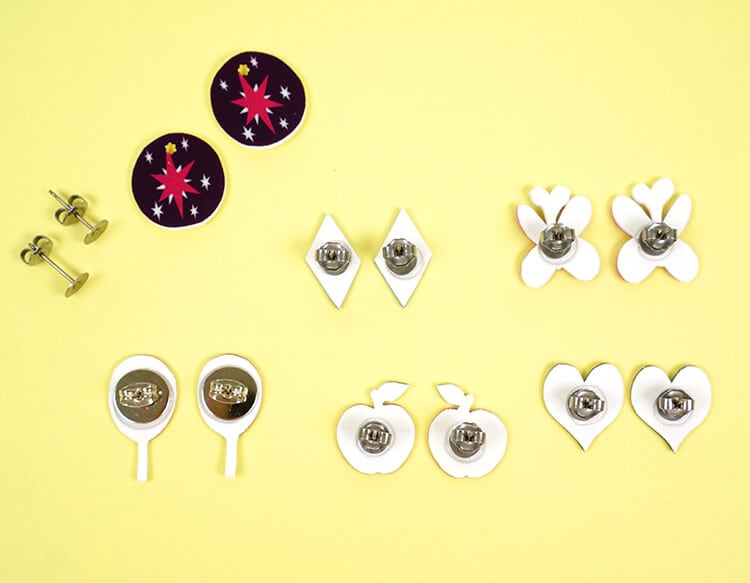
To create a set of earrings, apply a dab of E-6000 adhesive to the pad of each earring post and place onto the back of the shrink plastic pieces. Allow to dry for at least an hour, and allow 24 hours for the adhesive to fully cure.
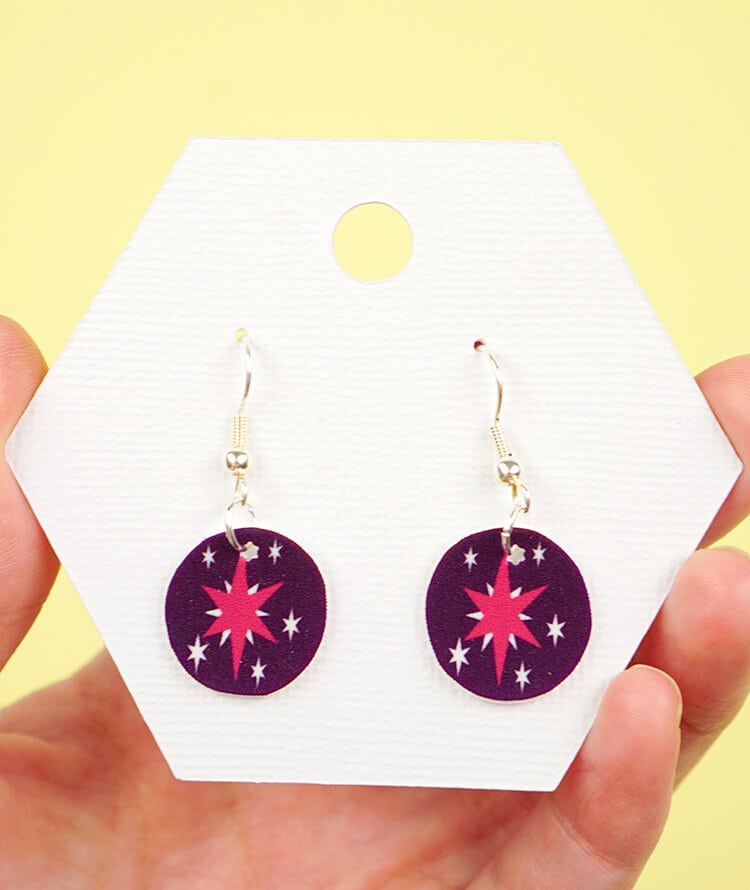
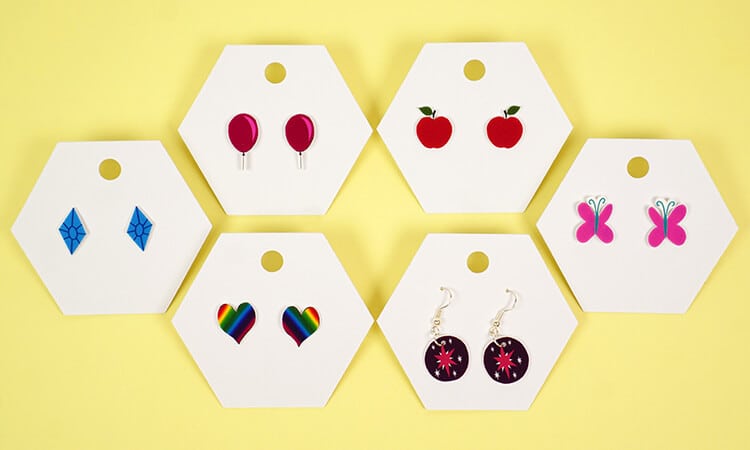
For Twilight Sparkle’s earrings, I designed the graphic to be just a bit larger than the others to create dangly earrings for my older niece. (Note: for dangly earrings, be sure to punch a hole at the top of the pieces before shrinking!). Simply attach a jump ring to the plastic piece, and attach the jump ring to a set of wire earring hooks. Easy peasy!
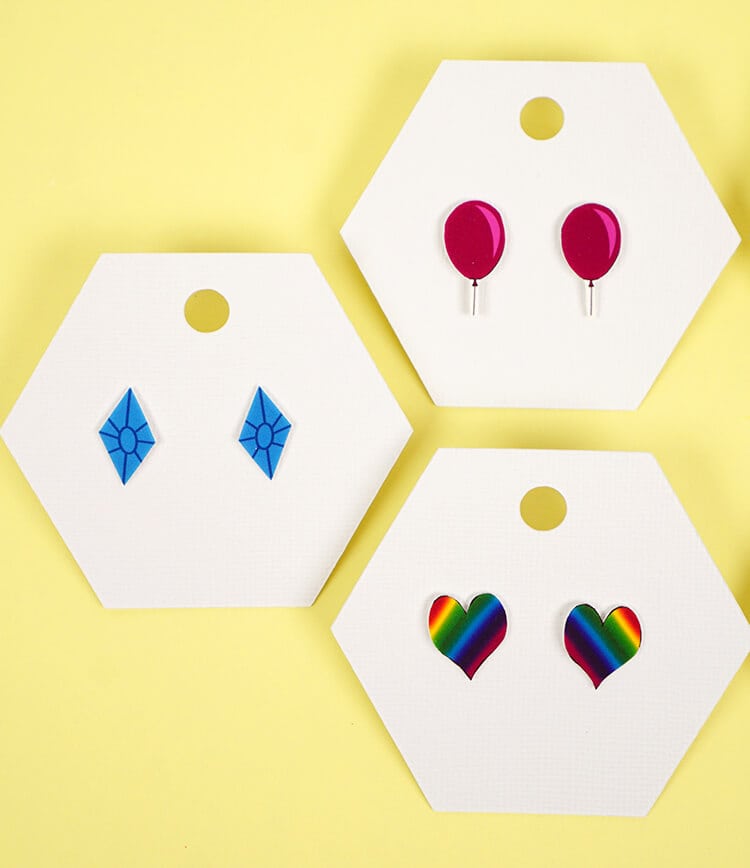
Do you think my nieces would notice if I kept a pair for myself? They’re just too cute (and I adore those sweet apples!)!
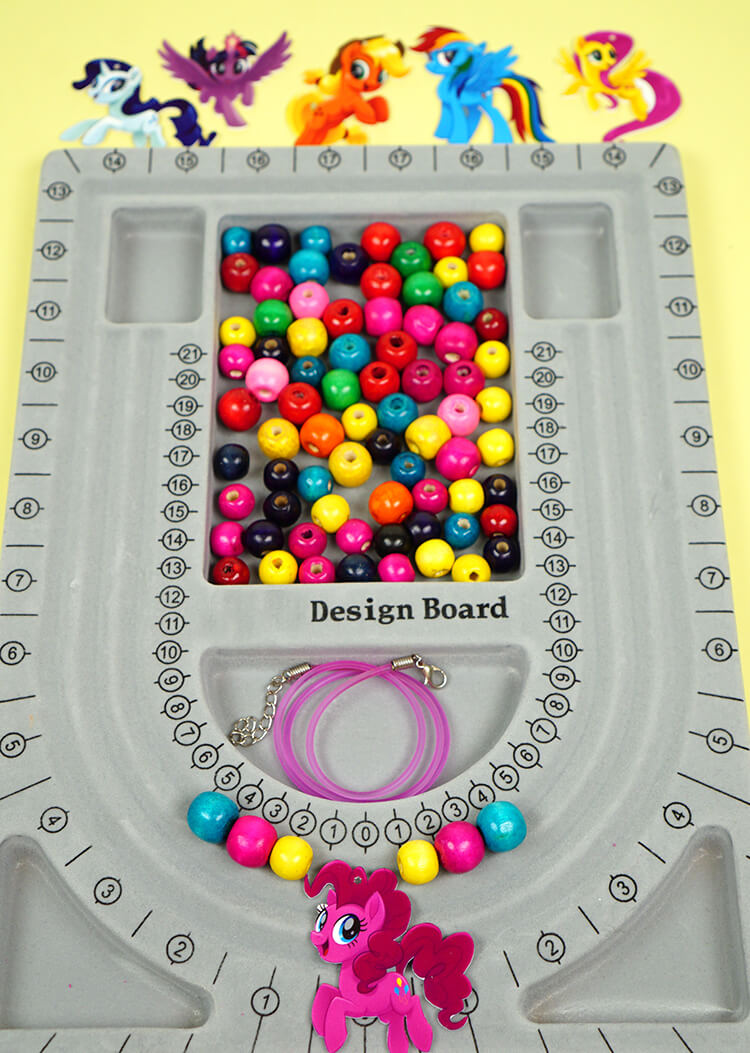
Creating a necklace is just as easy as pie, a PINKIE PIE, that is! I started with a silicone necklace cord and some colorful wooden beads that were large enough to be threaded onto the necklace cord.
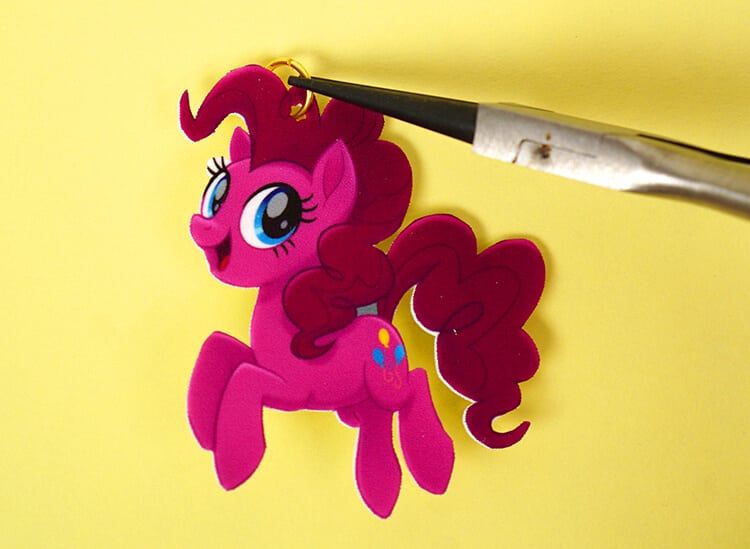
Use the jewelry pliers to attach a jump ring to the My Little Pony: The Movie character pendant.
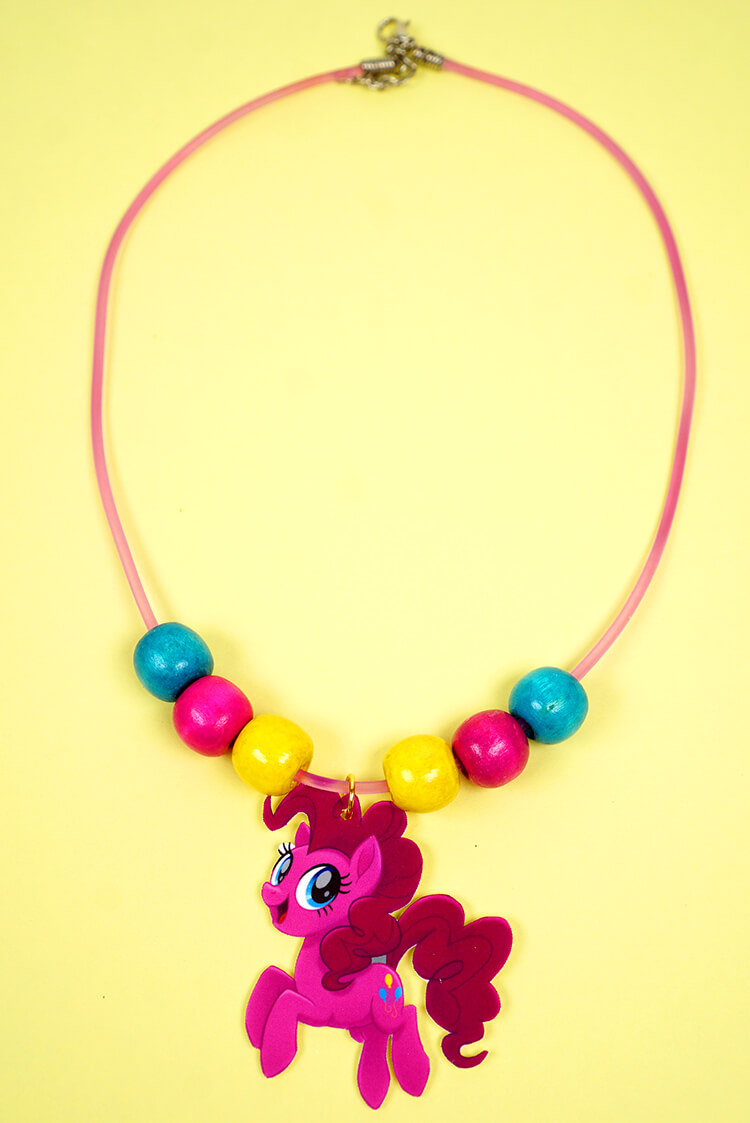
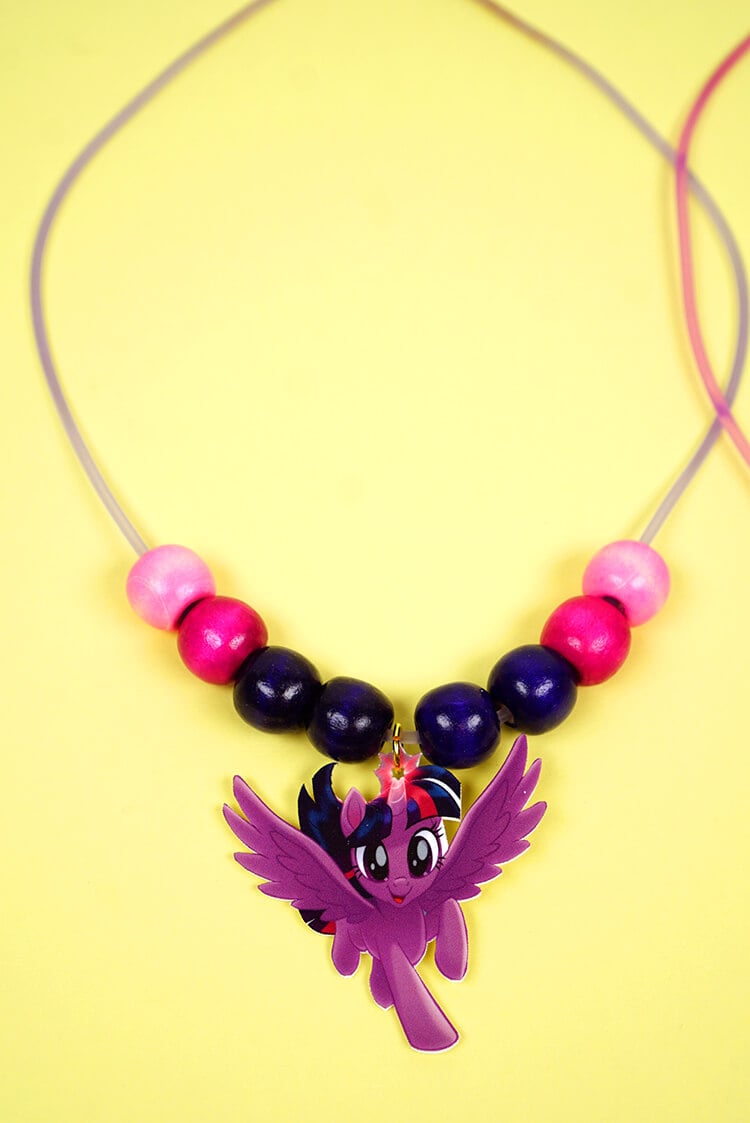
String everything together – SUPER easy and SO adorable!
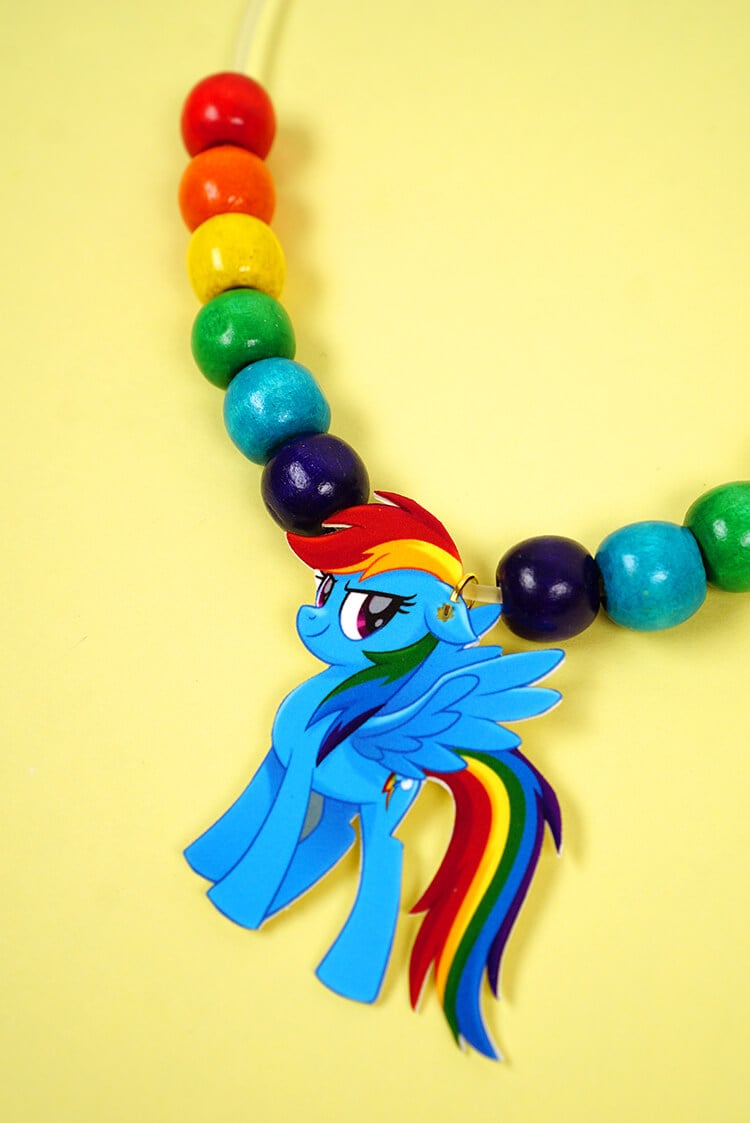
Rainbow Dash is my favorite of the Mane 6 – I can’t get enough of rainbows!
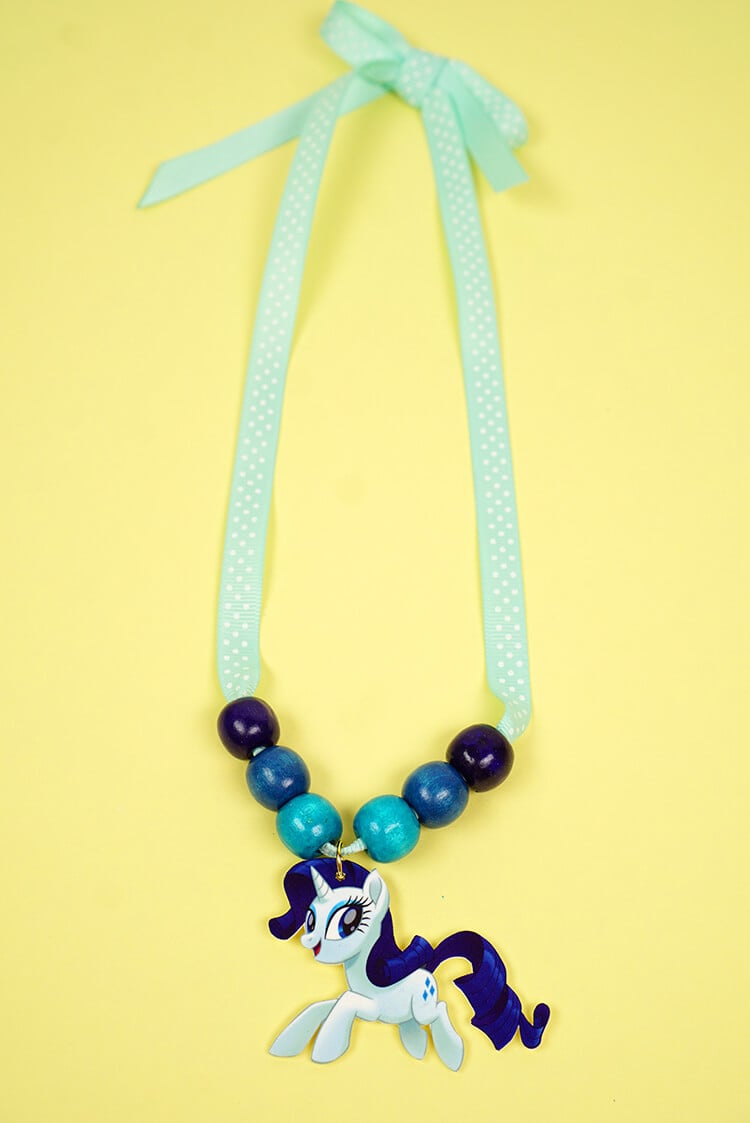
Ribbon makes a fun alternative to the silicone necklace cording and allows you to create custom length necklaces and add another pop of color.
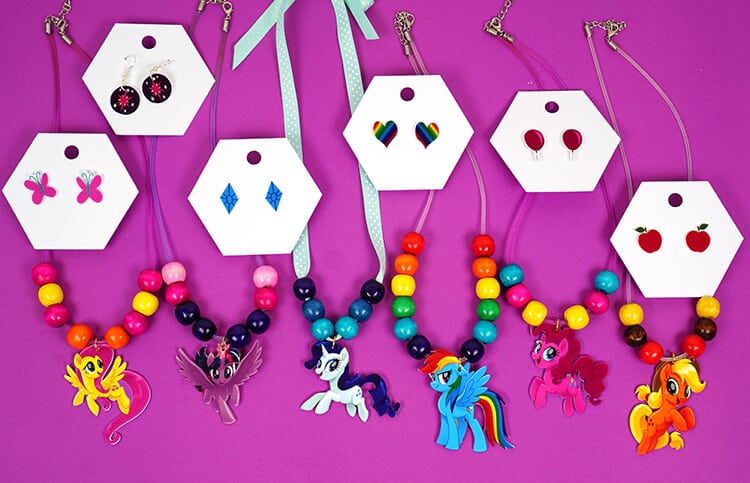
This My Little Pony: The Movie jewelry was a ton of fun to create, and I am really looking forward to seeing the film in theaters October 6th!
For more creative ideas, news, and updates visit the official My Little Pony: The Movie website, and be sure to give them a follow on Facebook, Twitter, and Instagram!

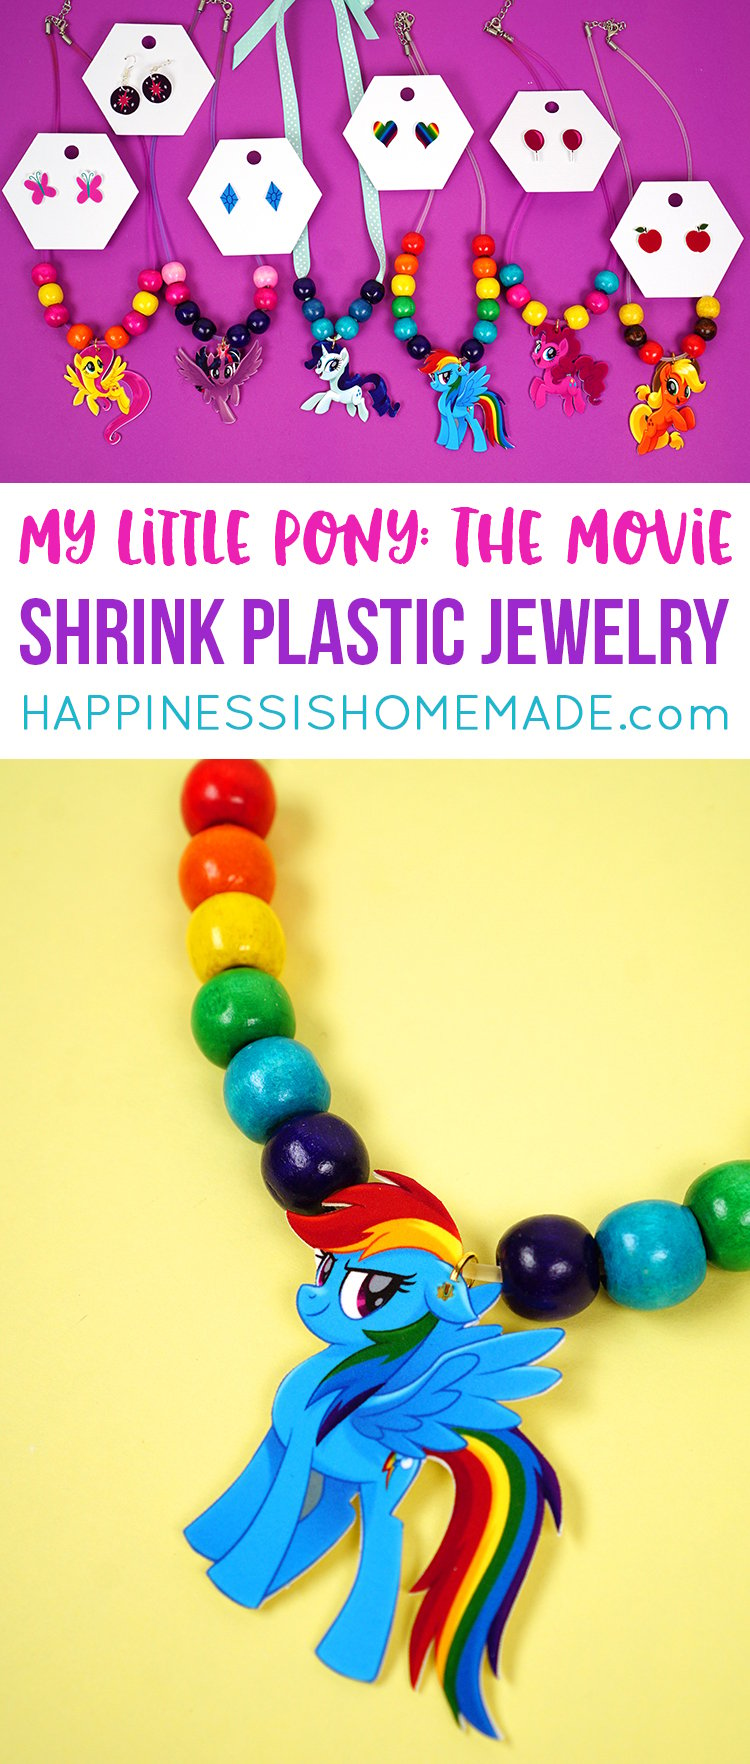
Don’t forget to pin this My Little Pony: The Movie Jewelry for later!

Heidi Kundin has captivated the hearts of millions with her colorful and inspiring approach to crafting, celebrations, and family fun. With over 15 years of experience, Happiness is Homemade has become a must-visit destination for those seeking quick and easy creative ideas and last-minute solutions. Heidi’s warm personality shines through her posts, inviting readers to join her on a creative journey that’s fun, rewarding, and achievable. Heidi is also the author of Homemade Bath Bombs & More and DIY Tie-Dye.
