
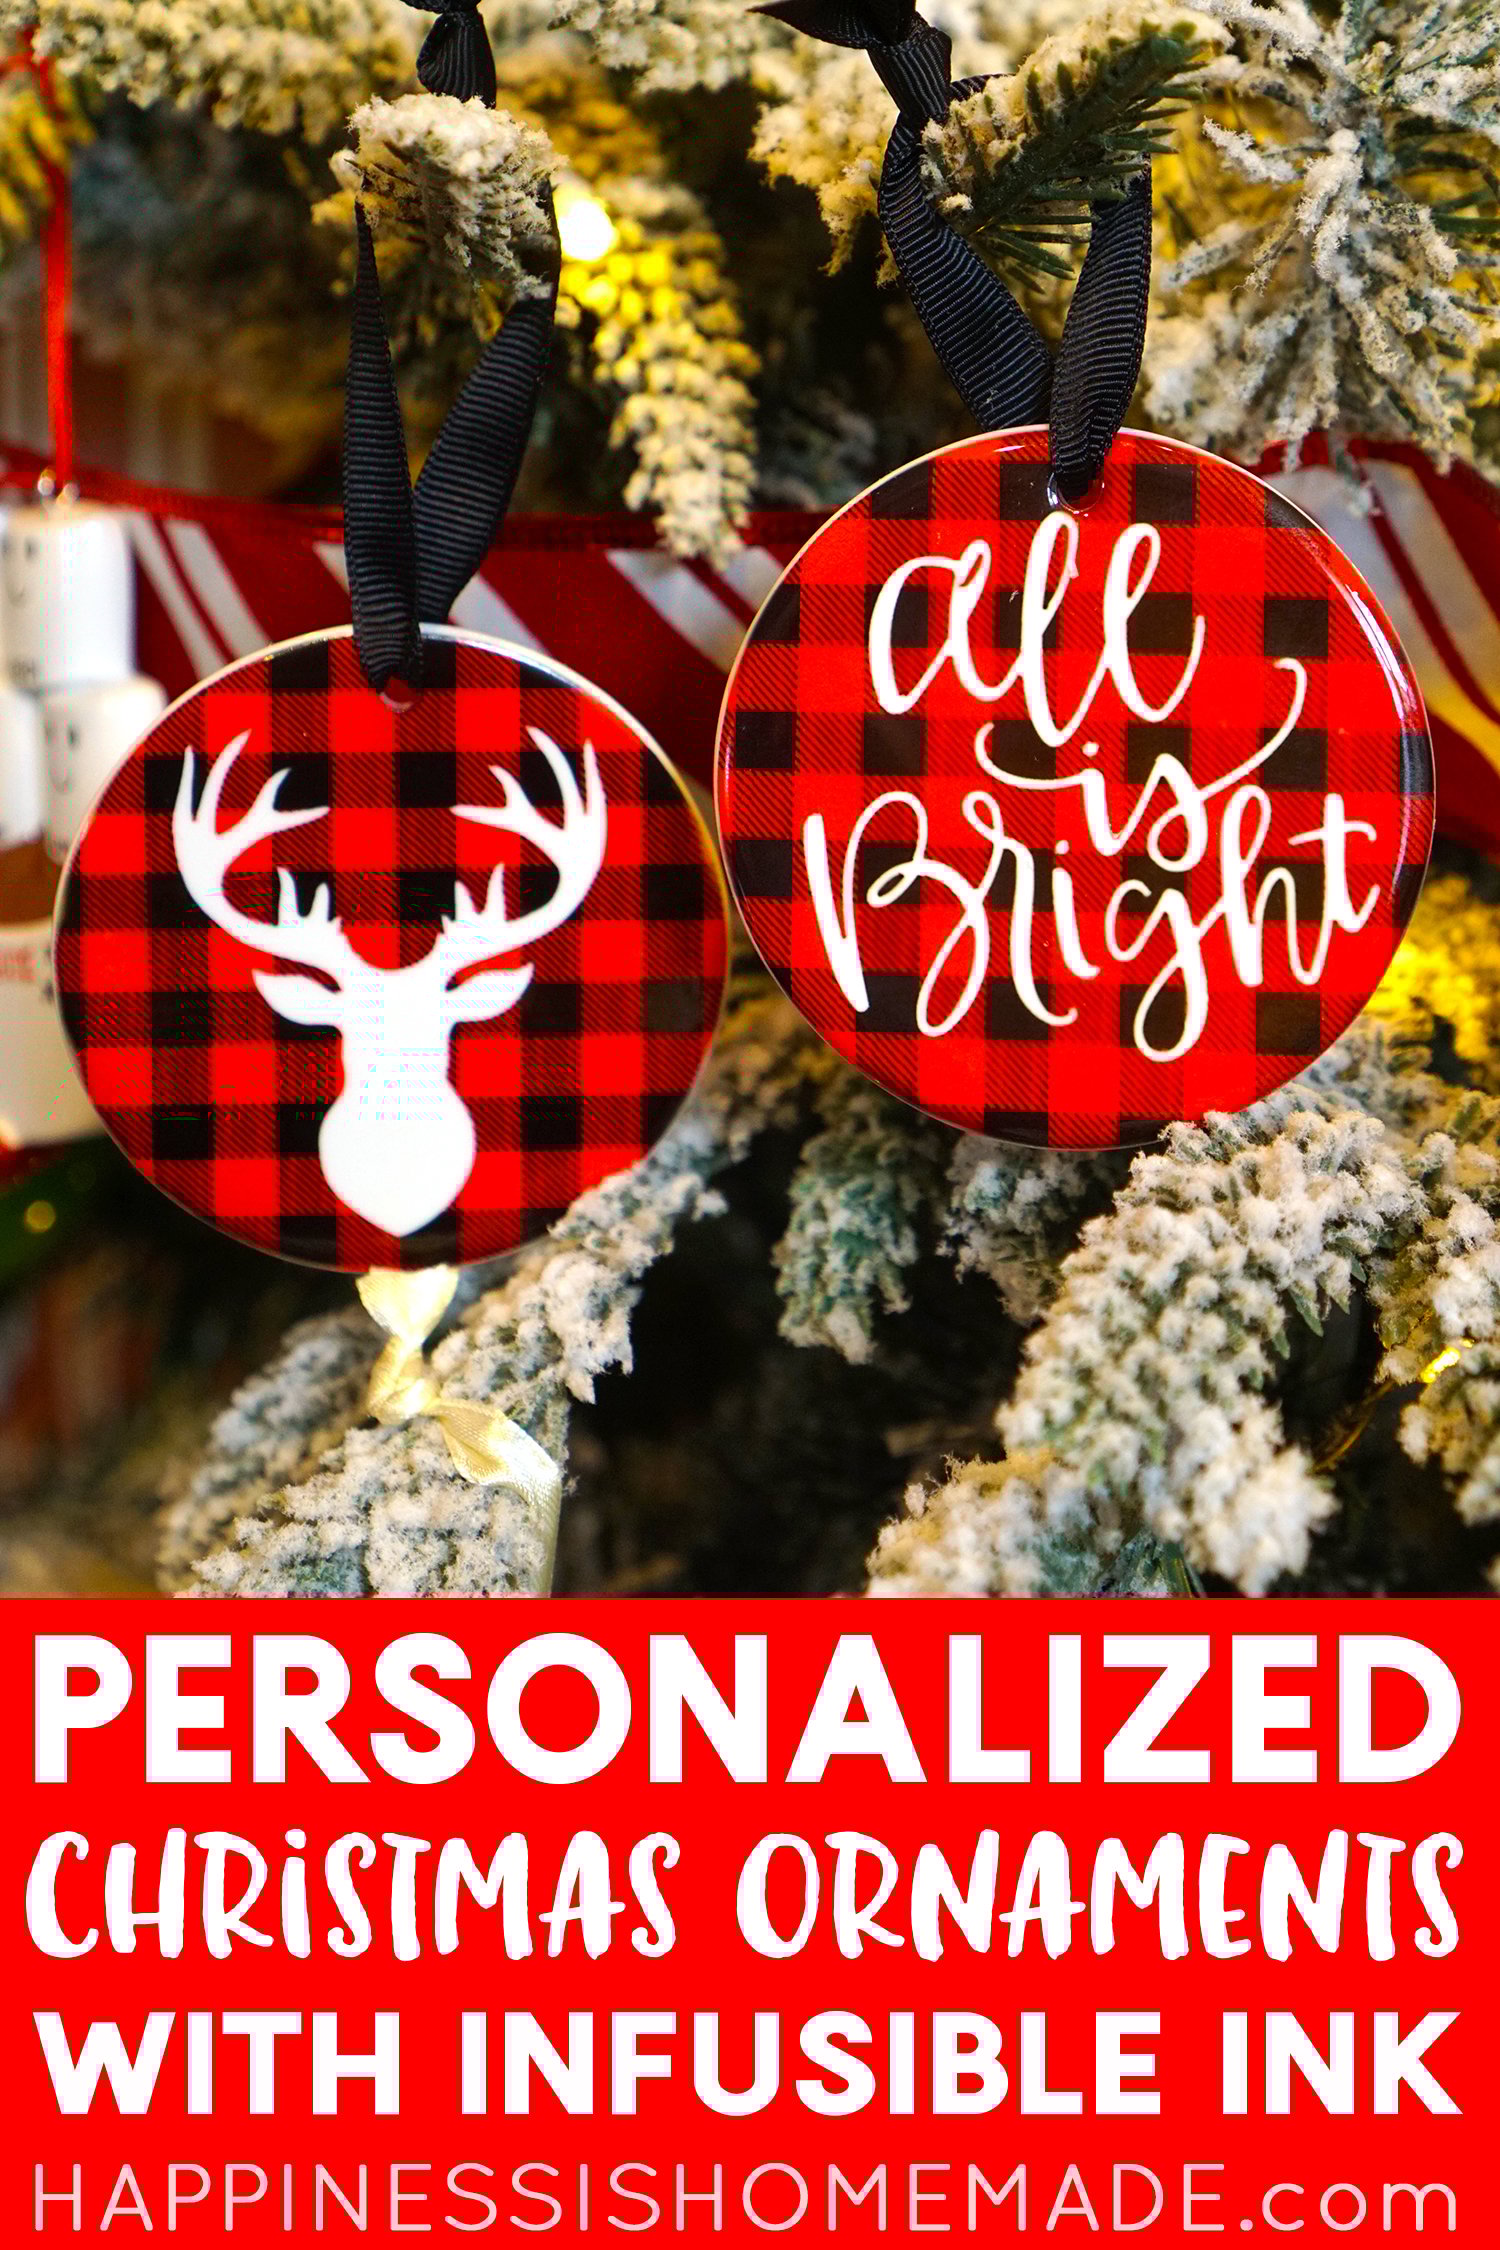
Make your own DIY Personalized Christmas Ornaments with Cricut Infusible Ink! It’s so quick and easy, and the design possibilities are limitless!

This post may contain affiliate links. I will receive a small commission from these sales at no additional cost to you!
Making personalized Christmas ornaments for my boys is one of my favorite holiday traditions each year, and this year I was SUPER excited to have a new medium to Christmas craft with – Cricut Infusible Ink!
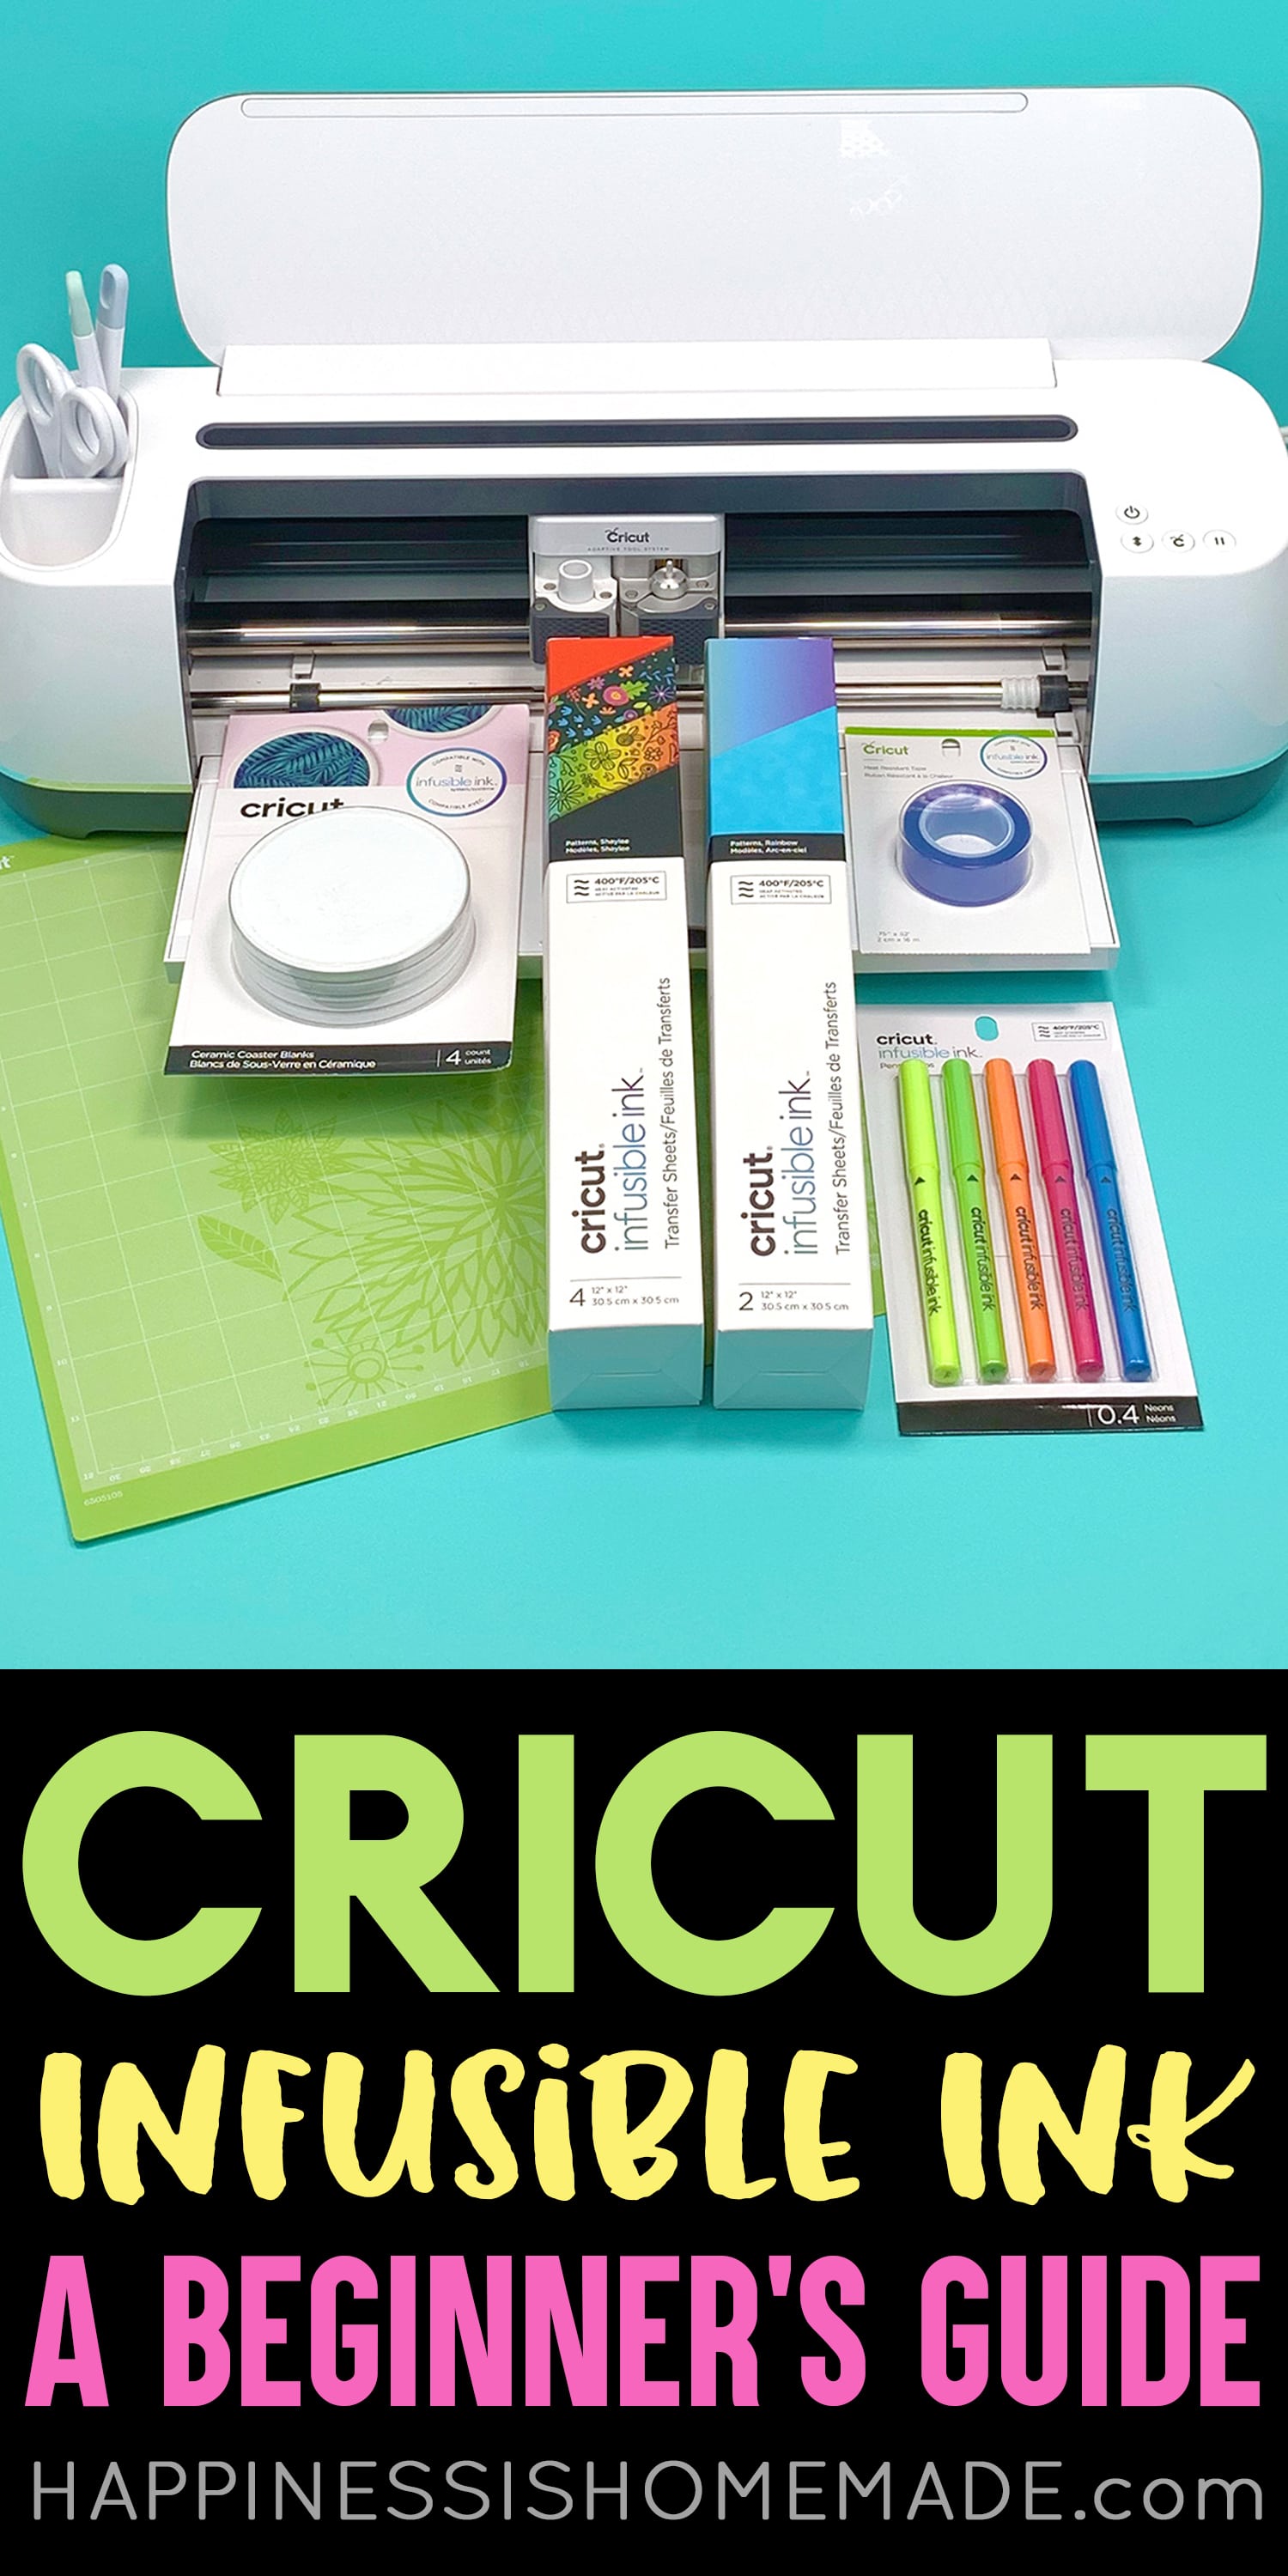
If you haven’t tried Infusible Ink yet, you’re missing out because it is AMAZING! It actually fuses with the base material to become one seamless finished piece that won’t ever peel, fade, or crack! You can check out our Beginner’s Guide to Infusible Ink here for more tips and information!
HOW TO MAKE A CHRISTMAS ORNAMENT WITH CRICUT INFUSIBLE INK
SUPPLIES NEEDED:
- Cricut Infusible Ink Transfer Sheet in Buffalo Check
- Cricut Maker or Explore Air 2 Machine
- Blank Sublimation Ornaments
- EasyPress 2 and Mat
- White Cardstock
- Butcher Paper (included with Infusible Ink Transfer Sheets)
- Lint-Free Cloth (included with Infusible Ink Transfer Sheets)
- Heat Resistant Tape

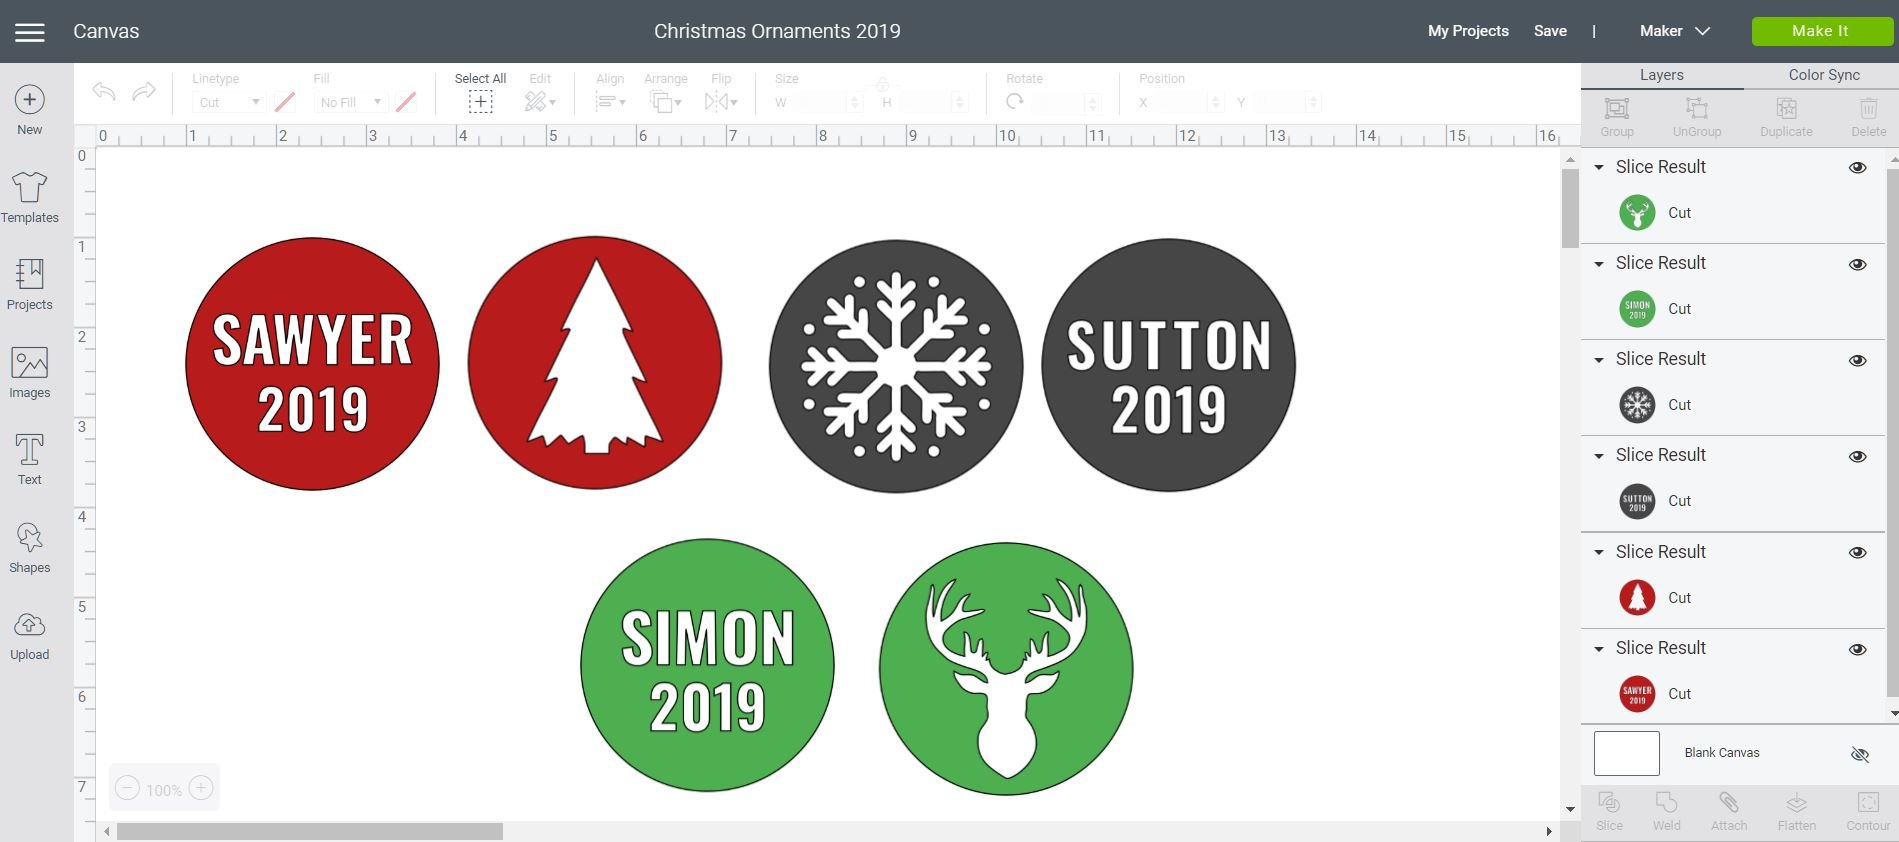
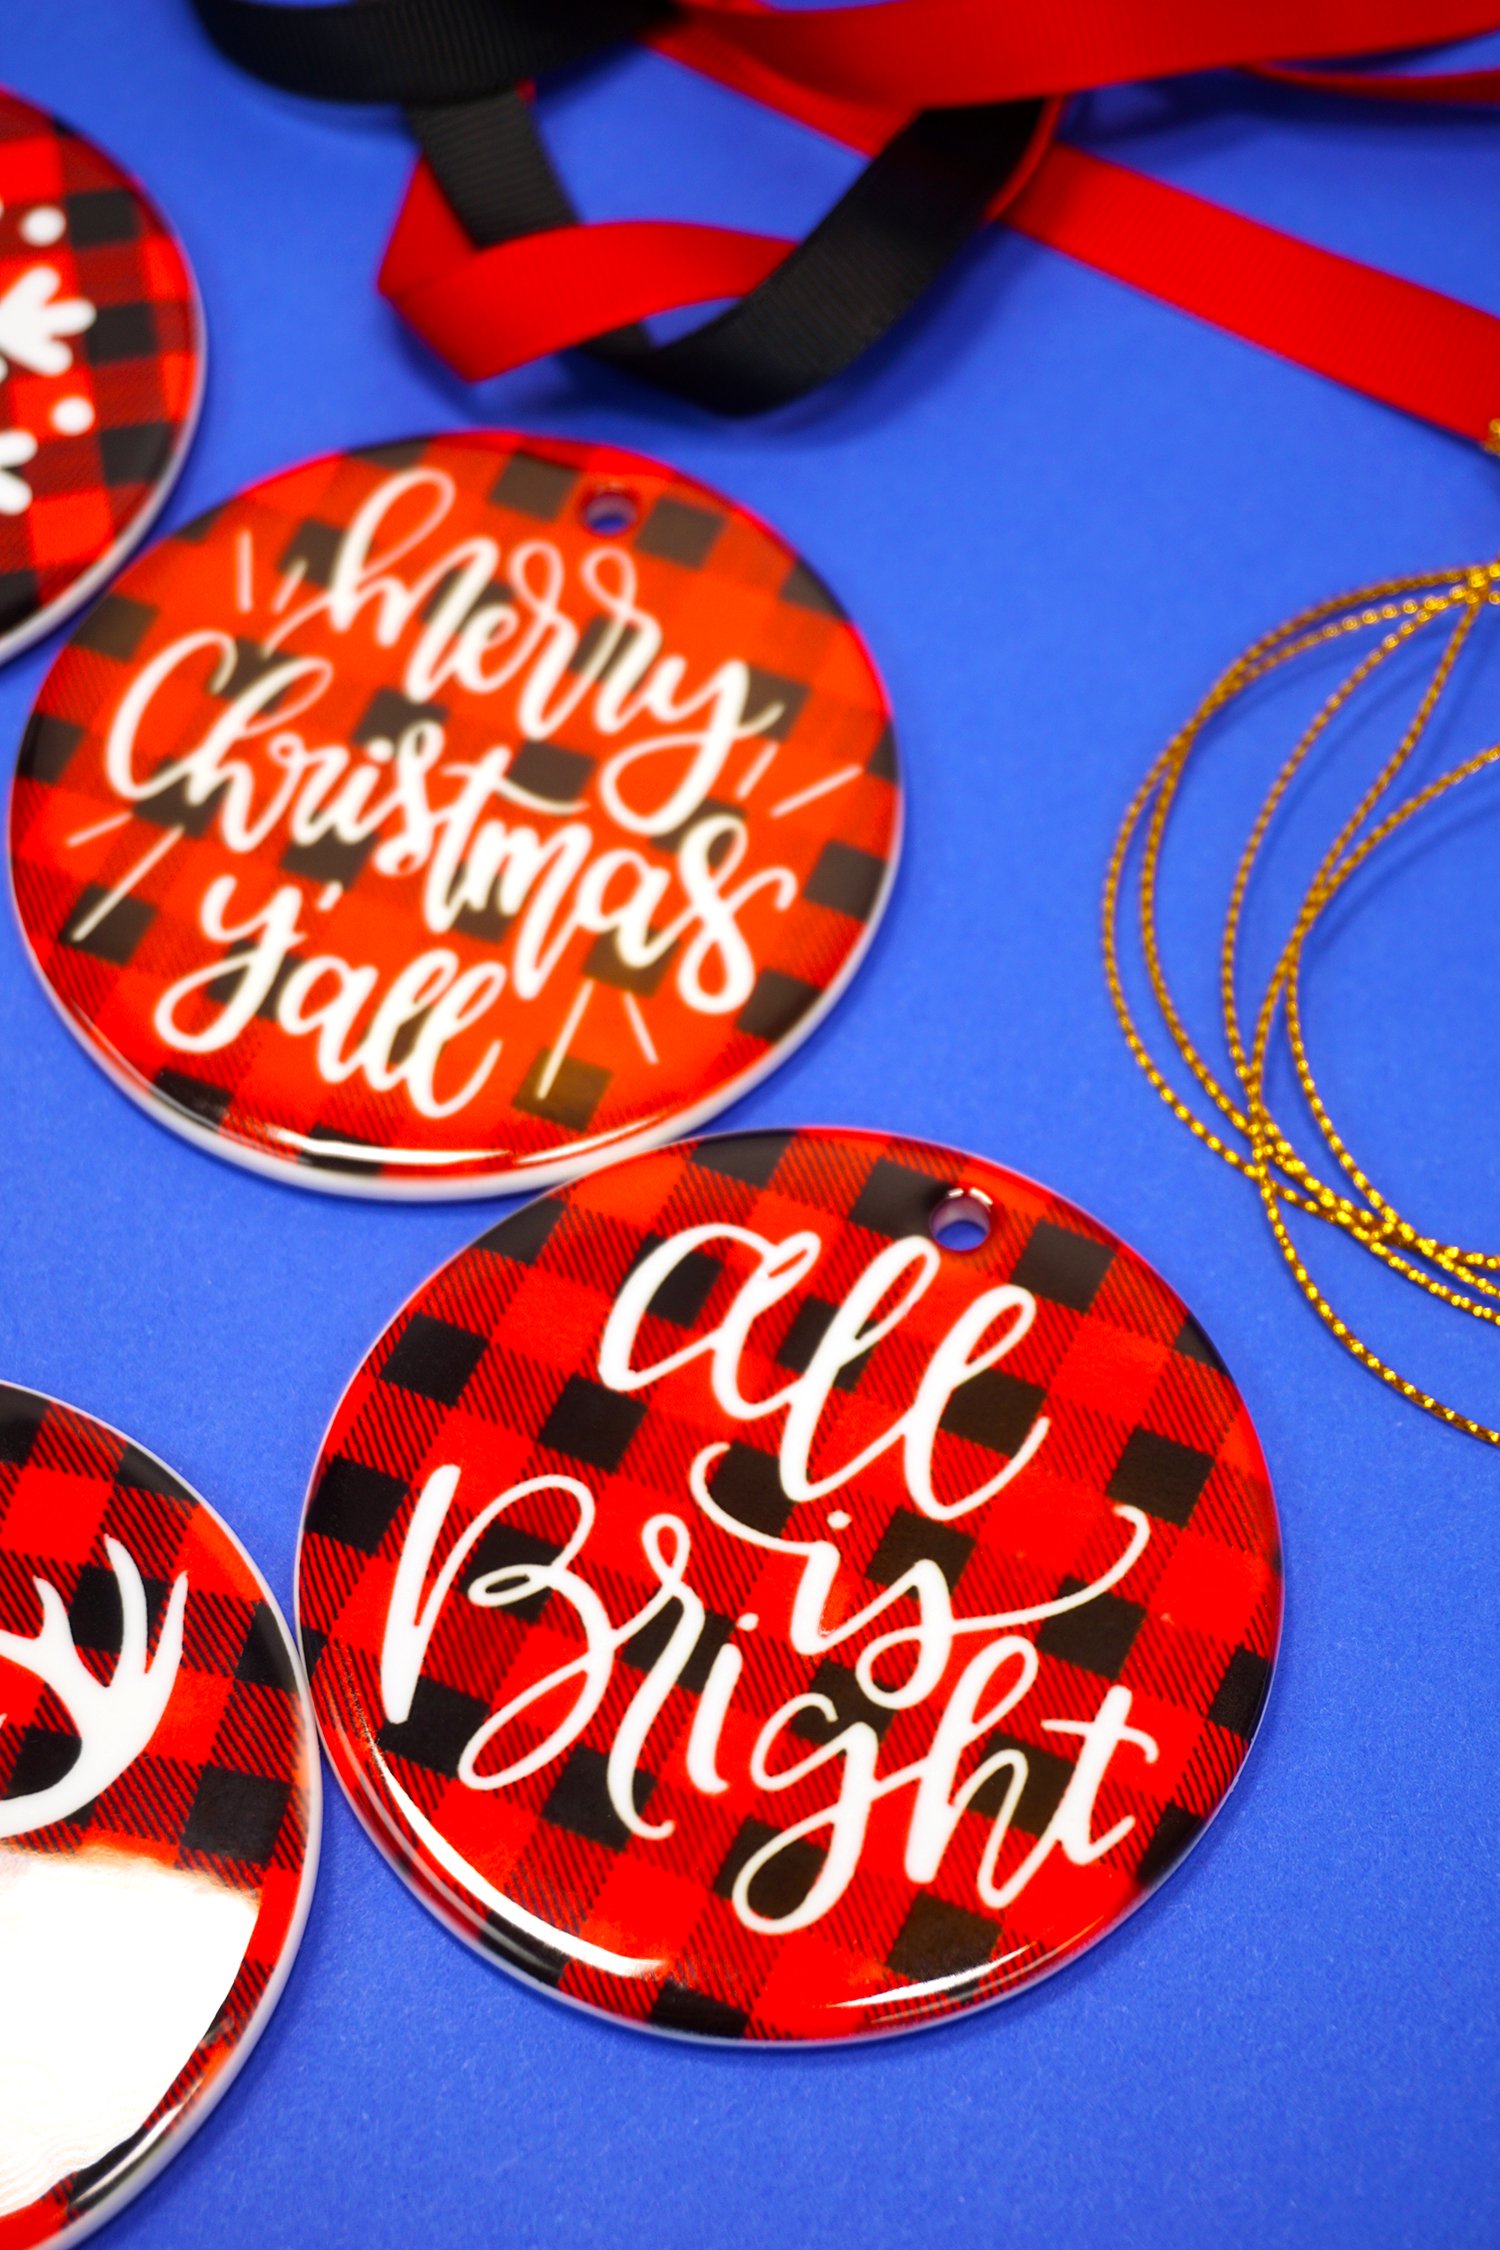
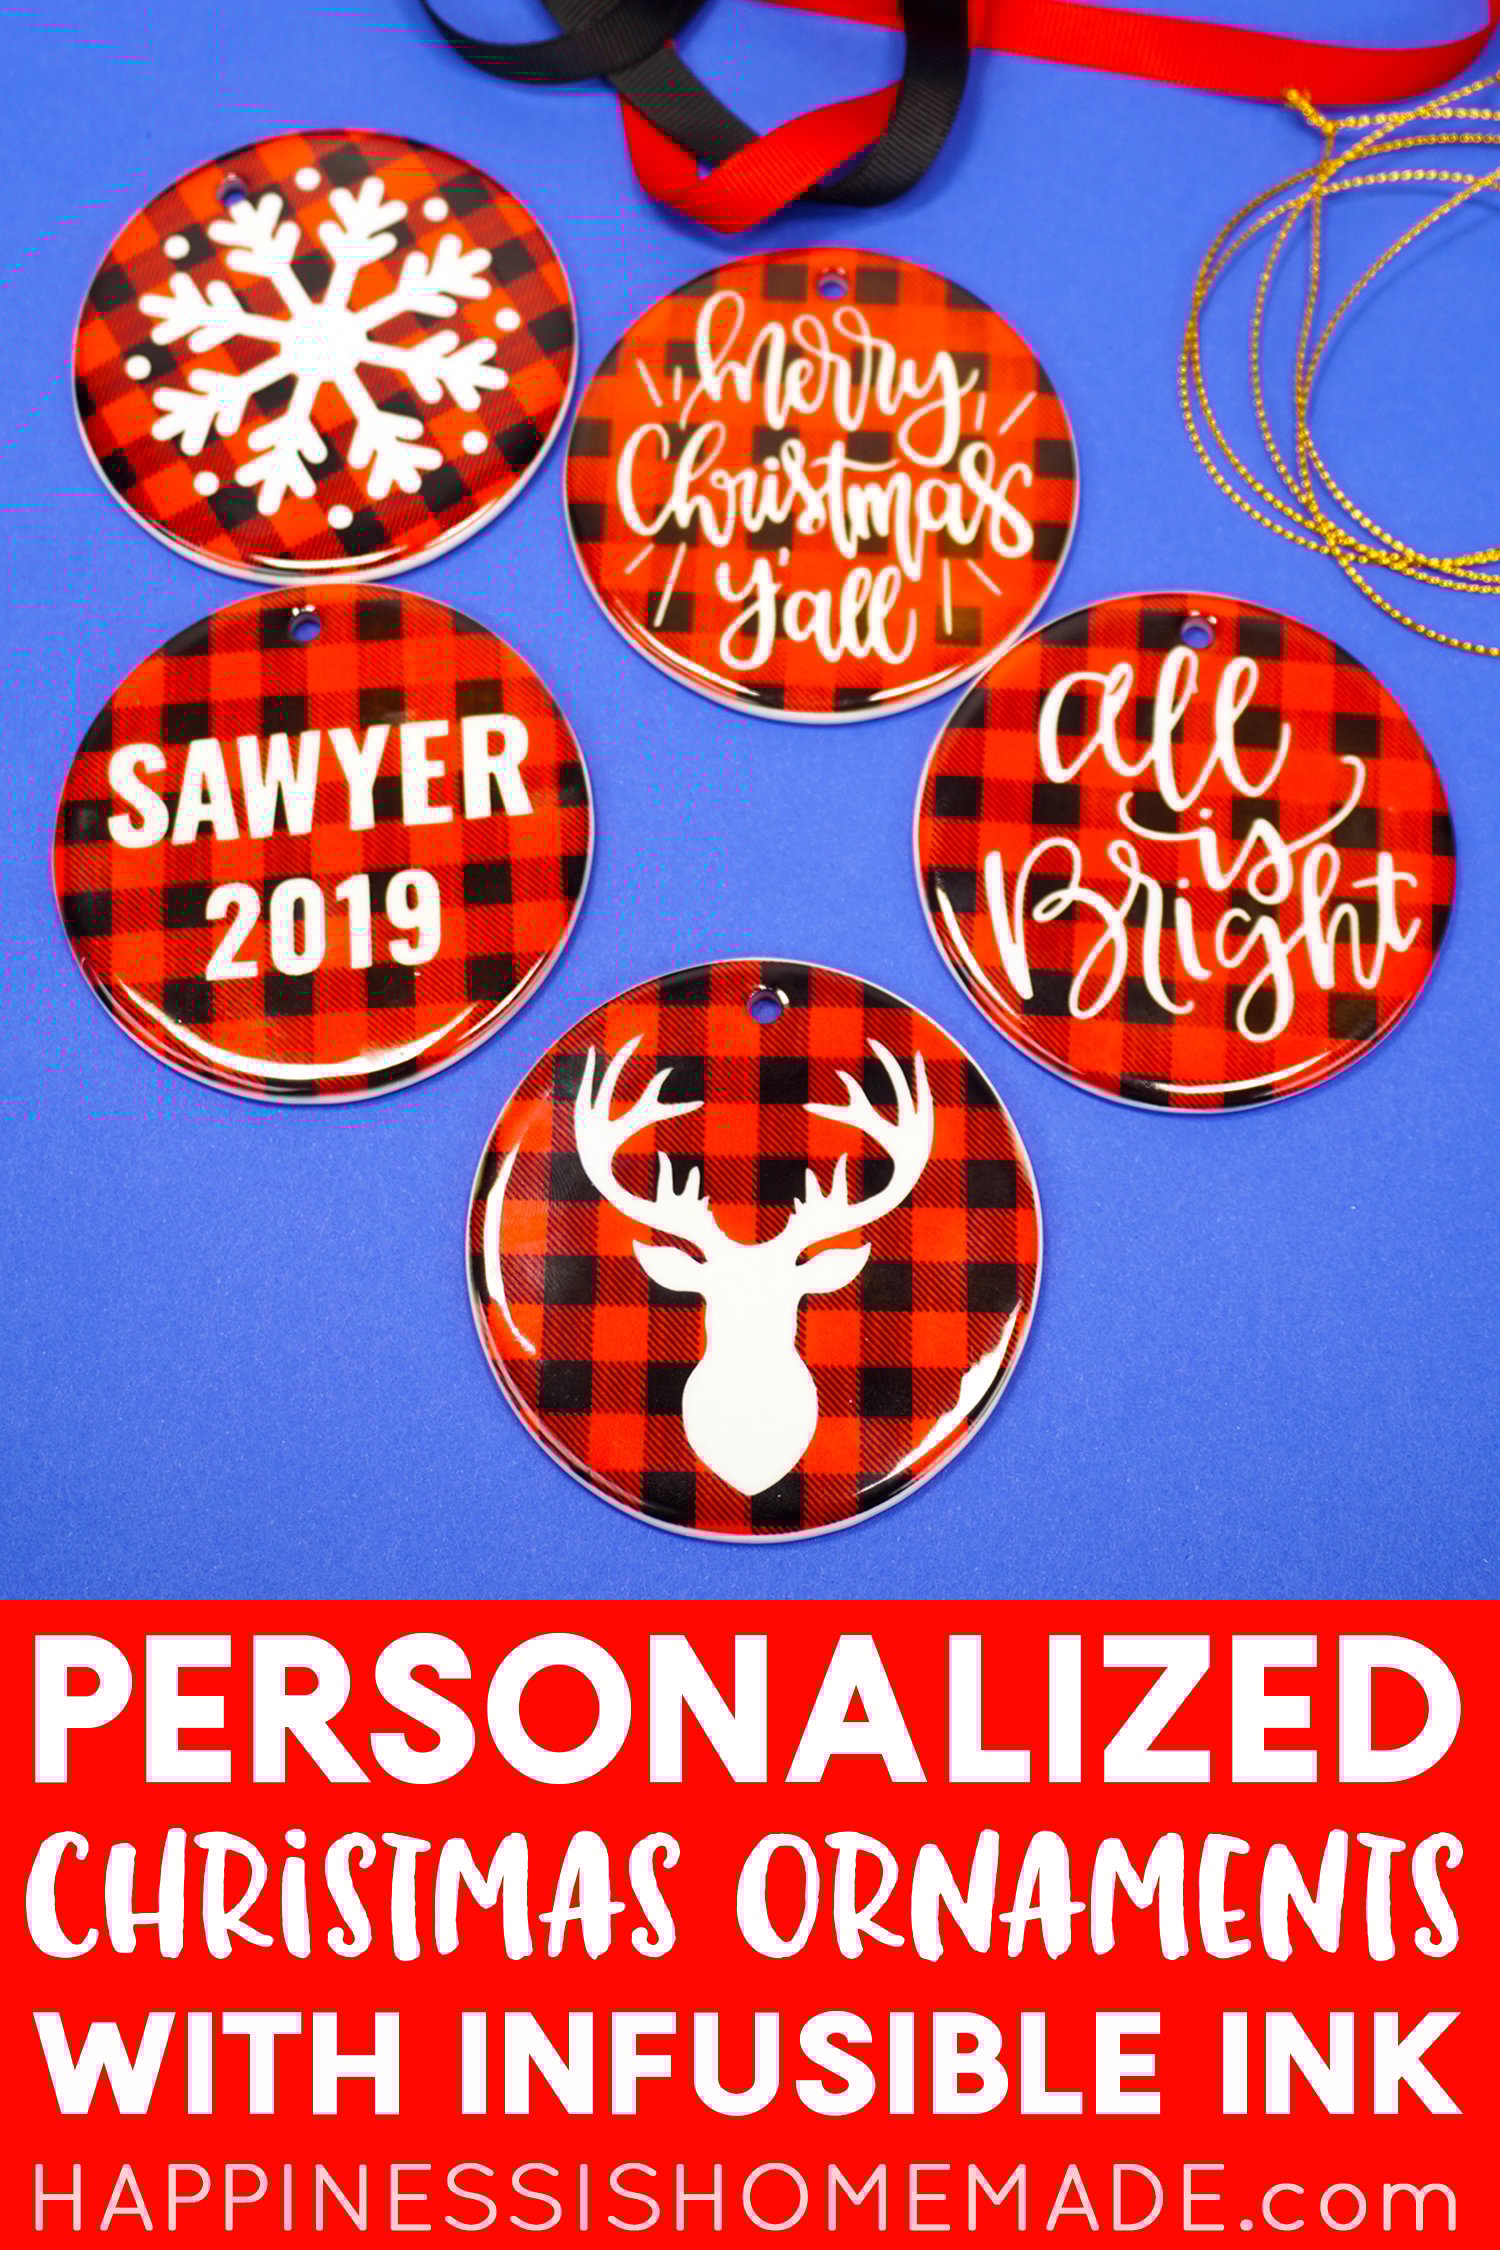
To begin, open a new project in Cricut Design Space. You can find the project file for the “Merry Christmas Y’all” and “All is Bright” ornaments here.
Note: To design your own custom holiday ornaments, insert two 2.81″ circles for the front and back of each ornament. Add your favorite holiday images and personalized text to the circle, and use the slice tool to create negative space images of the designs inside the circle.
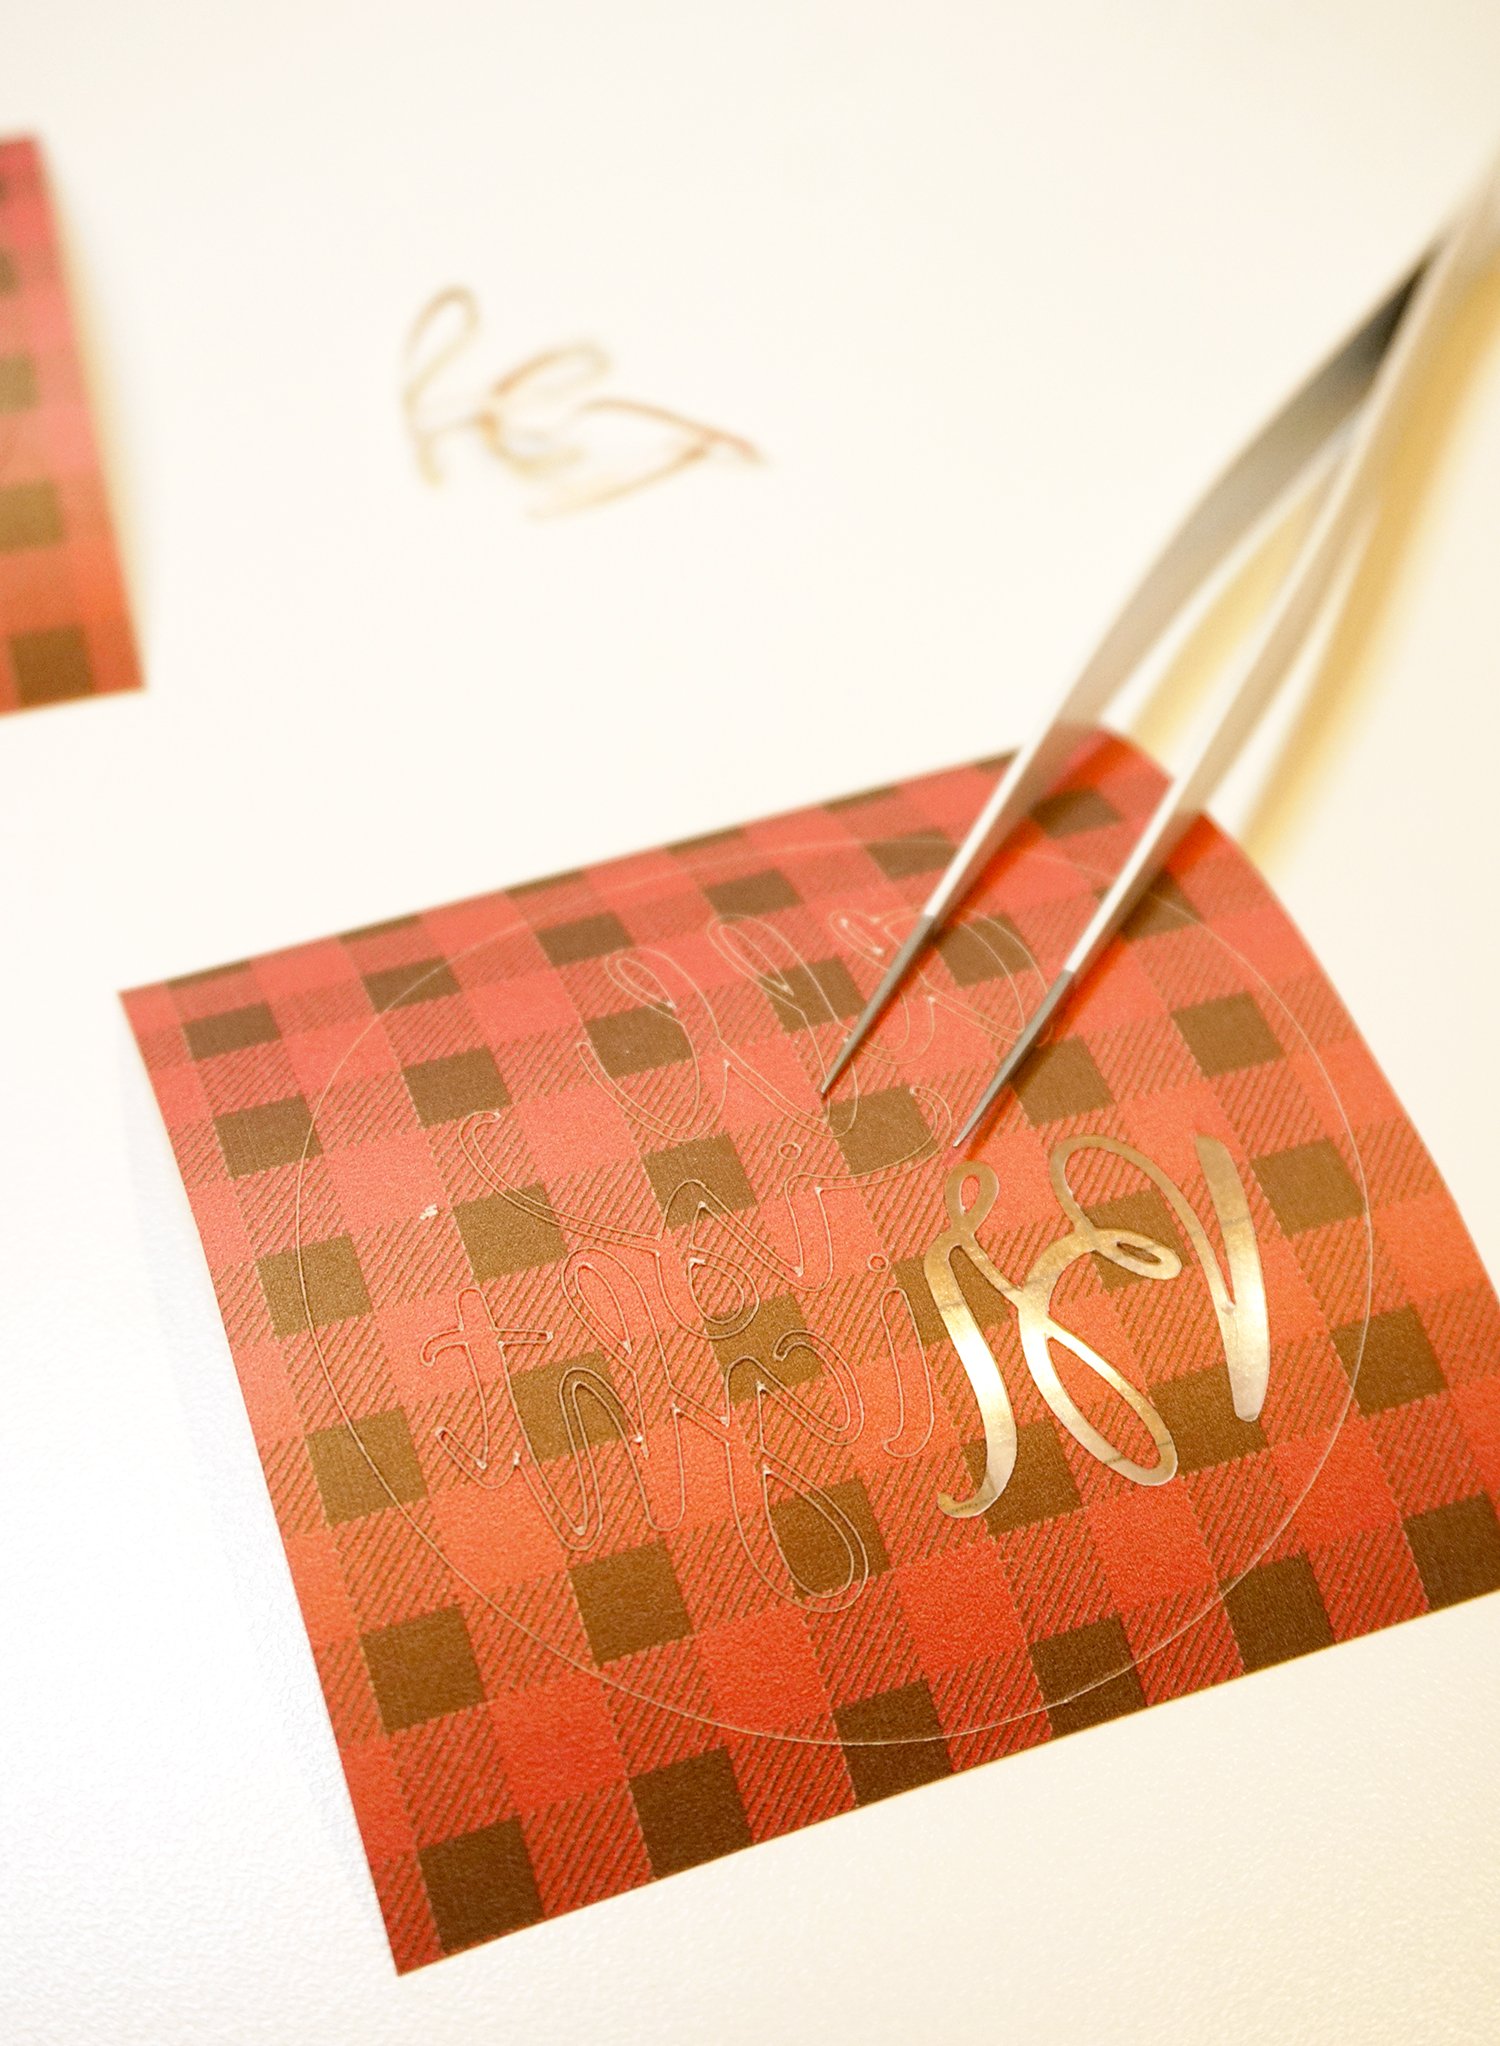
Cut your designs on your Cricut machine (make sure to mirror your image before cutting!), and use your fingers or tweezers to weed the excess Infusible Ink.
Use a lint-free cloth to remove any dust, debris, or smudges from the surface of the ornament. Place the Infusible Ink face-down on to both sides of the blank ornament, and secure the pieces in place with heat-resistant tape.
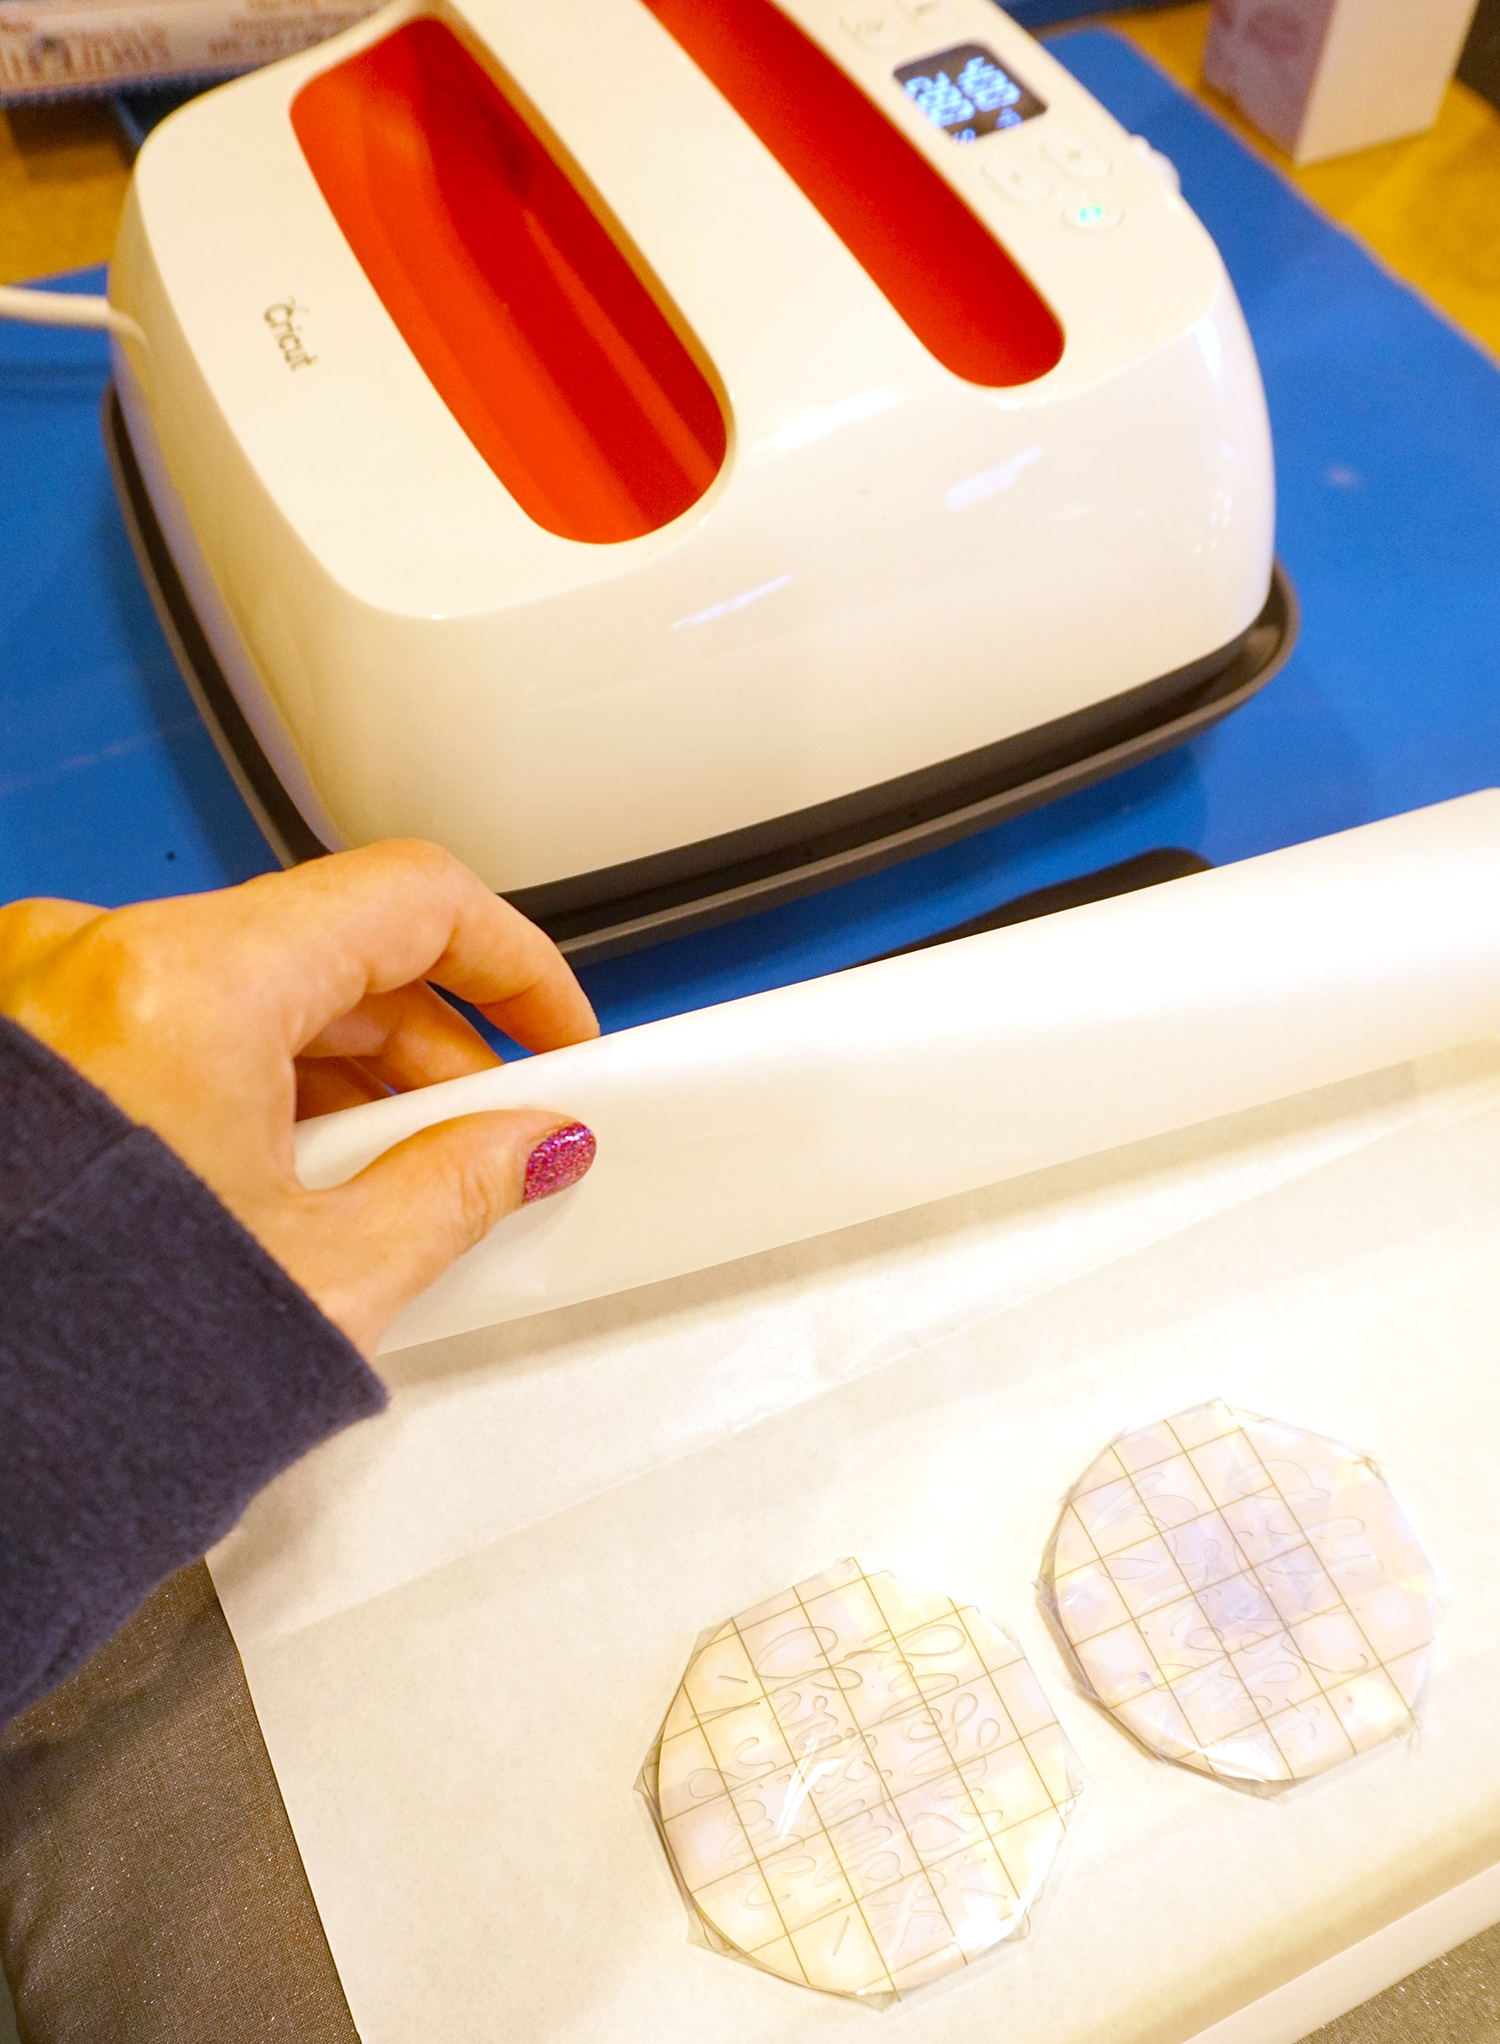
Pre-heat the EasyPress 2 to 400 degrees and set the time for 240 seconds (nope, that’s not a type! You need a full four minutes of heating to create these ornaments!). Place a sheet of cardstock on top of the EasyPress Mat, and then lay a sheet of butcher paper on top of the cardstock. Set the ornaments on top of the butcher paper, and cover with another sheet of butcher paper.
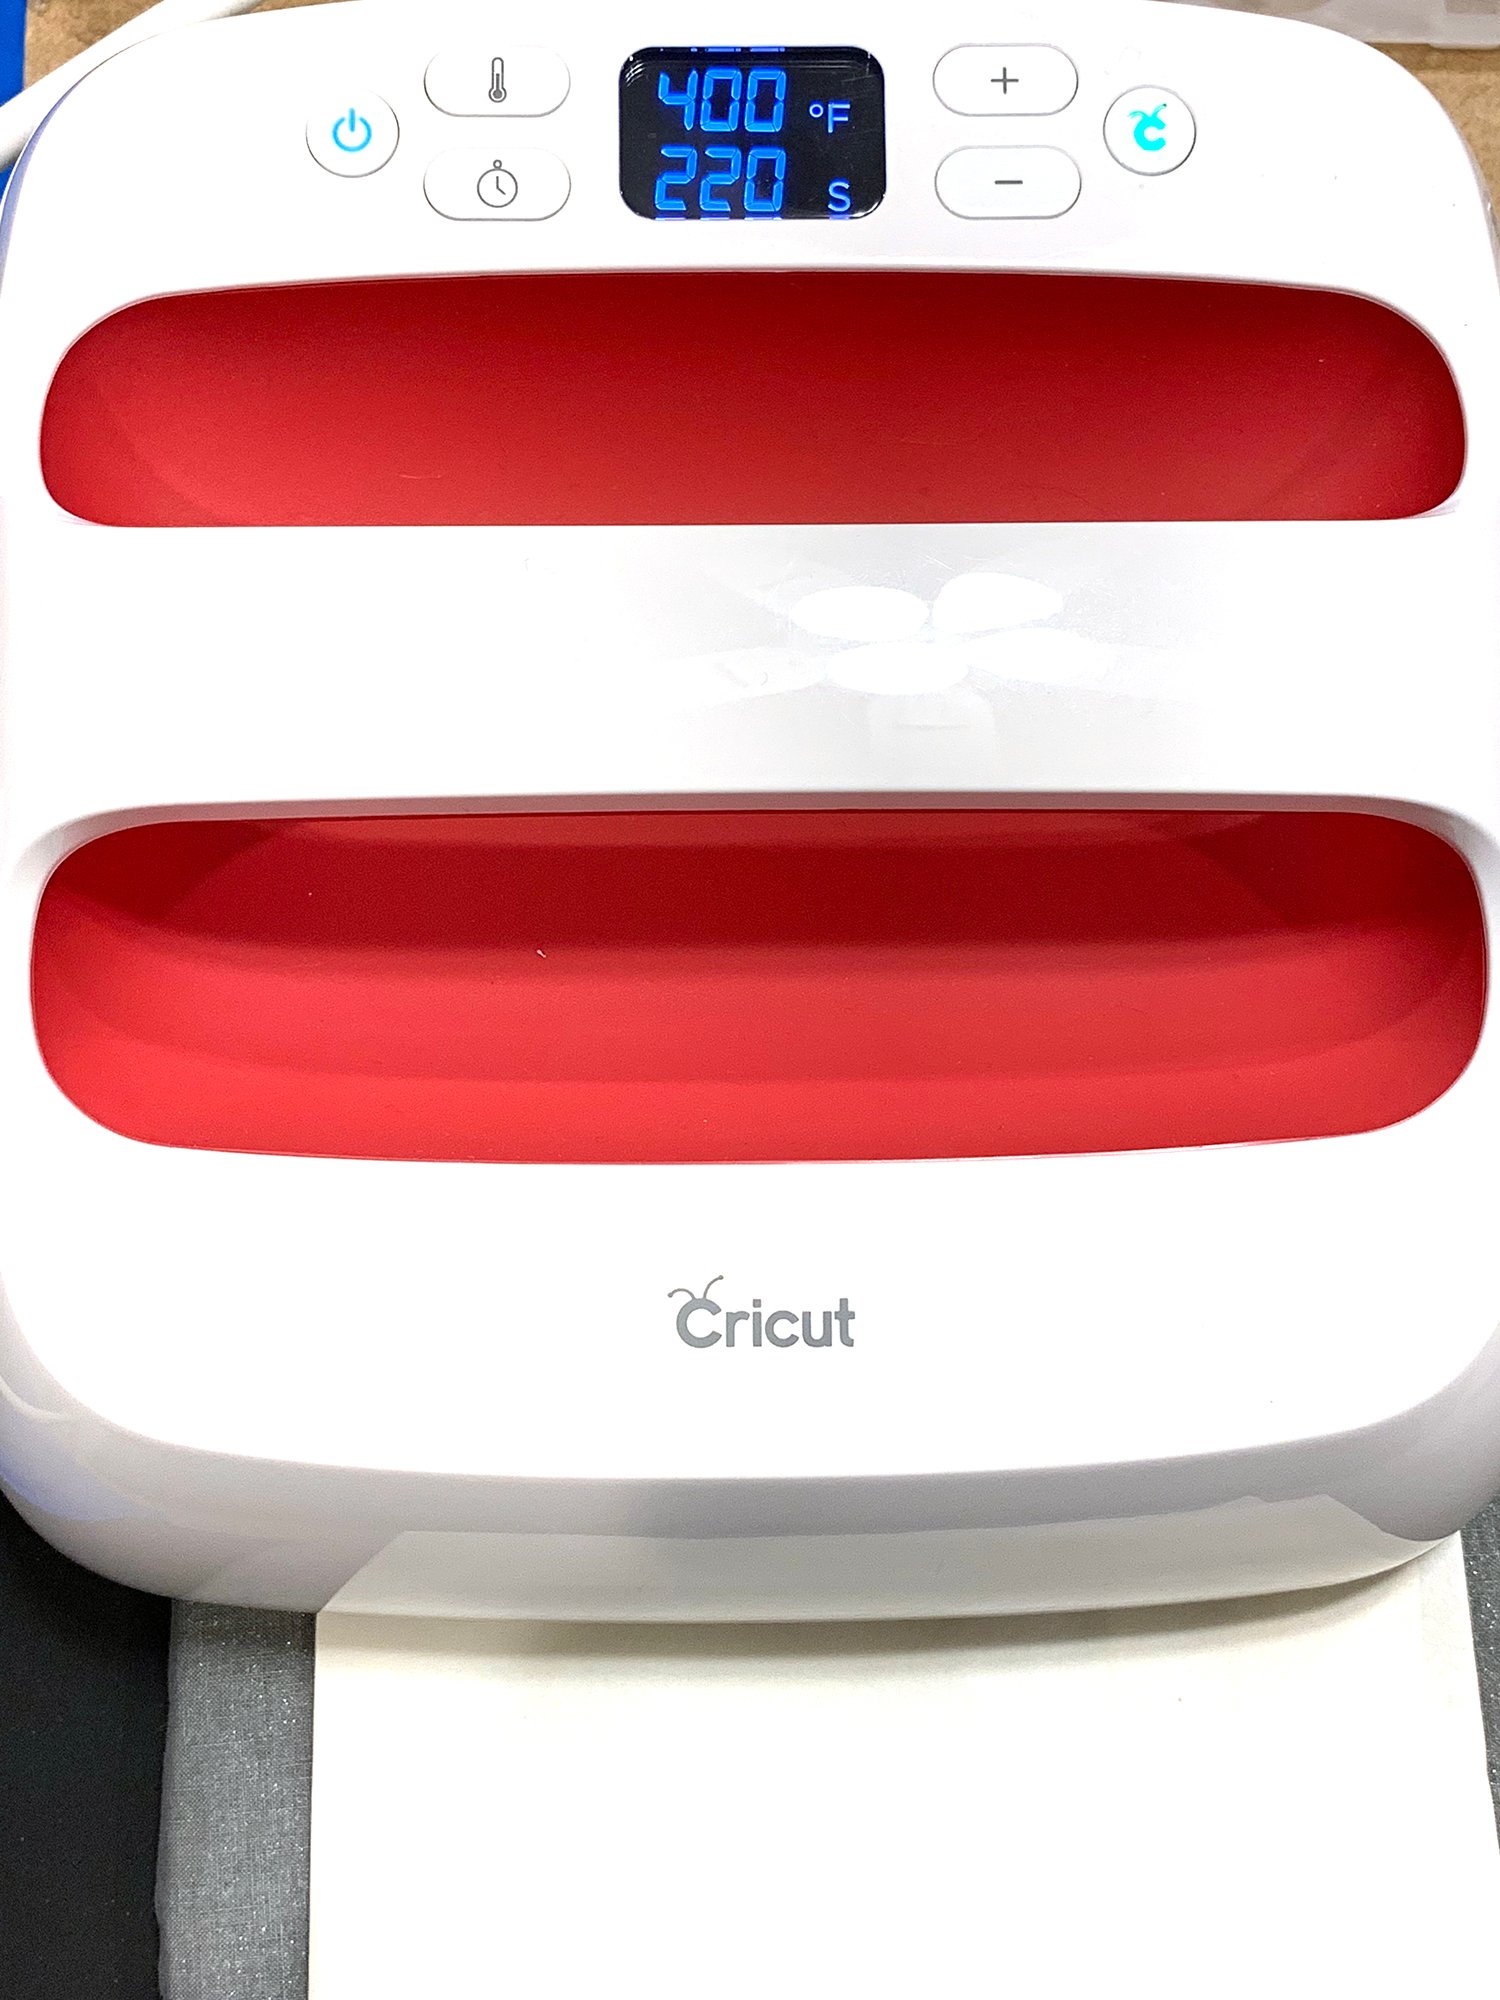
Gently set the EasyPress 2 on top of the ornaments for 240 seconds – do not apply pressure! When the cycle is complete, place the EasyPress 2 back on its base, and carefully remove the top layer of butcher paper. Use caution as the ornaments will be EXTREMELY HOT! Allow the ornament to cool completely before handling.
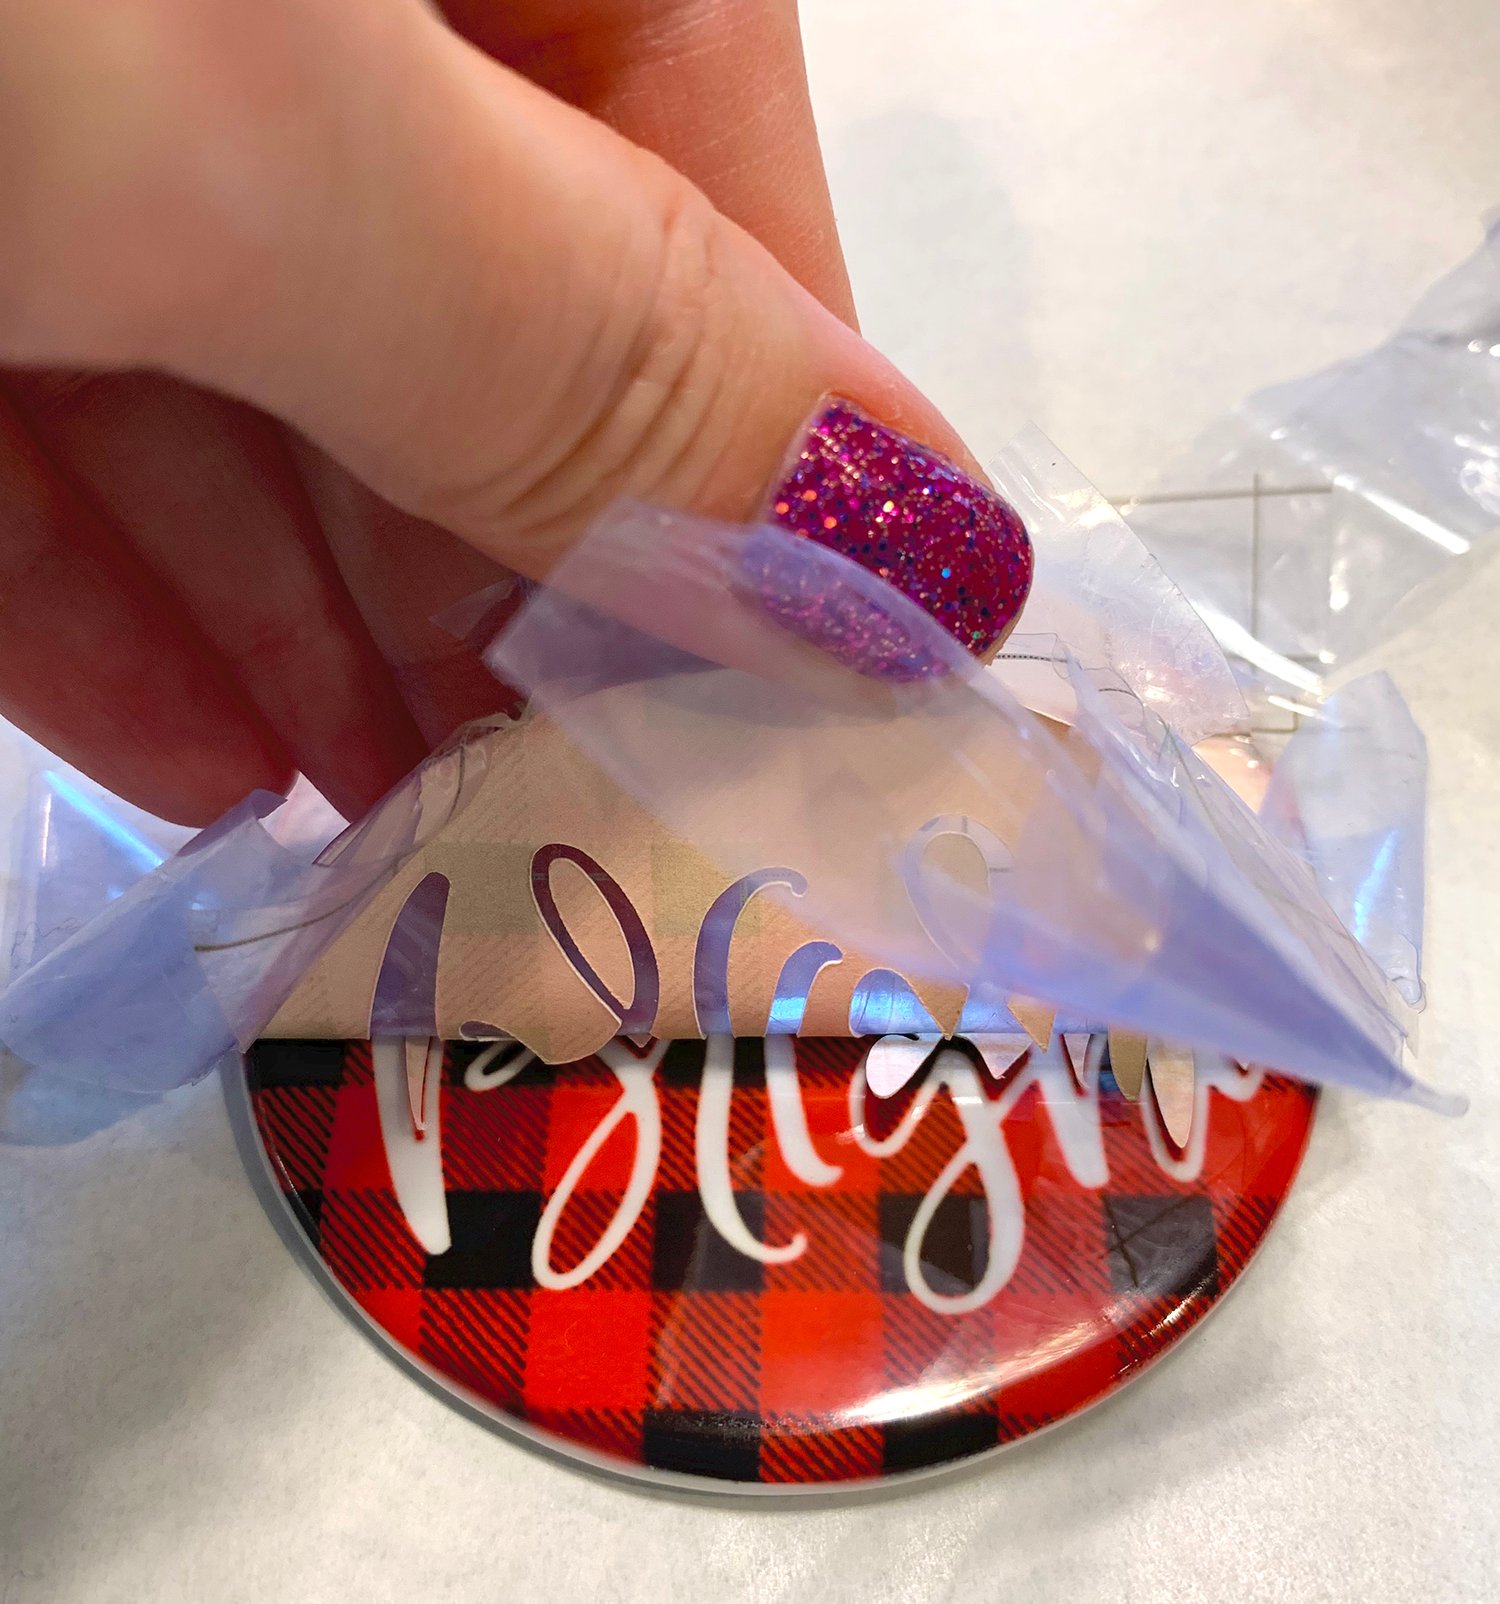
When the ornament has cooled to the touch, peel back the Infusible Ink sheets to reveal your shiny new customized ornaments!
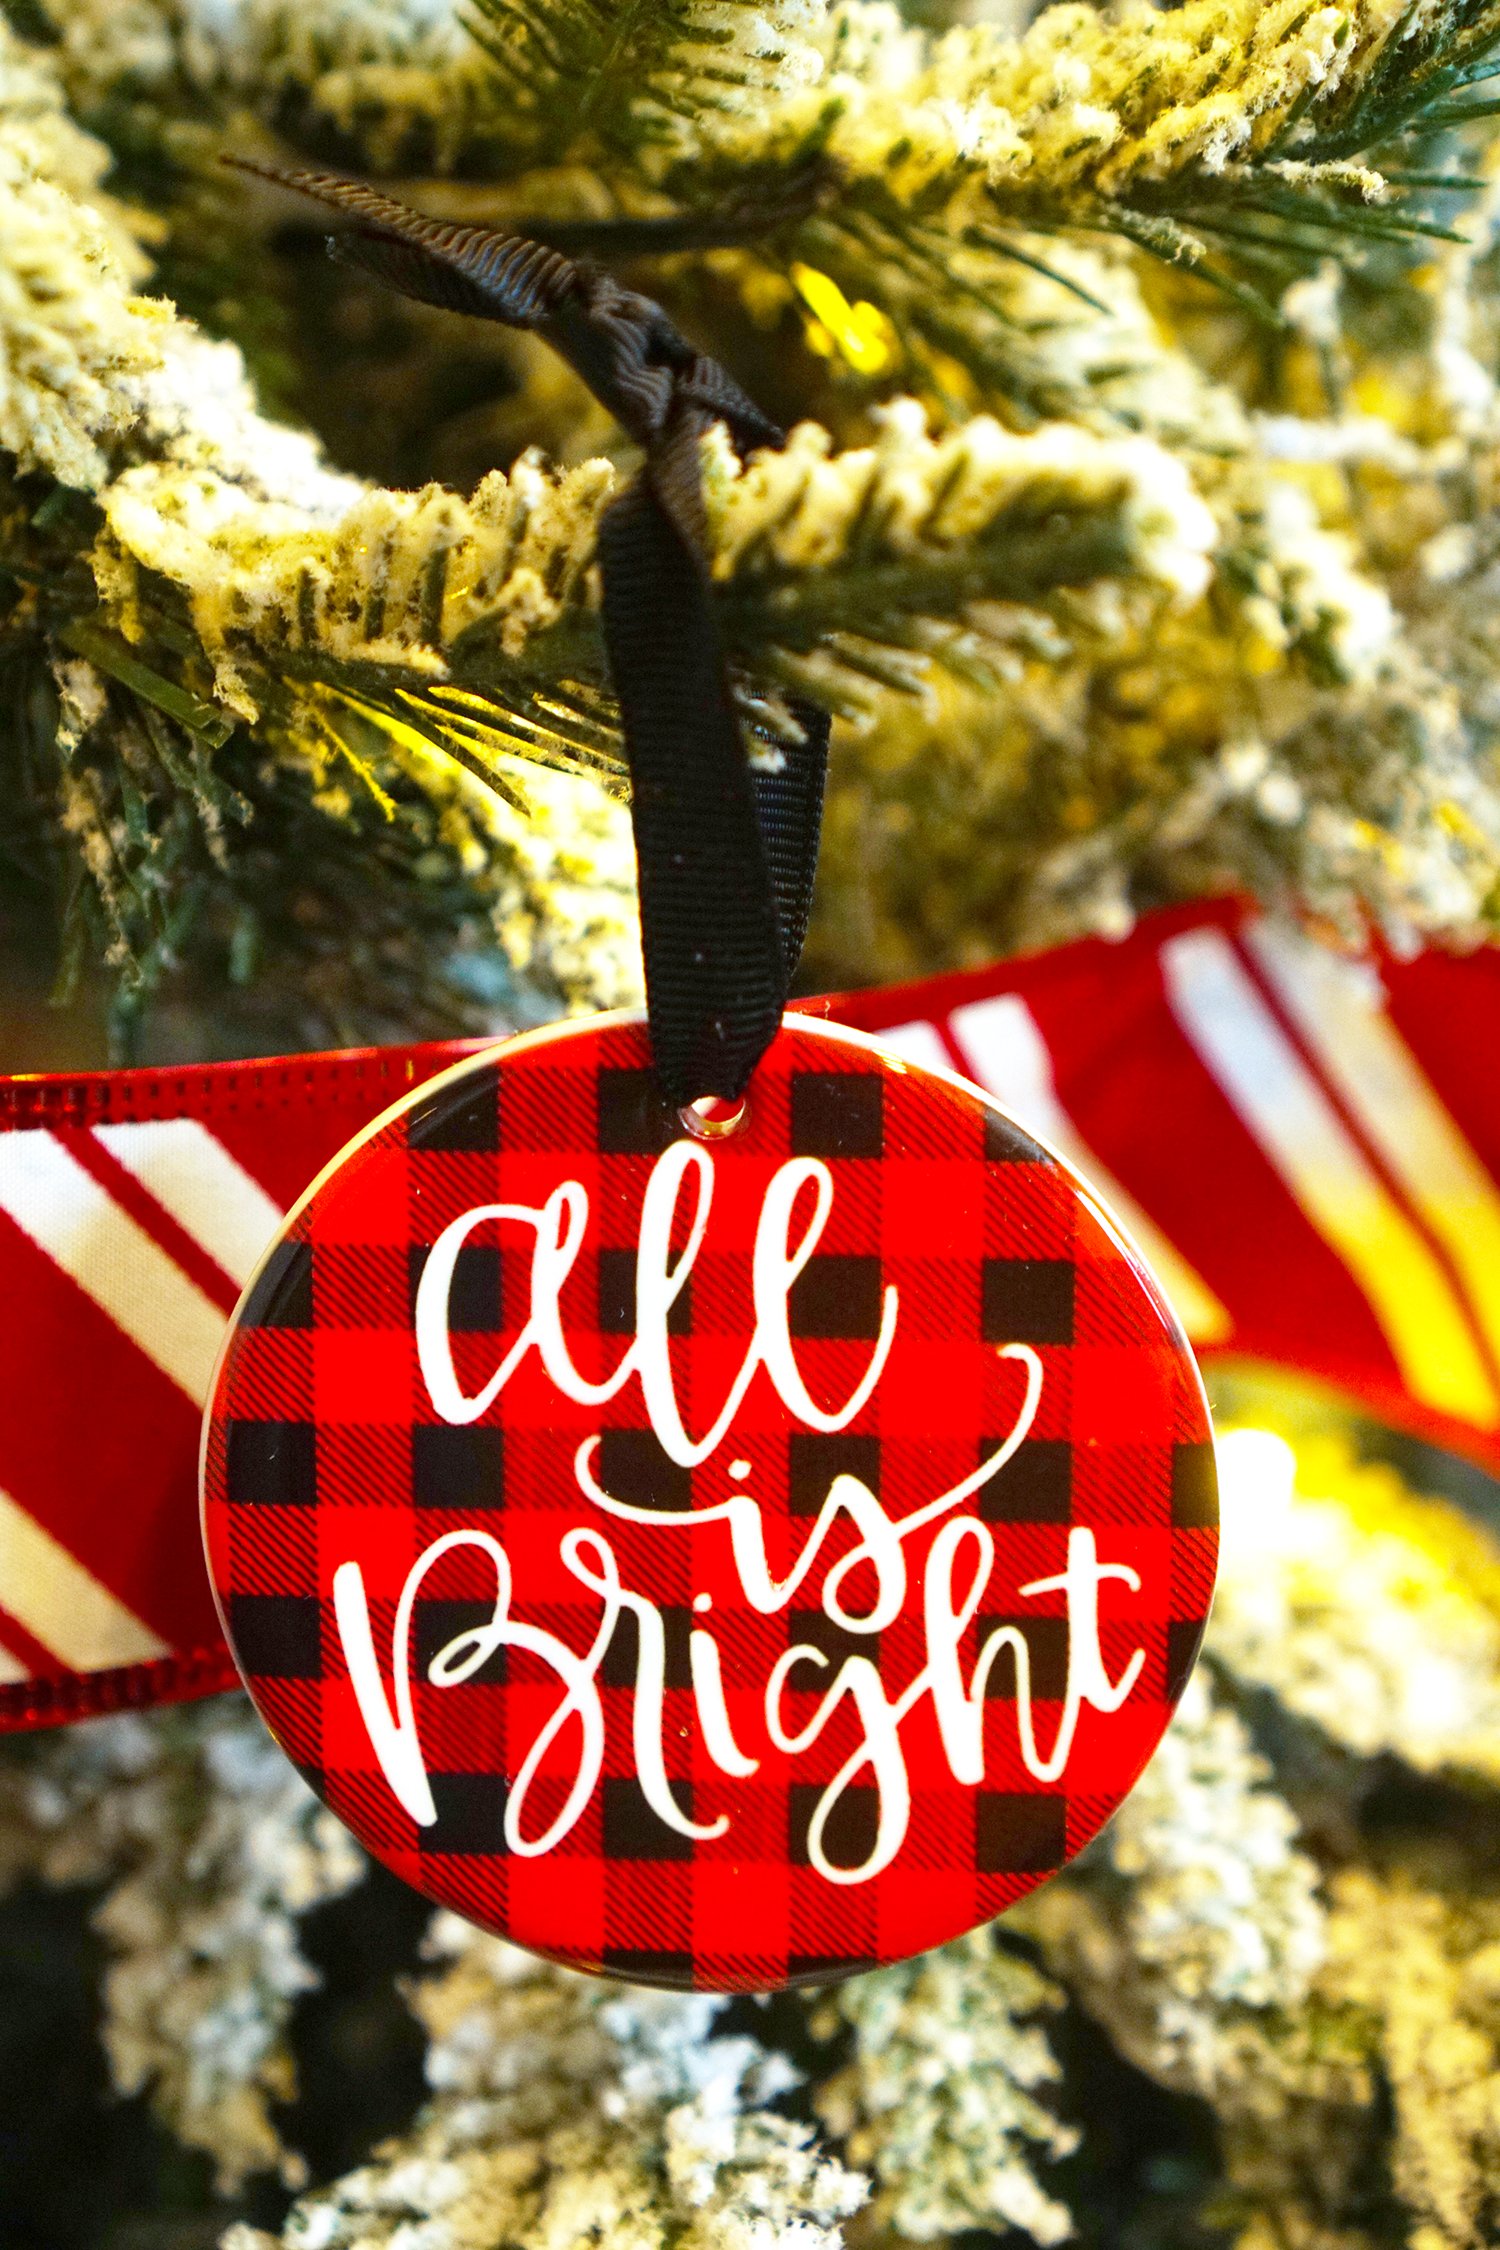
They’re SO awesome! I love how the ink actually becomes a seamless part of the ornament – it has such a professional high-gloss finish!
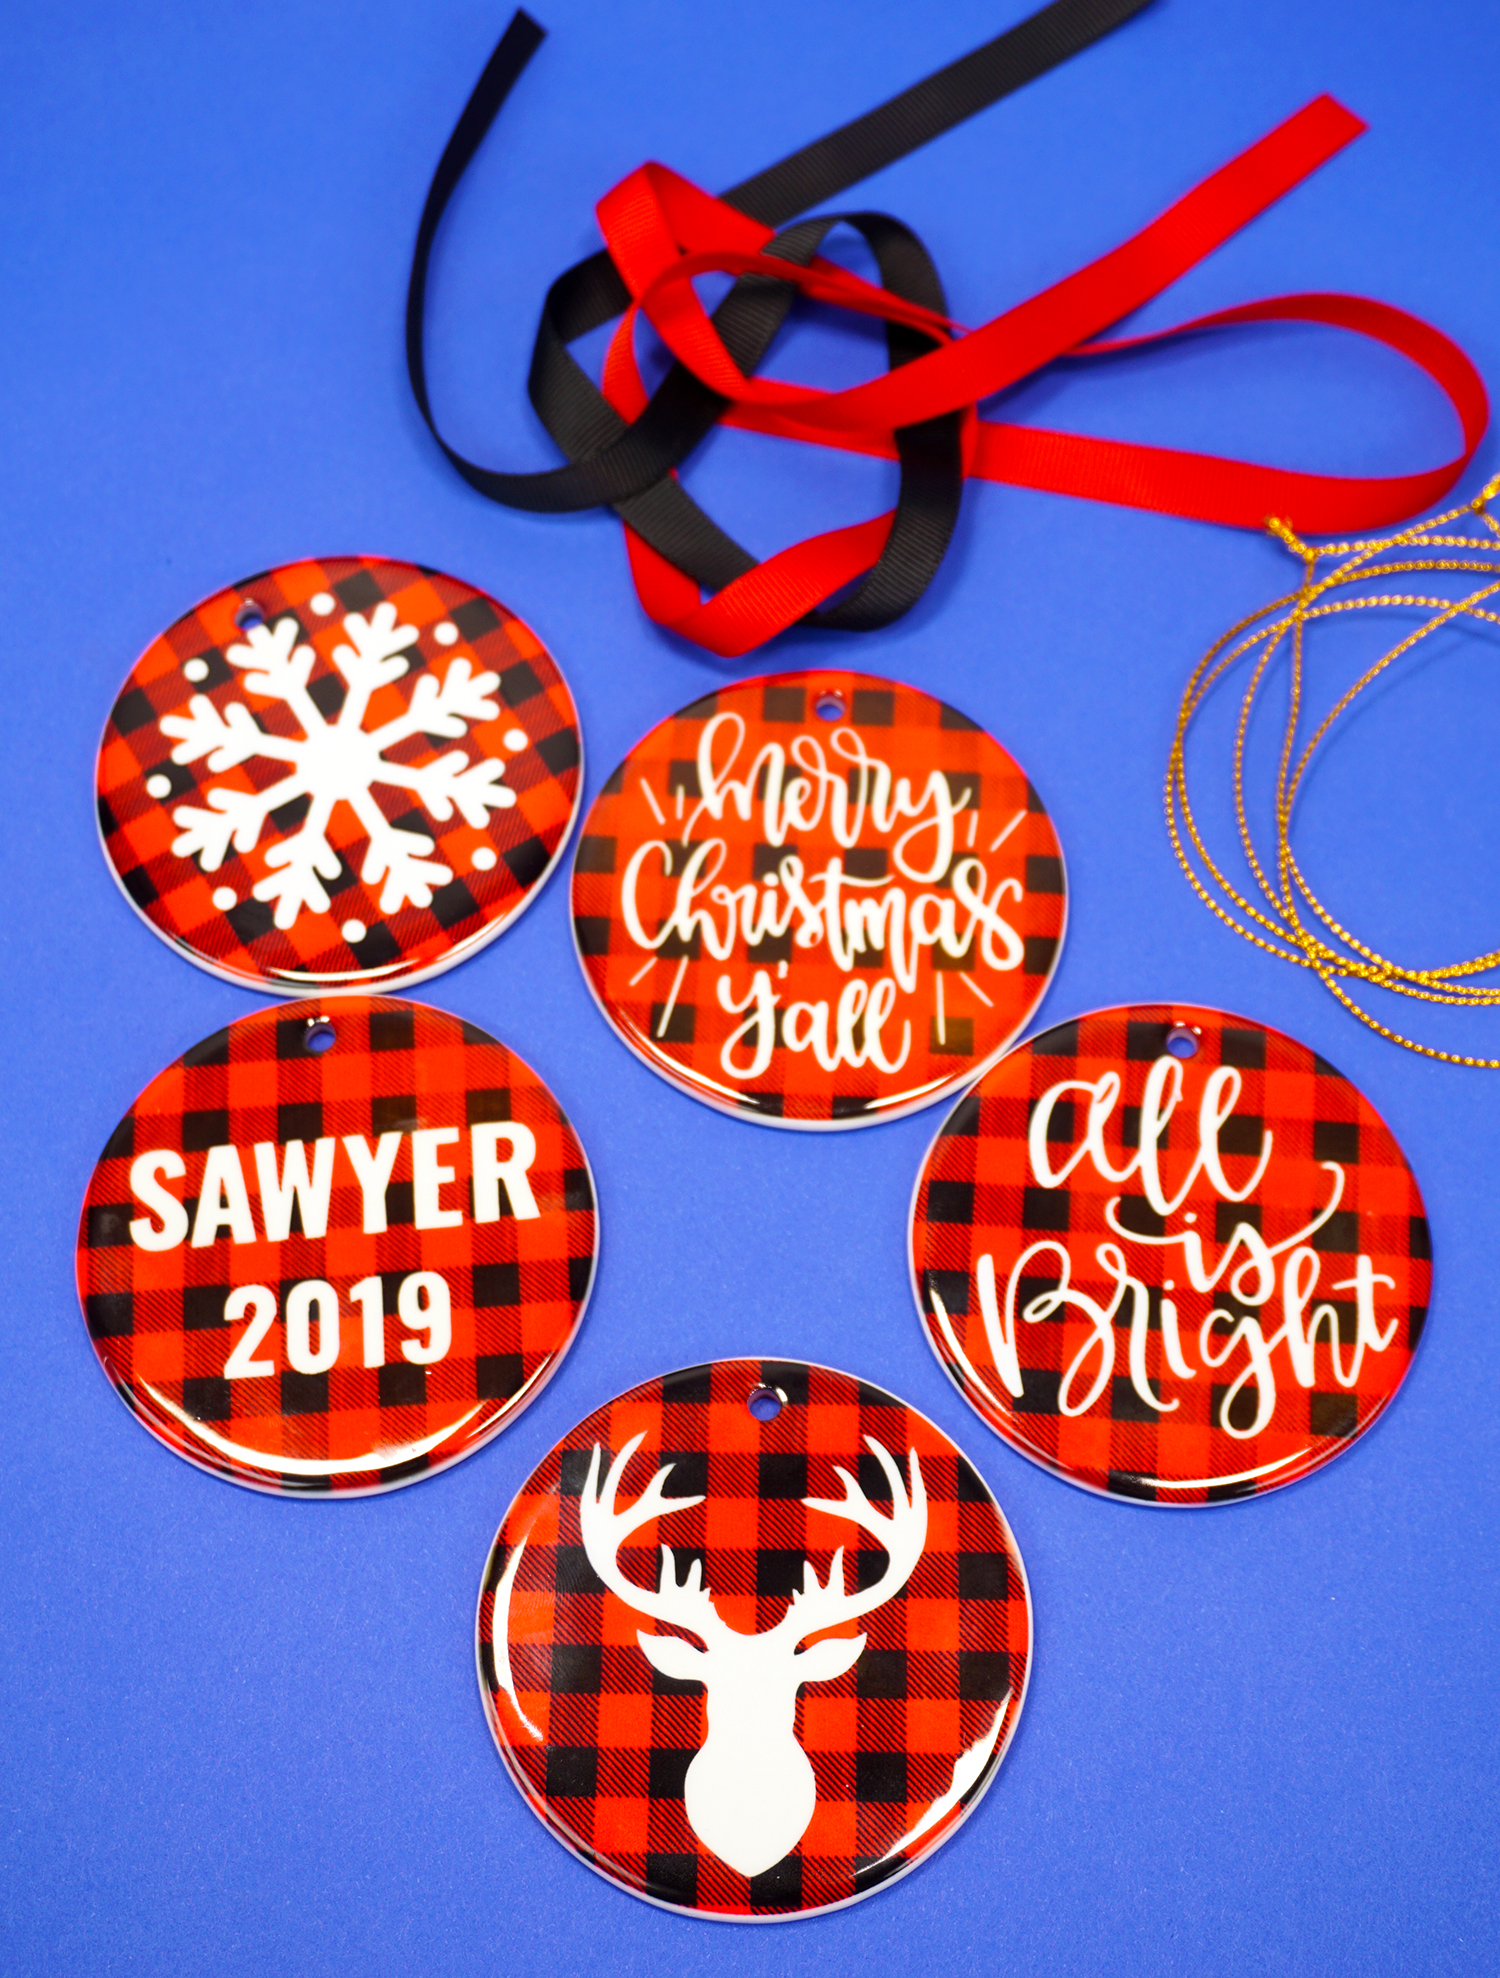
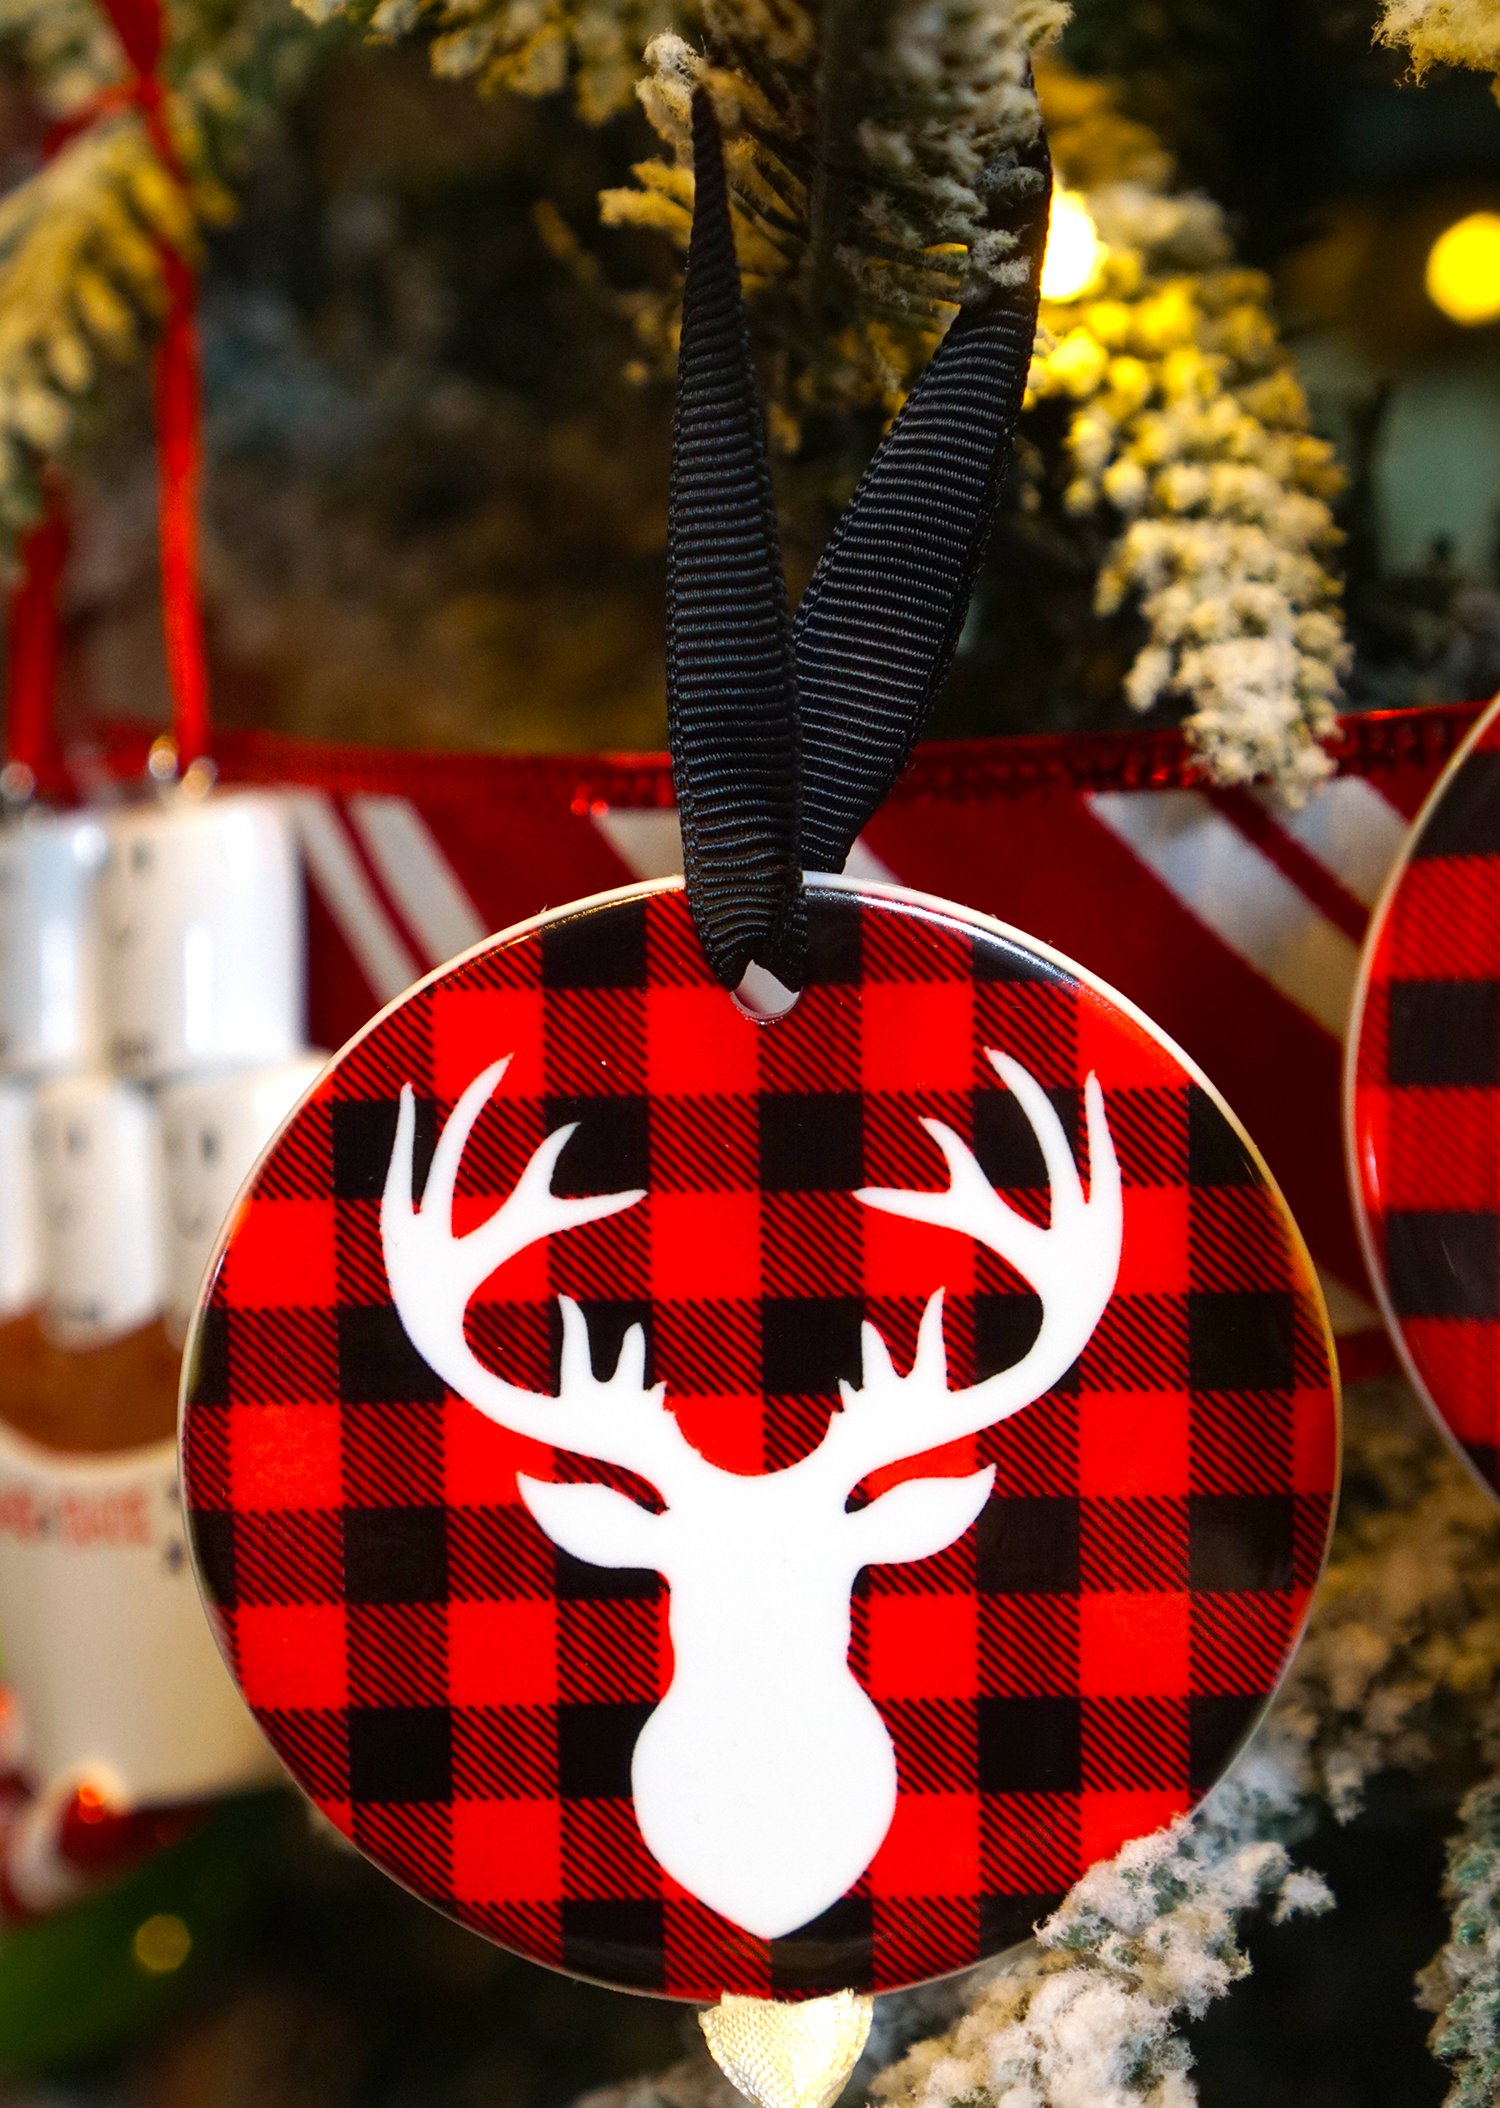
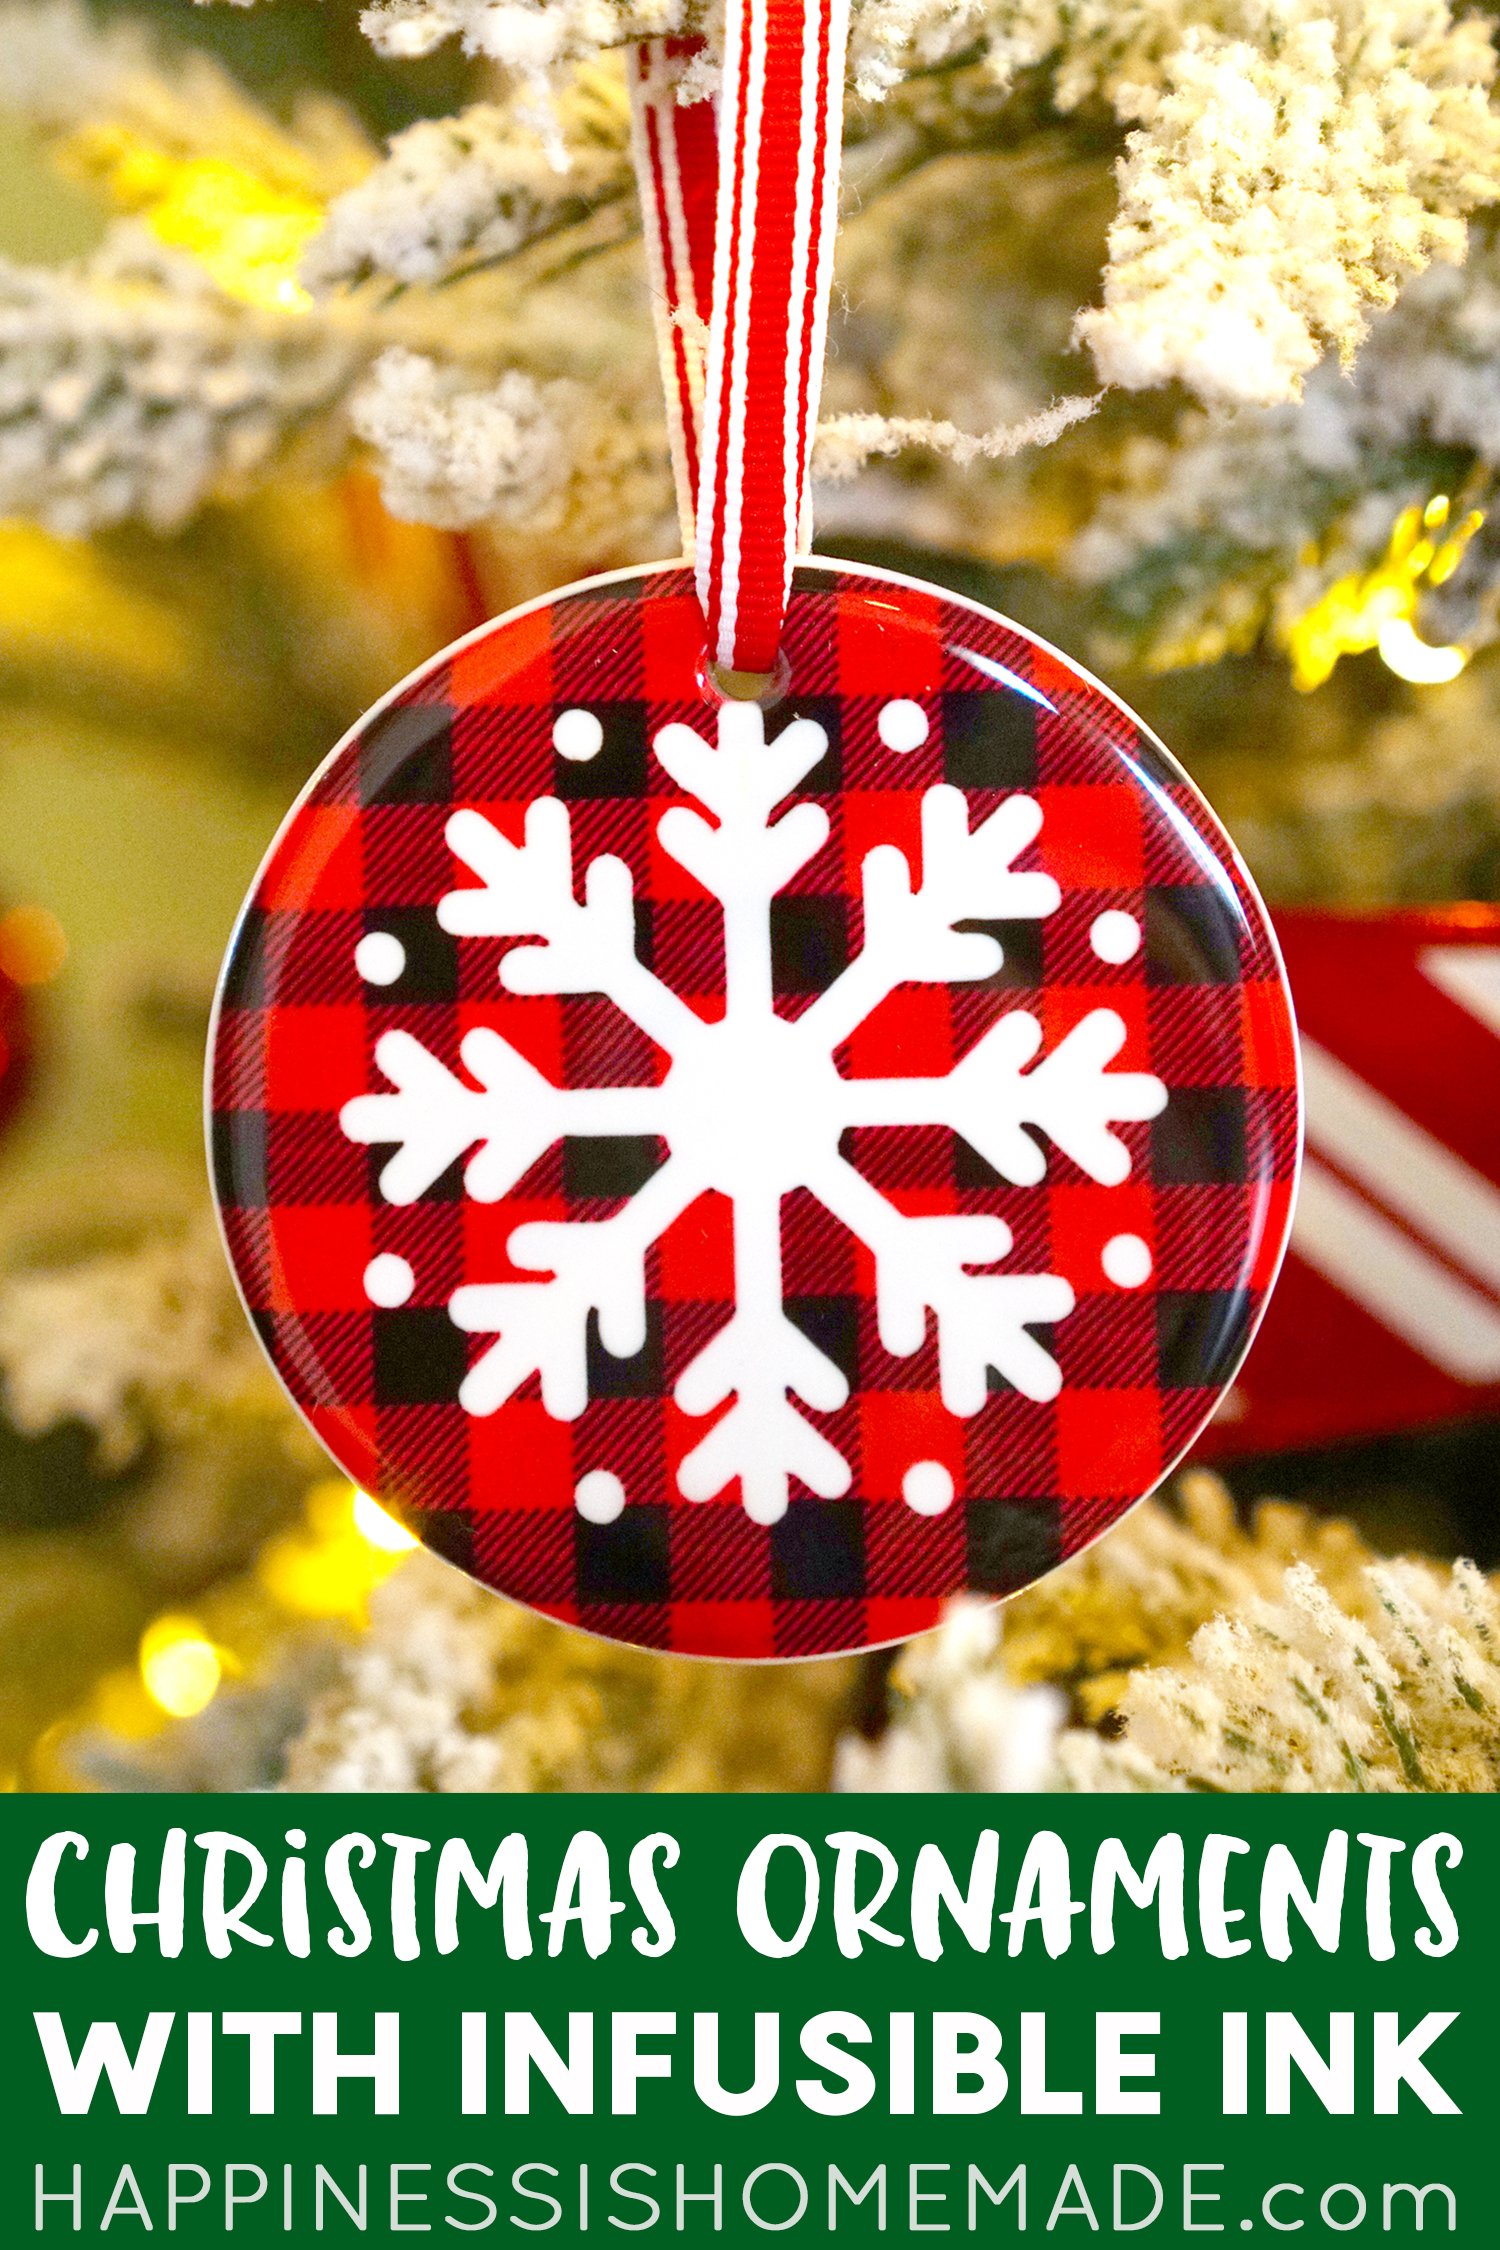
The ornament blanks come with gold strings for hanging, but I opted to add black and red ribbons to my ornaments for a little more personality.
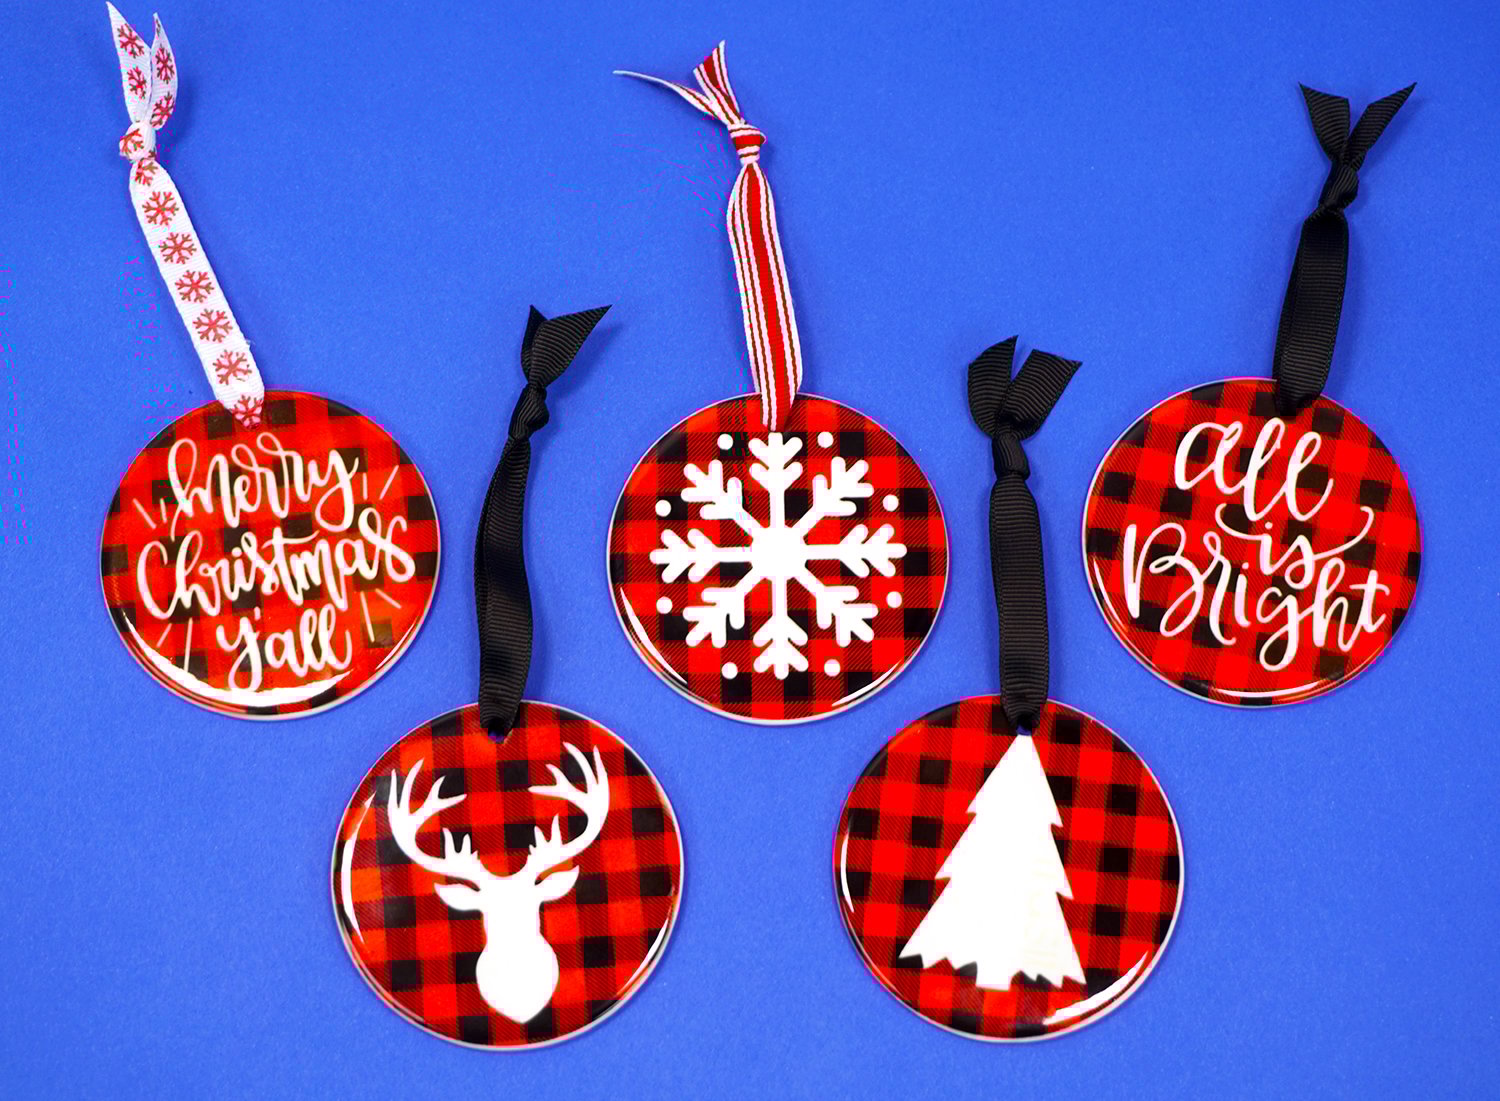
I love the way that these turned out, and they were SO easy to make that I can’t stop daydreaming about all the possibilities for next year’s ornaments!
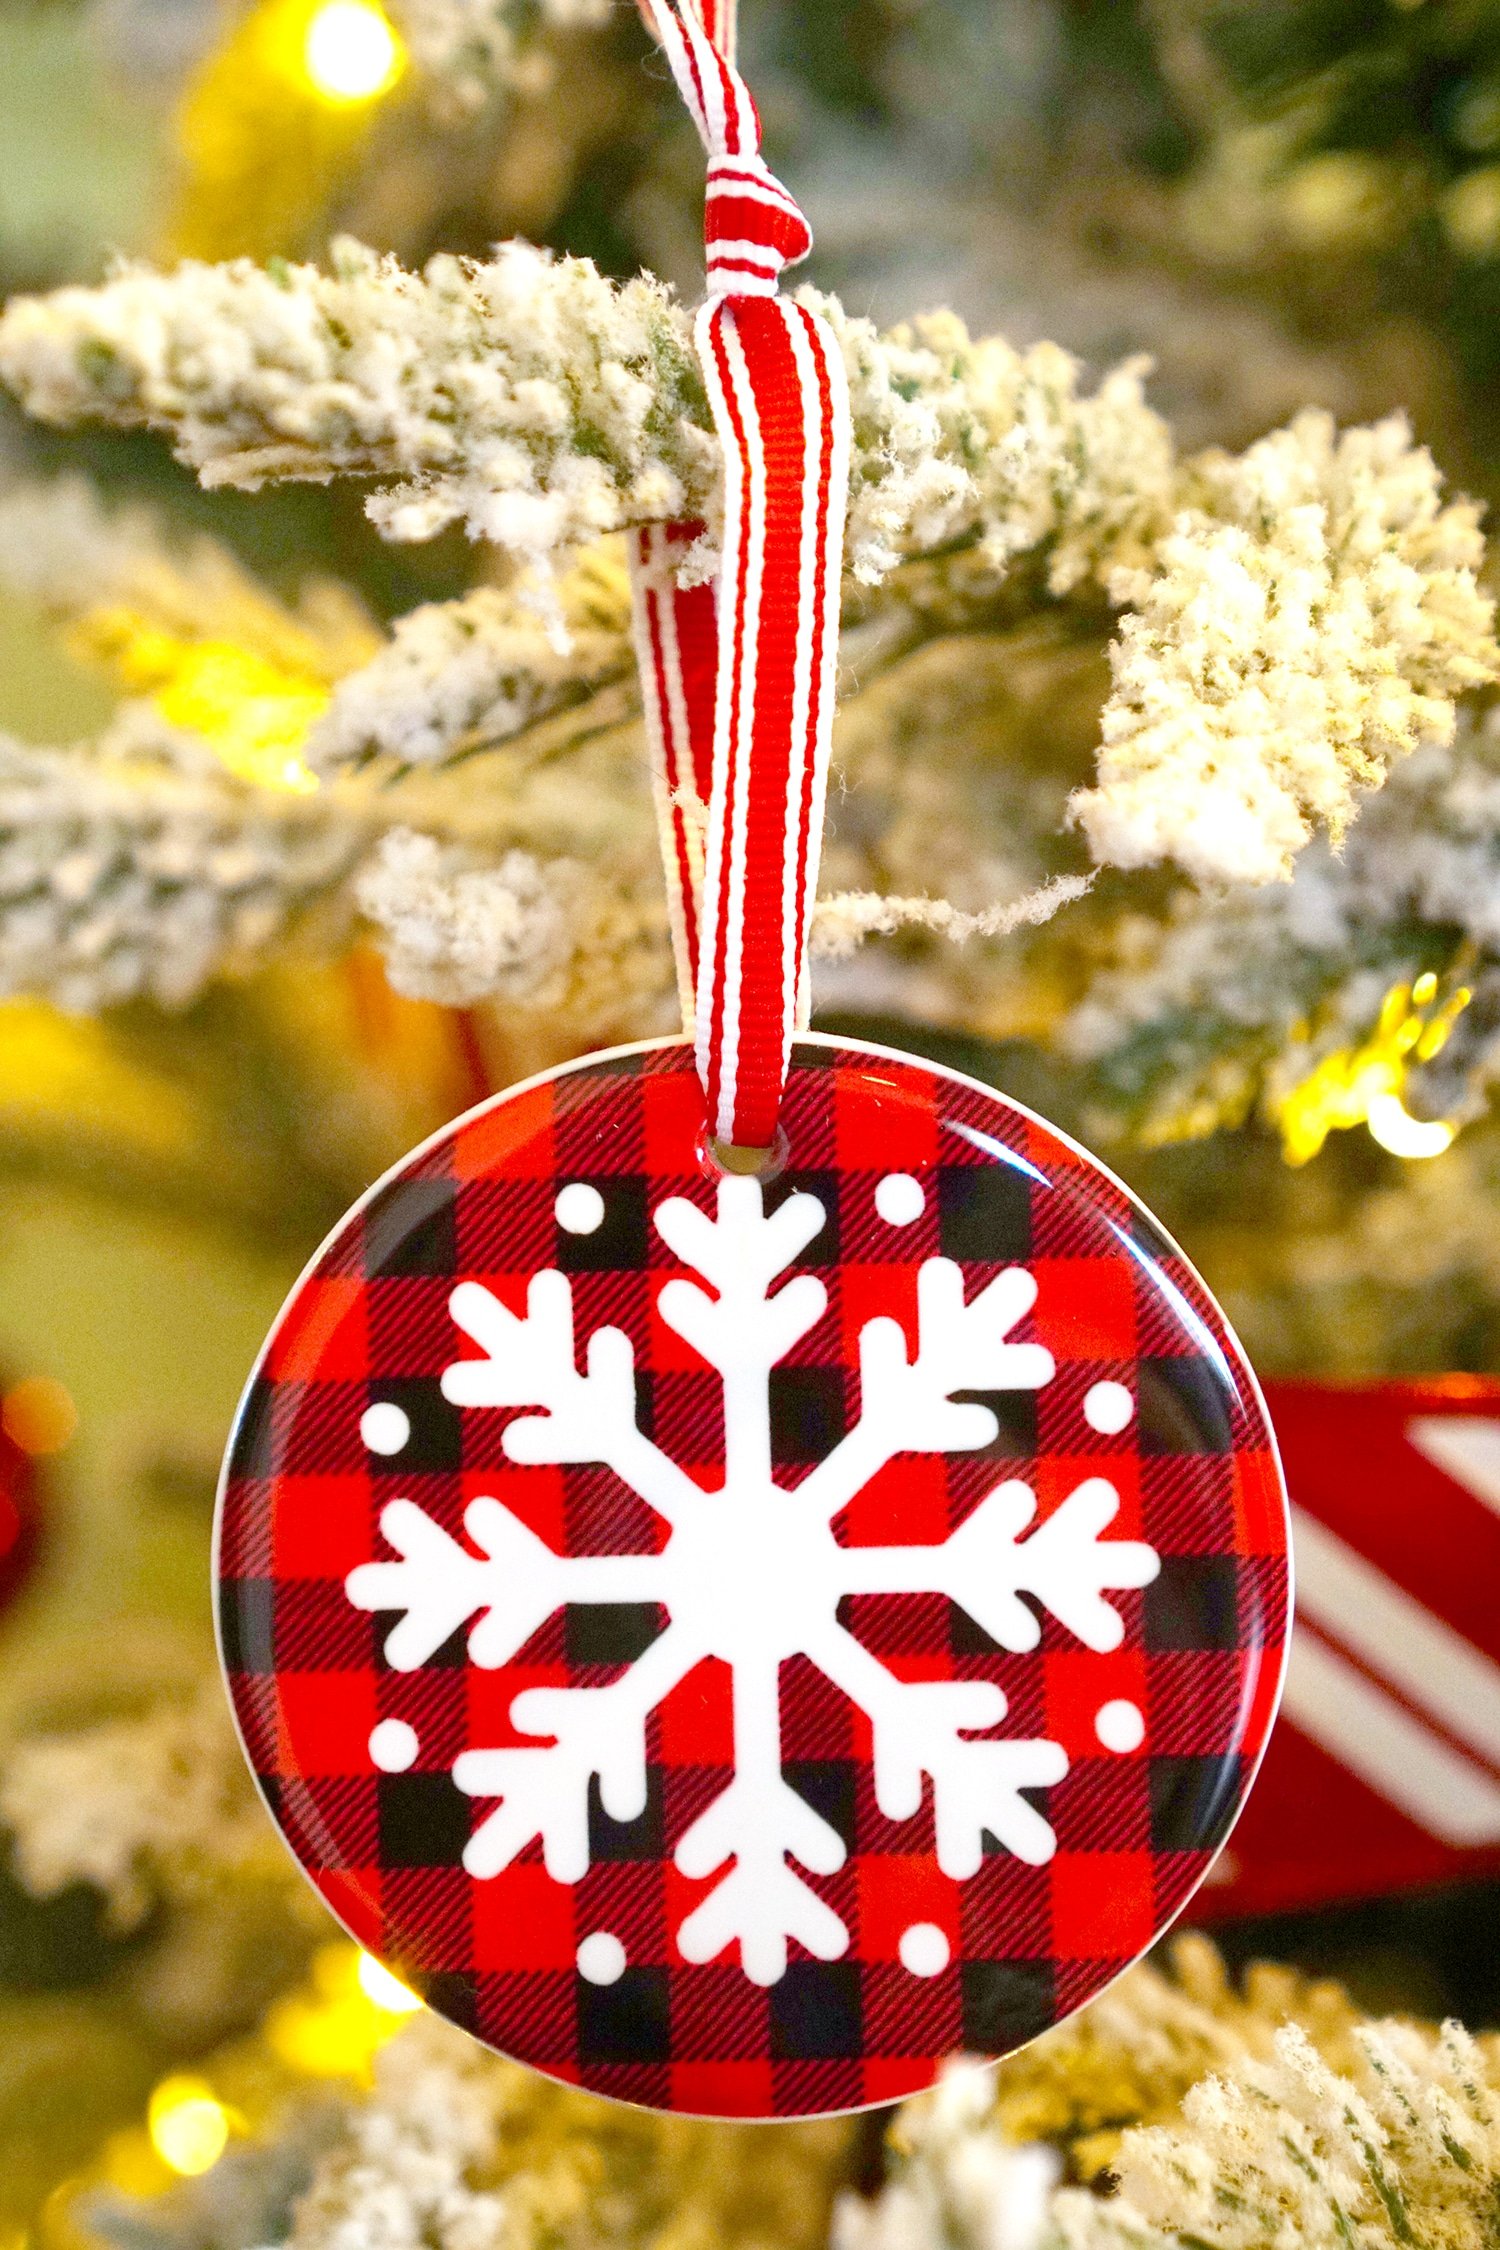
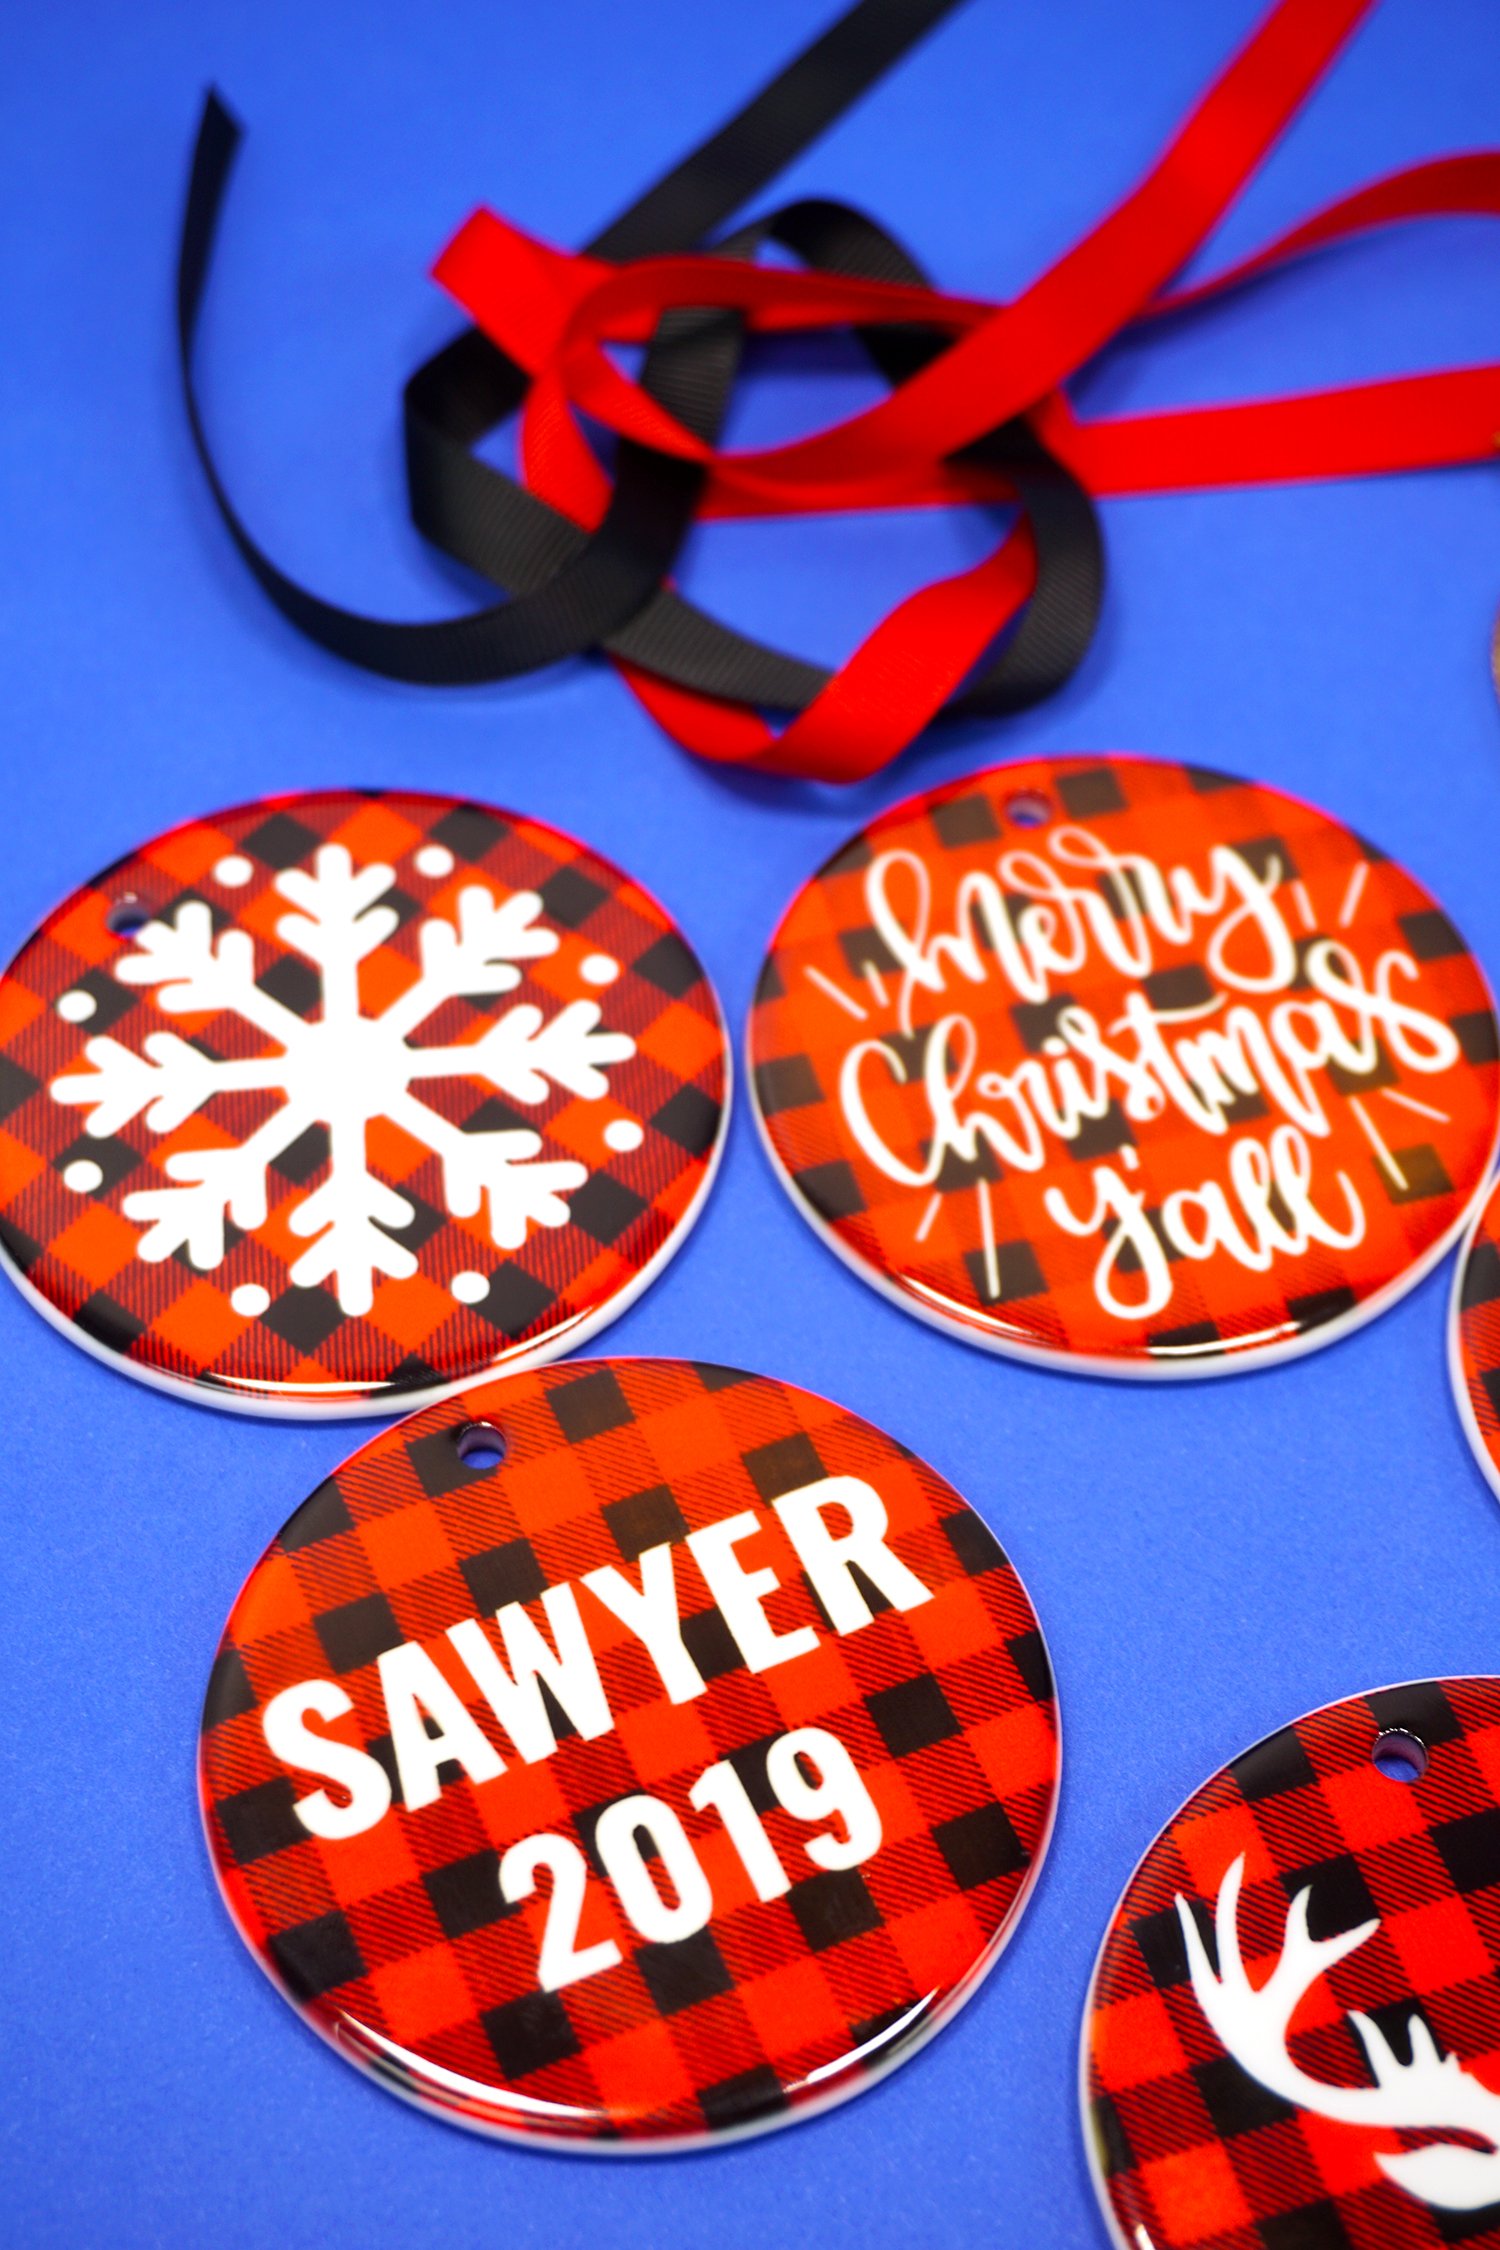
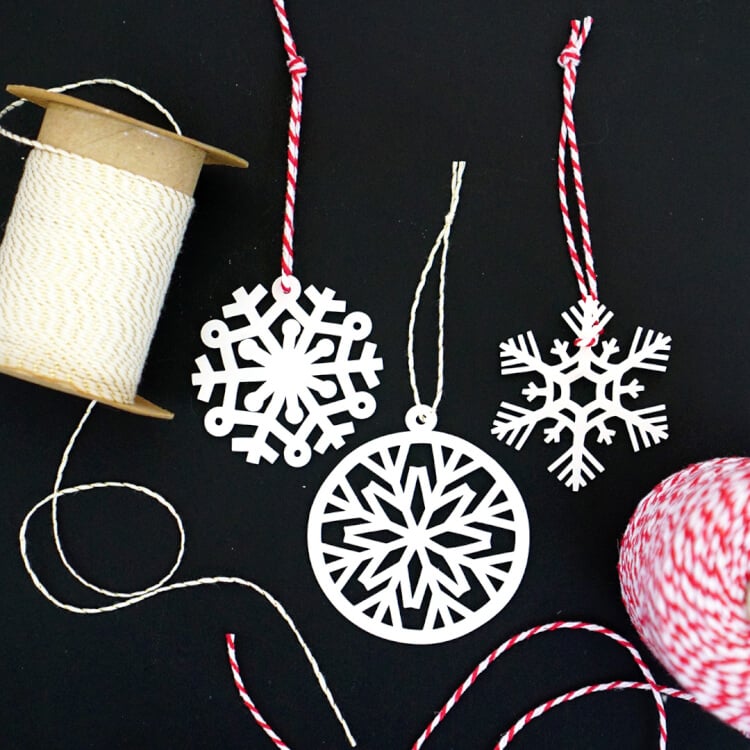
I think this simple snowflake ornament might be my favorite! When my middle son saw that this one had his name on the back of it, his face lit up because apparently, the snowflake was his favorite of the bunch, too!

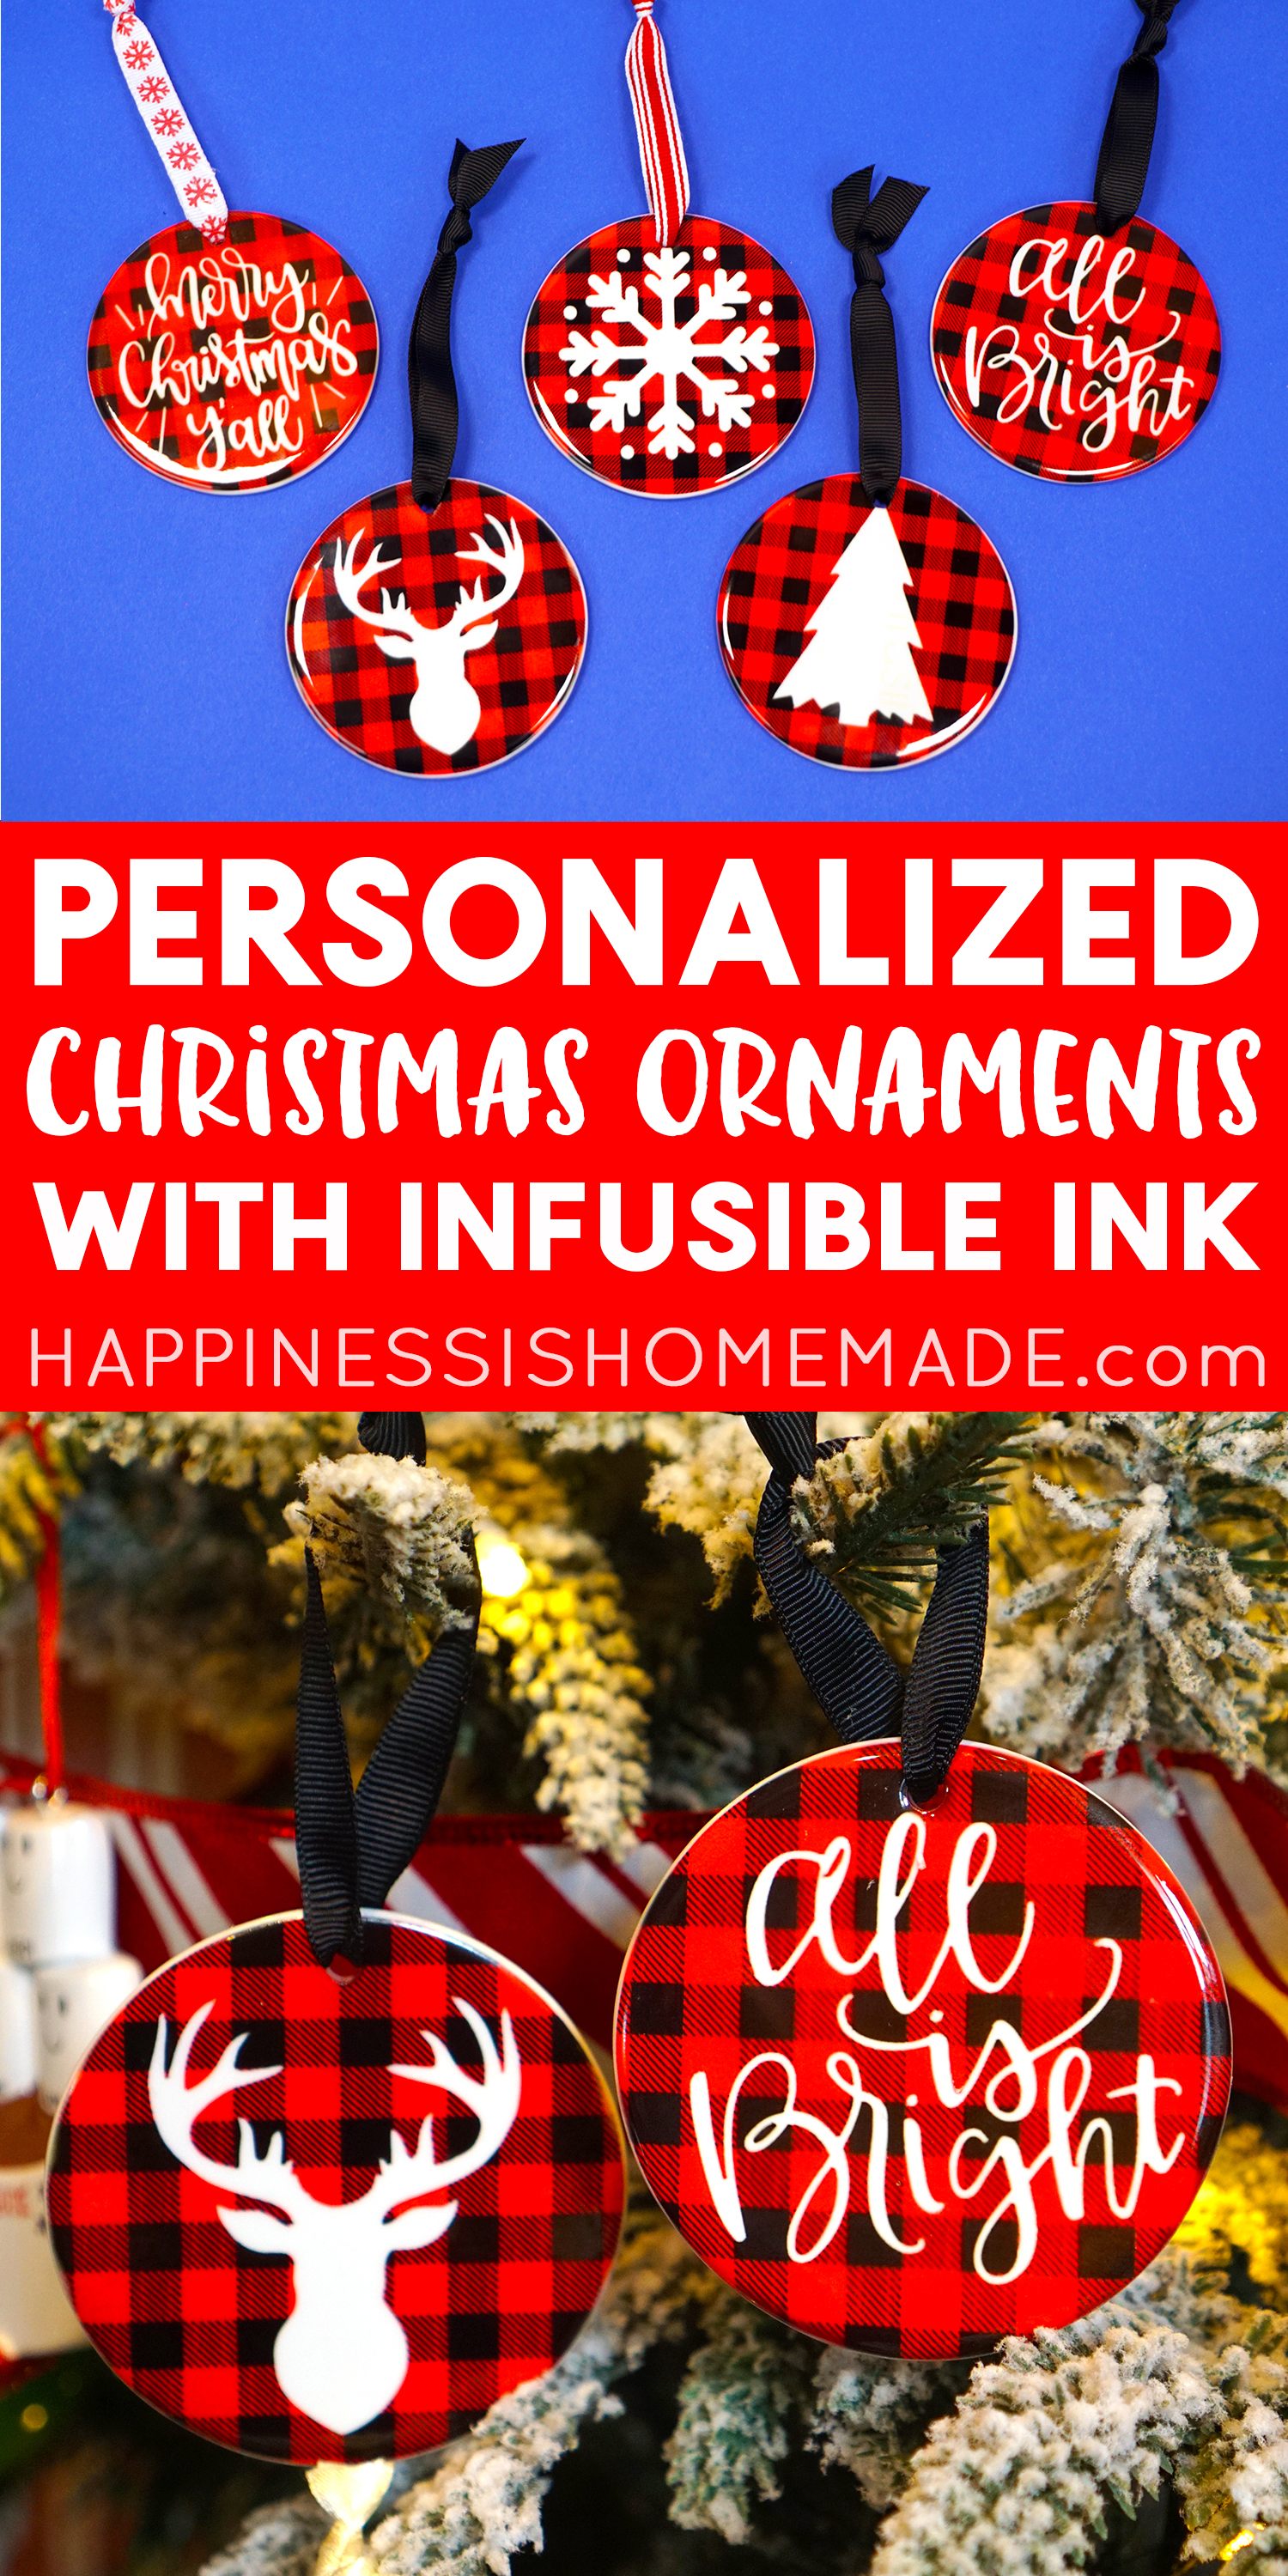
They all look amazing hanging up on our Christmas tree!
Making personalized Christmas ornaments with Cricut Infusible Ink was super quick and easy, and I’m beyond thrilled with the results! I can’t wait to play around with some of the other Infusible Ink patterns and colors and make even more ornaments to add to our collection!

Check Out These Other Christmas Ideas!
 70+ Fun Stocking Stuffers for Teens and Tweens
 70+ The Best Gift Ideas for Boys Ages 8-11
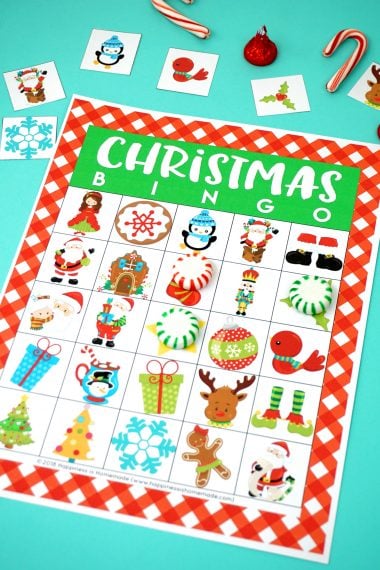
 Printable Christmas Bingo Game Cards
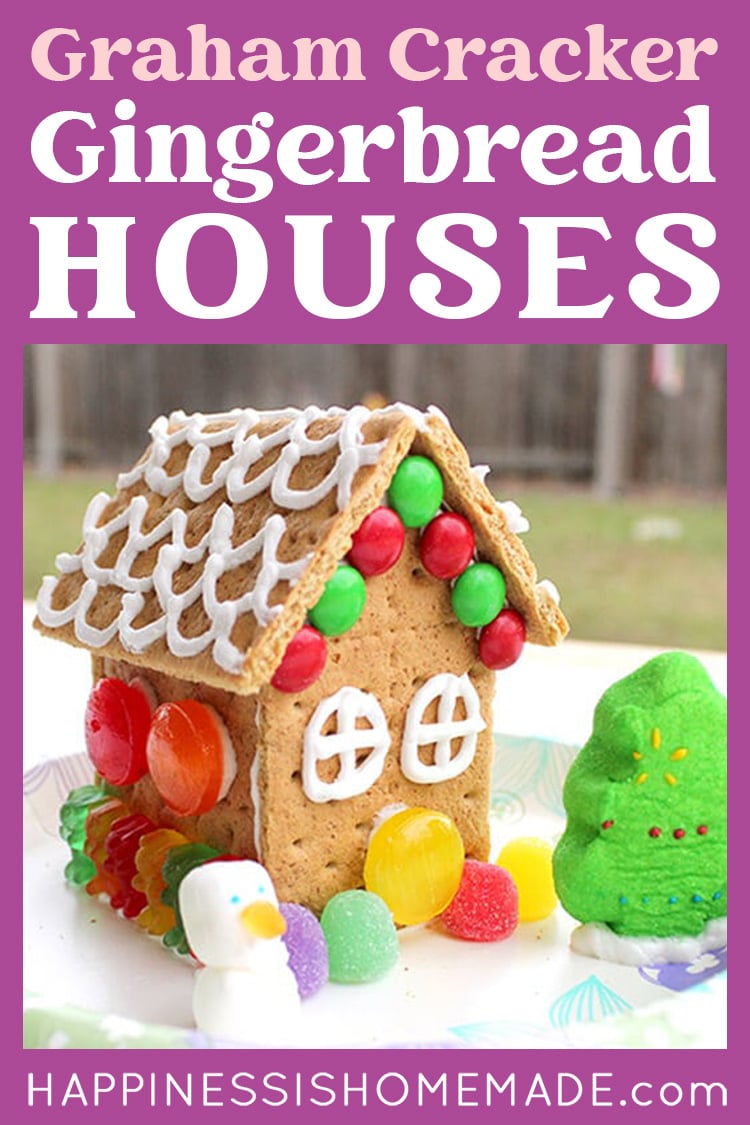
- How to Make Graham Cracker Gingerbread Houses
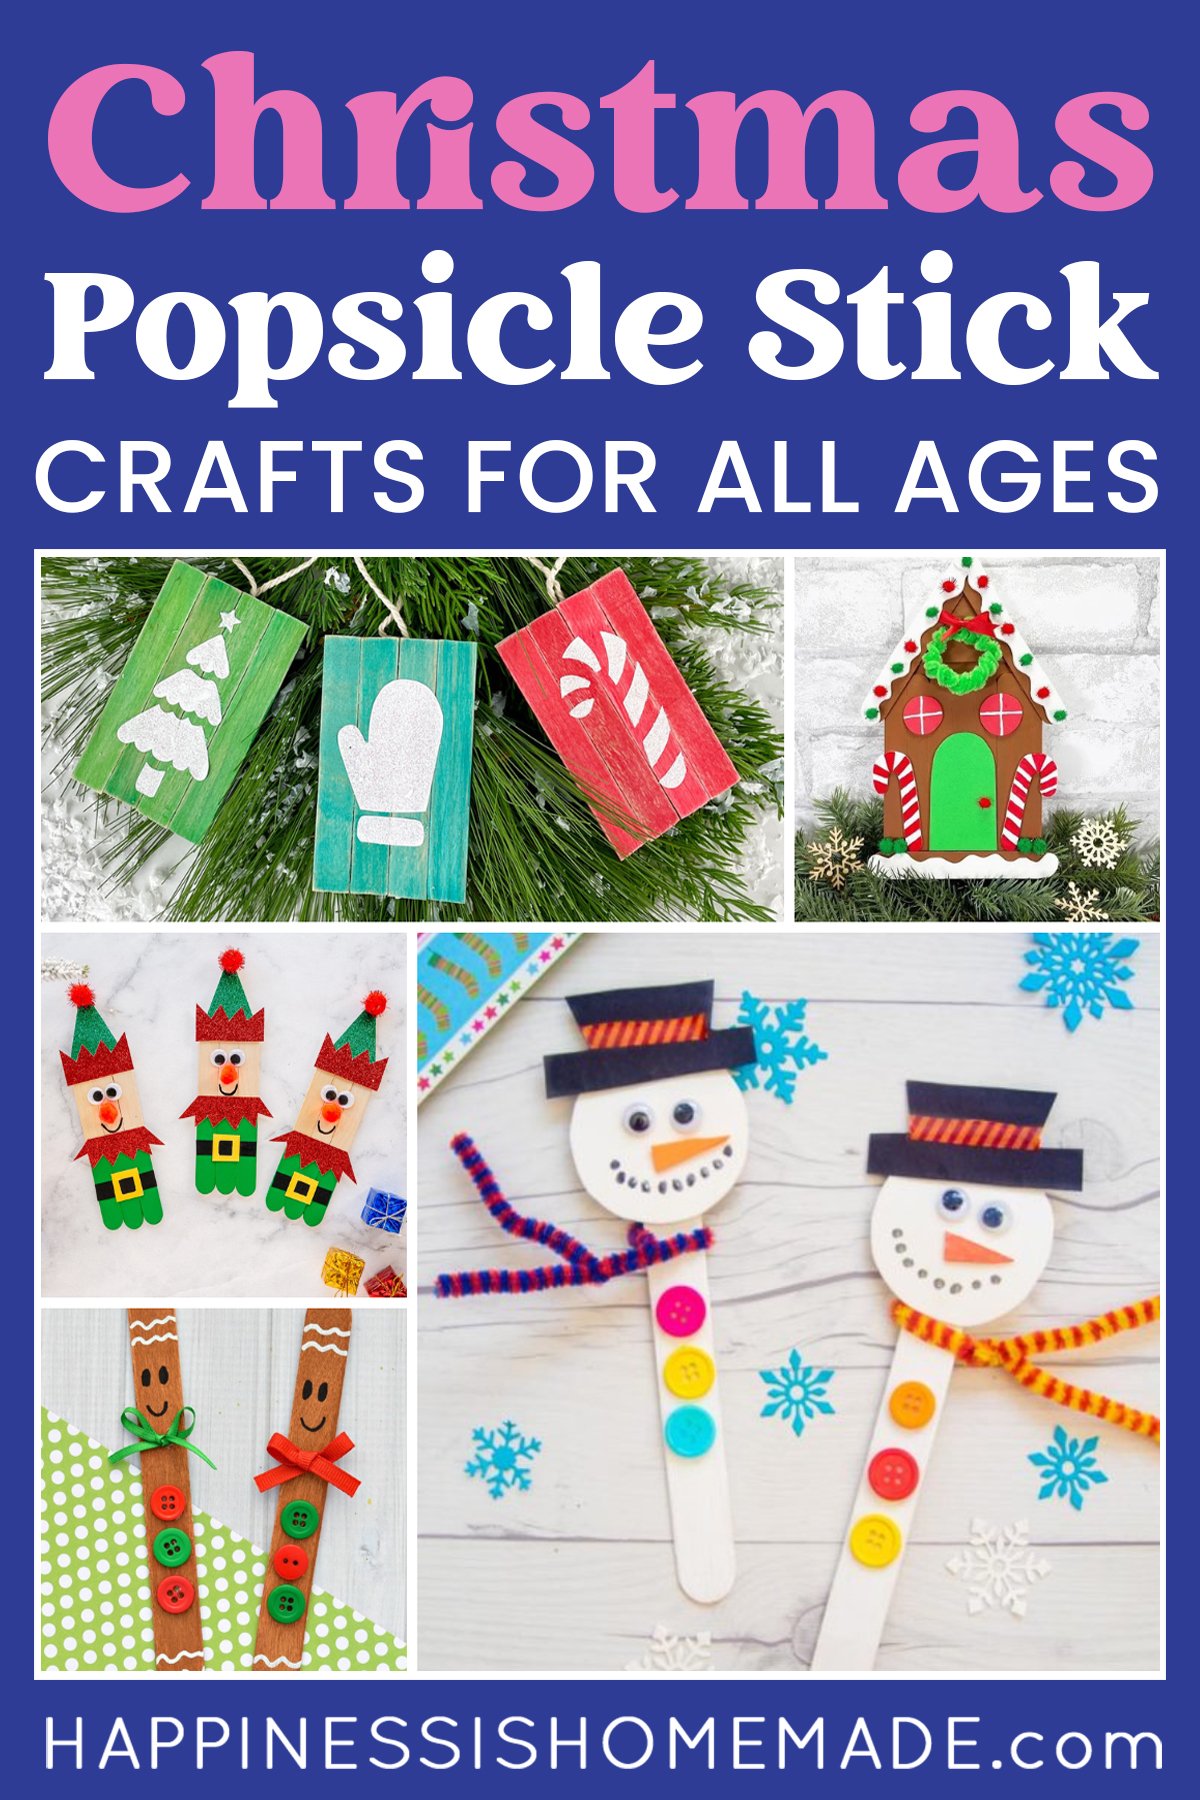
 50+ Popsicle Stick Christmas Crafts
 Wine Cork Candy Cane Ornaments
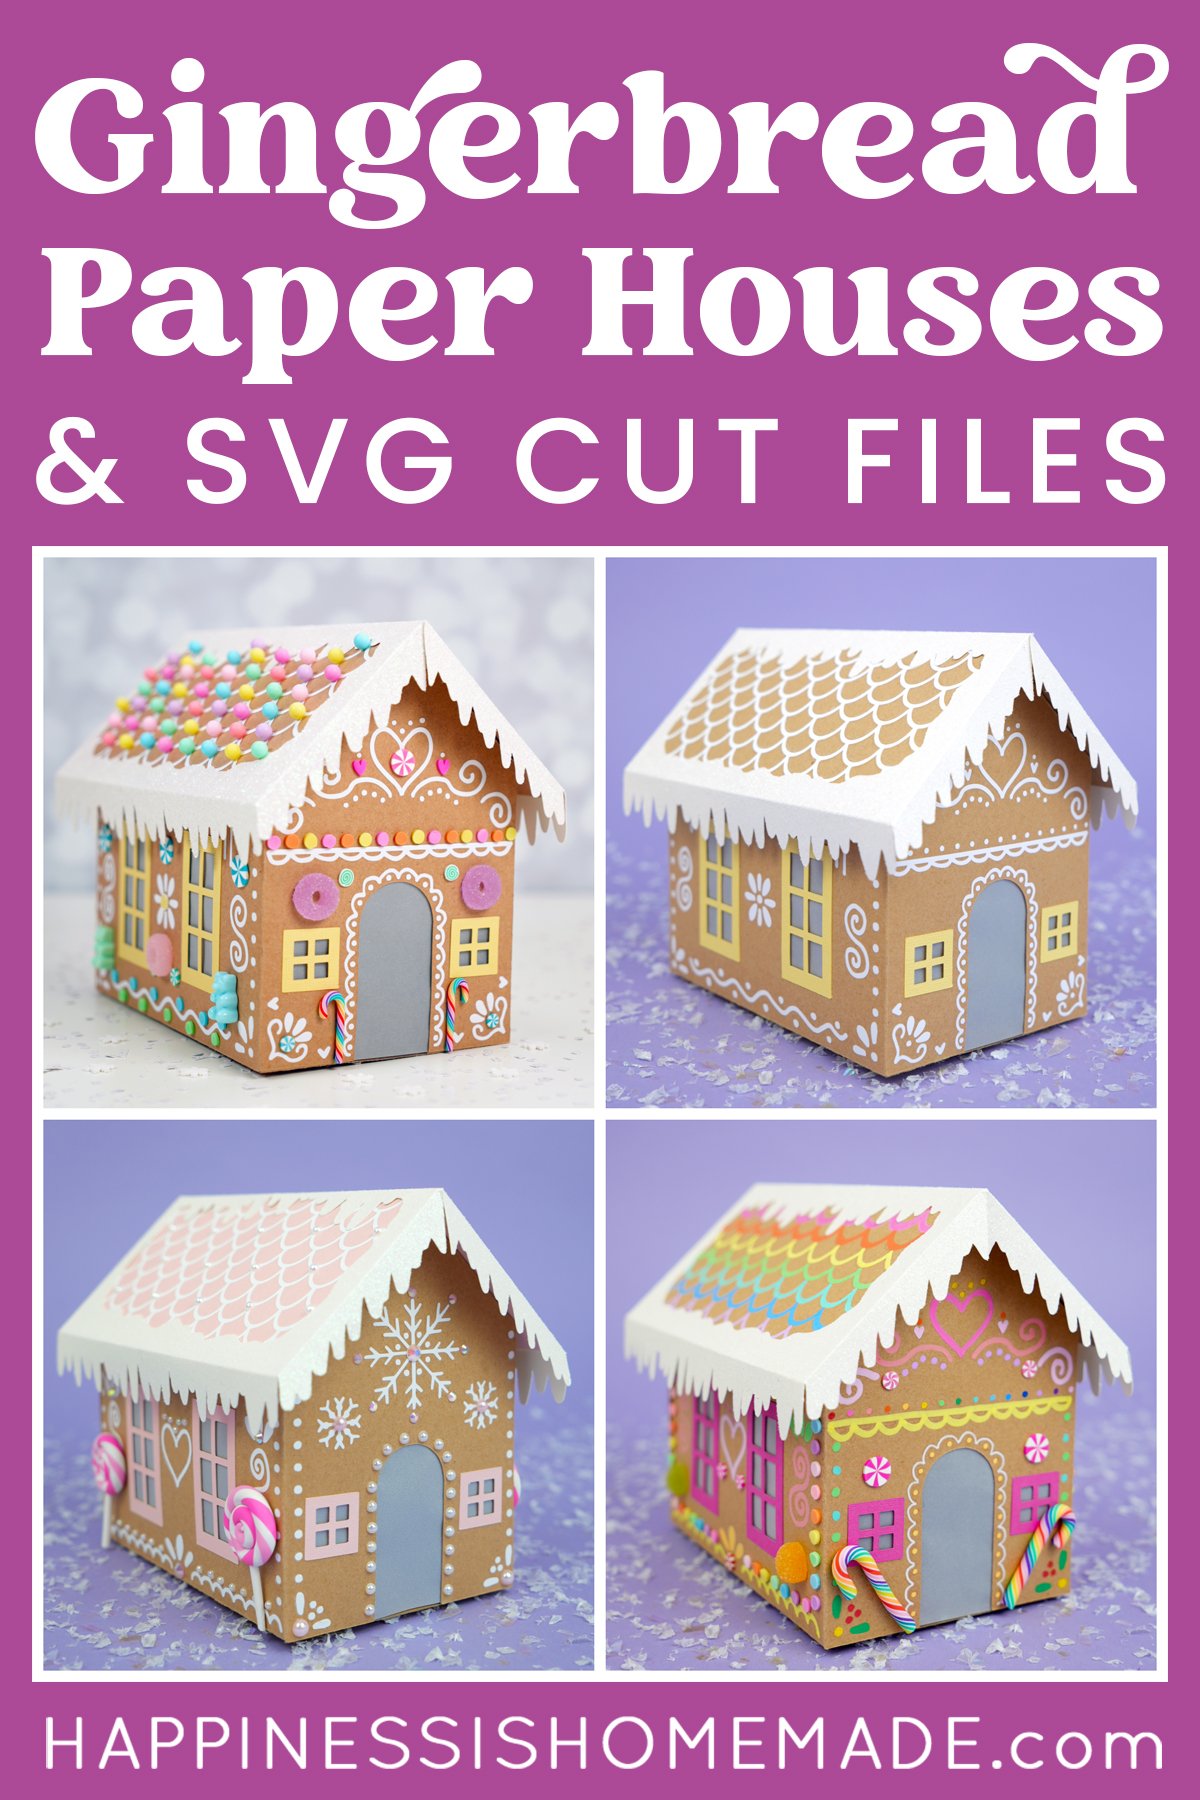
- Cardboard Gingerbread Houses + SVG Files
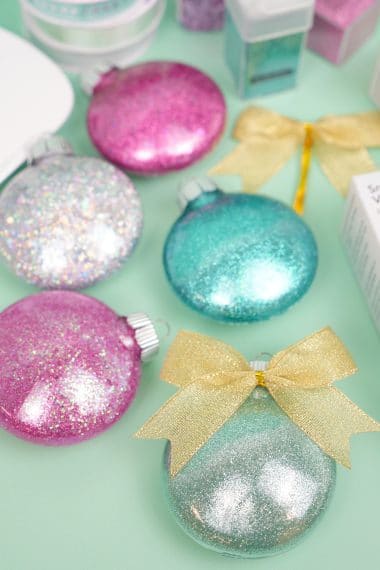
- Glitter Ornaments: Easy Christmas Craft


Don’t Forget to Pin these Personalized Christmas Ornaments for Later!

Heidi Kundin has captivated the hearts of millions with her colorful and inspiring approach to crafting, celebrations, and family fun. With over 15 years of experience, Happiness is Homemade has become a must-visit destination for those seeking quick and easy creative ideas and last-minute solutions. Heidi’s warm personality shines through her posts, inviting readers to join her on a creative journey that’s fun, rewarding, and achievable. Heidi is also the author of Homemade Bath Bombs & More and DIY Tie-Dye.