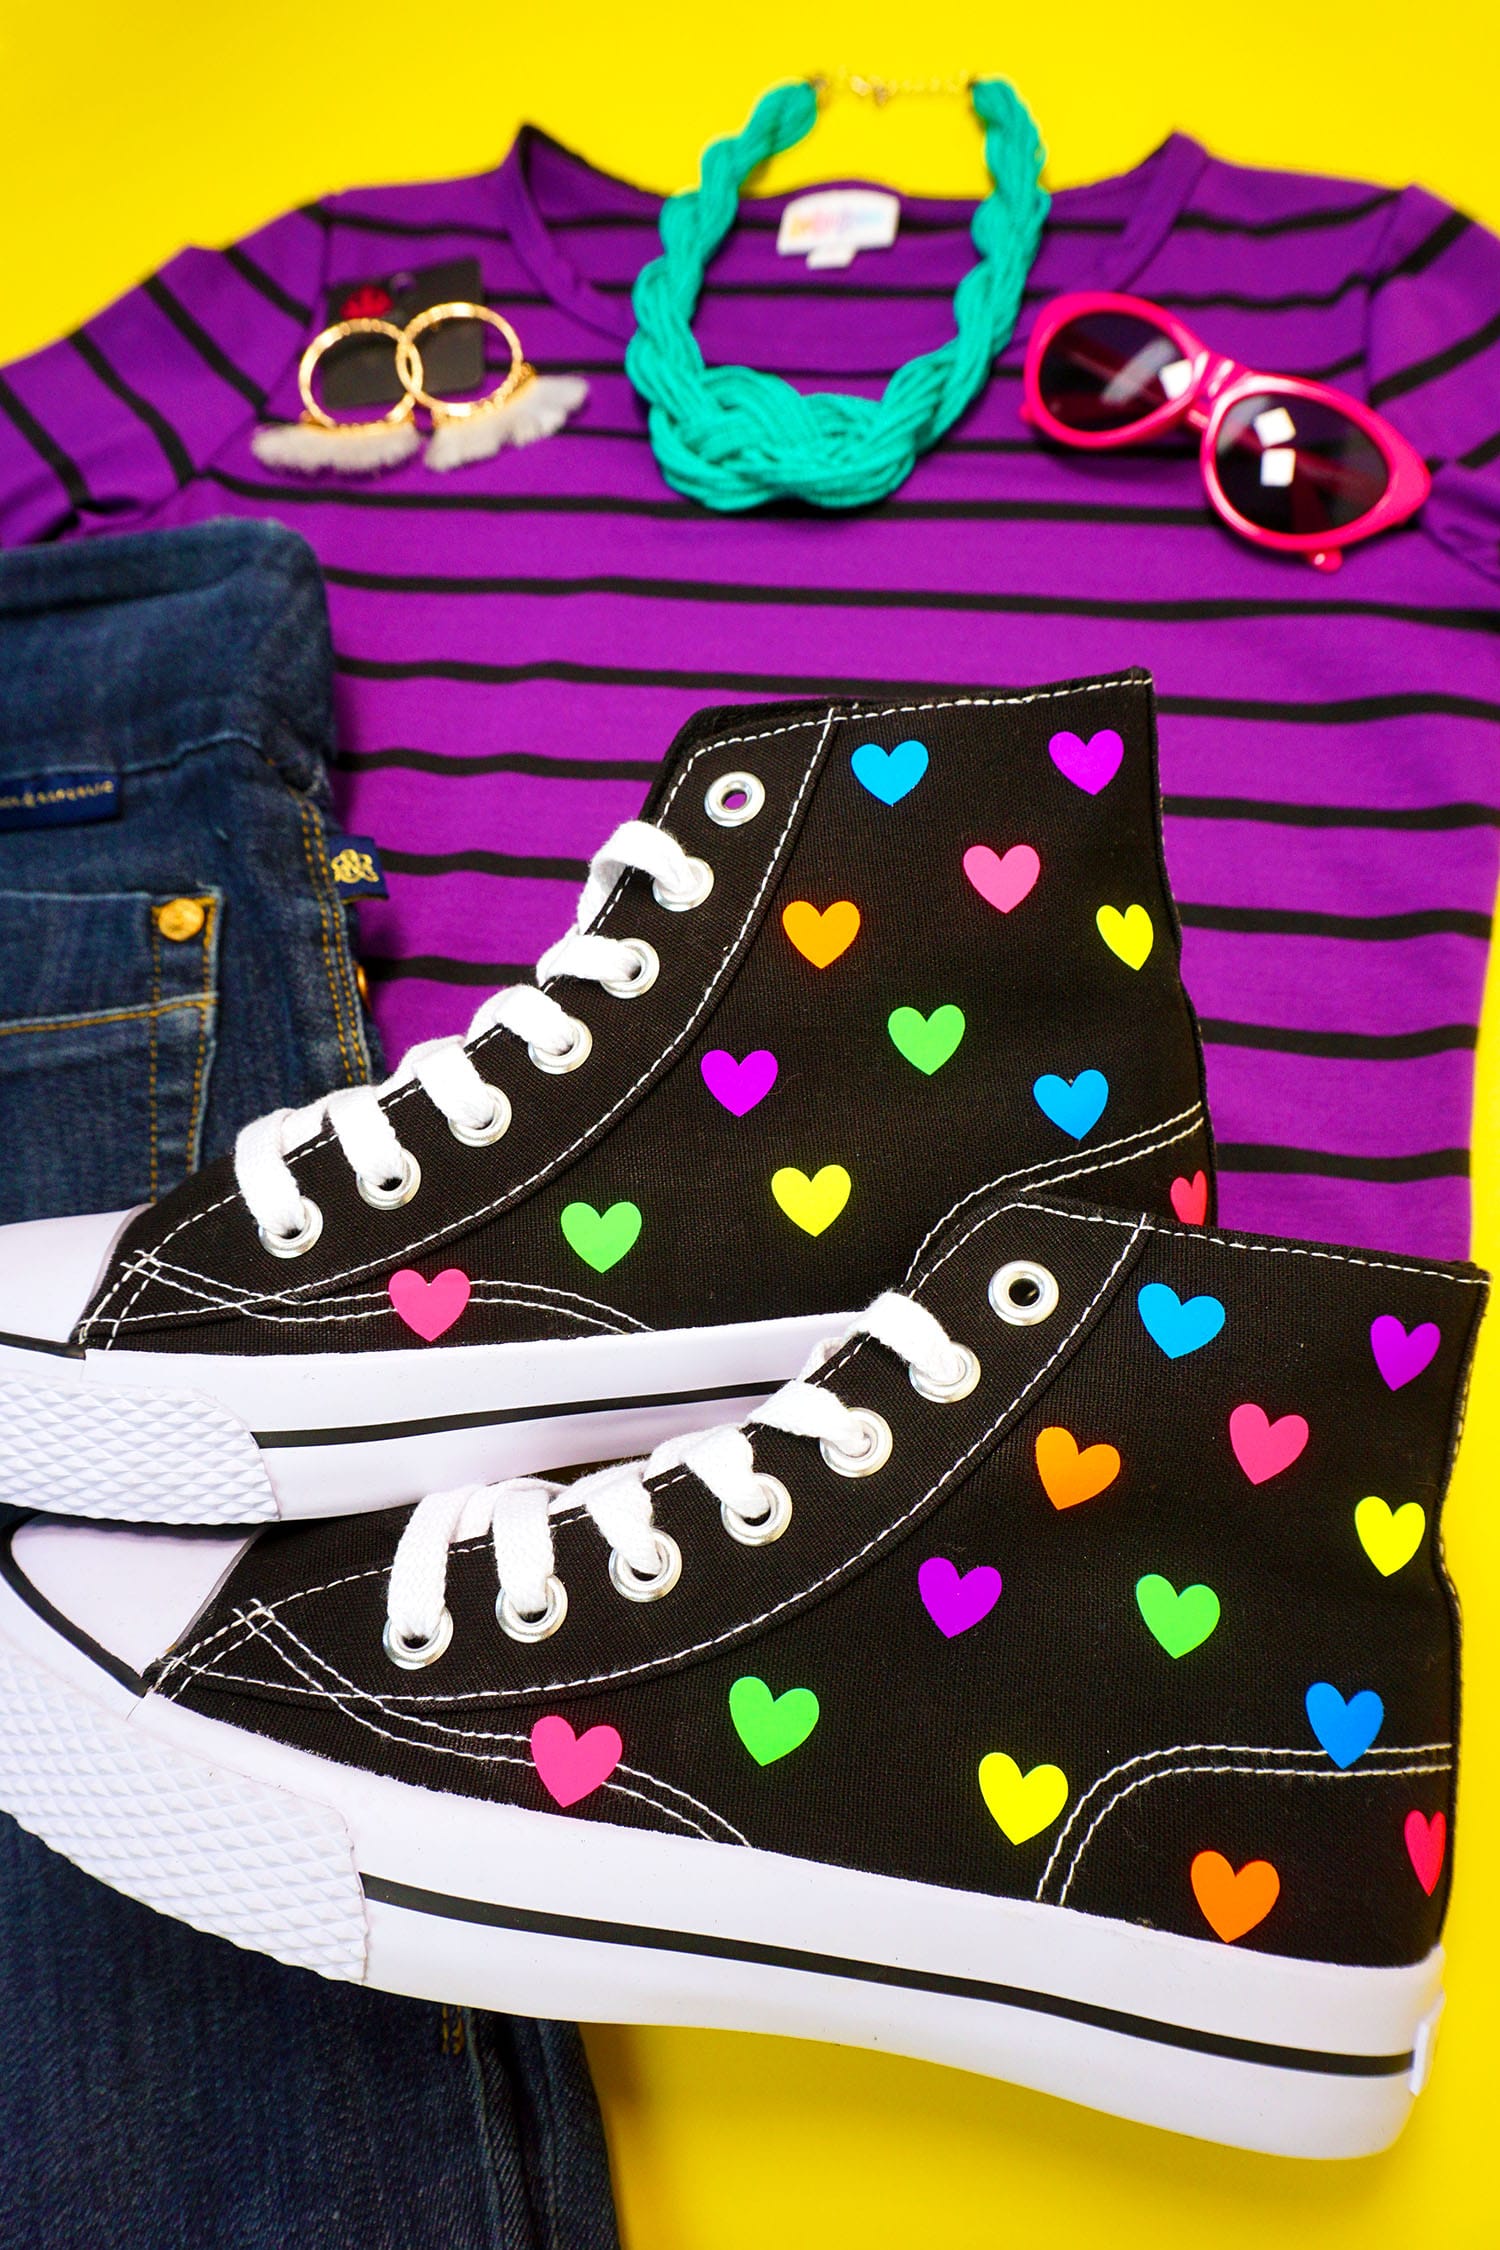
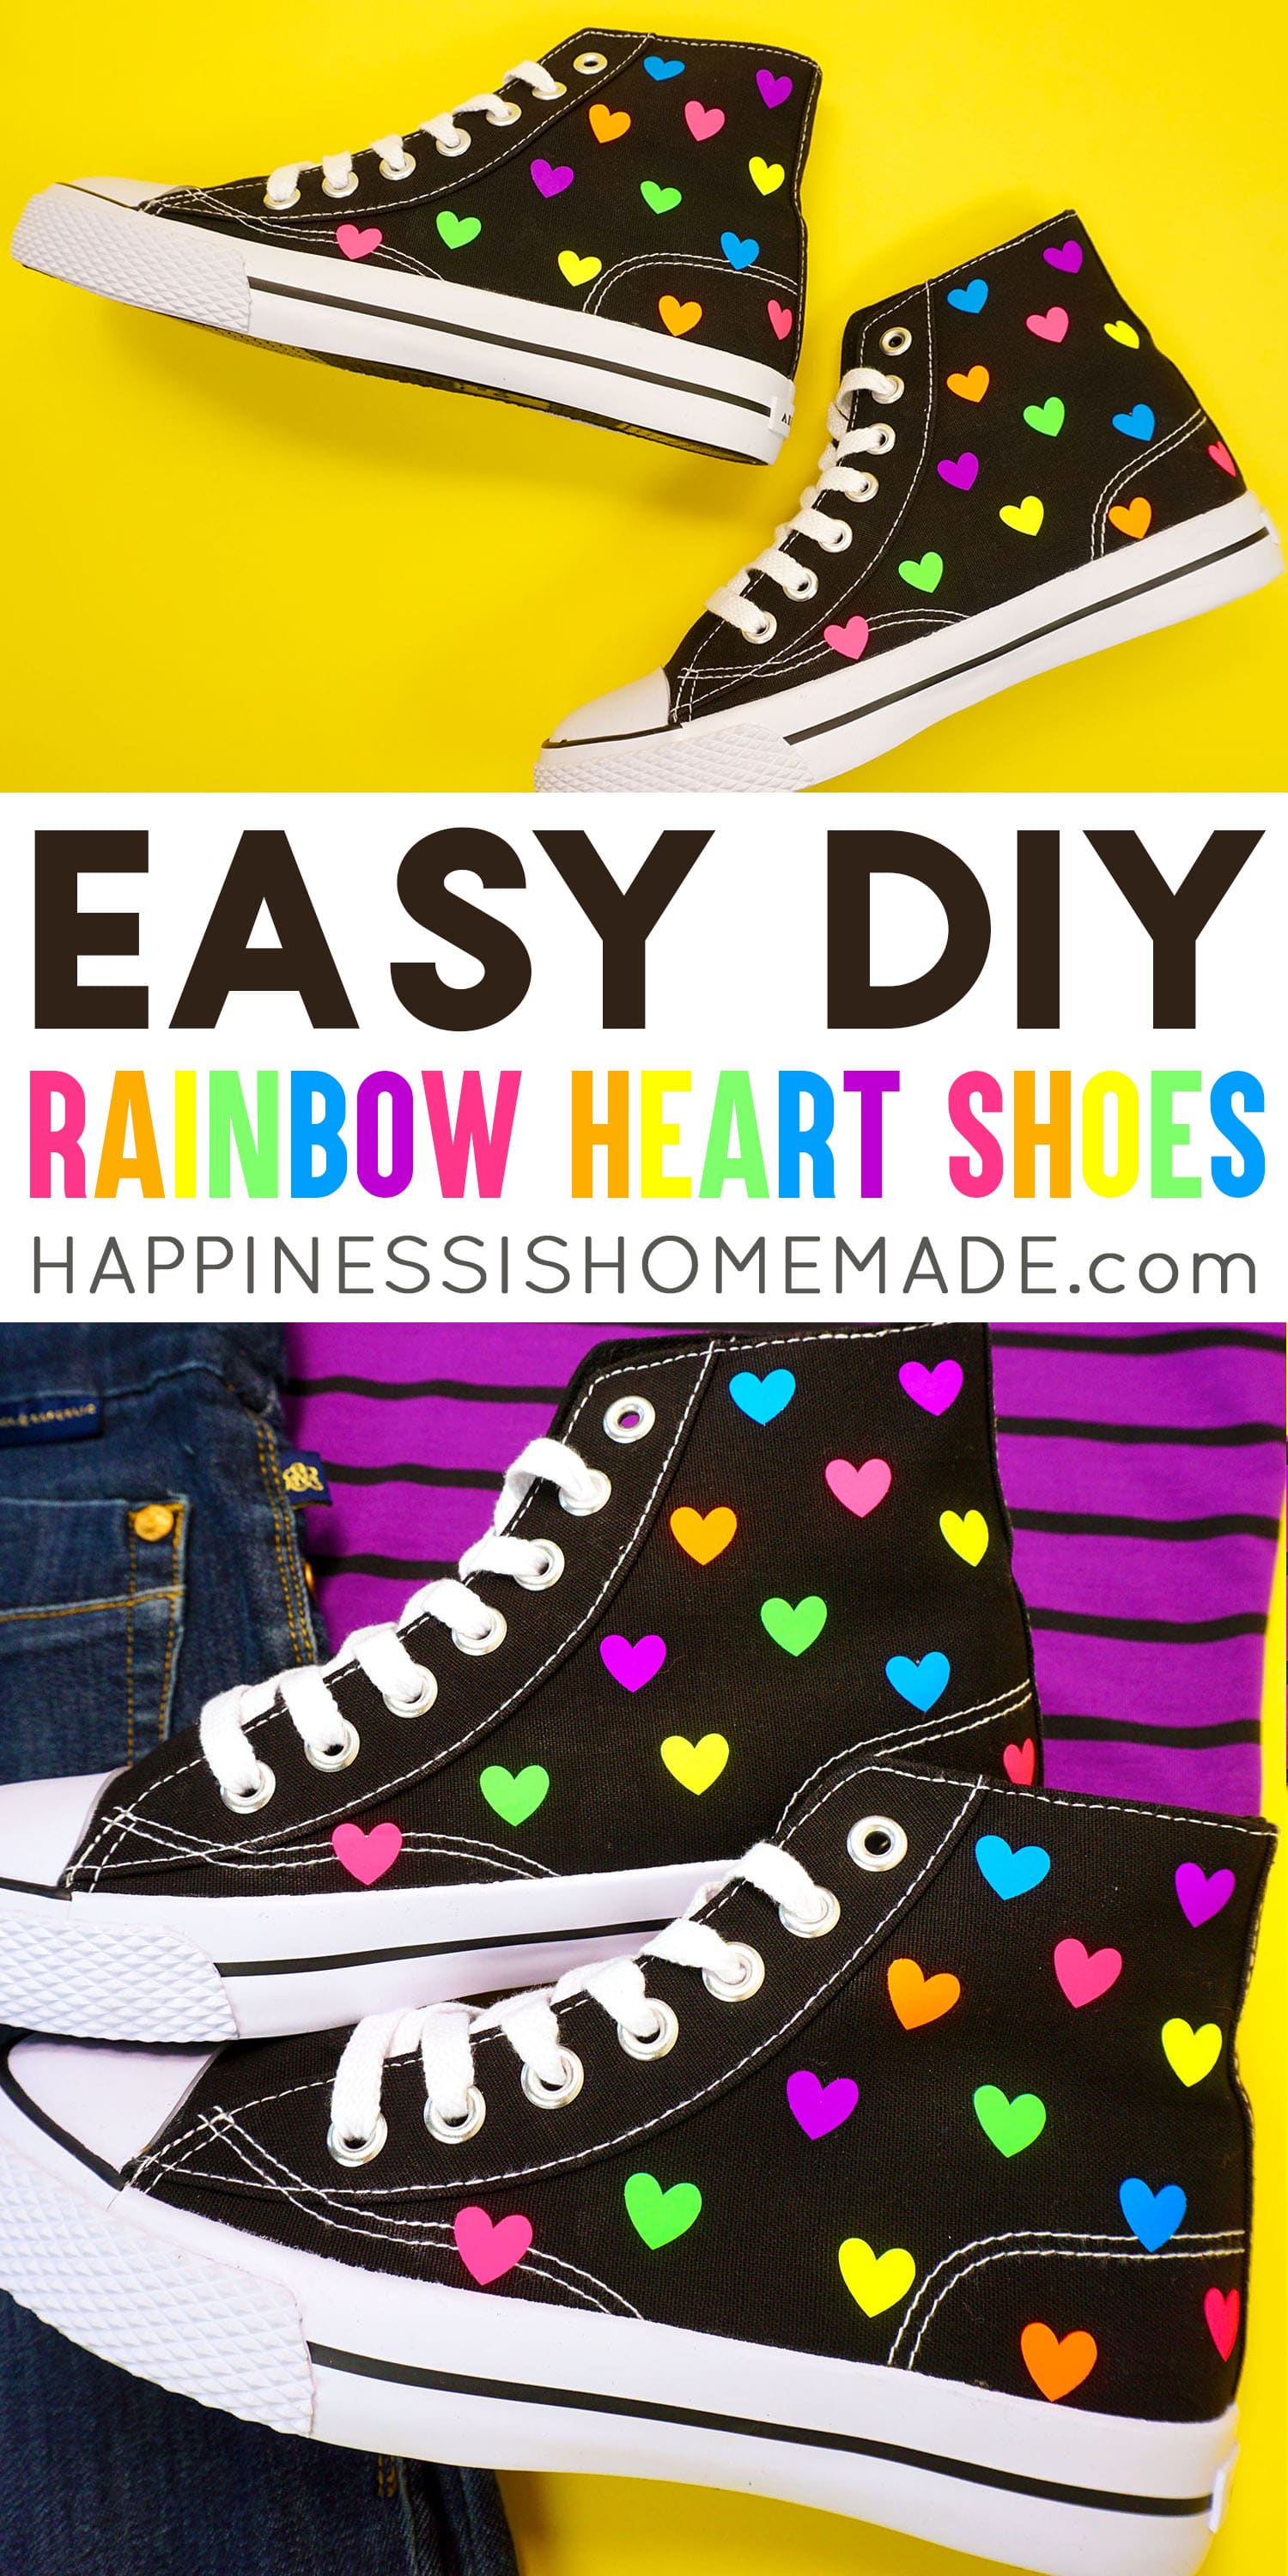
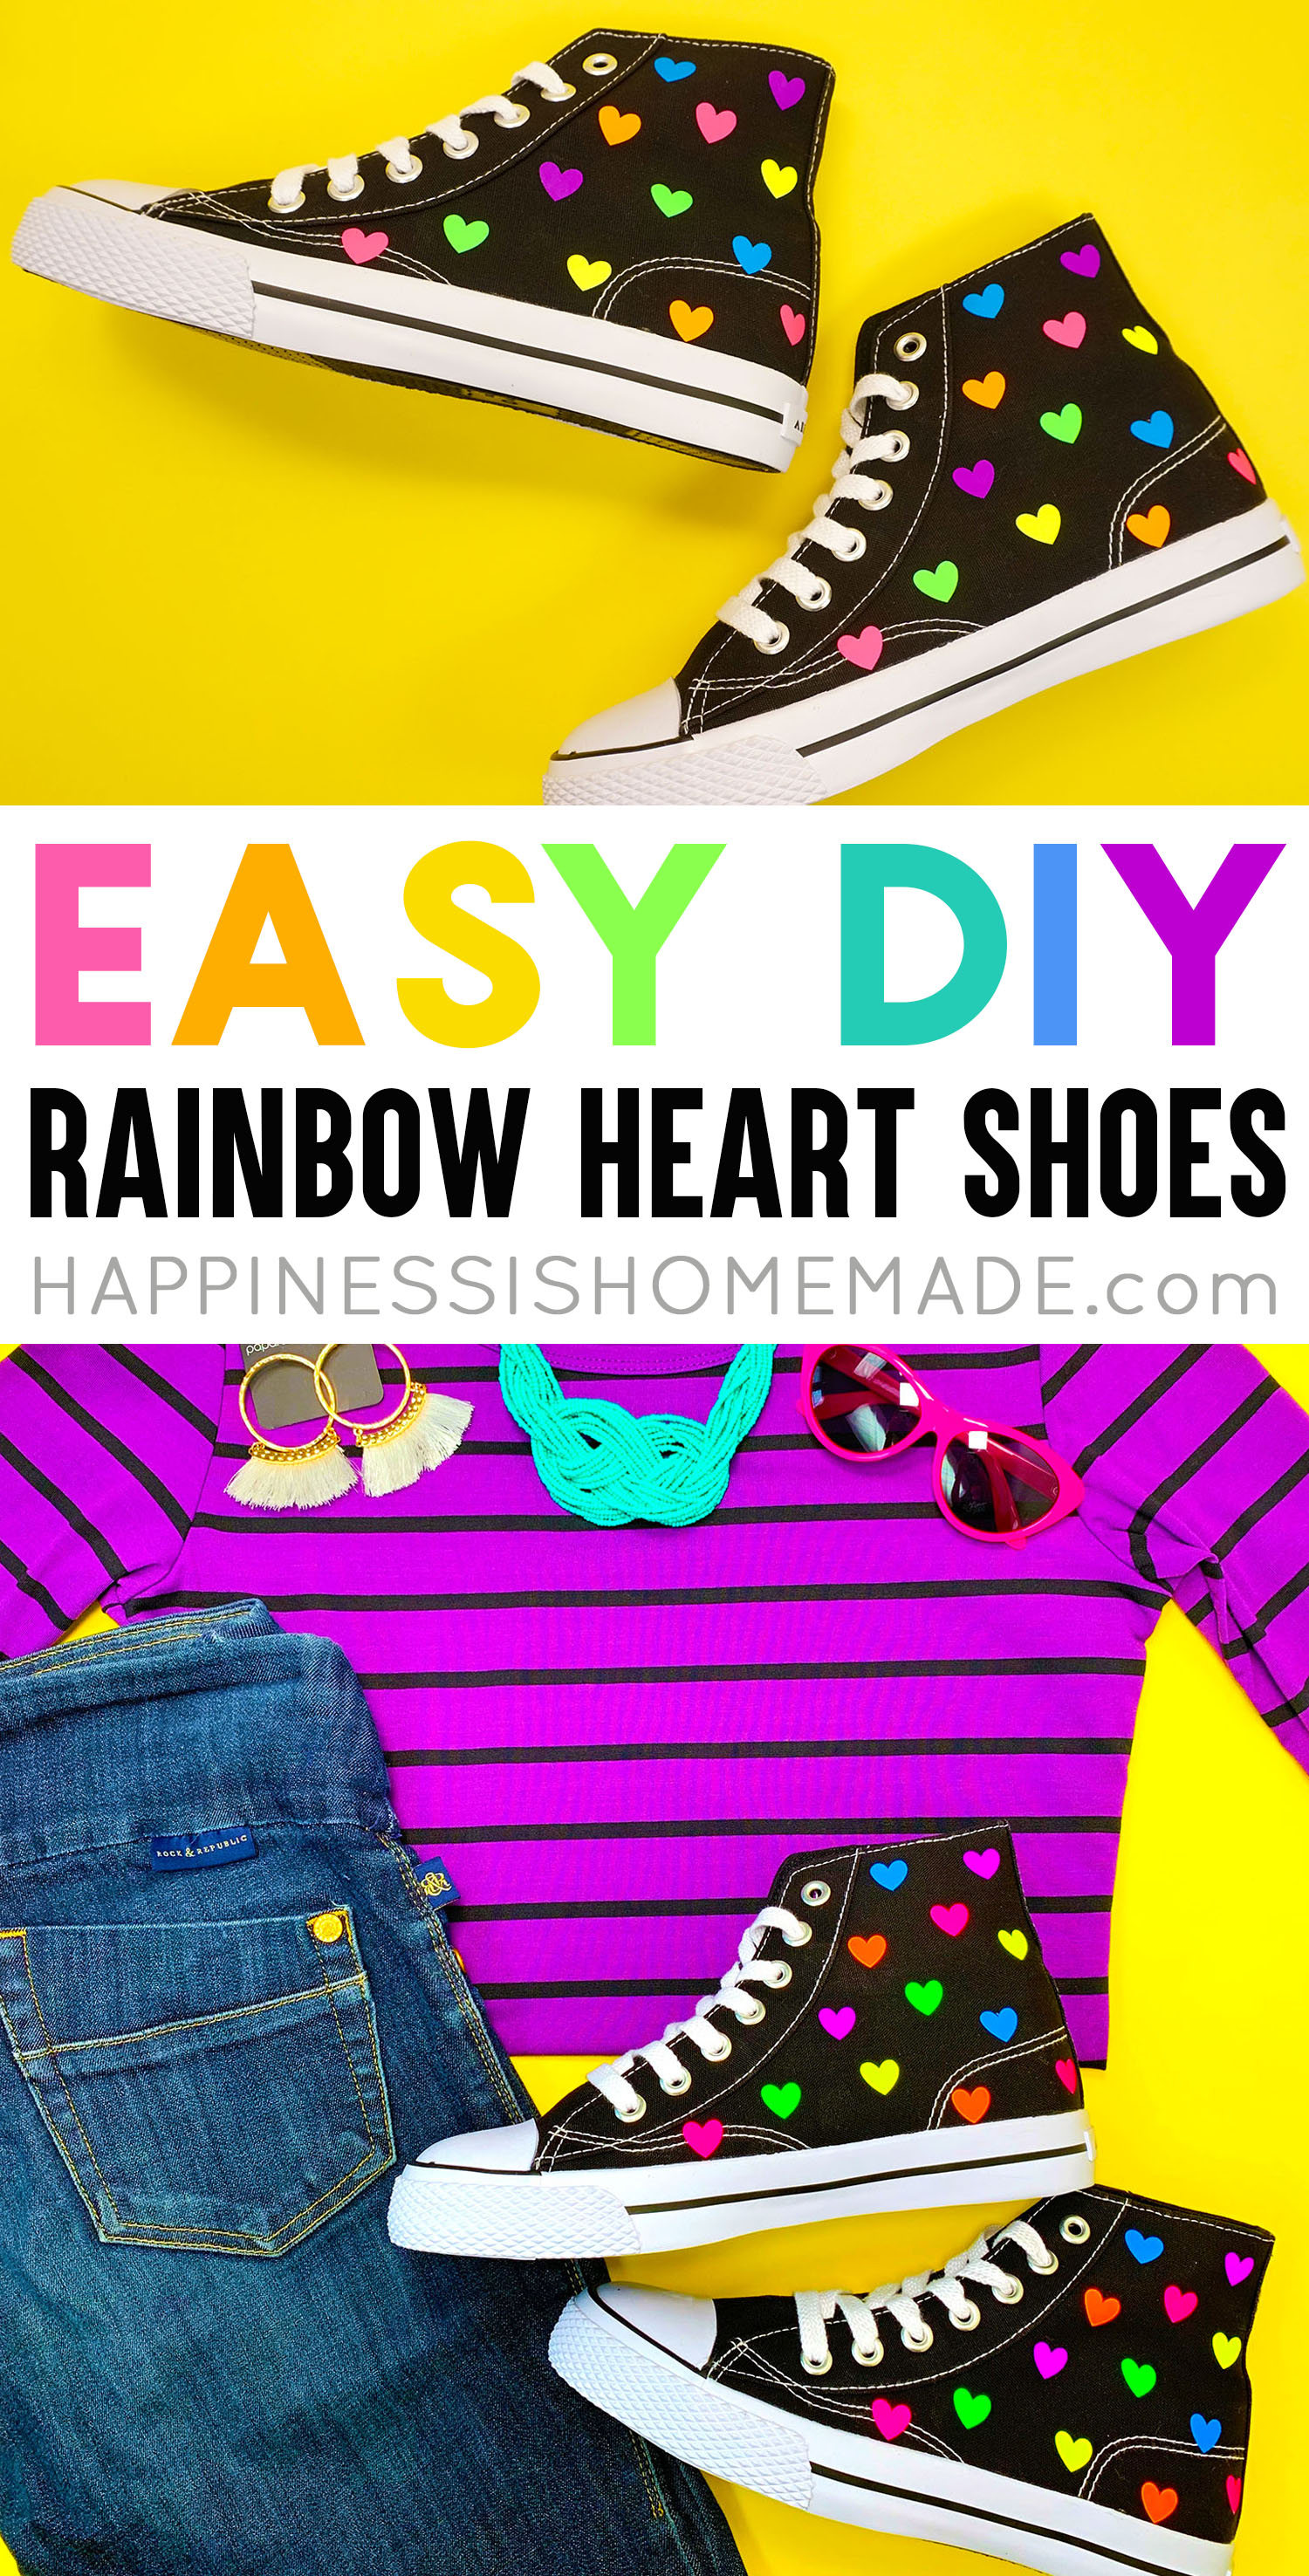
These rainbow heart shoes are the cutest! Make your own DIY Rainbow Heart Shoes with the new Cricut EasyPress Mini!
This post may contain affiliate links. I will receive a small commission from these sales at no additional cost to you!This is a sponsored conversation written by me on behalf of Cricut. The opinions and text are all mine.
DIY Rainbow Heart Shoes
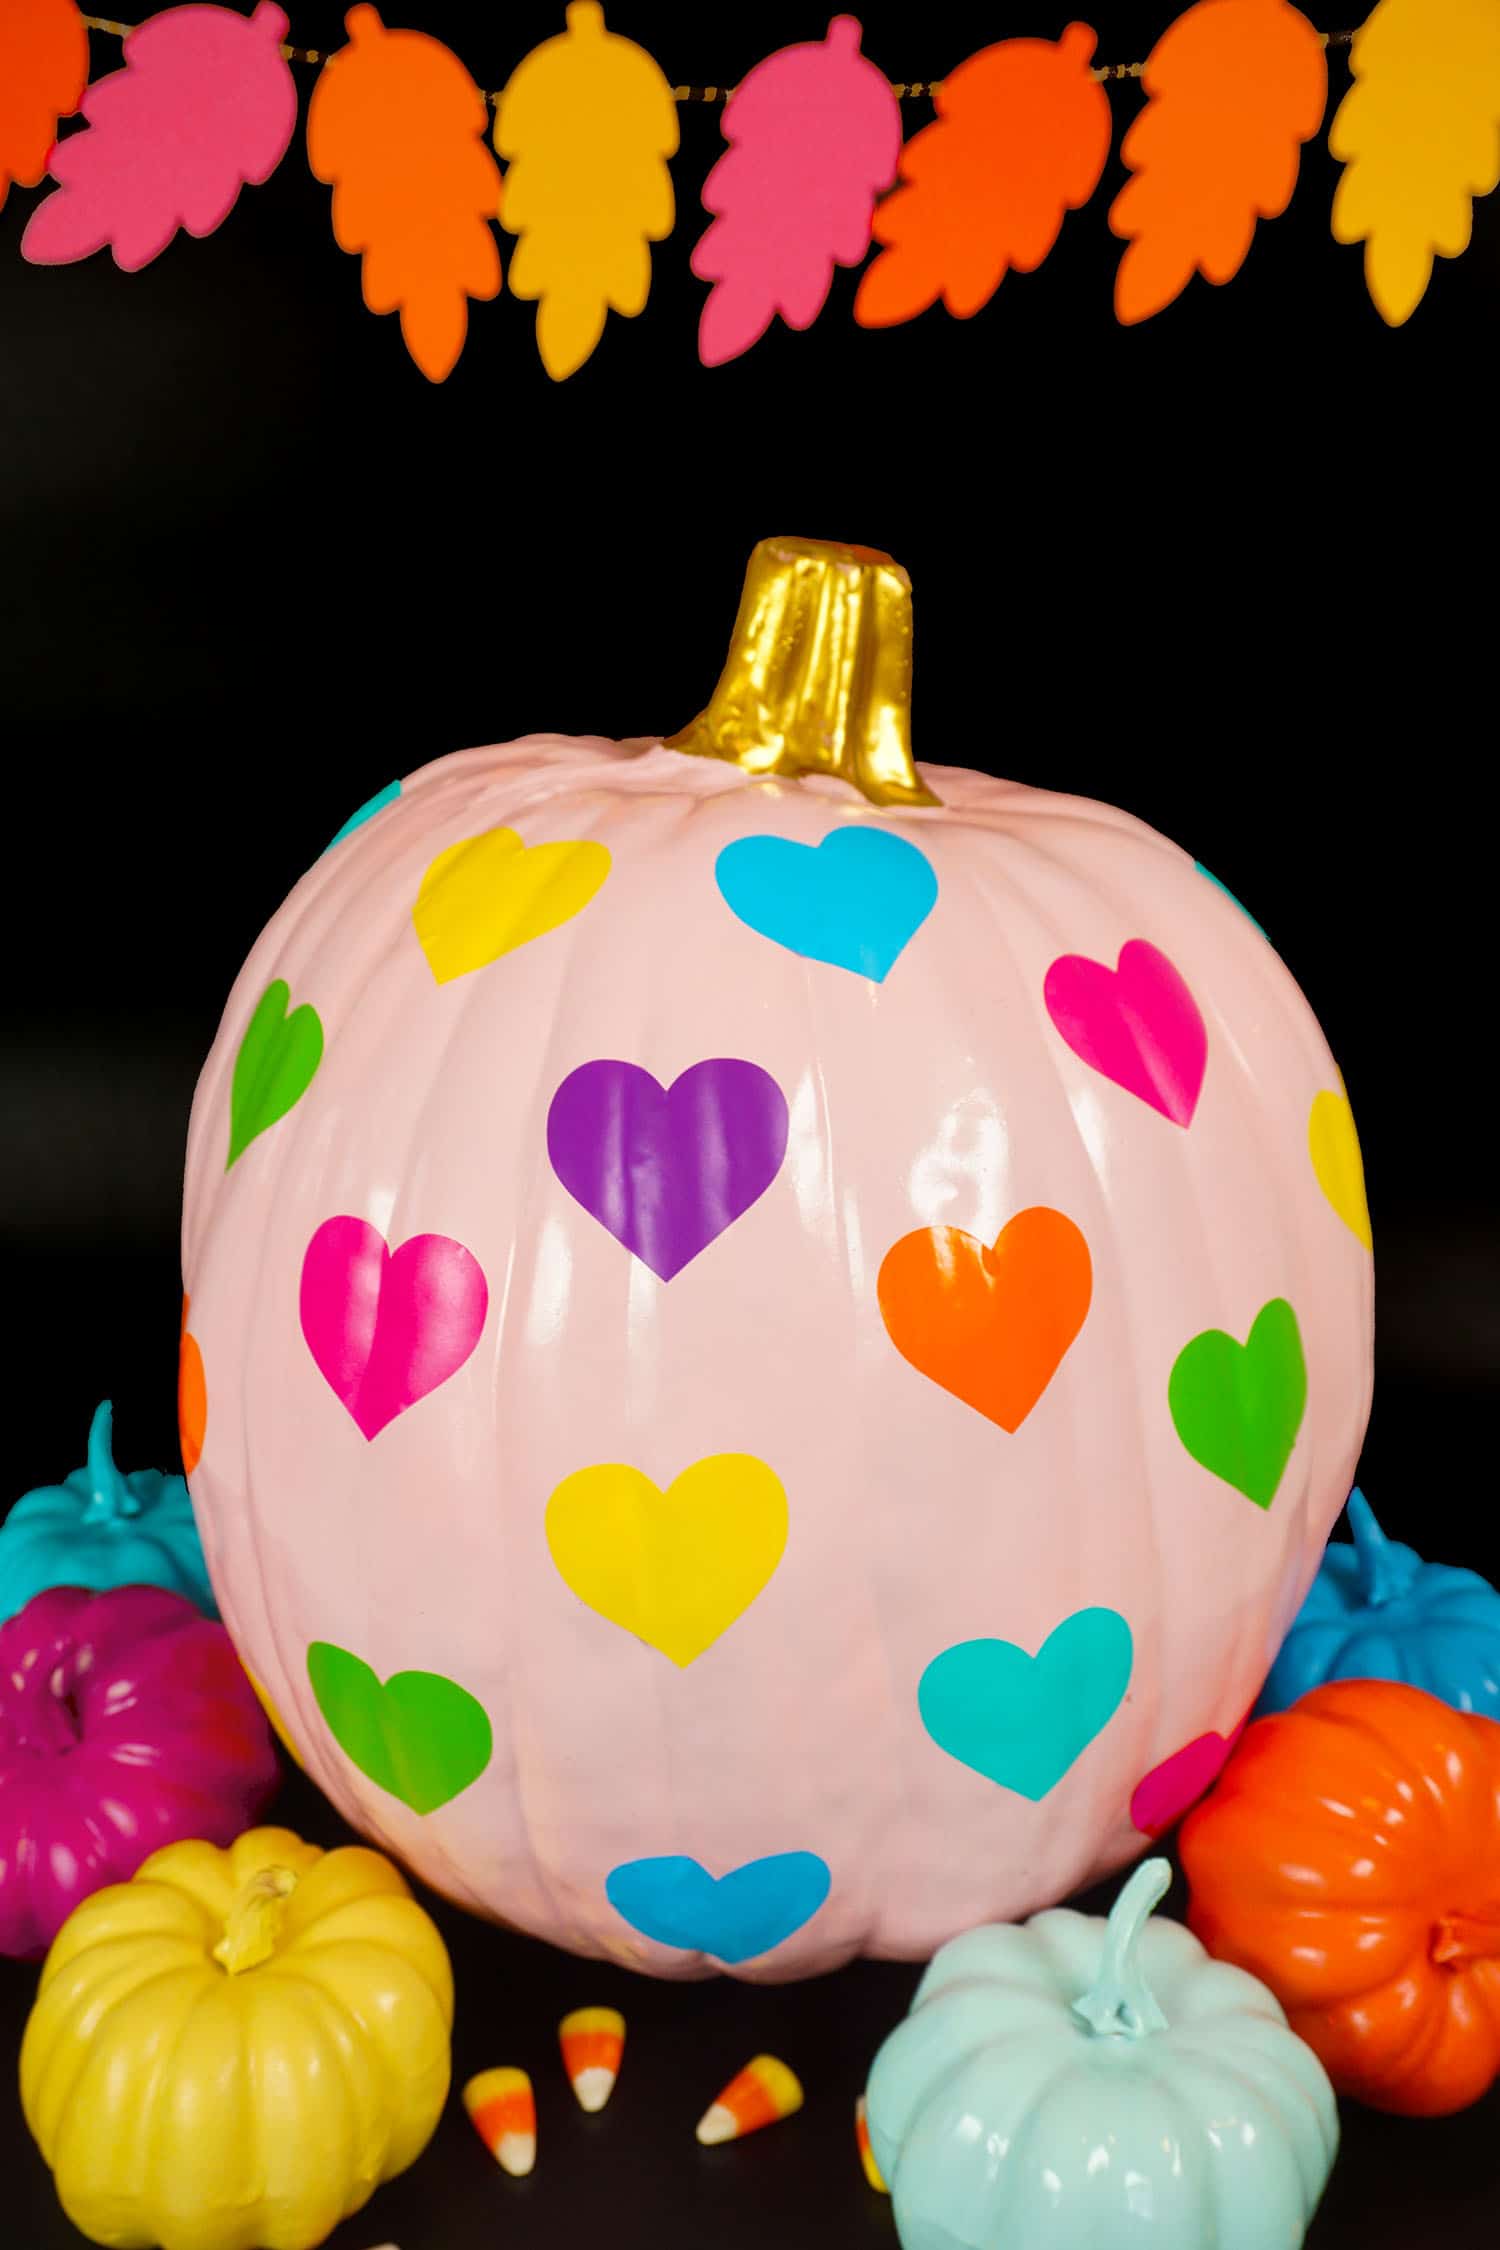
Hearts and rainbow are totally my jam (remember that rainbow heart pumpkin we just made? SO cute, right?!), and making rainbow heart shoes has been on my to-do list for a long time now. Adding iron-on to shoes and hats has traditionally been a bit of a challenge due to the small size and uneven surfaces, but that has all changed now thanks to the introduction of the brand new EasyPress Mini by Cricut! Now, adding iron-on to small spaces is easier than ever!
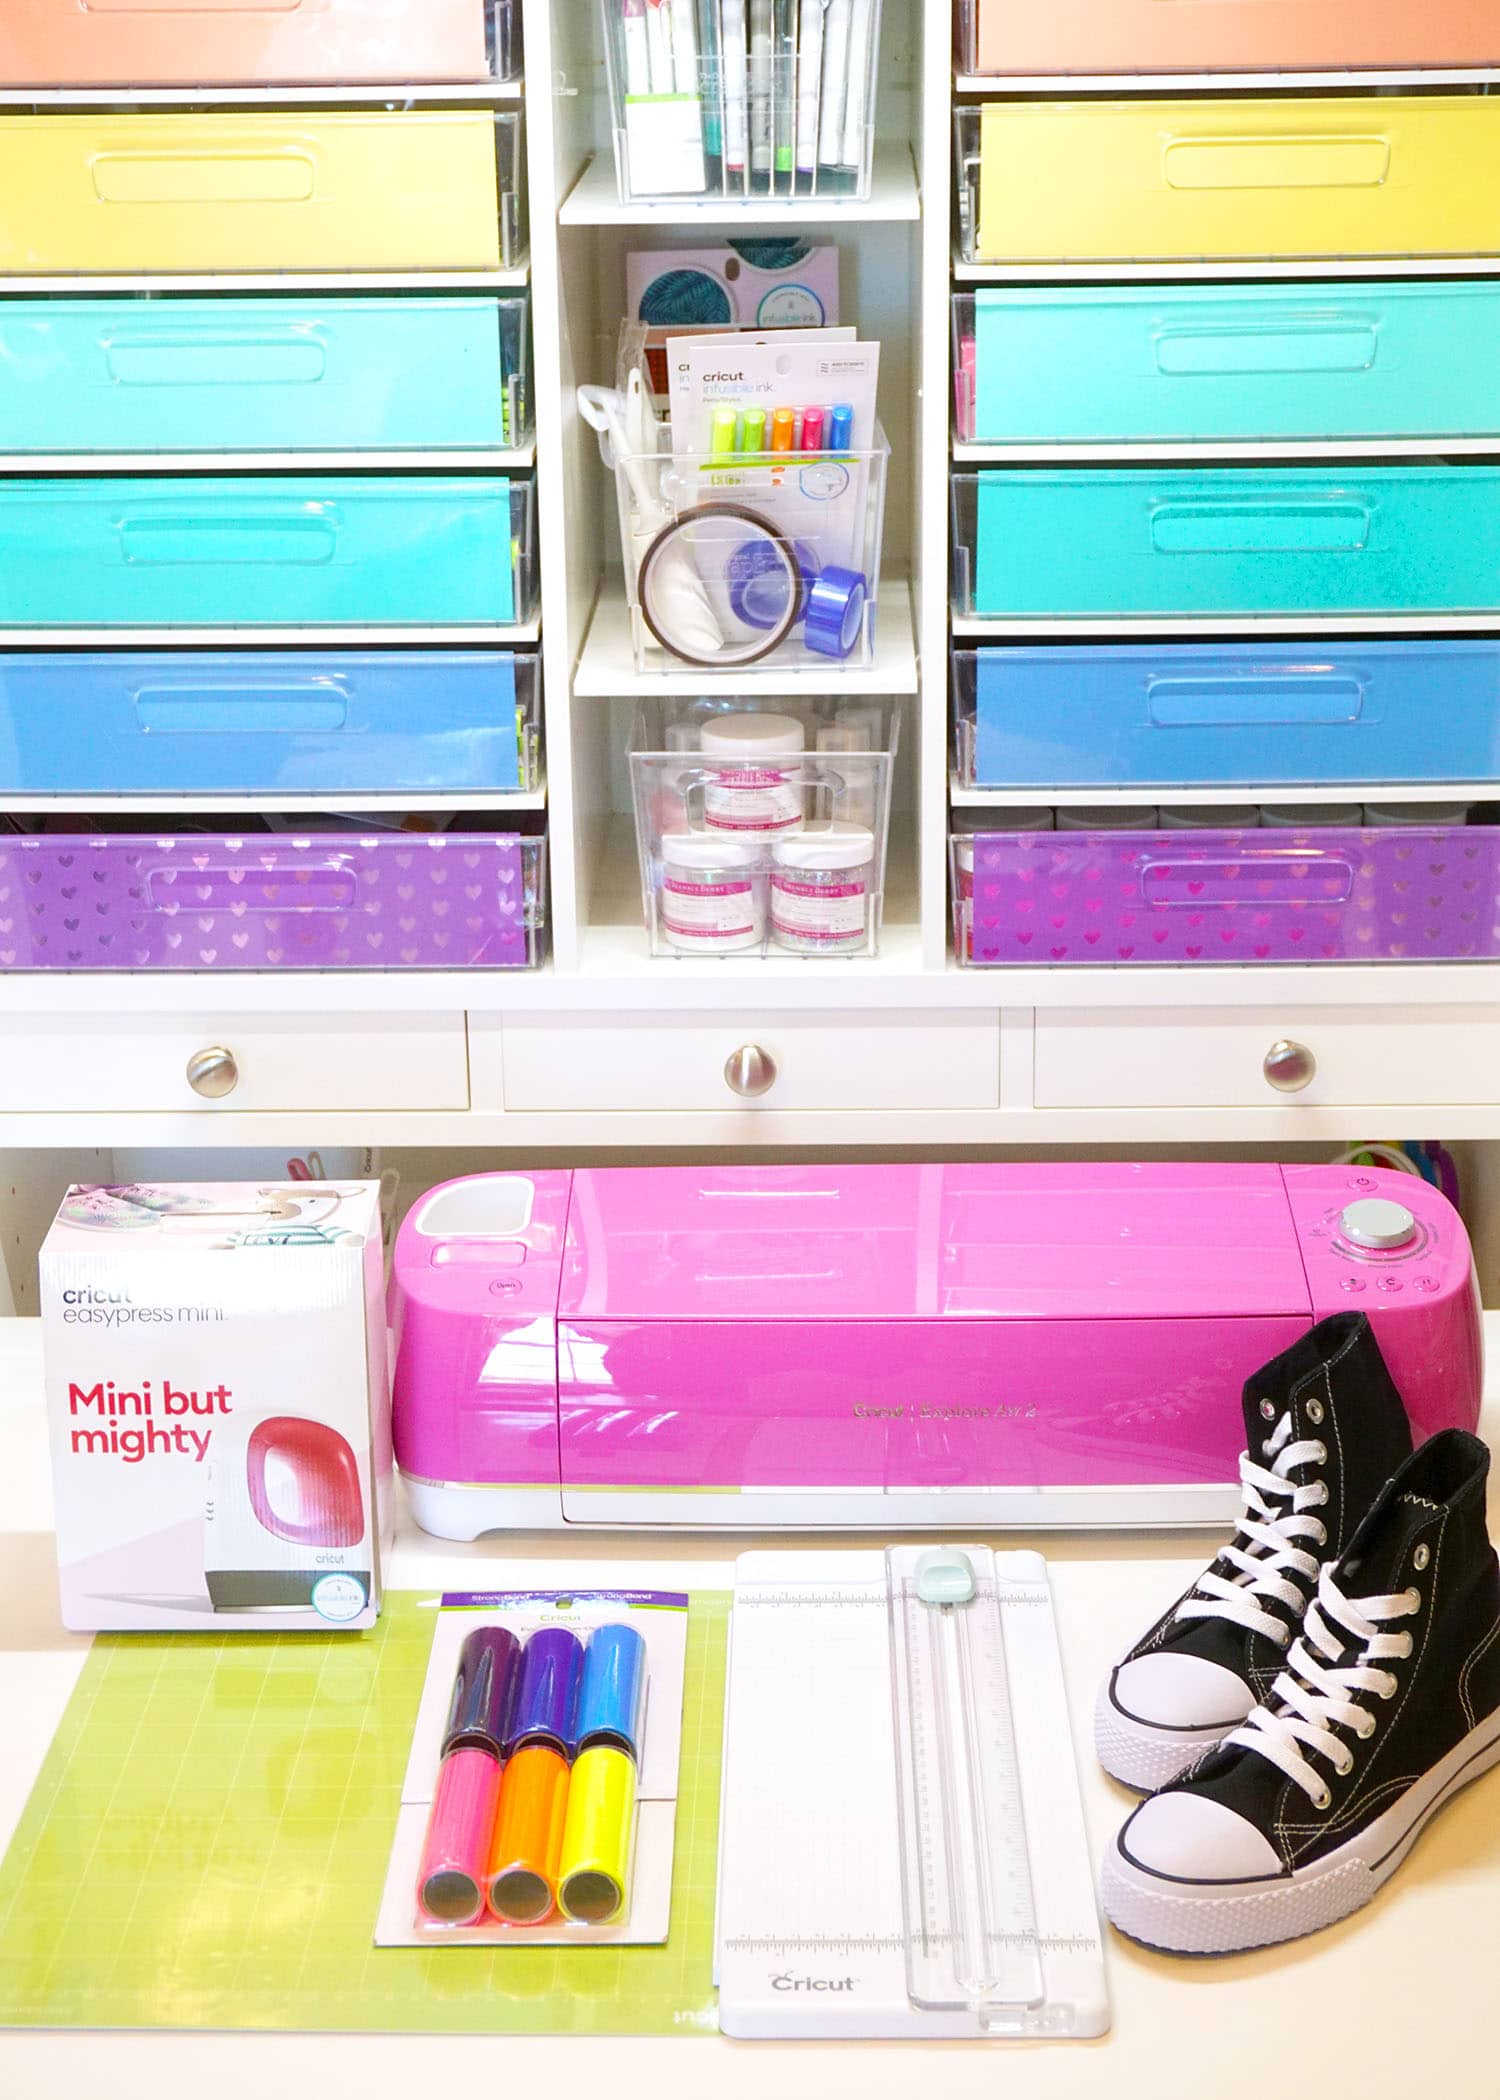
Supplies Used to Make Rainbow Heart Shoes:
- Black High Top Tennis Shoes
- Cricut Explore Air 2 Machine
- Cricut Standard Grip Mat
- Cricut Everyday Iron-On (I love the Mini Sampler packs for projects like this!)
- Cricut Portable Trimmer
- EasyPress Mini
- Heat Resistant Tape (optional)
- Assorted socks or other small items for filling the shoes
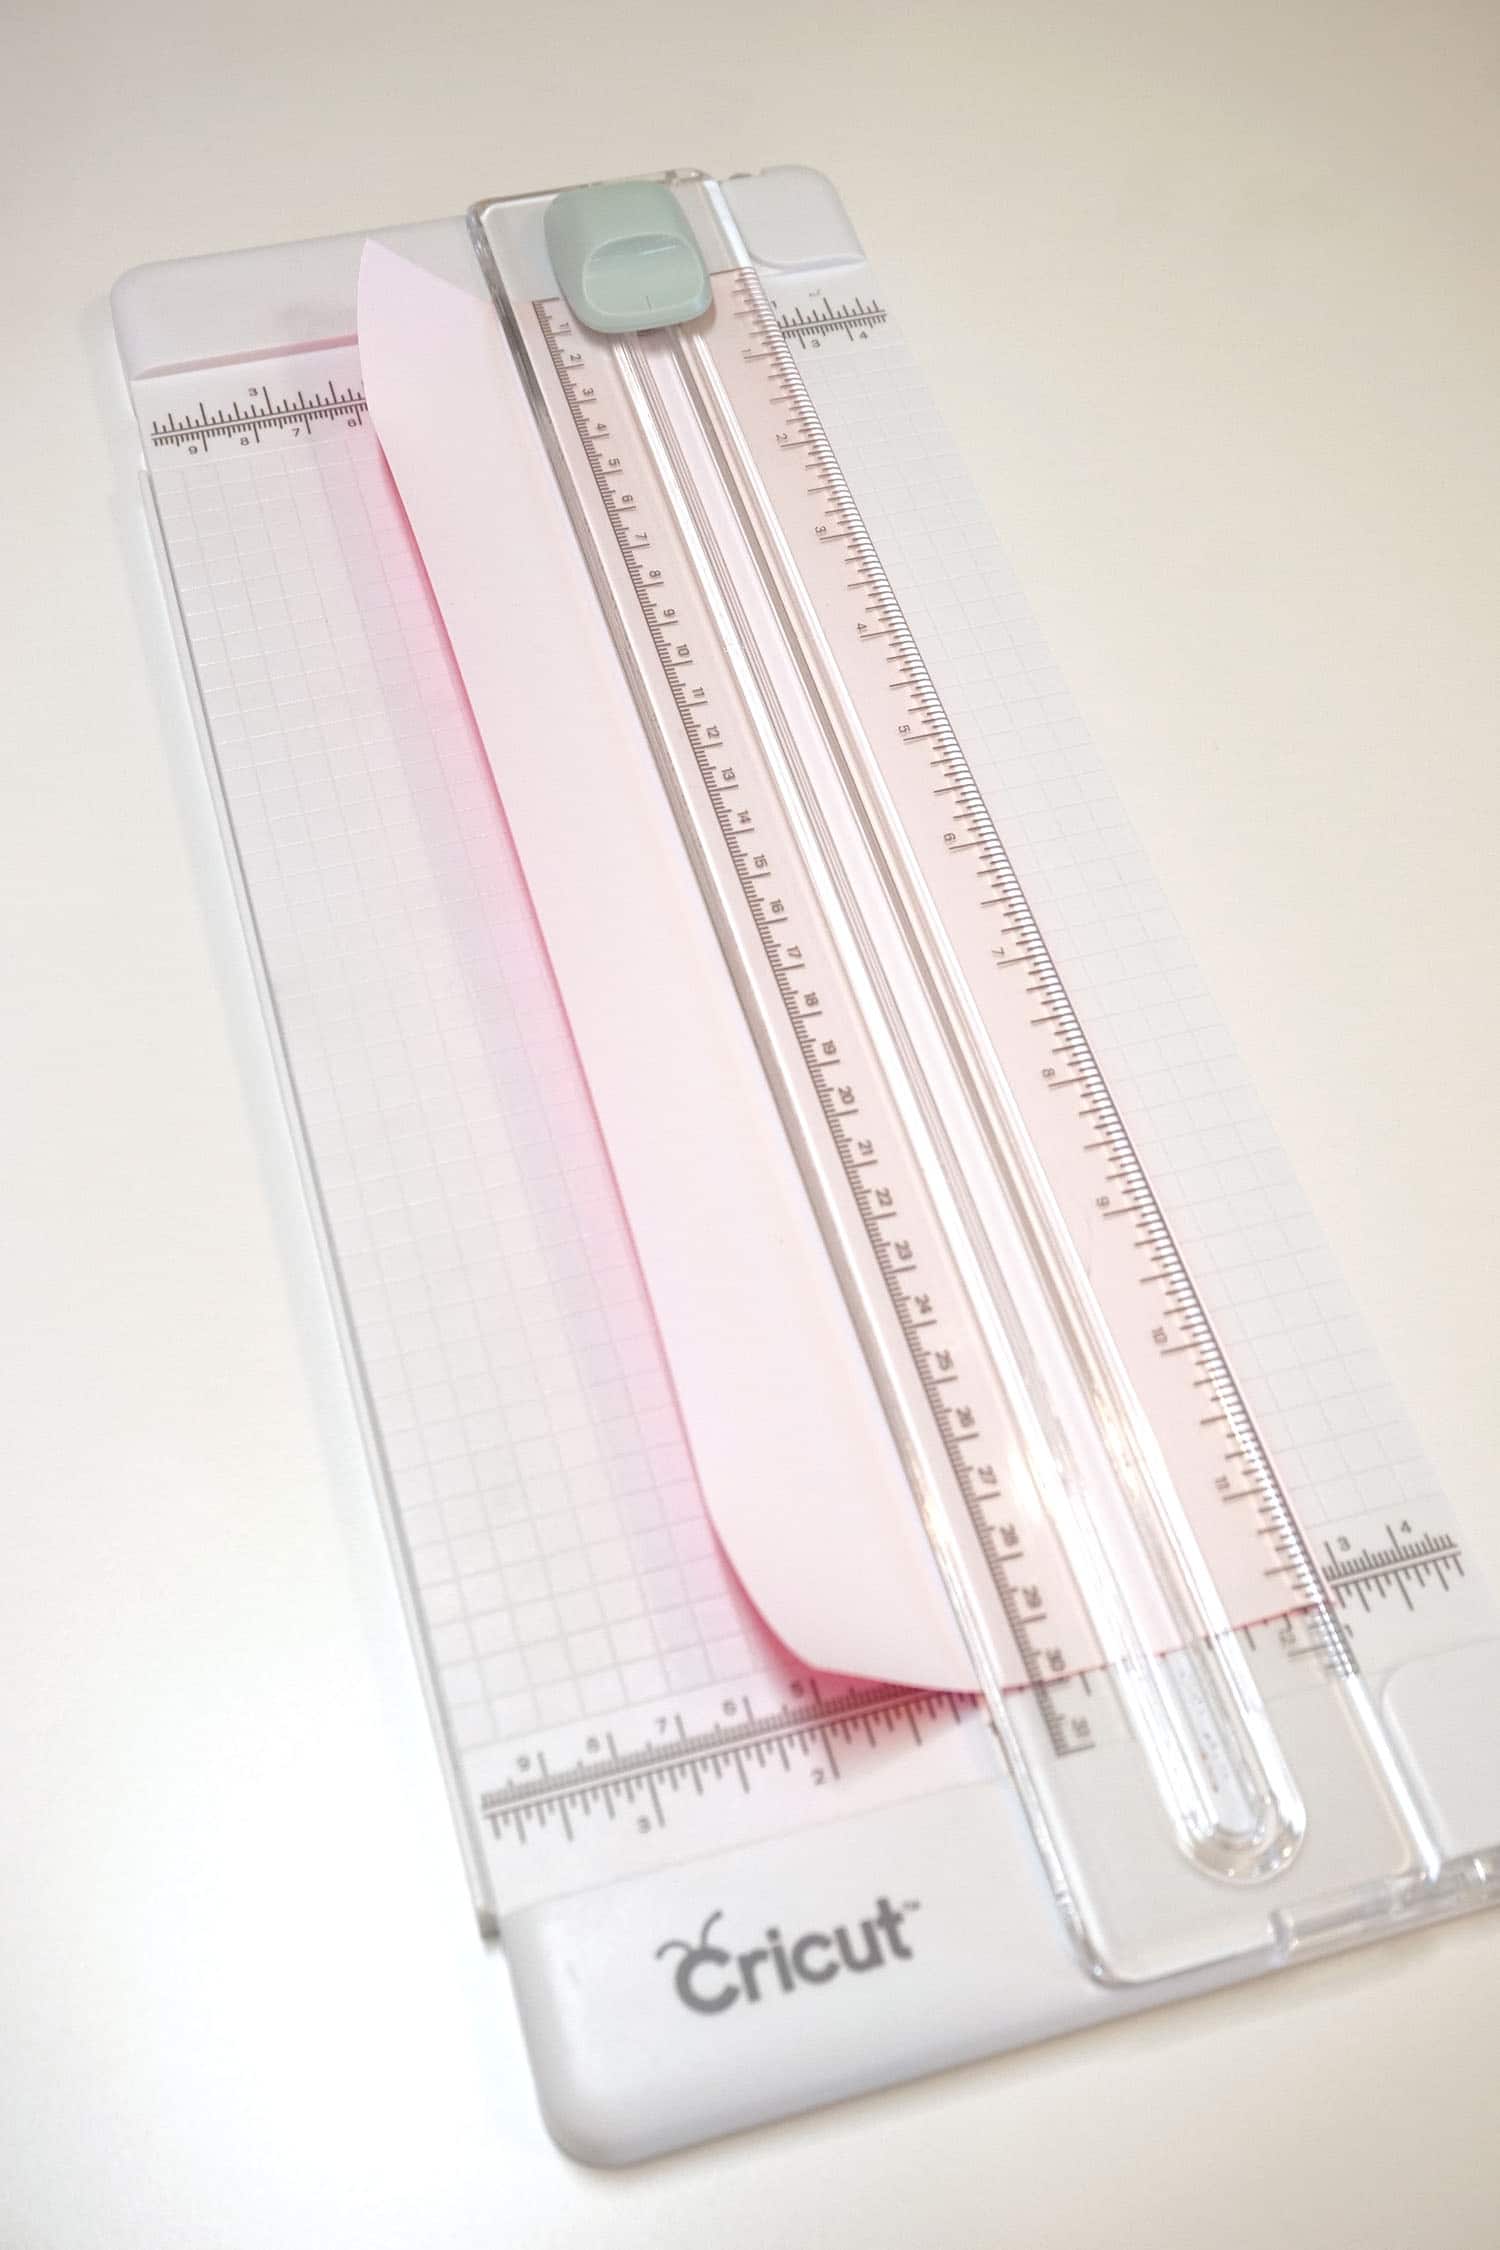
To begin, cut the iron-on vinyl into 12″ x 1″ wide strips. I used my Cricut paper trimmer for the job since it’s always out on my desk (I use it ALL the time!), and it made quick work of the task.
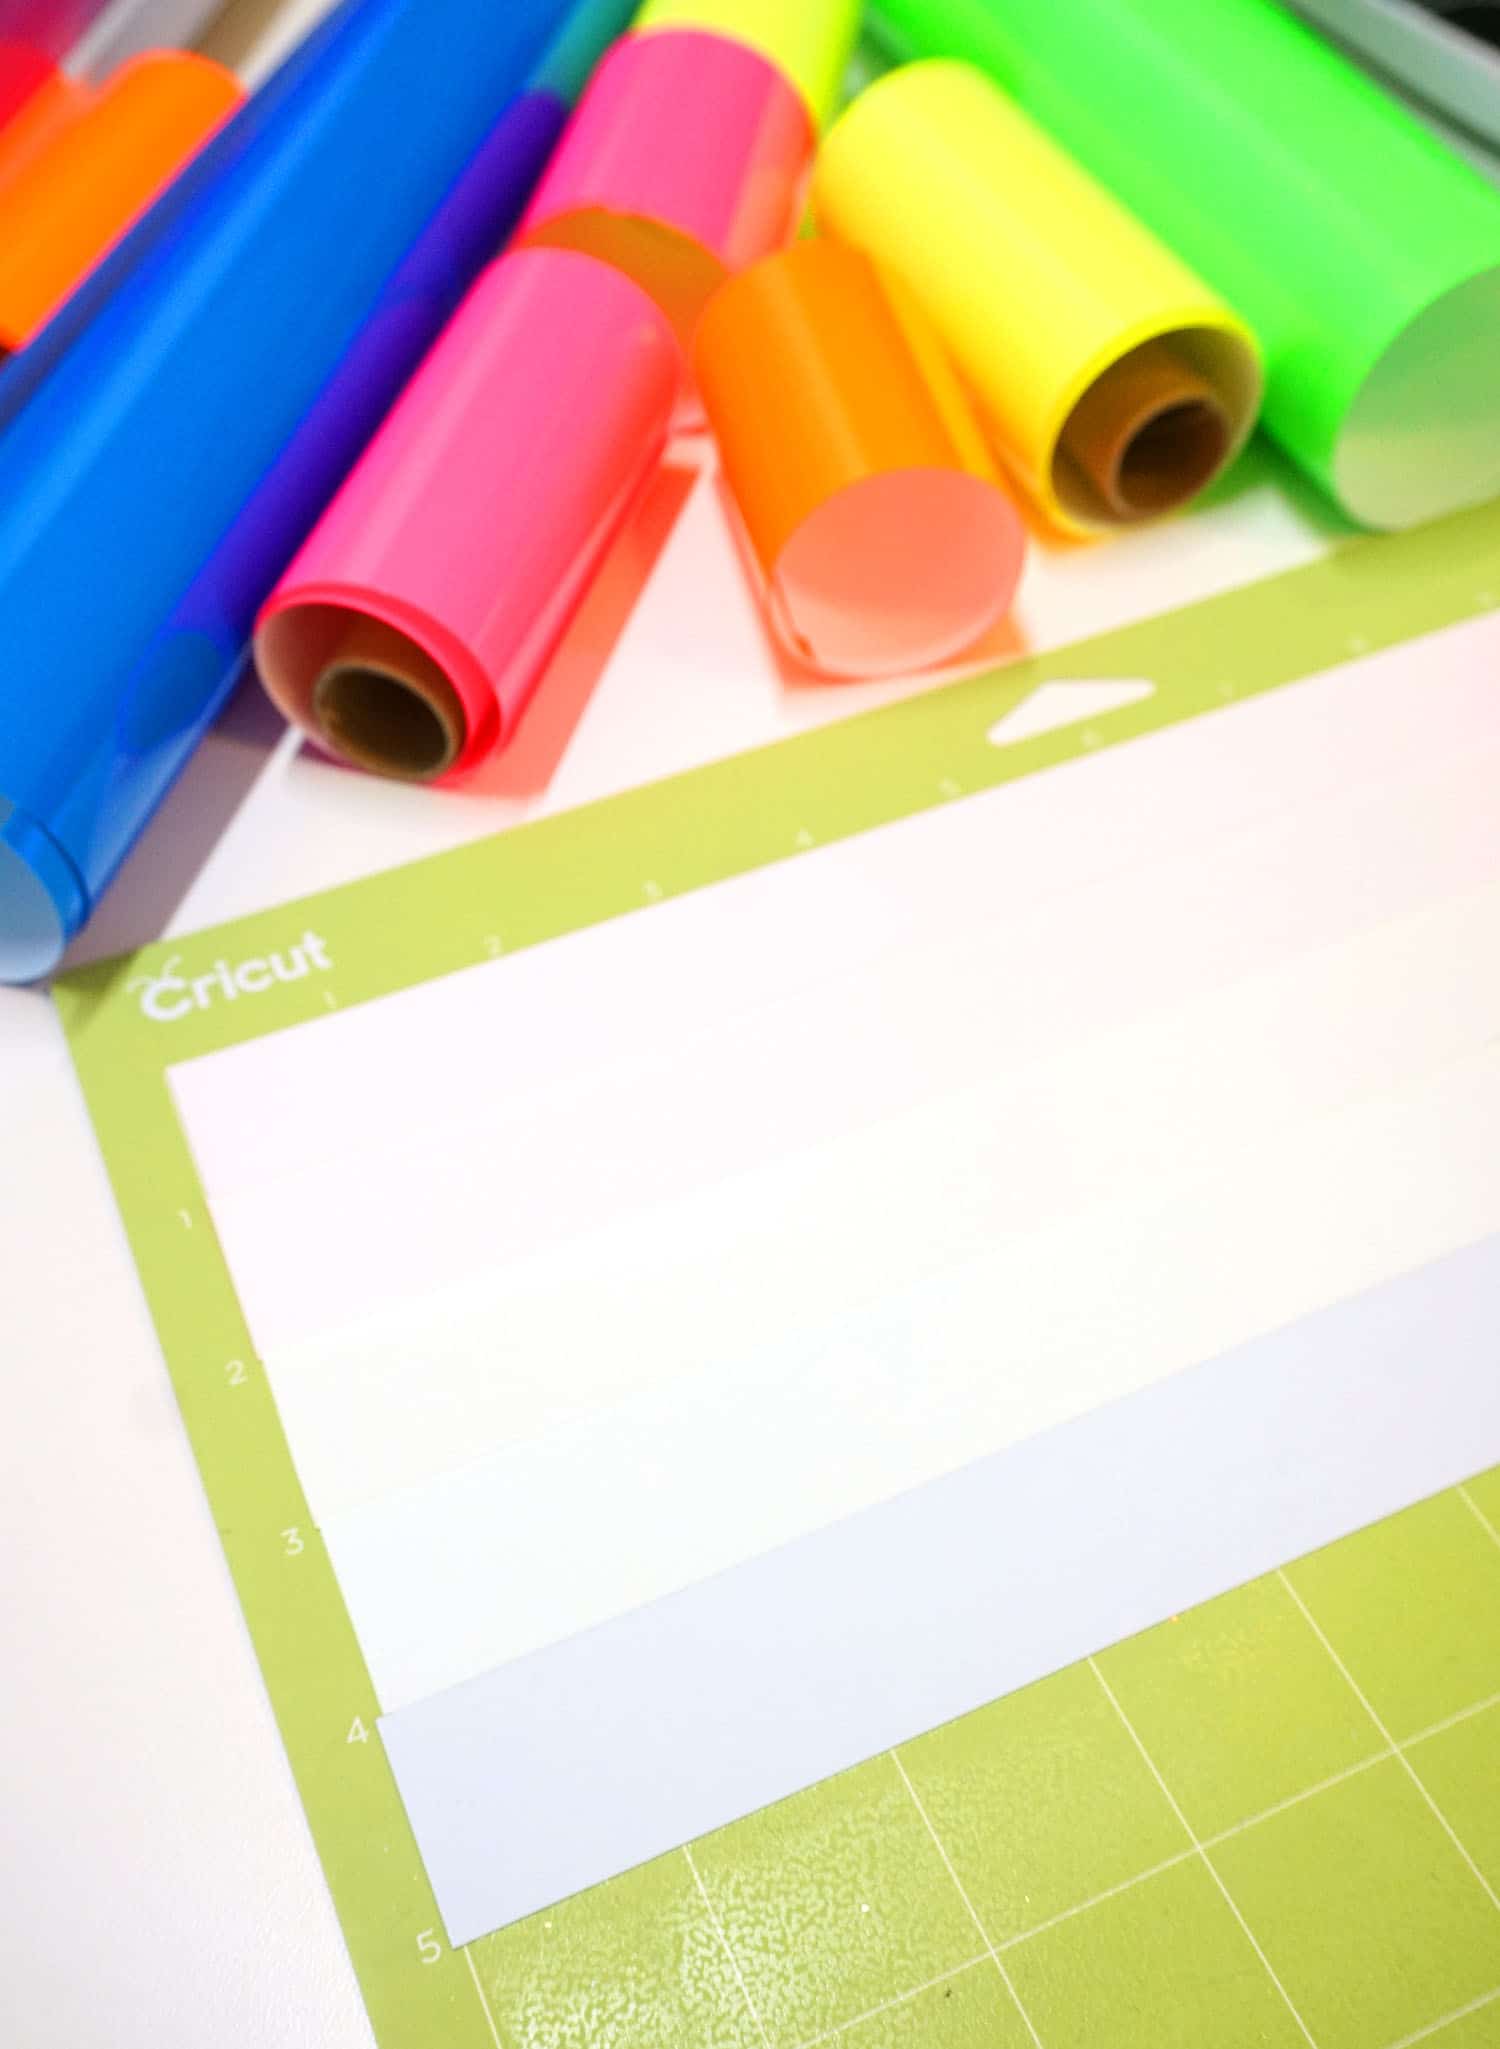
Next, line up the strips of iron-on with the 1″ markings on your Cricut mat. This will allow you to cut all the different colors of hearts at the same time (and saving a bunch of time!)!
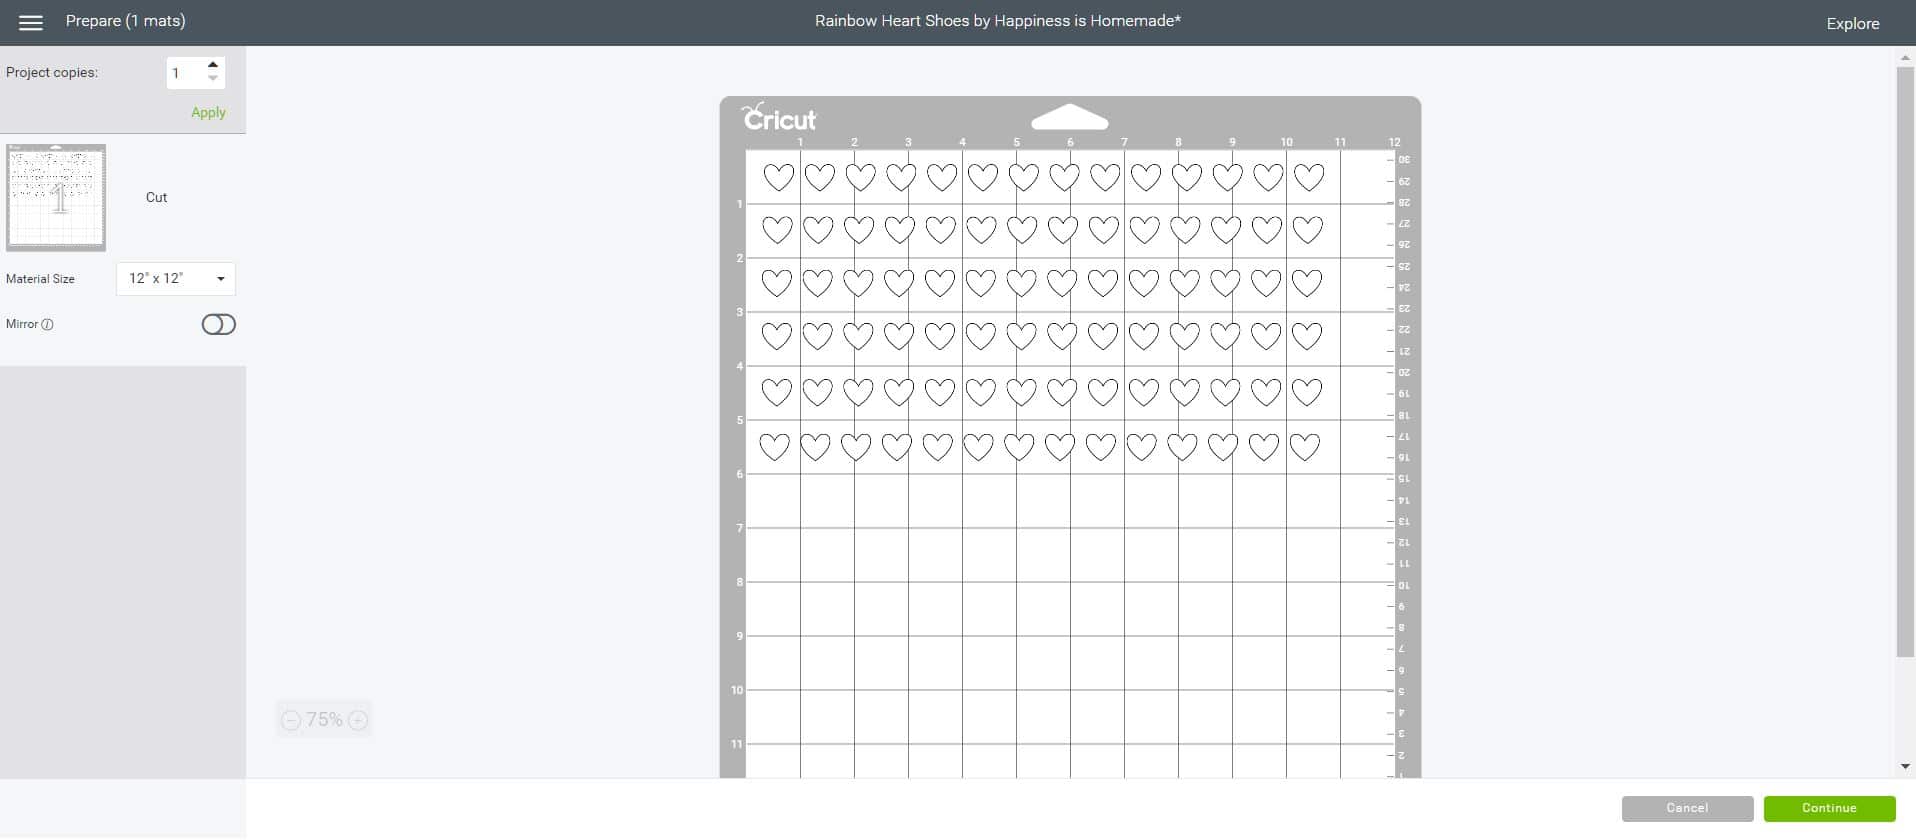
Open up the Rainbow Heart Shoes design in Cricut Design Space. You’ll notice that the file is set up so that it will cut the hearts right out of the center of each 1″ wide strip of iron-on. Easy peasy and all on one single mat!
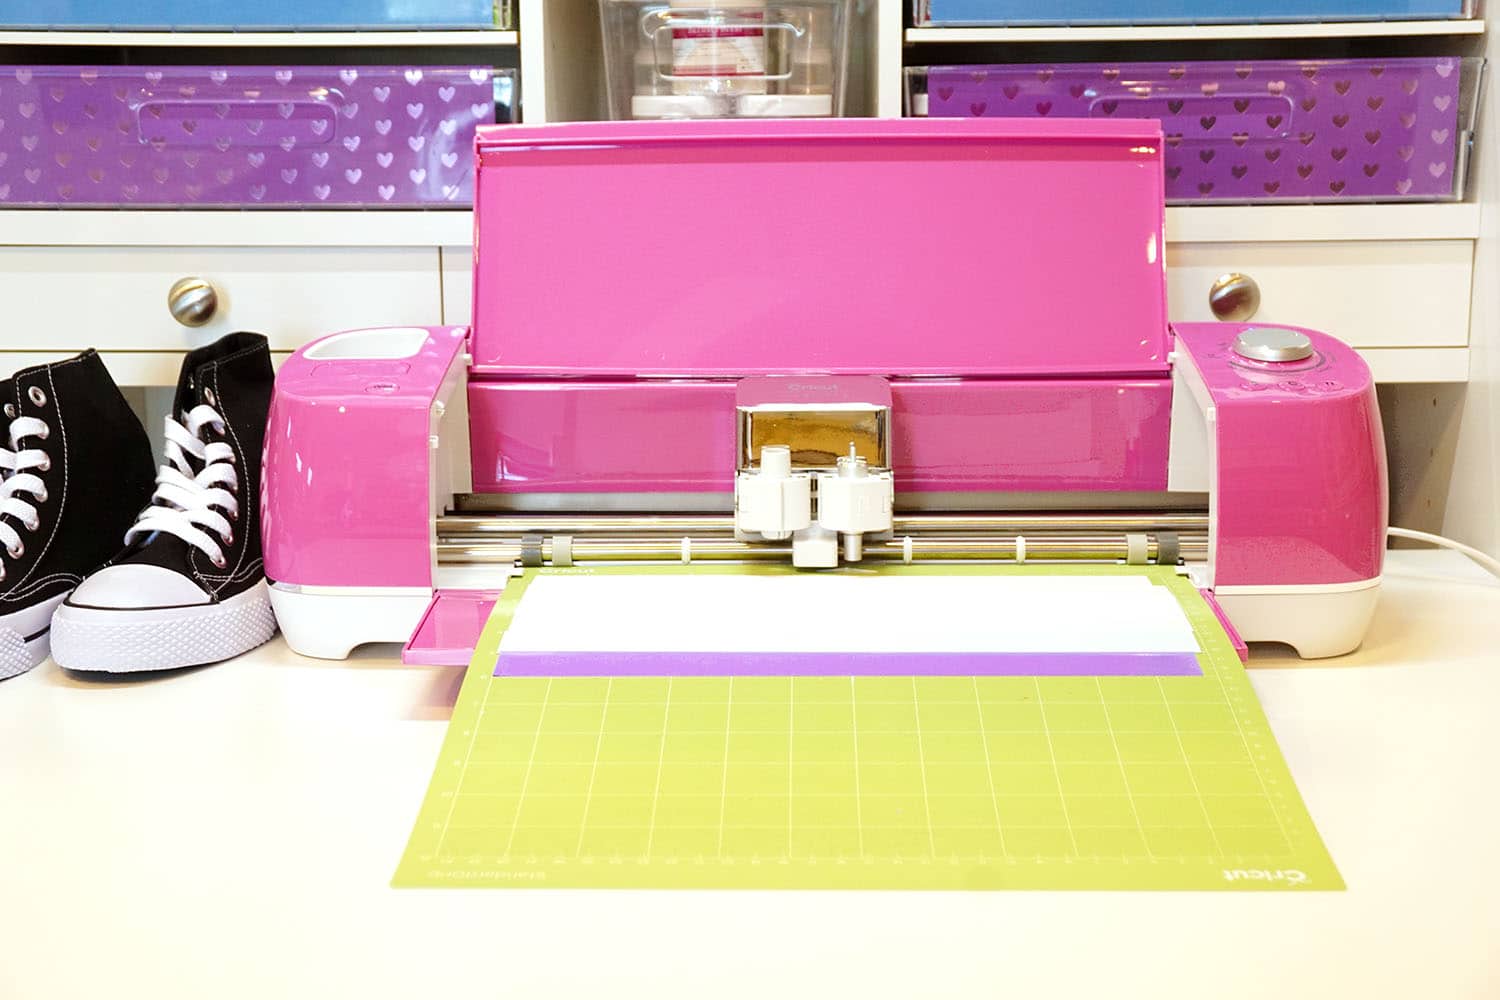
Cut the hearts out with your machine – I just got my hands on a new Cricut Explore Air 2 (in this AMAZING fuchsia color!), so I couldn’t wait to put it to the test!
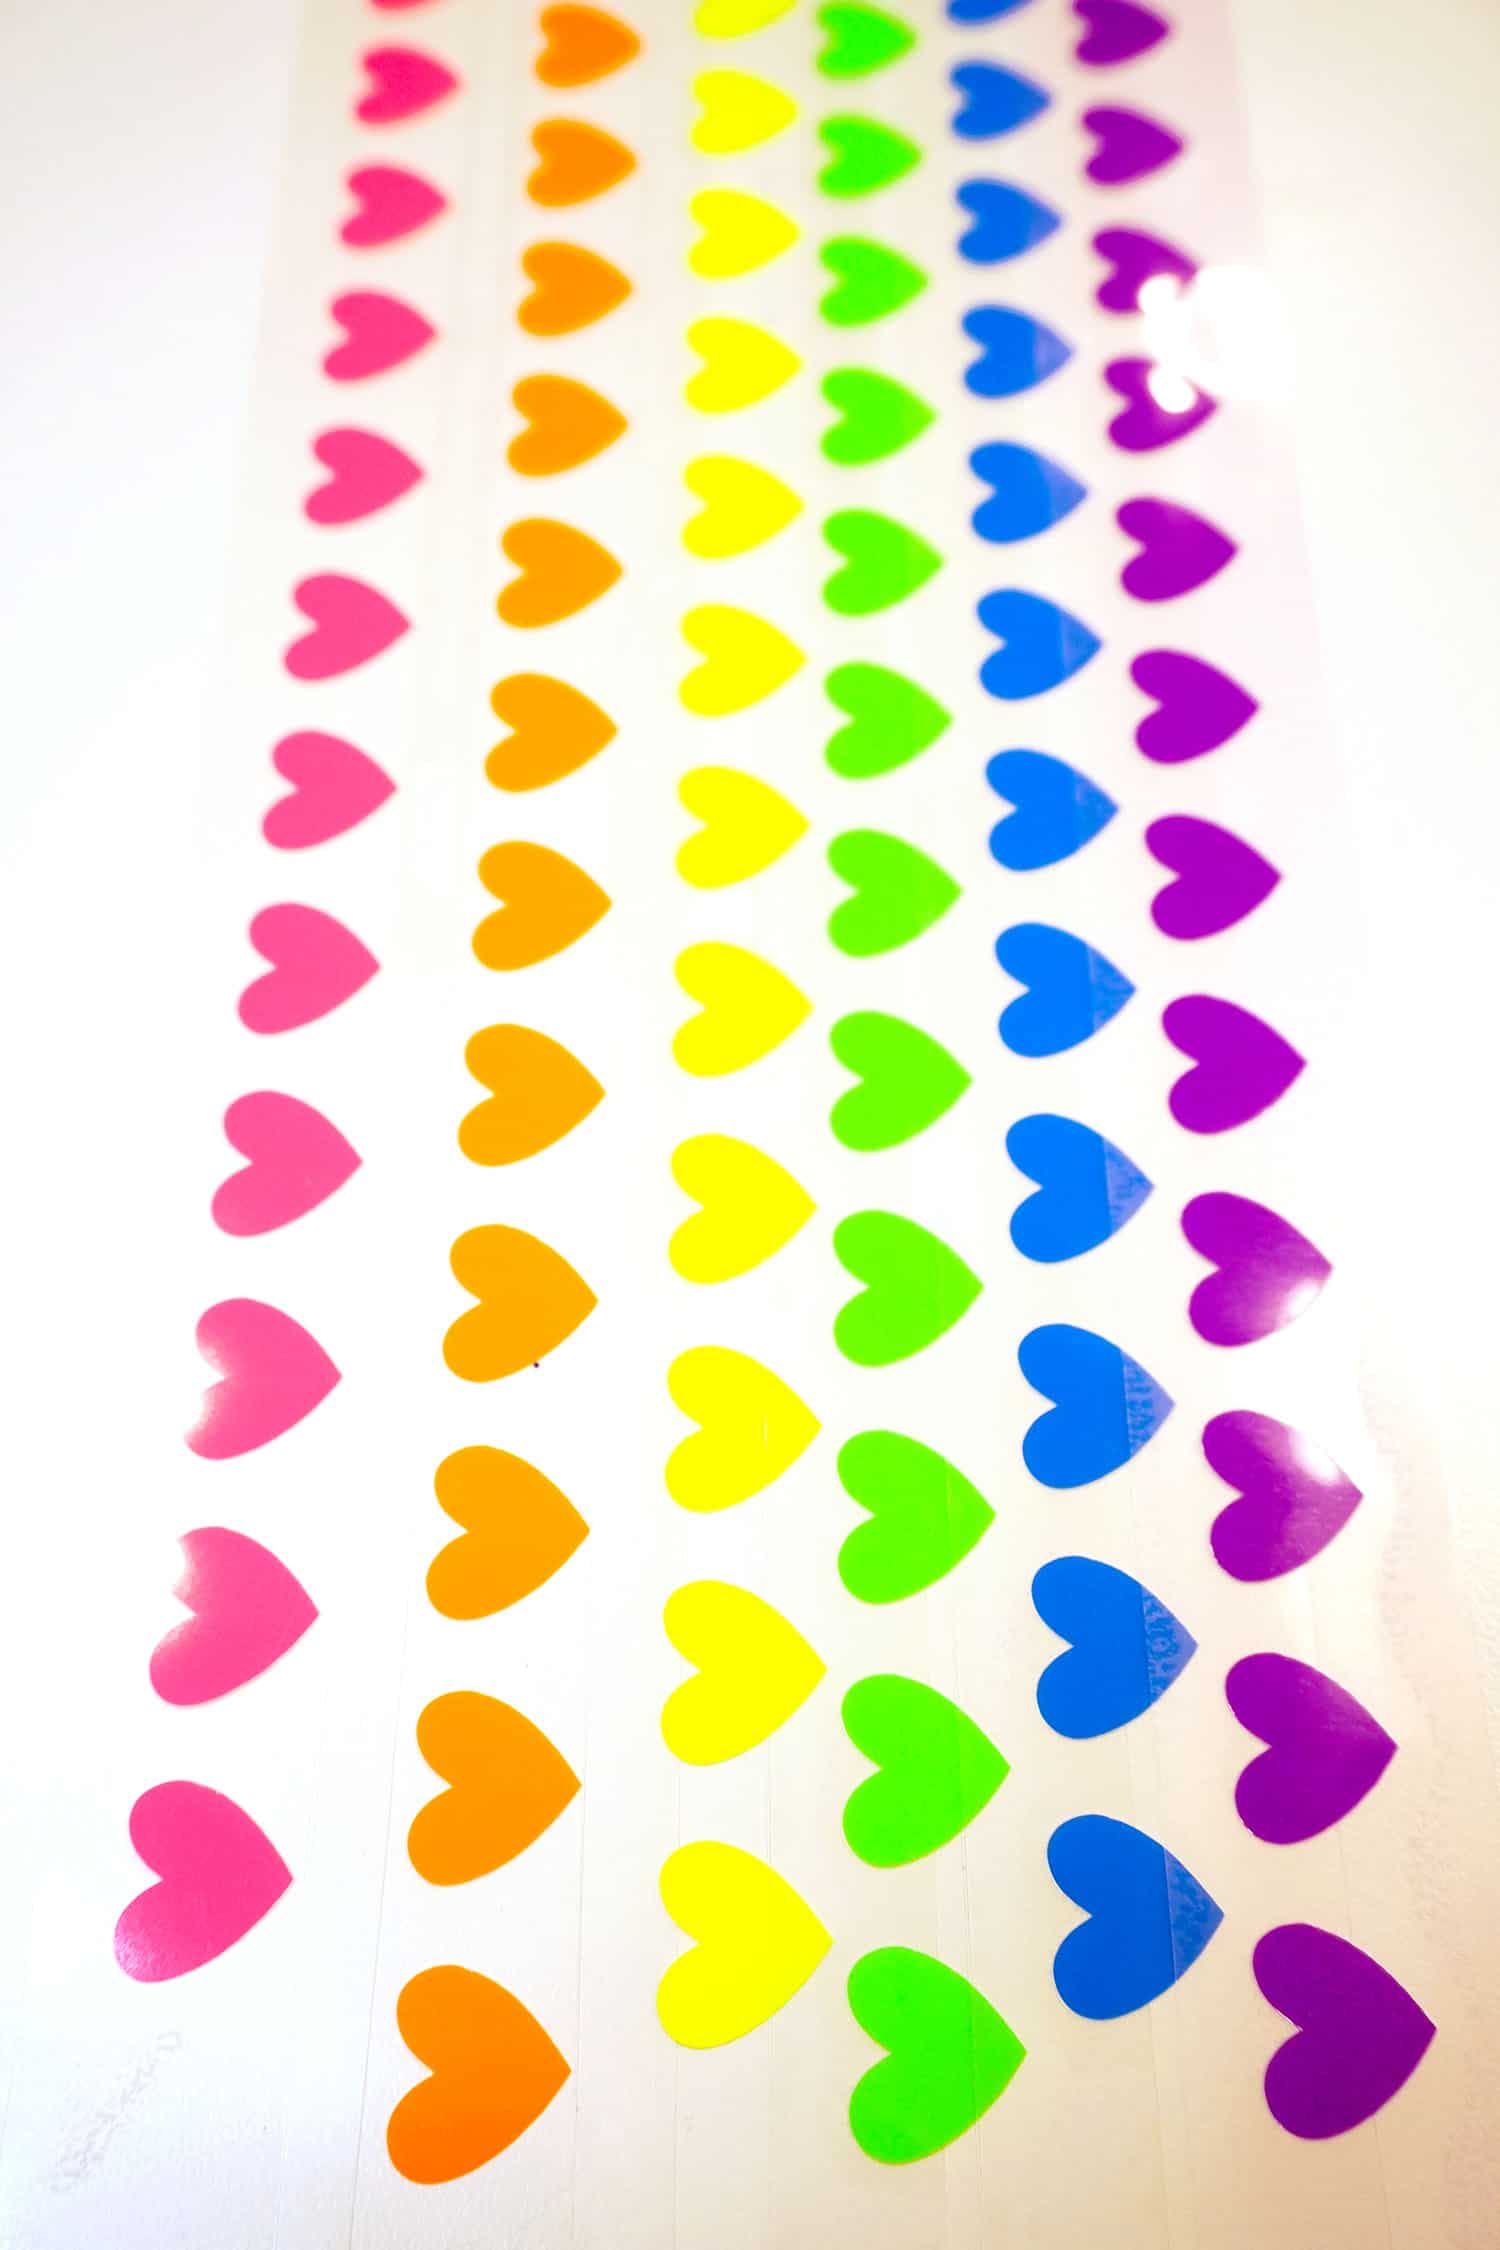
Weed the excess vinyl and cut the strips into individual heart pieces.
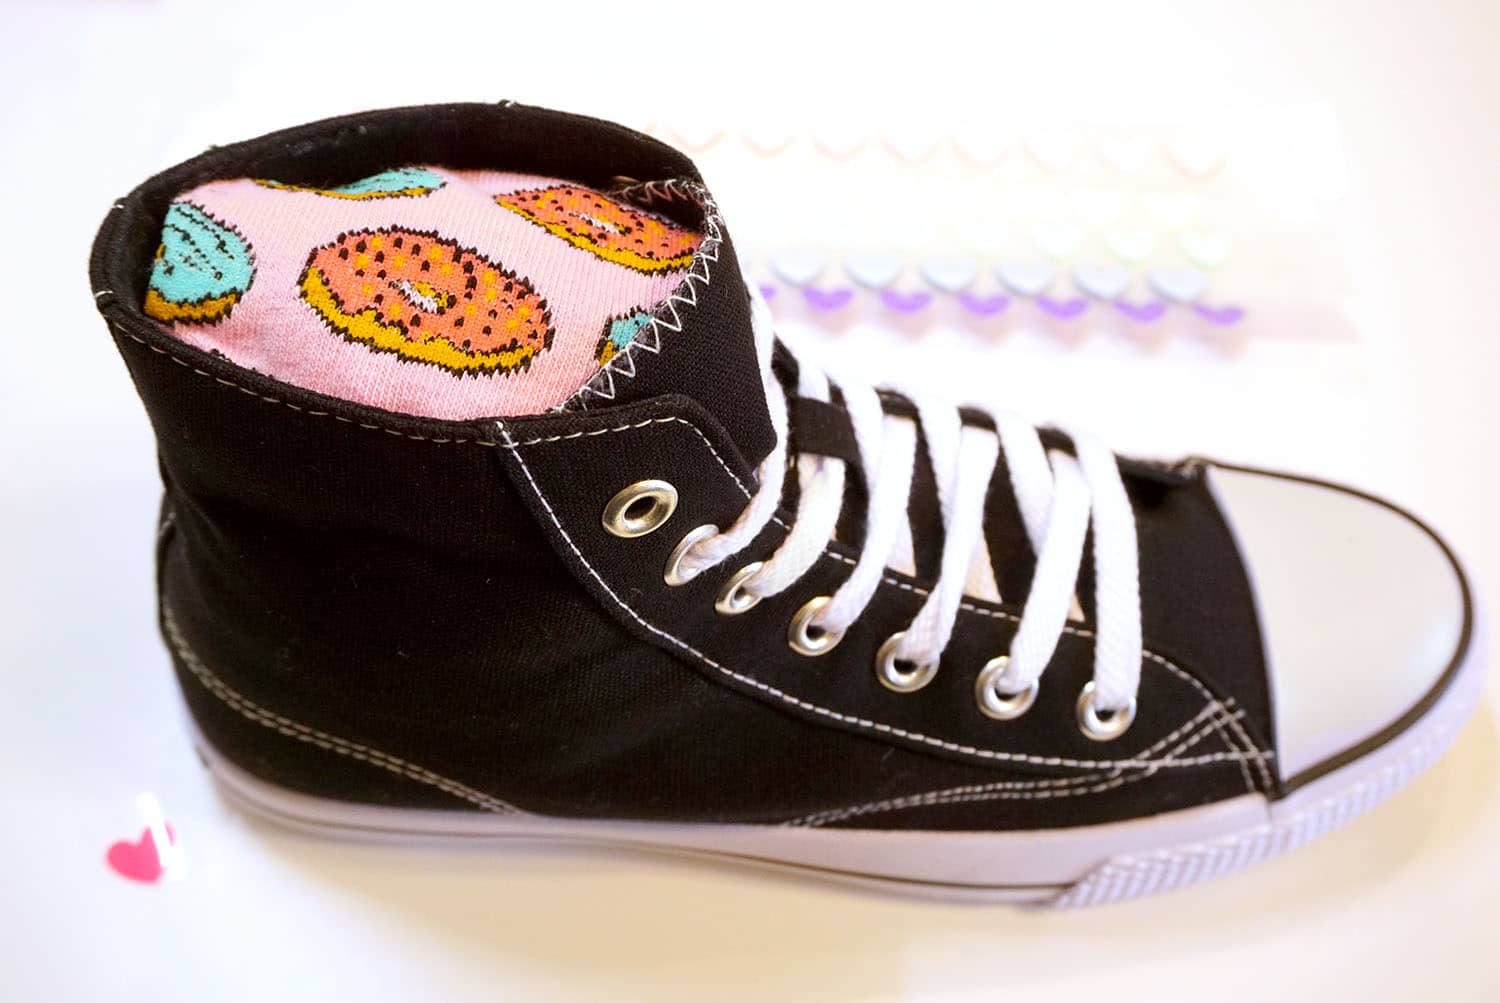
Stuff the shoes with rolled up socks or other soft-but-firm items – this will allow you to put some pressure on the shoes with the EasyPress Mini.
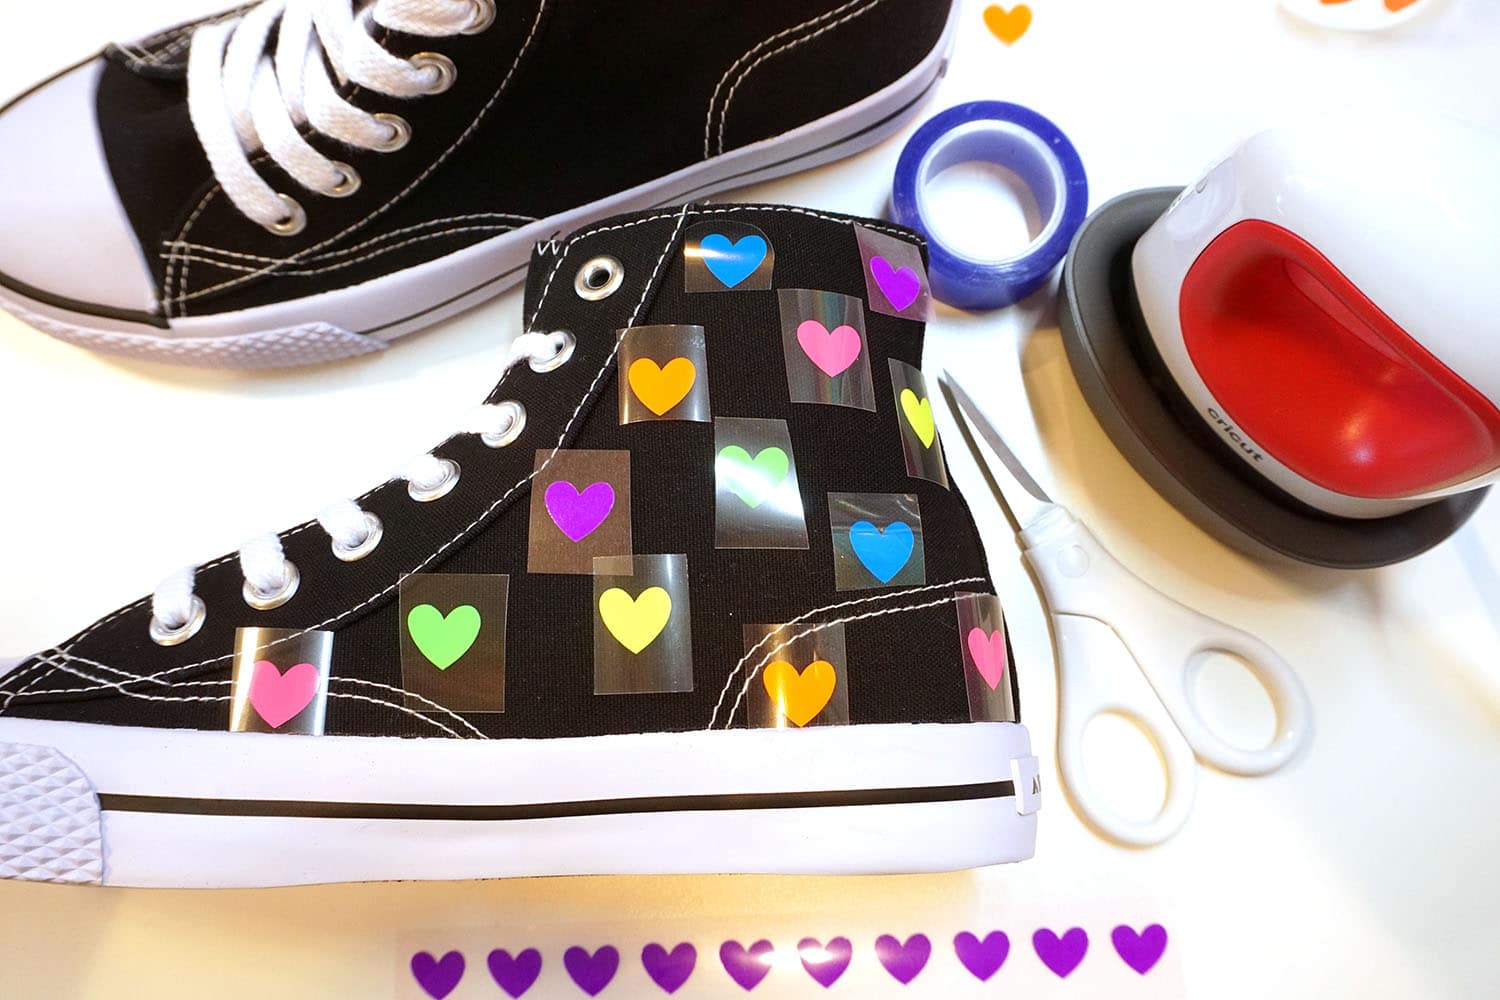
Place the hearts on to the shoes in your preferred layout. If desired, you can also use an extra piece of heat resistant tape to help keep them in place. Turn on the EasyPress Mini and set the temperature to medium.
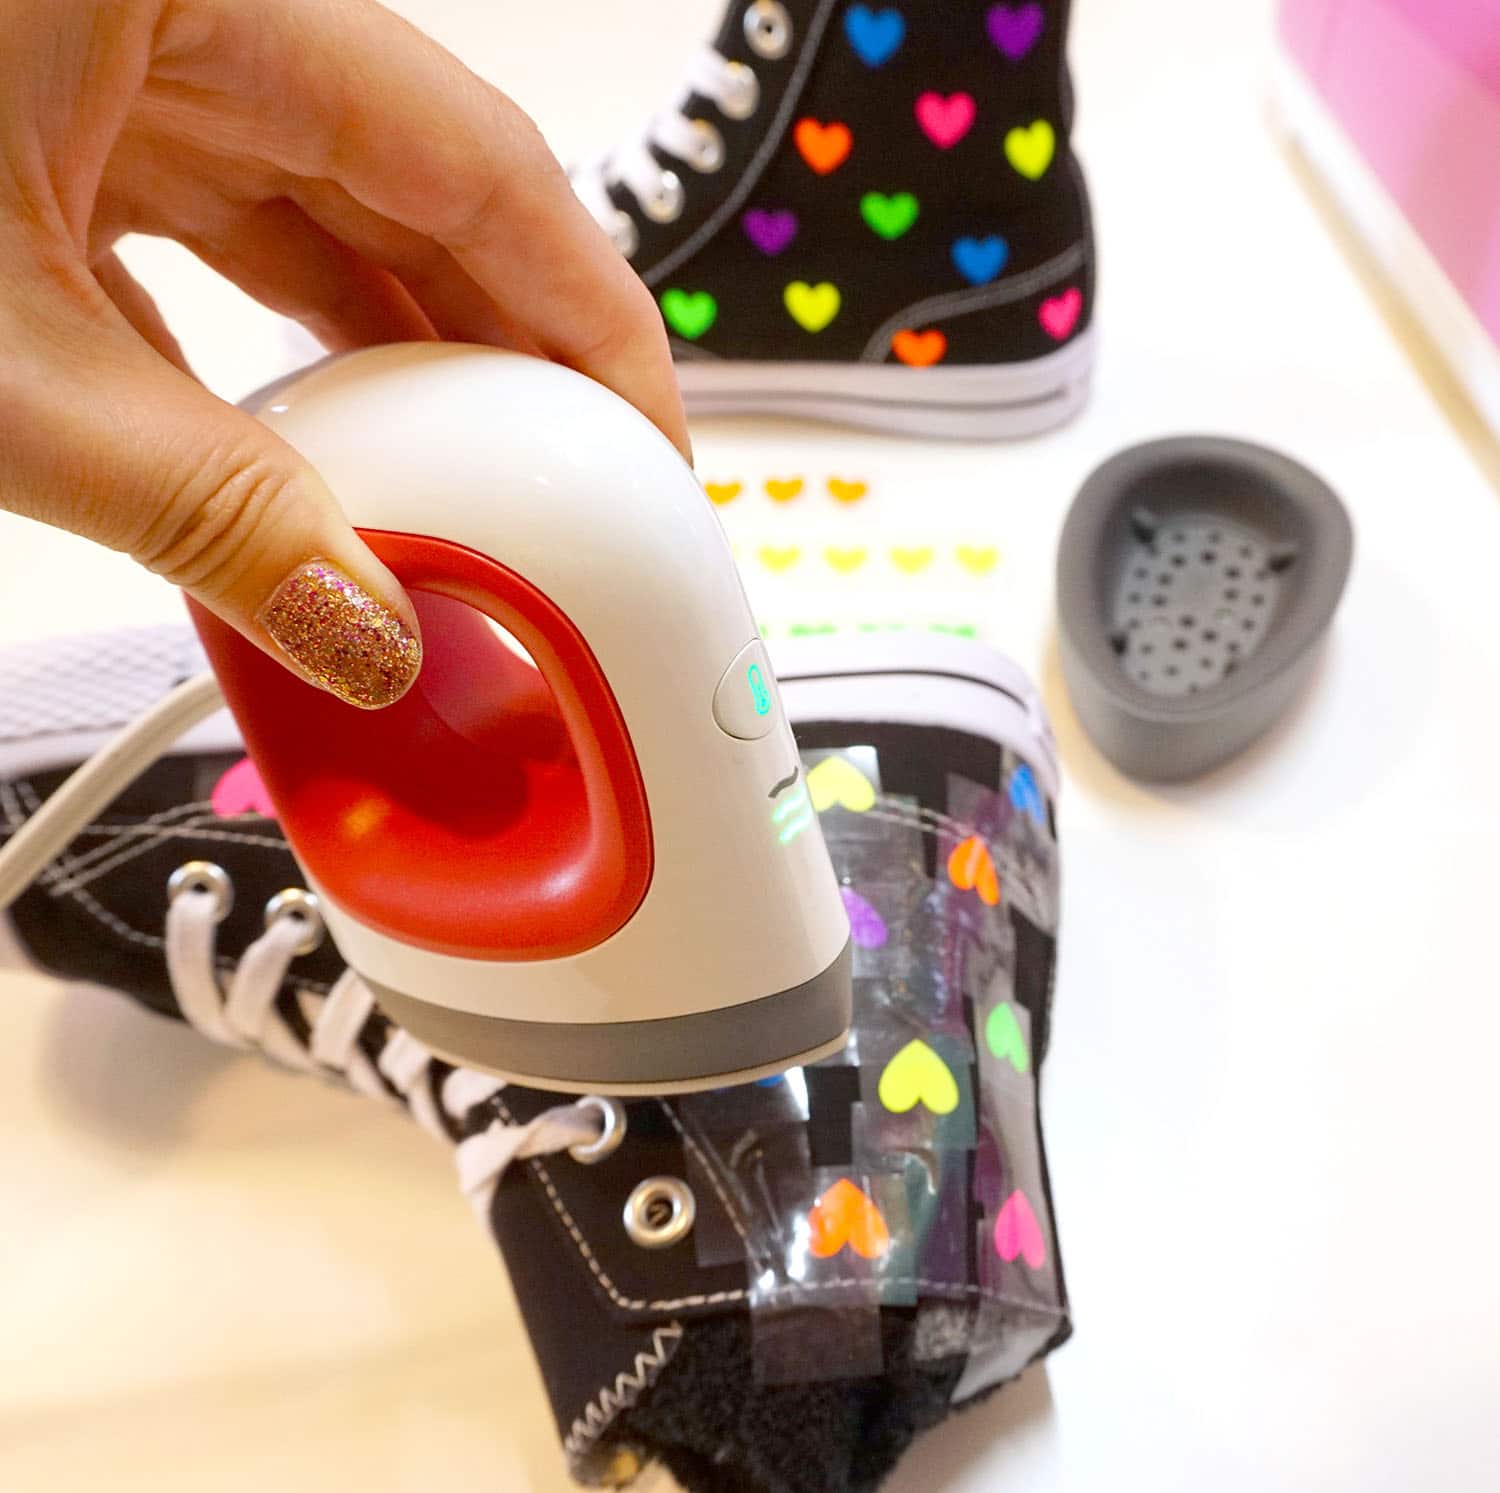
Press each heart for around 20 seconds. The EasyPress Mini uses the same technology as the larger EasyPresses, so you can be certain that the entire ceramic plate is evenly heated from edge-to-edge.
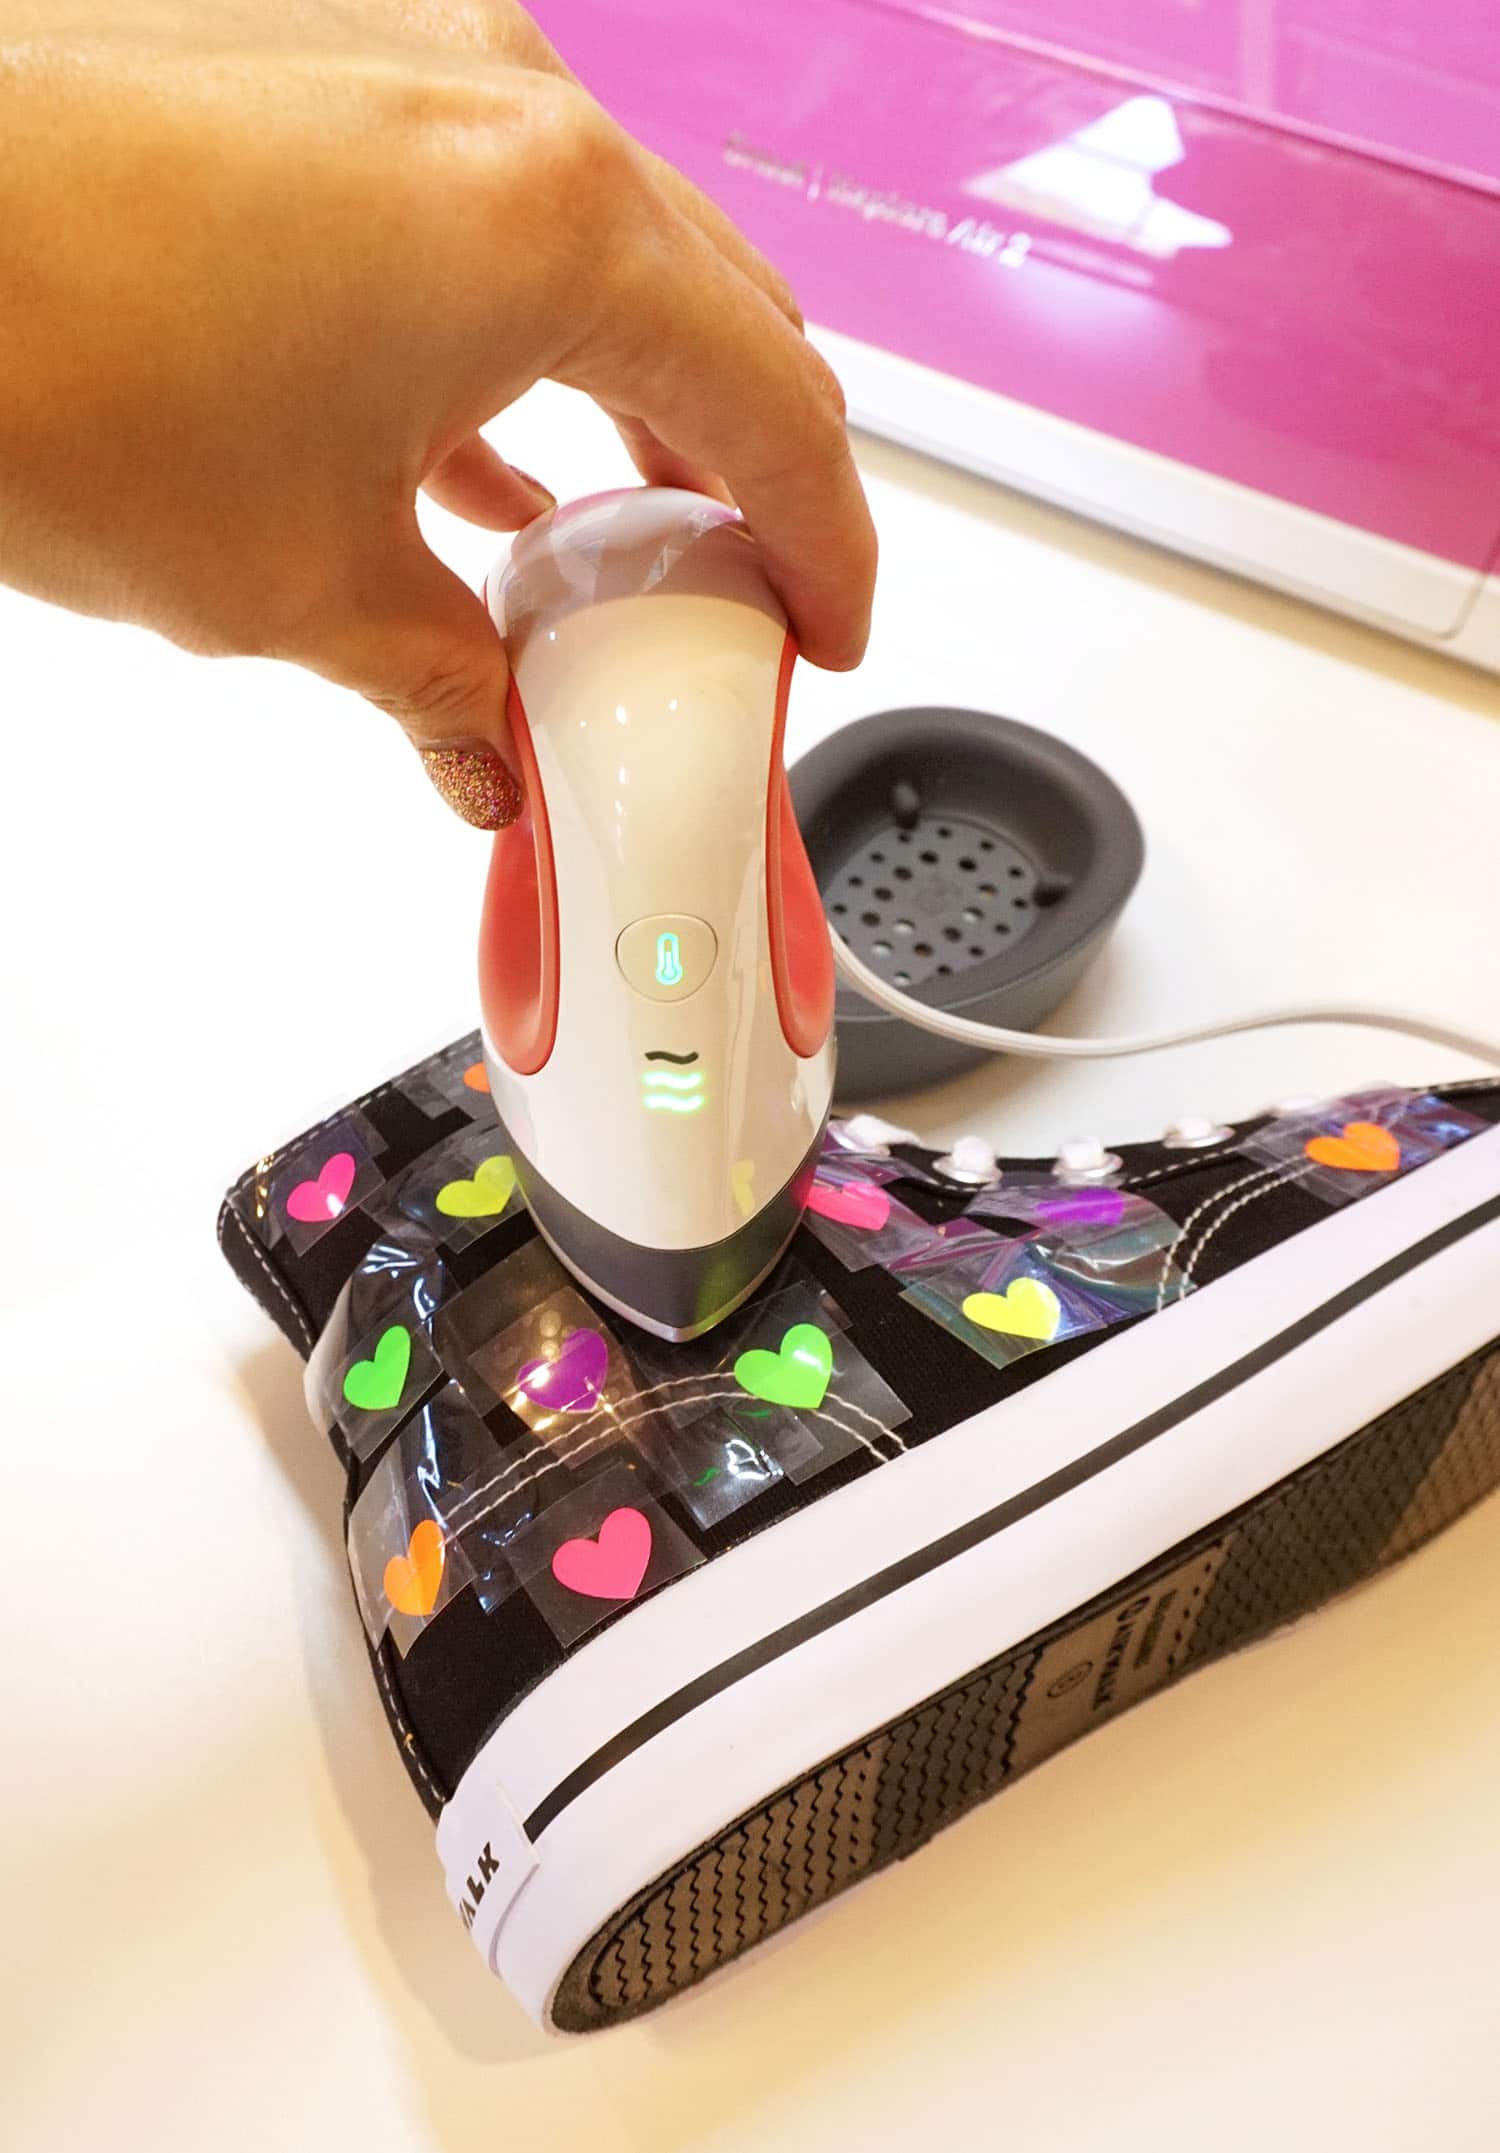
The EasyPress Mini has a super comfortable handle grip, and the pointed tip makes it totally perfect for unusual projects like hats, shoes, or stuffed animals. I have been pleading with Cricut to design a mini iron for several years now, and the new EasyPress Mini goes BEYOND what I had even hoped for!
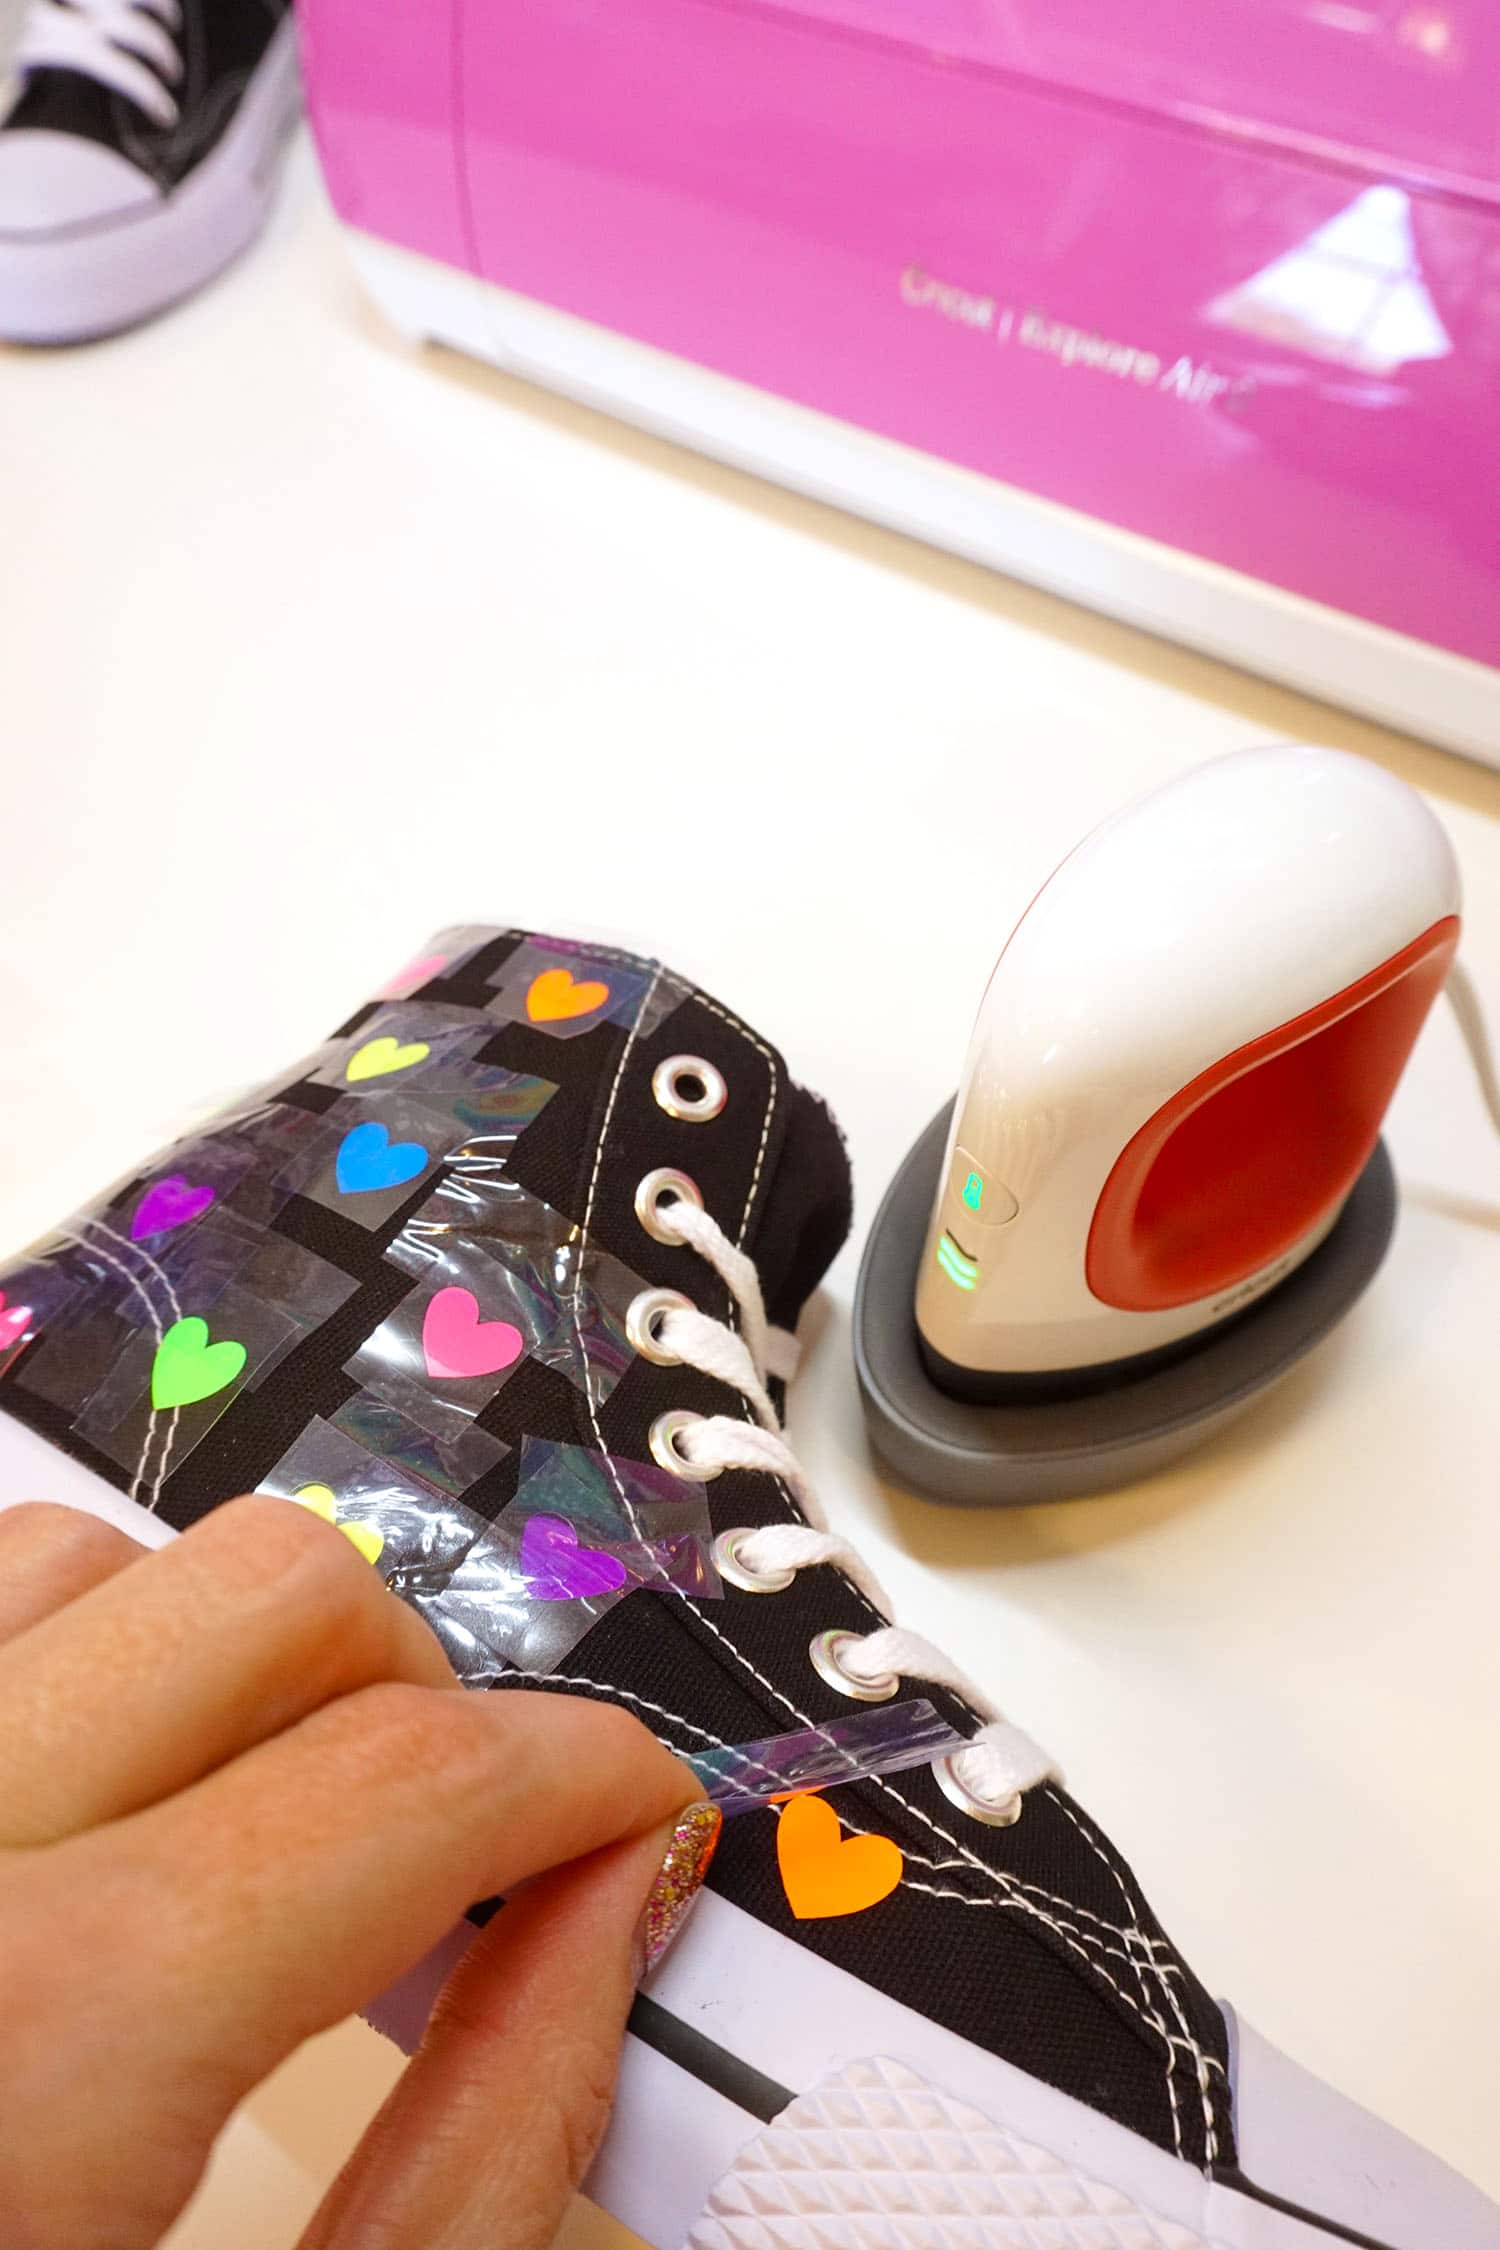
After pressing all of the hearts, peel back the plastic backing and reveal your awesome new shoes!
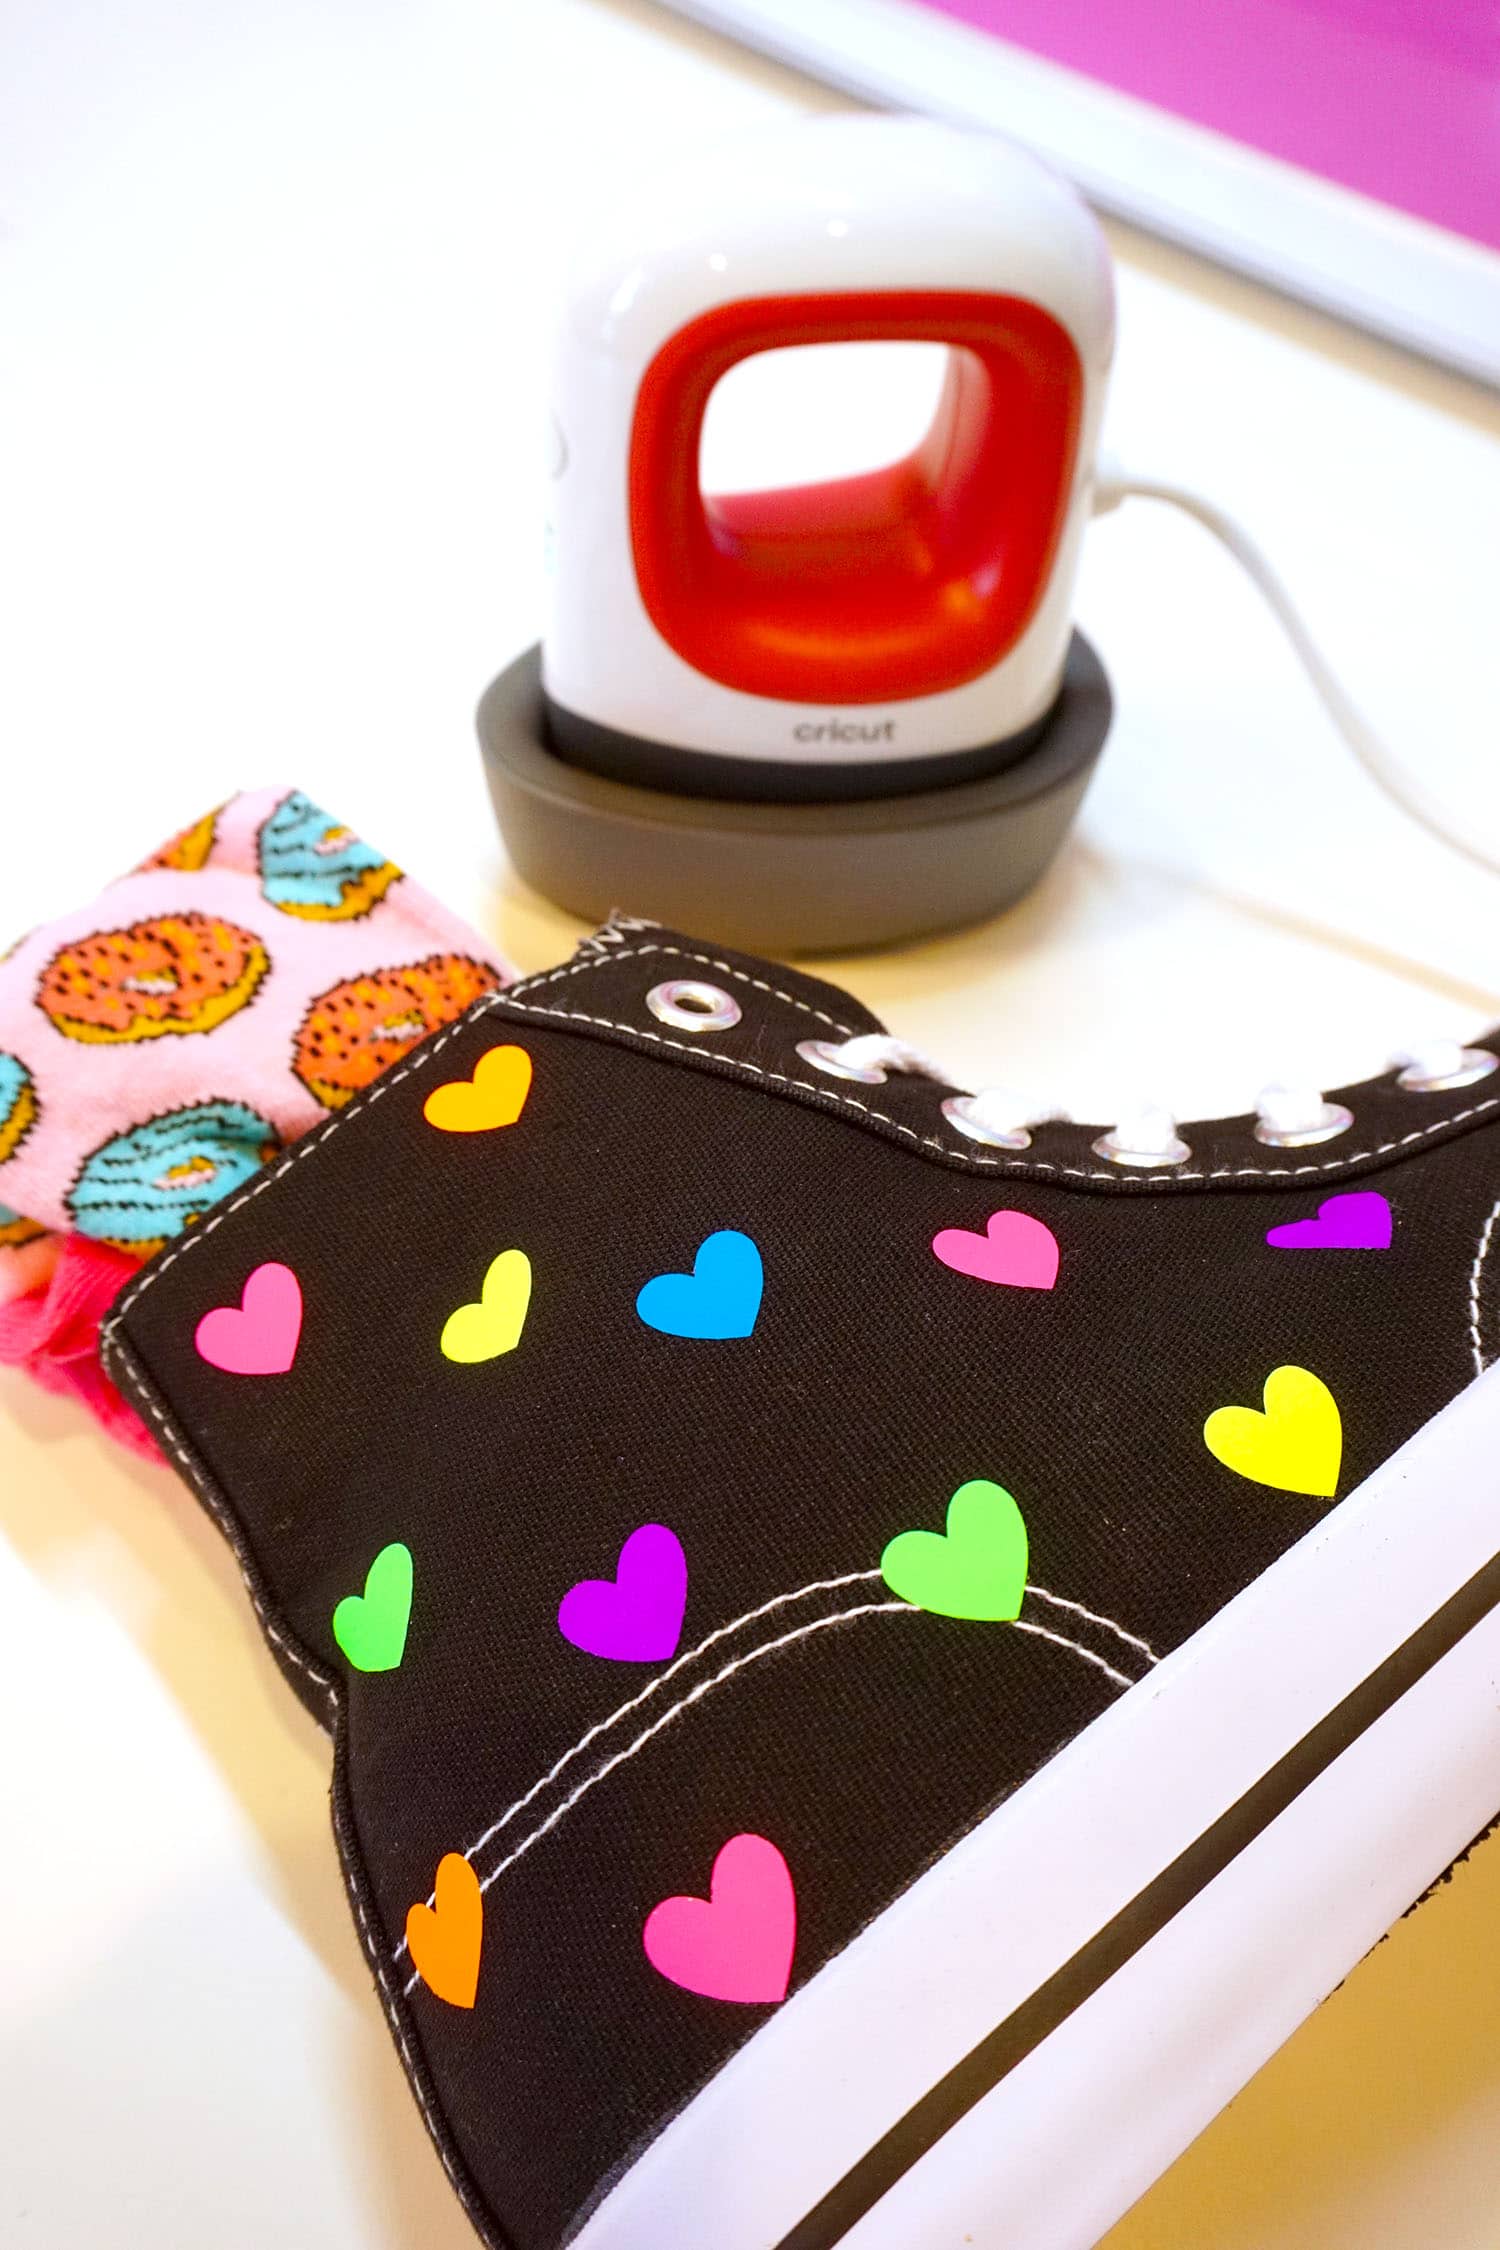
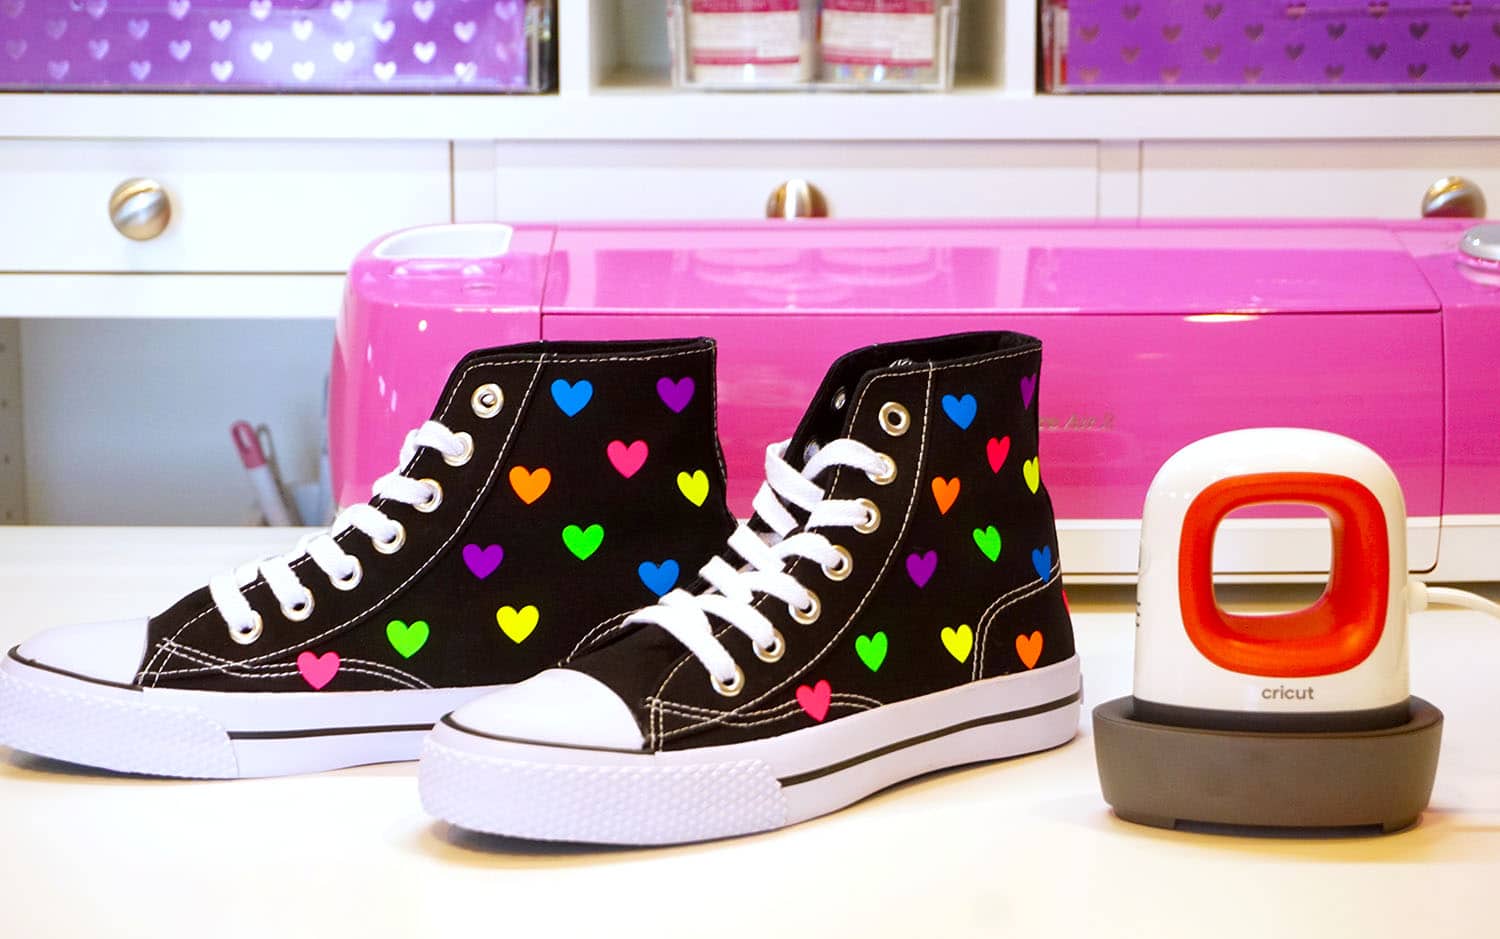
SO fun, right?! And best of all, they were SUPER easy to make, too!
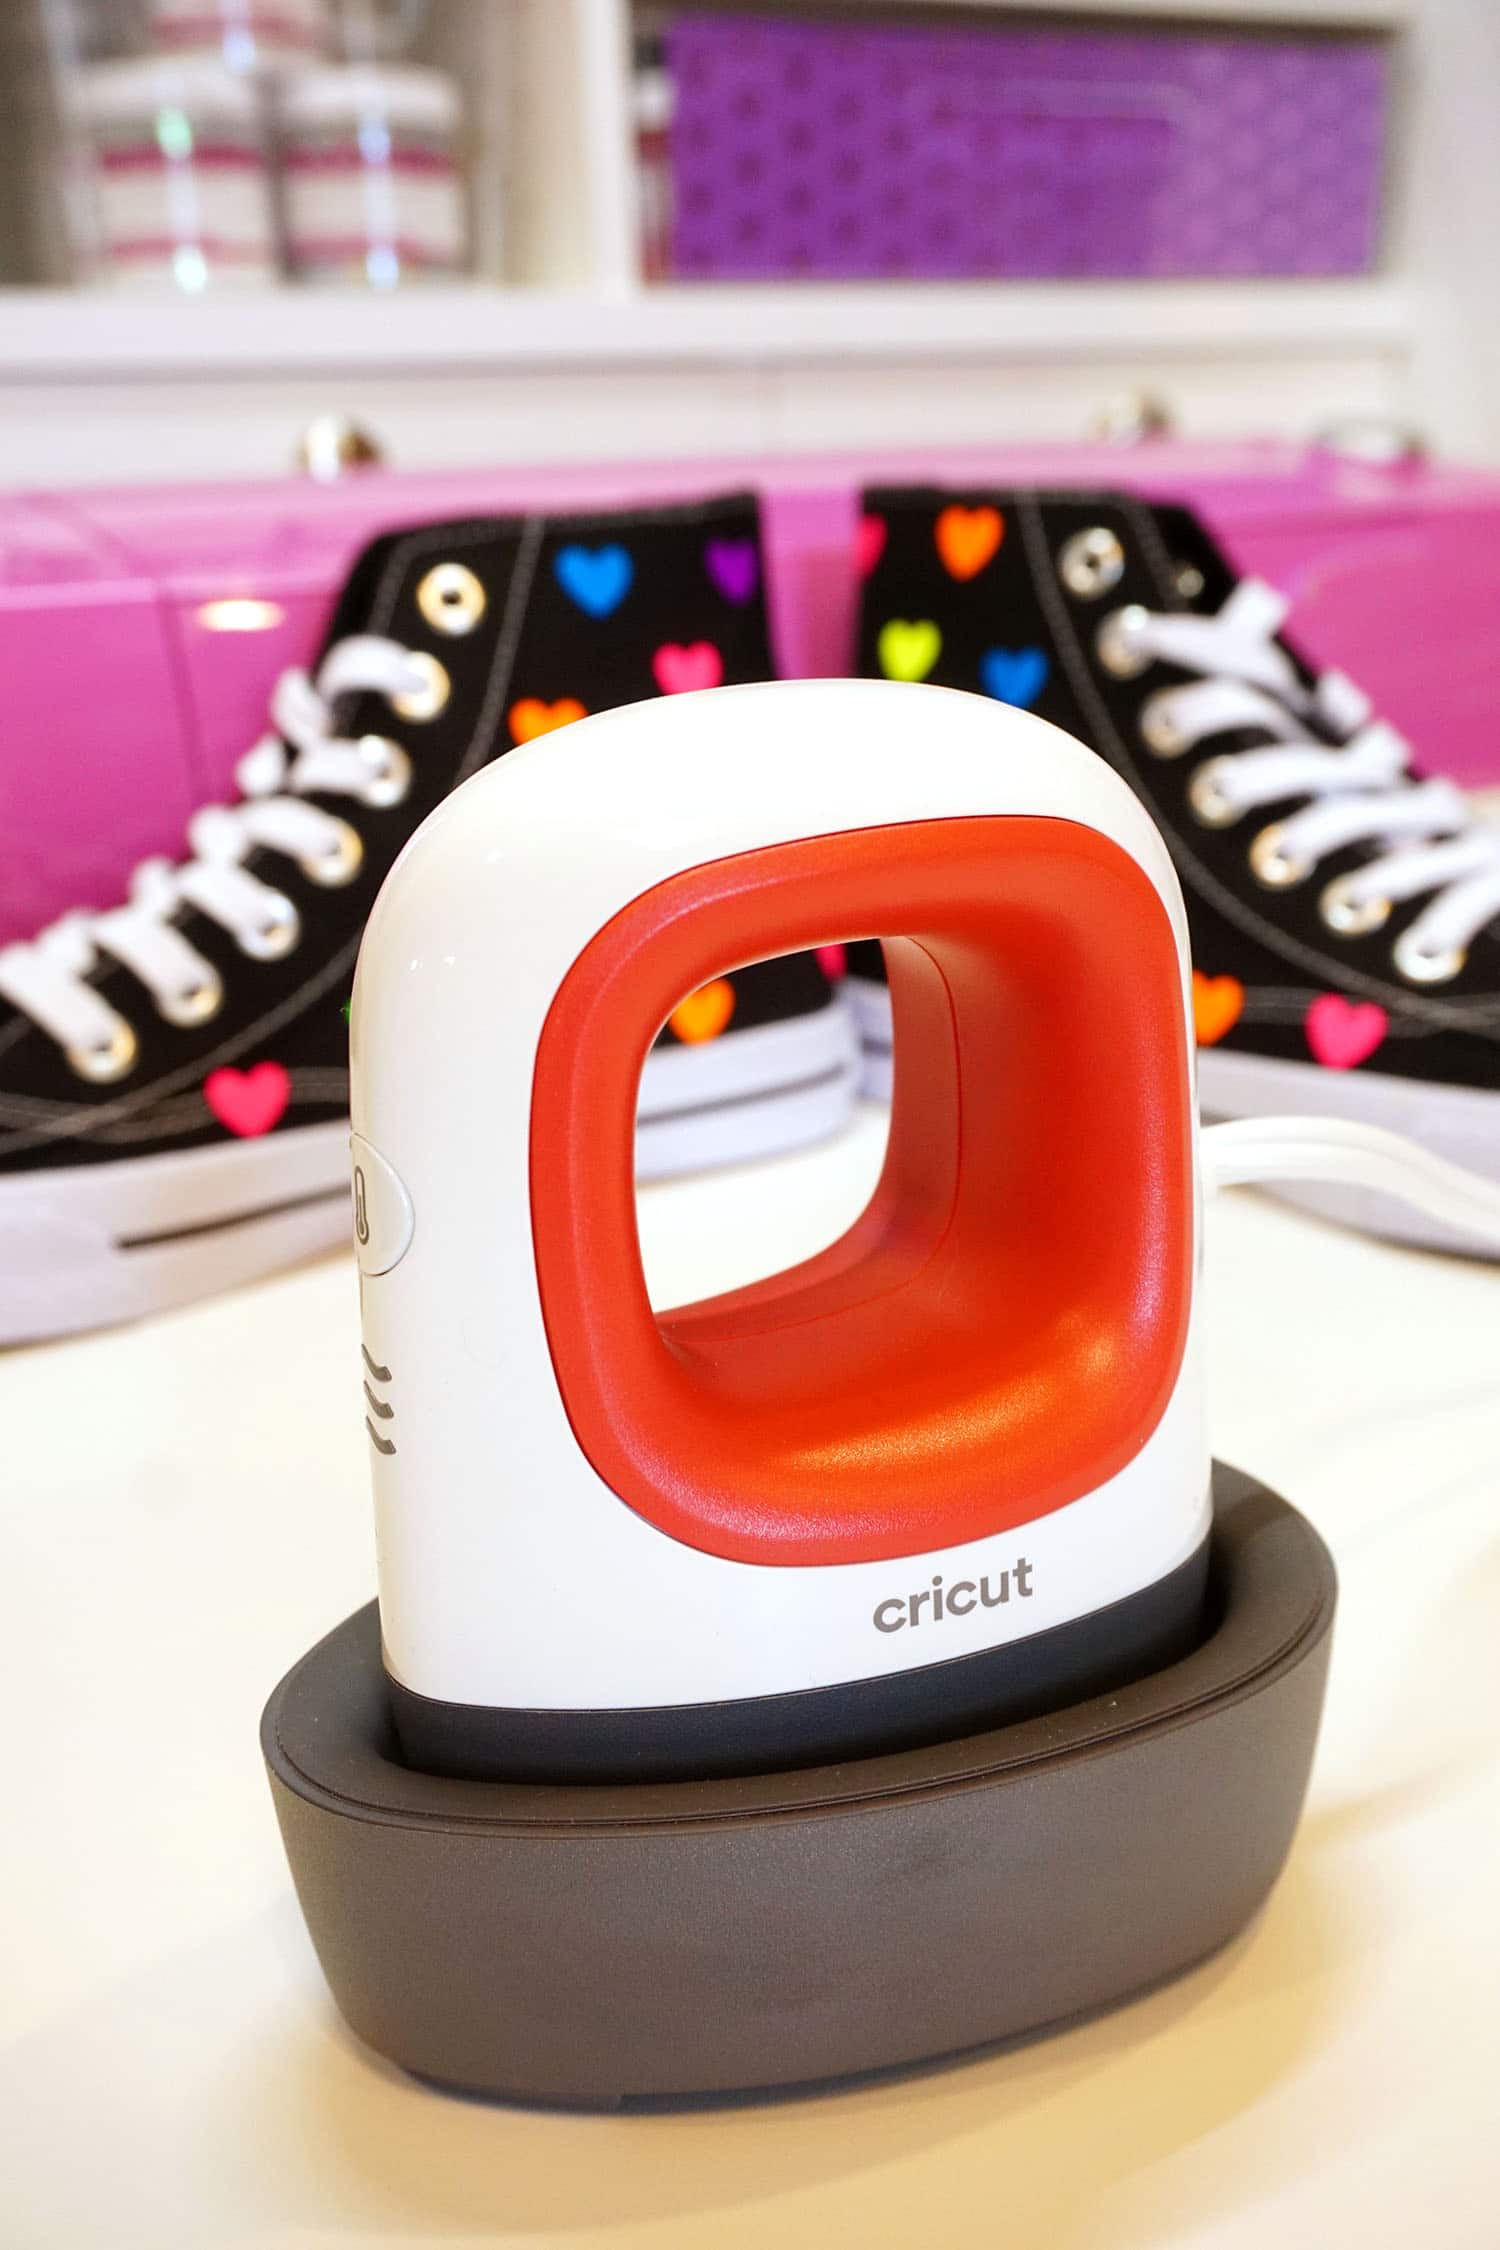
I have to say, I’m REALLY impressed with the performance of the EasyPress Mini! Cricut’s slogan for it is “Mini but mighty” and I think that’s totally apropos! This little tool might be tiny, but it packs a LOT of power!
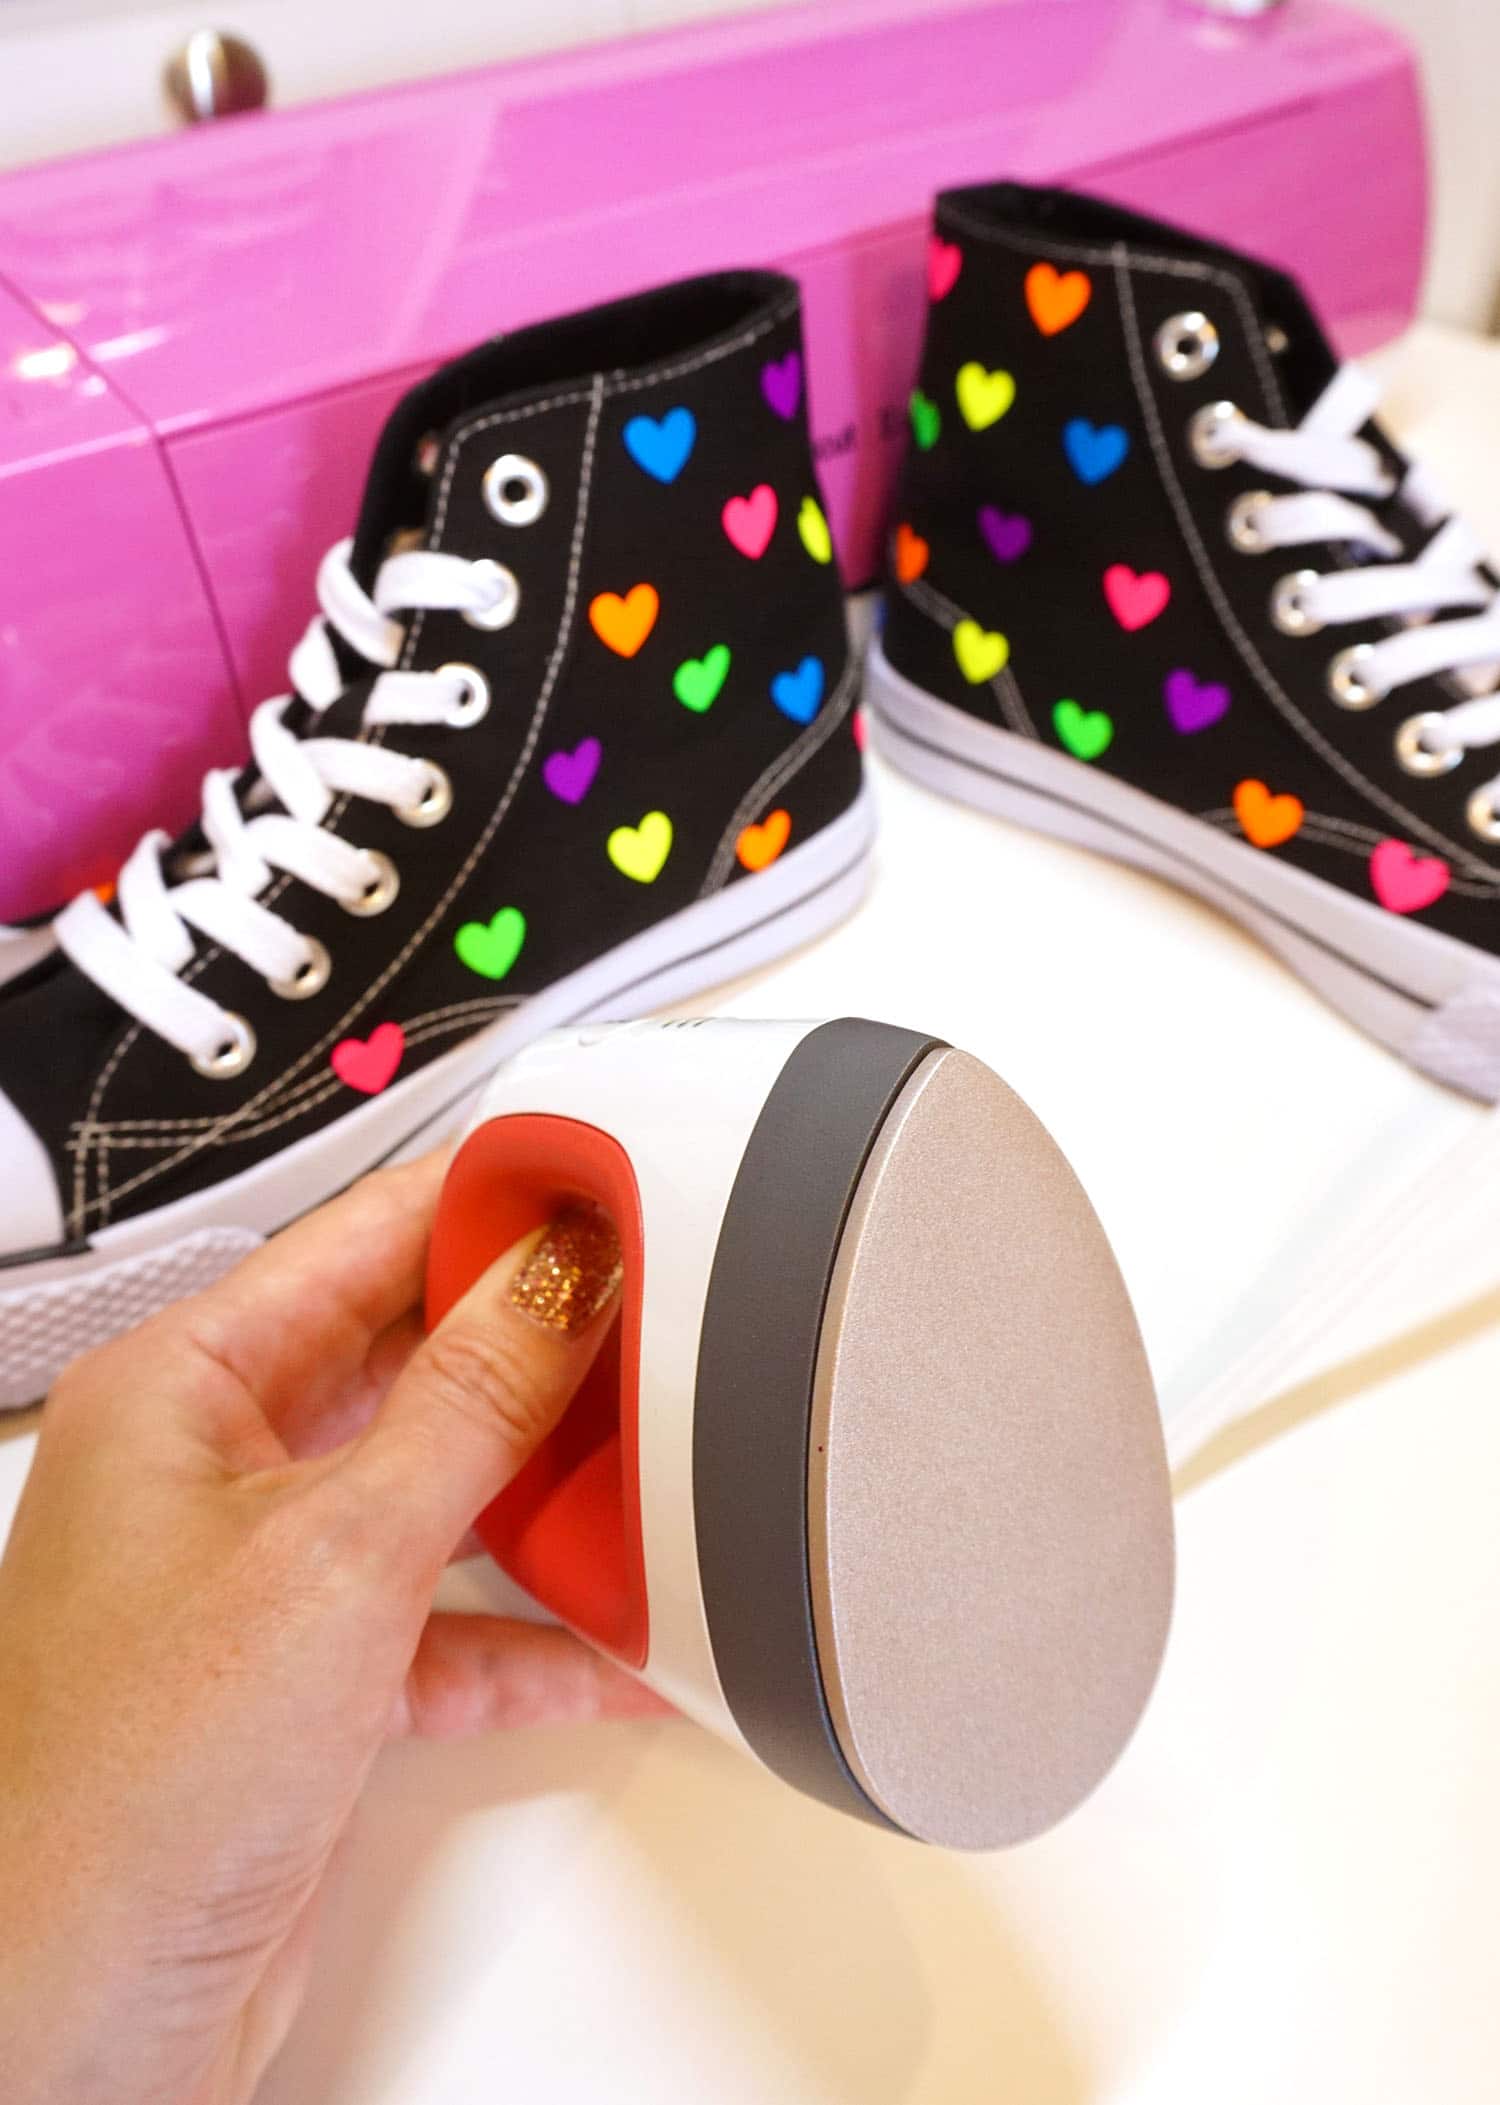
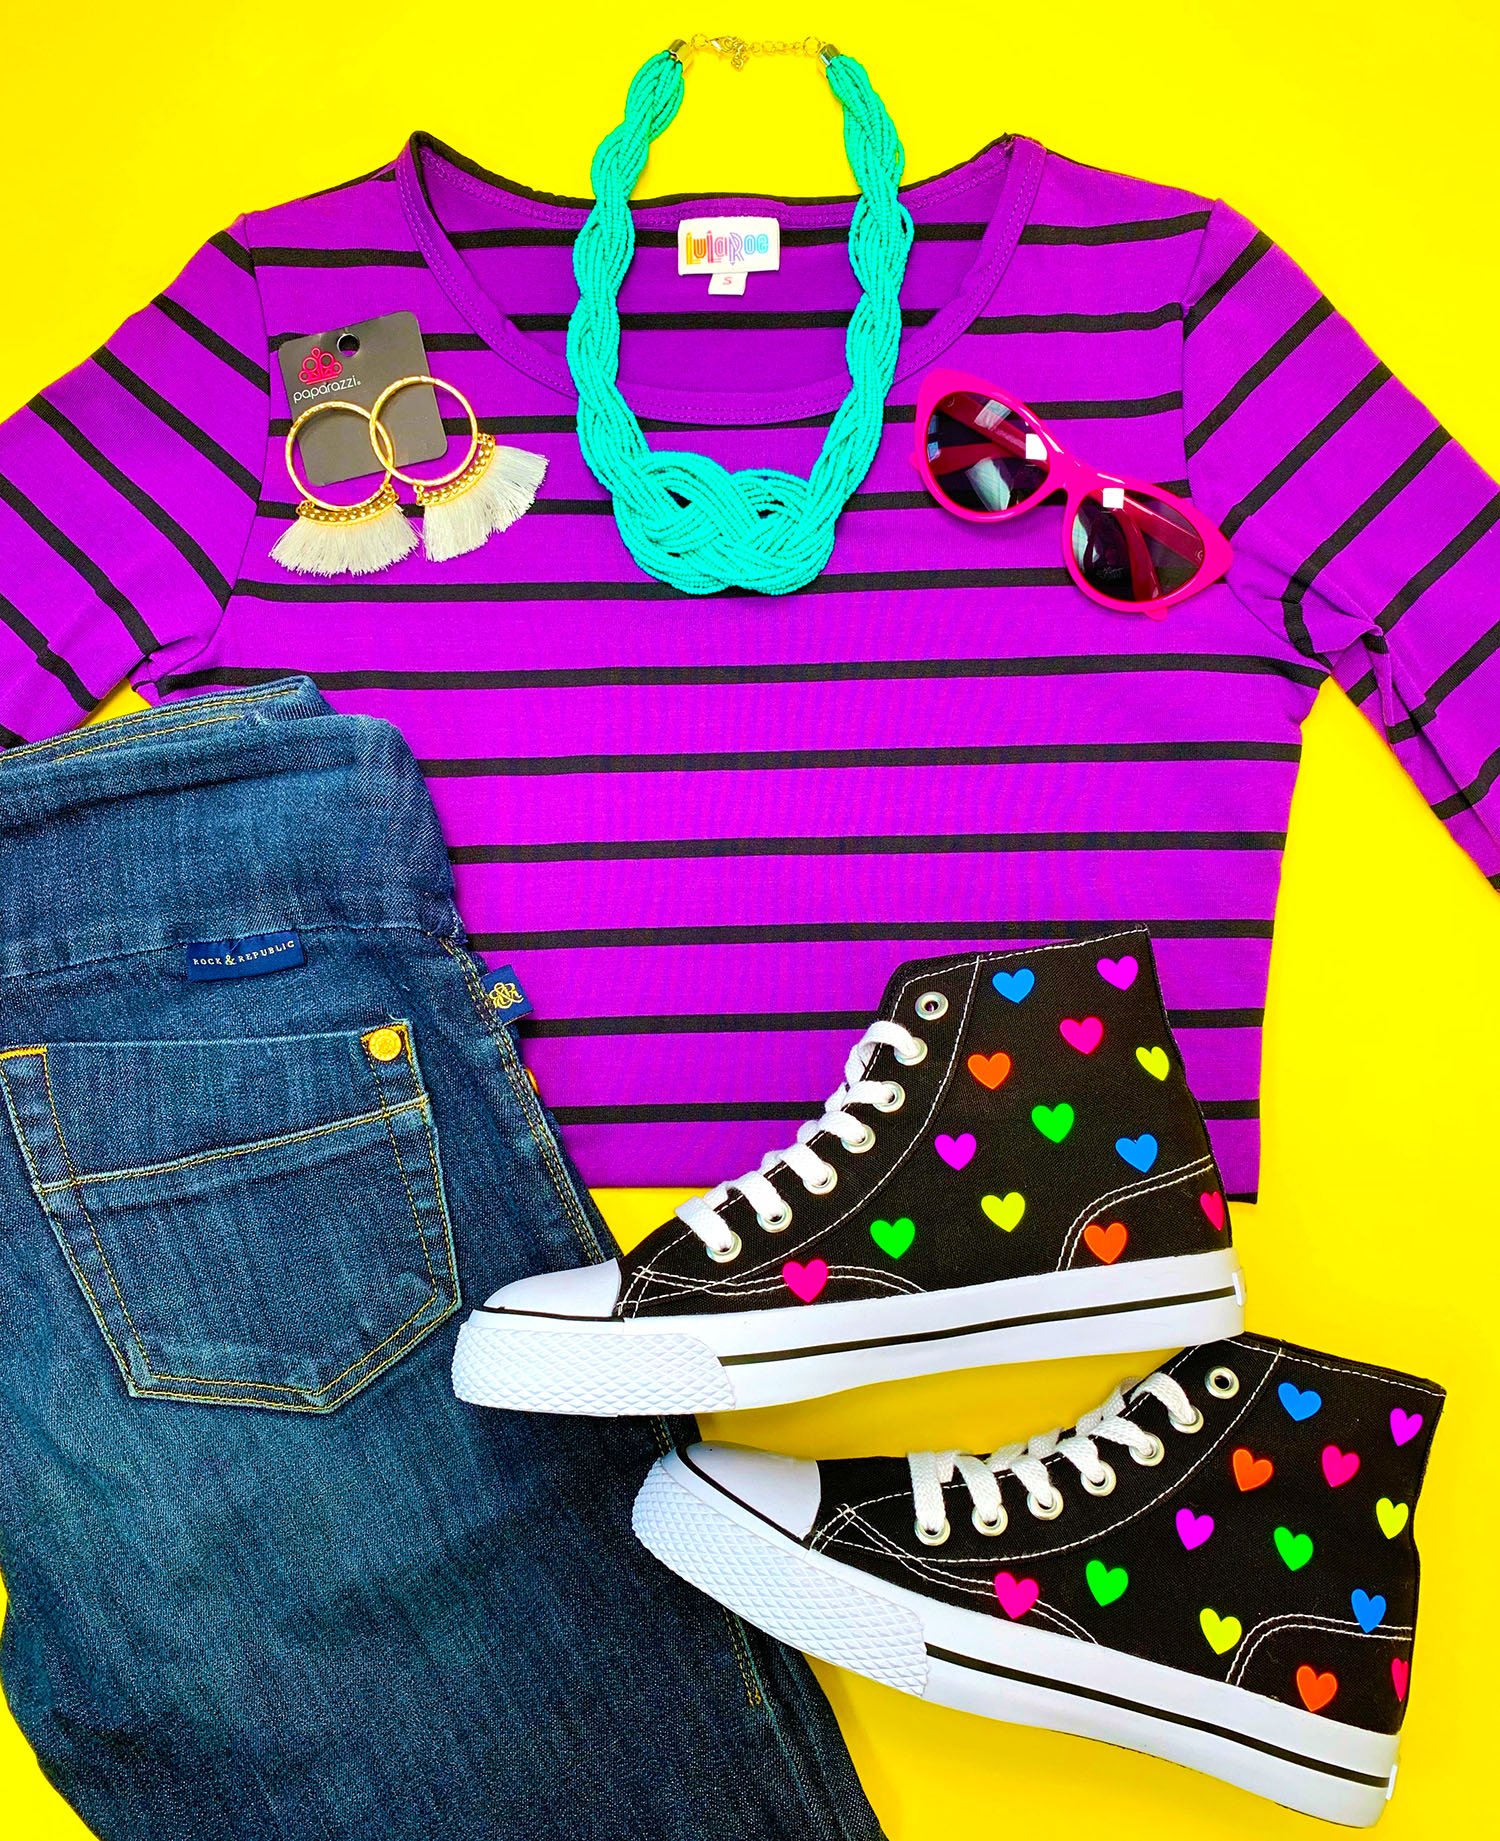
And these shoes! C’mon! 😍😍😍
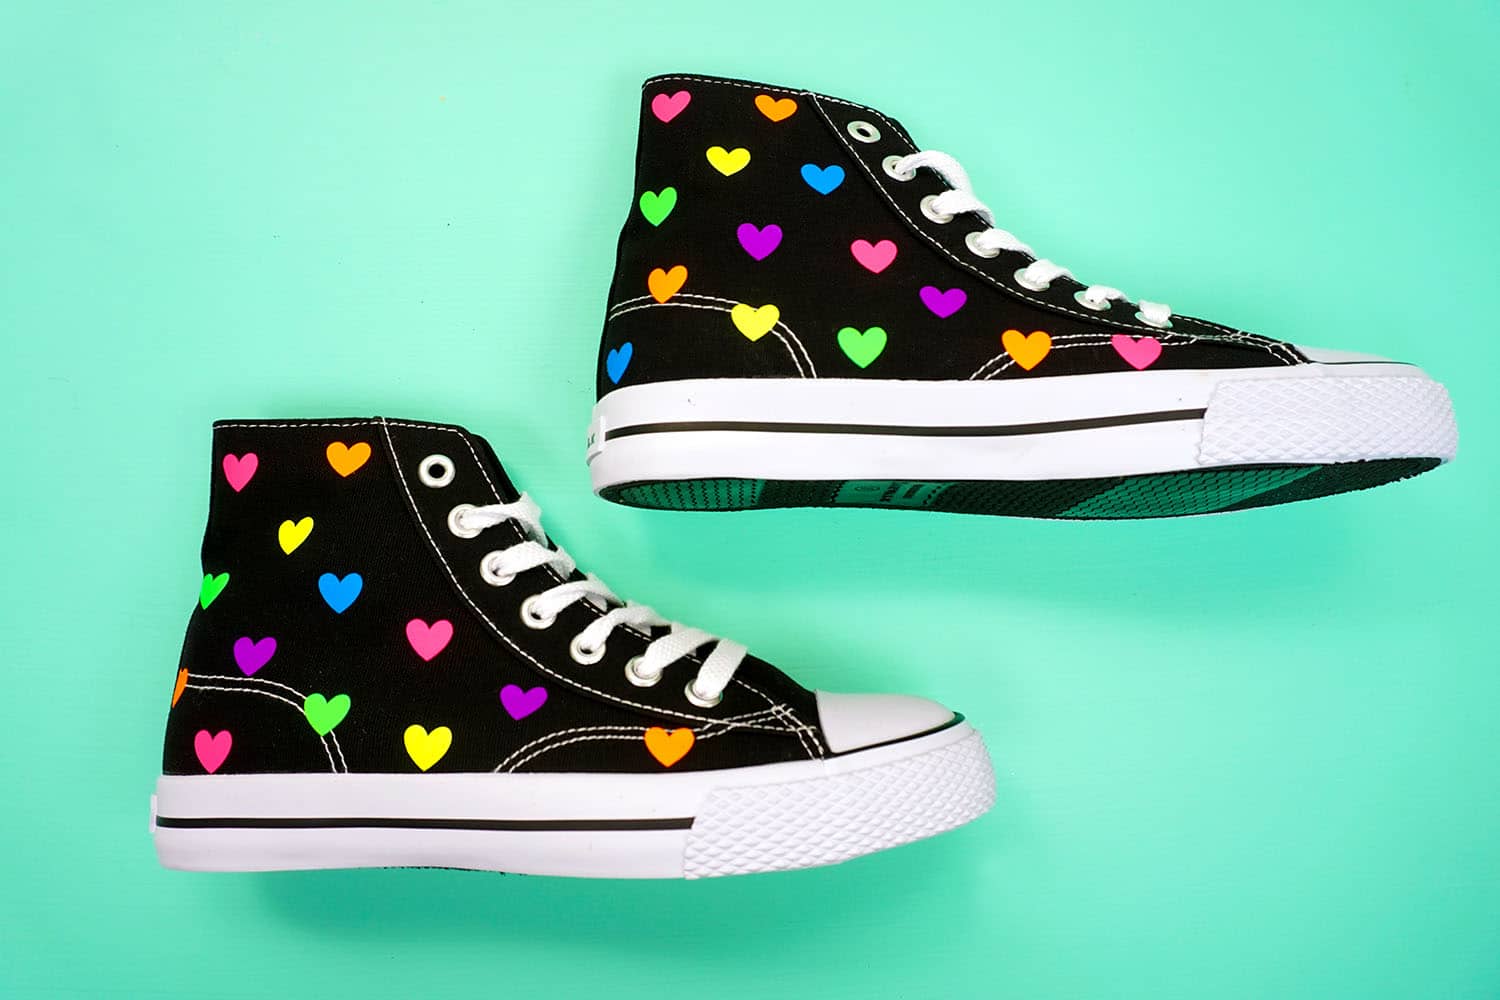
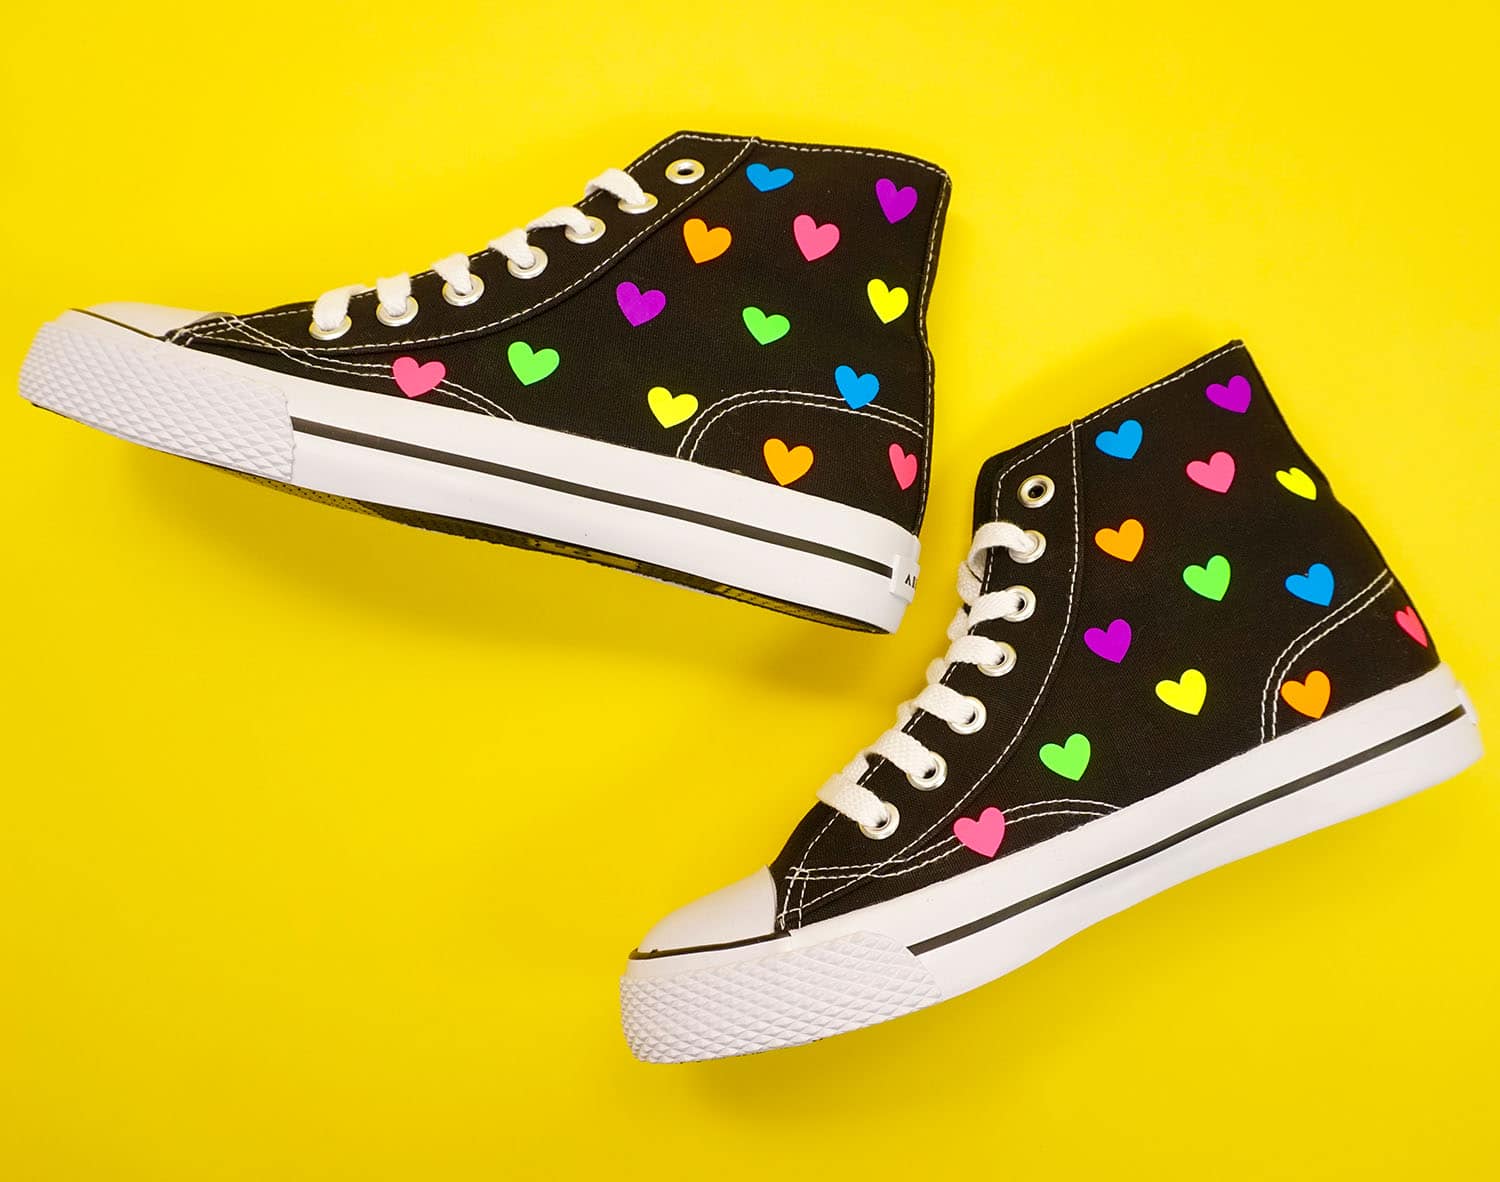
All of my rainbow heart dreams have come true!
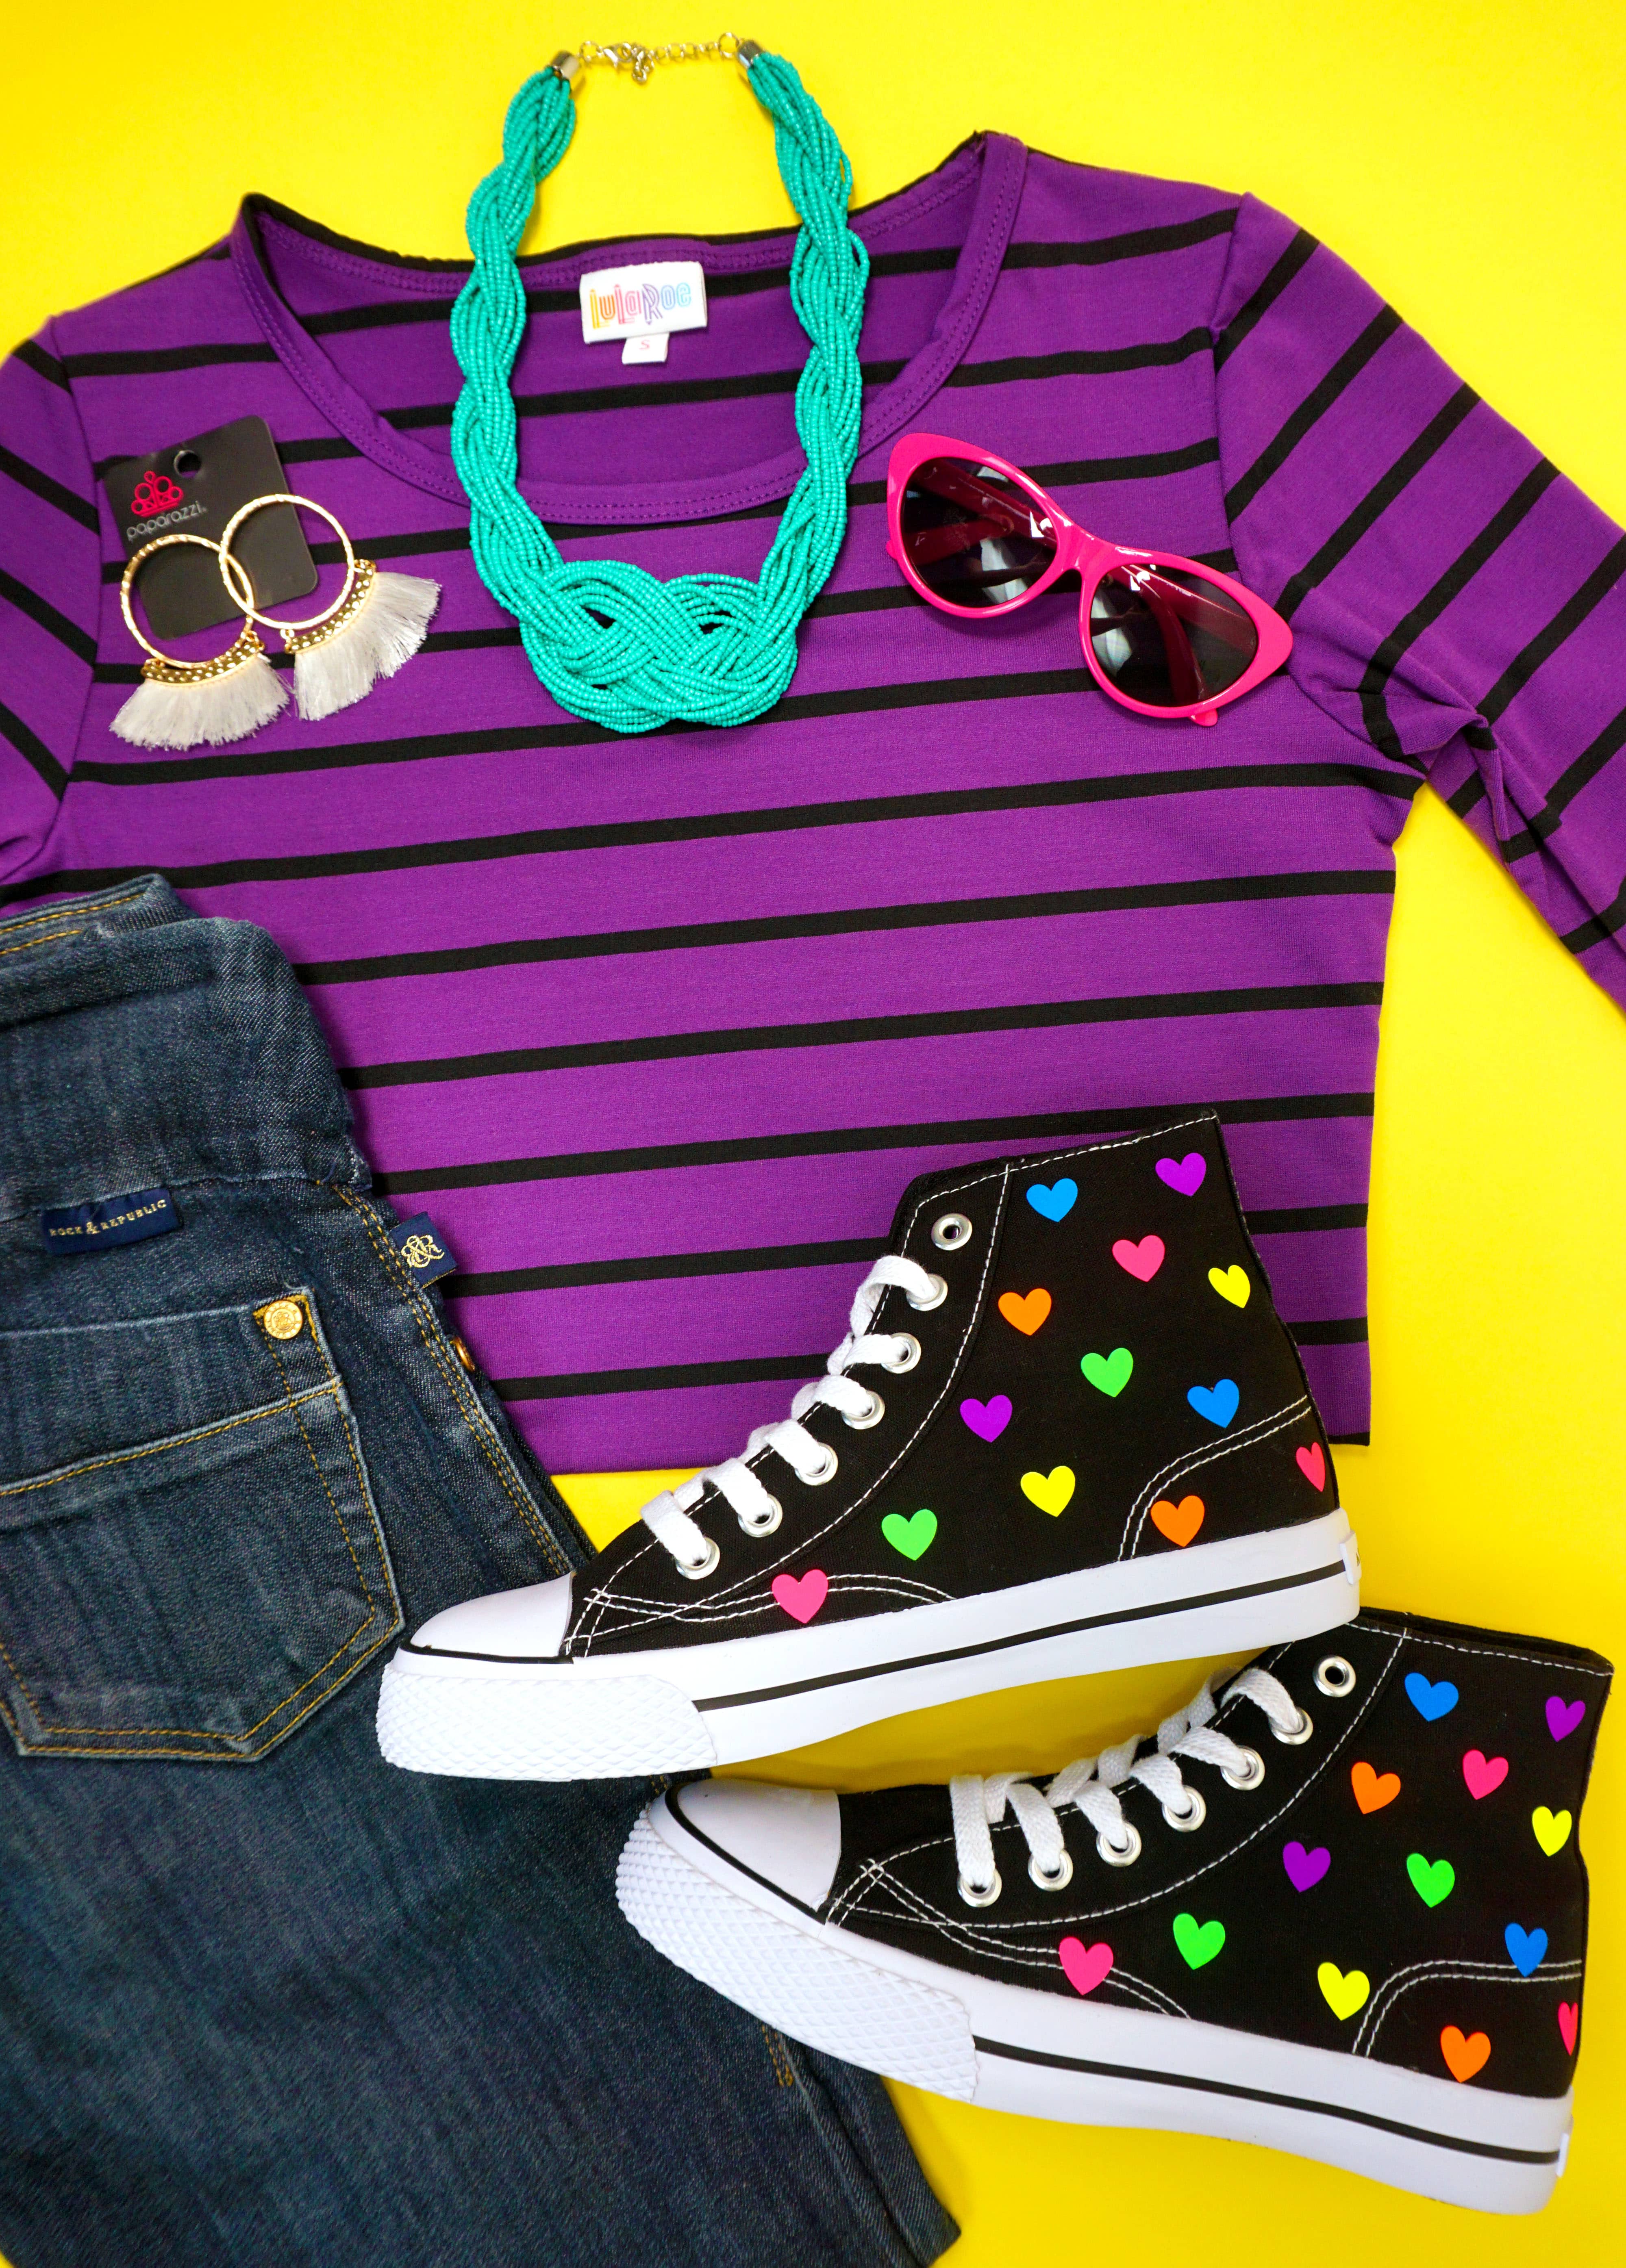
I foresee lots and lots of EasyPress Mini projects in my future! Do you have an EasyPress Mini? What have you been making?

Check Out These Other Cricut Ideas!
Pin these DIY Rainbow Heart Shoes for Later!

Heidi Kundin has captivated the hearts of millions with her colorful and inspiring approach to crafting, celebrations, and family fun. With over 15 years of experience, Happiness is Homemade has become a must-visit destination for those seeking quick and easy creative ideas and last-minute solutions. Heidi’s warm personality shines through her posts, inviting readers to join her on a creative journey that’s fun, rewarding, and achievable. Heidi is also the author of Homemade Bath Bombs & More and DIY Tie-Dye.

